KeithAug
-
Posts
3,991 -
Joined
-
Last visited
Content Type
Profiles
Forums
Gallery
Events
Everything posted by KeithAug
-
 Lucky man. It's our 50th aniversary in later this year (December). Must remember the present or I may not make 51.
 -
House selling and buying - "Yuk" good luck Andy. Fascinating historical photos.
- 174 replies
-
- 2
-

-
- Vigilance
- Sailing Trawler
- (and 1 more)
-
Magnificent John
-
I am lucky to see my helper in the workshop from one year to the next, yours seems totally at home. Great photo looking at the helm - looks almost real.
-
Prop making is such fun - it gets the brain cells working. Very nice looking deck George and great progress.
-
Nice work on the exhausts Greg - the technical observation on the design in various posts all add to the fascination of the build. What is the partial horizontal line on the end of the crank case representing - should it be all the way across or just not present?
- 288 replies
-
- 3
-
-
- Santos Dumont No. 18
- hydroplane
- (and 1 more)
-
Very nicely done - I would love to know your technique Keith?
- 732 replies
-
- 3
-

-
-
- Lula
- sternwheeler
- (and 1 more)
-
Such neat work Roel - fabulous.
-
Nice progress. I wondered about giving the hull a hint of green (weed). I can't add much to the shroud question and to me the photos aren't much help.
- 312 replies
-
- 5
-
-
- Chile
- Latin America
- (and 6 more)
-
Have you tried doing joined up writing with one of those pen things recently. It is really hard. They both fit together very nicely. Great job.
- 732 replies
-
- 5
-
-
-
- Lula
- sternwheeler
- (and 1 more)
-
All coming along very nicely Paul.
-
Nice steering wheel but I love the bicycle seat.
- 288 replies
-
- 5
-
-
- Santos Dumont No. 18
- hydroplane
- (and 1 more)
-
Thank you Rick. Gary Yes - I once arrived very early to work and parked in the completely empty works car park lit by a single lamp post. Just as was getting out of the car I heard a loud bang and looked up to see a car wrapped round the solitary post. With an entire car park to go at (with the exception of one space) the driver had managed to find the only solid obstacle available.
-
Yves / Druxey - The most annoying bit is that it was predictable. I don't suppose I will make the same mistake again.
-
Im not quite getting your worries about the deck darkness but your eyes are the ones seeing the real thing. Can the darkness be washed out with solvent?
-
All very nicely done.
-
Yes - I had thought they might have been brazed.
- 288 replies
-
- 4
-
-
- Santos Dumont No. 18
- hydroplane
- (and 1 more)
-
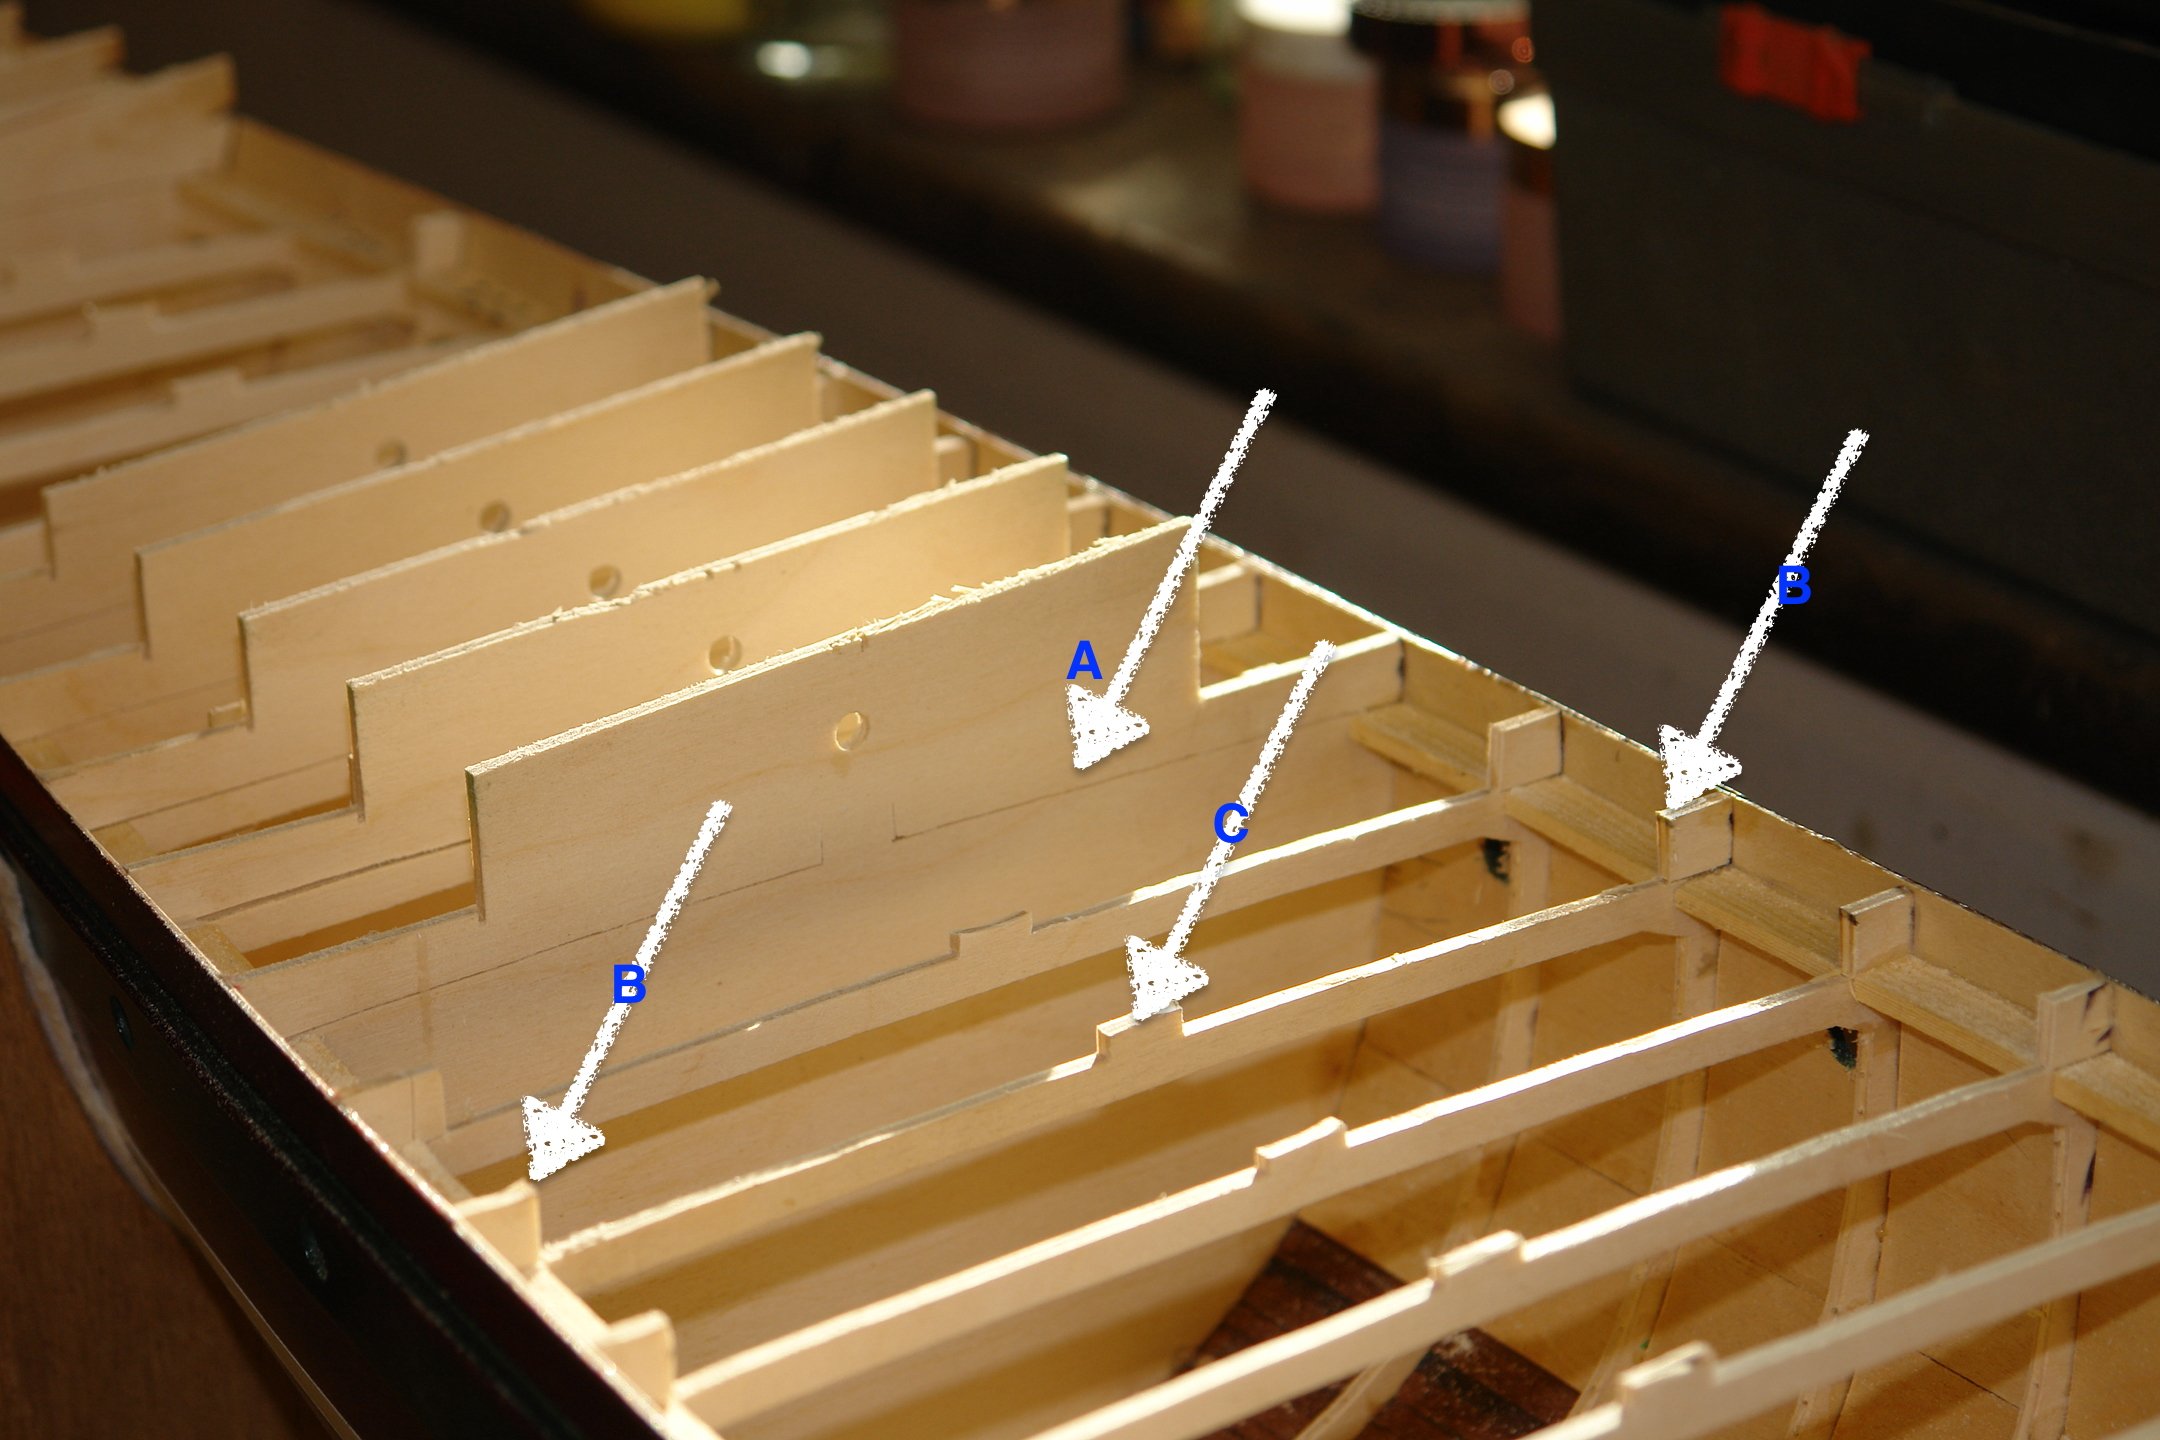
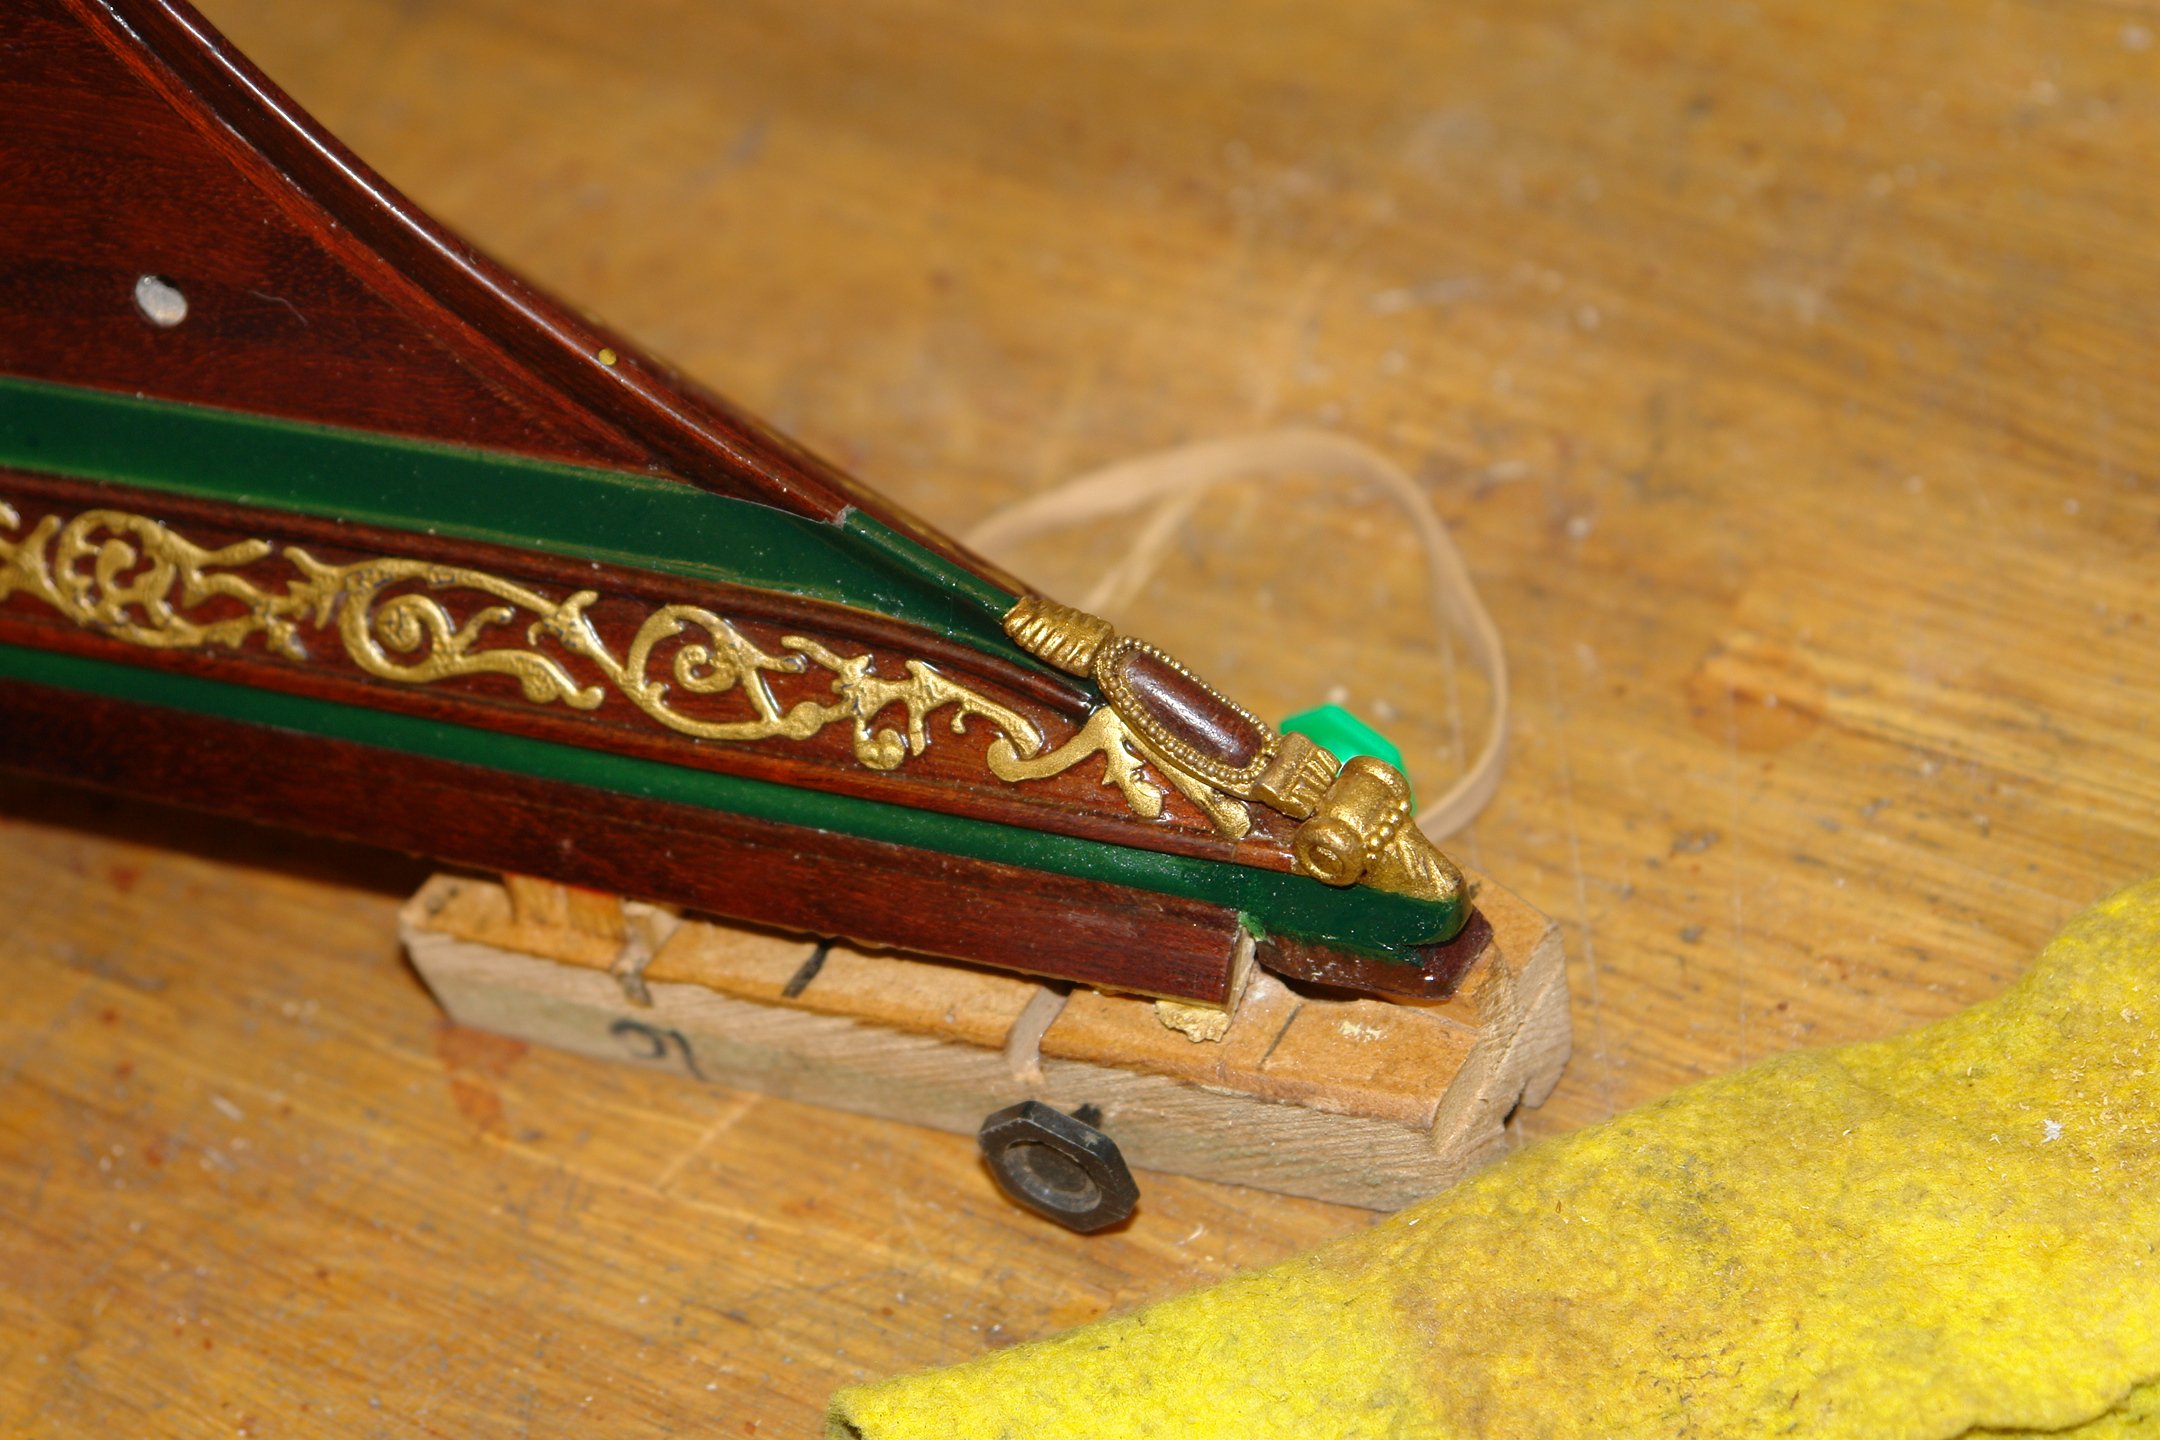
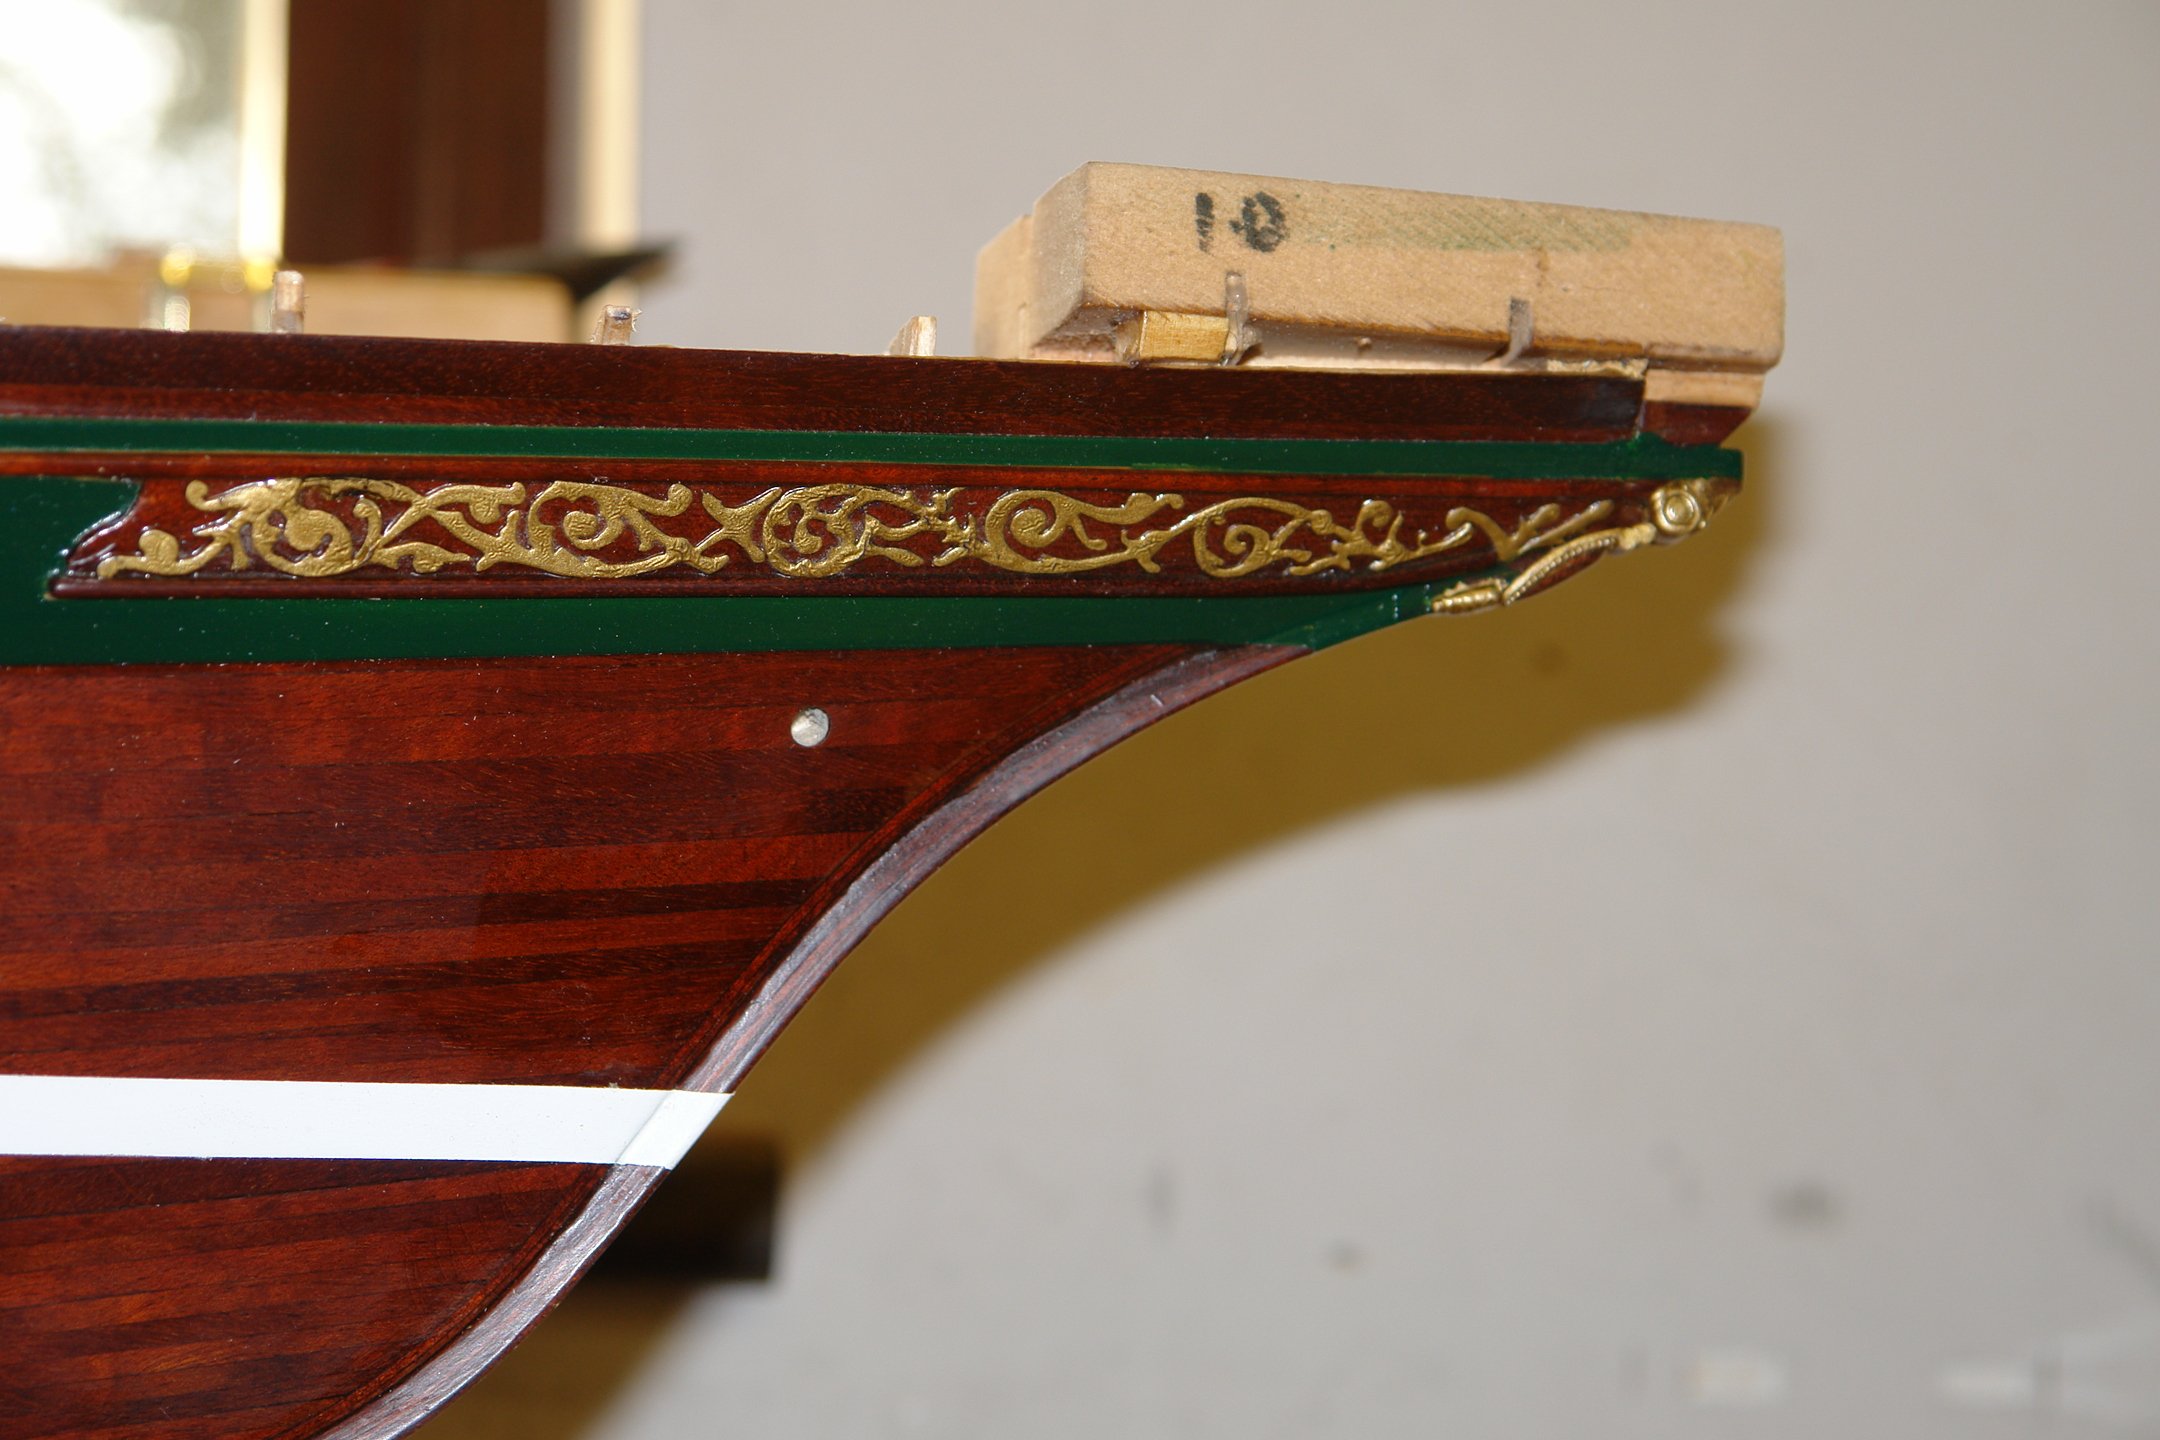
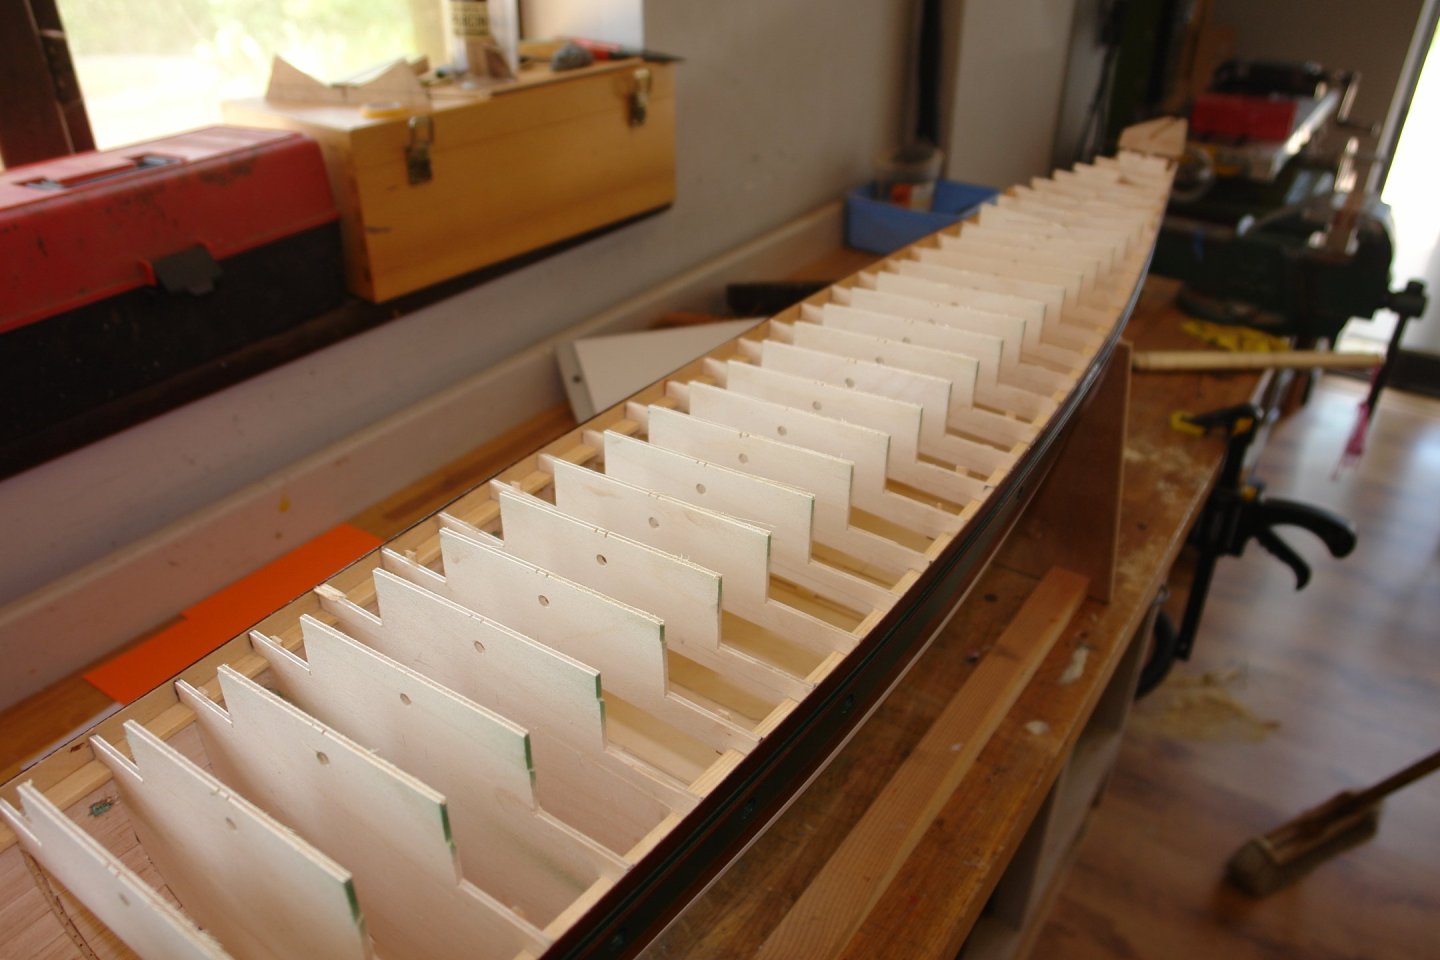
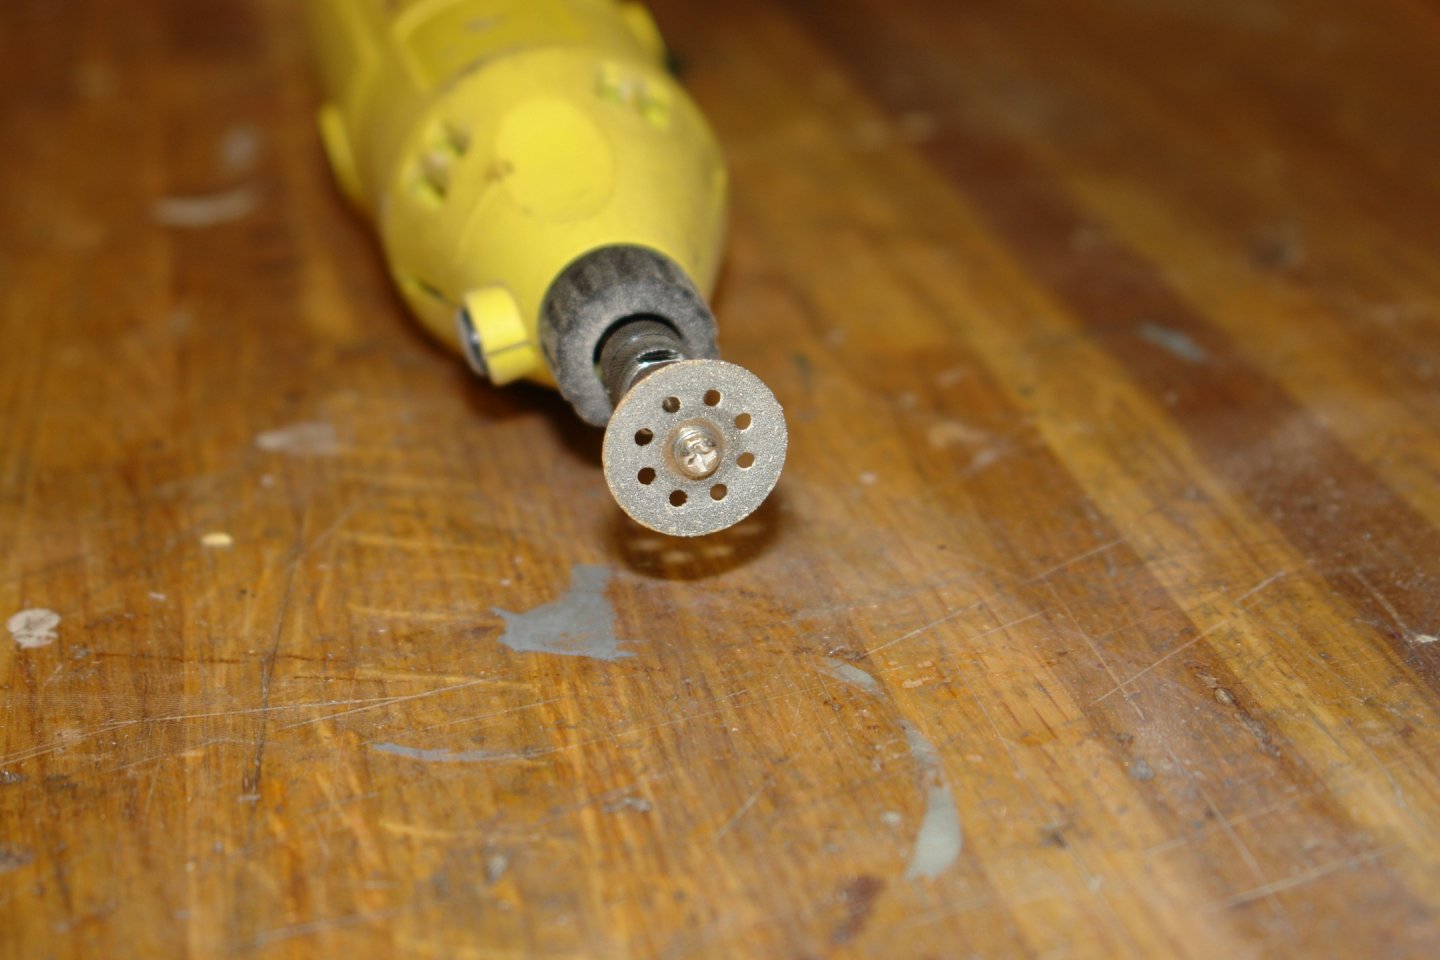
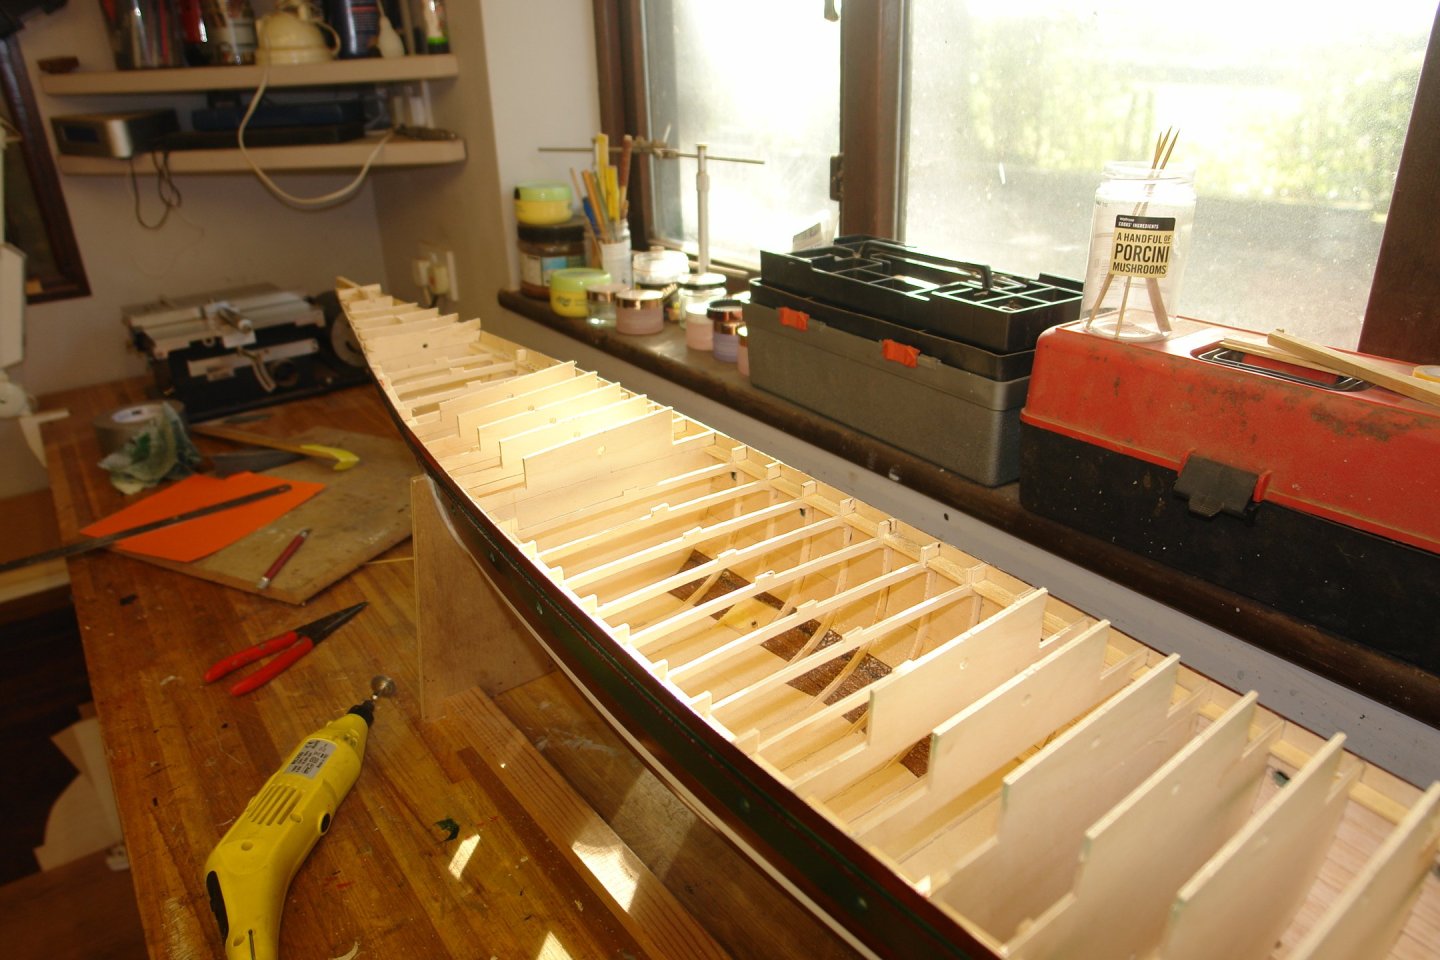
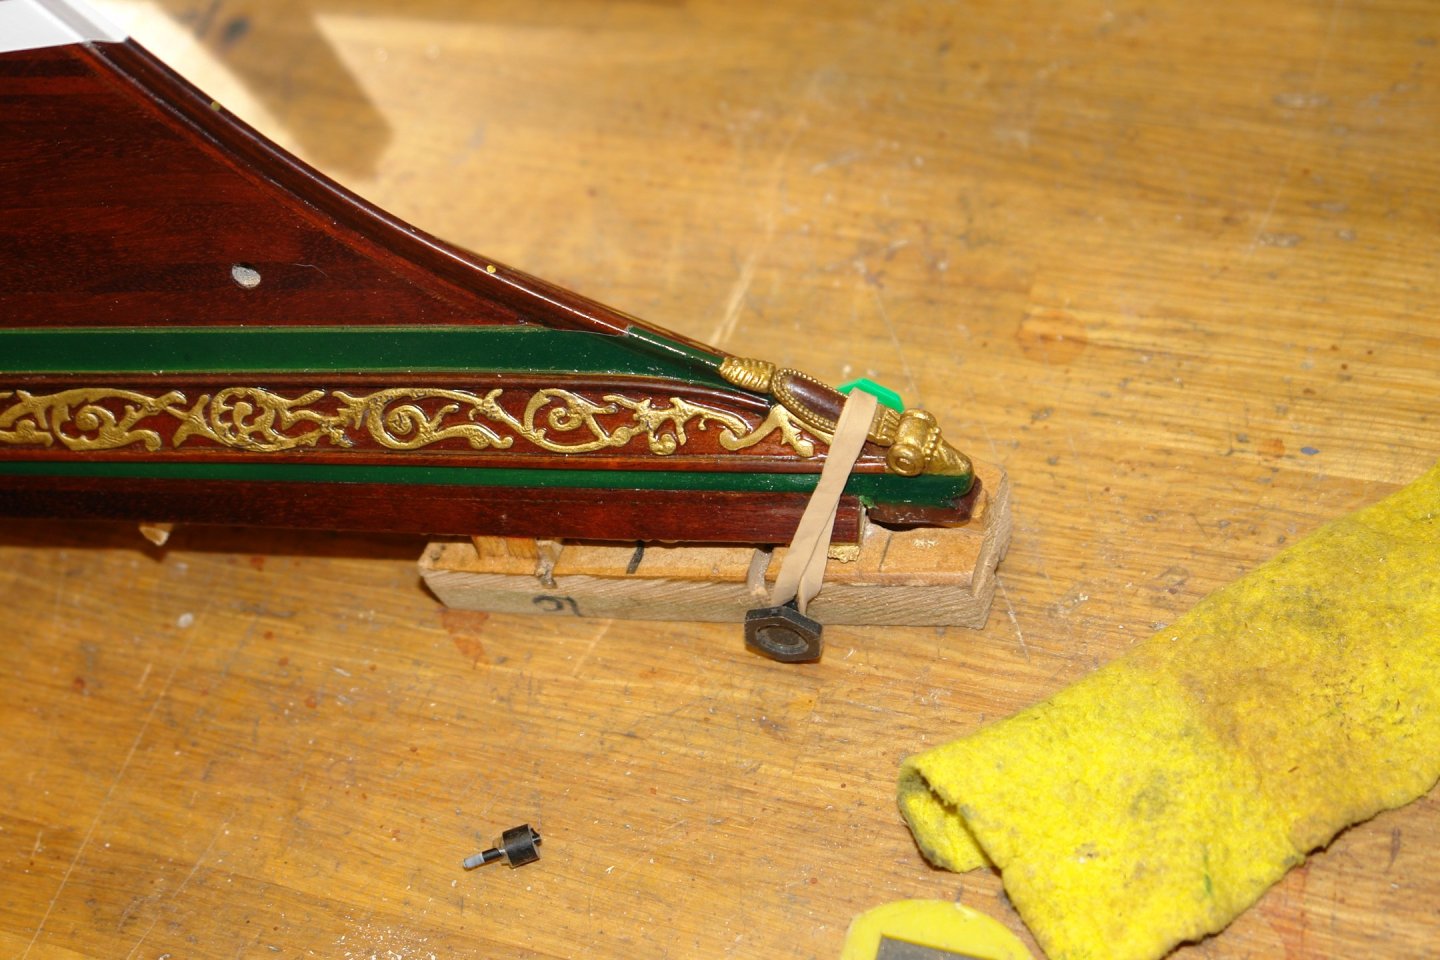
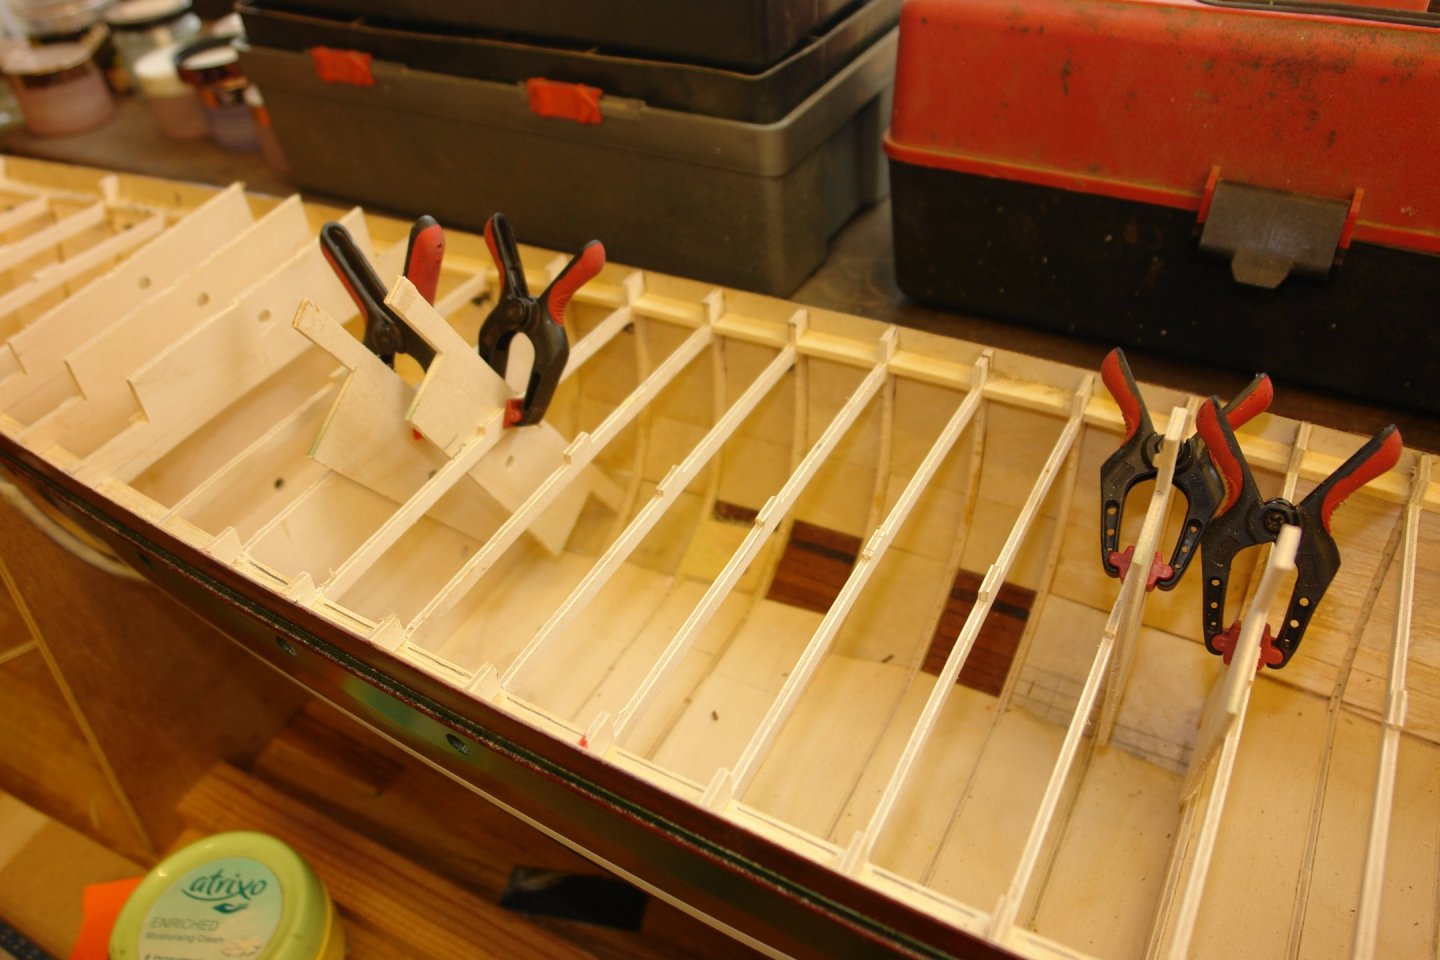
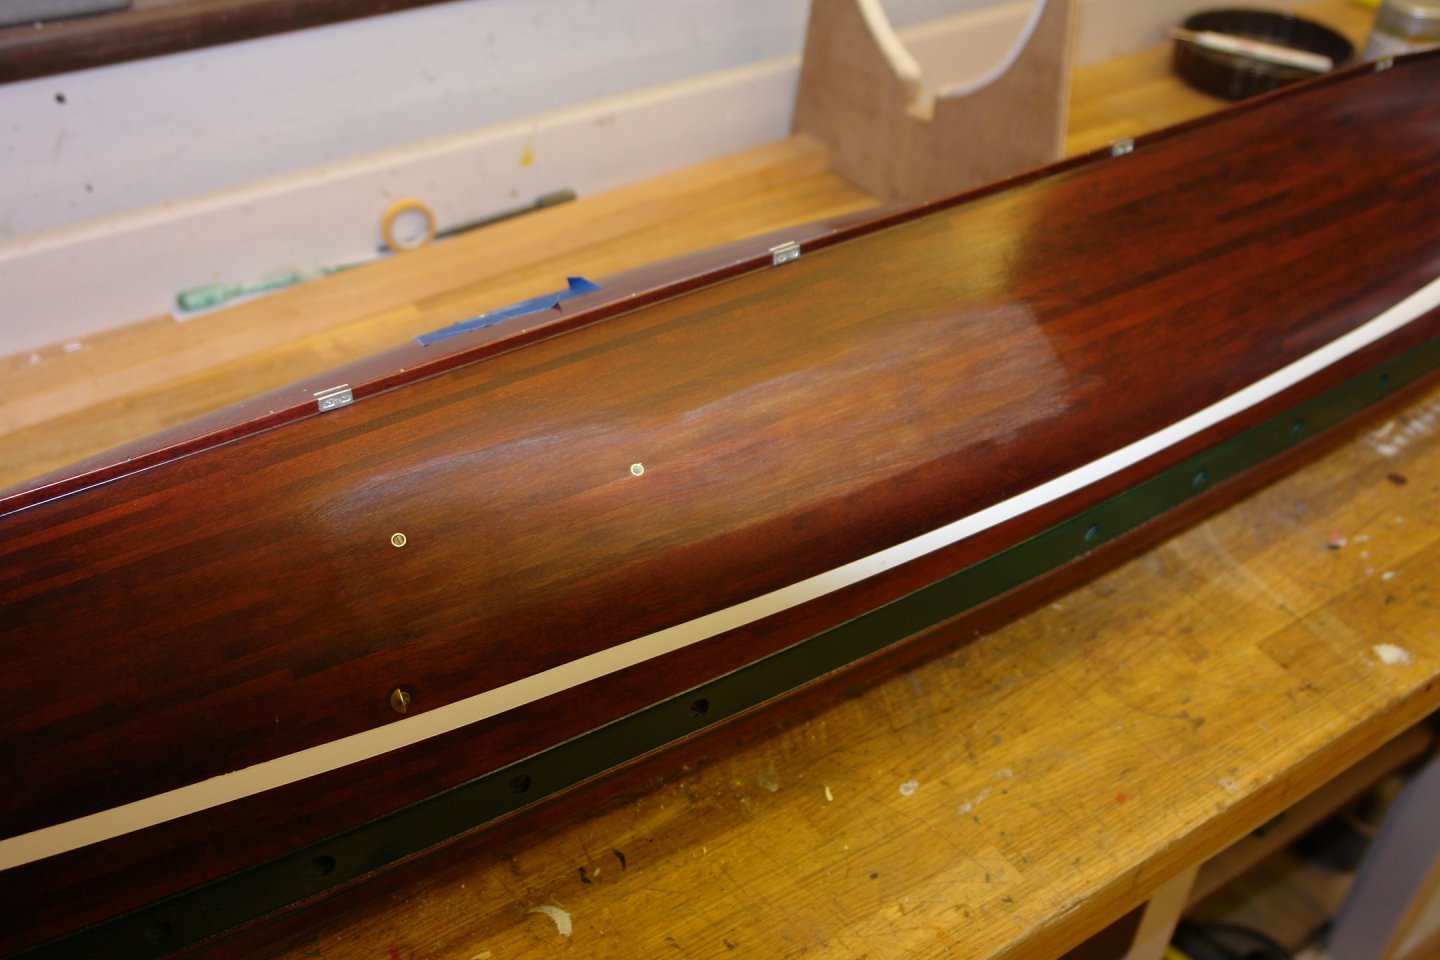
Thank you Pat, Rick & Gary. Another week has passed but unfortunately not all weeks go to plan - more of that later. You will recall in my last post the hull came off the mounting board. The next task was to remove all the up-stands to deck level. Those of you with long memories will recall that when I cut out the frames I scrolled along the deck line leaving only a small un cut attachment section. You can just about see the cut at arrow "A" in the next photo. Removing the up-stand therefore only involved two vertical saw cuts at "B" and a horizontal saw cut at "C". I tried doing the horizontal cut by plunging in a small Dremel circular saw. The saw did a lot of snatching so I tried a diamond cutting disc which proved to be a lot more successful. I left a small section of building board at the bow to anchor the decoration with an elastic band while gluing. I then went on to finish the wall cladding inside the engine / boiler room. This small section had been inaccessible from the outside while planking. The cladding is necessasary to produce a smooth internal finish as per the original. The cladding was glued in place using PVA wood glue. The cladding was held in place with pieces of up-stand and clamps while drying. However this turned out to be a stupid plan because the PVA expanded the hull planks and damaged the hull finish. I am very stupid! Fortunately only light sanding was required to get the hull smooth again. Now I get some more varnishing practice. For the cladding on the other side I have a different plan. The workshop has been a bit warmer of late so I am hoping for 2 coats of varnish per day. Oh what fun!


-
Fascinating model and build process. I know nothing about 3d printing. Can you select the print quality to get very fine detail or does the extrusion head dictate how fine the detail can be?
- 32 replies
-
- 1
-
-
- St Louis
- 3D Printing
- (and 2 more)
-
Hmmm! - stuffed up - a good engineering term - as in "I stuffed up the stuffing box and that stuffed up the ship, which sank.
- 732 replies
-
- 7
-

-
-
- Lula
- sternwheeler
- (and 1 more)
-
All looking rather nice. It would appear that the foils were quite small.
- 288 replies
-
- 4
-
-
-
- Santos Dumont No. 18
- hydroplane
- (and 1 more)
-
Yes, that seemed to be sensible to me Greg. However a symmetrical design for a display model is much more aesthetically pleasing.
- 288 replies
-
- 3
-
-
- Santos Dumont No. 18
- hydroplane
- (and 1 more)