DONATION DRIVE - SUPPORT MSW - DO YOUR PART TO KEEP THIS GREAT FORUM GOING!
×


KeithAug
-
Posts
3,980 -
Joined
-
Last visited
Content Type
Profiles
Forums
Gallery
Events
Everything posted by KeithAug
-
 Good luck with the build. I looks like an interesting project. You might find that building small is just as time consuming as building the real thing.
- 38 replies
-
- 2
-

-
- William Atkin
- Sloop
- (and 1 more)
-
Prop looks great, your lack of machine tools is just an opportunity for innovation. I assume you used soft solder?
-
Excellent job Mark, I keep looking at the concrete, it is amazingly realistic.
-
Beautiful hull - presumably you then went on a long holiday. Looking forward to the next instalment.
-
She is pretty as a picture Craig and such beautifully neat work. In every way a real delight.
-
Very posh shed. The ship has lovely lines. It reminds me of the Sutton Hoo ship currently being reproduced using traditional skills and tools - https://www.bbc.co.uk/news/articles/ced6dw7pz31o
-
Sawdust - getting exciting! 👍
-
It's actually on one of the sale brochure photos. I assume the official photographer.
-
Keith, John, druxey, Rick, Steve, Andy, mcb - thank you all and everyone else for your patience. I appreciate all your visits and comments.
-
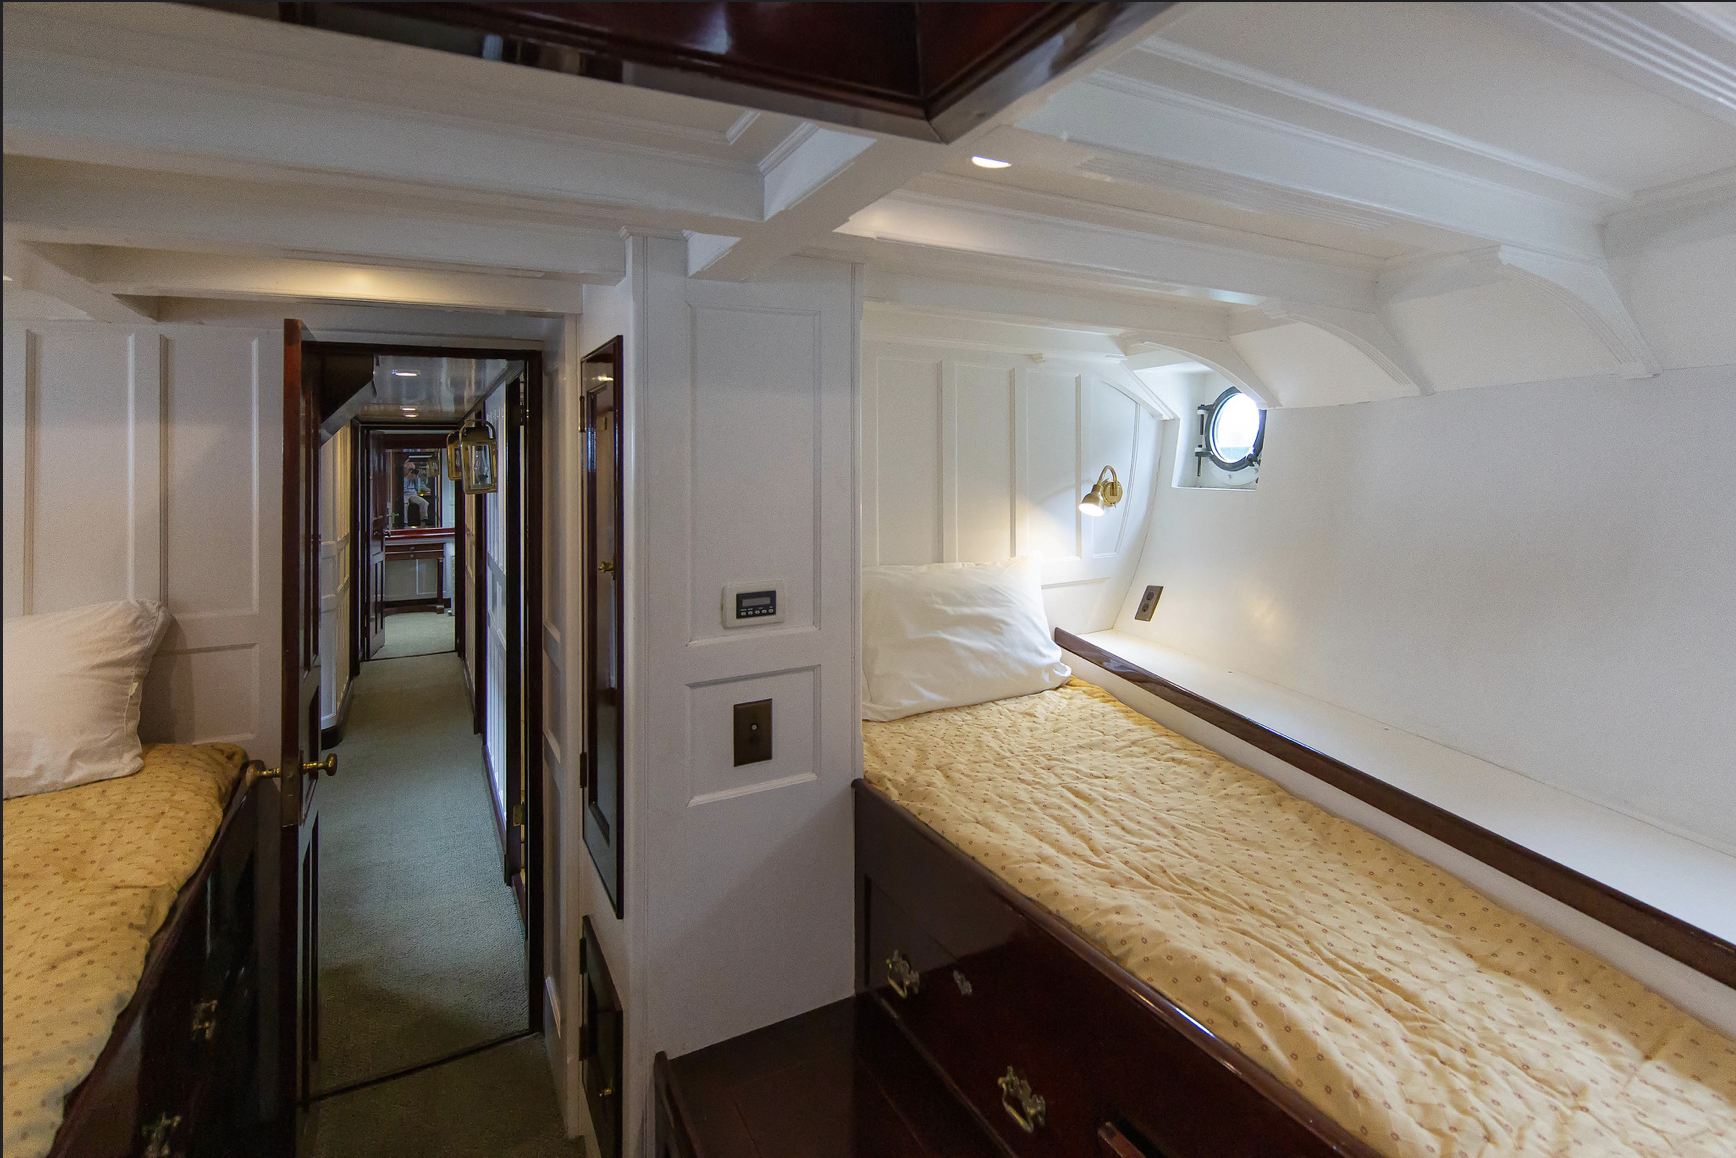
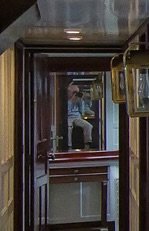
Thank you Rick. While studying the photo's i discovered the owners cabin already has an occupant. Is that anyone you know Rick?🙂

-
An enjoyable catch up John. A huge amount of work in that paddle wheel, very impressive.
-
Yep - but how do you turn them round to see the explosions?
- 476 replies
-
- 2
-
-
- minesweeper
- Cape
- (and 1 more)
-
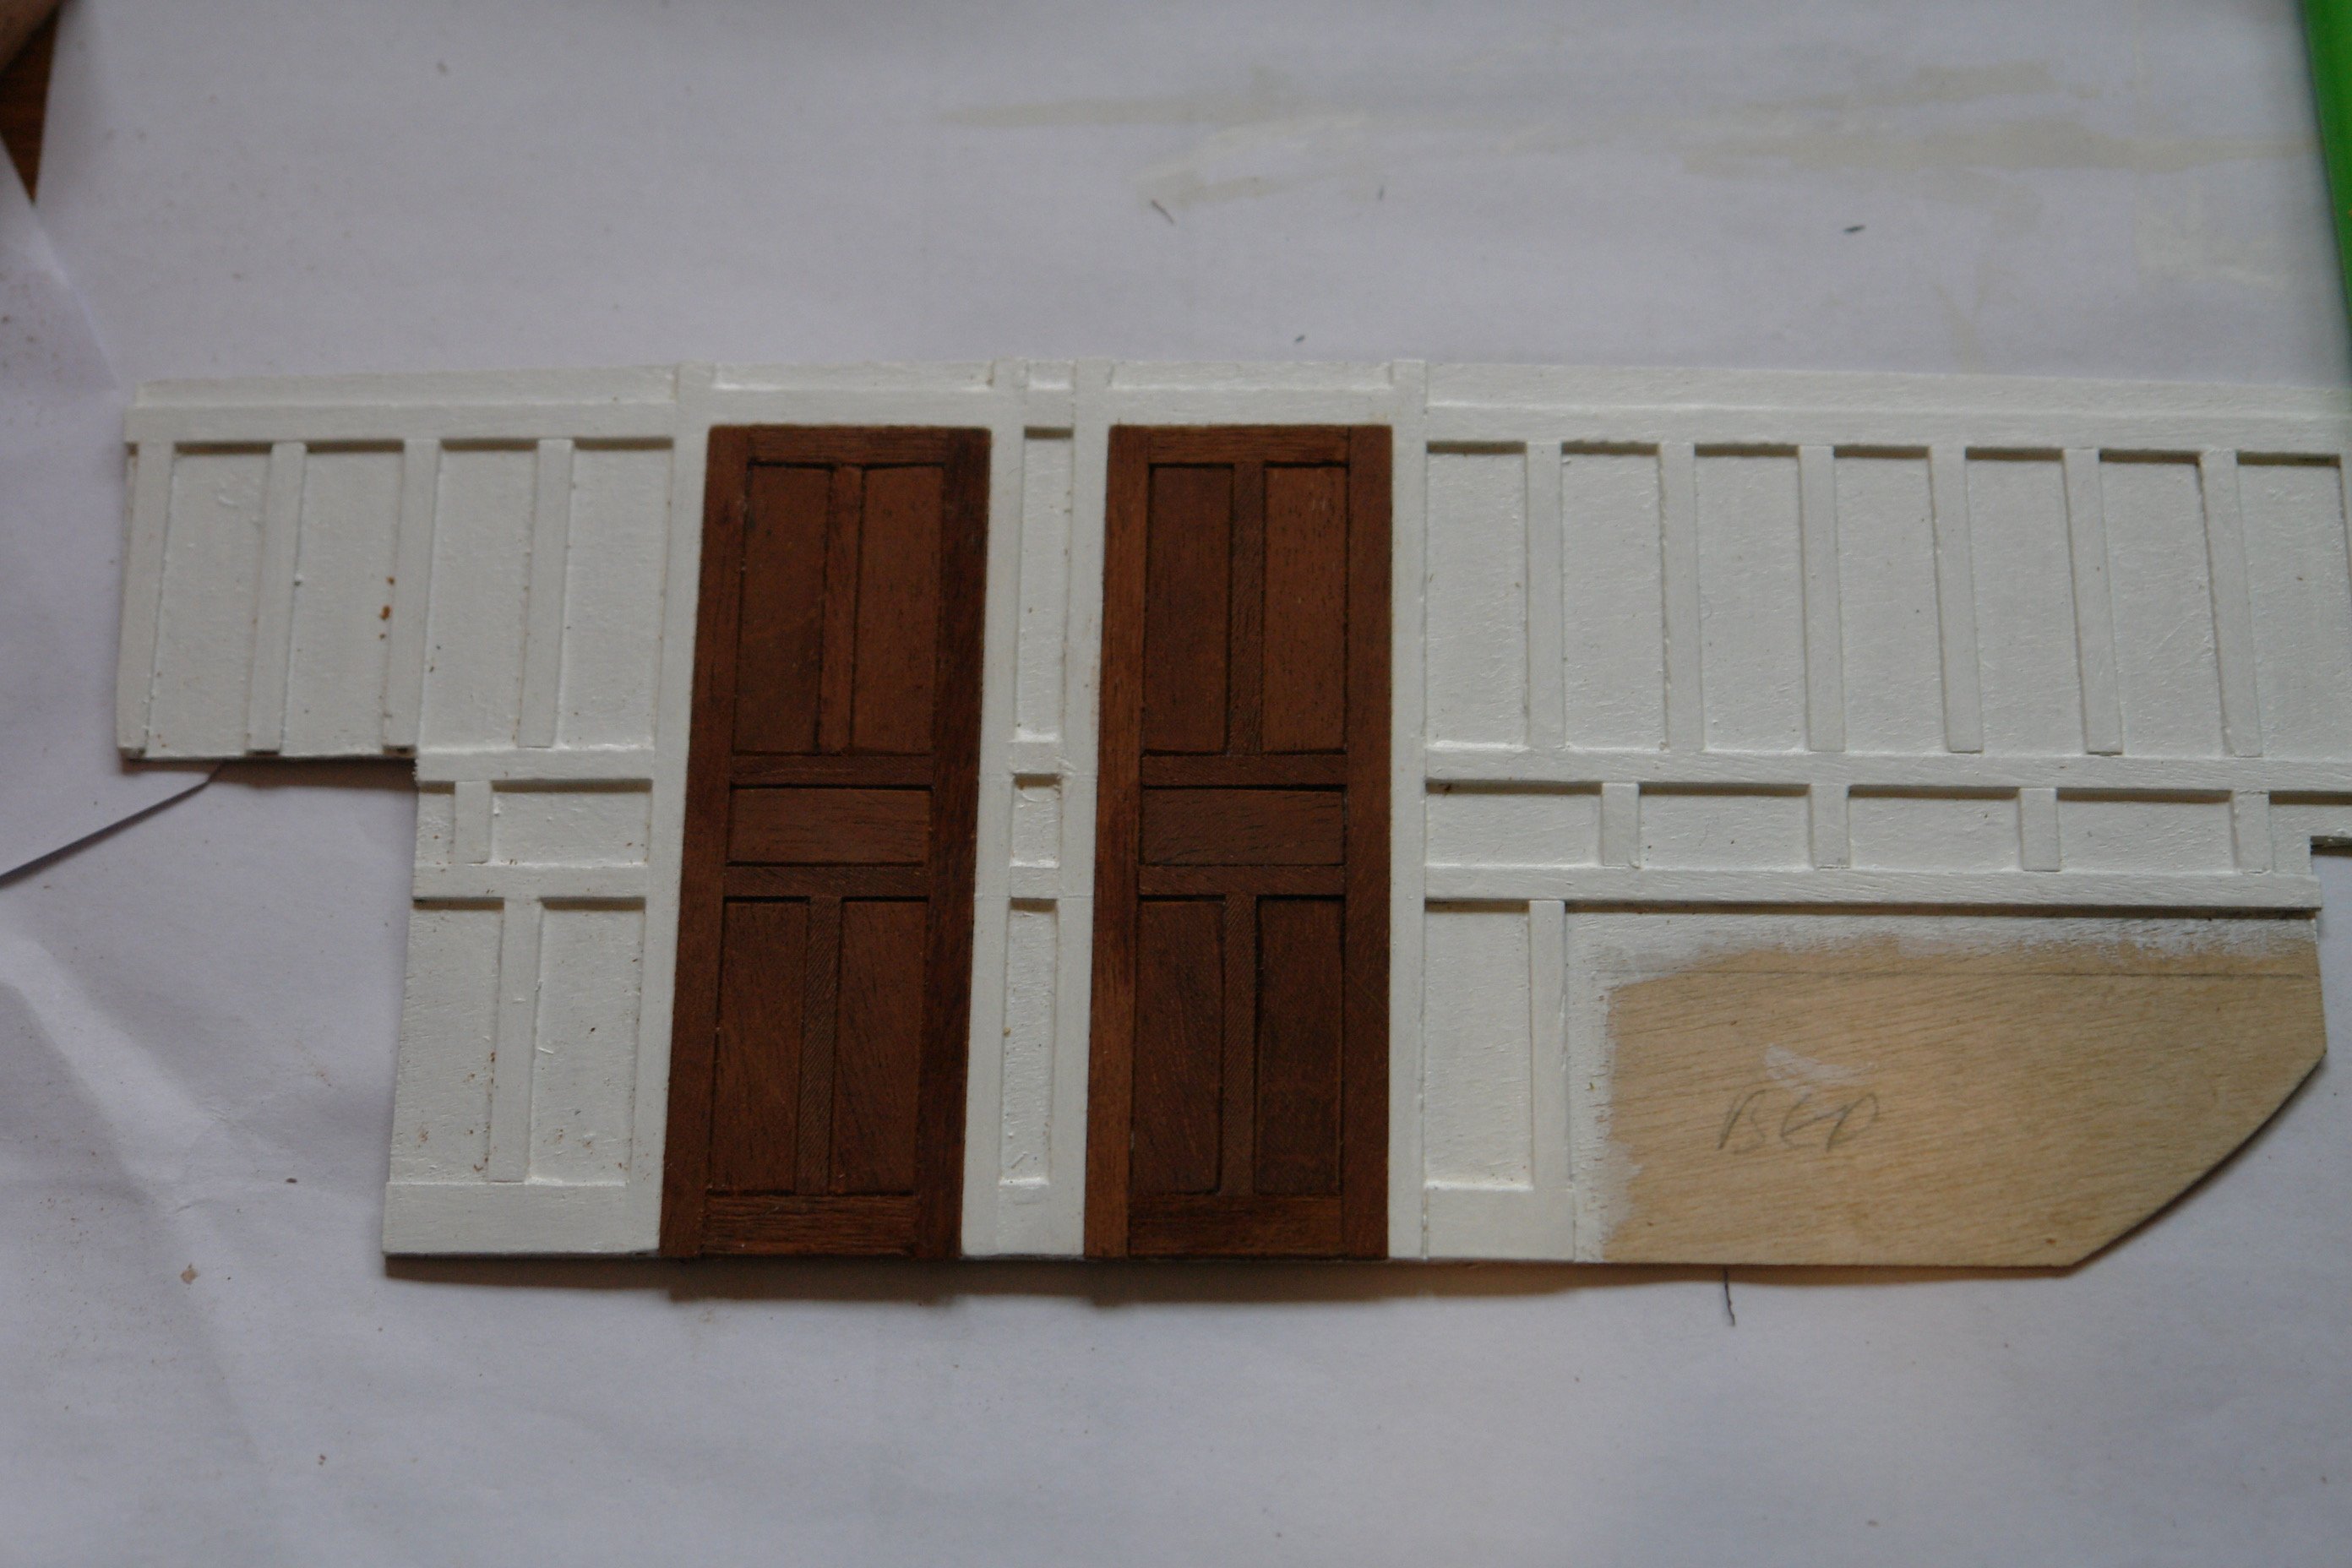
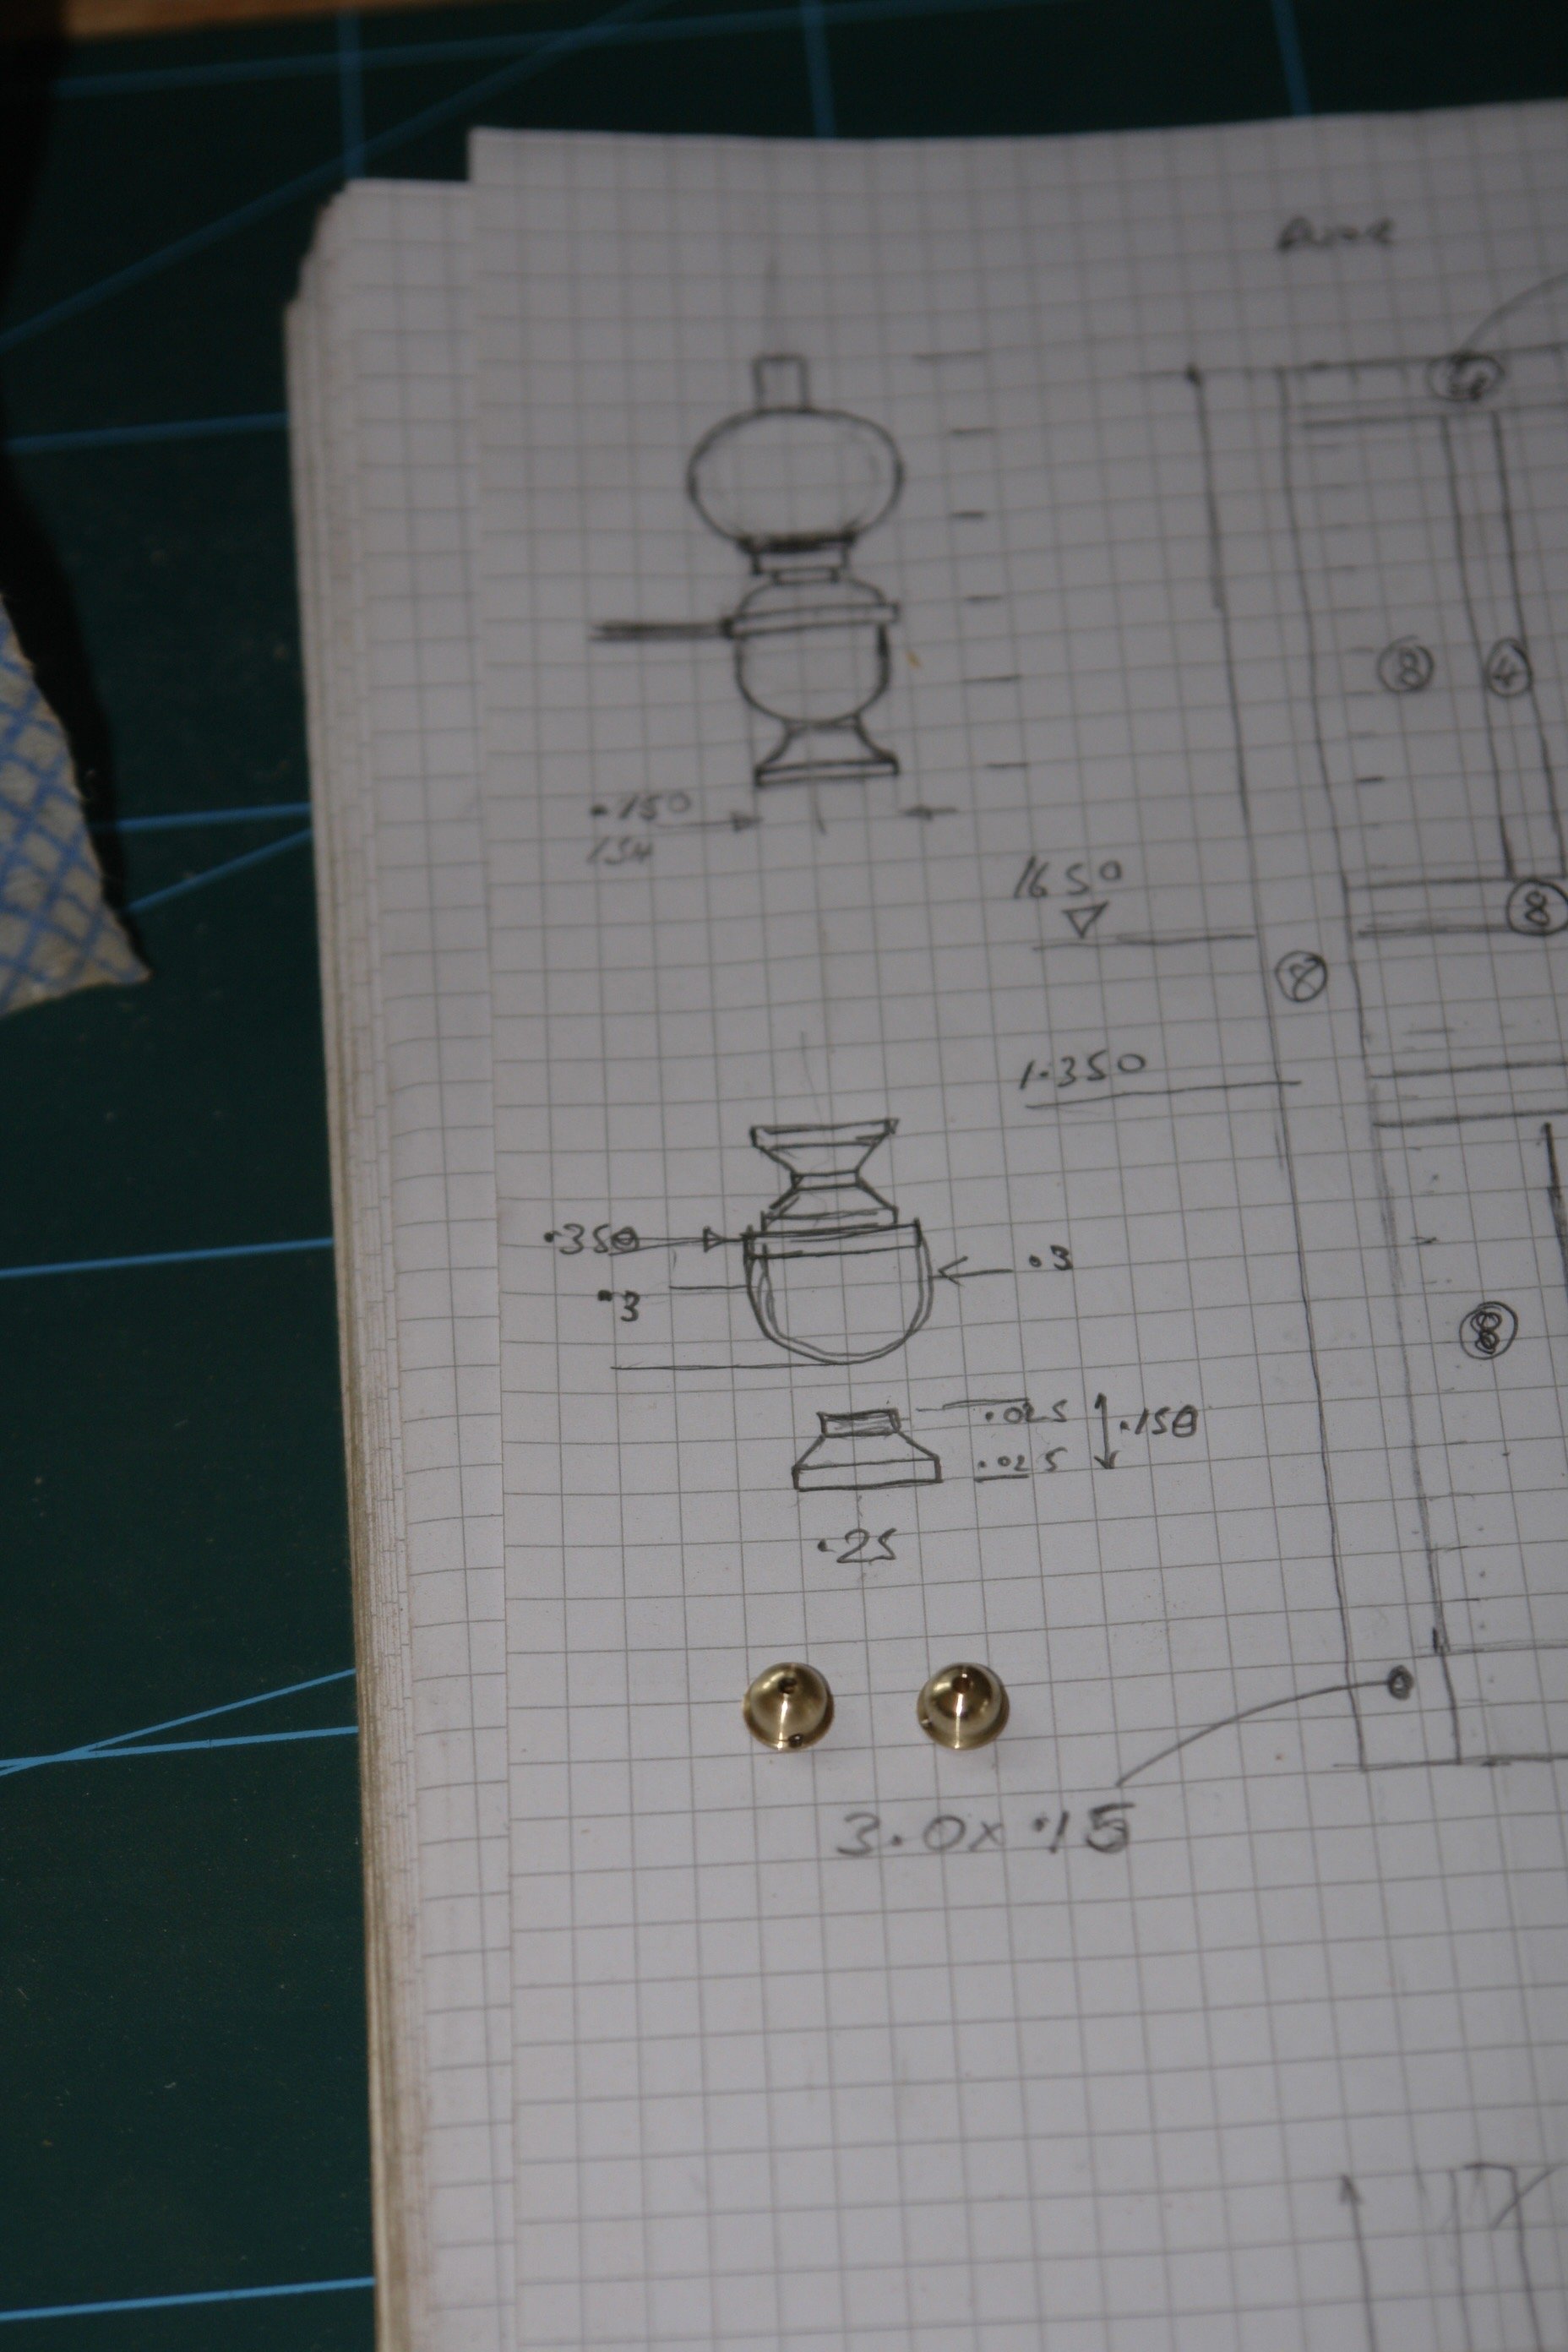
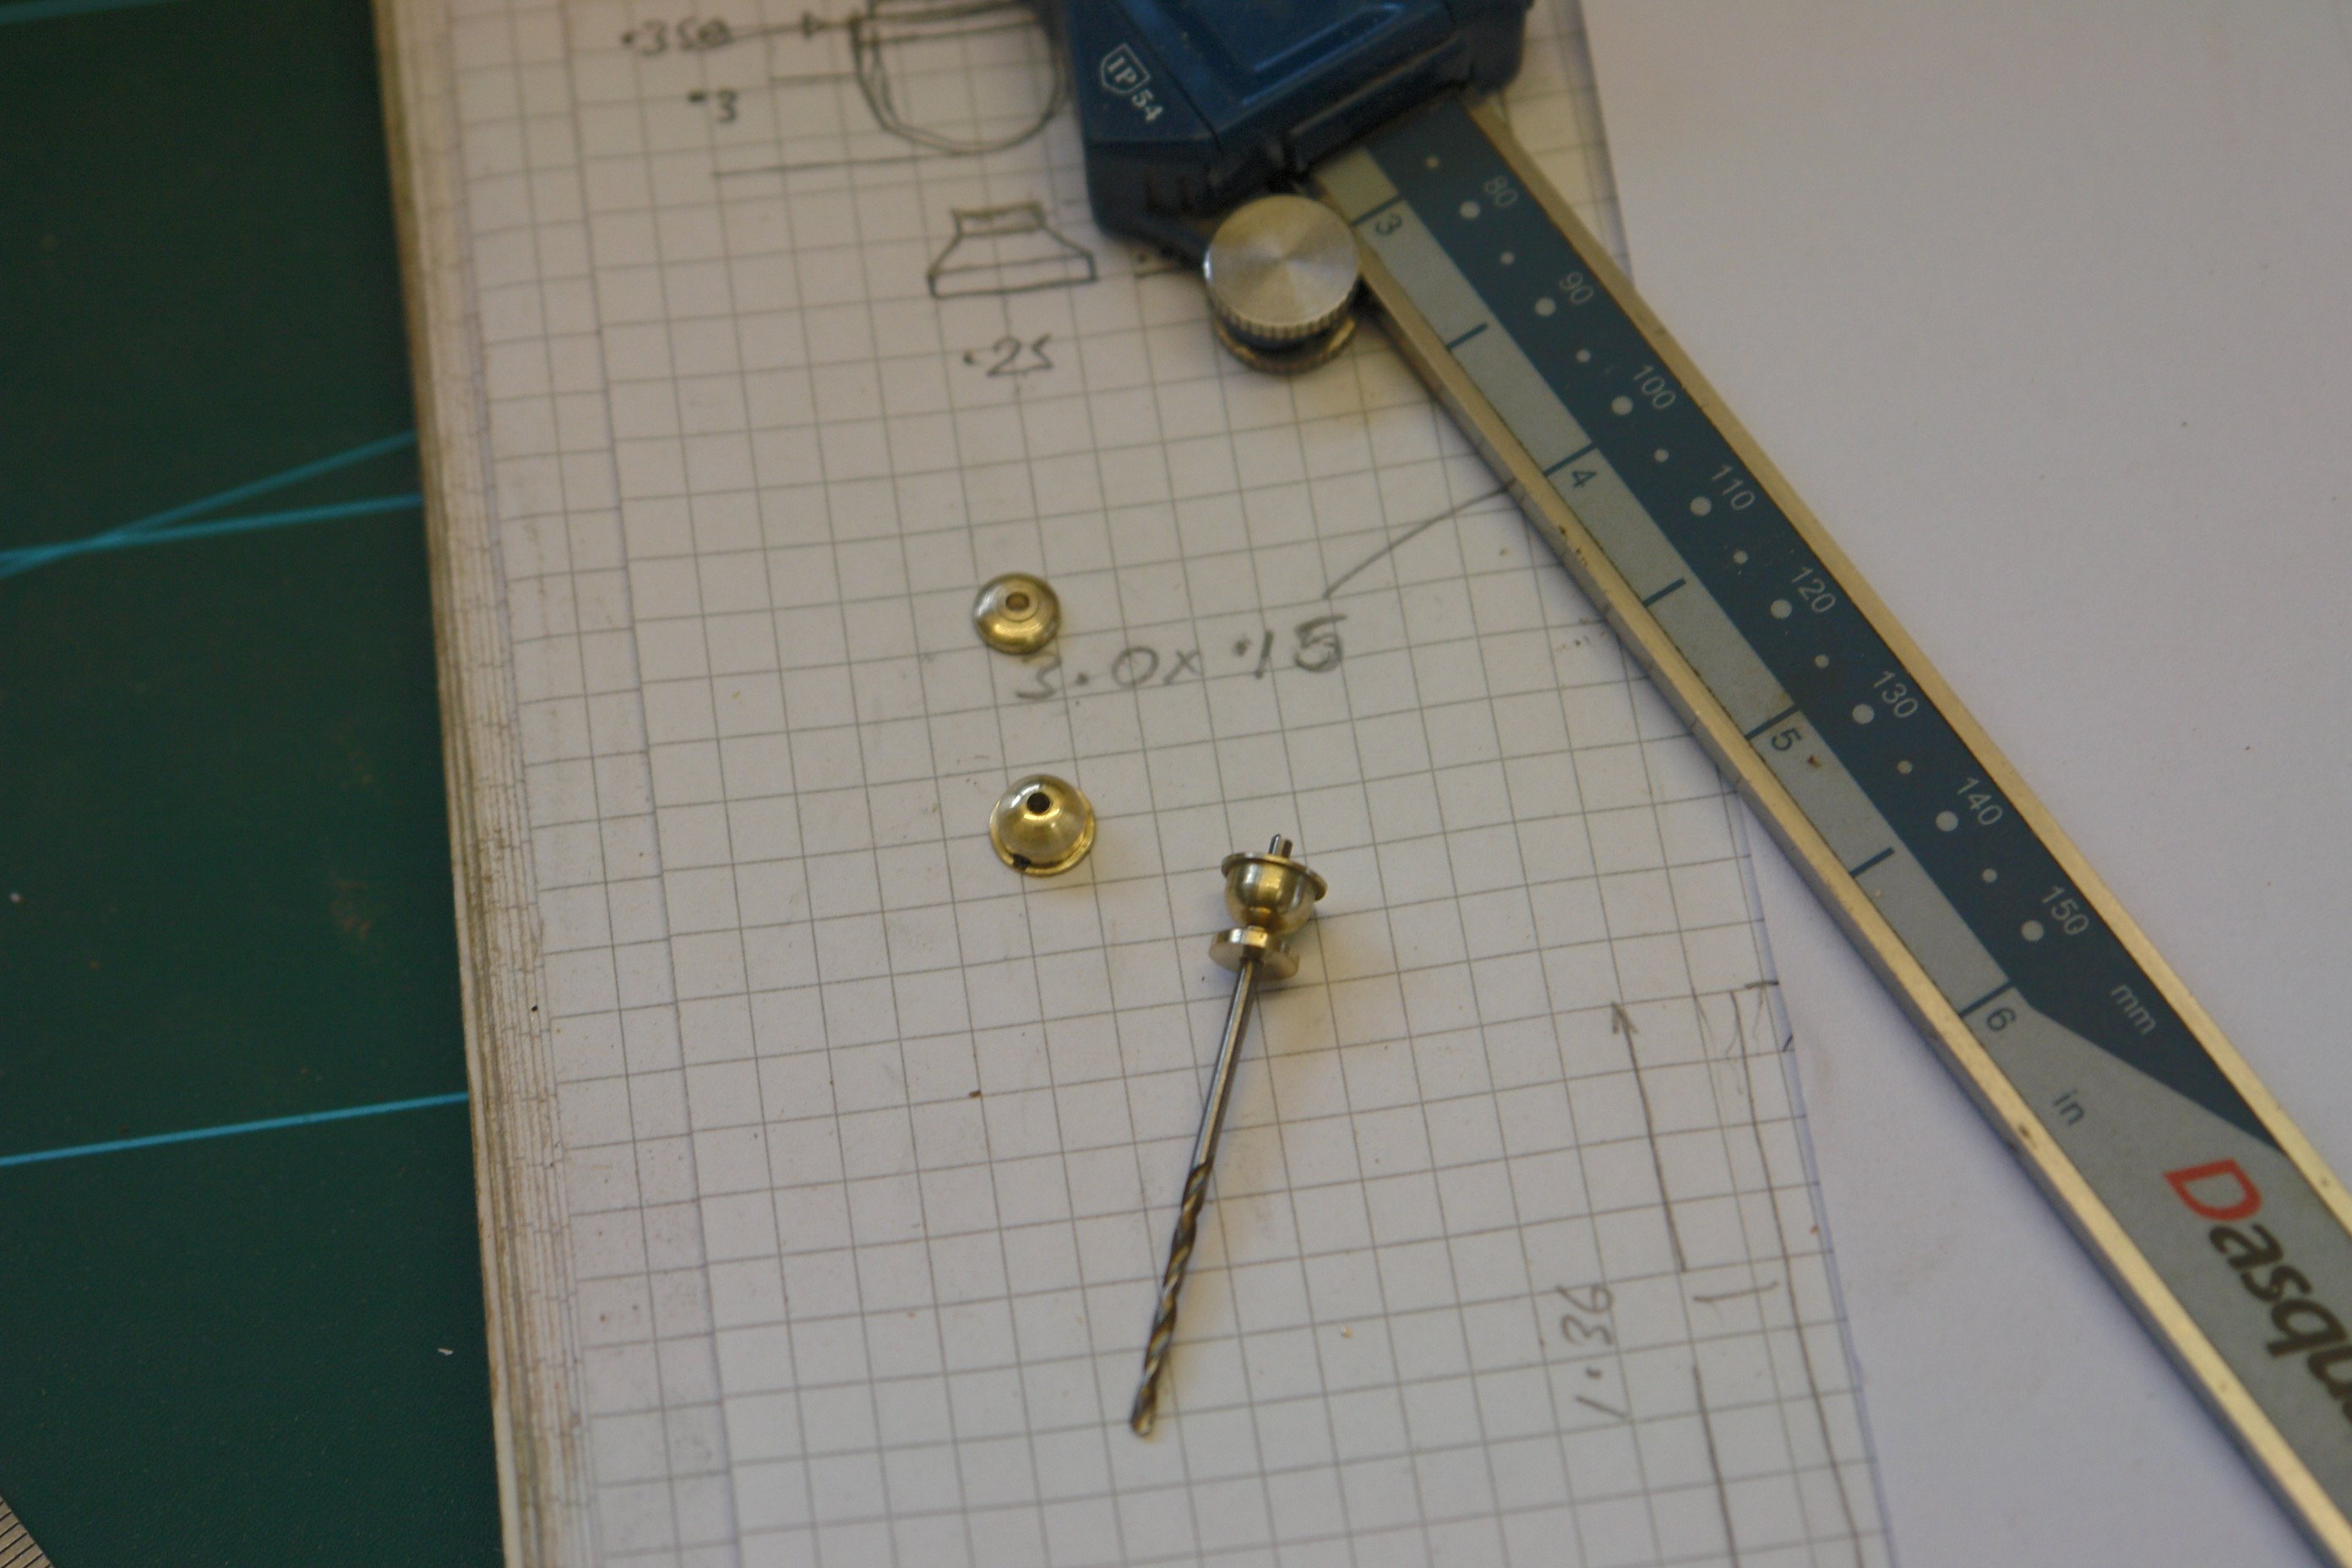
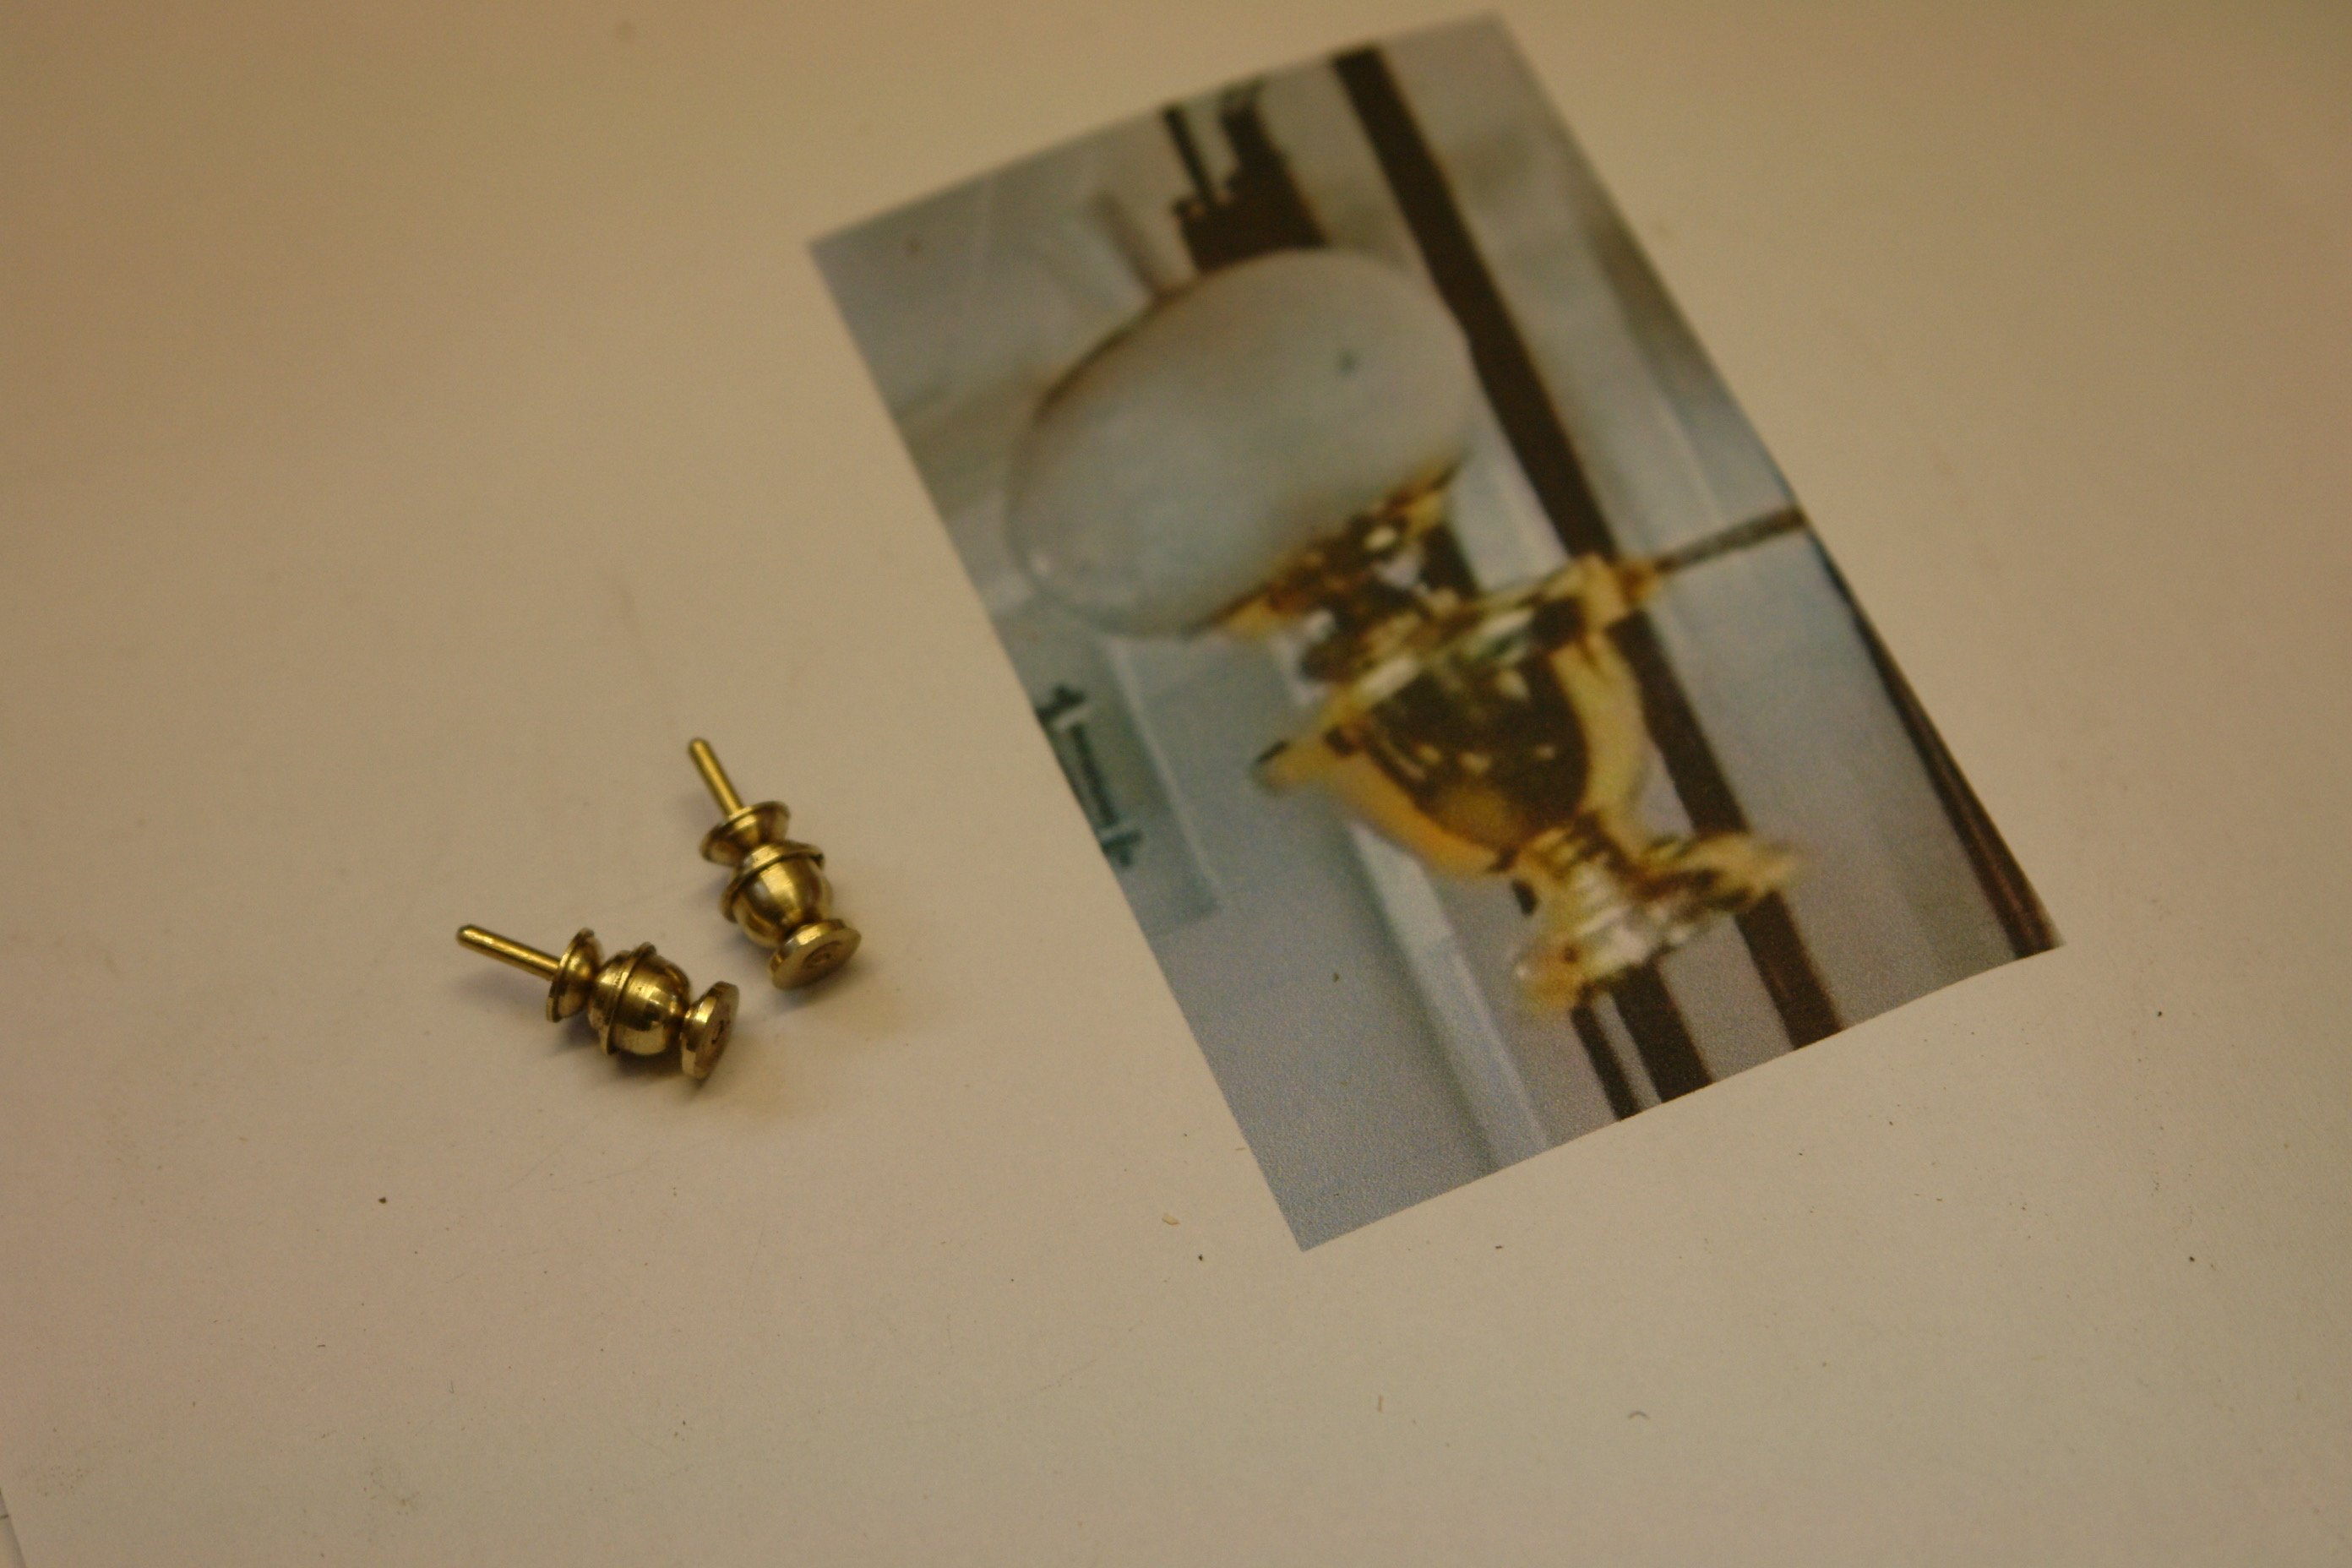
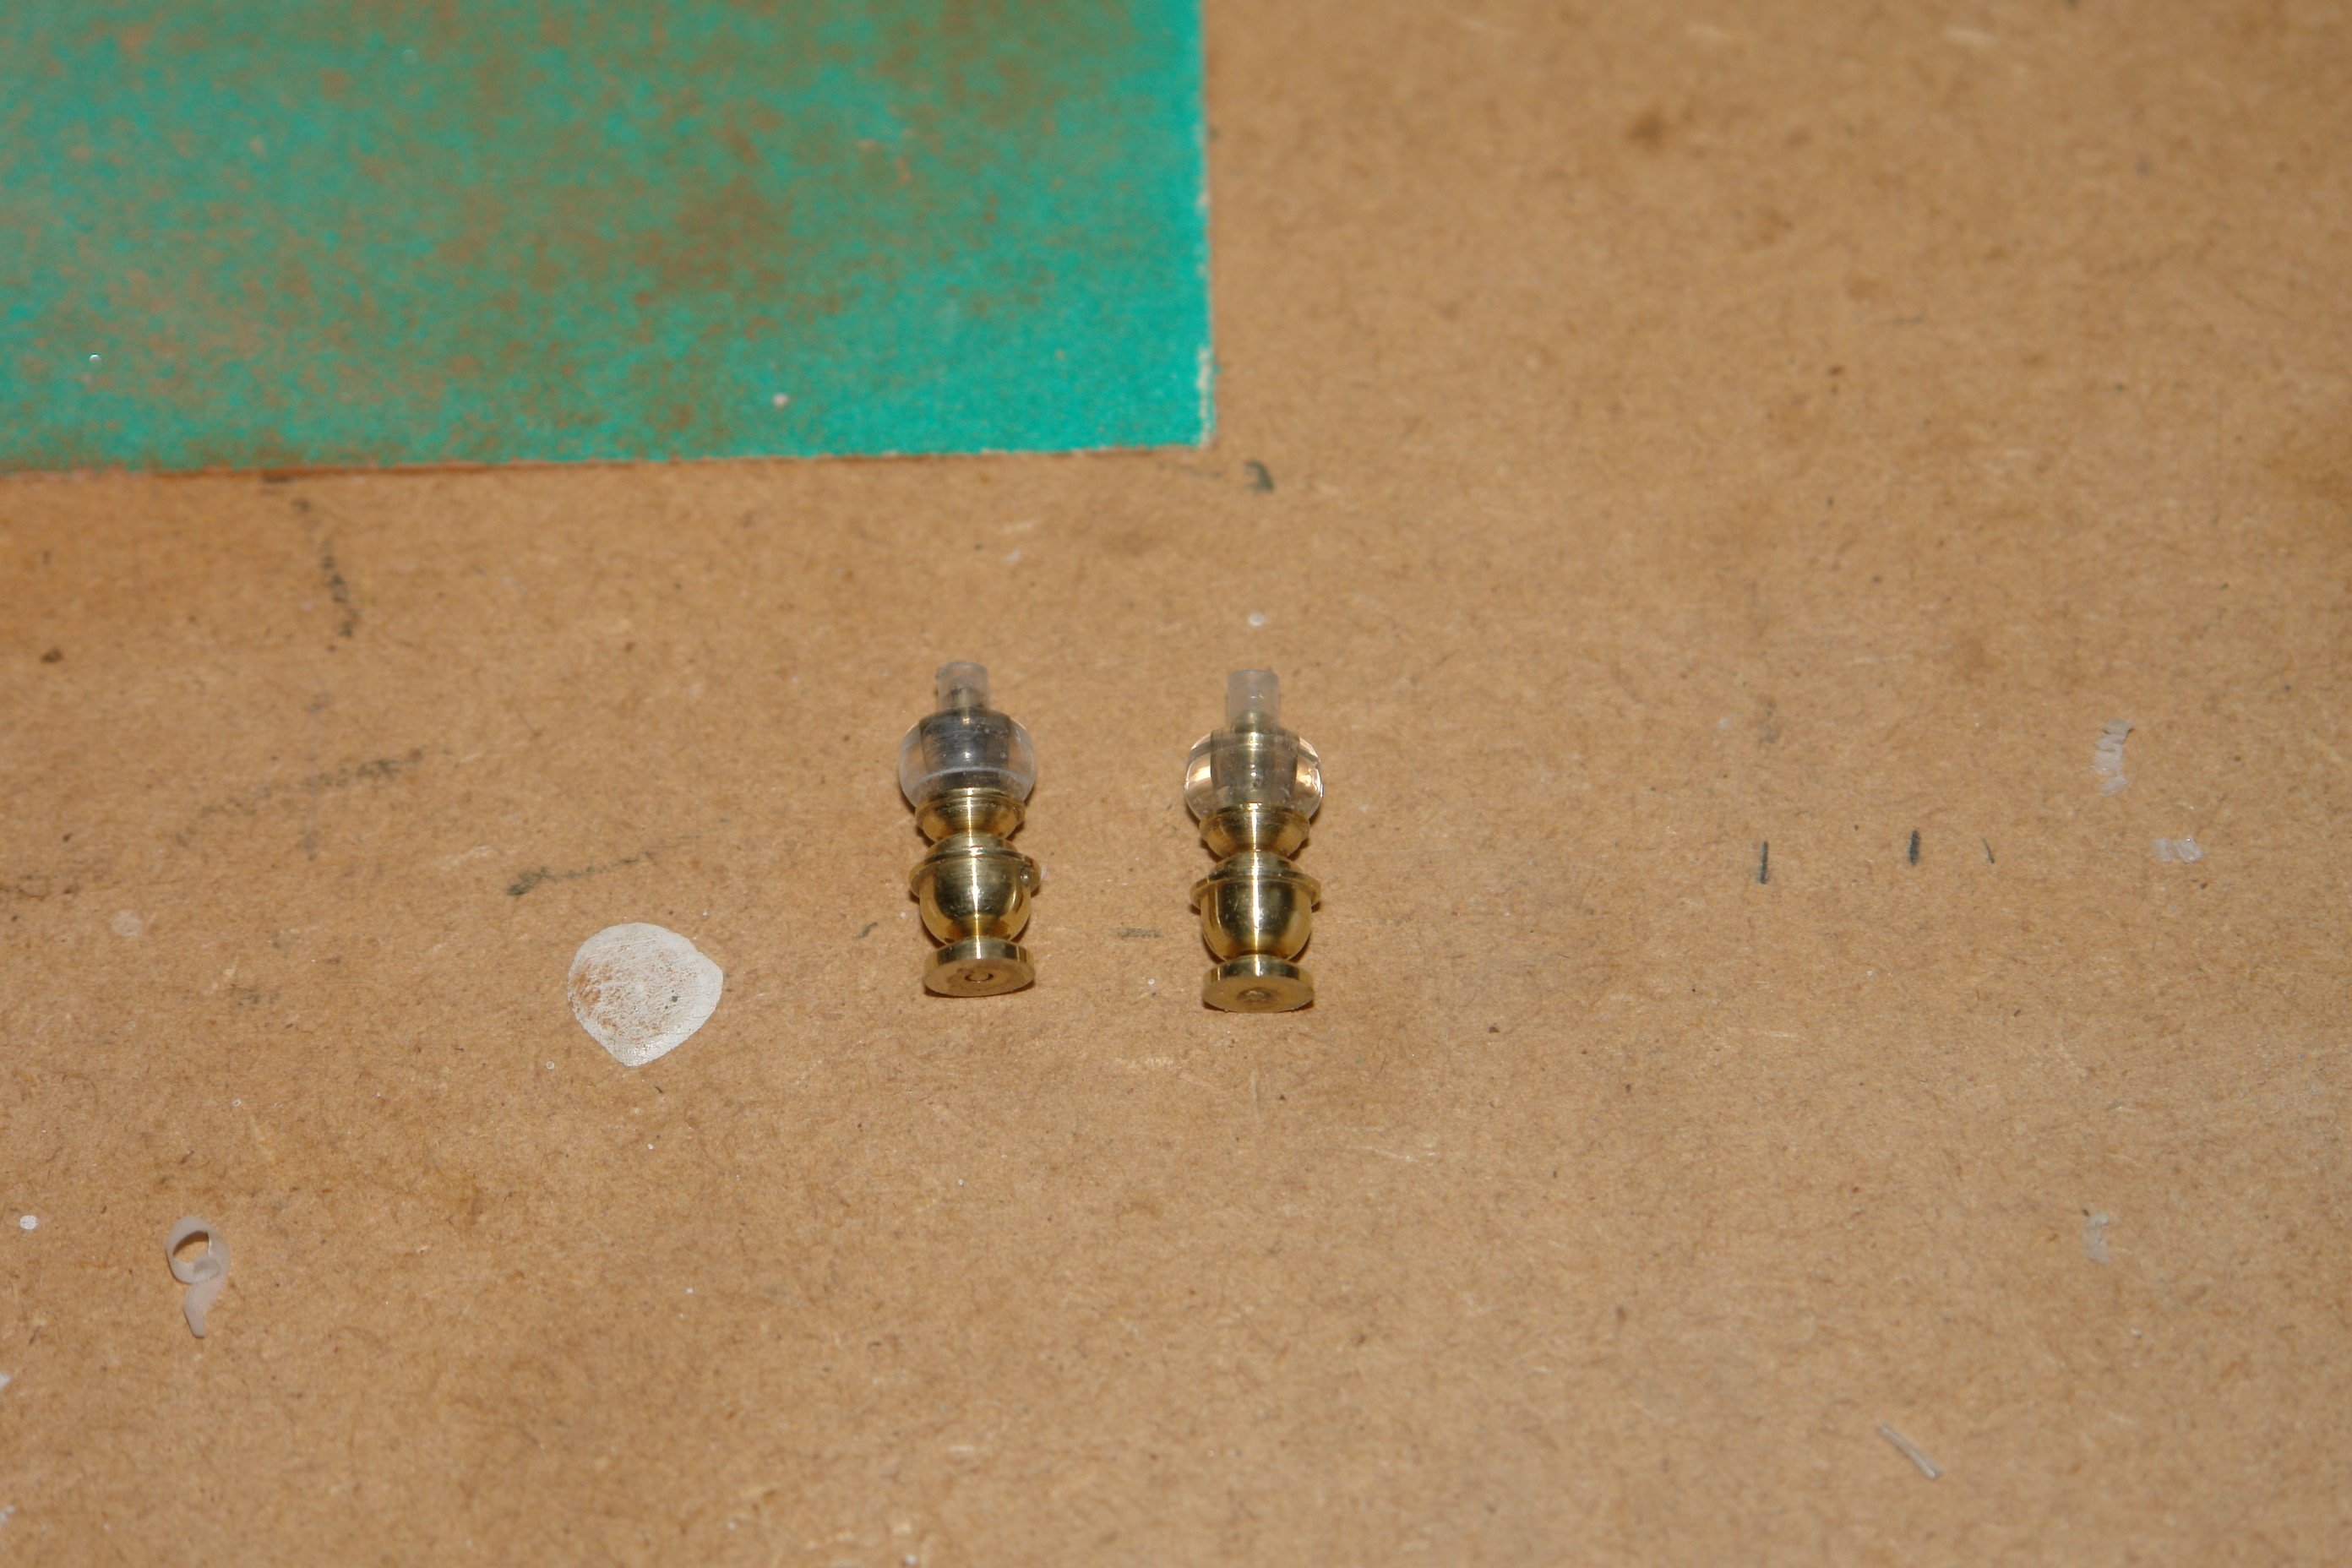
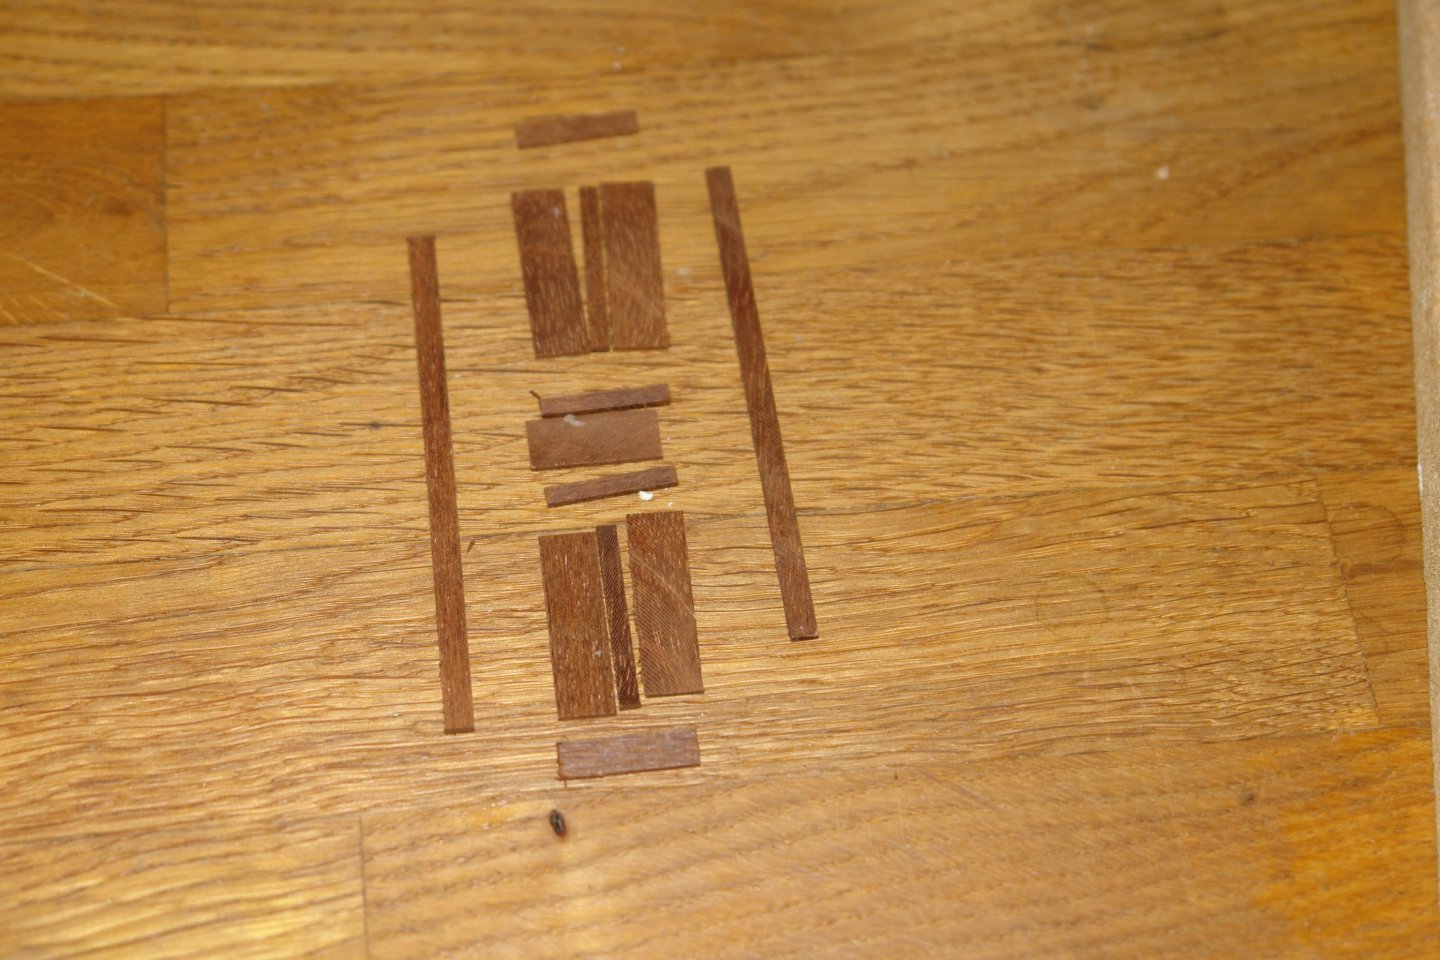
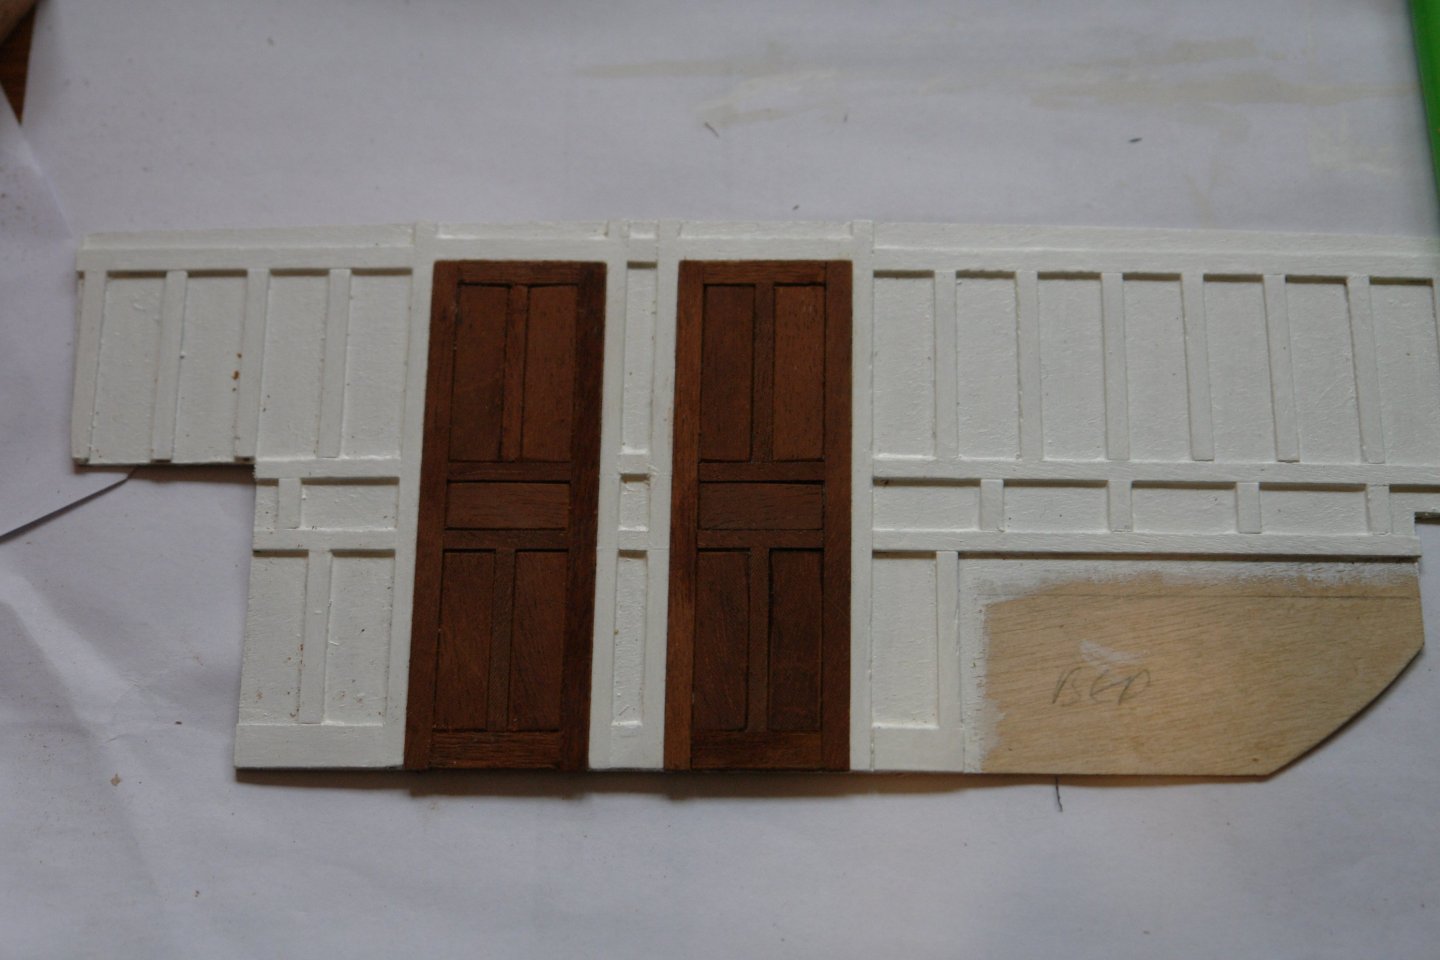
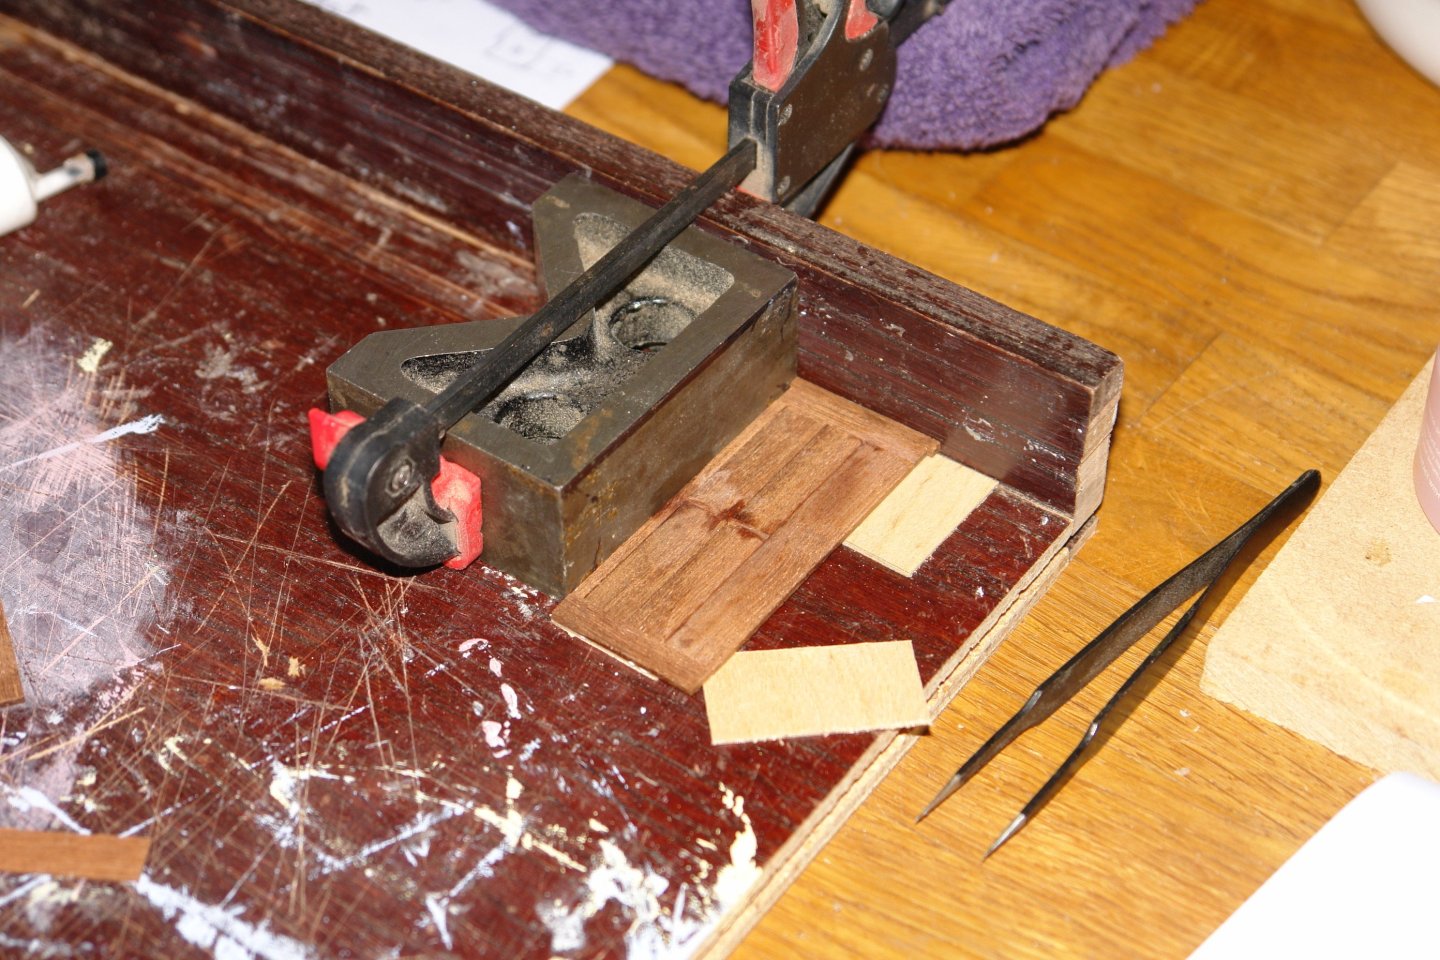
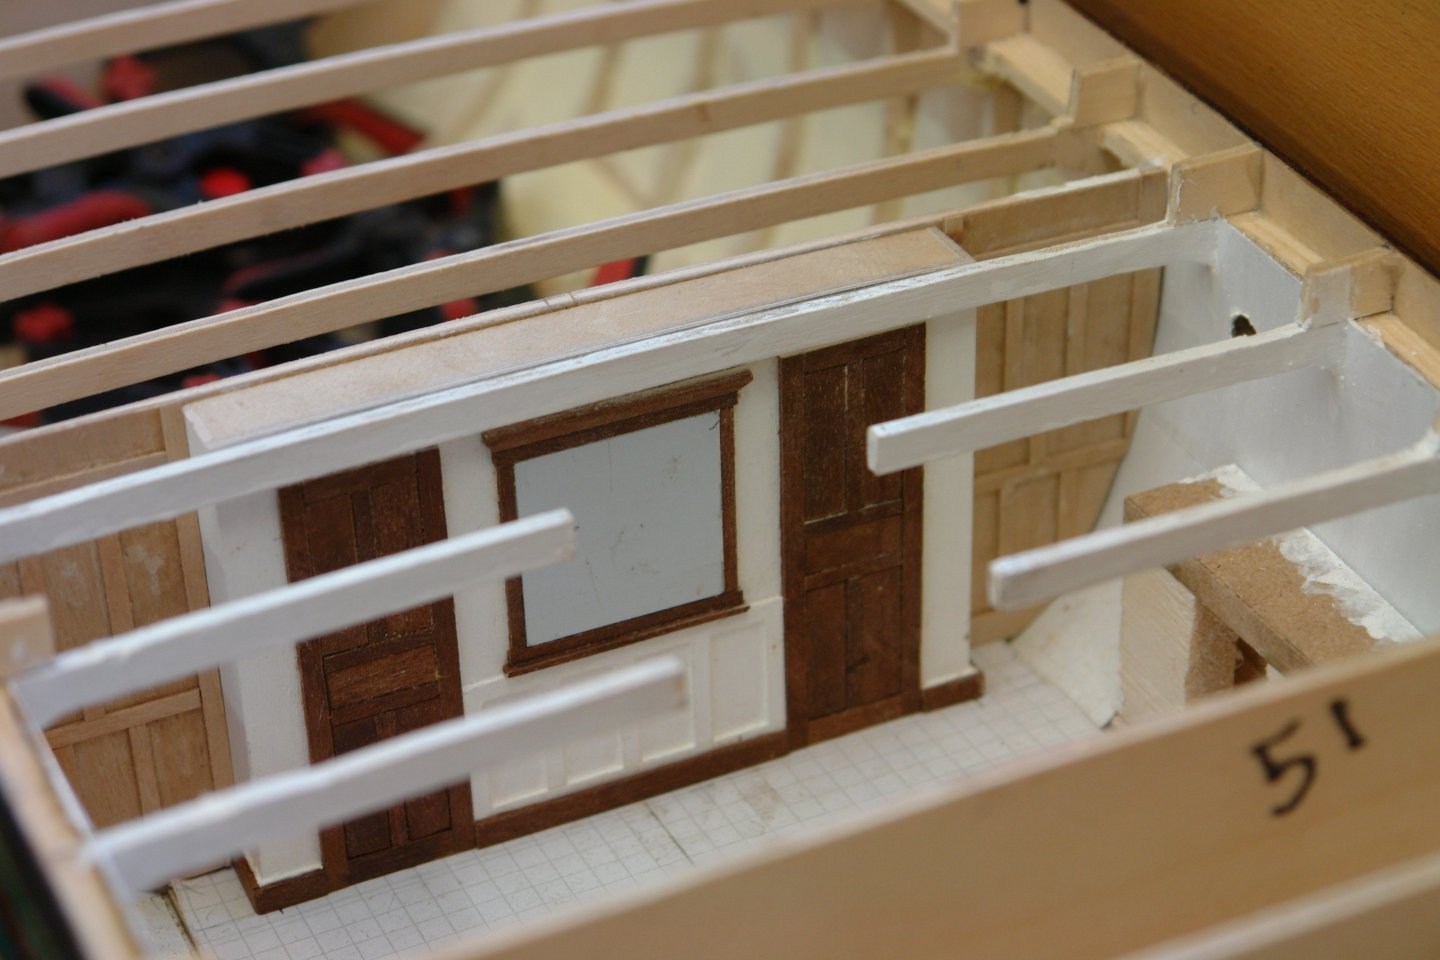
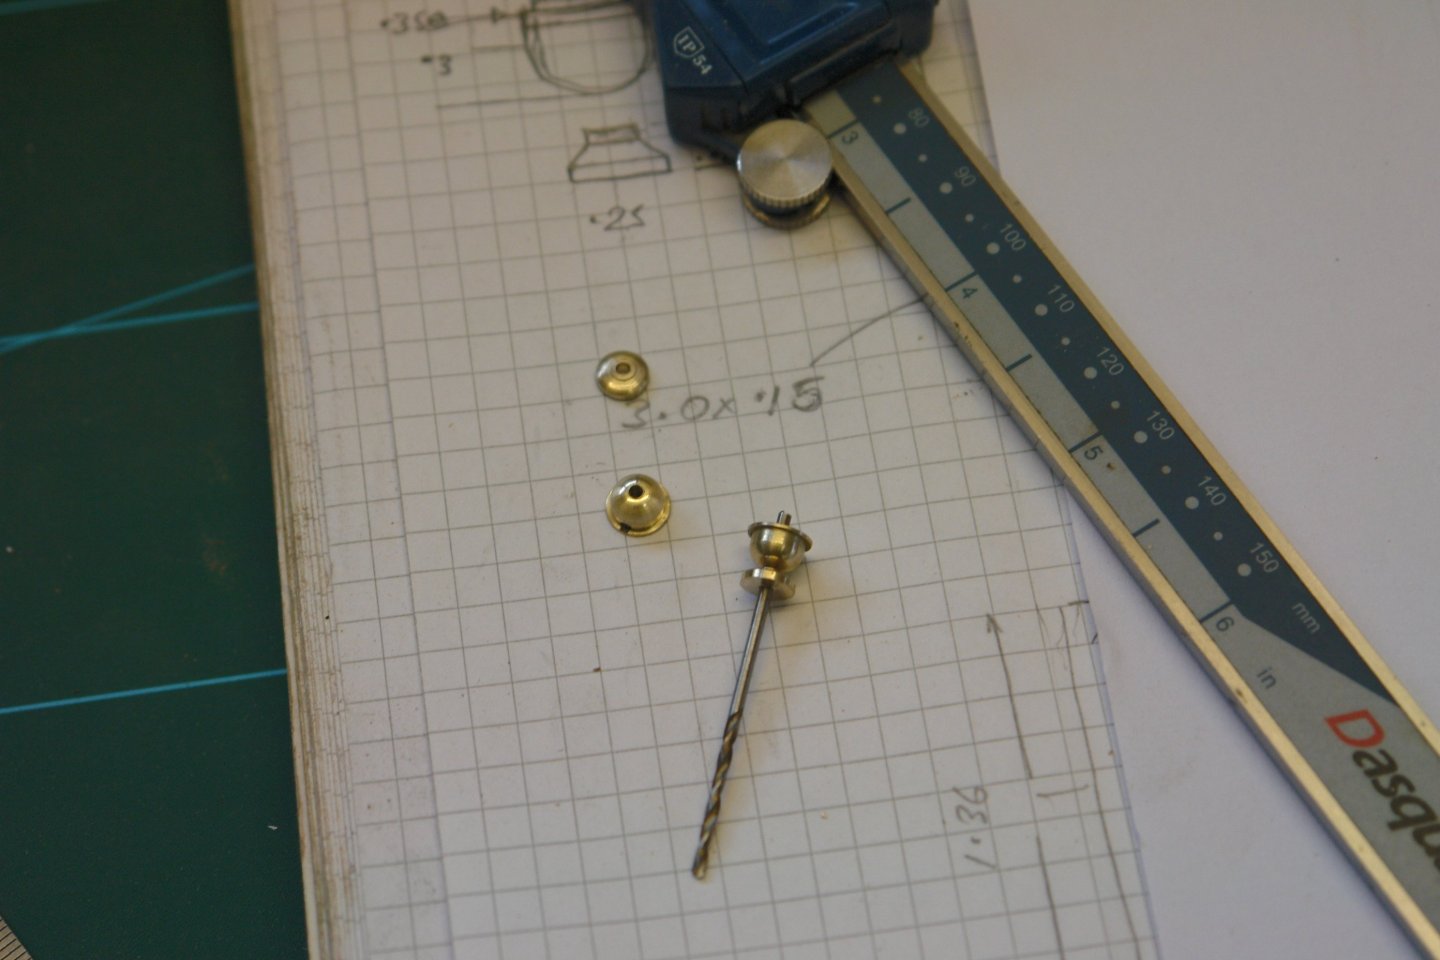
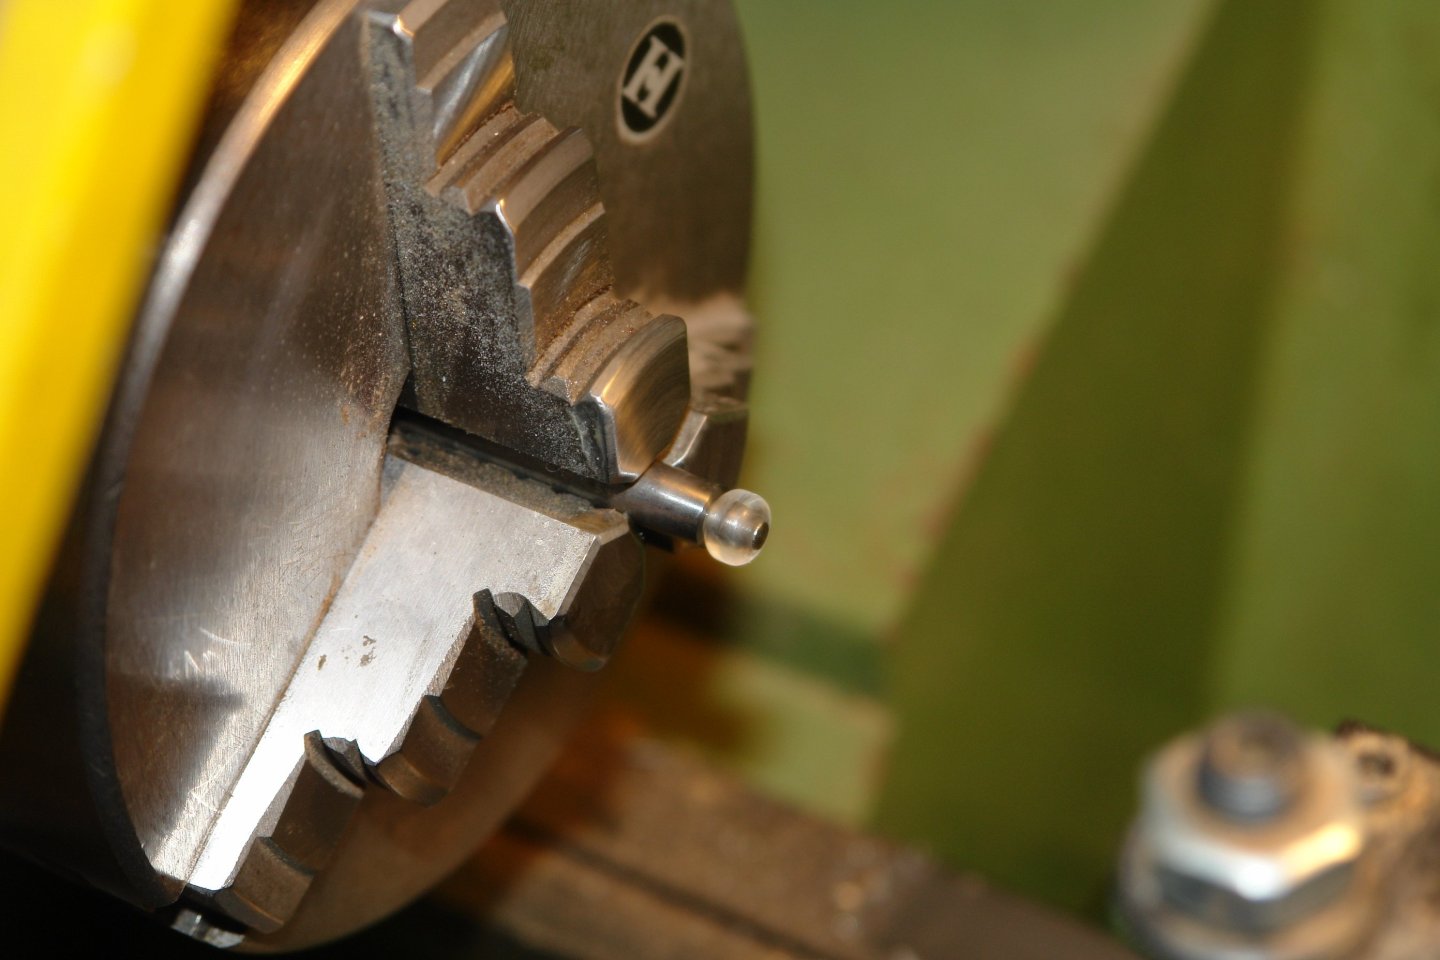
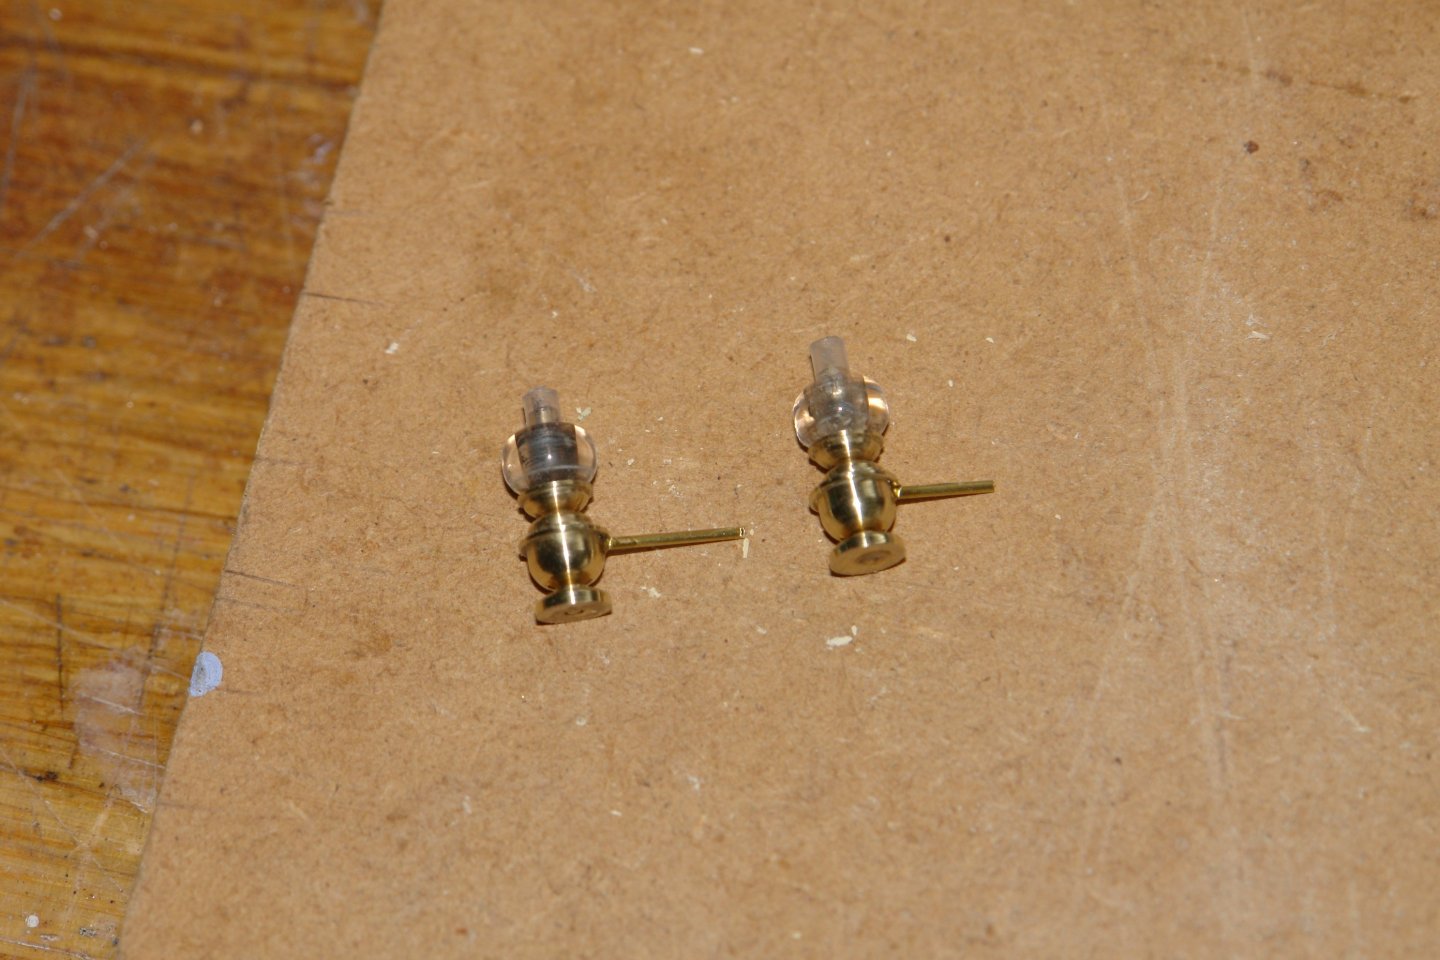
Ok back on topic:- I seem to have managed my return to the workshop to coincide with a rapid decline in ambient temperature. As late as last week we were having unseasonable warmth - circa 15c of 59f. This week it is struggling to claw its way above 5c, 41f. Not ideal for doing delicate work, painting or gluing. I started on the owners cabin by making the 4 doors 3" x 1" overall. The panels are .03" thick and the framing is .04" The full height locker wall was attempted first shown below with the wall paneling done and the doors and mirror mounted. The mirror itself is a piece of aluminium. Next the aft wall of the cabin. The right hand door is the entry door and the left hand door accesses the en-suite facilities. The wall paneling is all made from 1/32" birch ply painted with acrylic. Then a start was made on the double bed. I construct items like this against a right-angle corner to keep things square. The side panel is glued on to 1/32" ply. The next photo sows the rear wall with the embryonic bed. The wall now has skirting boards. Back to the front wall with the port and starboard section of wall paneling temporarily in place. Two nice imitation brass oil lamps are mounted between the doors and the mirror - see earlier photo. The photos of lamps are a bit fuzzy so I have a done a bit of interpretation. I decided it would be easier to make them as a series of discrete vertical sections. The drill in the next photo is .04" The shades were turned from perspex and then polished. That's it for now folk's.


-
Keith - I'm not sure that energy recovery was something that worried him much. Basically the whole boat is an energy inefficiency master class.
-
Yeh every tractor had one when I was a lad.
-
I started my favourite job at the age of 59 and paradoxically it was the one that I was most qualified for - retirement. The hull is looking very good and you seem to have found a quiet corner to progress the build. I look forward to seeing more progress.
-
Keith - I think it's just the viewing angle and the curvature of the deck. My vote is for it being on centre ( not that anyone will ever know for sure ).
-
Yes I assumed that had replaced the line at some time. I think they must treat the line as a consumable item and therefore not intrinsic to its authenticity ( a bit like my wrinkles ).
-
Nice little rolling mill Eberhard. Valeriy - The brass work is up to the usual high standard. Excellent.
-
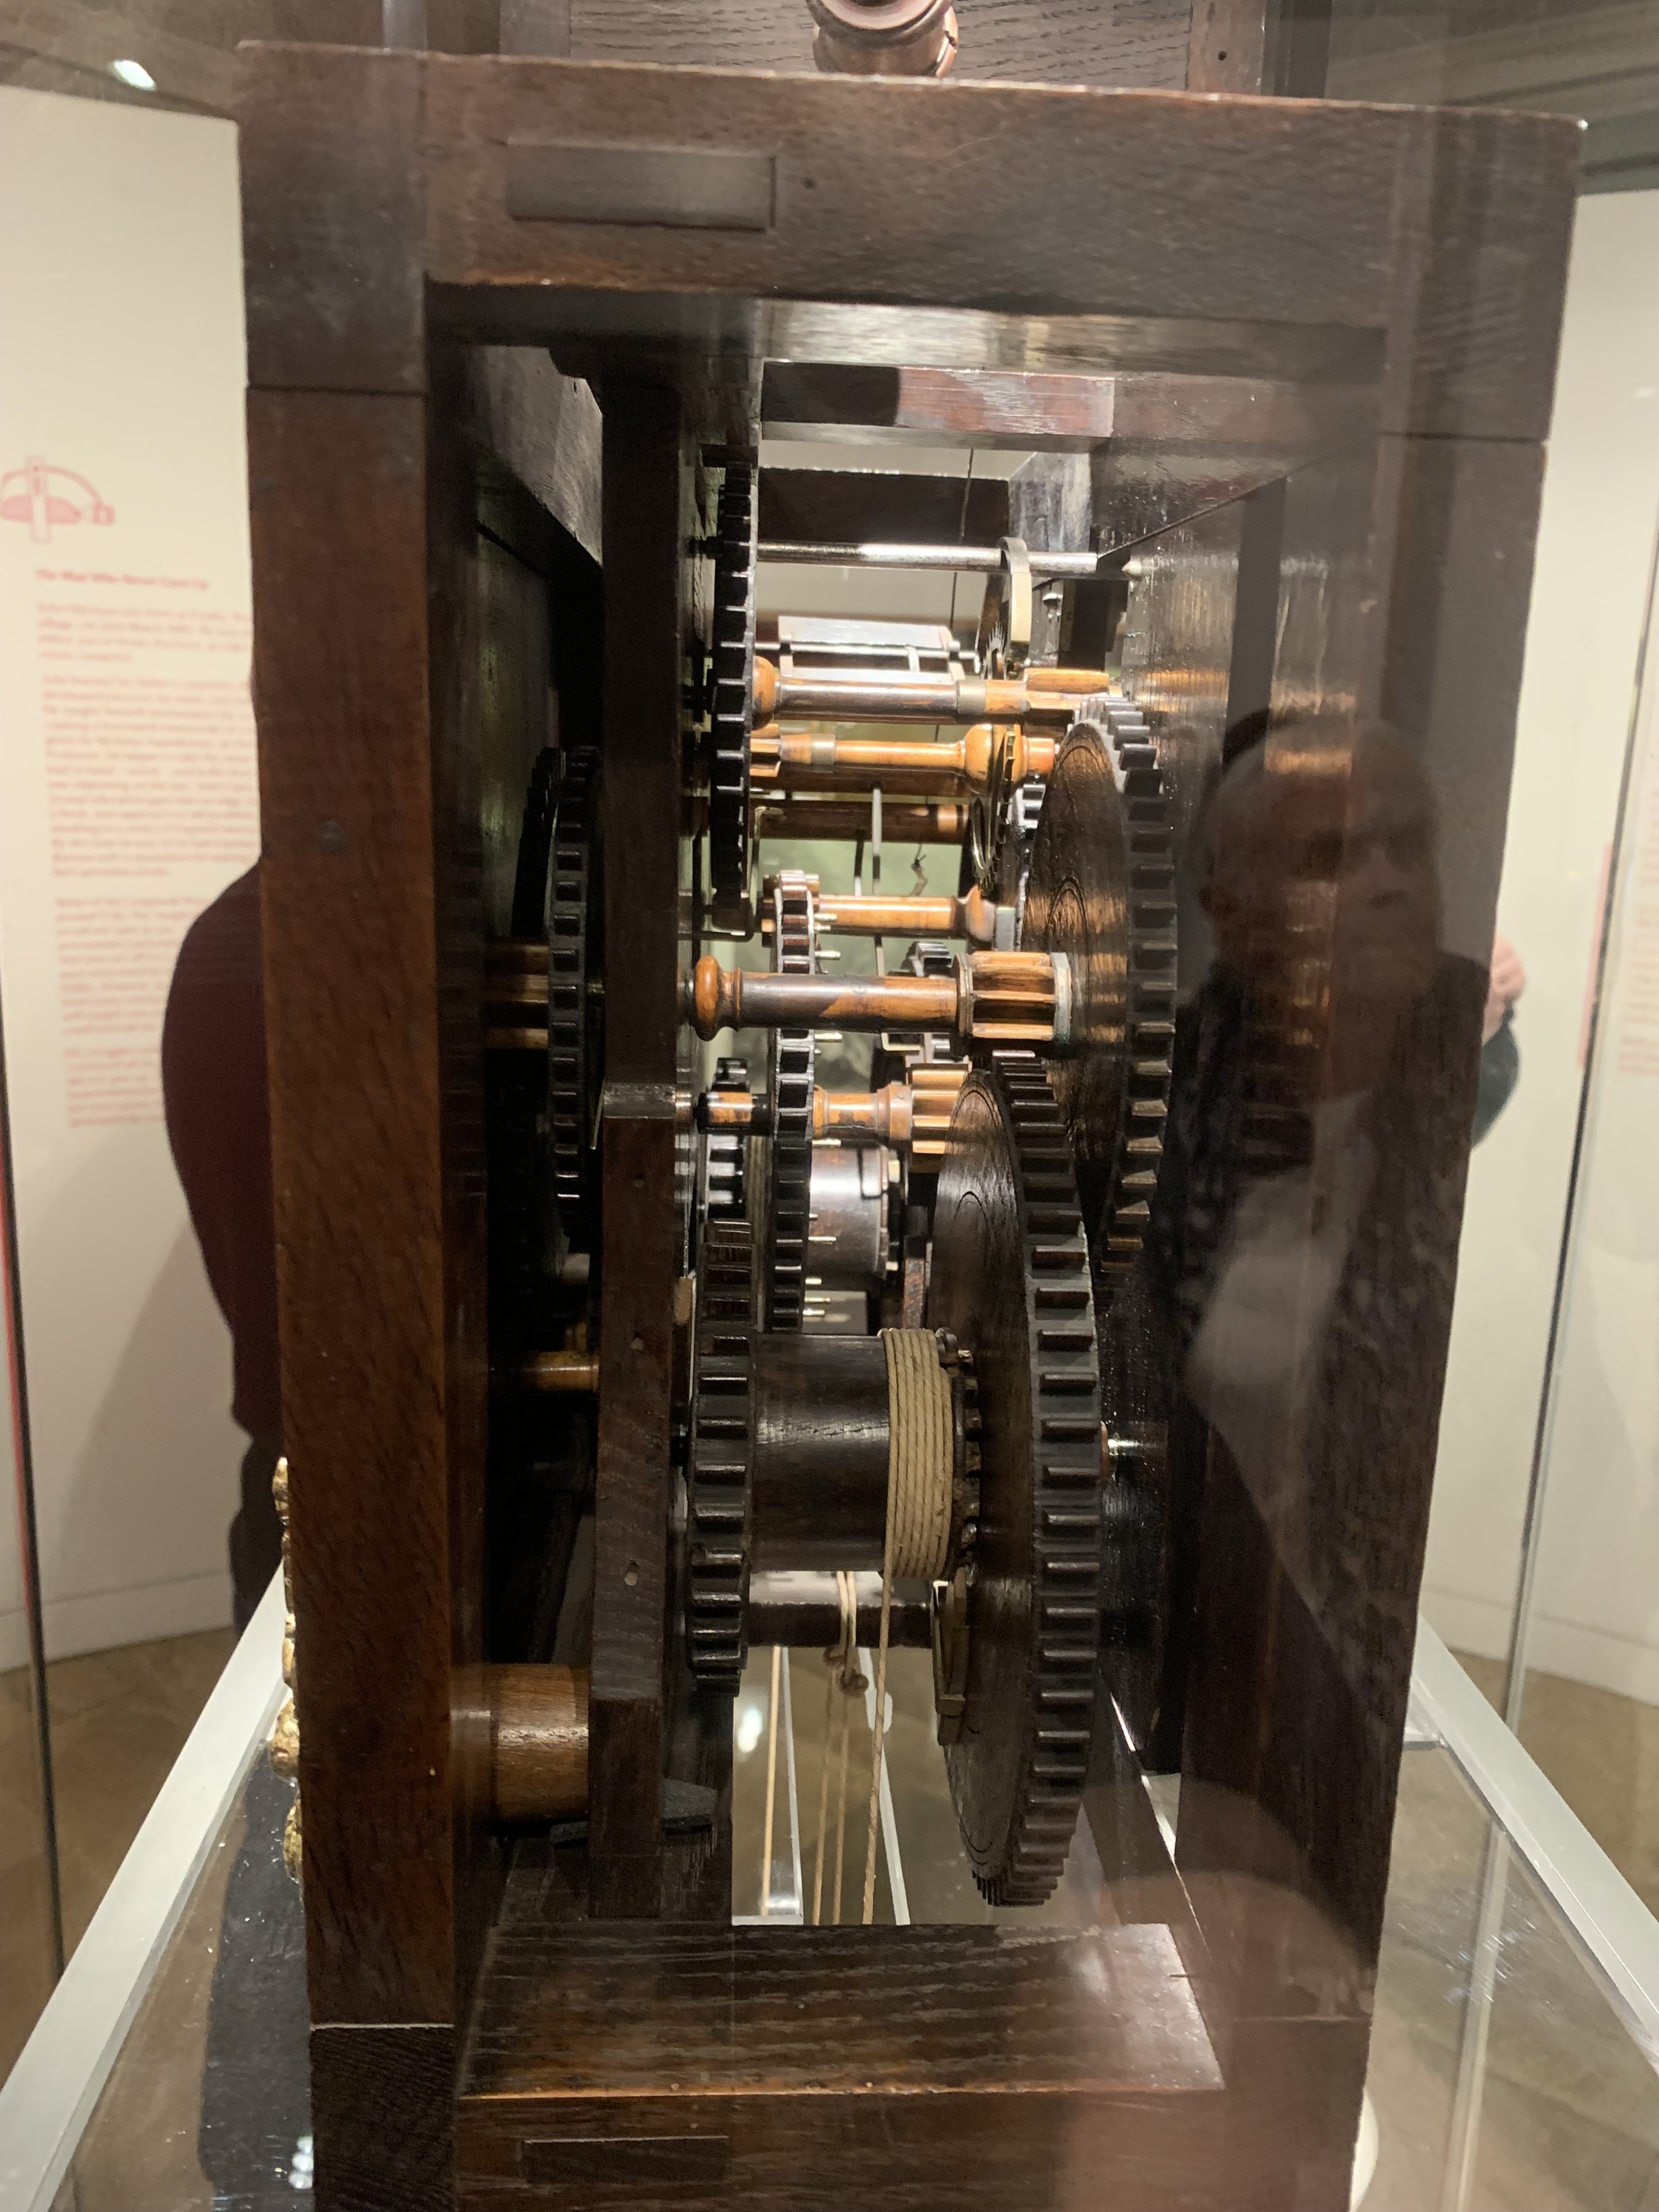
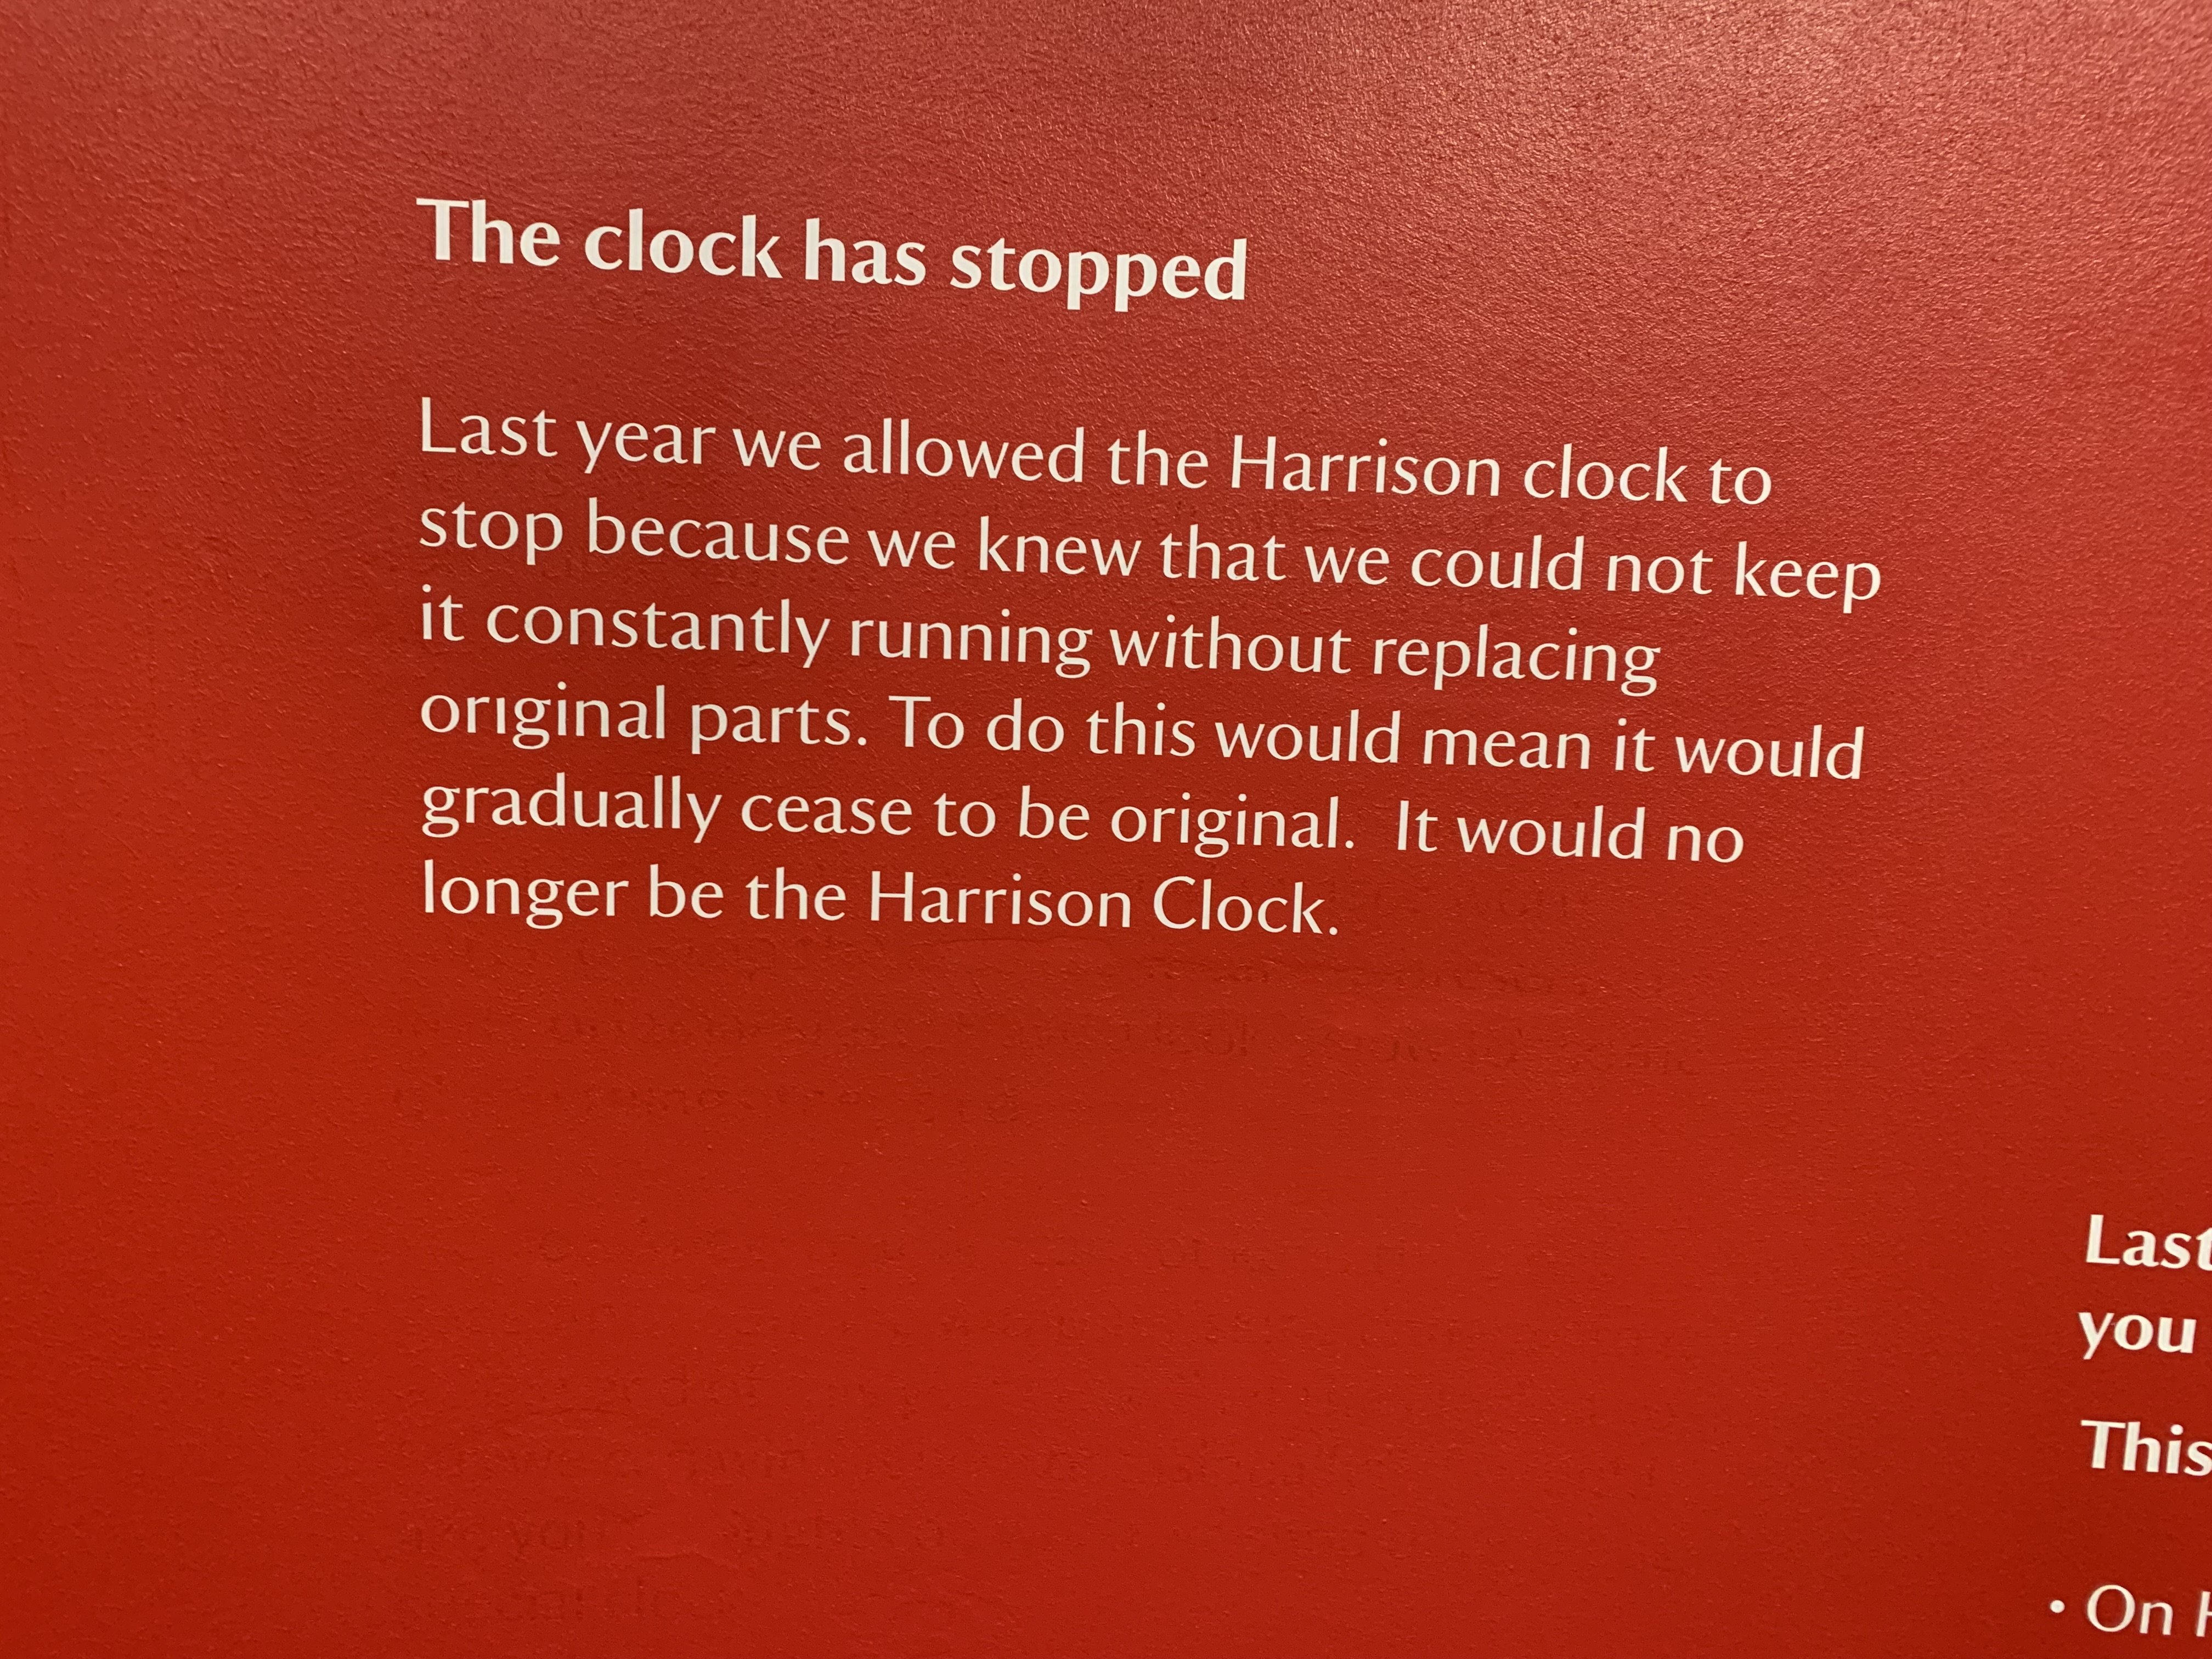
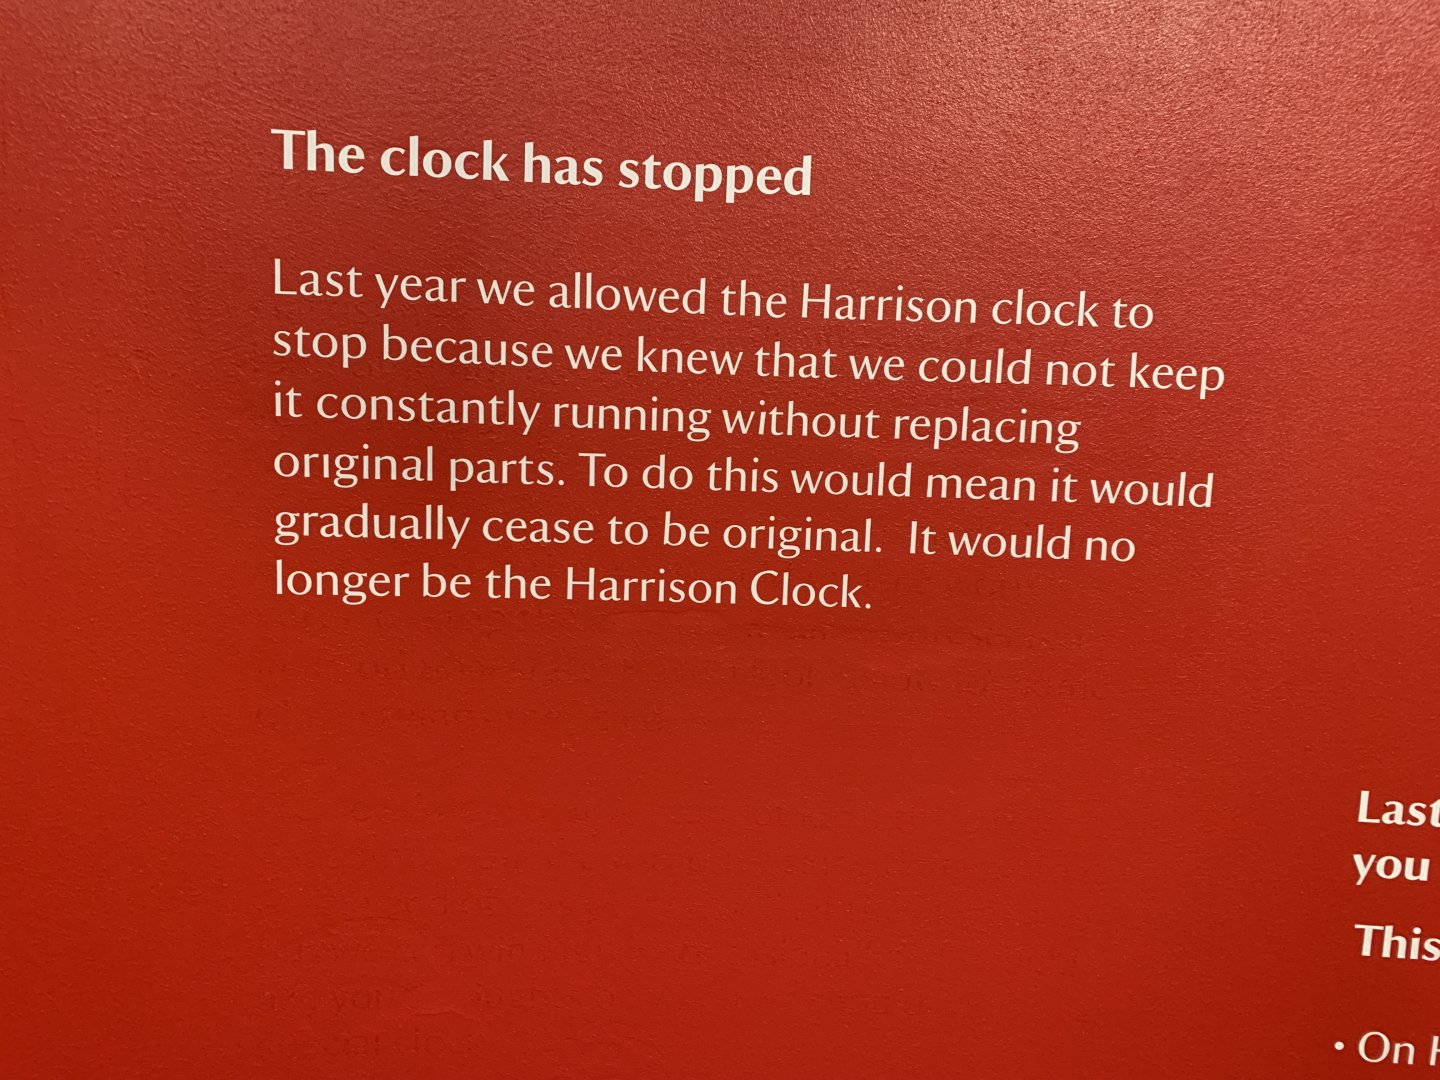
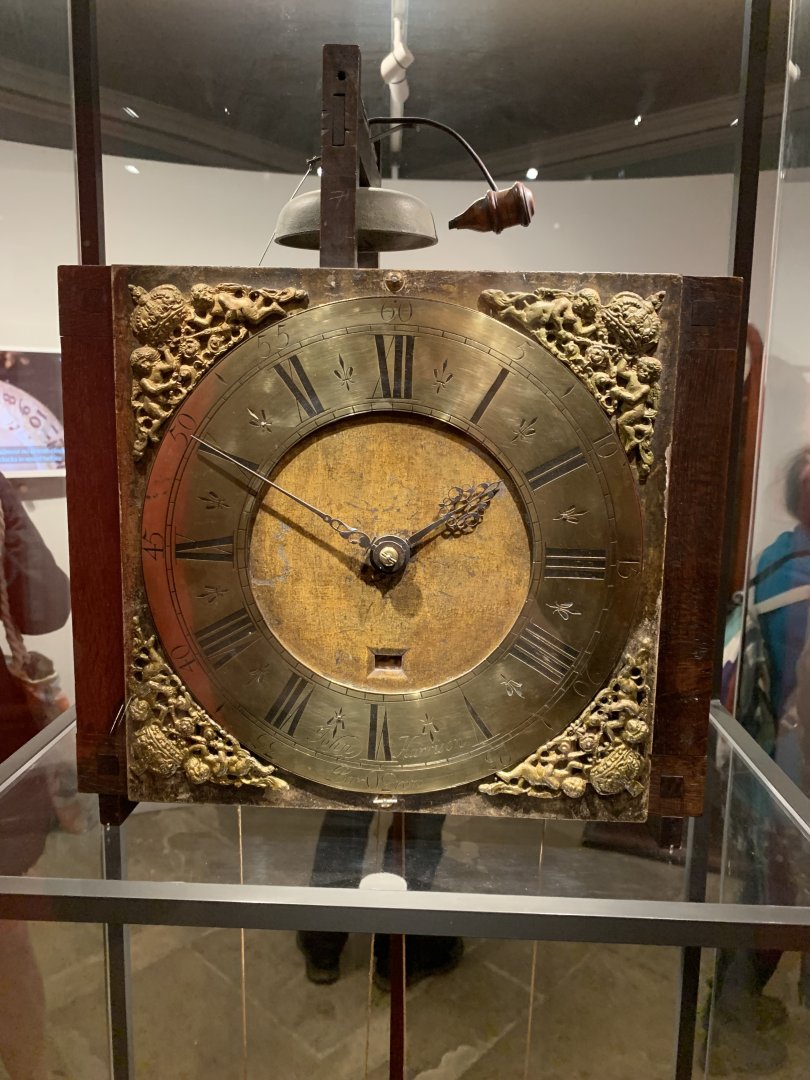
Fascinating - I hadn't realised all the internal detail was there. On a slightly different subject. I did take a few days off from contractor supervision over the summer. Here is a fine old clock which is a woodworking masterpiece - all the gears and spindles made of hardwood. It had run almost continuously for 300 years ( Made 1717) but alas recently it has been allowed to stop to preserve it. ~They don't make them like that any more! It is on display in Nostell Priory ( Yorkshire ) where John was the son of the estate carpenter.

-
Absolutely amazing transformation John. Very impressive.
-
I spent some time wondering how chairs with 2 legs work but fortunately I figured it out before asking and thereby exposing my stupidity. As you know I have some nice wooden chairs to make that I worry will be quite delicate. Brass ones seem to have their own challenges though. Nicely done. Following your prompt I did find some dollhouse chairs at 1:25 scale but none of the styles were an adequate match.
- 476 replies
-
- 2
-
-
- minesweeper
- Cape
- (and 1 more)
-
Great progress Brian - she is looking very precise. Our MSW absences seem to have coincided so I don't feel I have missed too much, although I am getting more jealous of your laser by the day.