KeithAug
-
Posts
3,980 -
Joined
-
Last visited
Content Type
Profiles
Forums
Gallery
Events
Everything posted by KeithAug
-
 Rick - I have been doing a bit of head scratching trying to locate the position of various hull appendages. From the geometry of this feature it is located near the keel on the starboard side. From the angle the keel makes with the hull it must be somewhere towards the stern. It is one of the photos you provided and I am wondering if you recall its approximate location? For the rest of my friends please feel free to speculate on what it is and why it is this shape. Without knowing what it is It doesn't look terribly well designed to me. Keith, Rick, Eberhard, Pat, Roel, Nils - thank you all for taking the time to comment and thanks to all my other visitors.
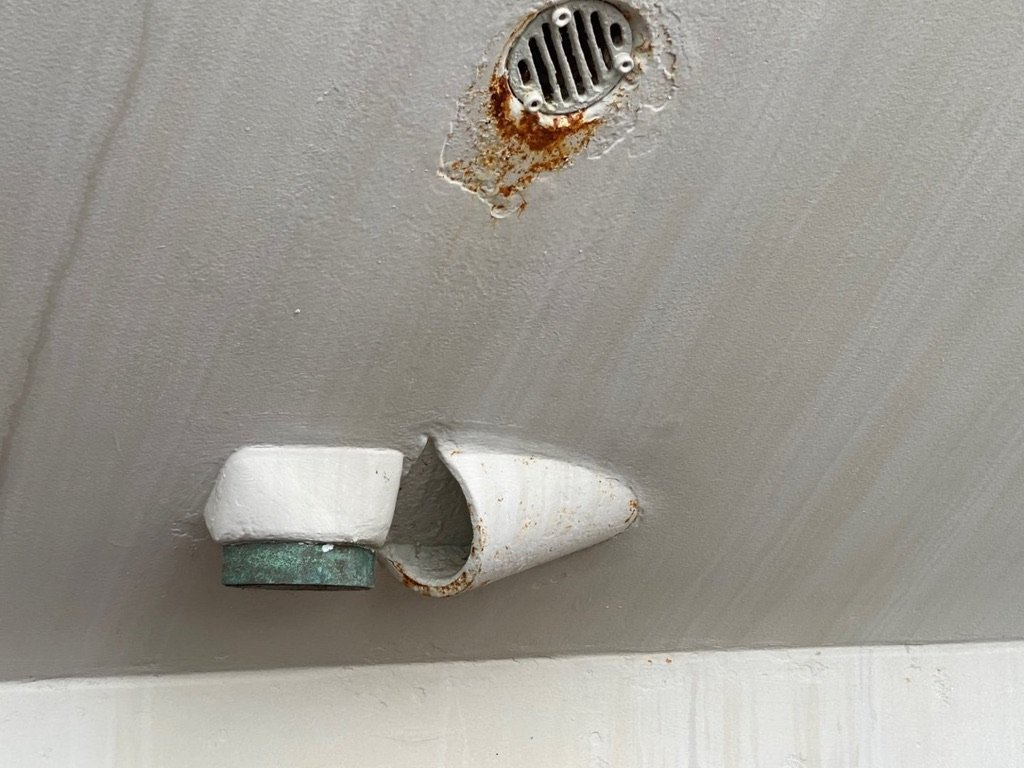
-
All looking very neat and the inside of the hull is looking excellent. Aw! come on, stop being a tease.
-
Ah! - Jan - what you need is nose enhancement implants.

-
This is probably the best starting point for experimentation. They can be had for very small cost and generally provide a relatively wide focal range. I have desk mounted lamp magnifiers, optivisors, loupe, etc but usually come back to my £3 by 3 magnification eBay purchase reading glasses for convenience (with over-glasses when machining).
-
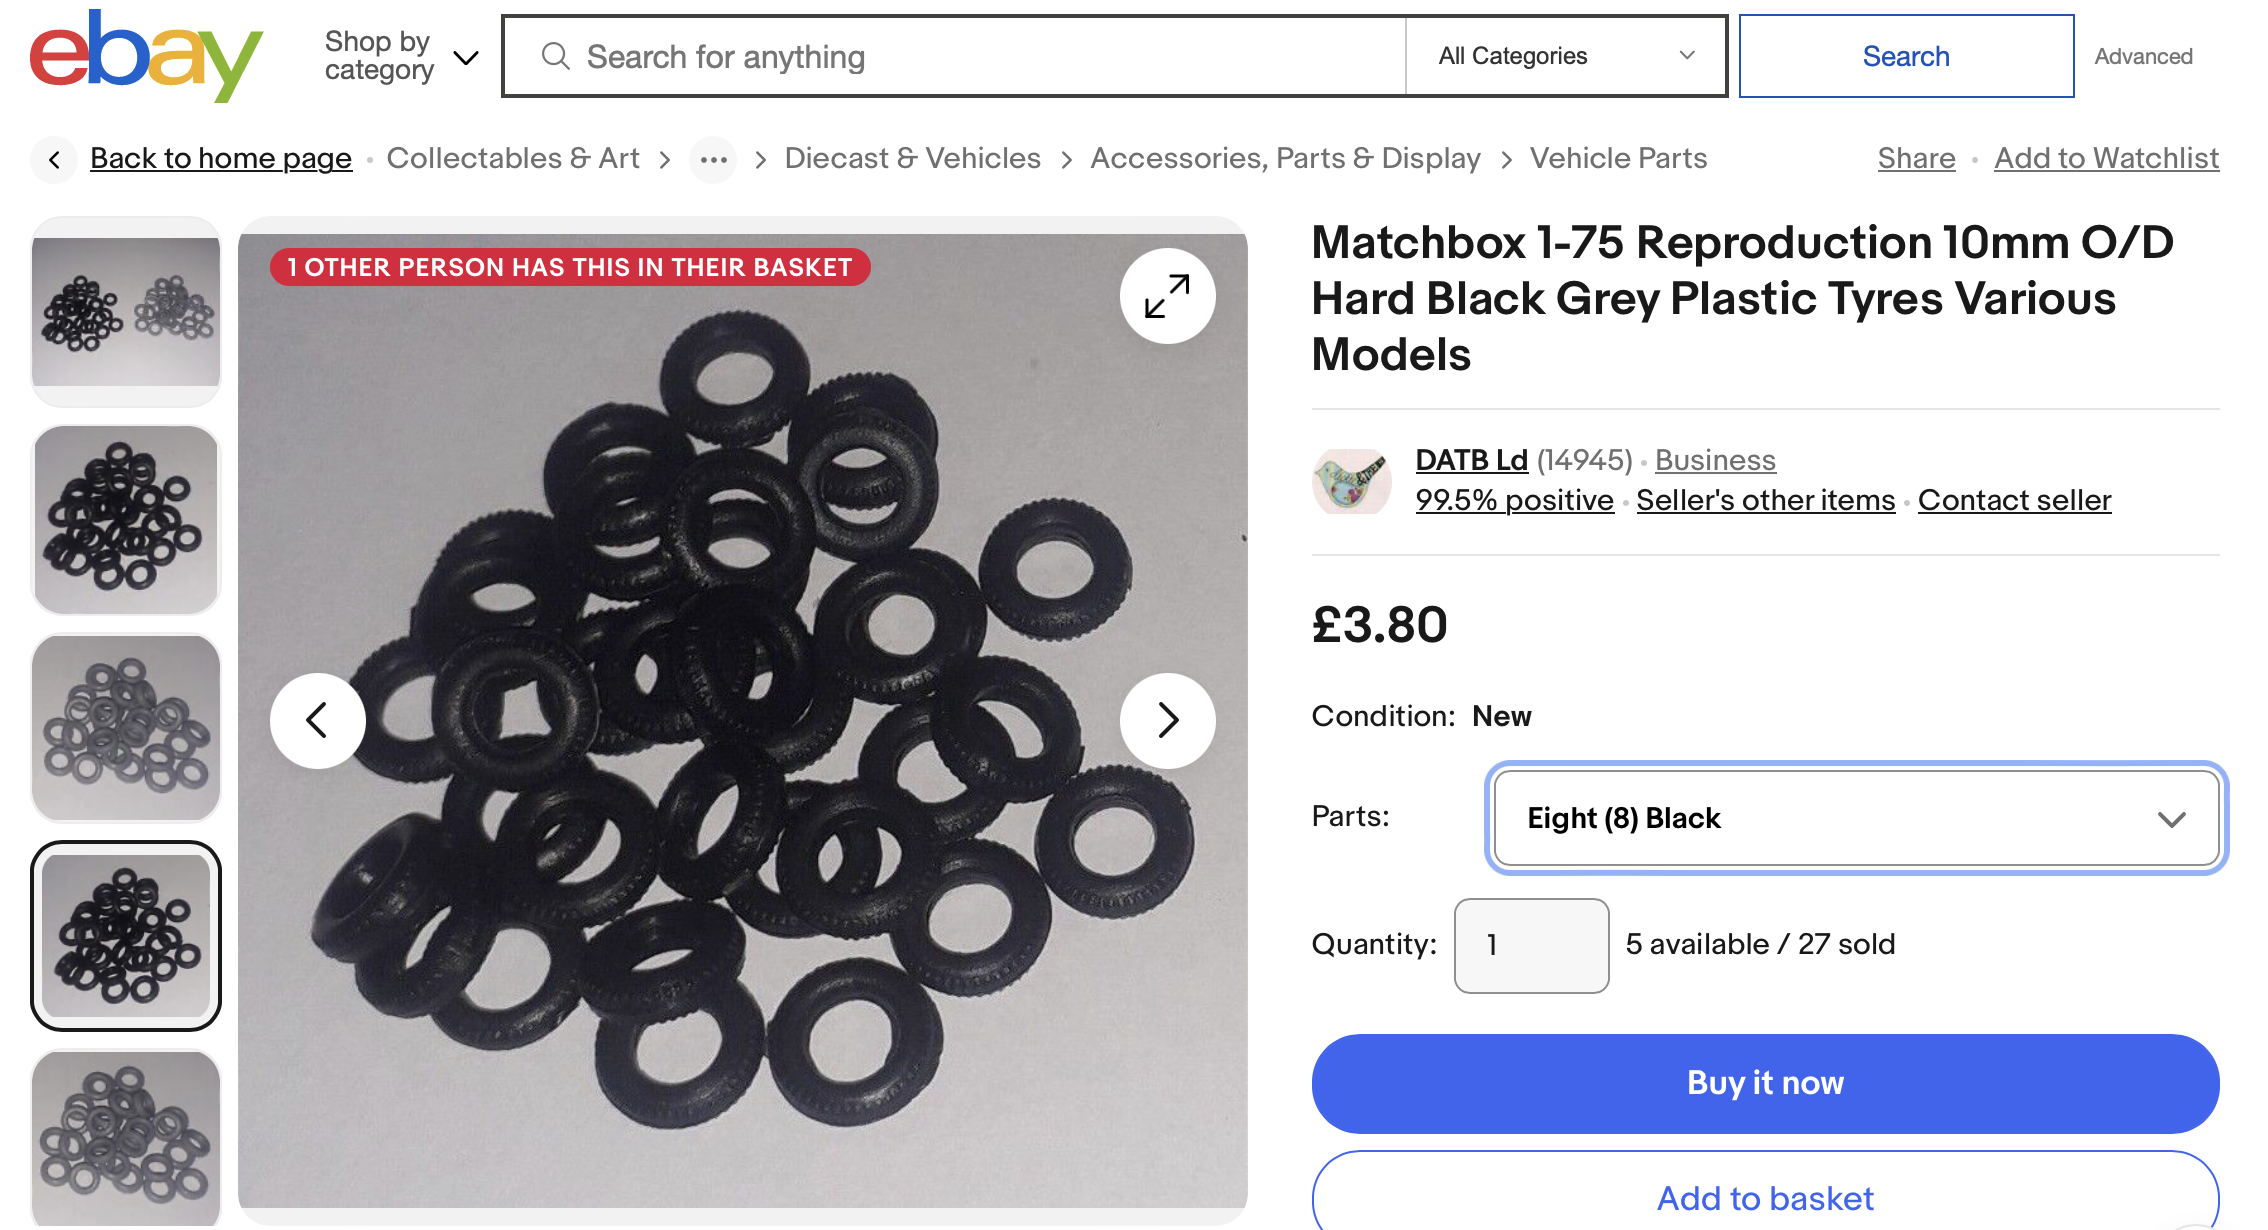
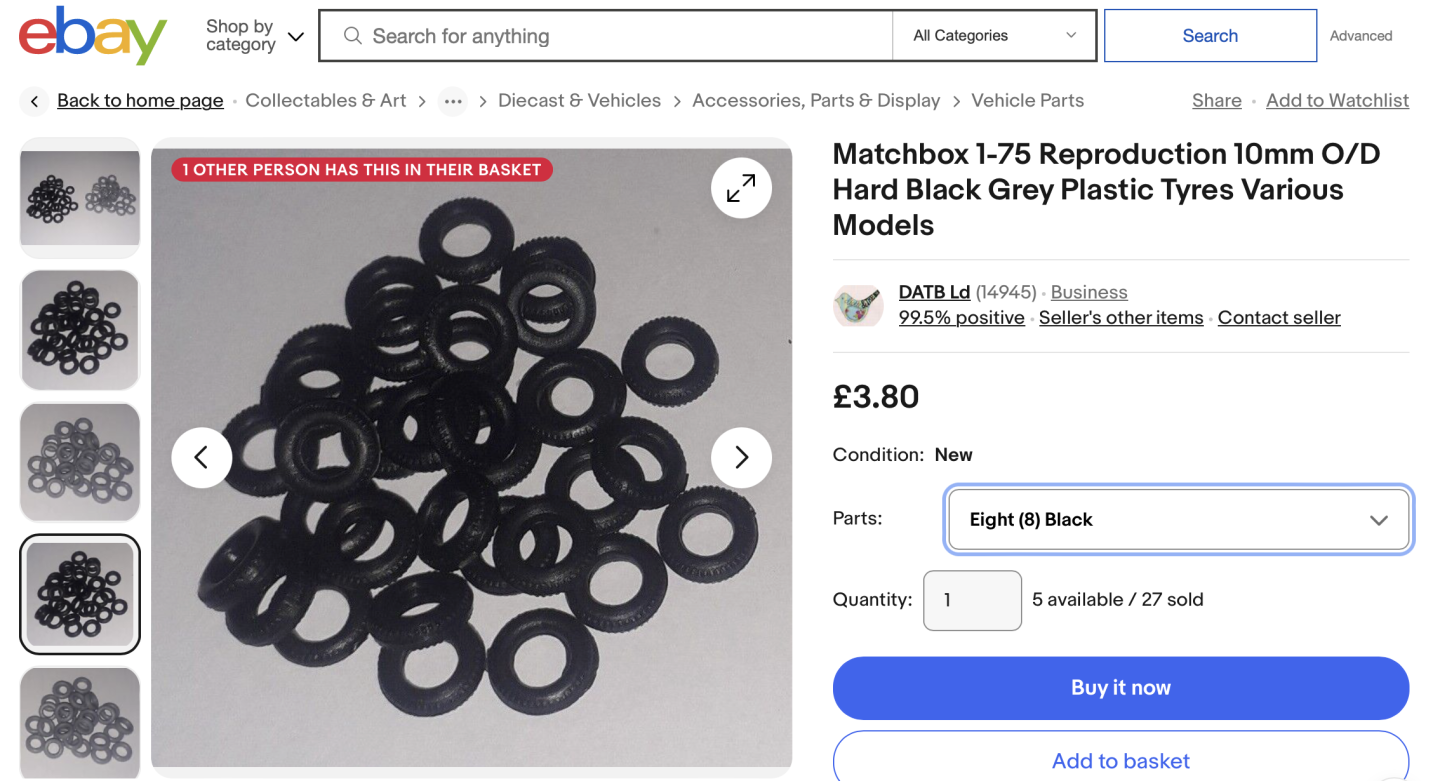
i admire your dedication to fender production. Alternatively you can buy toy tyres. Or even use "O" rings.
-
HMCSS Victoria 1855 by BANYAN - 1:72
KeithAug replied to BANYAN's topic in - Build logs for subjects built 1851 - 1900
I agree all of us oldies need a futtock truss band. Wearing mine is a constant relief.😕- 1,013 replies
-
- 8
-

-
- gun dispatch vessel
- victoria
- (and 2 more)
-
HMCSS Victoria 1855 by BANYAN - 1:72
KeithAug replied to BANYAN's topic in - Build logs for subjects built 1851 - 1900
Great idea Pat - must make one. Glad to hear you are feeling better Pat and I am pleased to see you back at work.- 1,013 replies
-
- 6
-

-
- gun dispatch vessel
- victoria
- (and 2 more)
-
Eric - I may be misunderstanding the photo but if I look at the images of the wheelhouse the name boards look somewhat less high than the ones you have made. If I compare actual ones with the height of the helmsman they appear to be a little higher than the length of his upper arm - I guess about 18" to 20". What is the scale height of the ones you have made - they look to be just under half the height of the door or circa 30 inches? If they should be less high (and hence wide) then it would make fitting the port sign in front of the door more practical. Just a thought.
-
All very beautifully done Craig. It was a pleasure to view your work. I look forward to seeing how she develops.
-
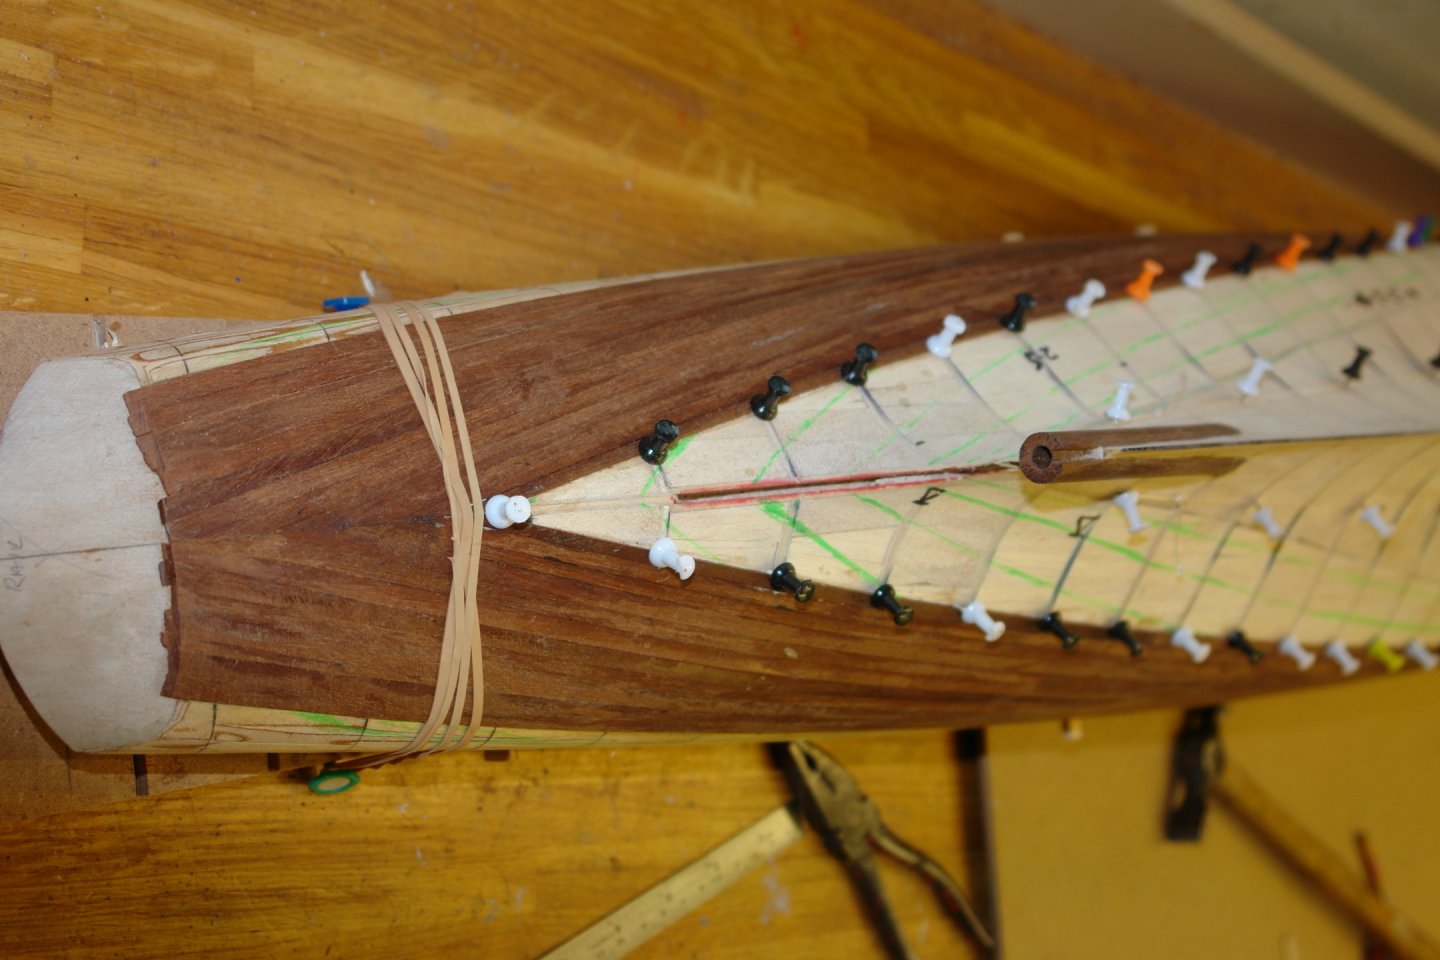
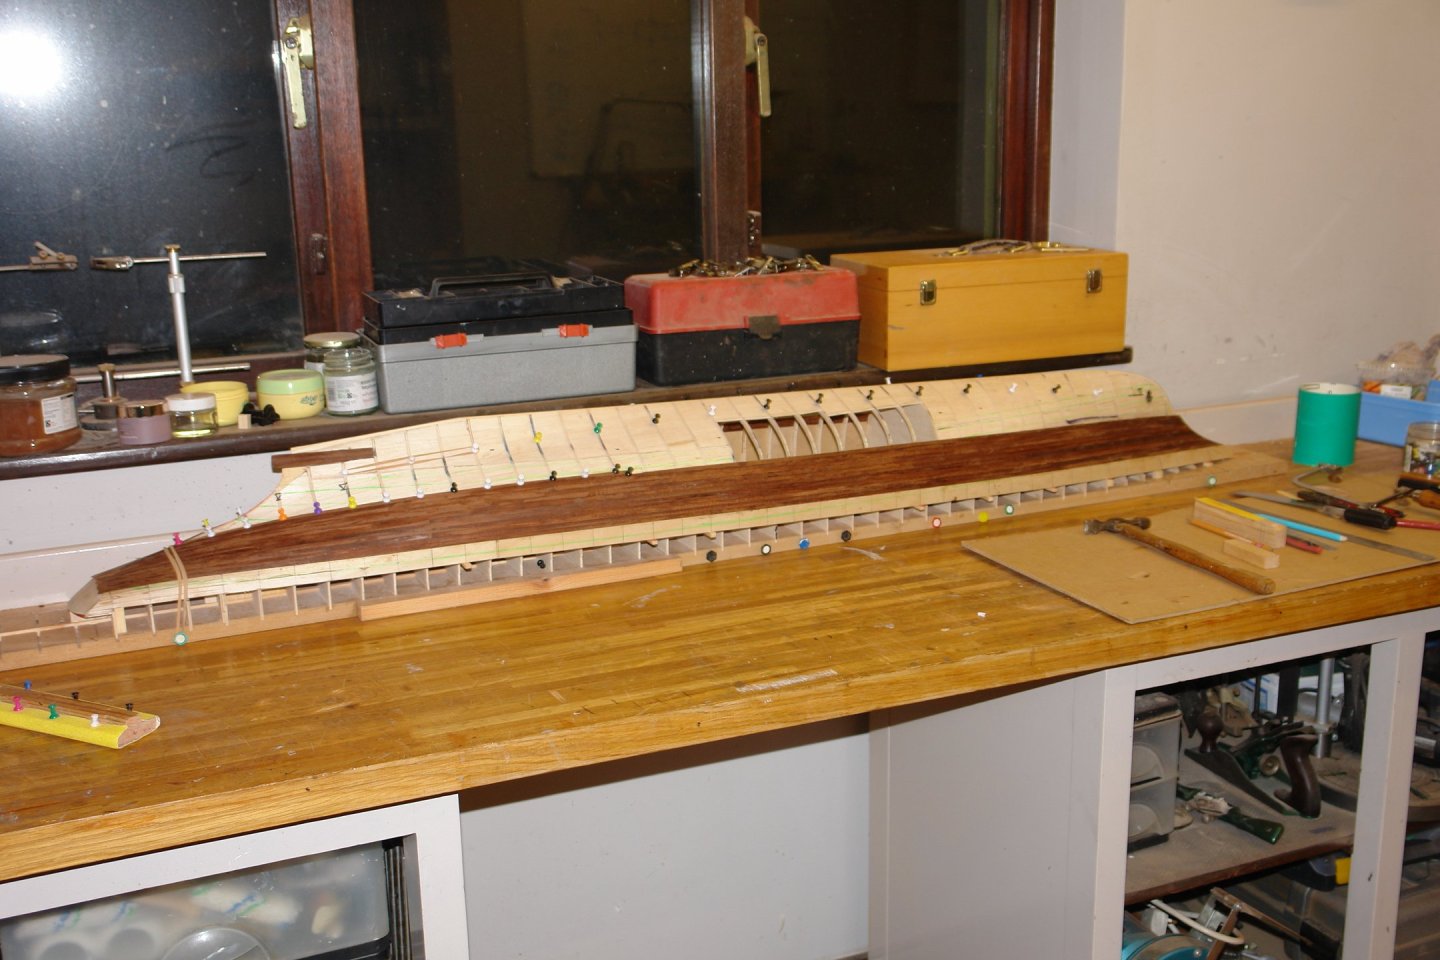
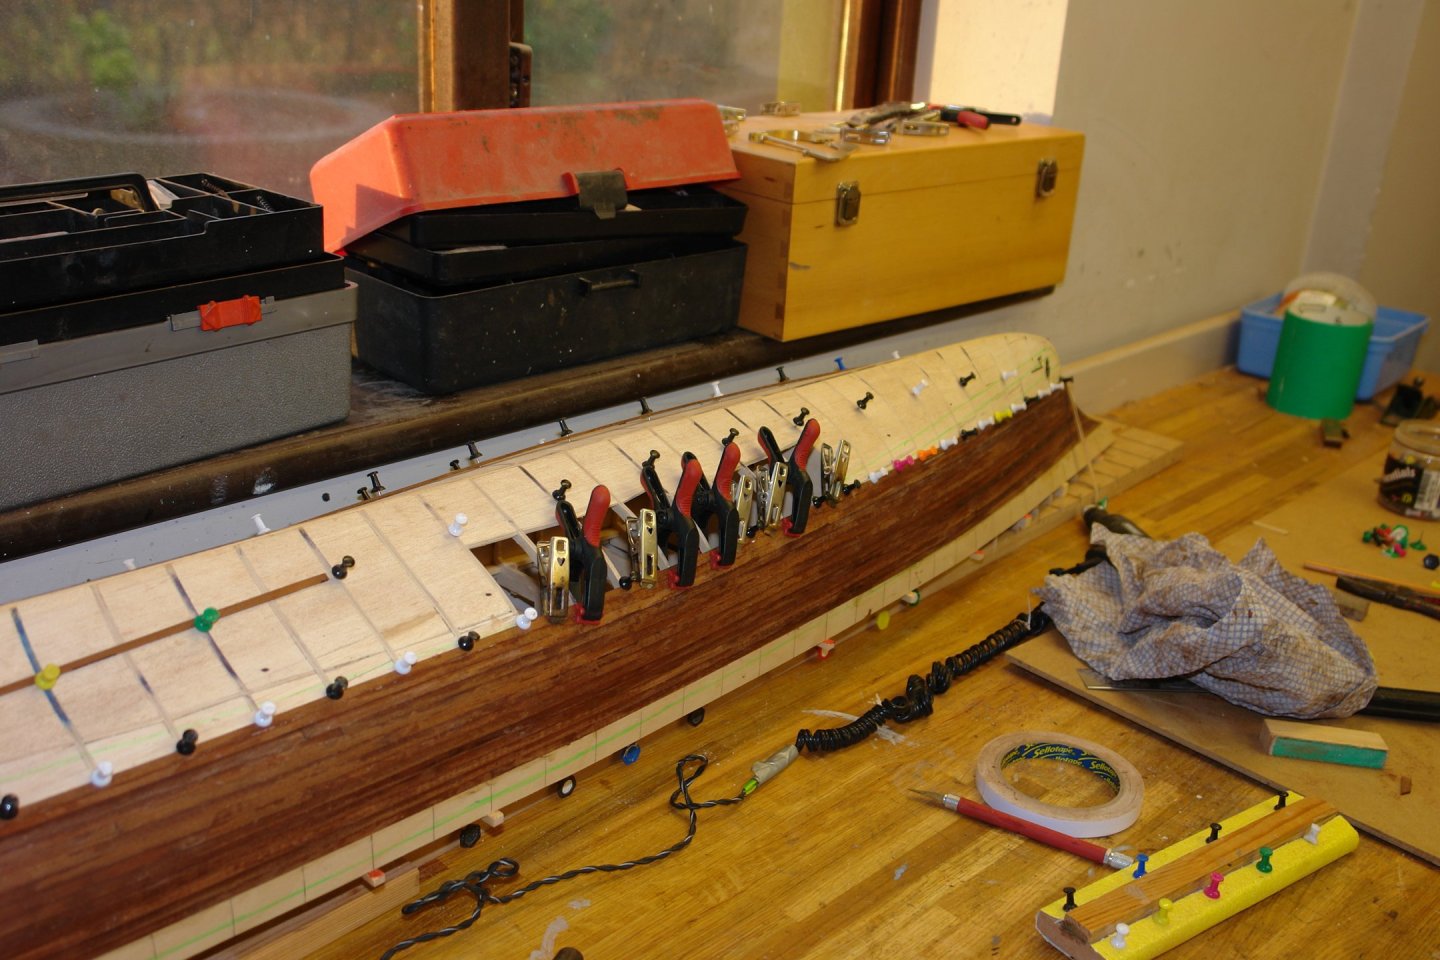
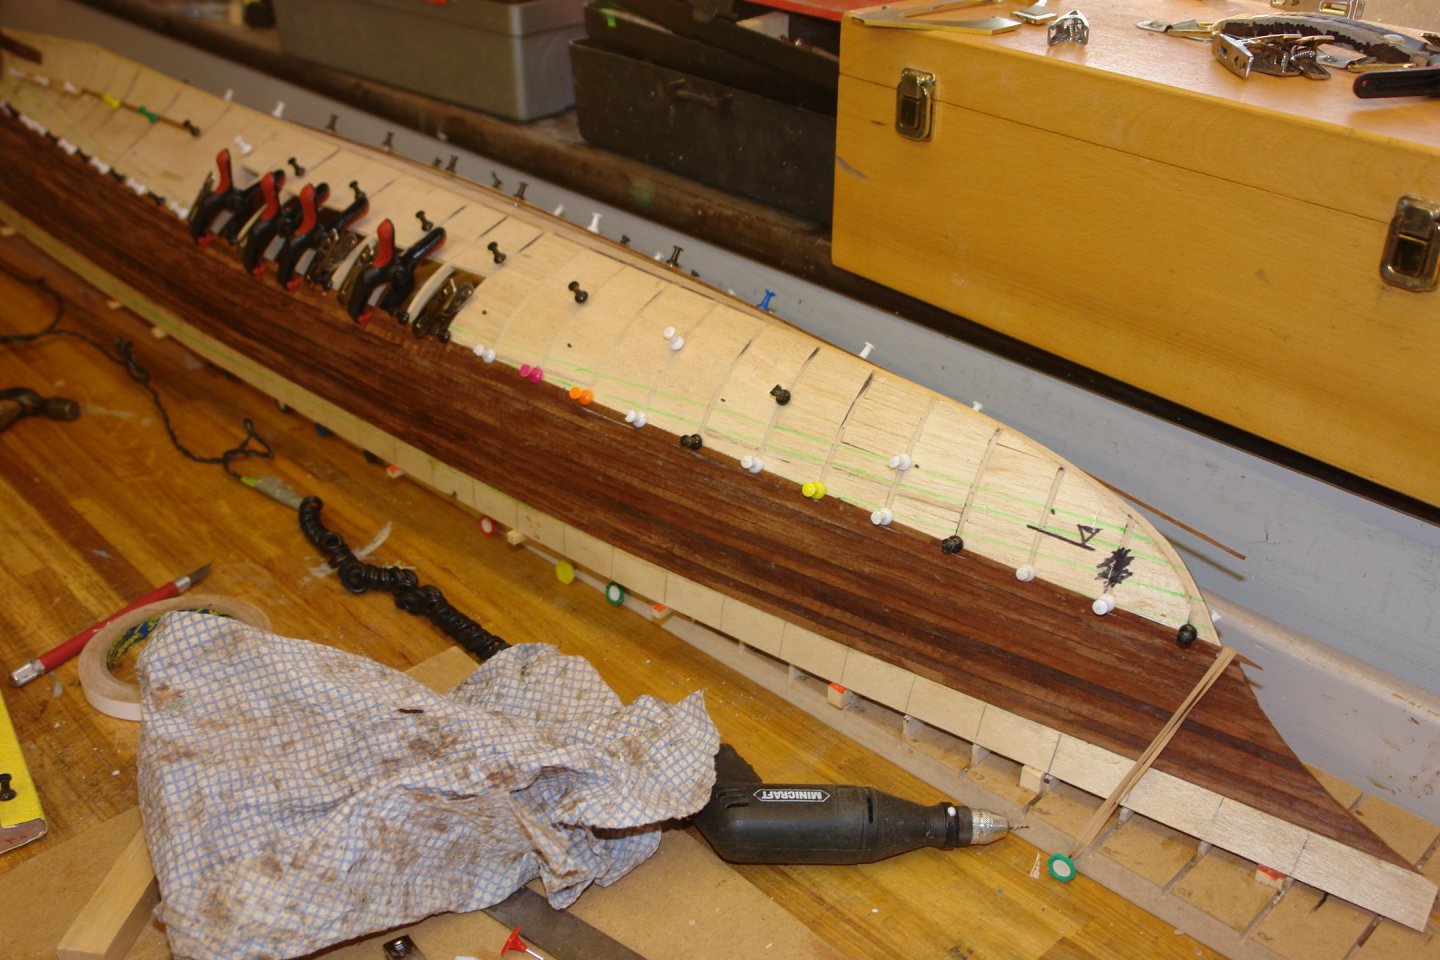
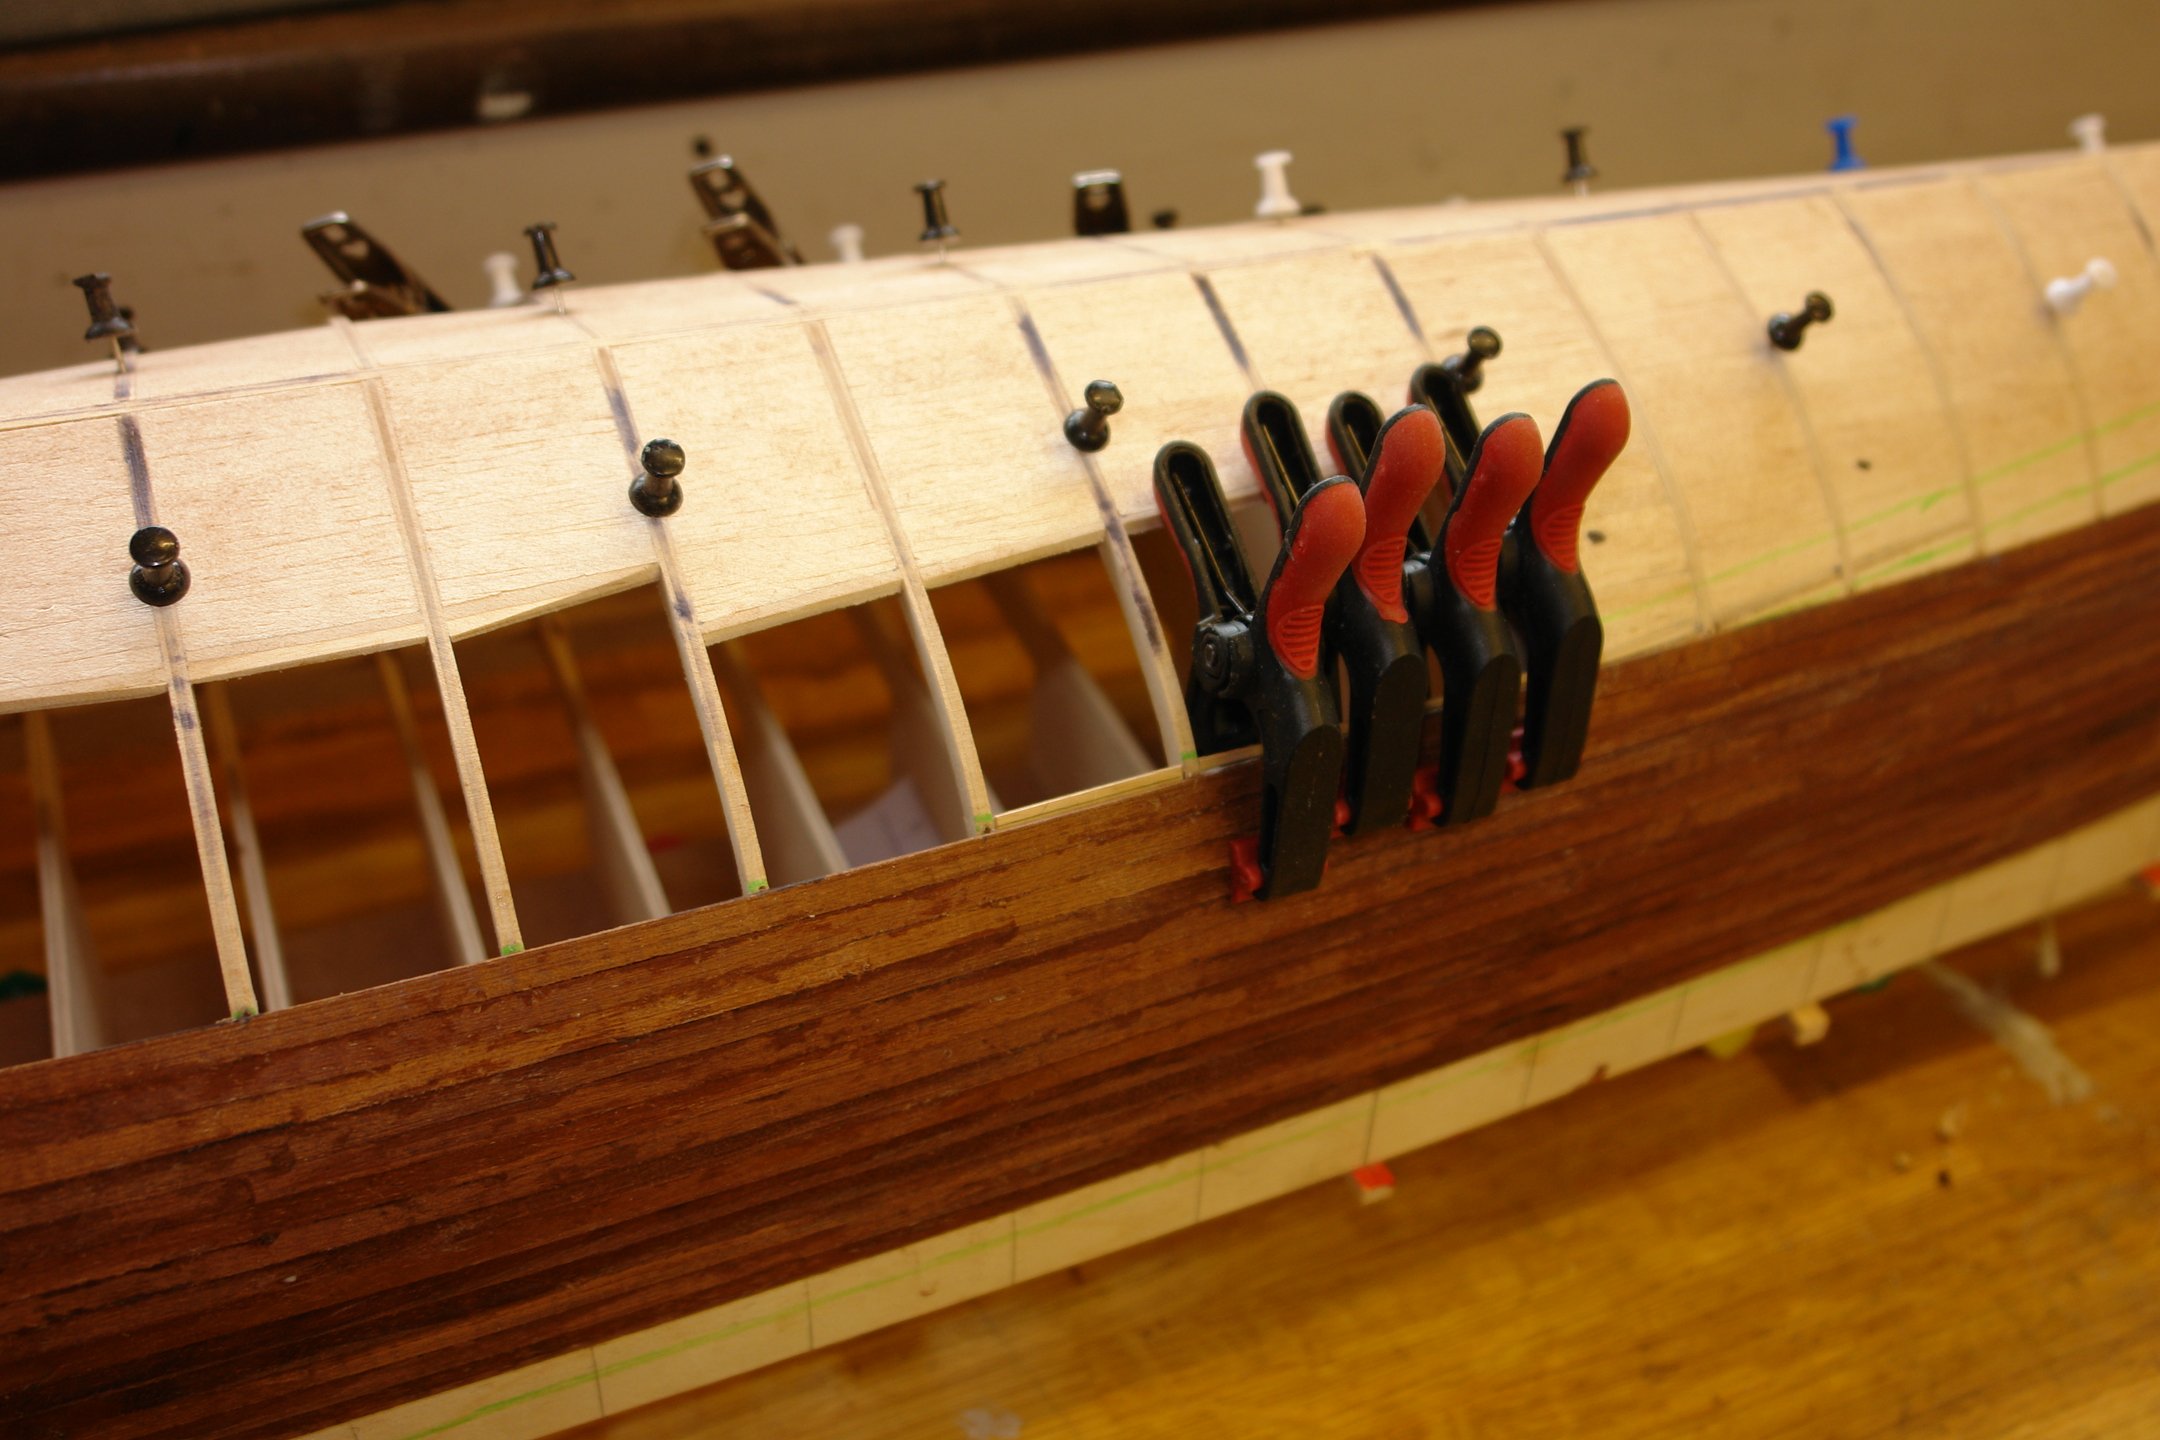
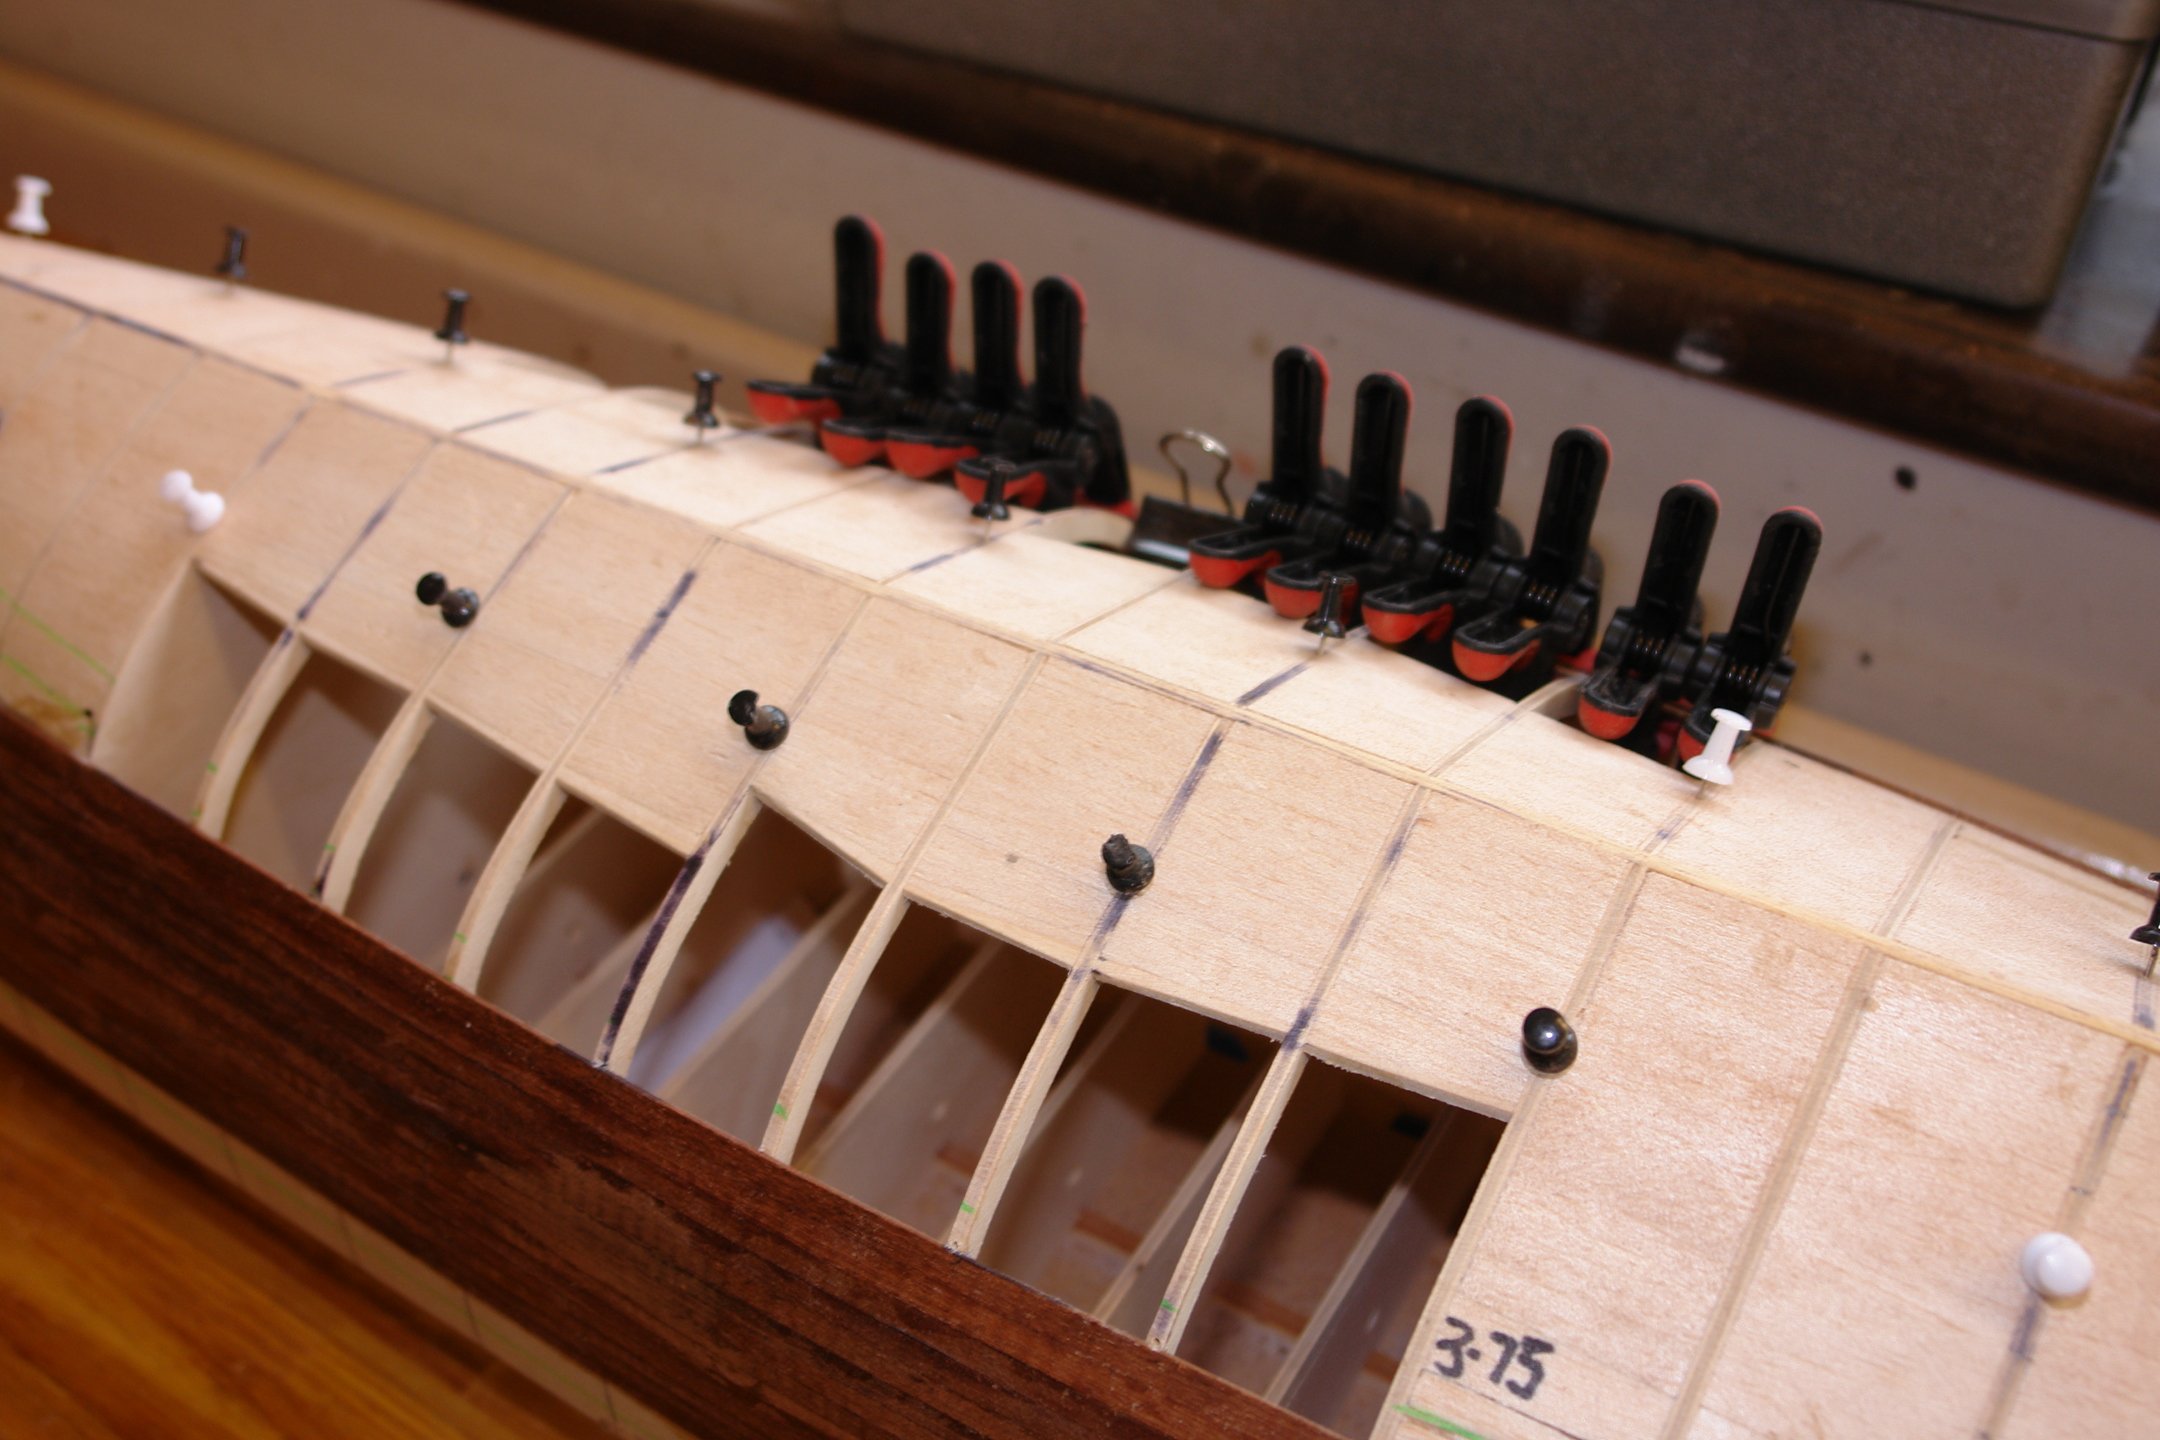
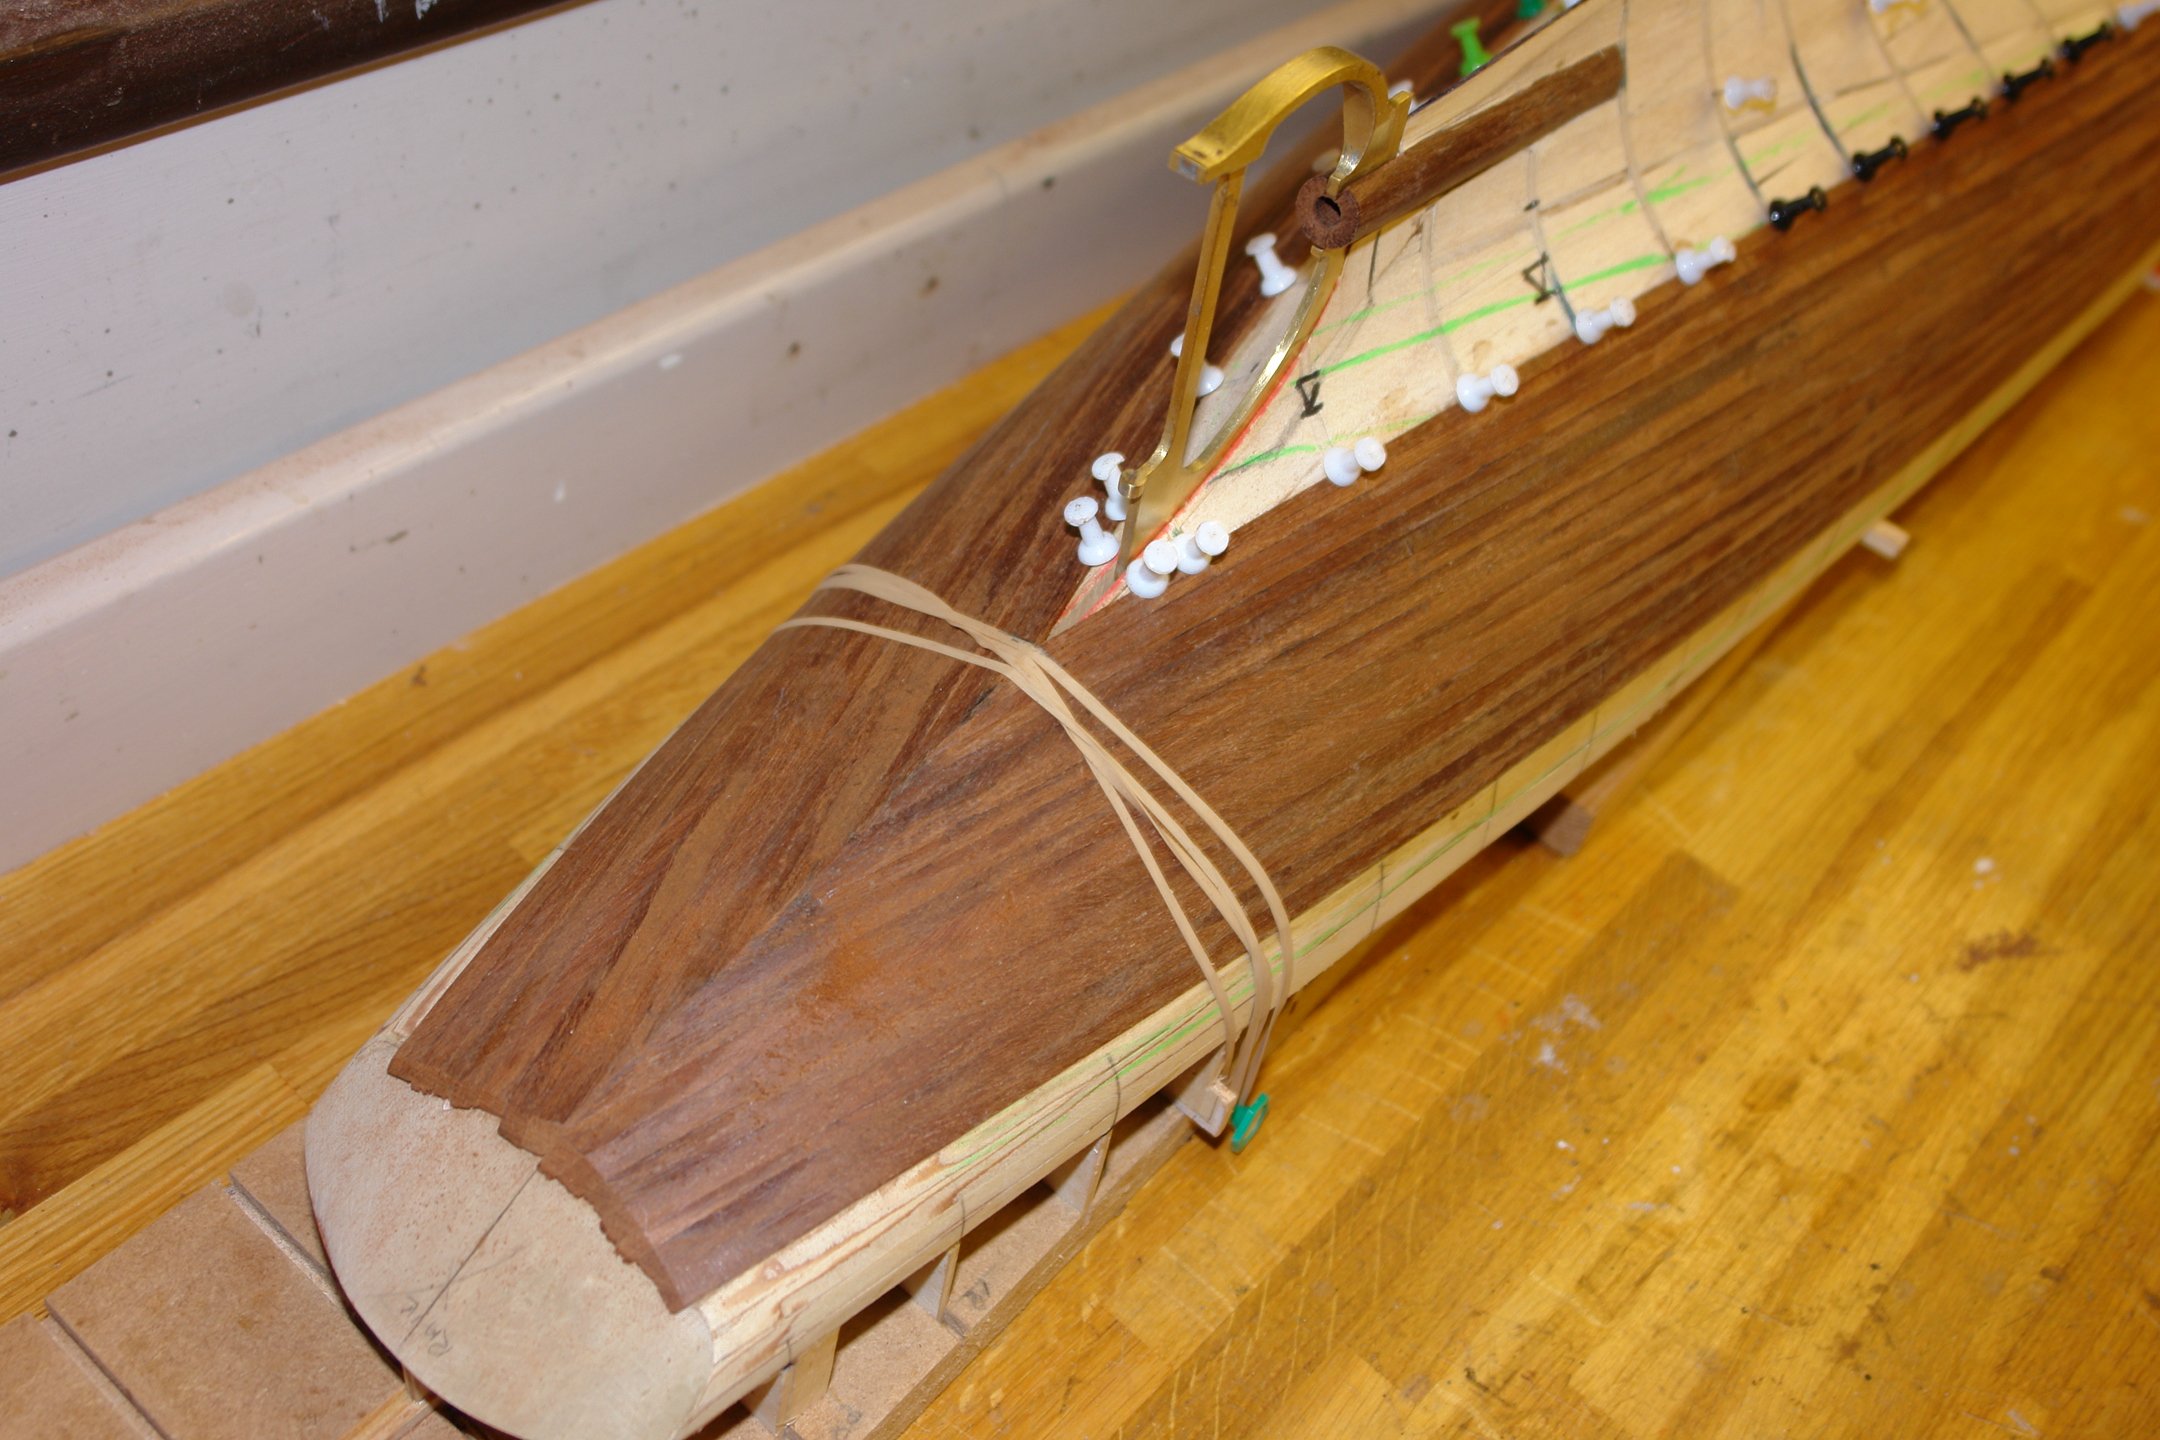
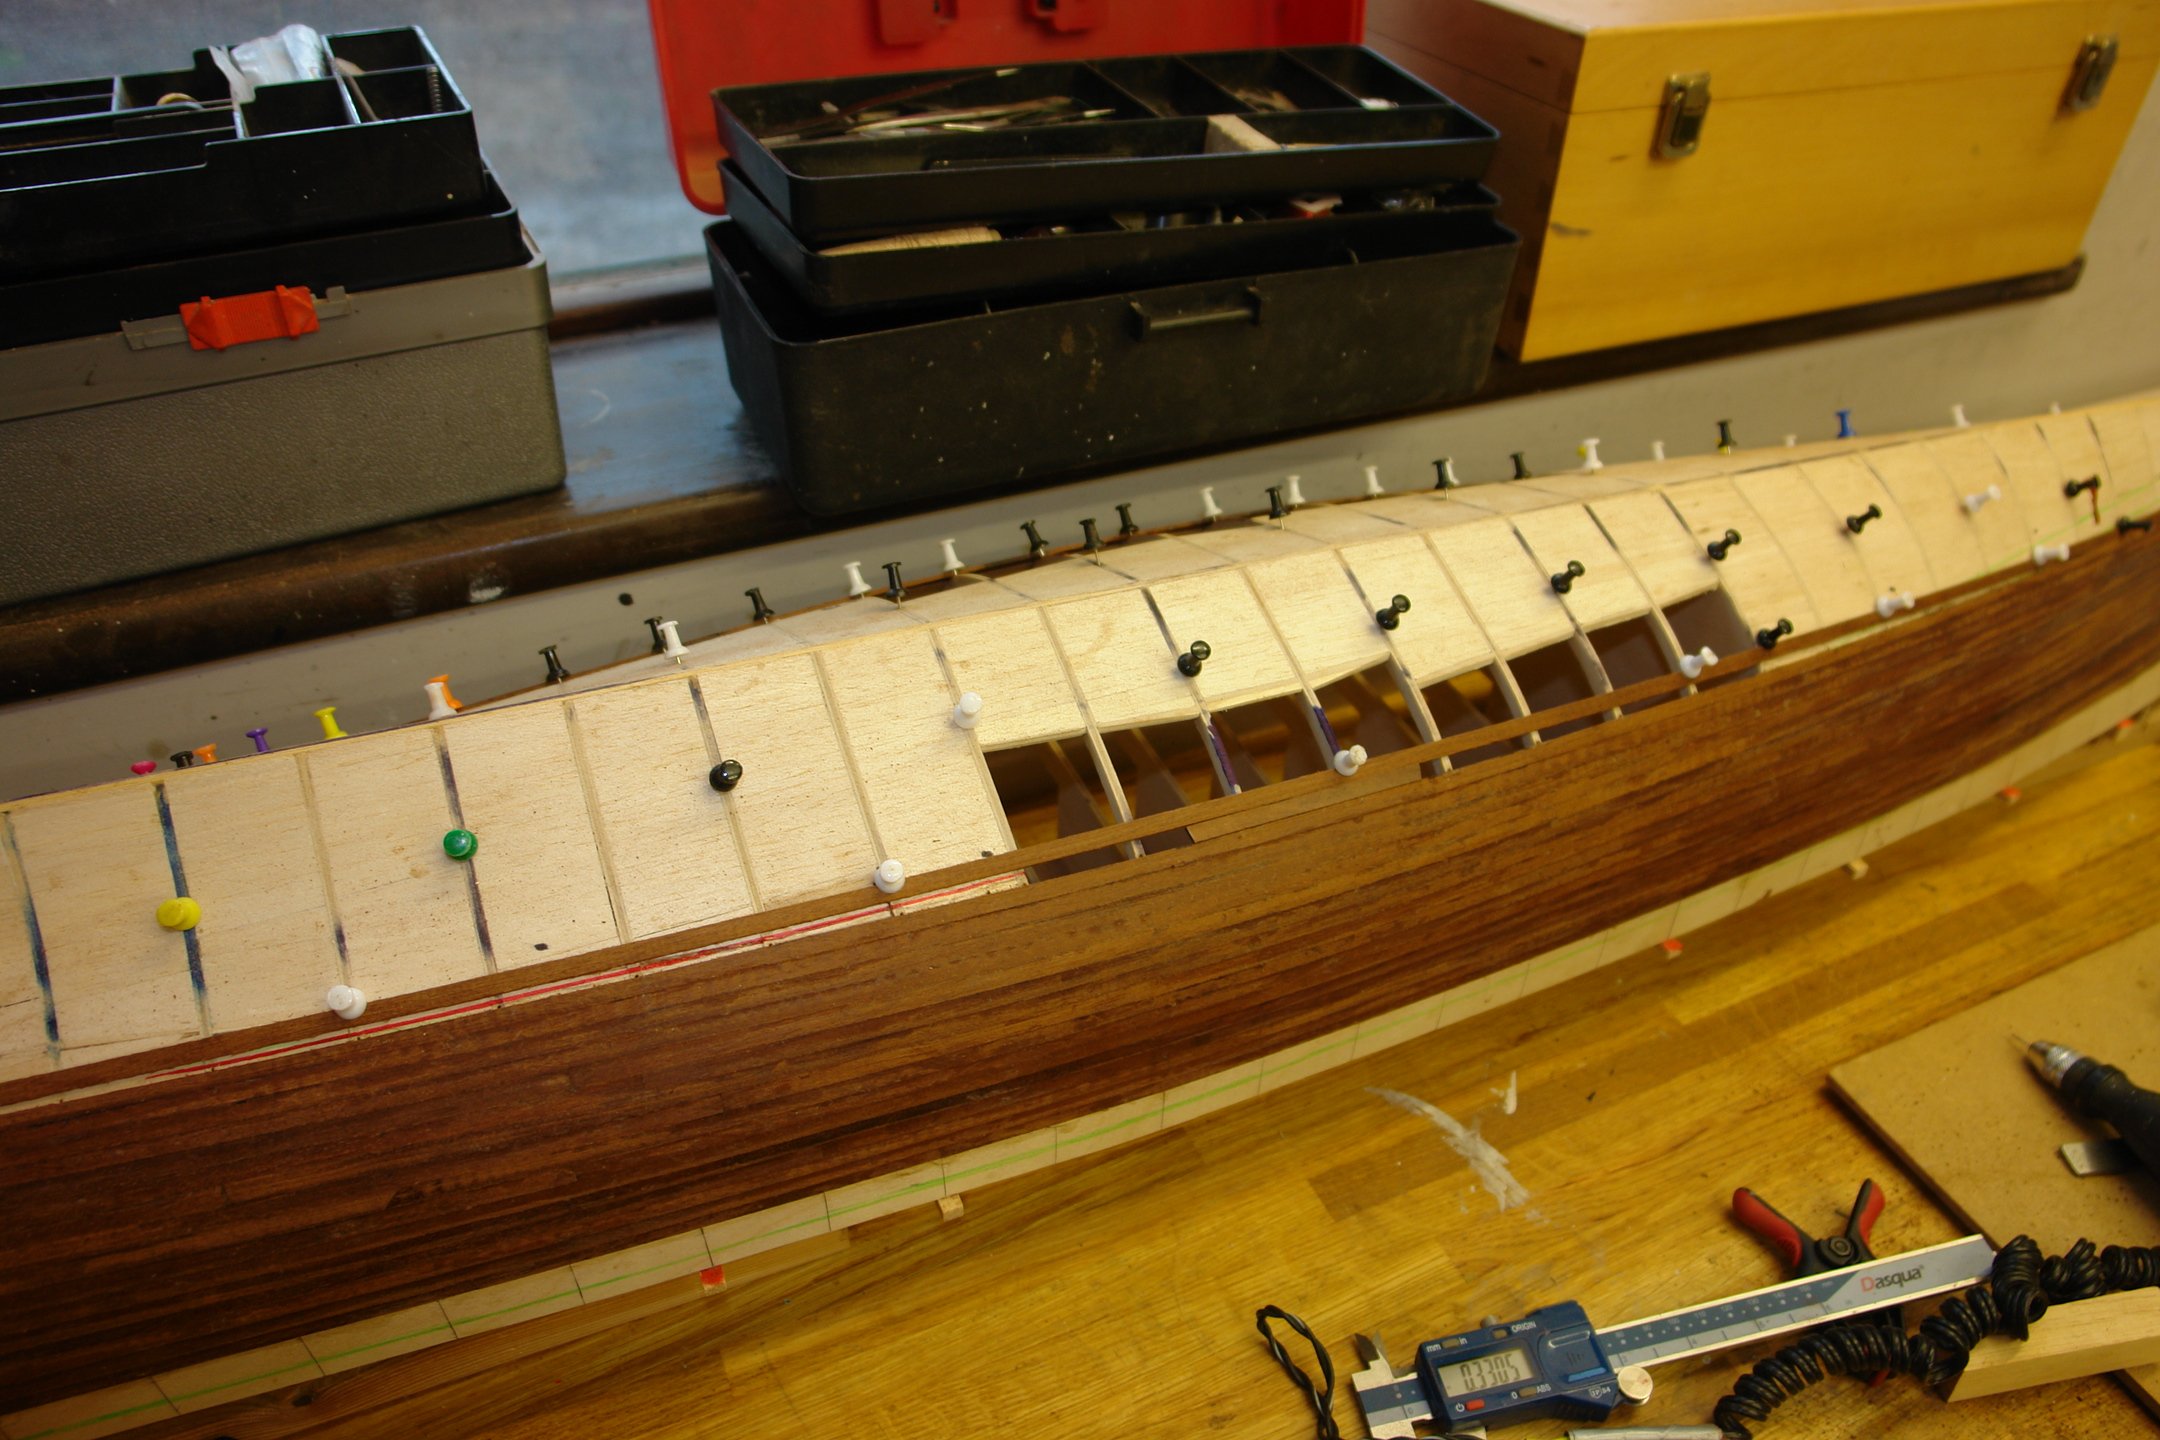
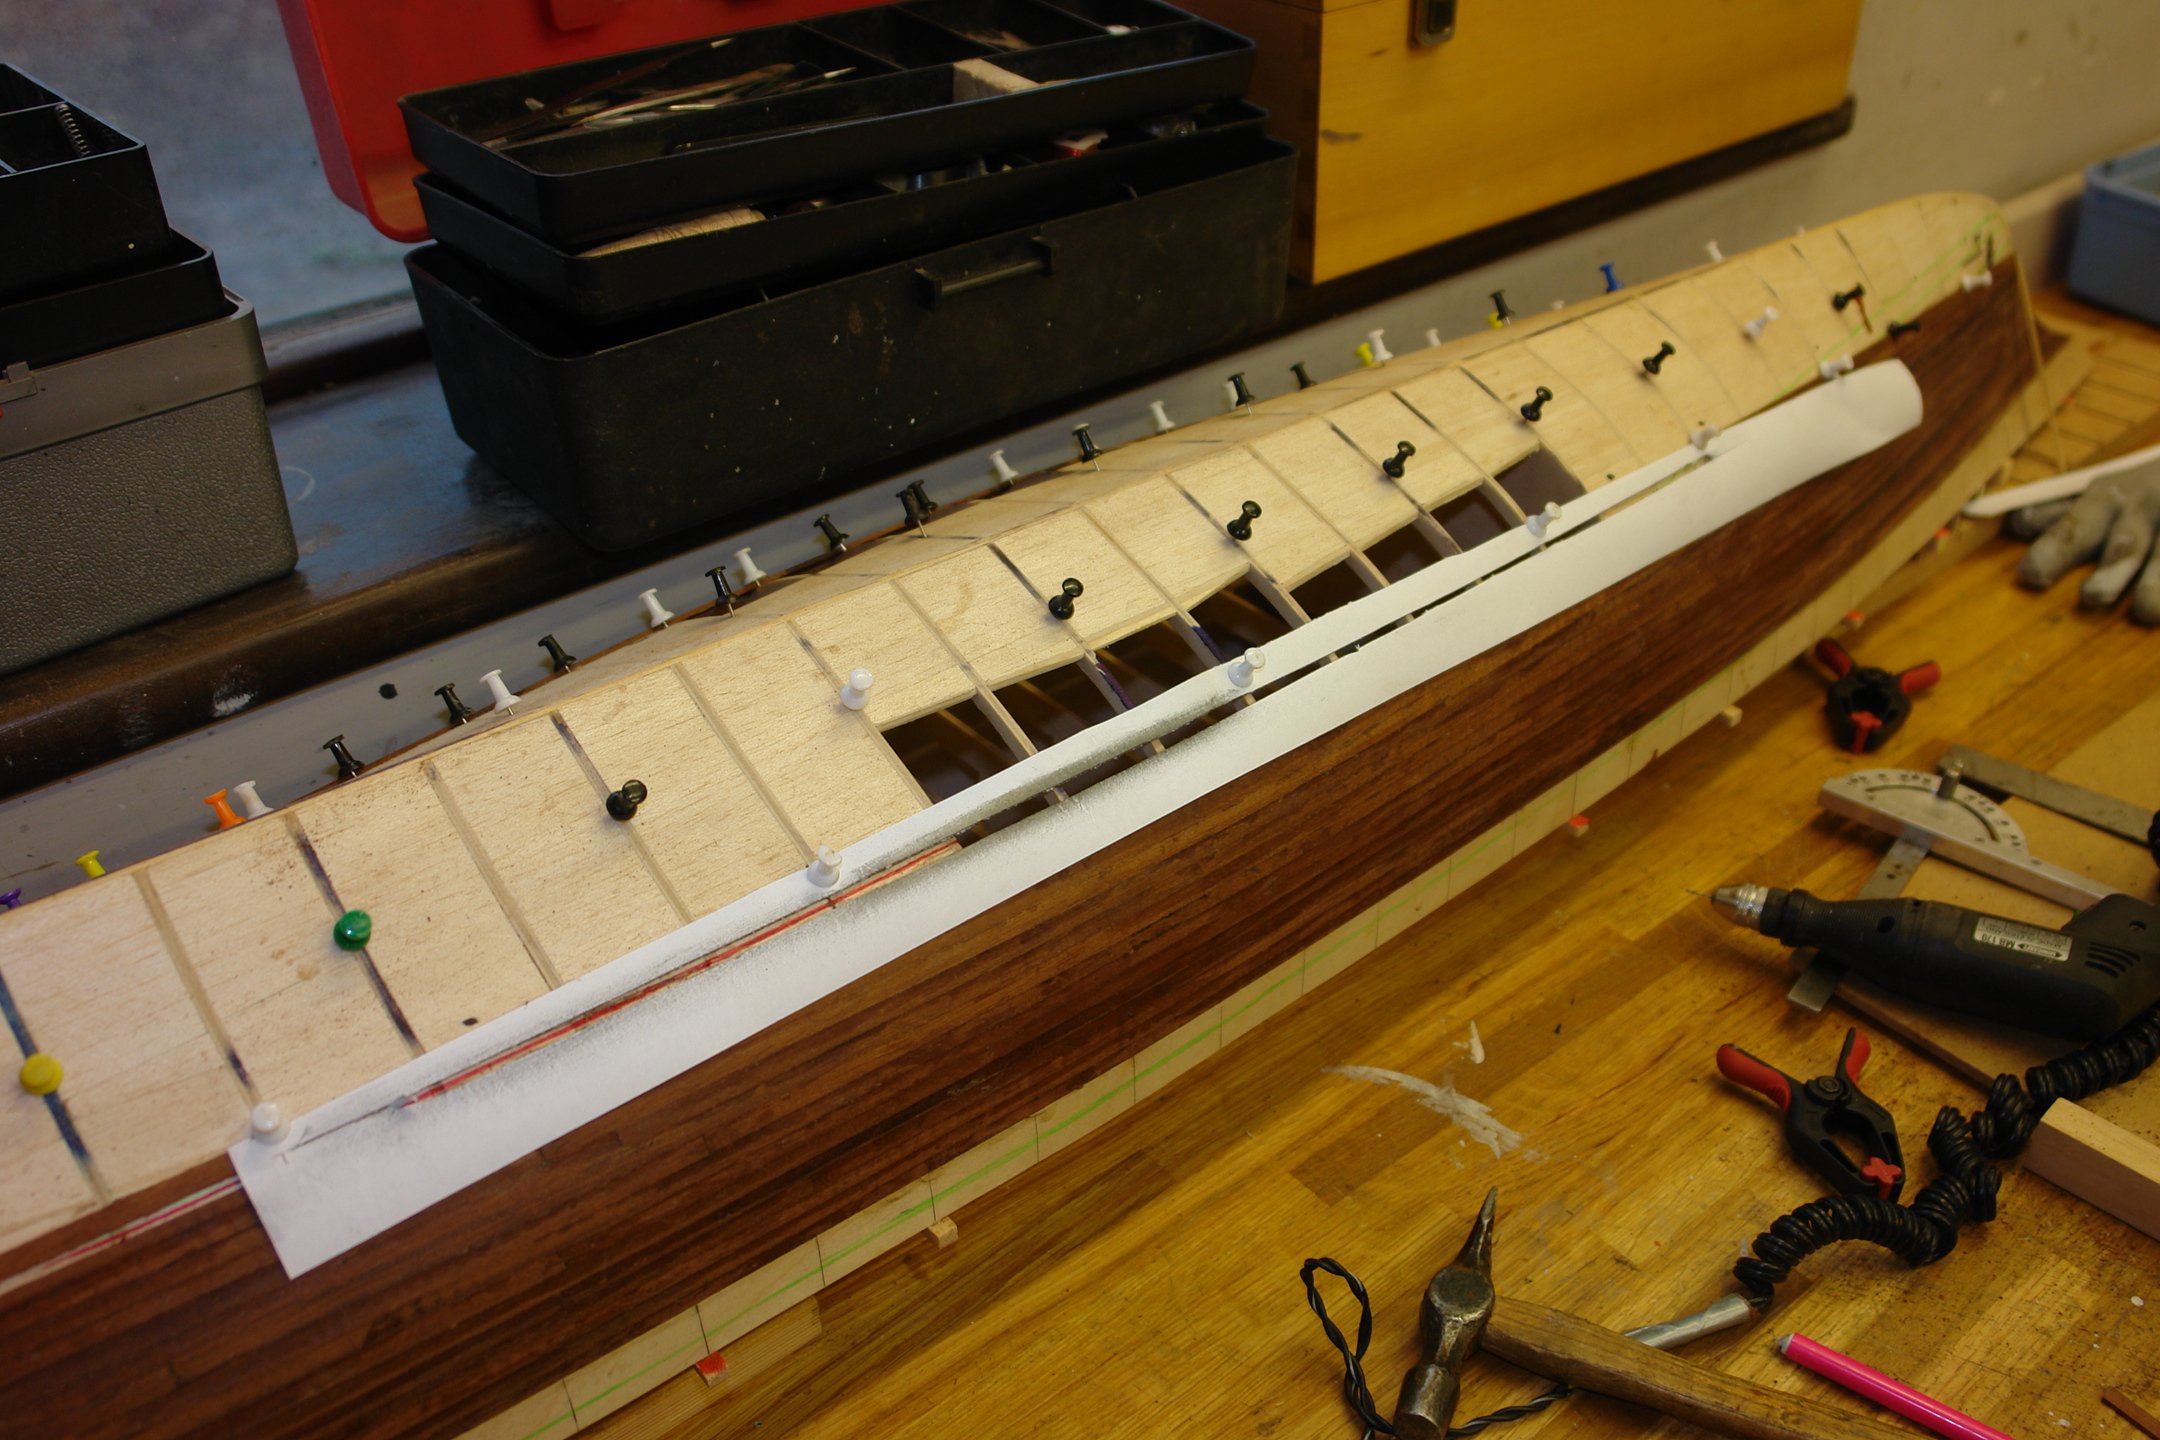
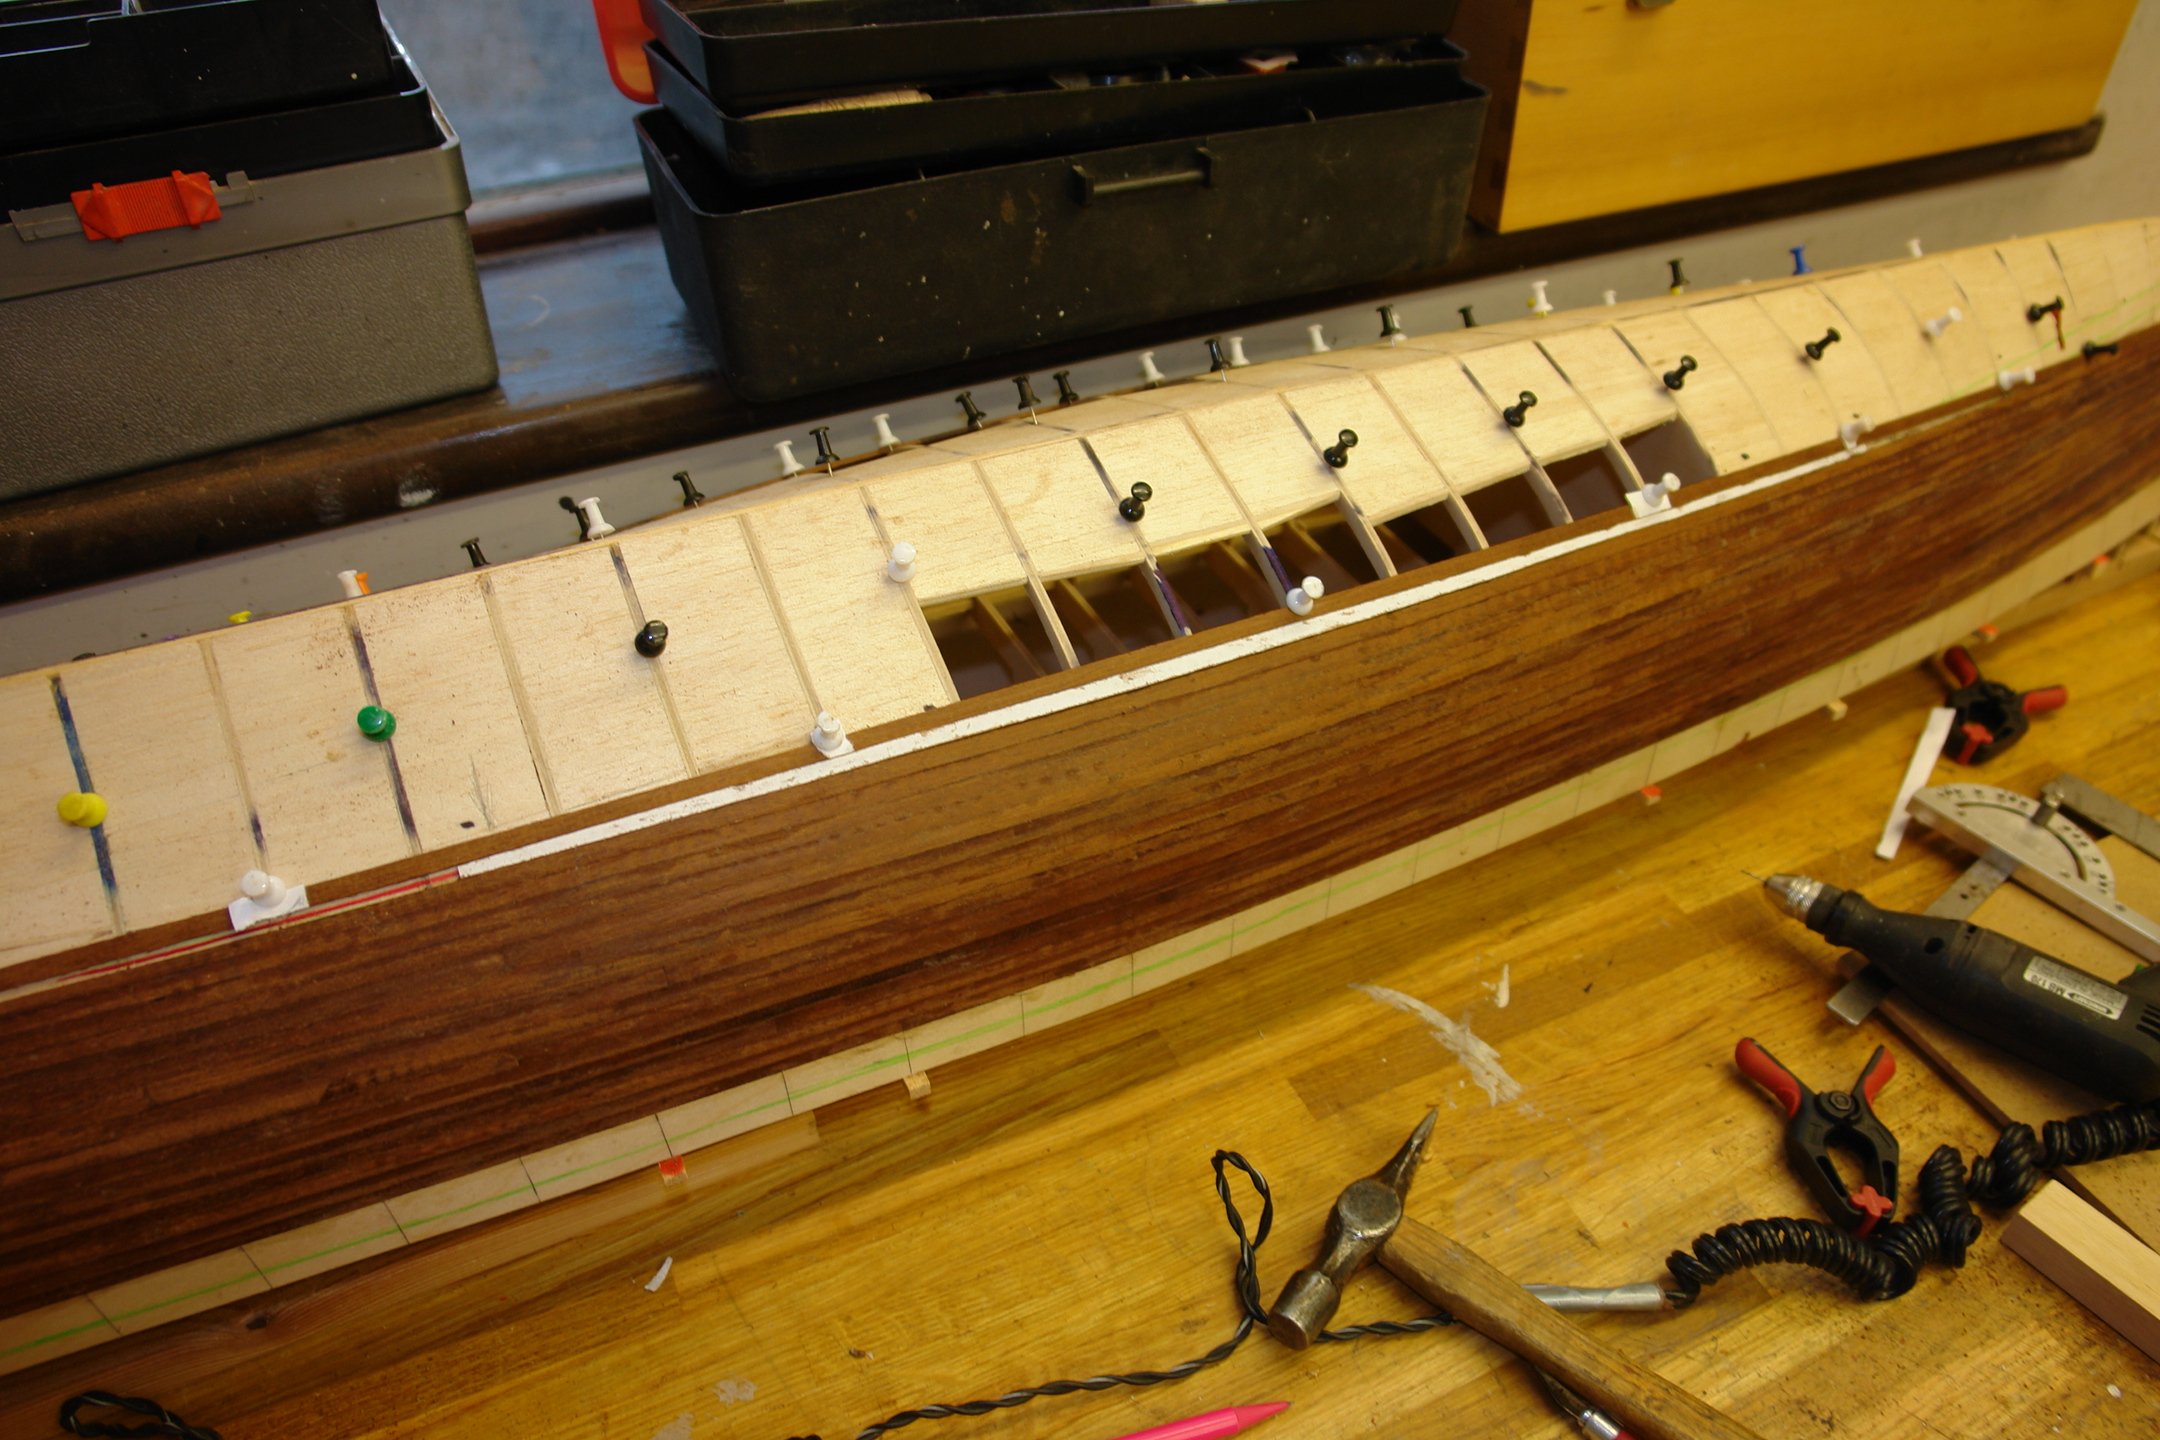
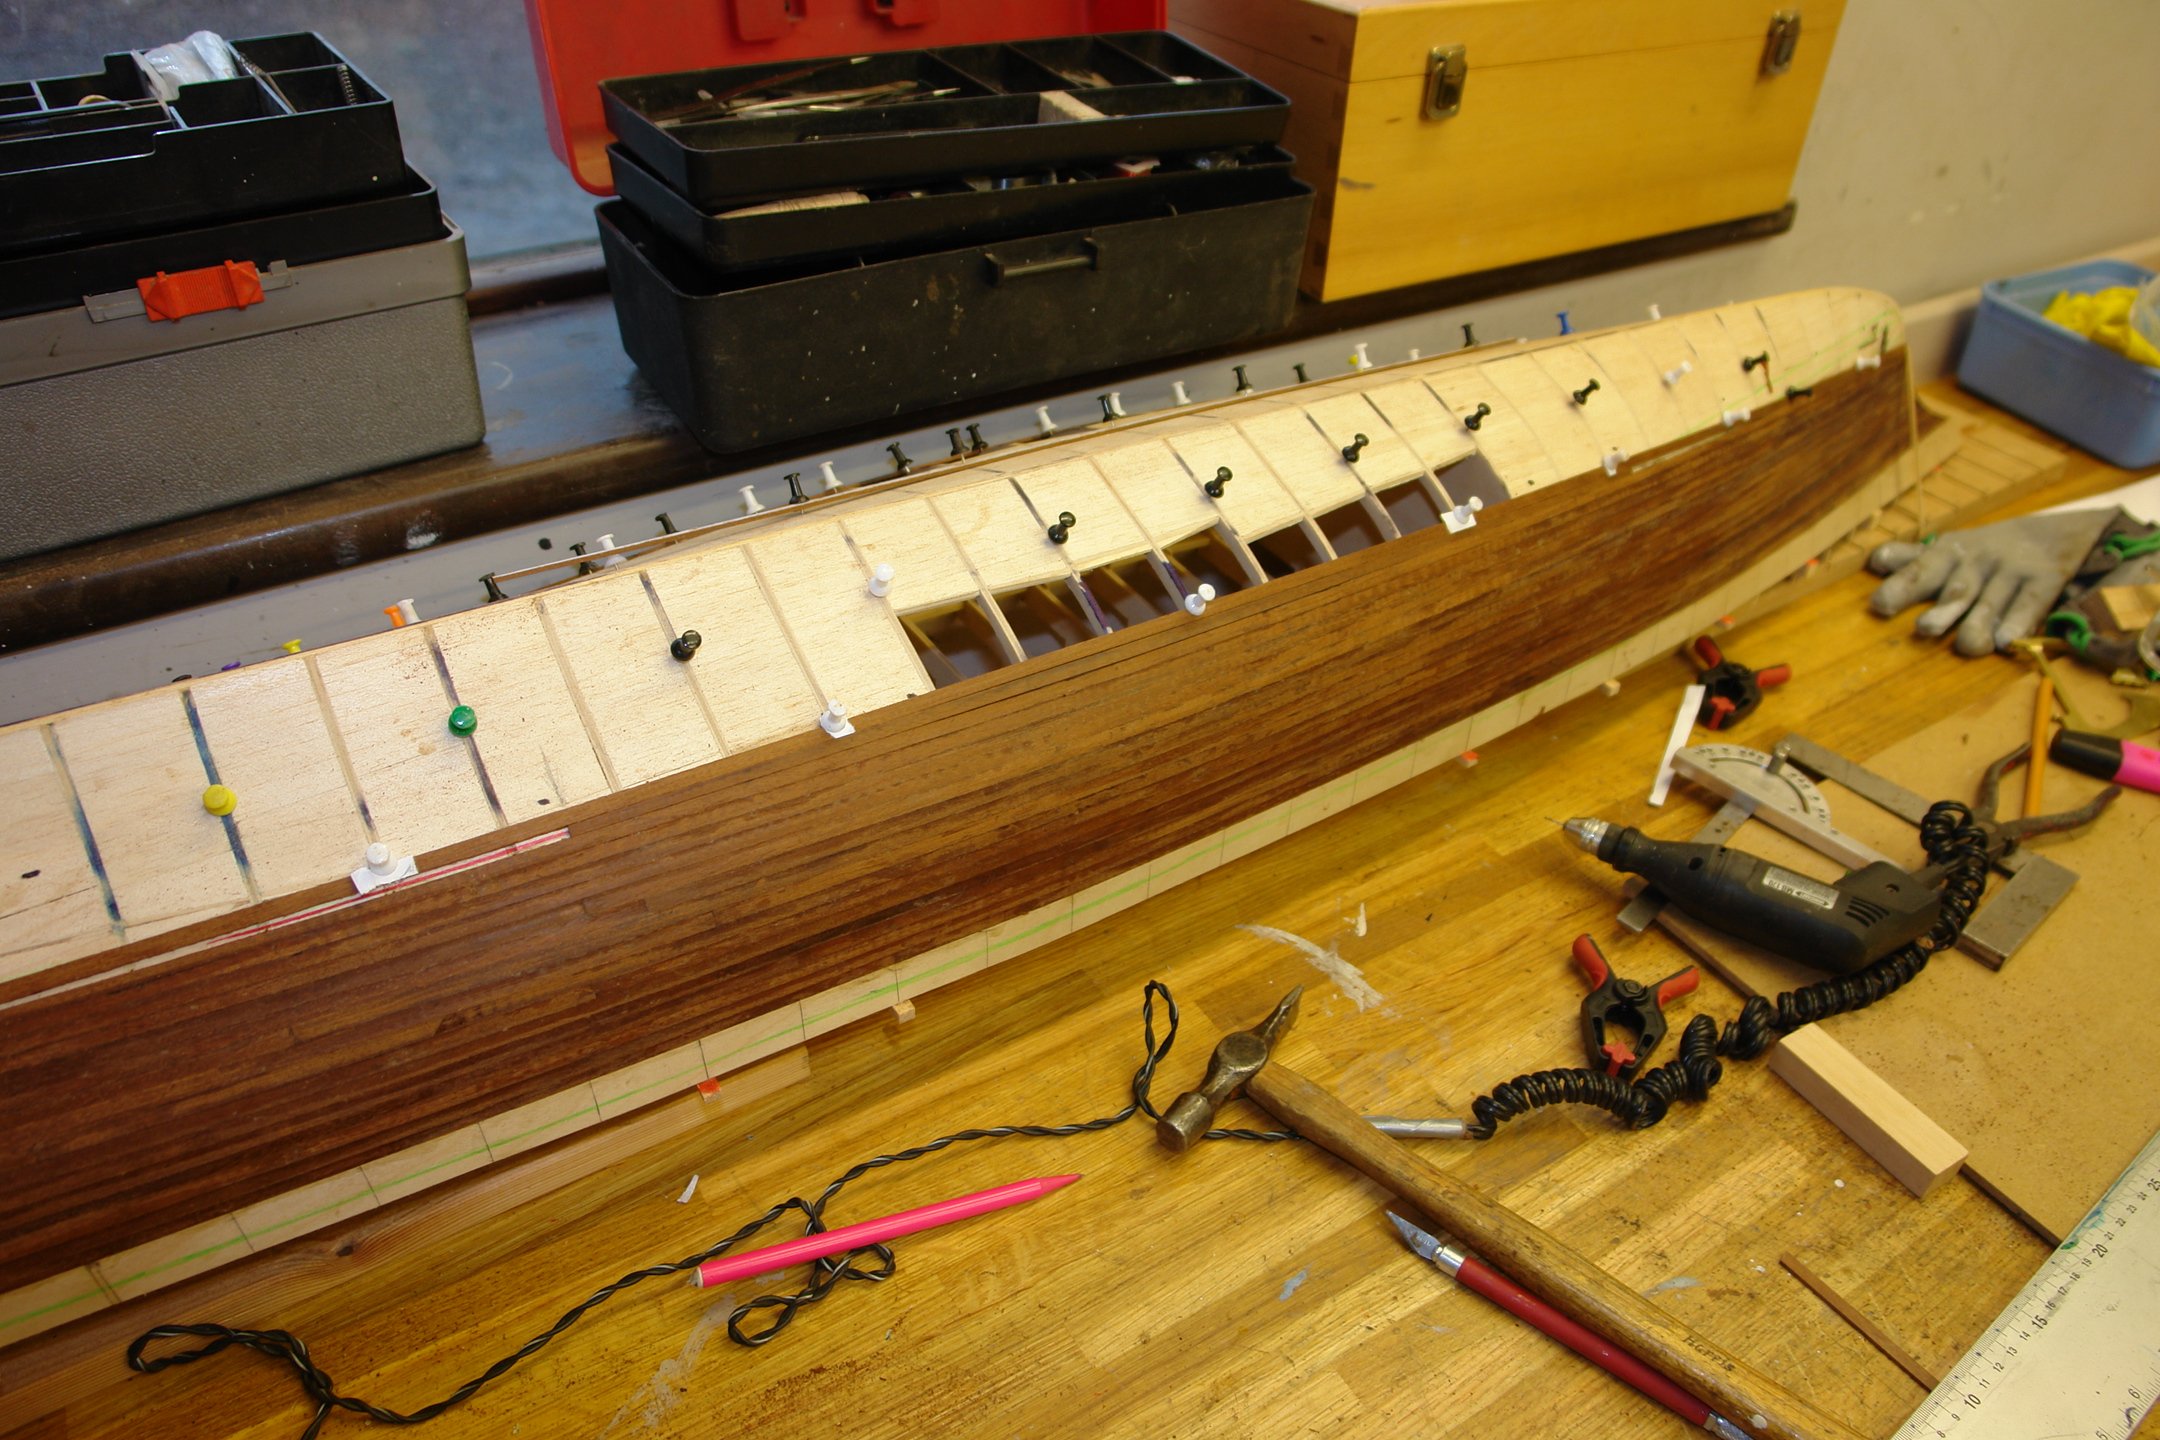
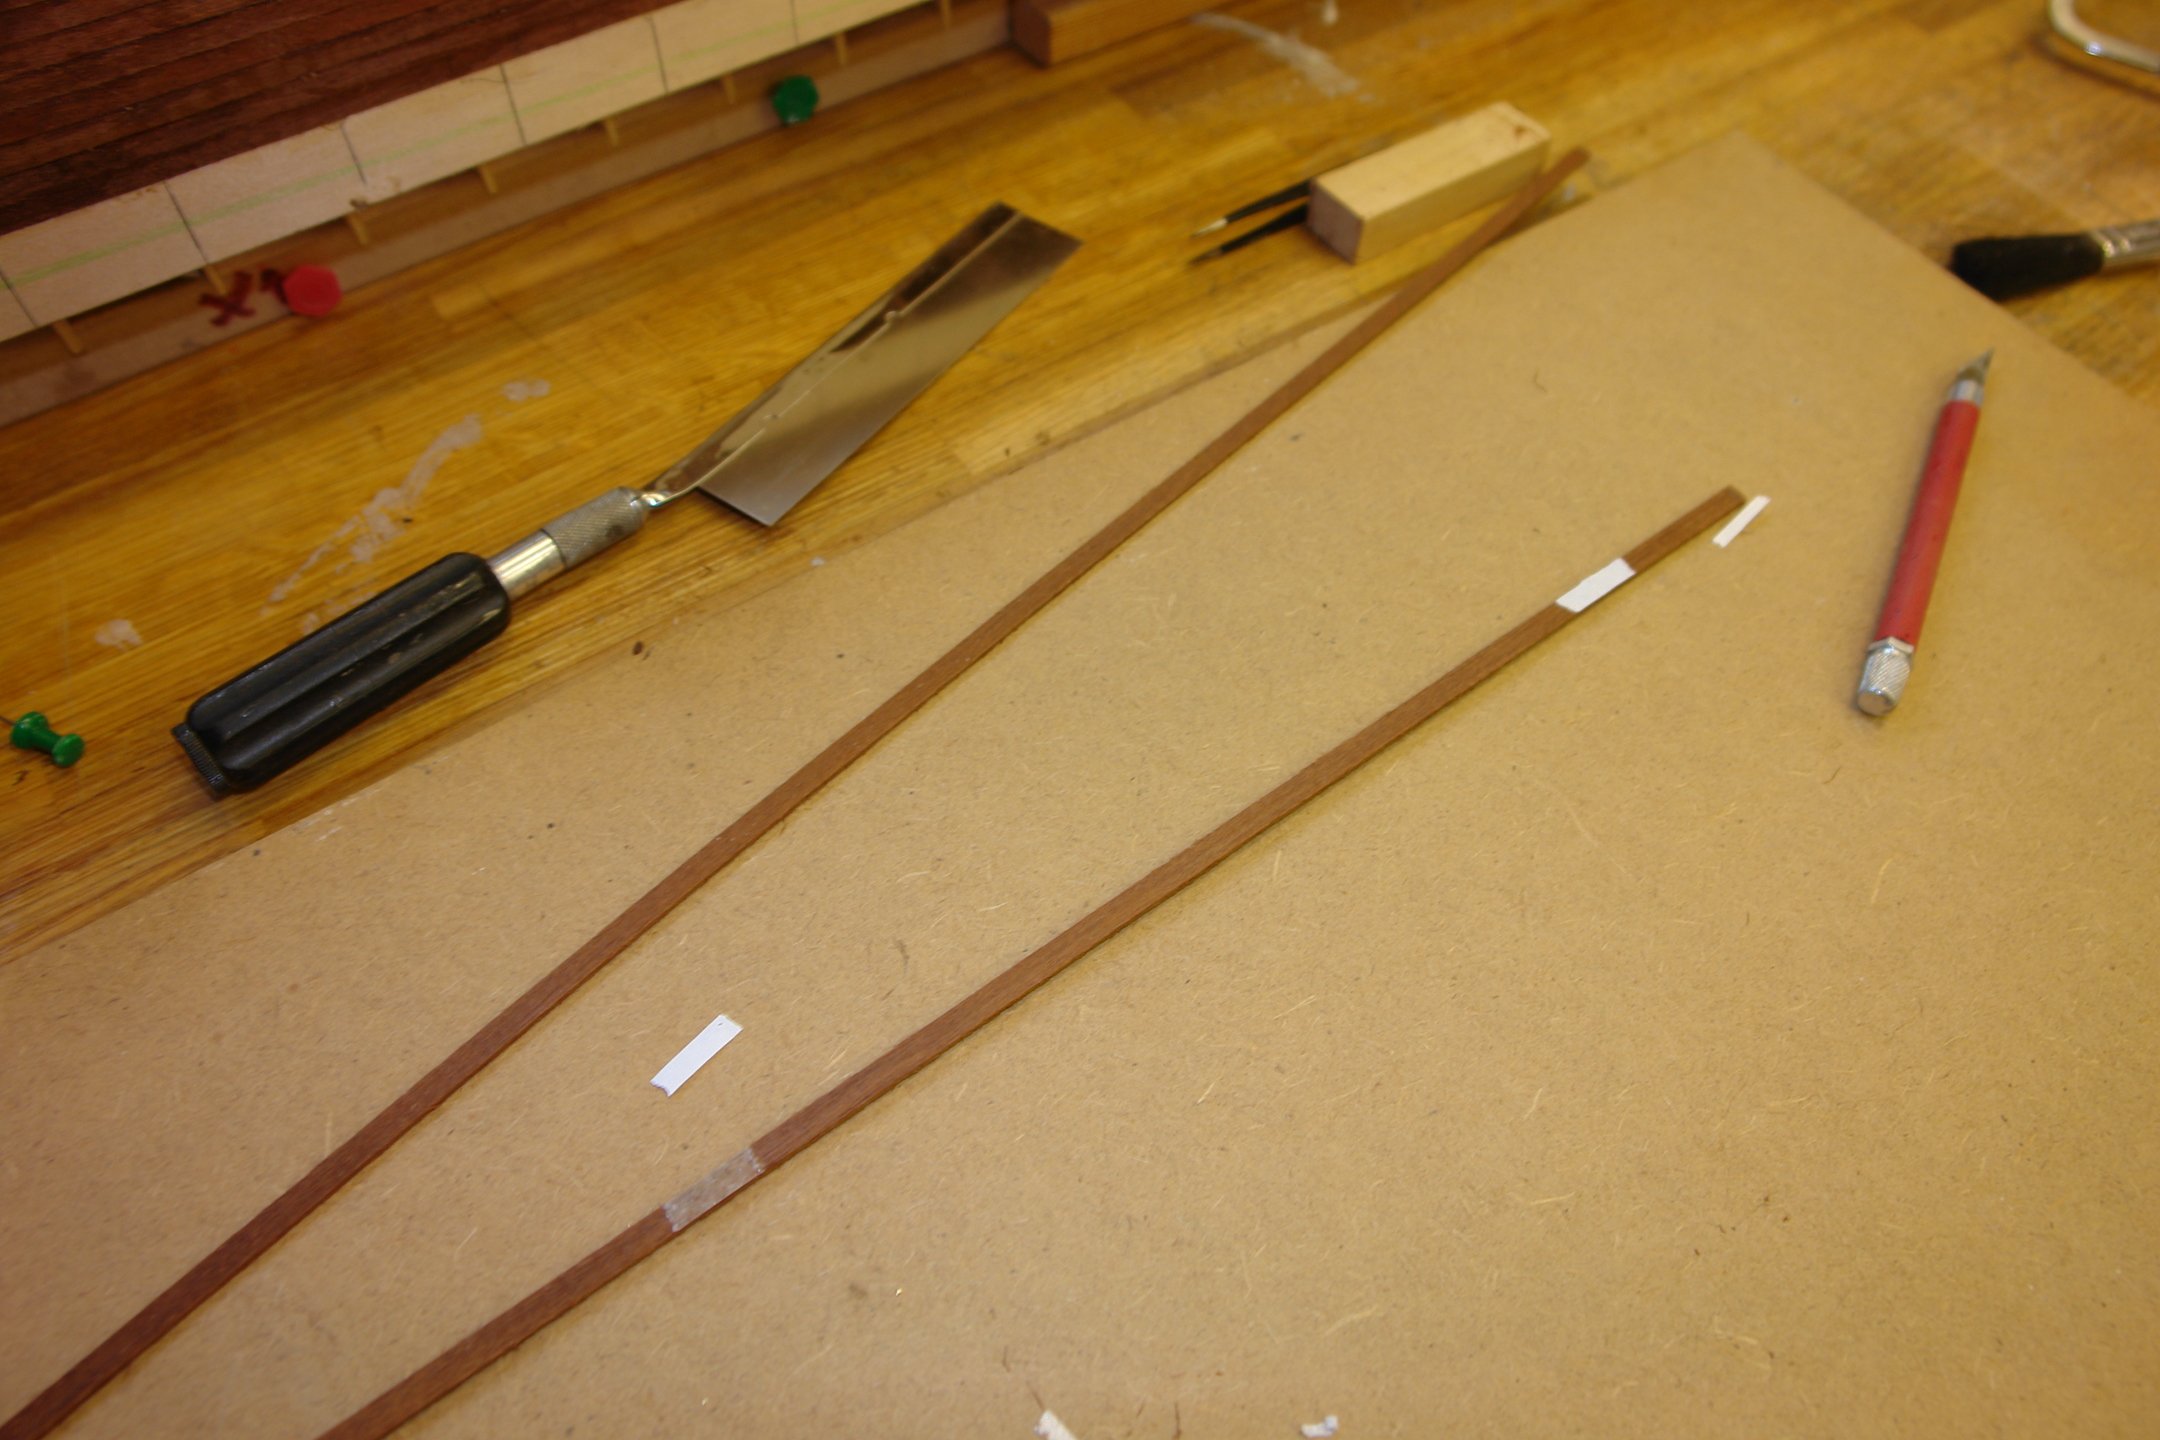
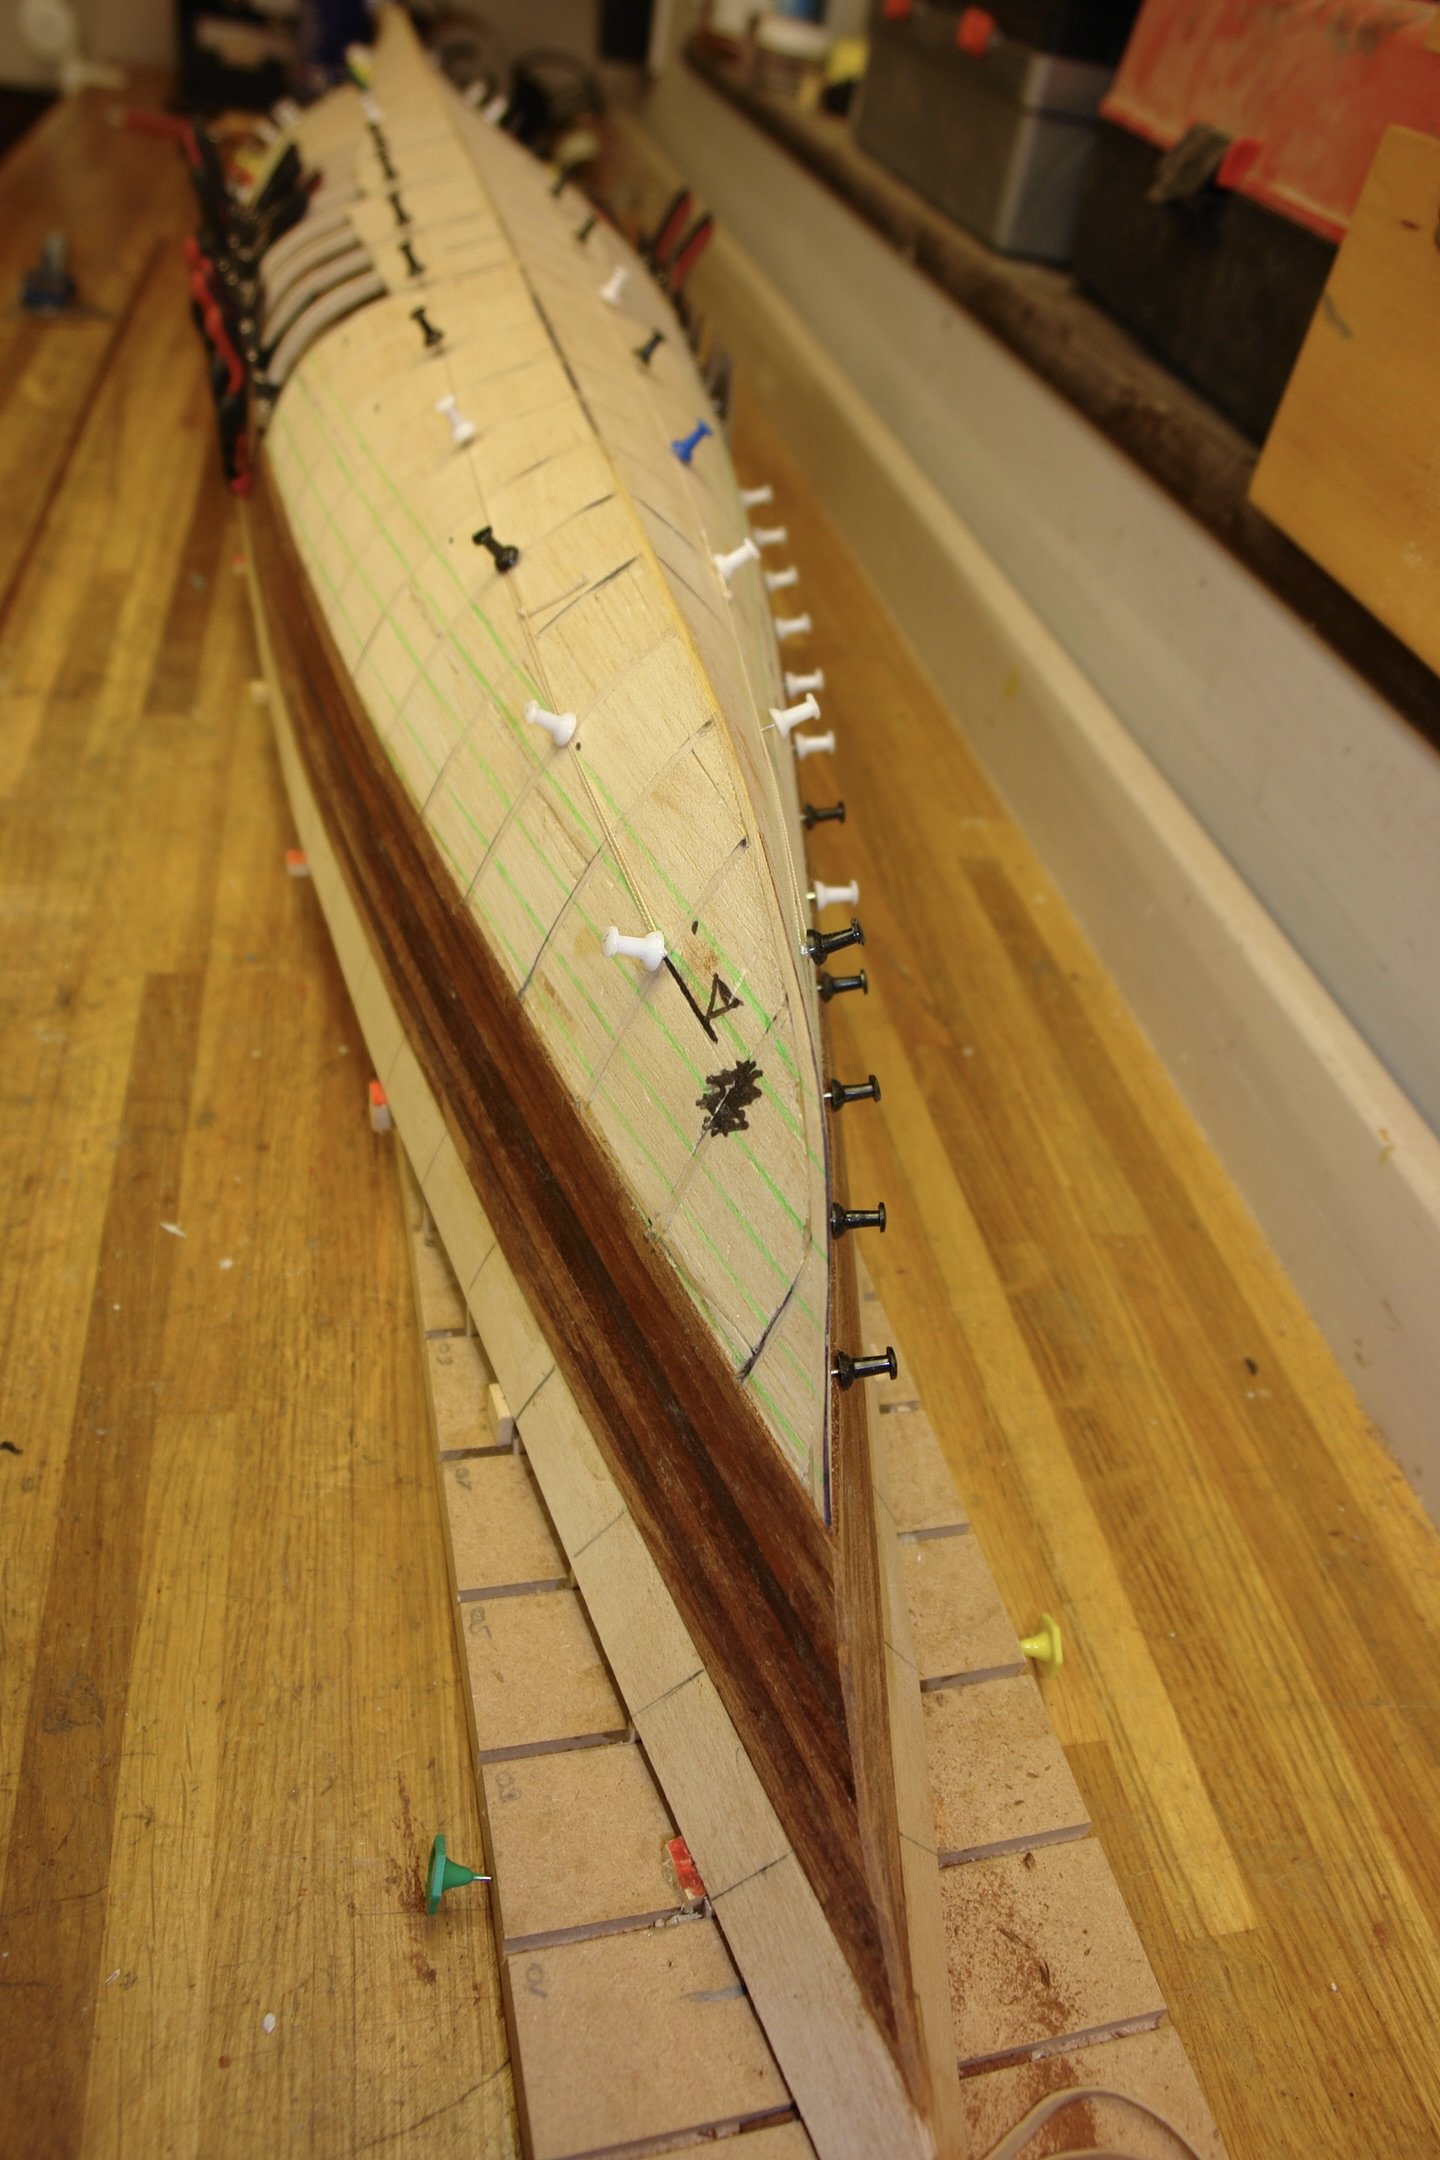
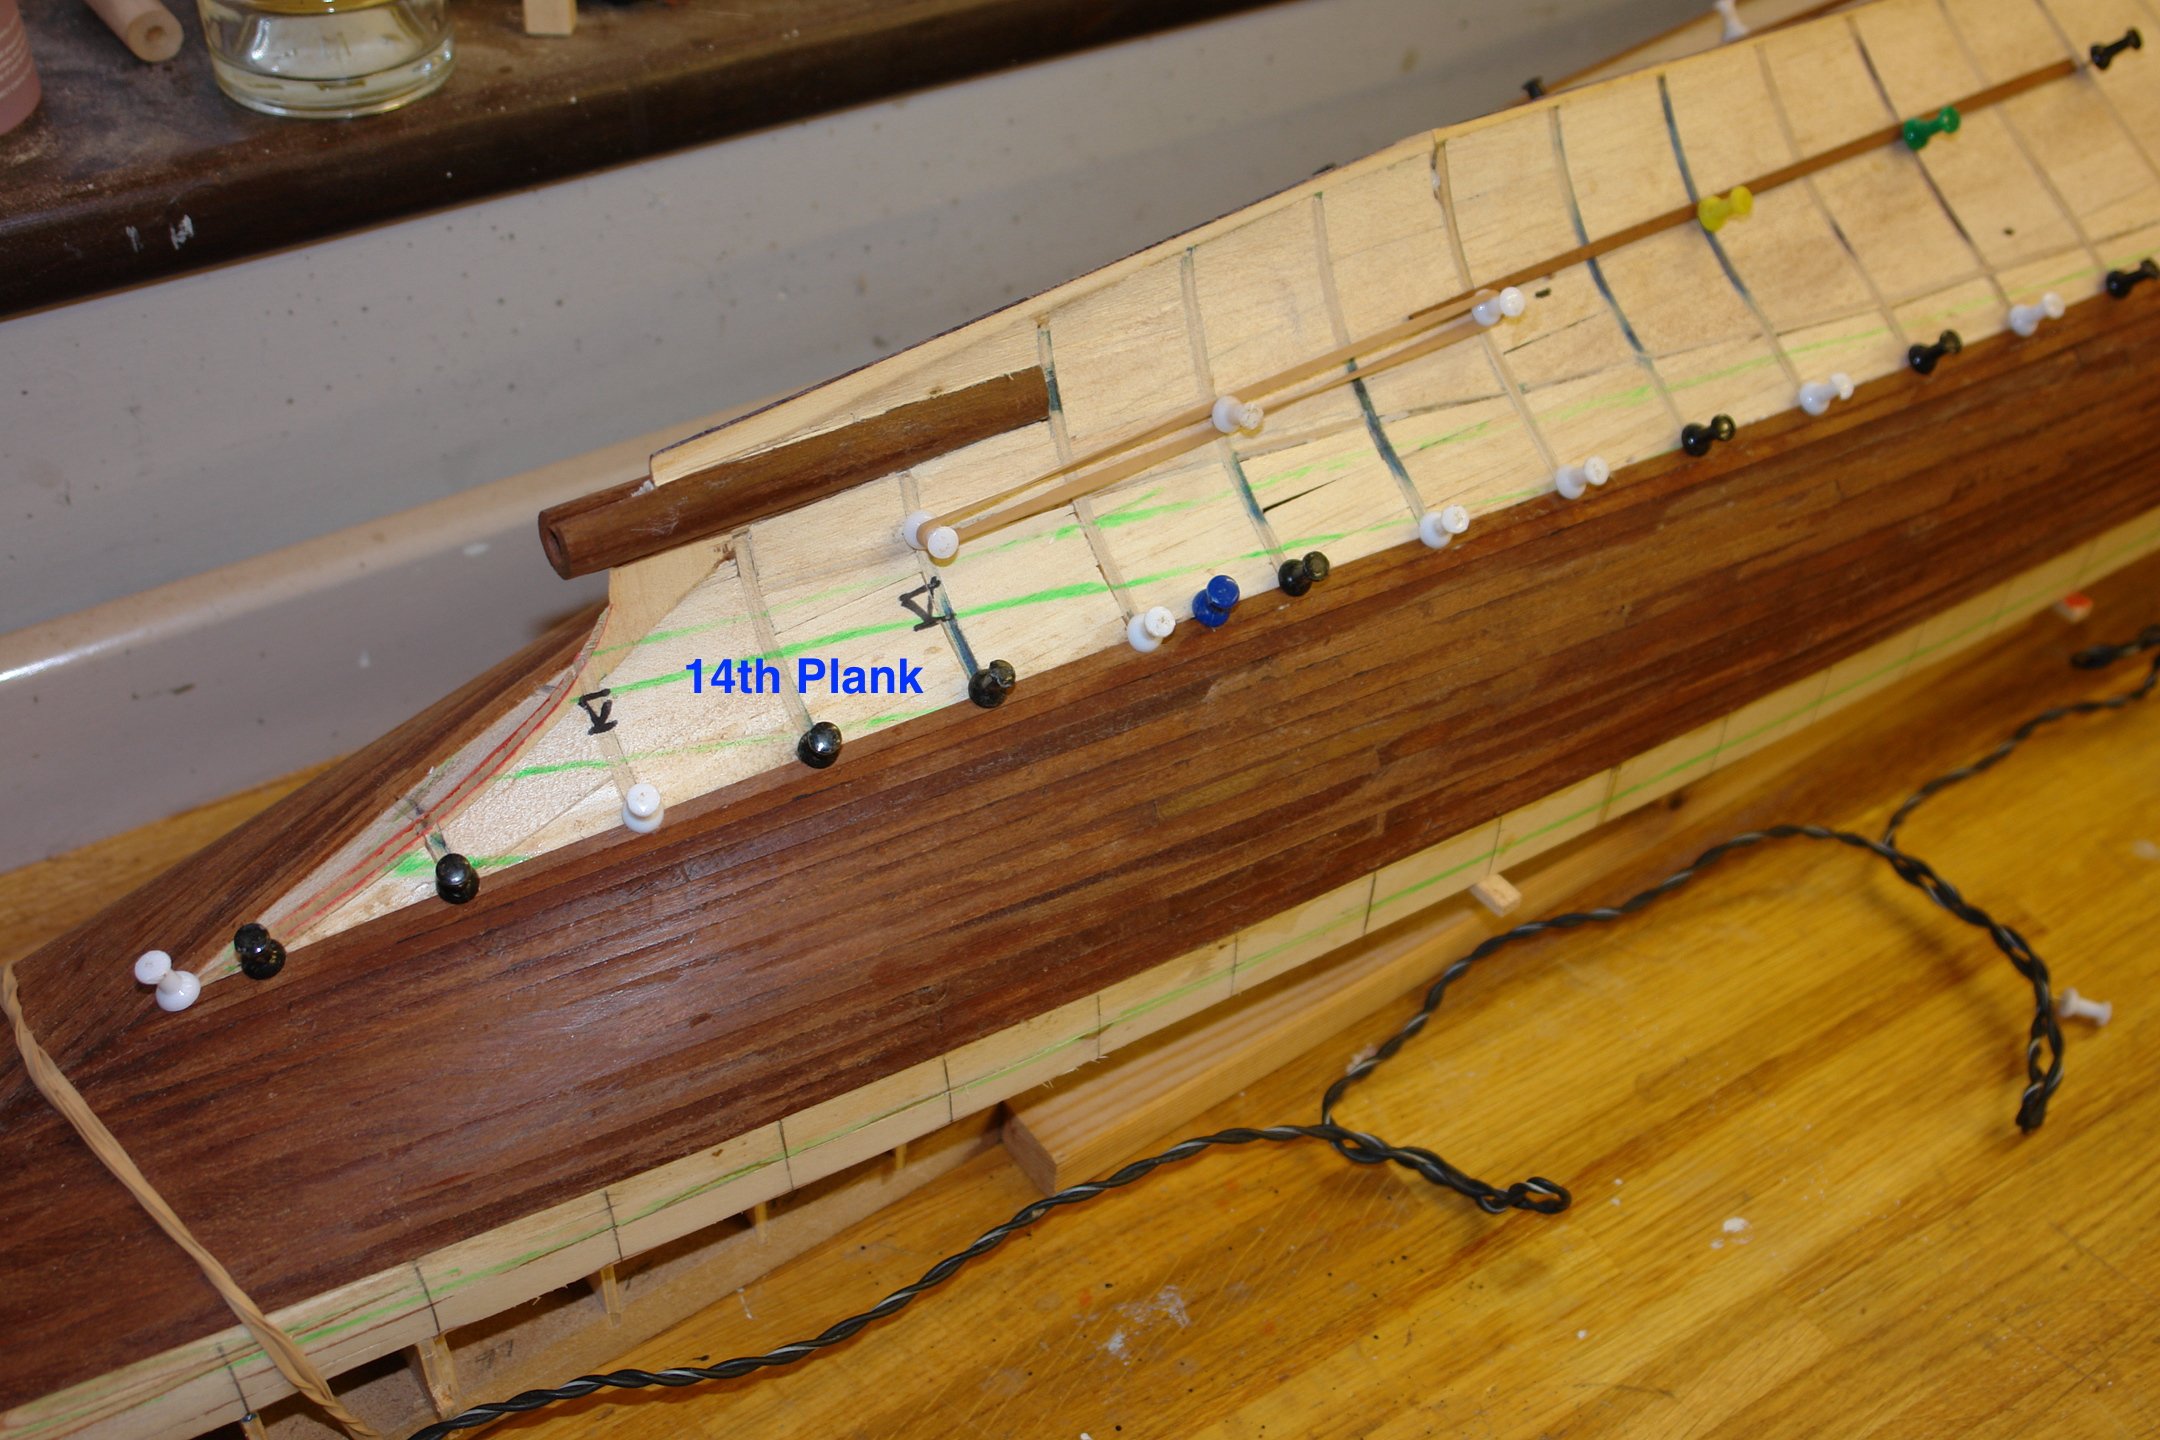
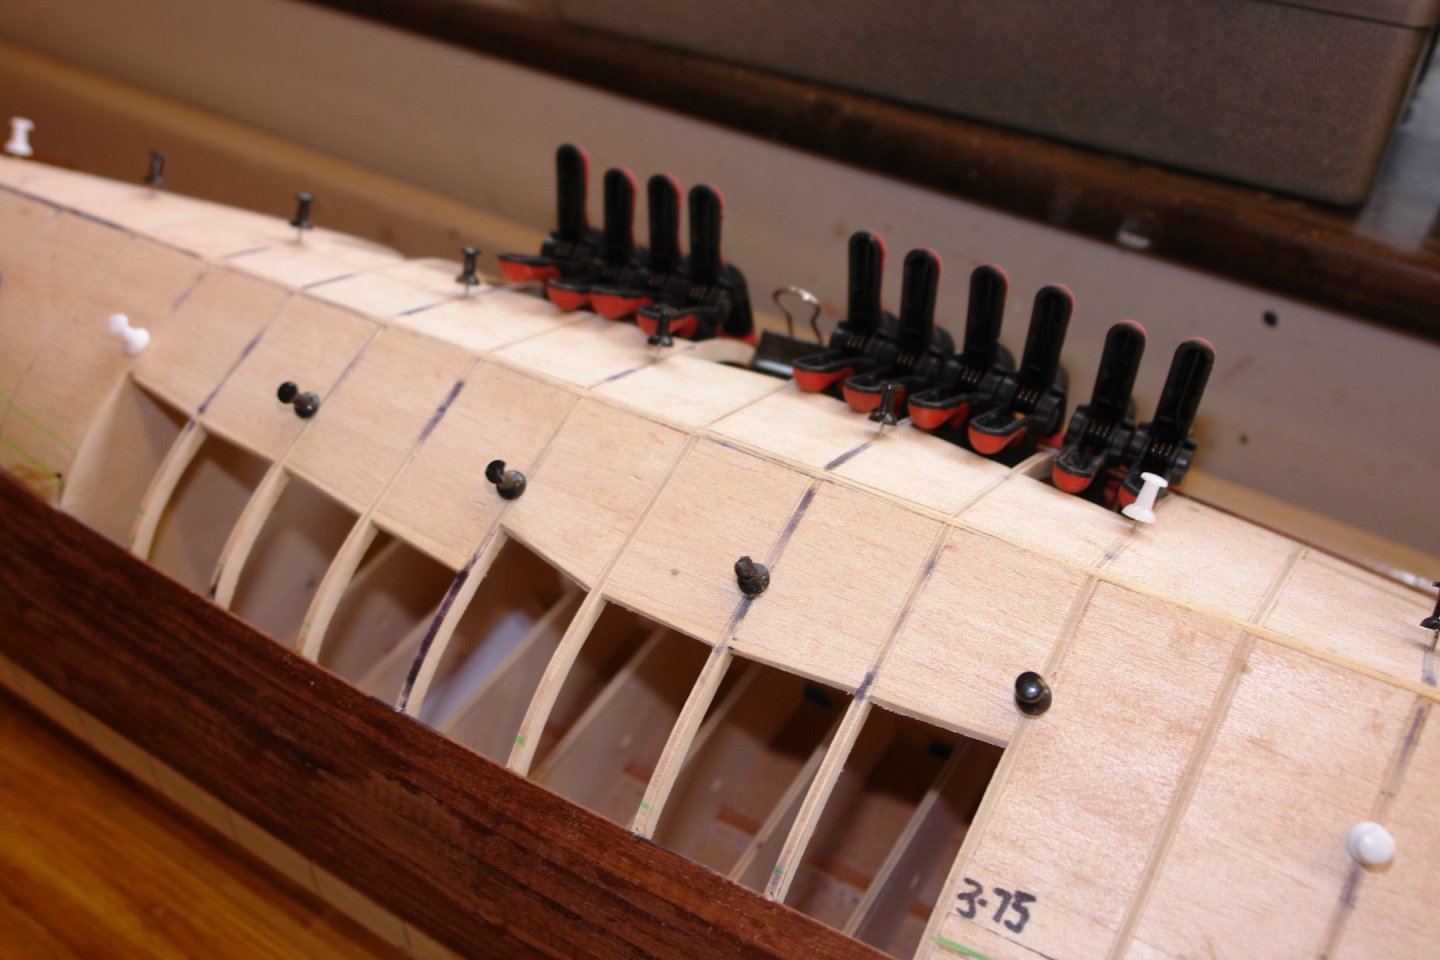
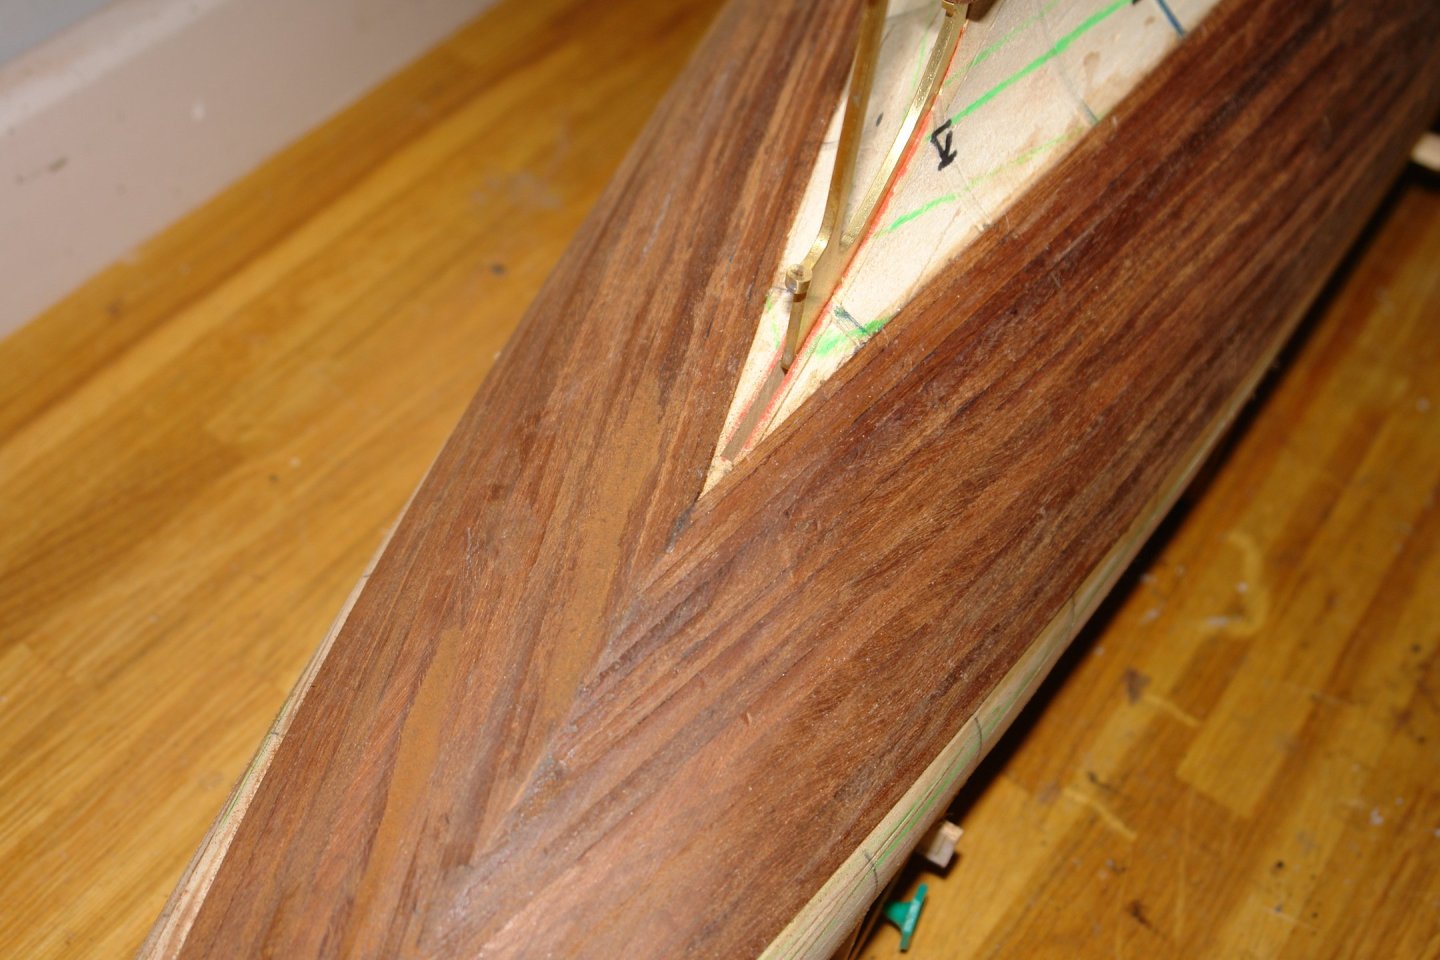
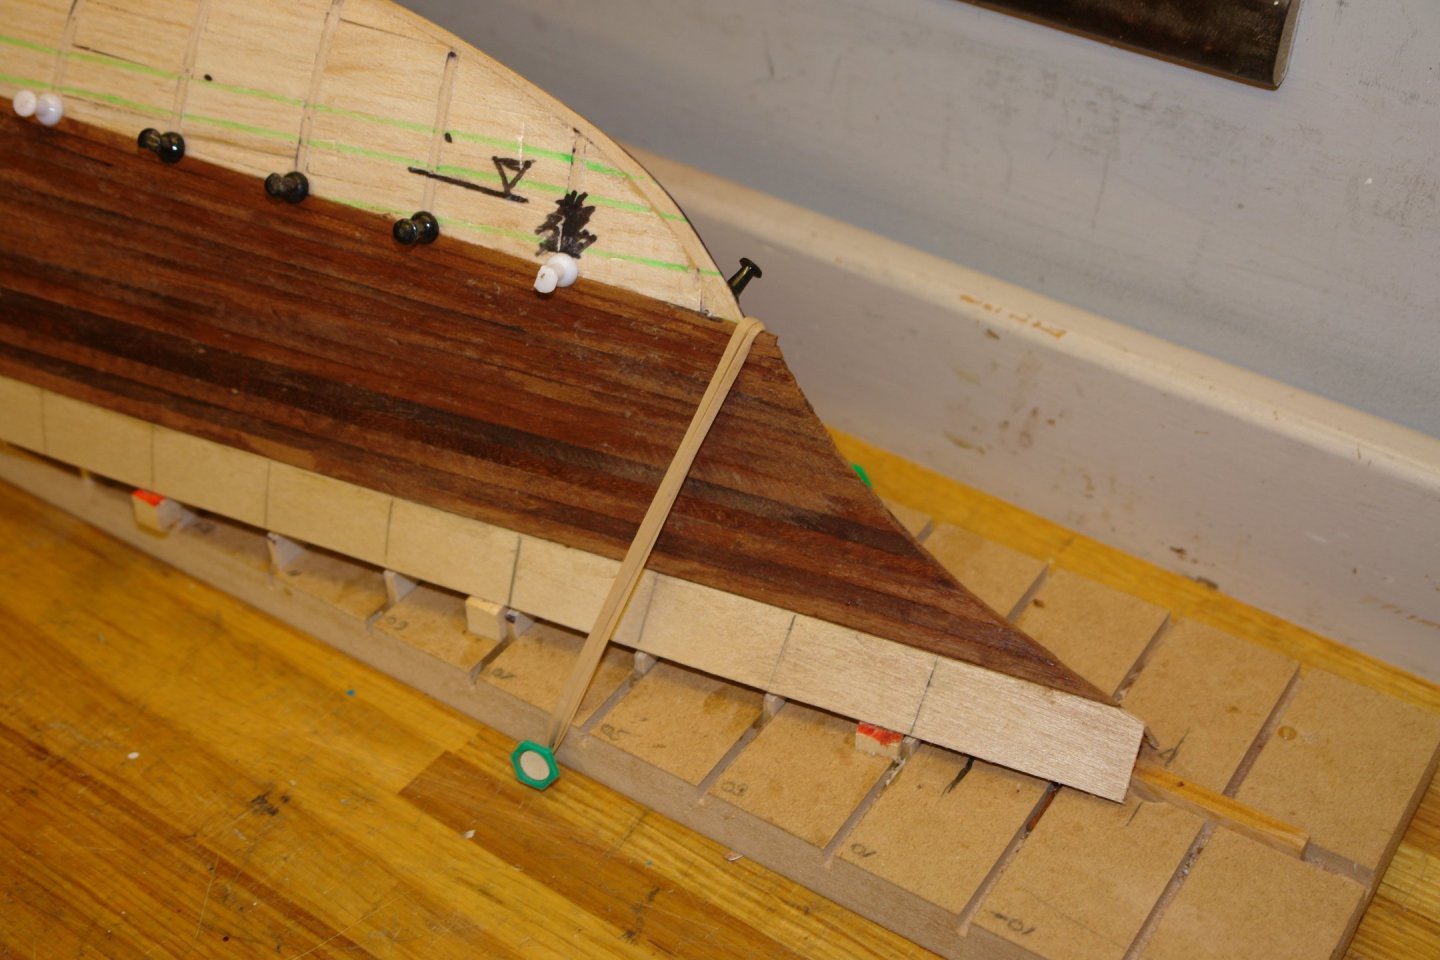
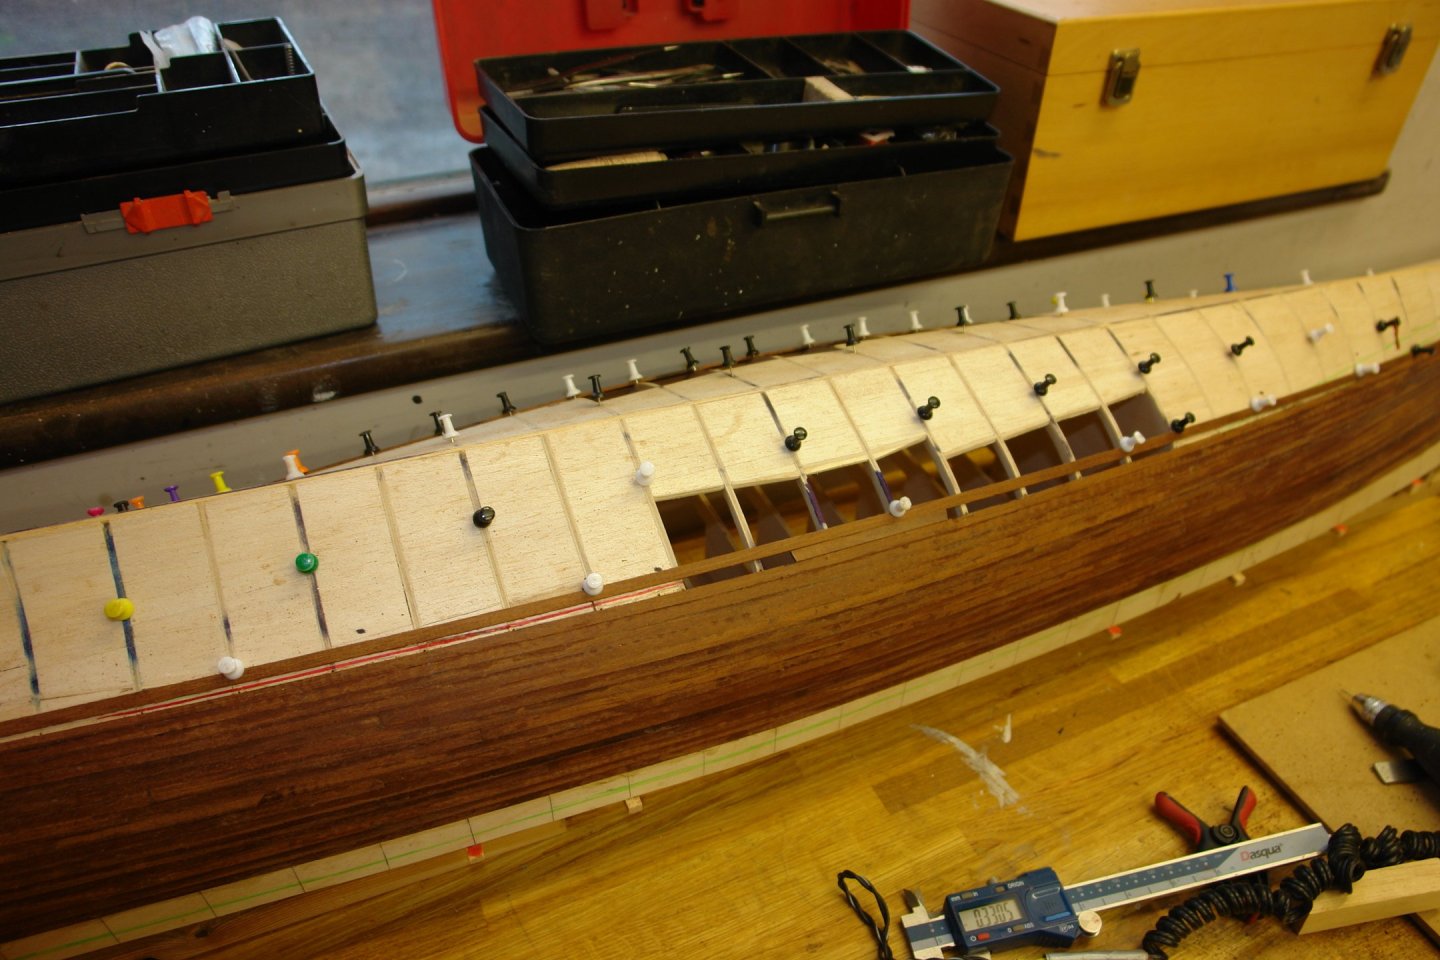
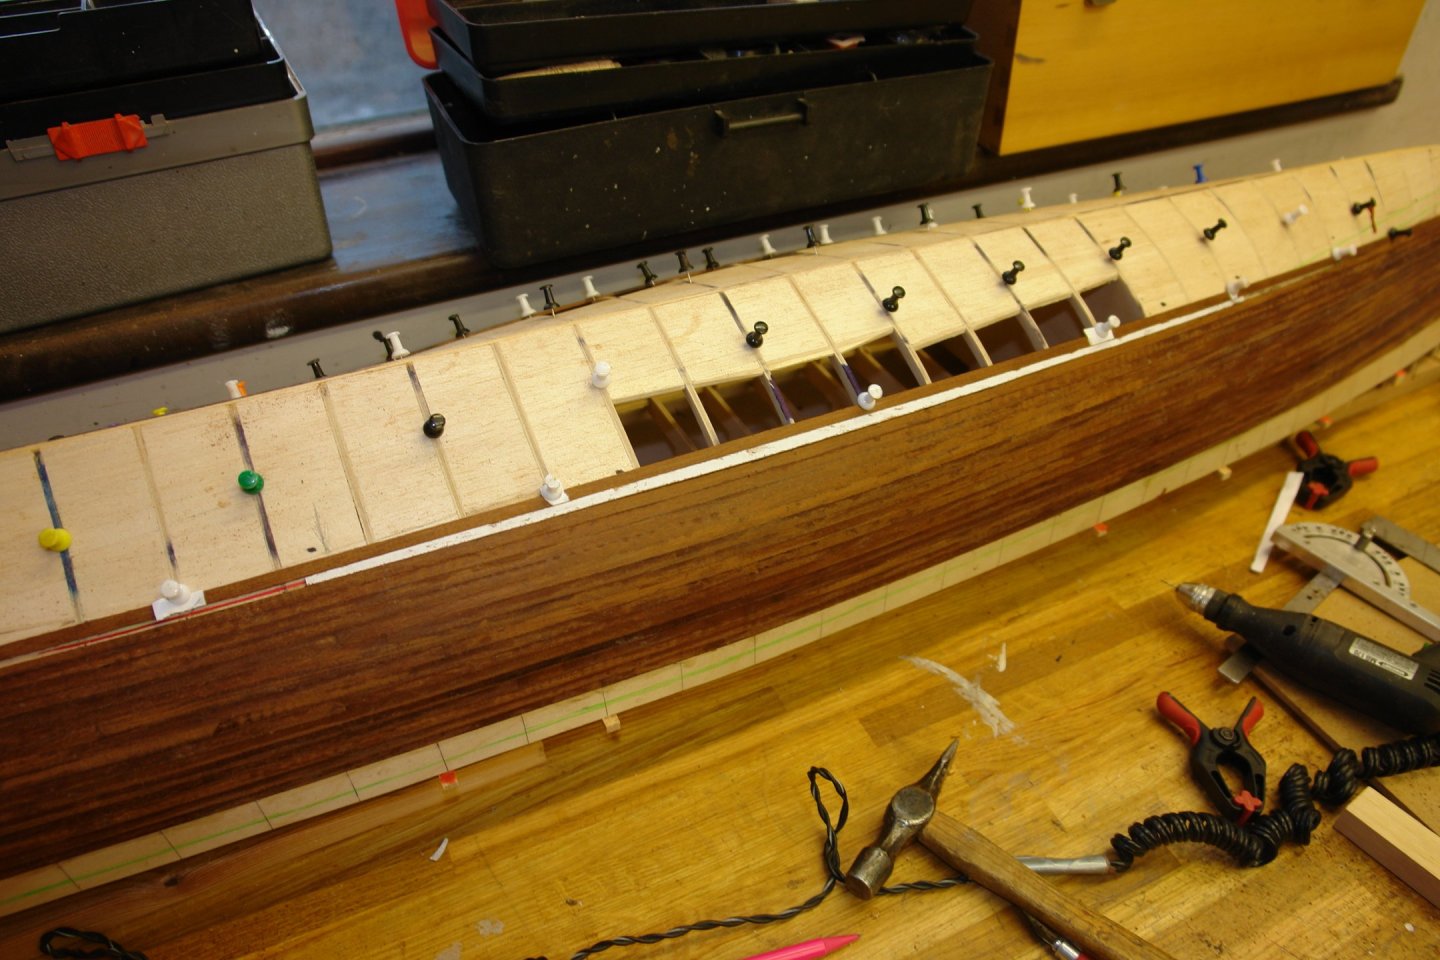
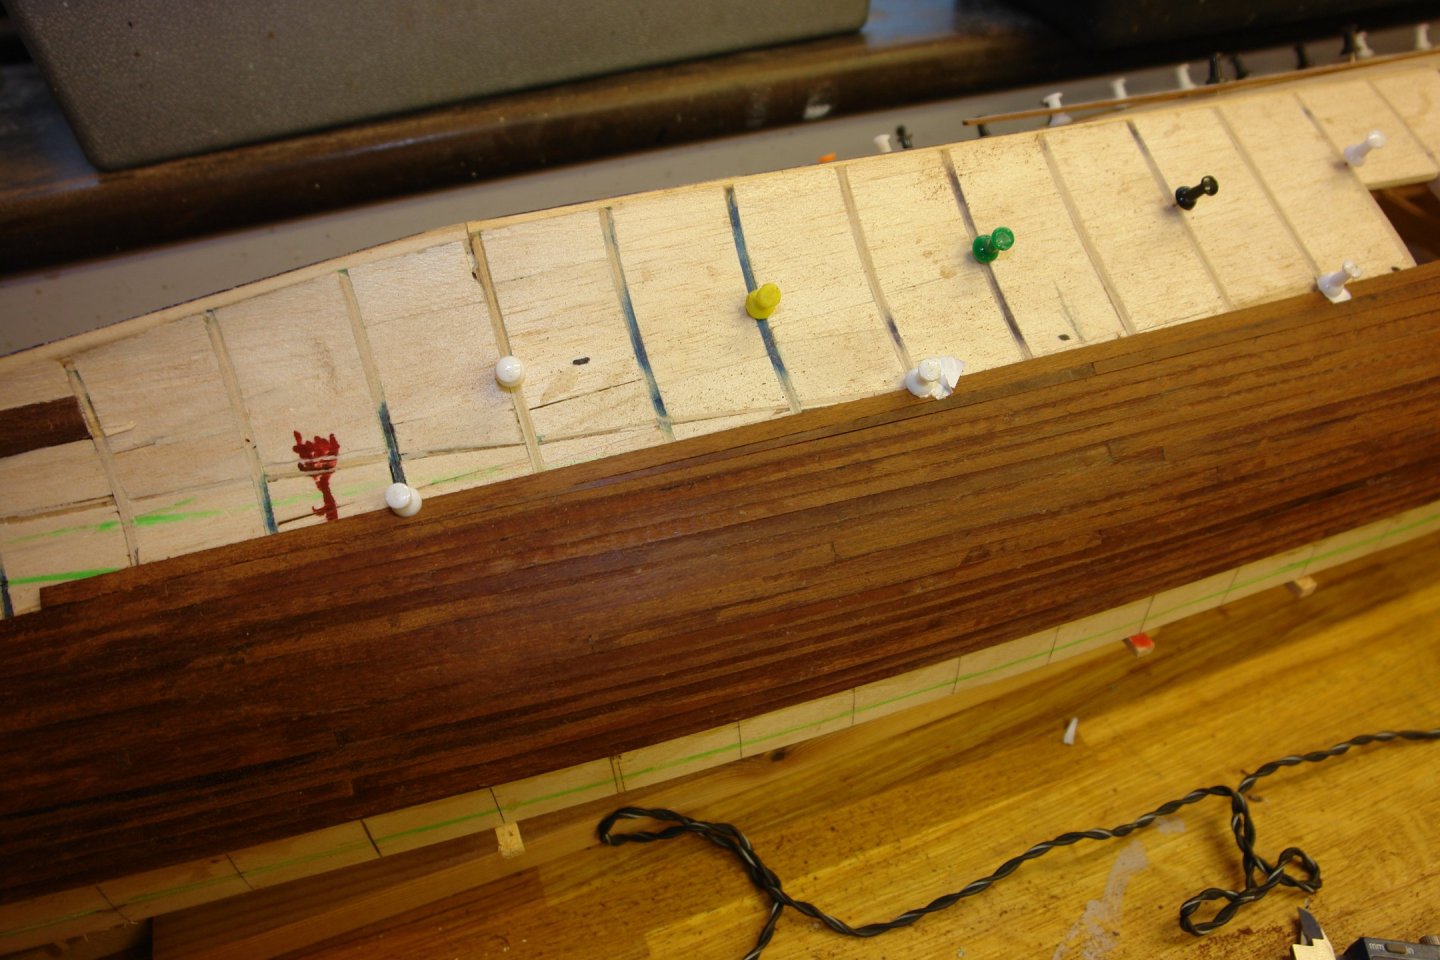
A Little more planker's progress. The tapered planks continue to go on. I got to the point where more 1/32" ply backing could be added behind the planks in the boiler room area. As the taper planks were fitted they began to fill central section of the hull relative to the bow and stern. The taper planking at the stern can be seen quite clearly in the following photo. Seven taper planks were in position at this stage. By the next photo I was starting to encroach on the area of the Skeg slot. This slot can't be closed up until I have permanently attached the skeg which I don't want to do at the moment. The next photo shows how the taper planking is going at the bow. At this stage I did some further checks on progress towards the string line and concluded that an additional filler plank needed to be inserted over the central section of the hull. This plank was full width at maximum beam tapering to nothing about 15" either side of maximum beam. In the next photo I have inserted a short section of full width plank at maximum beam and then temporarily installed a further long plank above this. Then over the gap in the planks I attached a piece of paper and with some graphite I did a "rubbing" before cutting out the required plank shape as a paper template. I then pasted the cut out piece of paper on to a pair of planks and shaped the planks to match the paper. One of the shaped planks with the attached template can be seen inserted below. The fine tapers at either end of the inserted planks were then cut and installed. The next plank was then glued in place. I am now back on track with closing the gap to the string line.


-
I can see that the discrepancies between the drawings and the photo is going to create some interest. I notice that the stern end of the shelter on the lower deck is curved in the second drawing and square on the 1st drawing, it is square on the 1922 photo and curved on the ship today. Lots of opportunity for research. Her lines are quite nice - will the planking be visible or masked by filler?
-
Nils, Veszett - I am probably missing something re the discussion of window material but I use acetate sheet which can be had in a range of thicknesses or if i want something thicker I use the cases for music CD's. Is there a particular reason for the alternatives you suggest?
- 299 replies
-
- 5
-
-
- lightship
- Feuerschiff Elbe 1
- (and 1 more)
-
I like your thinking.
-
Unfortunately over before I started. Impressive little diorama. Well done.
- 40 replies
-
- 2
-
-
- Okahumkee
- sternwheeler
- (and 1 more)
-
John - That seems to be a much improved arrangement - the sweep upward of the stern seems to present the rudder with a much improved flow path and the "Monkey rudder" has the advantage of the the increased water velocity being pushed on to it by the paddle. My original comment was to some extent prompted by the earlier piece on the pushing knees. I was imagining the difficulties of manoeuvring while also pushing a barge. Eric -Yes that's the best recommendation.
-
Beauty is in the eye of the beholder. I too thought she would be an ugly ducking but she is turning into something of a swan.
- 128 replies
-
- 3
-
-

-
- zulu
- sternwheeler
- (and 1 more)
-
I am excited by this one and looking forward to seeing her progress. Are you planning to do much internal detail?
-
Exactly so Andy. The string line is currently within 1/4" of being parallel to the keel. Close enough not to worry at the moment but I will keep an eye on it as I get closer. Thank you John, Pat, Andy and druxey for the feedback.
-
They are a nicely detailed set of plans Eric. I guess the rudders were effective but they do look quite compromised being behind a stern which rises sharply and is flat across the beam.
-
Yes - that looks much better John.
-
Valeriy. They look smart. Presumably you aren't planning to paint them?
-
Druxey Yes - these classic yachts had beautiful lines which translates into flowing curves and gentle changes in curvature.
-
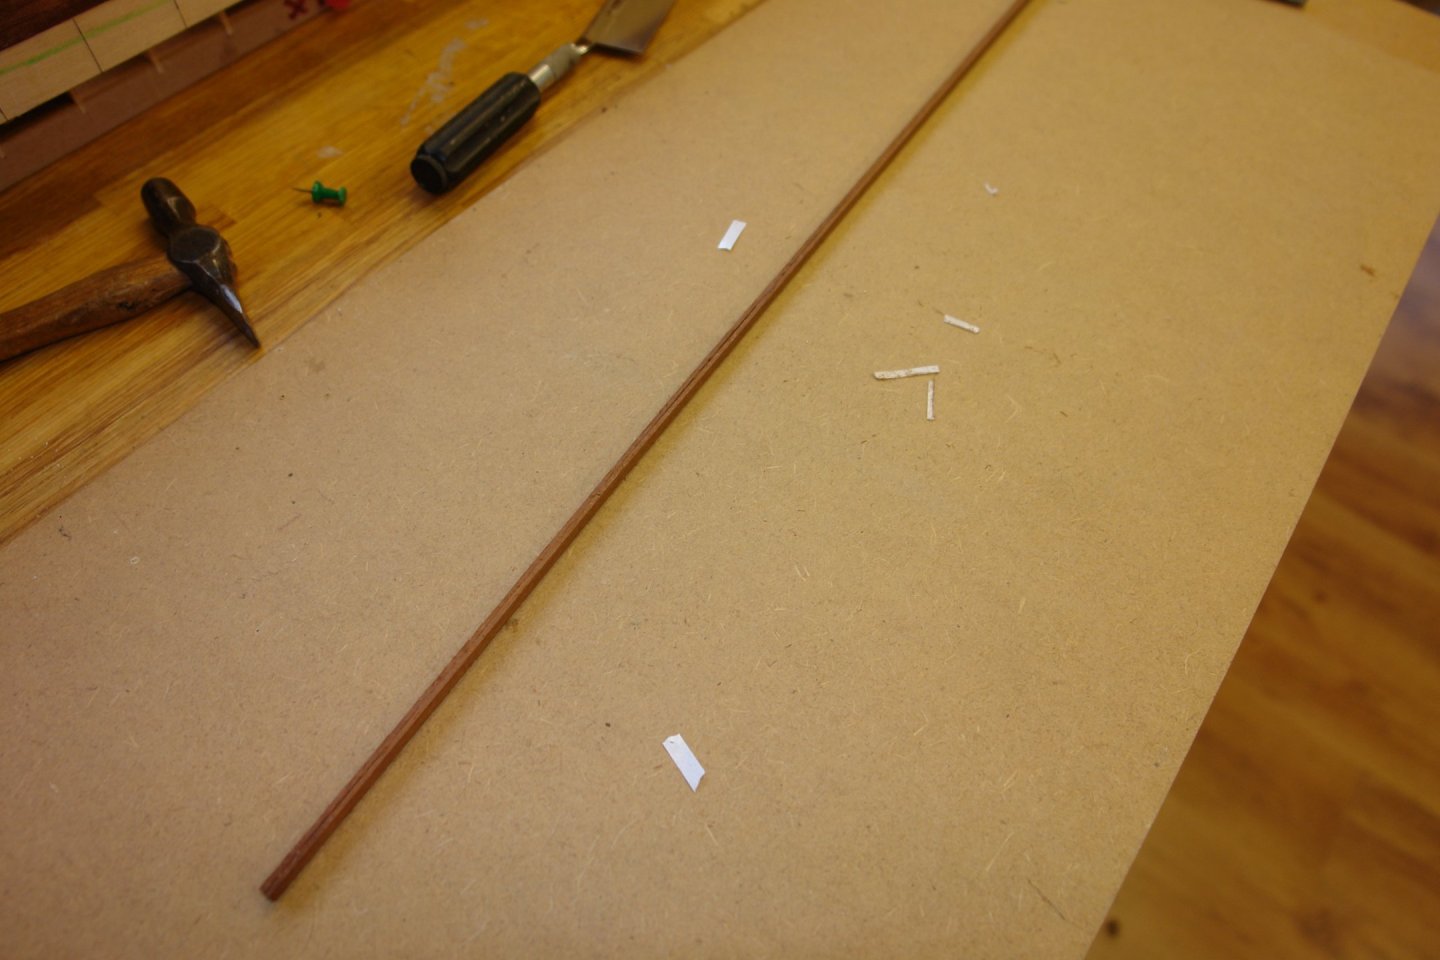
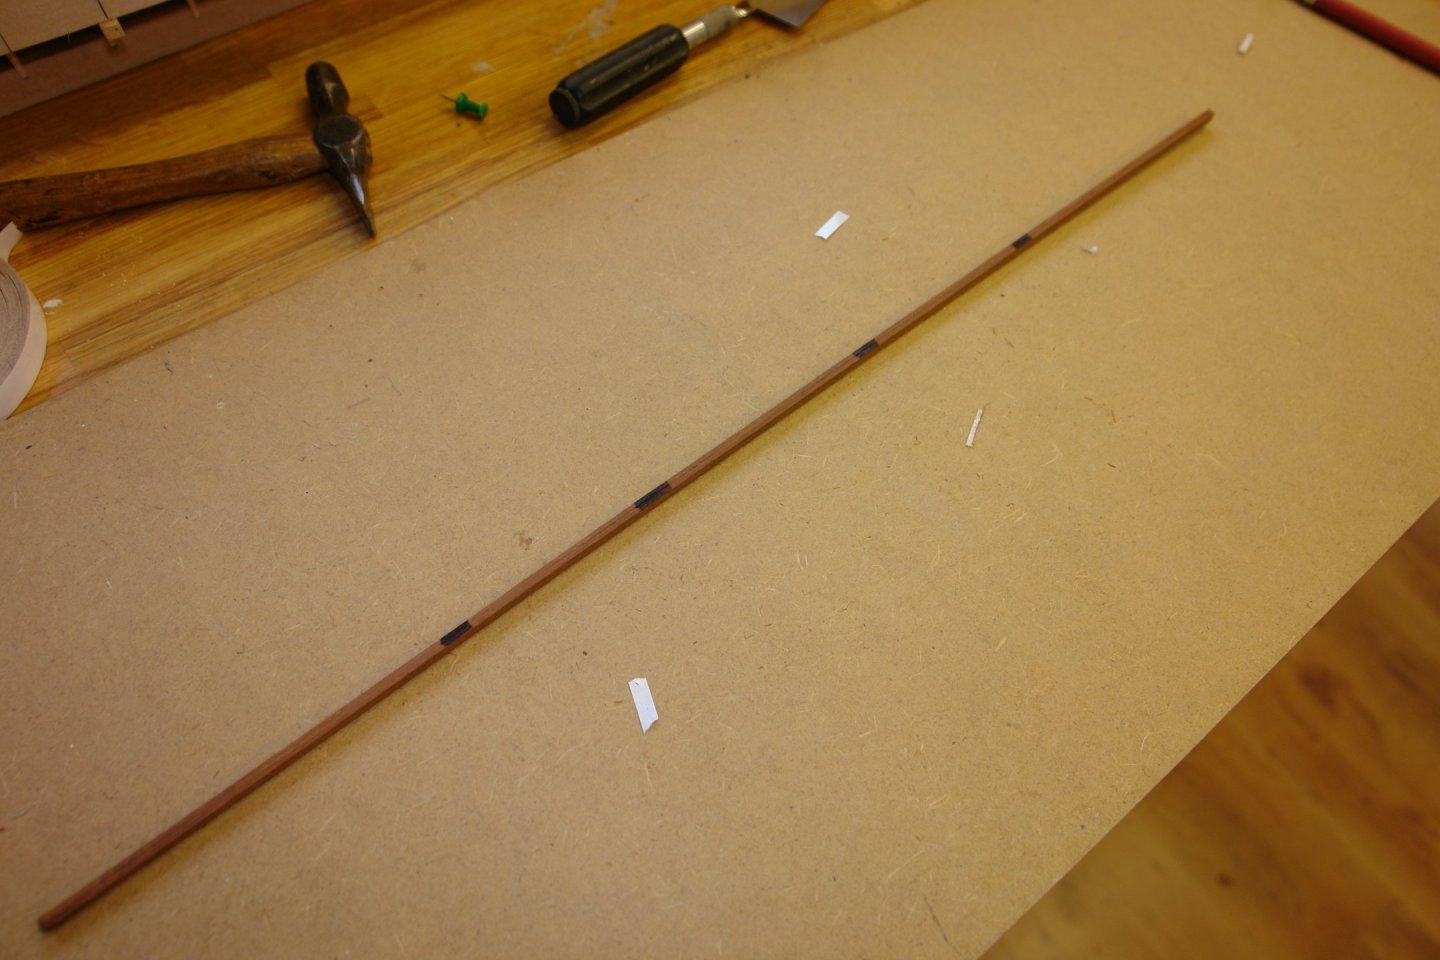
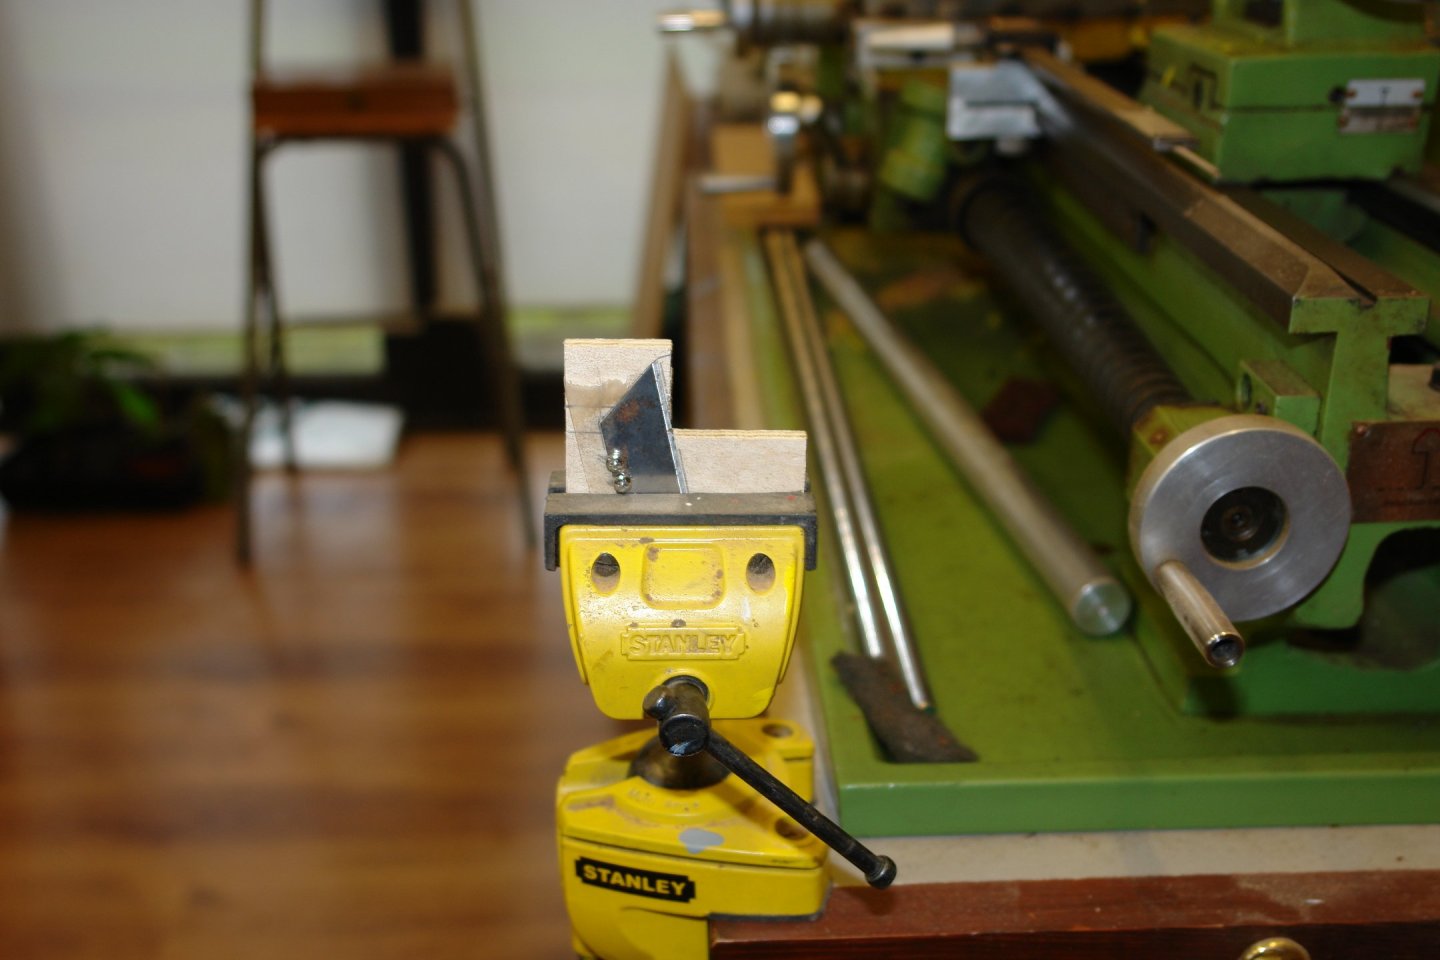
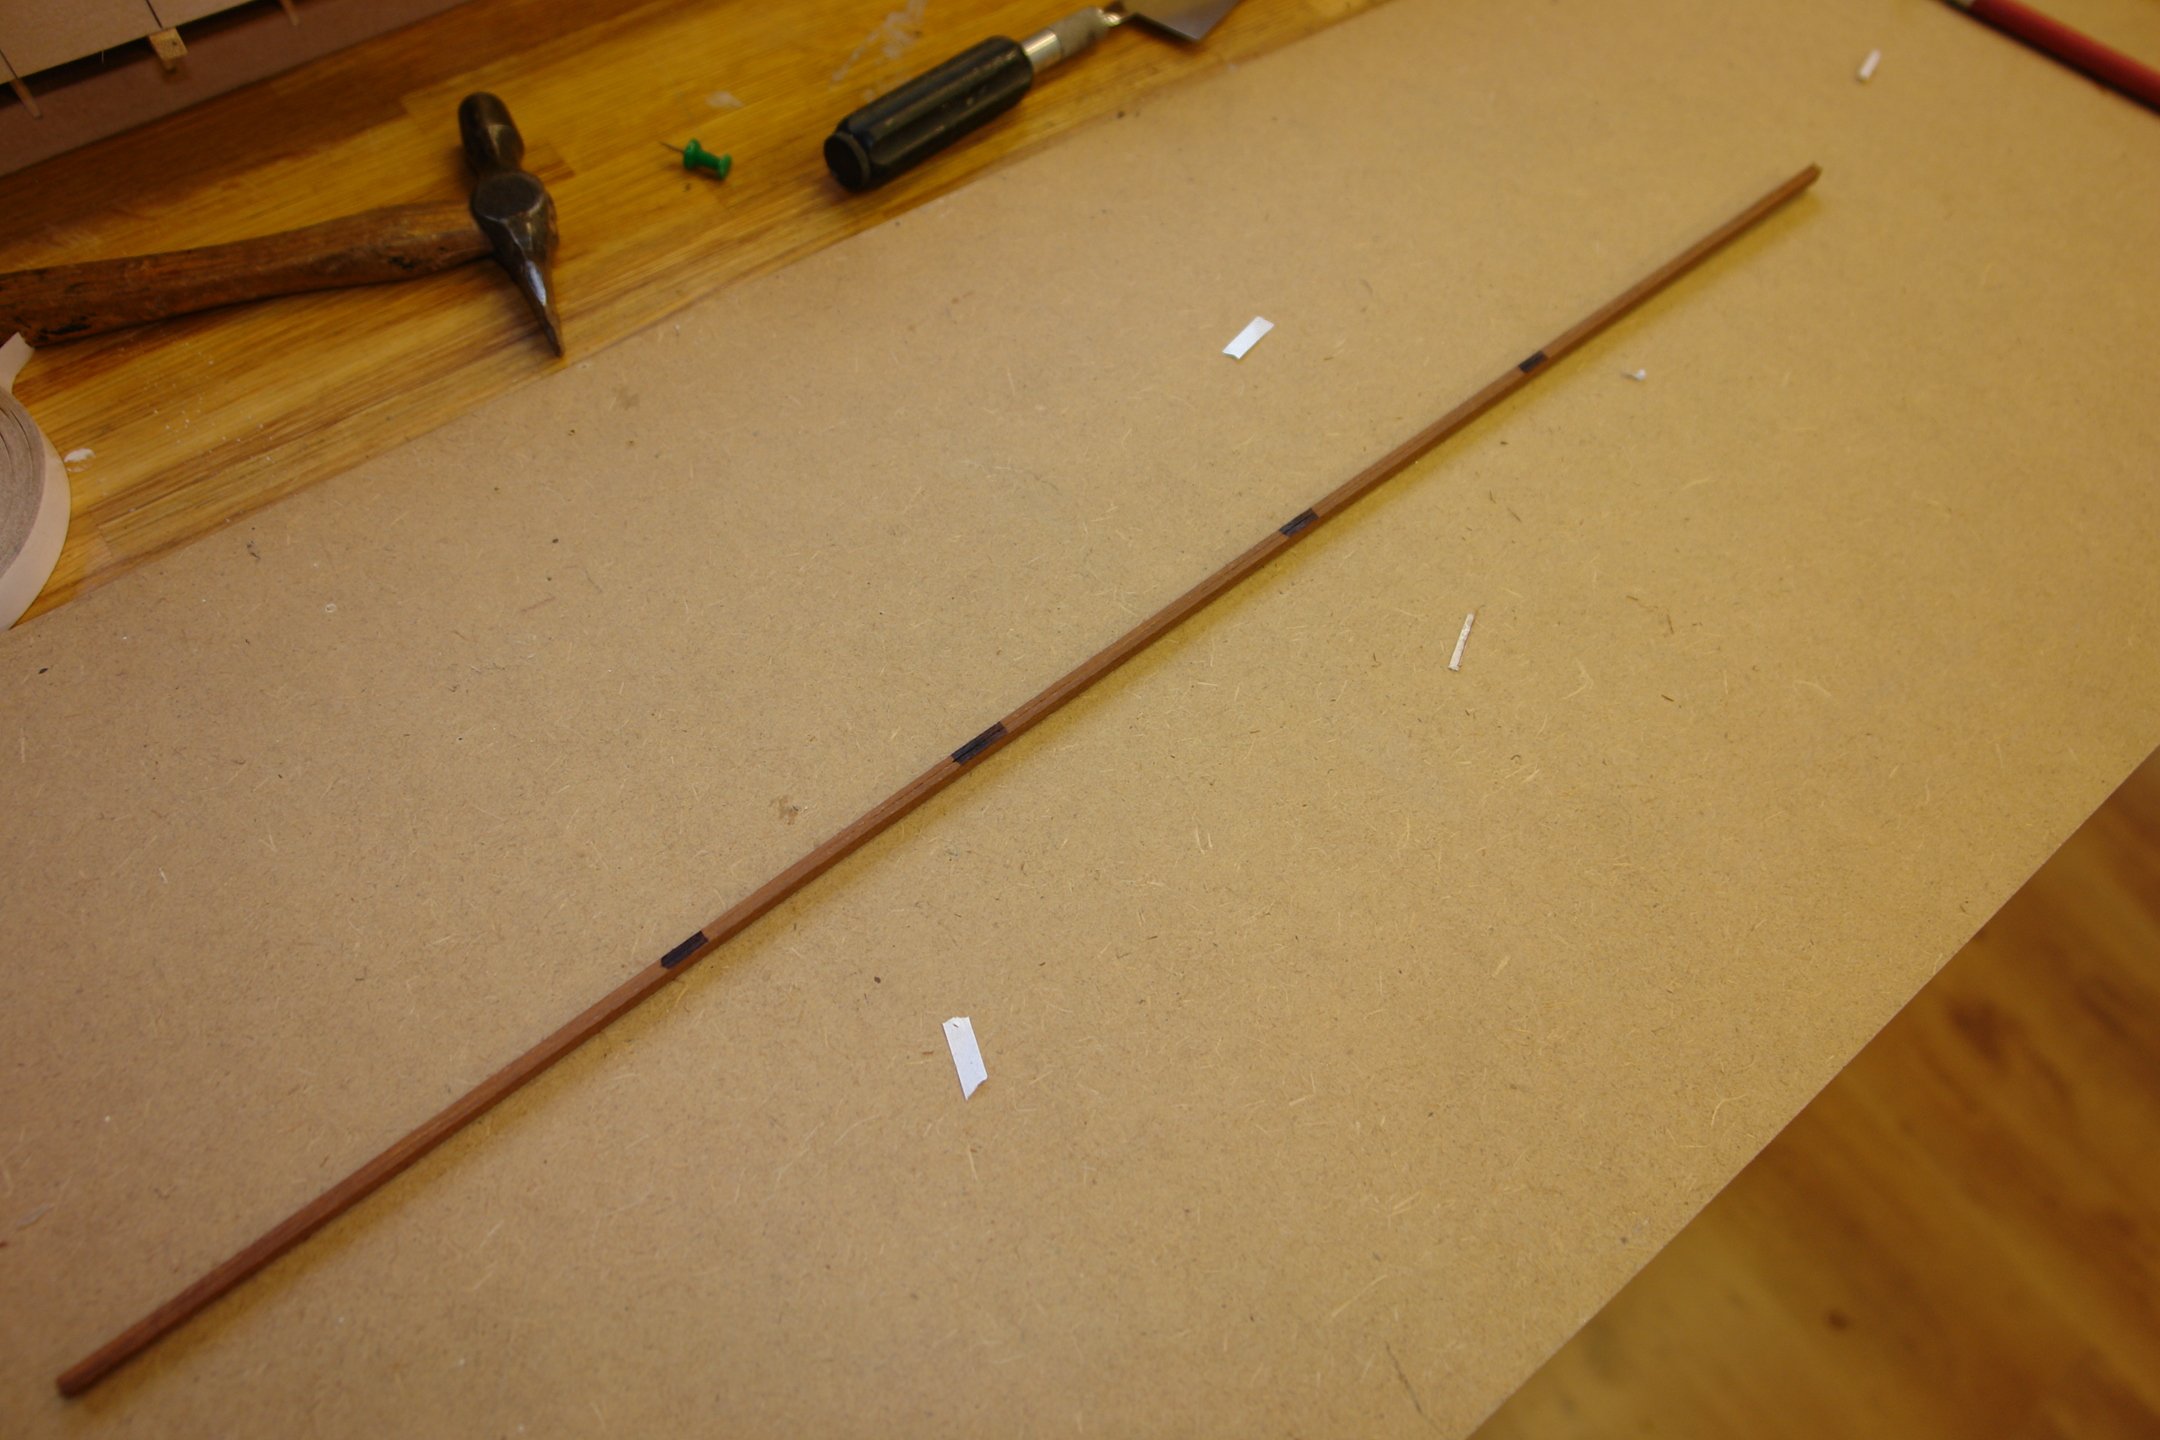
Thank you John and mikegr. And so onto the taper planks. Because I want both sides of the hull symmetrical I set about making the taper planks as matched pairs. Two parallel planks were taped together using double sided sellotape. I then marked the "unshaped" edge of the joined planks so that I would retain the reference orientation of the planks on each side of the hull. The planks were then mounted in my "plank clamping vice" and the edges were reduced. It is probably not clear from the photos but a reference taper strip is glued on to the jaws of the "plank vice" so that I can follow this reference when creating the taper. Additionally the clamping vice has inch subdivisions along its length. By moving the end of the planks to different positions along the vice I can create different widths of plank. Currently I am reducing the planks to 2/3 width at the stern and 1/2 width at the bow as per the measurements in the previous post. The following shots are just a sequence of taper planks going on to the hull. For the moment the taper planks seem to be working and I am not having to force bend them in the width direction. Consequently I am not experiencing and "Clinkering". I am bevelling one edge of each plank as it goes on to the hull to keep adjacent planks abutted tightly. I did make a small tool to assist with the bevelling. However in the end I found that it was just a easy to shape the plank edges with a small sanding block and the tool was consigned to the bin. So it was that I progressed steady to plank 14. I am finding the pins on the "string" line are really convenient for storing the planks prior to fitting. You can just see one parked on the opposite side of the hull in the next photo. More planking fun to continue next week.