KeithAug
-
Posts
3,980 -
Joined
-
Last visited
Content Type
Profiles
Forums
Gallery
Events
Everything posted by KeithAug
-
 Ole Bob seems to be on the brink of taking over a certain build log and becoming a valued mentor for a lot of builders. Go go Bob.
 -
I hope Bob has a long and rewarding retirement. Does he have a bucket list? Maybe he would like a world cruise or a trip across the Great Lakes and down the St Lawrence to the sea. Does he have a canoe?
-
Gary - thank you for the bunker plate tutorial. I am sure that I will make use of that technique at some time. You paint work is up to its usual excellent standard.
-
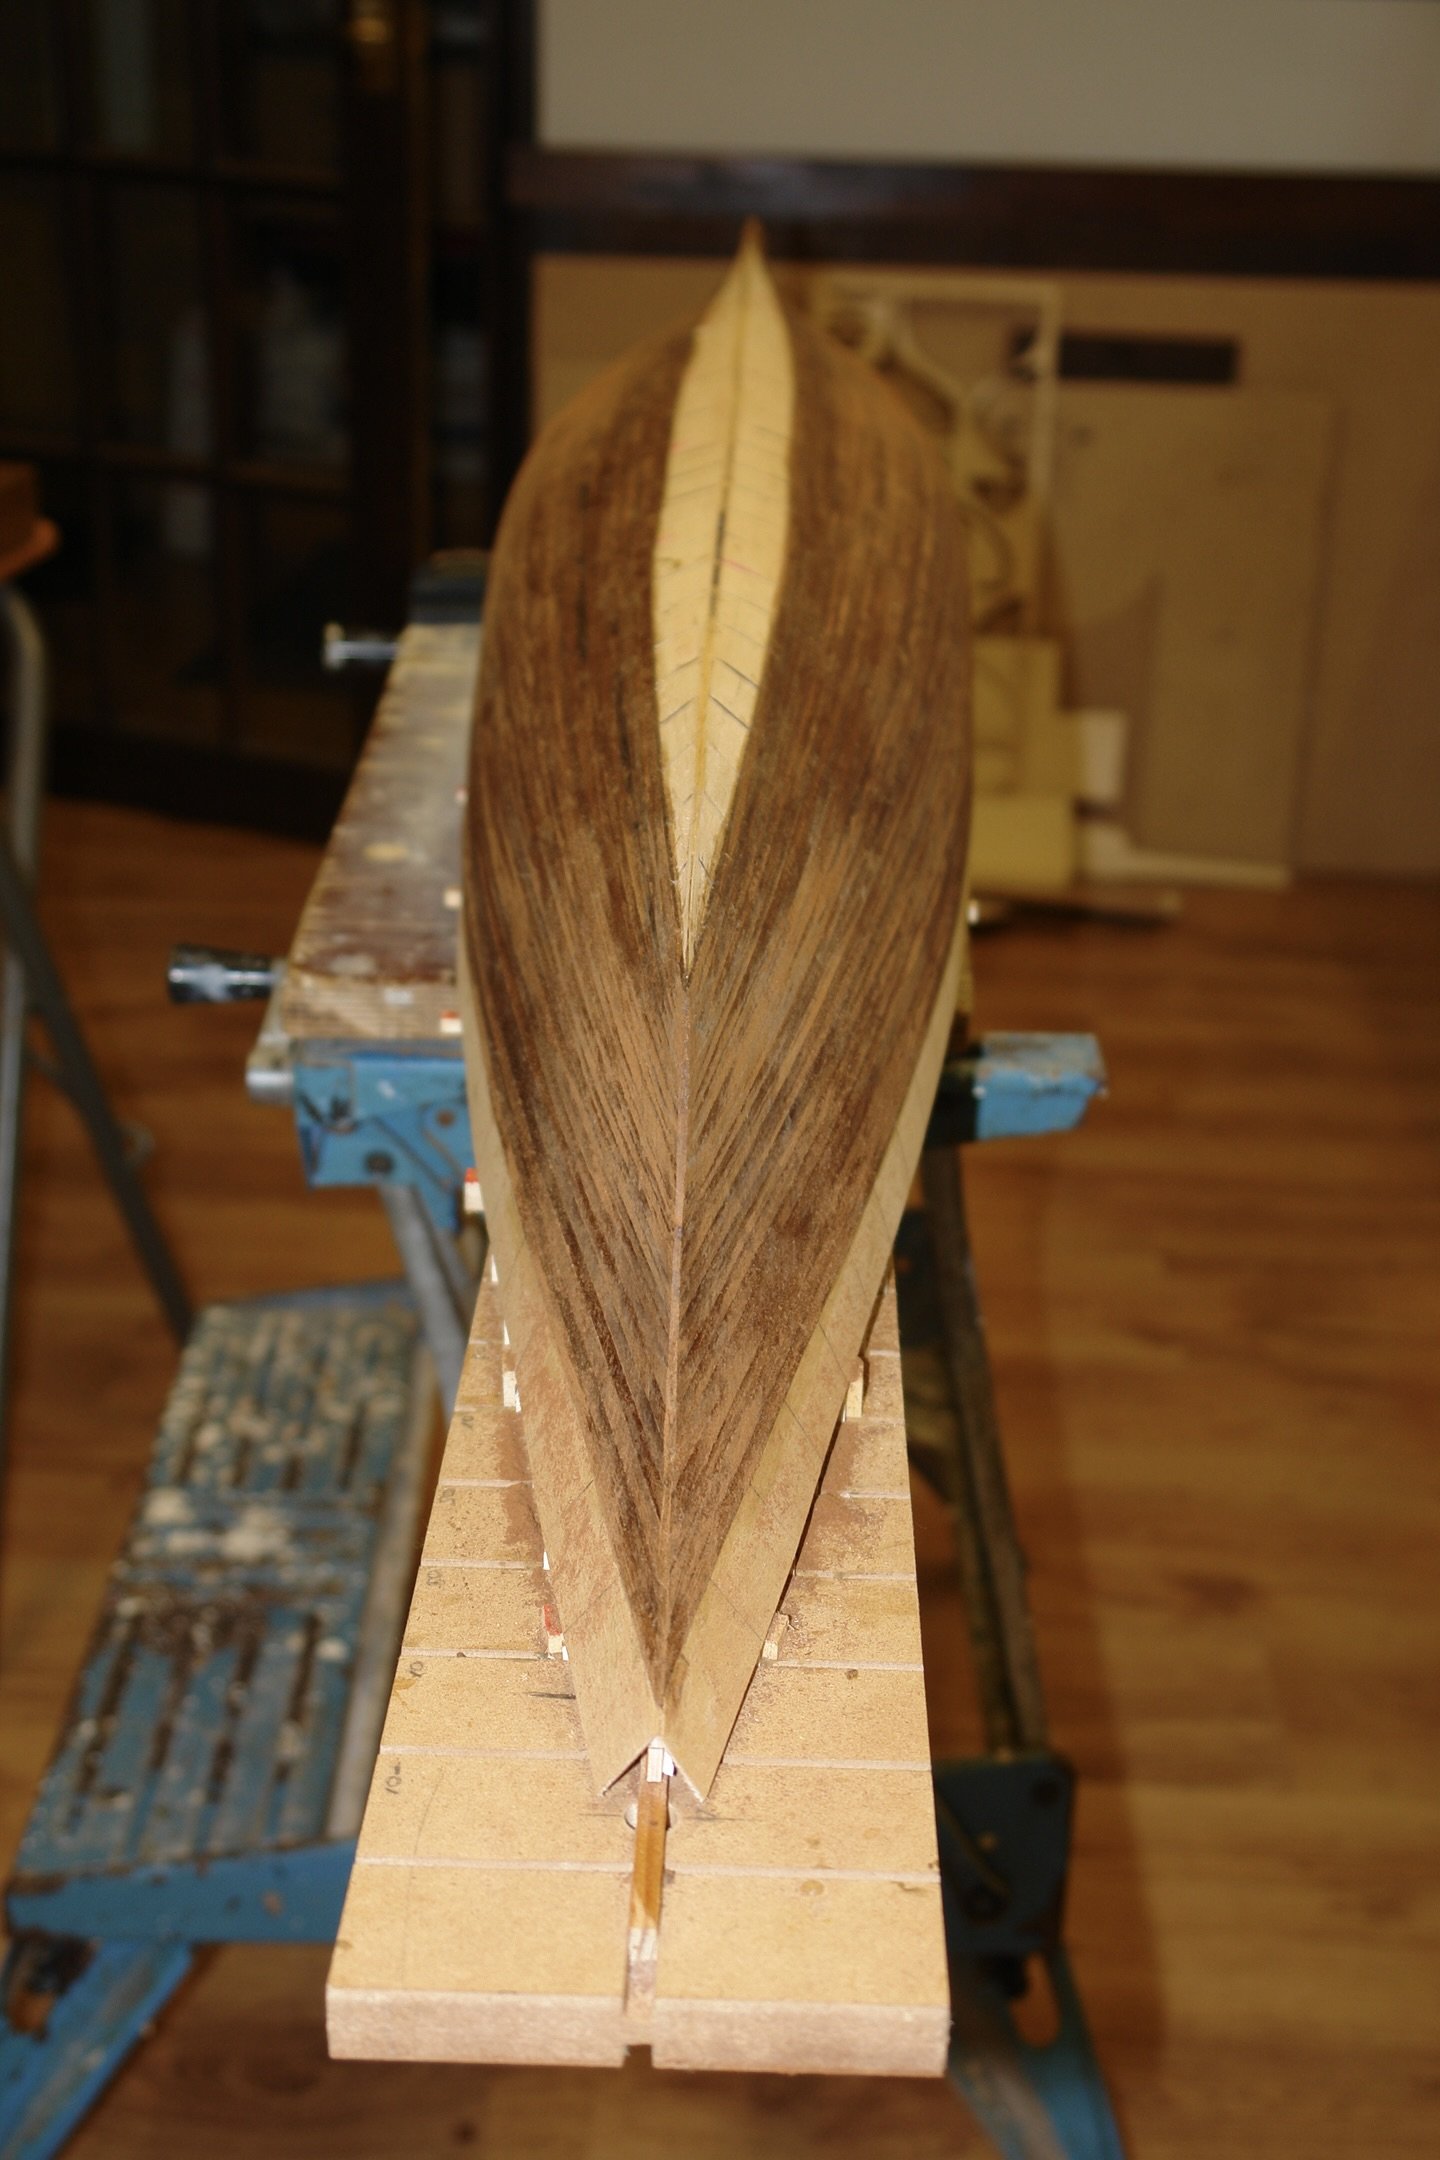
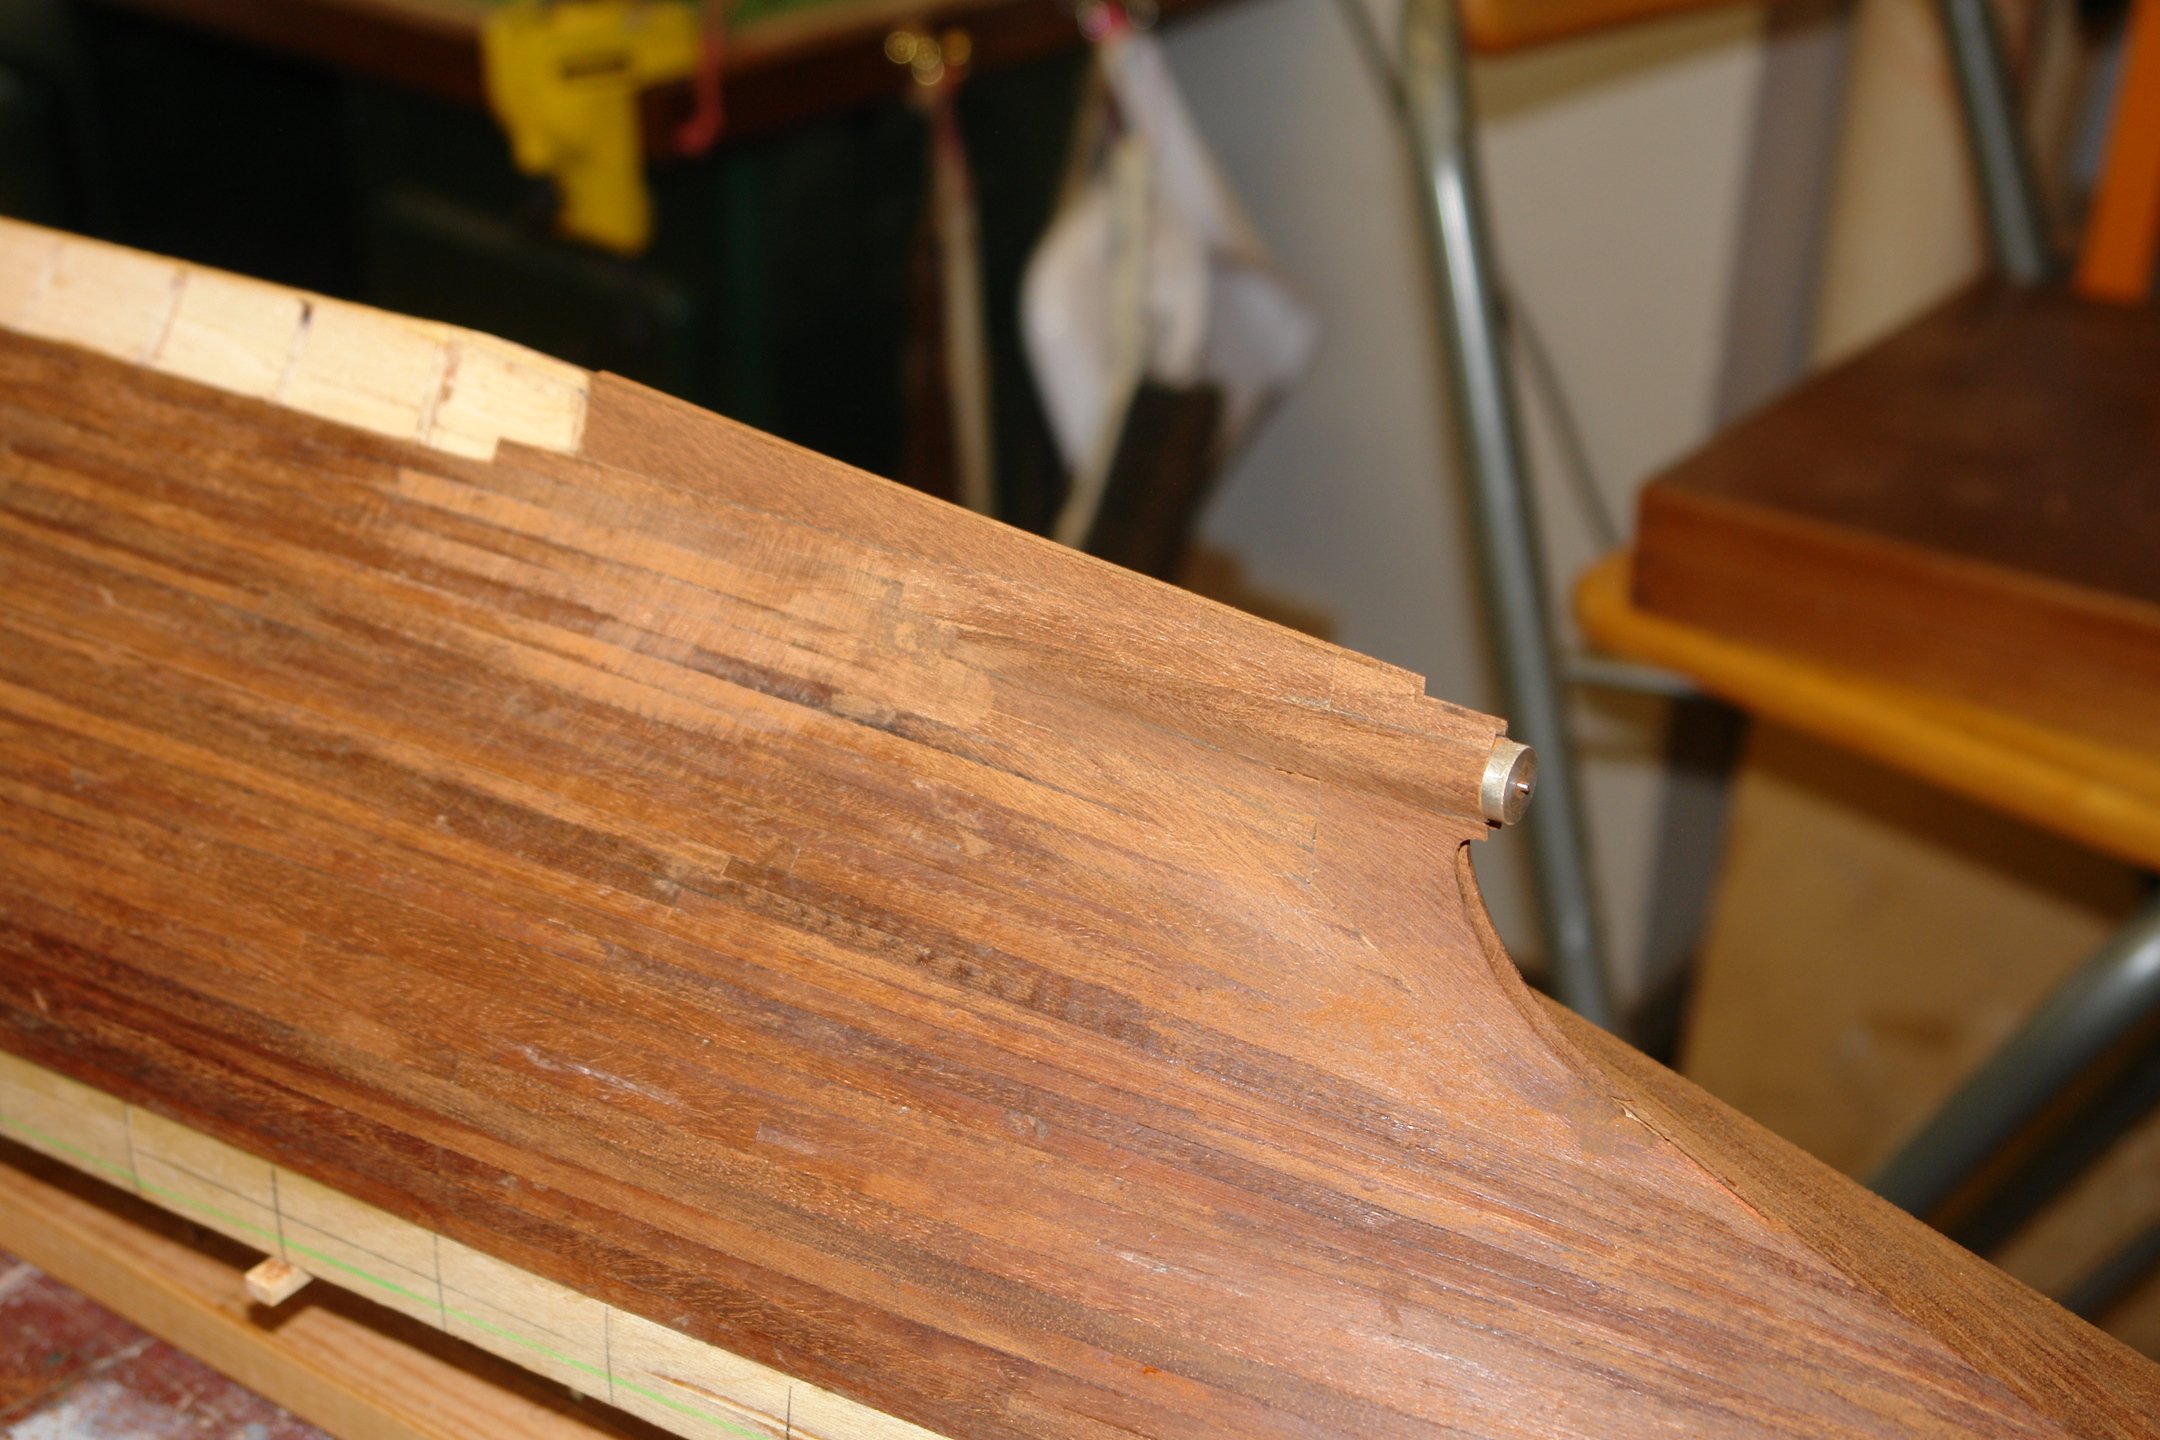
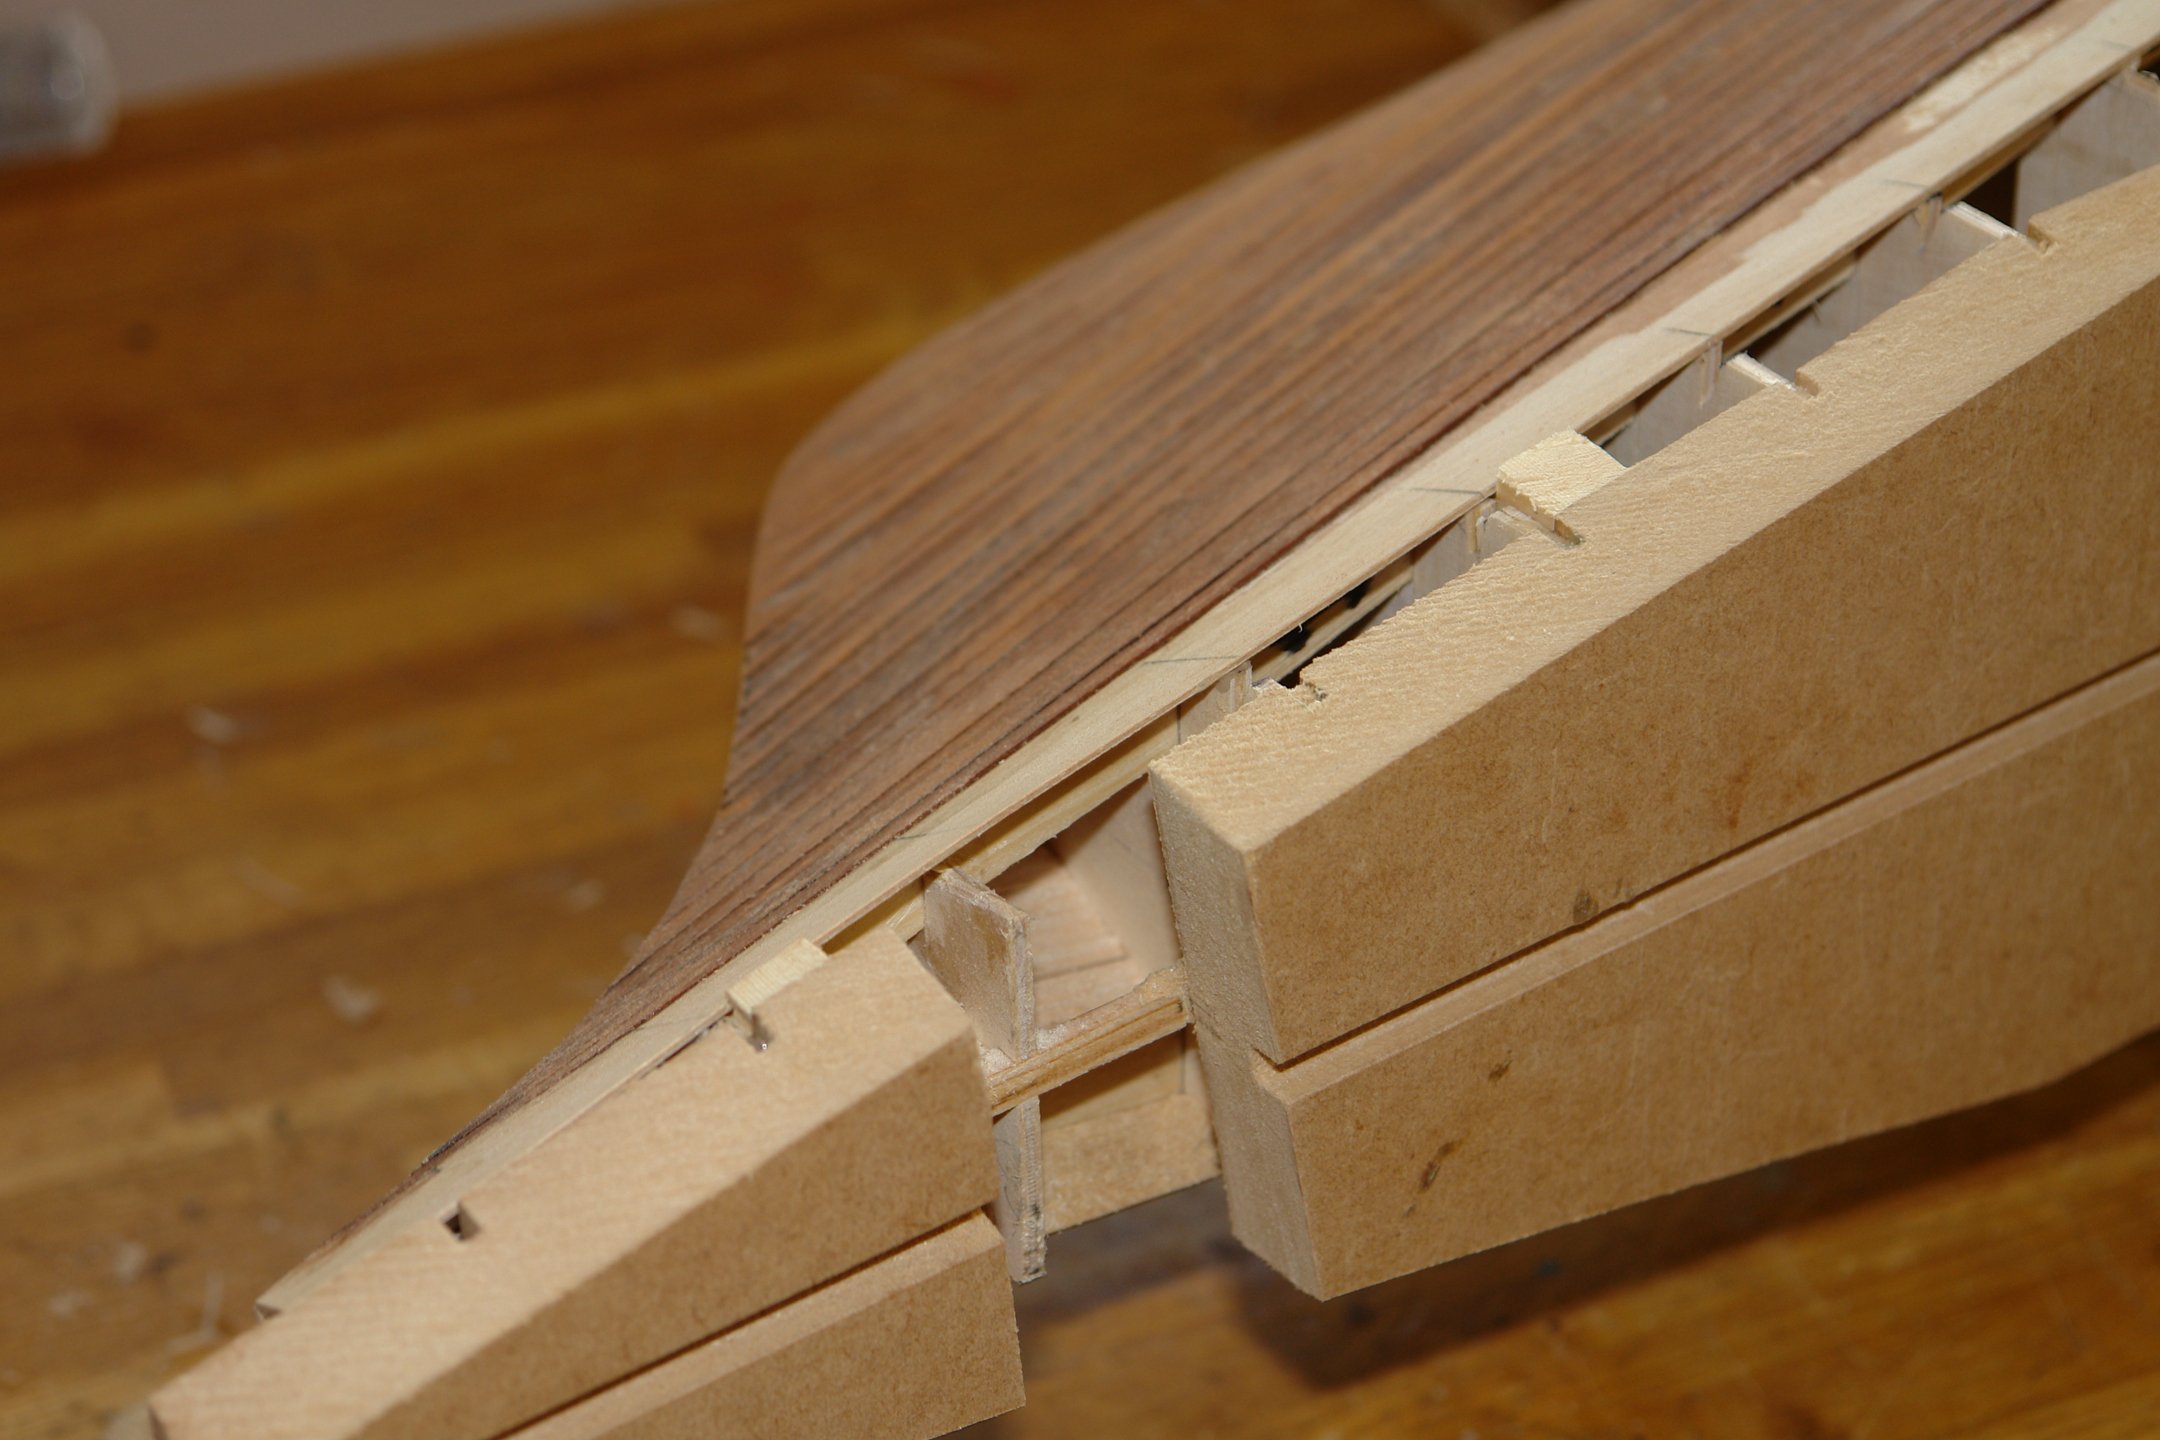
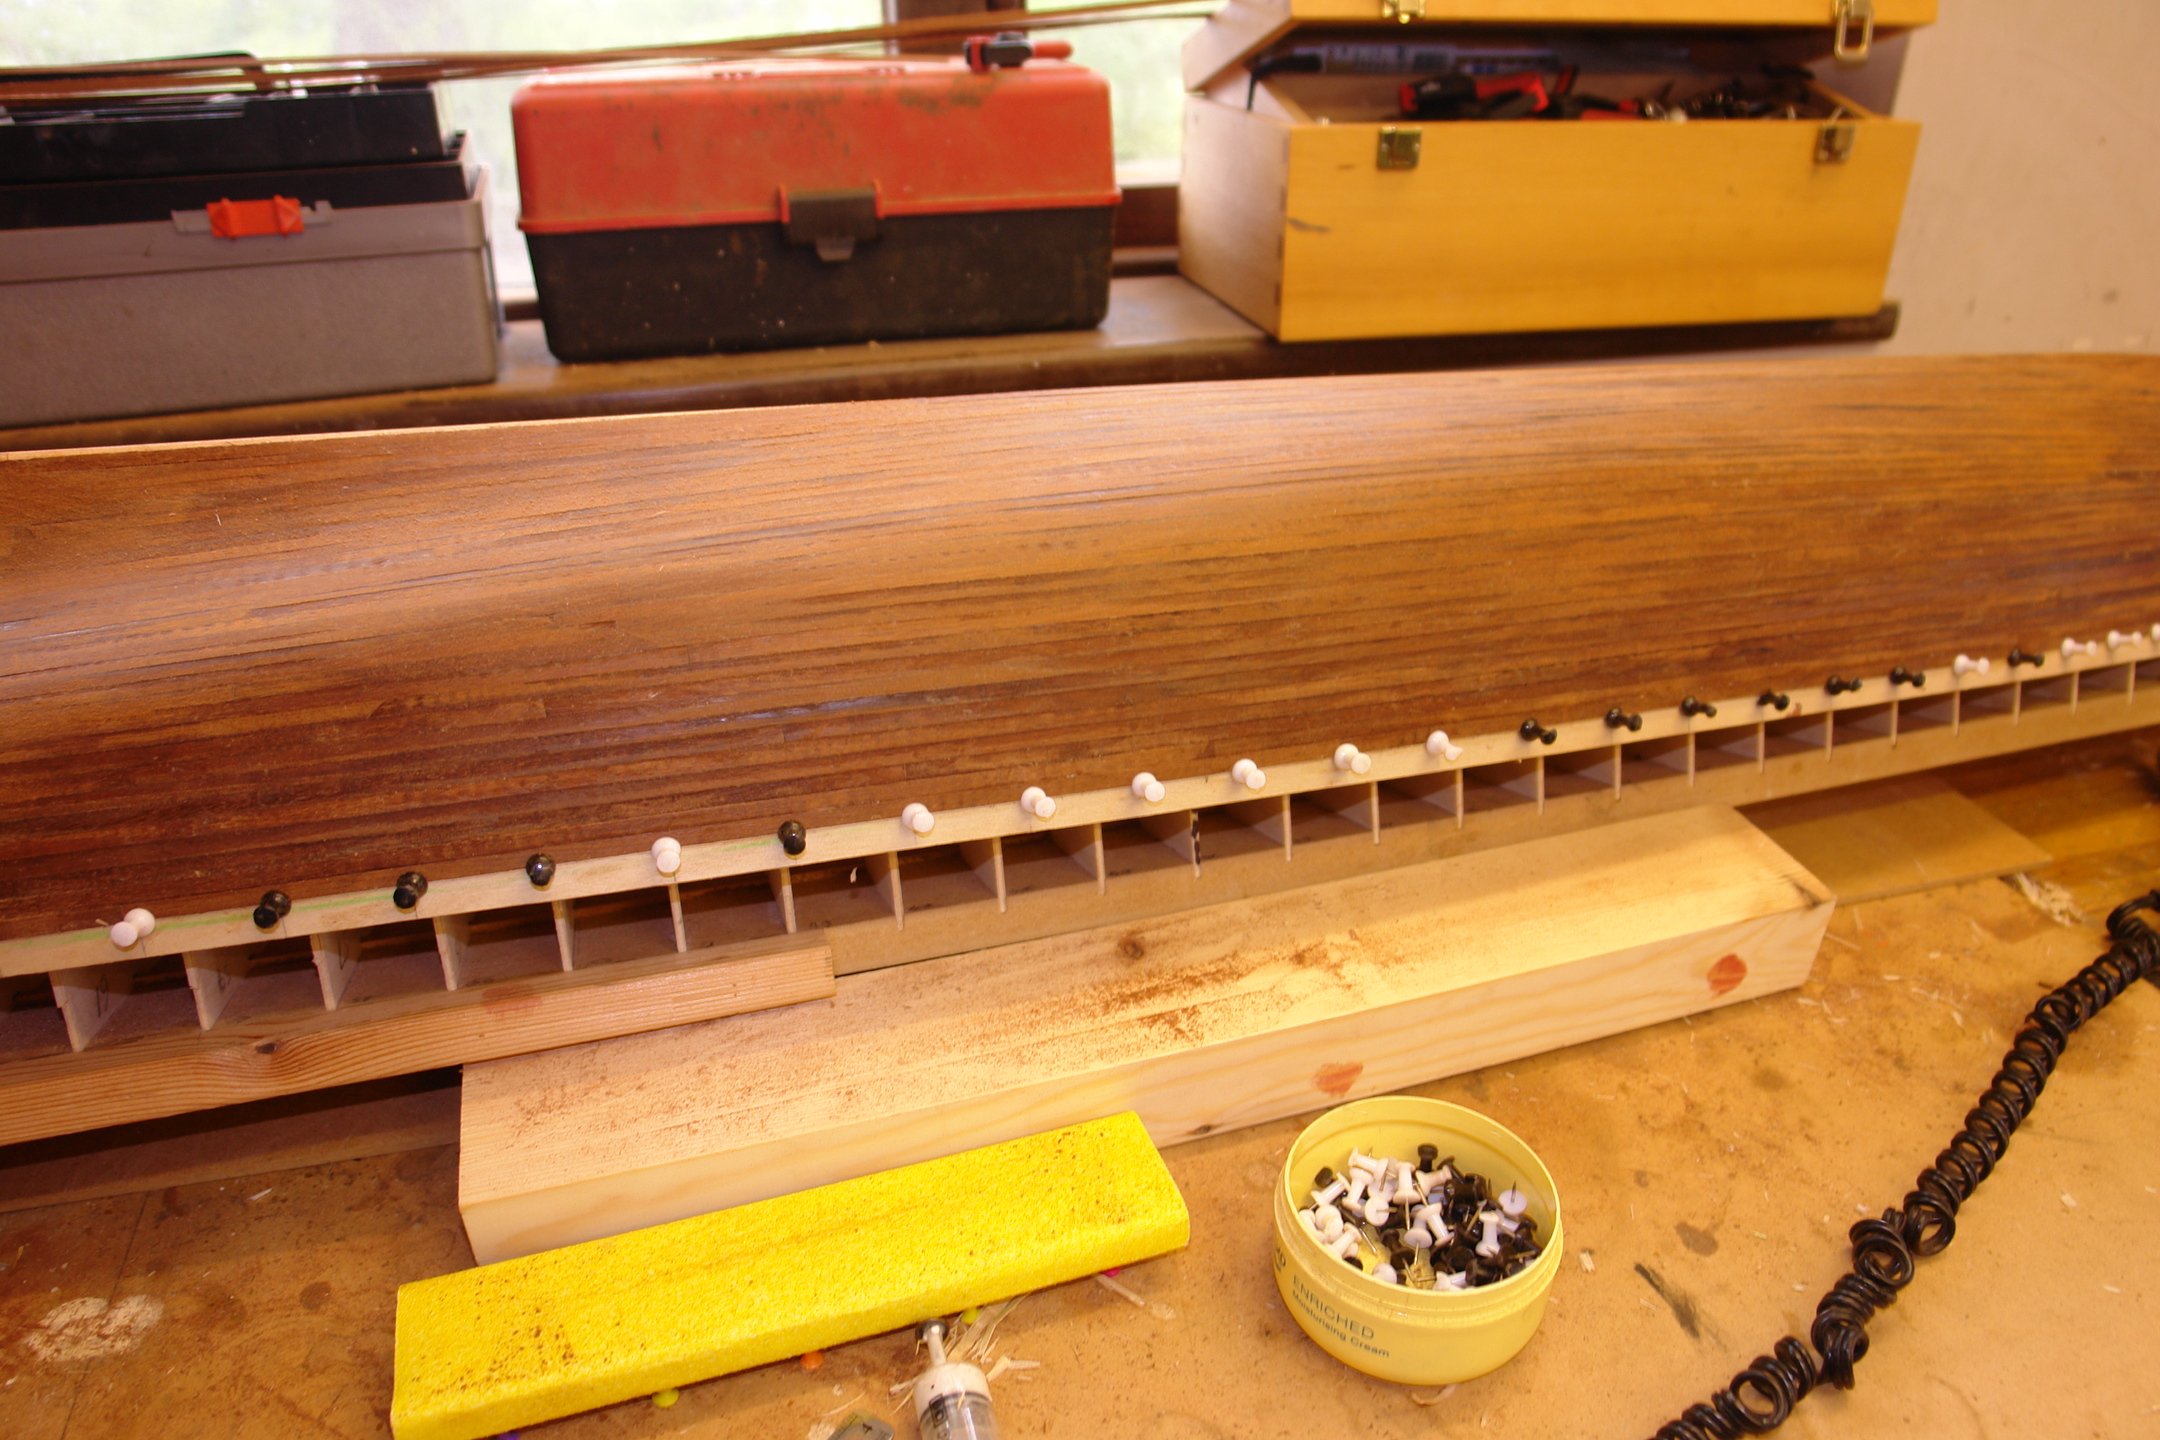
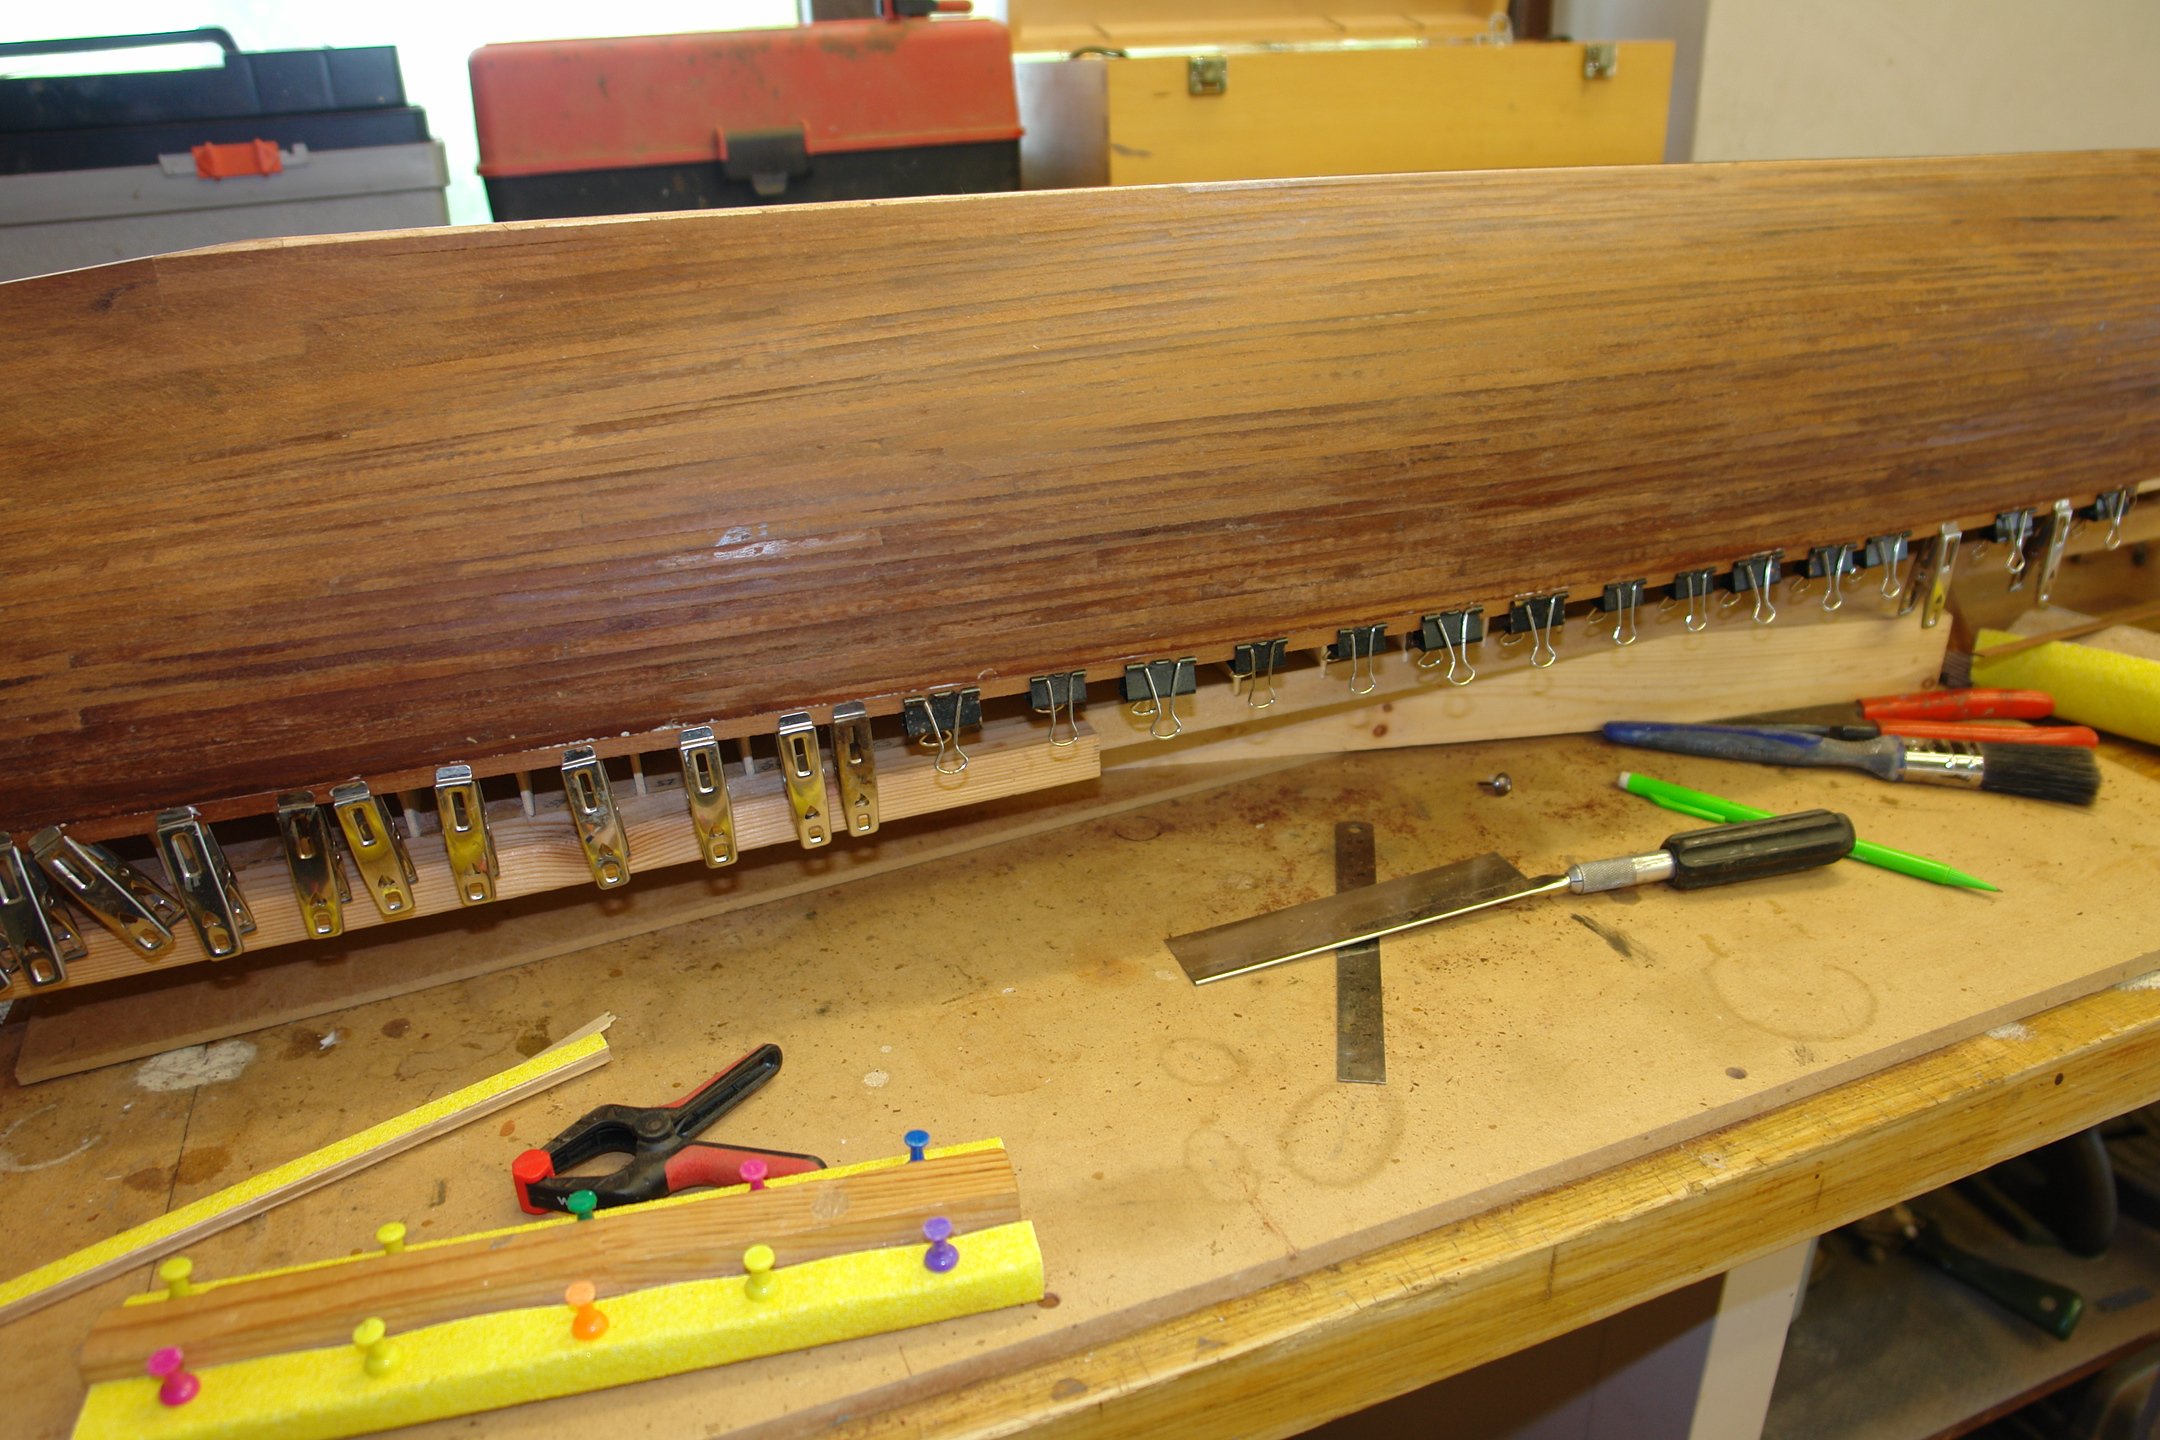
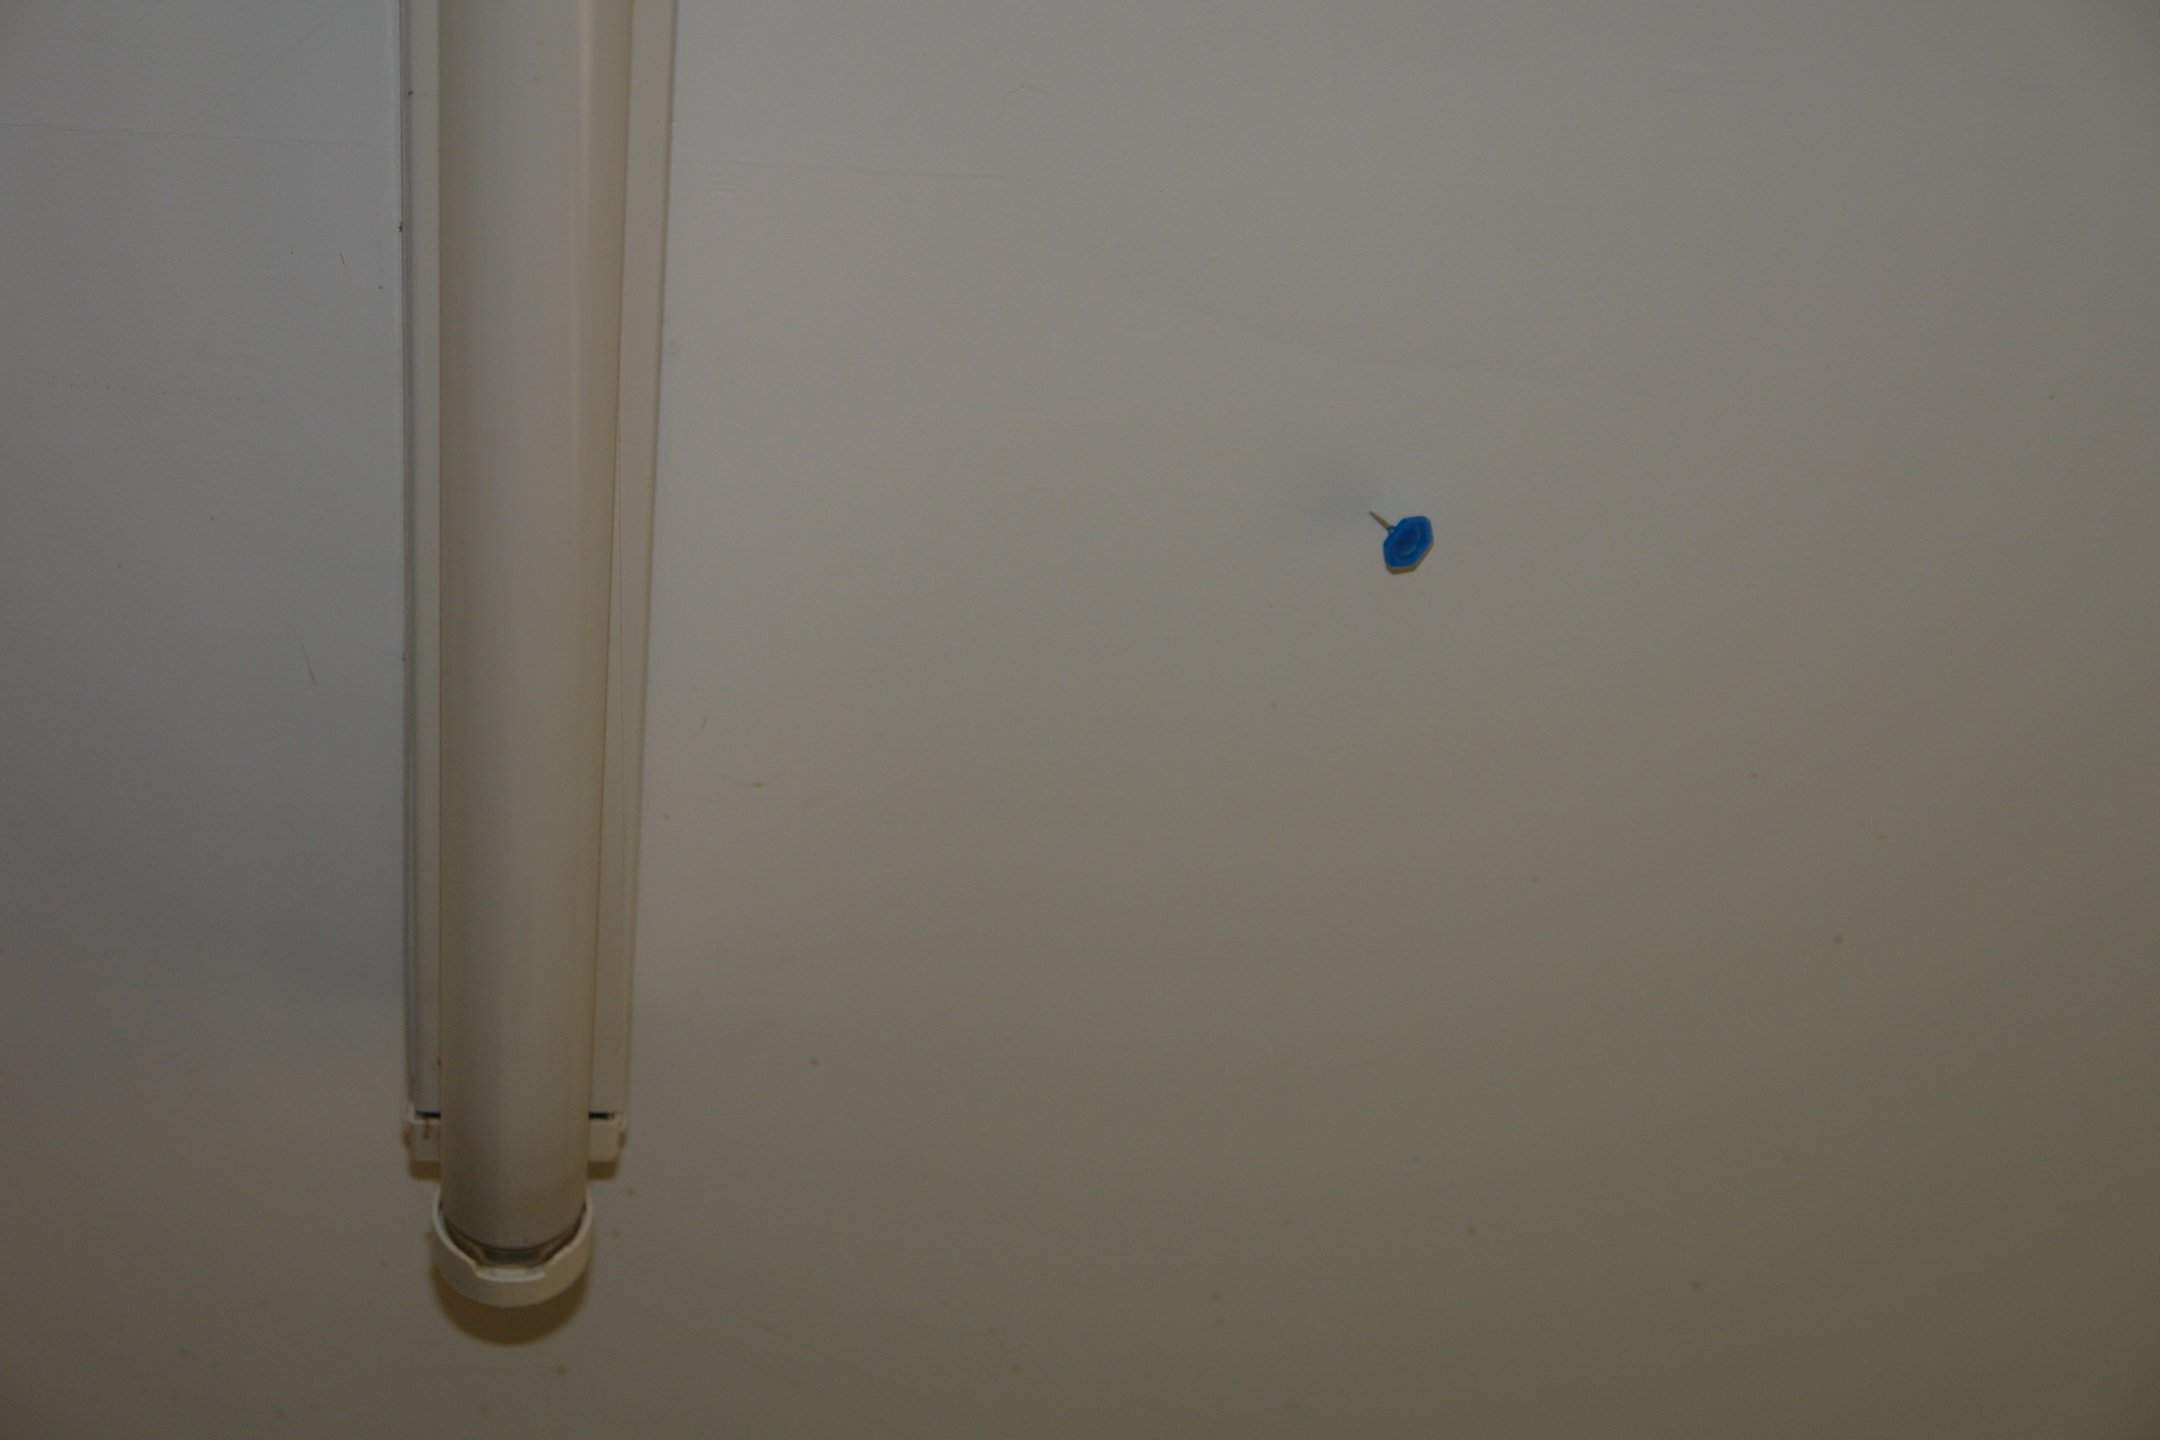
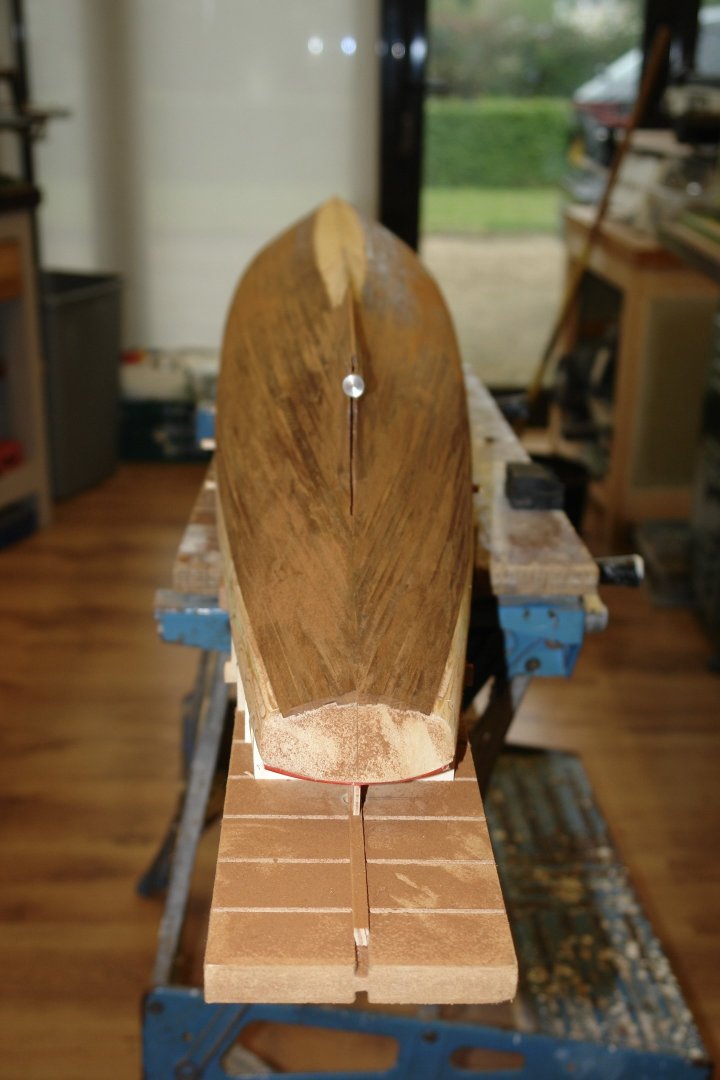
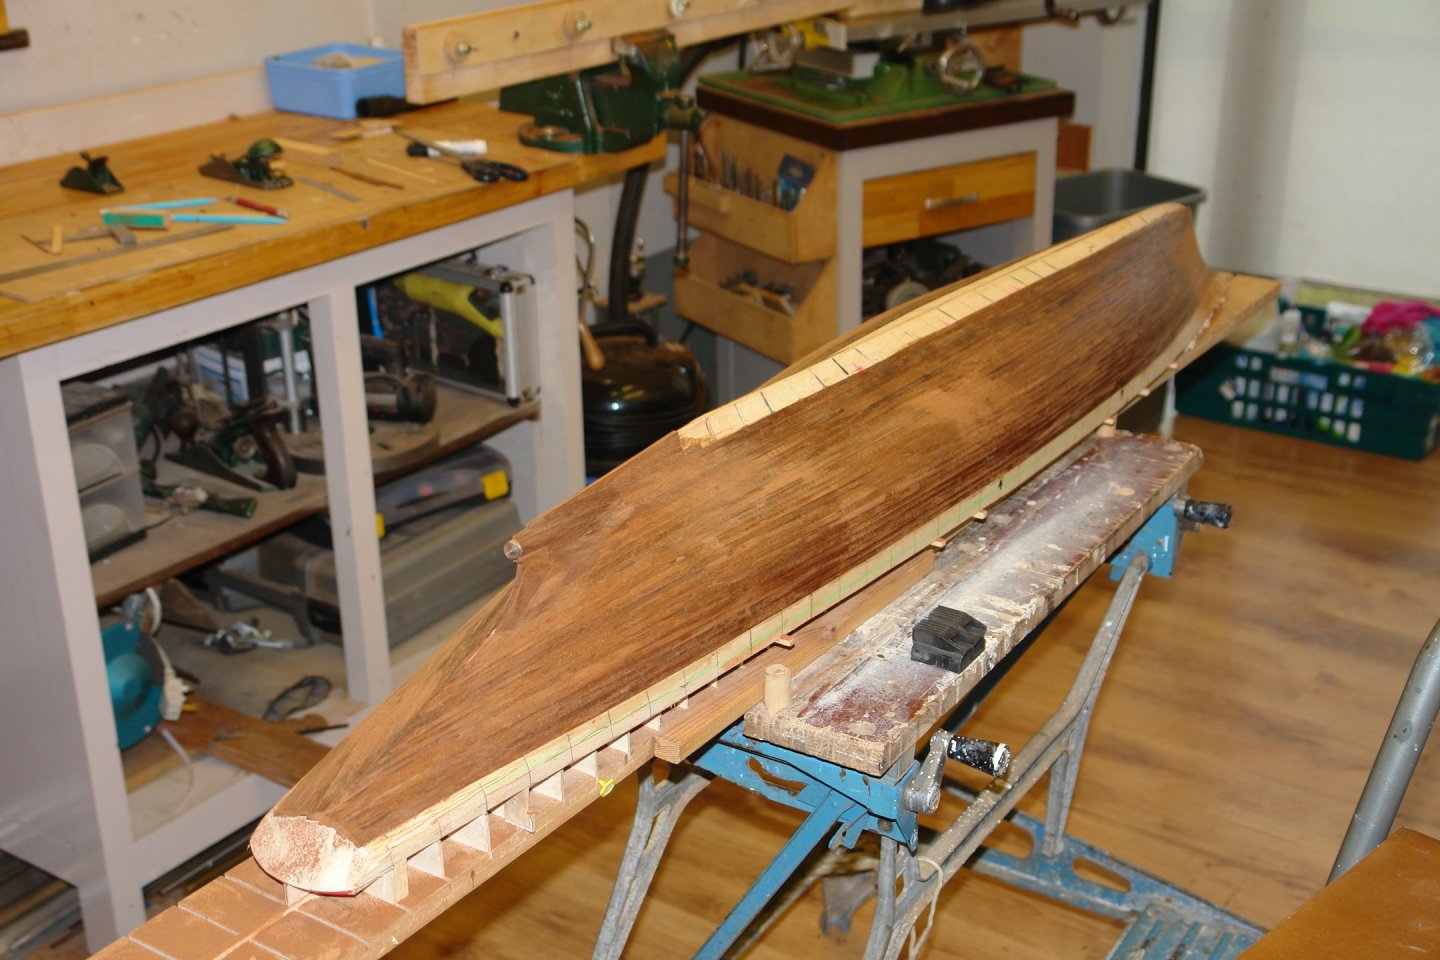
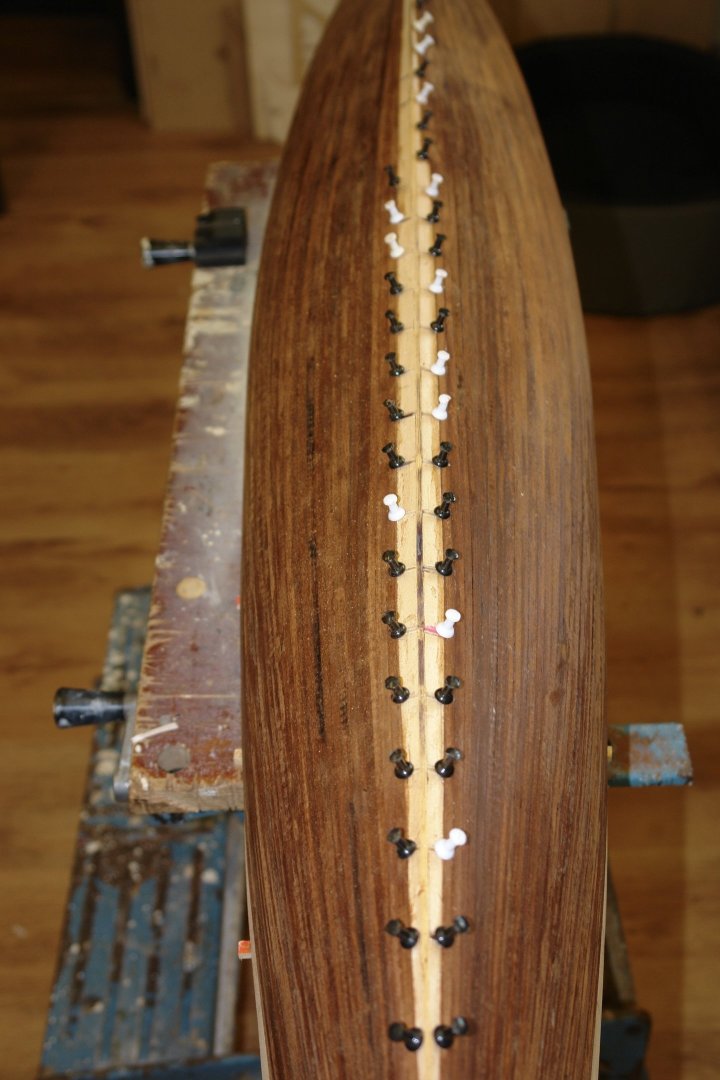
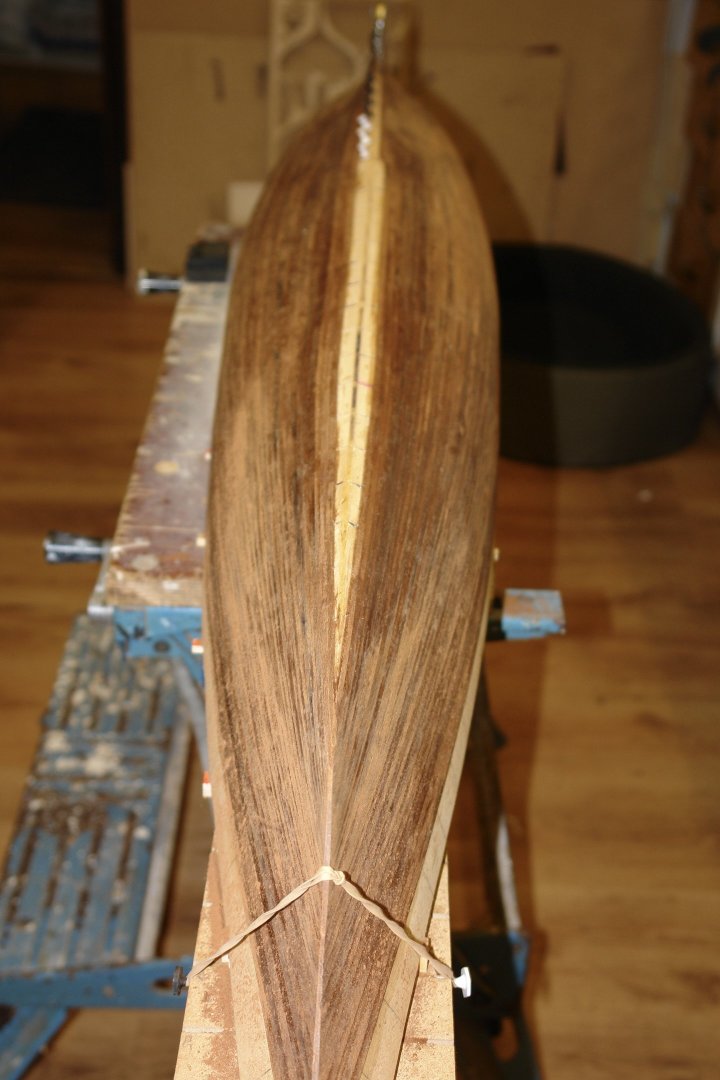
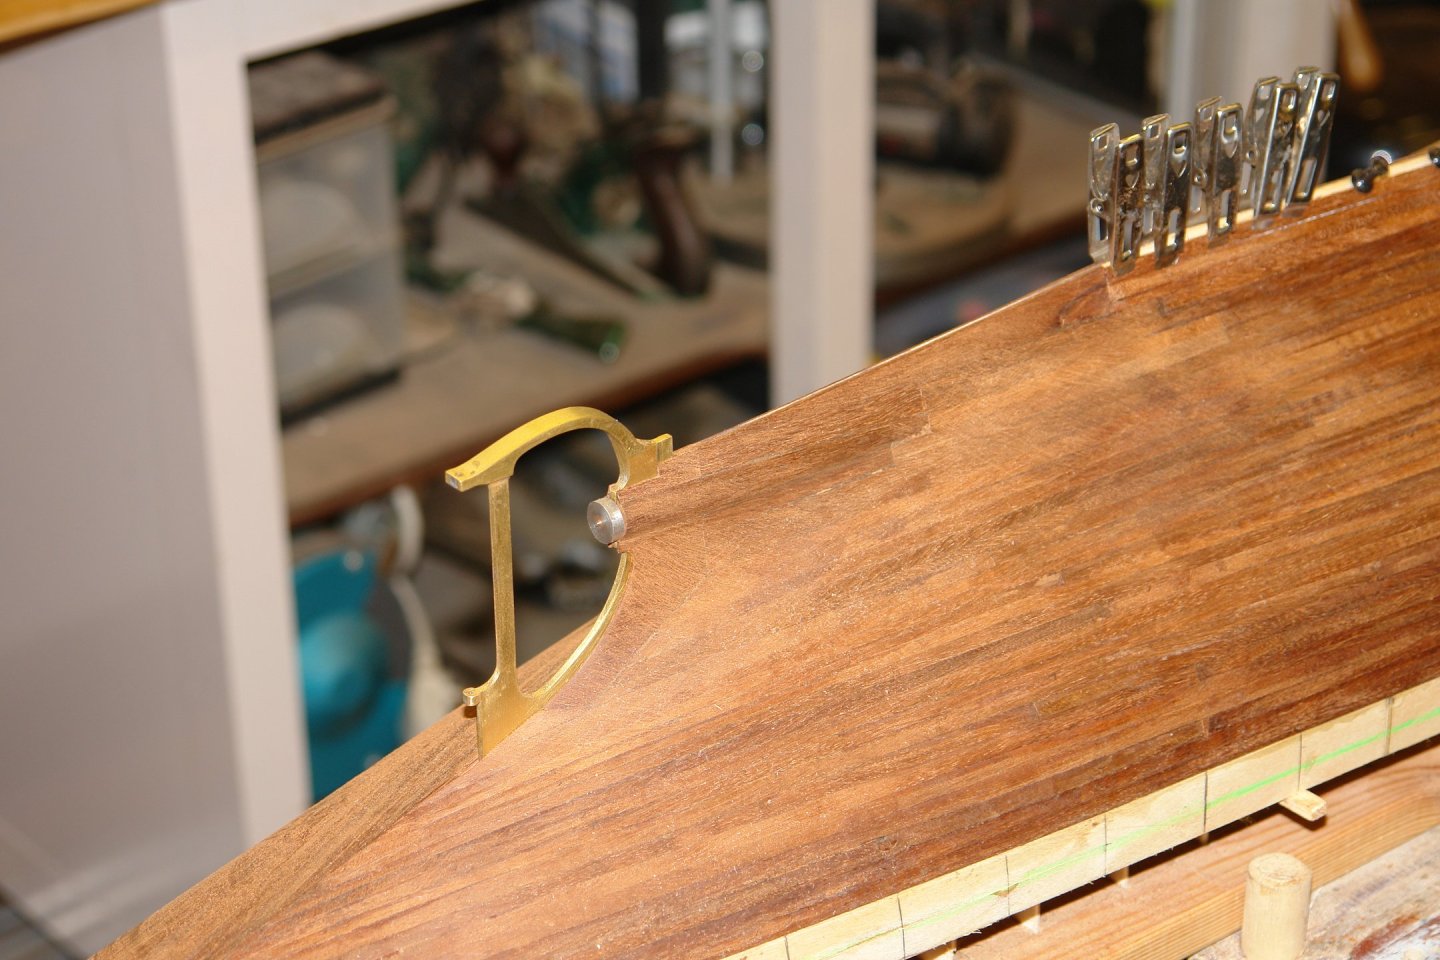
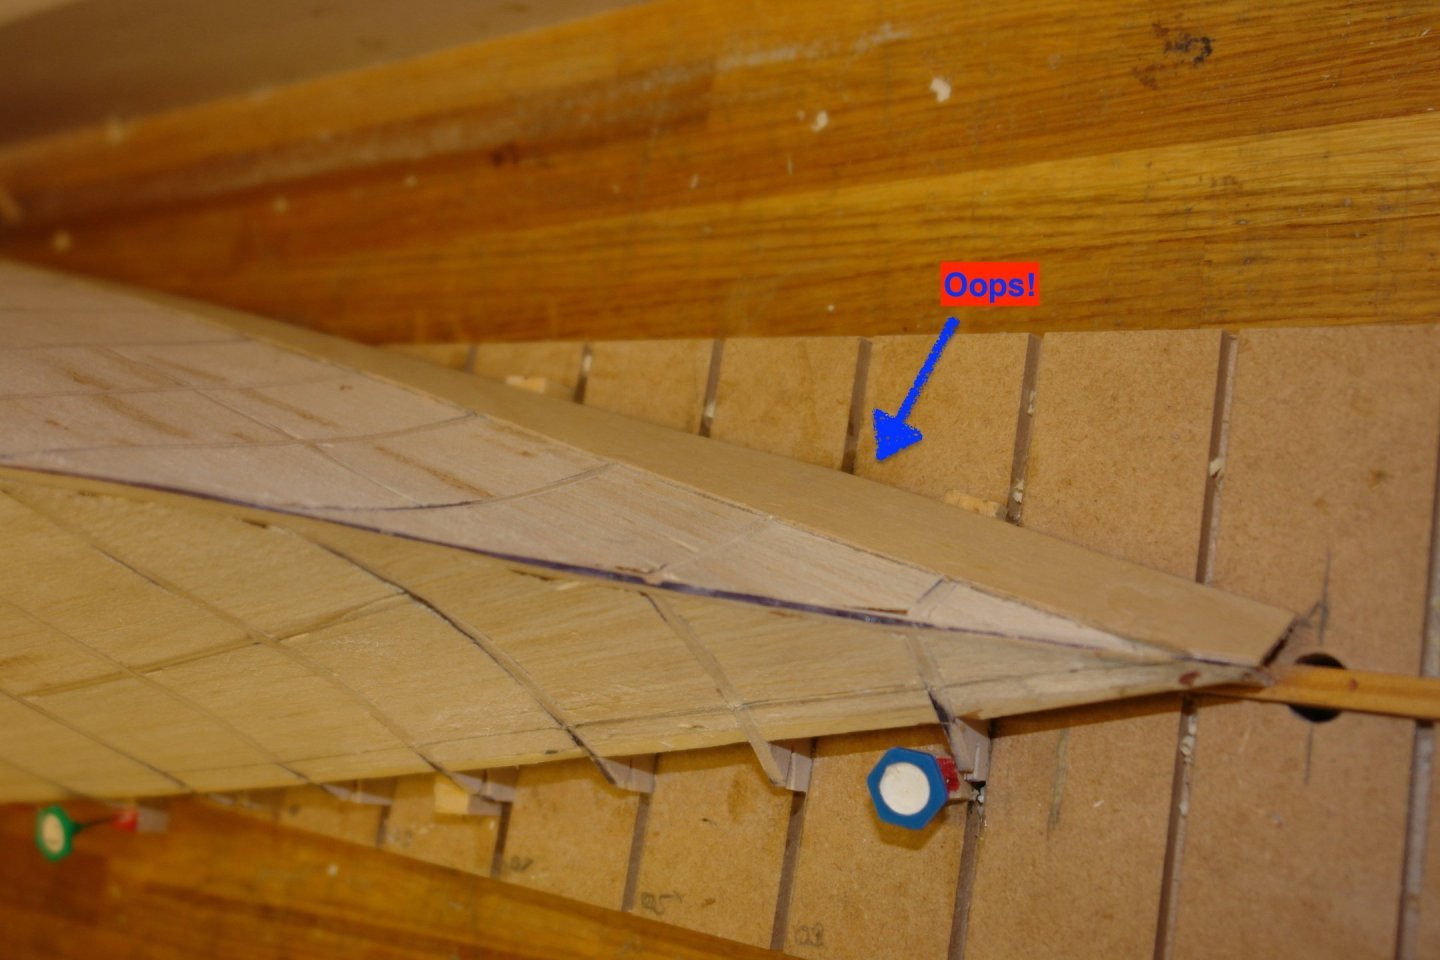
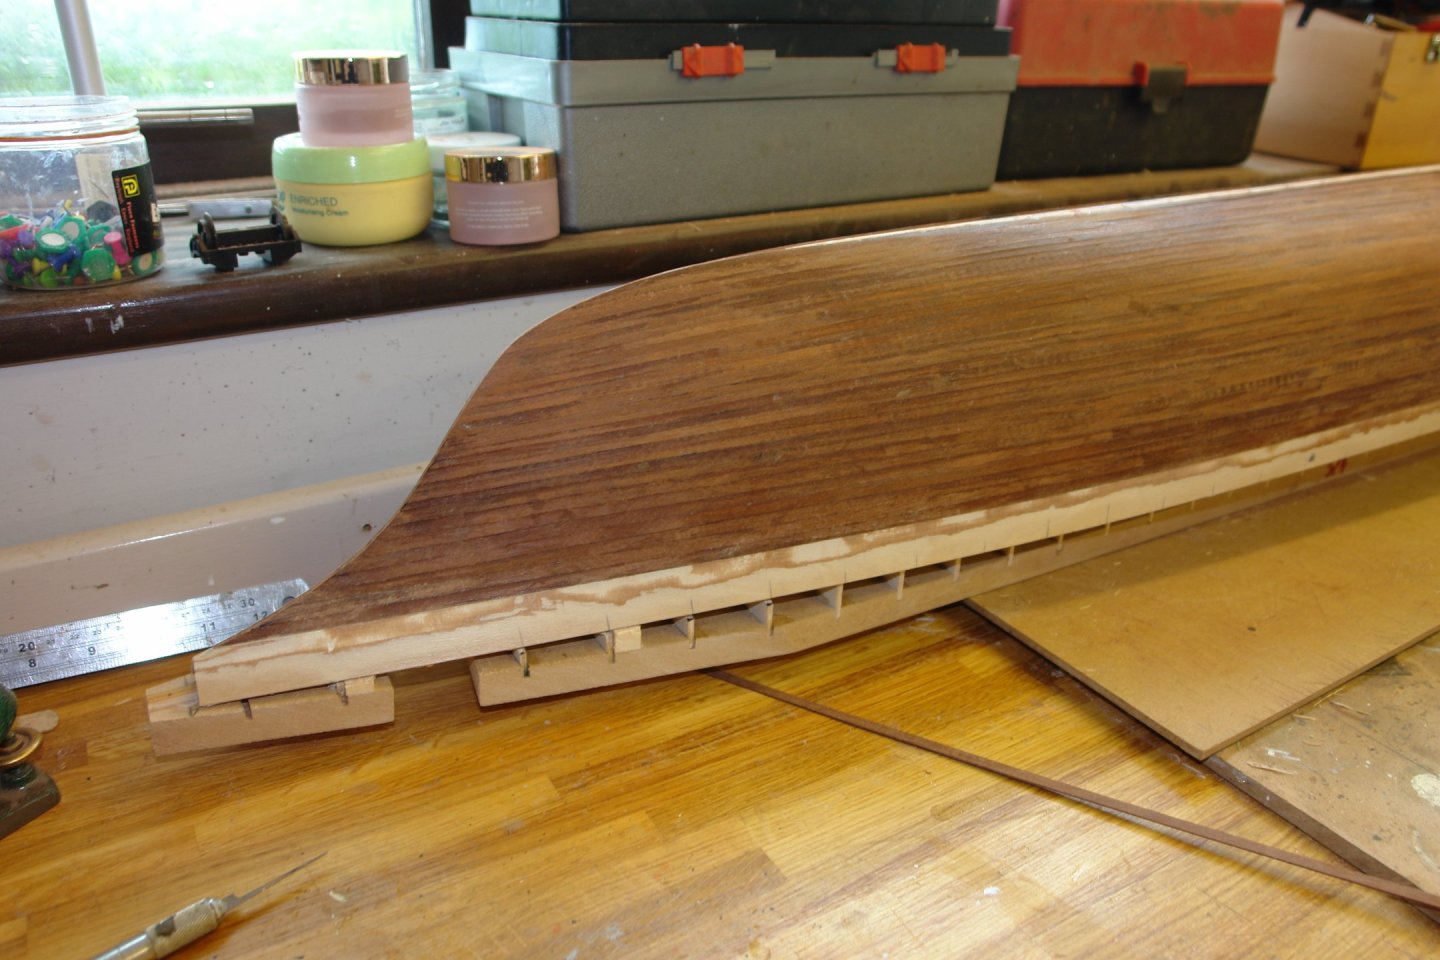
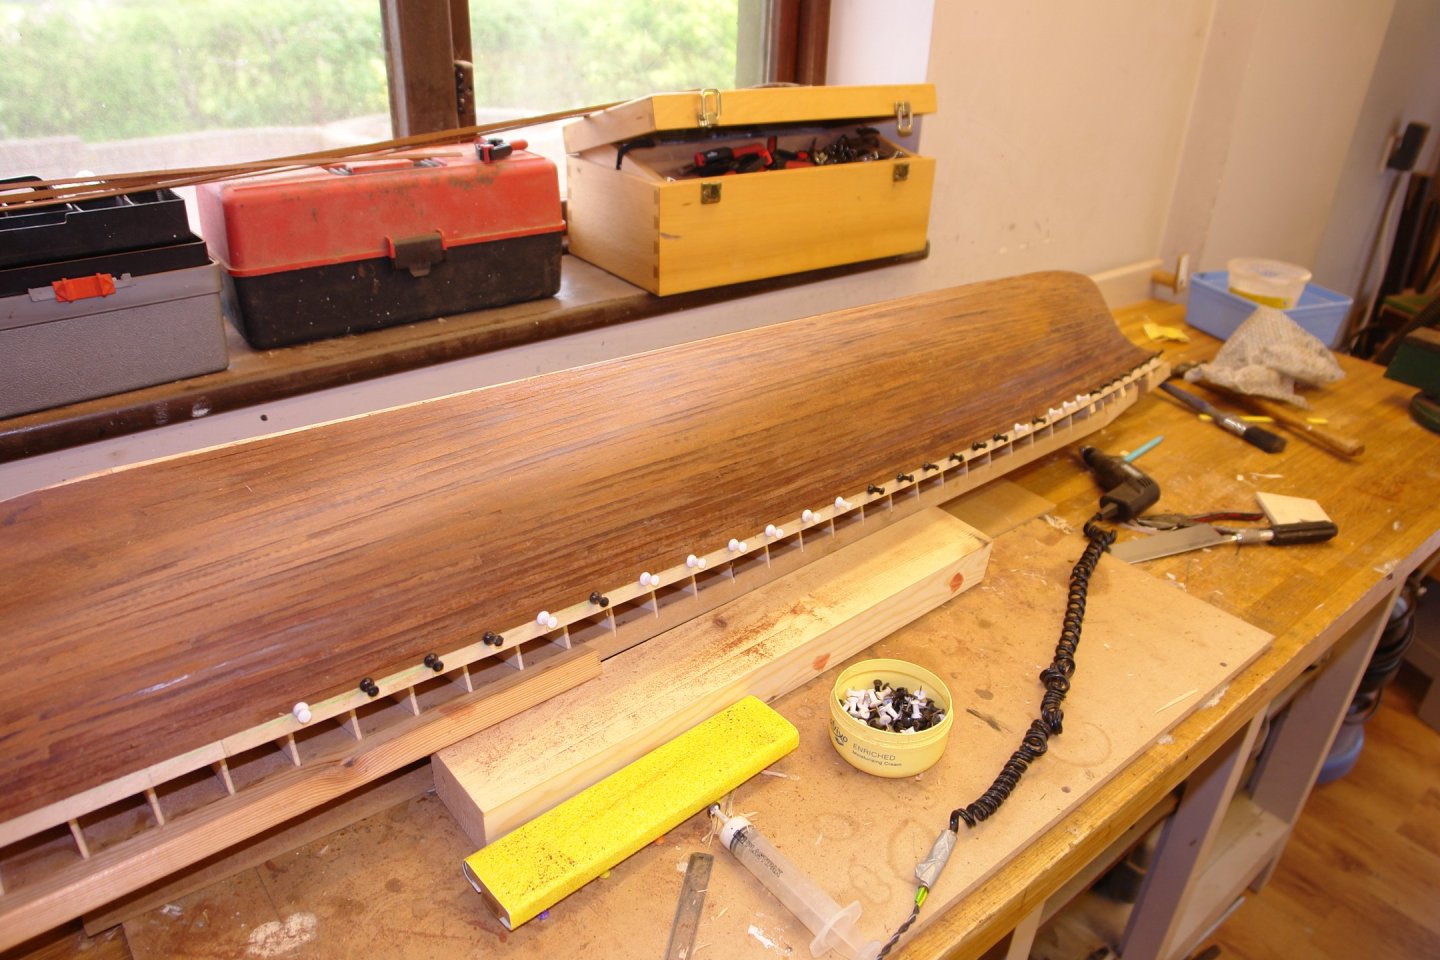
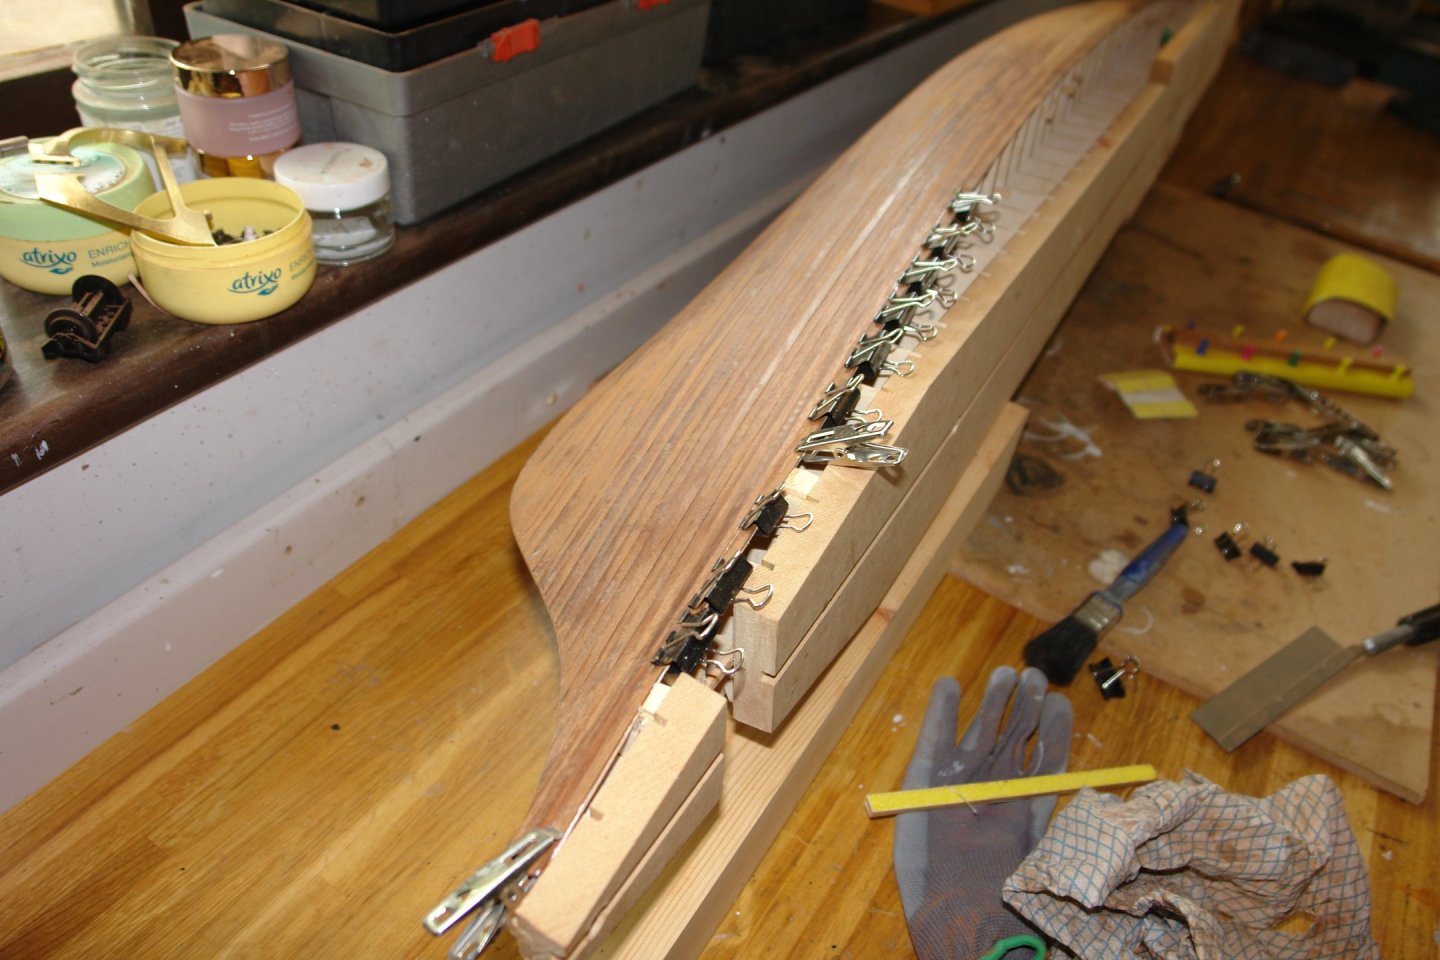
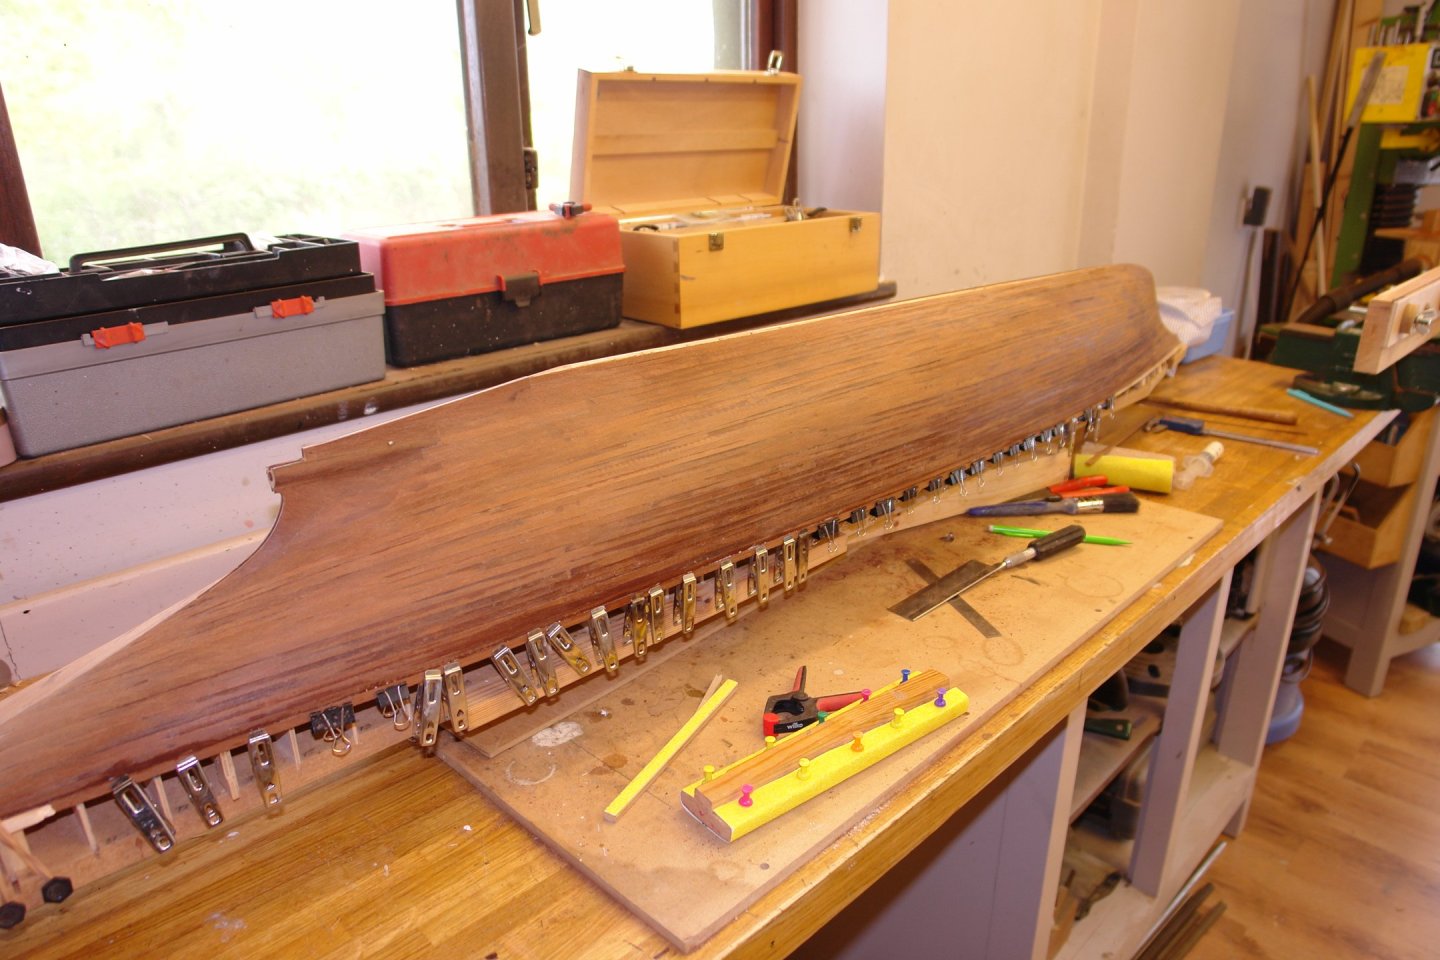
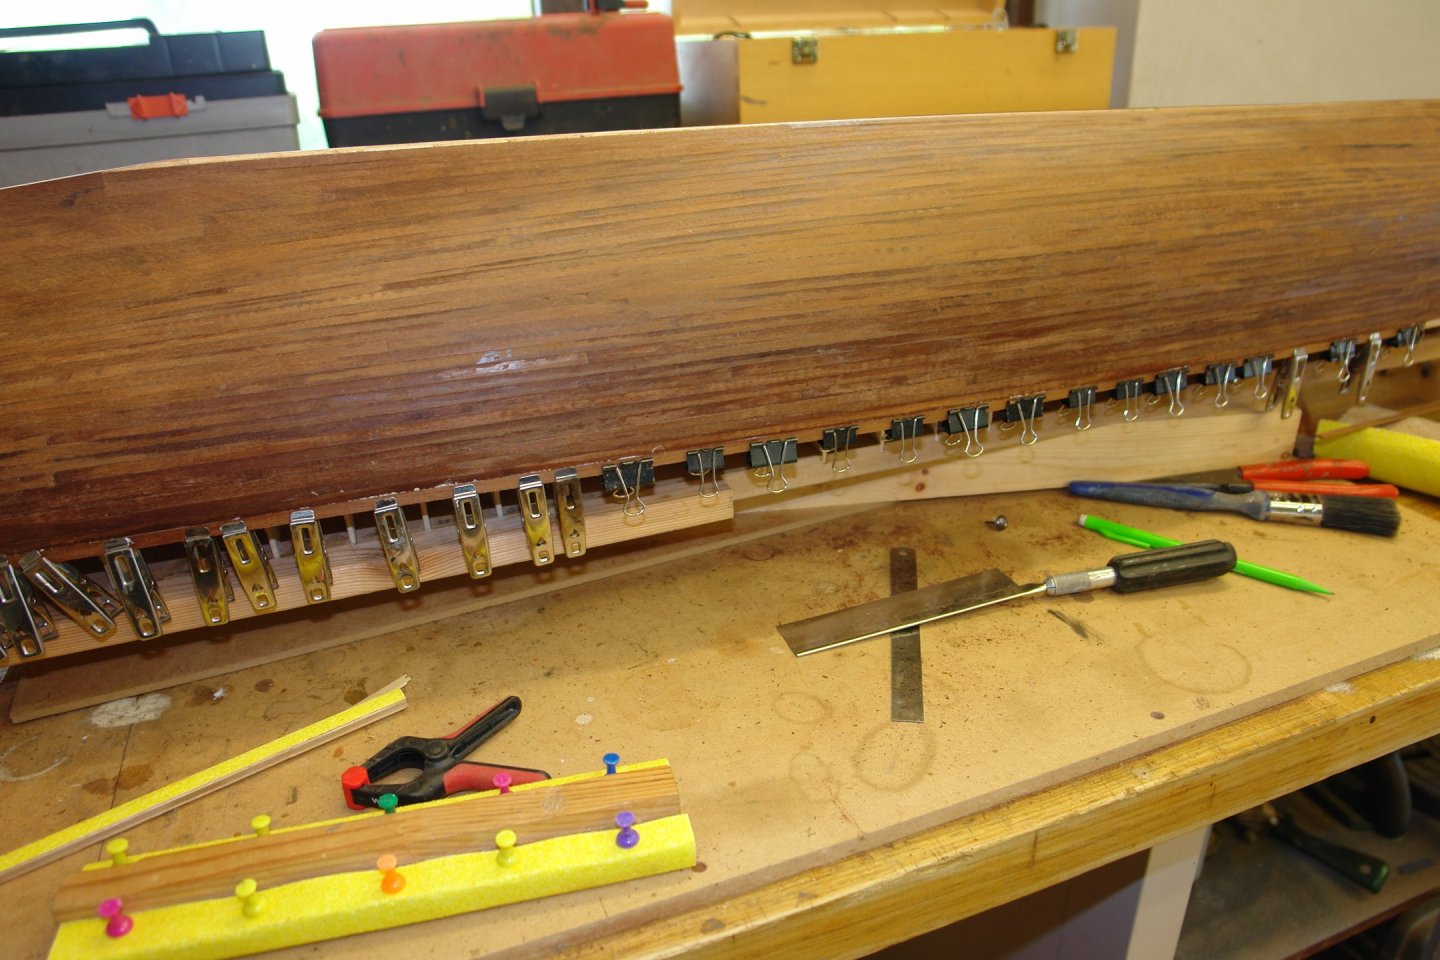
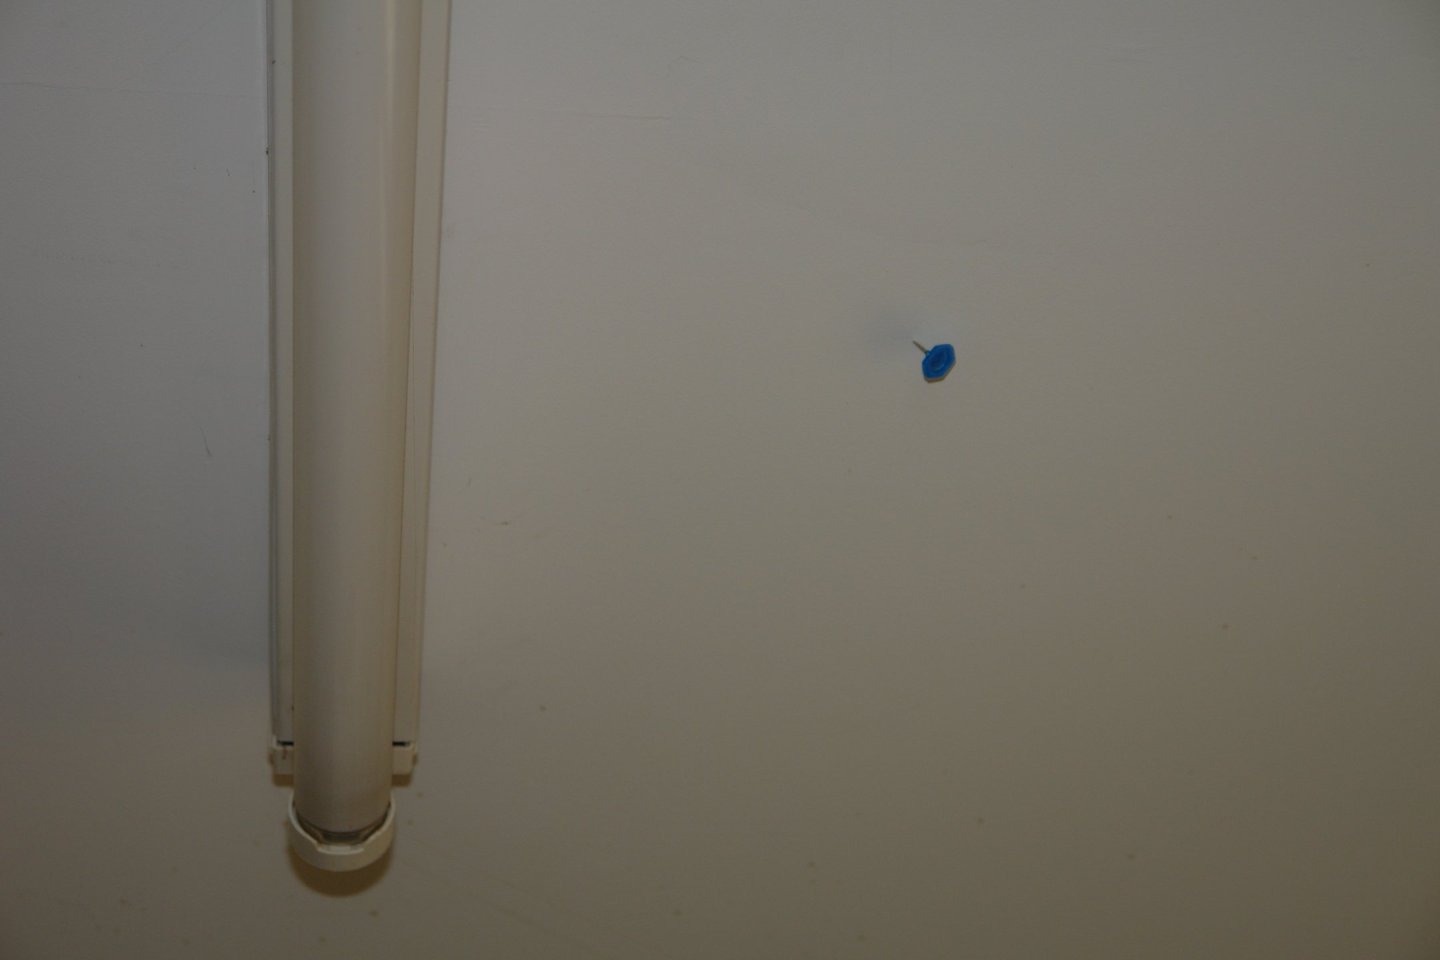
Well that's another week gone by. The weather was bad which should have assisted progress but somehow I just ended up plodding along. Firstly three shots showing progress as of a week ago. I keep doing a bit more sanding between planking runs in the hope that this will reduce the sanding marathon when the planking is complete. A few planks later and I was at the last plank before the garboard plank. I then put the next plank in place followed by a bit more sanding of the mahogany block insert at the skeg. This area was looking like it was shaping up well. Then rather than fitting the garboard plank I decided to concentrate on planking over the 1/32 ply at the bulwarks. Those of you with long memories will remember that the plan was to plank over the 1/32 ply with 1/32 thick mahogany planks to bring the thickness up to 1/16" to match the planking thickness for the rest of the hull. But first I had to sort out the mis-shaping of the plywood at the bow. Here is the photo reminder of the error from earlier in the build log. Sorting the problem out involved cutting away the base board to get at the incorrectly faired frame. This allowed me to get a craft knife in to locally pare back the frame. Also some how I hadn't quite left a 1/32 step to take the thinner bulwark planks so I took a sharp chisel to the ply to remove one lamination where it abutted the first full thickness mahogany plank. Then it was just a case of over planking the plywood at the bulwark. And finally the bulwark planking is completed. So now only the garboard plank to fit. Sometimes I look to heavens for inspiration and occasionally I am rewarded. This is a new take on the workshop floor "black hole" problem. At some point an elastic band ripped this pin out of the building board and fired it into the ceiling. Fortunately the trajectory avoided important organs such as eyes. A timely warning me thinks!😬 That's all for now folks.


-
Yes indeed so. I once thought I would move back when I retired but the kids (and grandchildren) both live down here so I am stuck.
-
There you go man, keep as cool as you can. Face piles And piles Of trials With smiles. It riles them to believe That you perceive The web they weave And keep on thinking free. Unfortunately Eric is only in his 40's so probably hasn't heard of the Moody Blues. 🙂
-
It all looks magnificent Roel, I do worry however that you have a bit of a pipework obsession.
-
Thank you Gary - but the sanding needs to get it really smooth without rubbing through. The proof of the pudding will be in the eating and I'm not counting my chickens before they are hatched. Tom - Sometimes I have a senior moment when my natural Yorkshire miserliness fails me. Nils - thank you.
-
Cold-hearted orb that rules the night Removes the colours from our sight Red is grey and yellow white But we decide which is right And which is an illusion. Also applicable to black and white photos! The last line of the previous verse is also pertinent:- "Senior citizens wish they were young". 🙁
-
The watch out is that if you are turning small parts you will find the jaws get in the way of the tool post. Extending the workpiece out beyond the jaws will make it too flexible (if the workpiece stock diameter is small). It will also be more dangerous particularly if you want to get a file in to take the edges off. If you are getting a 4 jaw chuck you will need to consider buying a dial indicator and a holder to facilitate centring of the bar stock.
-
Eric - the connecting arms do look quite dark (probably black) but they also seem to be round. The slot where they come out of the deck structure has semi circles top and bottom which I think reflects the shape of the connecting arm. Not that this maters a lot because the model looks fine. She will be joining your fleet shortly. Your hurricane generally arrives here as a storm about 4 of 5 days after it departs American shores. Fun to come!
-
I beg your pardon, I'm afraid you have the advantage of me...
KeithAug replied to JohnSGG's topic in New member Introductions
John - have you thought of contacting "The Repair Shop". Restoration for your Mother's 75th Birthday is the sort of project they seem to specialise in. They don't charge for their work as presumably they make a mint out of the TV programme. Welcome to MSW. -
Sat in my wooly jumper, being nagged by wife and daughter to put the heating on - 17c in the workshop. Plenty of room to hide here.
-
Looking very neat Jon.👍
-
John - sorry should have been clearer. I was wondering whether you were moddeling only the lower mast or whether you intended reproducing the full rig with topmast and topgallant mast?
-
I am happy to report that after several unusually hot summers British weather has returned to its predictable best. It has rained every day for the past few days and this is due to continue until Thursday. It is also quite cool and my wife is threatening to switch the heating on. Global warming is having a year off. I think I need a trip to Missouri! Peerless is looking good - nice progress.
-
A lovely looking little ship and thank you for the tip re the aluminium foil.
- 235 replies
-
- 5
-

-

-
- Banshee II
- Bottle
- (and 1 more)
-
Keith - As they say "there is many a good tune played on an old fiddle" your rigging skills are exemplary.
-
I agree with Rick - this looks like a fascinating nostalgia subject.
- 68 replies
-
- 4
-
-
- Coates
- Rudderow-class
- (and 1 more)
-
Nils - As others have said the boats look really good - the rope looks excellent.
- 299 replies
-
- 4
-
-
- lightship
- Feuerschiff Elbe 1
- (and 1 more)
-
Ras - I actually think it looks good with all that nice shiny brass. Your 2 steamers look very authentic.
- 128 replies
-
- 3
-

-
-
- zulu
- sternwheeler
- (and 1 more)