KeithAug
-
Posts
3,980 -
Joined
-
Last visited
Content Type
Profiles
Forums
Gallery
Events
Everything posted by KeithAug
-
 John - It is quite difficult to see the extent of damage but my inclination would be to use a round file to make the holes circular then plug with a matching wood and sand back flat to the deck before drawing on the caulking. I'm a bit adverse to filler.🙁
 -
As is the case with very many MSW models. Fortunately age is gradually deskilling many of us. Soon authentic representations will become more common.
- 288 replies
-
- 5
-

-

-
- Santos Dumont No. 18
- hydroplane
- (and 1 more)
-
Coming along very nicely.
-
Yes that struck me as odd Veszett / Nils. It would be good to understand why.
- 299 replies
-
- 4
-
-
- lightship
- Feuerschiff Elbe 1
- (and 1 more)
-
I enjoyed the history lesson Eberhard. As for the figures I need to find my magnifier!
-
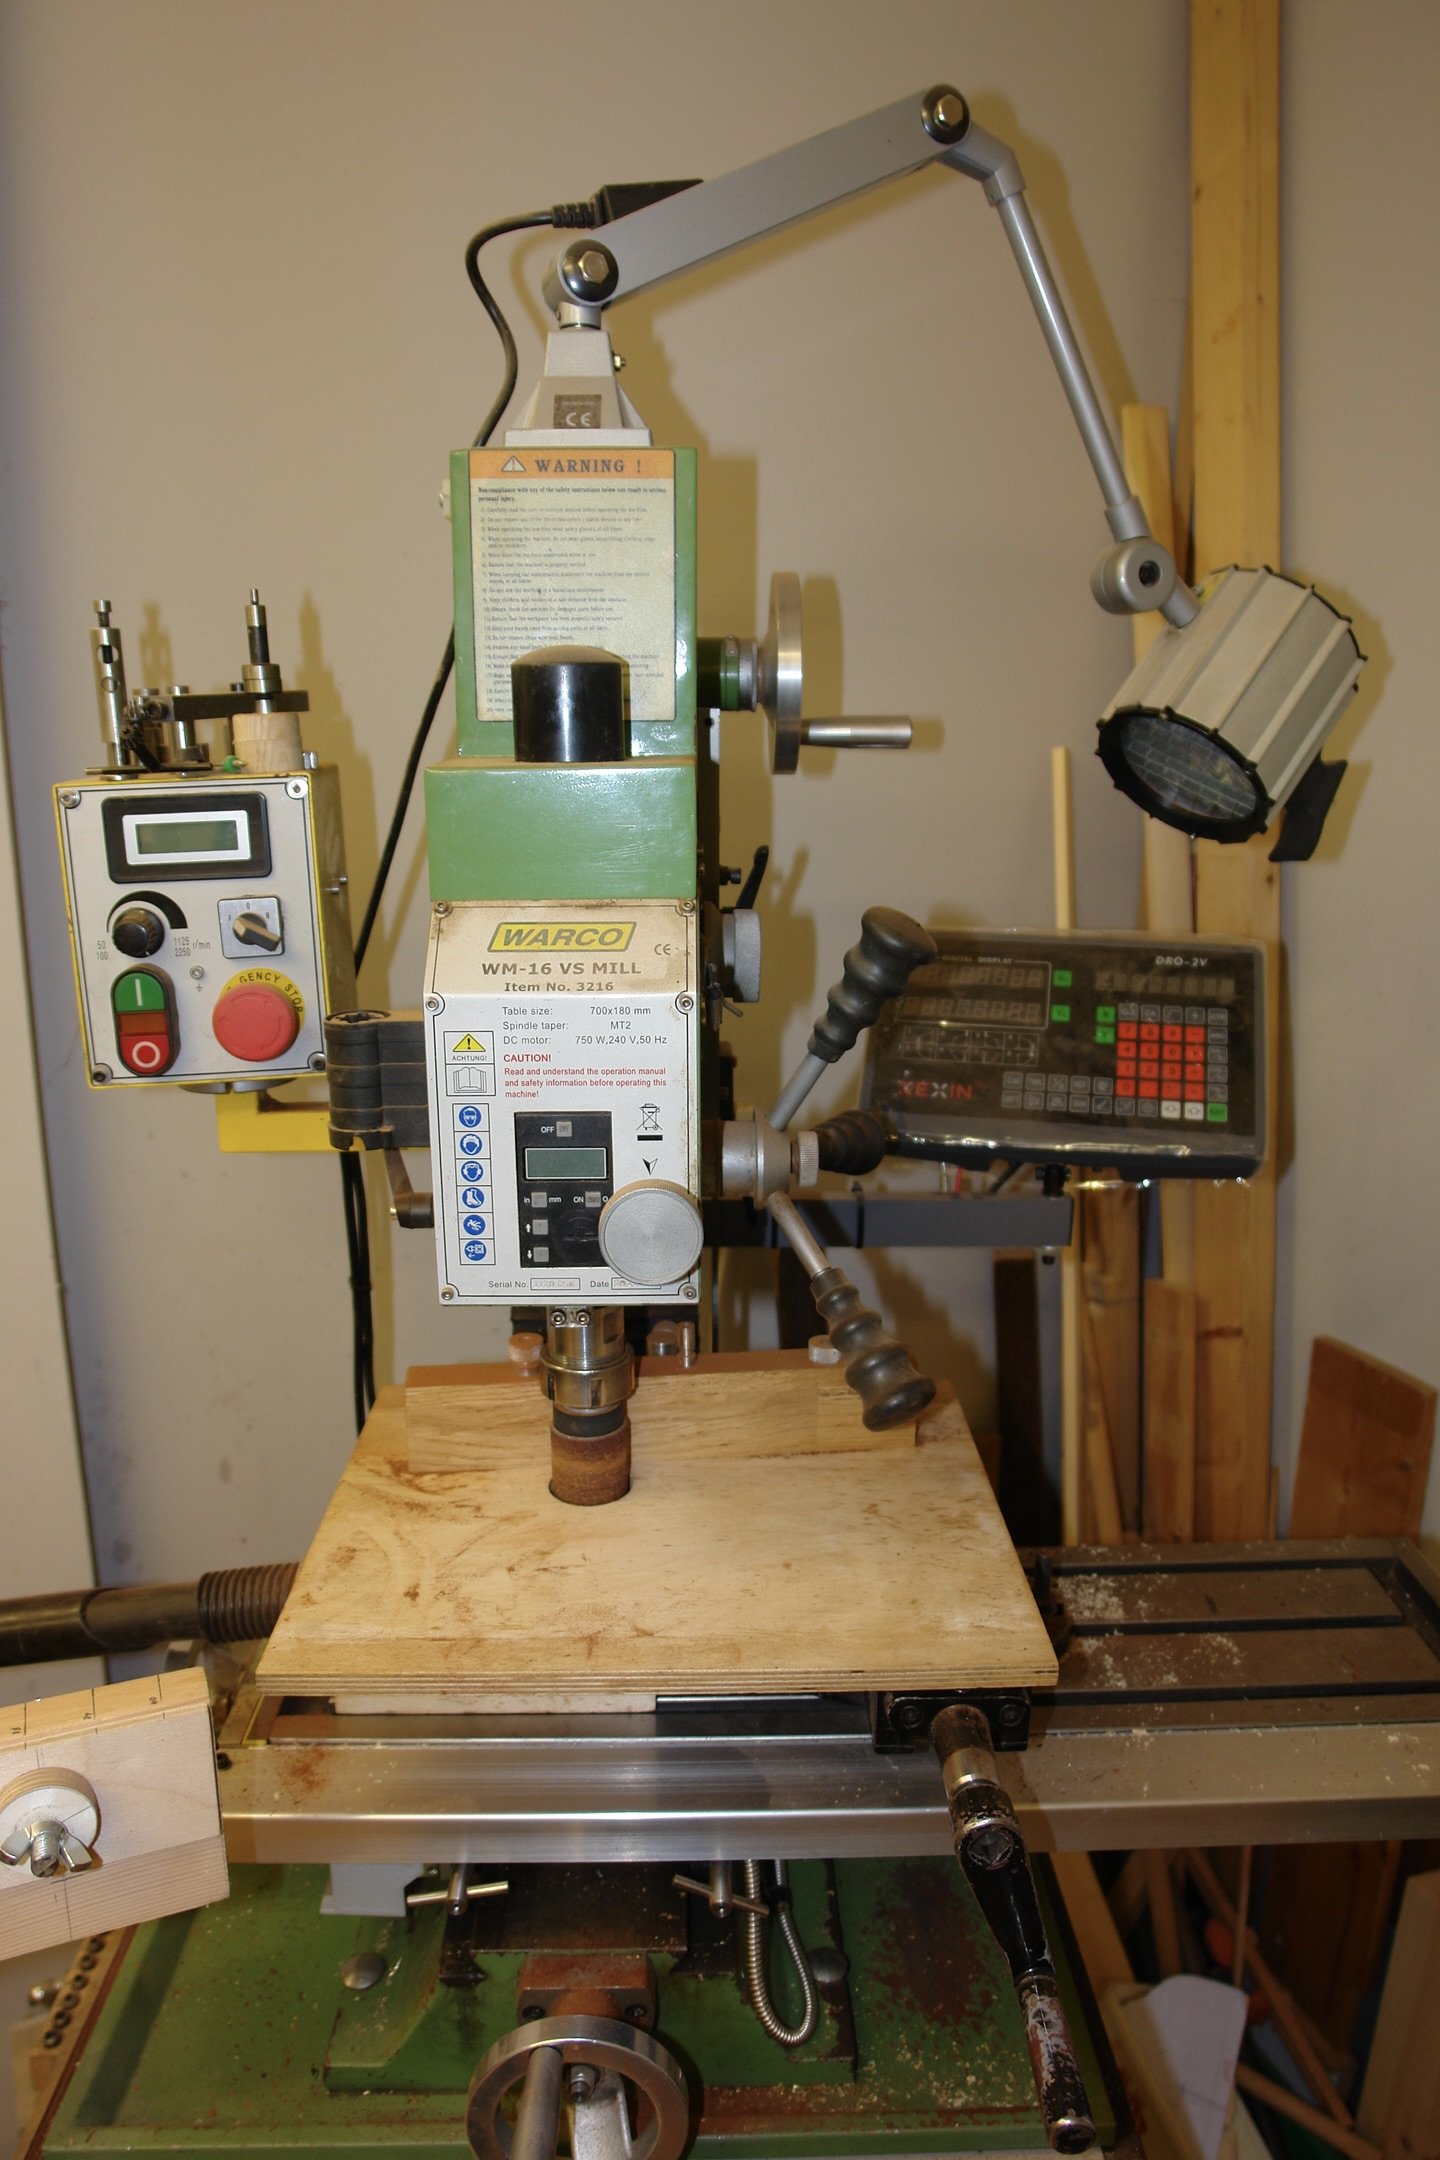
Yes, and it's older than I am, in better working order and more useful. My father's and maybe even my grandfathers. Mark - that may be because I am doing the easy bit first.🙂 John, Ian, Pat, Veszett, Rick. It is still early days for the planking. Plenty of opportunity to make a mess. Thank you to everyone for the likes.
-
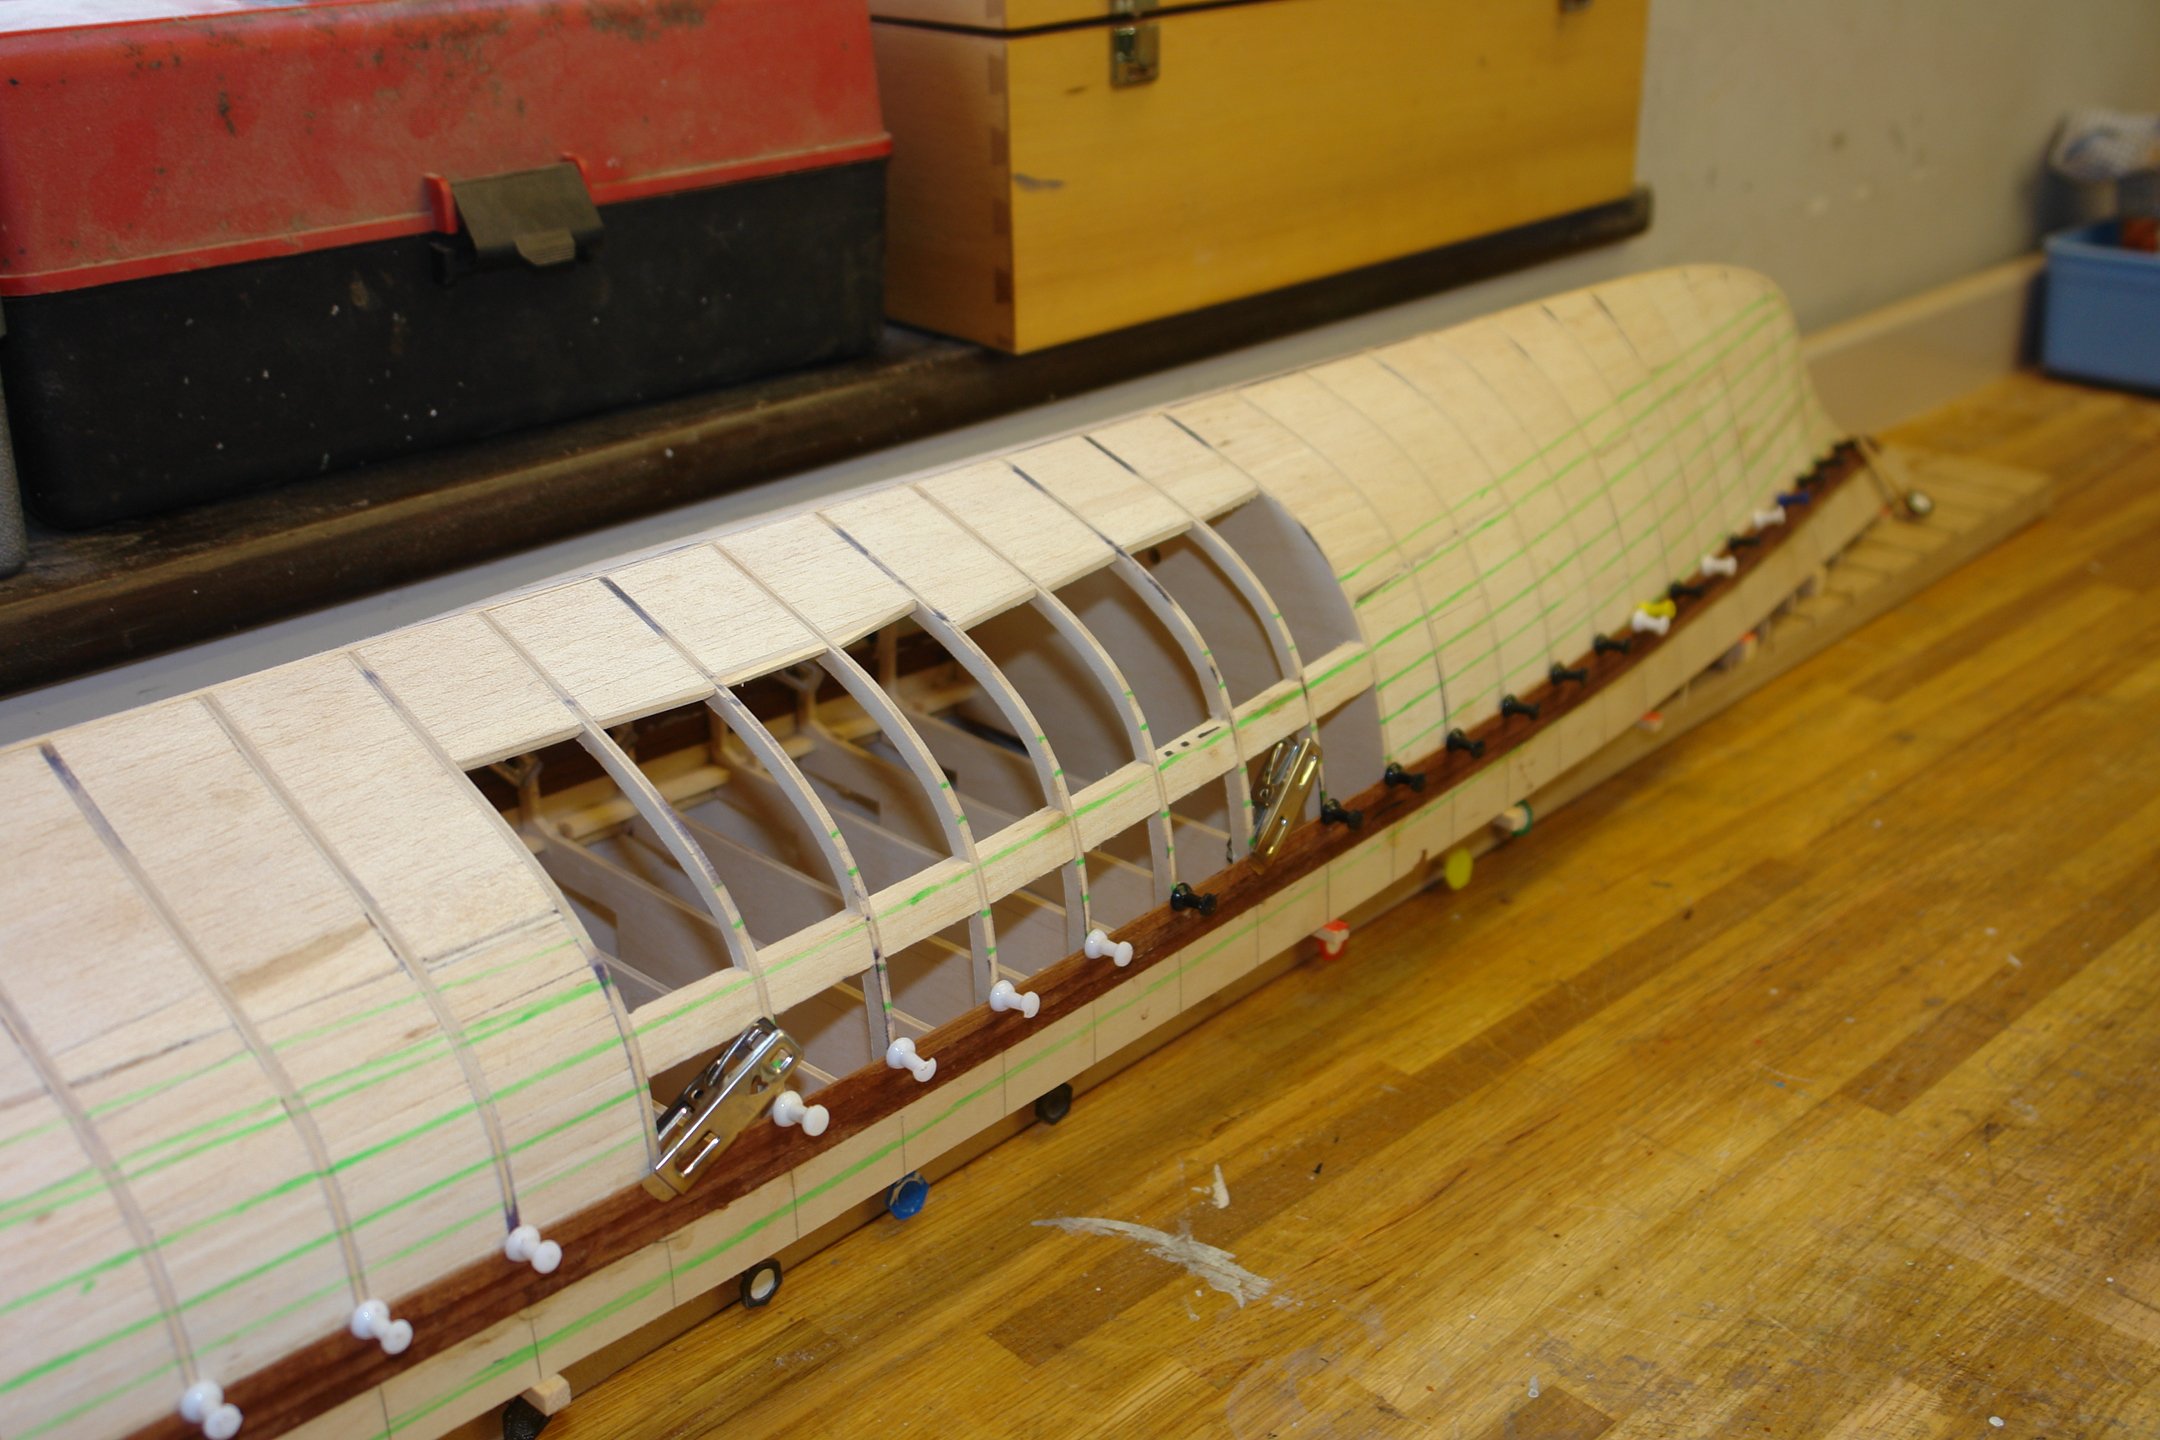
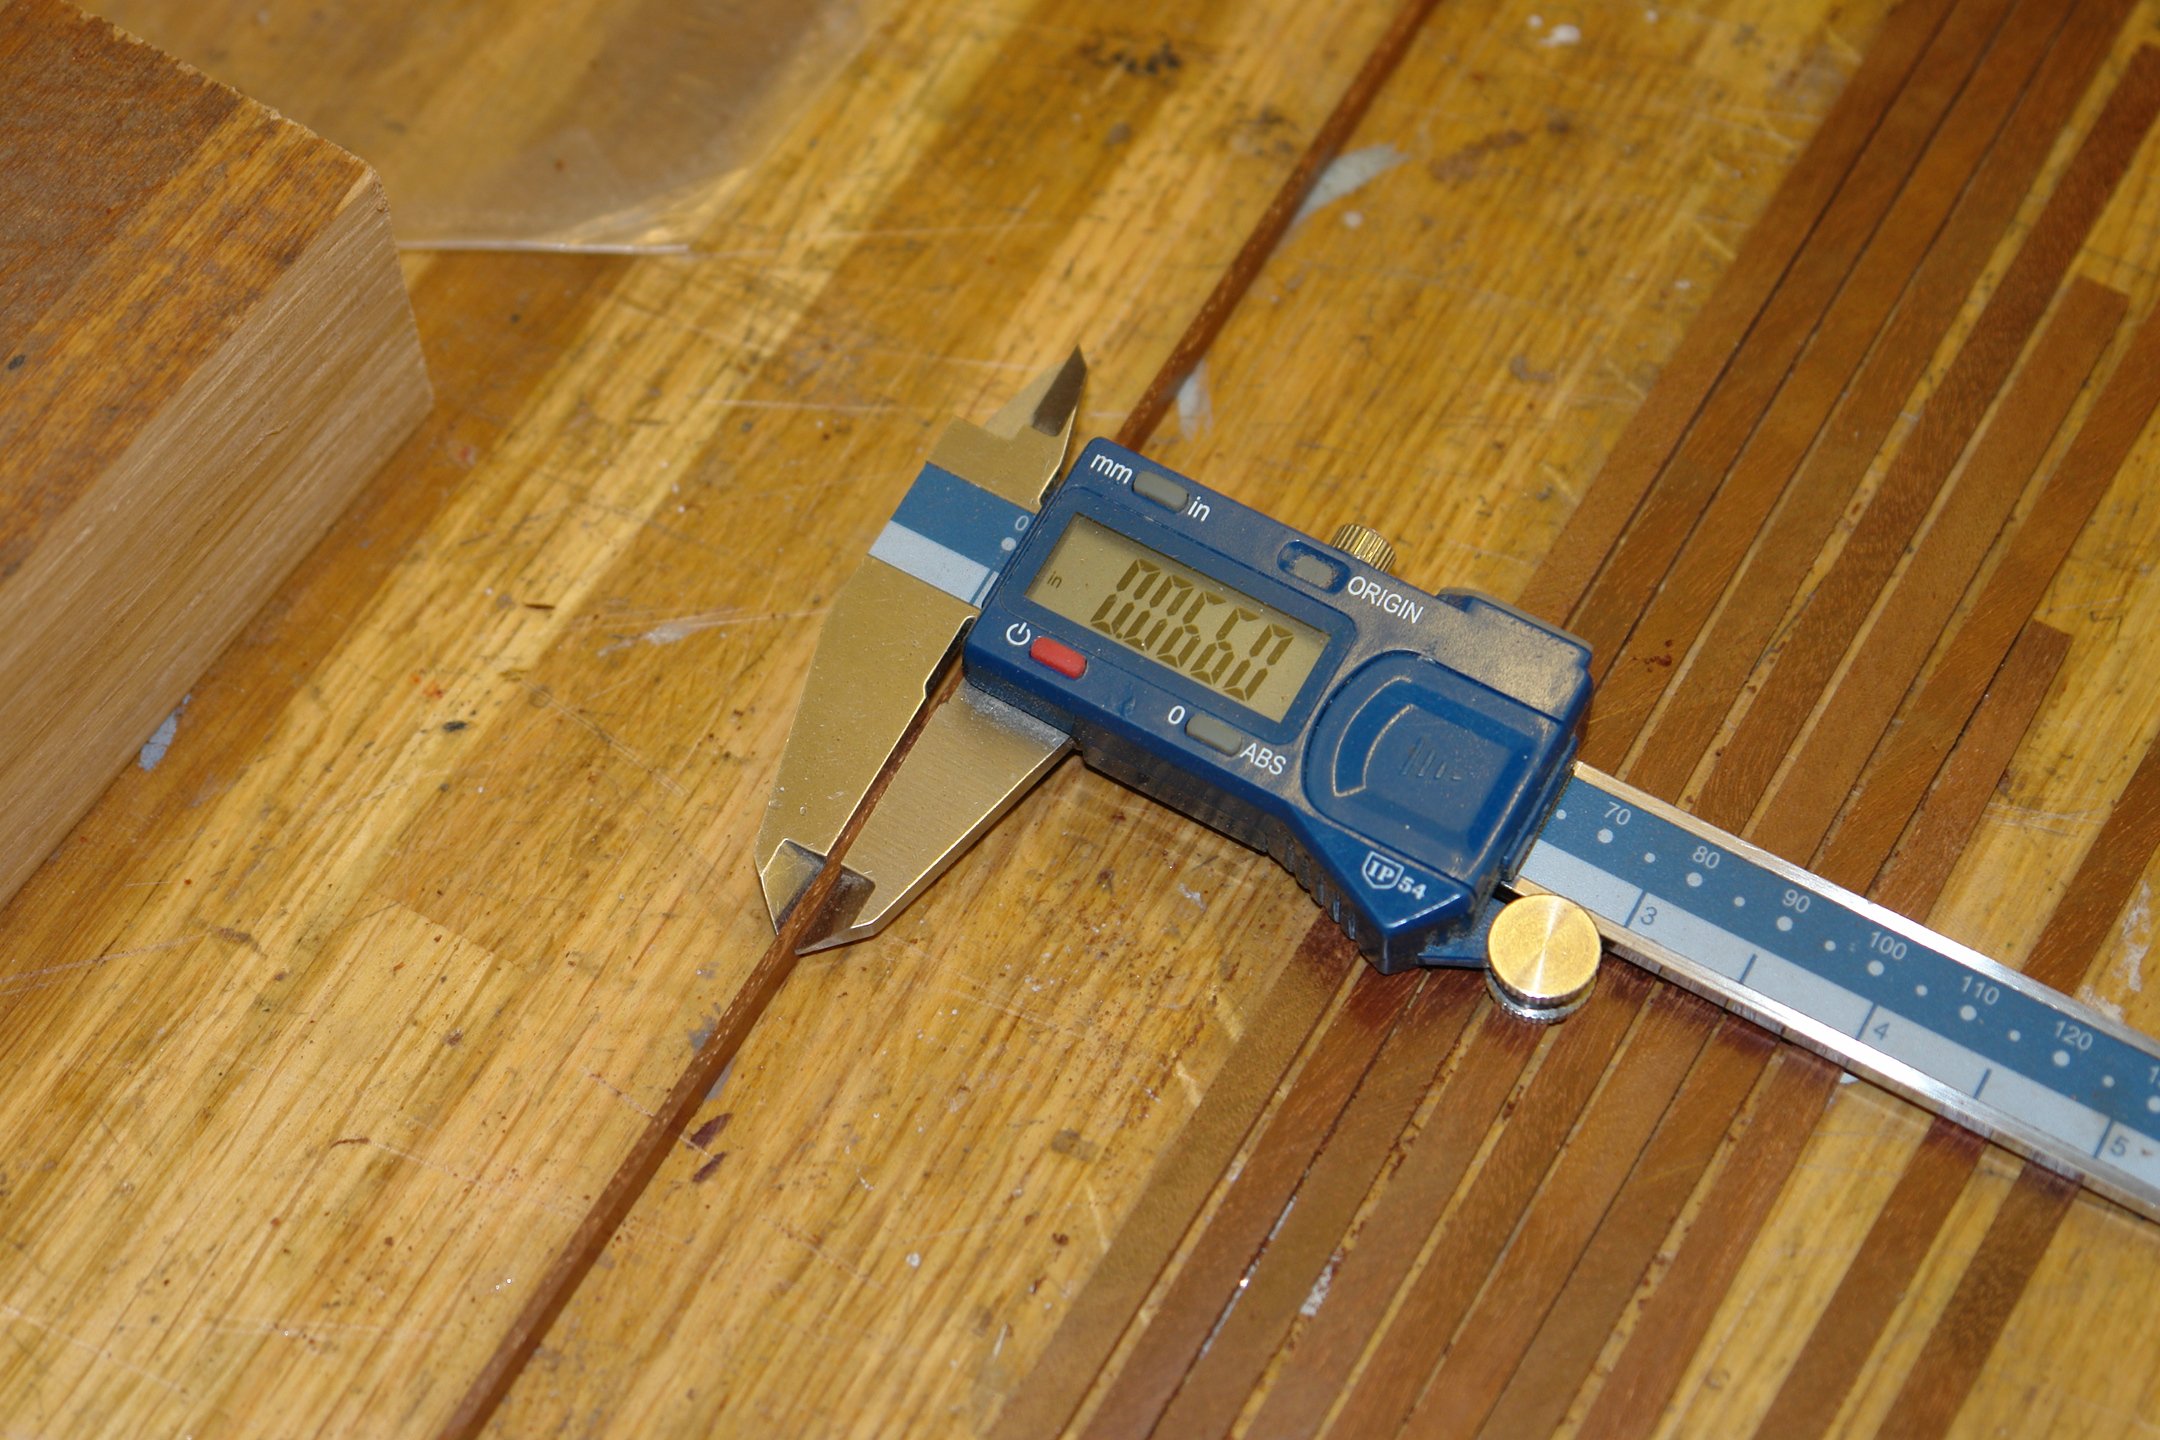
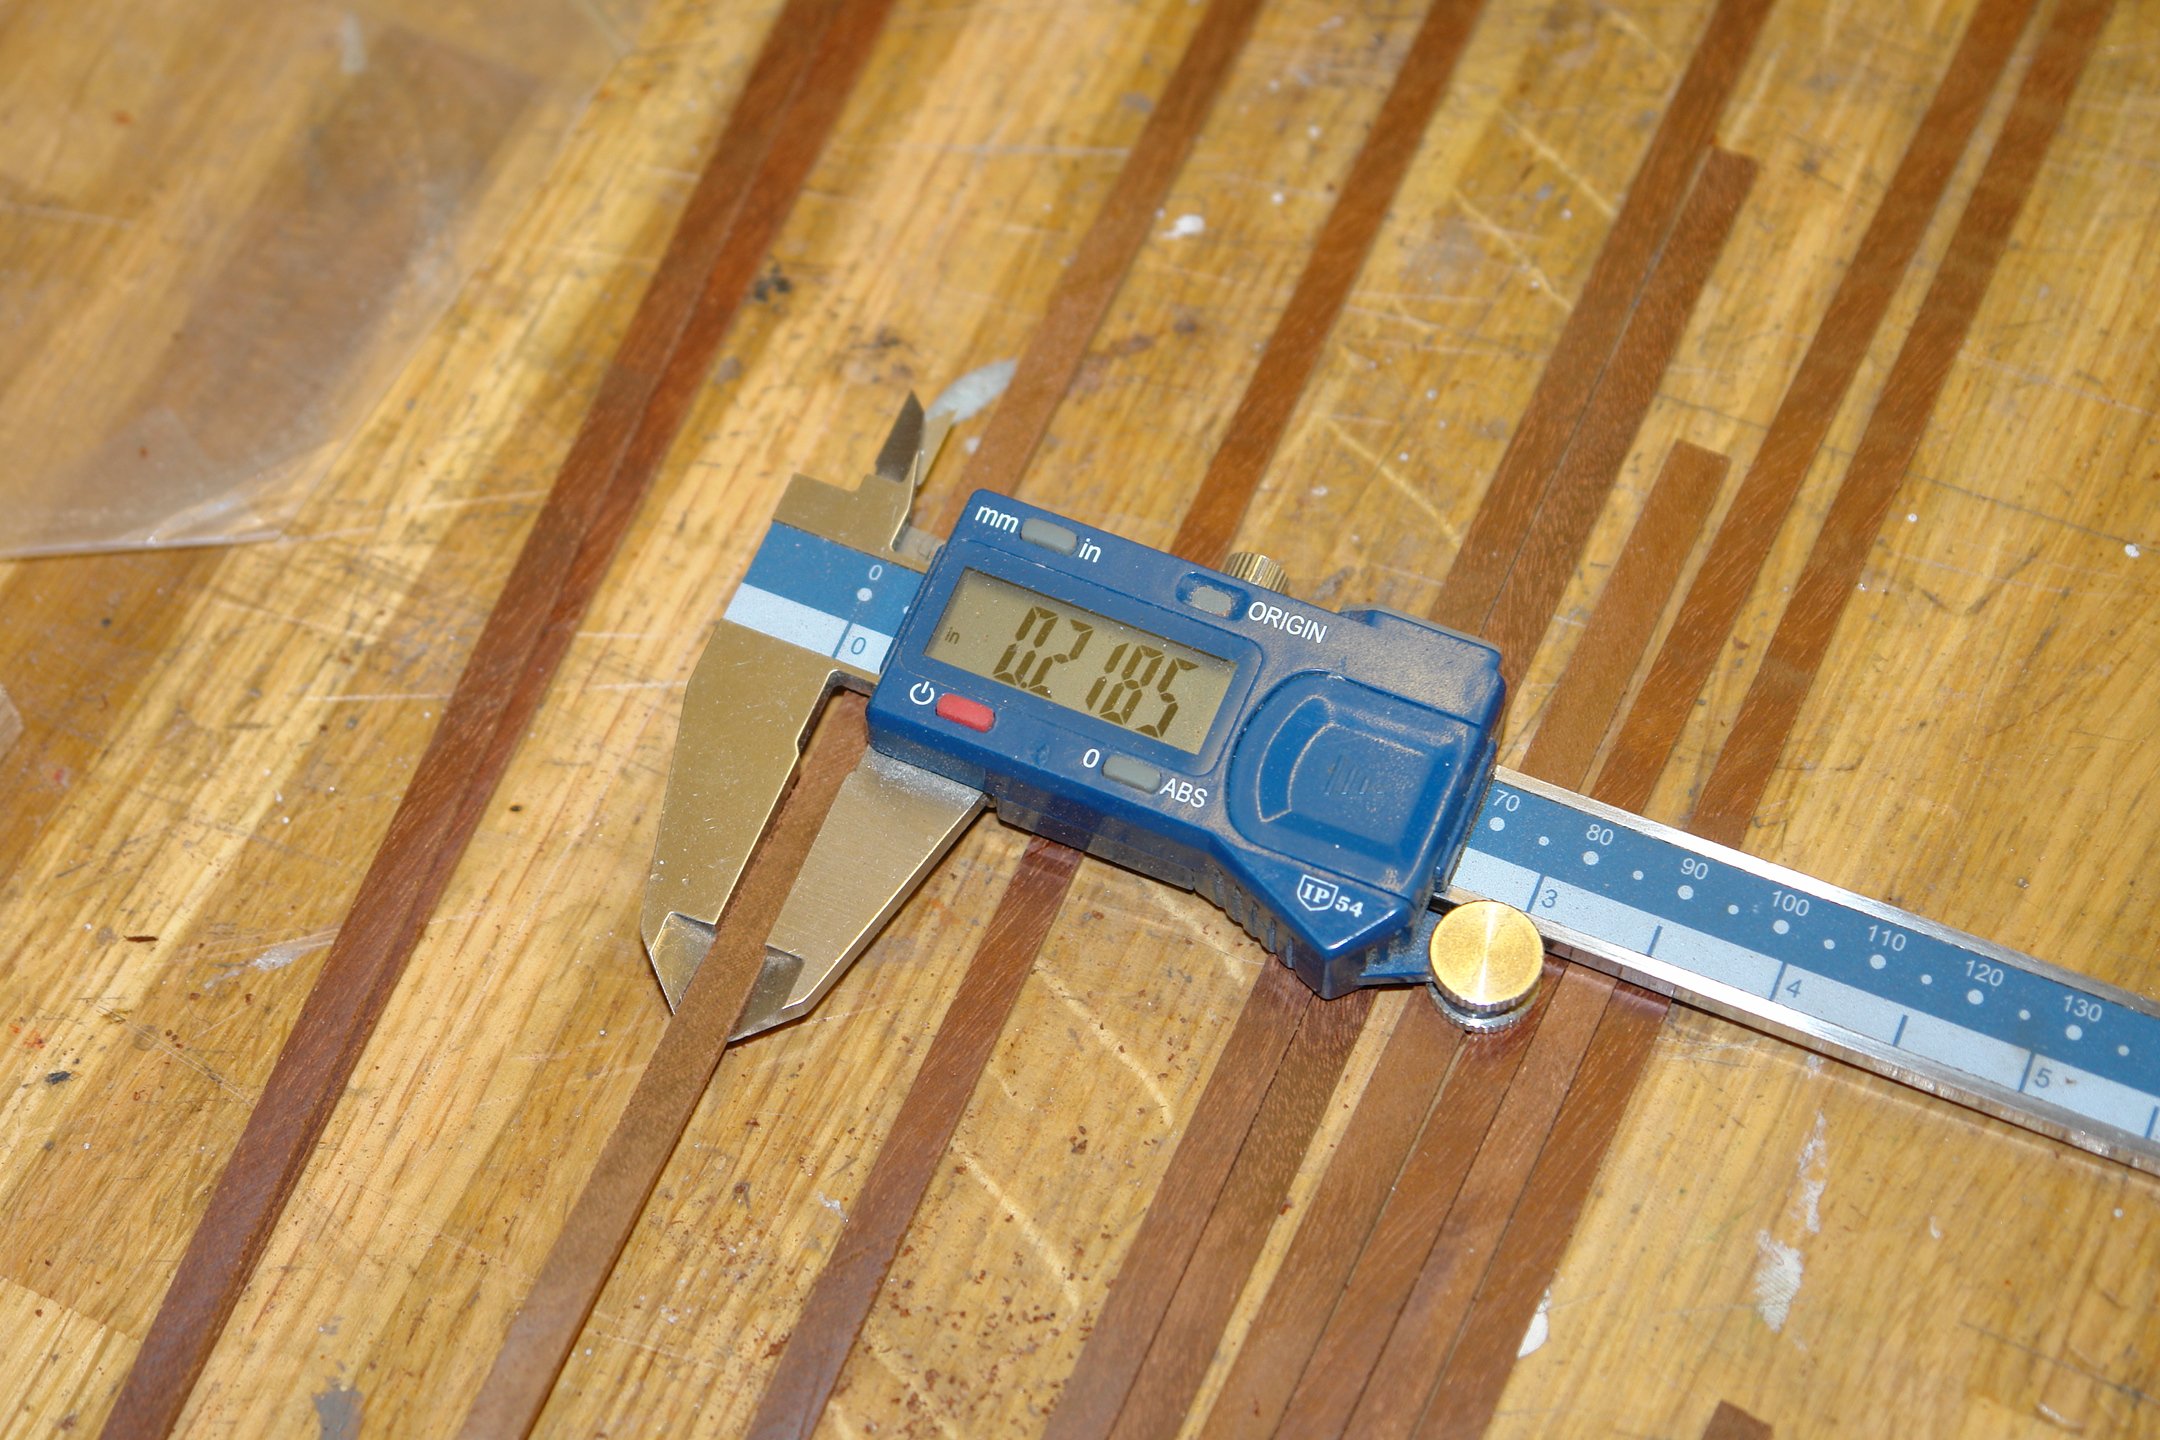
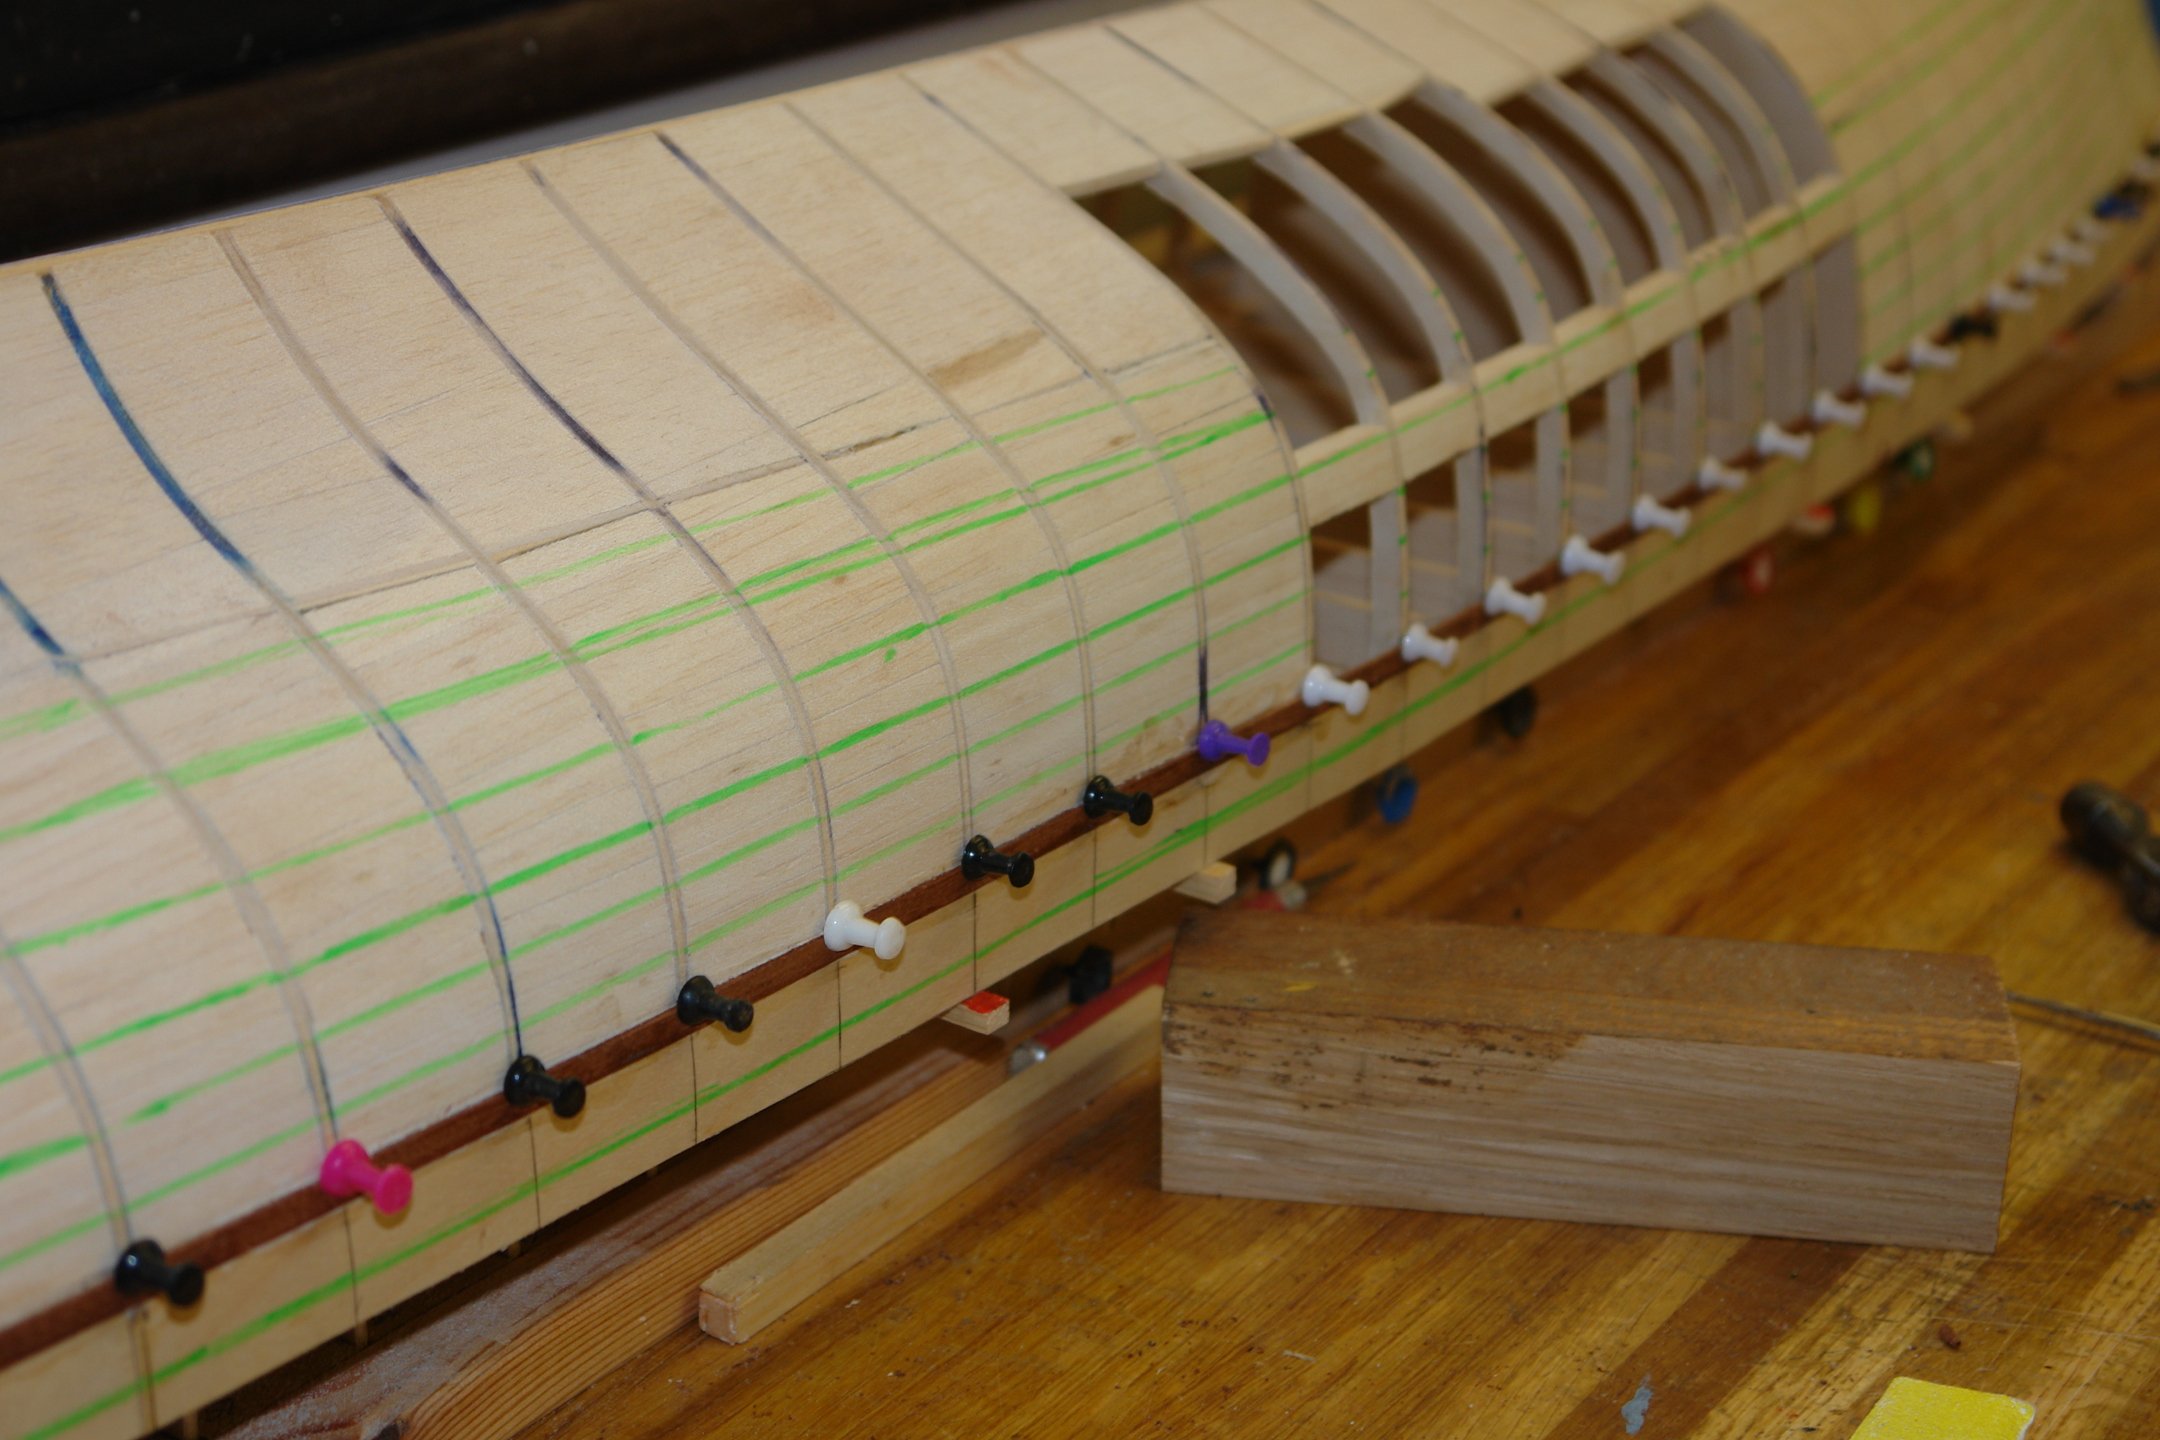
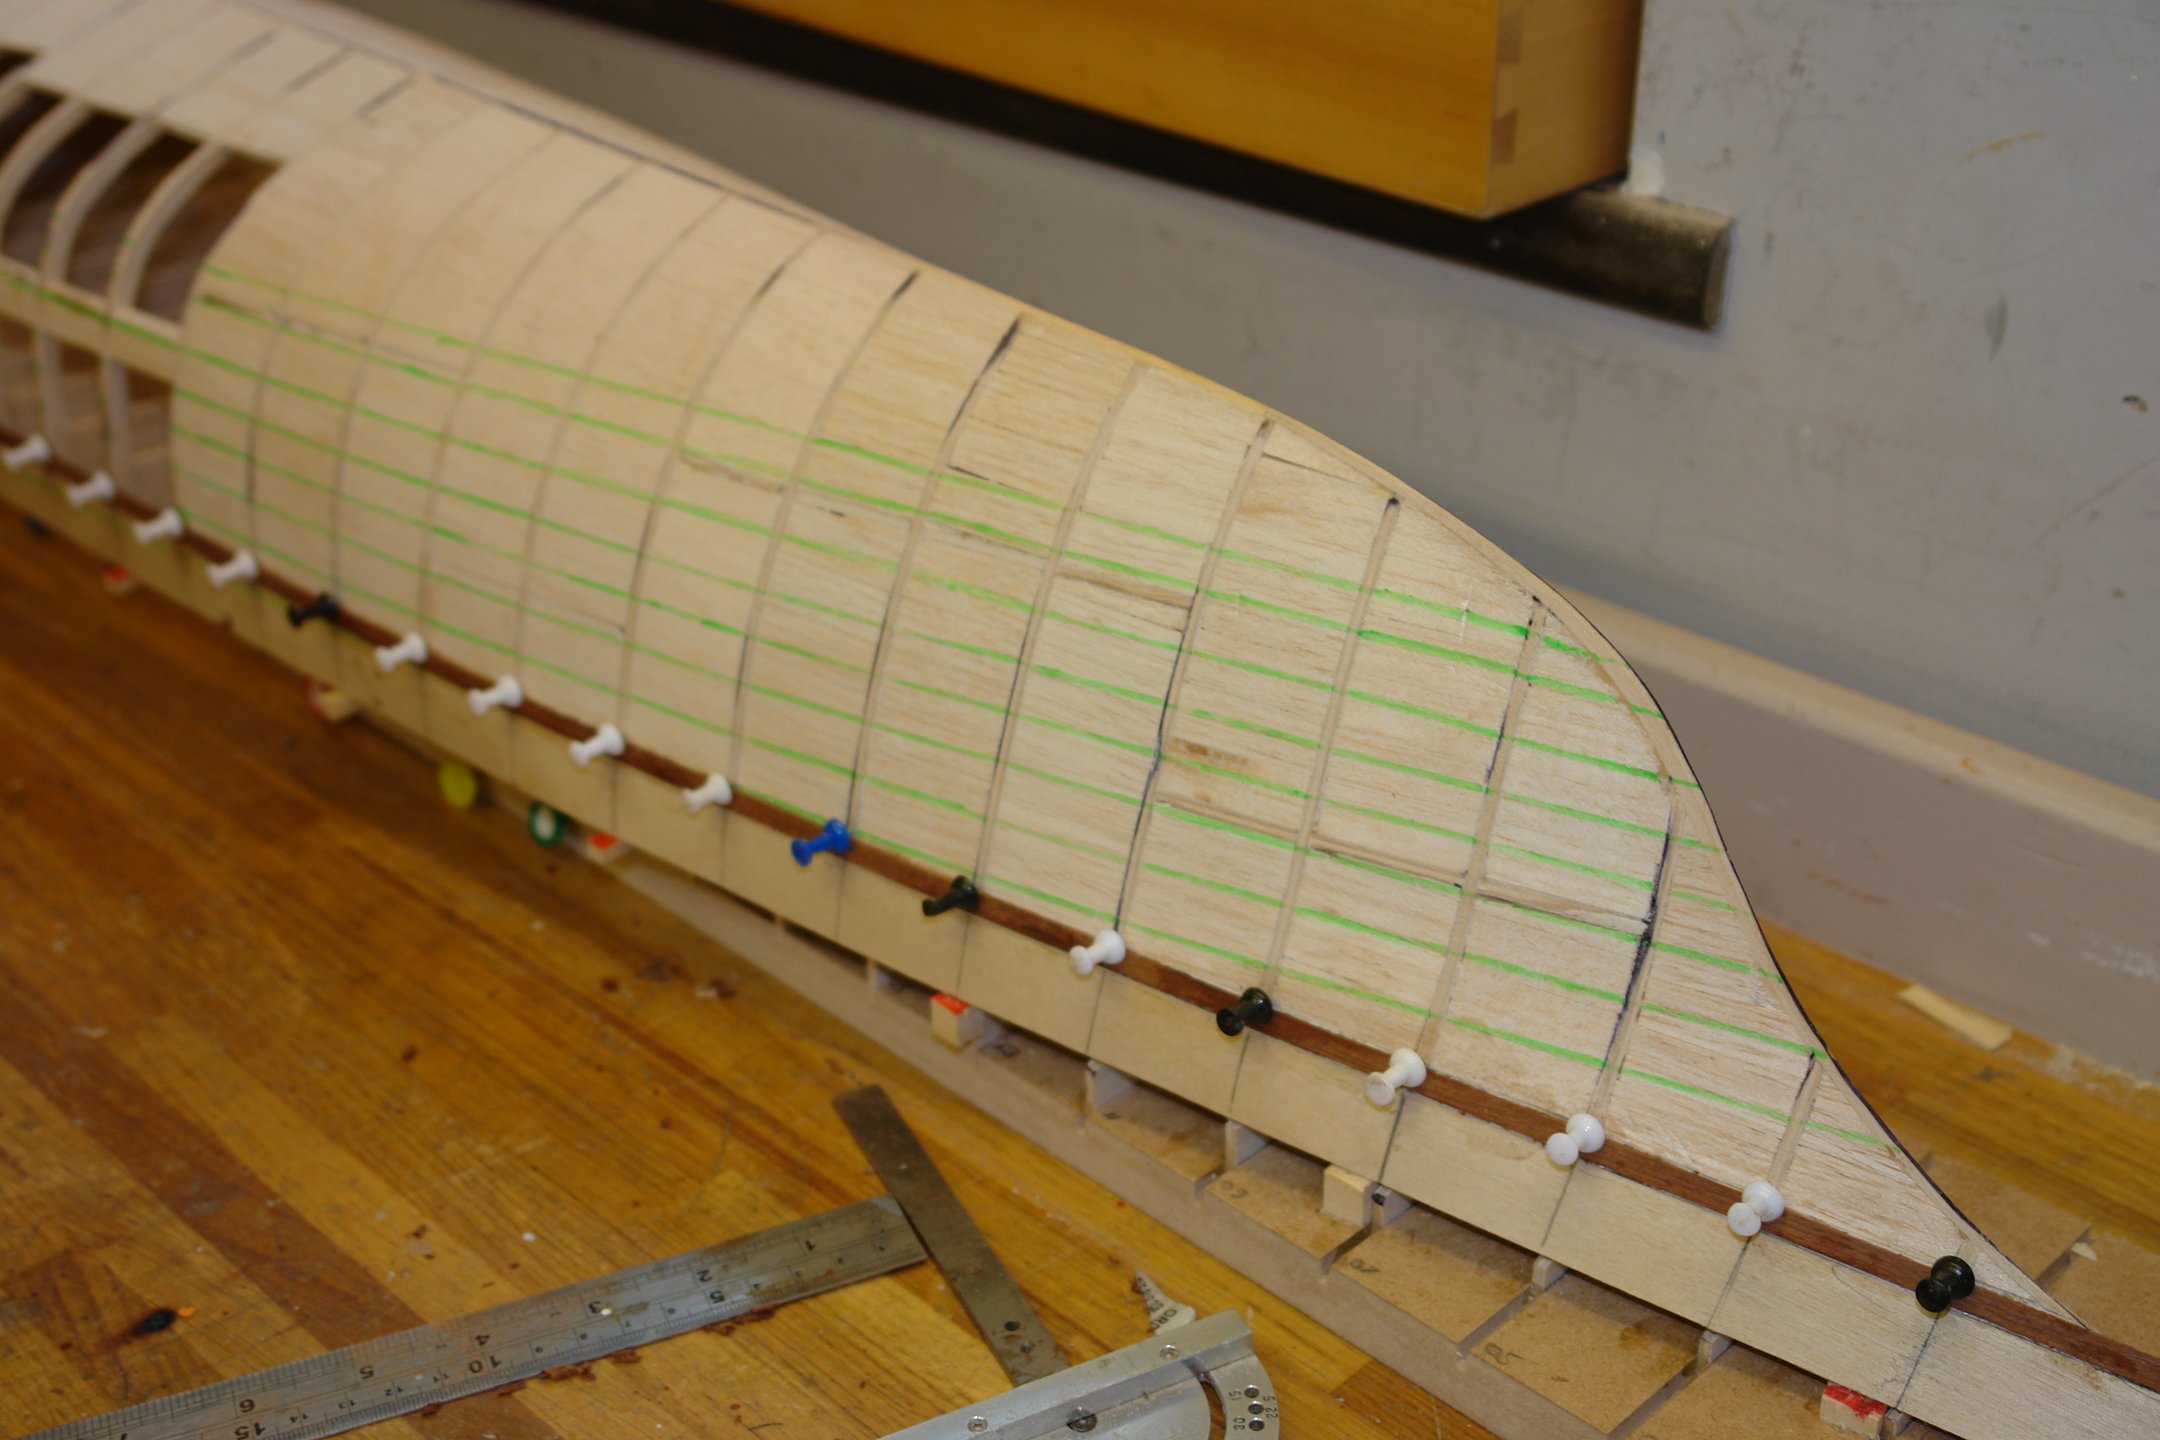
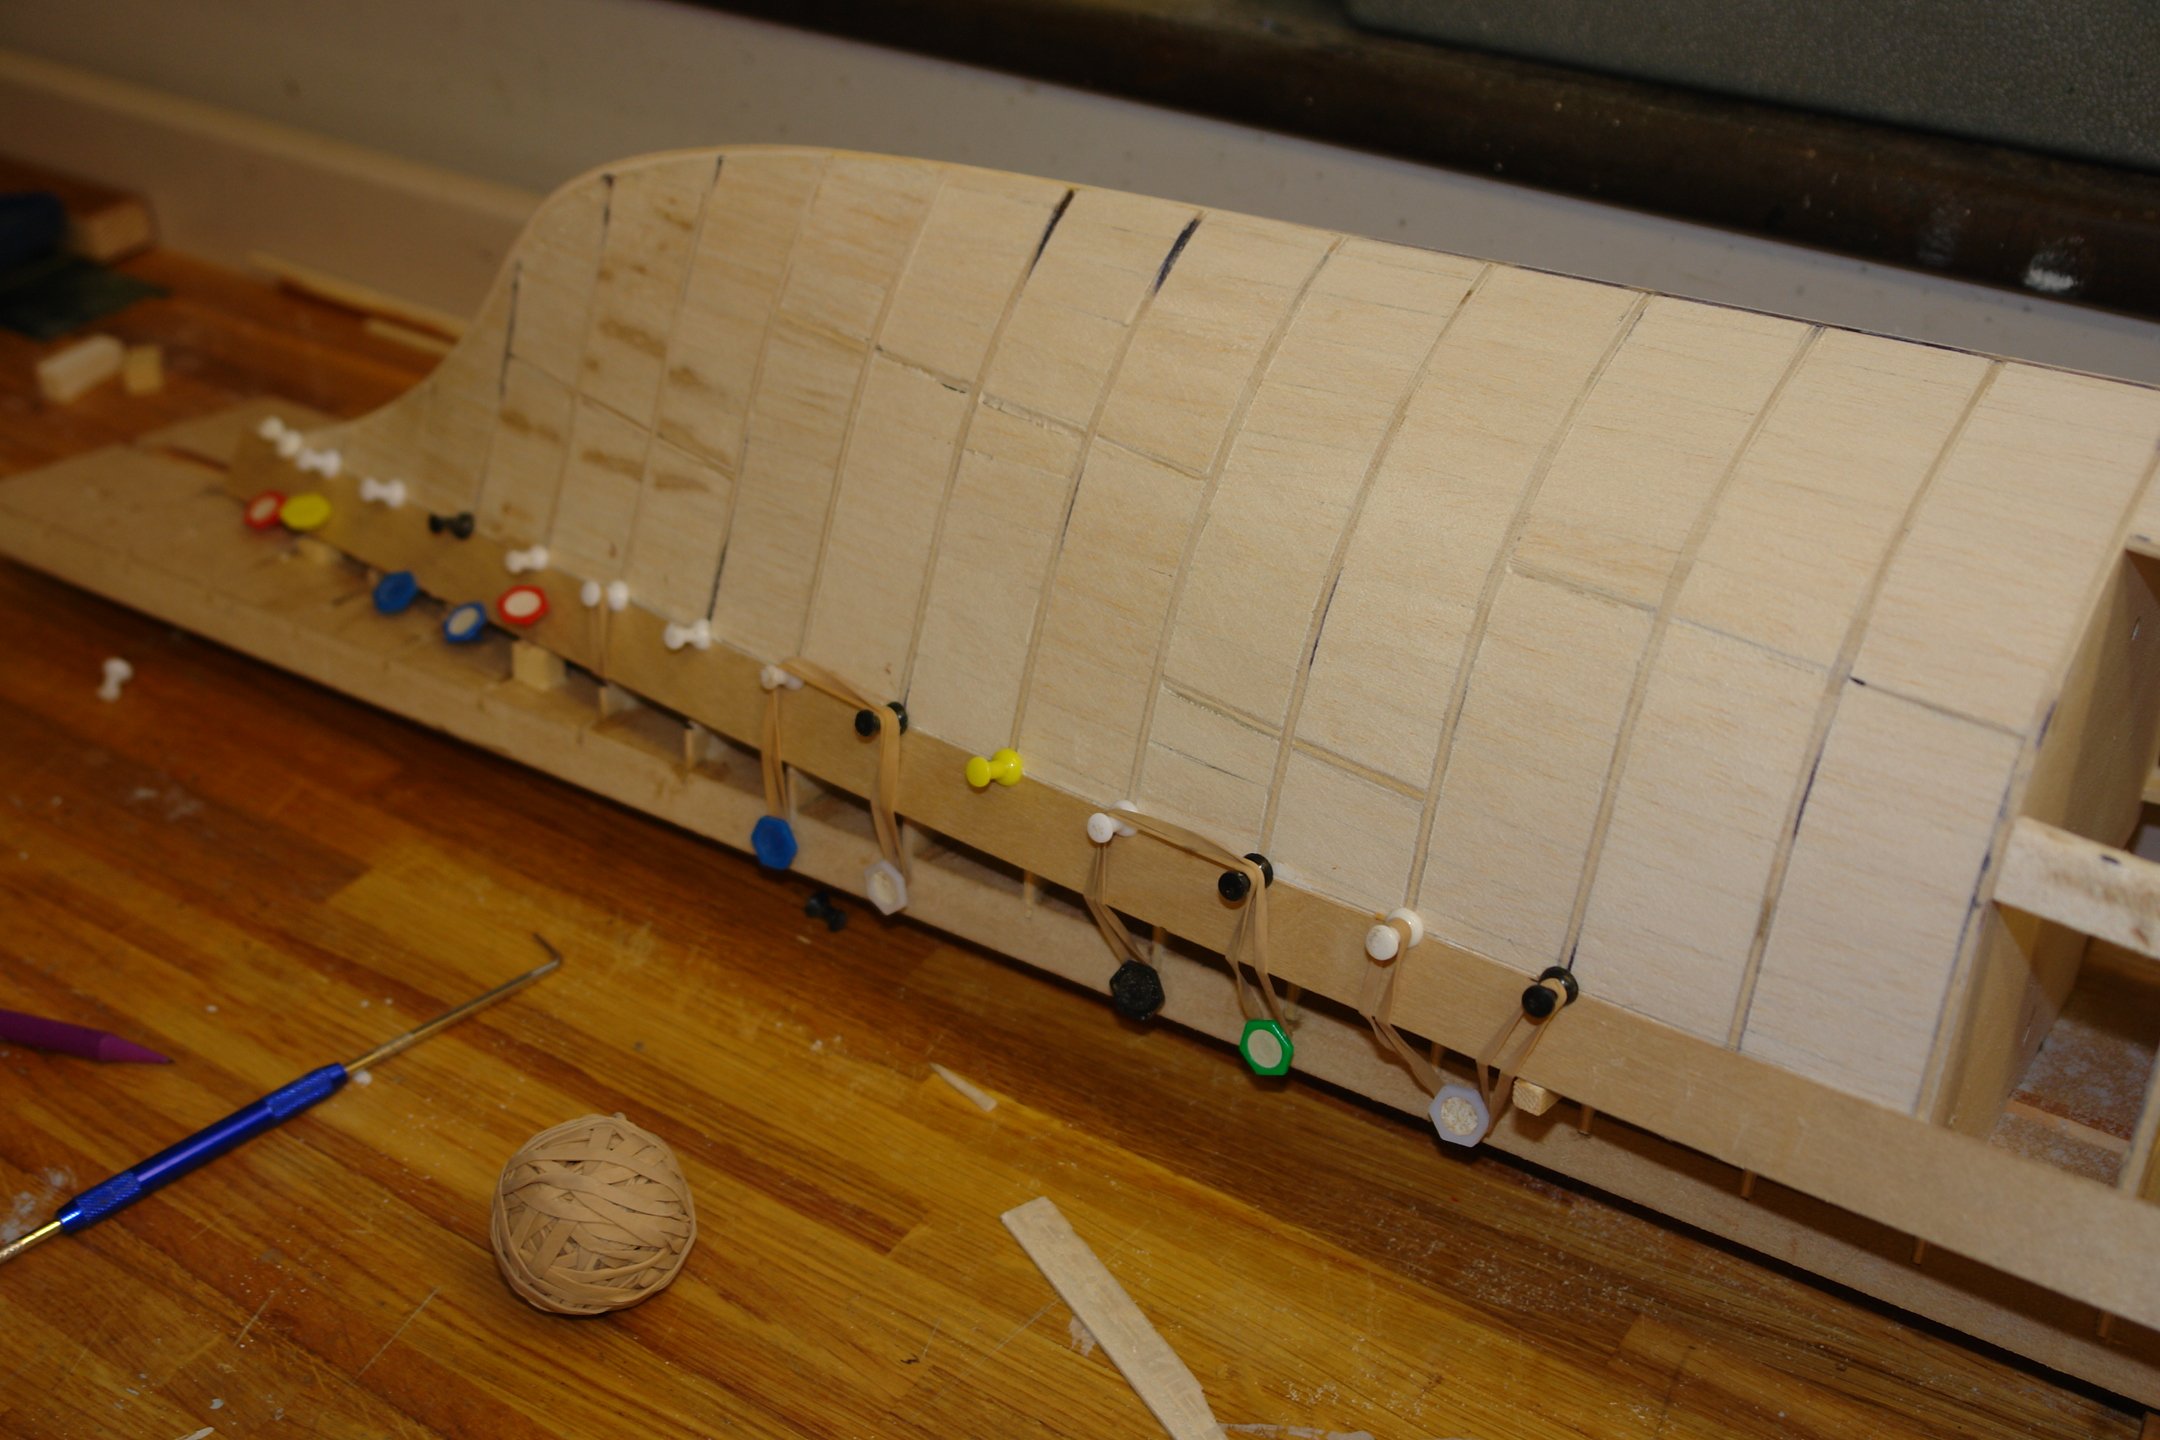
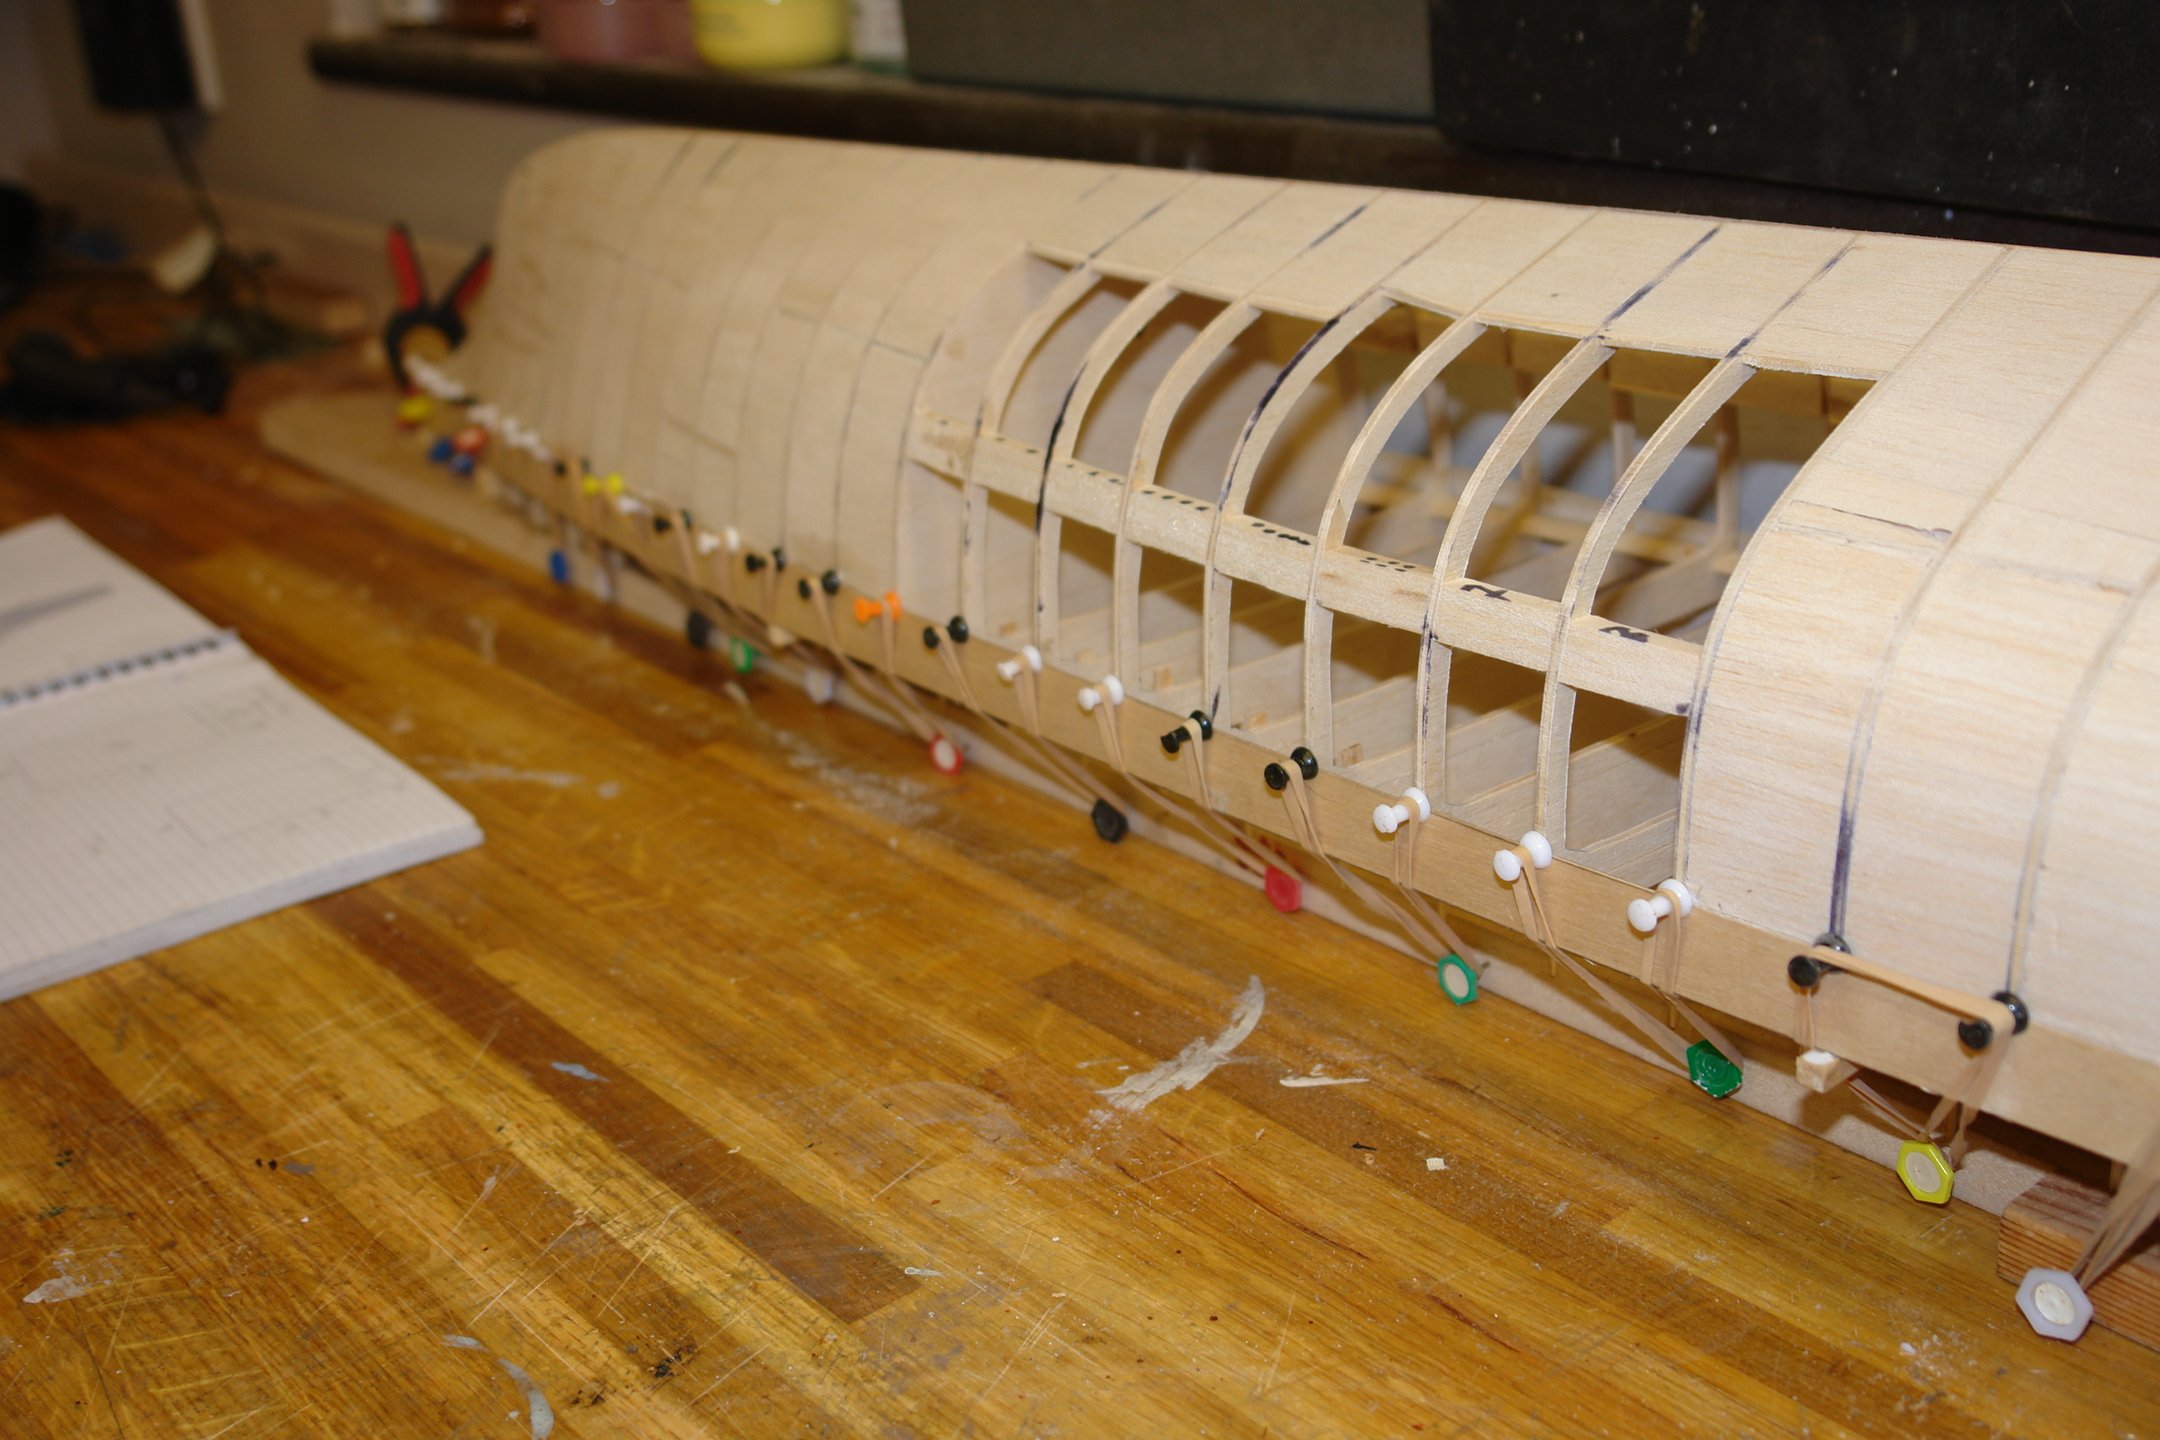
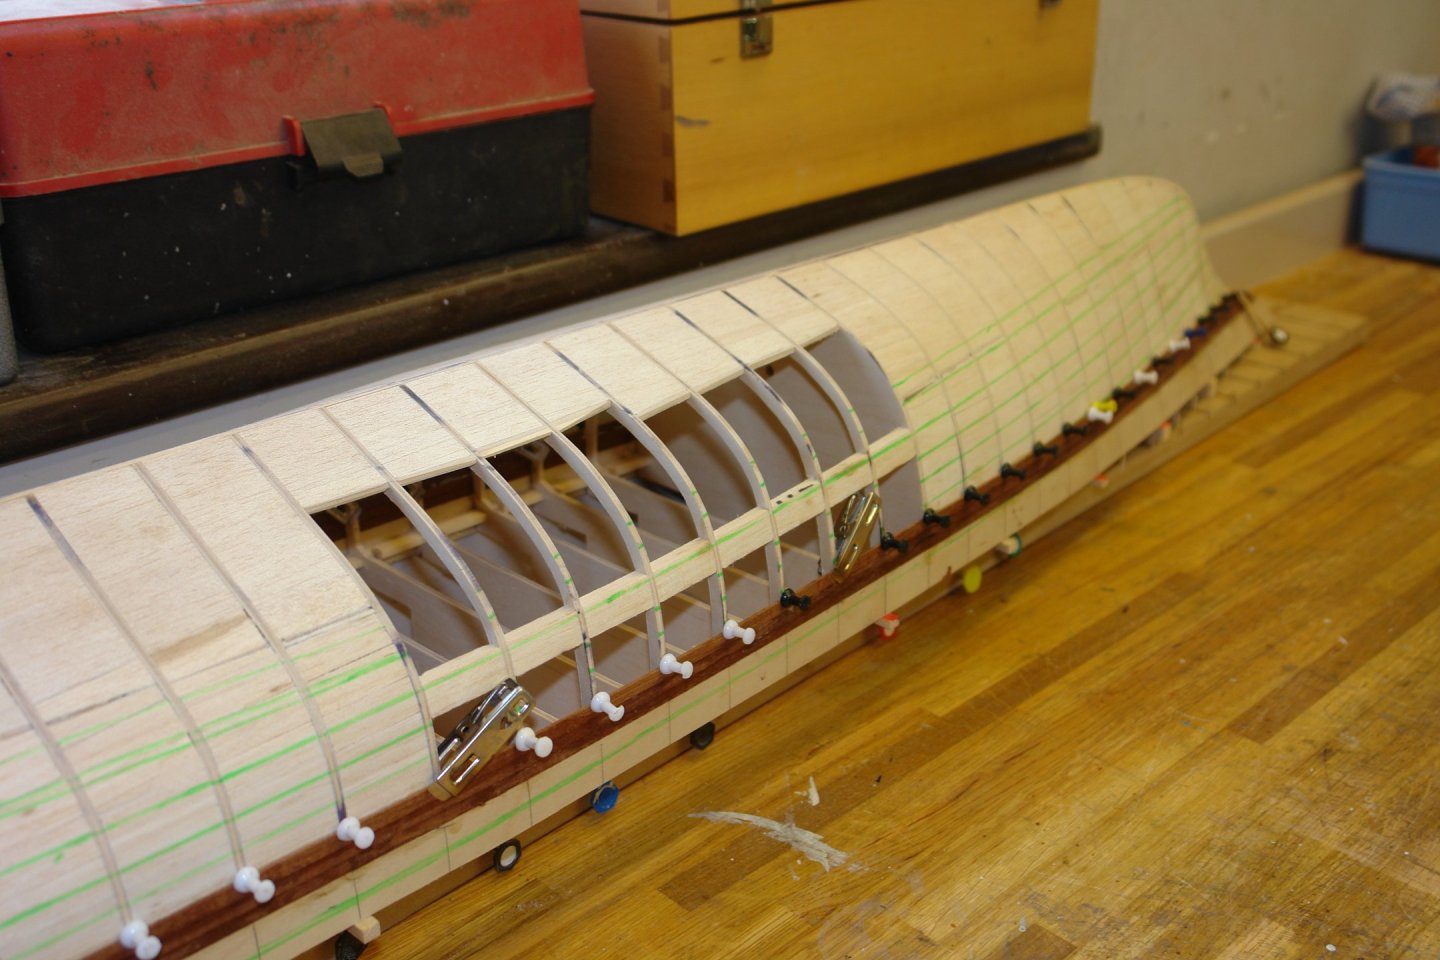
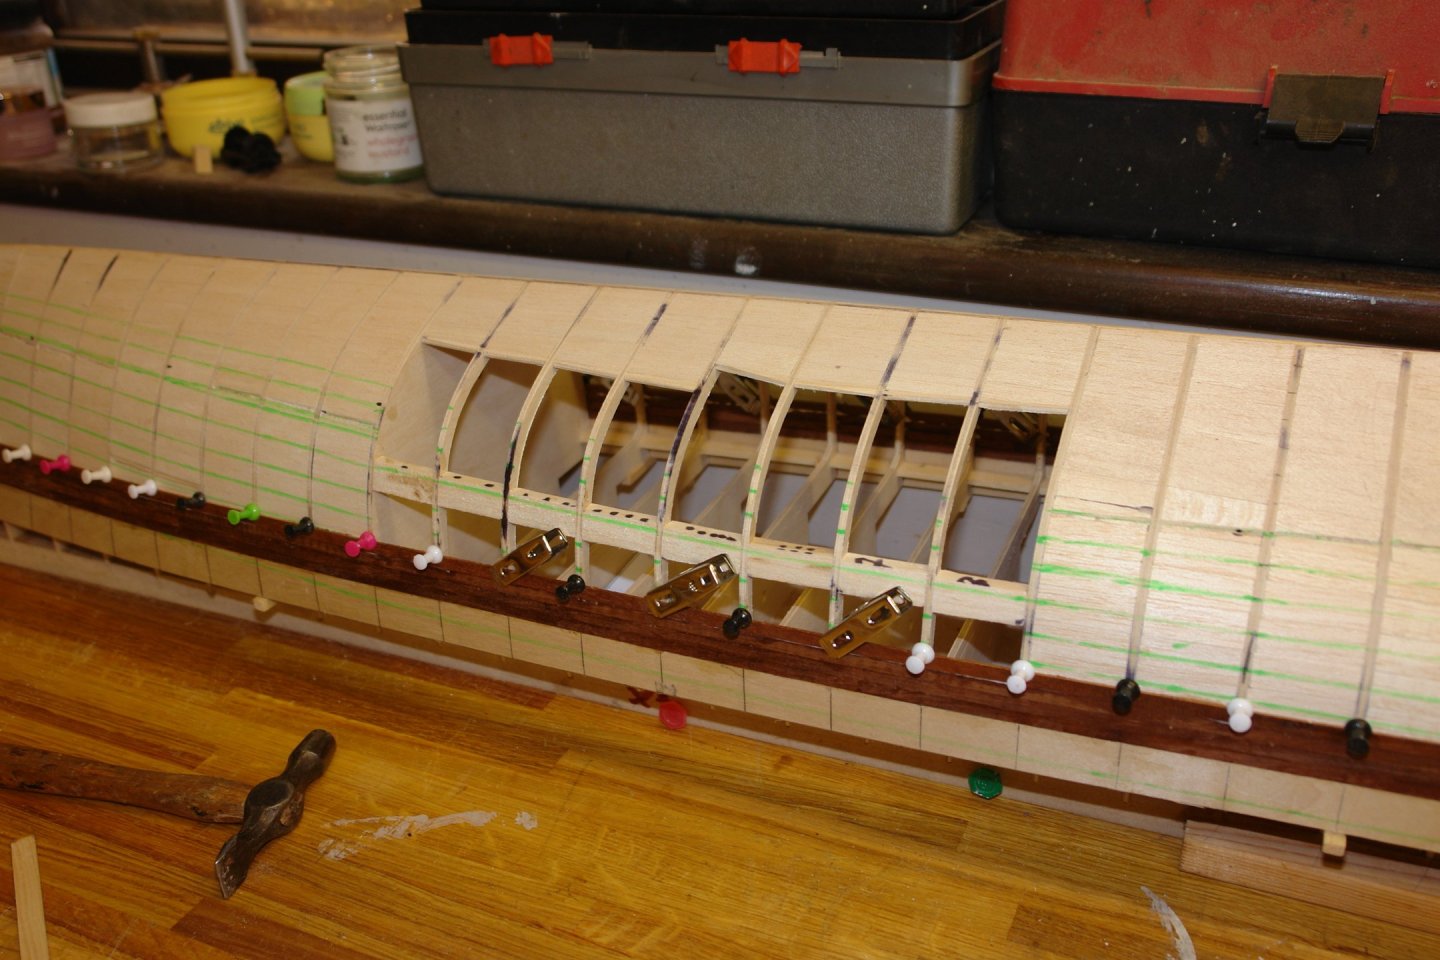
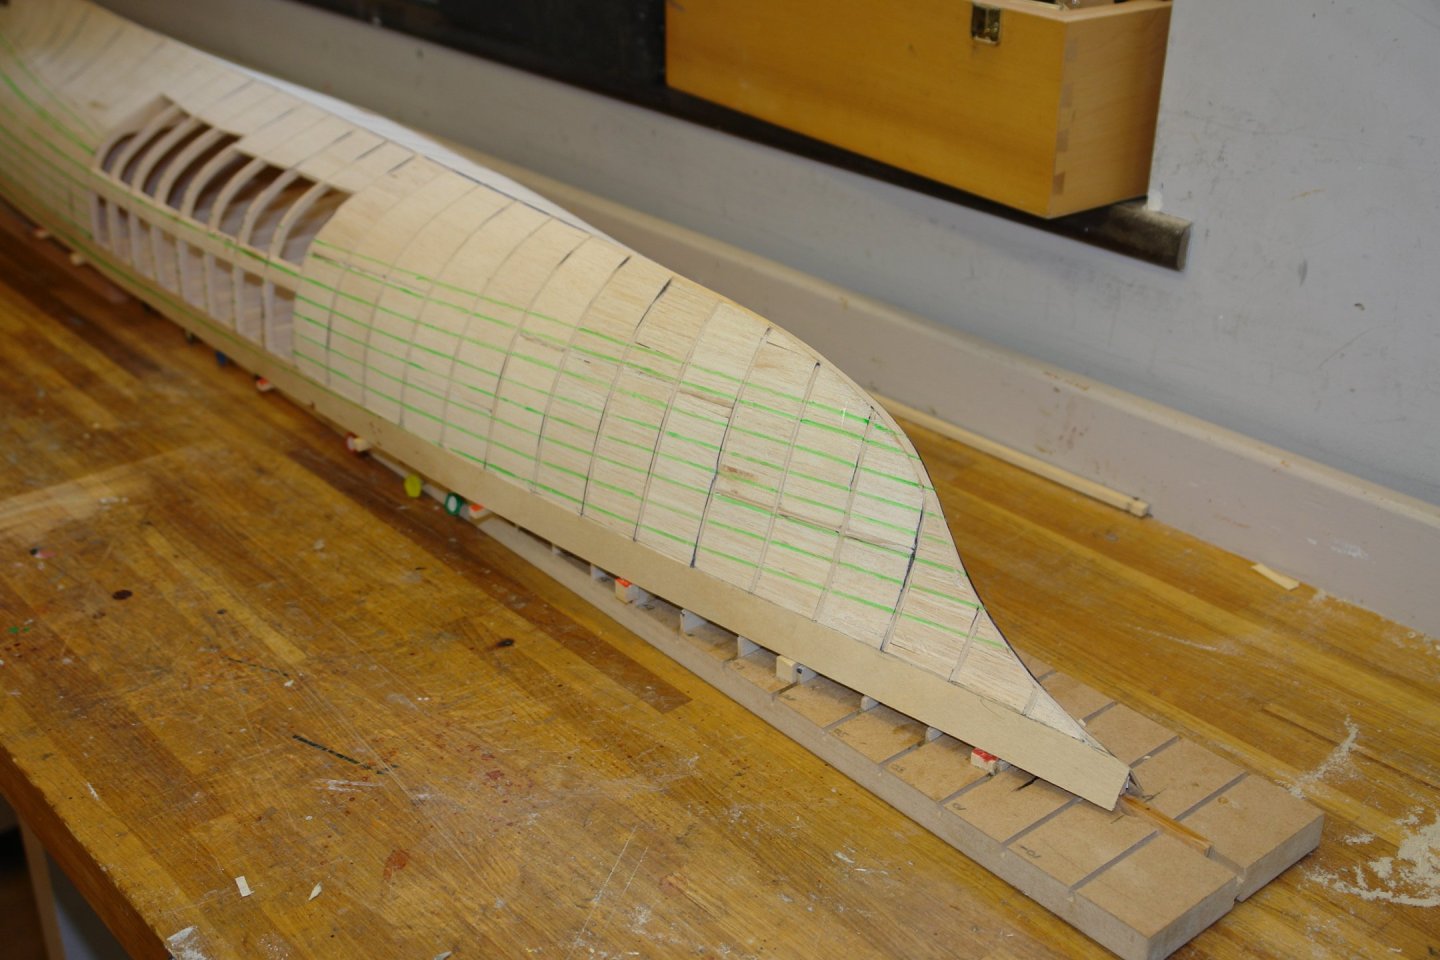
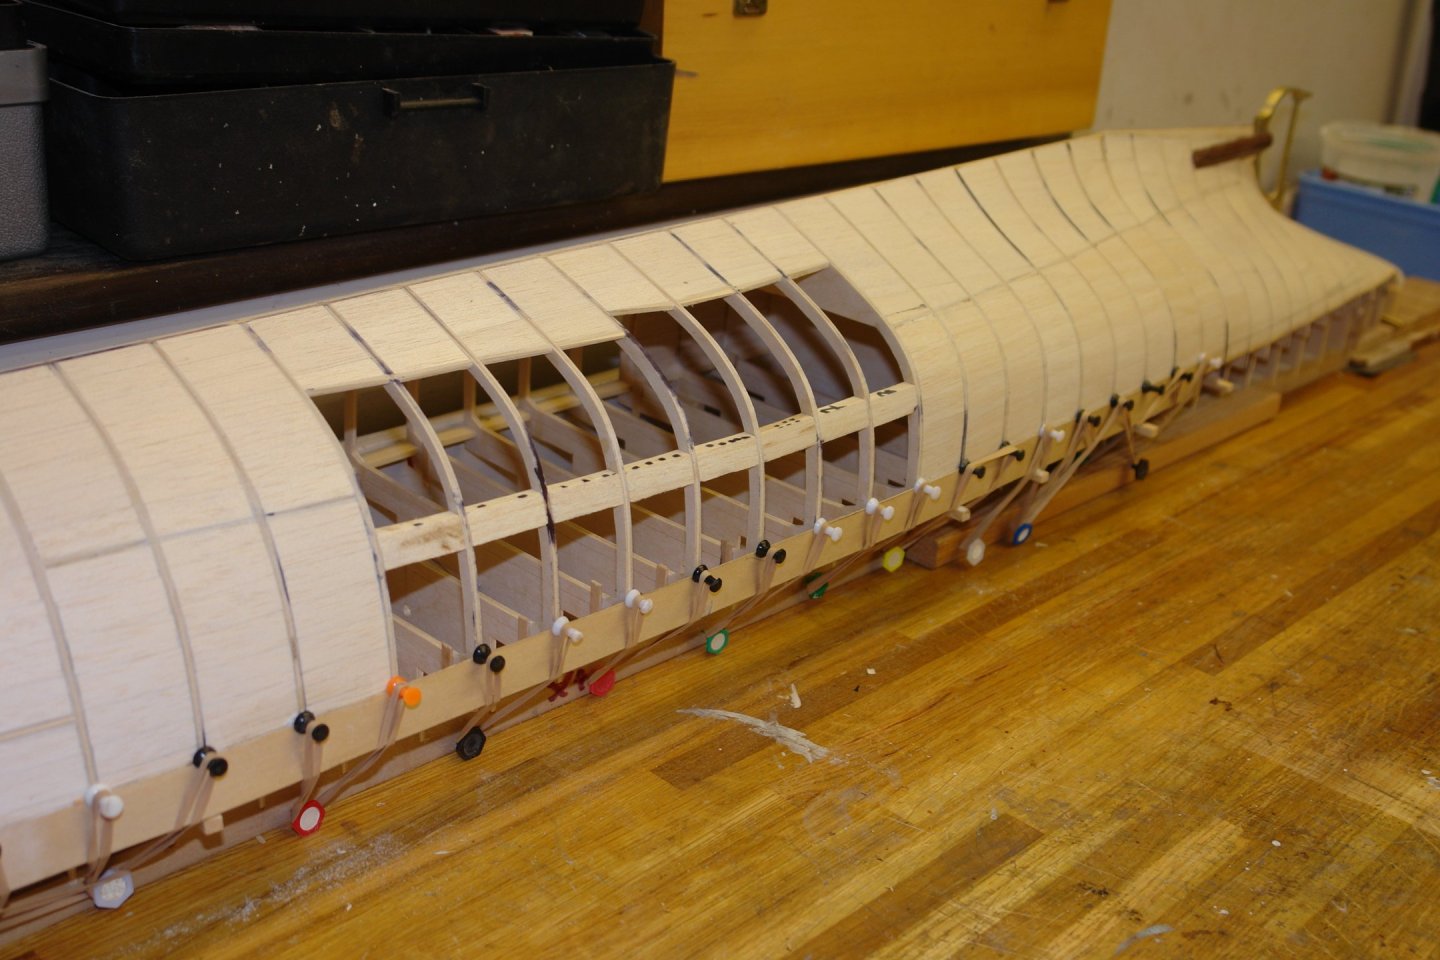
John, Roger, Ian, Veszett and Druxey thank you for commenting. Just a brief update:- I got to the 3rd row of planks before the planks began to run out at the stern. This necessitated a wedge being inserted. Just visible between the second and third planks in the next photo. I did however continue with parallel planks. In the boiler room area I needed to start aligning the plank edges using stainless steel clothes pegs where alignment proved to be unsatisfactory. Having included the wedge between the 2nd and 3rd planks the 4th plank went on as a parallel plank without a further wedge. I am now on layer 7 and probably near the end of parallel planking. At maximum beam I am going to have to start adding more width (which in practice means narrowing the planks at stem and stern). I am checking the symmetry of the planks (with callipers) on an ongoing basis. The green lines also help me judge the symmetry. As yet everything is looking good.


-
Druxey - thank you for the tip. it only tends to be a problem where the curvature is quite pronounced and I haven't bothered to try and pre bend using heat / steam. That said your suggestion could be very useful for the deckhouses.
-
Keith. The legs had woodworm - that is the table not the wife! That said she is looking a bit grubby today. Eberhard. The only downside is it tends to be quite brittle when cut into thin strips. Otherwise it is lovely to work with. Veszett. Yes you are correct - I sand a bevel on one edge of each plank to get a tight fit against the adjacent plank.
-
Those clamps look like they have seen a lot of service Nils. I will be interested to see how you finish the potholes.
- 299 replies
-
- 6
-
-
- lightship
- Feuerschiff Elbe 1
- (and 1 more)
-
It is funny what our brain does with what our eyes see. It took me about 3 minutes to see the sheet of perspex - I was looking for something a lot smaller! The hull is looking real smart Mark.
-
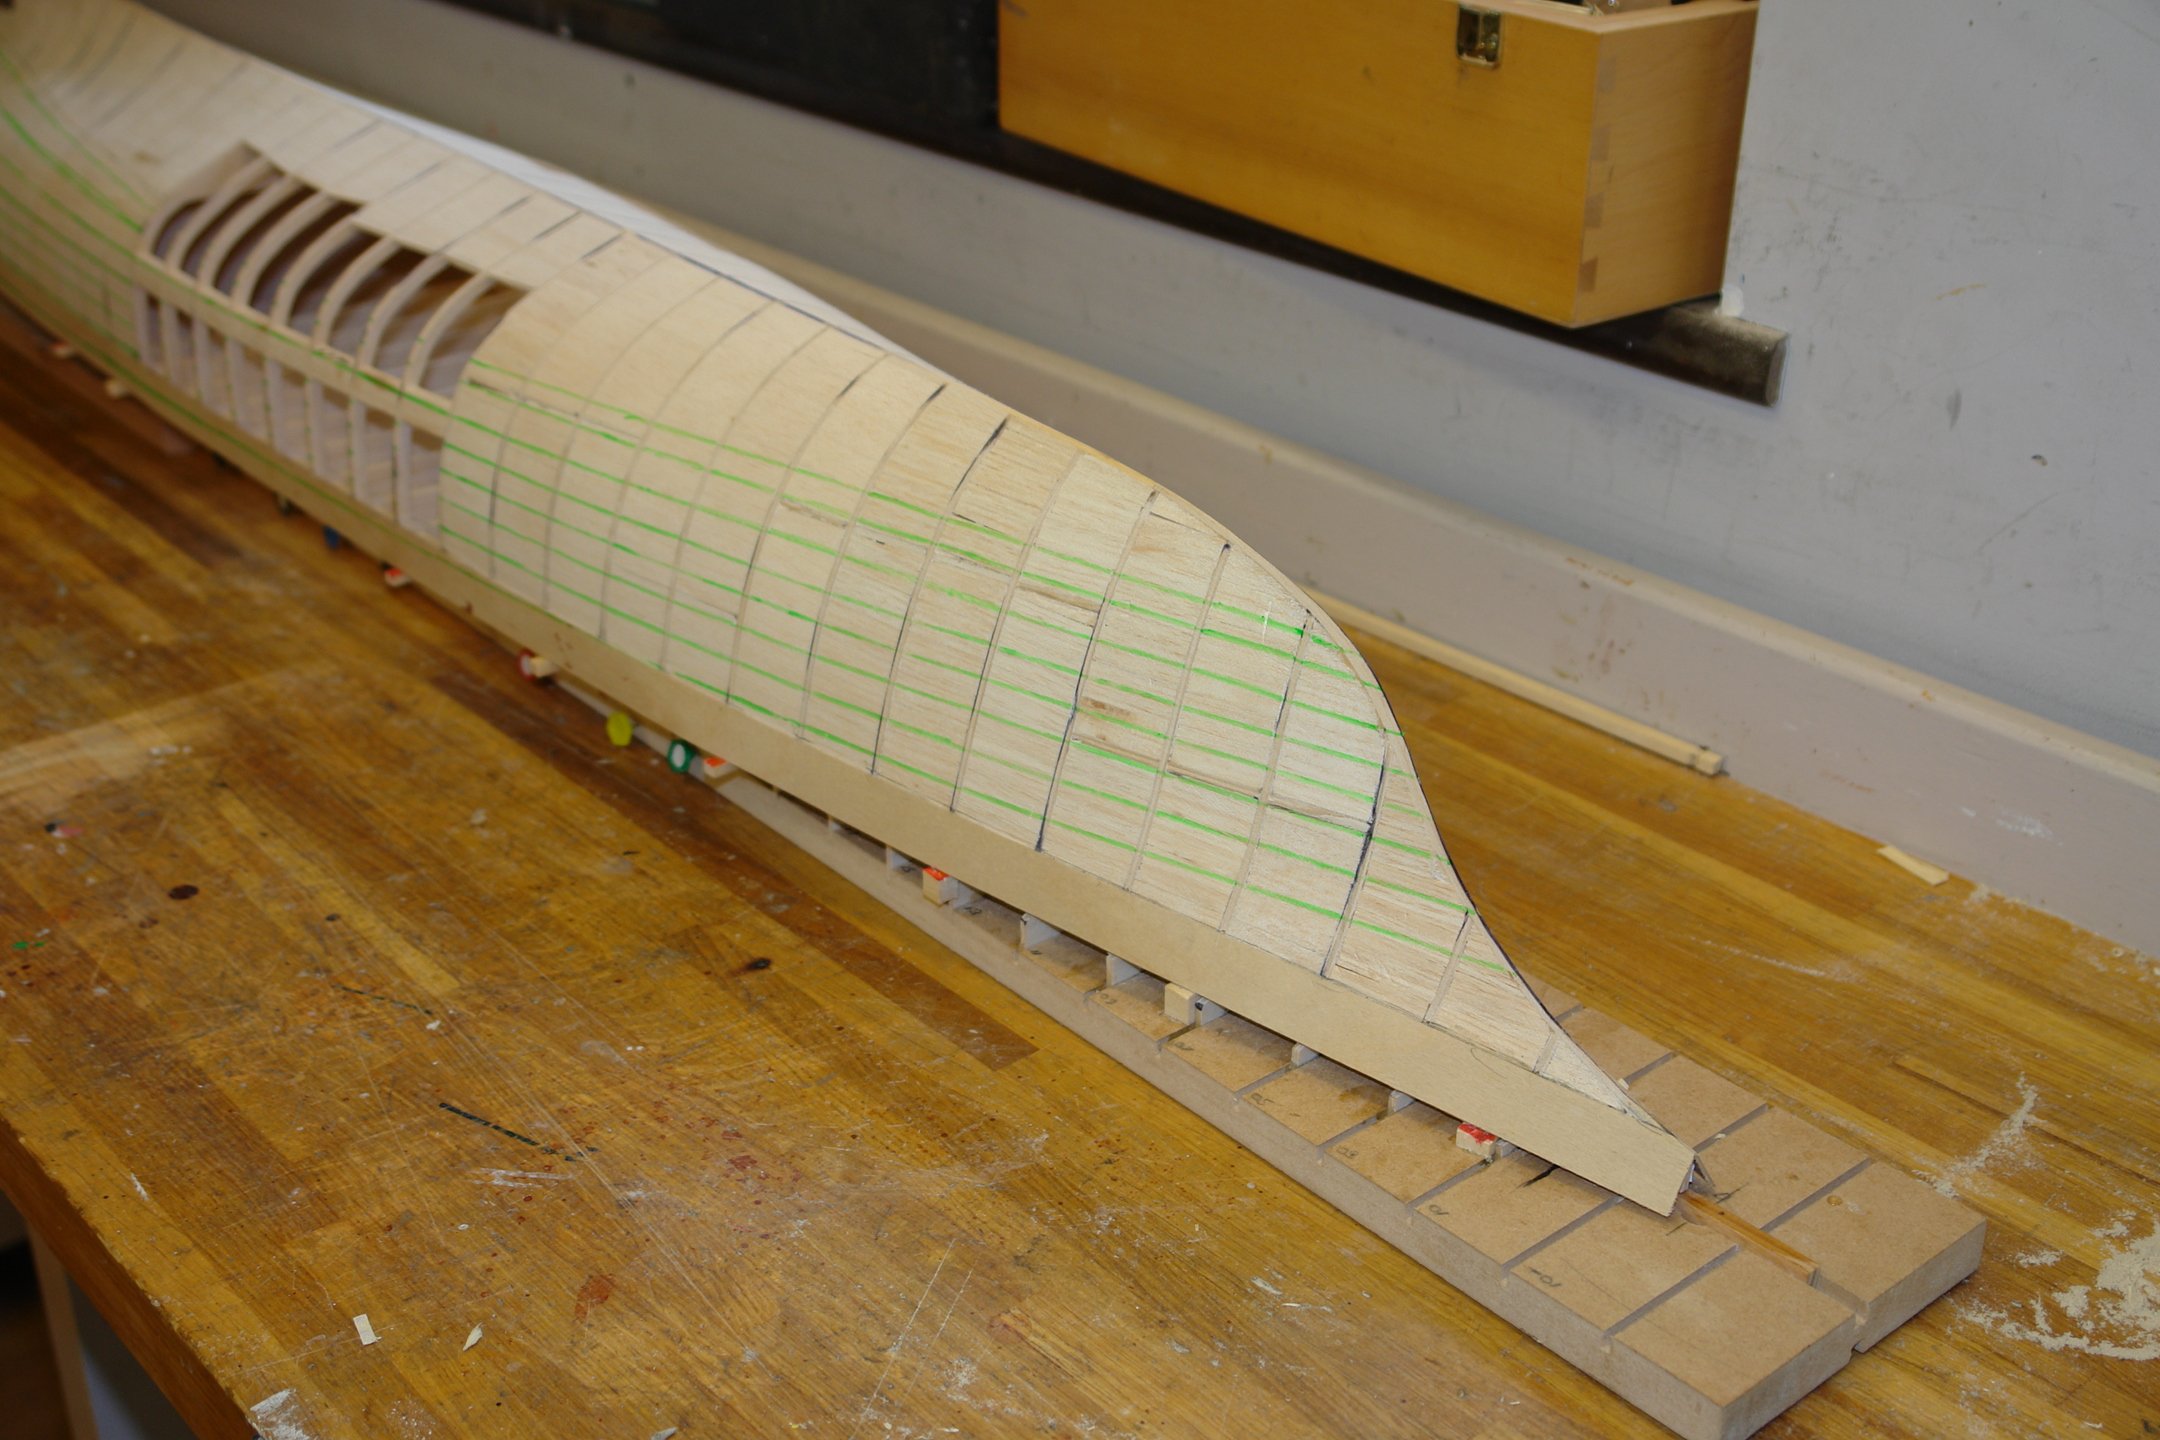
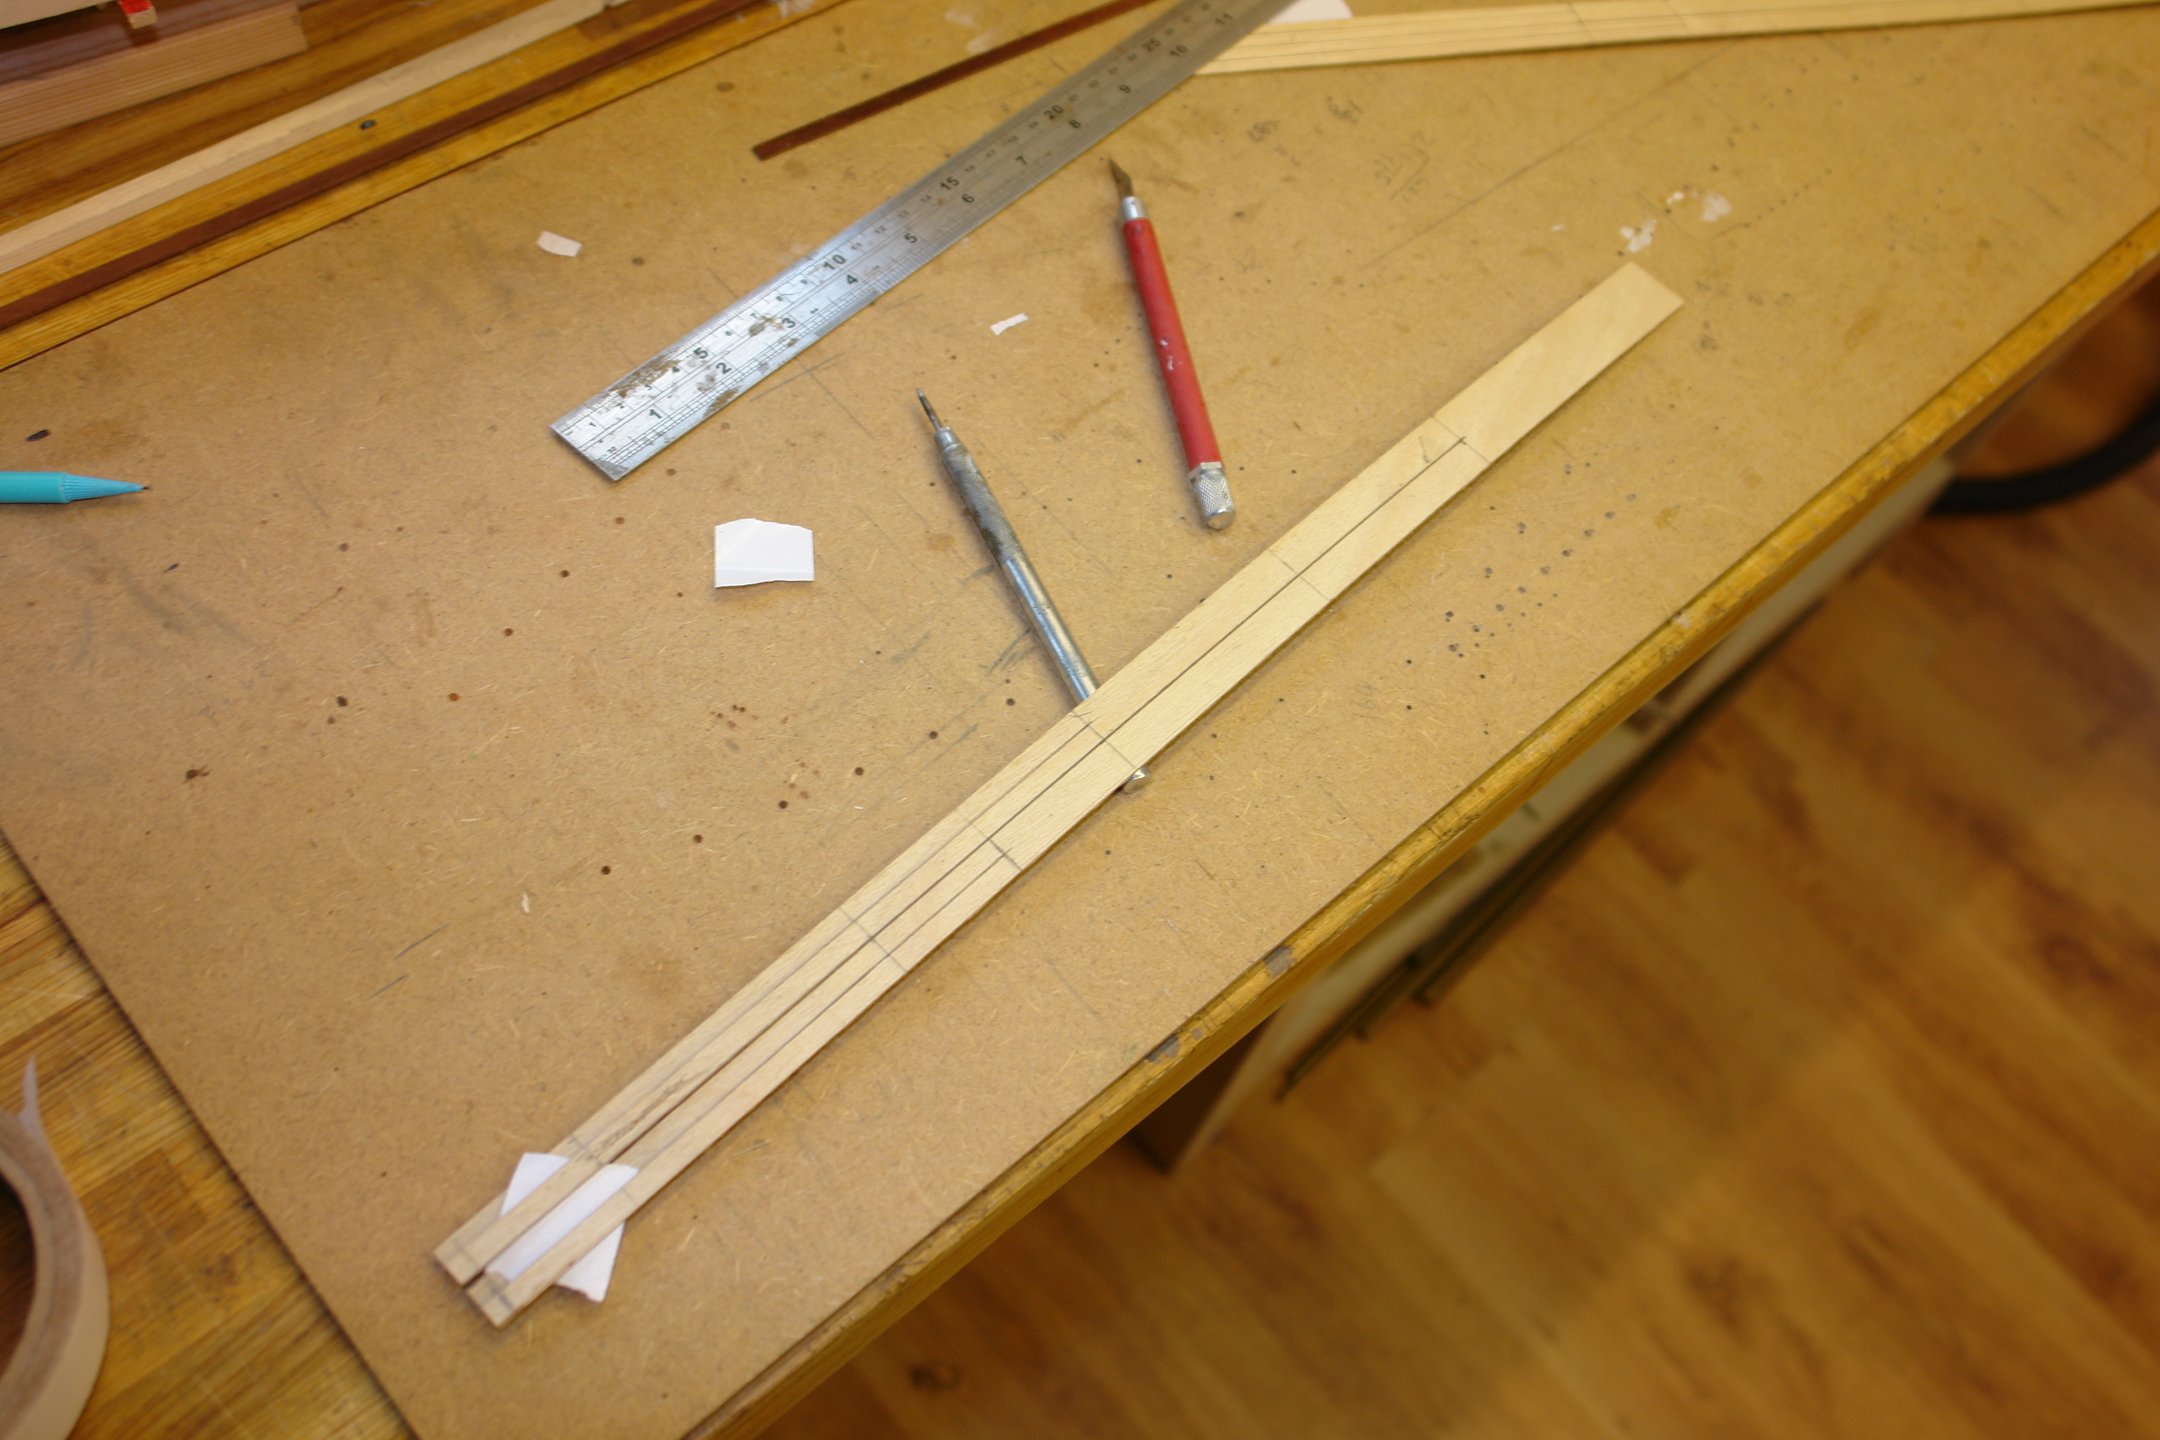
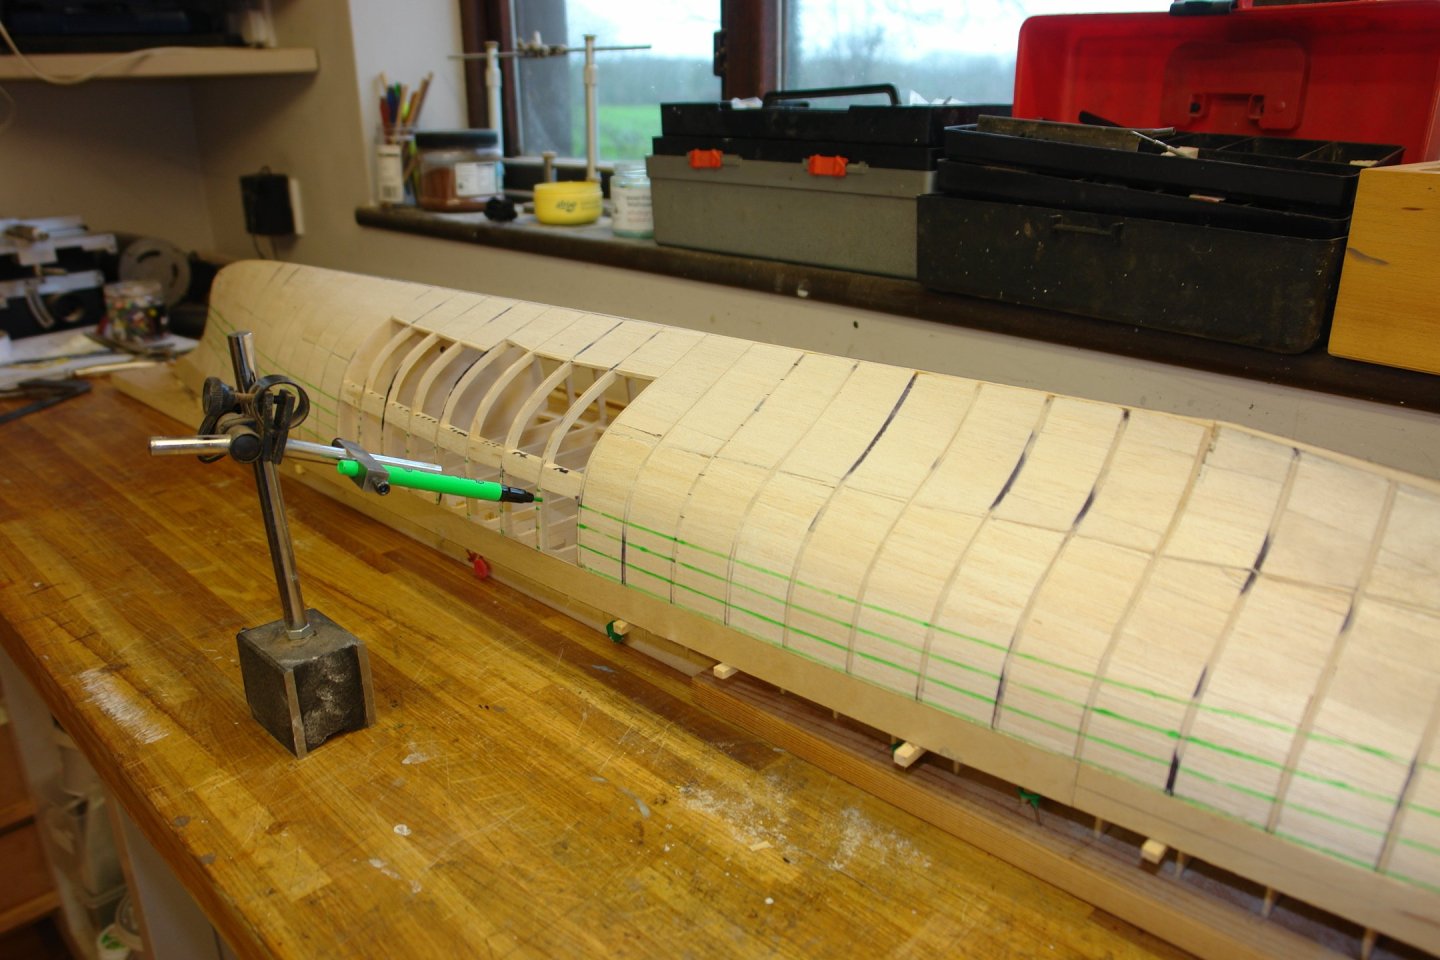
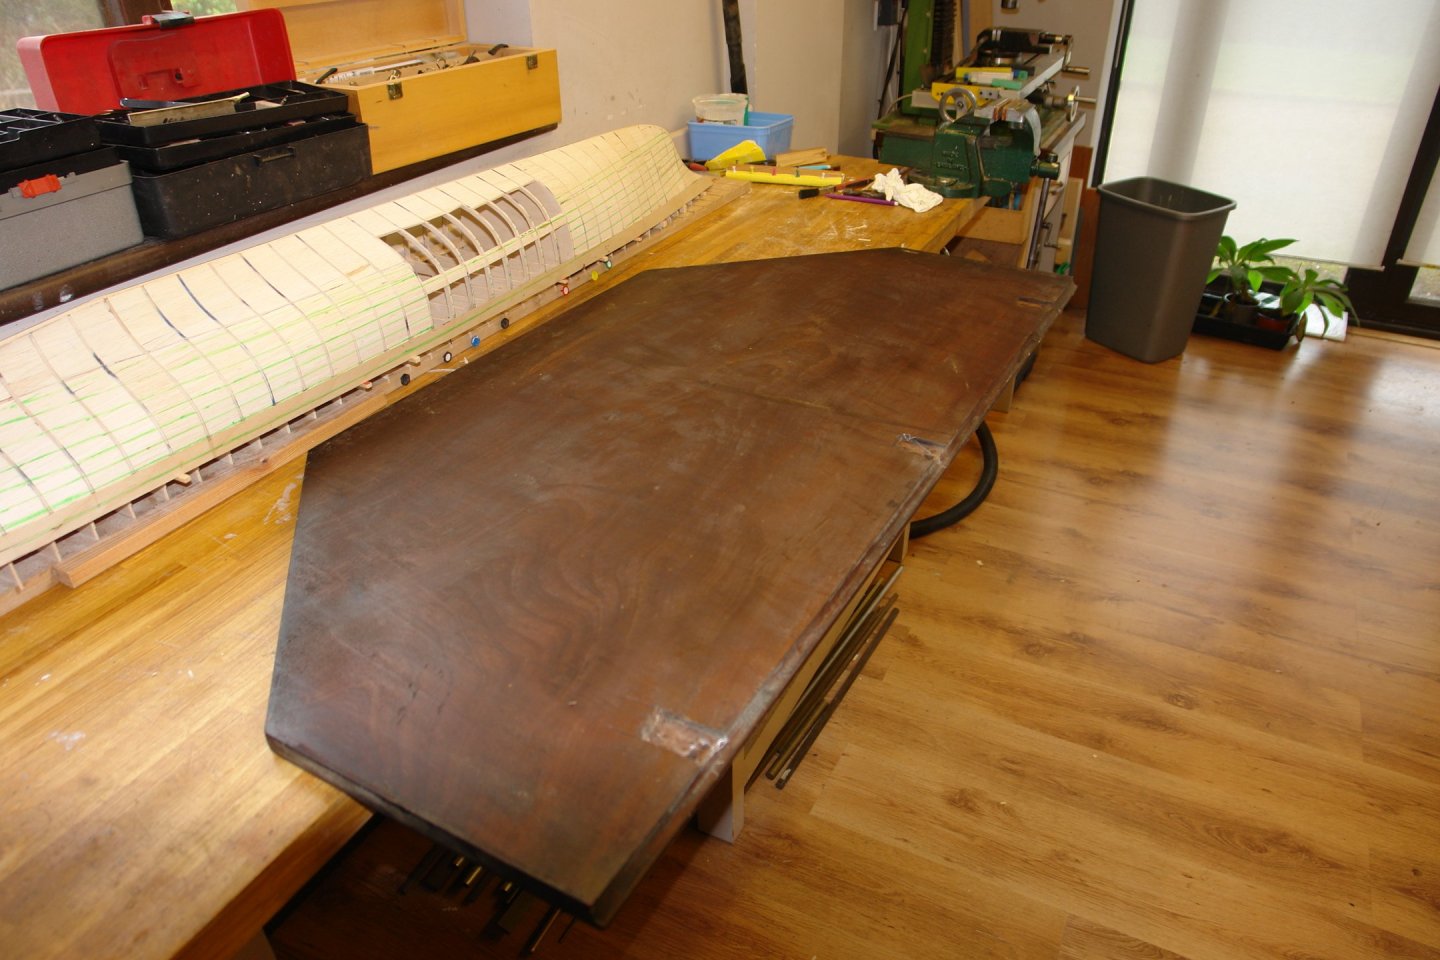
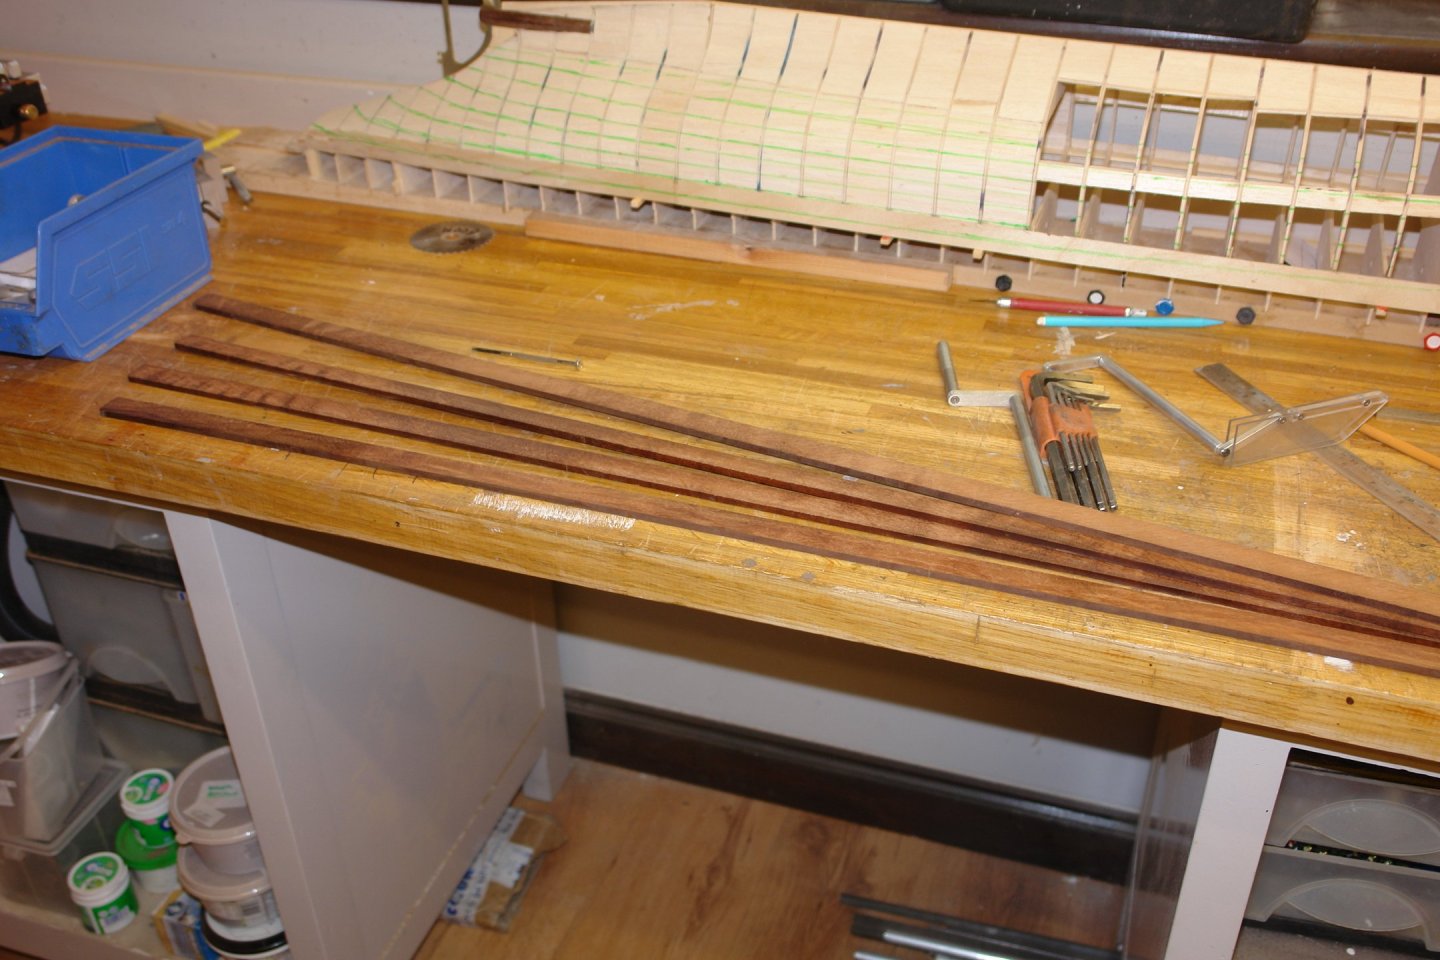
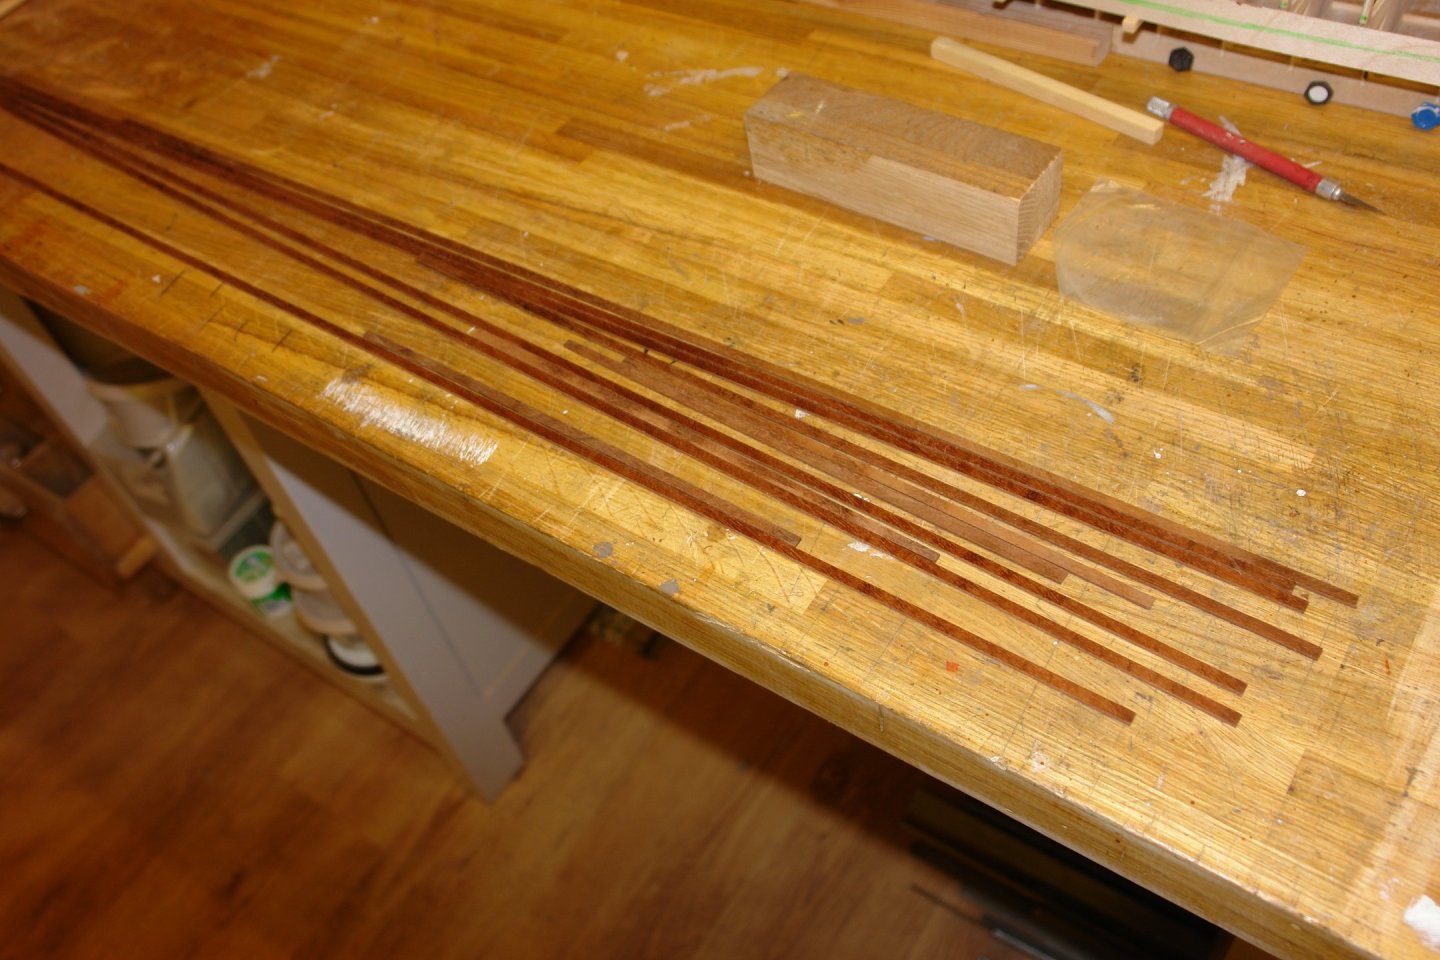
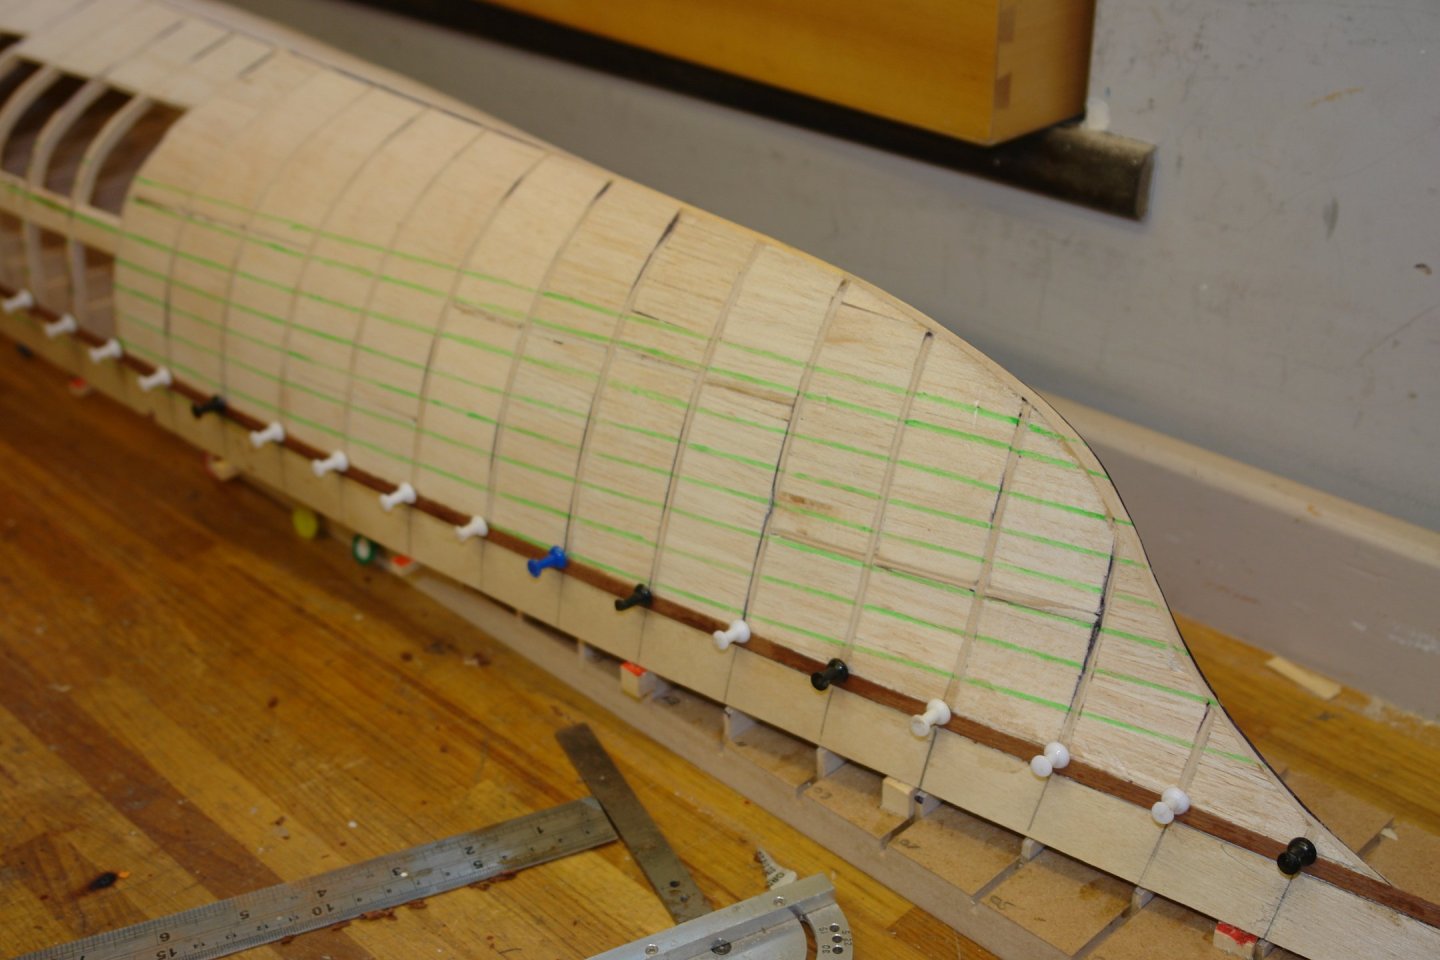
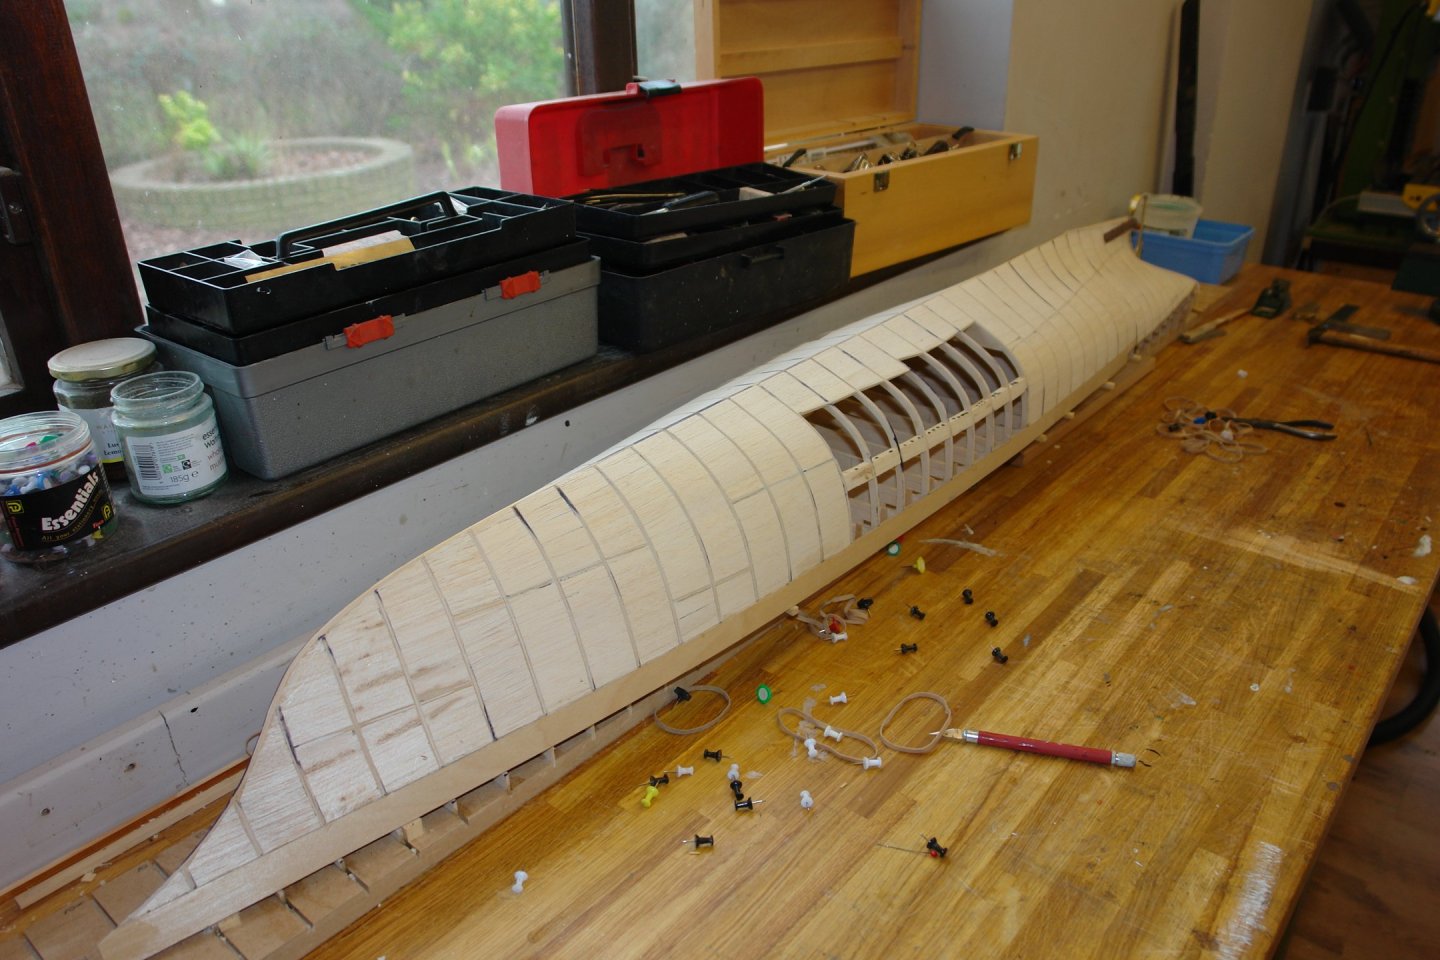
Thank you Druxey, John, Pat and Nils for your supportive comments and thanks, as ever, to all of you who have left likes or just paid a visit. And so on with the planking. I started off by drawing a series of parallel lines on the hull. These act as a guide for judging the symmetry of planking on both sides of the hull. The previous two builds consumed a whole leaf of my antique mahogany table so I dug out the second leaf from the back of the garage. I calculate that this second leaf plus the centre section will amply suffice for the remainder of my modelling career. I cut it into 3" inch planks on my full size table saw before moving on to the Byrnes saw to cut it down further to .700" x .220" strips. I chose .220" as the nominal width of the planks because .250" seemed a little wide and .200" seemed a little narrow - very scientific! I then cut a supply of planks sufficient to get a good start. I decided to make the planks nominally 1/16" thick (thin enough to bend easily while thick enough to give me a reasonable sanding margin). I ripped them over thickness and sanded them to thickness using my improvised drum sander. My worry about hull sanding allowance made me stay cautiously a little above the 0.625" target plank thickness. The table isn't wide enough to allow continuous planking runs so each rise takes 2 planks per side. I am gluing the planks with waterproof PVA glue on both the back side and on the edges. The planks are pinned in place with cork notice board pins. These are "nailed" into pre drilled holes in the frames - quite a laborious task. The first plank above (or is that below?) the previously installed plywood strake is parallel. I plan to install a number of parallel planks and then start shaping planks as I progress. Using my usual "suck it and see" approach. I have managed to get the first 2 runs completed on both sides - 8 planks in total. Obviously I have to give the glue time to dry before removing the pins so this makes the process a 2 planks per side per day job. At least I have plenty of time for tea breaks. That's all for now folks.


-
Skip - you make me jealous with your CAD skills. This looks like a great project and I look forward to seeing her come to life.
-
Hmmm! That's the sort of thing I attend Eric - but am never brave enough to publicise.
-
She looks quite idilic - unfortunately not much wind. A gin and tonic and tall story sort of day!
-
I reminds me of my youth and balsa model airplane kits. All very interesting Greg.
- 288 replies
-
- 3
-

-
-
- Santos Dumont No. 18
- hydroplane
- (and 1 more)
-
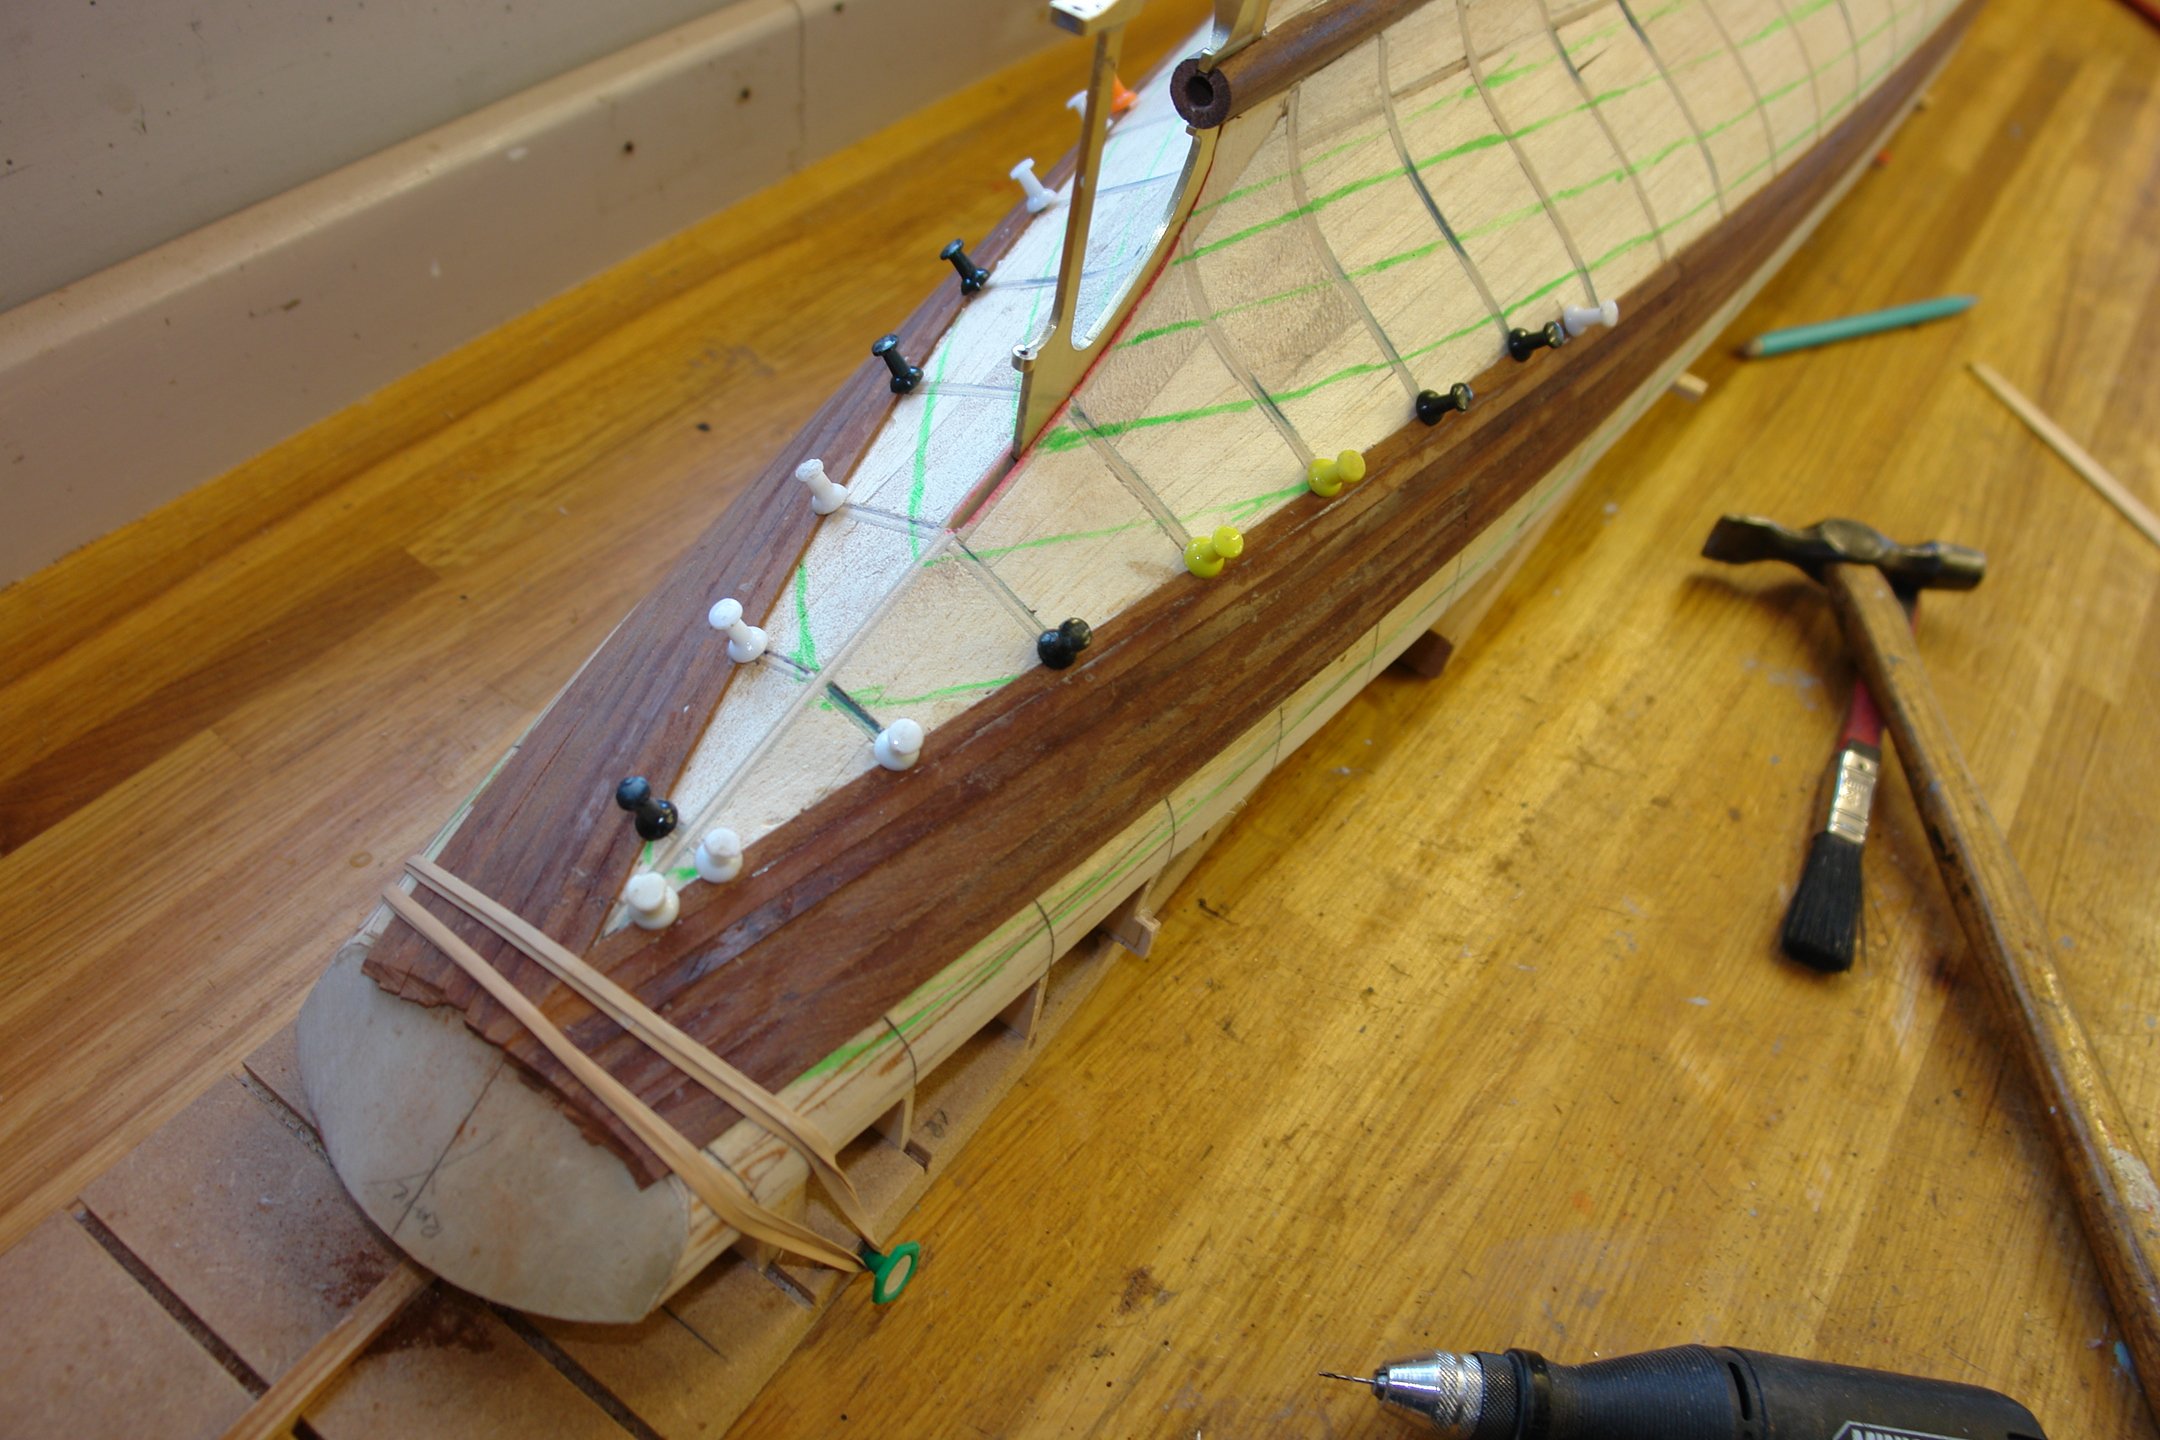
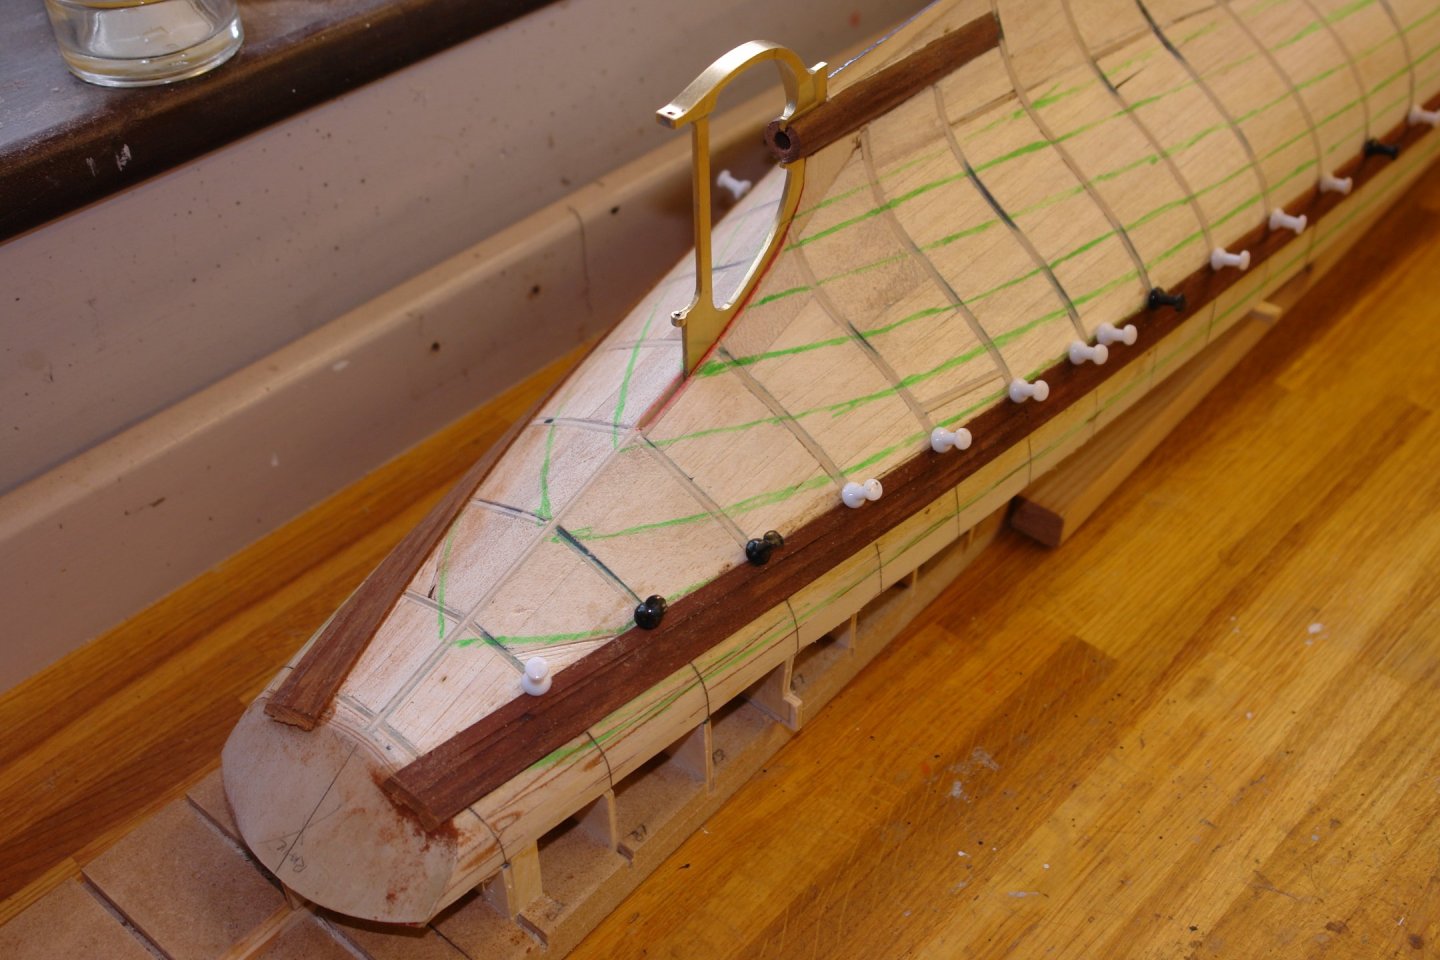
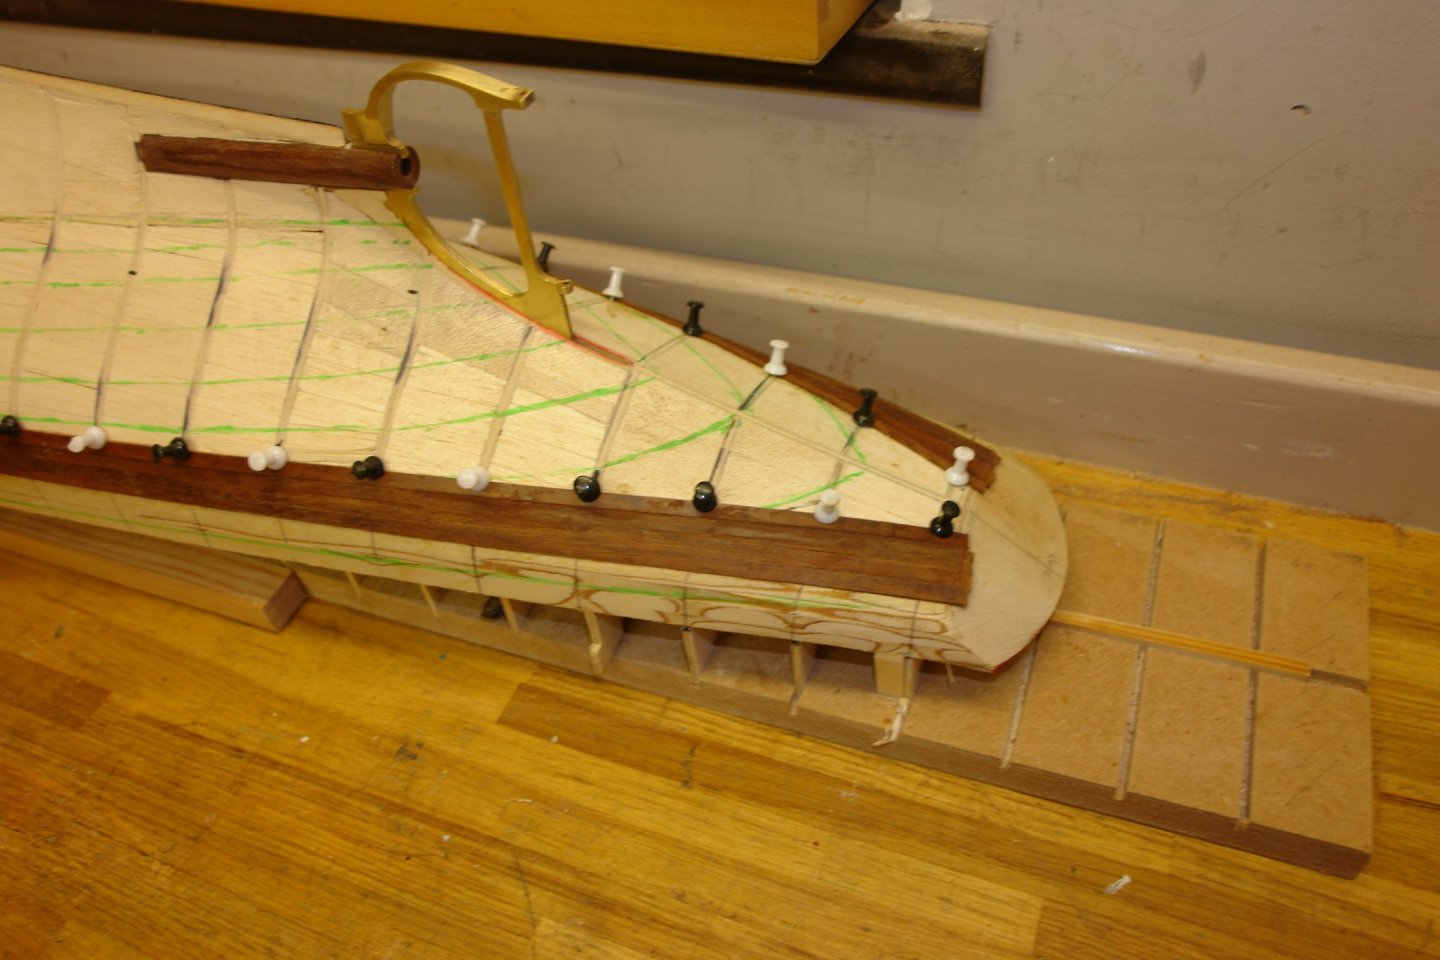
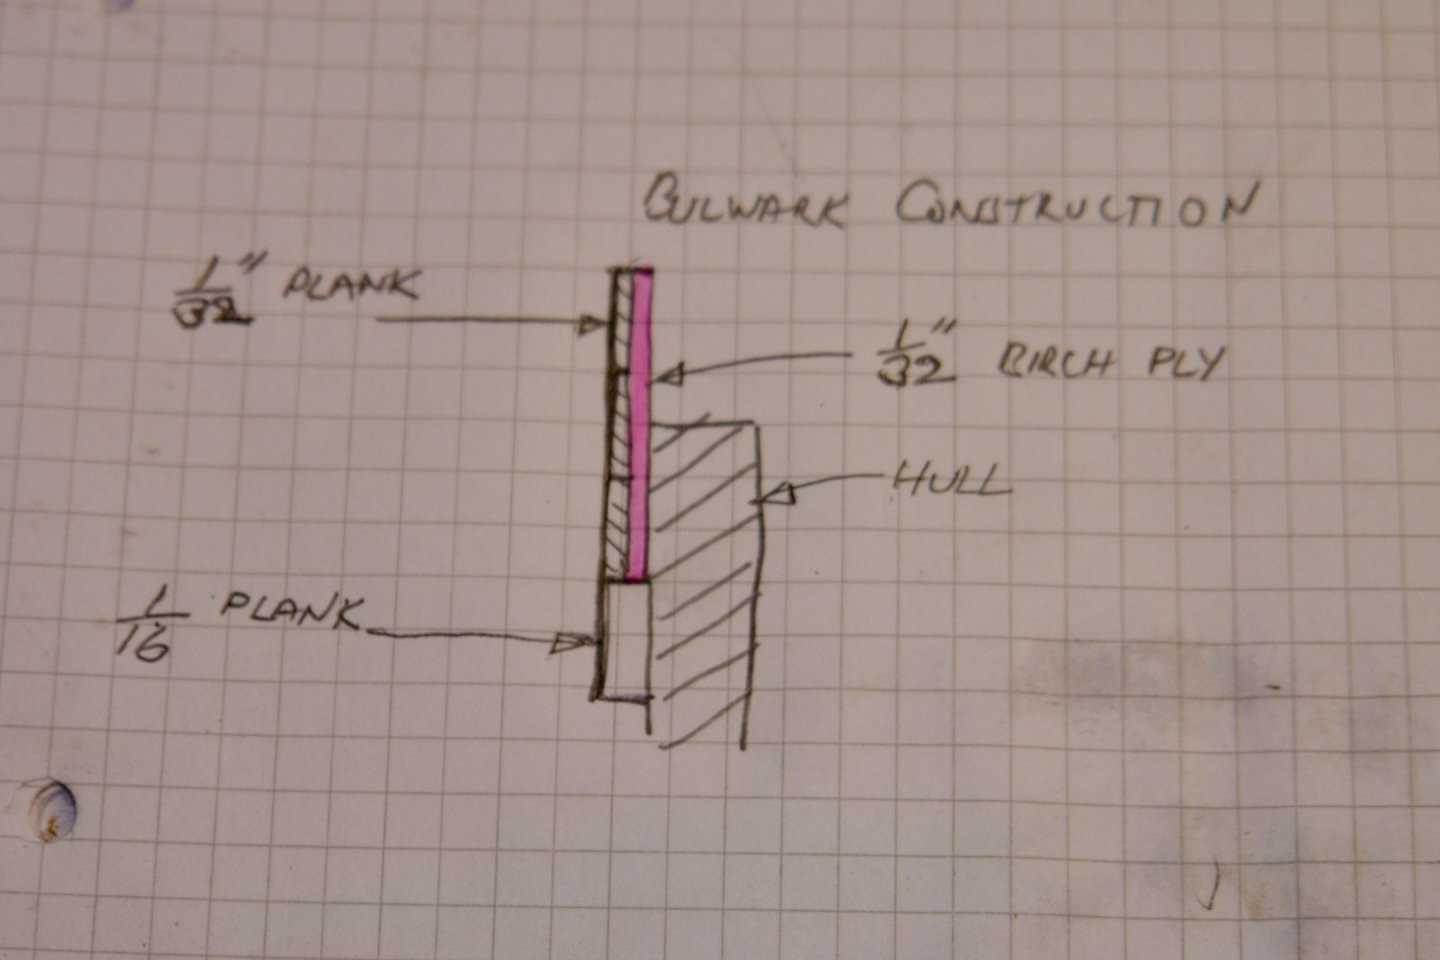
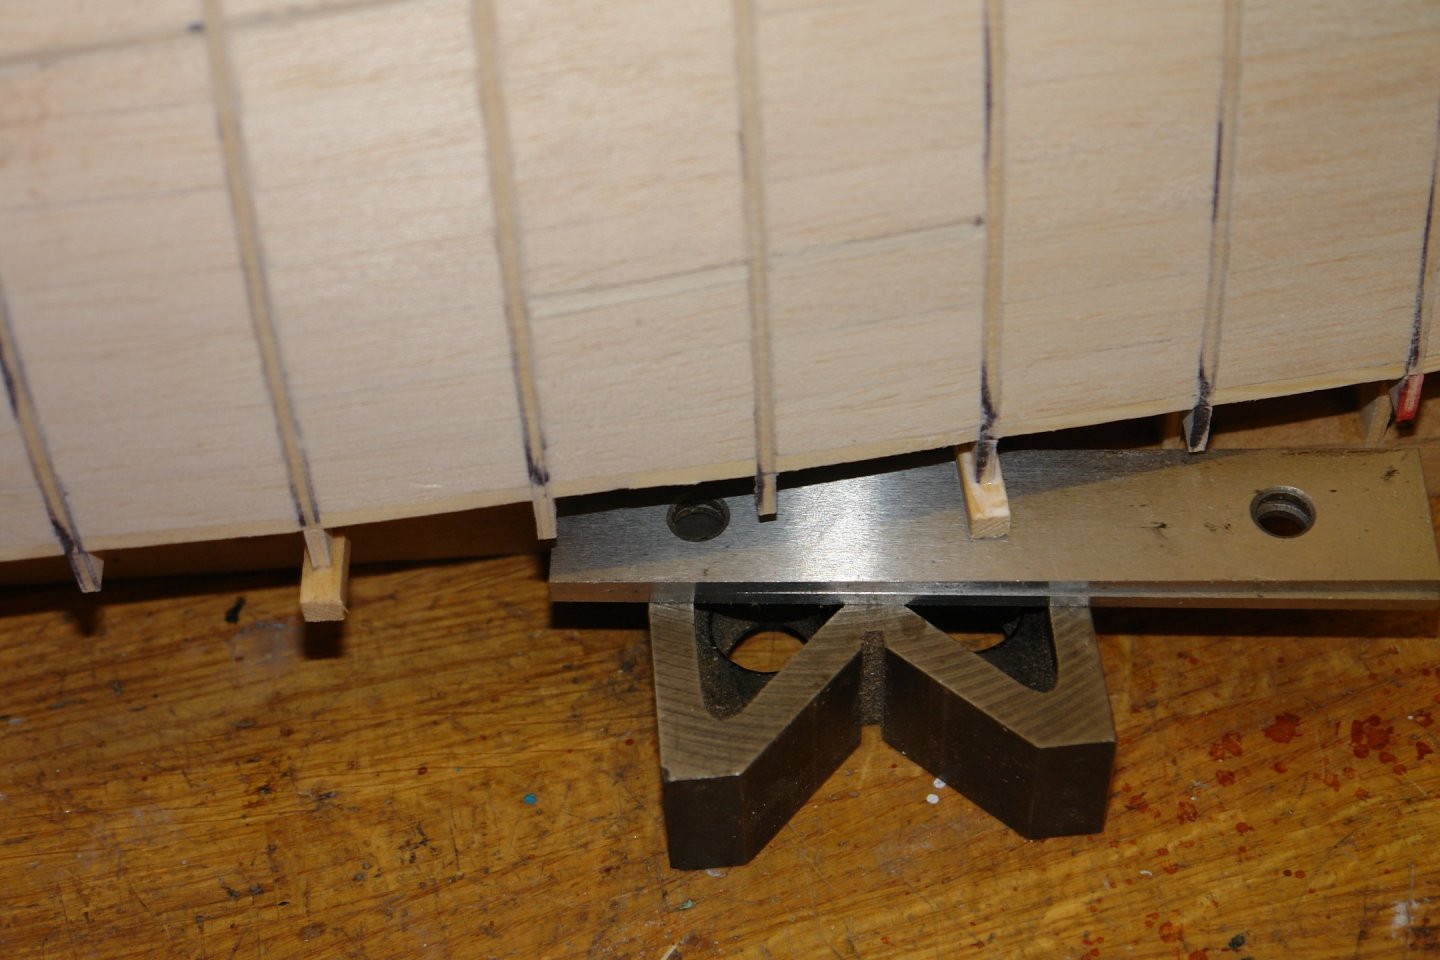
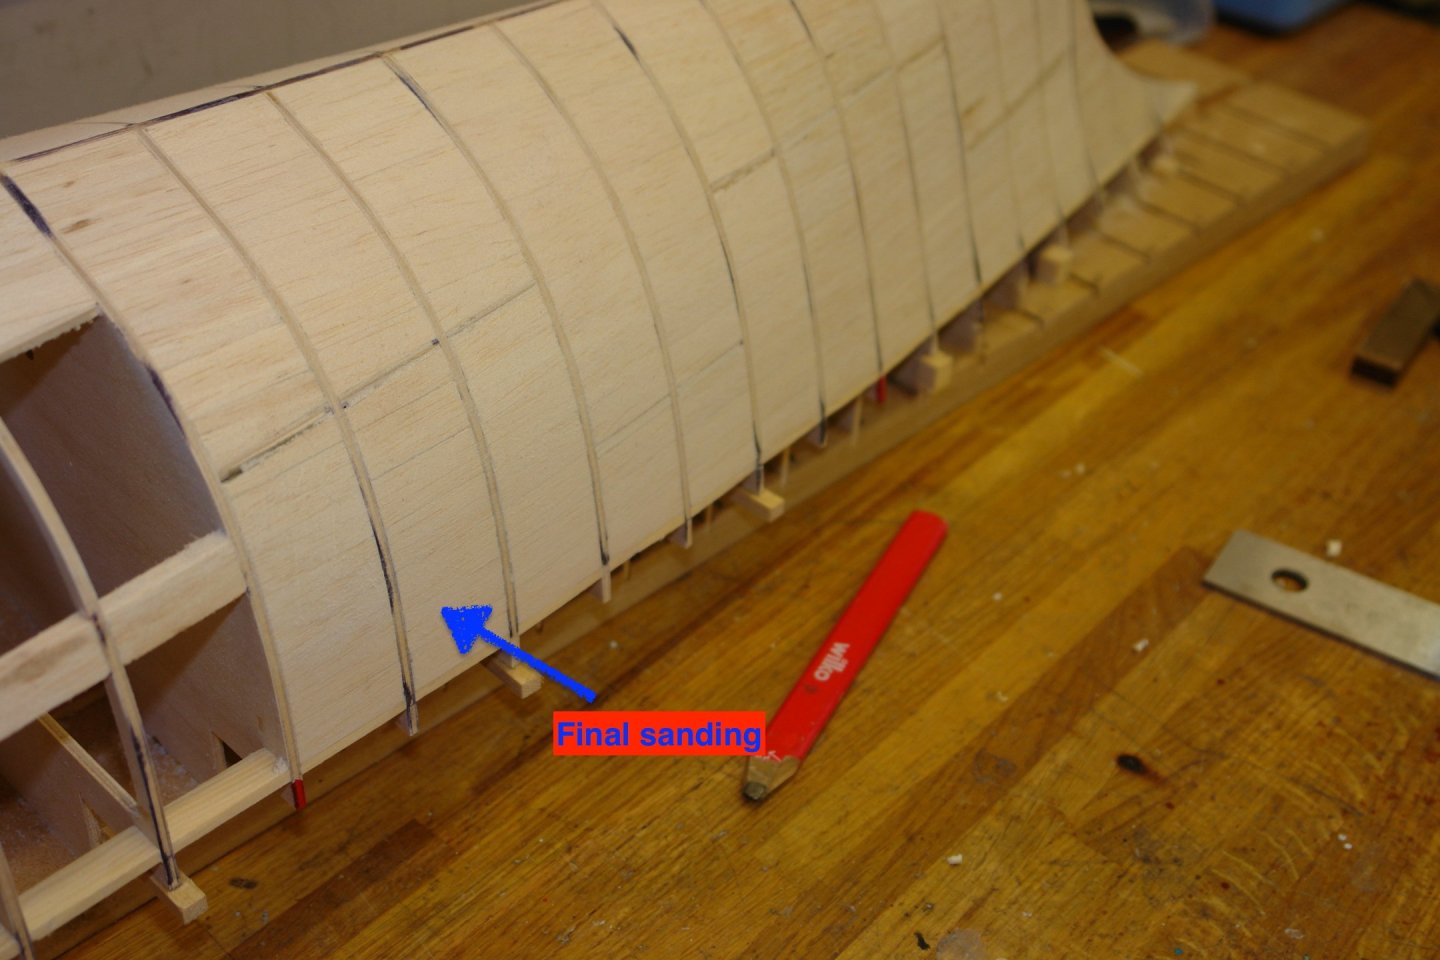
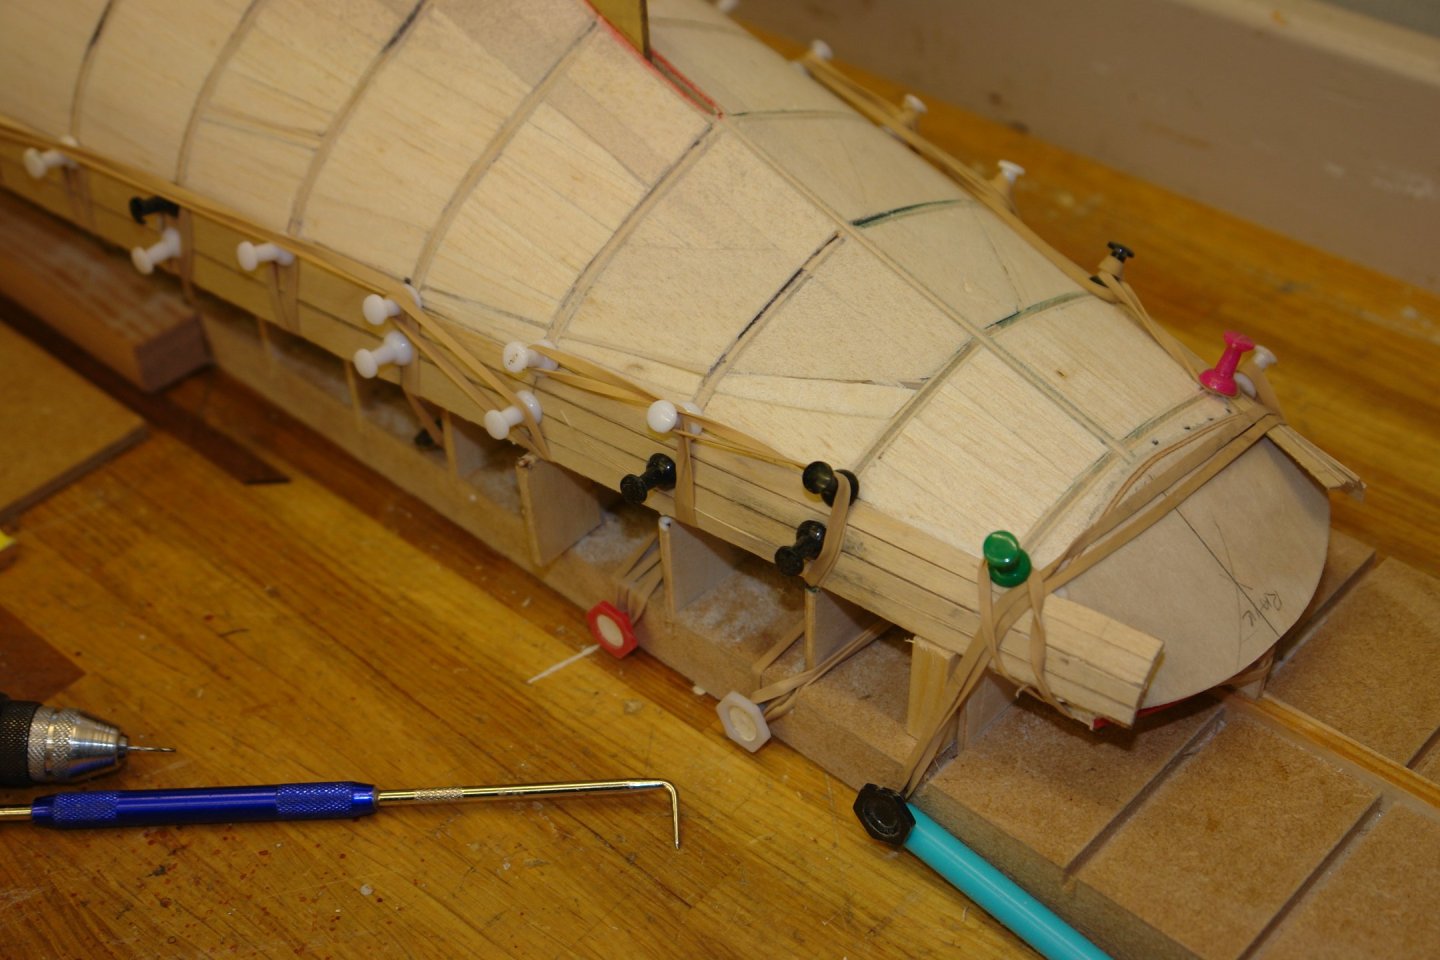
Thank you John / Gary. It is time to start what I anticipate to be a long planking job. I am starting at the bulwark. I plan to plank the hull with mahogany planks of .062" thickness by nominally .220" wide. The plank widths will obviously vary to conform with the hull shape as progress is made. The bulwark will be made from a nominally 1" wide by .032" thick birch ply which will be clad with .032" mahogany planks as per the attached sketch. The bitch ply cannot follow the line of the bulwark exactly without shaping so it is being put on to sit slightly above the line of the capping rail. It will be cut back to the capping rail shape later in the build. I started by glueing bits of scrap wood to the frames. These position / support the plywood during gluing. Each one cut back to conform with the shape the plywood strip wants to take. At this stage I also did the final sanding of the hull. Then followed the slow process of fitting the plywood strakes. They were glued in position with a ample layer of PVA wood glue. The strakes were held in place with plenty of notice board pins and elastic bands while the glue dried. The plywood sheet wasn't long enough to extend the full length of the hull and the stern needed separate strips. I didn't get one to the frames right and this was revealed "too late" by the application of the bulwark strakes. I will need to correct this before I plank the bulwarks. Stupidly having noticed the mistake I the repeated it on the other side. There is no fool like an old fool. Applying the bulwark strake to the stern was quite challenging due to the extreme curvature. Before attaching the ply to the stern I slotted it with a series of horizontal cuts. With a bit of fiddling this enabled it to wrap around the stern. A bit of sanding produced an acceptable shape for subsequent planking. That all for now folks!


-
Internal finishing looking great Gary. Im looking forward to another master class in finishes.
-
Fascinating work on the ensign Eberhard. I have had floaters for years. It is true the brain filters them out but they are persistent little blighters and are apt to reappear whenever they are mentioned. You do get used to them though. I hope they improve soon.
-
That looks like a great project John.
-
Great progress Nils. The lettering discussion is most interesting.
- 299 replies
-
- 4
-
-
- lightship
- Feuerschiff Elbe 1
- (and 1 more)
-
Jason, a great little project.
-
Fantastic news Keith. Maggie sounds like a real trouper. Great you got a little shipwright distraction although taking up knitting is always an option.