KeithAug
-
Posts
3,980 -
Joined
-
Last visited
Content Type
Profiles
Forums
Gallery
Events
Everything posted by KeithAug
-
 Hello Hakan. Just catching up with your beautifully precise work. I see you haven't posted for a while, I hope this is due to summer fun getting in the way.
 -
Nils - Nice work - what is the resin you are using?
- 299 replies
-
- 3
-

-
- lightship
- Feuerschiff Elbe 1
- (and 1 more)
-
Nice to hear from you Michael, I was beginning to wonder what had befallen you. I hope you are keeping well? Thank you Rick, John and Valeriy for your kind comments. Also thanks to everyone for all the other likes.
-
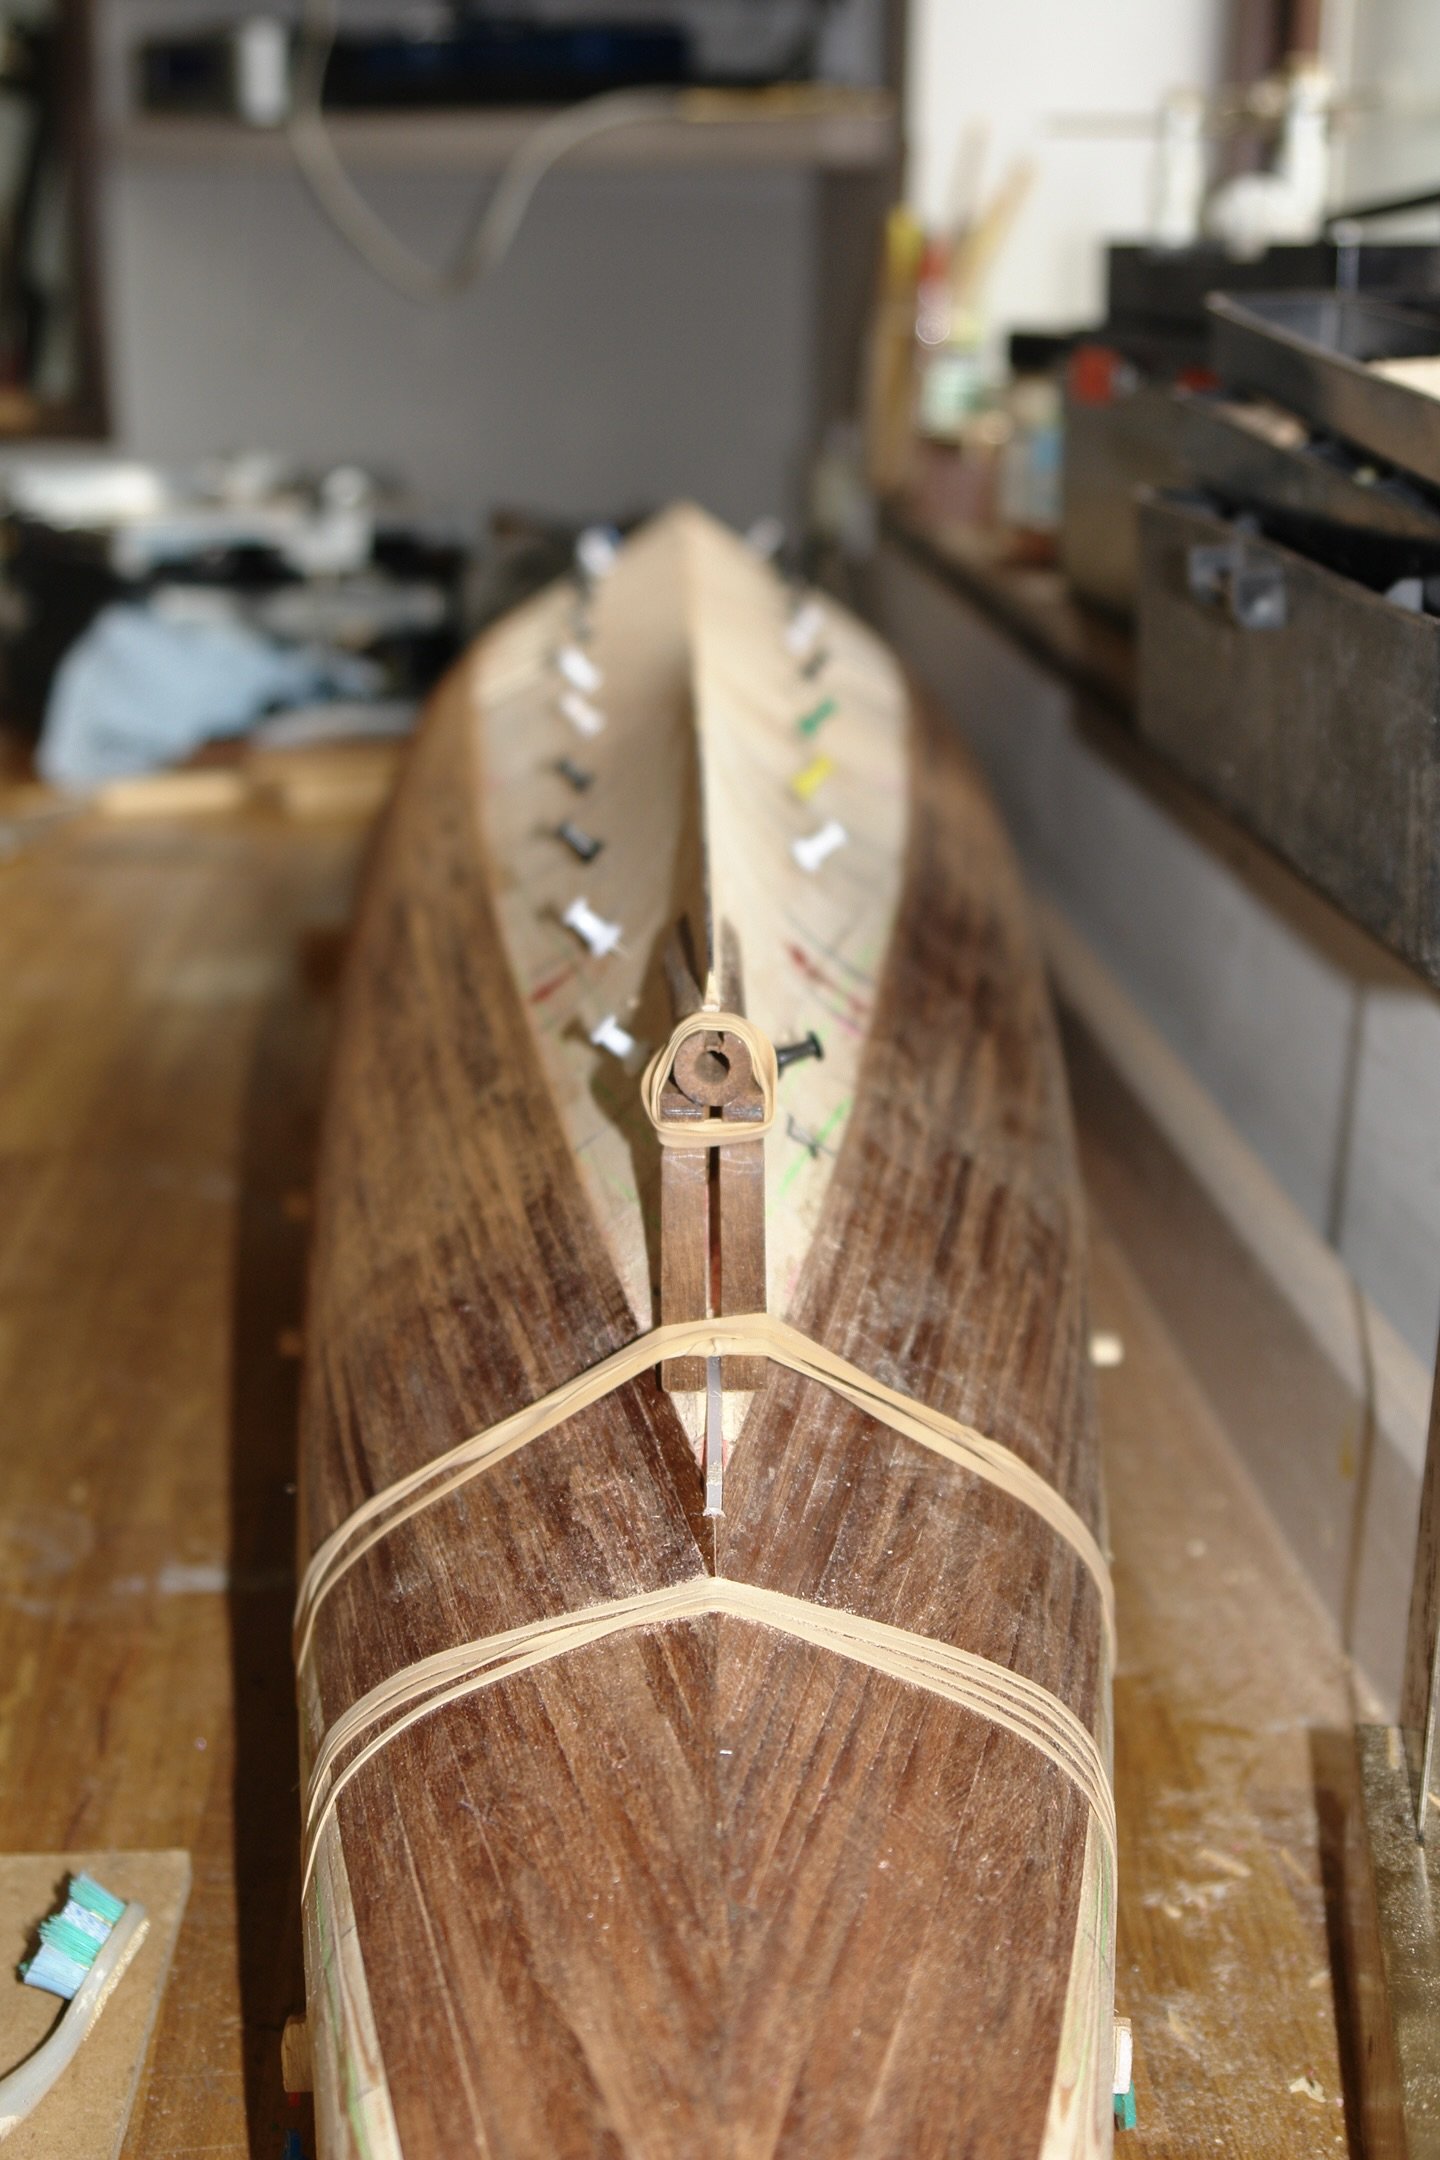
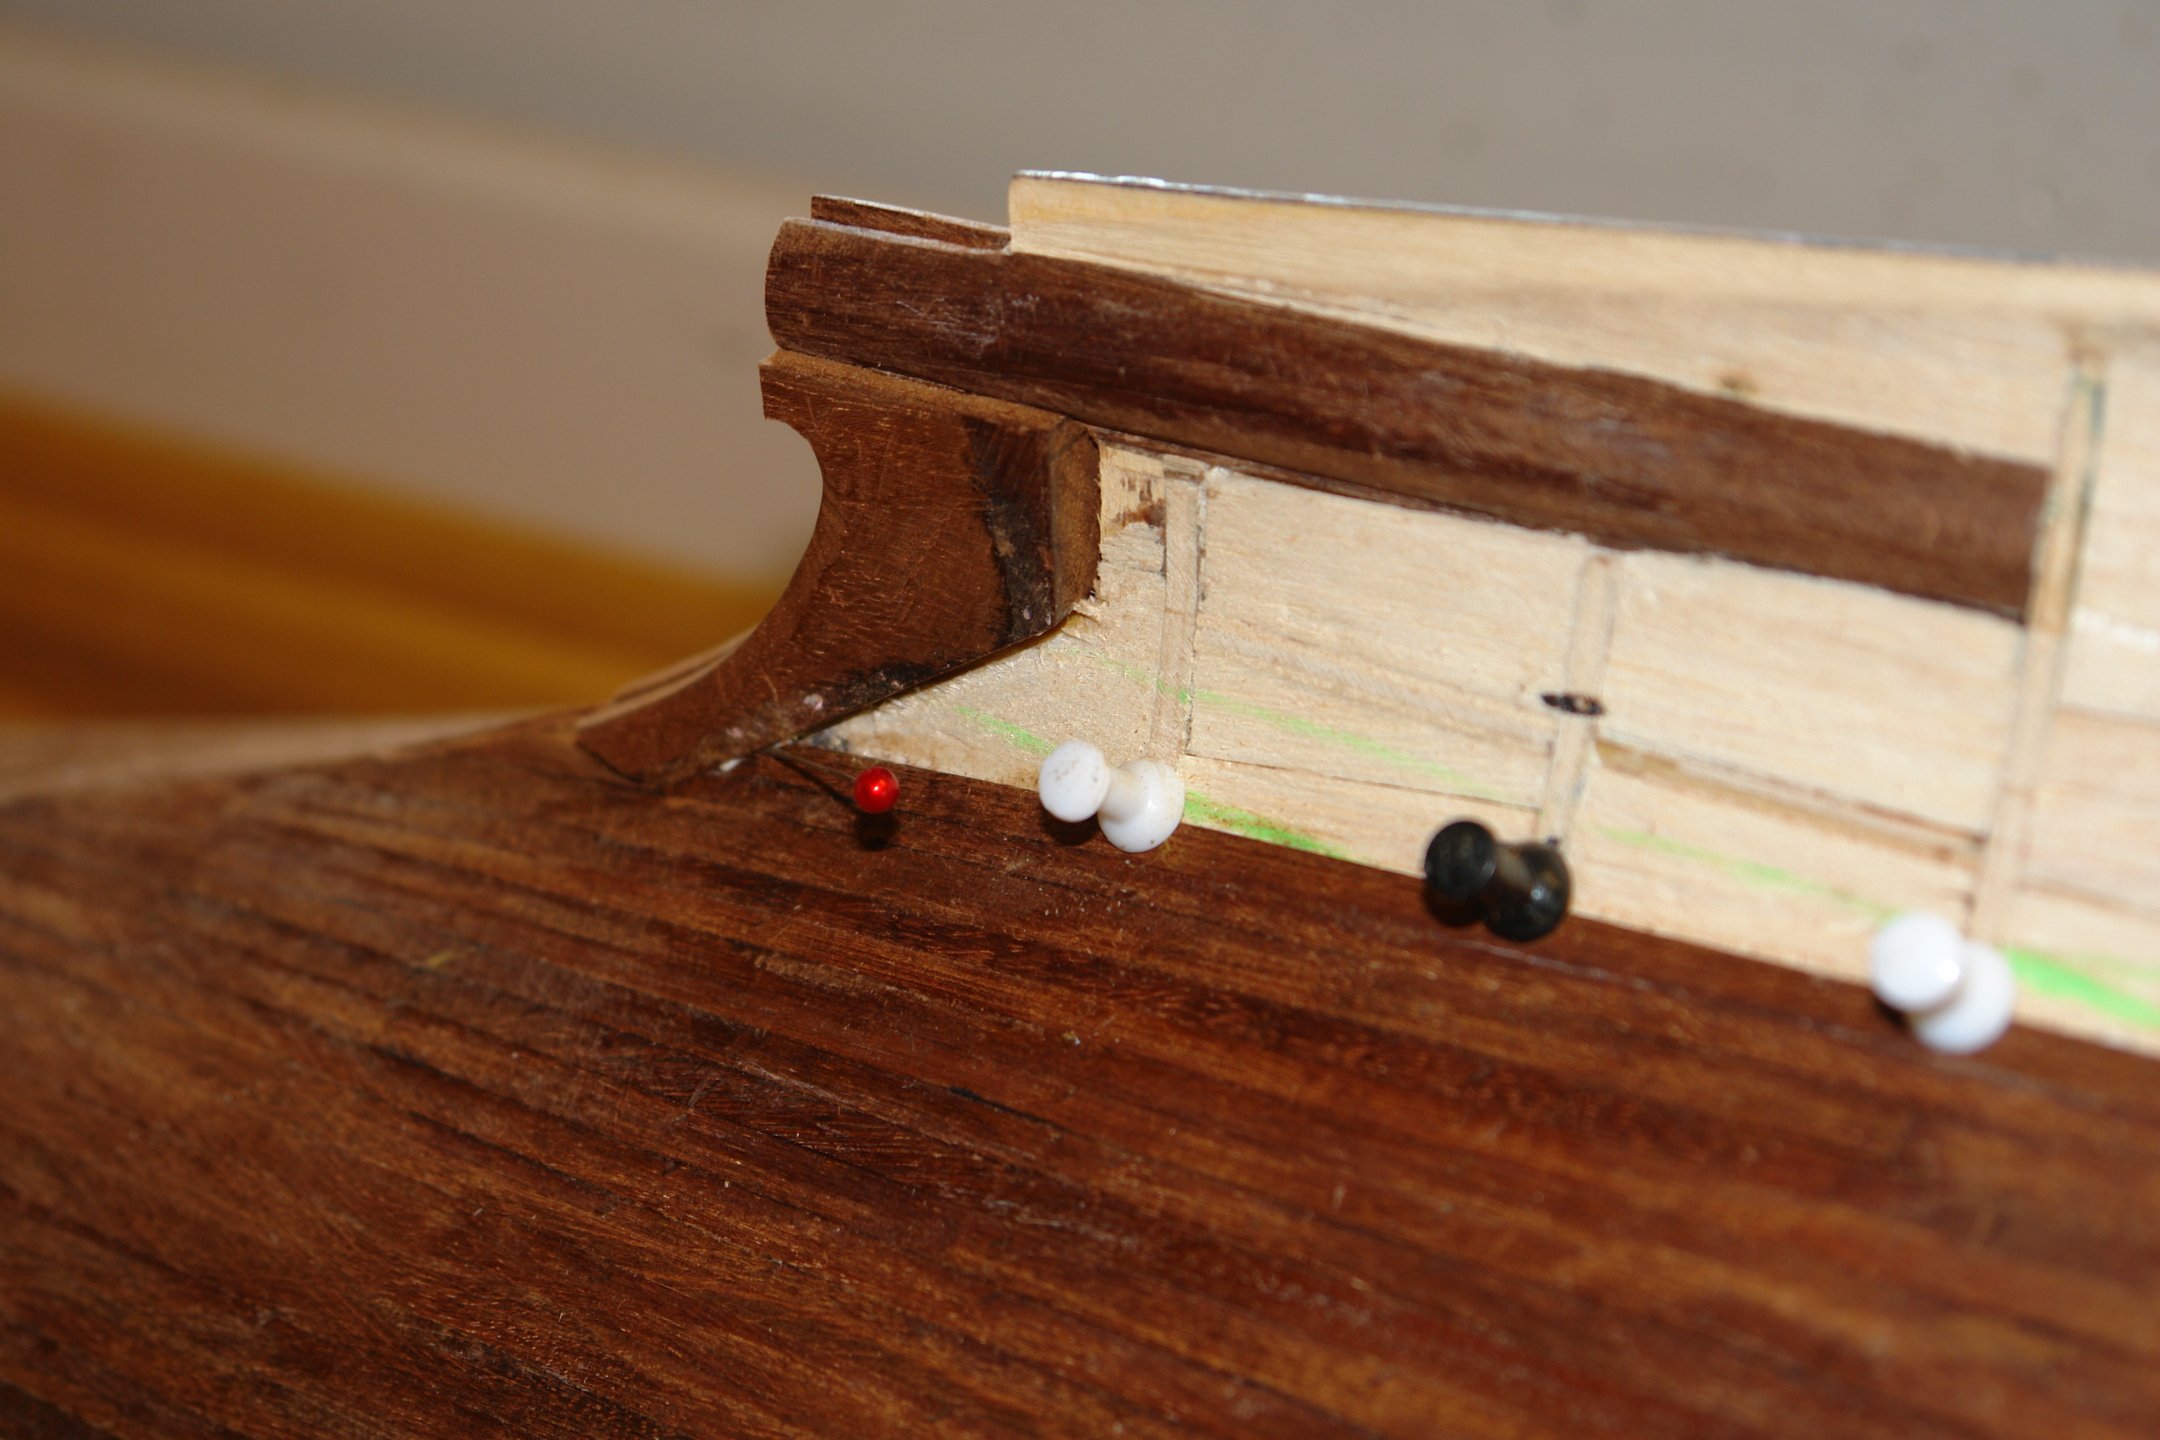
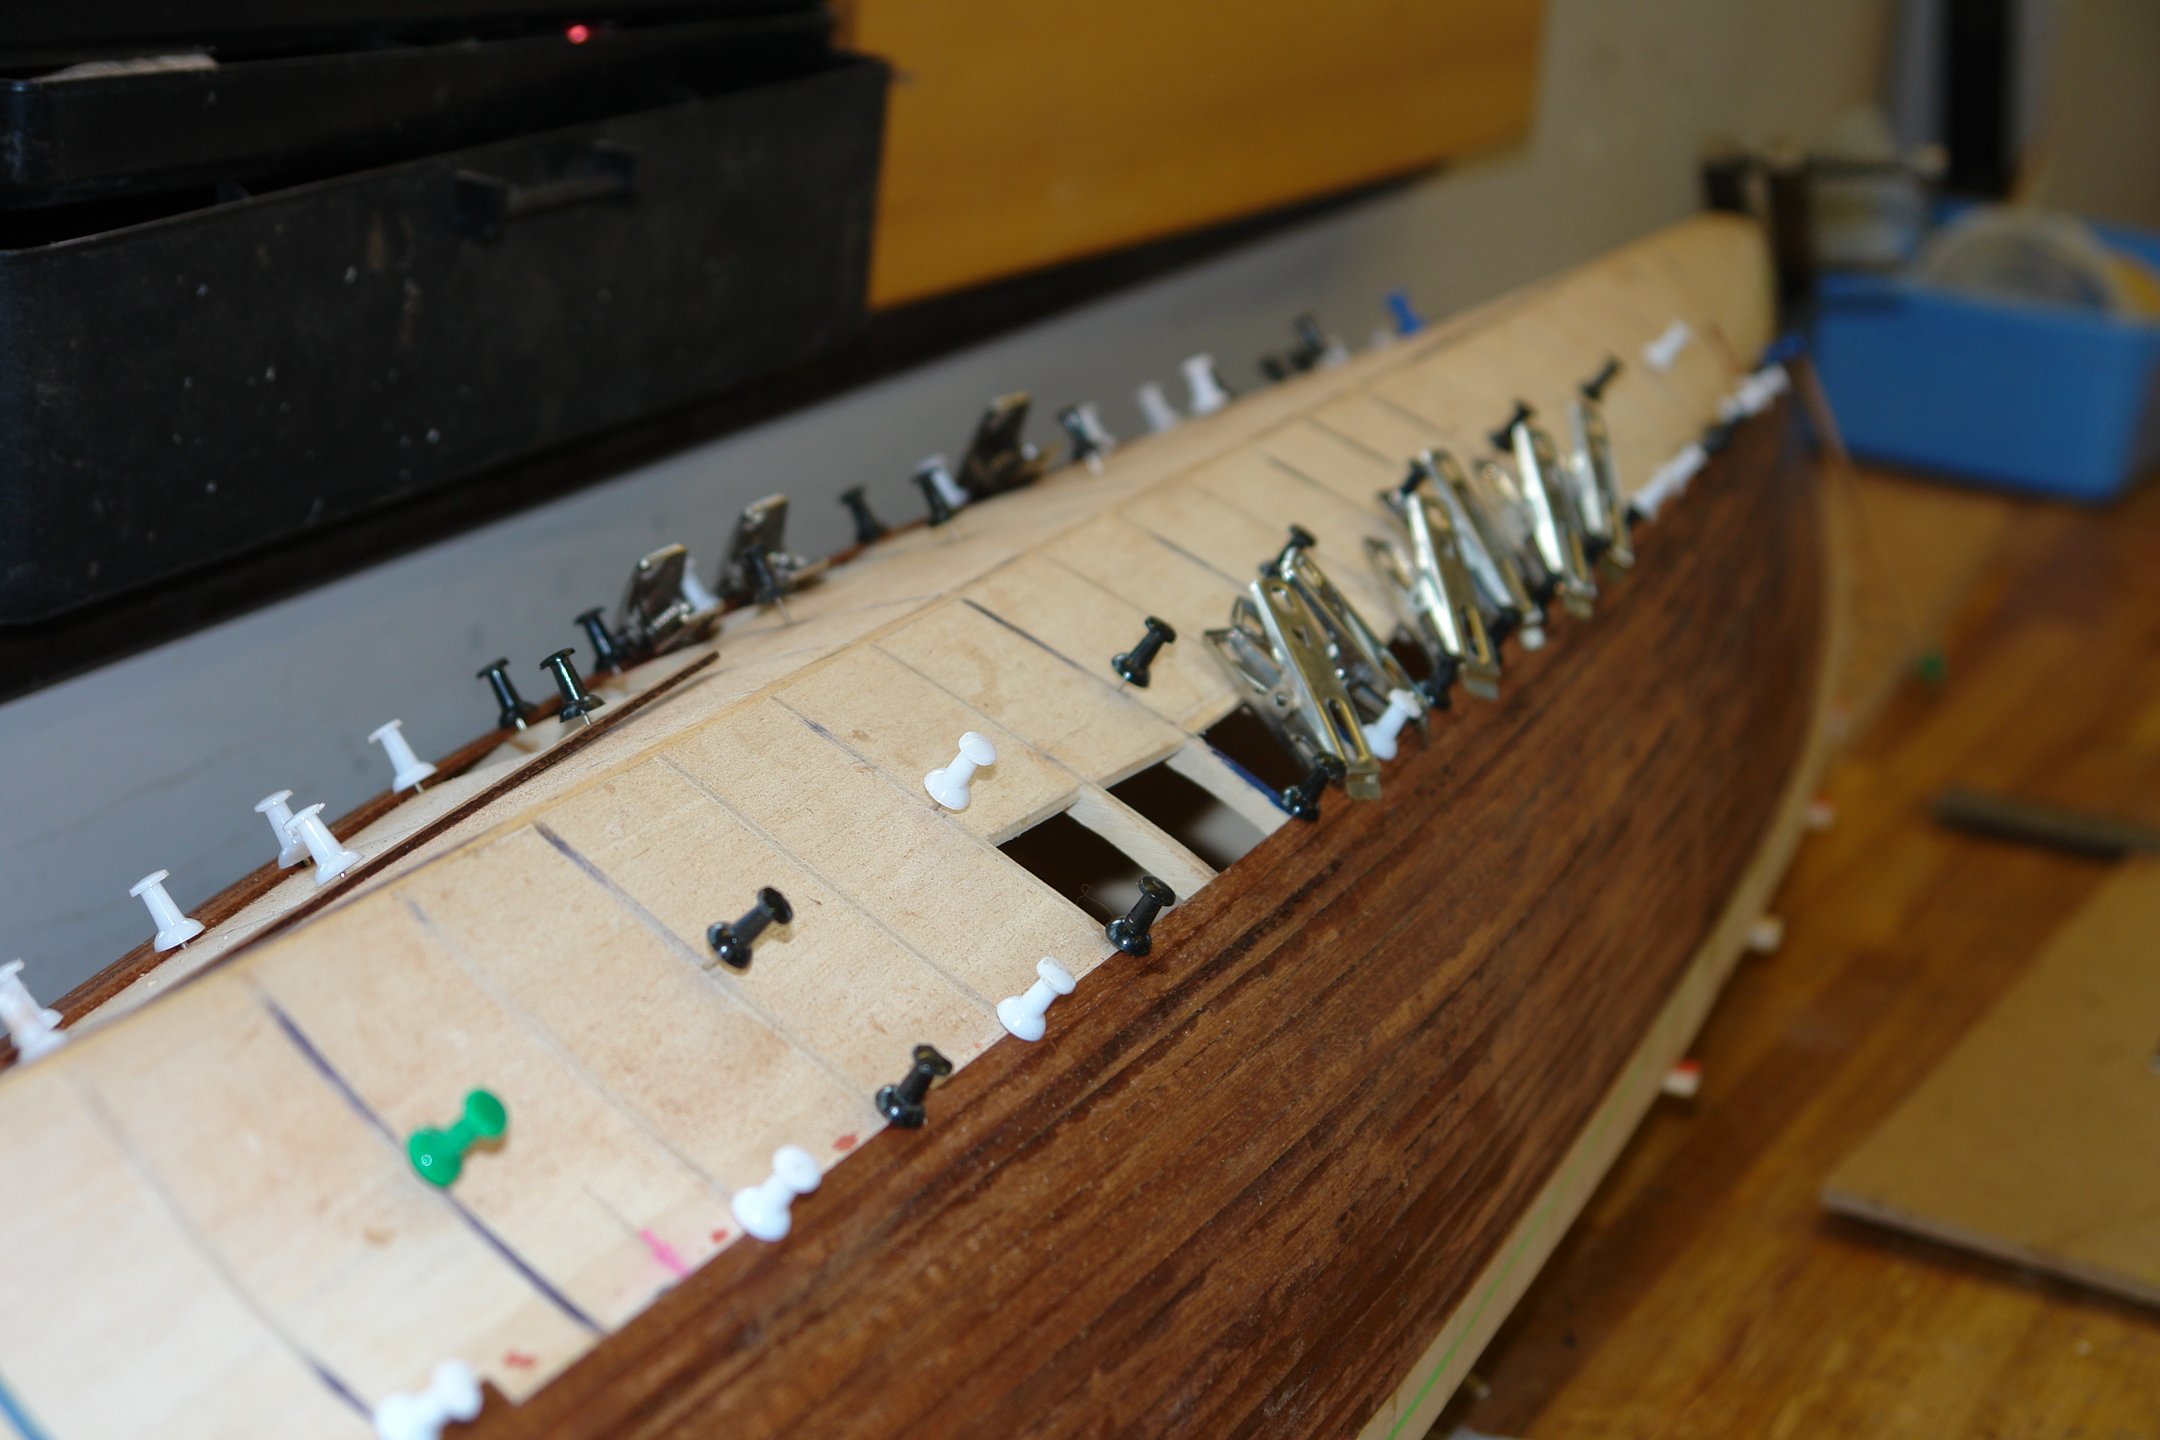
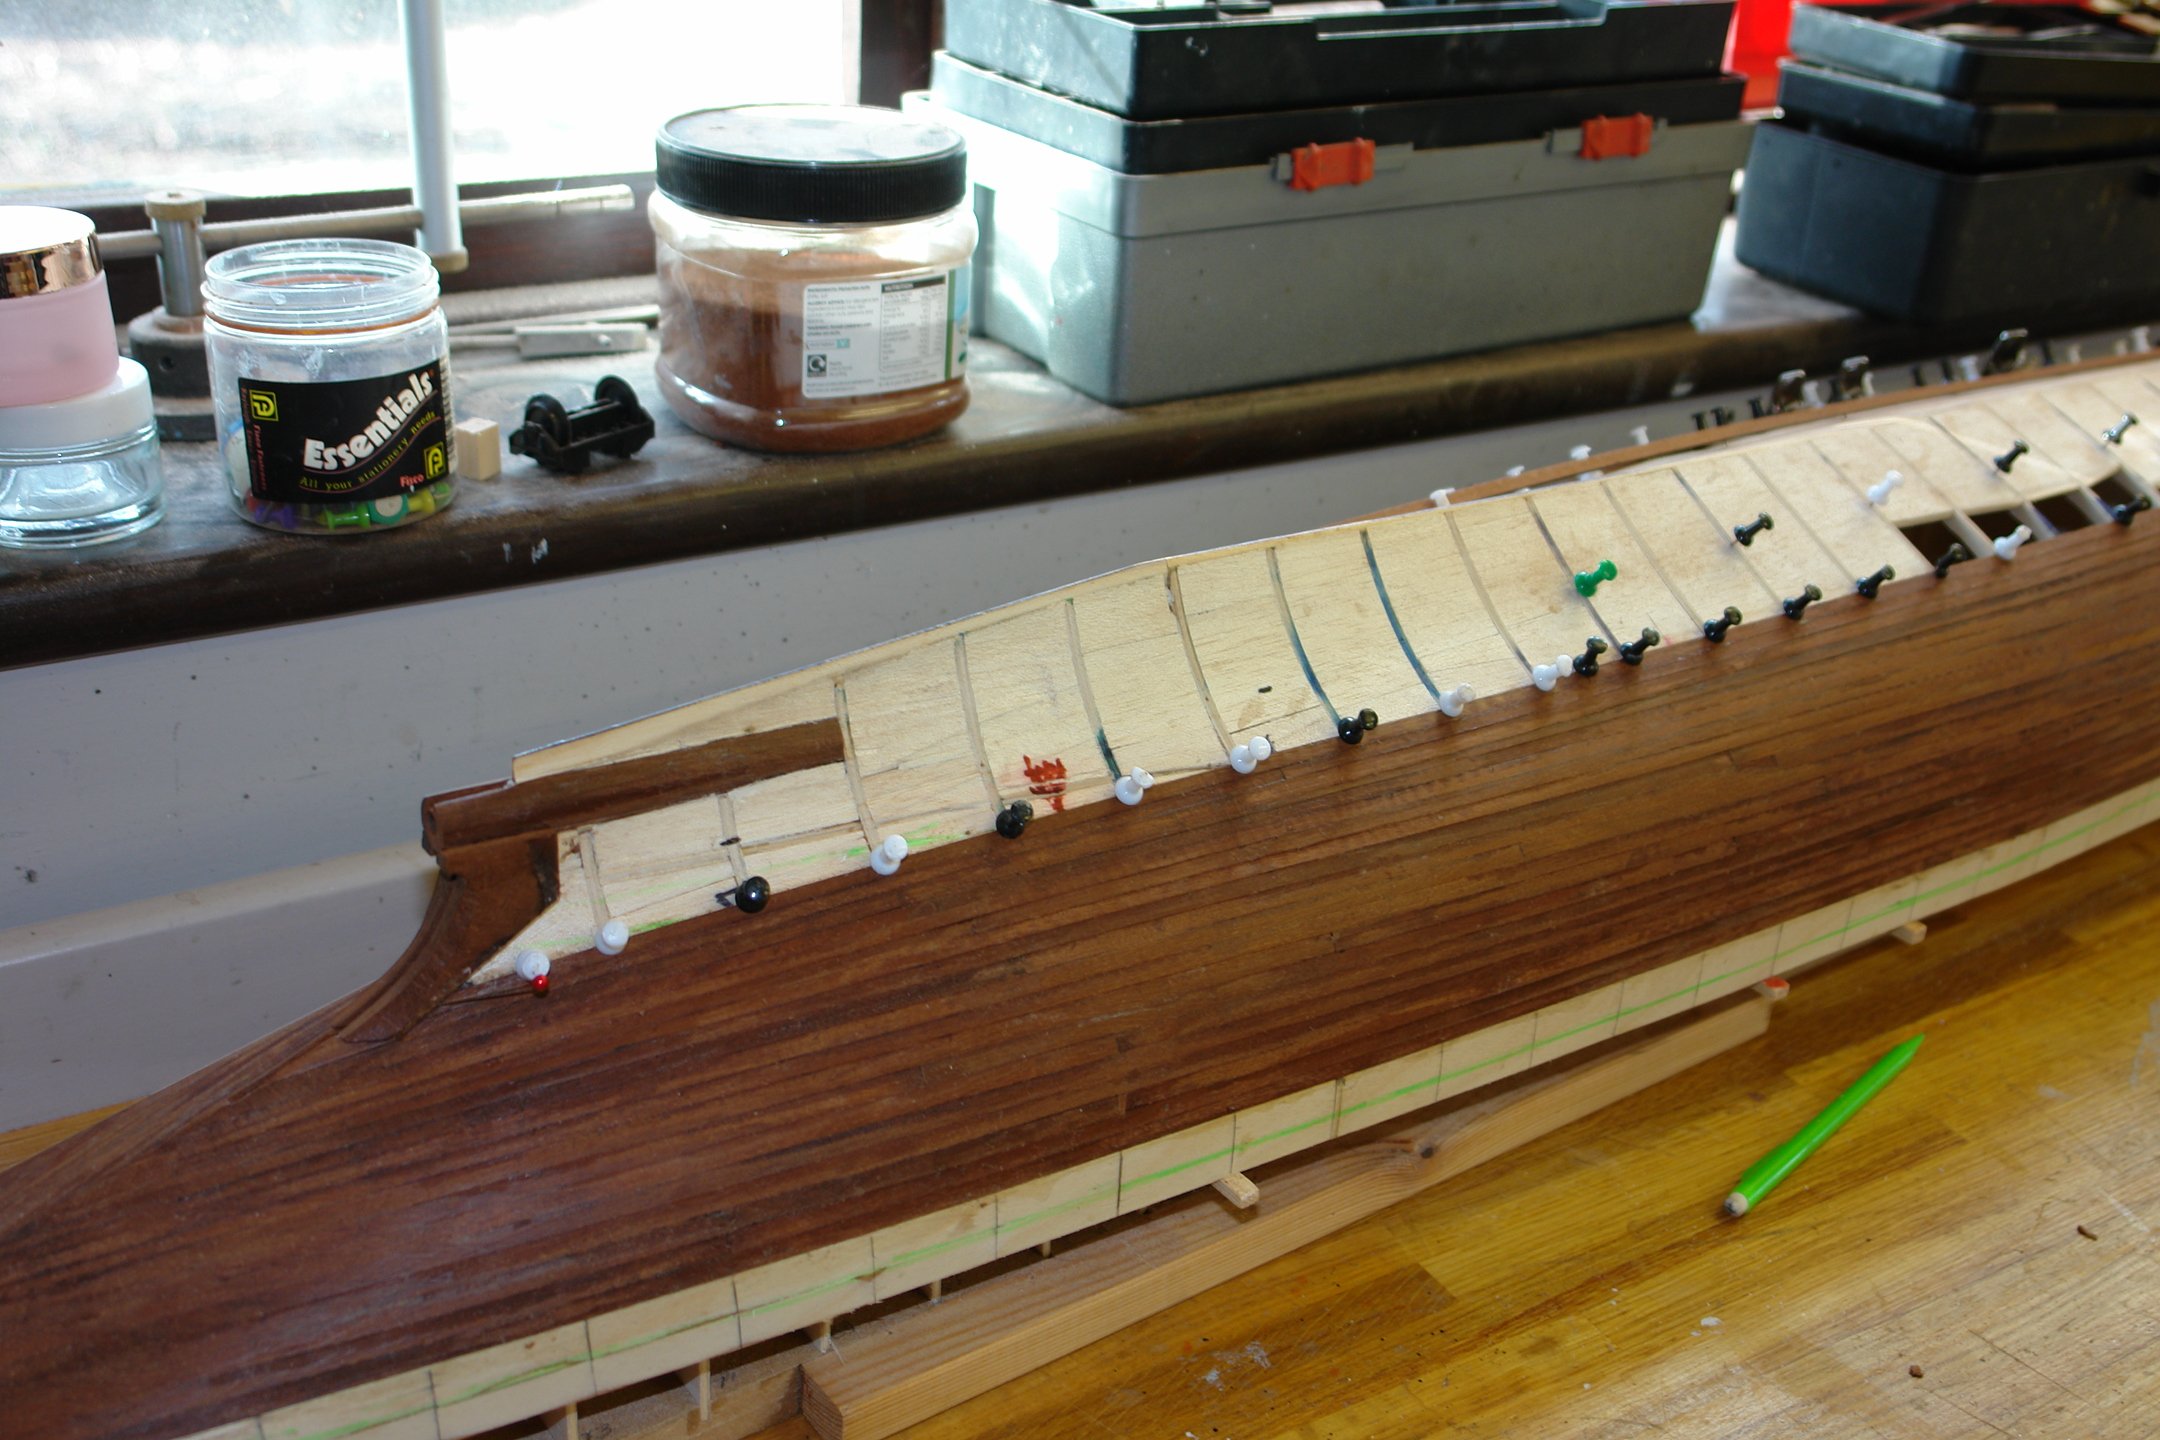
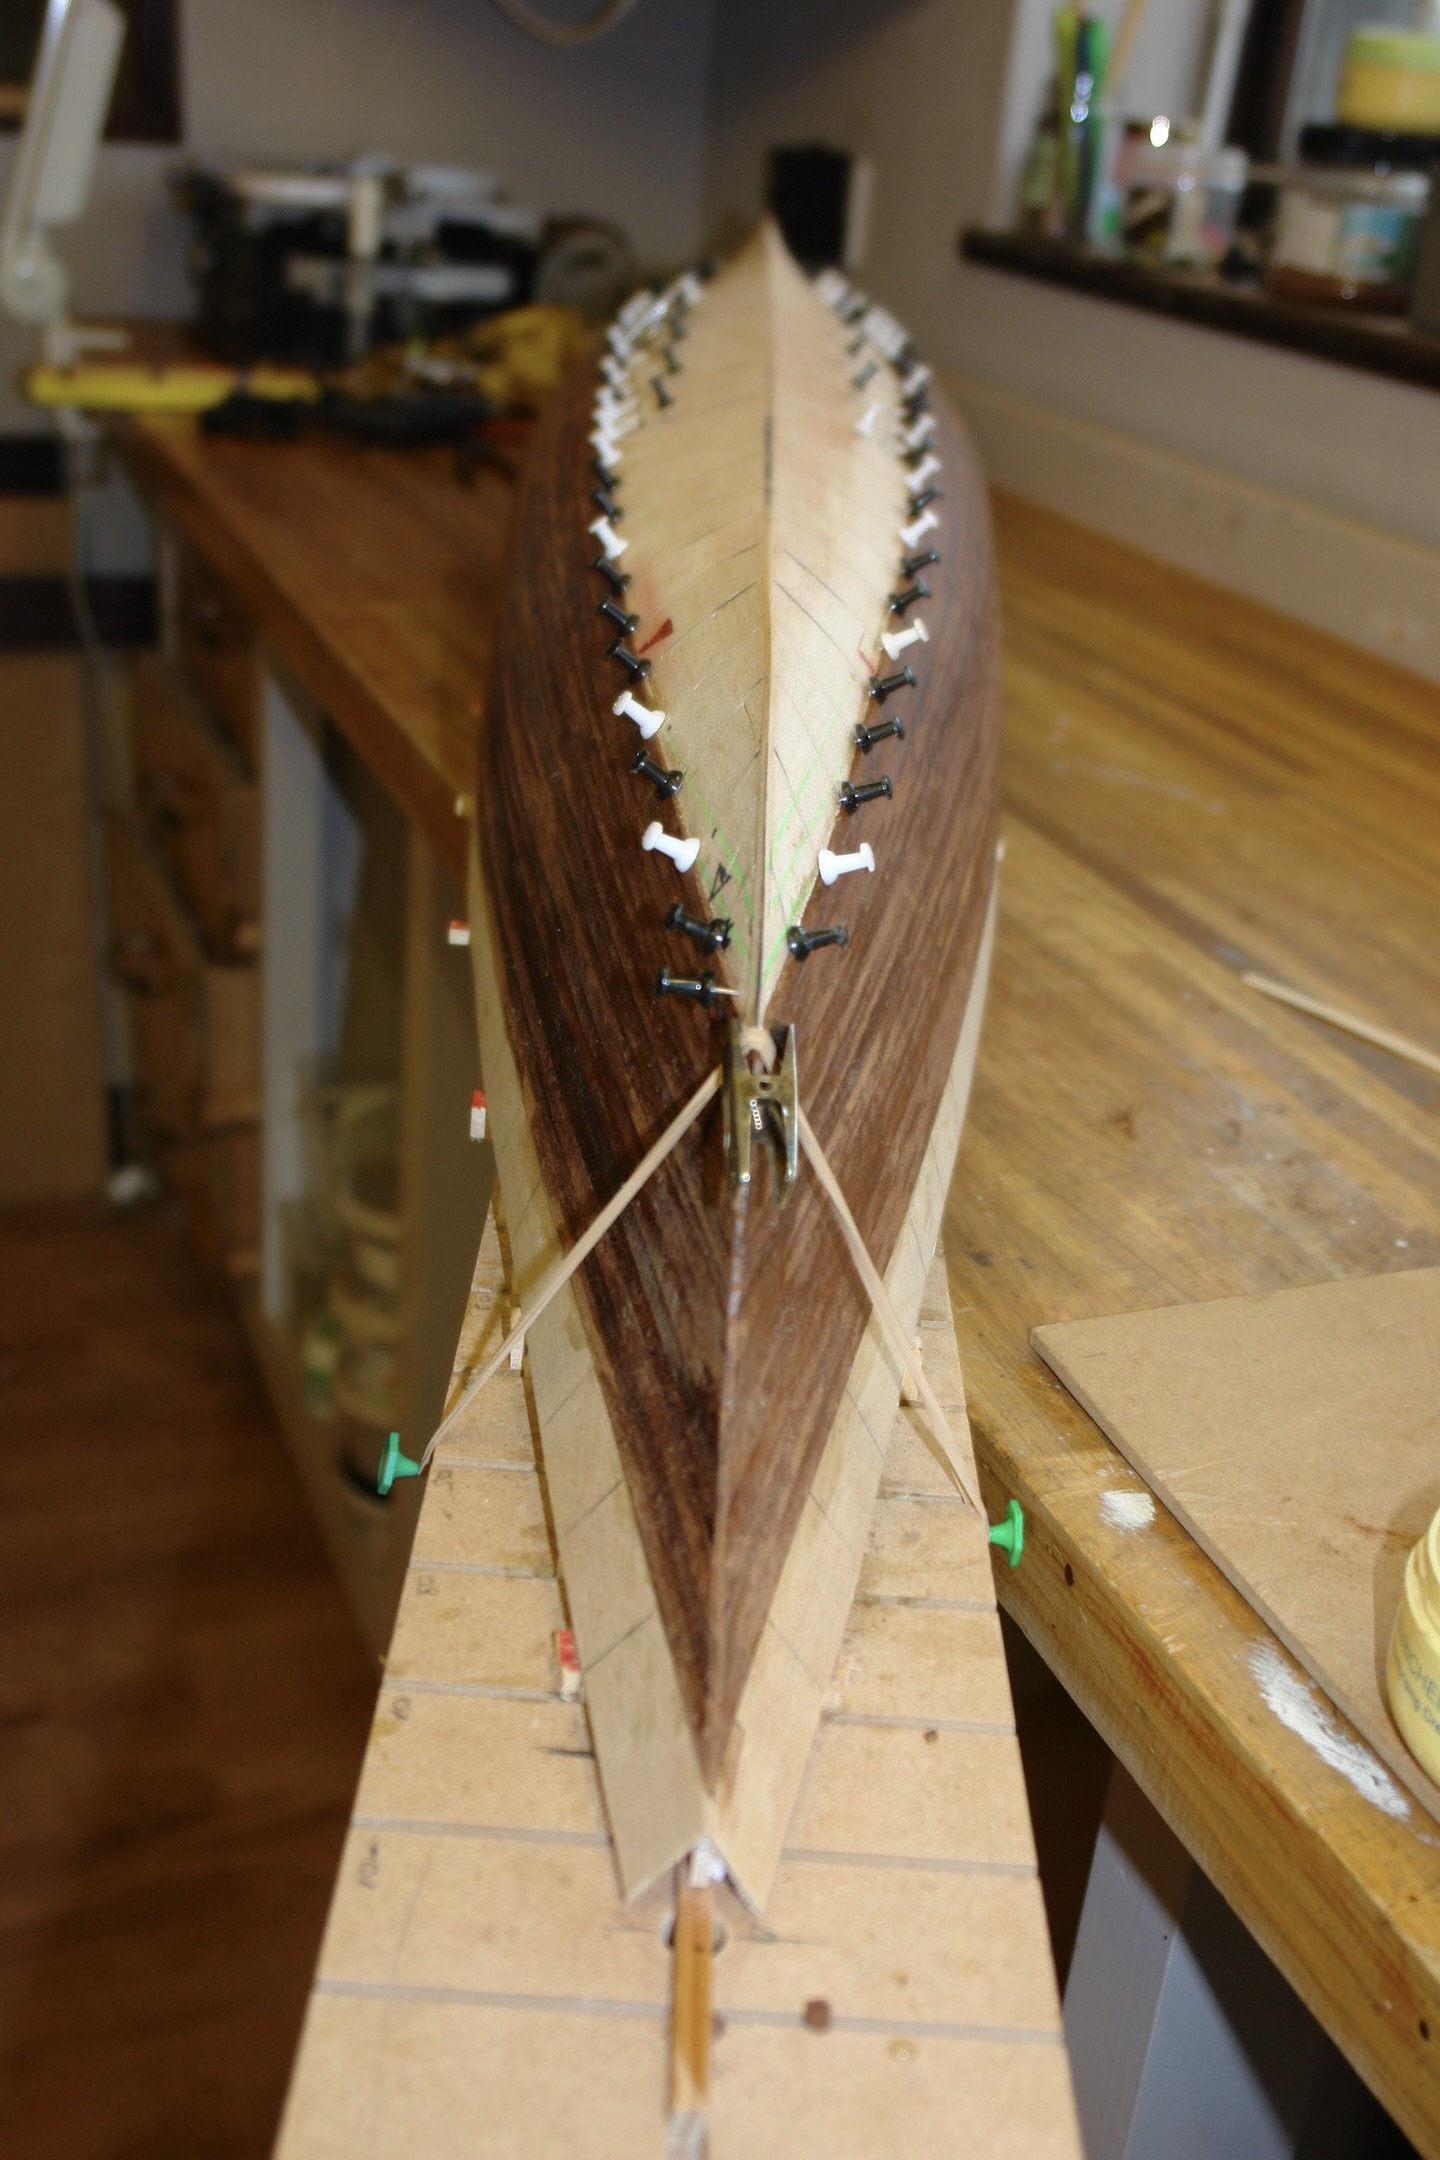
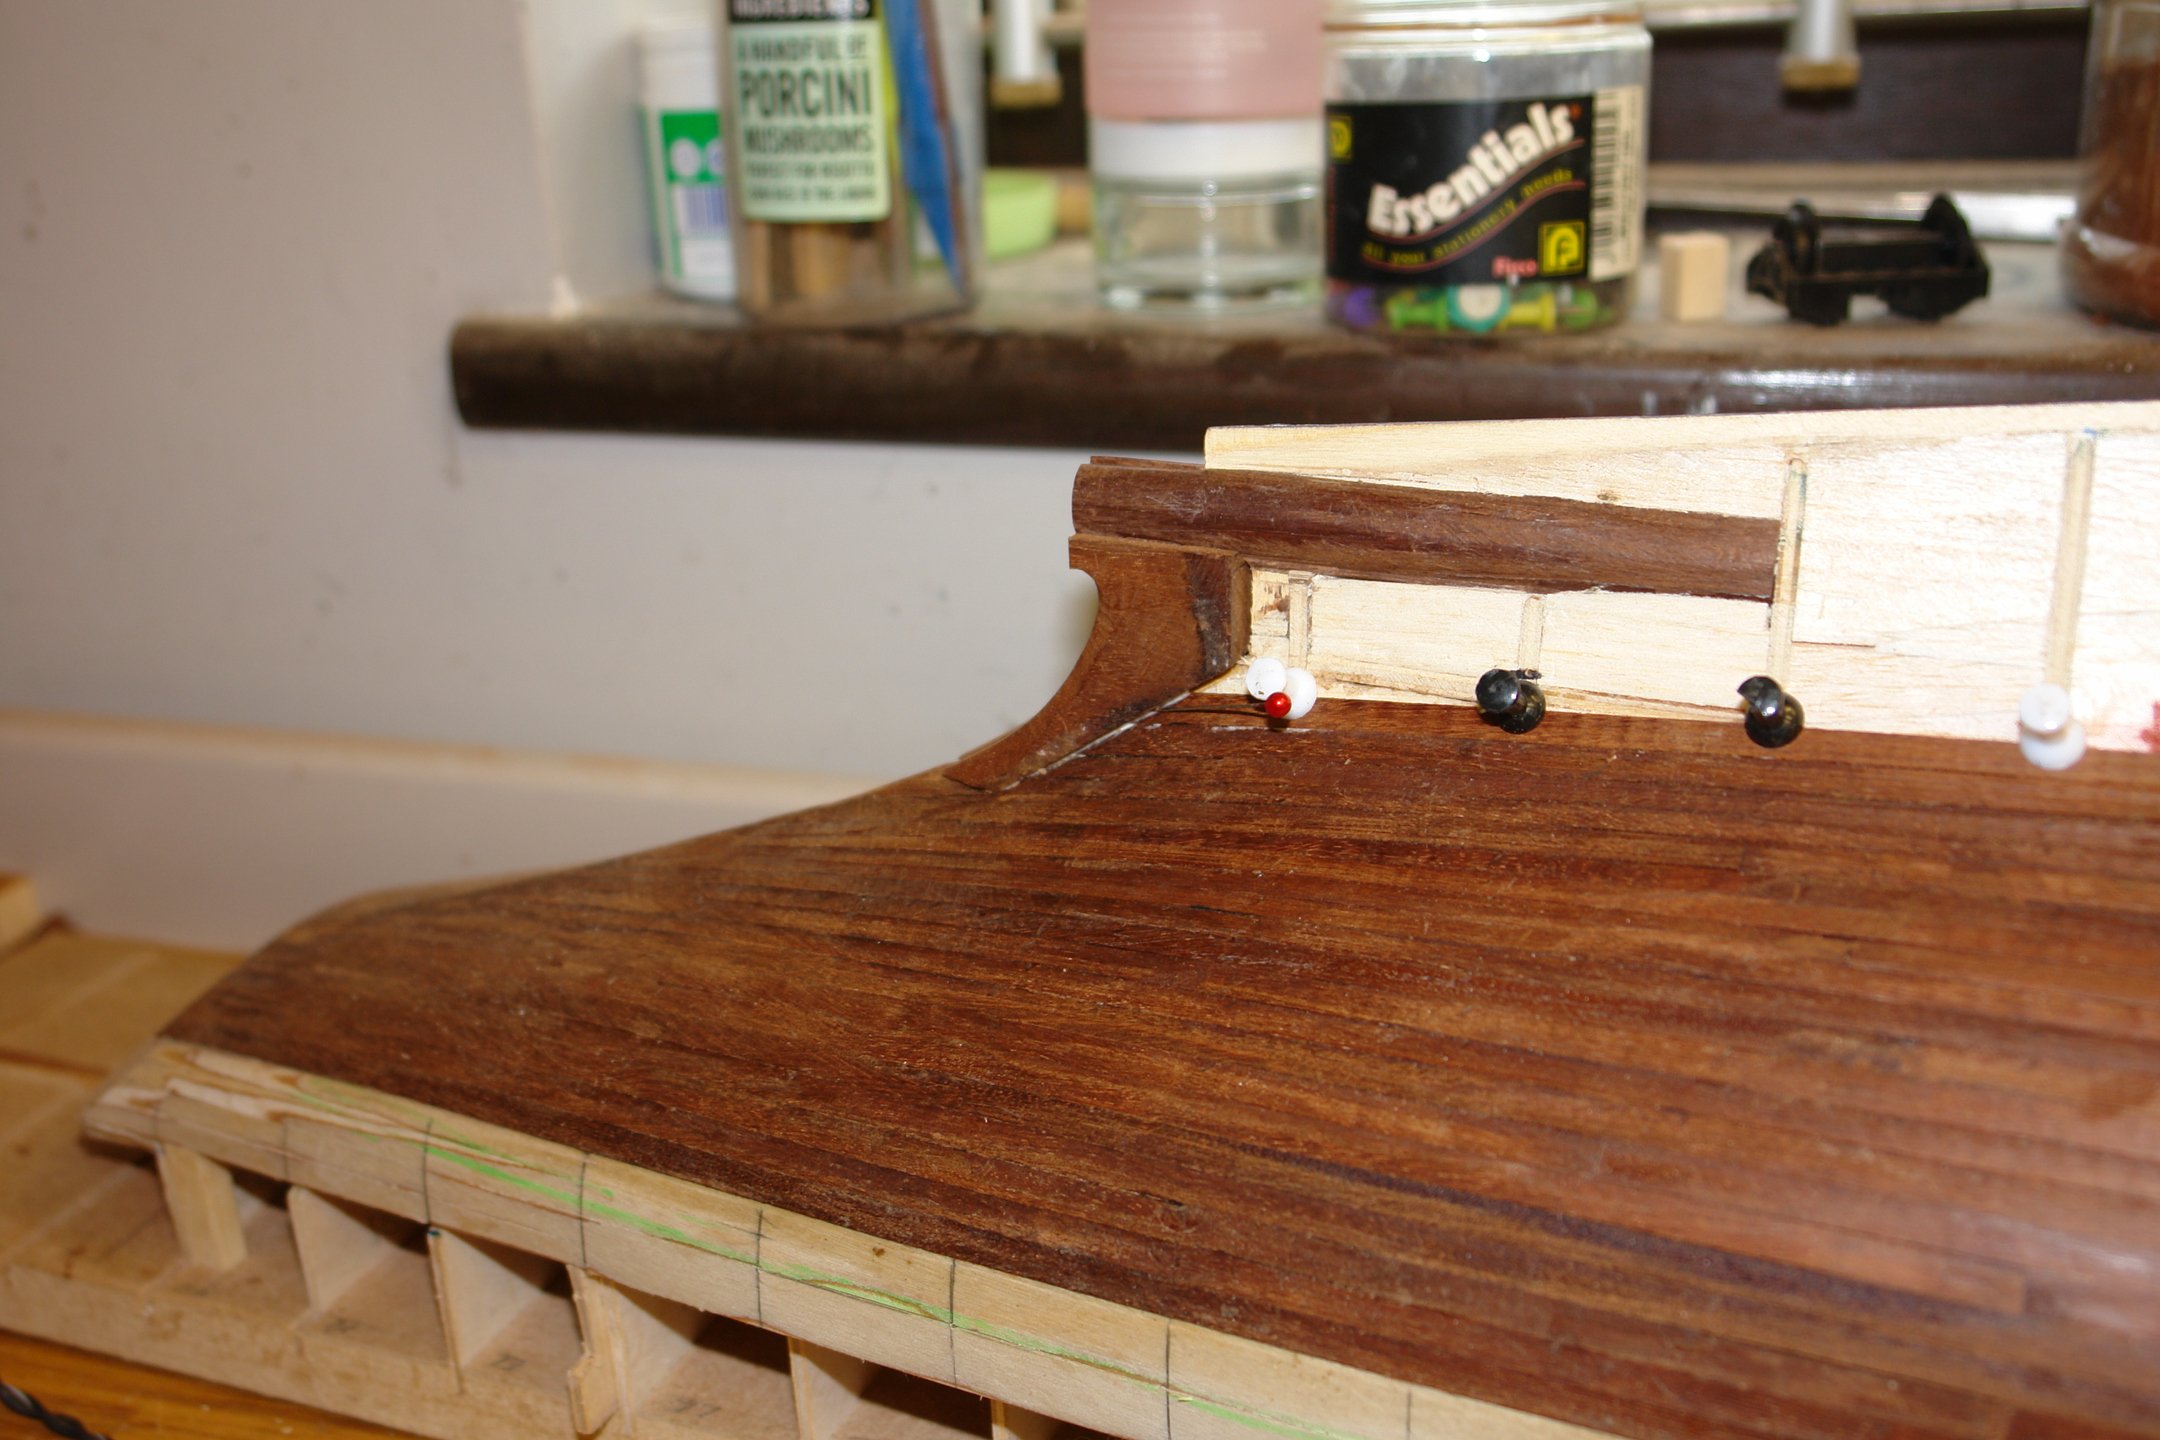
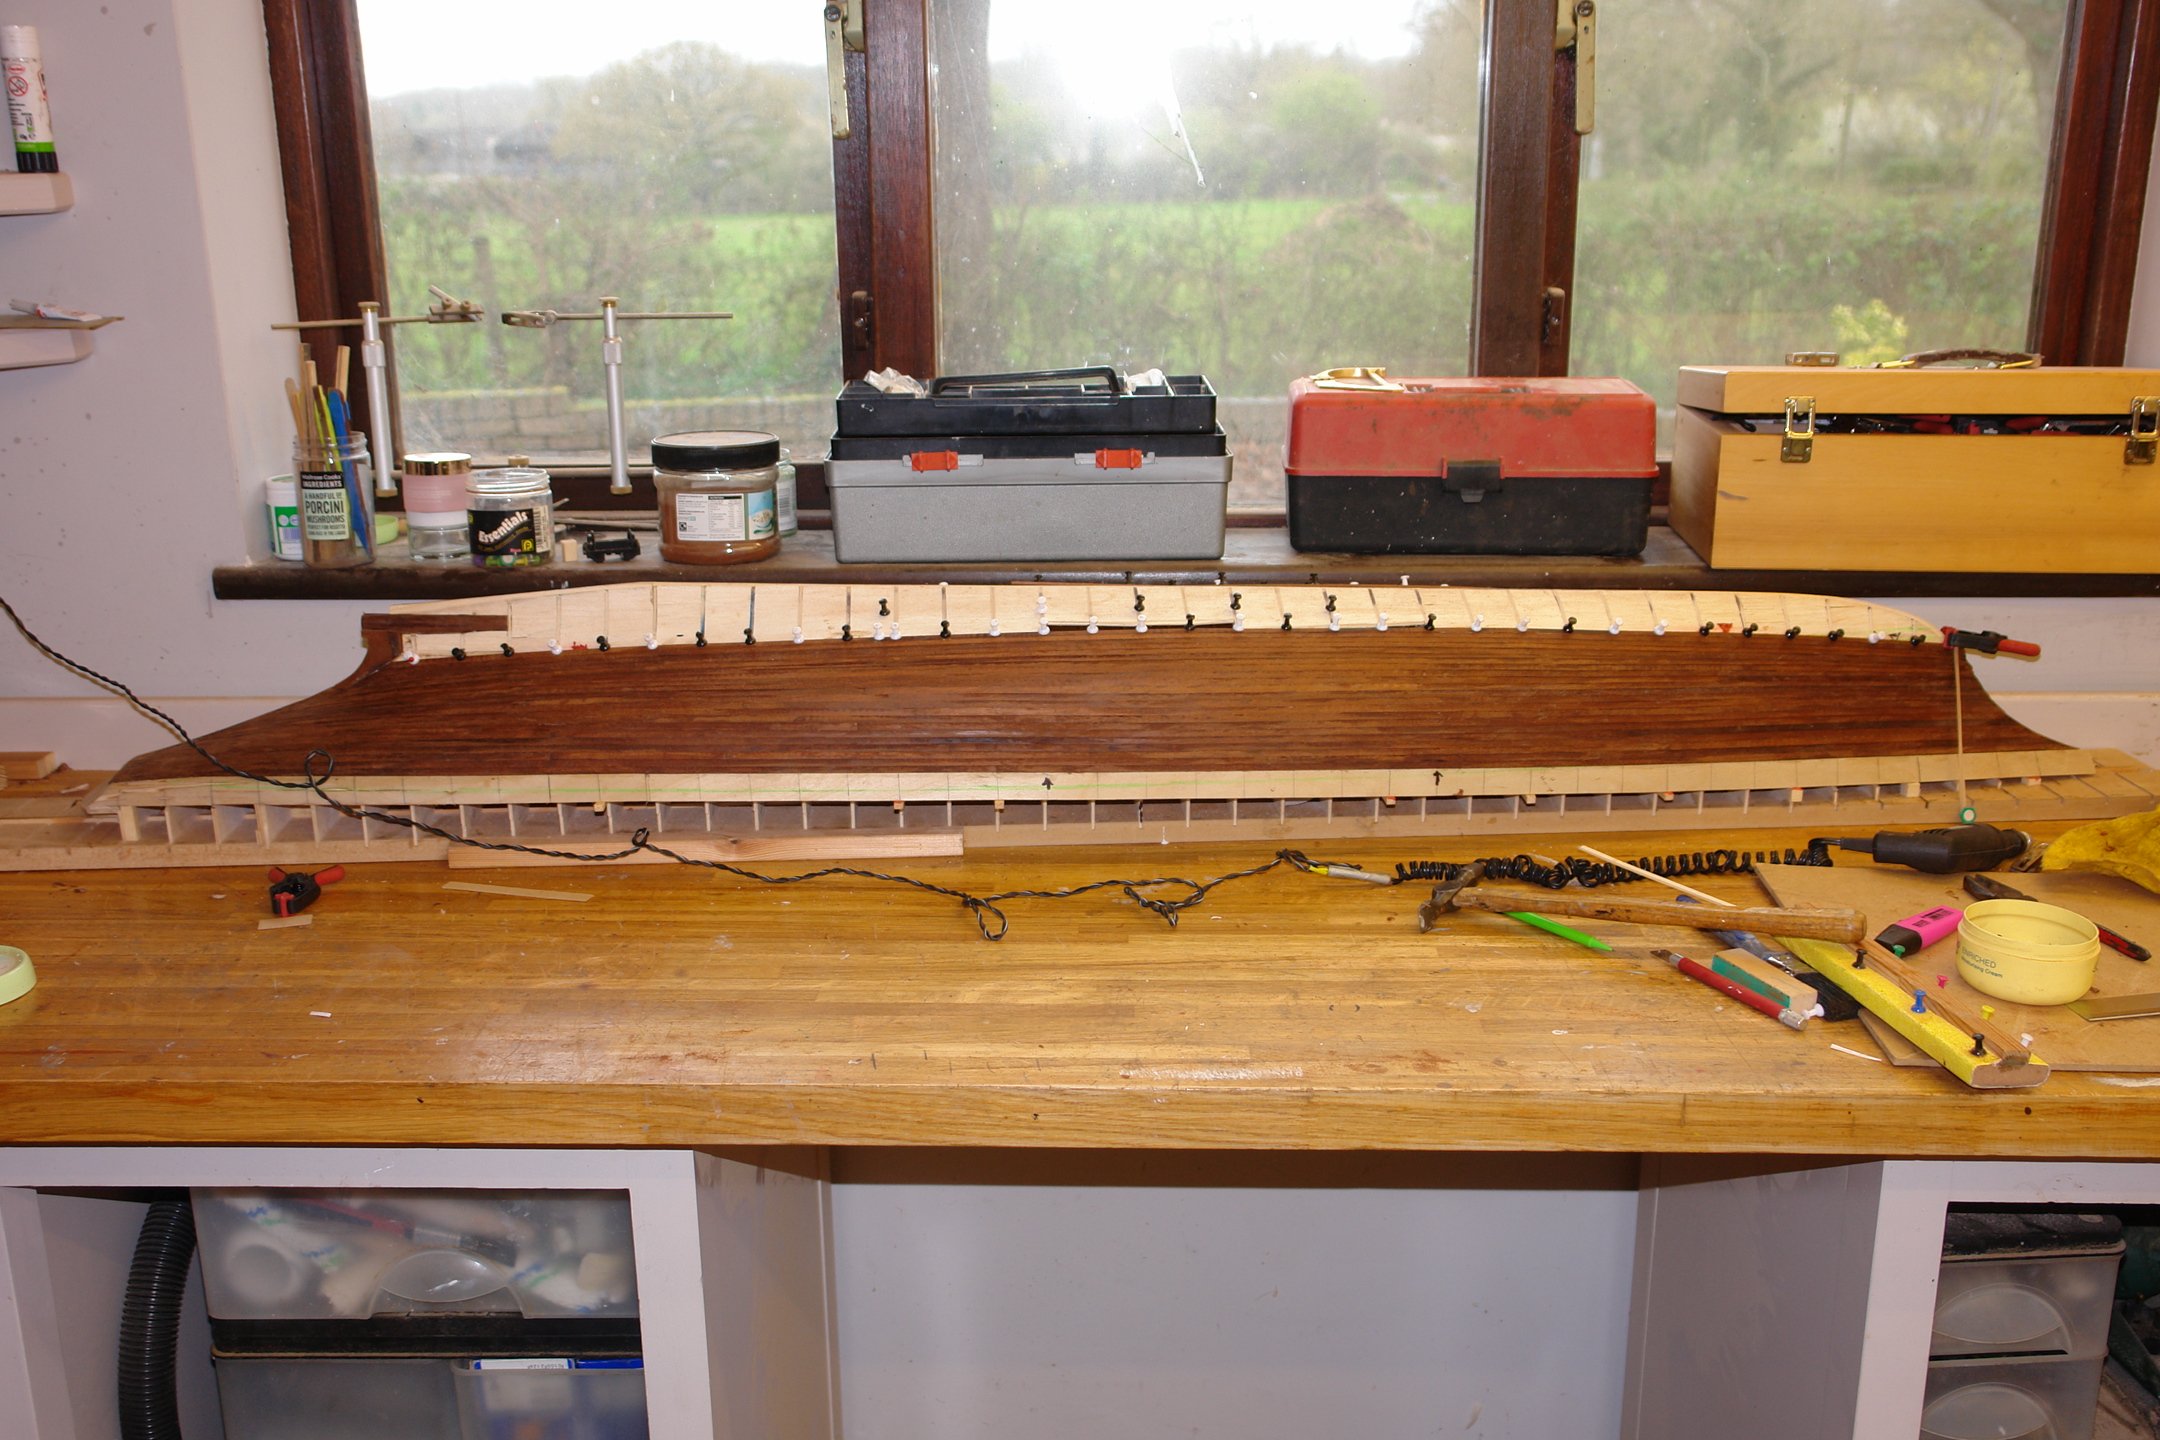
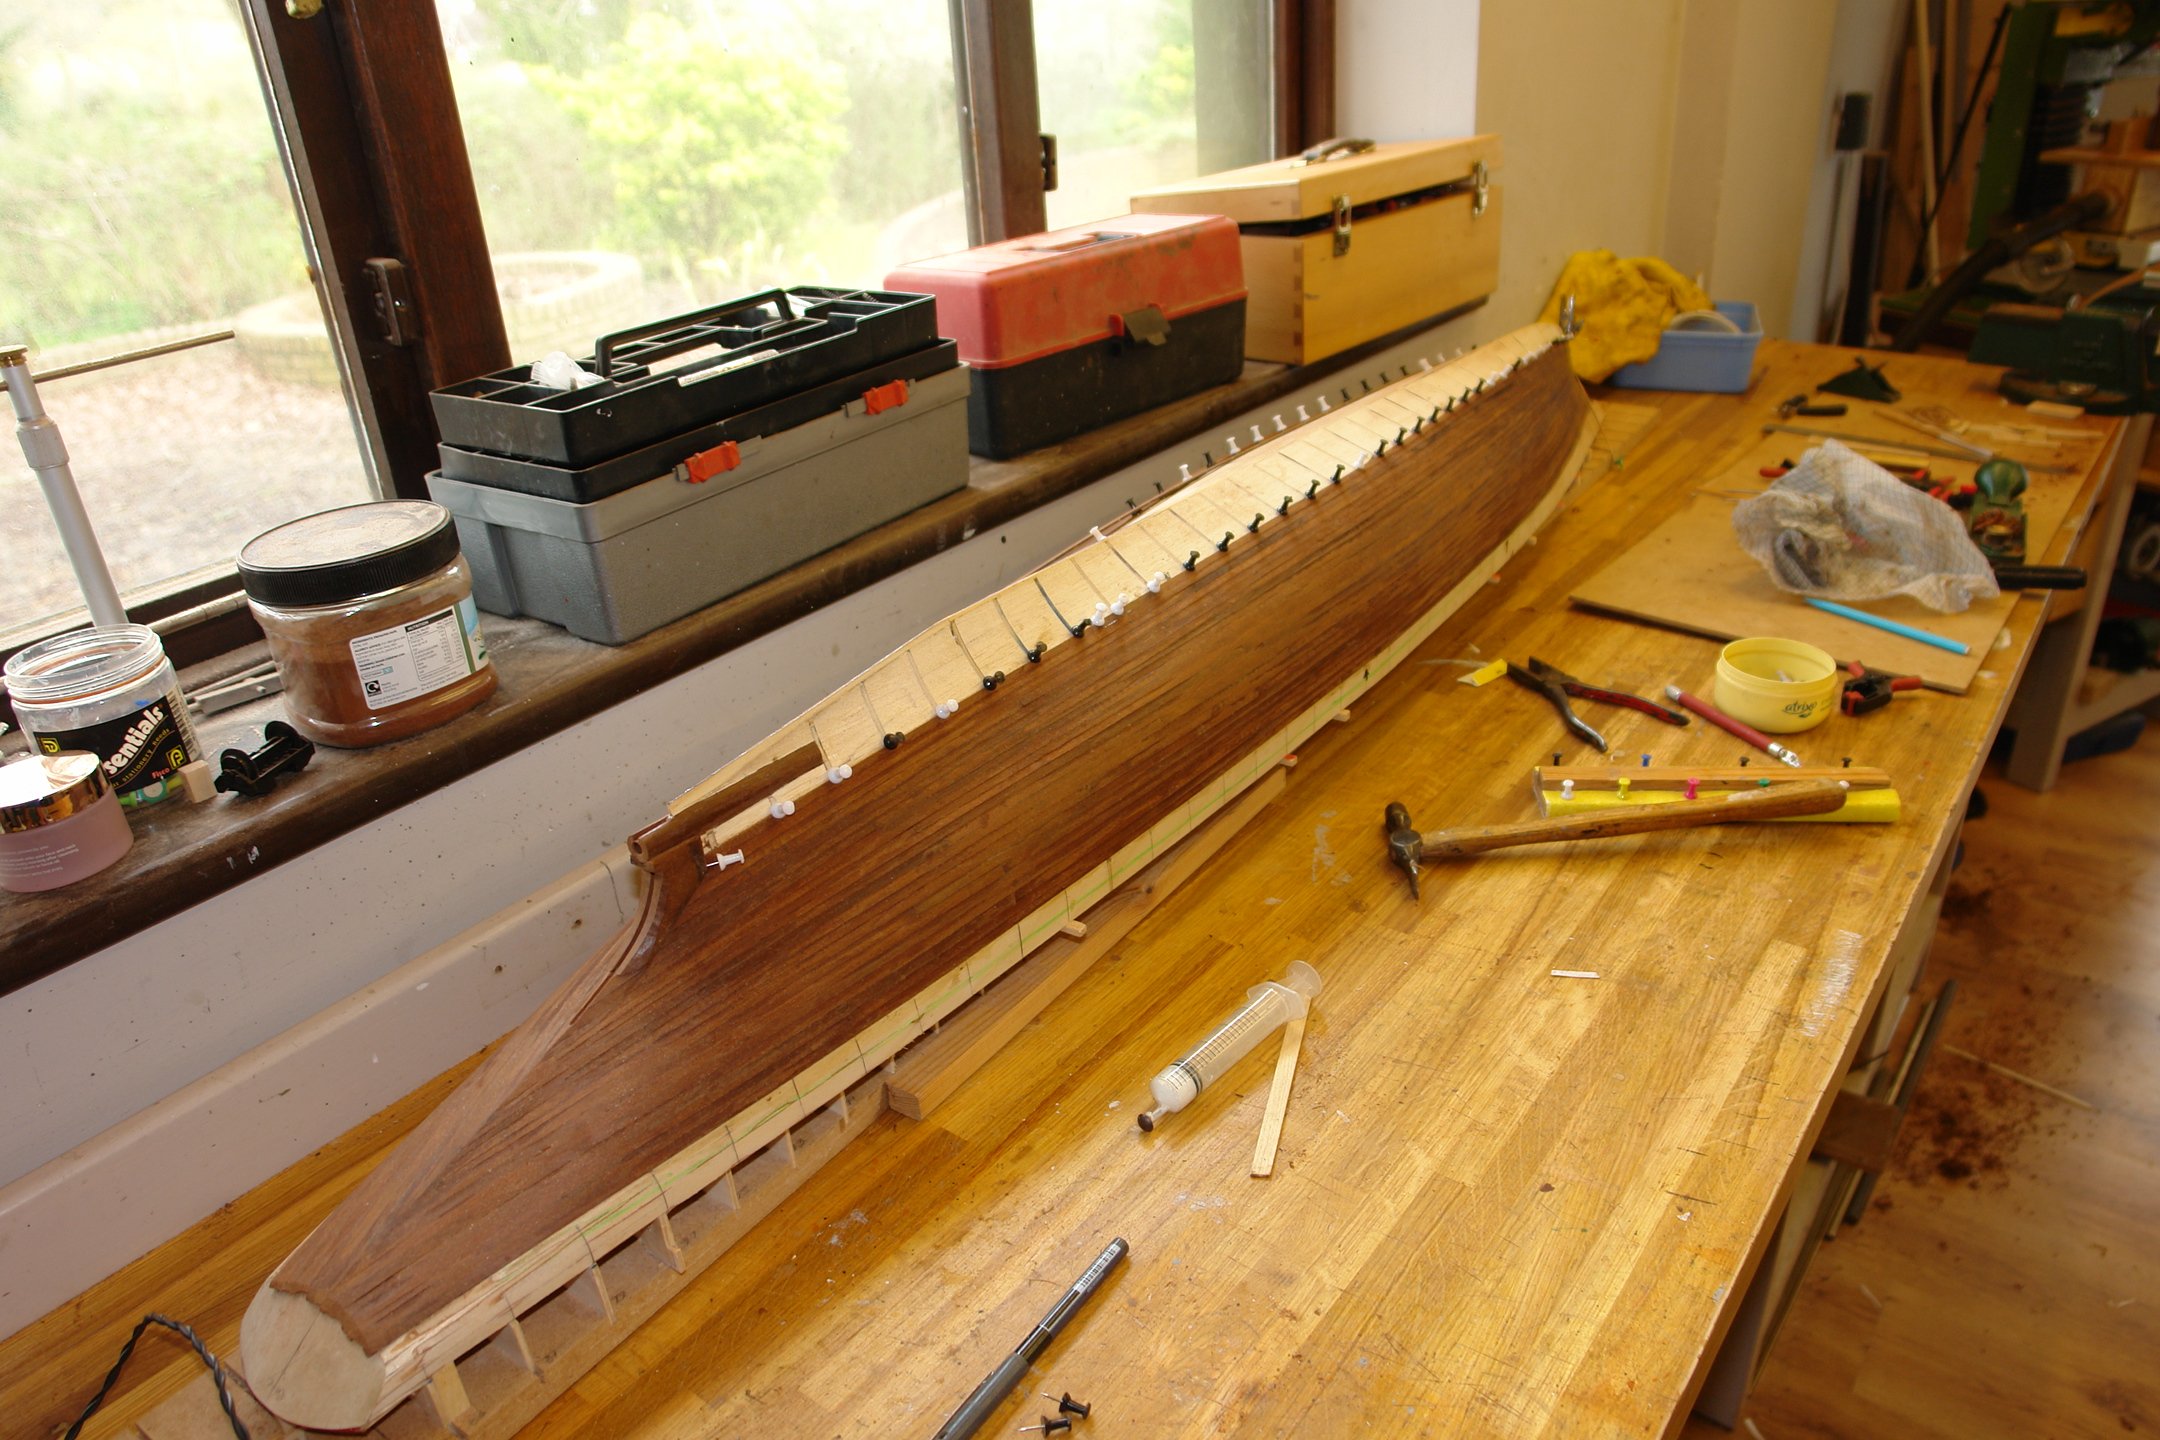
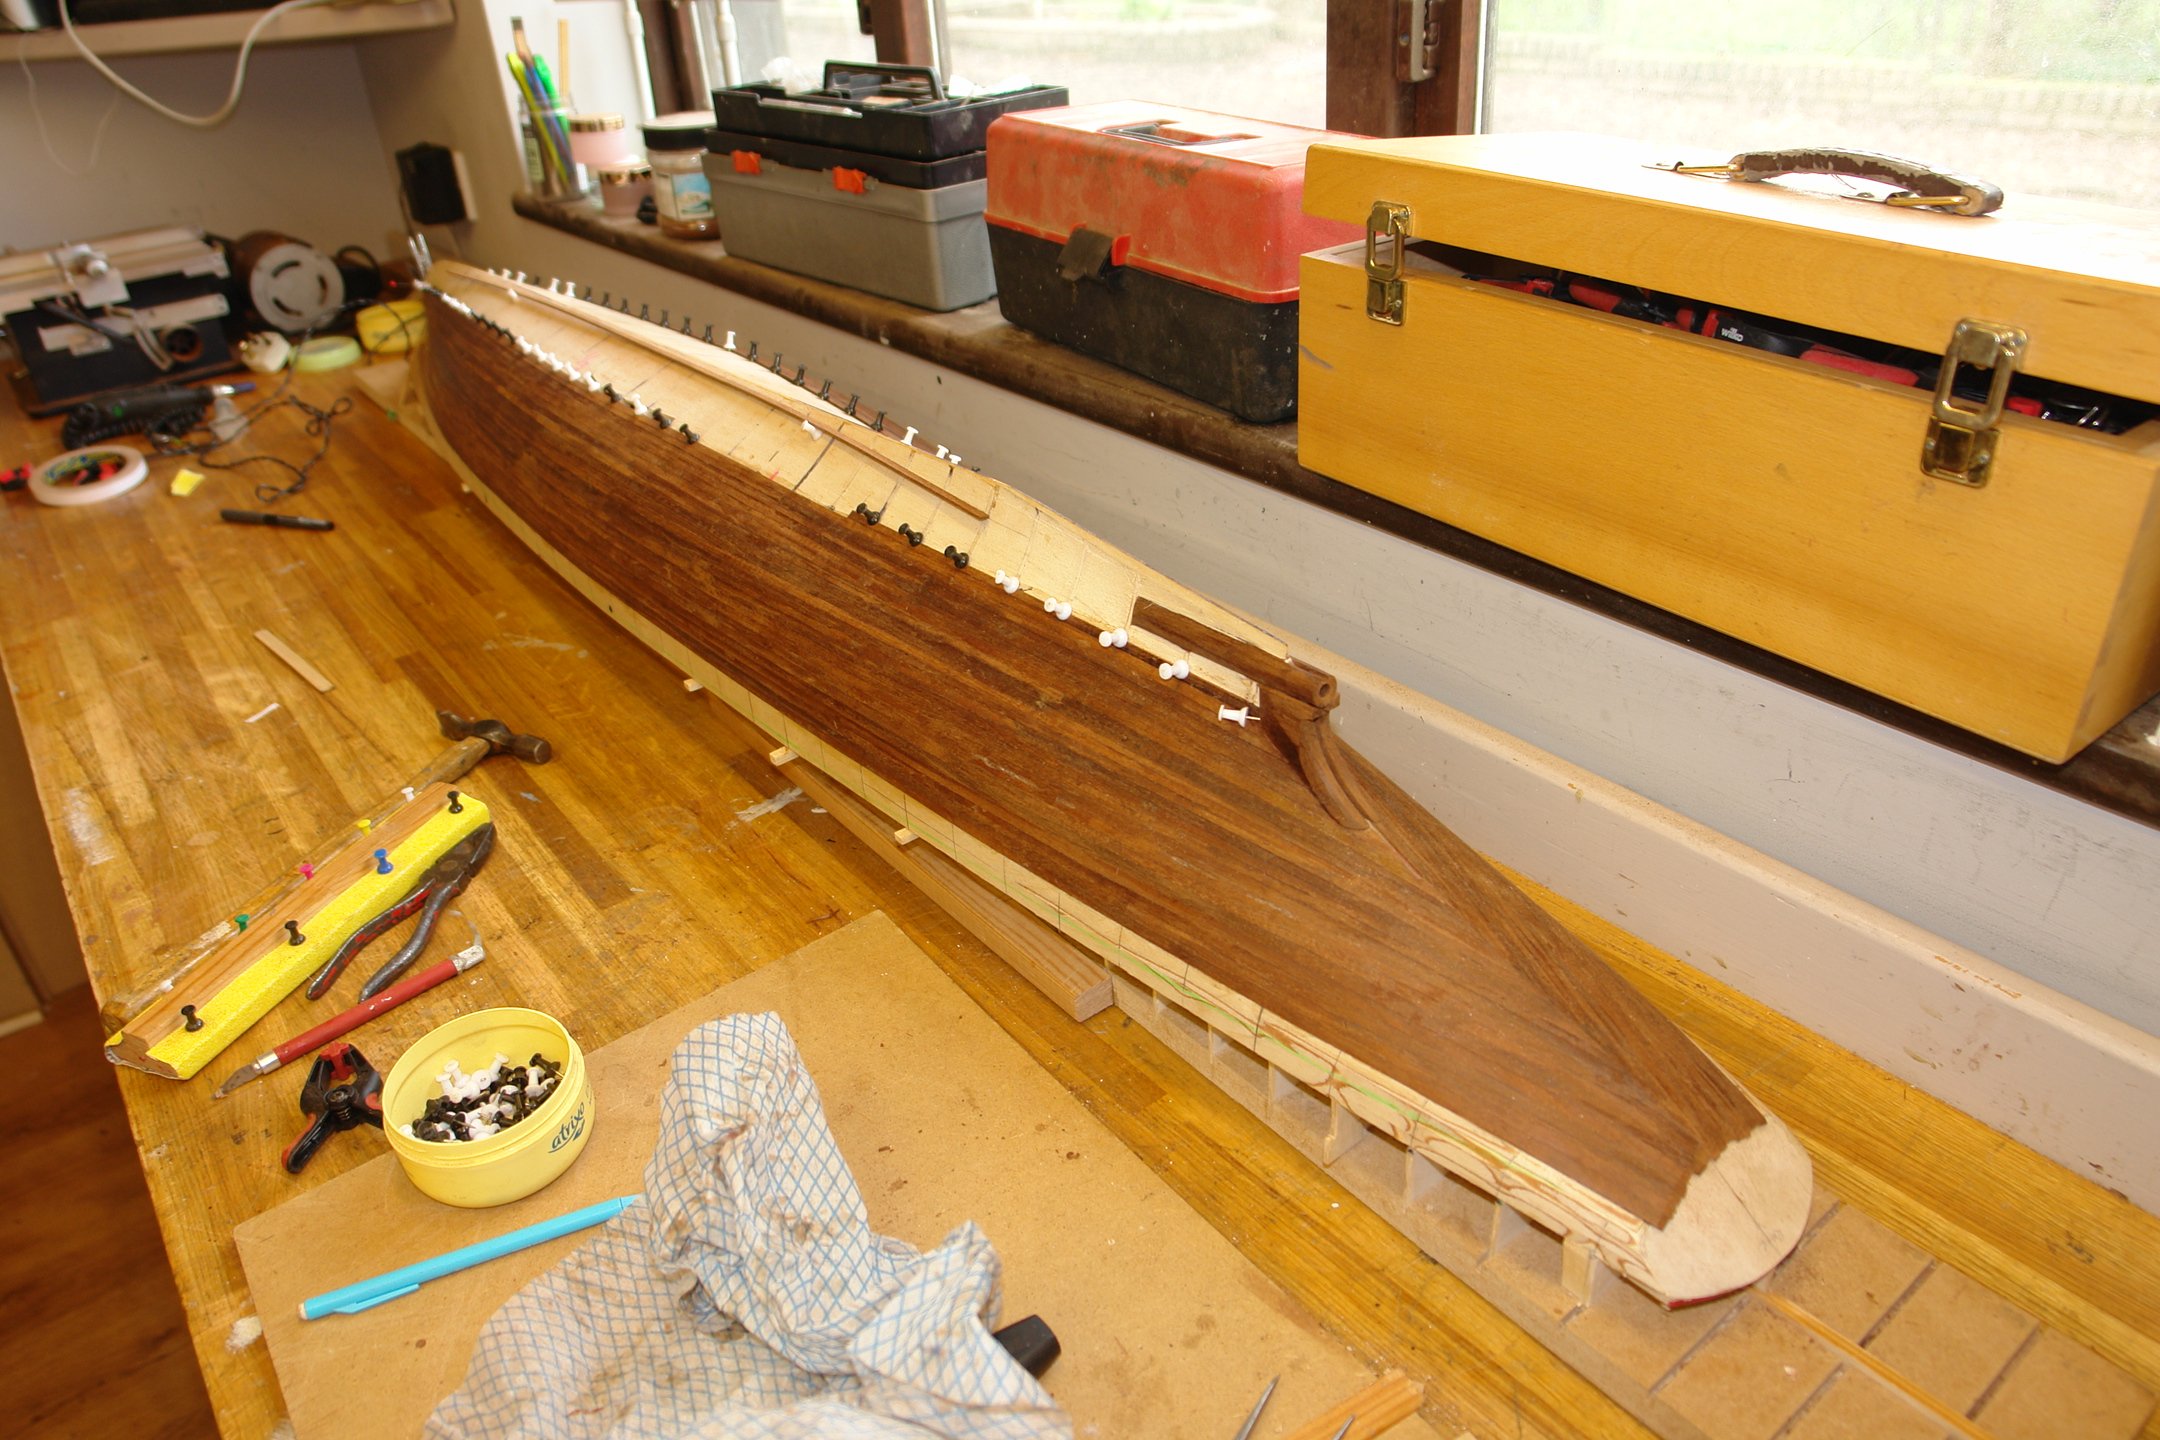
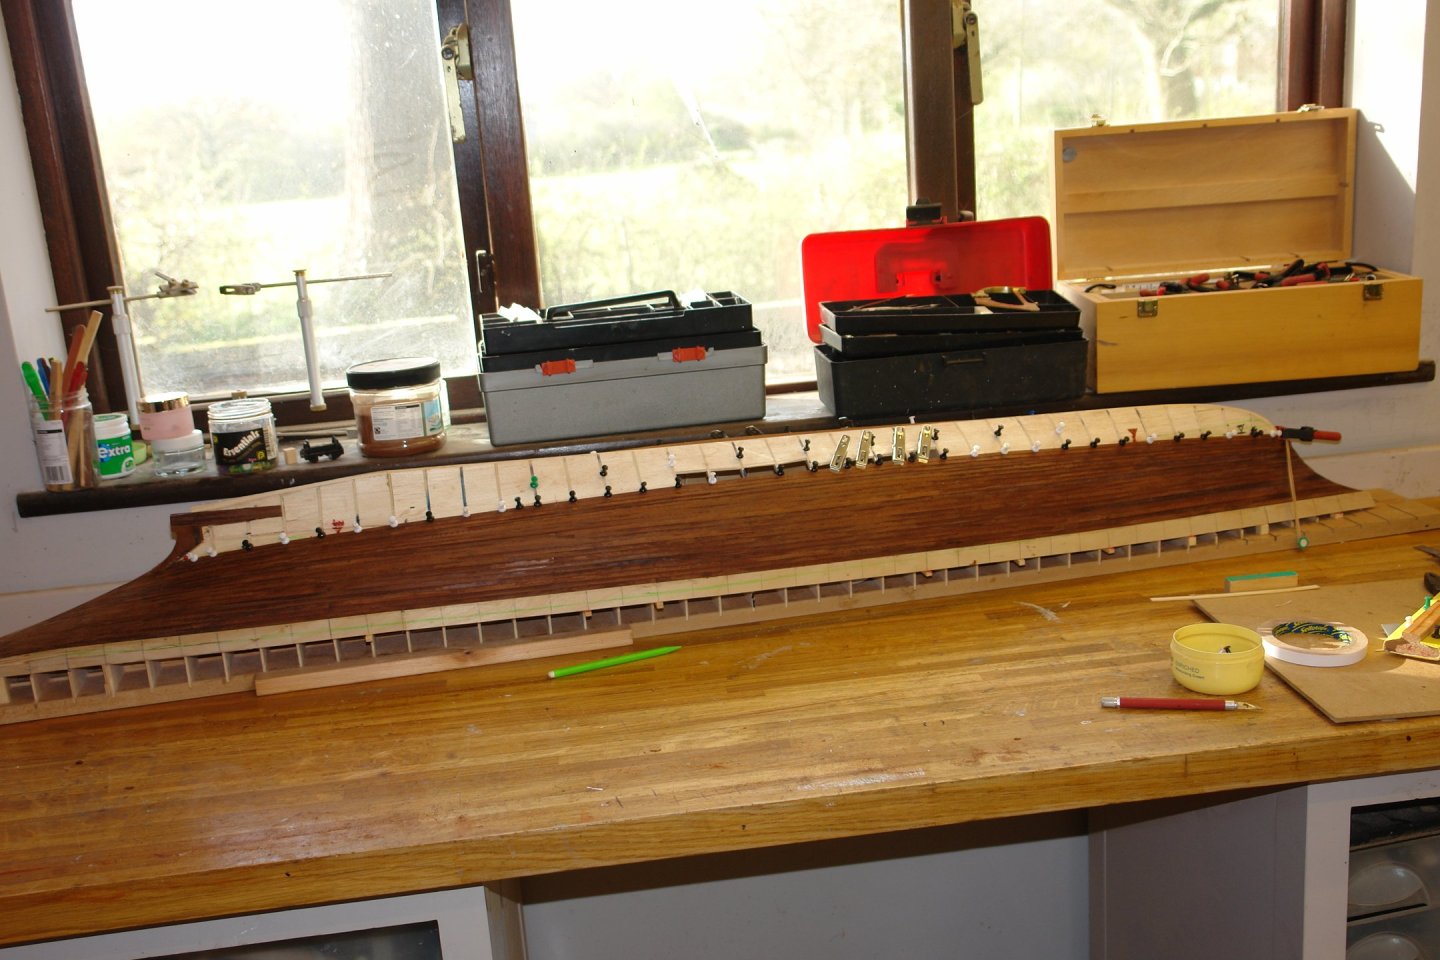
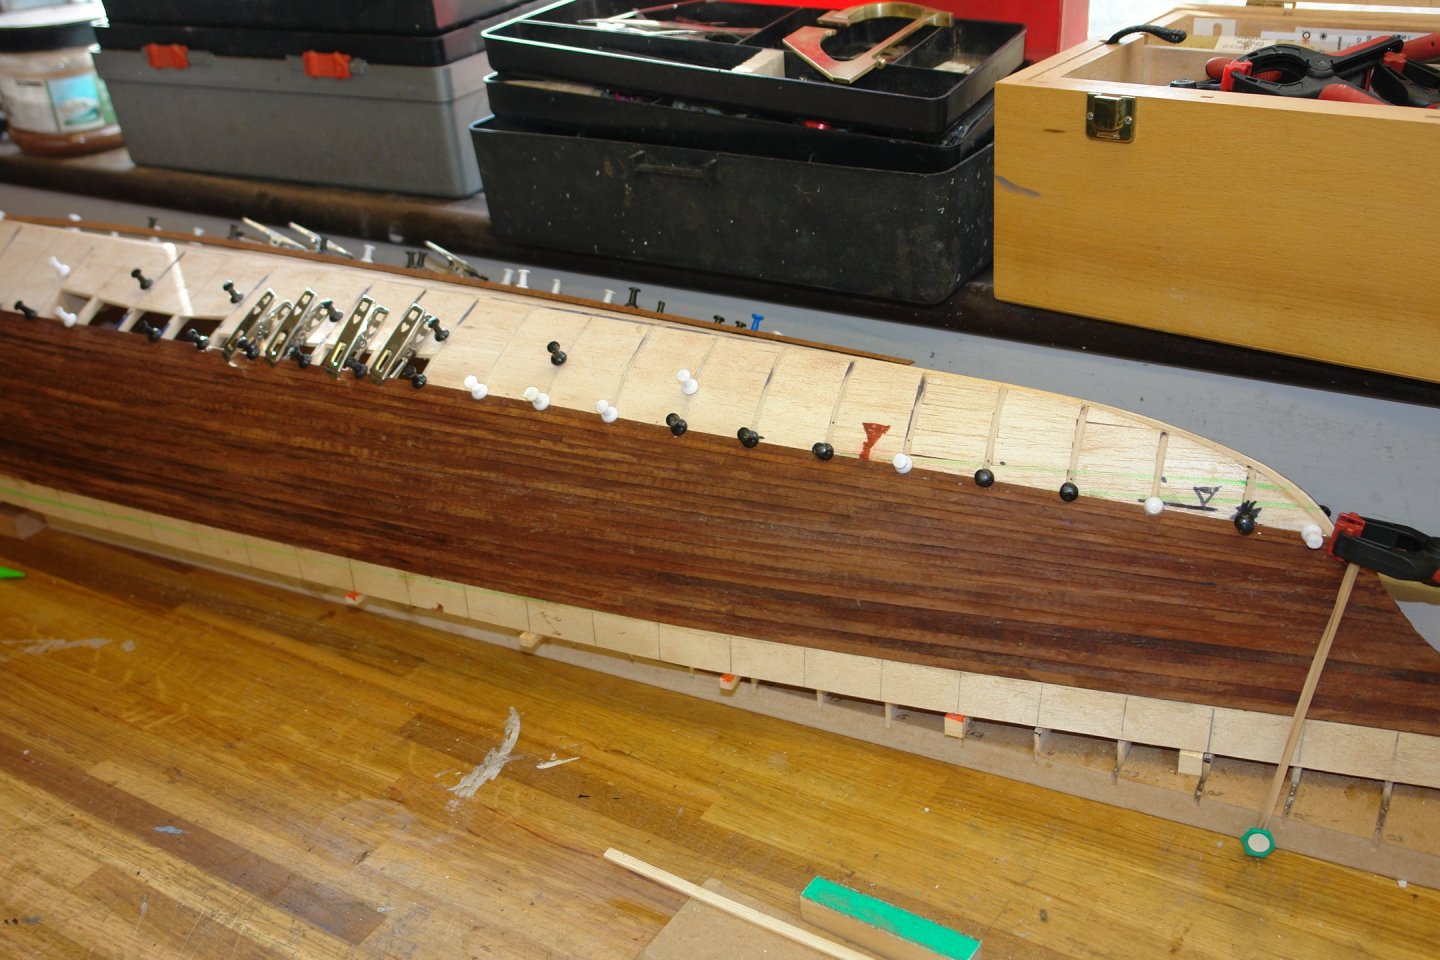
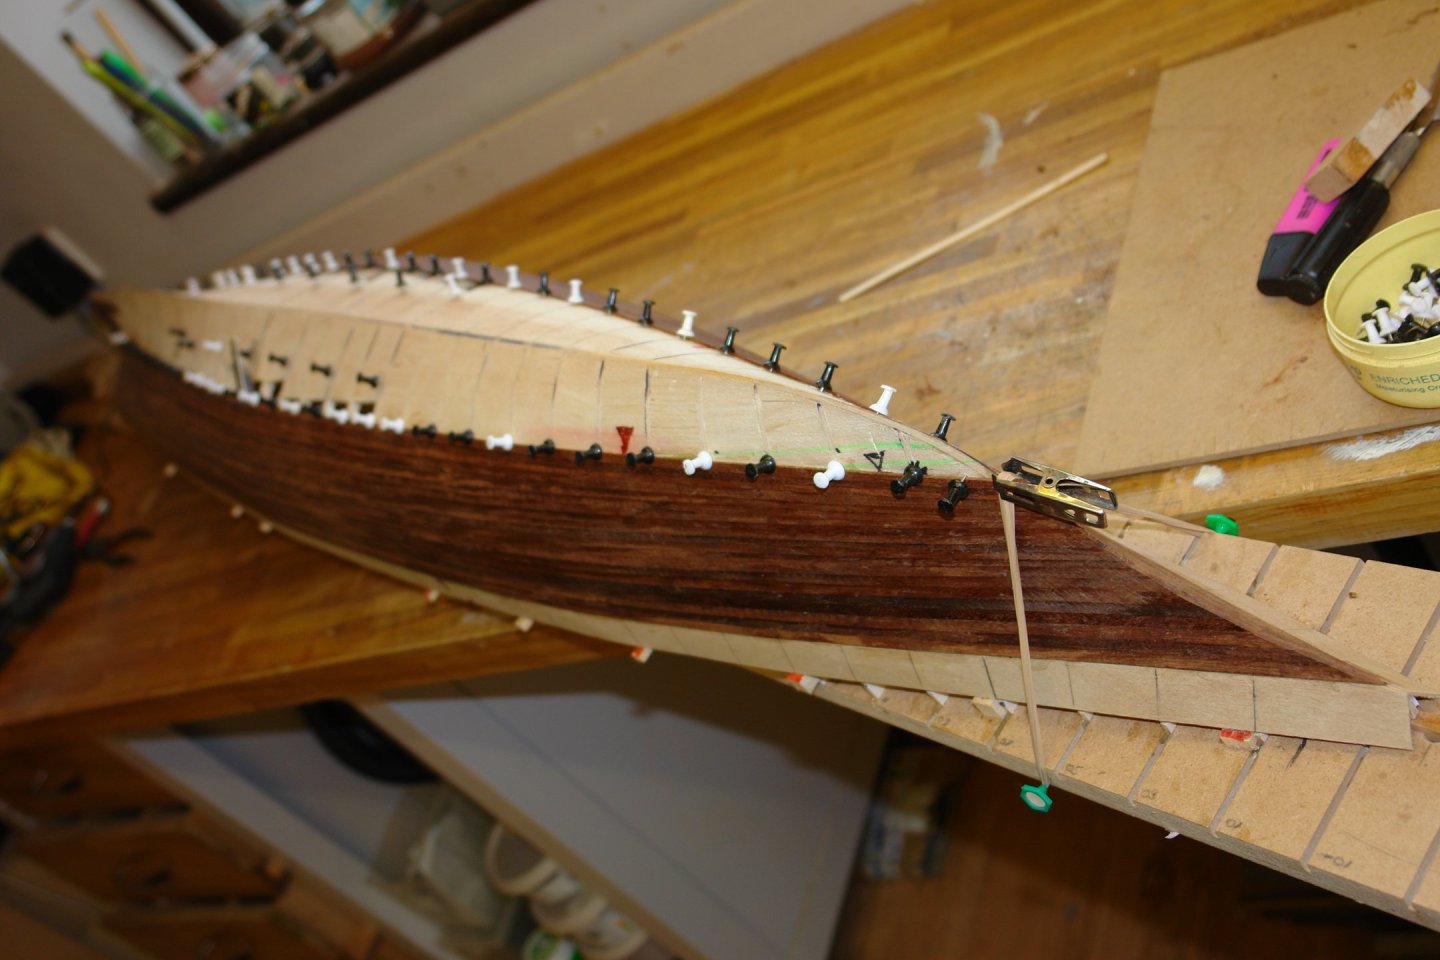
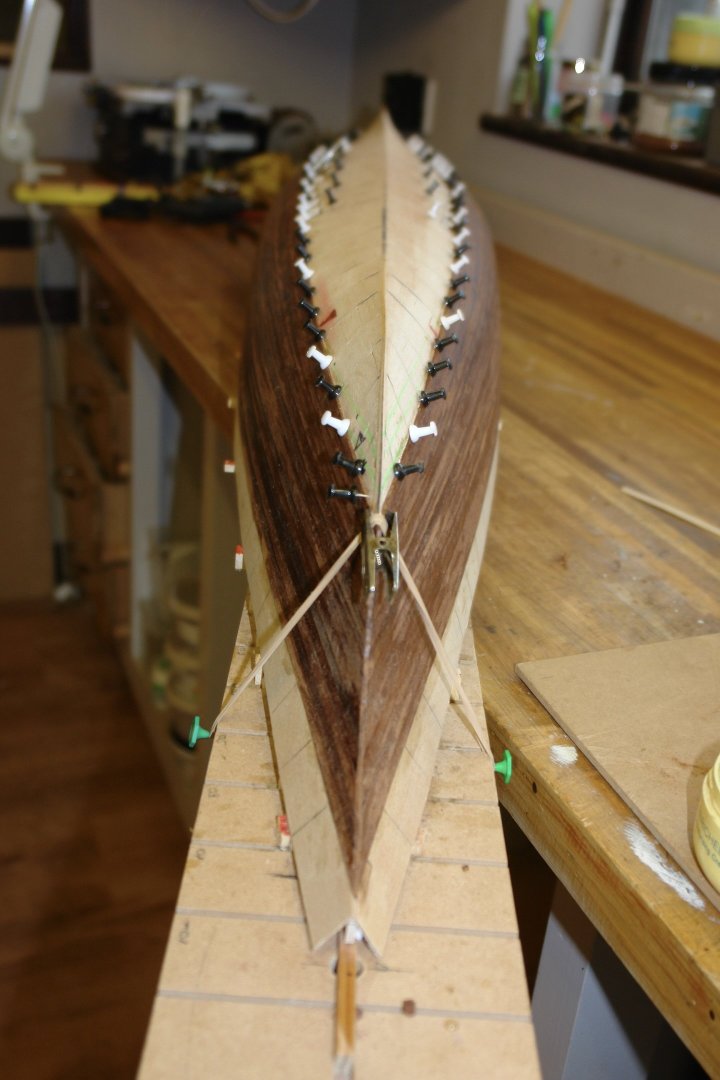
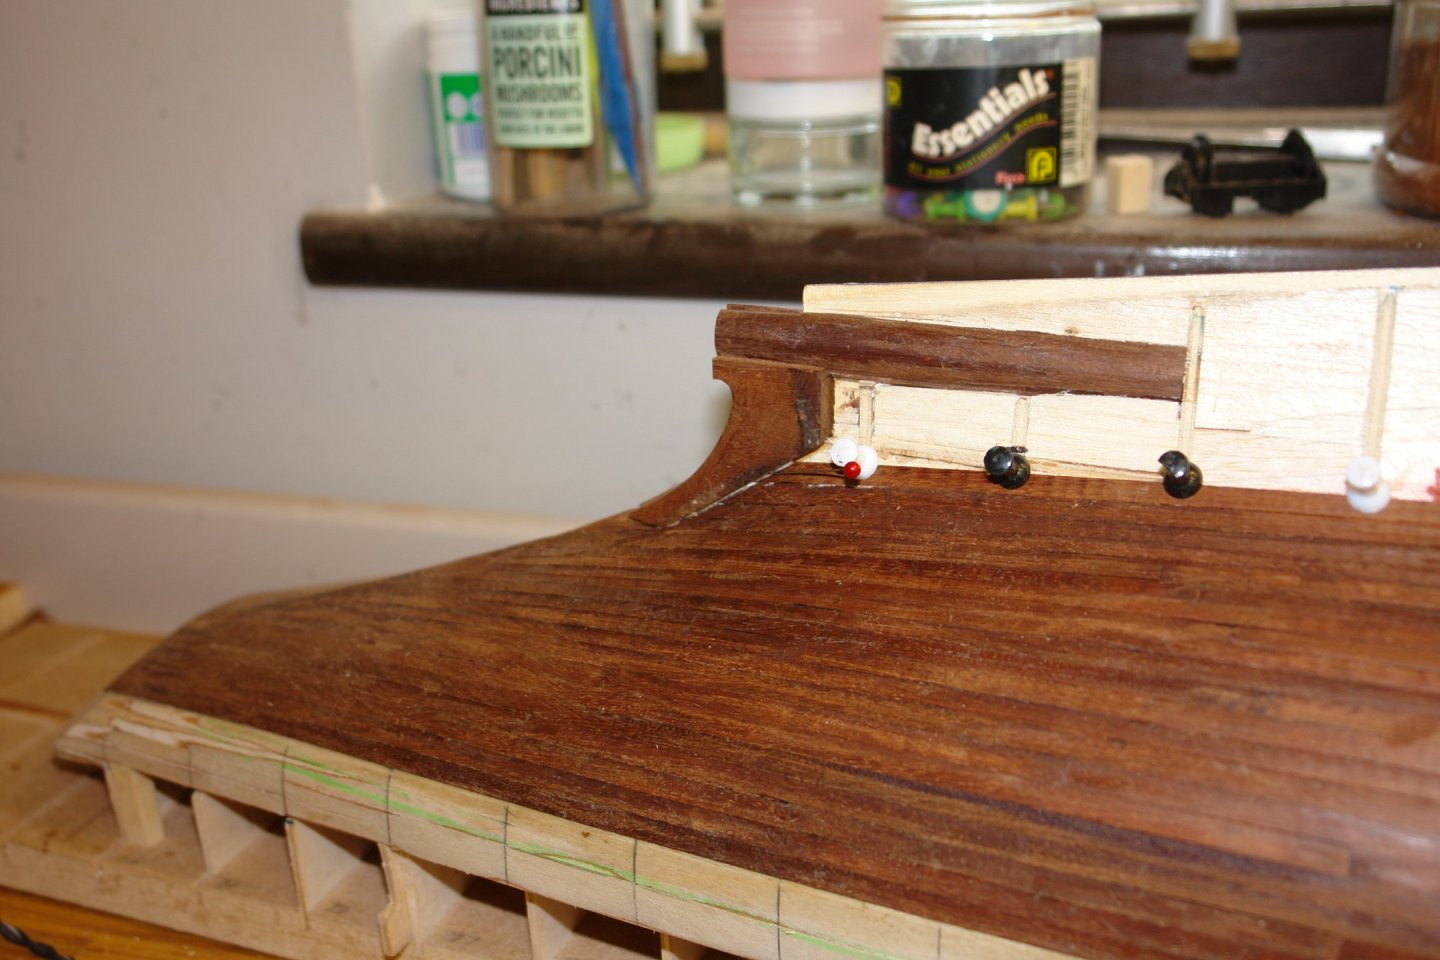
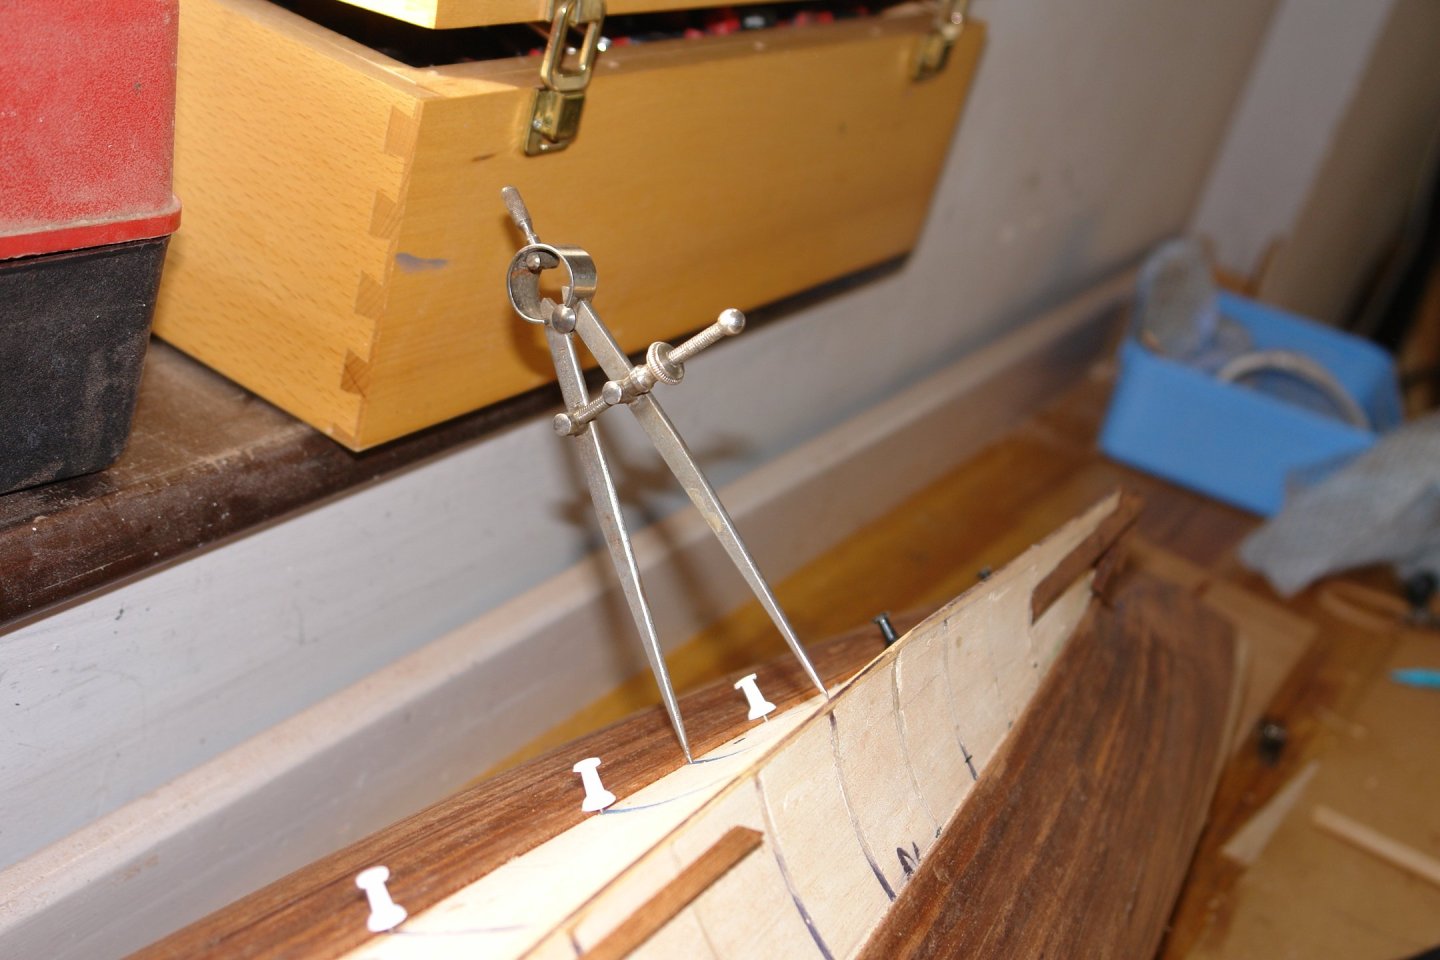
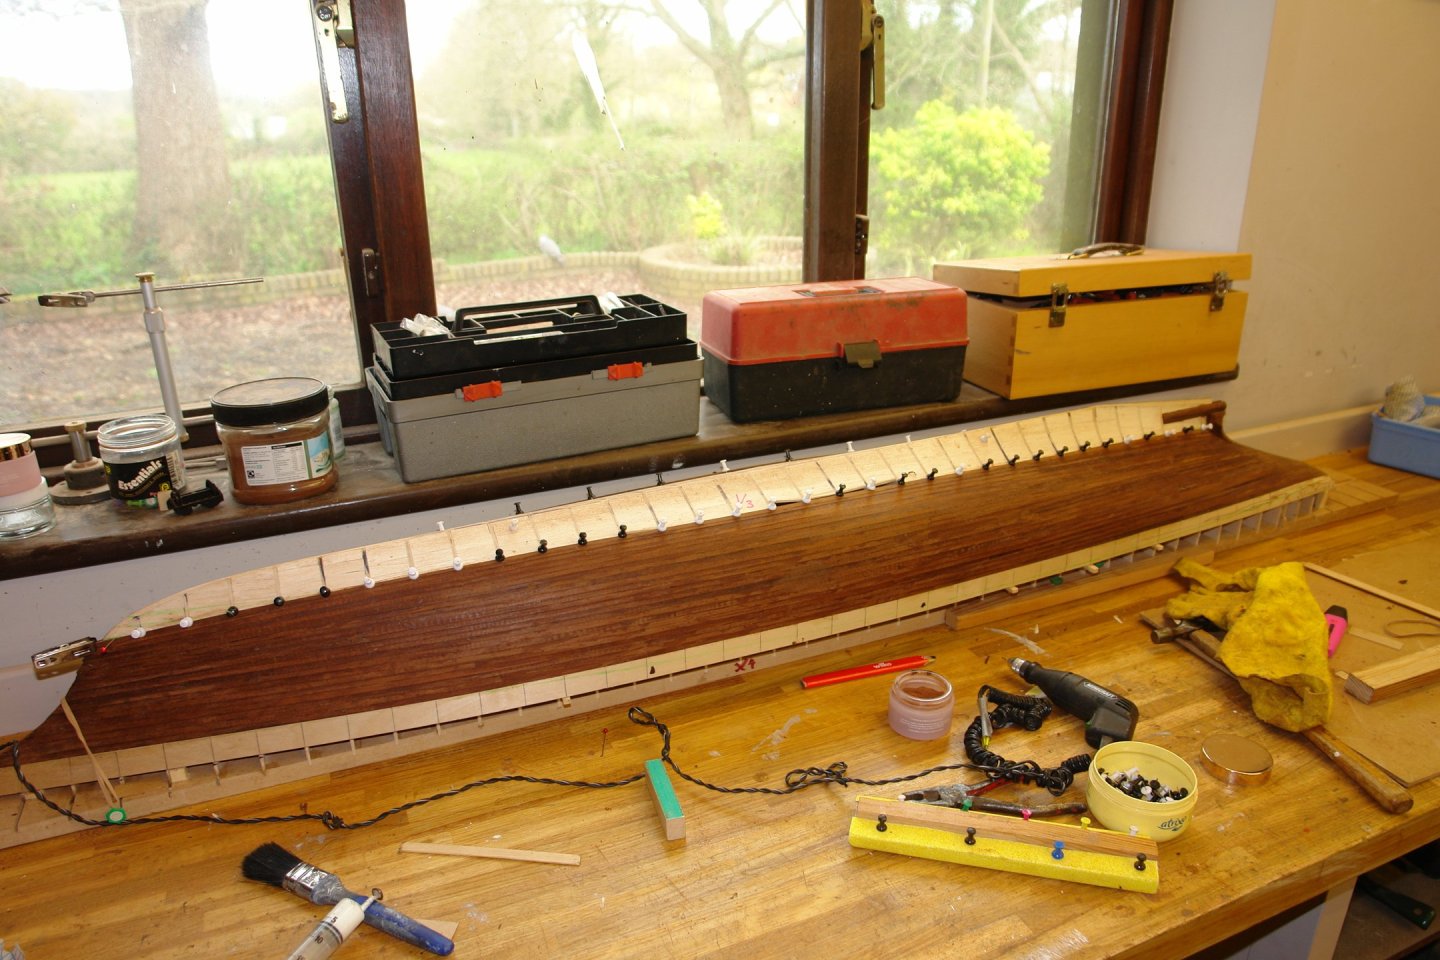
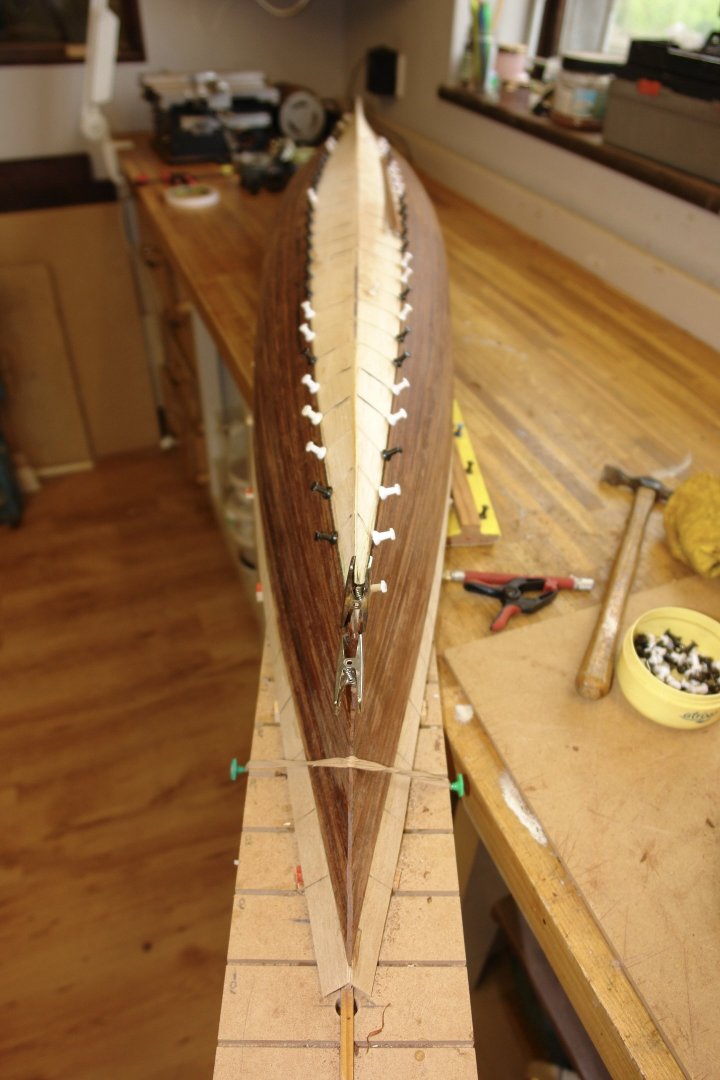
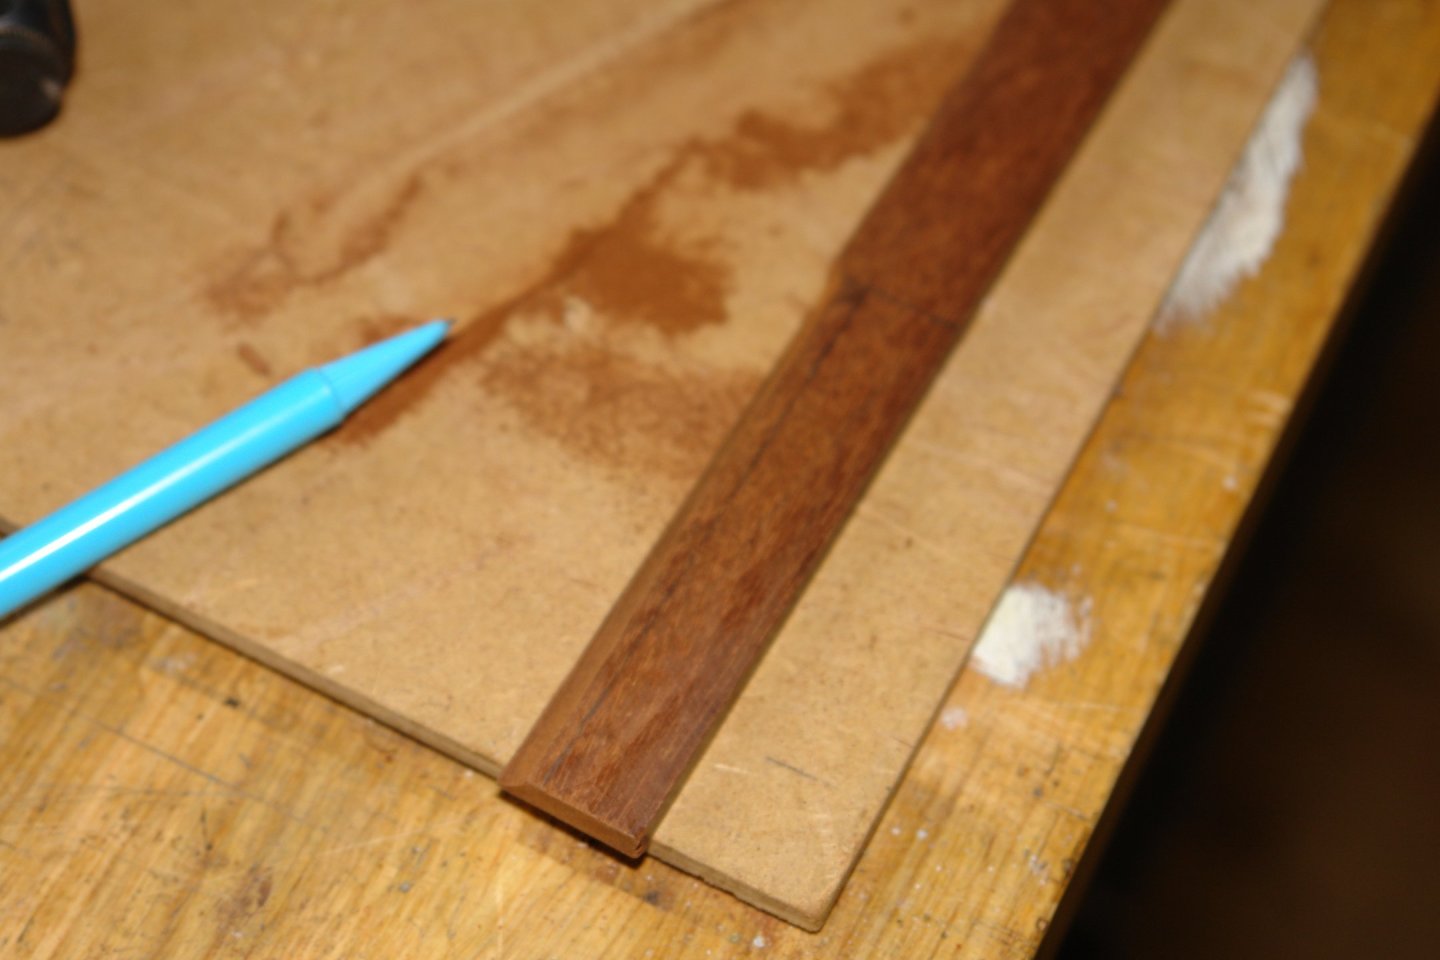
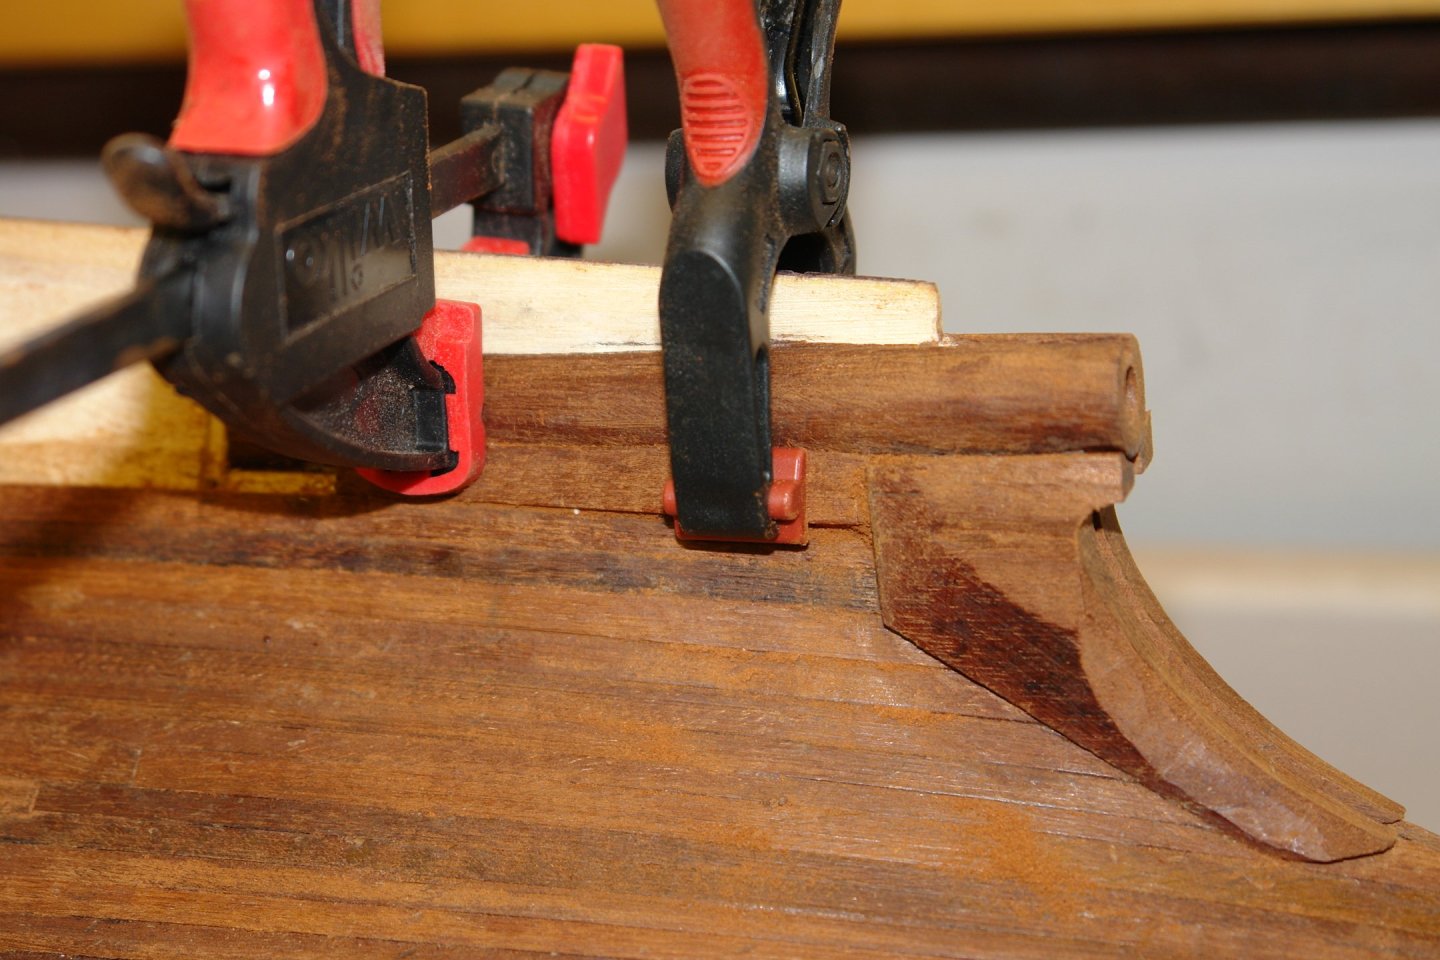
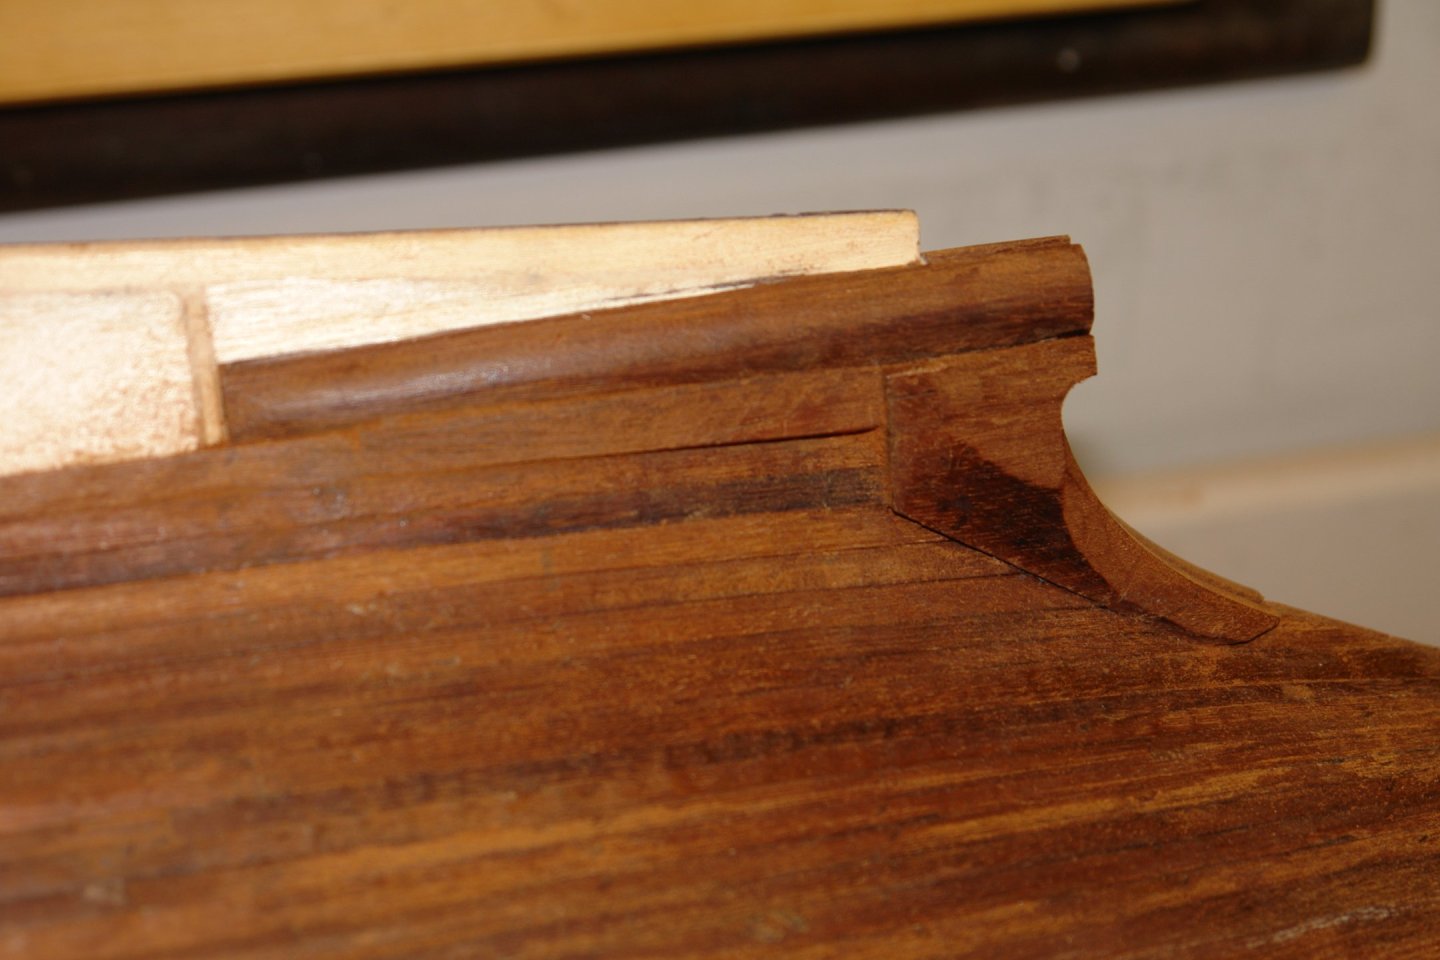
Steve, Glen, Tom - thank you for your feedback. More plankers progress:- Not a lot to tell this time. In the majority this update is pictorial. Finishing off the last update - here is the clamping arrangement for glueing on the stern piece. Aren't those elastic bands a great invention. The stern piece makes terminating the planks much easier as they just tuck up under it. And so planking continued. With morę planks installed it is clearer how the stern piece aids the neat termination of the planks. And so ever onwards:- Being now quite close to the keel I started checking the side to side symmetry of the plank runs with a set of callipers. The maximum error across the entire length of the hull was a maximum of 1/3 of a plank which was quite pleasing. This I adjusted out over the next 2 plank runs by inserting slightly narrower planks on one side. The callipers are defying gravity in the next photo. Onward again. I was now getting close to the area of the prop shaft so I had to start thinking about filling in that area. I did some shaping of a thicker plank by machining a curve where the plank meets the prop shaft. I glued this in place and accepted that some heavy duty sanding would be needed in this area to smooth the external surfaces of the planks. That's all folk's. Thankfully the end of the plankers progress is in sight.


-
Mark - may be a short update but she is very sweet.
-
Yes I was hoping you had plenty of time to complete your various projects, pass on your knowledge and generally enjoy life. Great progress she is coming along well, how is meteor doing?
-
Looks like a great day - and nice weather too.
-
John - If you don't manage to get it finished can I suggest one of your colleagues be commissioned incorporate in a diorama of you building it. Preserved for posterity in a glass cabinet in your favourite museum, what more could you desire - and you wouldn't even have to speak to the punters. 🙂
-
Absolutely beautiful Gary.
-
I had a look at the site - excellent information - even the plating drawing. Marvellous CAD work - I wish I understood it all. Maybe I am glad that my draughting training was completed at the turn of the Stone Age.
-
Good looking logs Ras. The winch sides look just the job - that was a bit of luck. The winch looks great.
- 128 replies
-
- 2
-
-
- zulu
- sternwheeler
- (and 1 more)
-
Sorry but it now looks better than the original. Needs a bit more bodging!🙂
- 174 replies
-
- 5
-

-
- Vigilance
- Sailing Trawler
- (and 1 more)
-
Nicely done Nils. You didn't say much about your carving method and I would be interested. For instance did you use templates or just freehand it?
- 299 replies
-
- 4
-
-
- lightship
- Feuerschiff Elbe 1
- (and 1 more)
-
Great article - you must be very proud.
-
Eberhard - Very nicely done. Are all the bases port bottle corks? If so how much port did you have to drink to create the crew?
-
Yes it looks pretty good. Were all your planks a constant width or did you have to taper some of them to get them to fit? The stern shot of the real ship might suggest some tapering but in reality it's quite difficult to see. In any event your planking has turned out well.
-
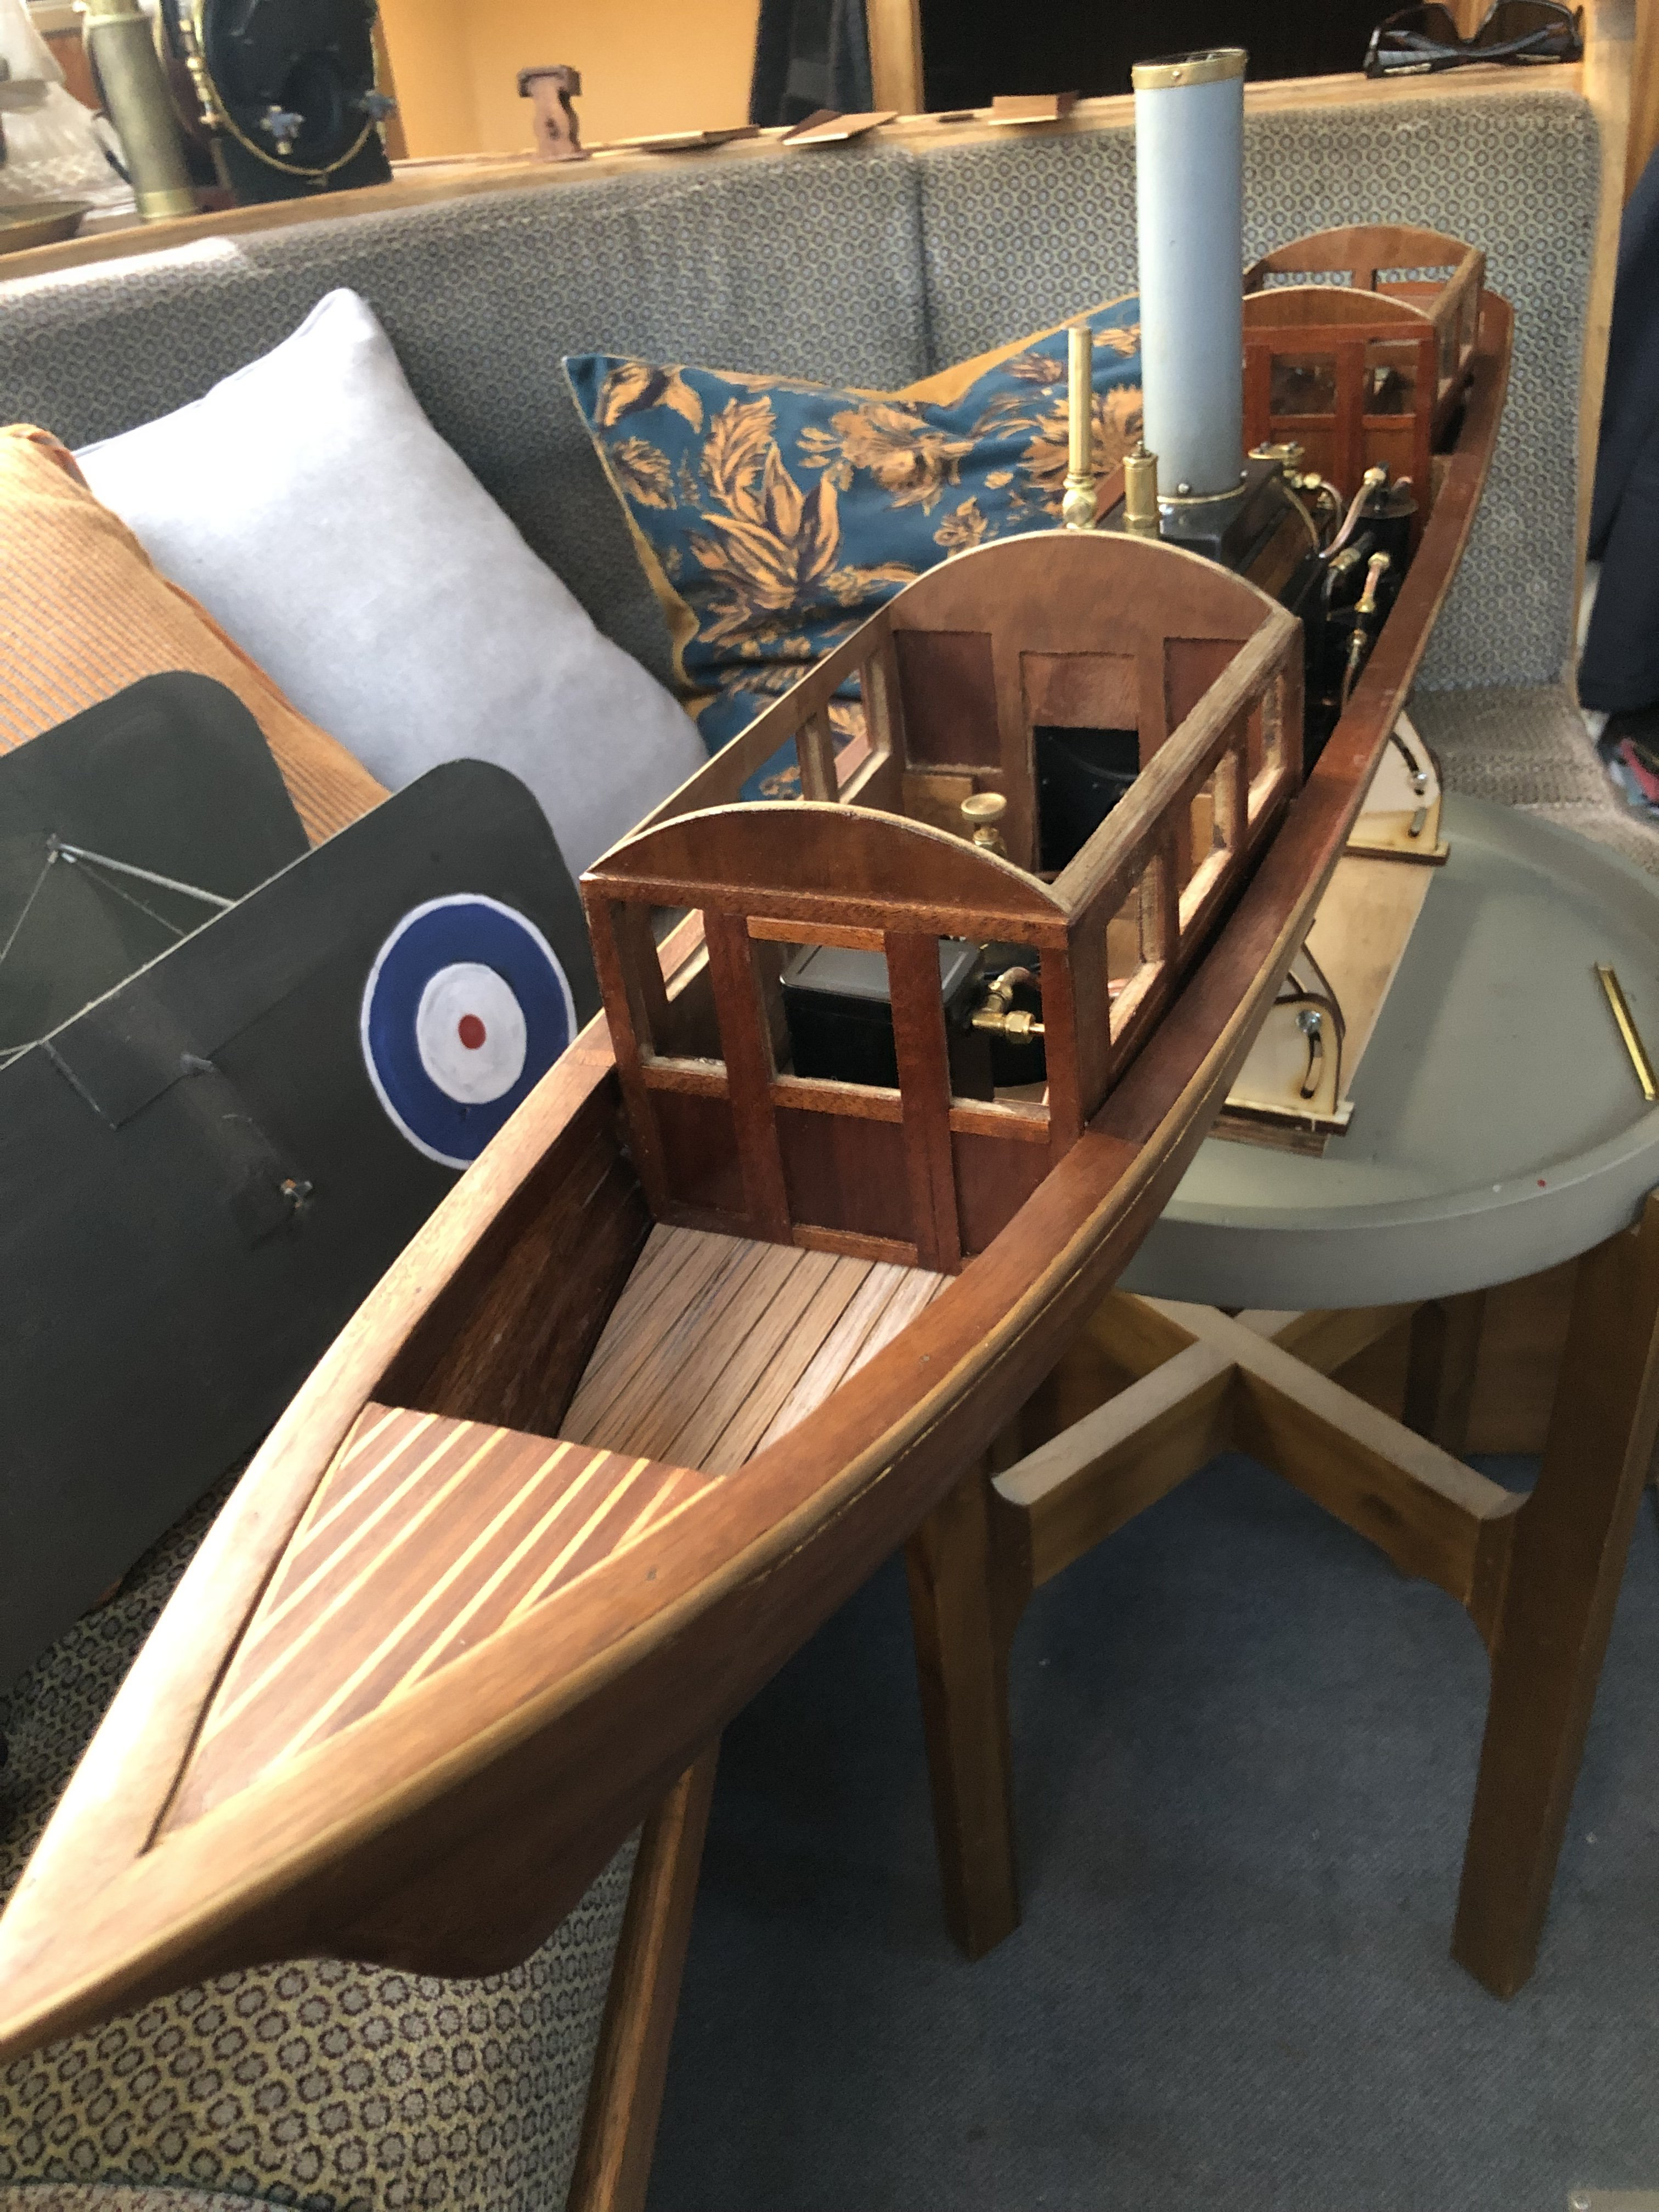
Sounds wonderful. What is the bi-plane if you don't mind me asking?

-
Boat life looks good - particularly as you seem to have a stove for heating. I assume she is still mobile? Nice work on those engines.
-
Ah! it is a wobbler engine. If you ever want to try something a little more efficient - double acting, self starting and reversible you can always try this on your next model. https://www.machinistblog.com/downloads/paddleduck/04_building_a_model_steam_engine_from_scratch_chapter_4_567_418.pdf I built one and it works a treat. Nice work on Miranda. You should do a build log on the boiler and engine build. You seem to be living on a boat?
-
John - How many productive years do you have left. You only need just enough!
-
Fame at last. Are you going to post the article?