KeithAug
-
Posts
3,980 -
Joined
-
Last visited
Content Type
Profiles
Forums
Gallery
Events
Everything posted by KeithAug
-
 Keith. It is tough for you both and there are bound to be times when spirits flag. I know what you mean about the thought of a retirement home being daunting. I am approaching old age when mentally I have only just reached adolescence and (probably like yourself) anything that challenges my status quo is particularly unwelcome. I hope your search goes well, but even more I hope something clicks for Maggie and her recovery gets back on track. Best wishes to you both and keep your chin up. P.S - I understand that retirement home "Grab a Grannie Dance Nights" can be quite exhilarating.
 -
I think that sounds like a wonderful pastime.
-
Tom - Milled it with a 2mm end mill. No skill required! Eberhard - It felt like the simplest option.
-
That happened as well Tom.
-
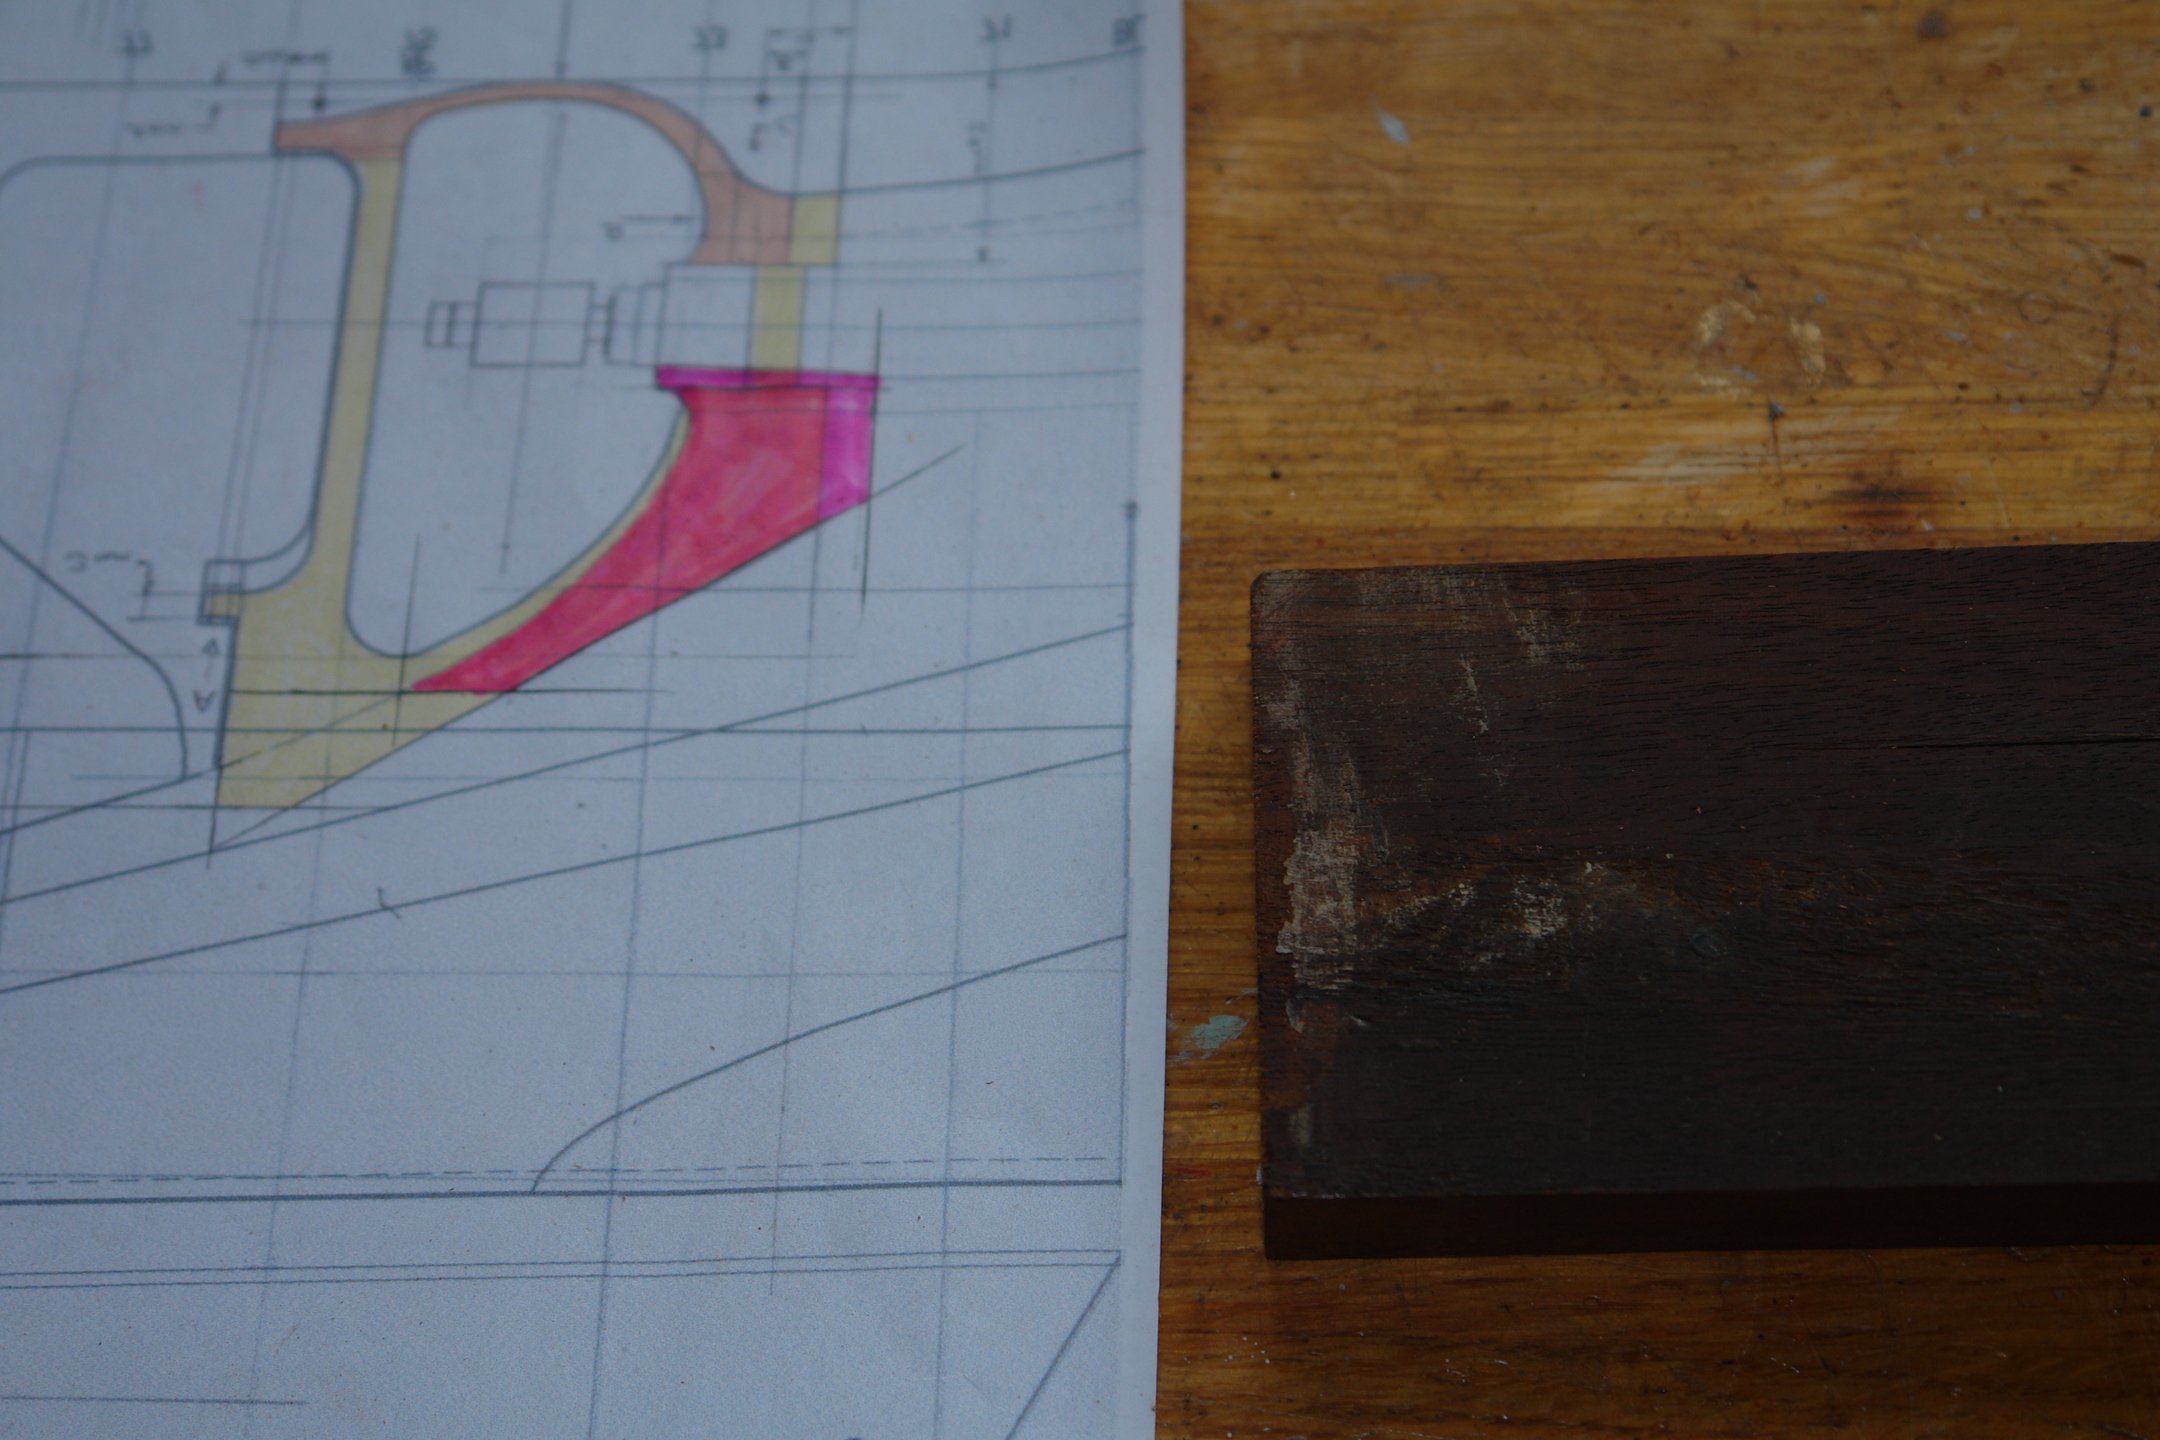
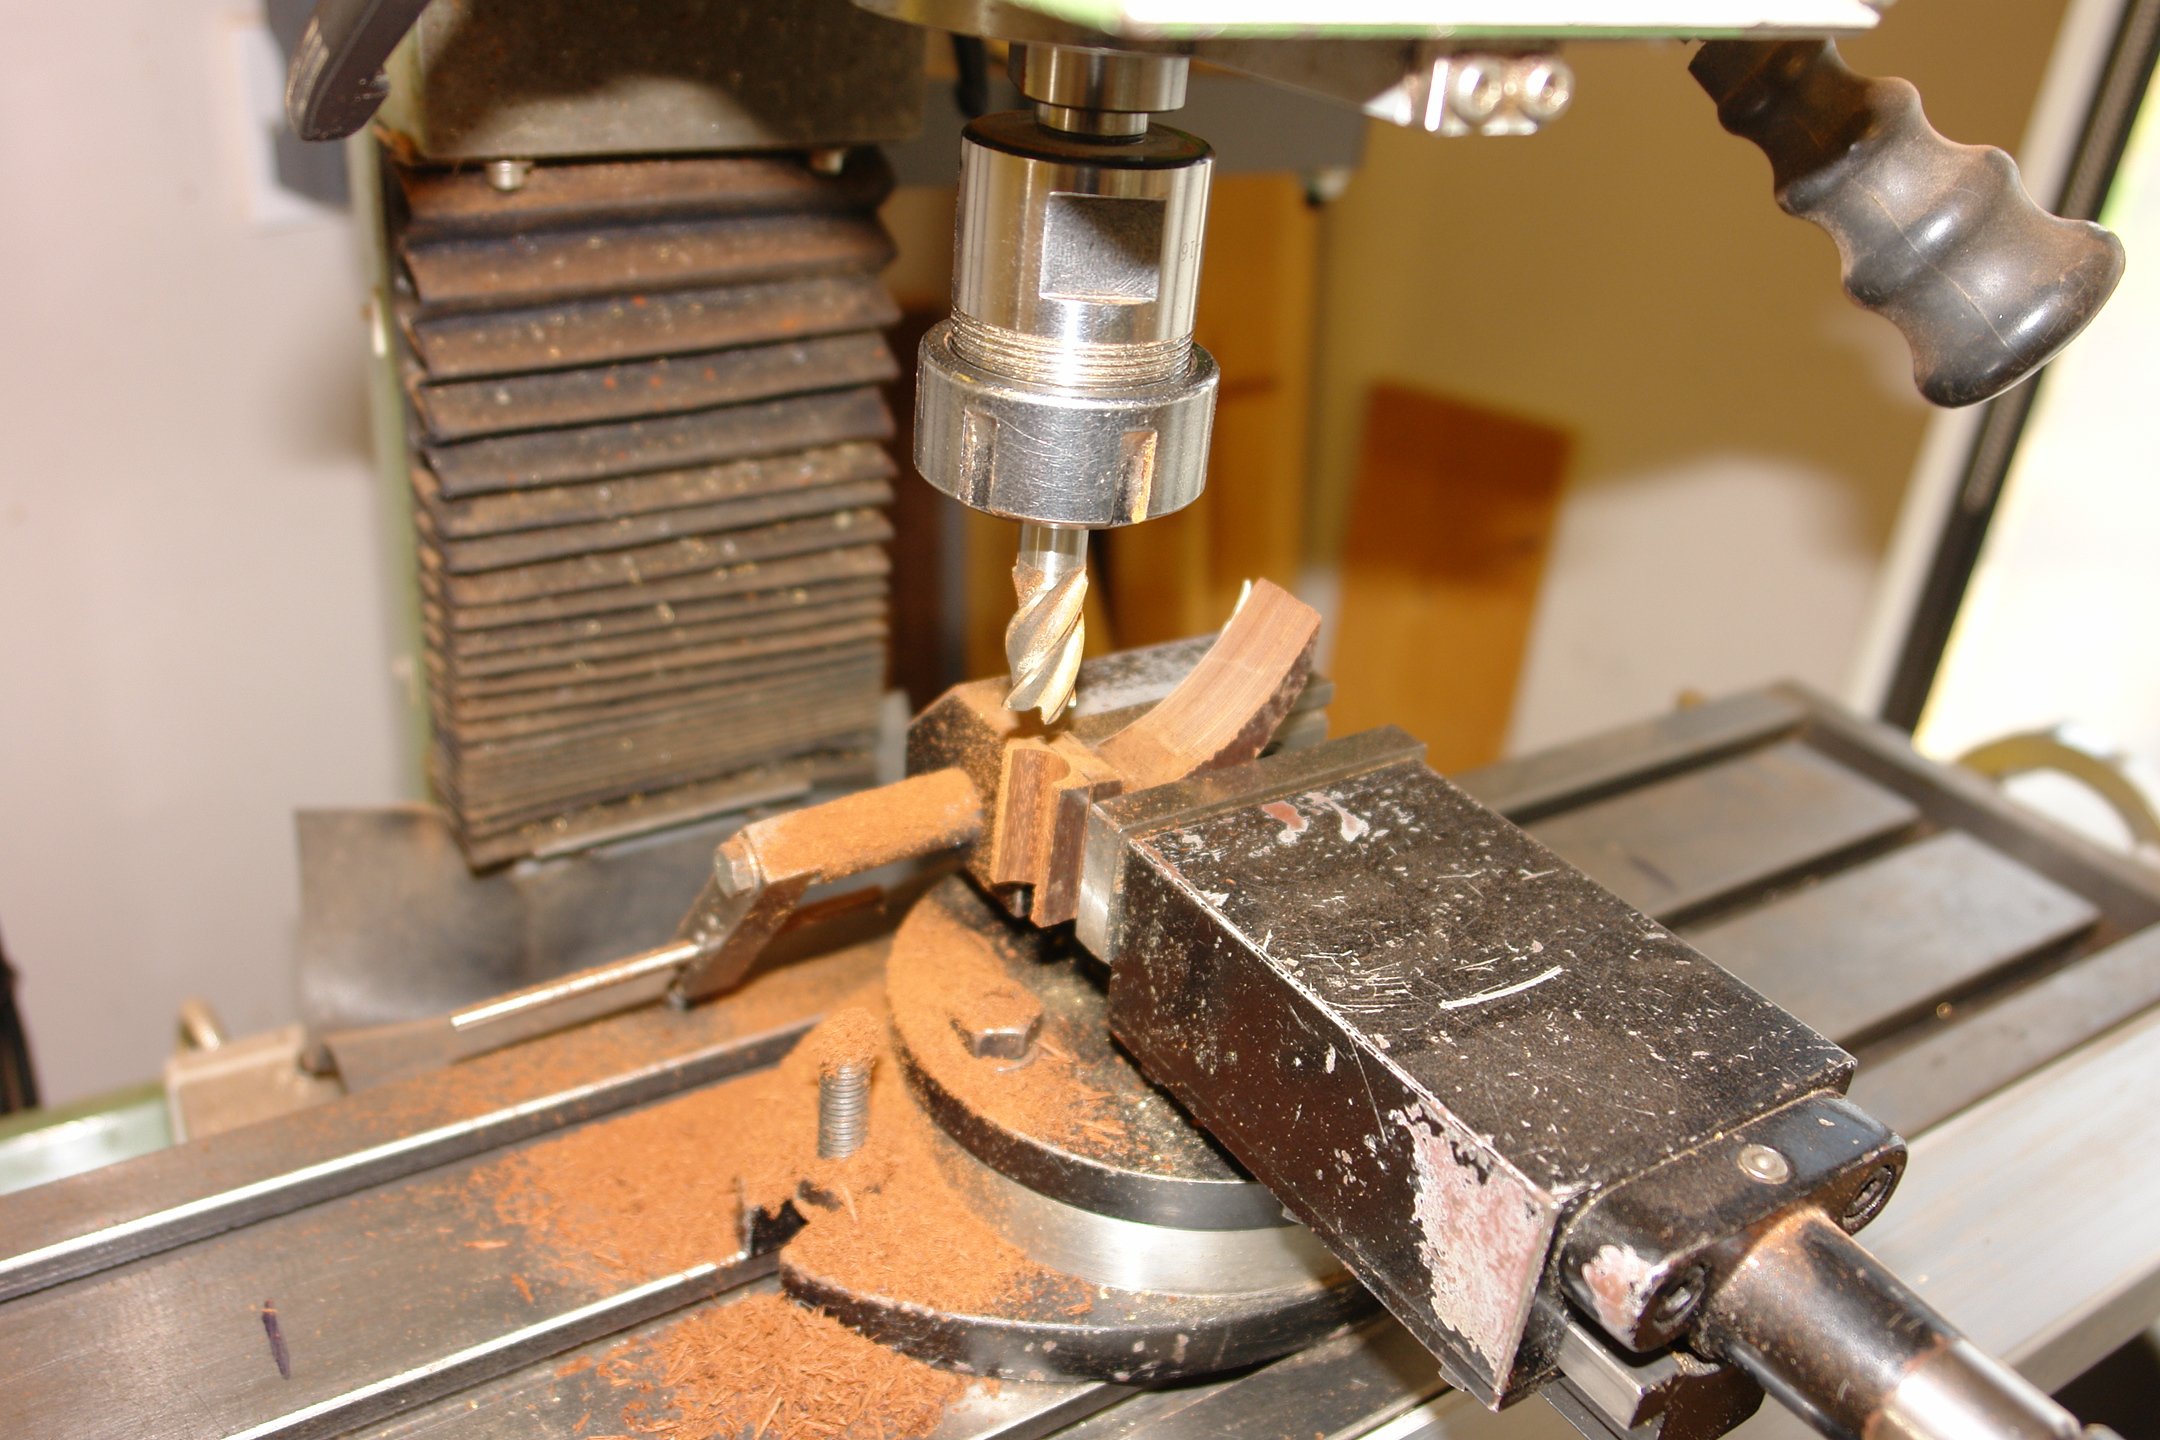
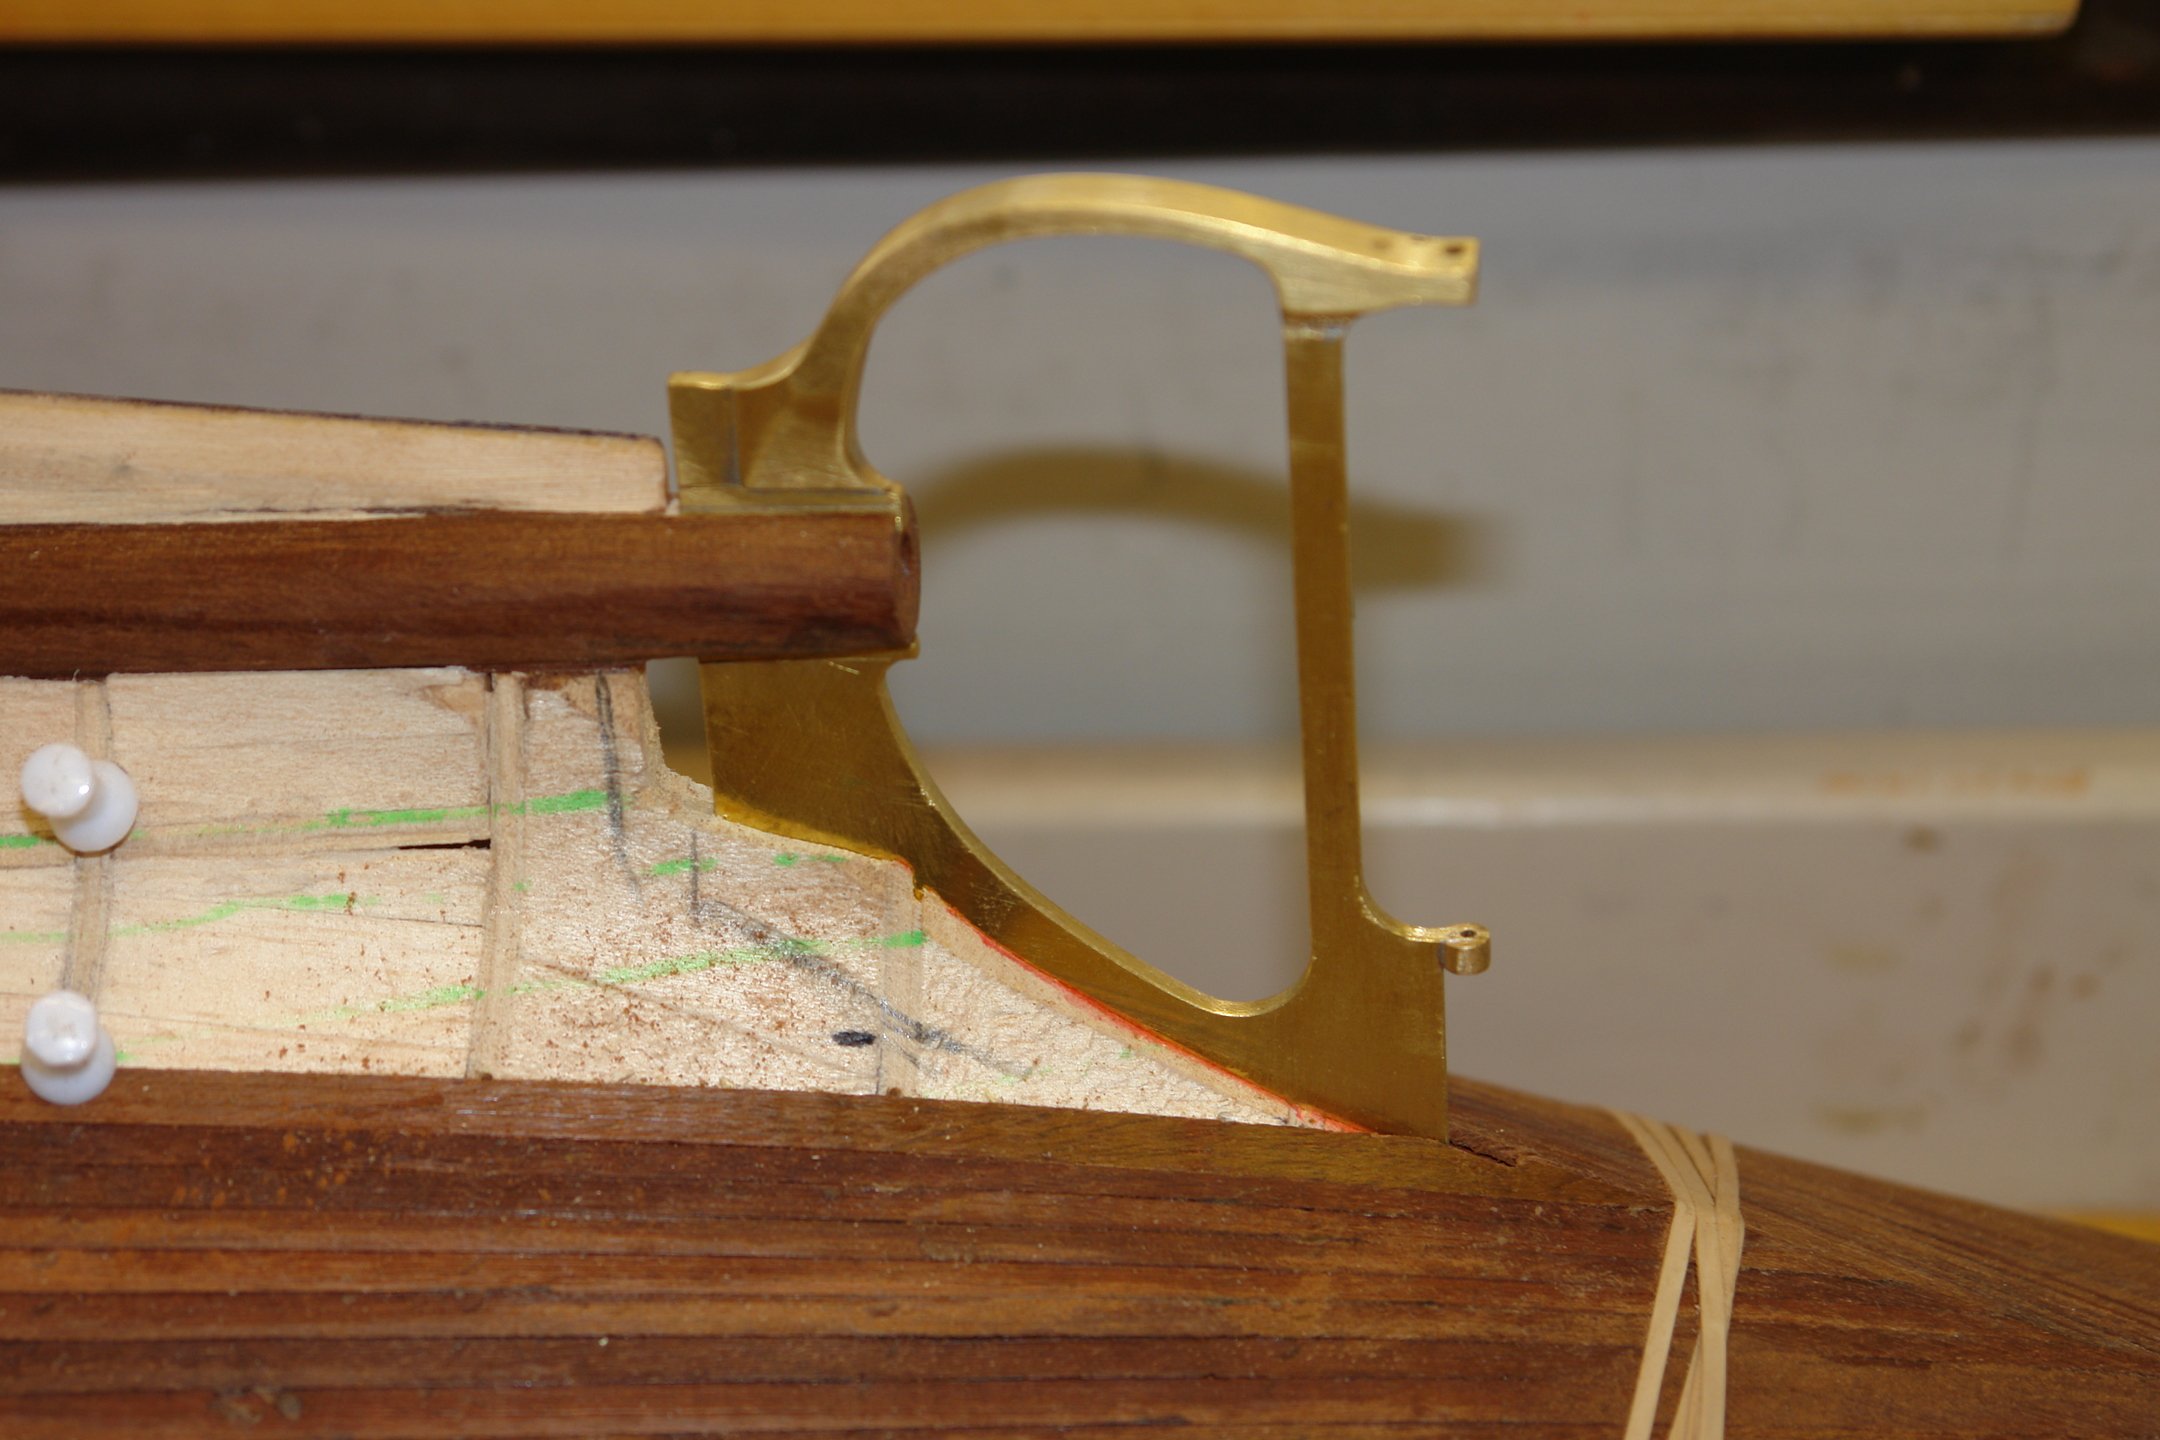
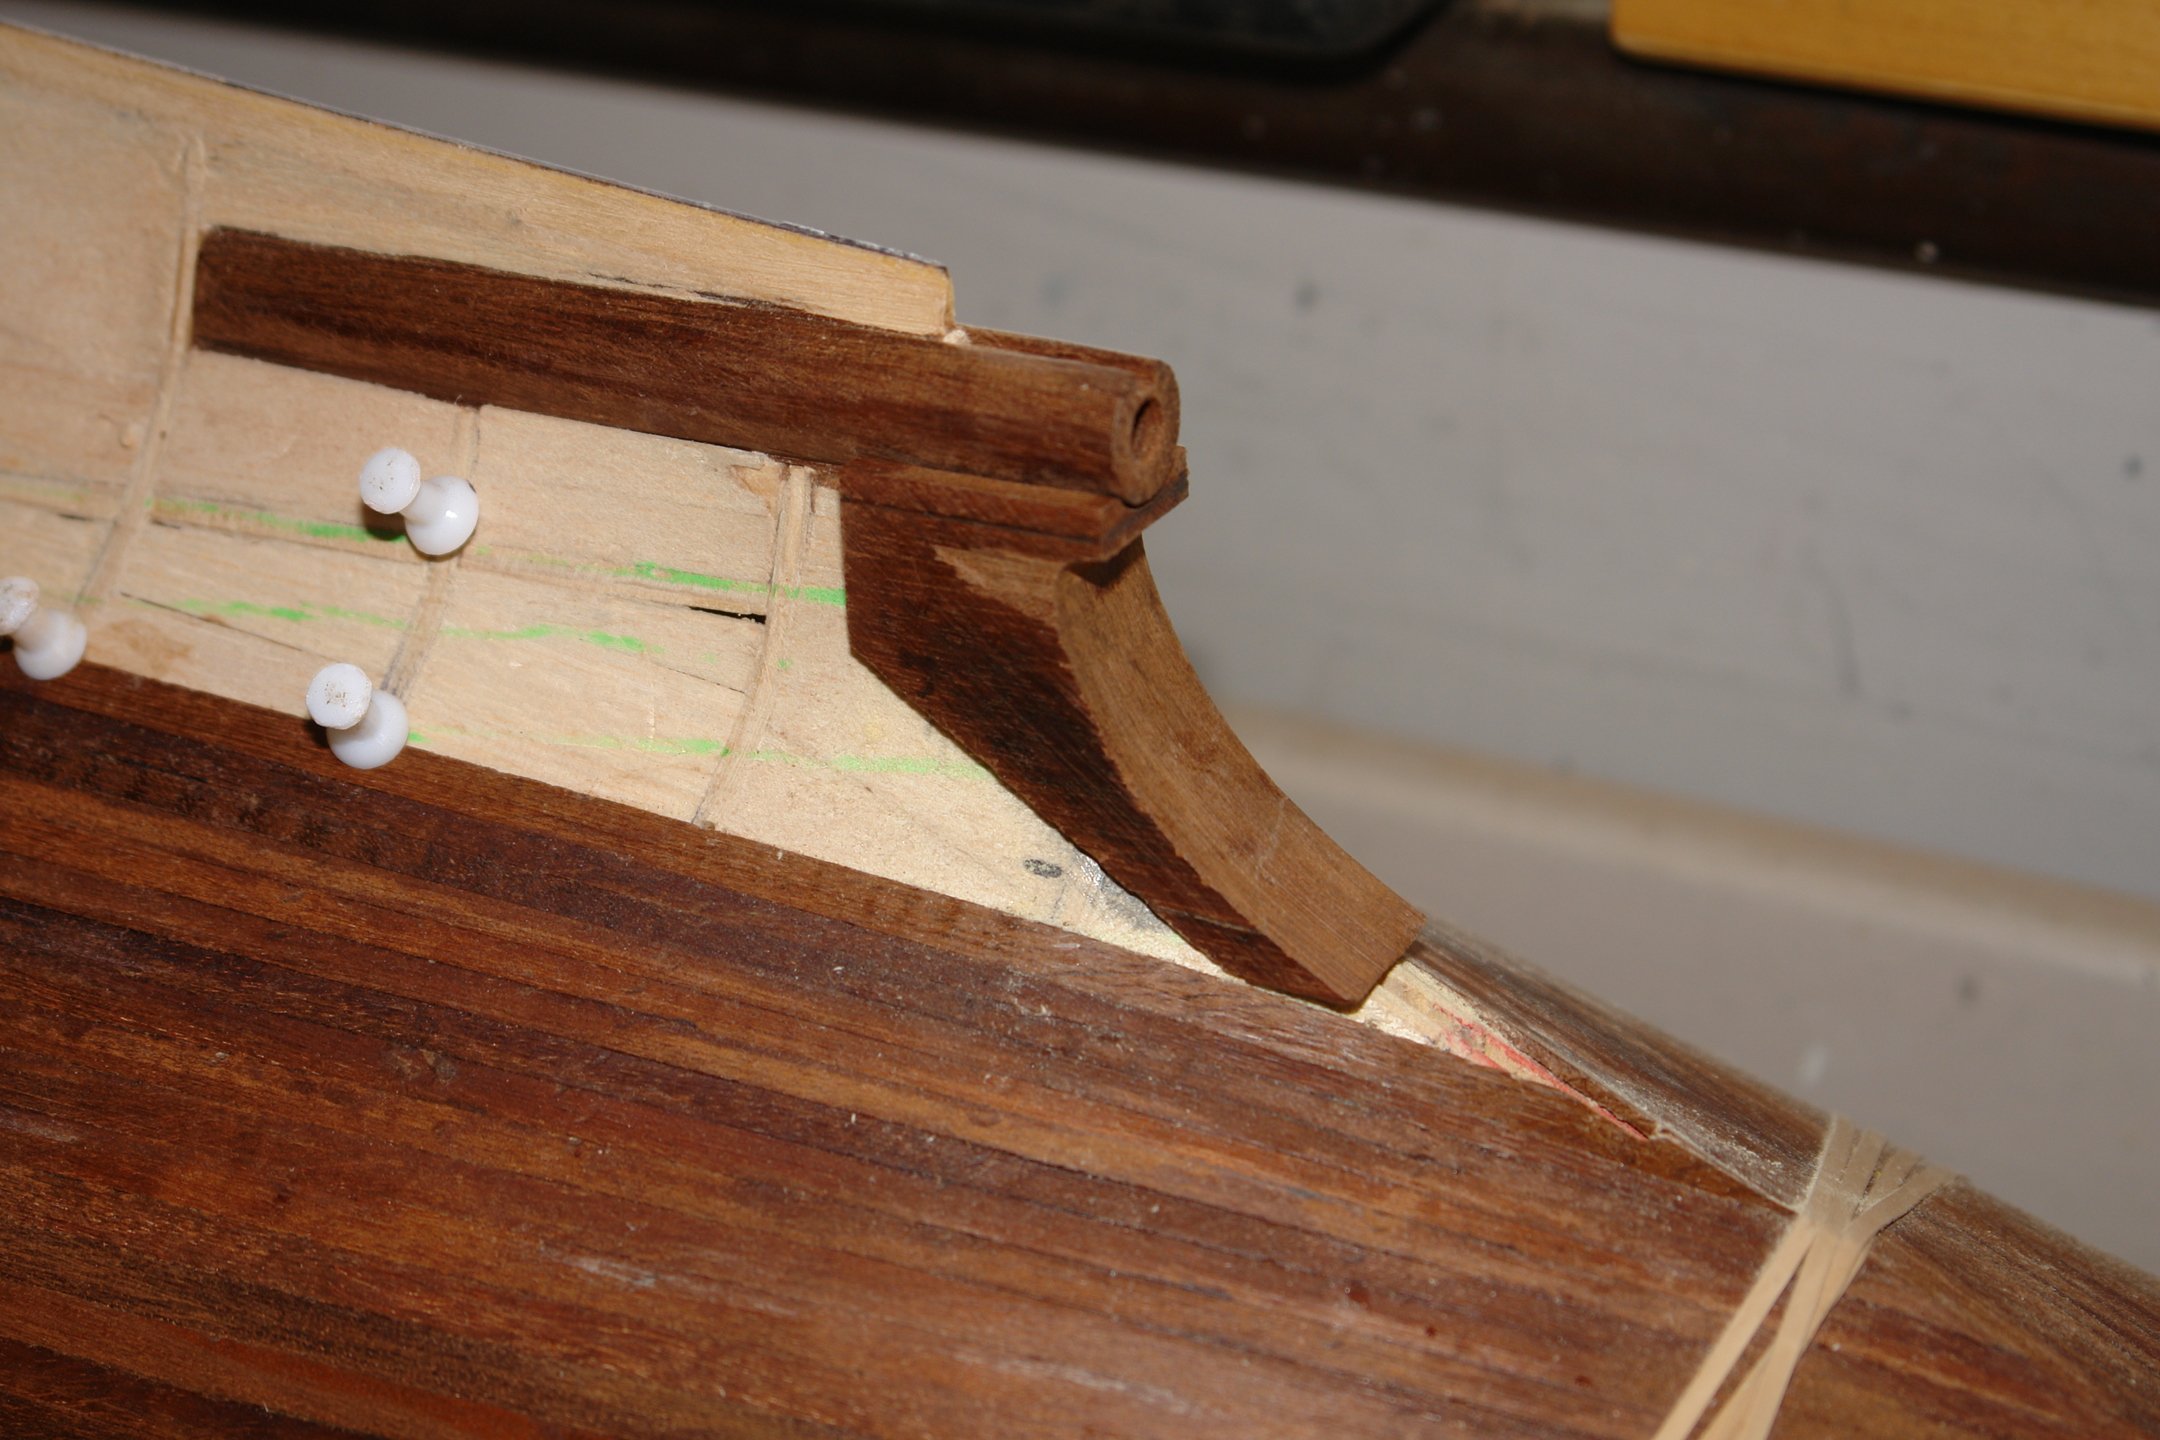
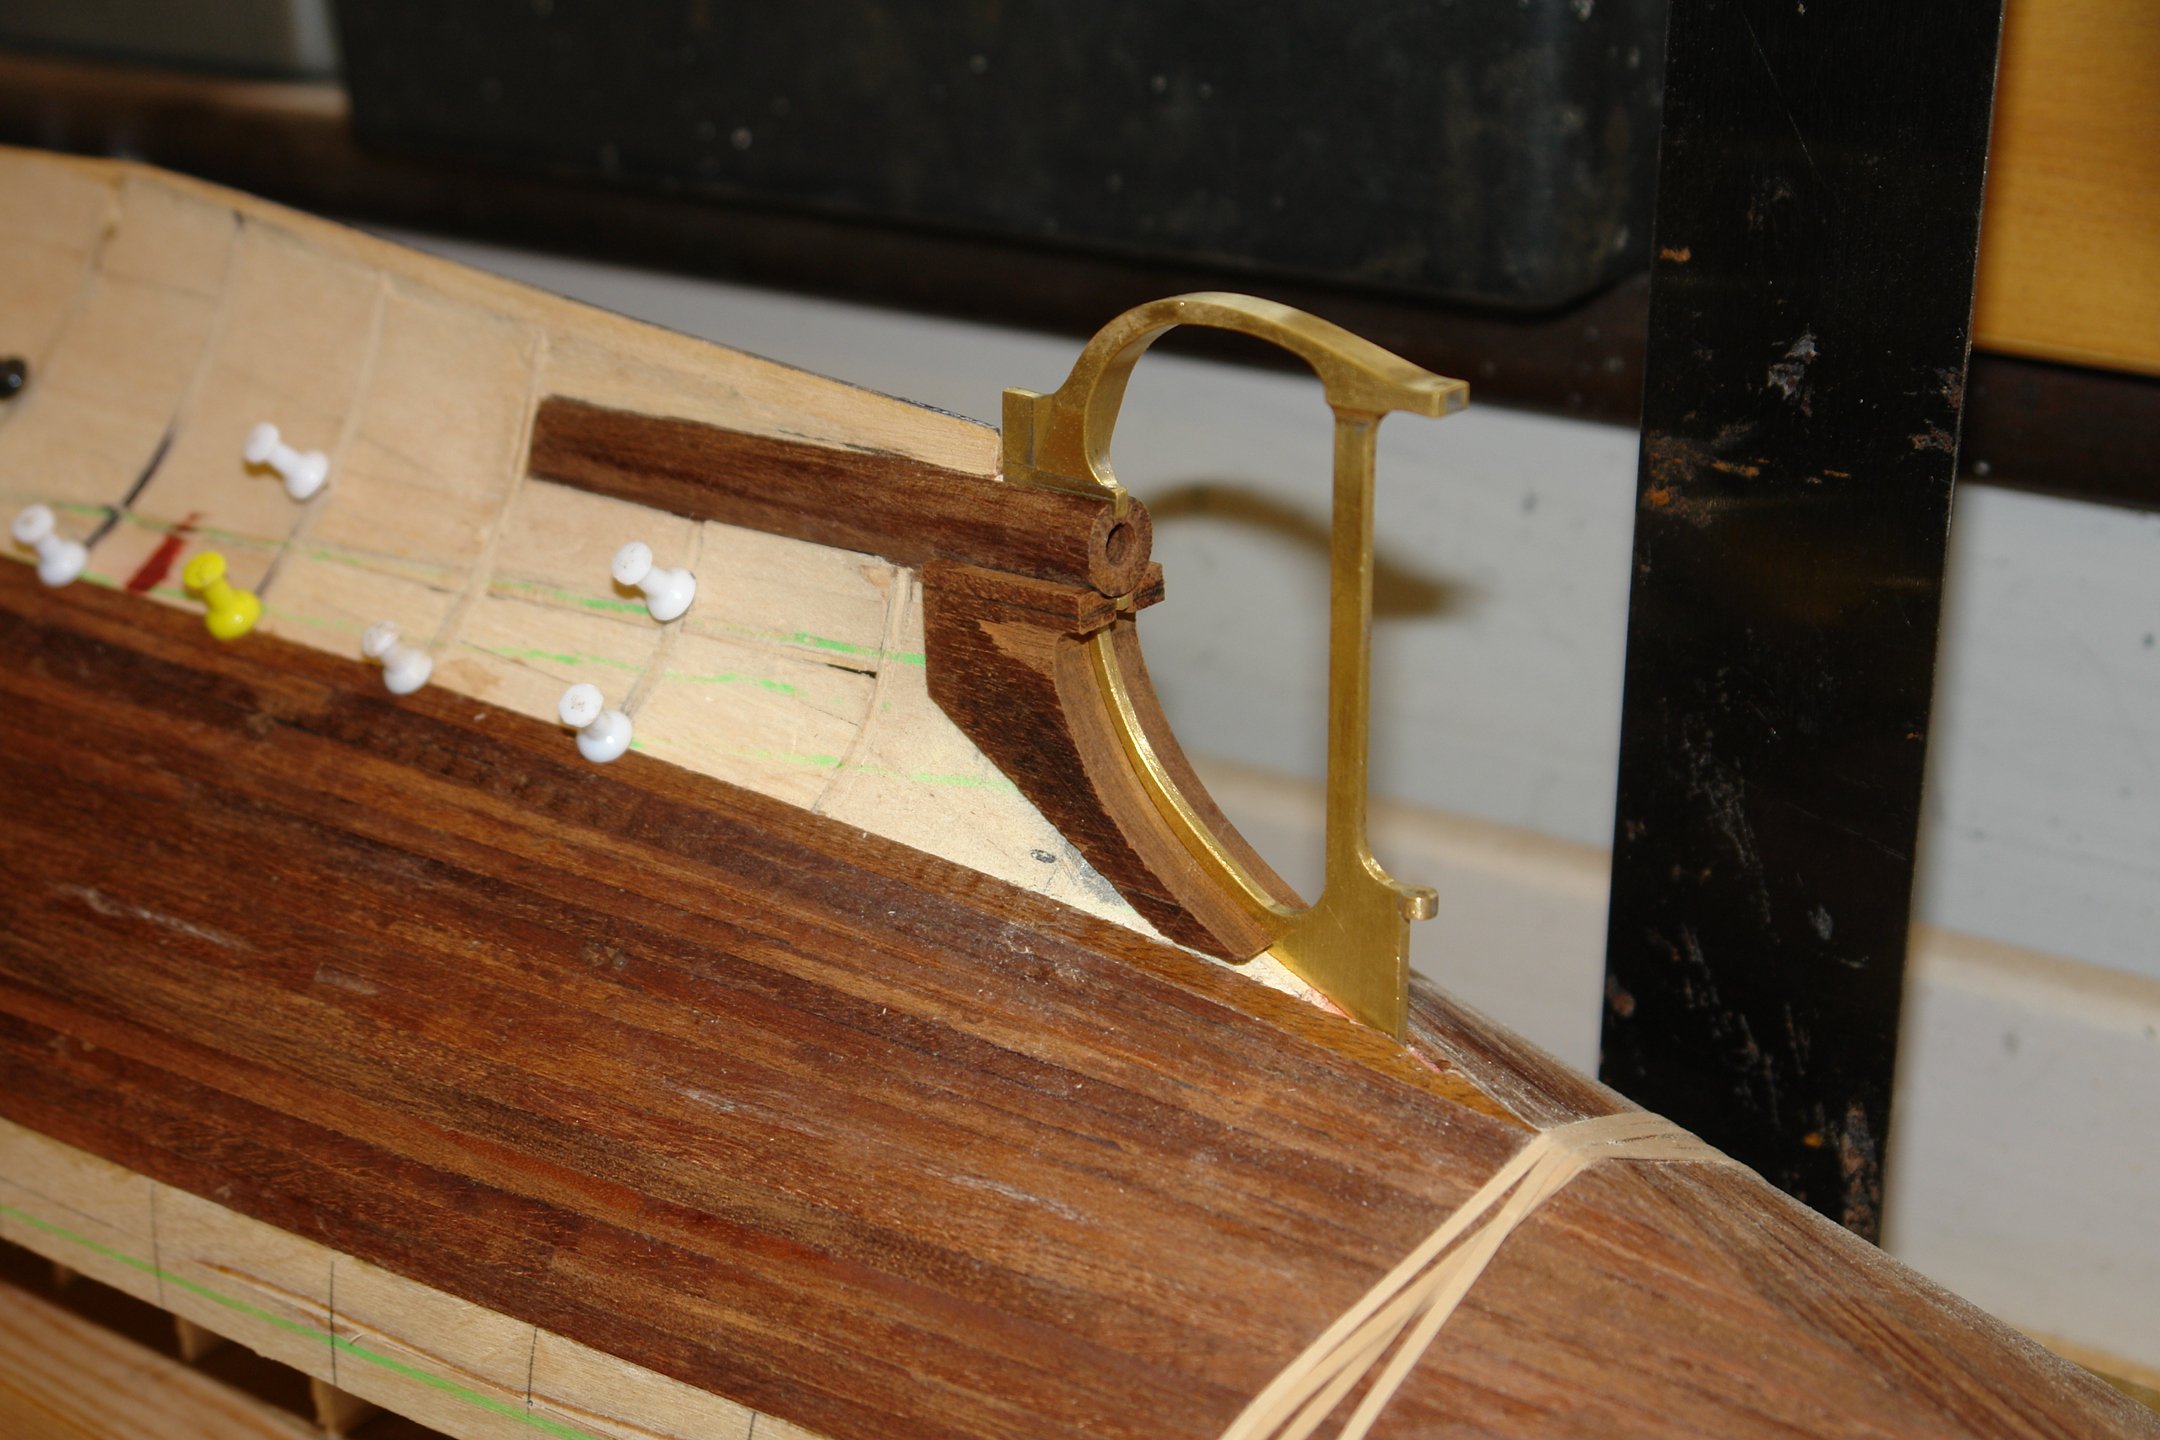
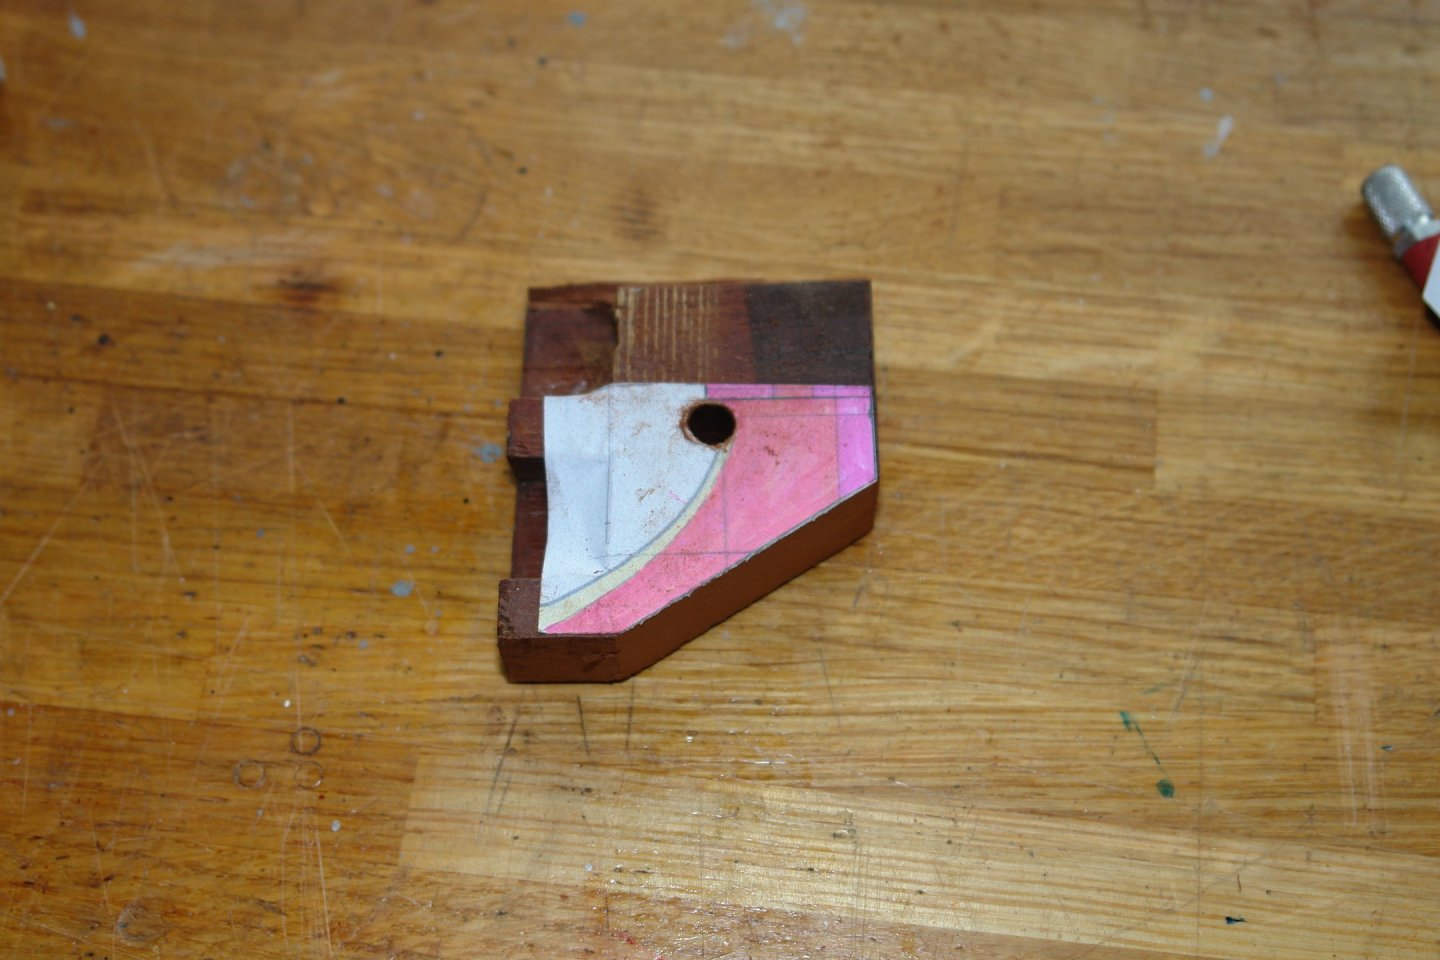
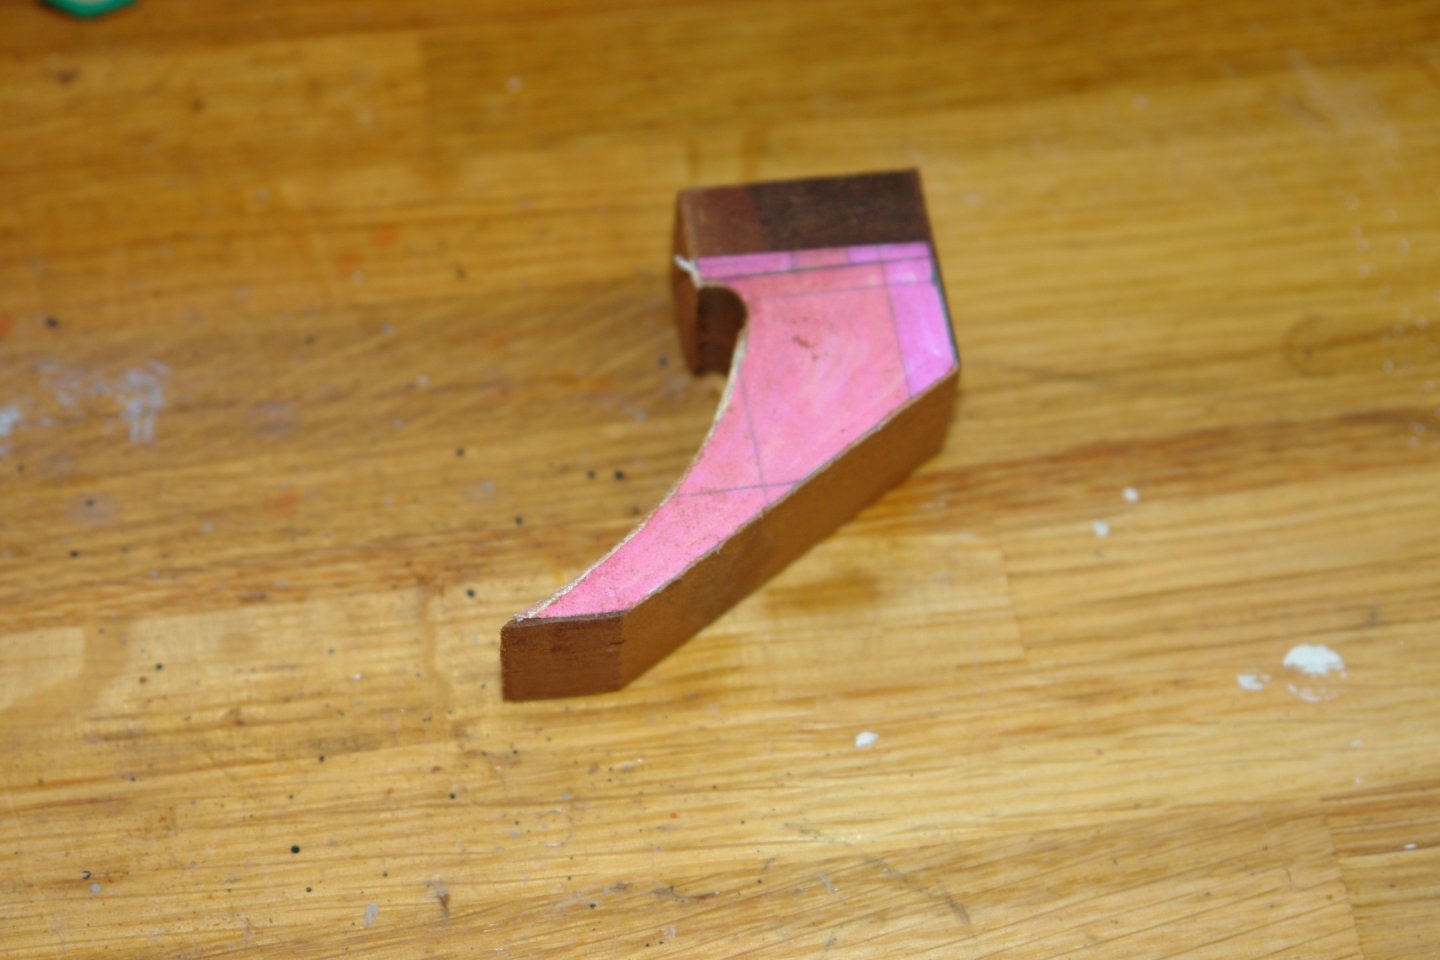
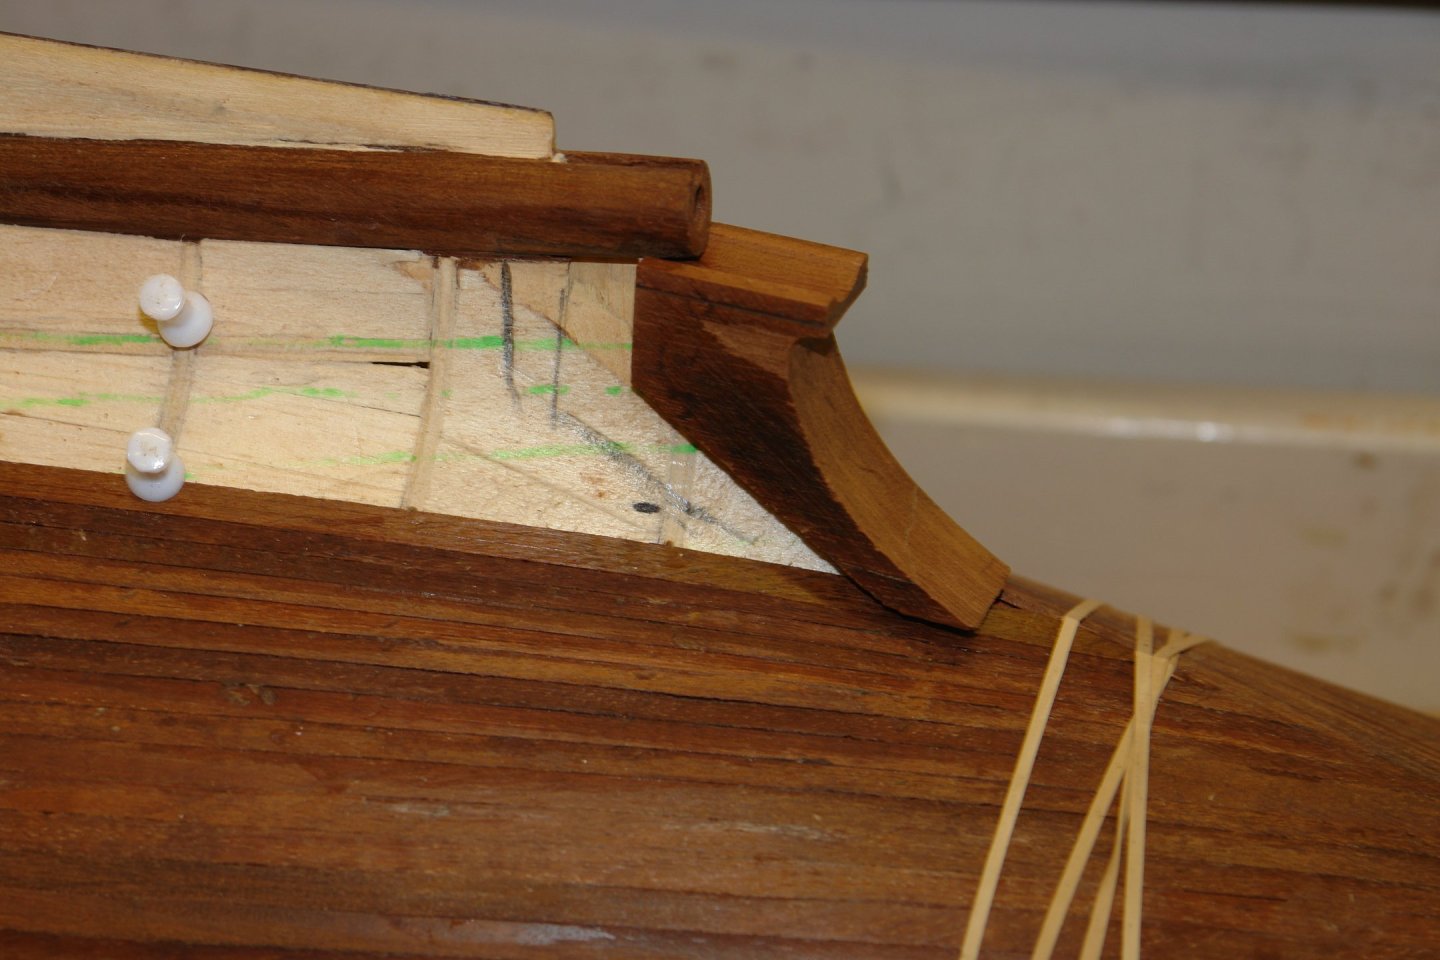
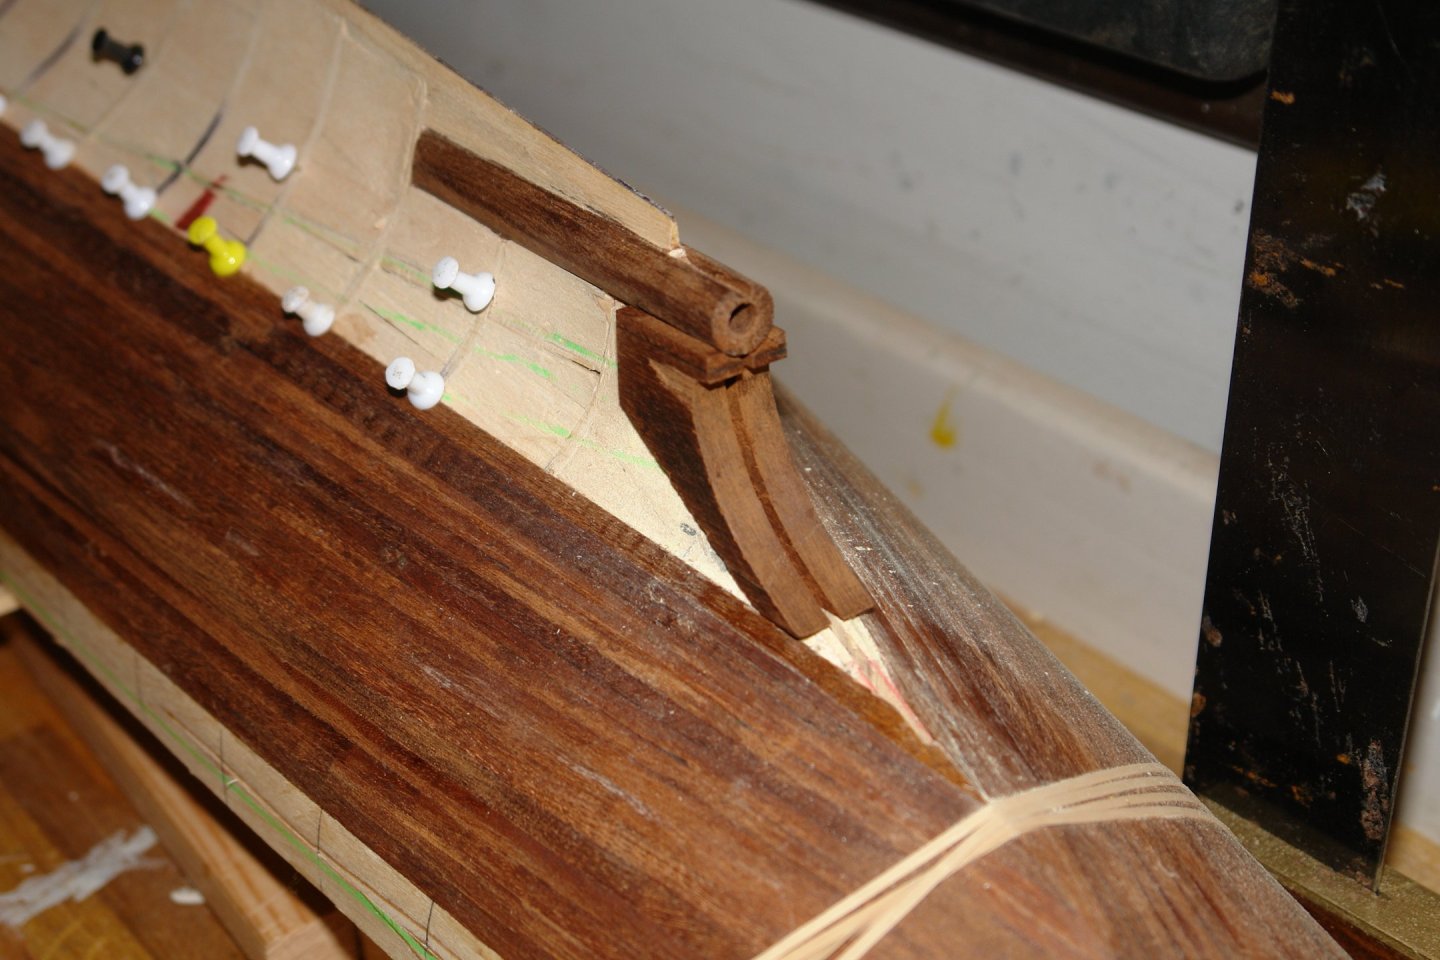
More plankers progress. I have to admit I wasn't really on it this week. The workshop proved to be unusually frustrating. It felt like every time I put something down on the workbench I had to search for half an hour to find it again. It wasn't as if the bench was particularly untidy, I just seemed to be in the habit of hiding what I wanted under the thing I had just put down. Anyway for what it is worth here is the progress. About half the hull is done but that means I have had to sort out the skeg slot in the area of the prop shaft. Because of the fineness of the lines in this area the edge of the slot is very thin and quite ragged as a result. I decided that planking over this area might prove to be problematic, particularly as the plan is to varnish the lower hull thus precluding the use of filler to mask errors. Rather than planking I thought it would be better to replace this section of the hull with a solid piece of mahogany shaped as per the pink section of the following plan. I cut out the template and pasted it to a 3/4" thick piece of mahogany. I then cut the straight edges and drilled a hole to form the small diameter curve adjacent to the prop shaft. I then rough cut the rest of the curve on the scroll saw, before sanding it to finished size. I then milled the end to fit around the prop shaft. The next step was to gradually hack away the hull while checking the block for fit. Once the fit looked OK I cut the slot to take the brass skeg. The insert was then glued in place.


-
Nils - I think brass for the runners and wheels would be your best chance of success.
- 299 replies
-
- 5
-

-
- lightship
- Feuerschiff Elbe 1
- (and 1 more)
-
I appaluad your ambition Nils, however I suspect that the lack of weight in the boat and the friction in the mechanism will conspire against you. However nothing ventured noting gained.
- 299 replies
-
- 4
-

-
-
- lightship
- Feuerschiff Elbe 1
- (and 1 more)
-
Eberhard - Yes I am aware that cargo capacity(volume and weight) v's operating cost has to be optimised more so than ever before. In consequence modern hulls must be hydrodynamically efficient. I would just like them to look more aerodynamically aesthetic as well.
-
Indeed Gary. In fact a lot more elegant than many modern hulls - particularly on container ships which seem to me to have all the elegance of house bricks. Perhaps our ancestors reliance on oars caused them to minimise the water resistance at low speed.
-
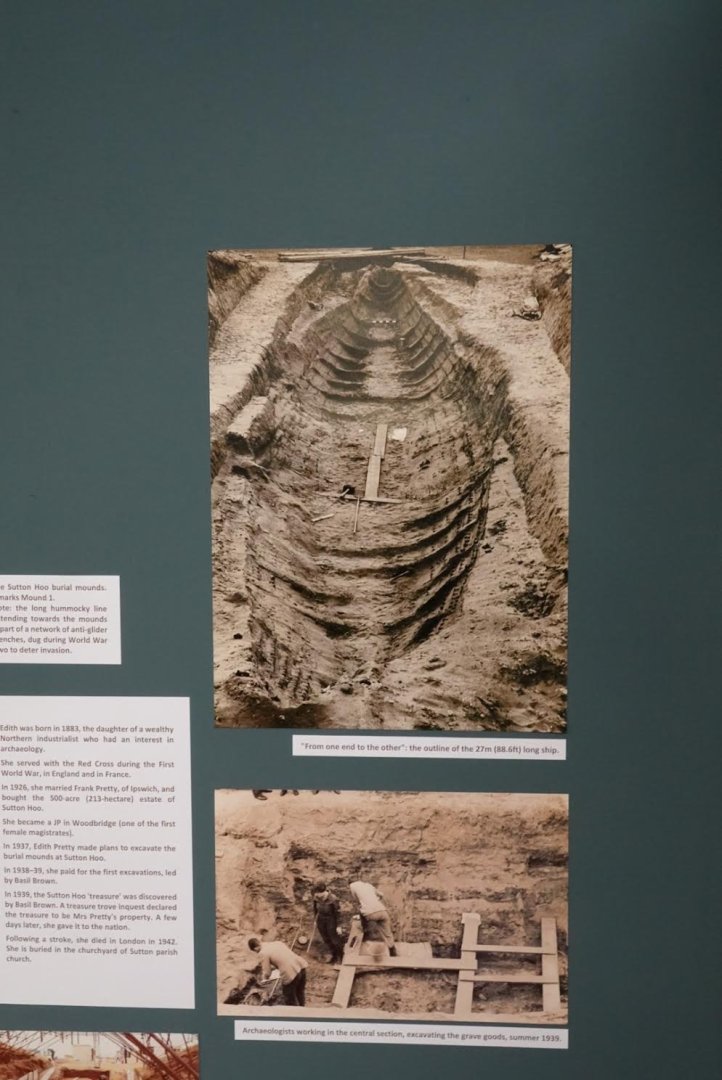
Yes Eberhard I may have seen that but I can't remember whether I am confusing it with the excellent exhibition on the Sutton Hoo site. I have been to both several times and so plenty of opportunity for me to be confused.
-
John - I think you have to imagine it as an early experiment in lost wax casting (or alternatively a medieval child's beach holiday)😀. it is now a National Trust site but unfortunately no longer a hole. Very good exhibition though.
-
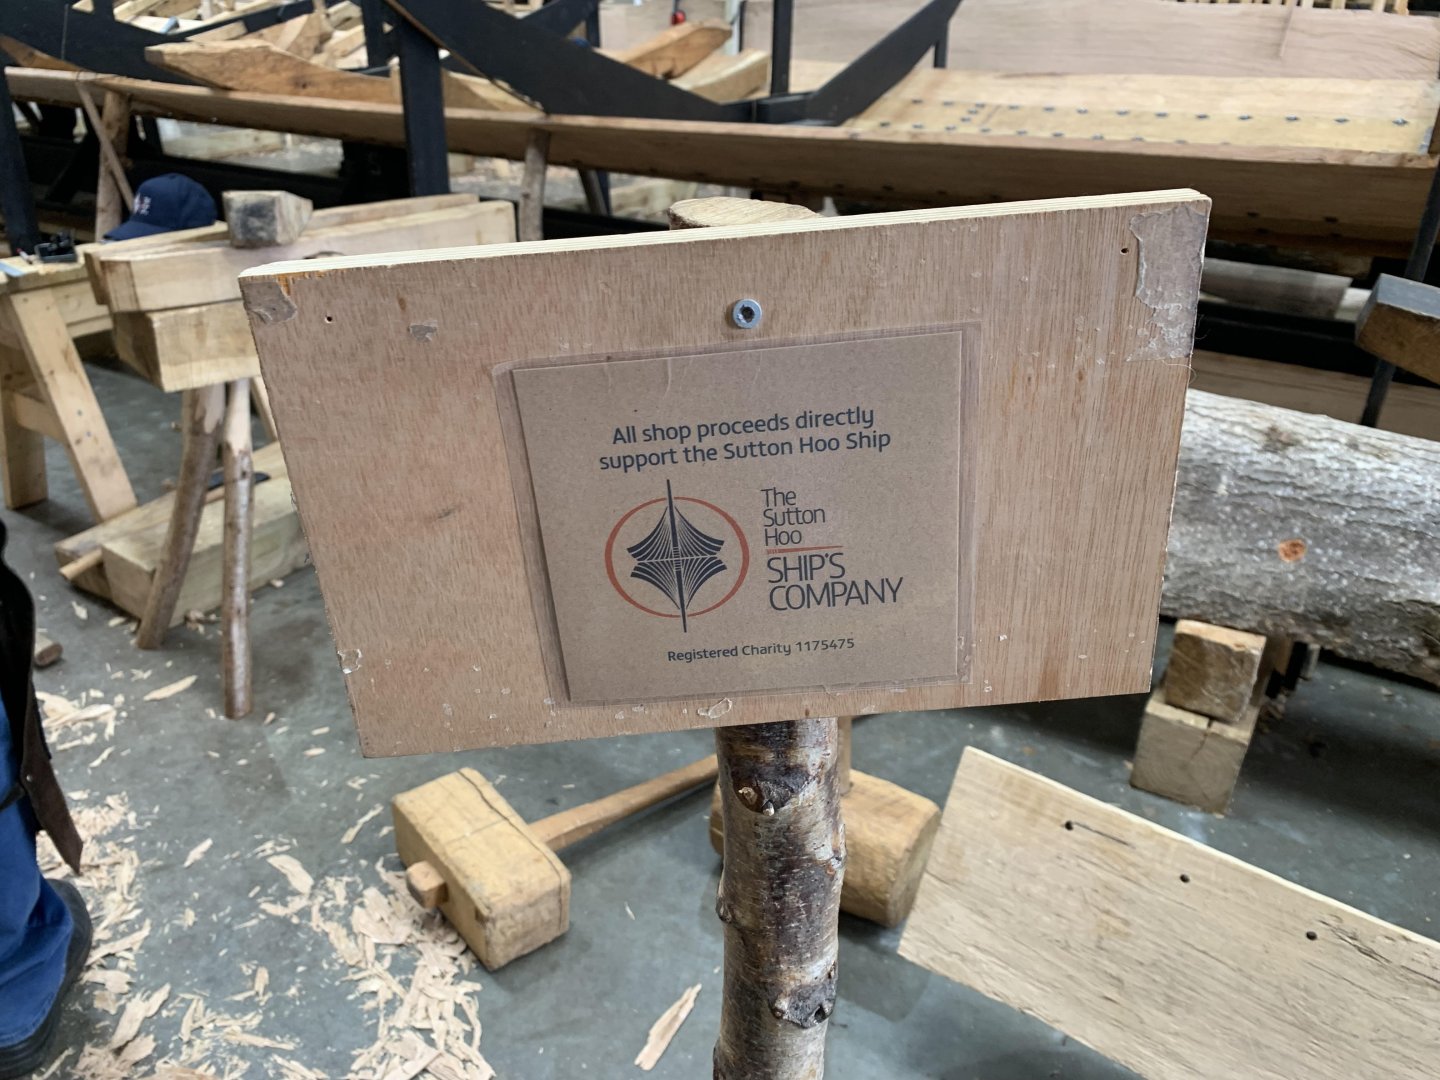
Steve - They are collecting the chips, shavings and offcuts and selling them to tourists in large bags as authenticated kindling - quite expensive actually. Very enterprising.🙂 Yes, it was heartwarming to talk to them. They were a great bunch, you would have felt very much at home.
-
Rick, don't put yourself out. You have been more than helpful already. I was just wondering if you remembered.
-
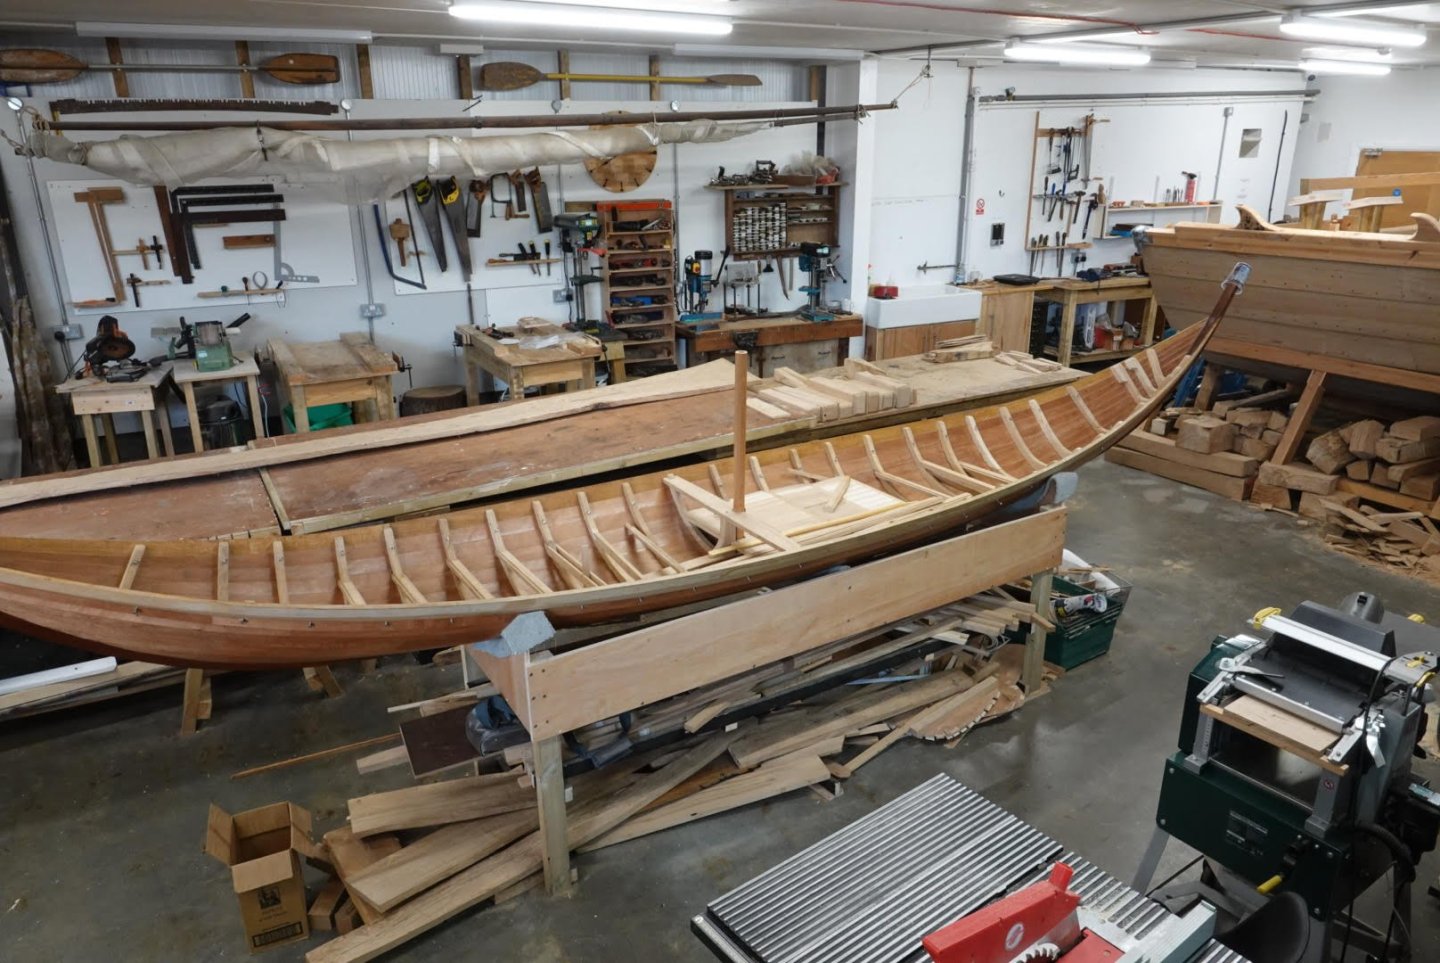
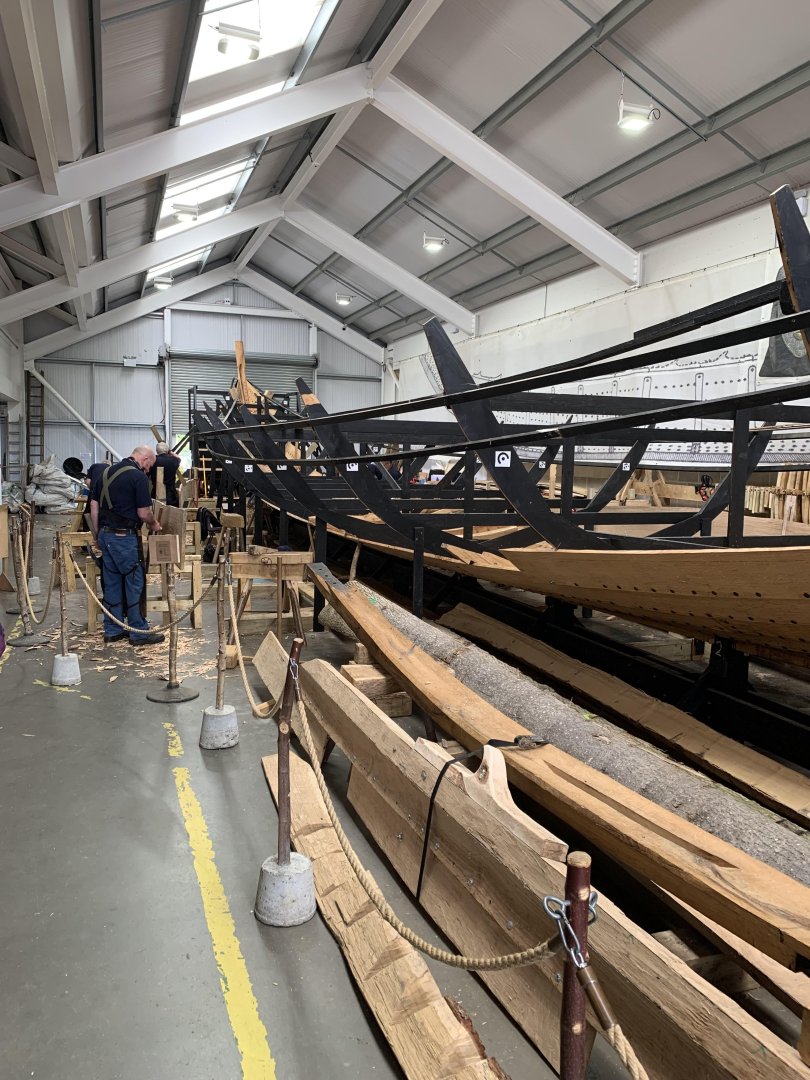
Mark - they said that the finished ship would be almost entirely oak. The rate limiting step is currently getting the oak. Apparently getting the right quality and shape is a lot more difficult than it was in AD 625. Their target was to finish it within the next 2 years although difficulties with the landlord of the assembly shed may get in the way of this. Their construction times seem to be shorter than many of ours!
-
The hull is looking lovely Harvey.
-
Chairs! Let’s see your chairs.
KeithAug replied to Desertanimal's topic in Modeling tools and Workshop Equipment
I would love to use a chair but always find myself standing up. Usually because the tool I need is invariably more than an arms reach away. I have never had a chair with wheels though! -
Very complex framing and bracing, quite a task.👍
- 11 replies
-
- 1
-
-
- Malaspina Straits
- plastic
- (and 1 more)
-
Already showing the benefits of your skills John.
-
Yes Eberhard they did explain that. They commented that the original would have been built by eye. No plans and no templates, and of course no two boats the same. They are indeed using templates to assist in accurately reproducing the original.
-
Roel. The internal plans don't show much. It seems to be located in the area of the chain locker, which in turn is below the crew sleeping cabin. My guess is that it isn't a heads outlet.
-
Excellent Roel. Just wish I understood it all!
-
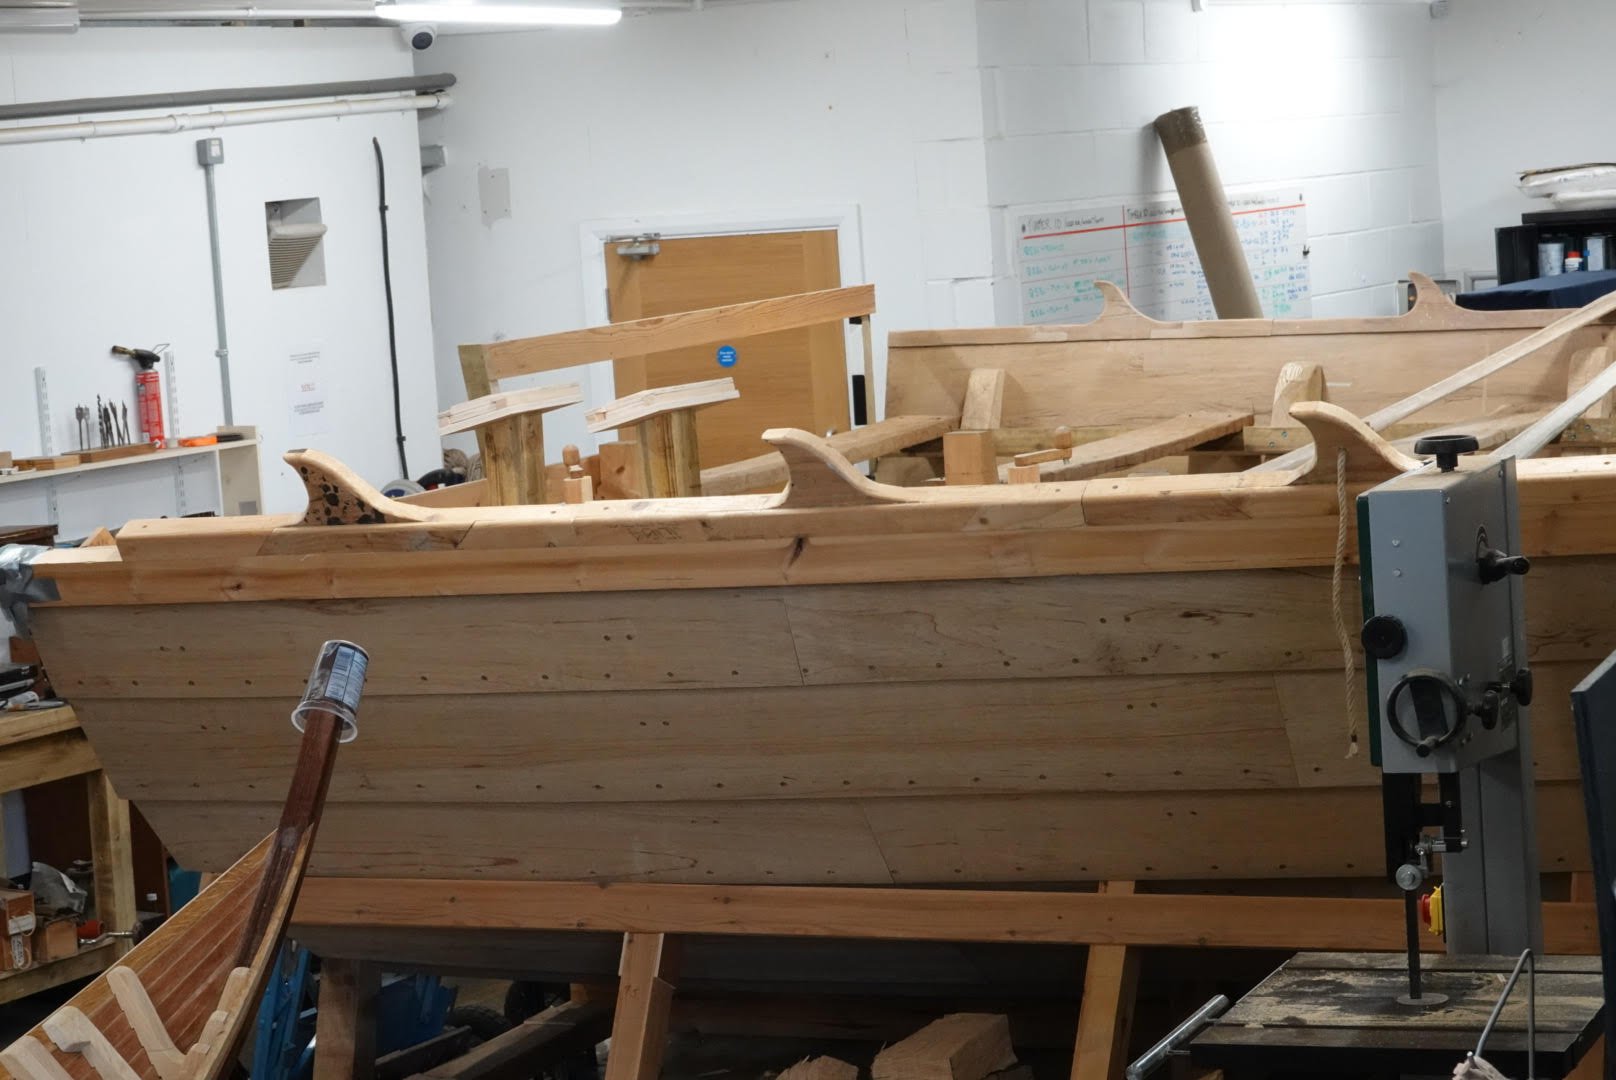
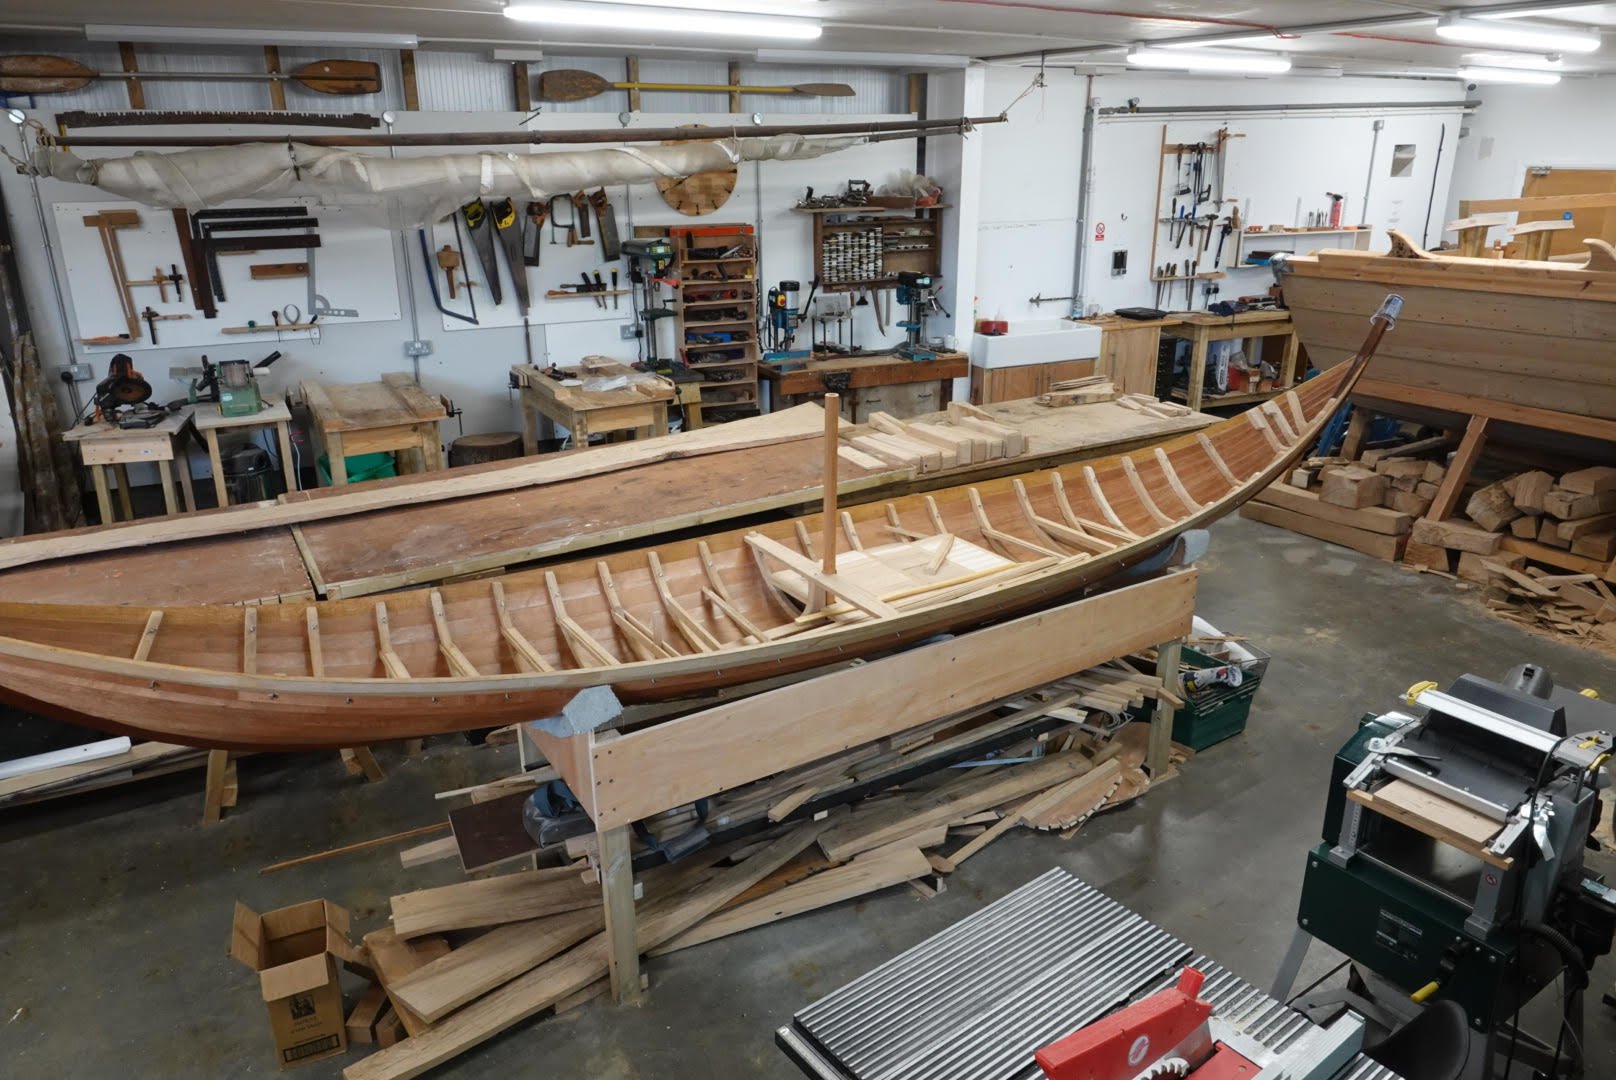
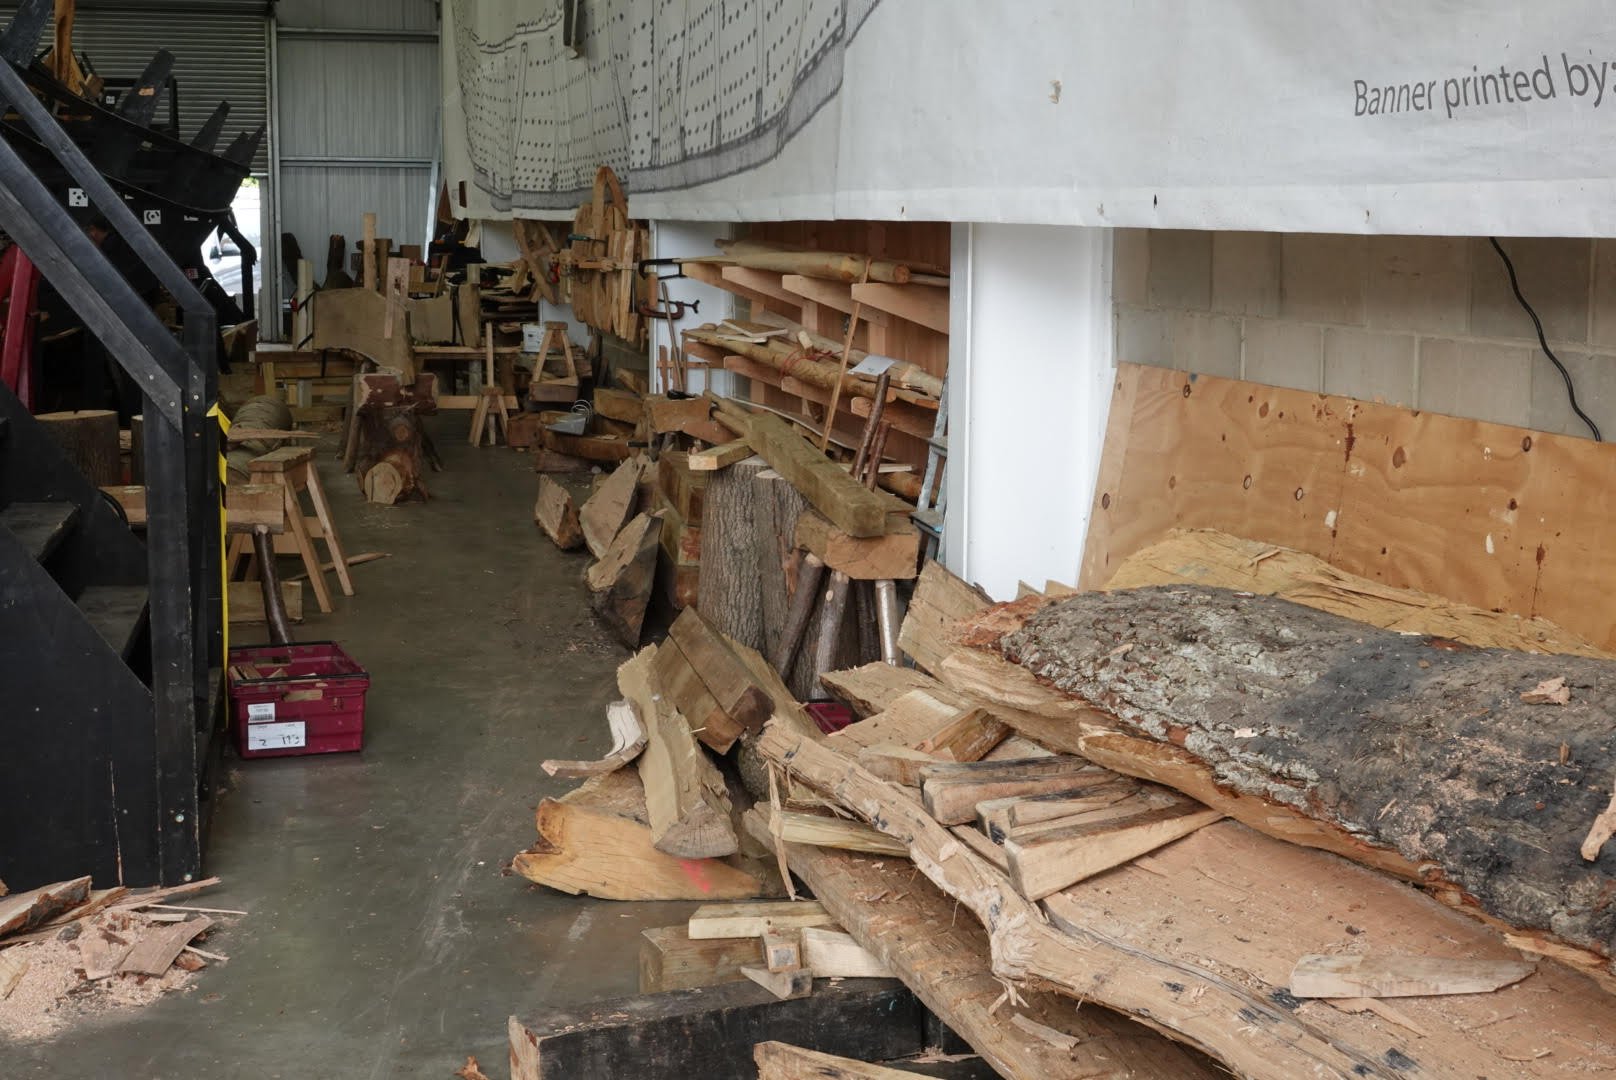
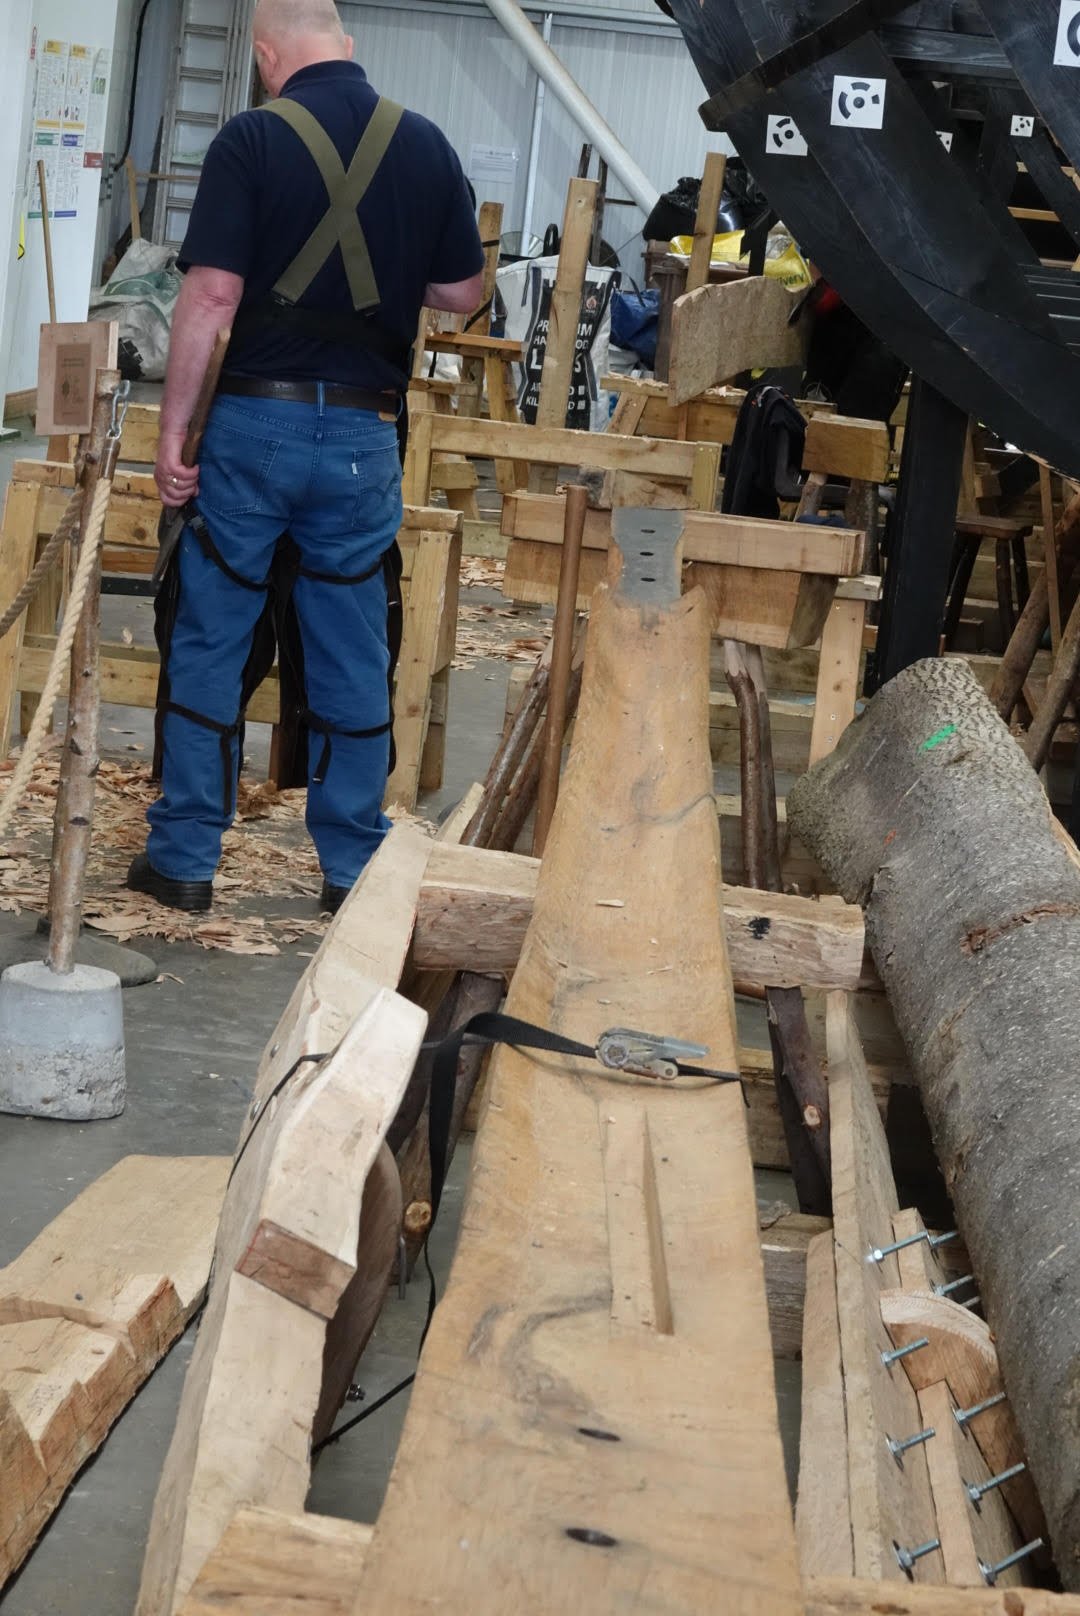
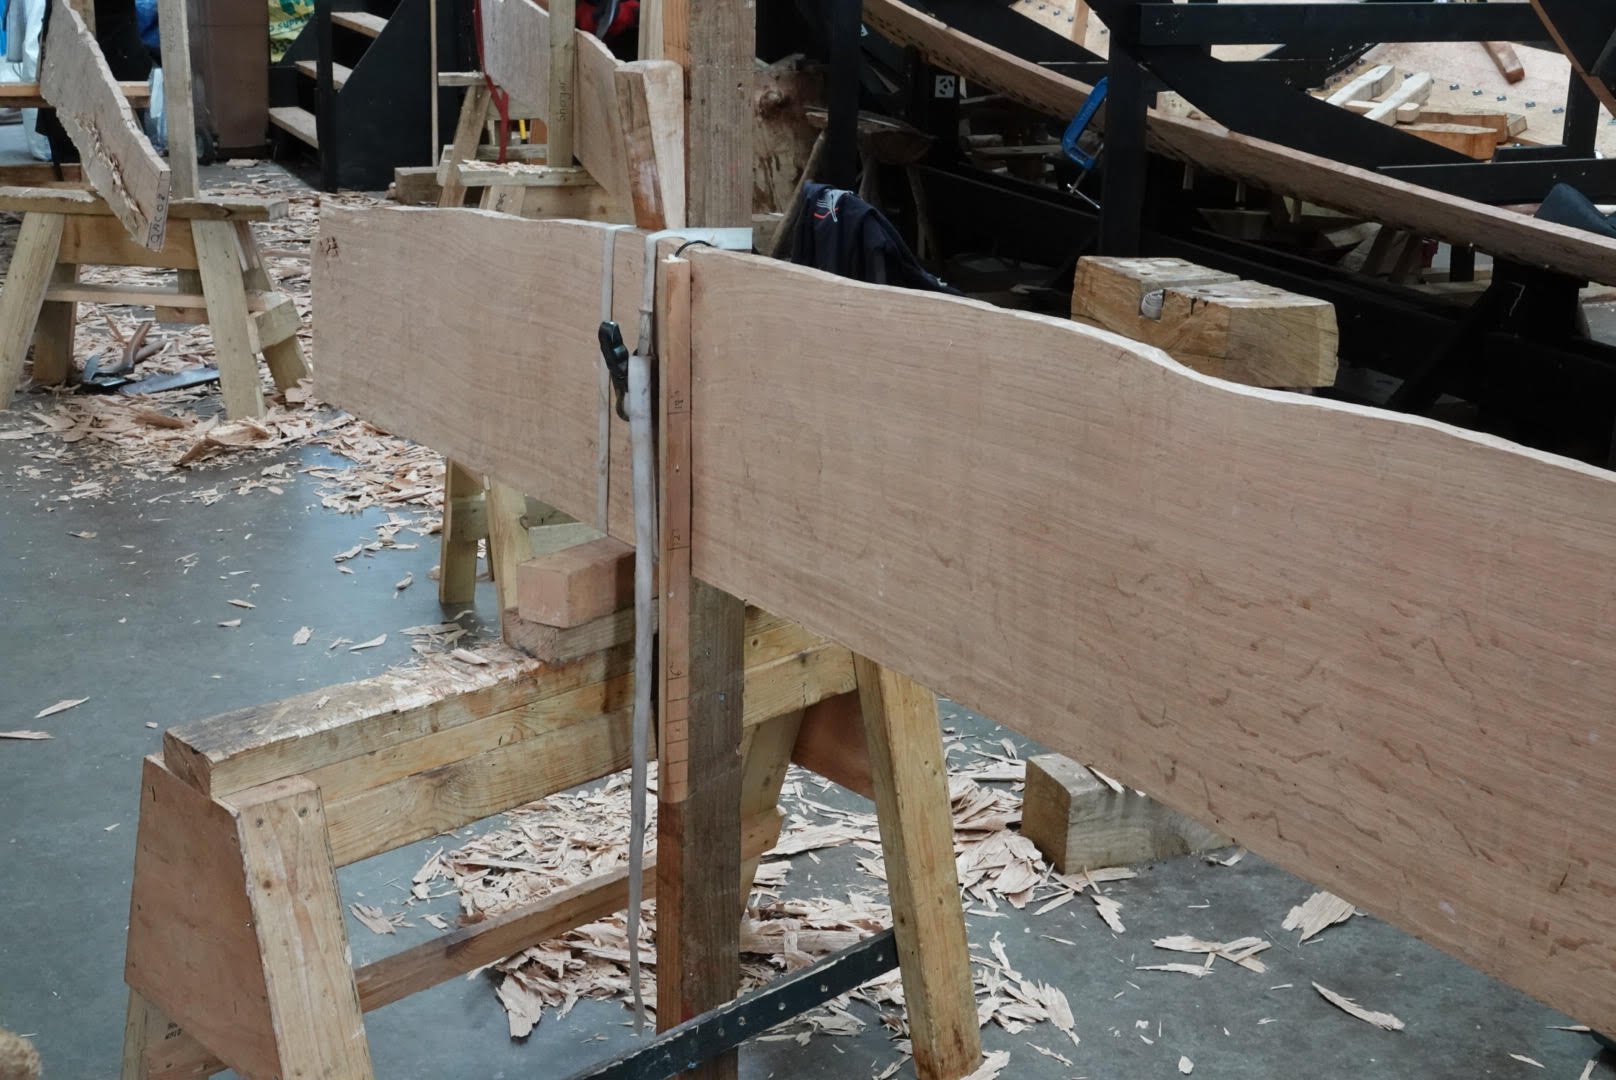
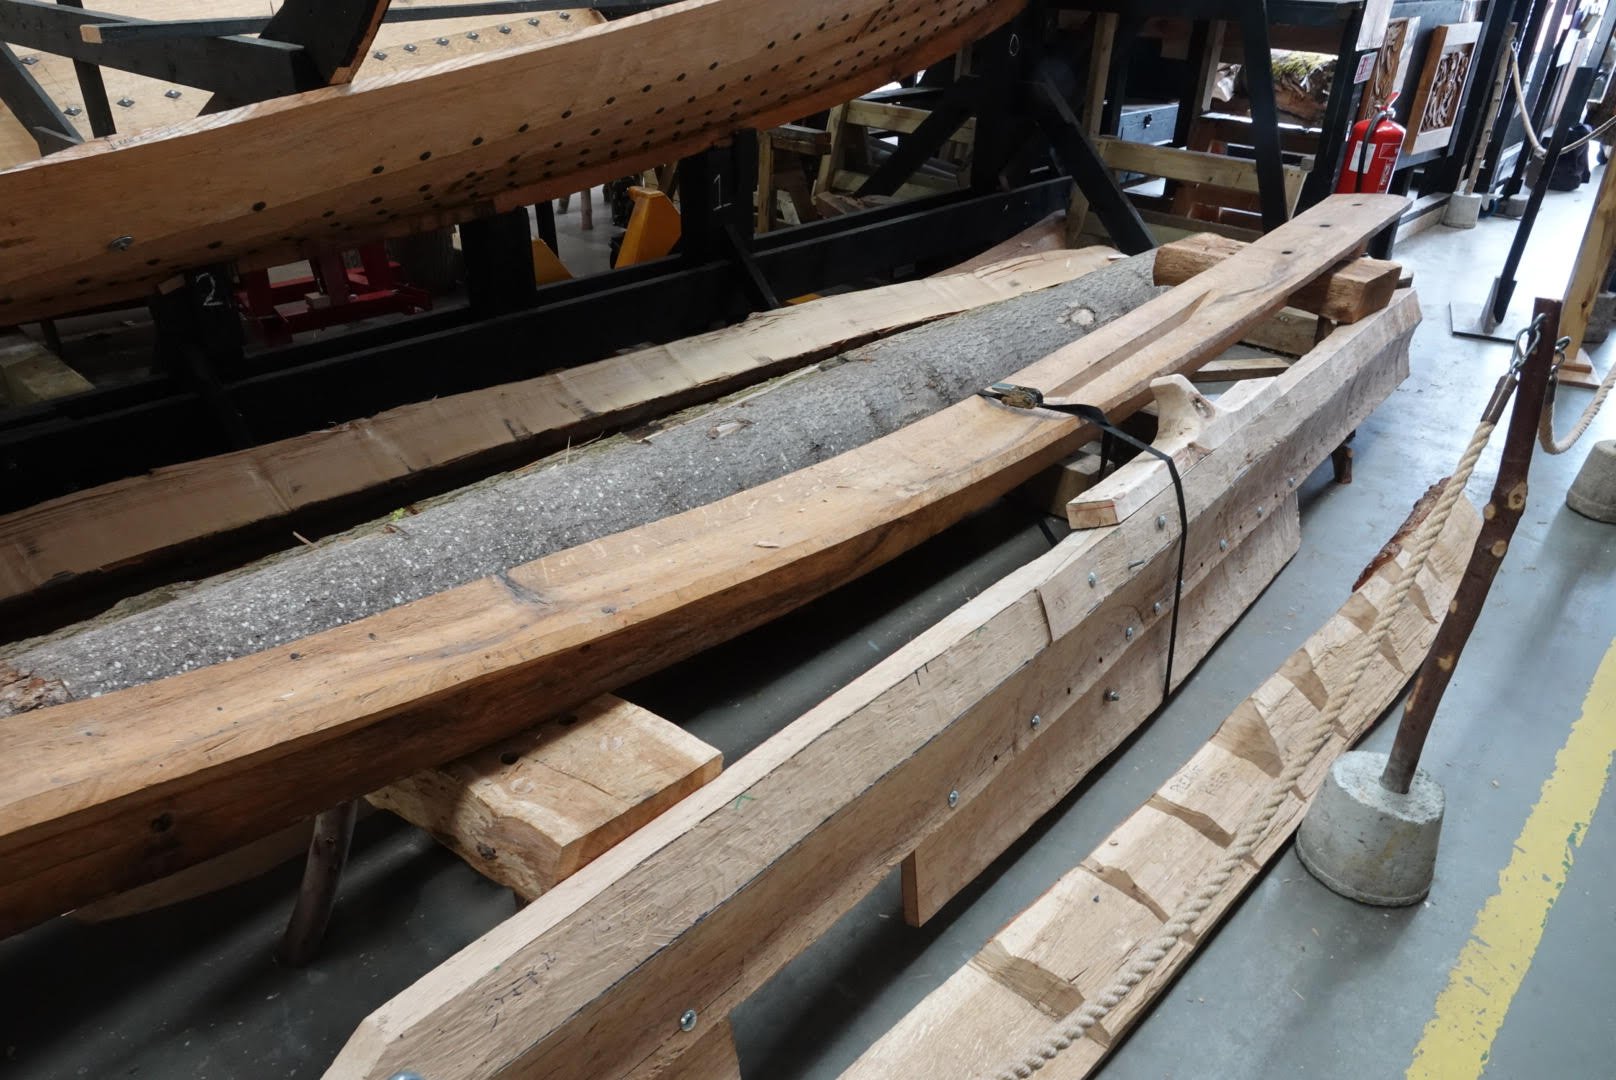
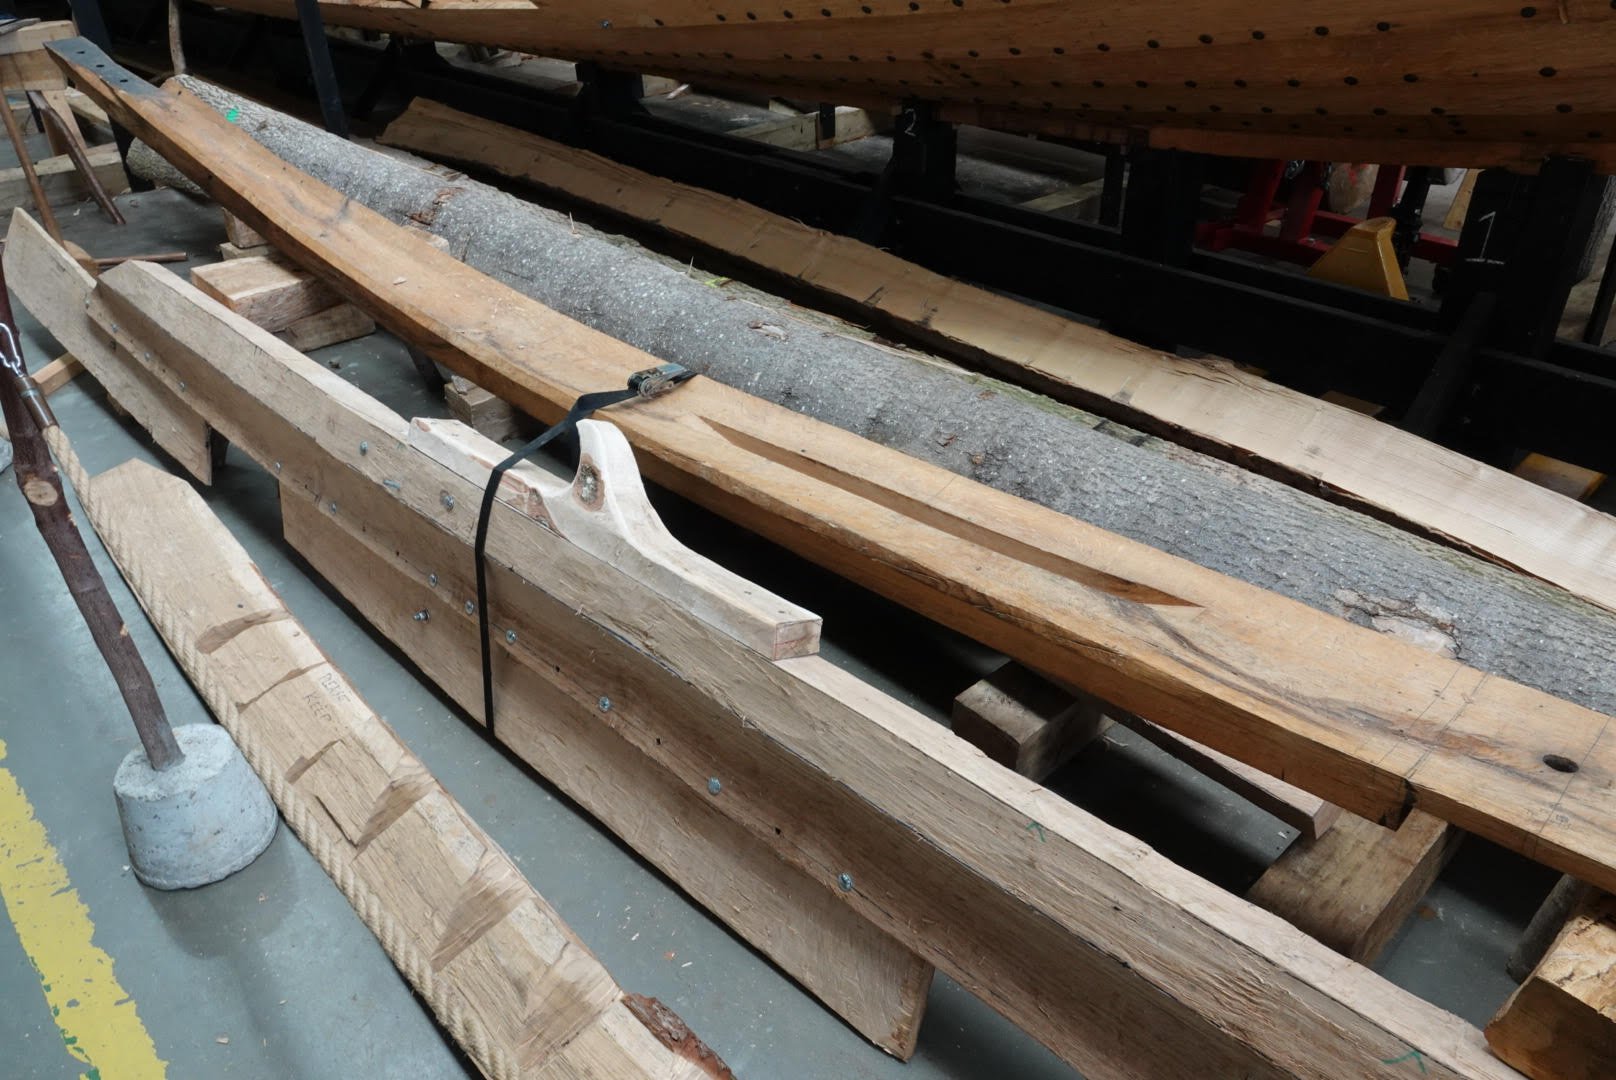
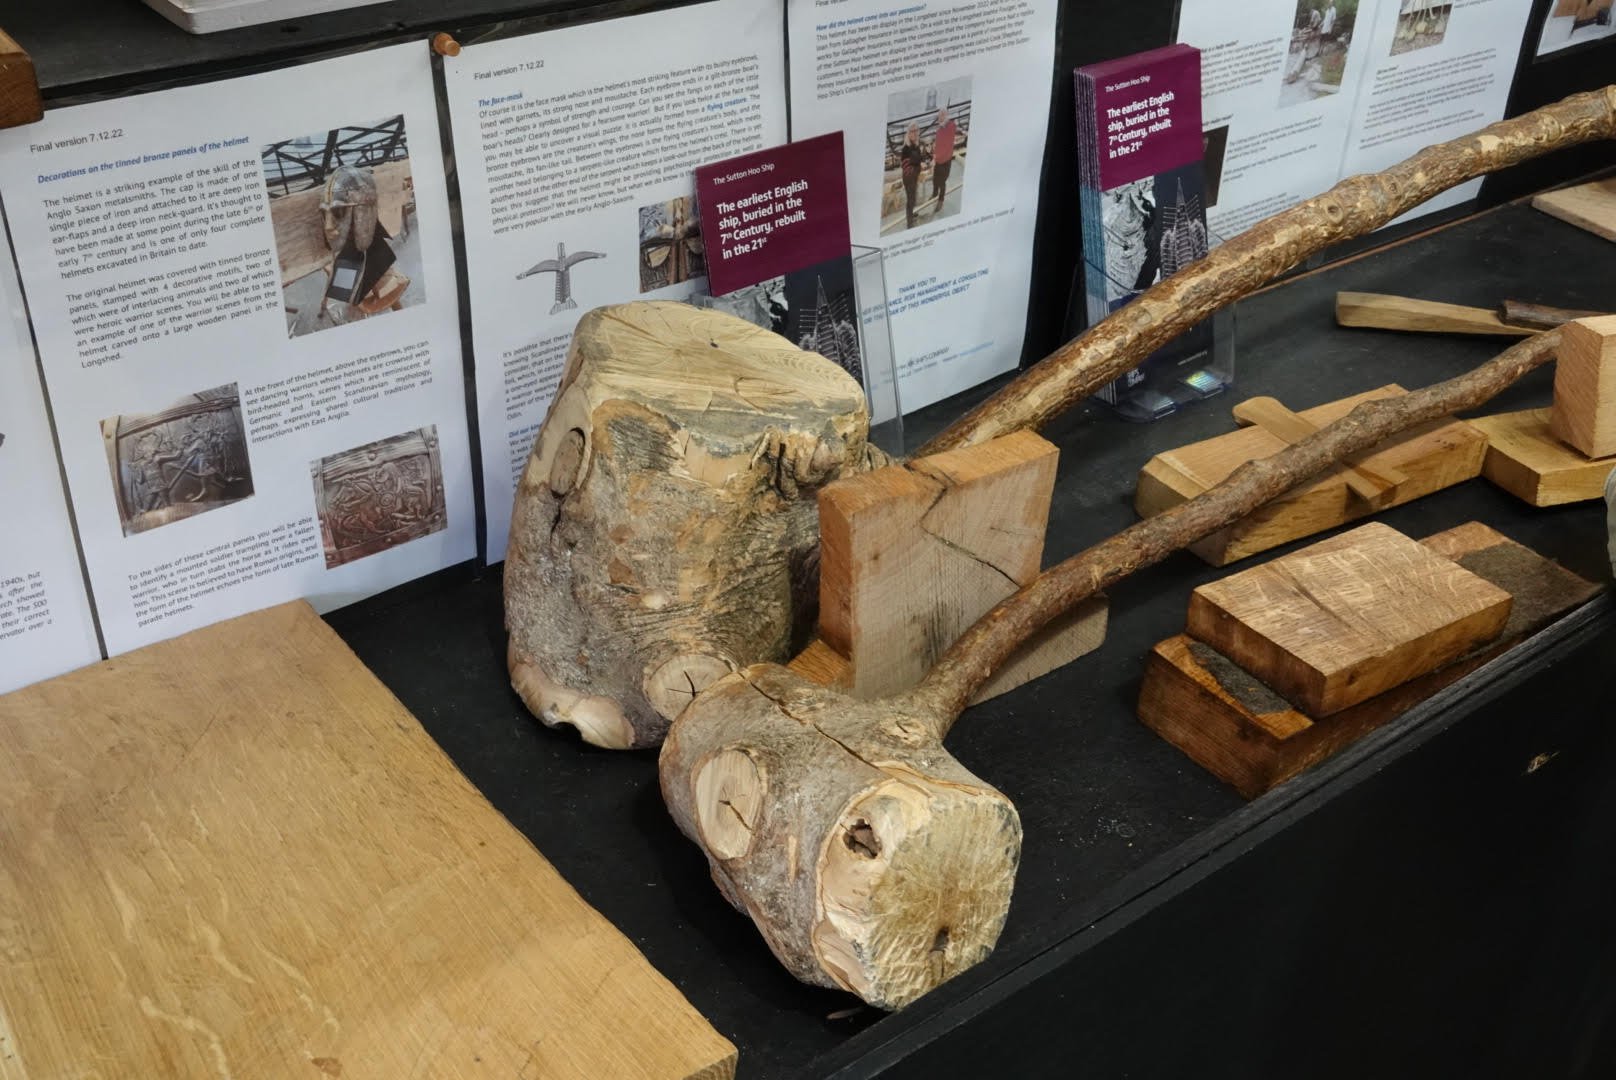
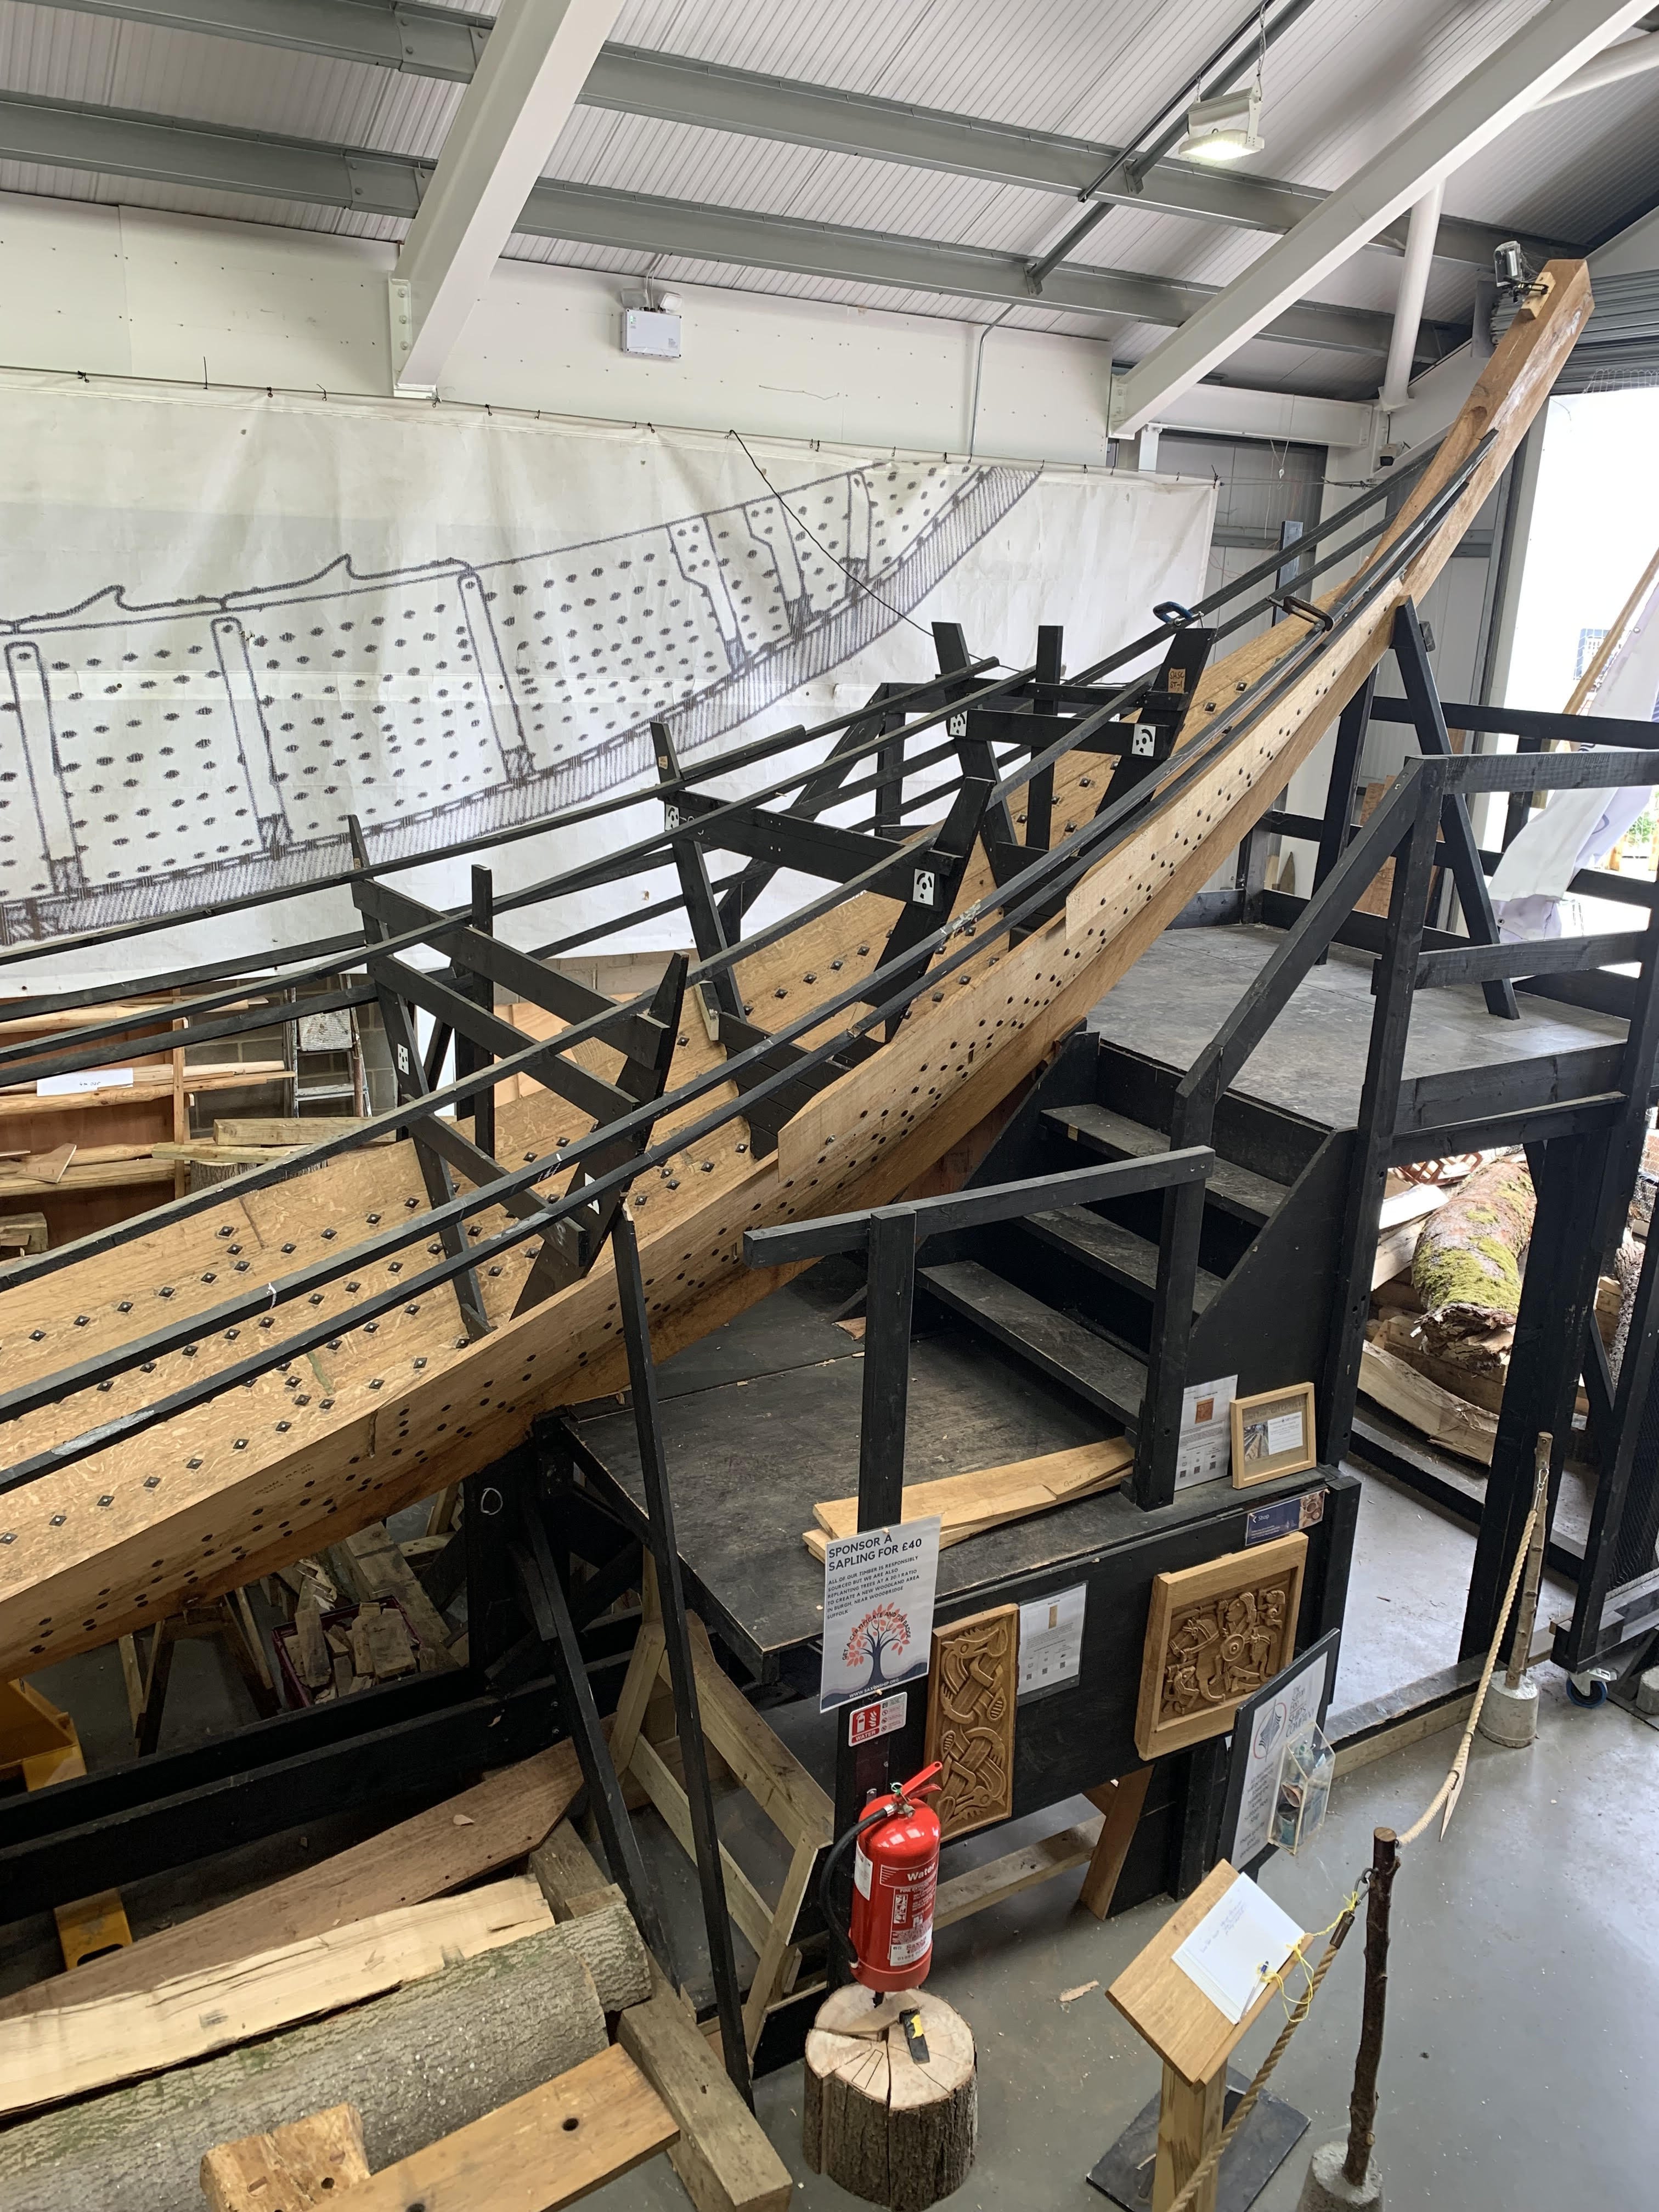
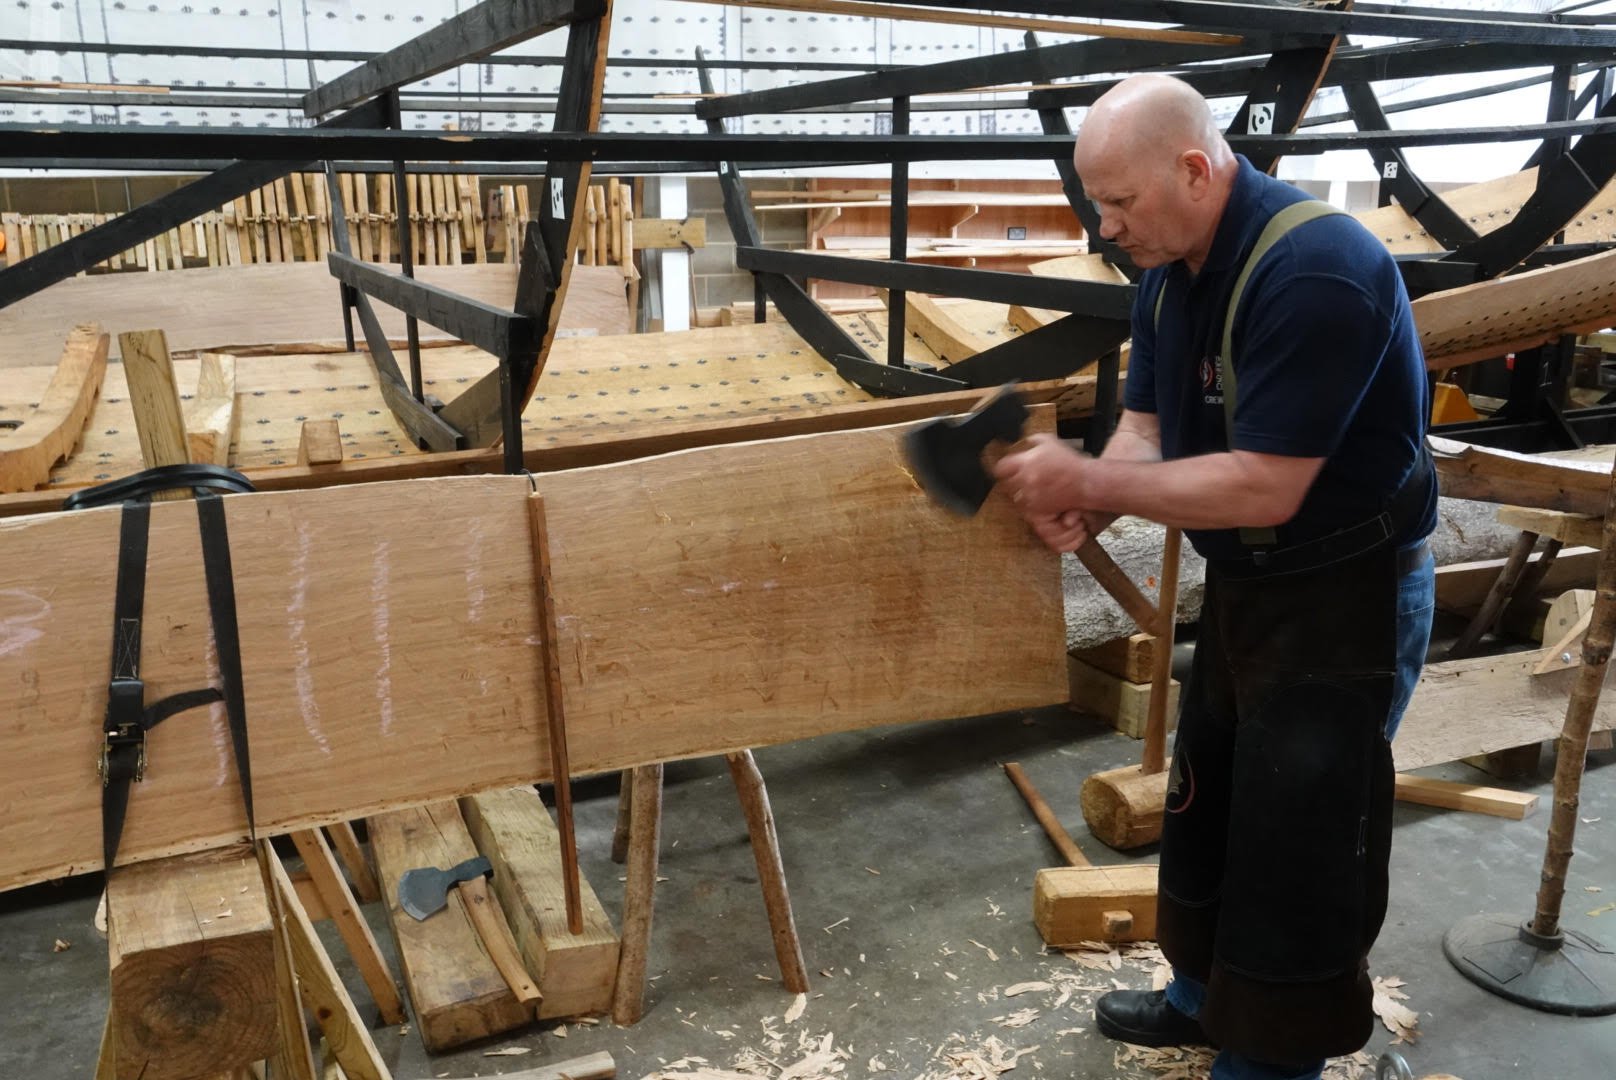
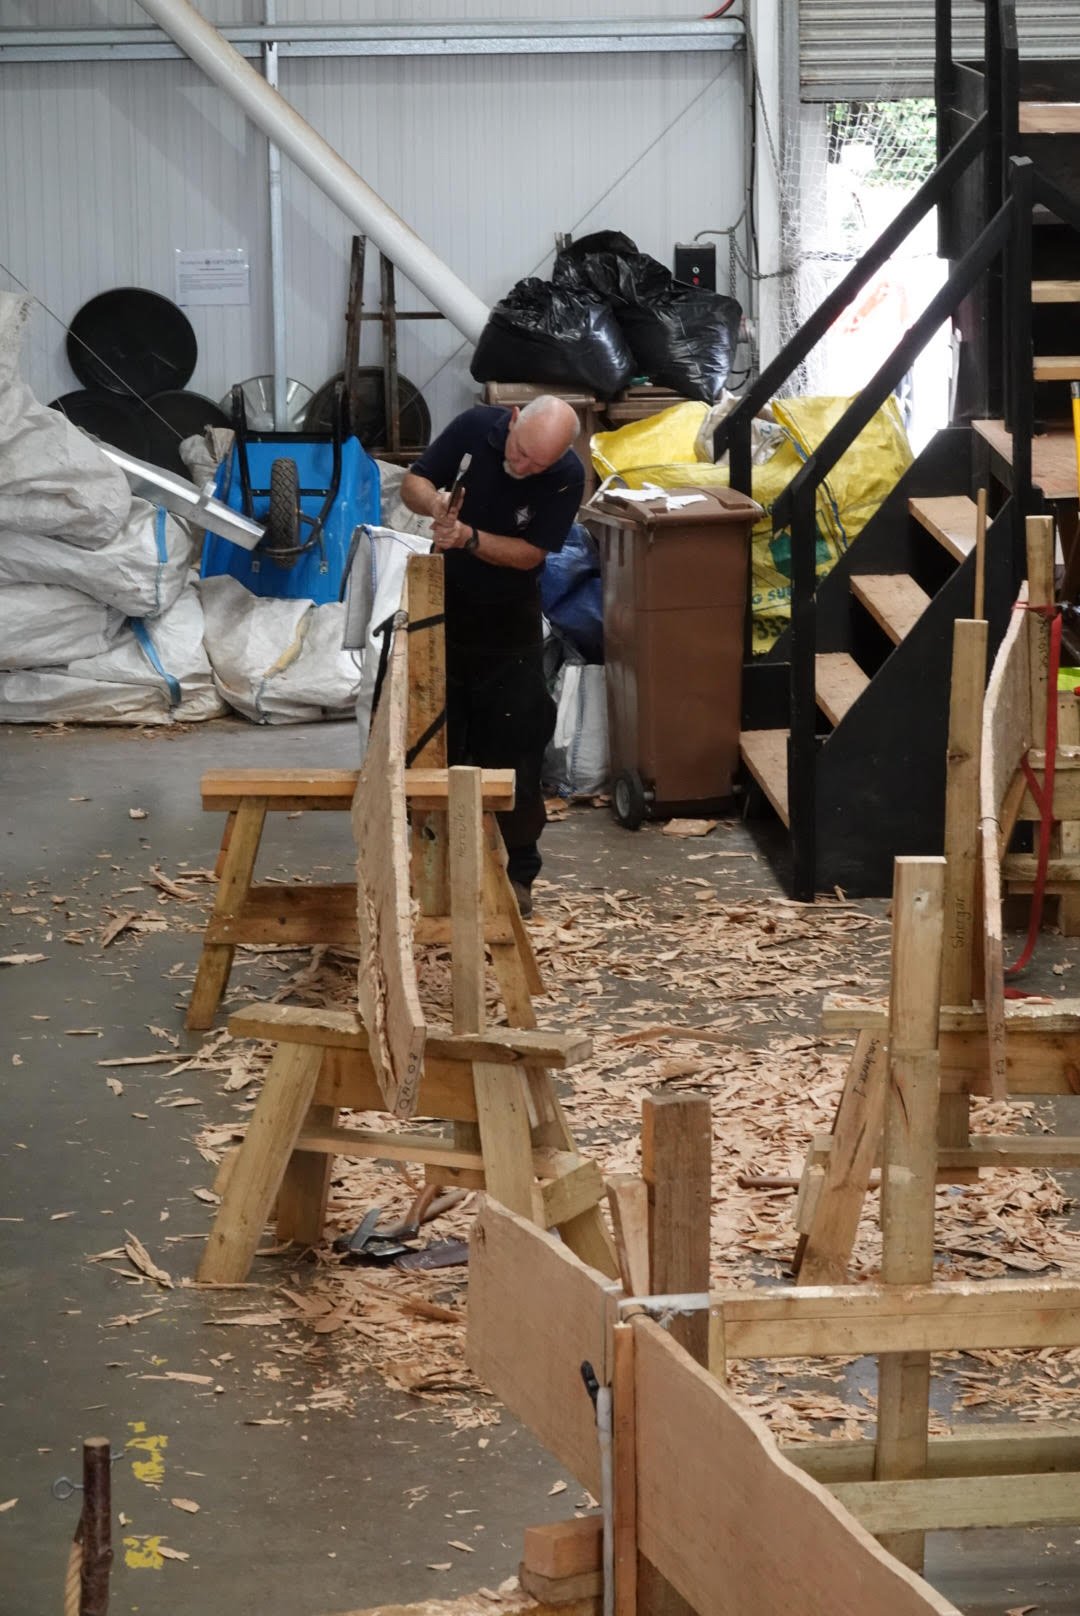
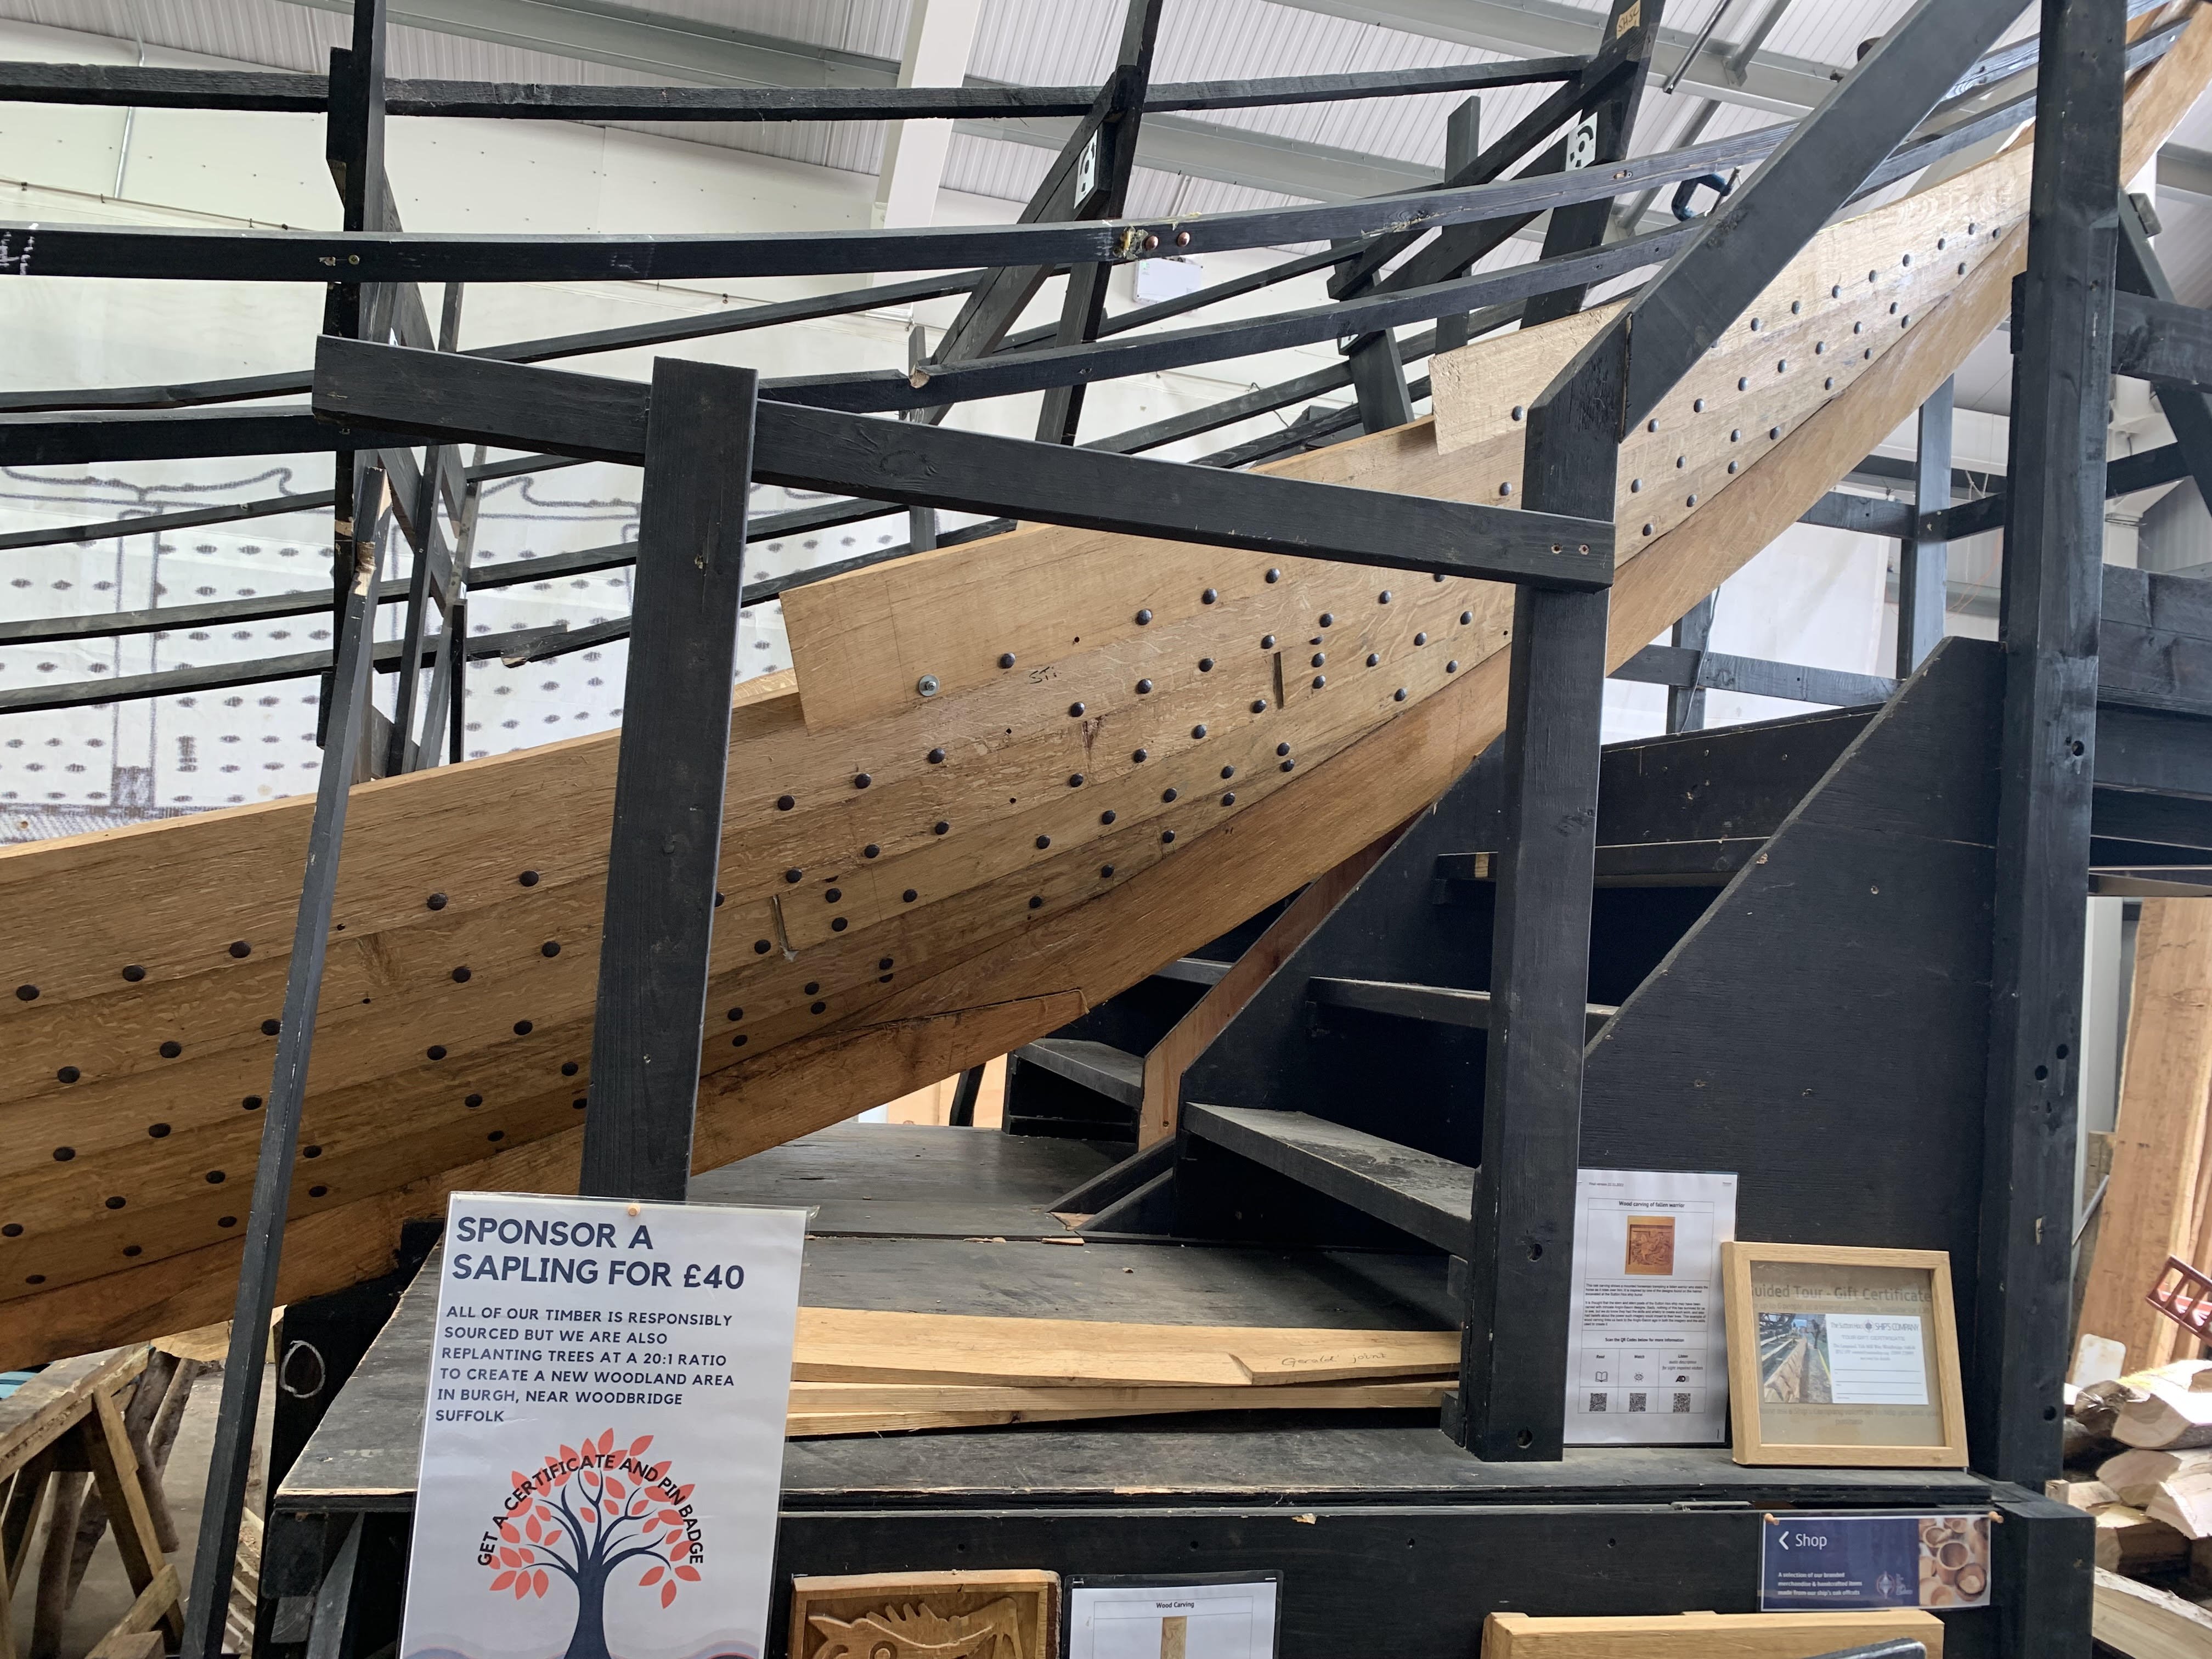
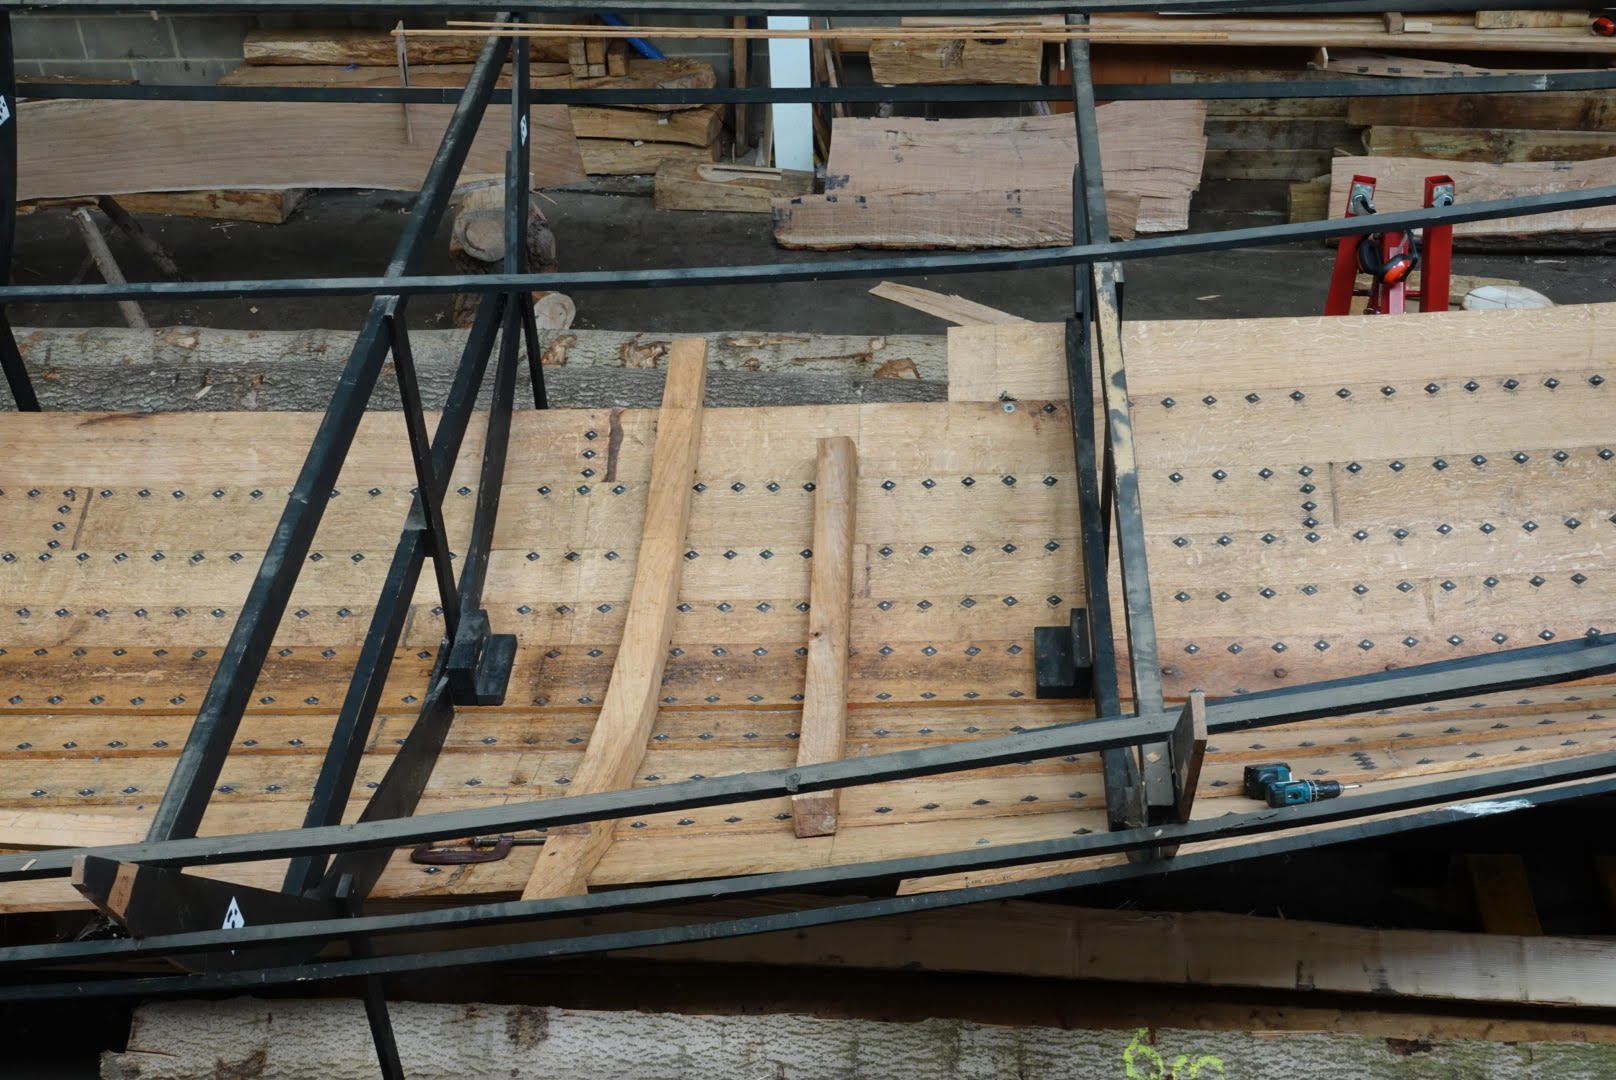
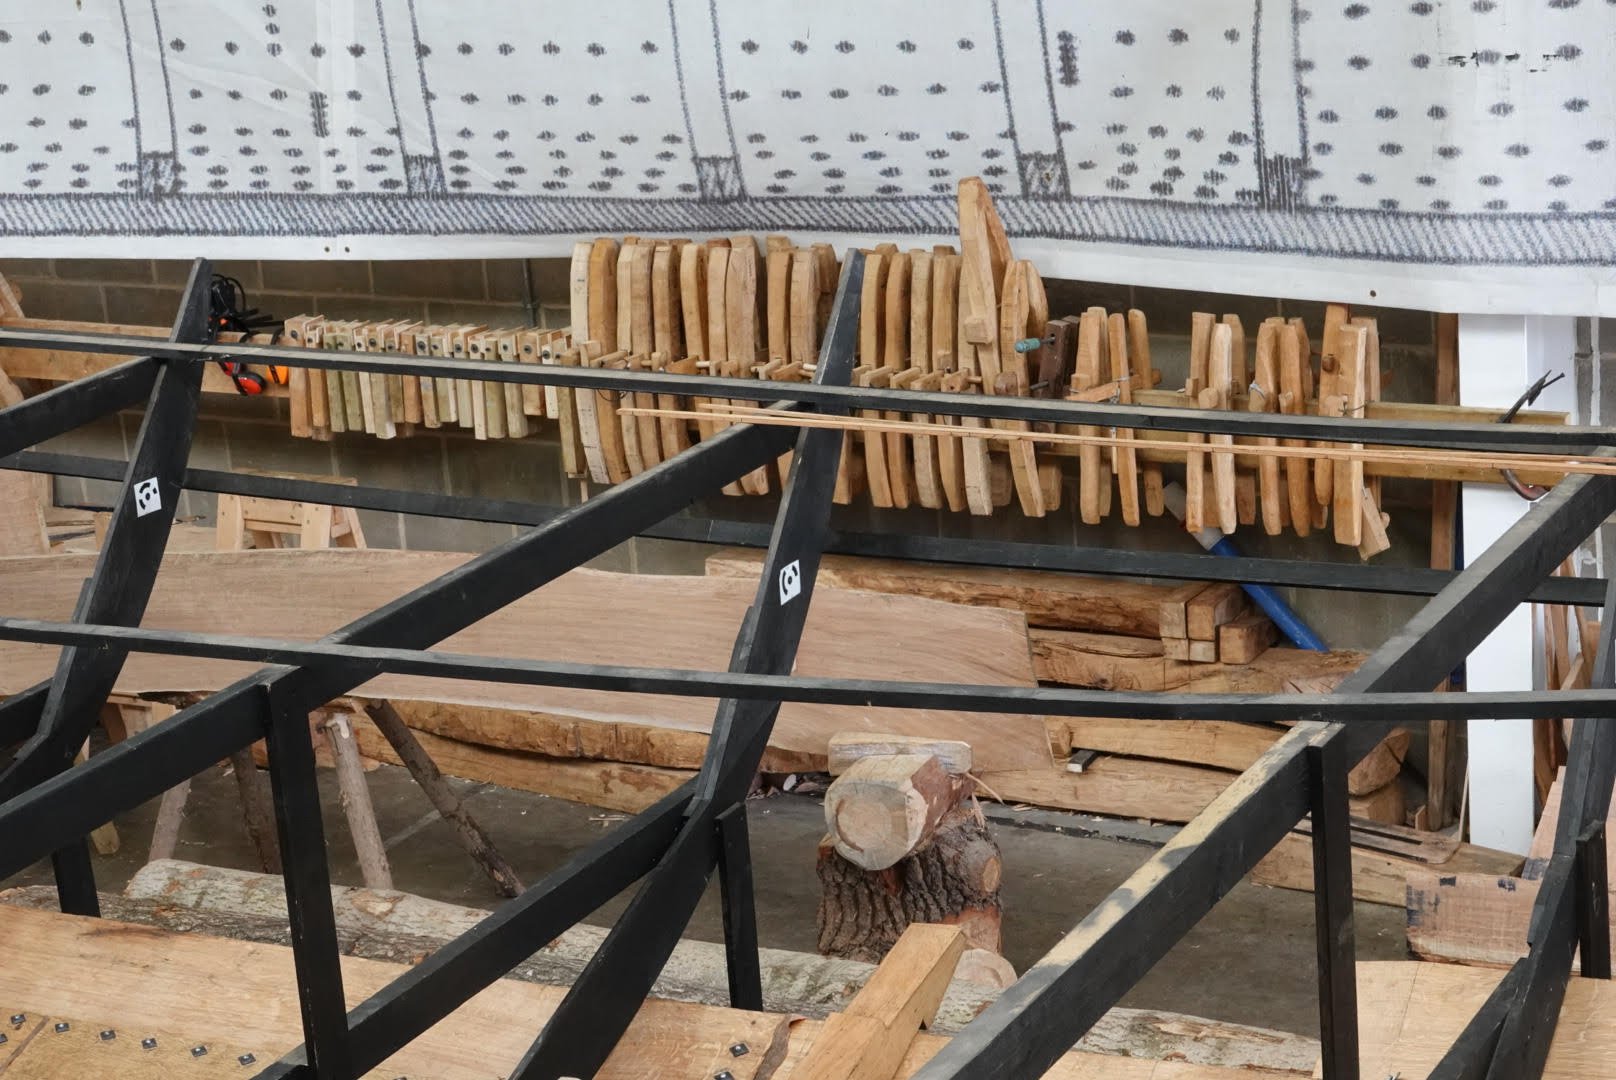
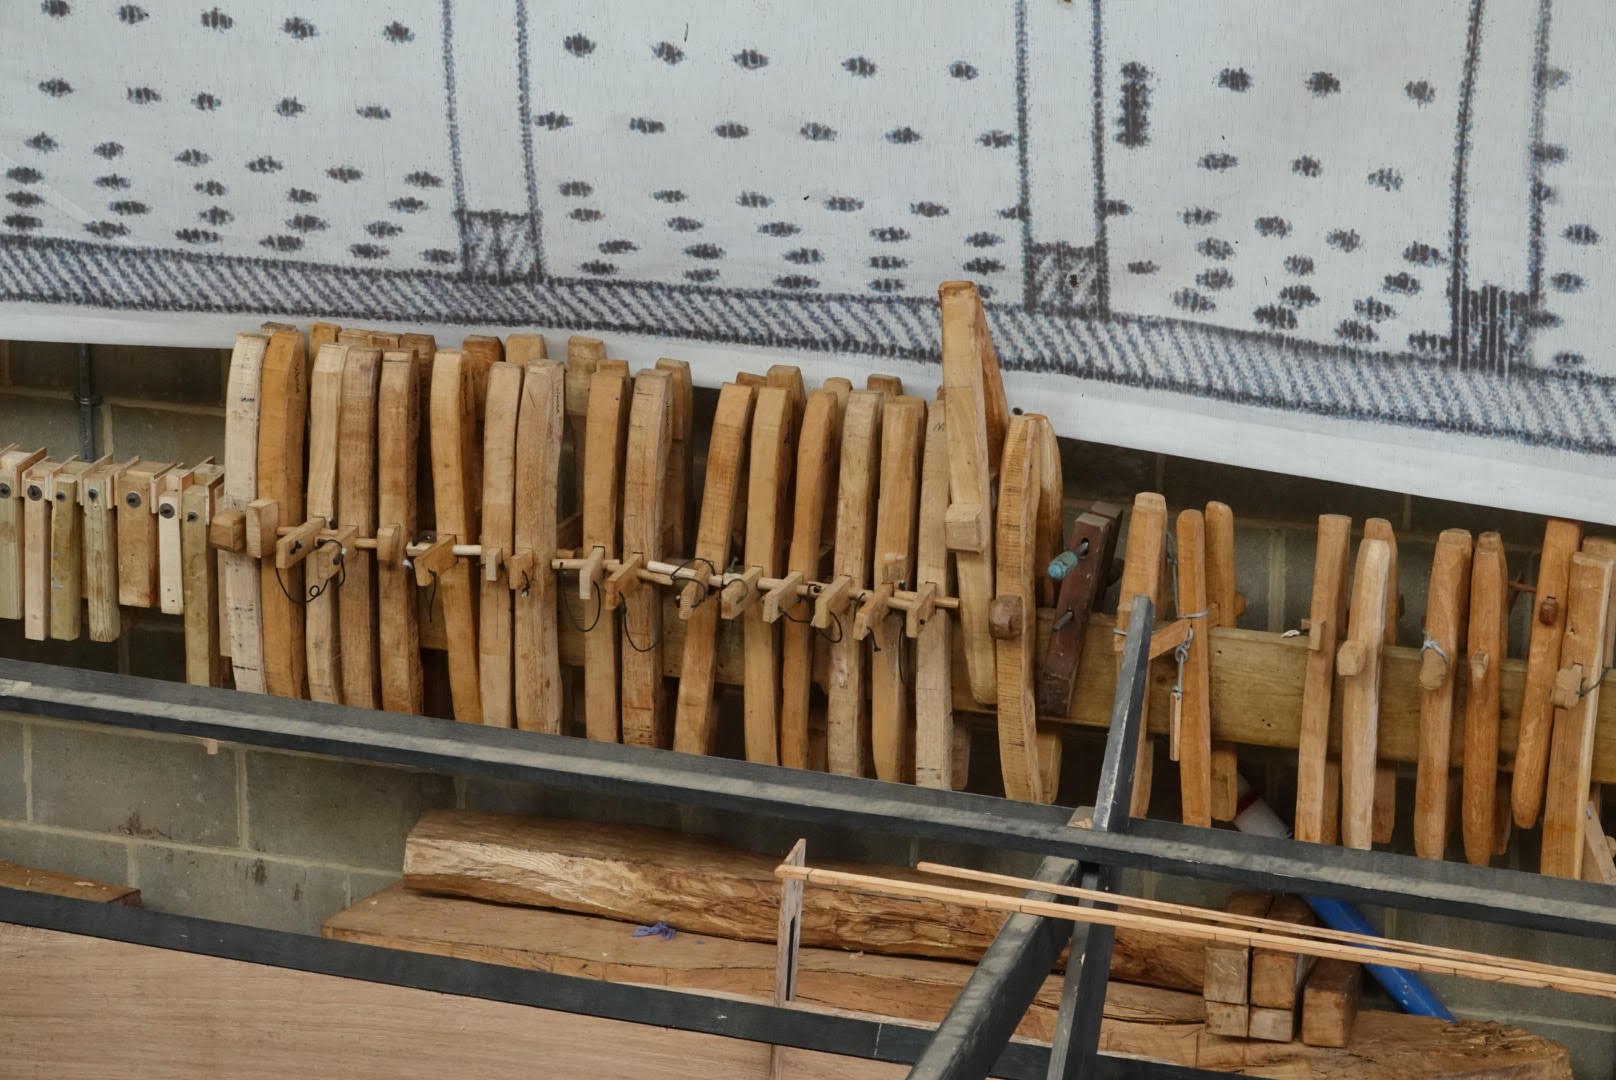
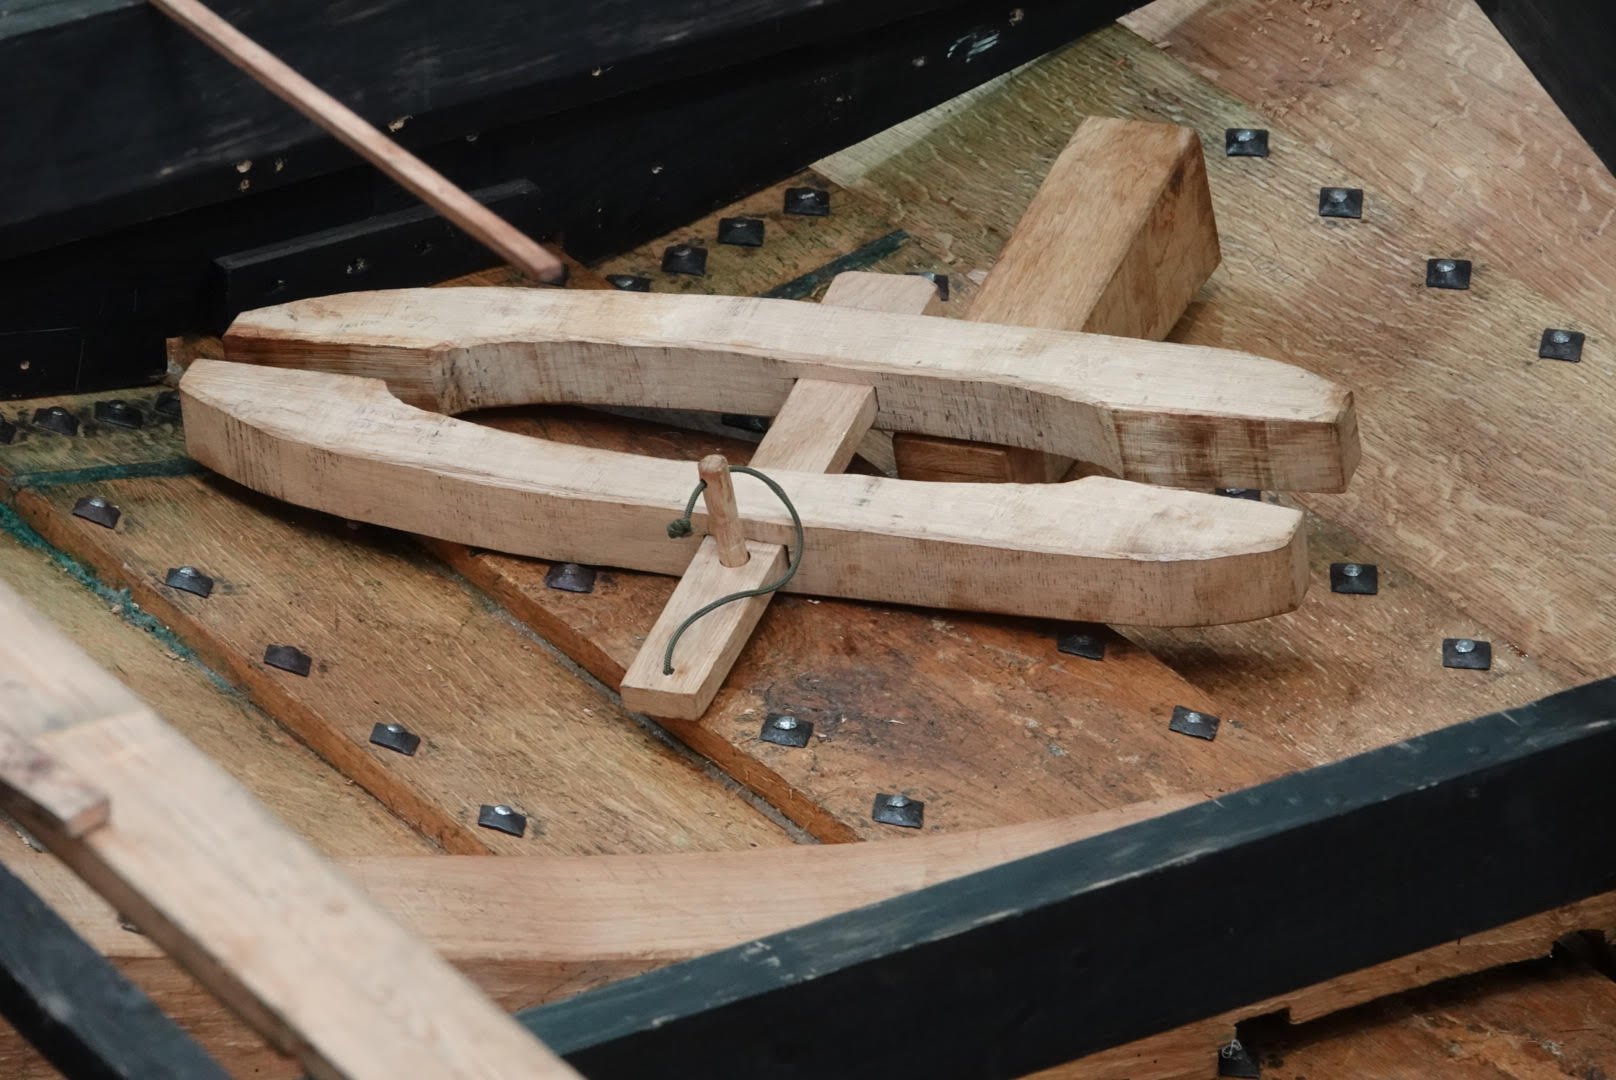
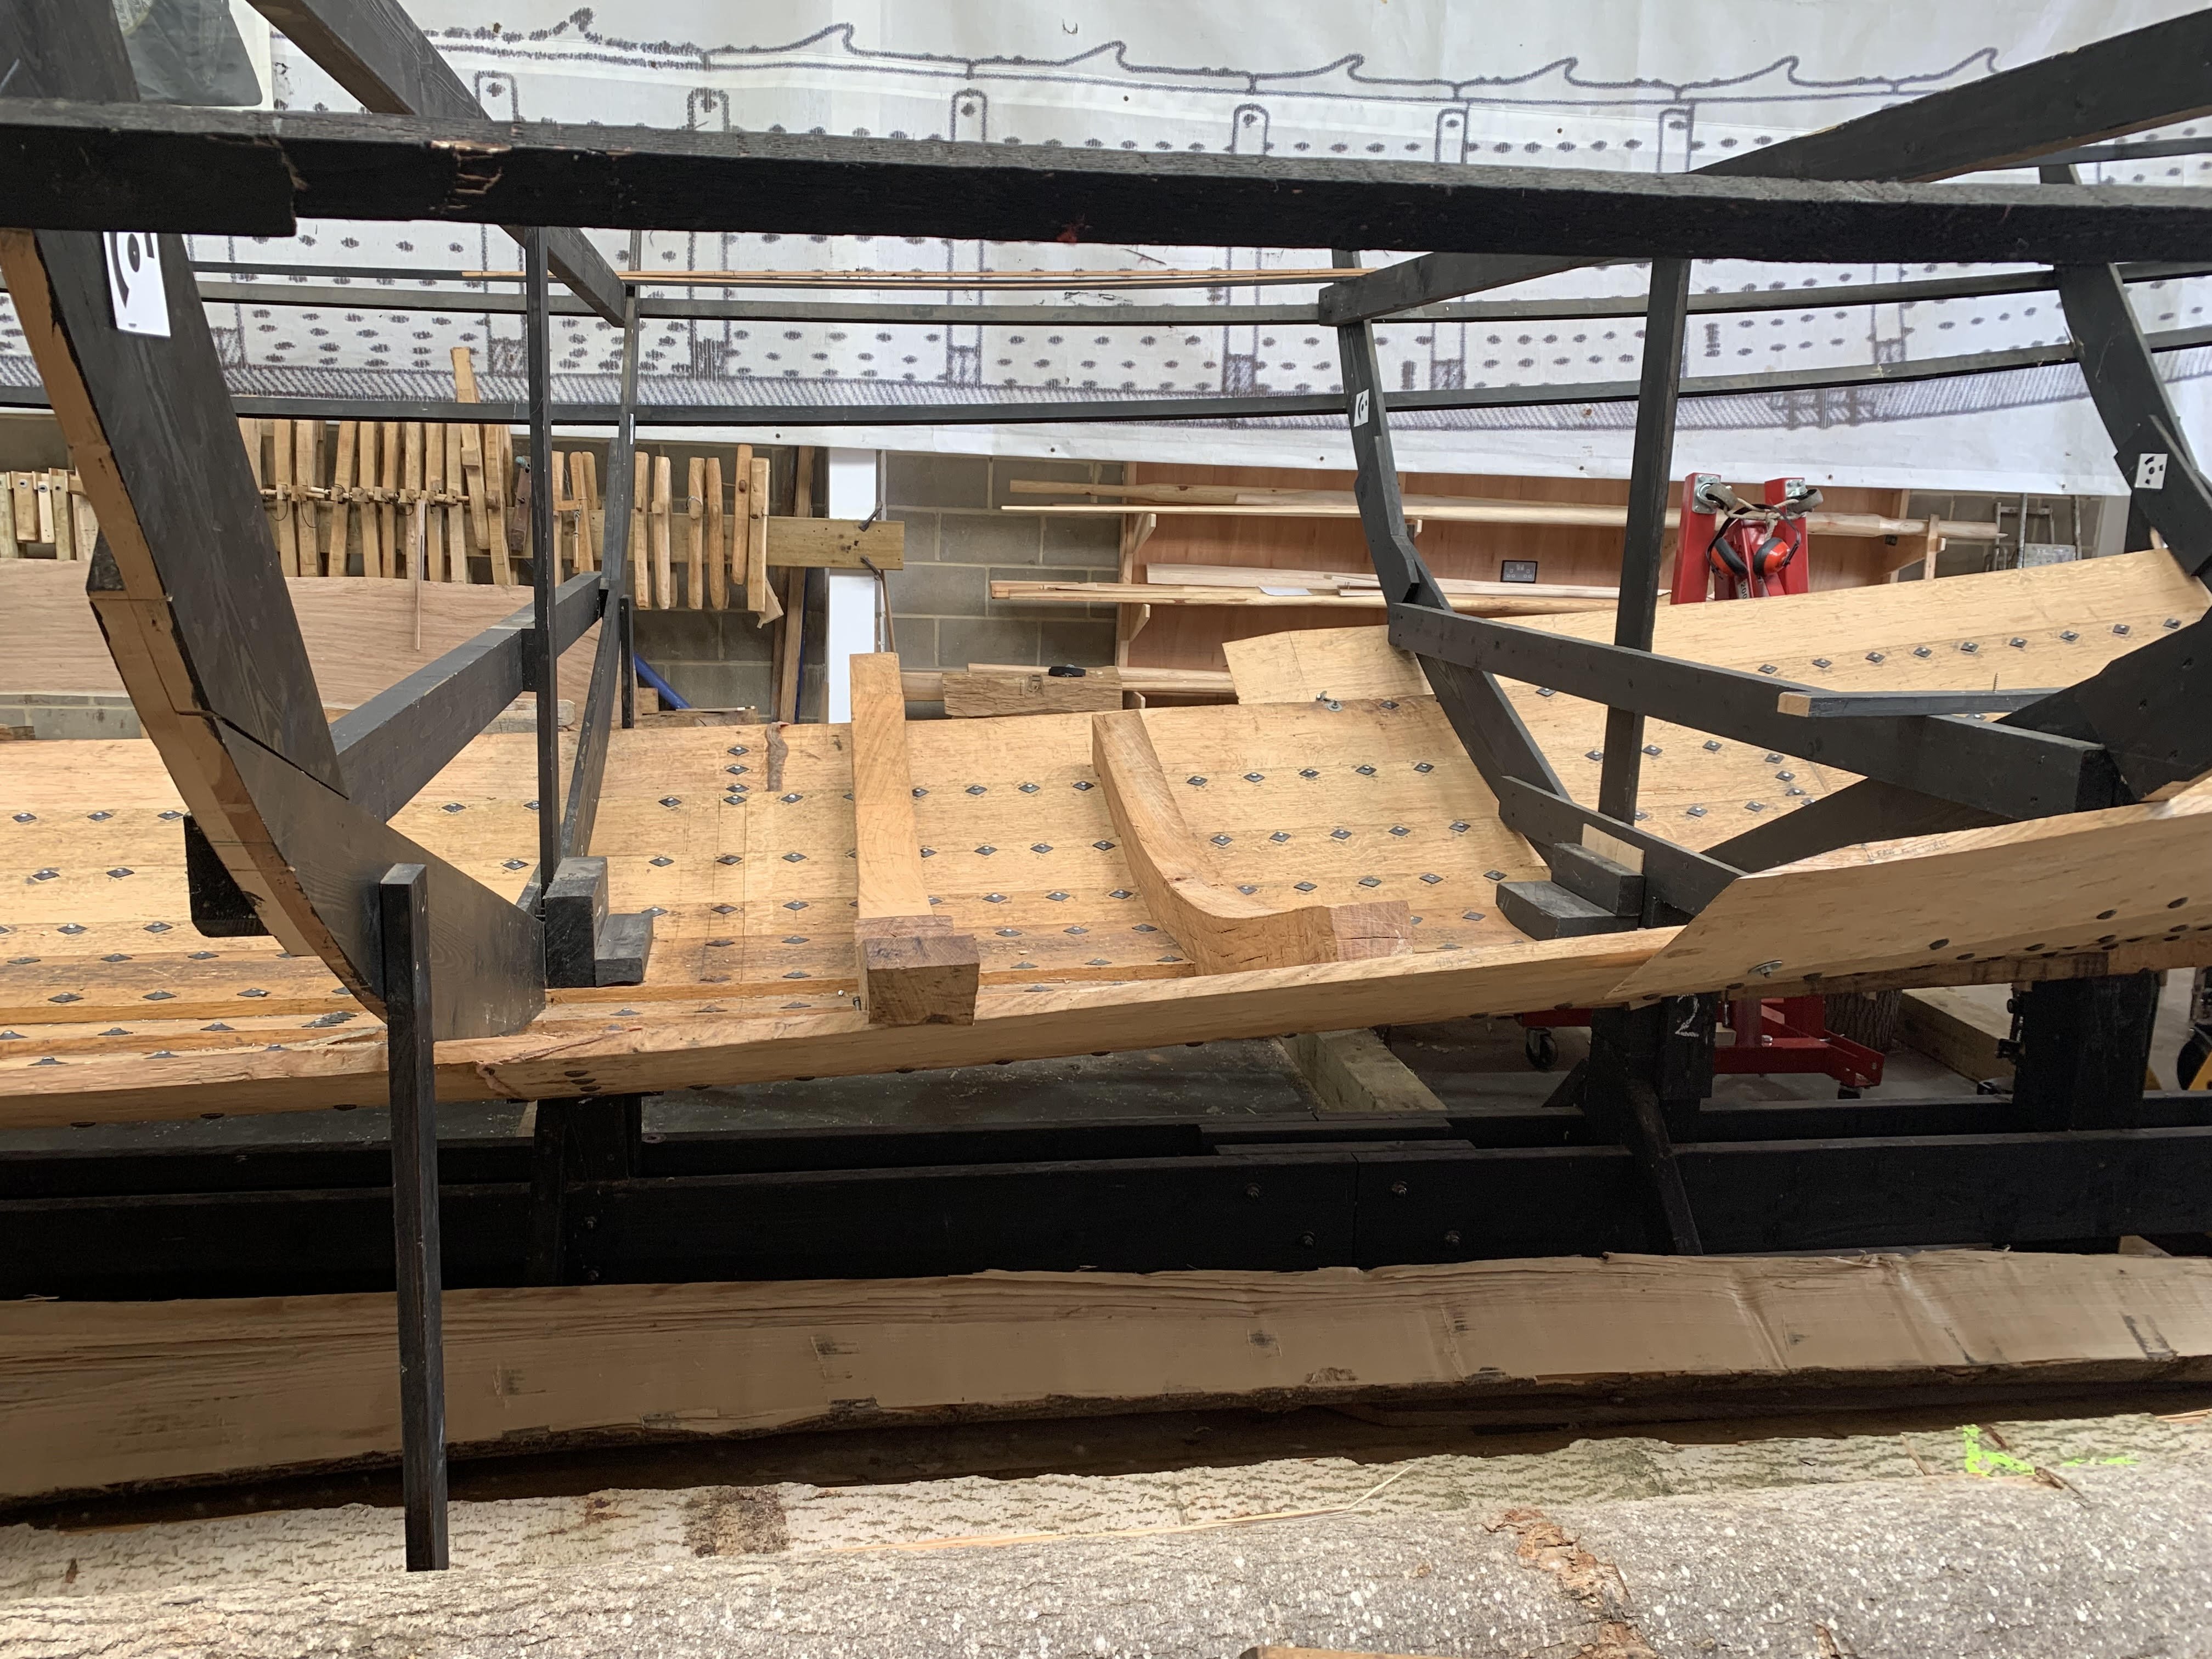
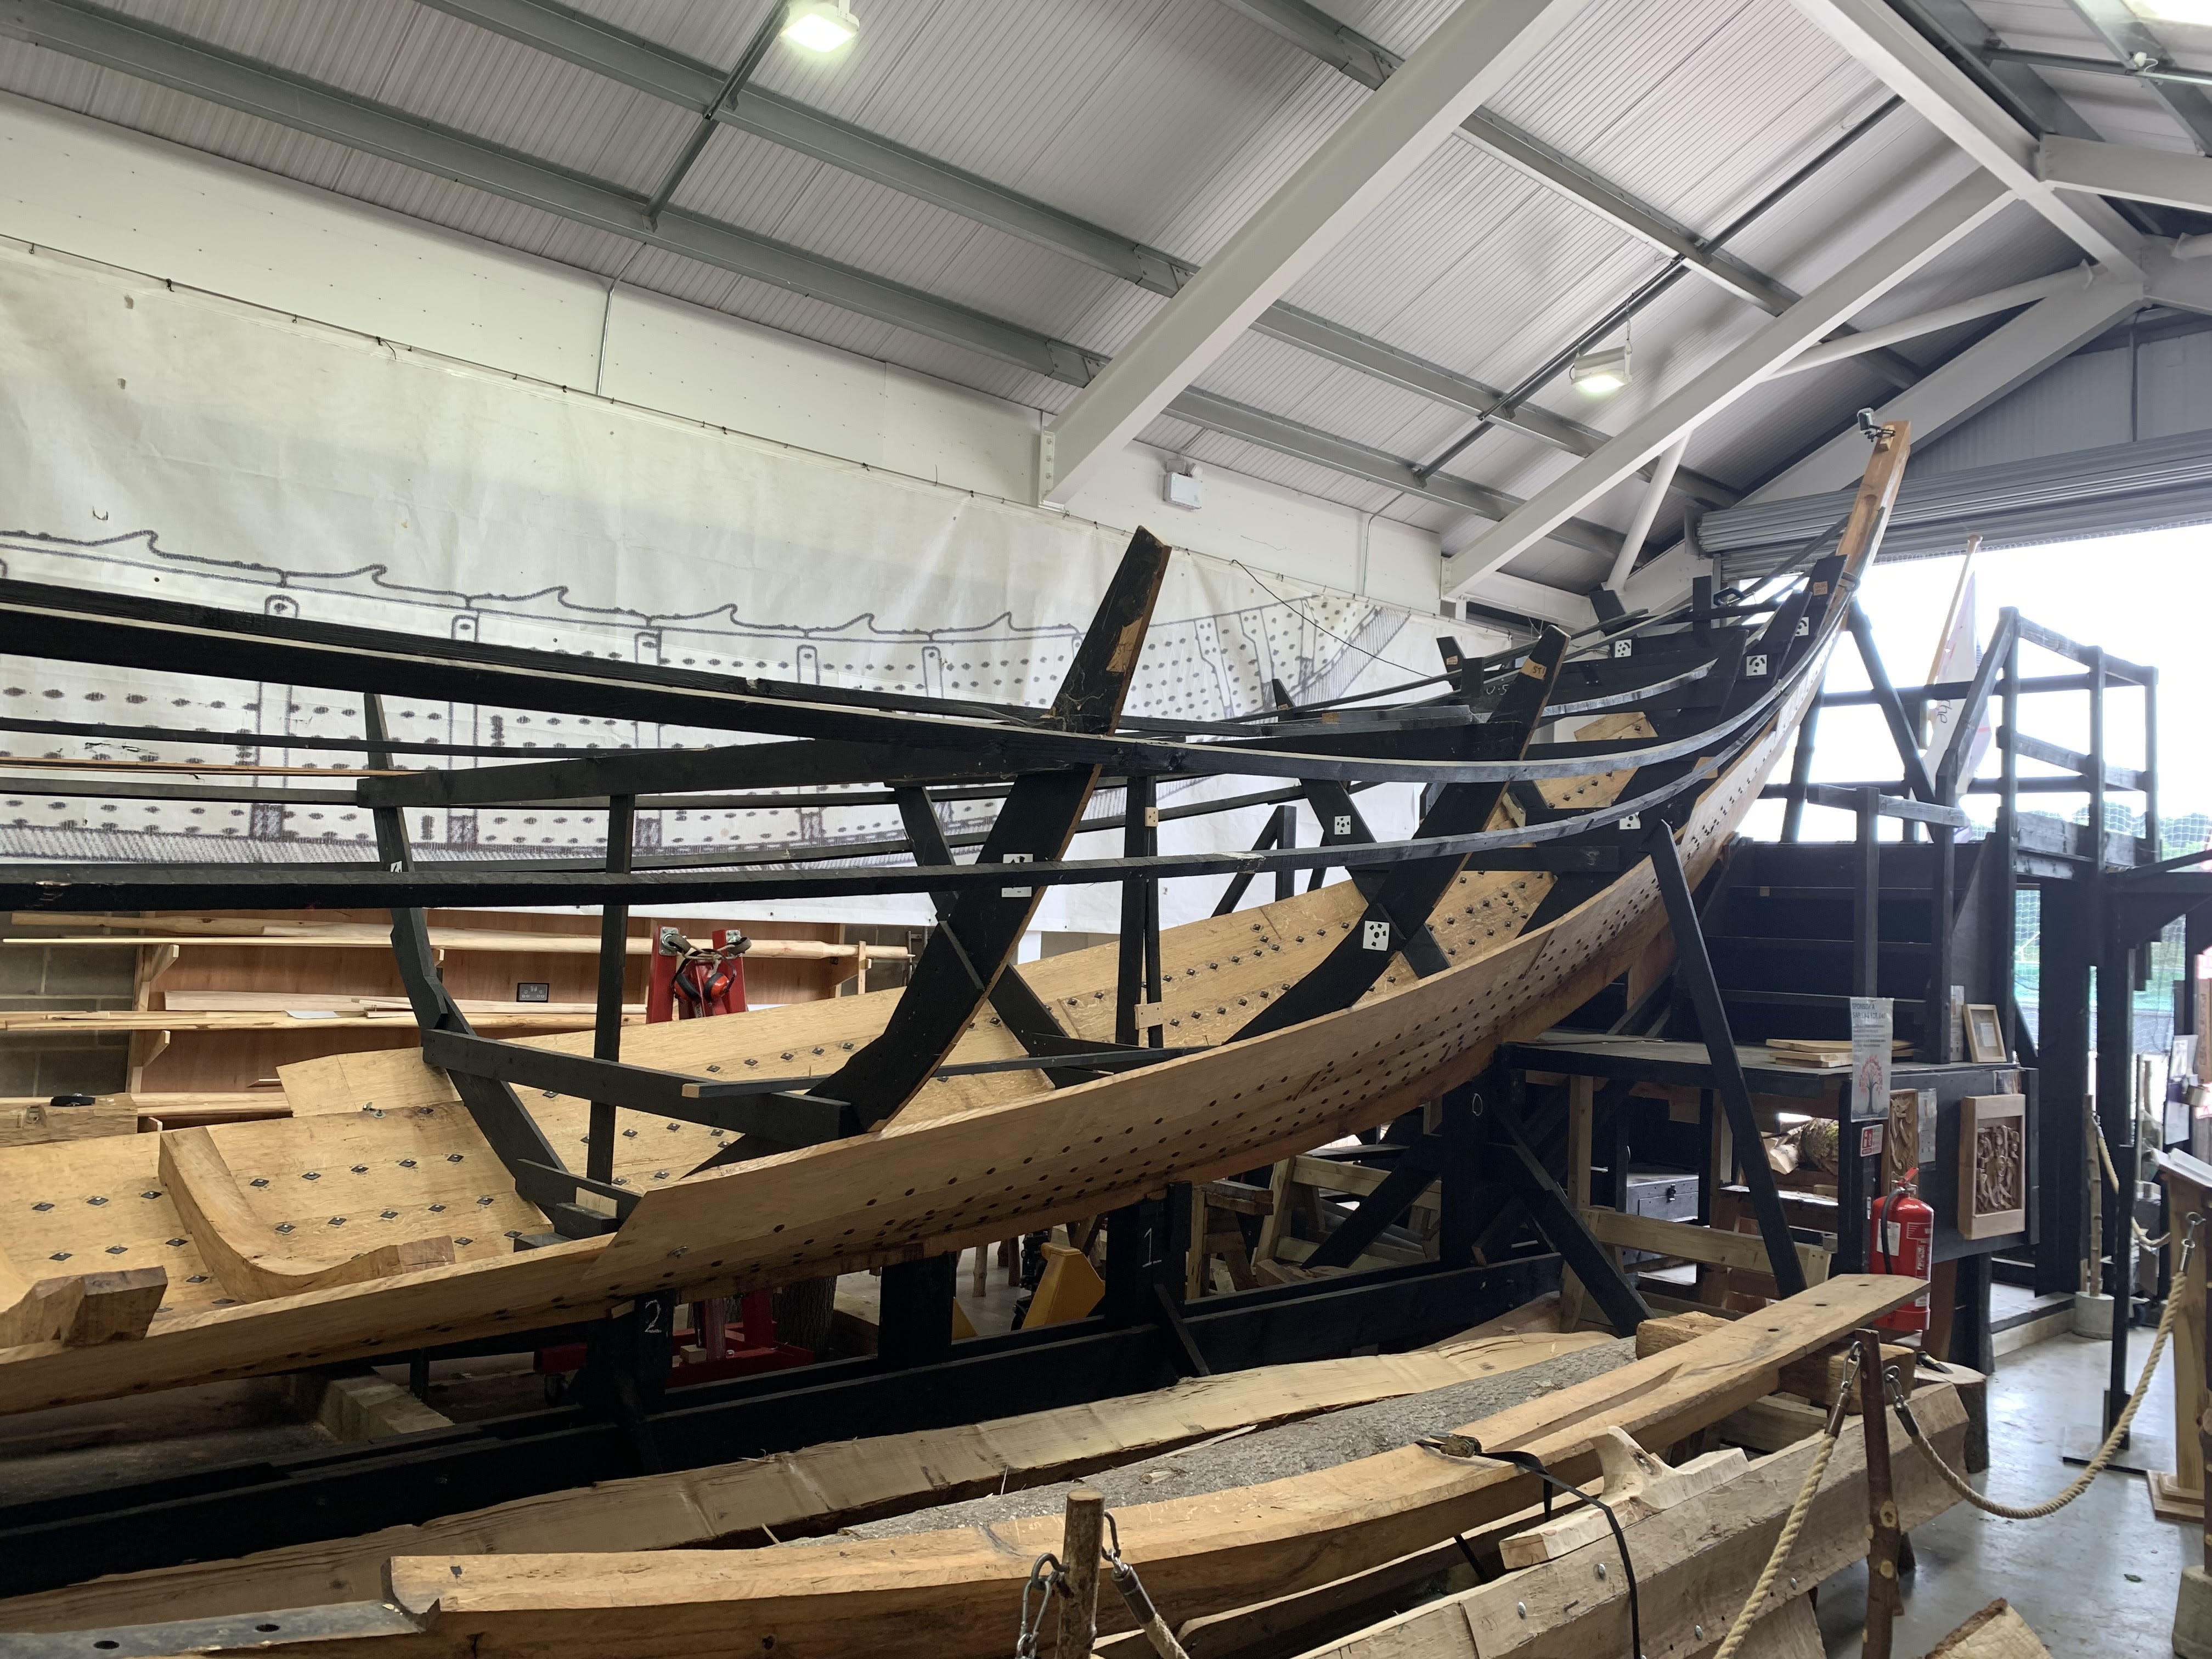
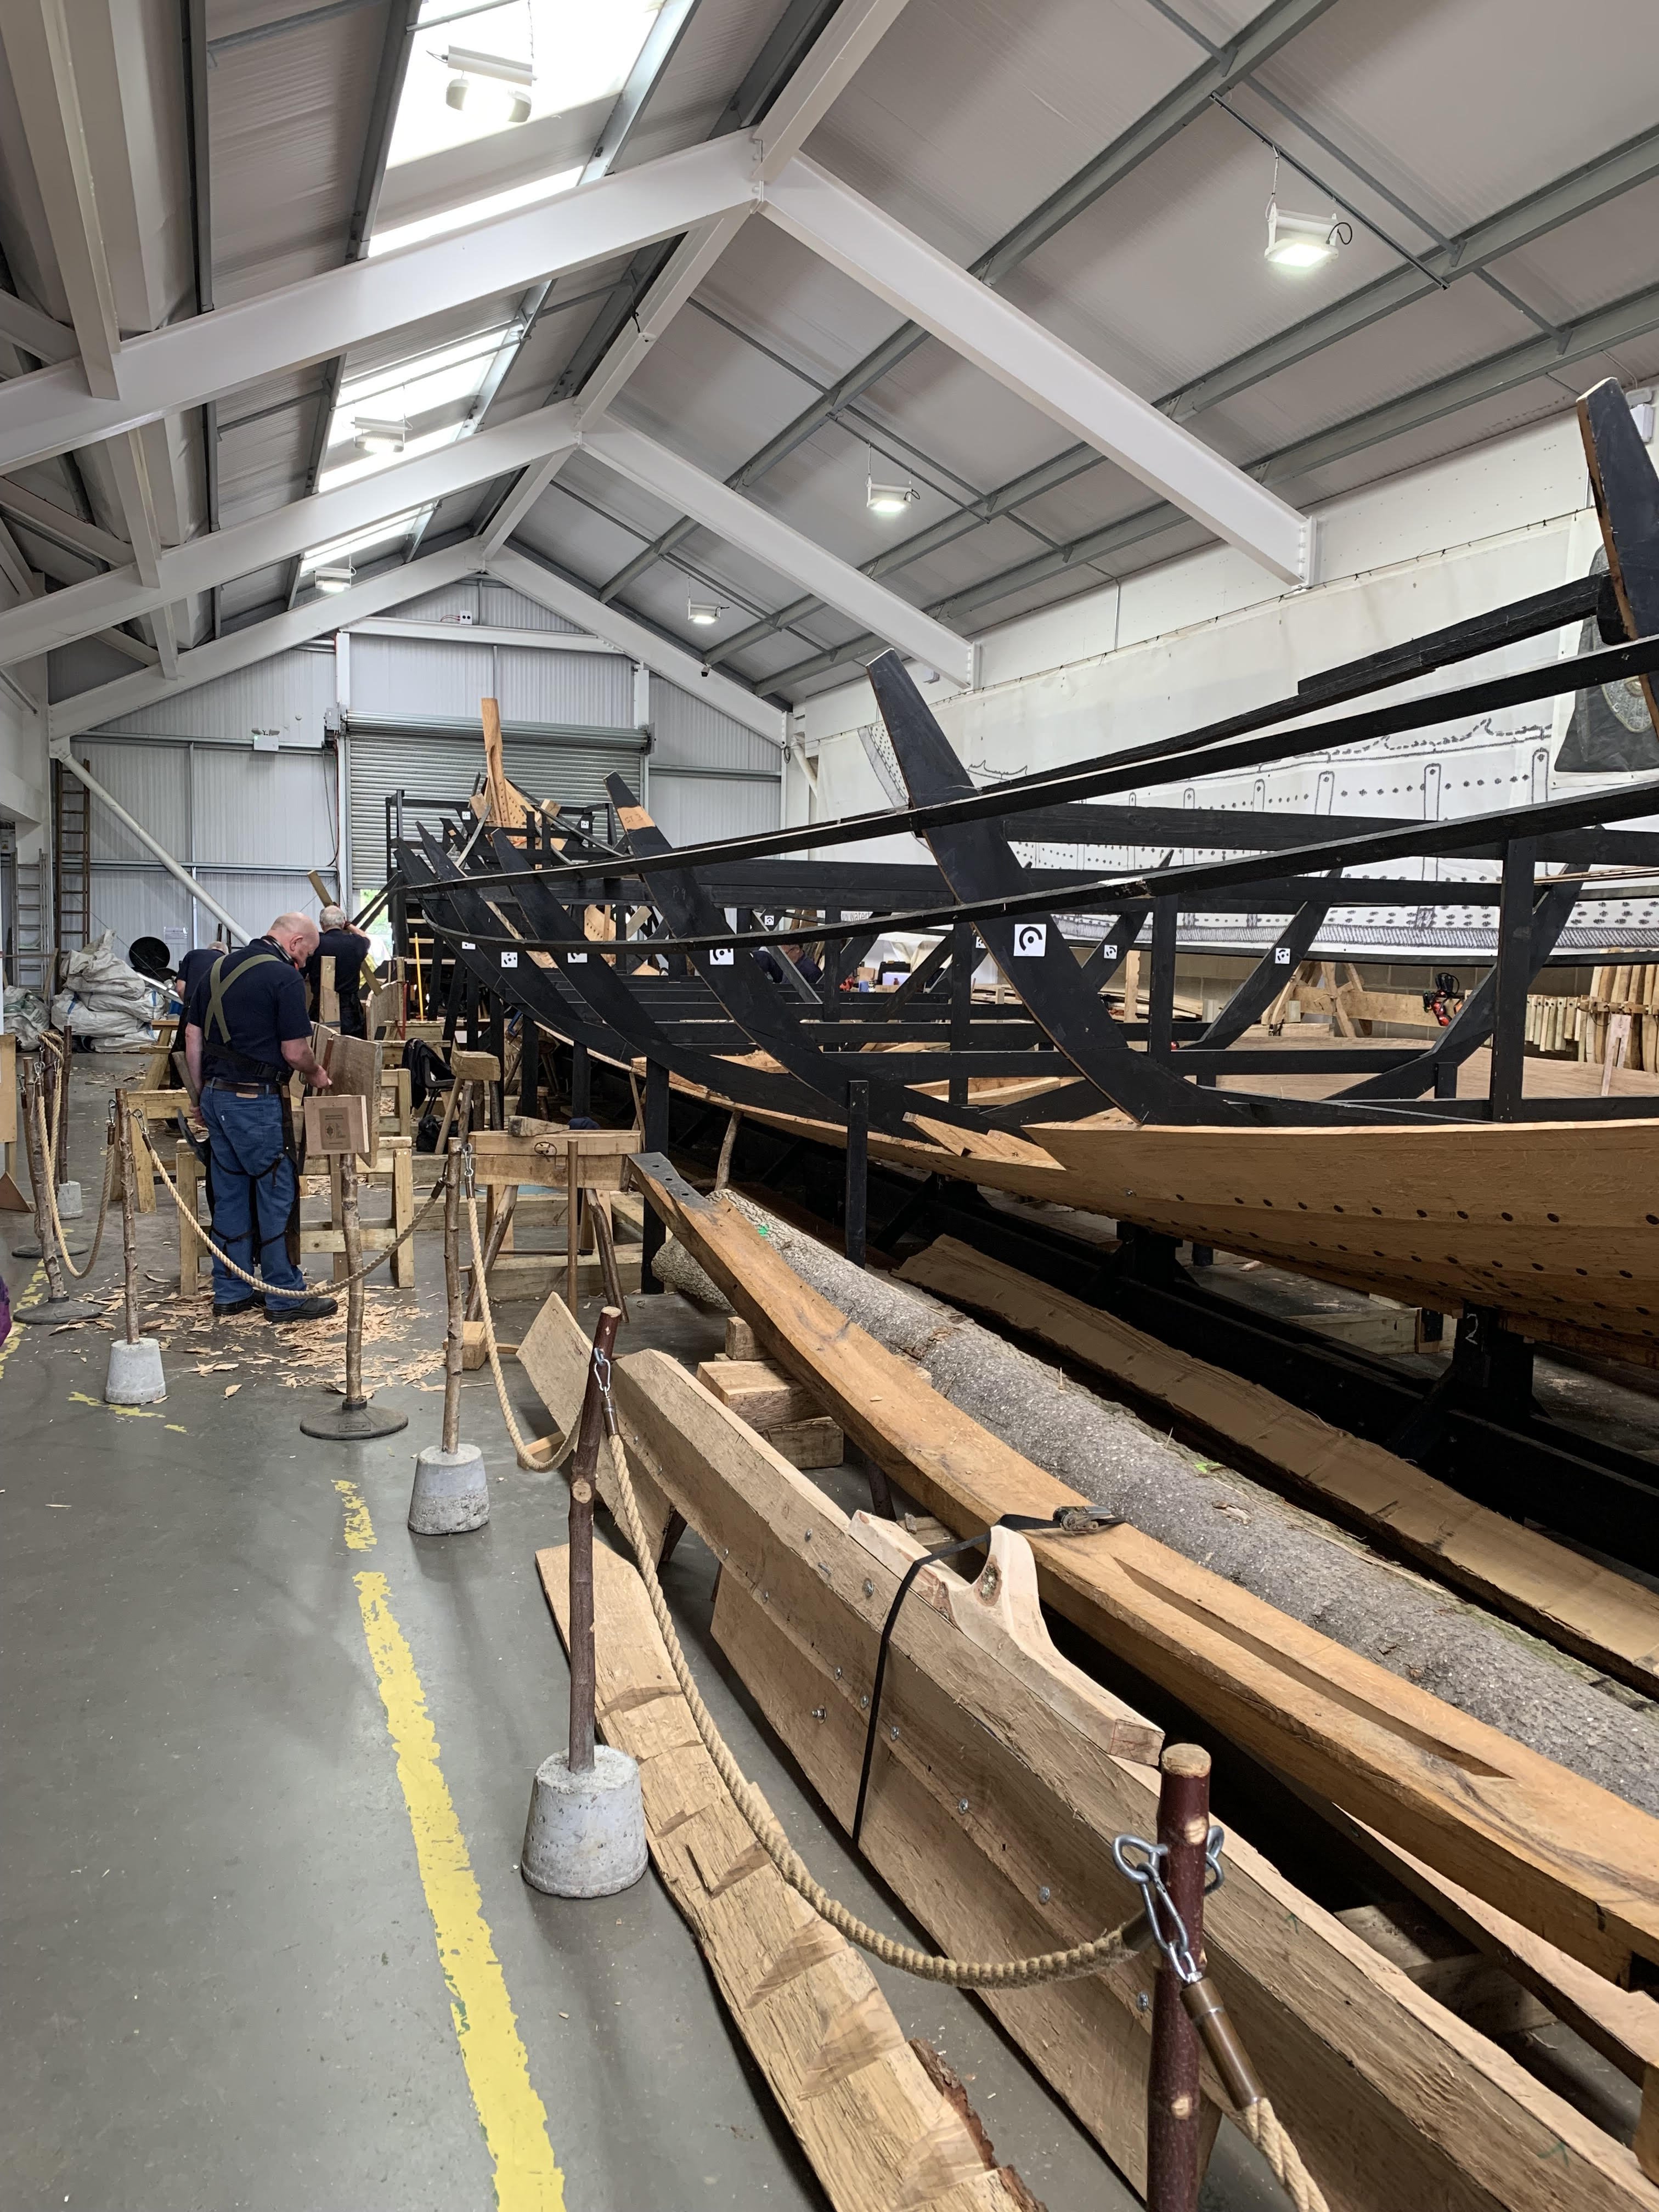
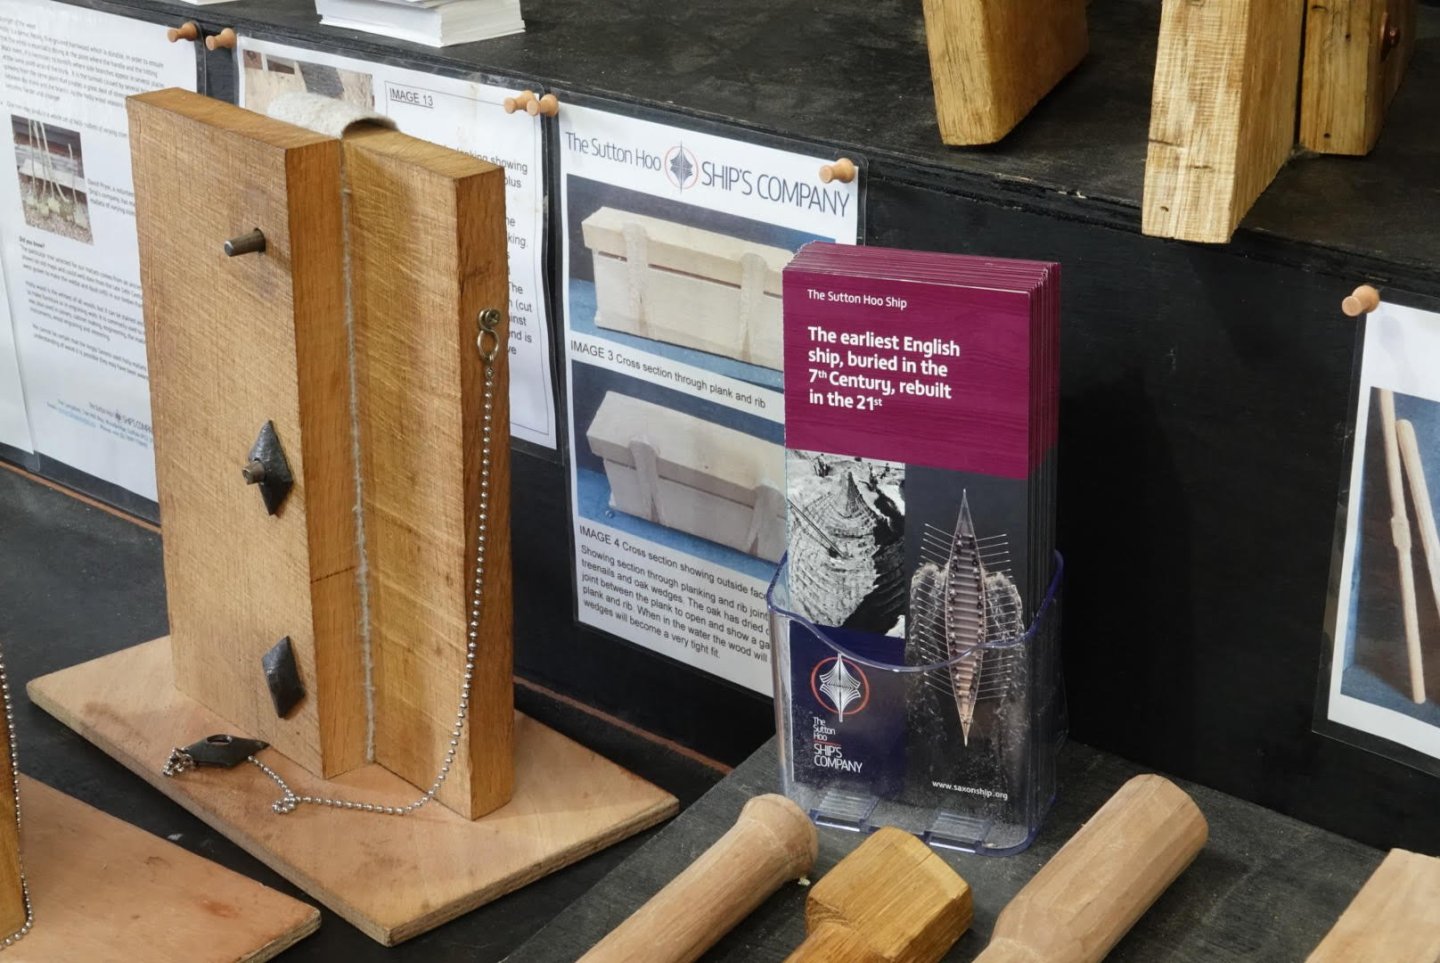
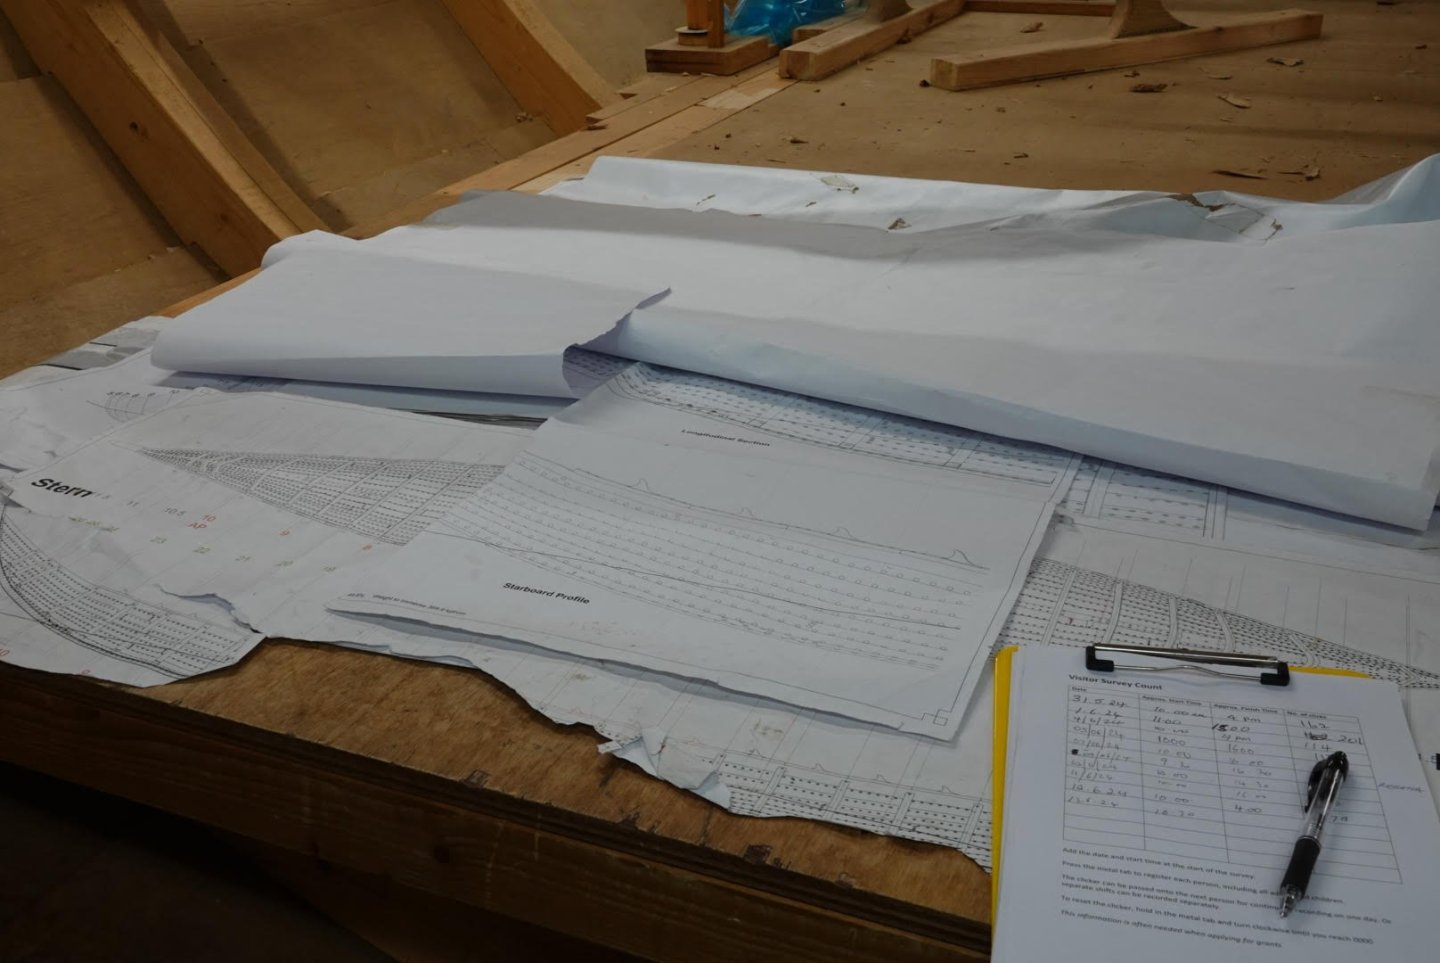
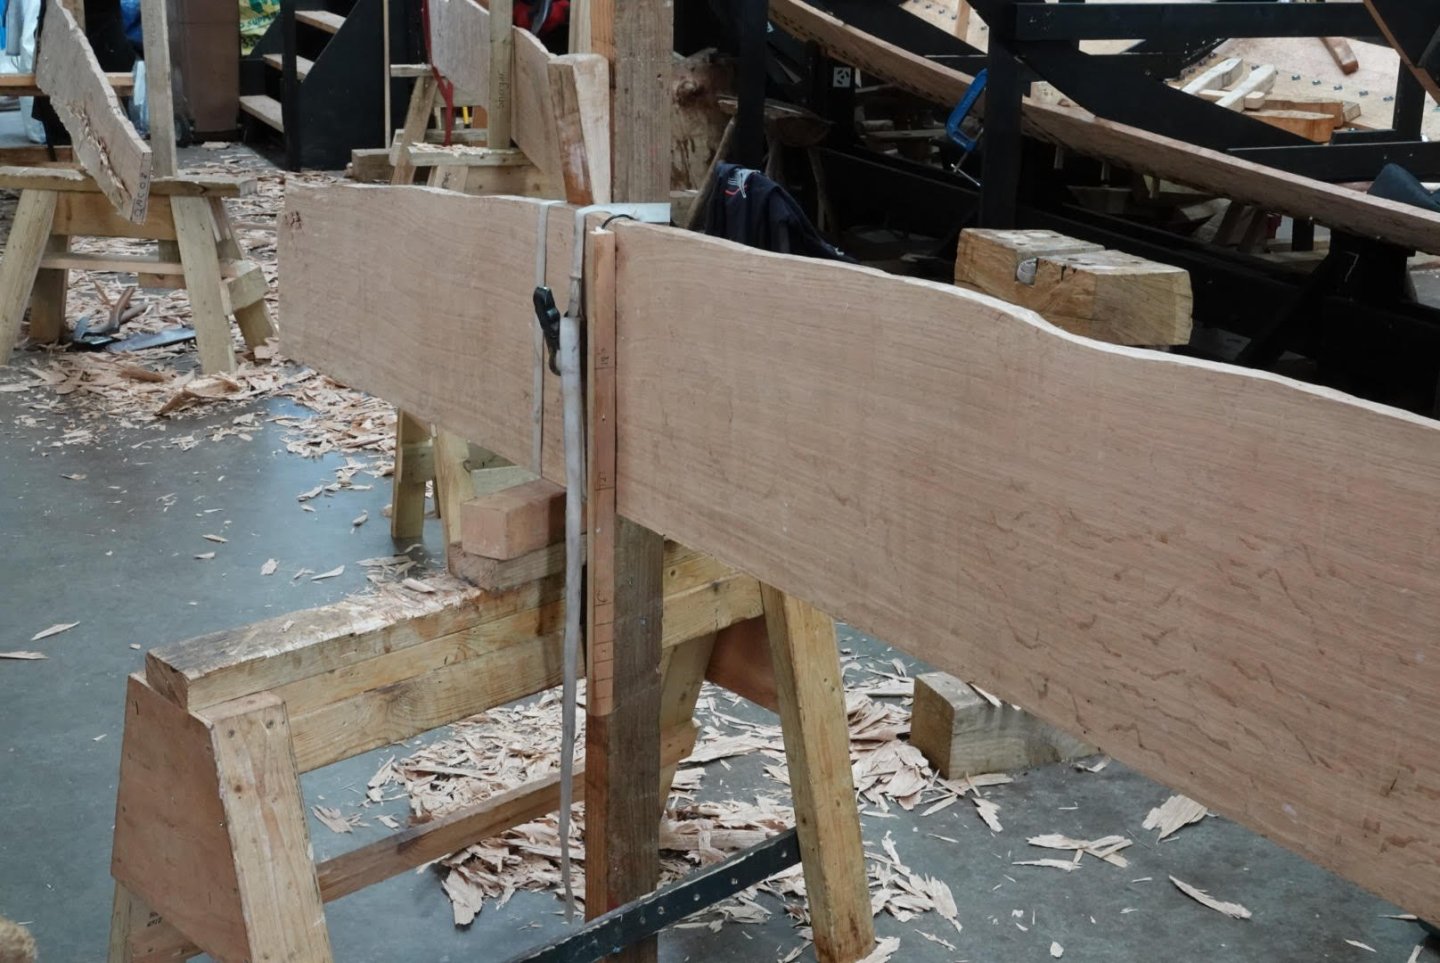
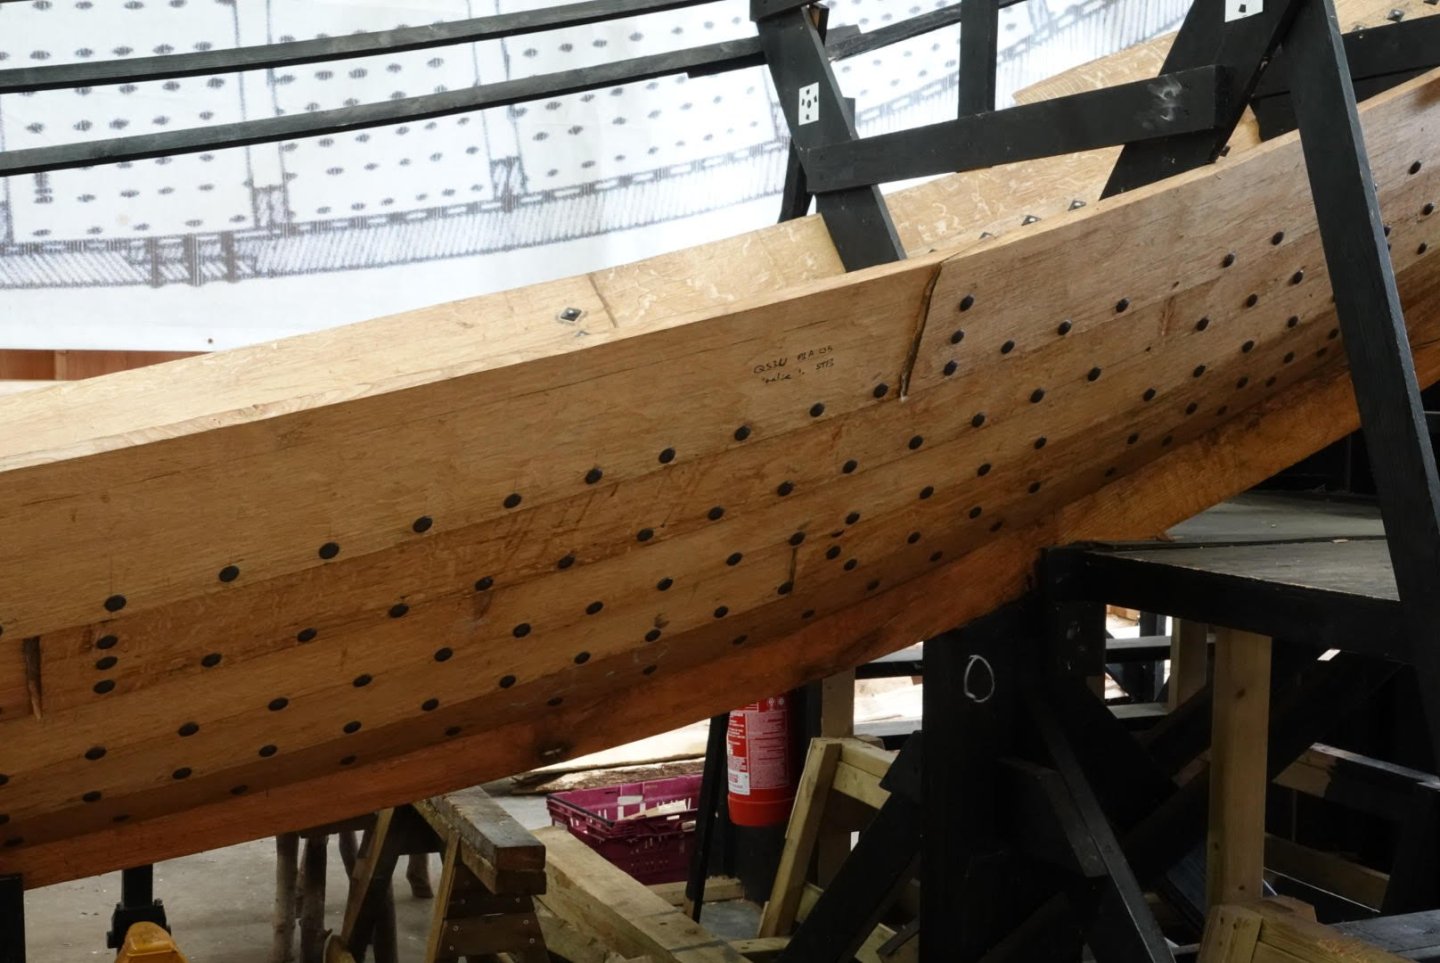
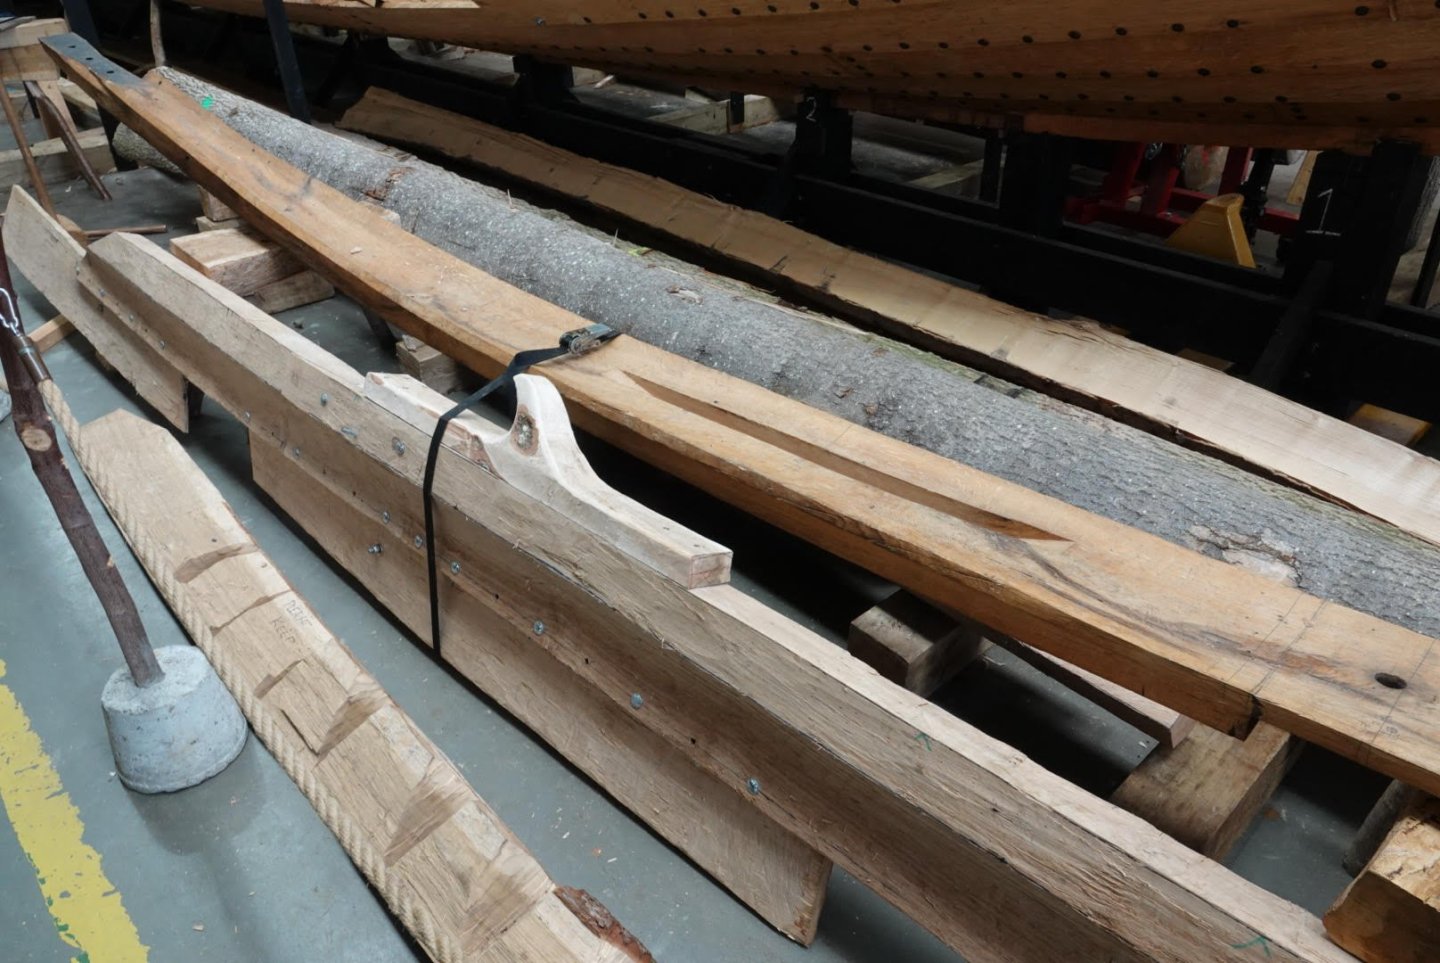
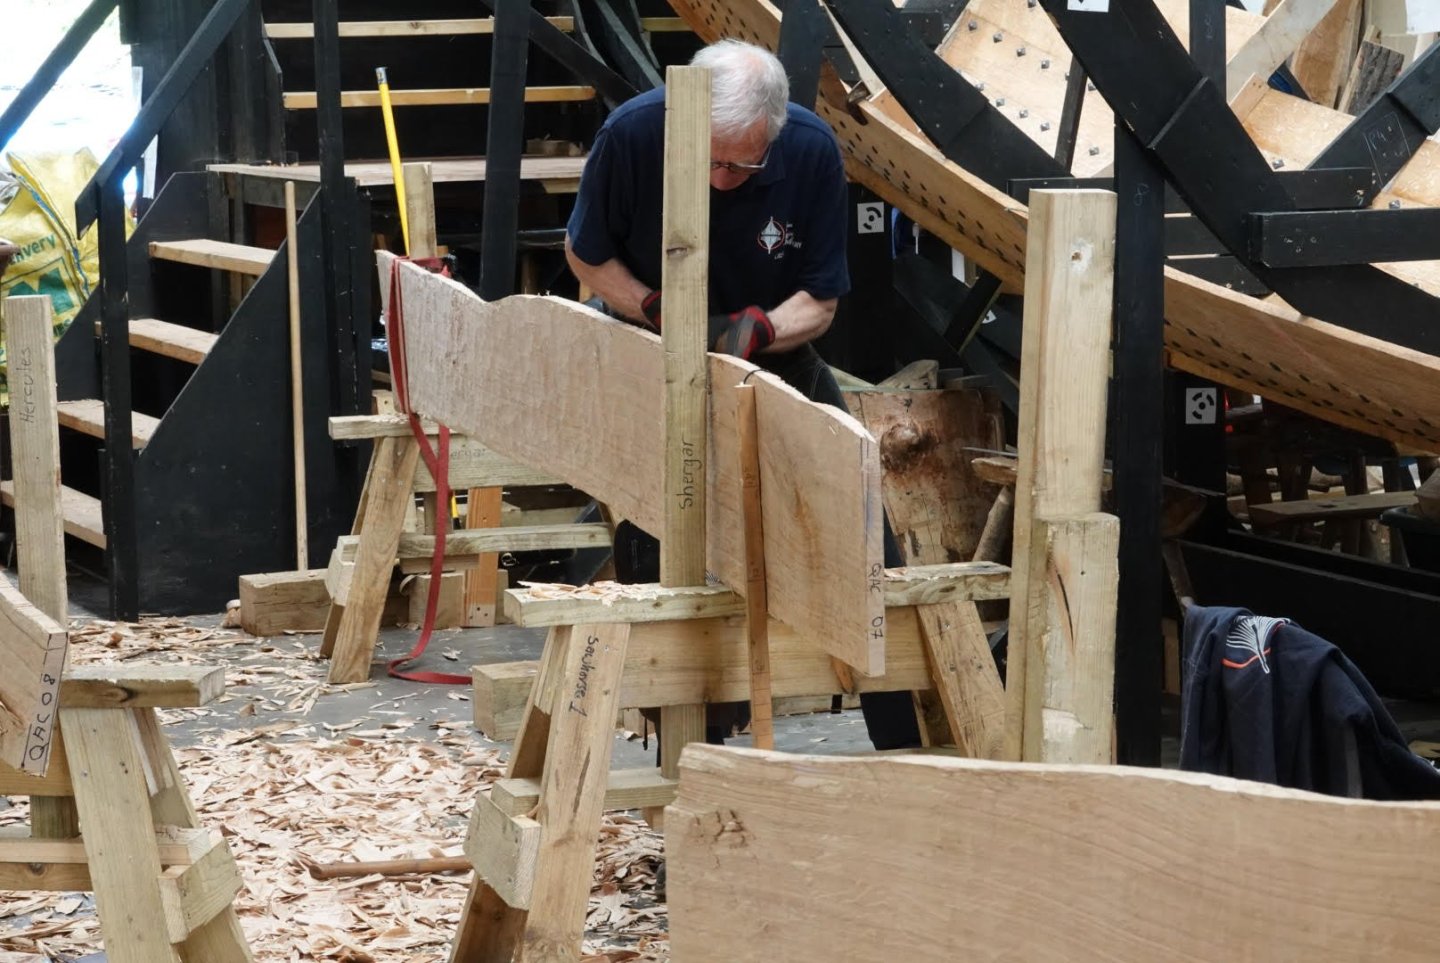
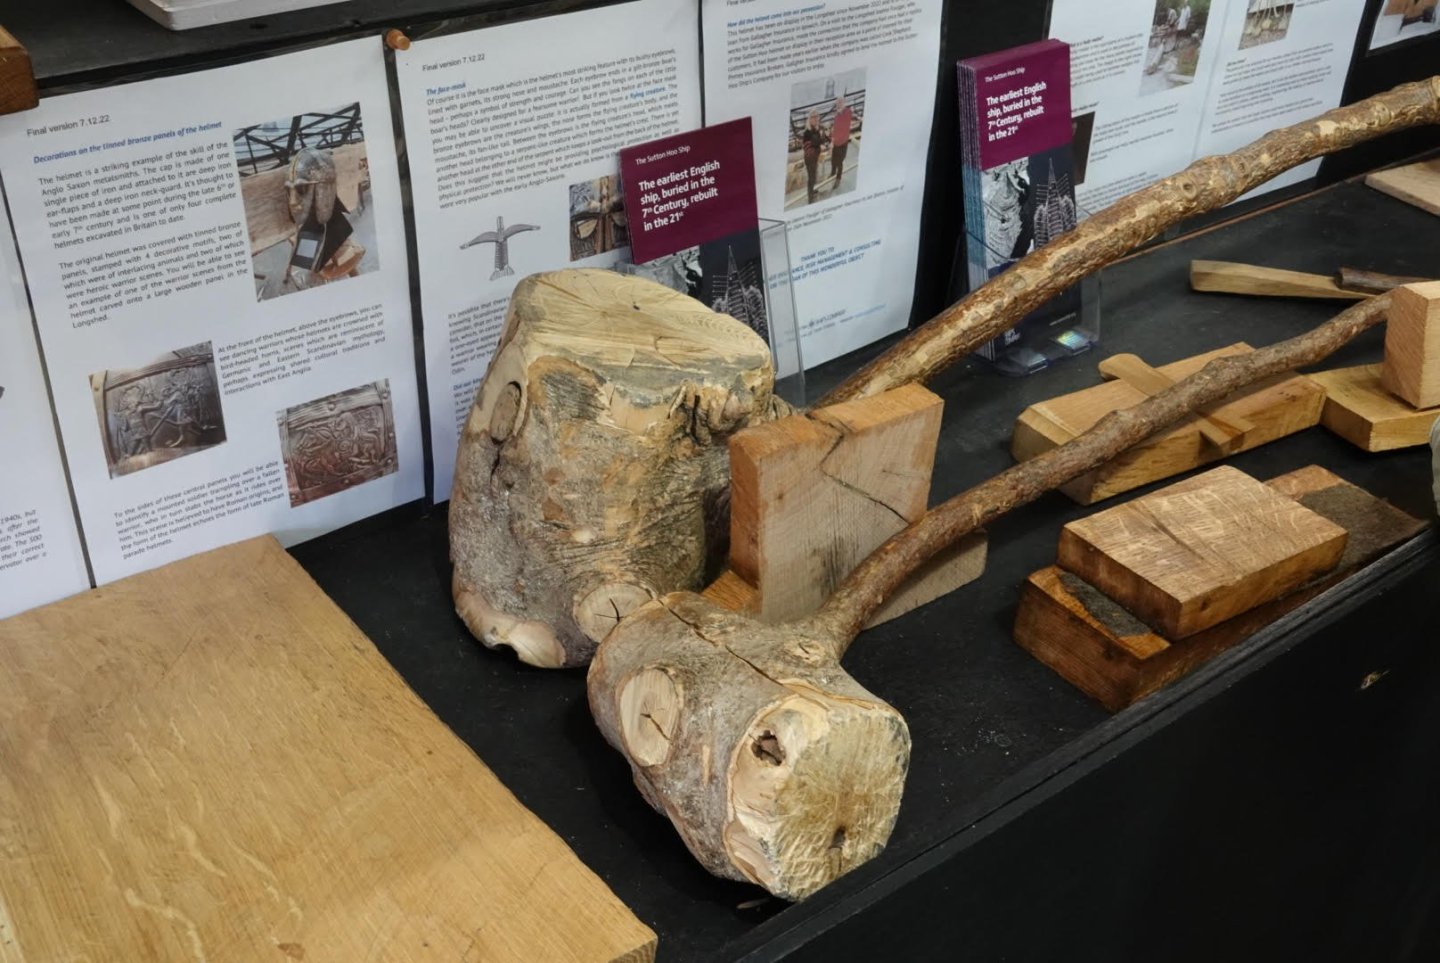
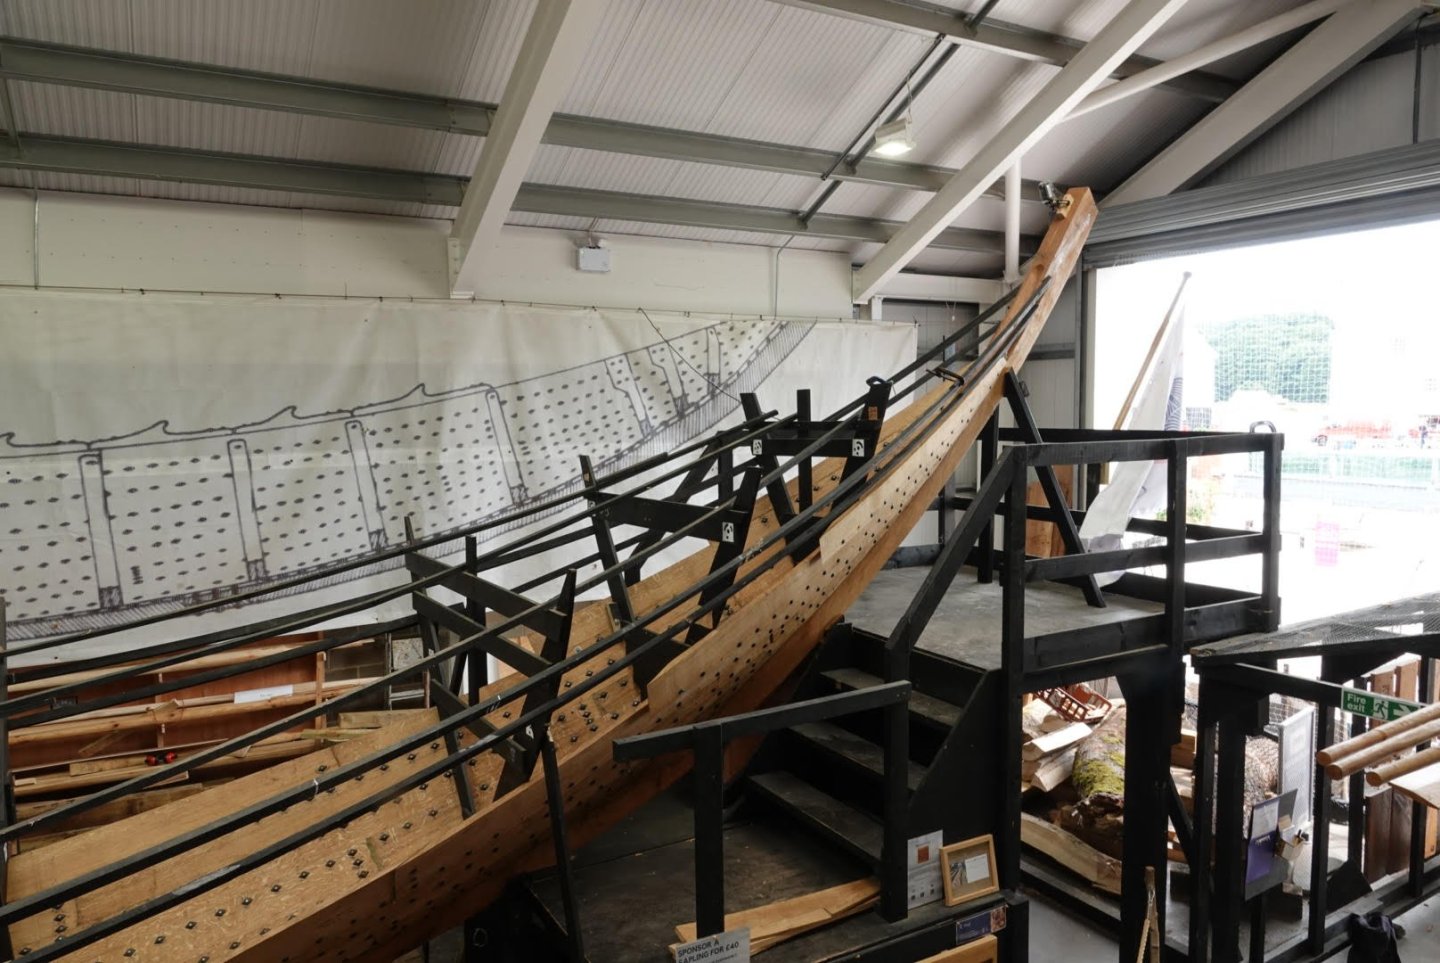
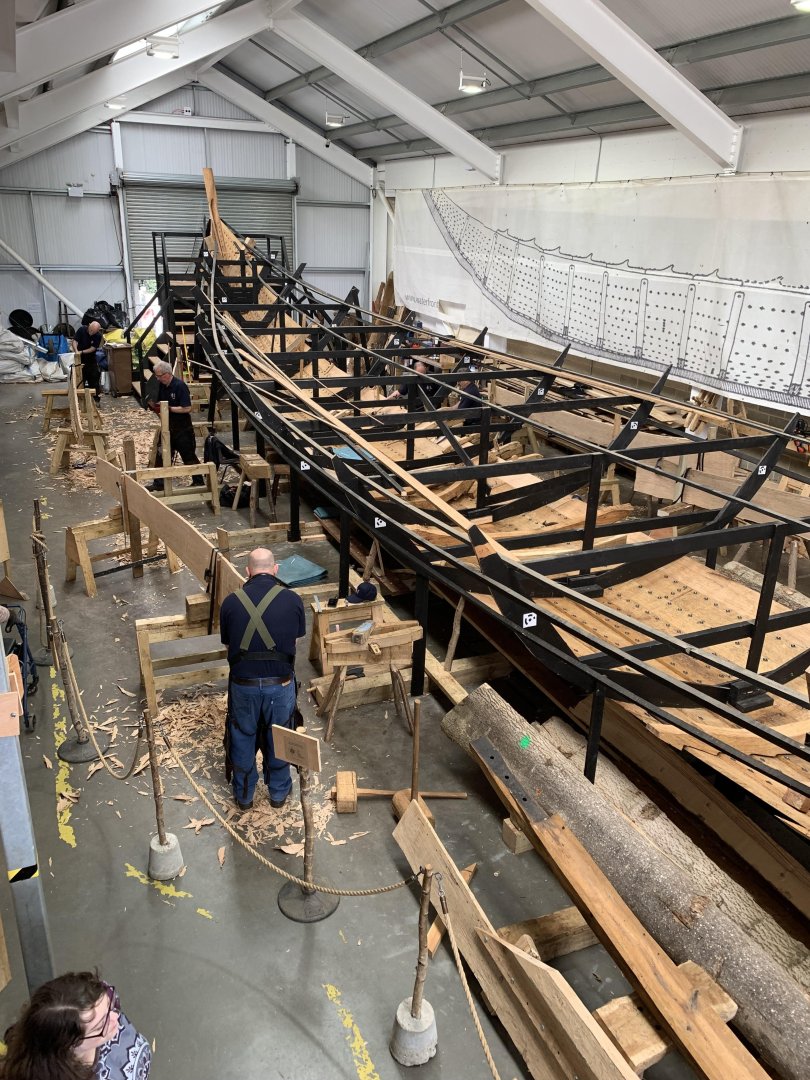
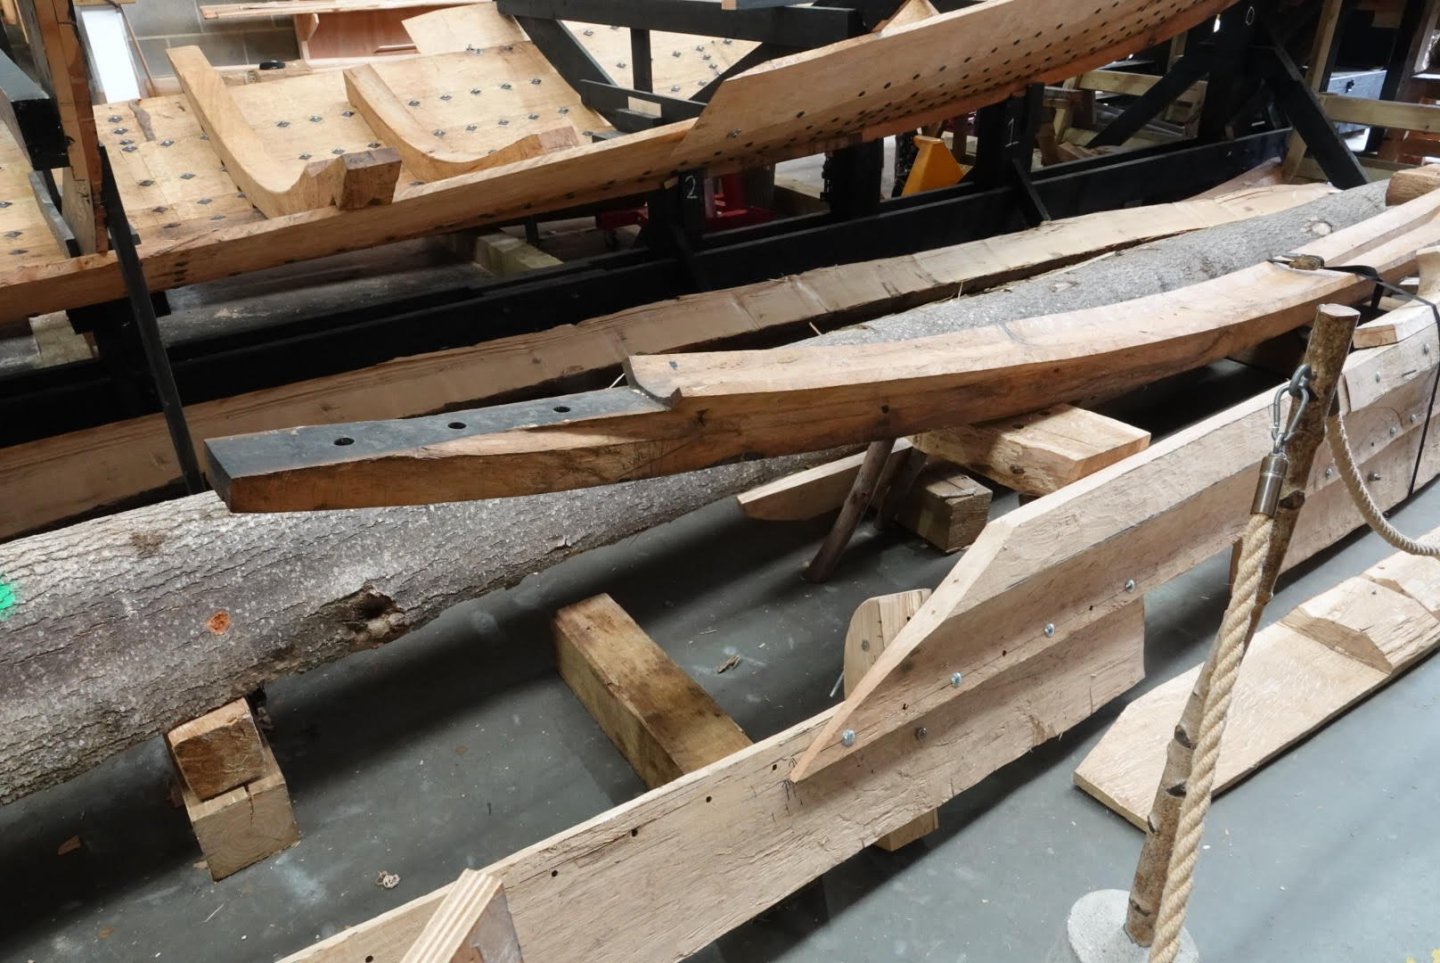
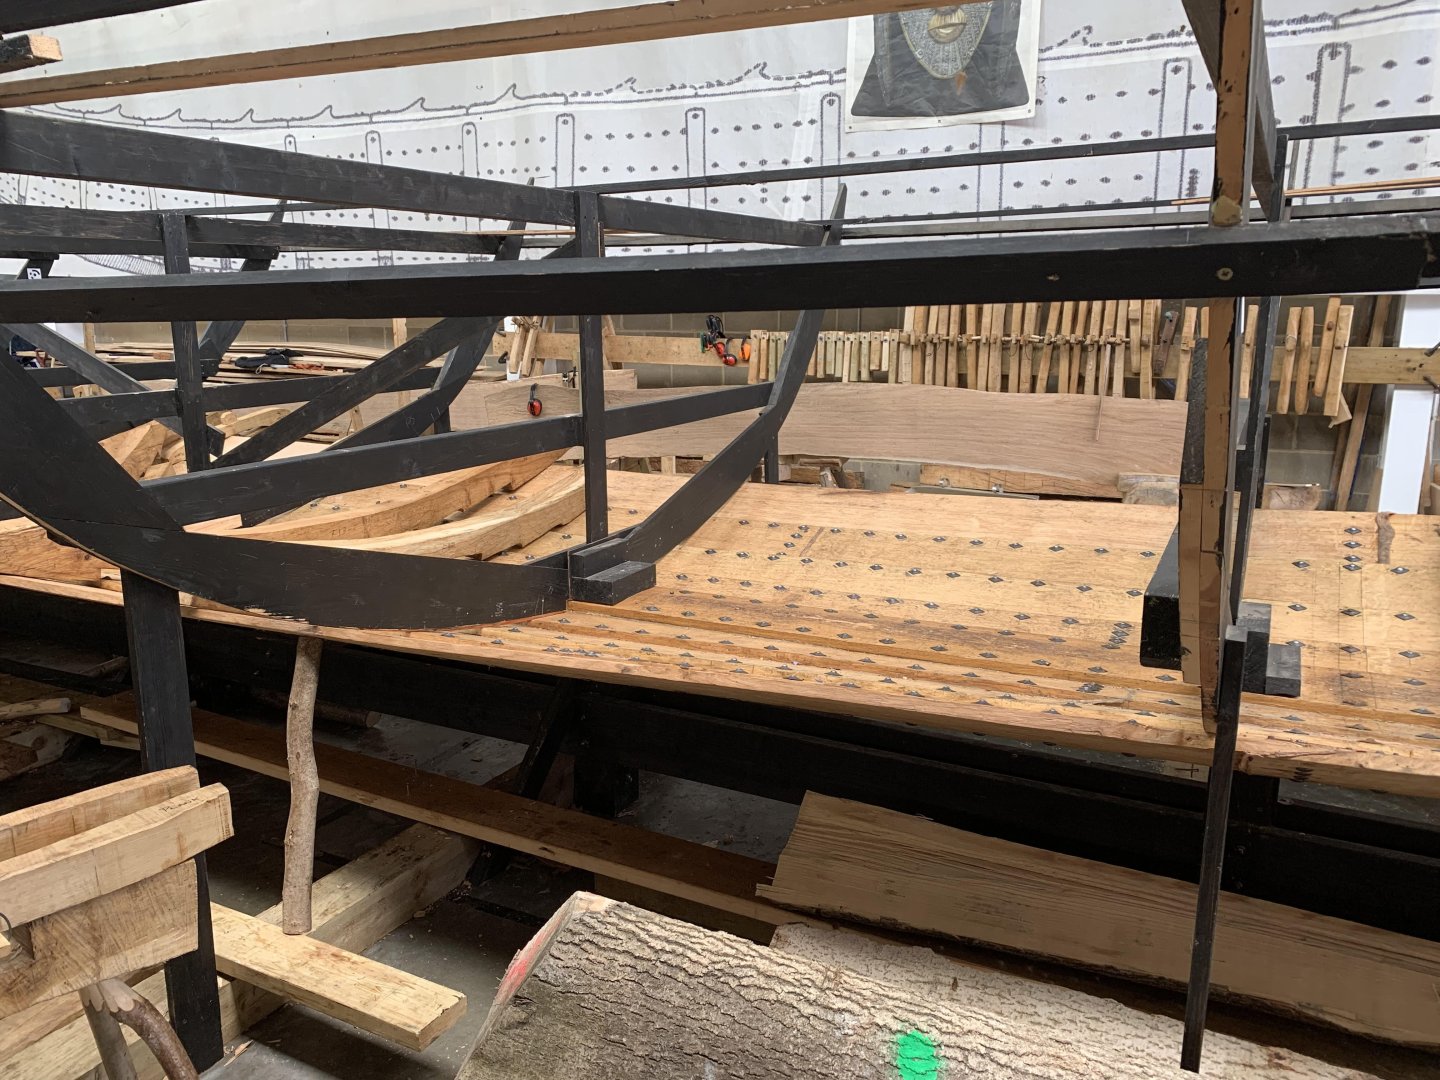
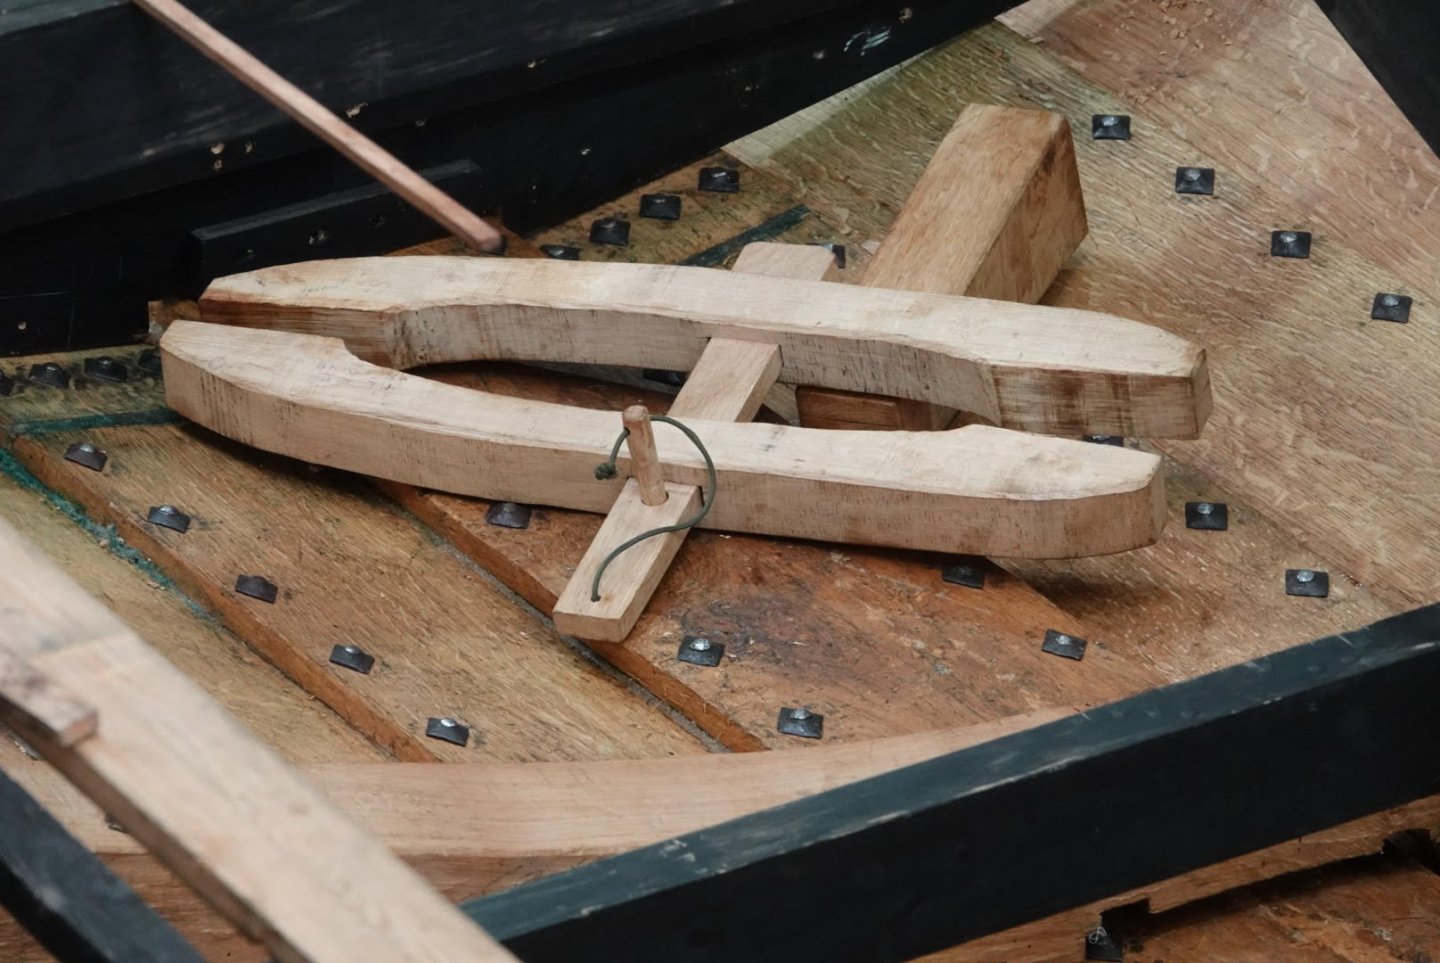
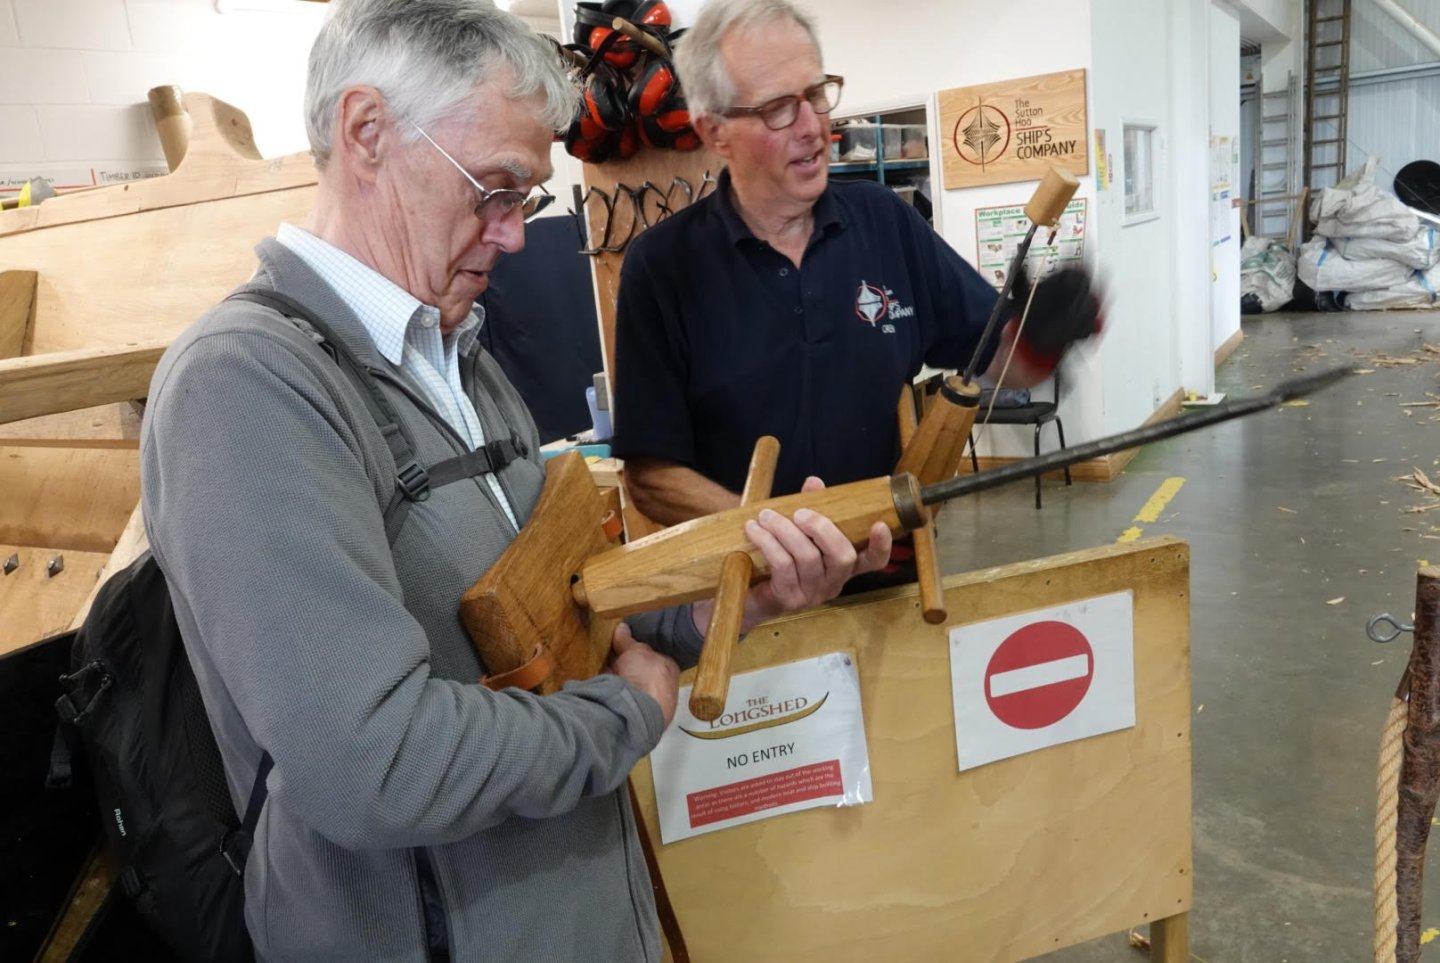
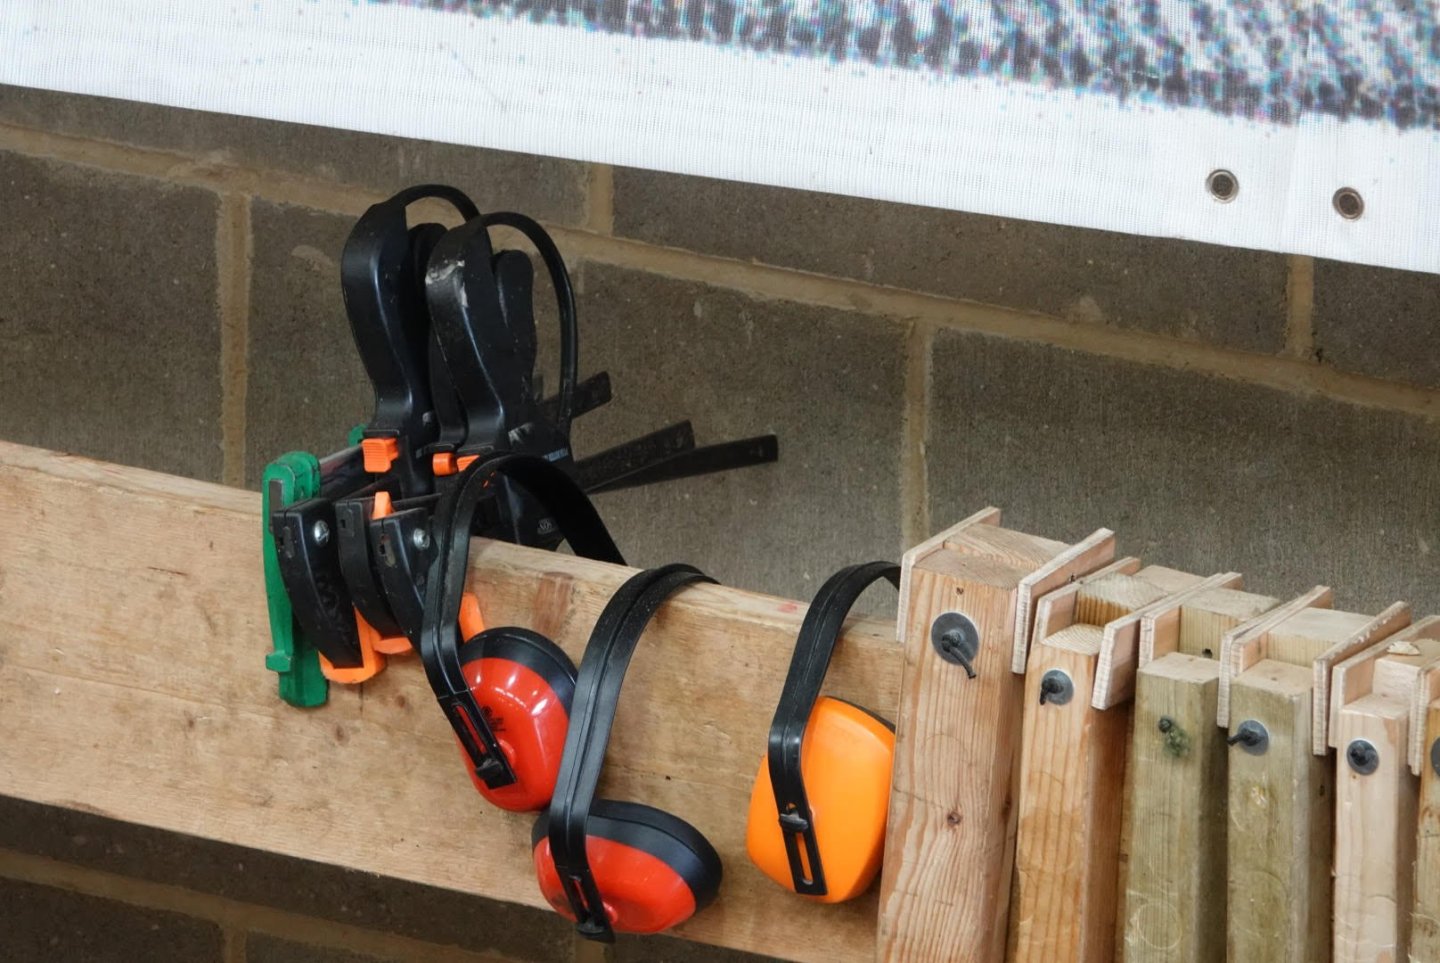
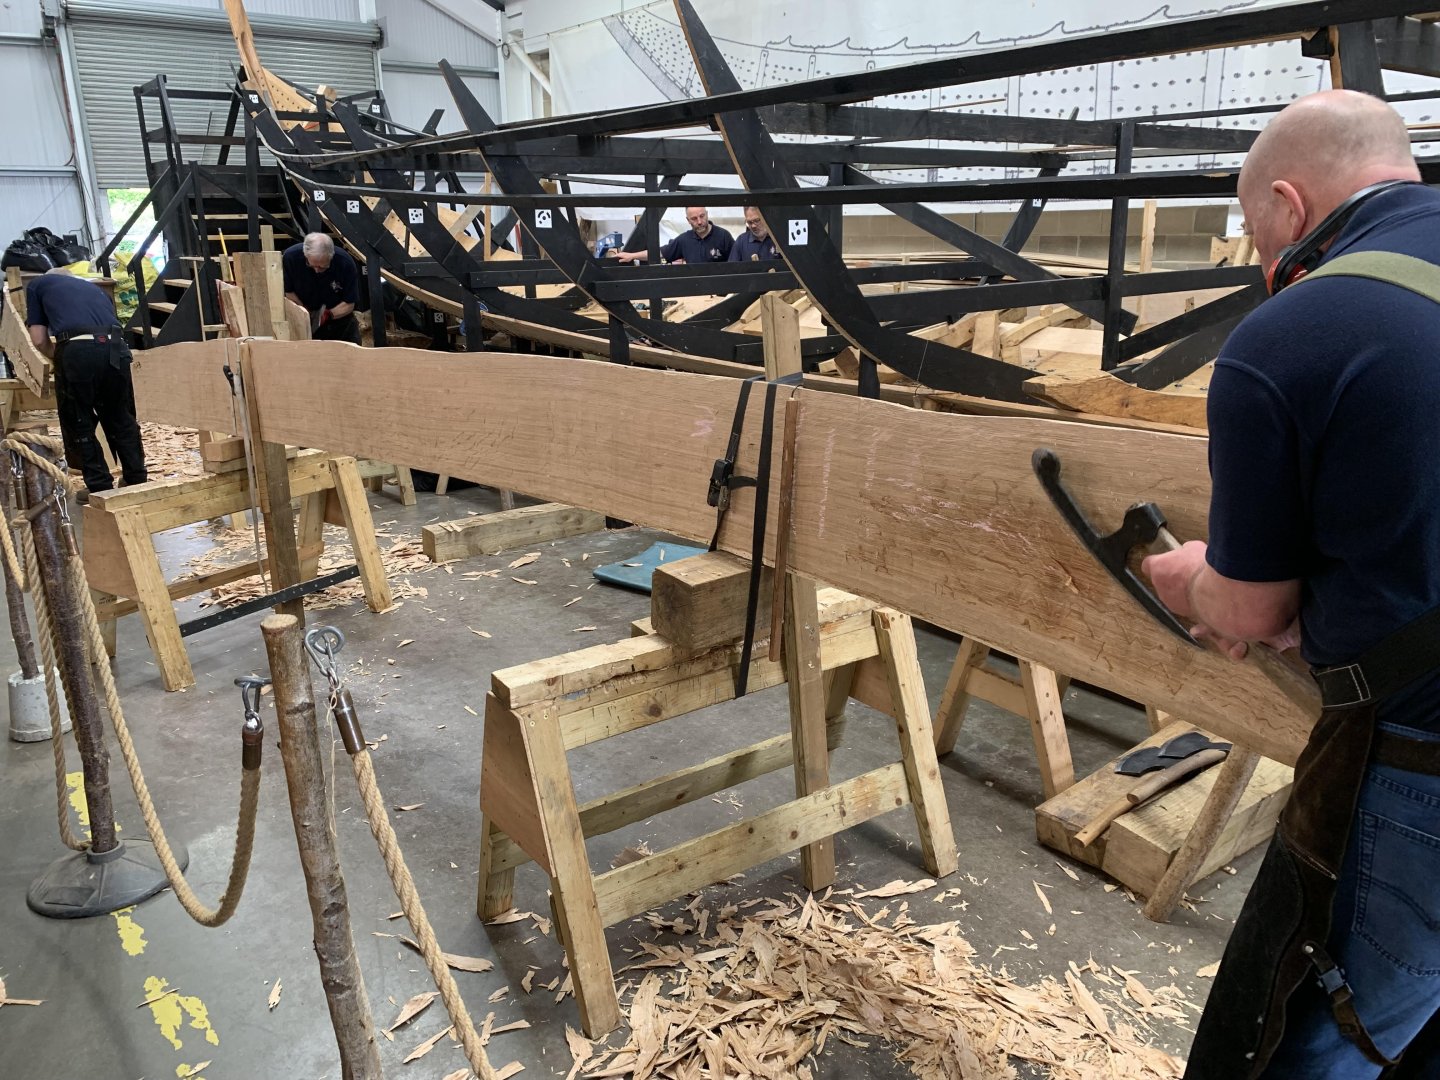
Thank you Steve. And now something of a deviation. I took a trip to Woodbridge (Suffolk) earlier today, just across the river from Sutton Hoo on the River Deben. Here a bunch of old codgers have decided to build a full sized replica of the Sutton Hoo ship using traditional methods and tools. They seem to have done a decent job on draughting the plans but don't seem too good at looking after them. Reminded me of my workbench. They started by building a small scale replica. About 1/4 size. Then they built a full sized replica of a segment of the hull. Being a traditional build they are not using sawn planks - each plank is being split from the tree trunk using wedges and sledge hammer. They explained that this was quite a wasteful process - never being sure what the split would reveal or how the plank would turn out. Keel and rai pieces:- The planks are being shaped with axes off various types. The piece of wood hanging down just in front of the sawing horse is curved on one side to the shape the plank needs to be in the vertical direction. The shipwright is using this as a guide to hollow out one side of the board before shaping the other side to a uniform width. The guide stick in use. It seems that ancient shipwrights needed a good supply of clamps:- My brother in law took too much of an interested so was given a demonstration of the ease with which holes are being drilled into the hull. The auger bears against the thrust plate on the chest and then apparently the heftiest shipwright available puts all his weight against the operators back while he turns the handles. The ancients were quite sophisticated when it came to health and safety at work. In these modern times we can't apparently replicate everything. Very well worth visiting if you are ever over this way, particularly as the old codgers seem to like the diversion of talking to the public. Some more photos:- By the way - it was all free but donations were gratefully accepted.


-
Thank you guys.