DONATION DRIVE - SUPPORT MSW - DO YOUR PART TO KEEP THIS GREAT FORUM GOING!
×


KeithAug
-
Posts
3,980 -
Joined
-
Last visited
Content Type
Profiles
Forums
Gallery
Events
Everything posted by KeithAug
-
 Hmmm! lee rail in the water, better reduce sail.
 -
Top left - looks like someone had an accident! Excellent detailing Mark.
-
Shouldn't have worried John - very neat.
-
Rick - Drilled individually using the mill as a drill press with an 8mm brad point wood drill. Thank you for your comments Keith, Rick, Pat, mcm, and thanks to all my other visitors.
-
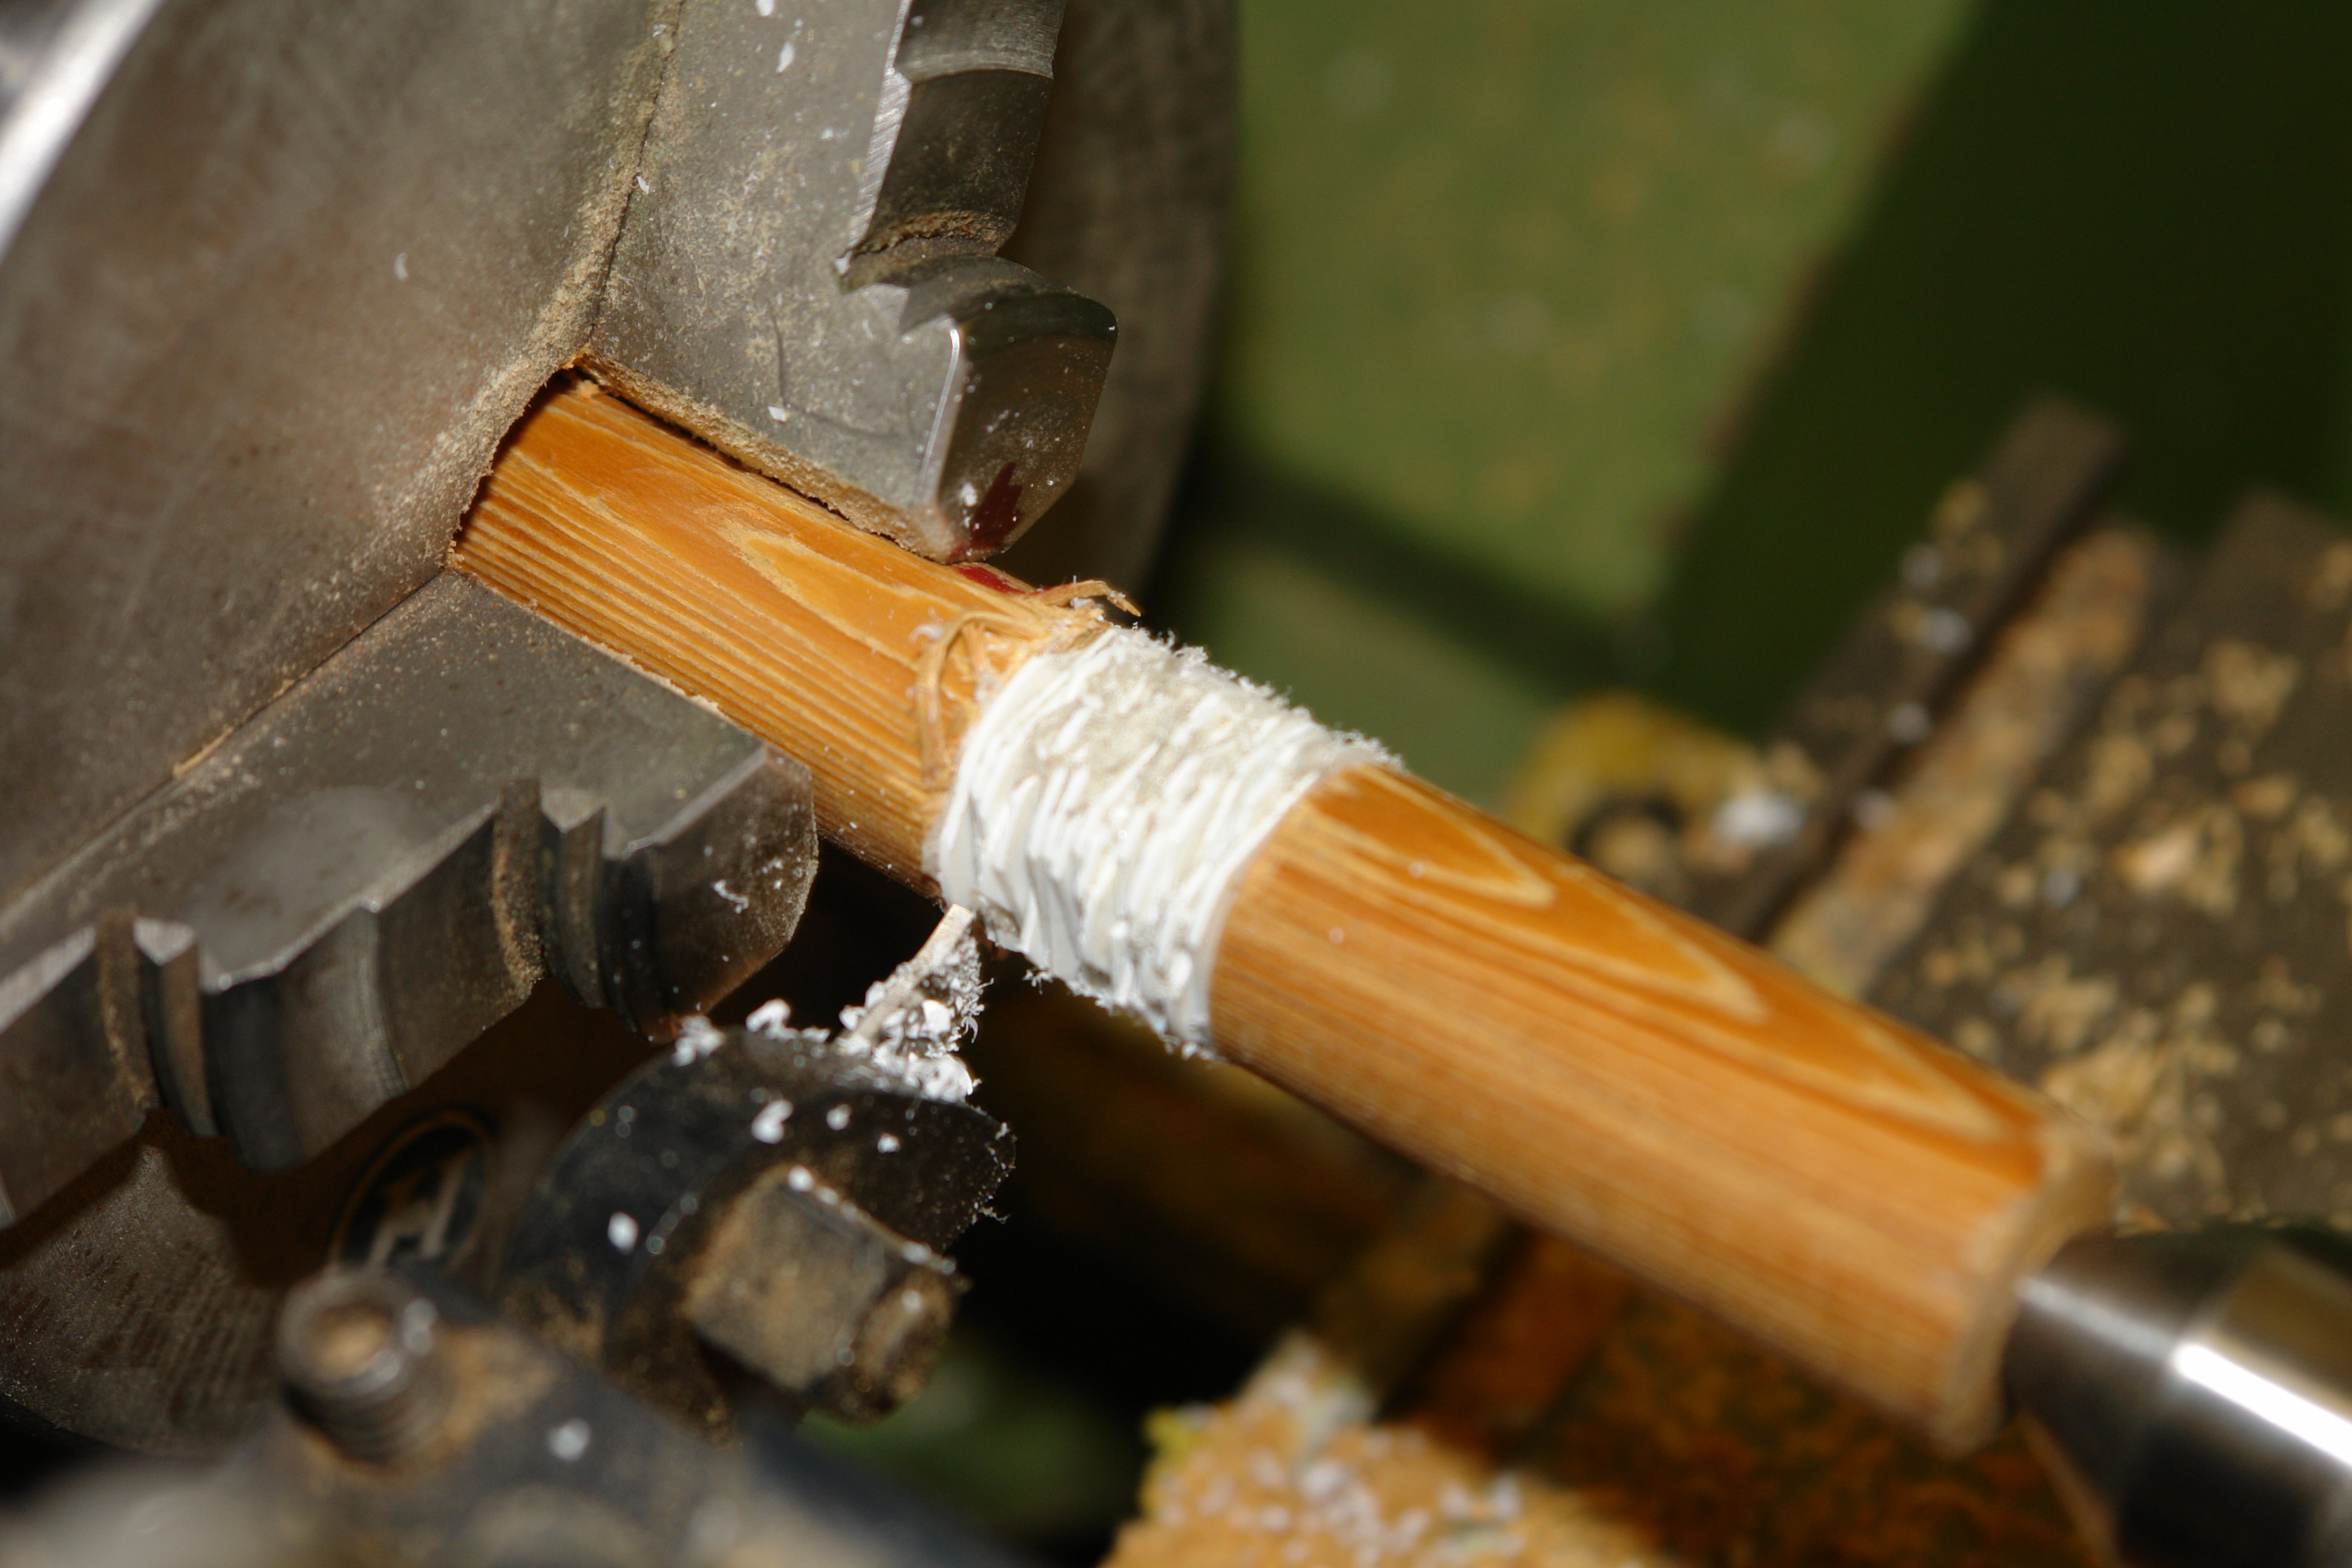
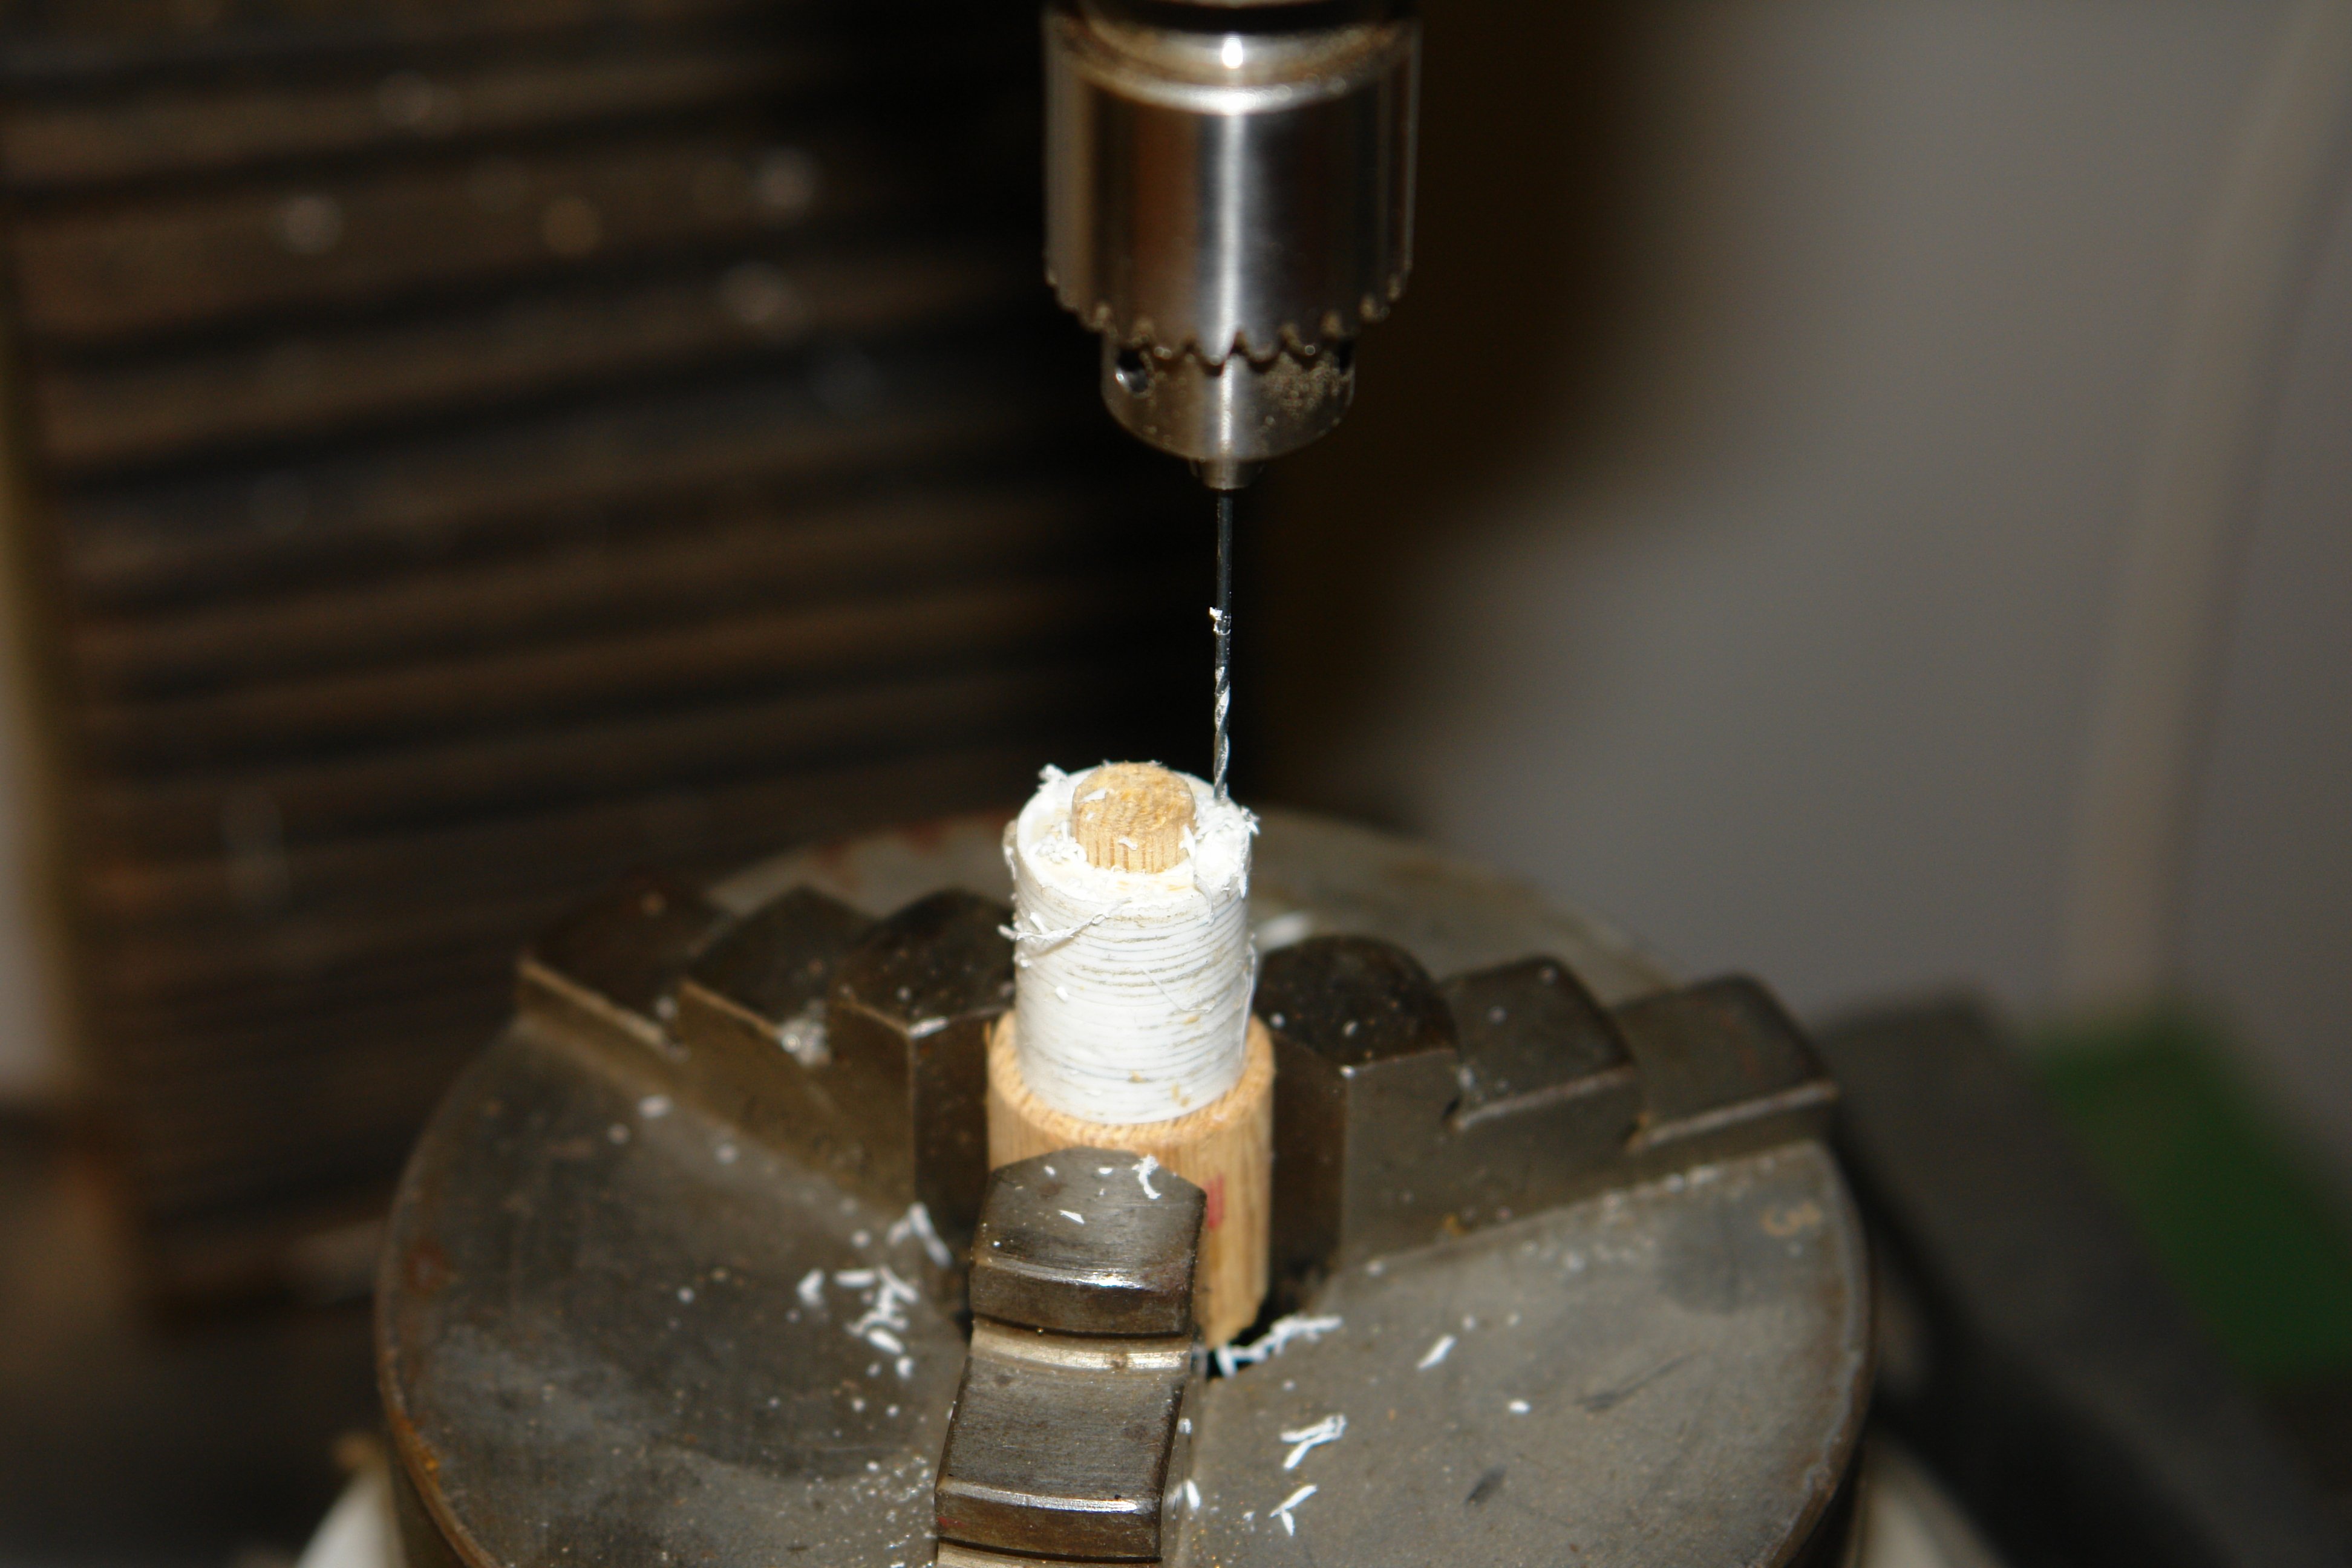
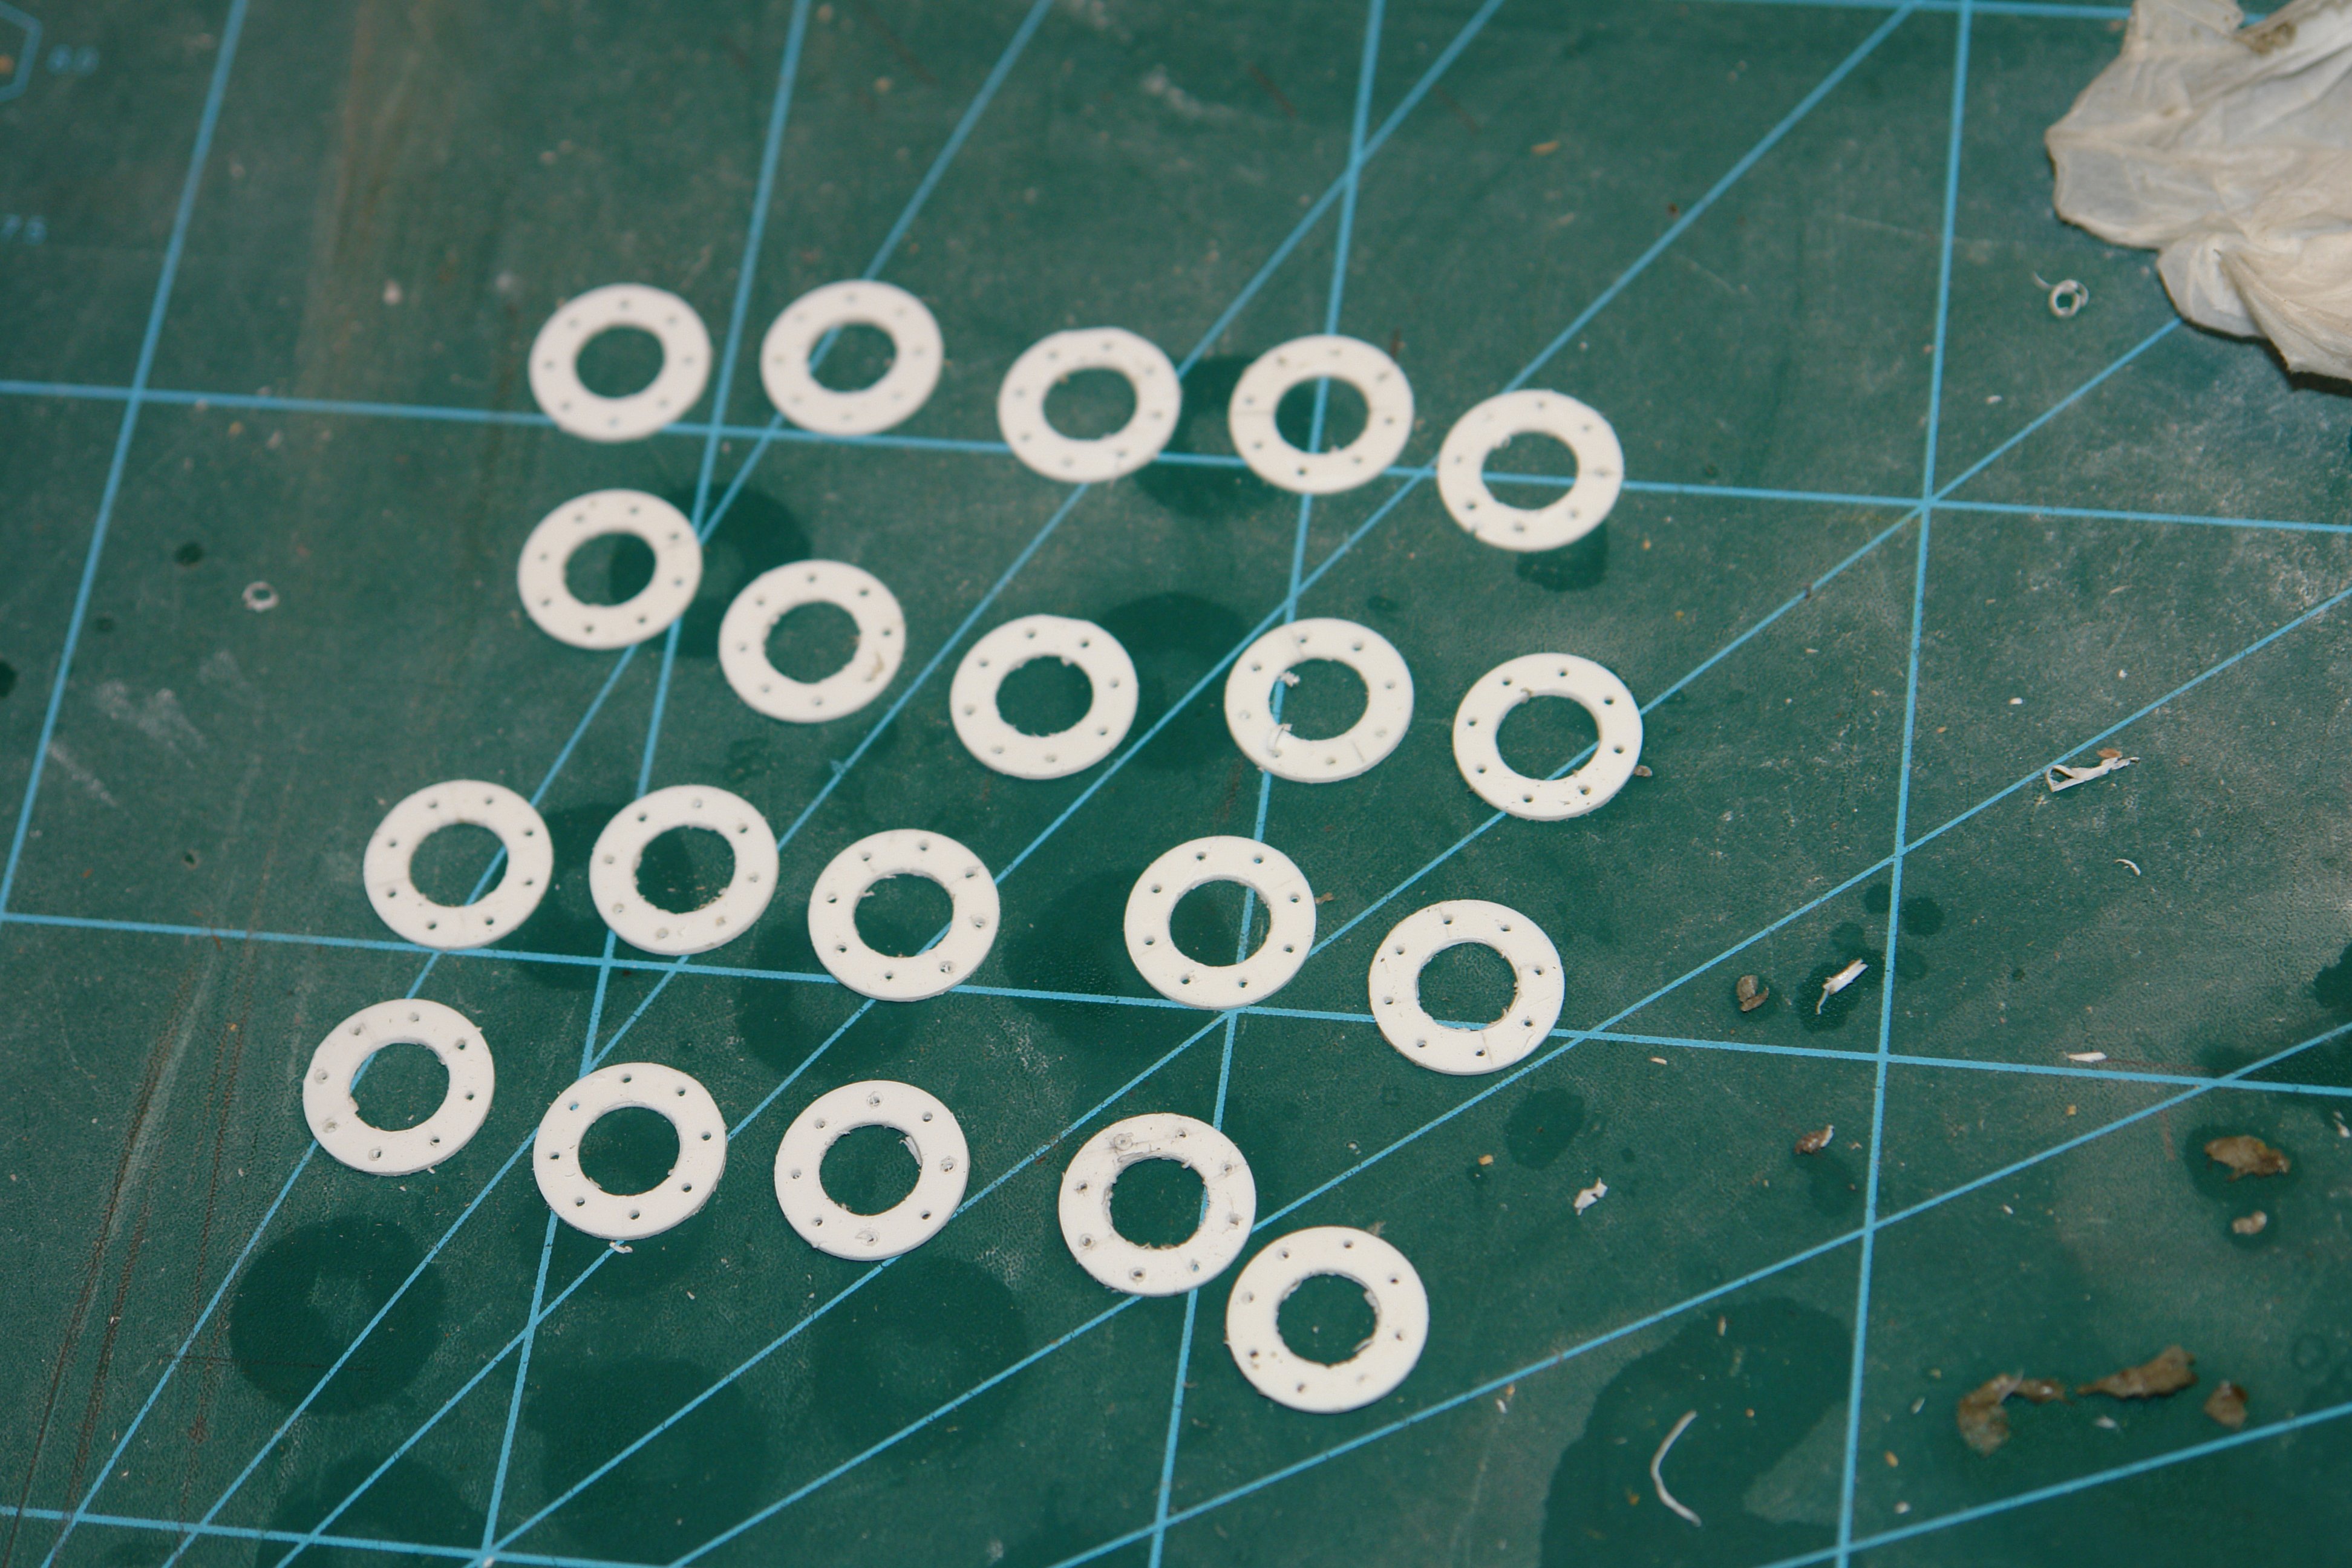
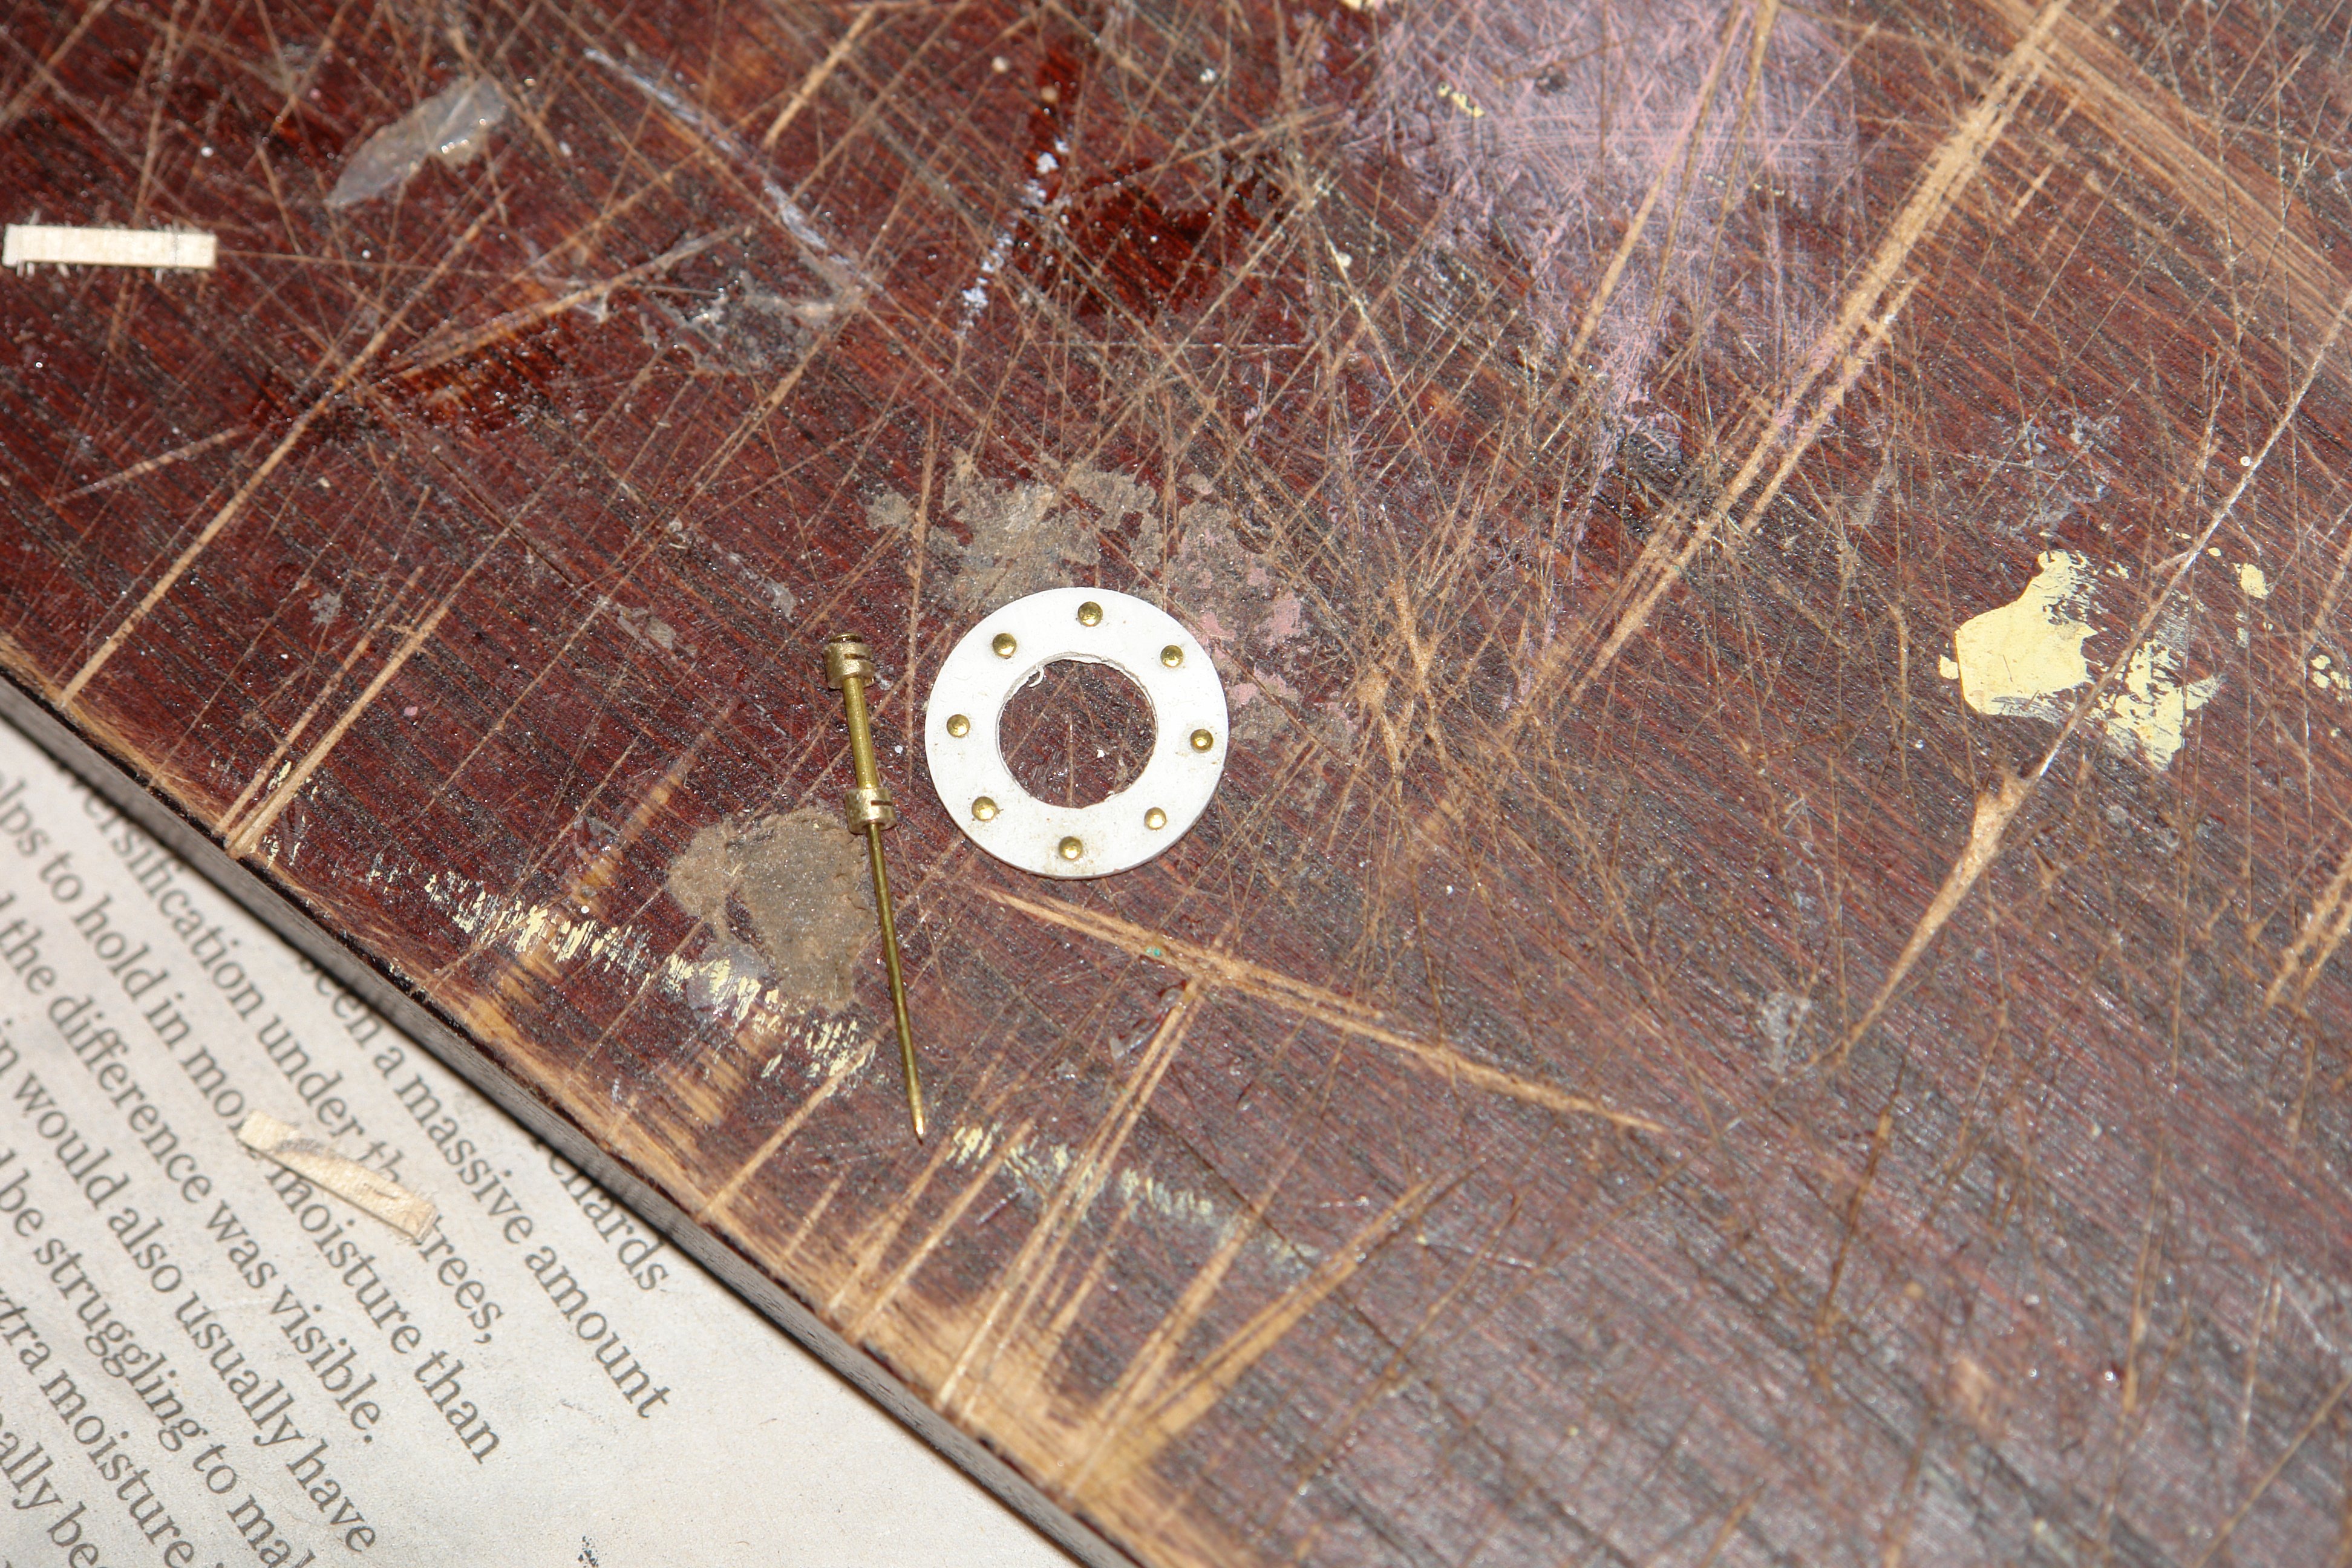
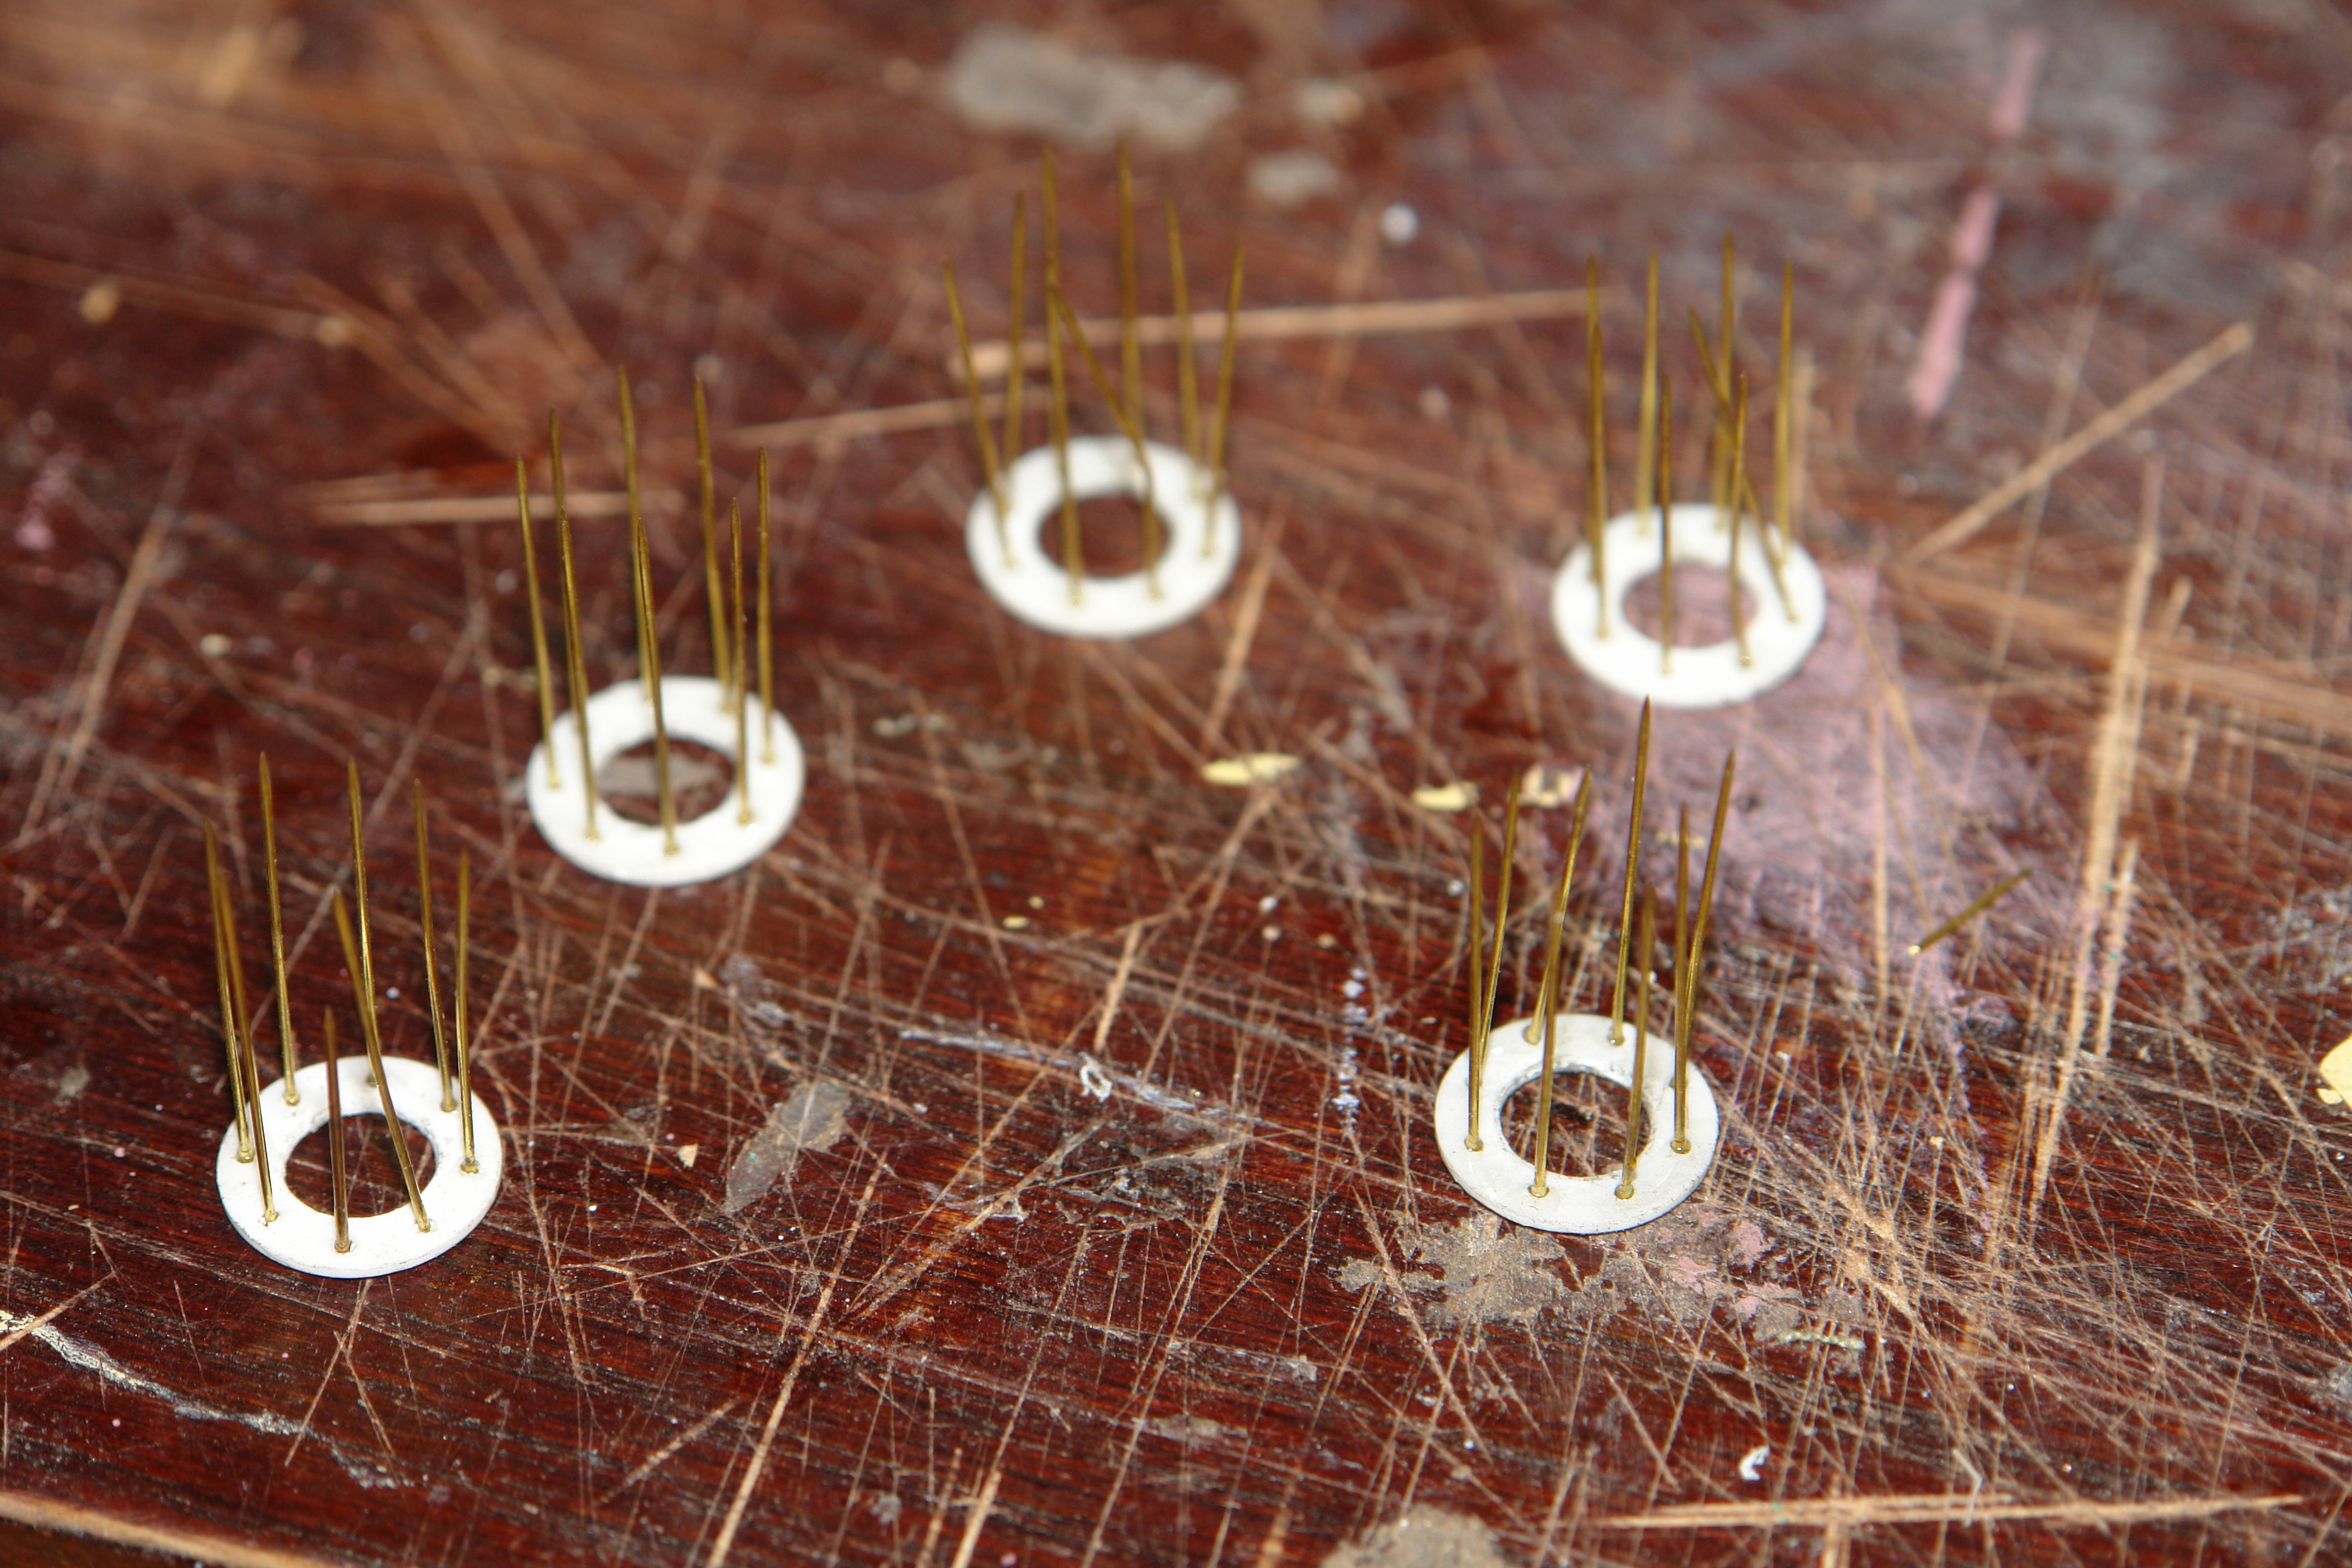
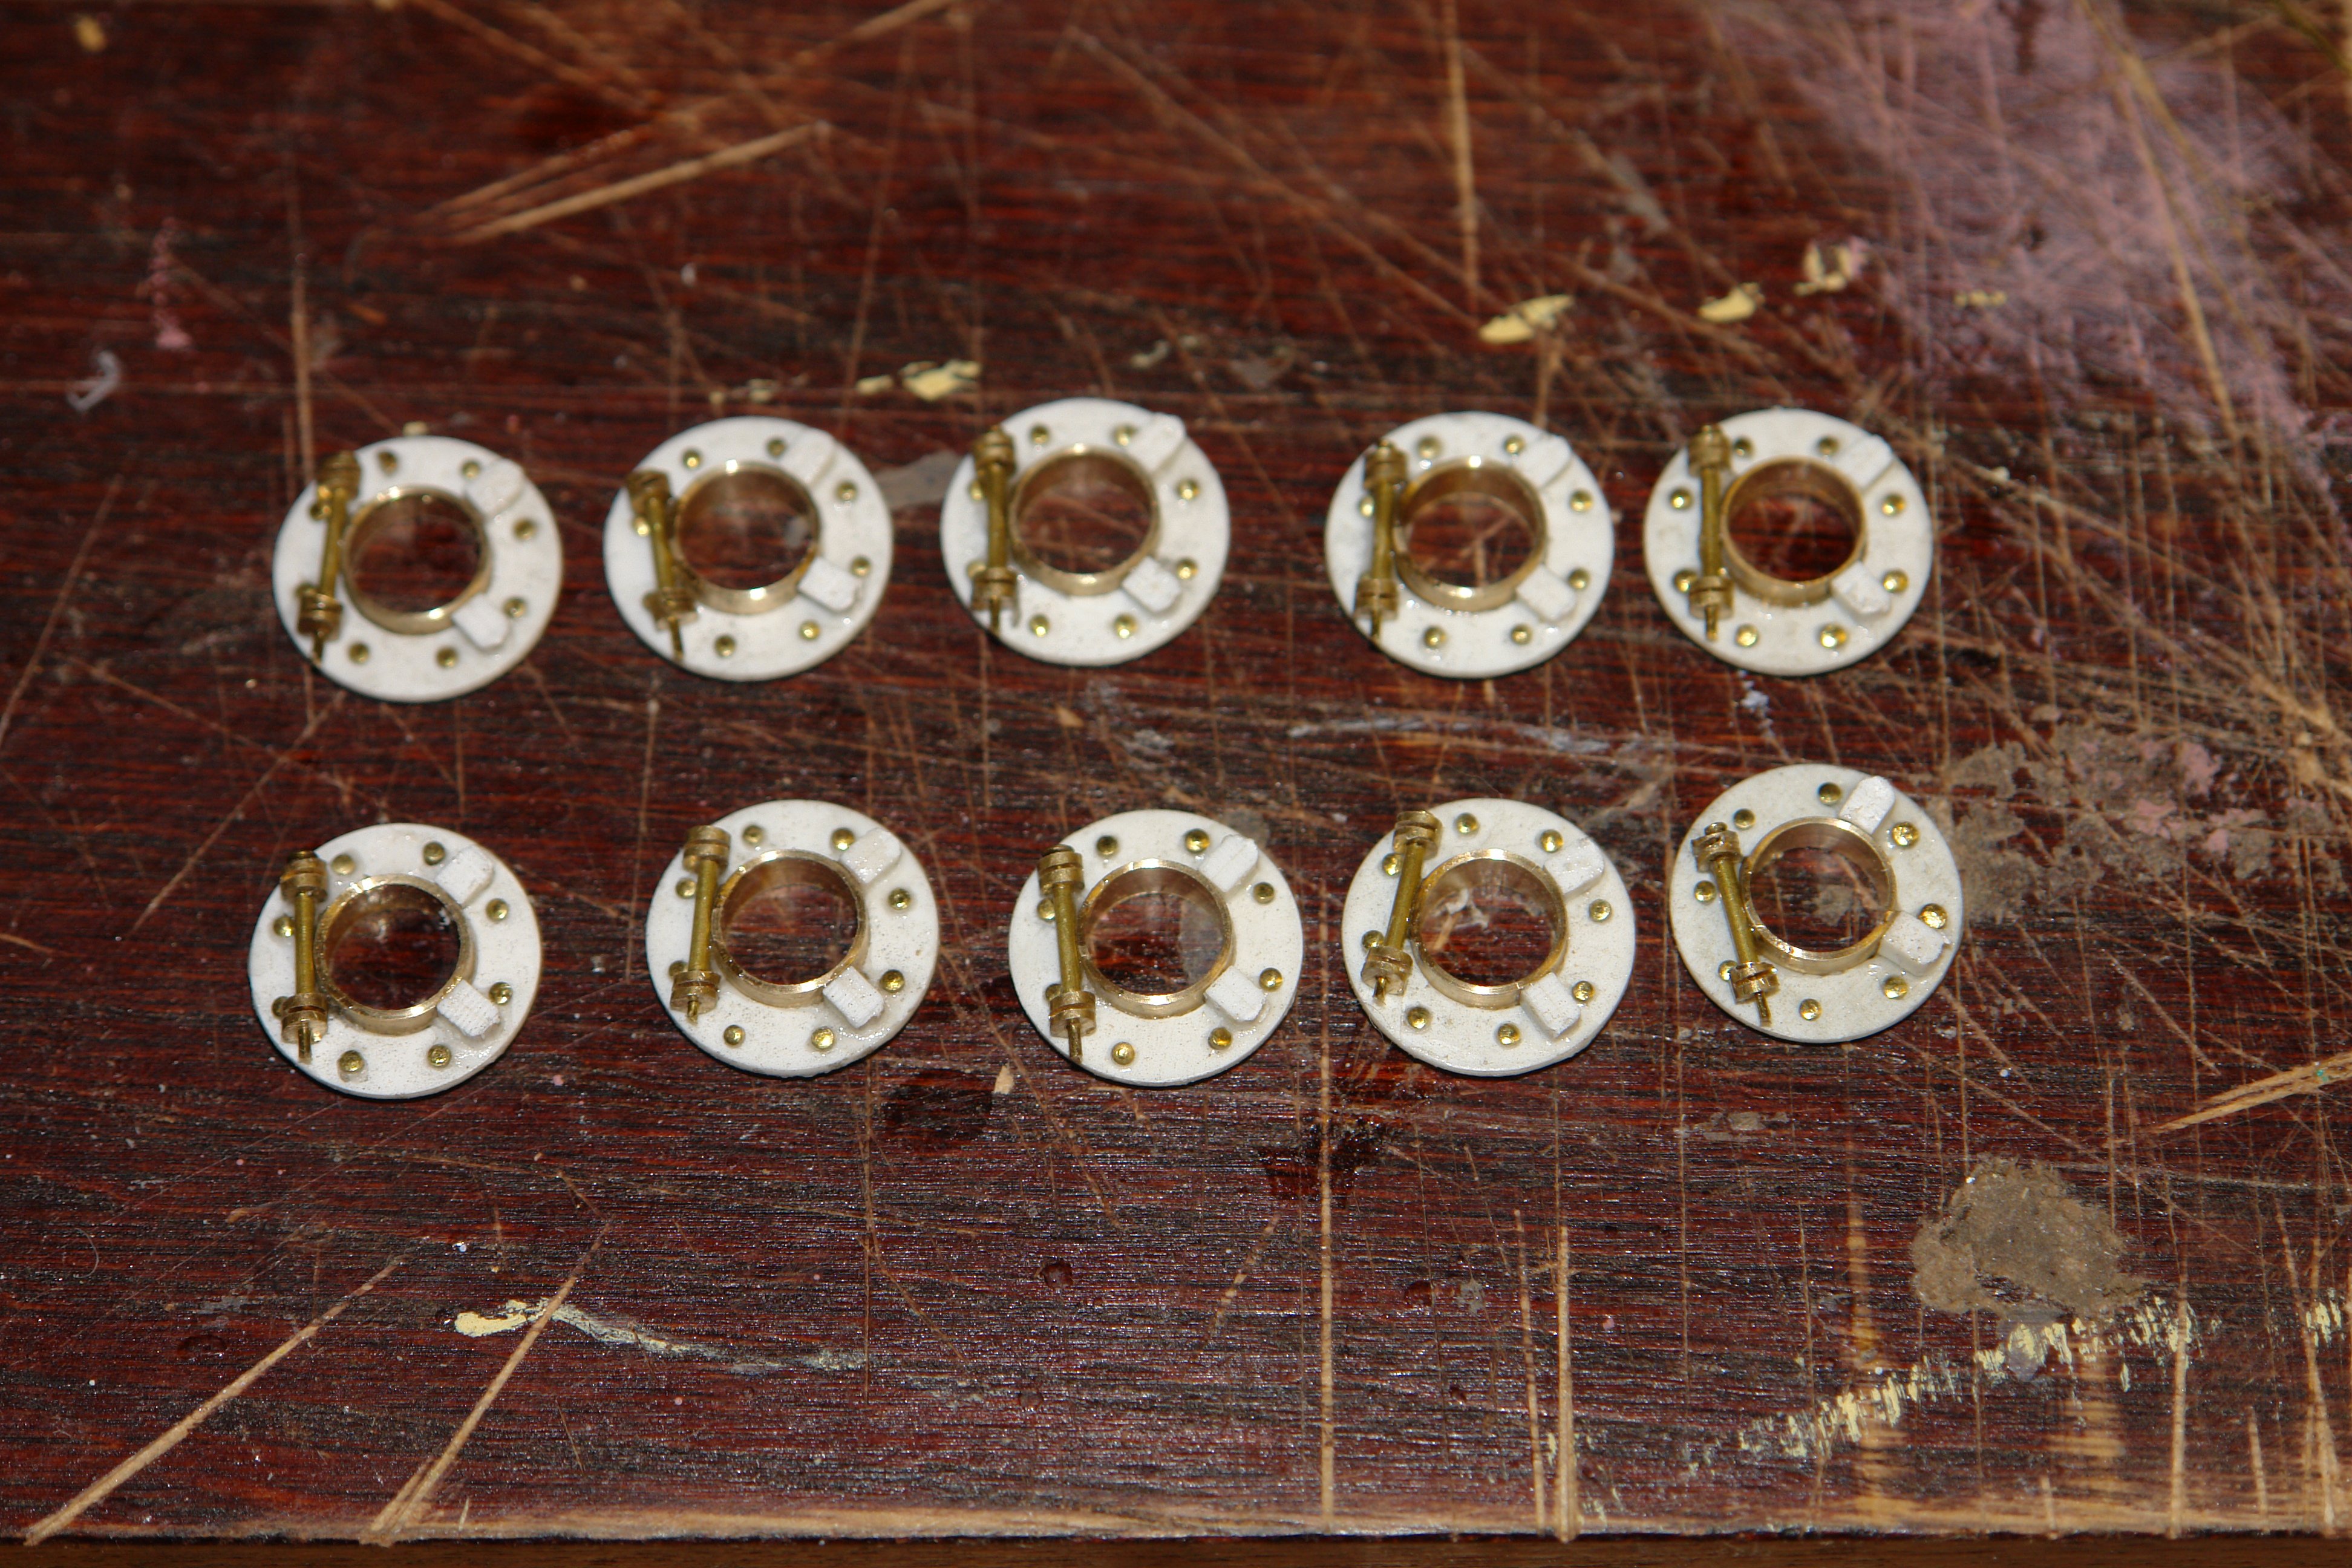
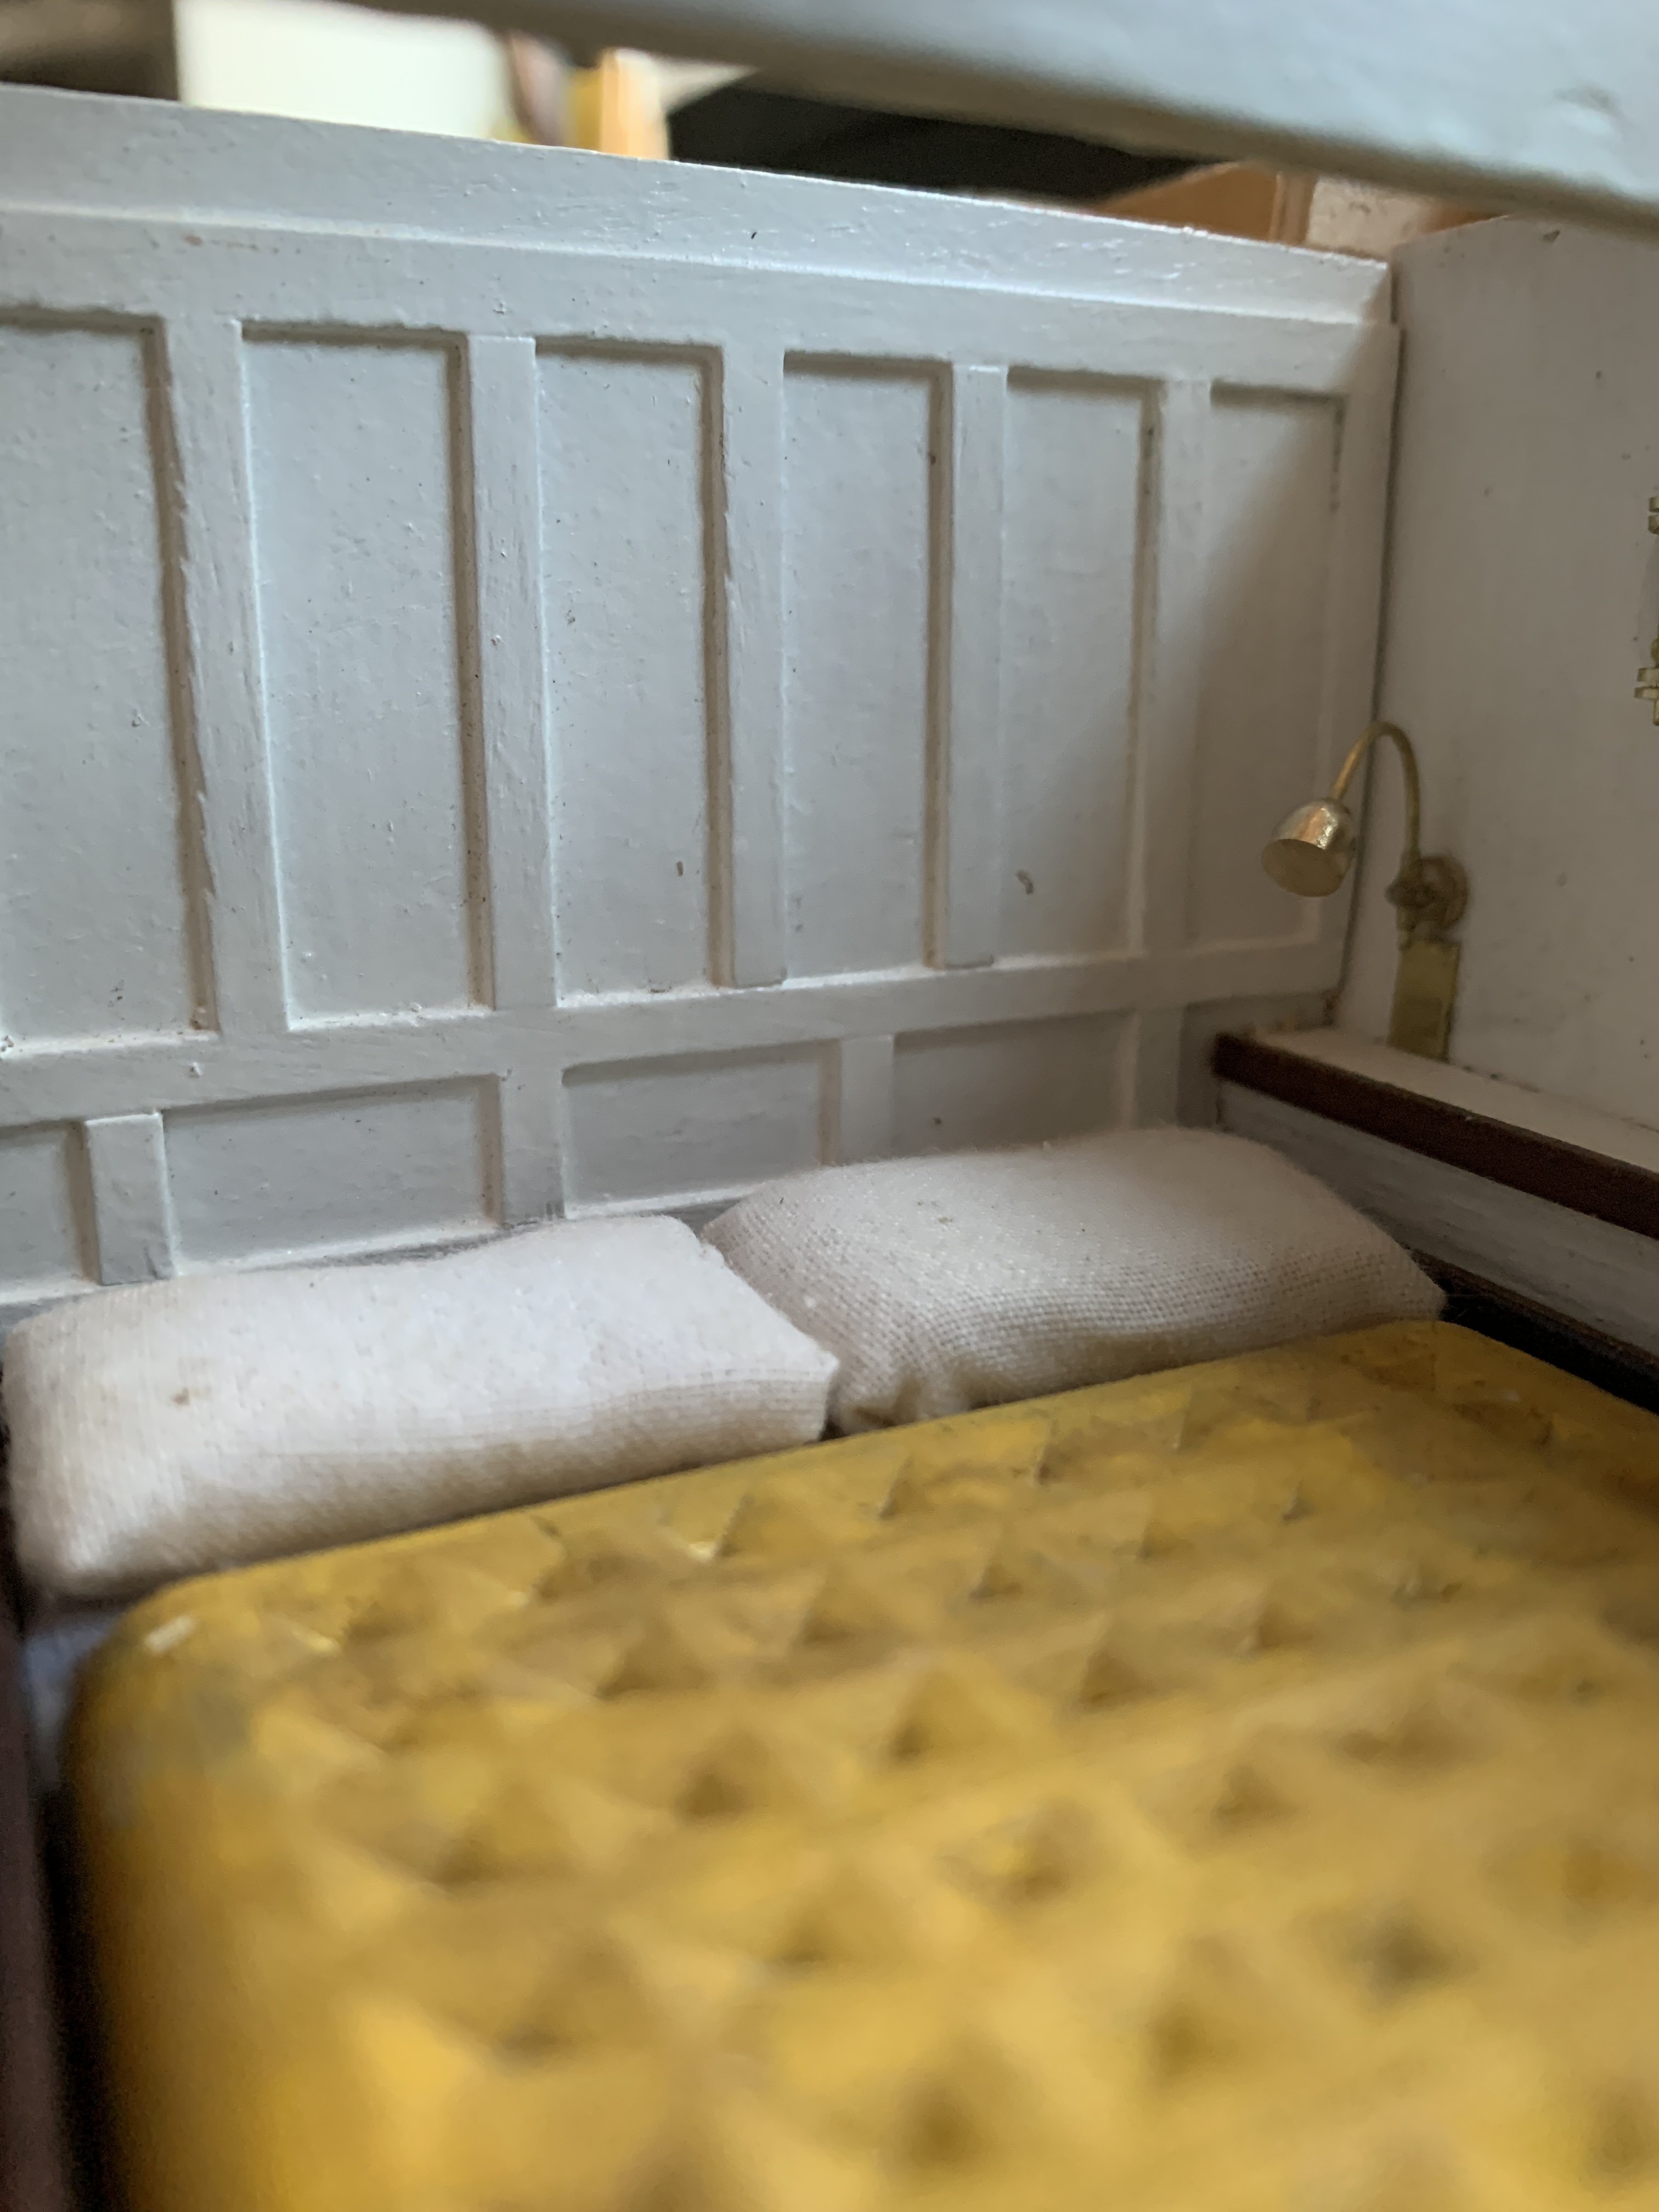
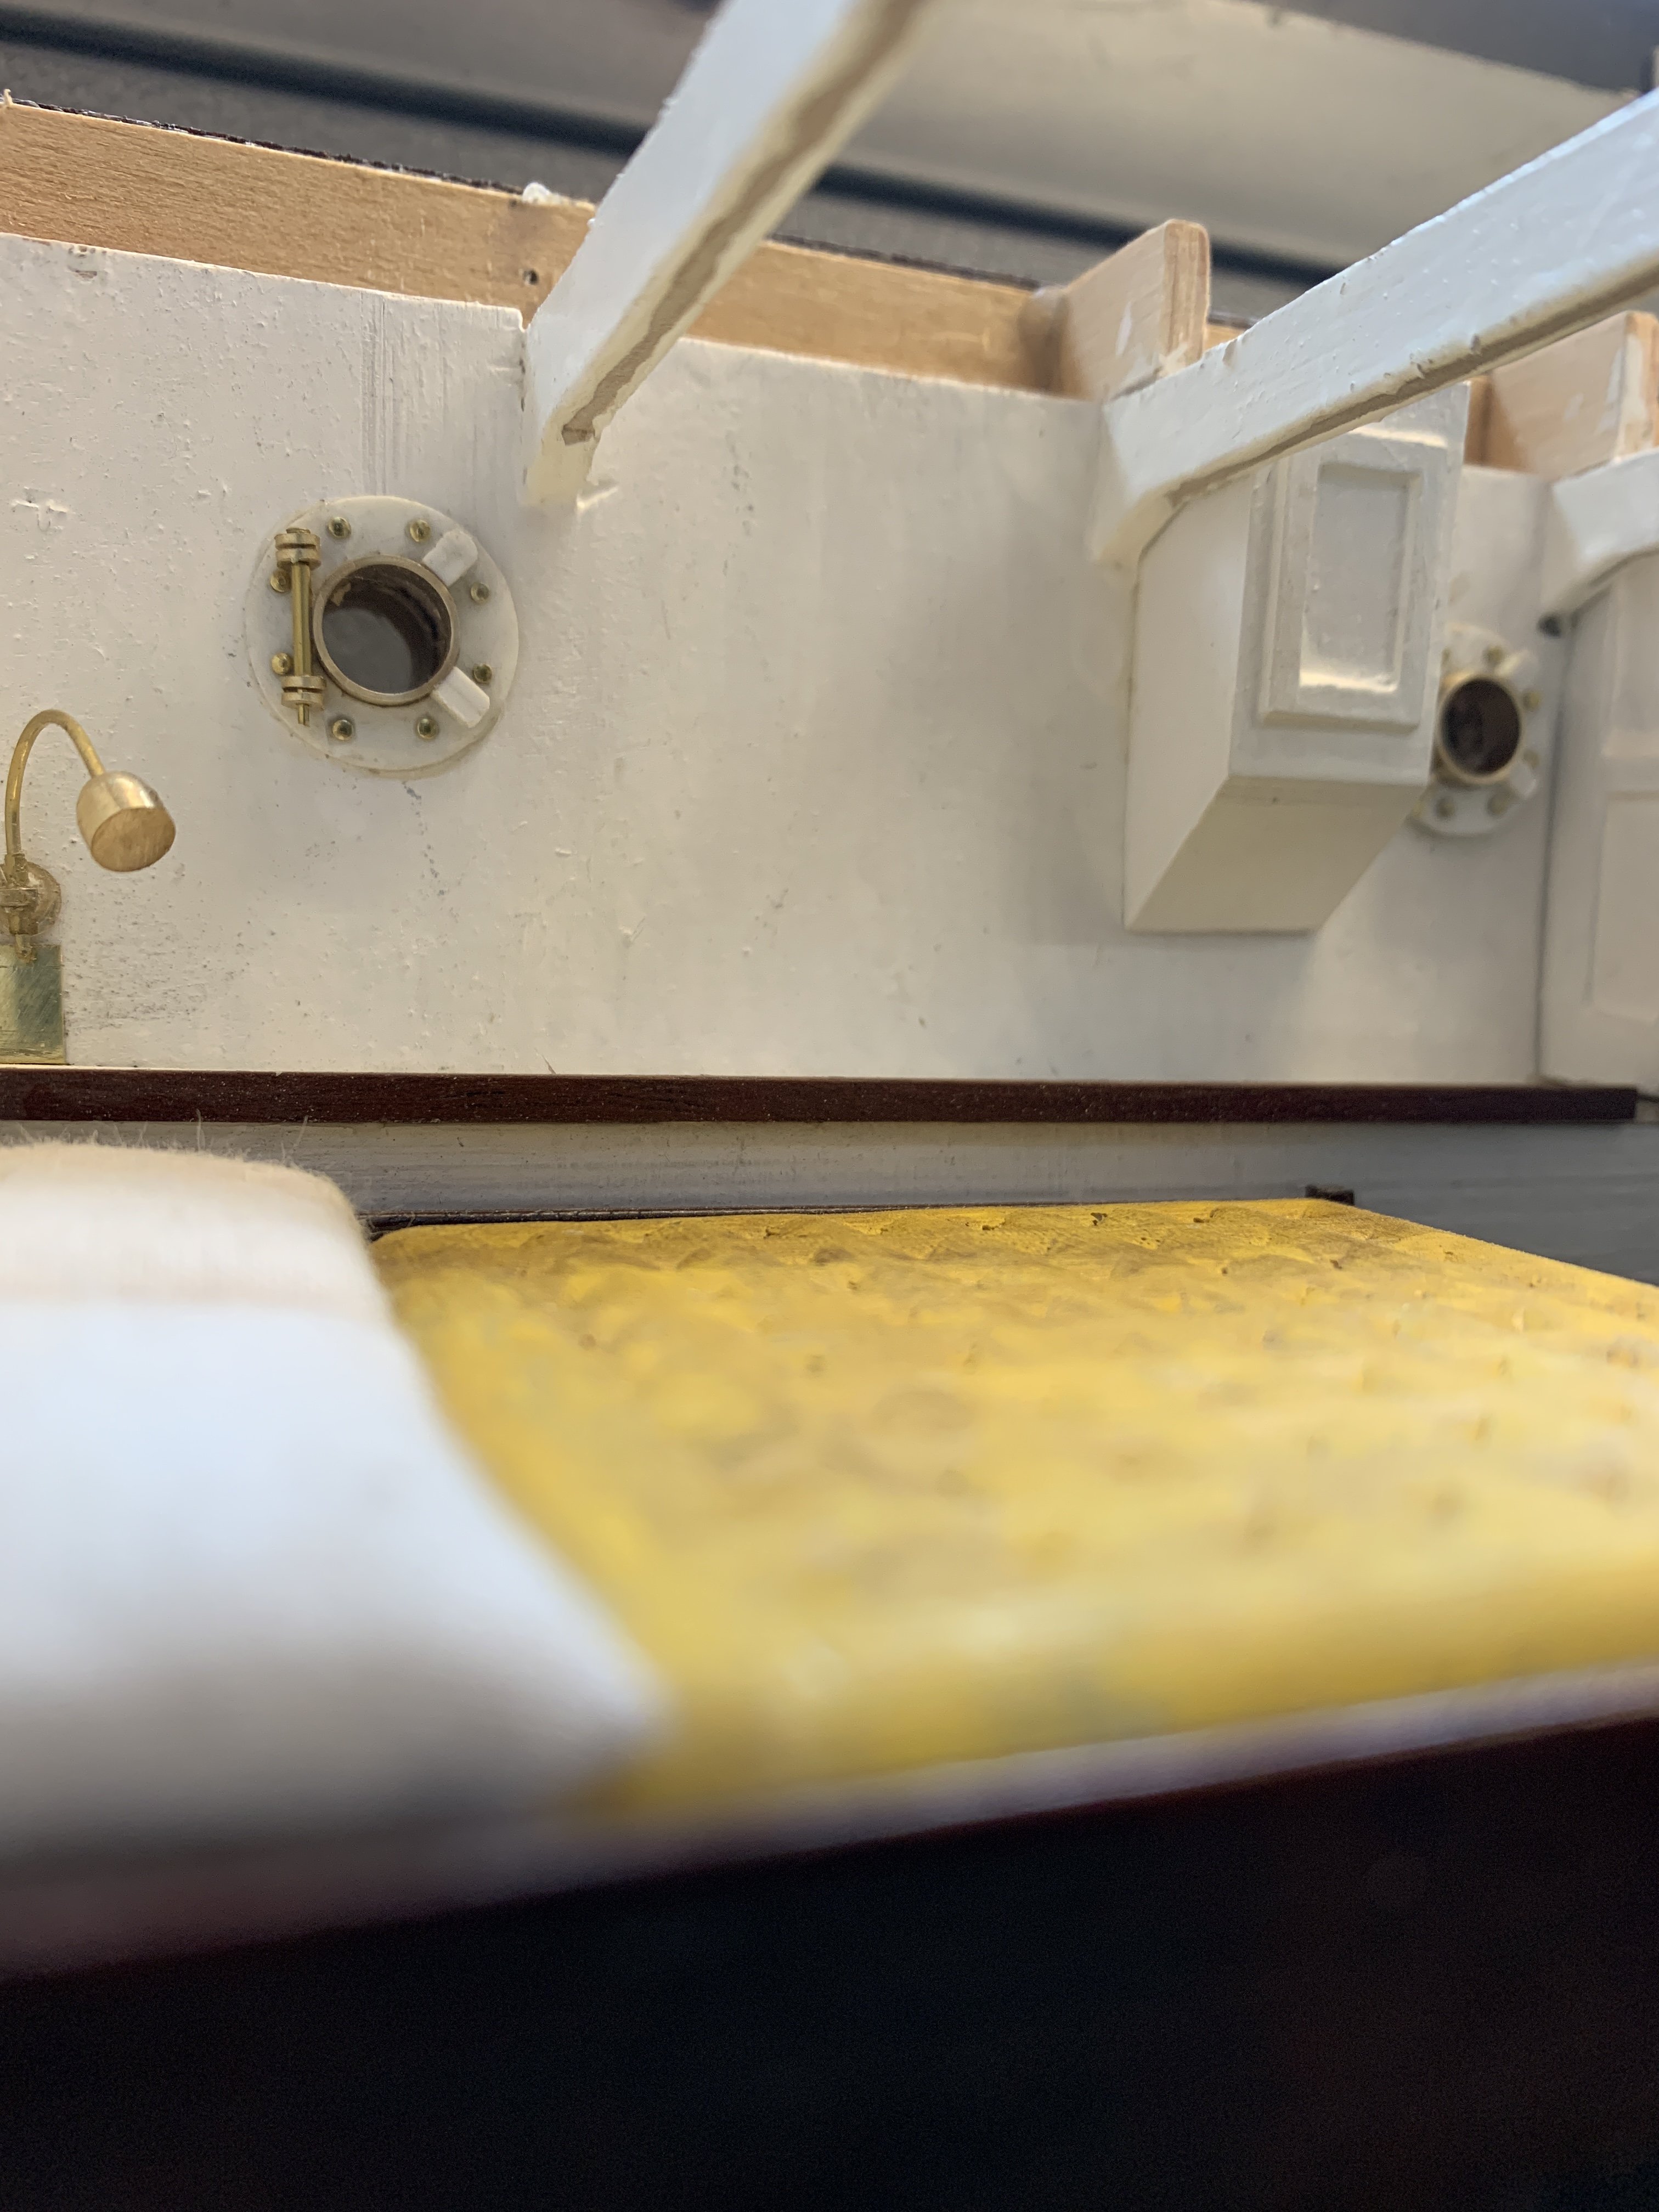
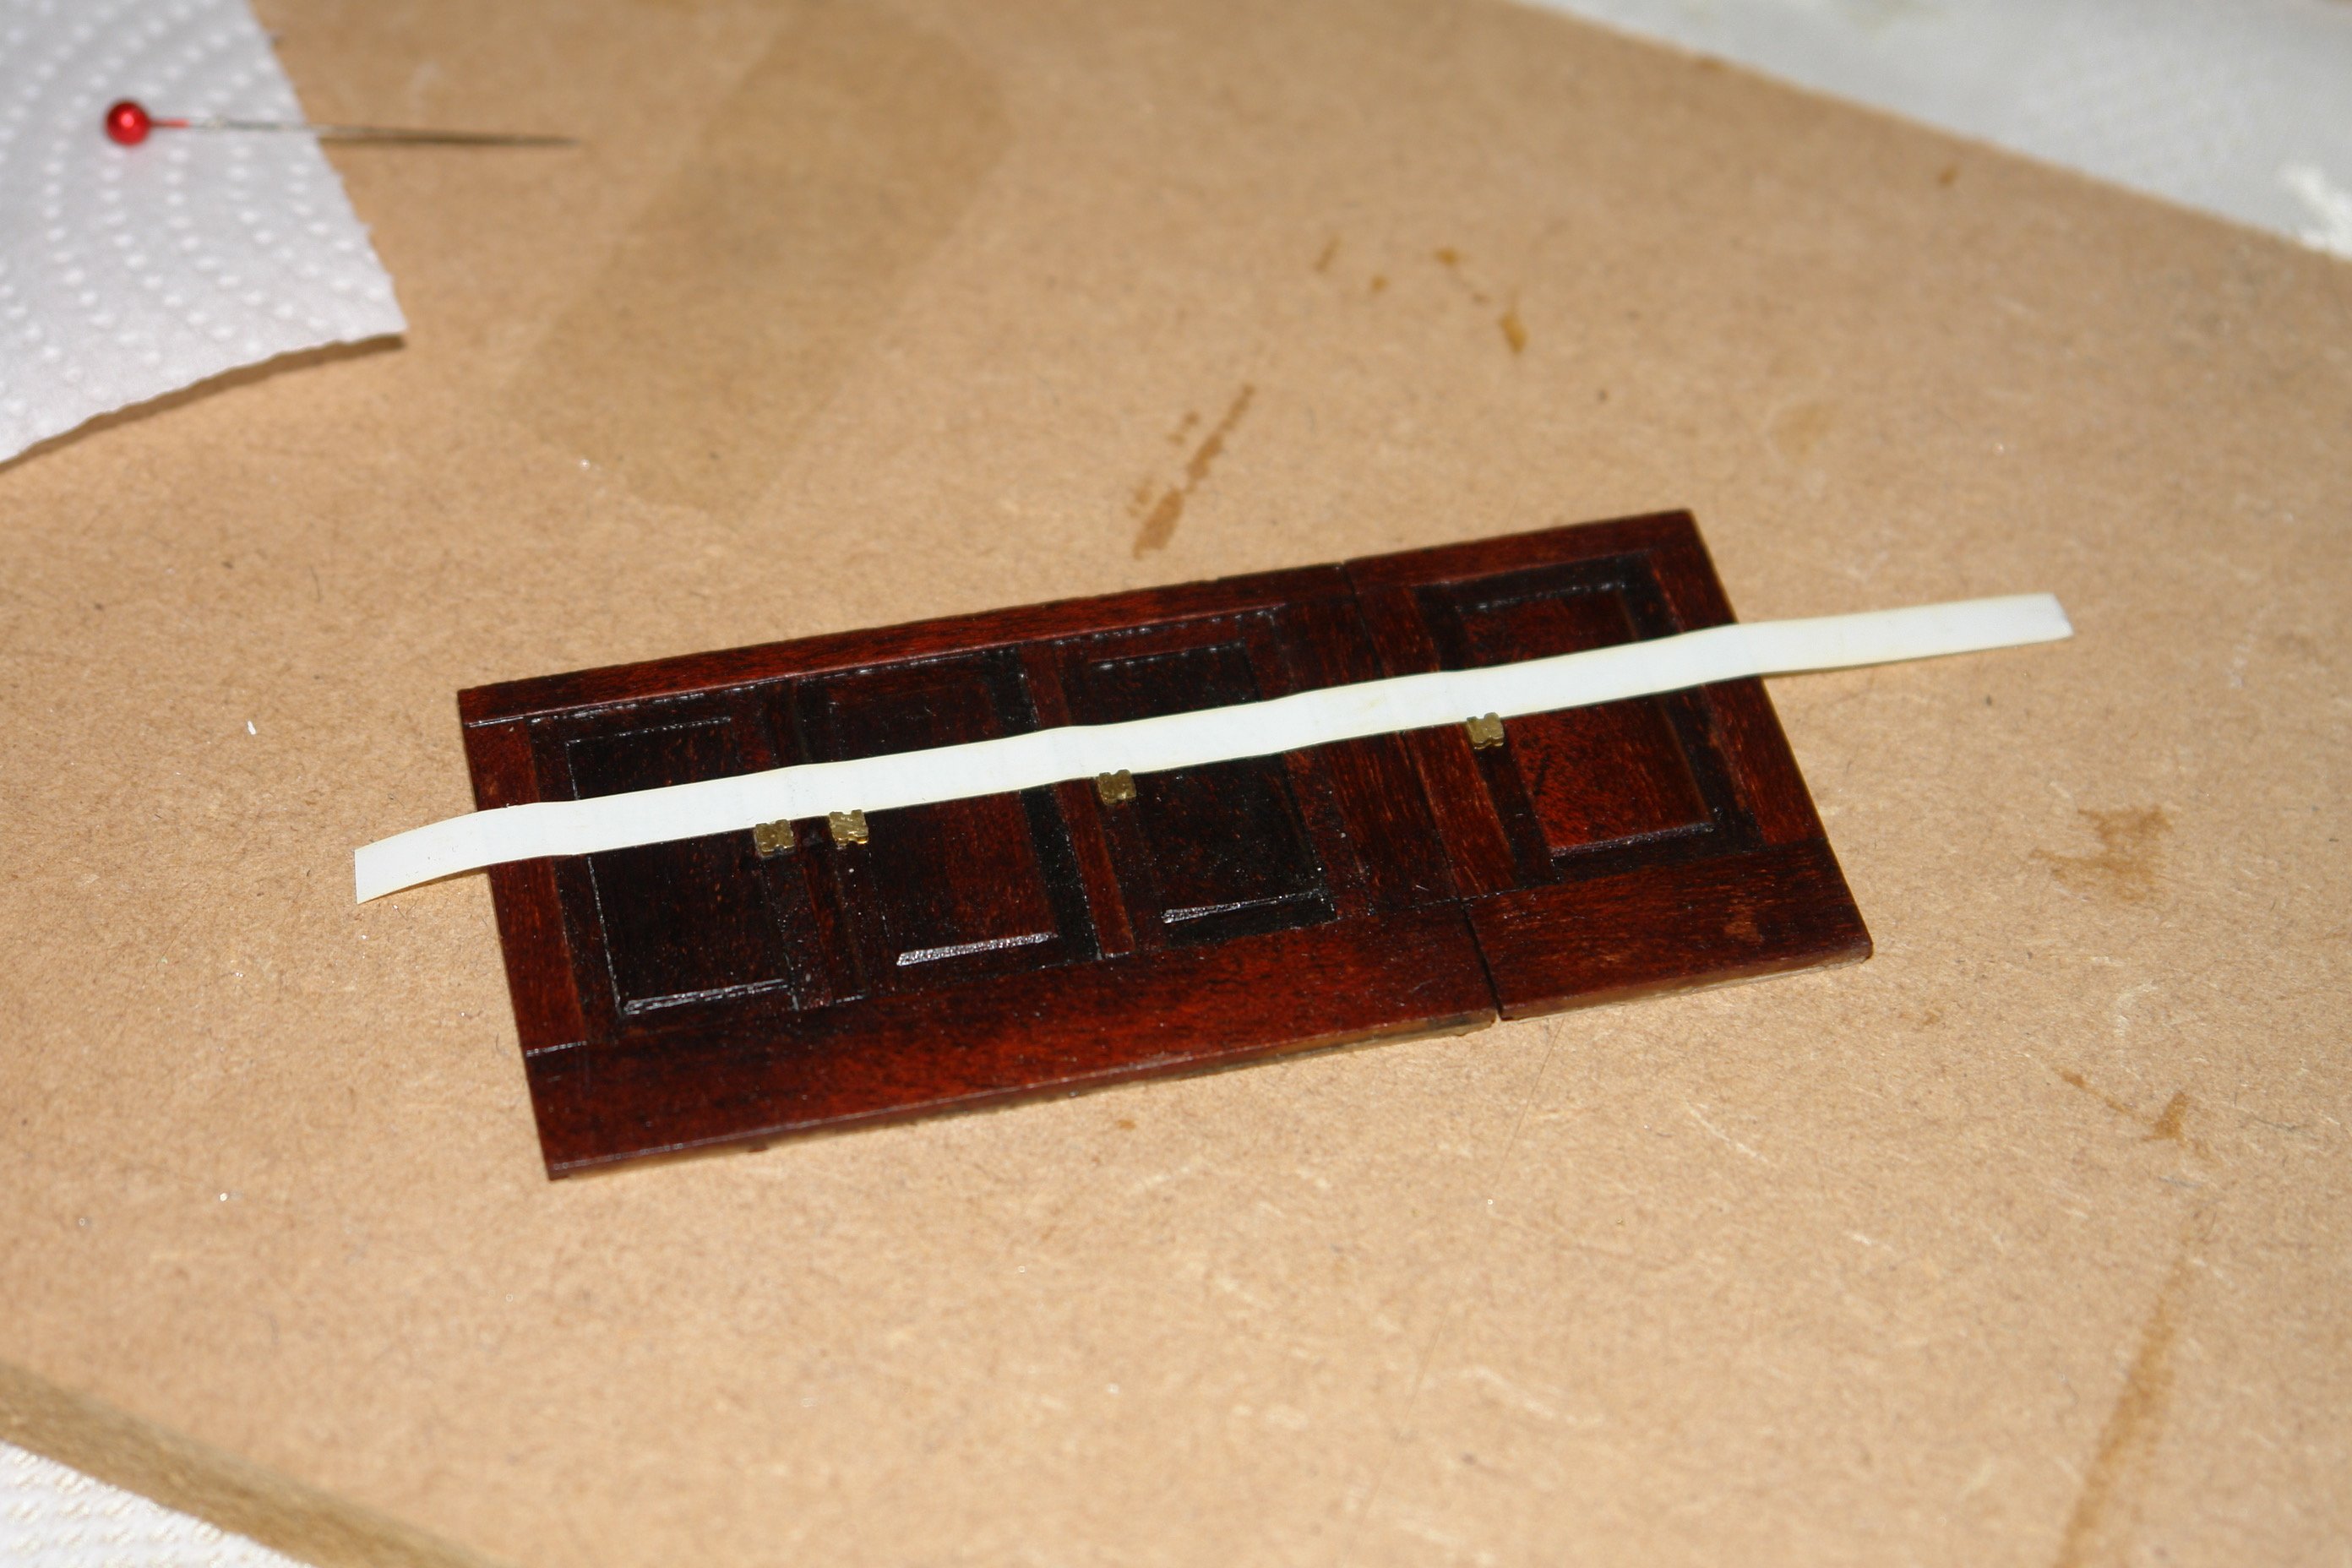
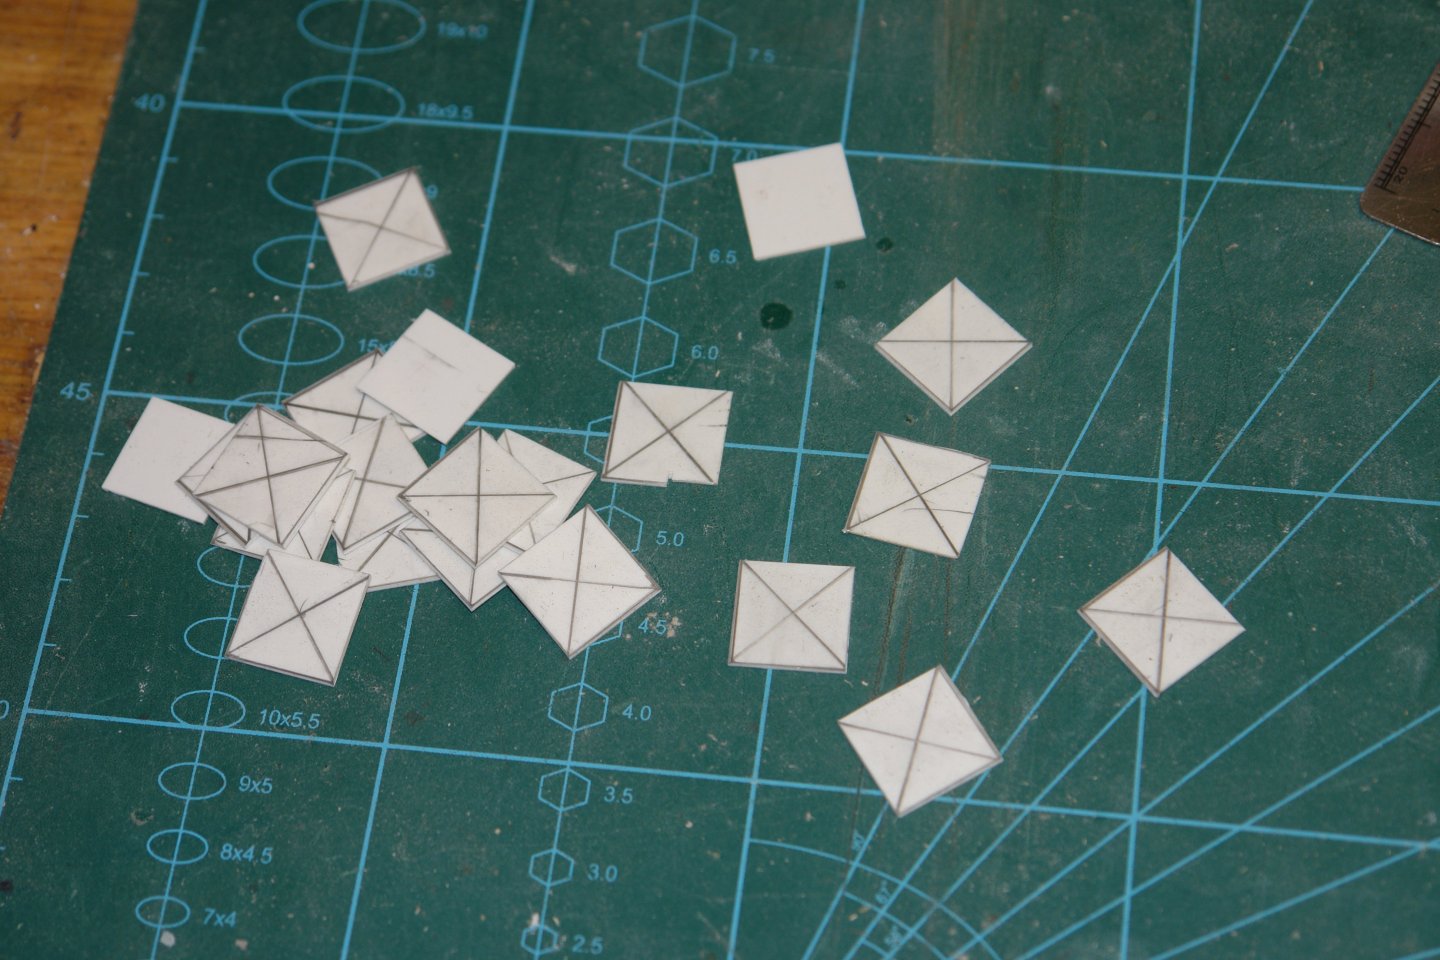
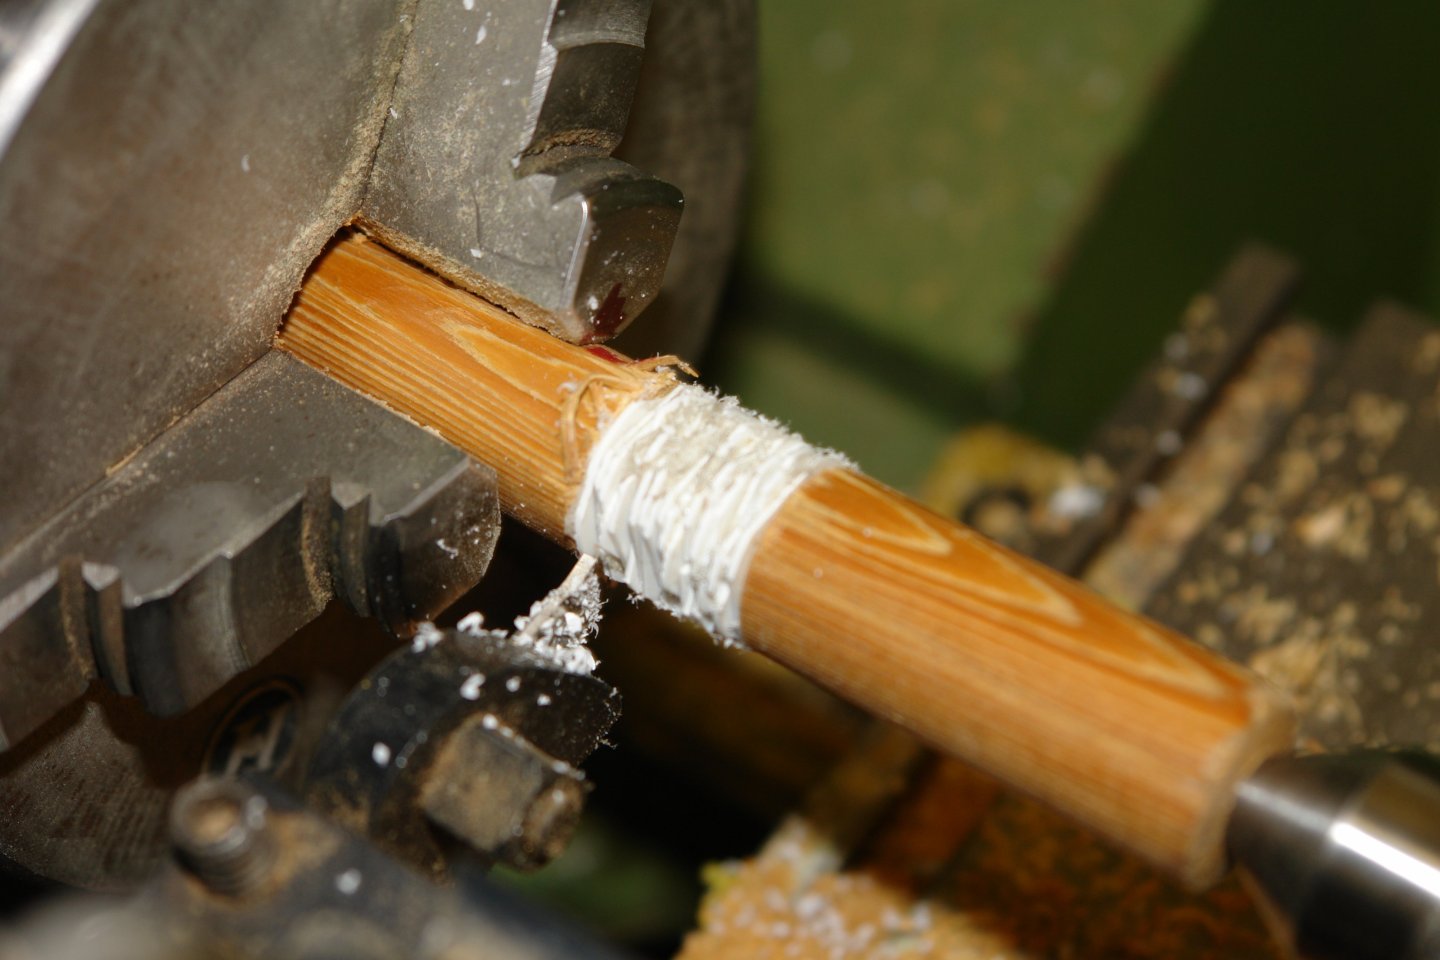
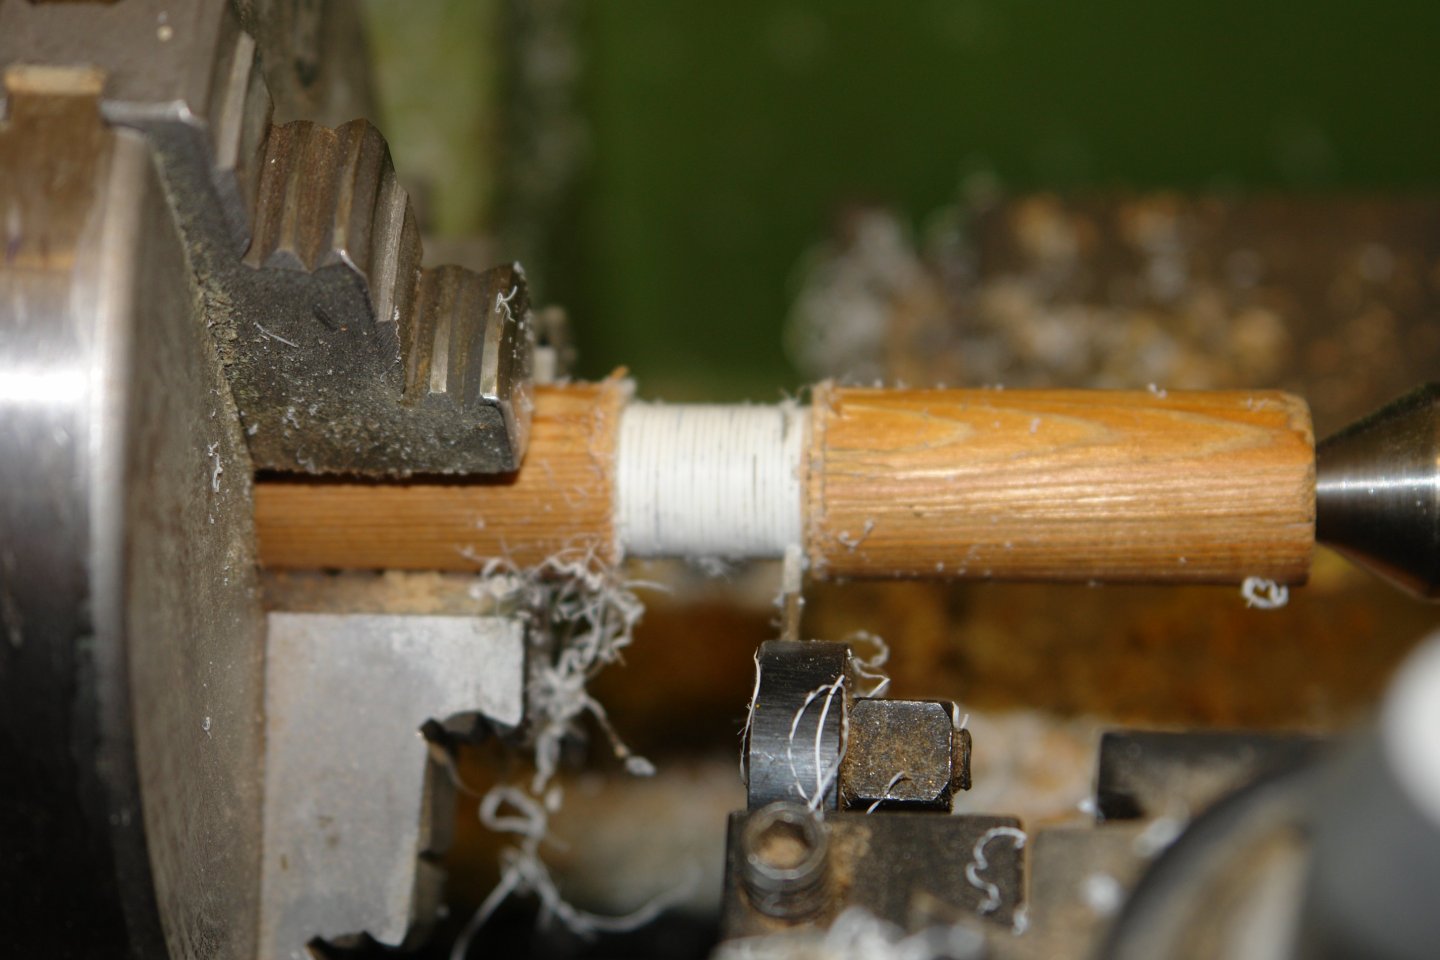
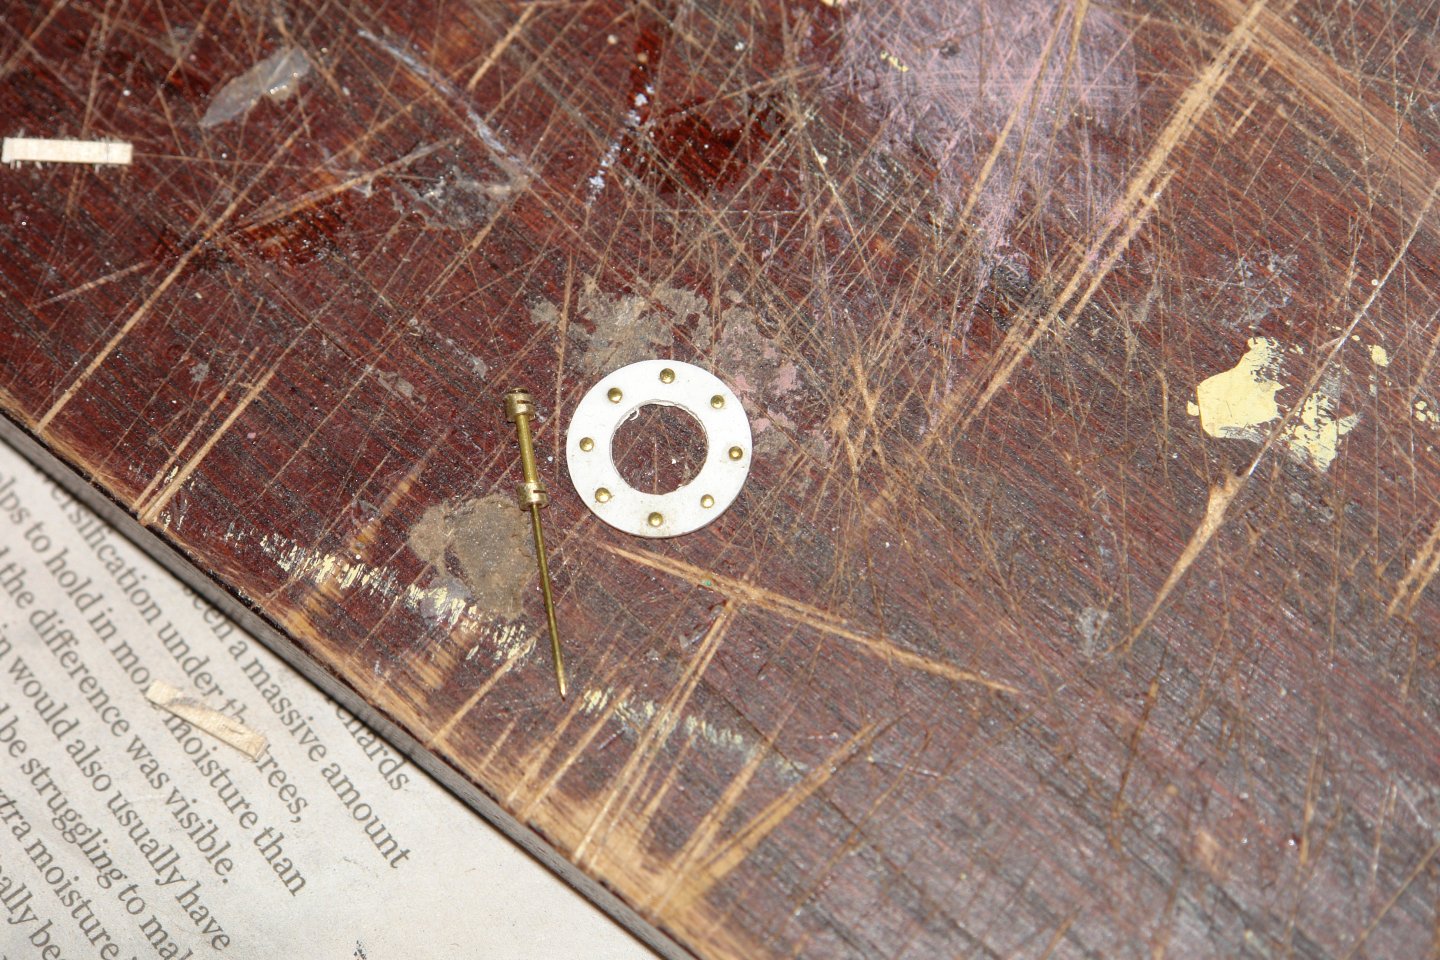
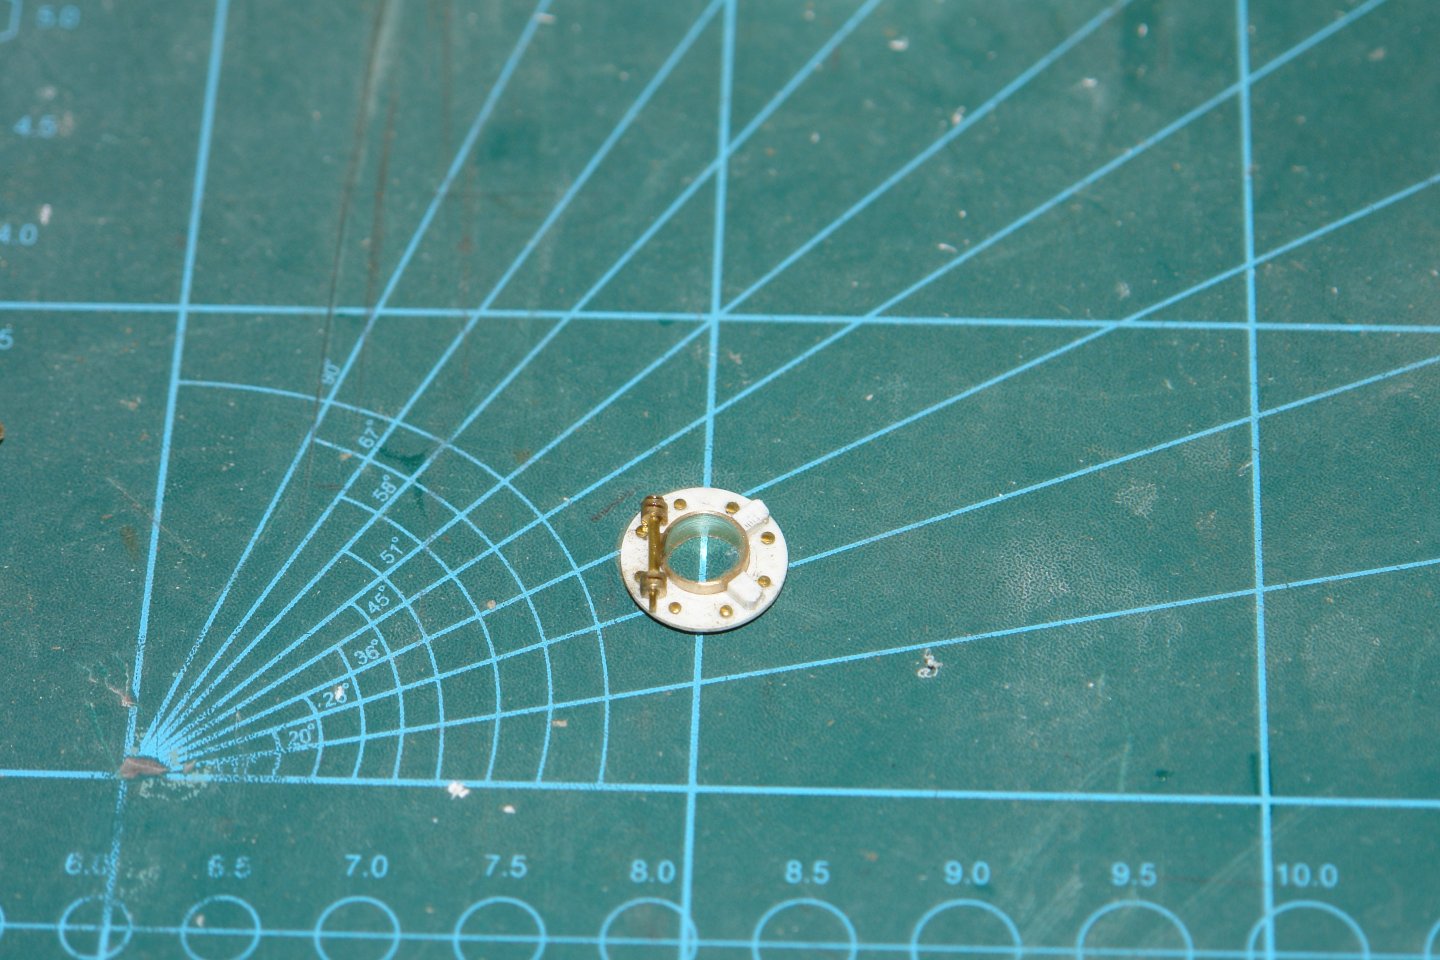
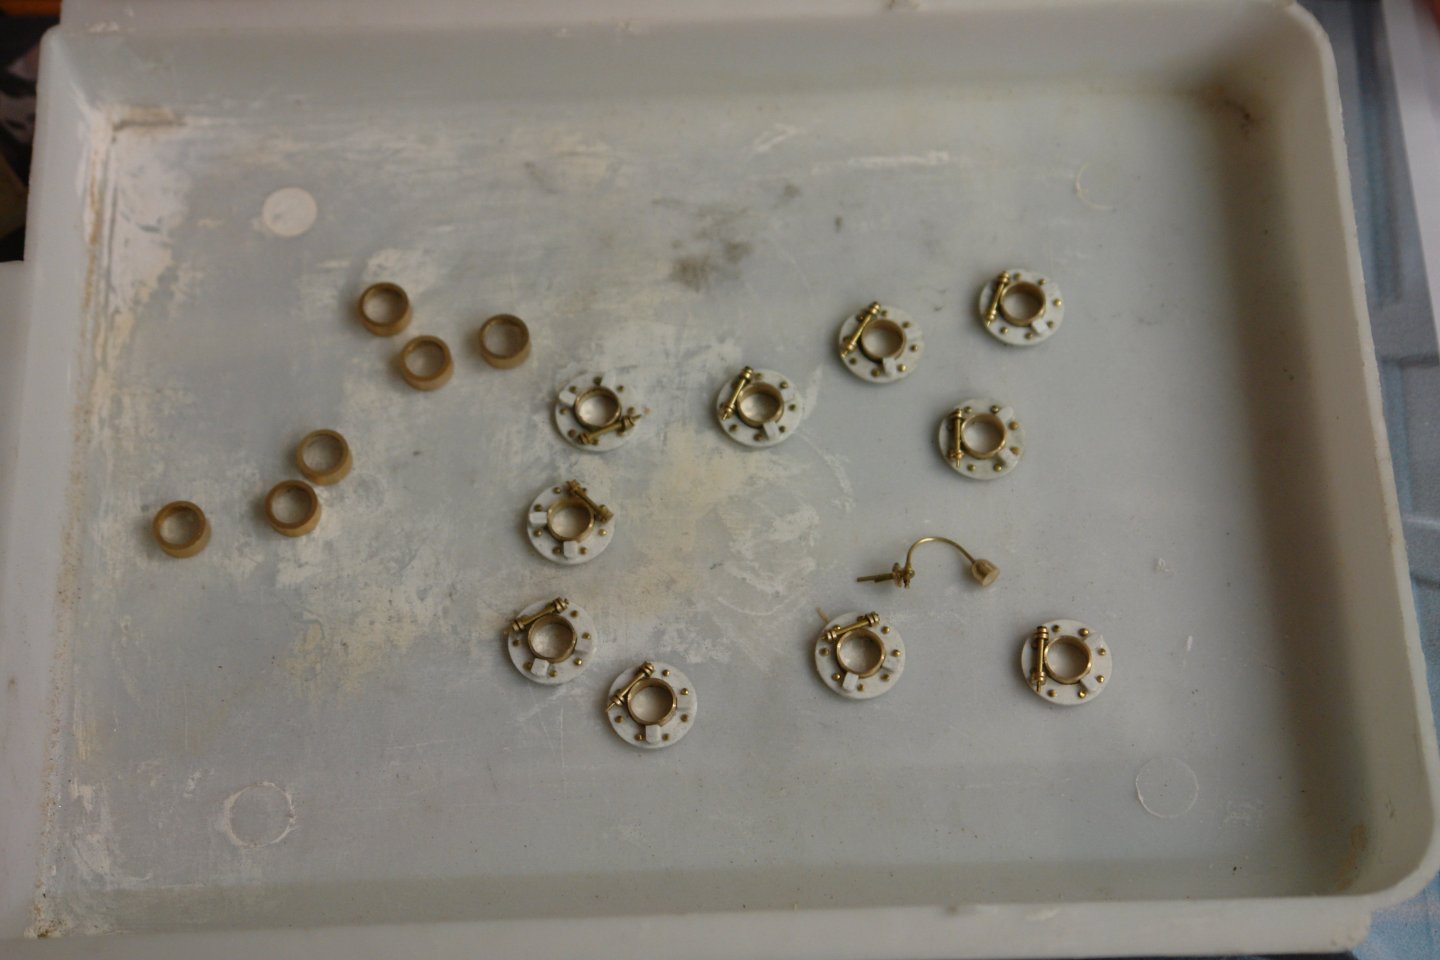
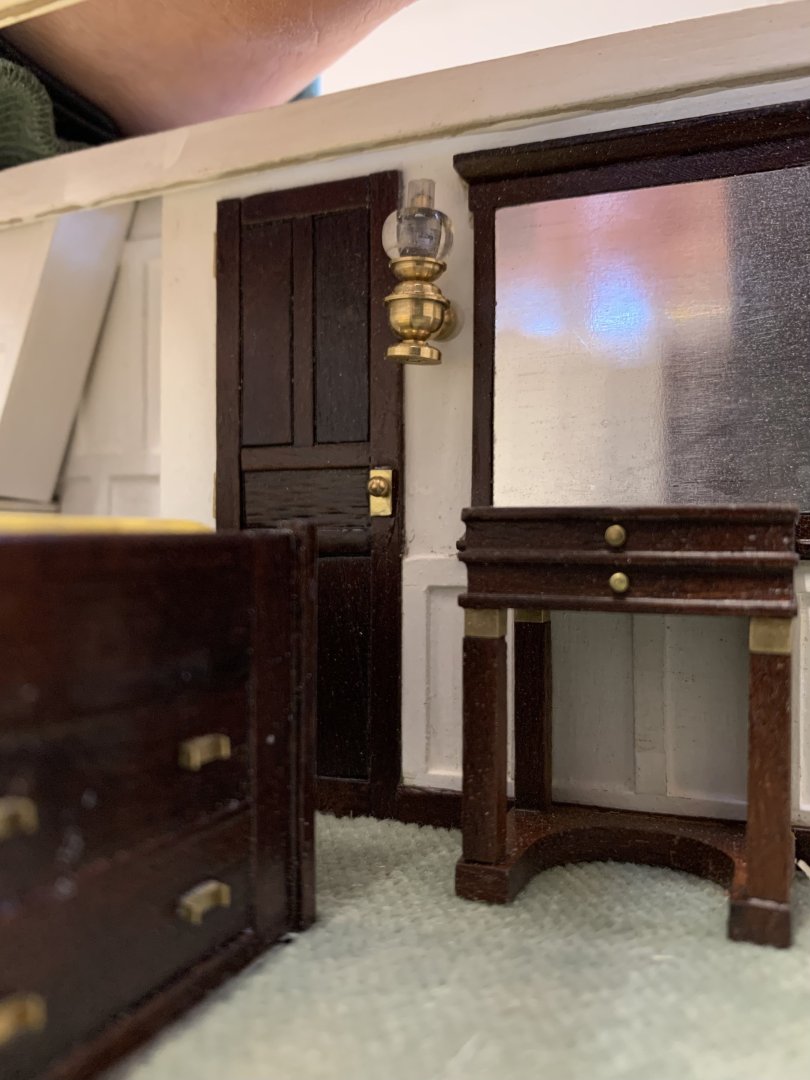
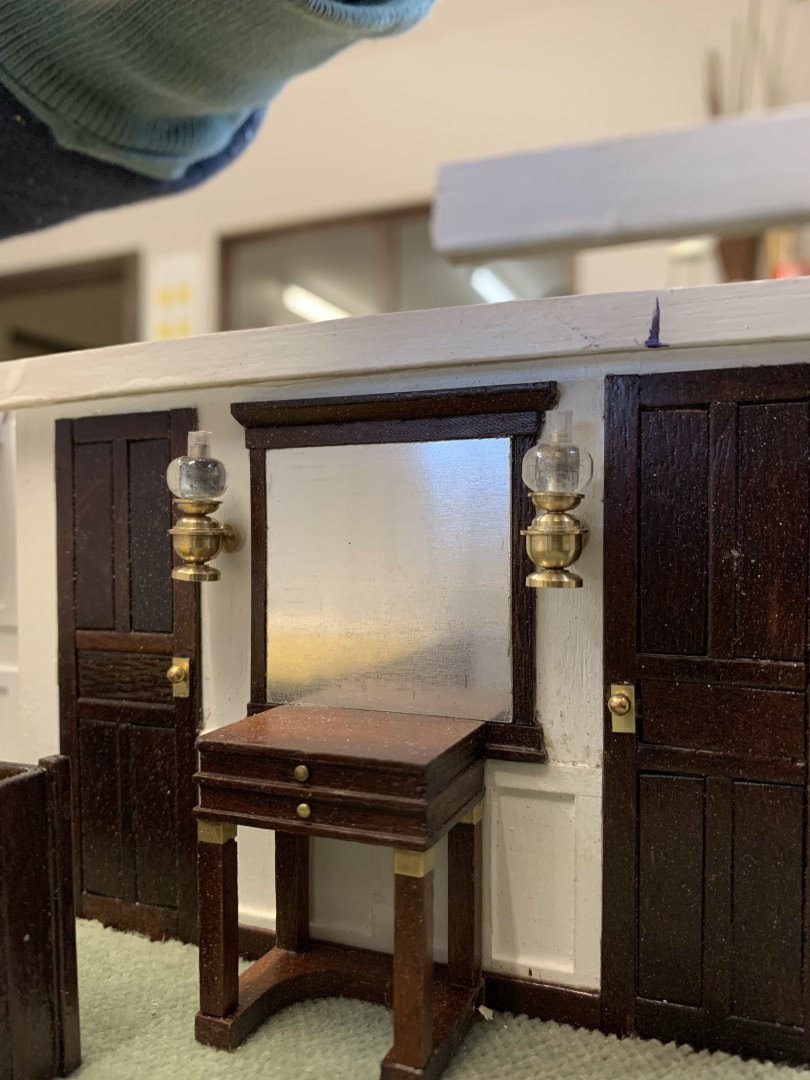
Steve, Francios, John, Craig, Rick, ERS, Roel and Gak - thank you for your supportive comments and also thanks to everyone for the likes. I am trying to get ahead before Christmas impinges on workshop time. This year will be the first Christmas without our daughter at home - not bad going seeing as she is now unbelievably 41. She pointed out recently that it was about time that I stopped holding her hand when she was crossing the road, I felt a bit stupid because I never noticed that I hadn't stopped doing it. We are not at home for Christmas - the grandchildren are now 6 and 2 and their parents have decided it is time to break with their practice of alternating Christmas's between grandparents, they are staying at home. It is our turn for Christmas day with them and we are on child care duties as of the 21st Dec. Anyway - recent progress:- I need to finish off a few bits of internal detail in the owners cabin. The portholes were the major outstanding parts. The bolted flange of the porthole is the most obvious feature. It is painted white to match the internal finish of the room. I made all the flanges that I needed in one go - 20 in all. I made the flanges from 1/32" plasti-card cut from sheet. I then drilled each piece to form the bores of the flanges. These were all mounted on turned spigot of dowel with double sided tape holding them together. A hollow section of dowel was then used to compress and retain the pieces, the compression being provided via the tailstock. The flanges were then cut to size on the lathe. The assembly was then taken off the lathe and the flange holes were drilled on the mill using a rotary table. The finished flanges were then separated using white spirit. I then fitted the rivets (brass pin heads) to one flange and made a simulated hinge from a pin and bits of brass tube. Simplified lugs for the closures were made from plasti-card followed by assembly. Having made one I proceeded with another 9. The other 10 will be left for later. At this stage I also made the bedside wall mounted light - among the portholes in the next photo. The portholes are actually mounted in recesses in the walls but this was a a detail that I thought I could do without. I haven't made the chairs yet - something to worry about later. I am planning to move on to the aft guest cabin. Like the owners cabin it has a glazed deck hatch above it. It is a much tighter space and given its position closer to the stern is quite a complex shape. It could prove to be an interesting test. Hopefully one more update before Christmas.


-
Yes George you seem to be going very well despite the festive diversions.
-
It's a wonder what sandpaper and a bit of body filler can do. The overall impression of the hull is actually quite realistic. The pilots will require some skill landing on that half width deck.
-
I have to agree, it is hard to fault. At a glance anyone would think it was the real thing. Excellent work Craig.
-
I'm sorry to hear that Tom, I do hope that it does not inhibit Christmas festivities. Best wishes.
-
Very nice detail Mark.
-
I continue to be facinated Yves. Great progress.
-
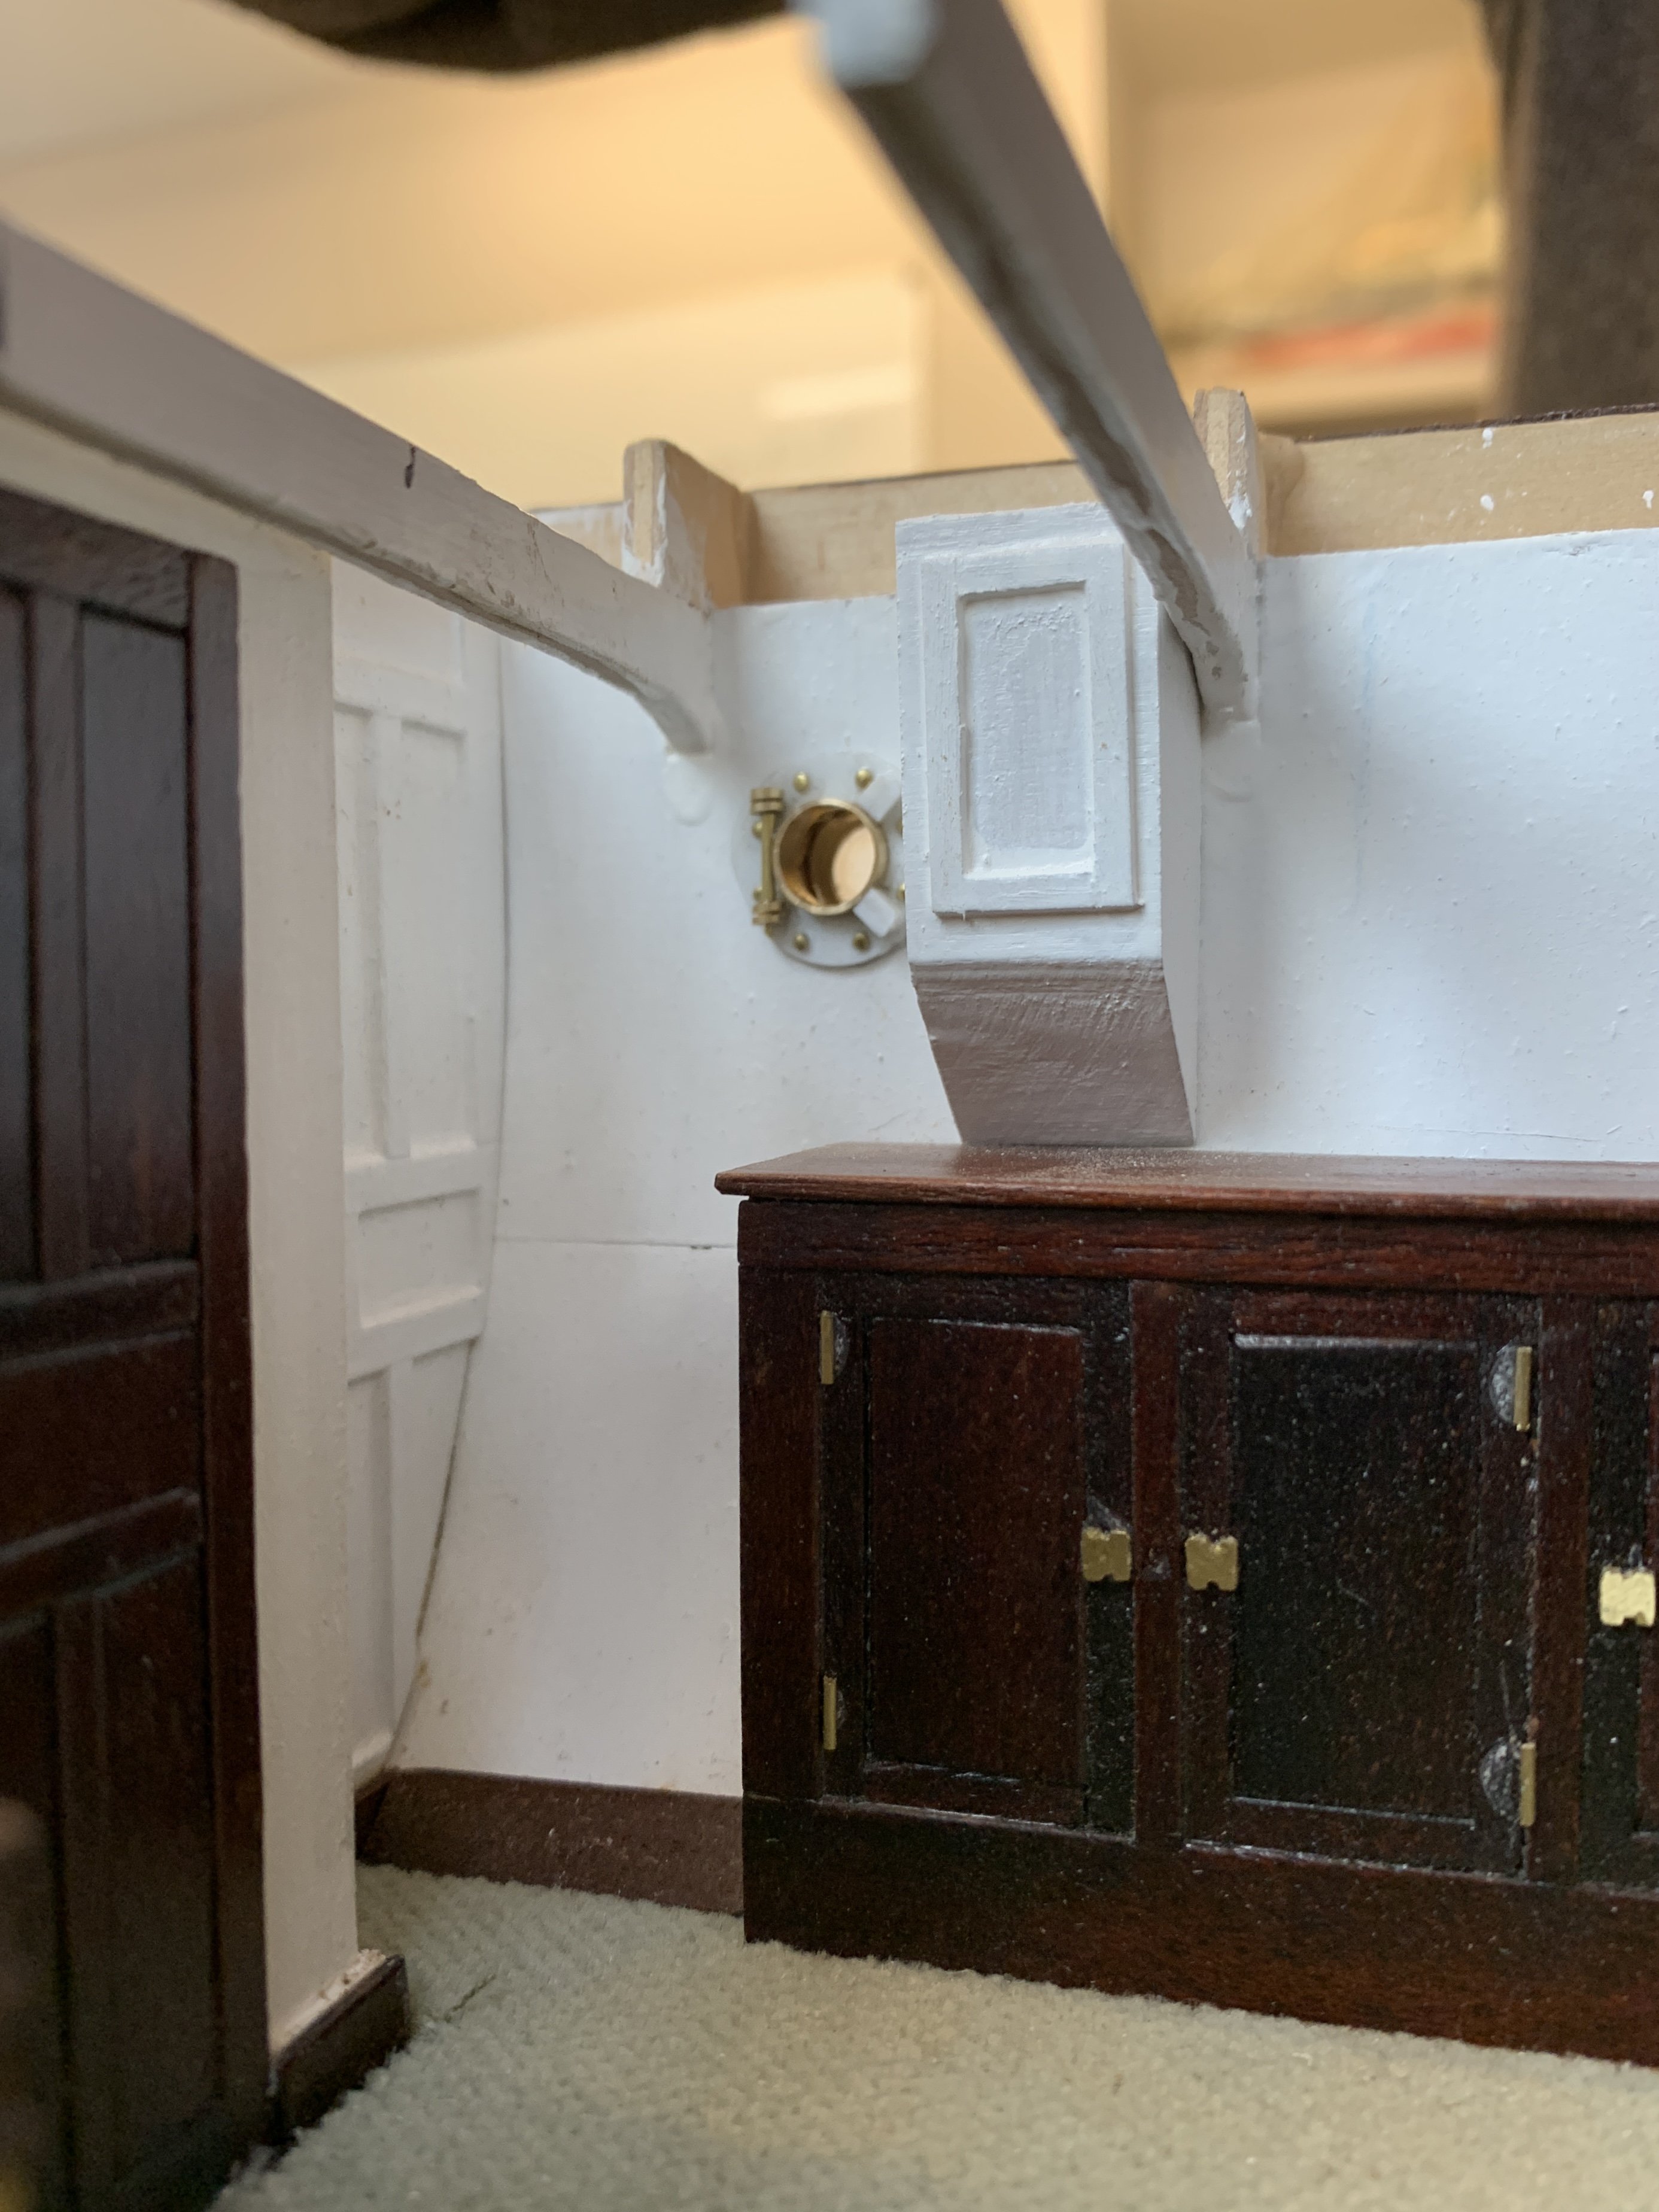
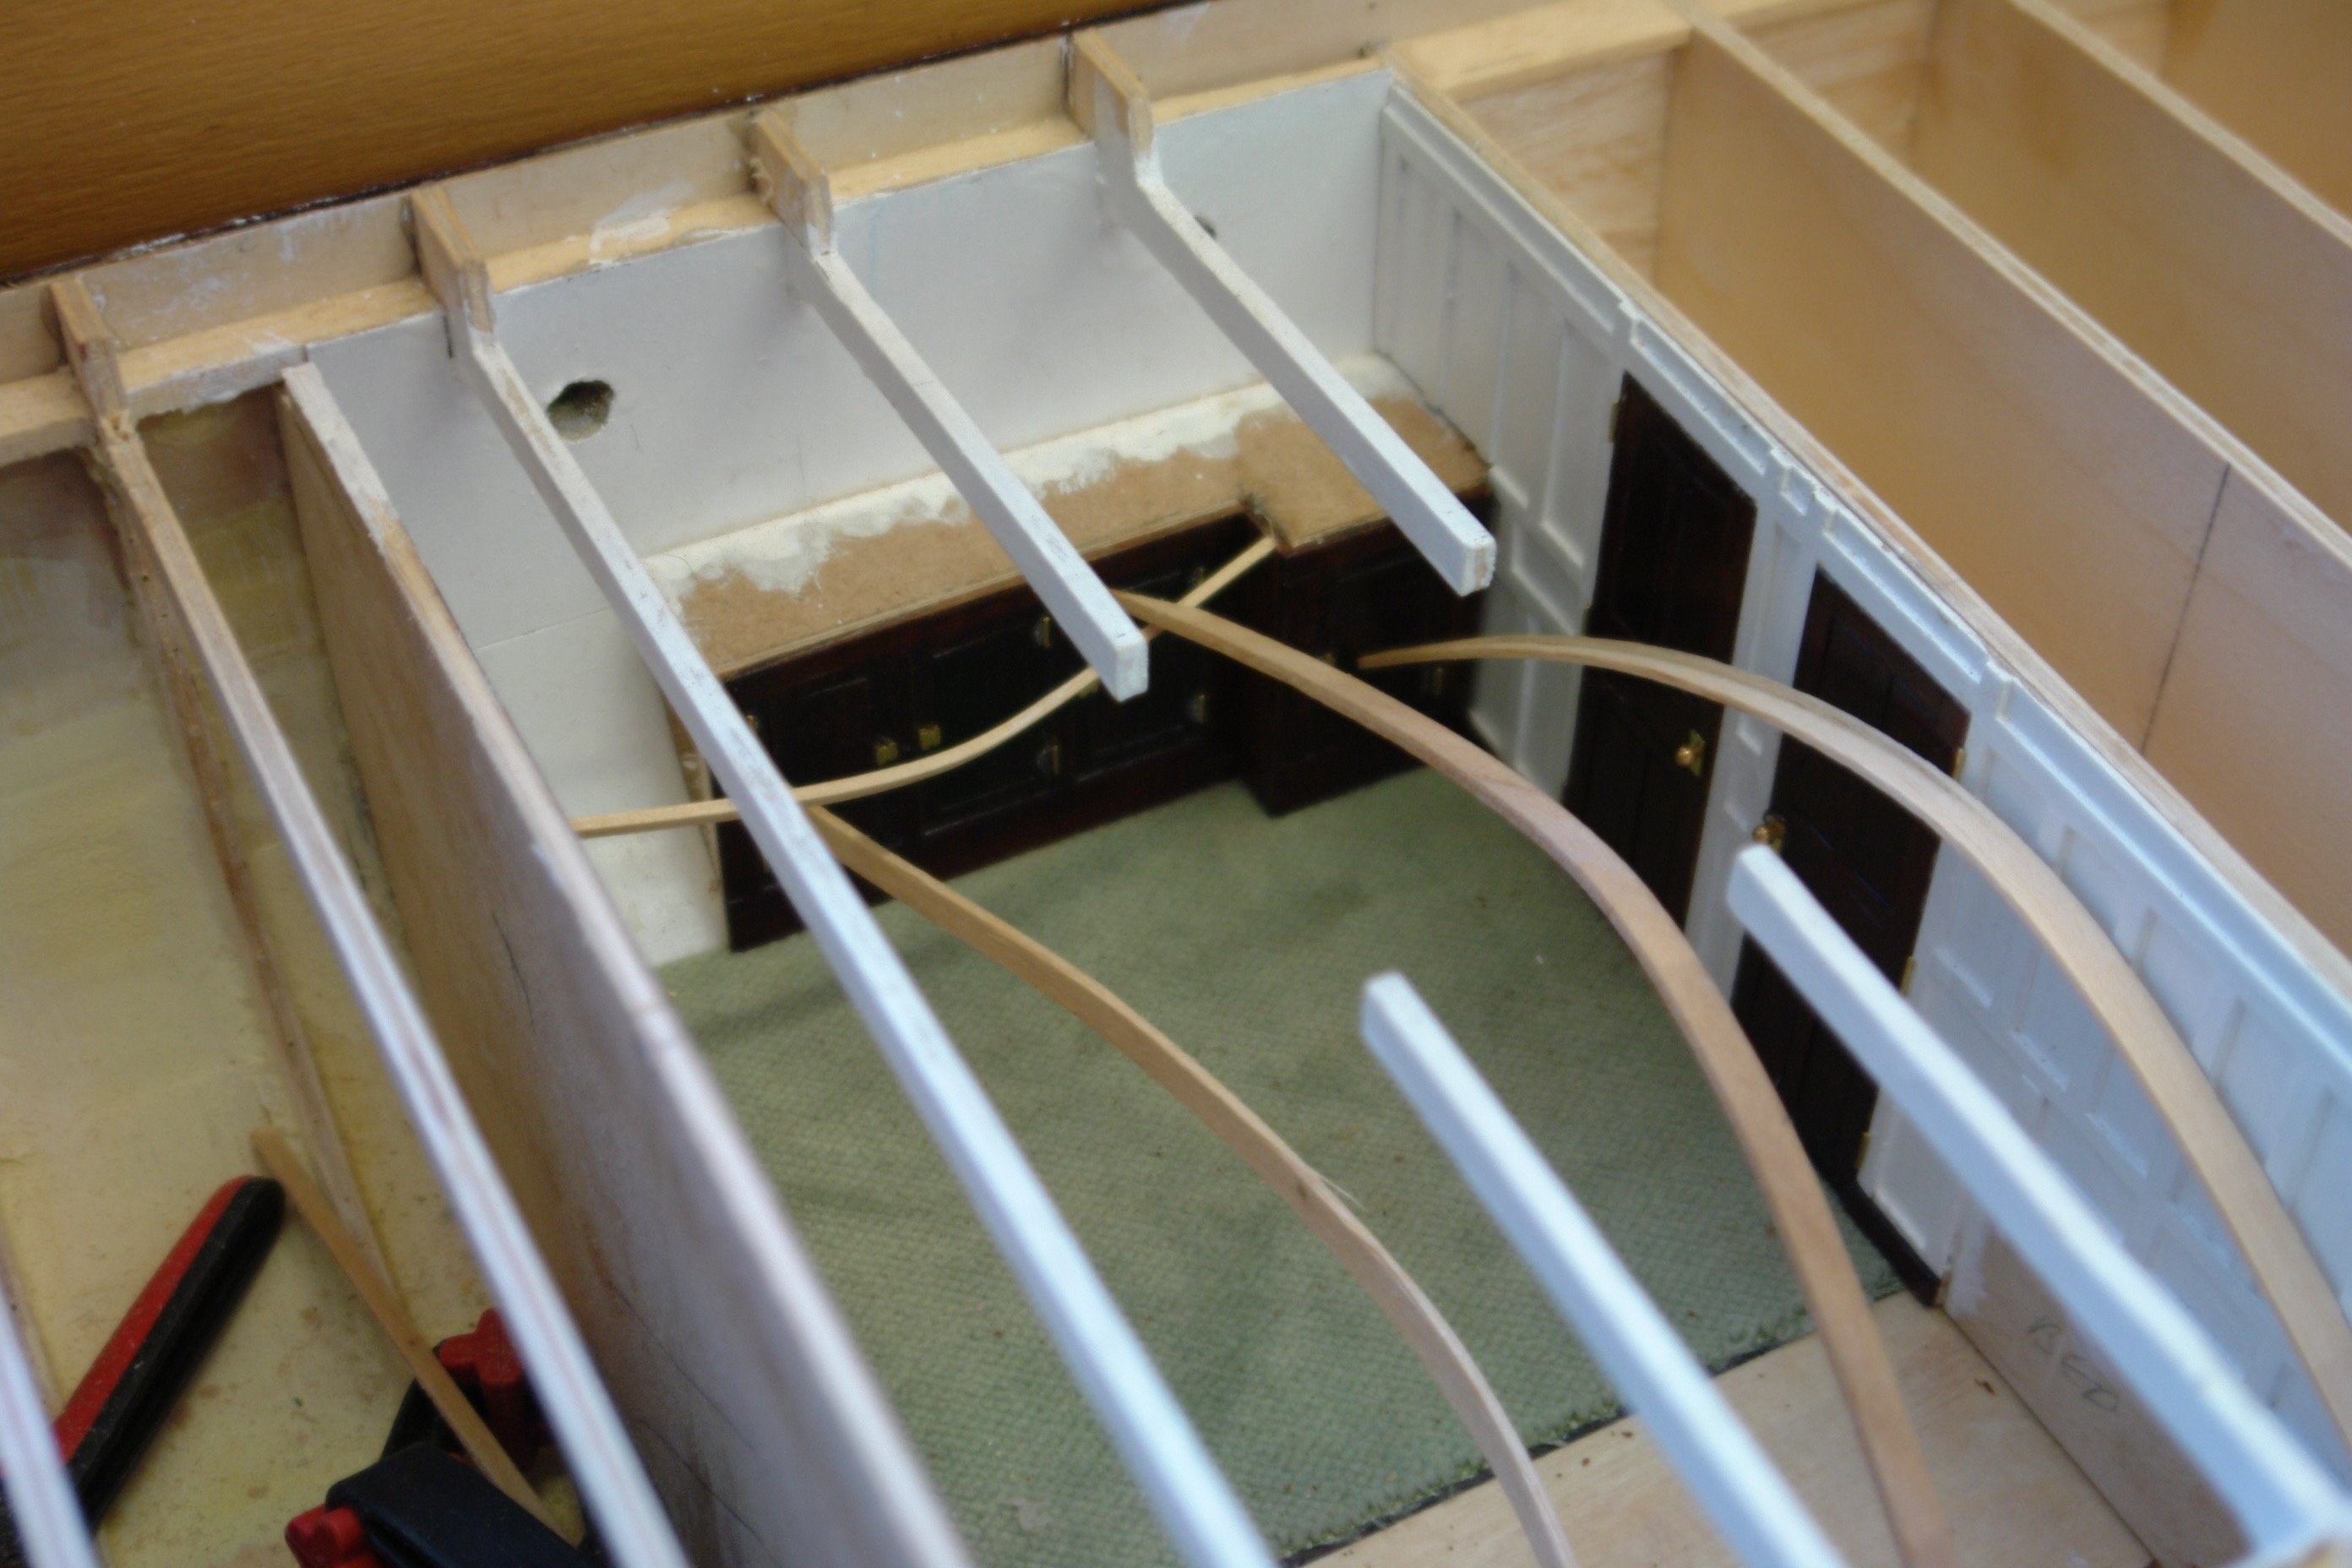
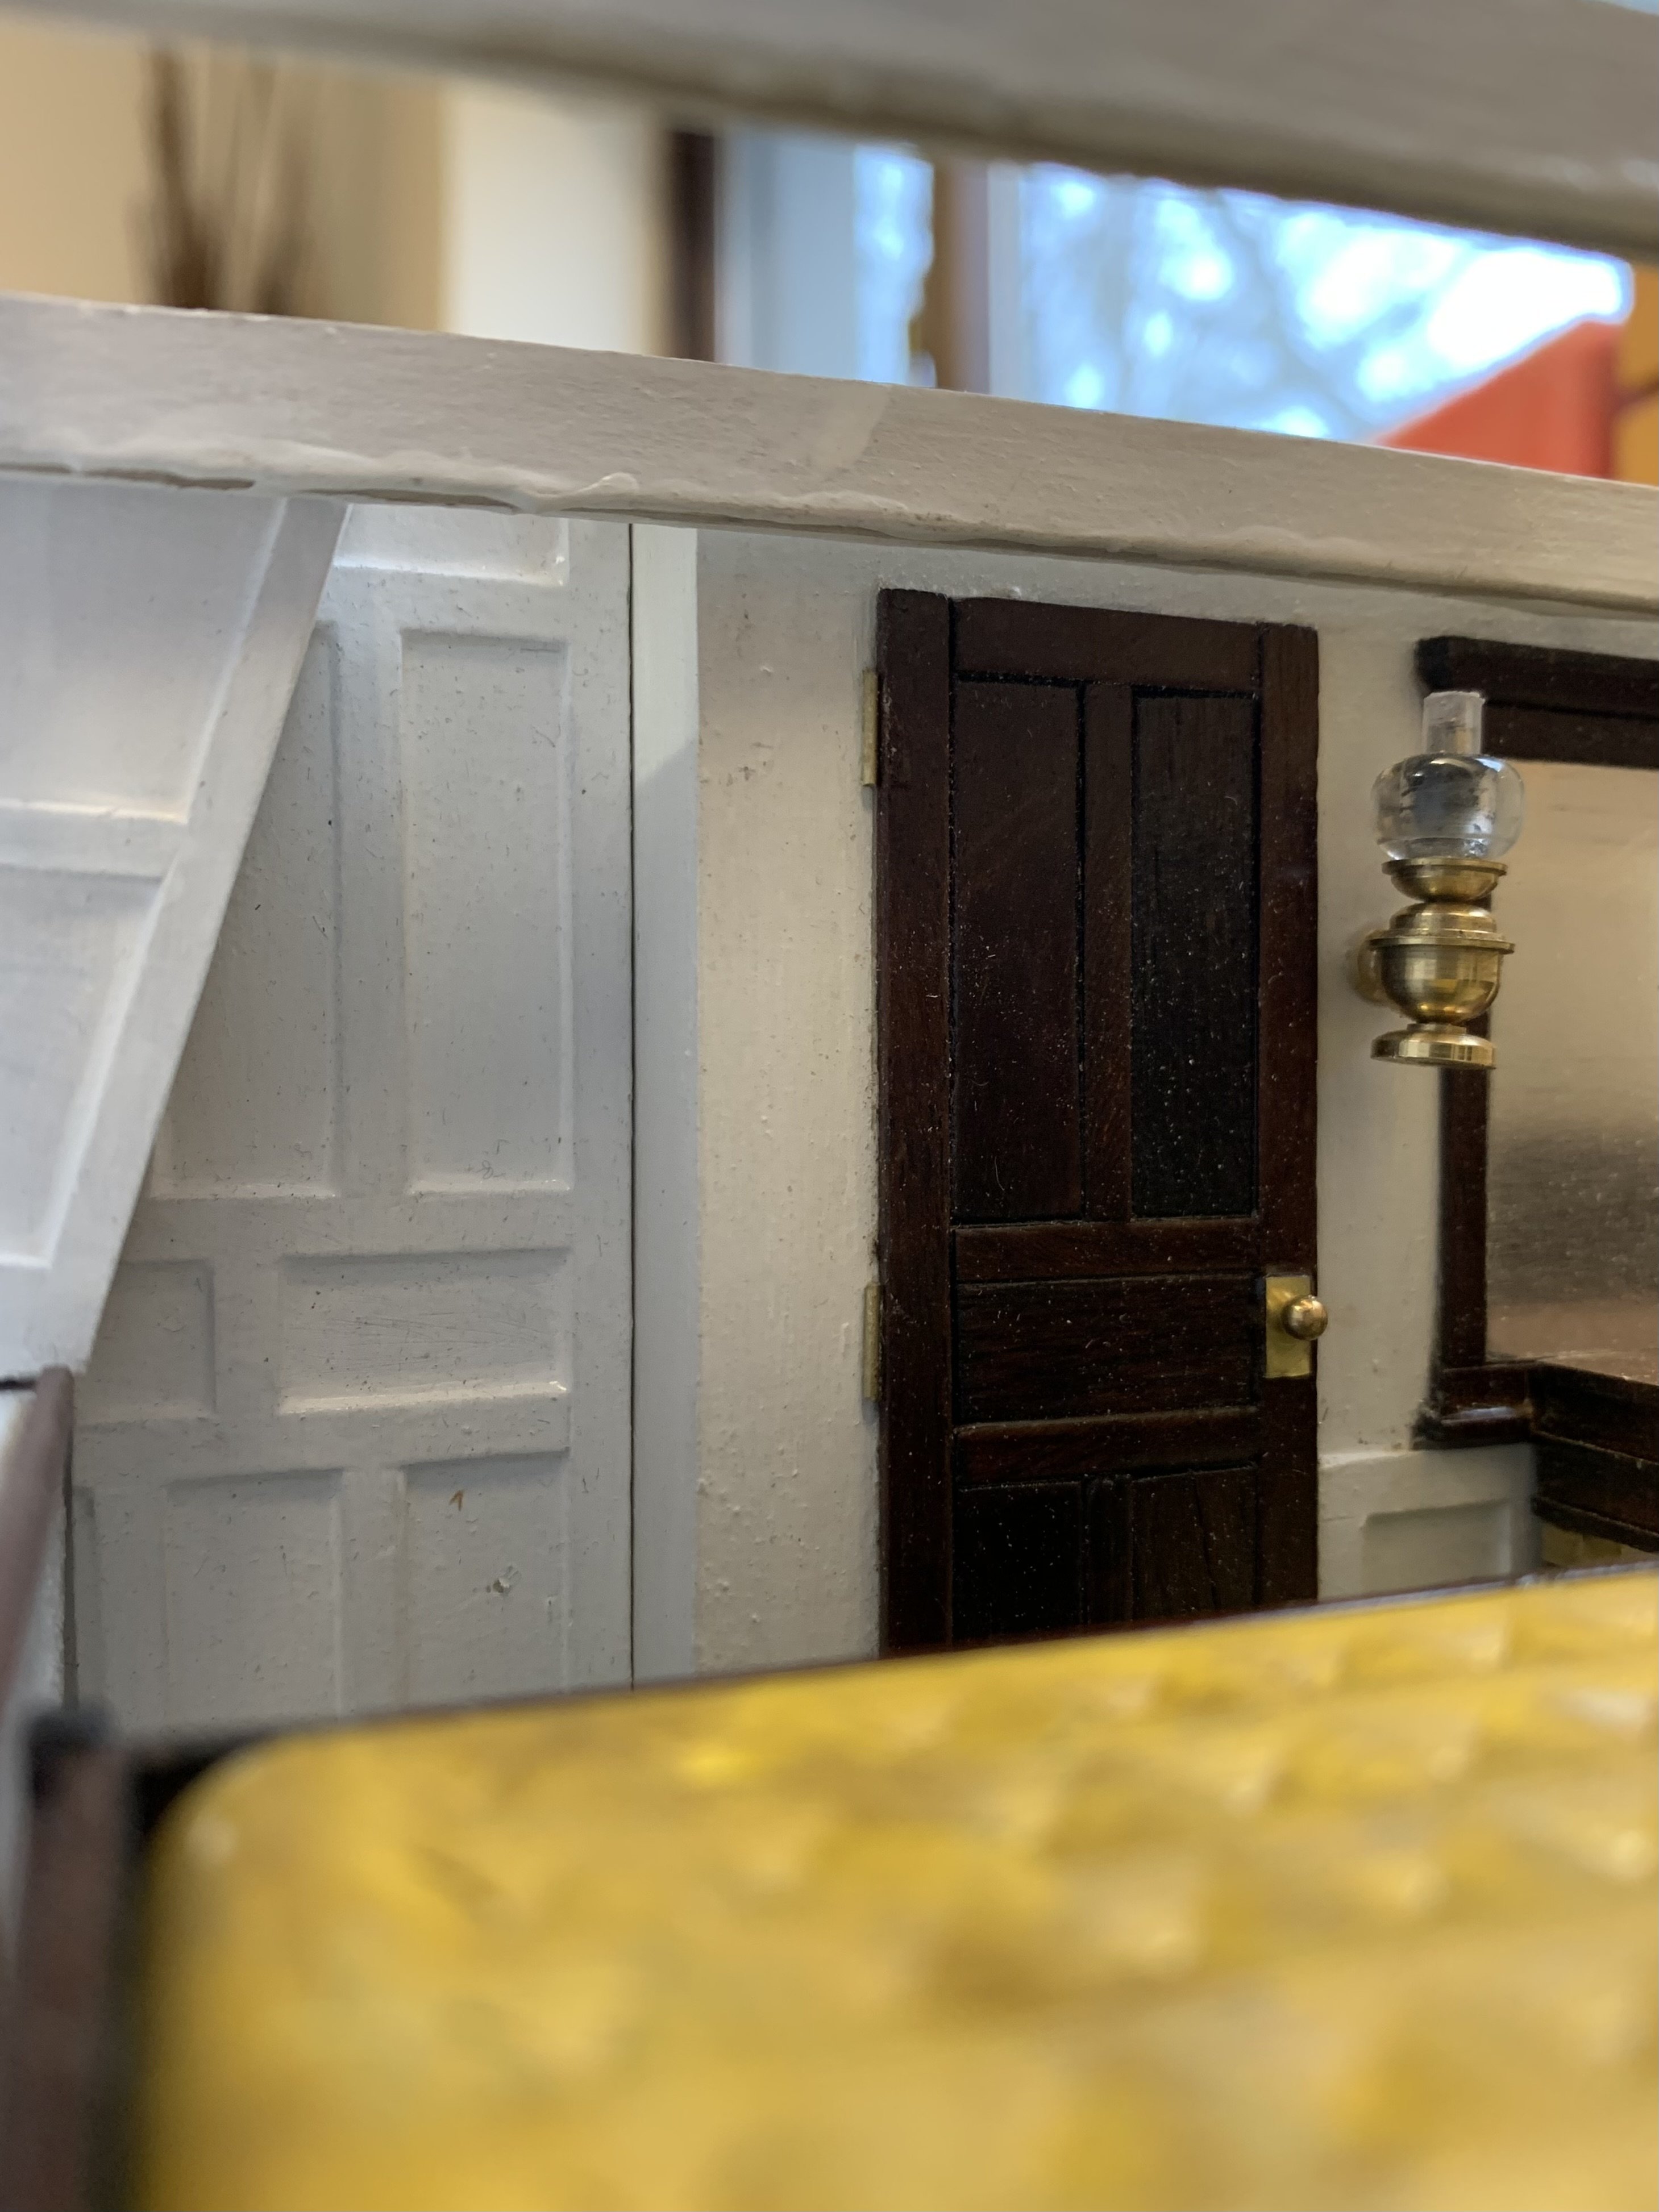
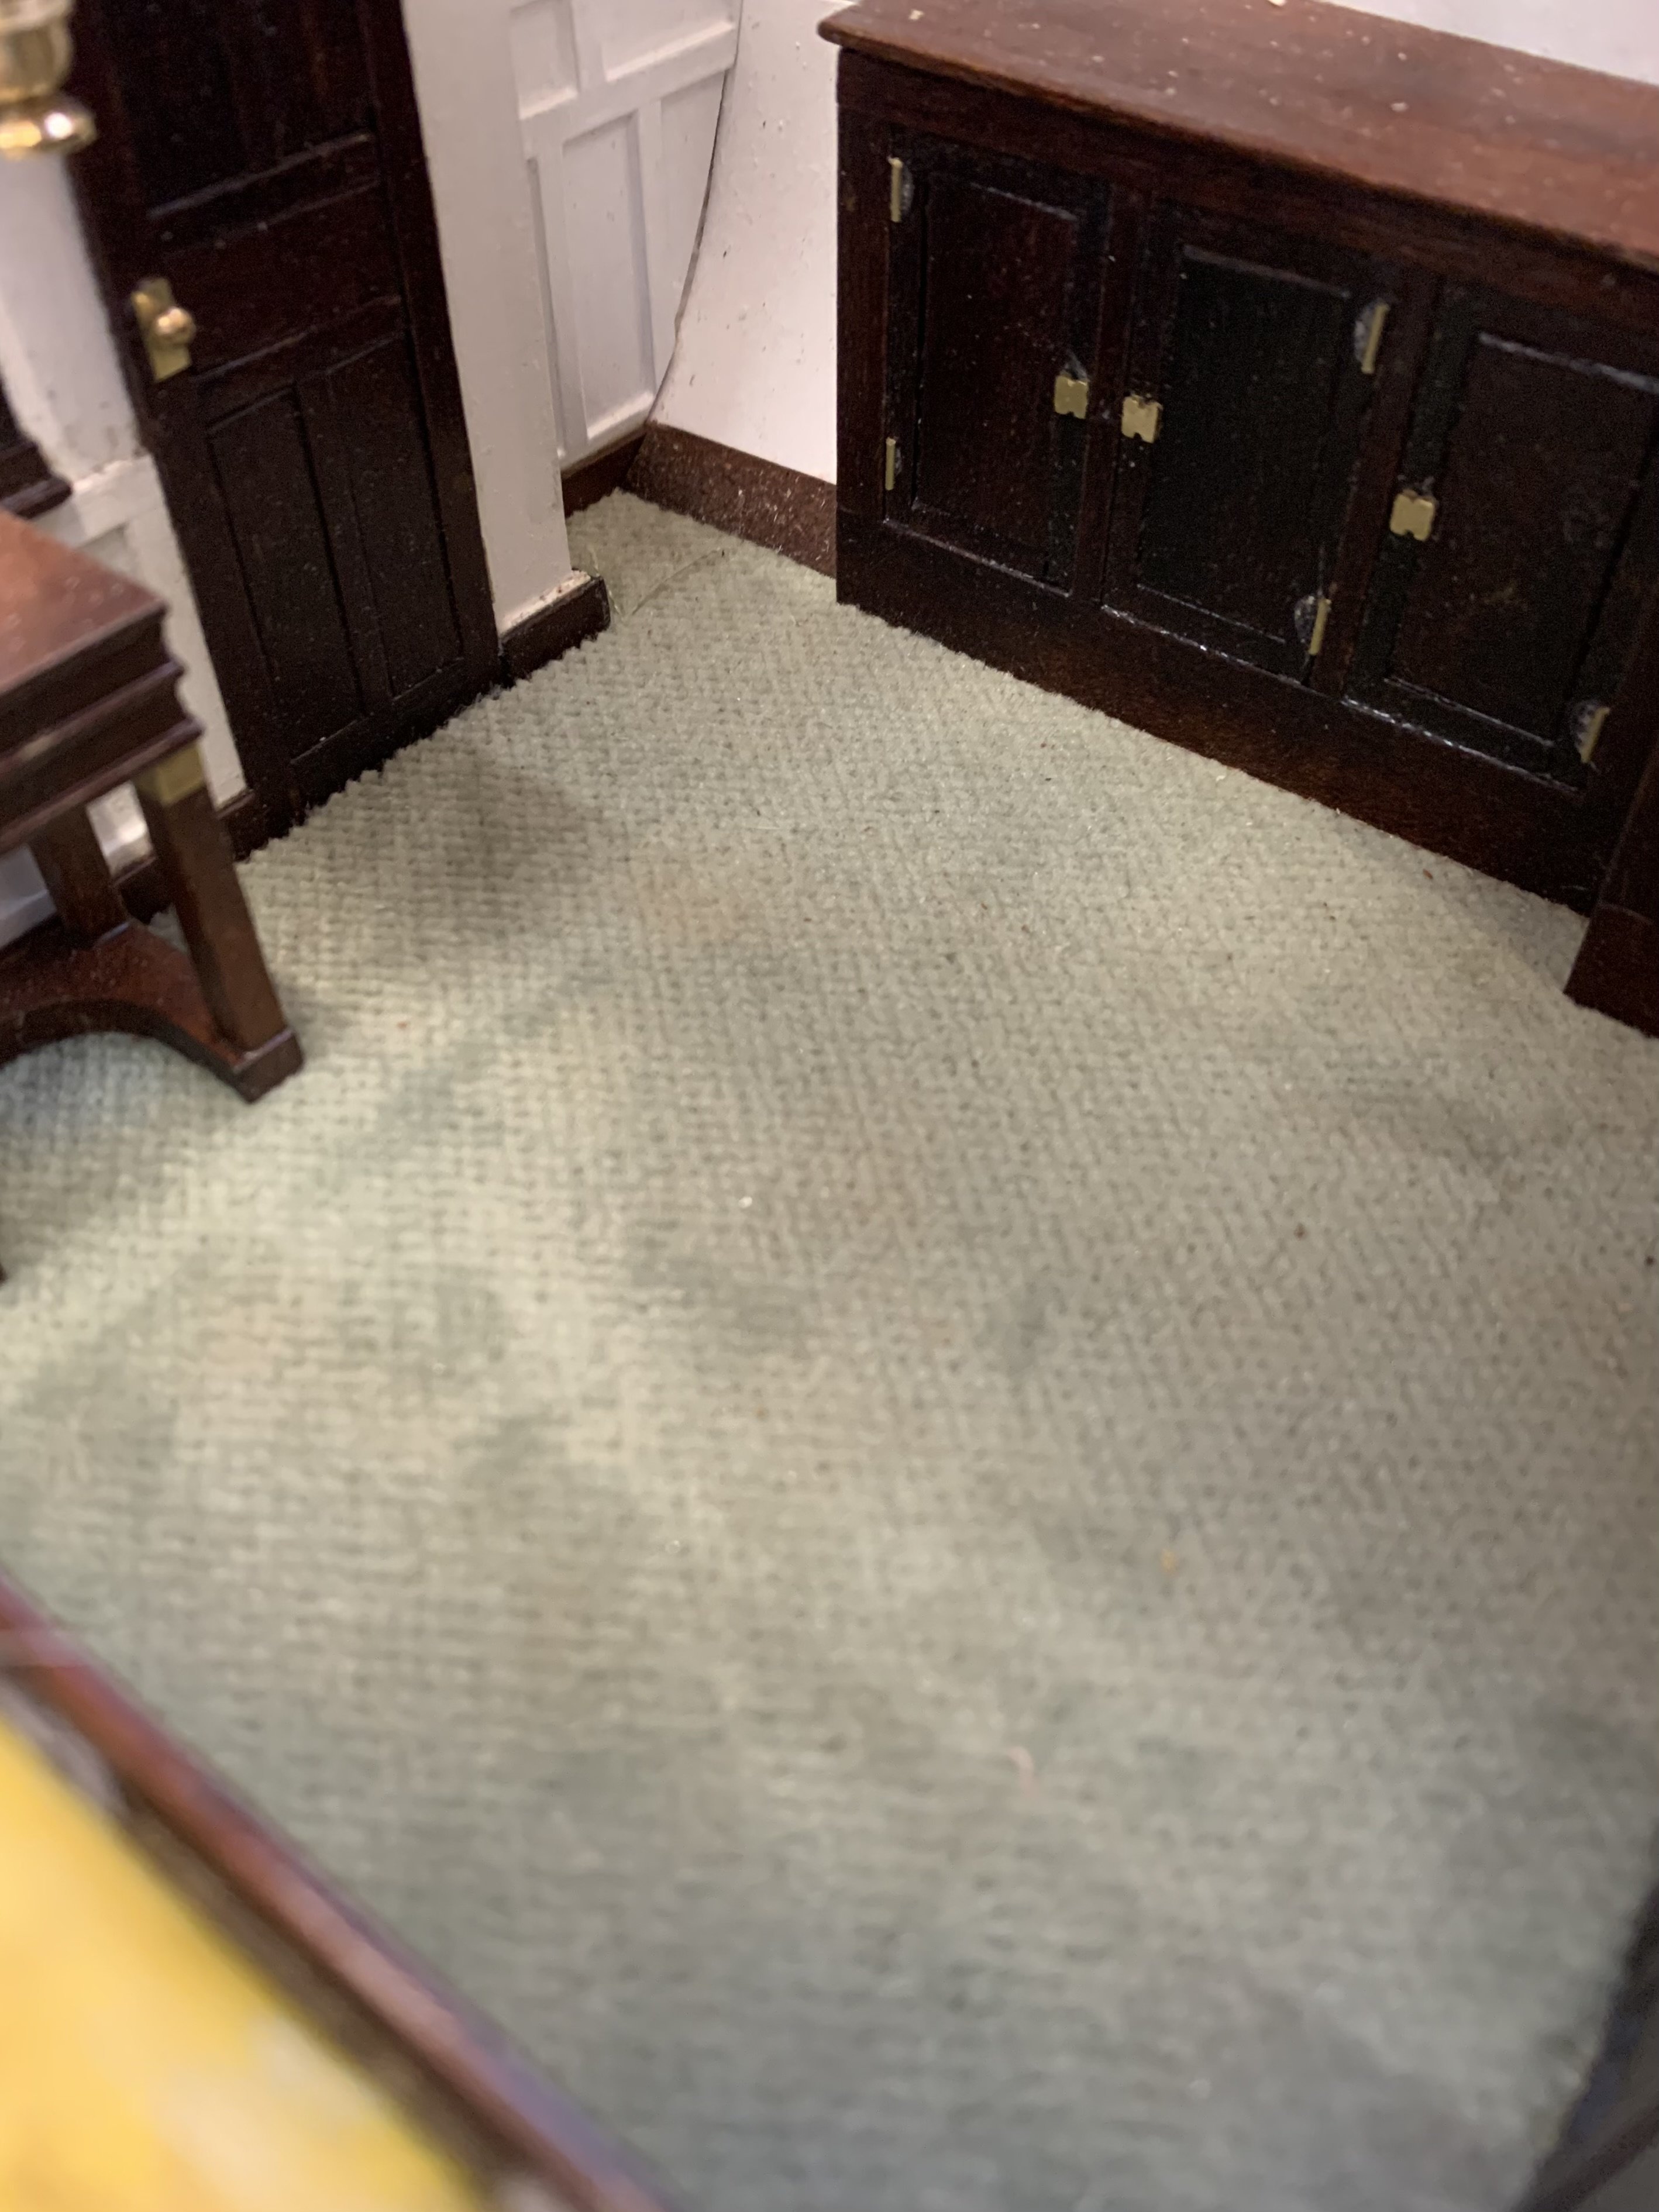
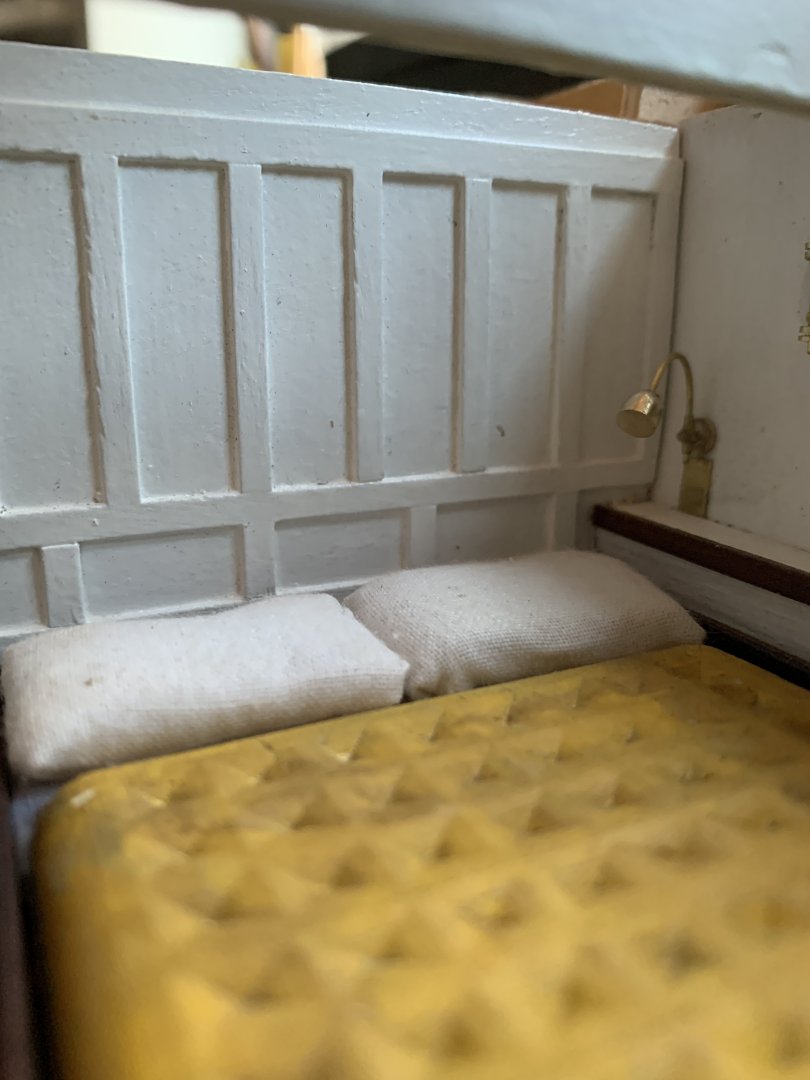
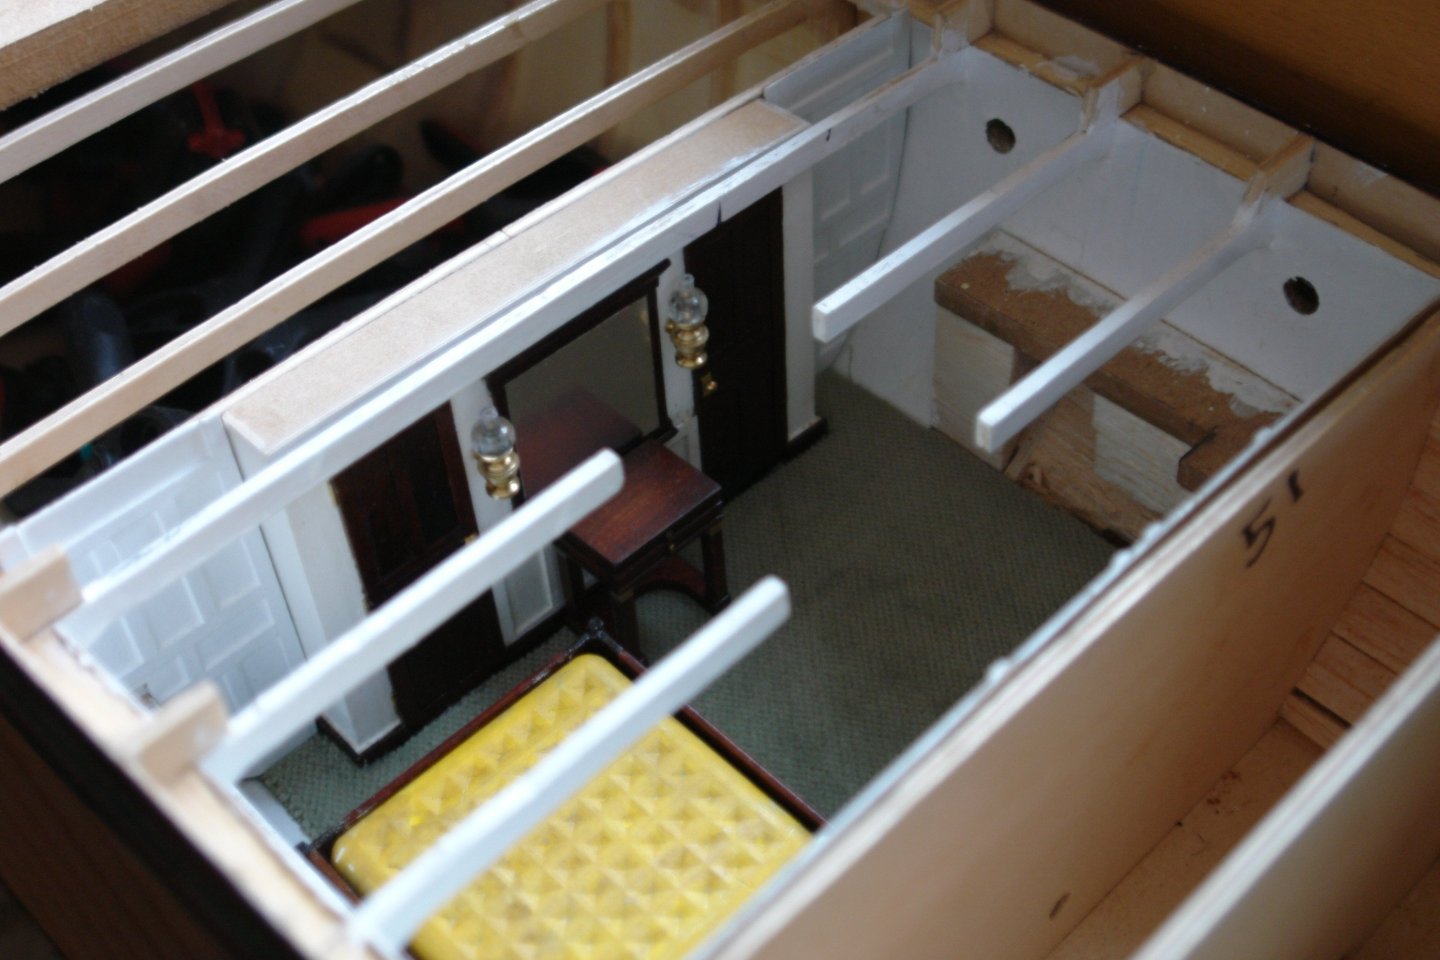
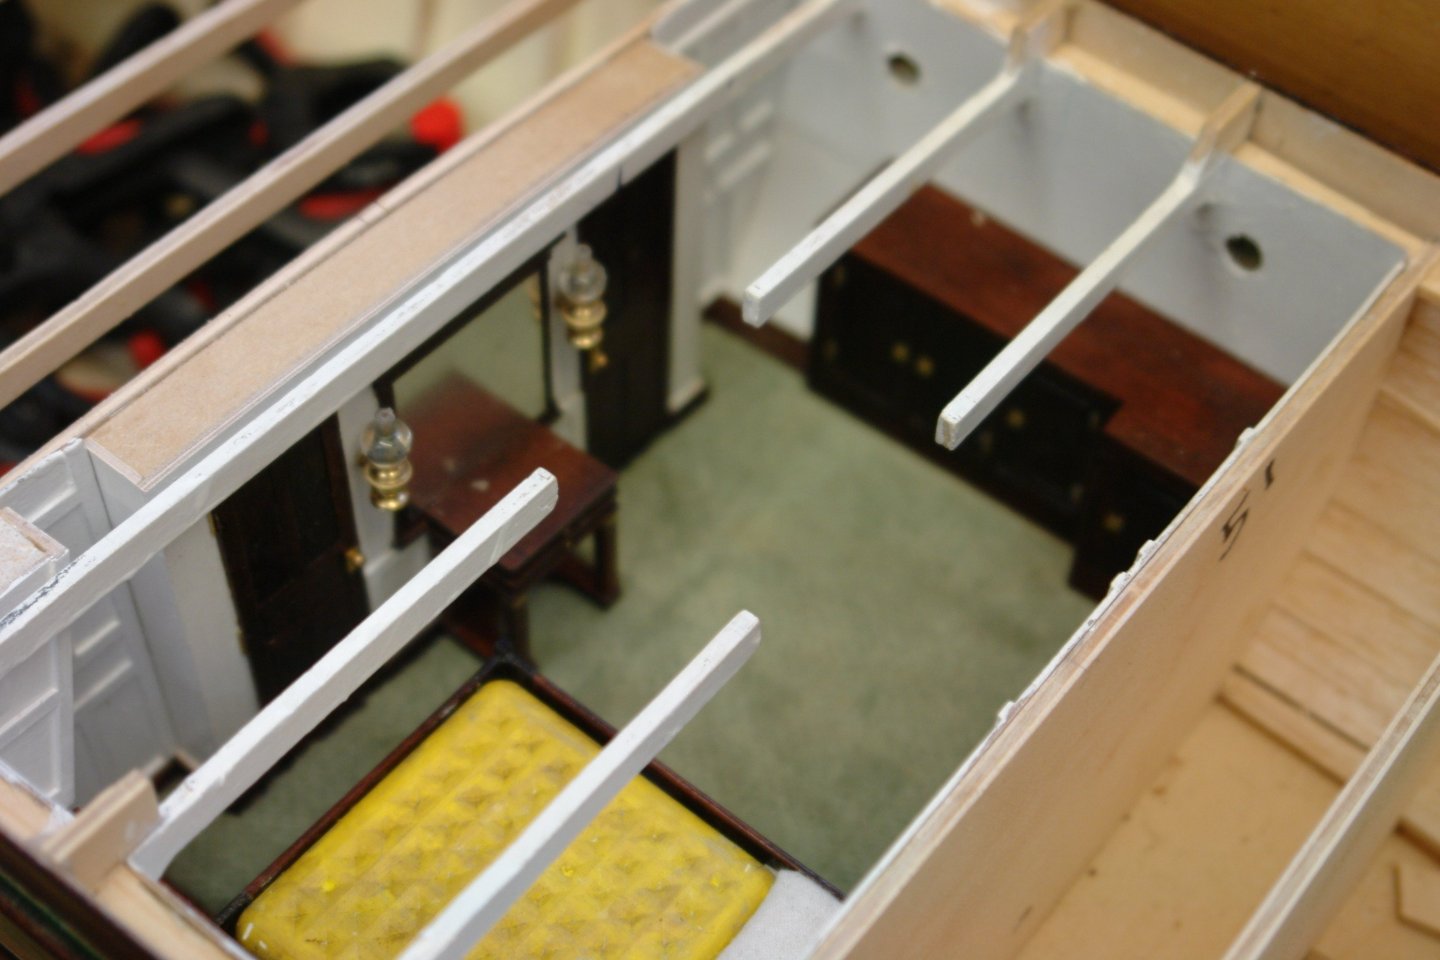
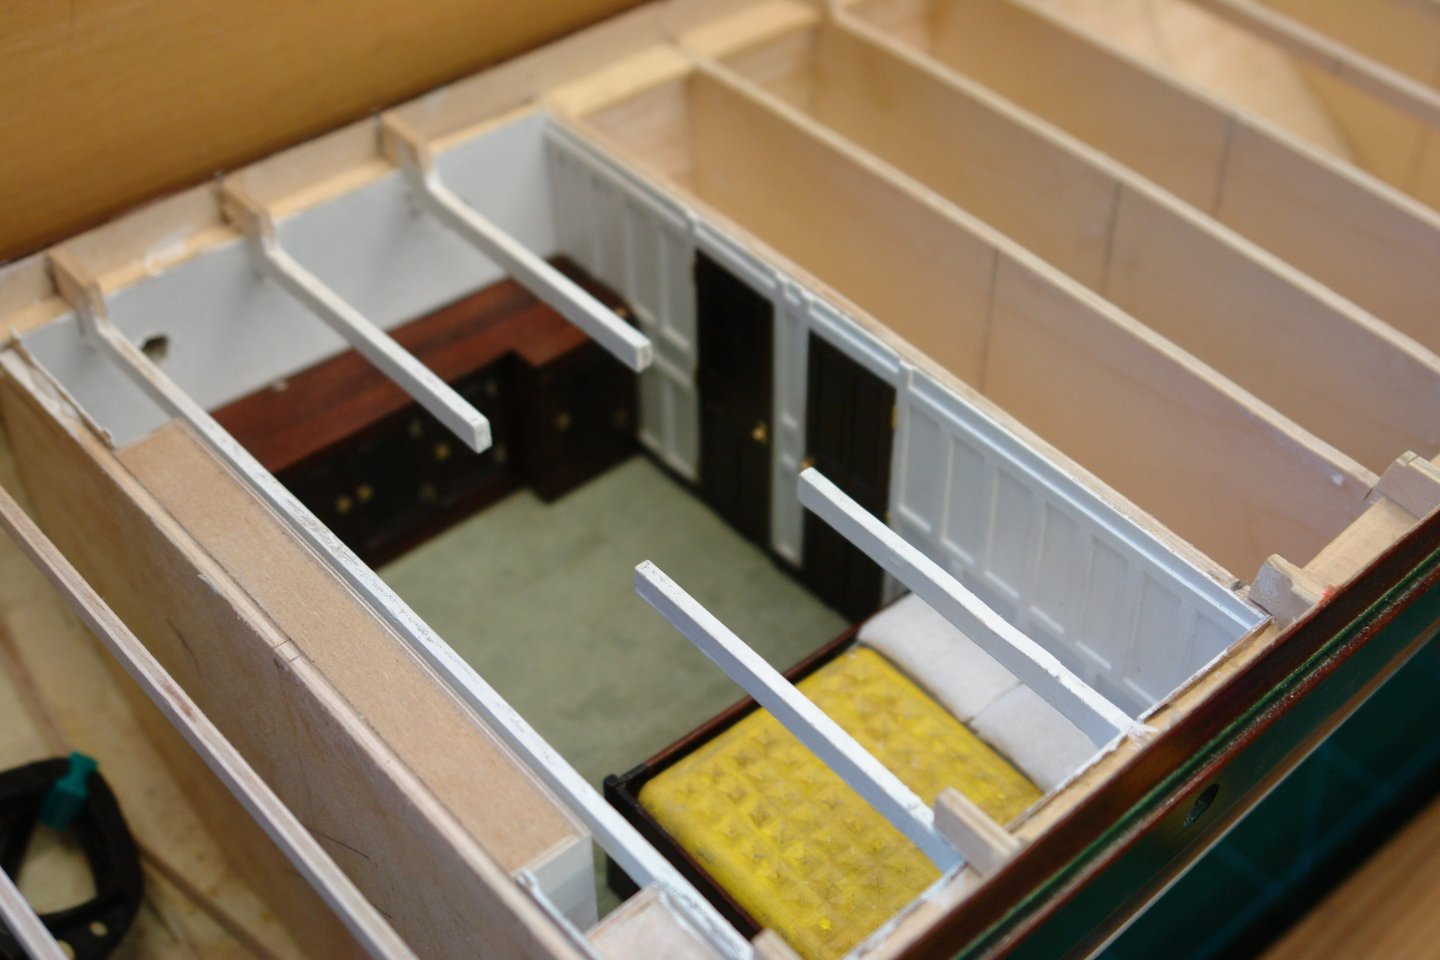
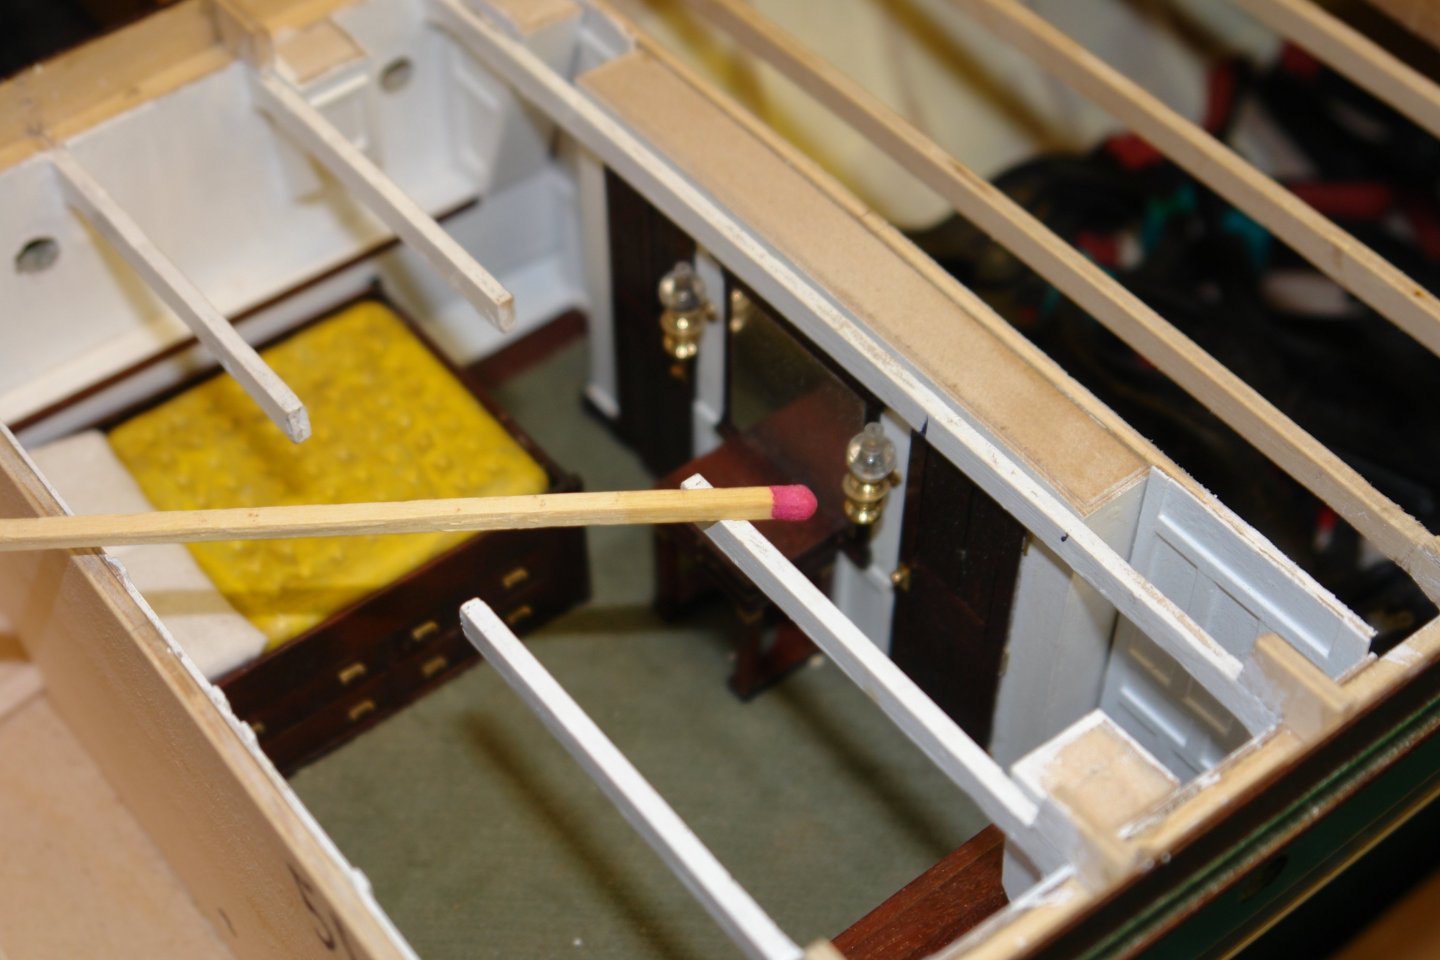
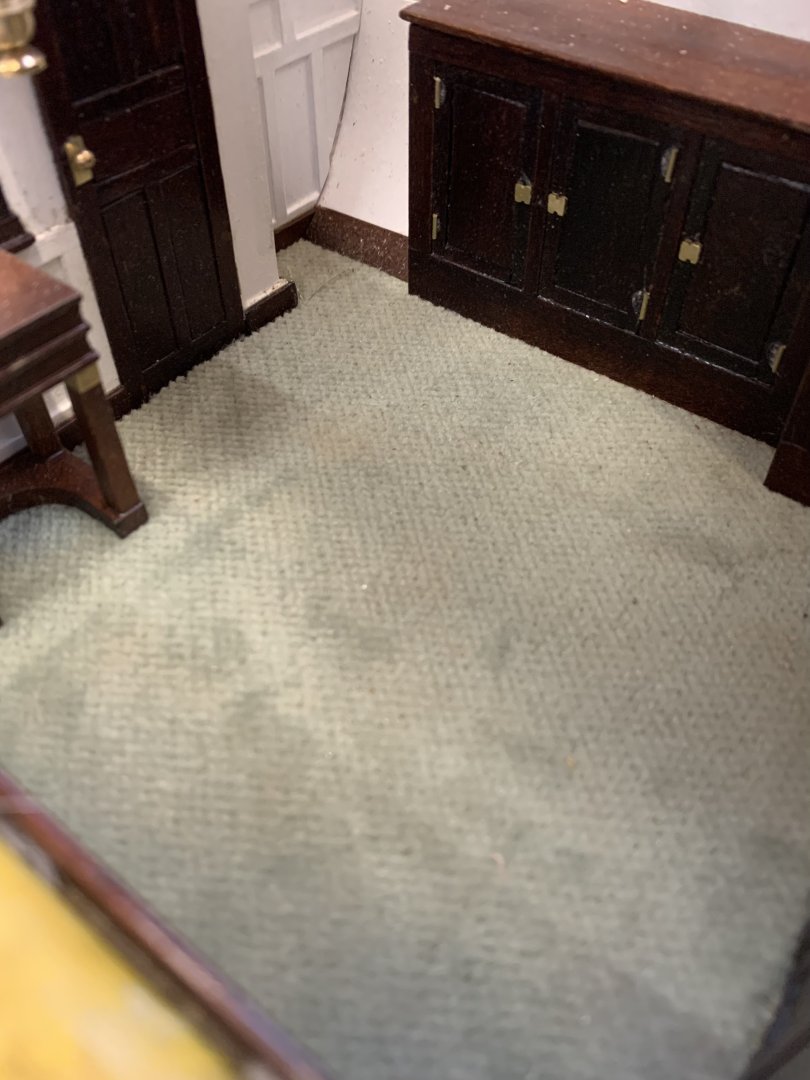
Thank you Druxey, Rick and John. I have spent a few days fitting out. It is not yet complete but getting near. The carpet and the fore and aft walls were glued in with the aid of gravity and Starbuck sticks. The starboard cupboards were next - more bent sticks. The deck frames were playing games with the focus but I plodded on - sorry about the definition. I then changed tack and tried the phone camera inserted between the deck beams. Definition improved but I could have done with a wider angle lens. I must remember to dust before photographing. Then back to the big camera for a deception shot. Finally the real thing for less amateure rendering of the subject. More to come later.


-
Yep - such an obvious omission. I wonder why you weren't inundated with posts pointing out your error.🤪
-
It is sometimes fun to follow a first scratch build because prior knowledge does not constrain how things are done and mistakes provide endless opportunities for innovation. Following along is going to be educational.
- 38 replies
-
- 1
-

-
- William Atkin
- Sloop
- (and 1 more)
-
She is quite something in a Star Wars sort of way. I think I am going to enjoy this.
-
John, Excellent - you have made it back to work. Do remember that when retired your time is your own.
-
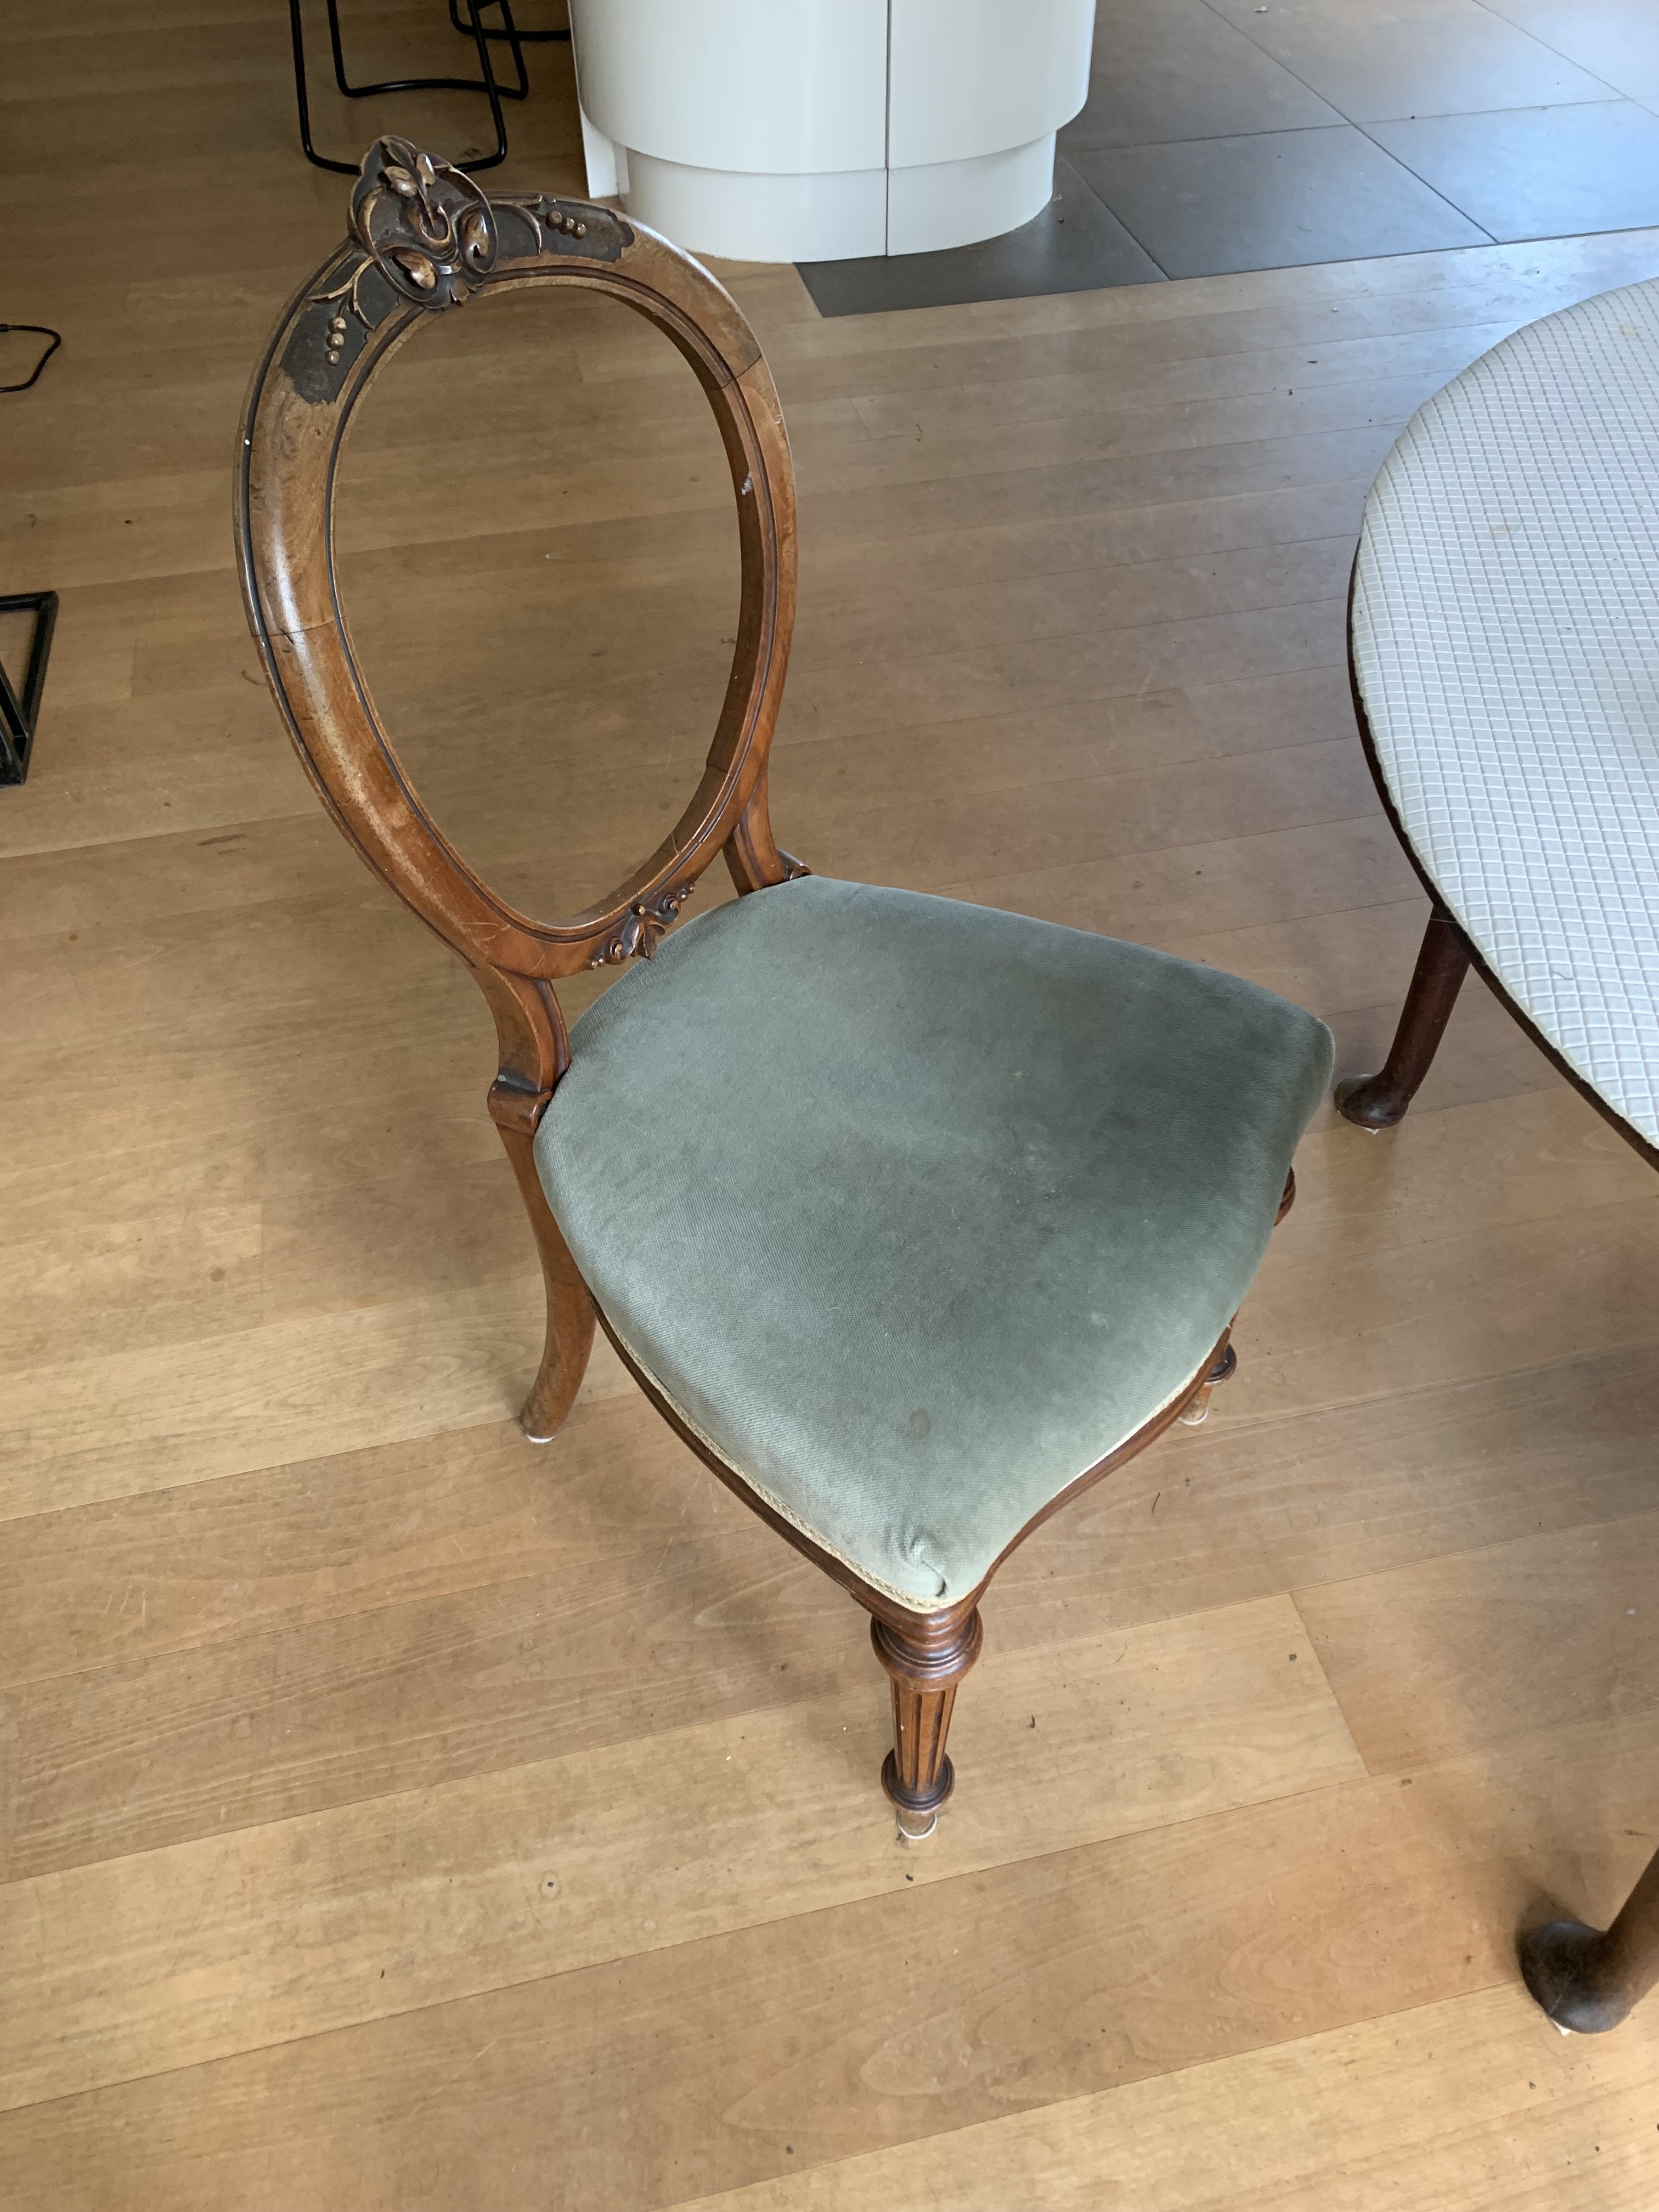
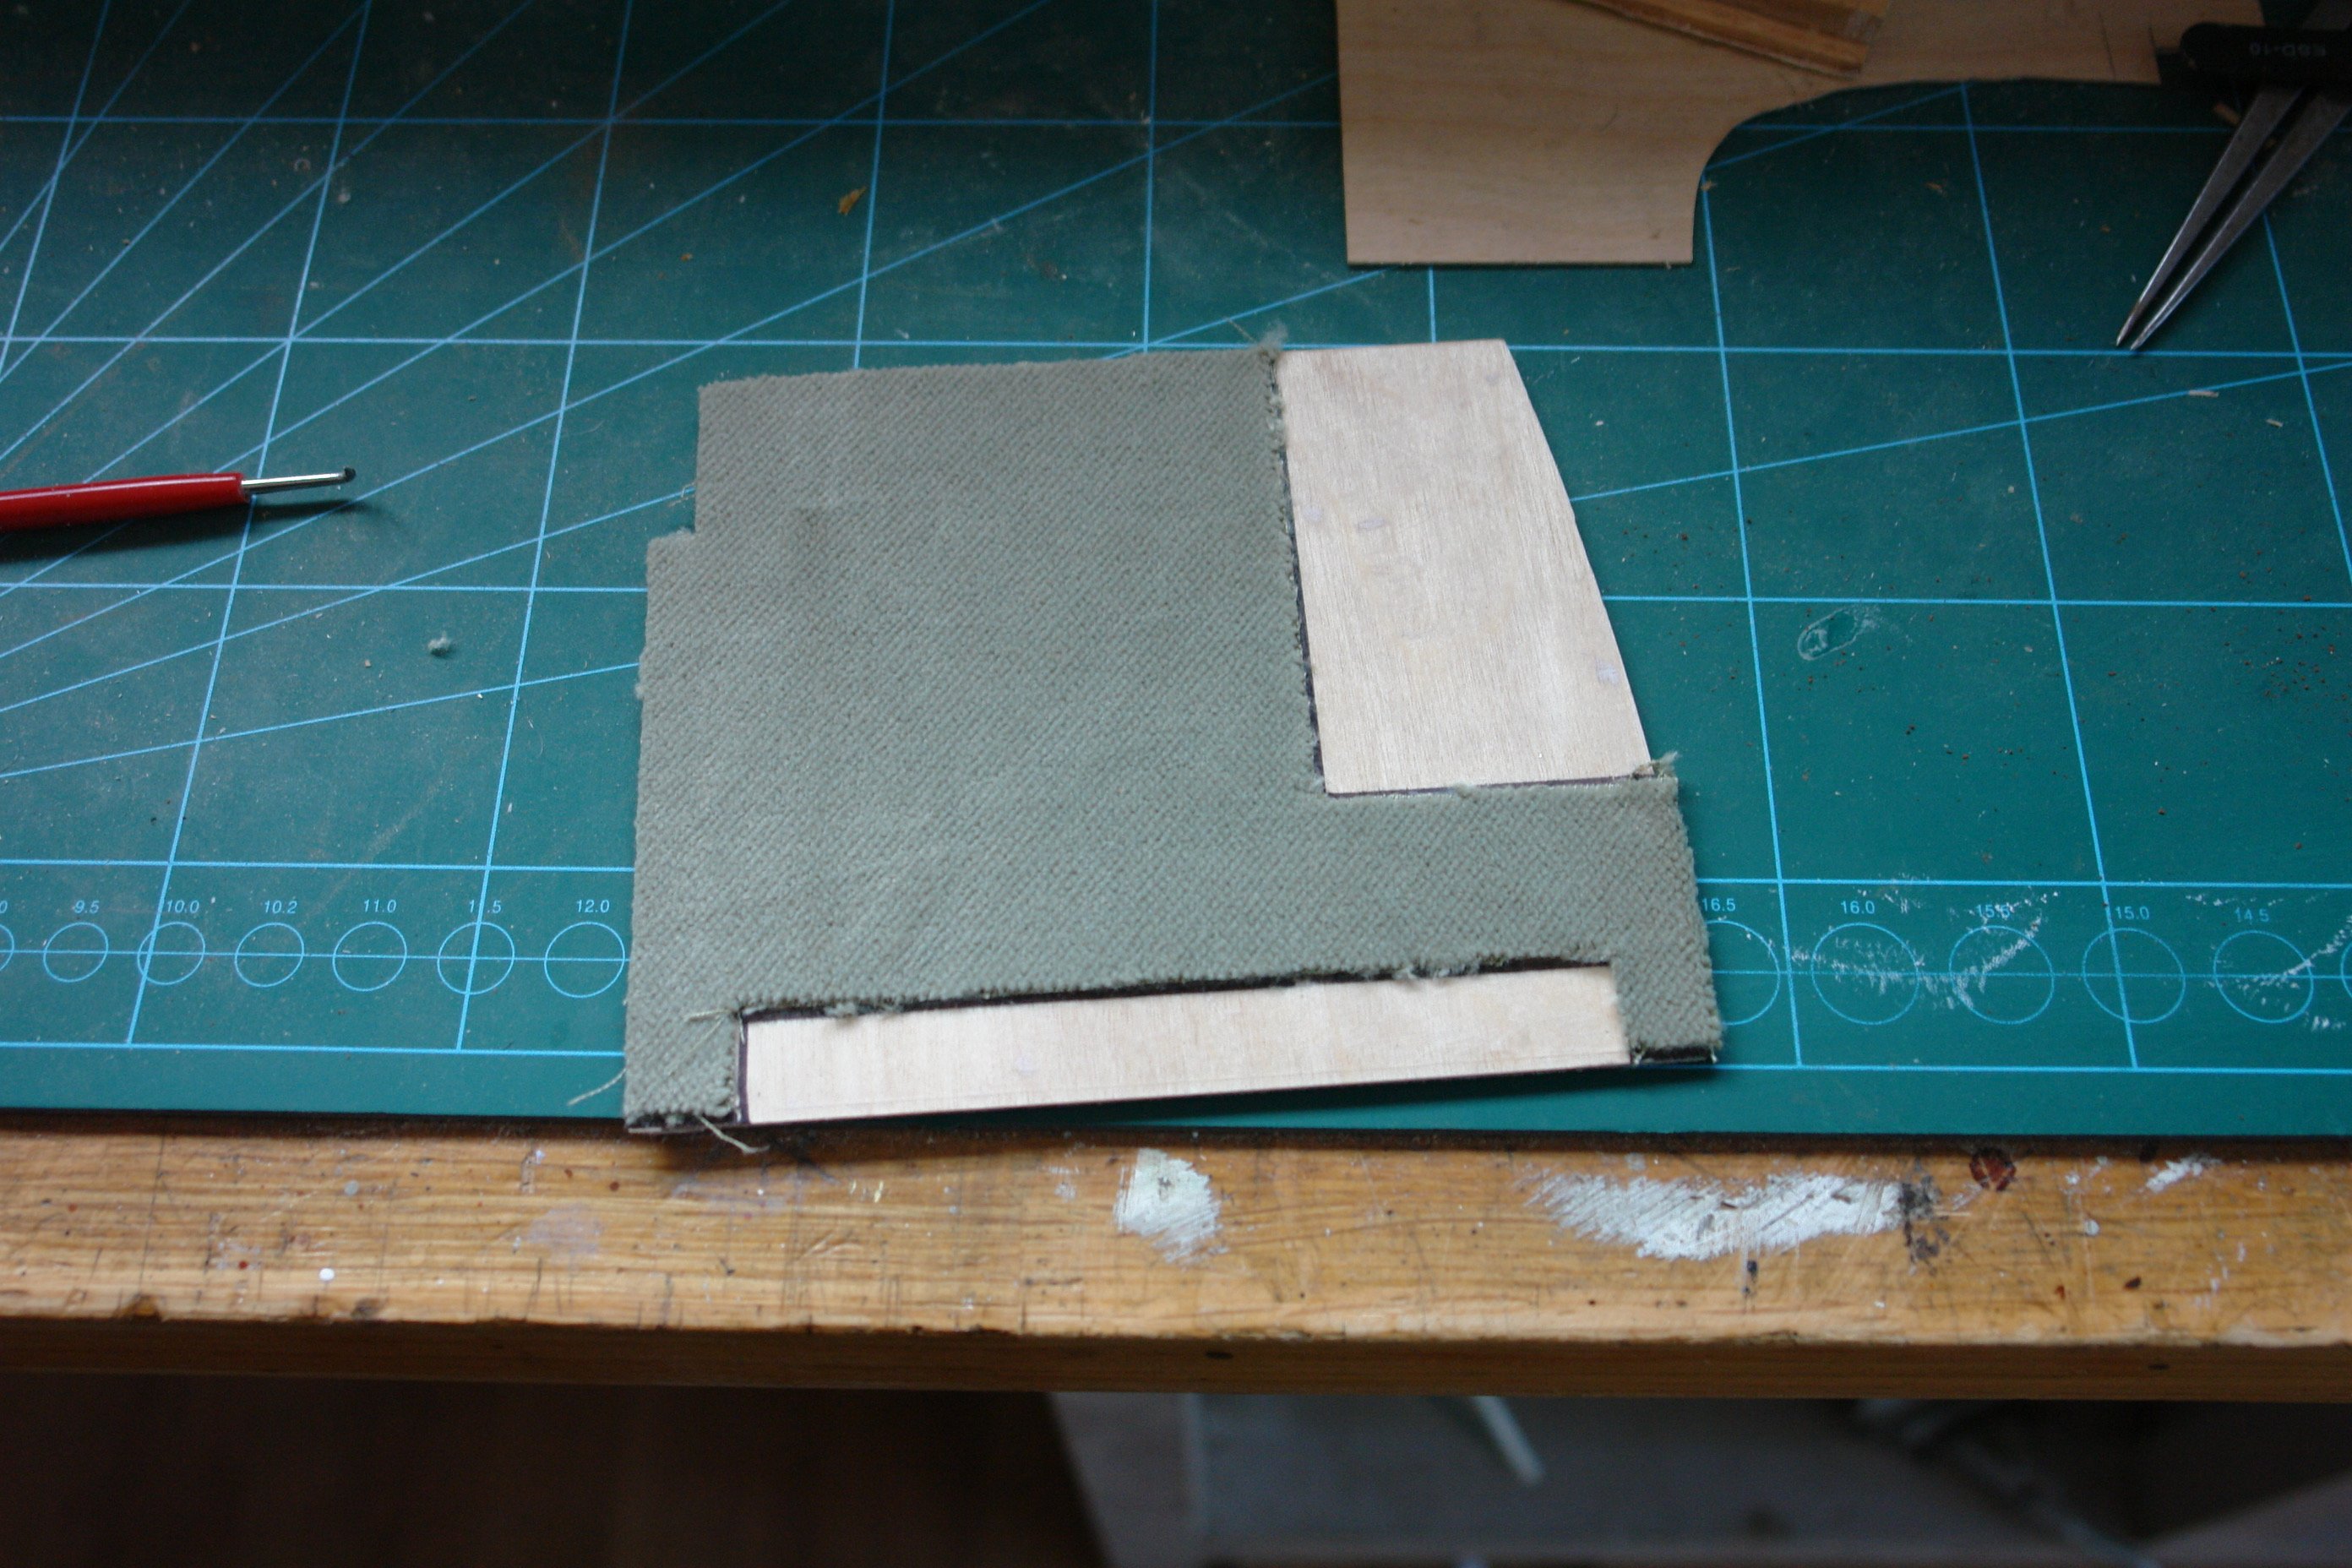
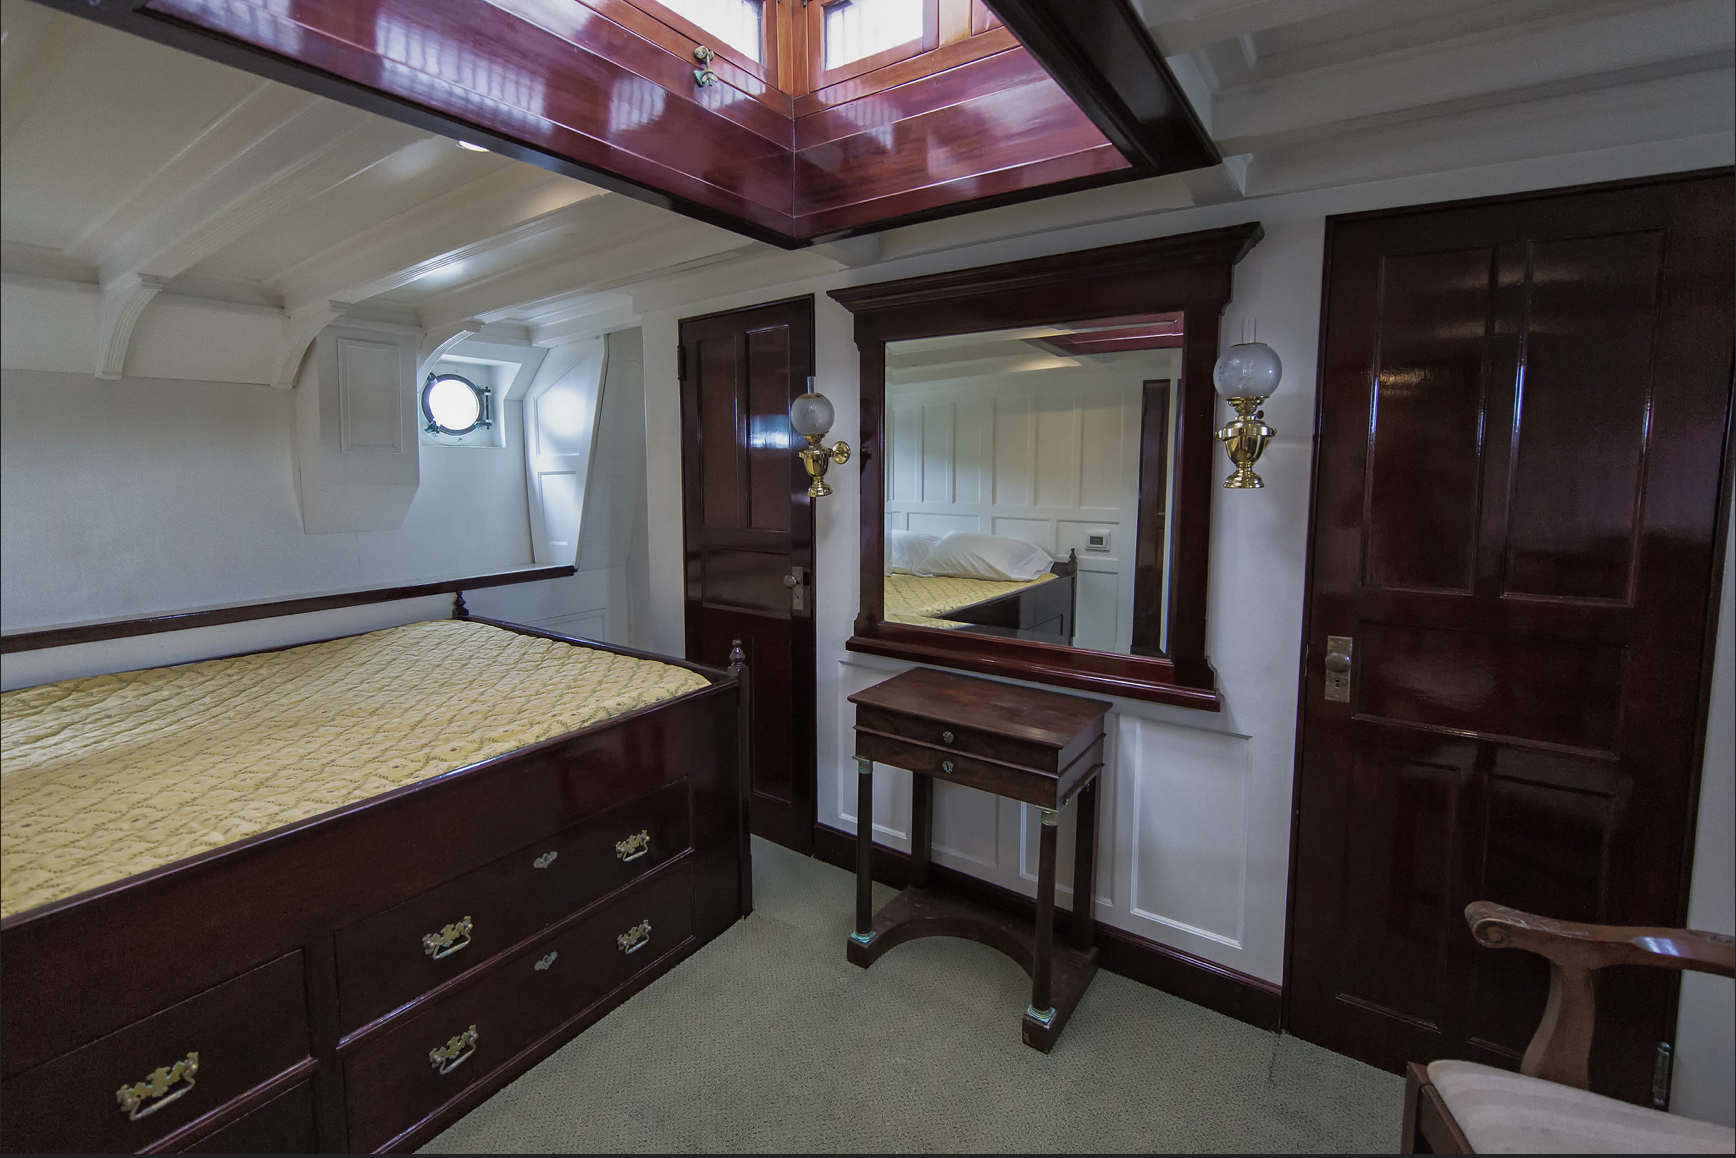
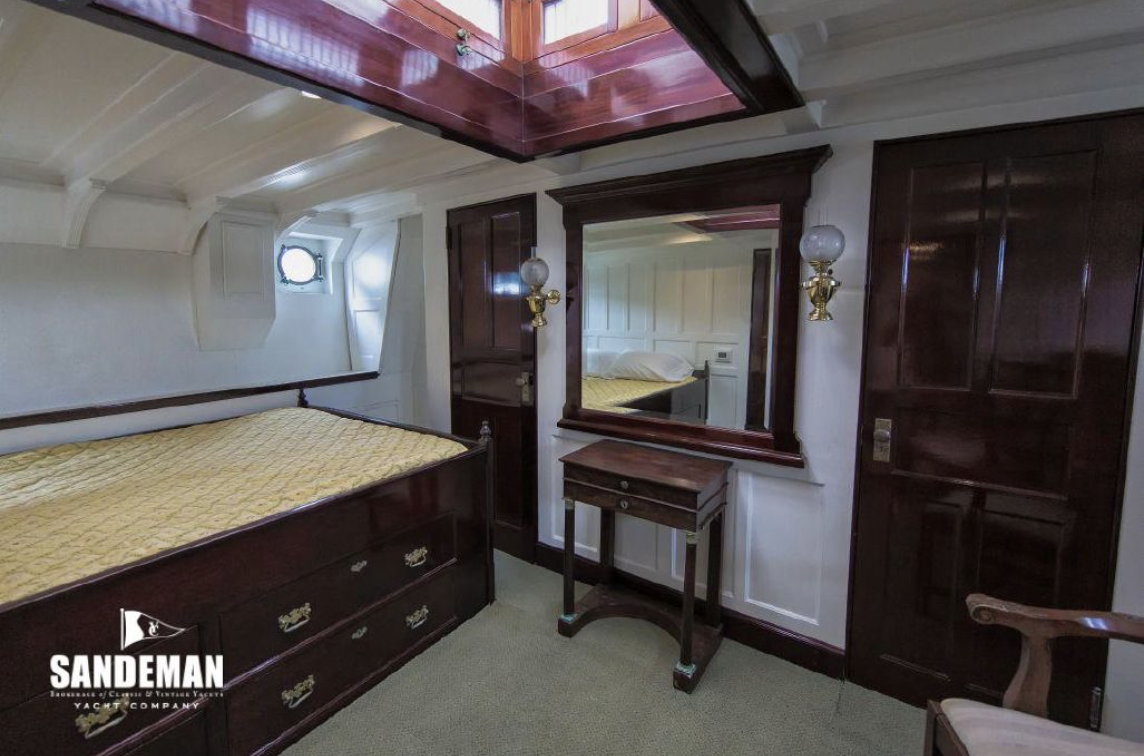
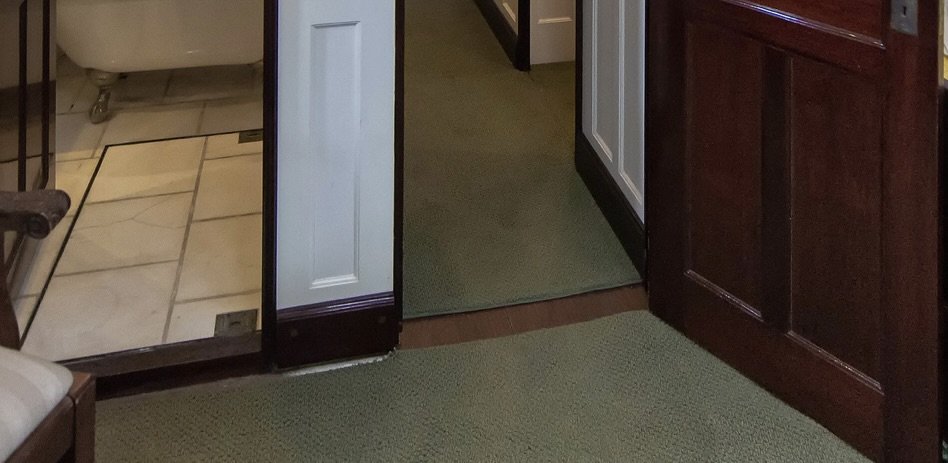
Eberhard, John, Rick, Keith, Yves - thank you for your comments. Also thanks to all my other visitors. One of the things I needed to sort out was the carpet. The same carpet is used throughout the owner and guest accommodation. The next picture is blown up from one of the accommodation photos. The carpet is olive green. Fortunately I had a cunning plan. The next photo is of a family heirloom. The chair is part of a dinner table set which was owned by my wife's grandmother, my wife's mother, my wife and now my daughter. So it is on its 4th generation. It could be older but no one can remember that far back. It is looking pretty good, particularly as I last re-upholstered it over 40 years ago. Now you might think that finding fabric from a job completed 40 years ago was going to be a bit problematic. Then again you don't know my wife. I went to her beautifully organised fabric box and there it was, second piece from the top. Locating it took about a minute. Sometimes I just get lucky (my wife claims it is called organisation). I carpeted the owners floor. He was delighted with the colour match and texture. The fabric is Dralon, so it should be hard wearing. 😀


-
All very precise Paul. Great workmanship.
-
Amazing build Roel. She is a little gem.
-
Yves - Quite something. I wonder what it is like inside.
-
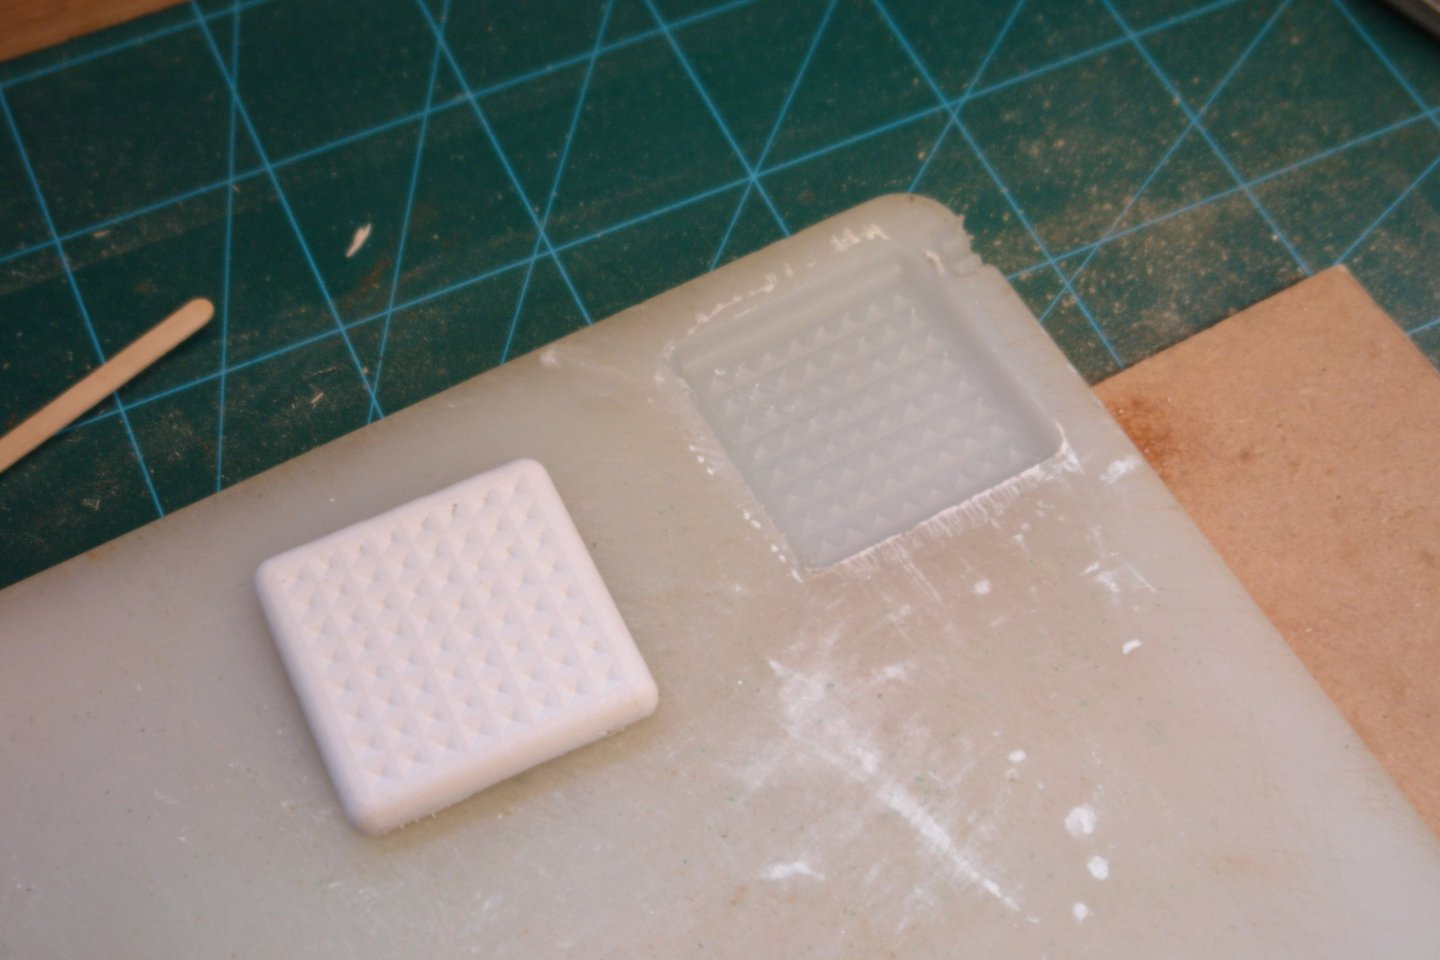
Eberhard Yes - an old kitchen cutting board, nice and flexible to ease extraction. Fabric mesh embedded in the paster to prevent breakage while extracting. The board was cut with a ball nose end mill.
-
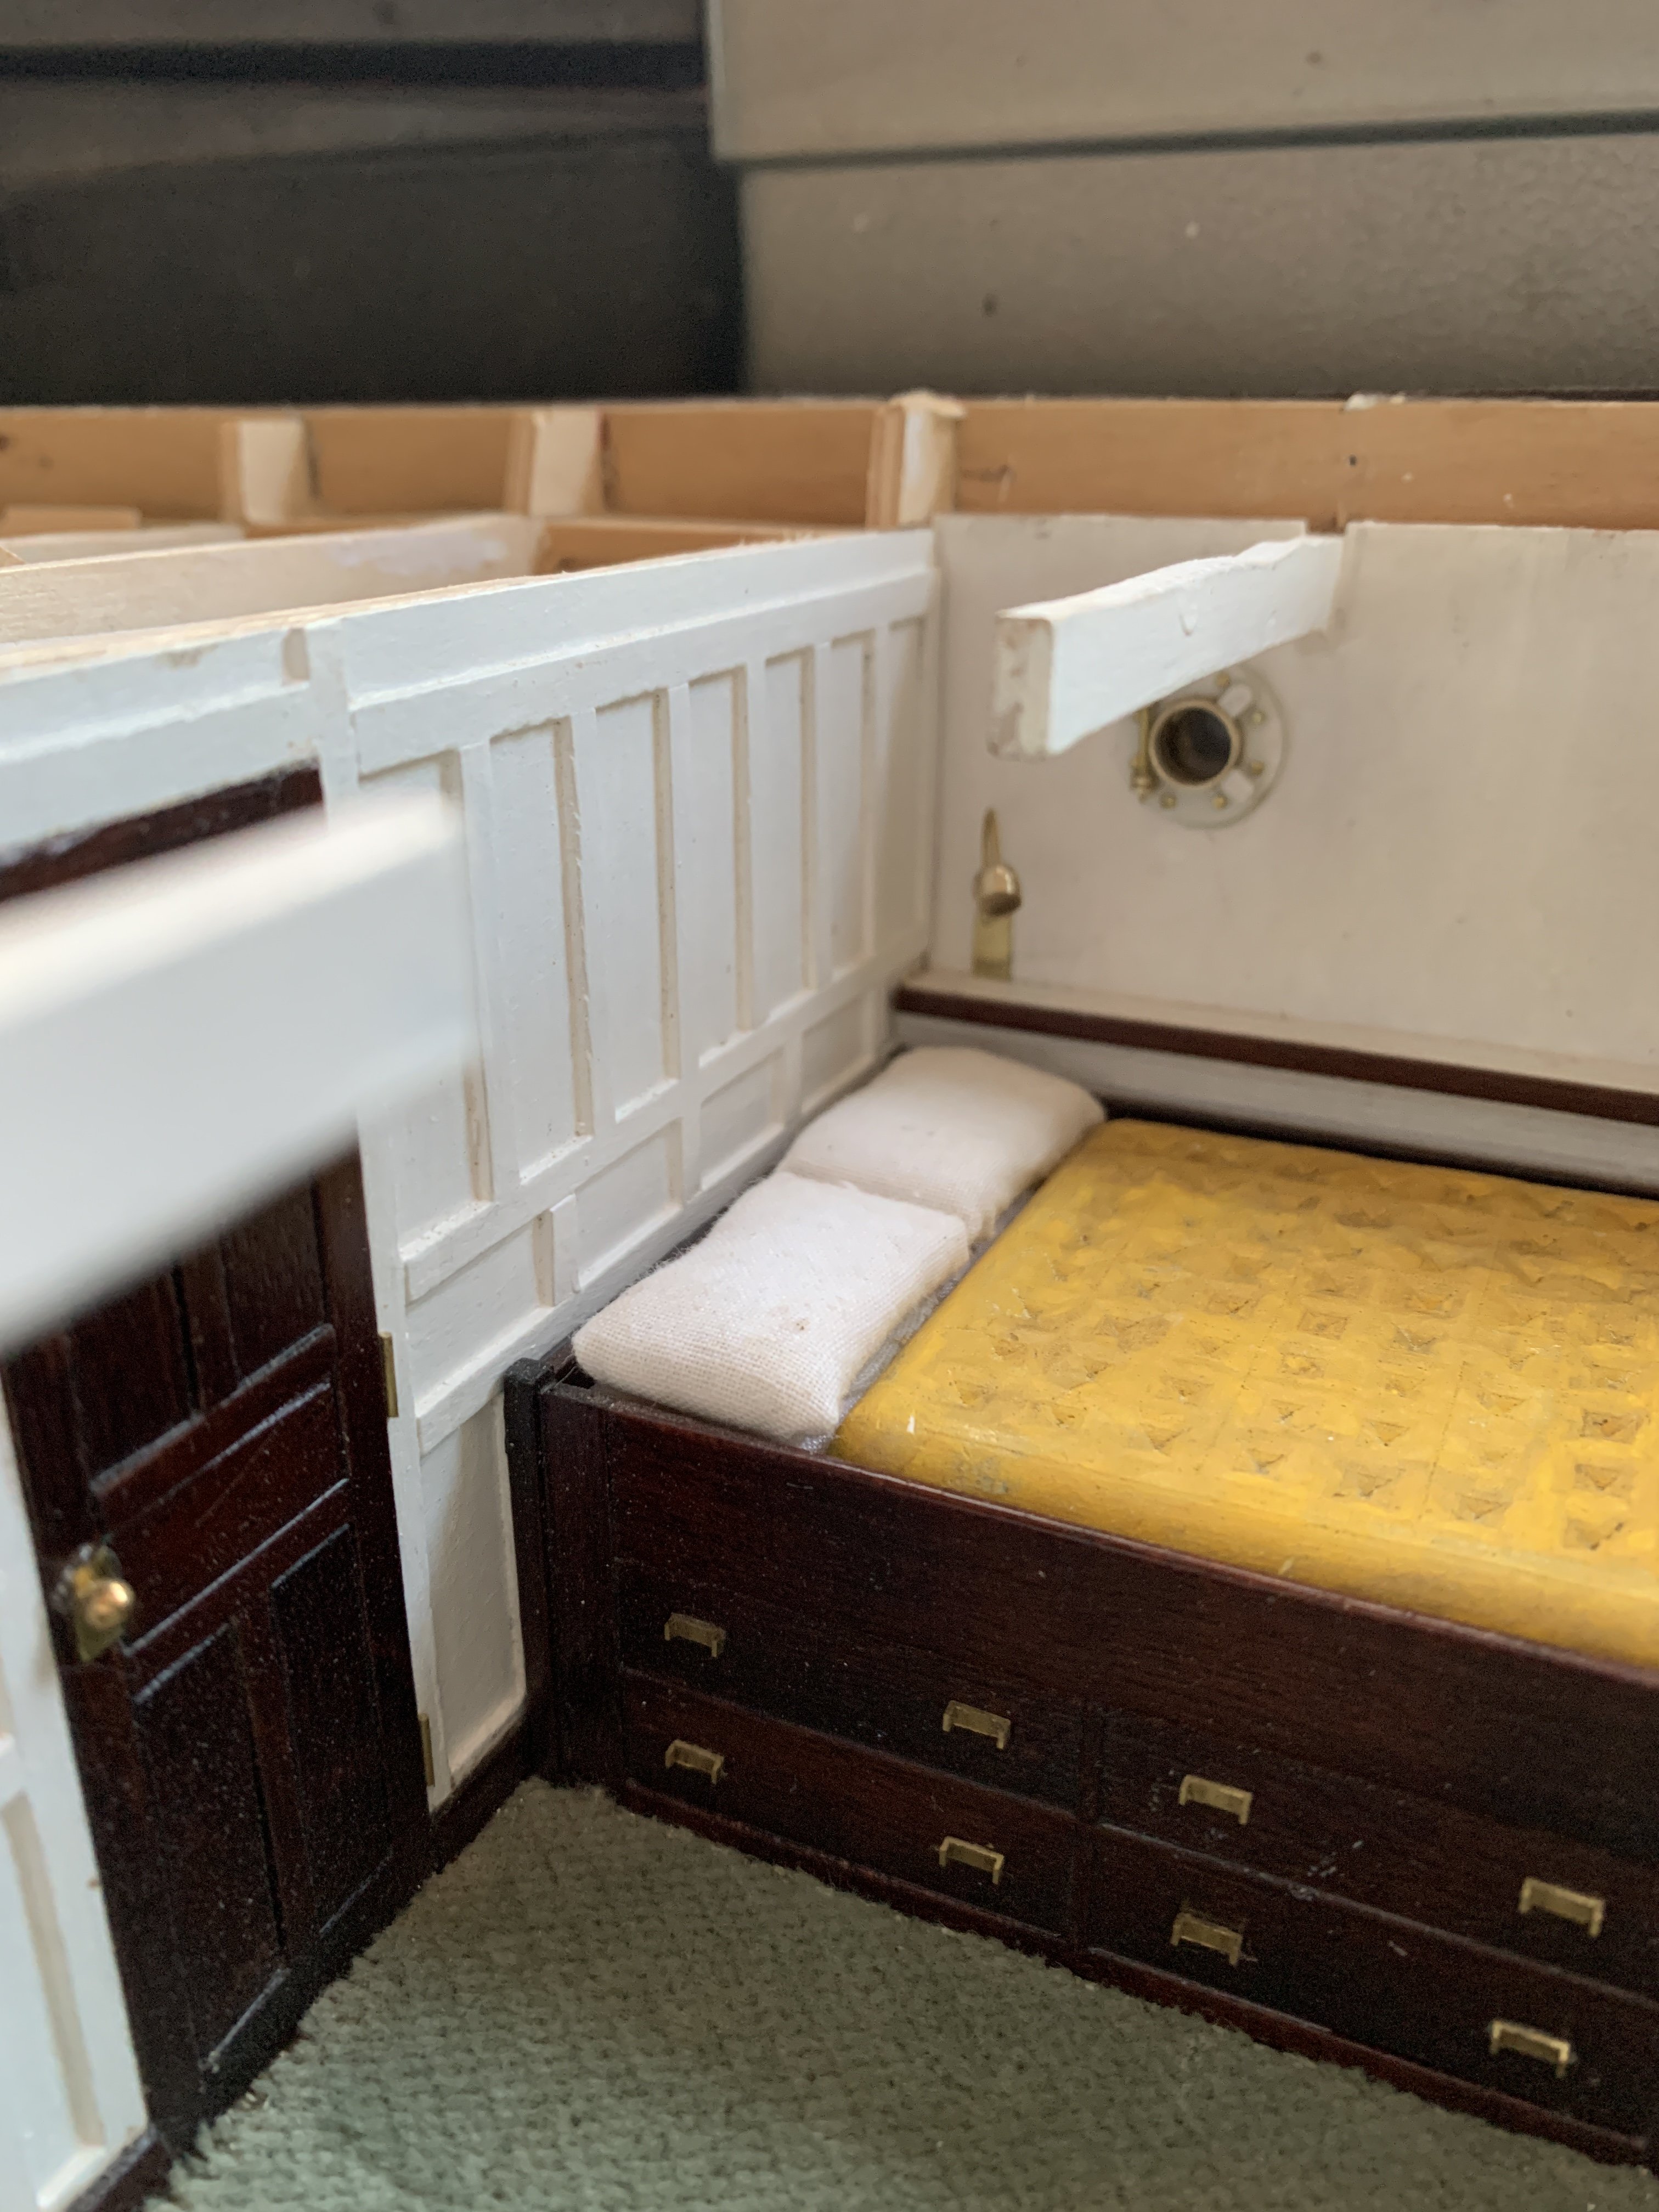
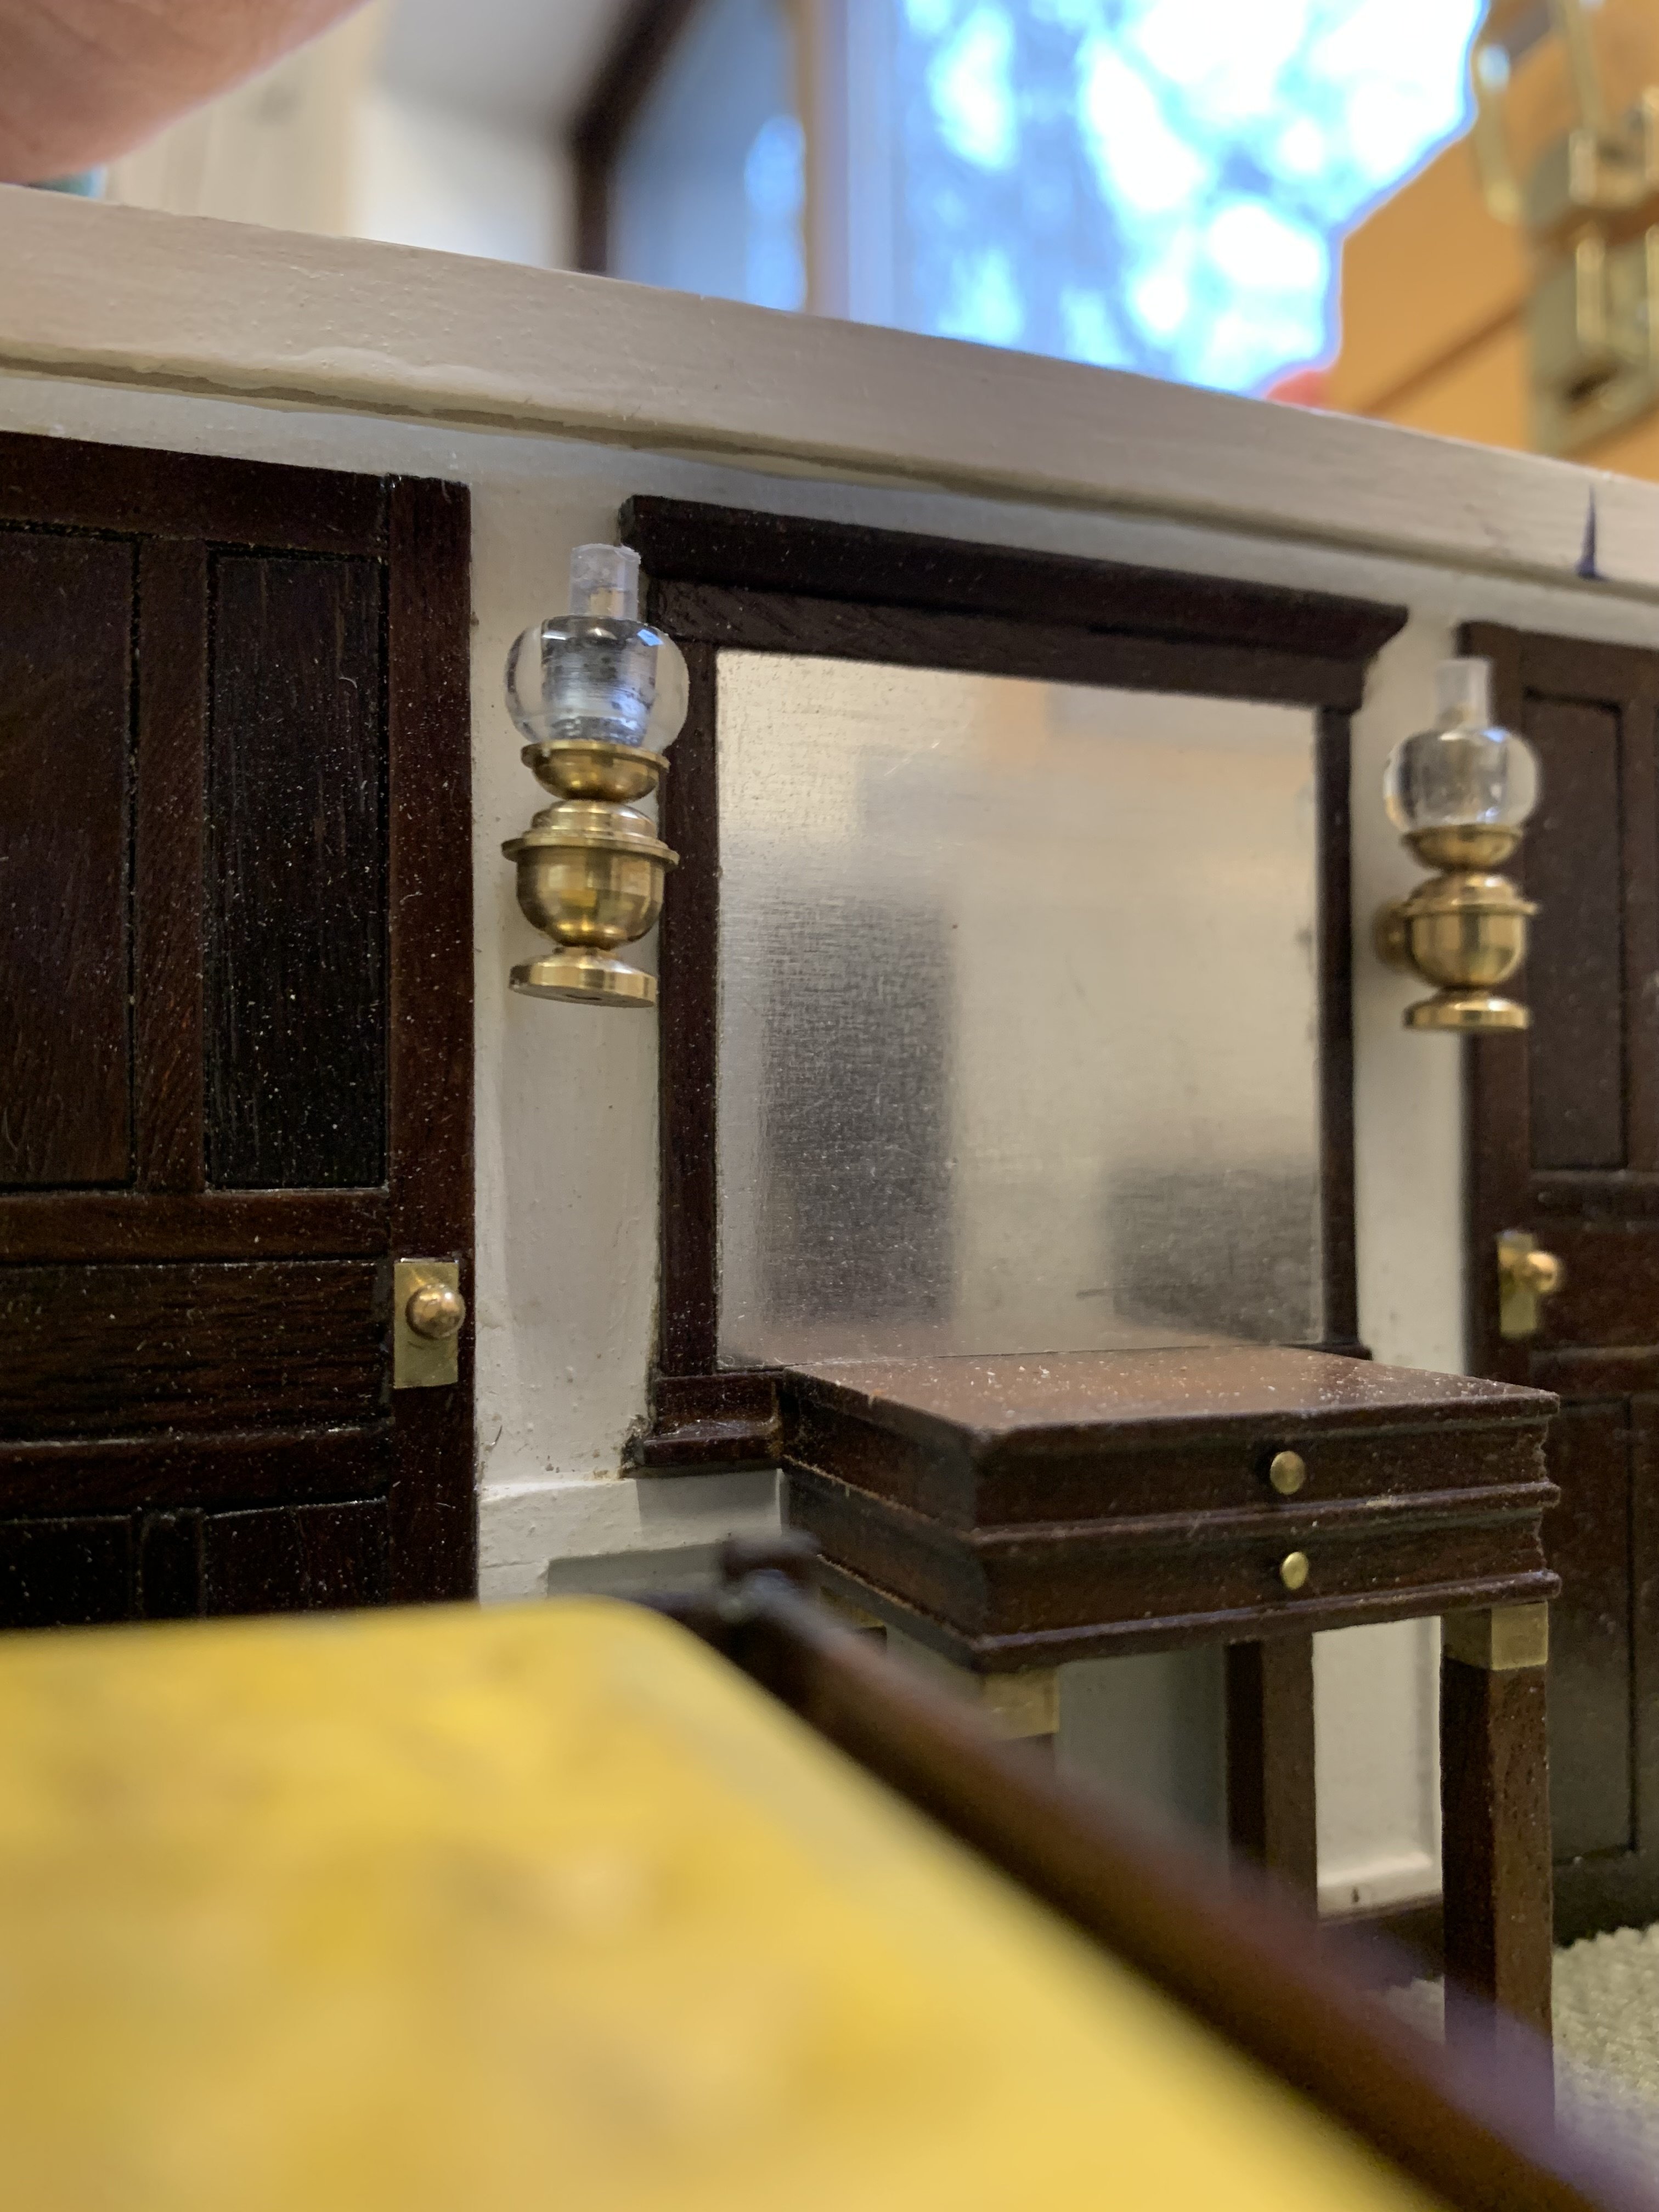
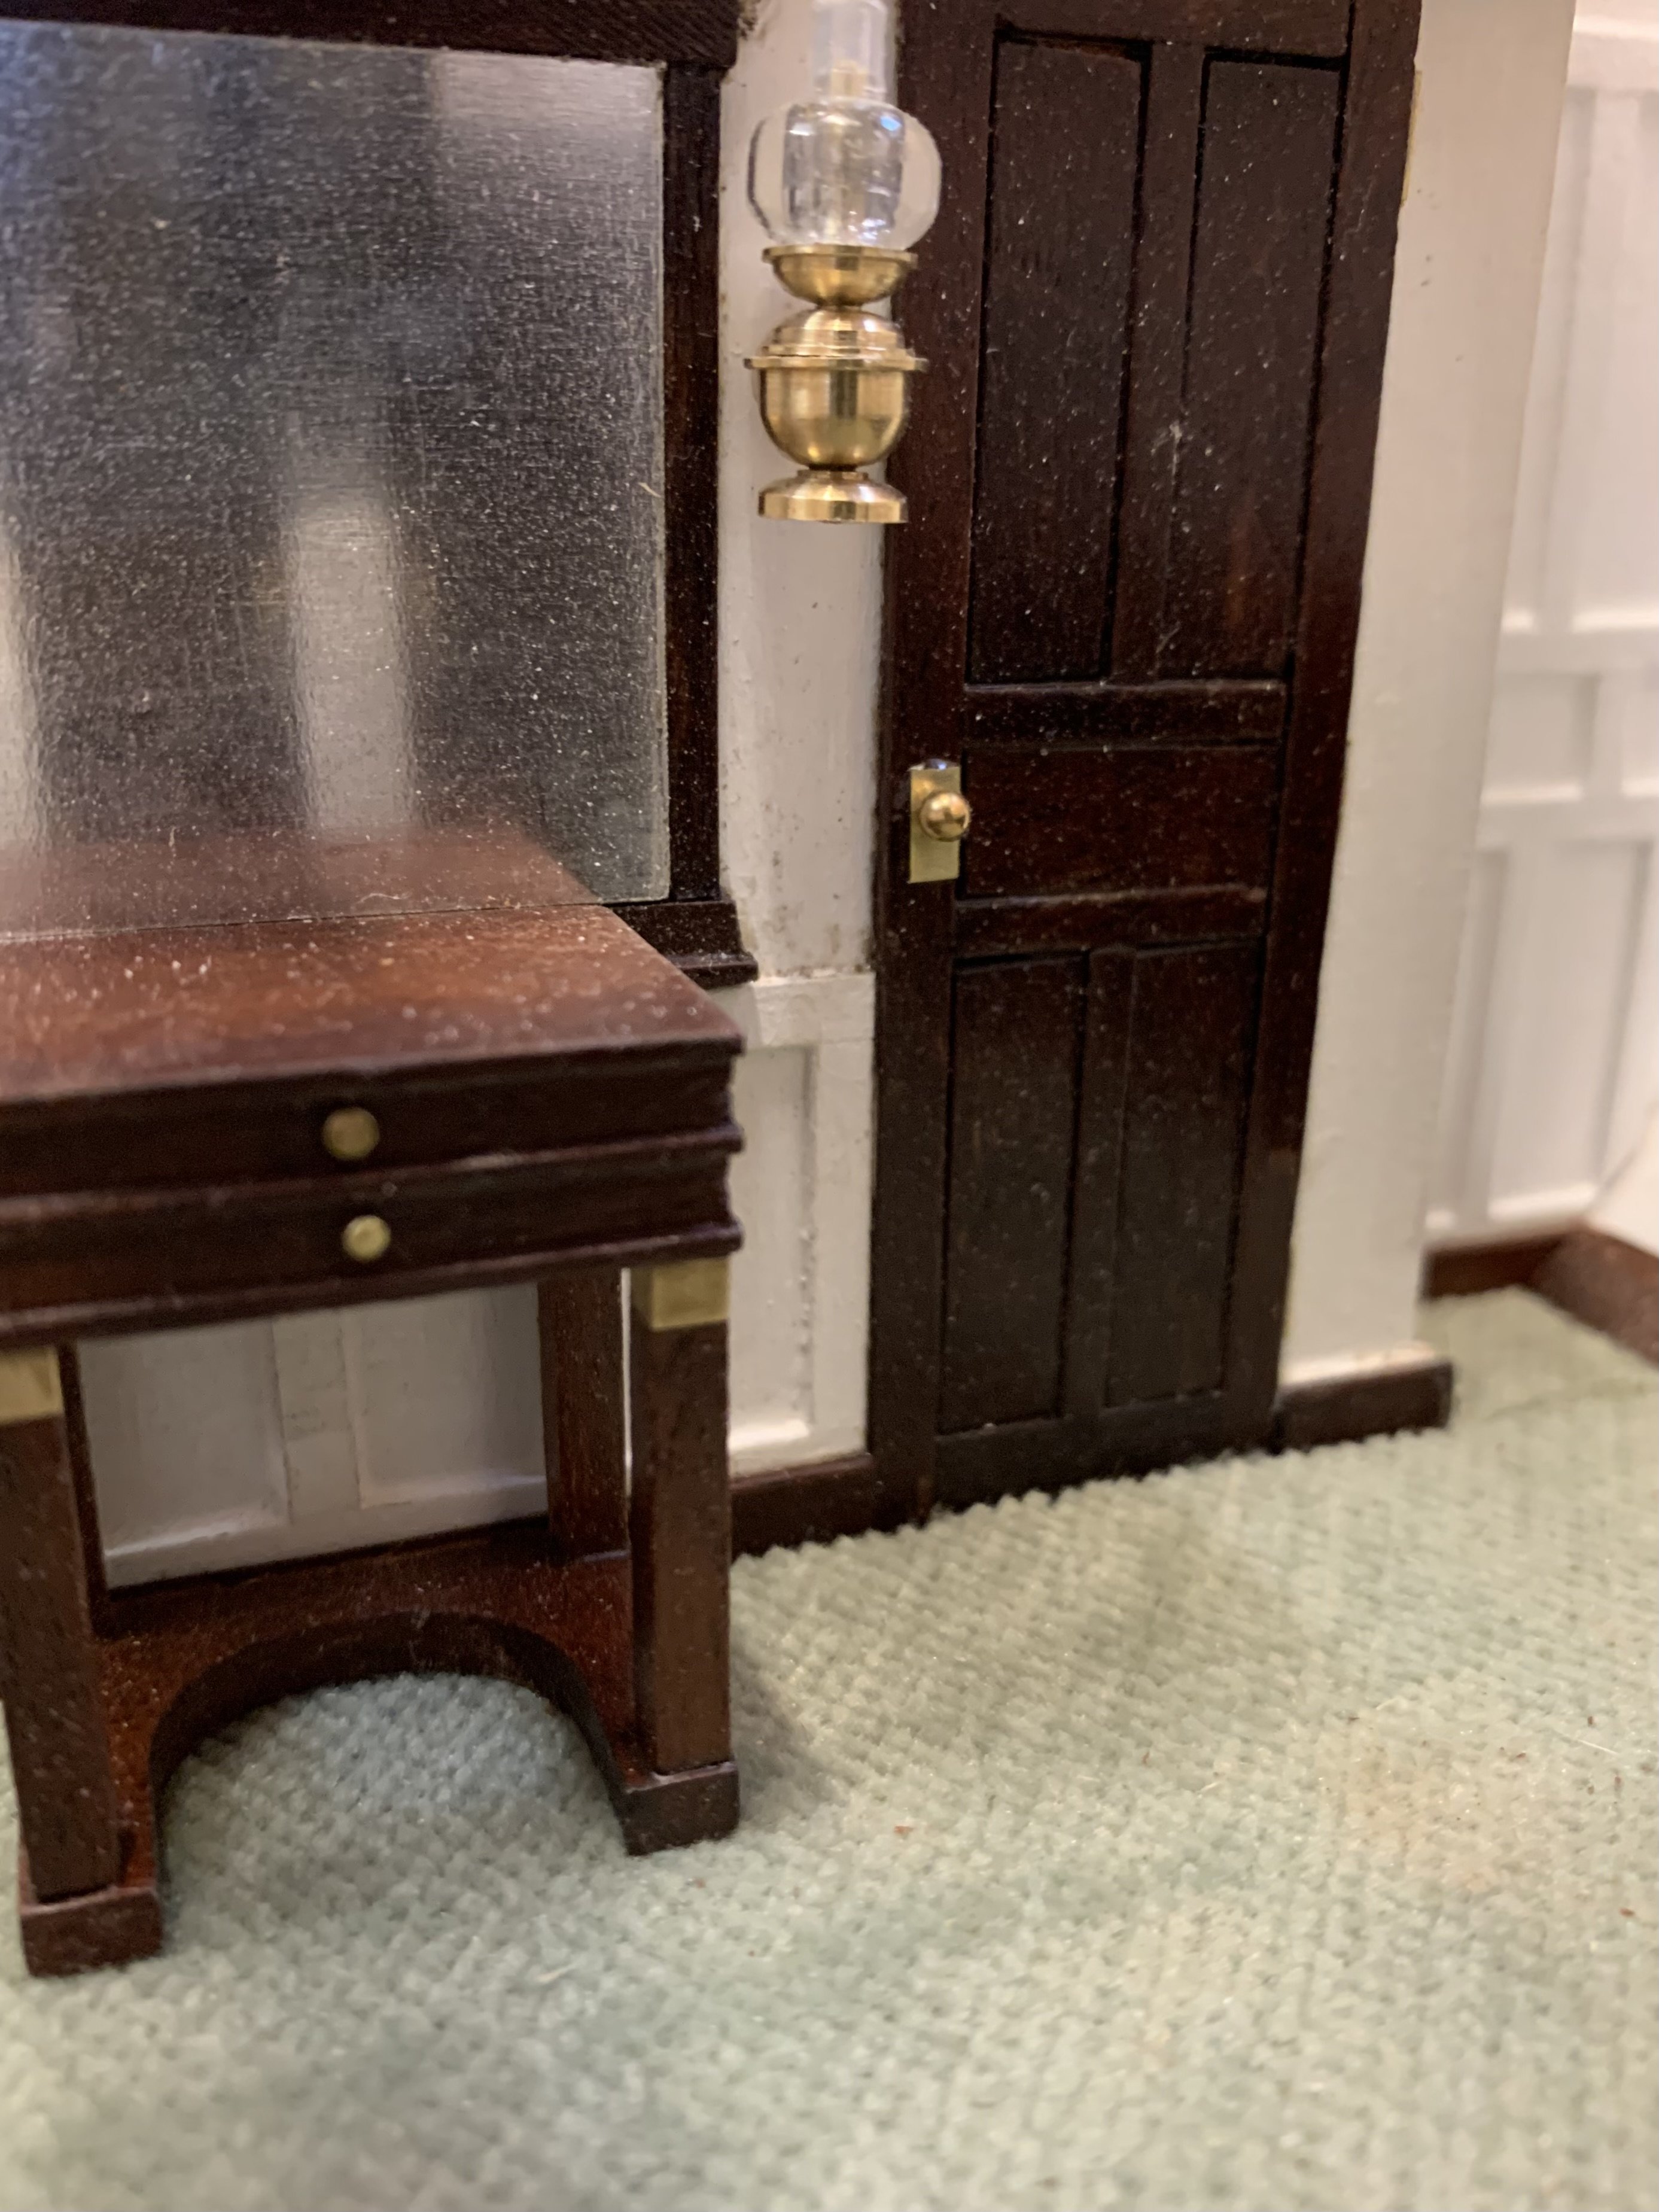
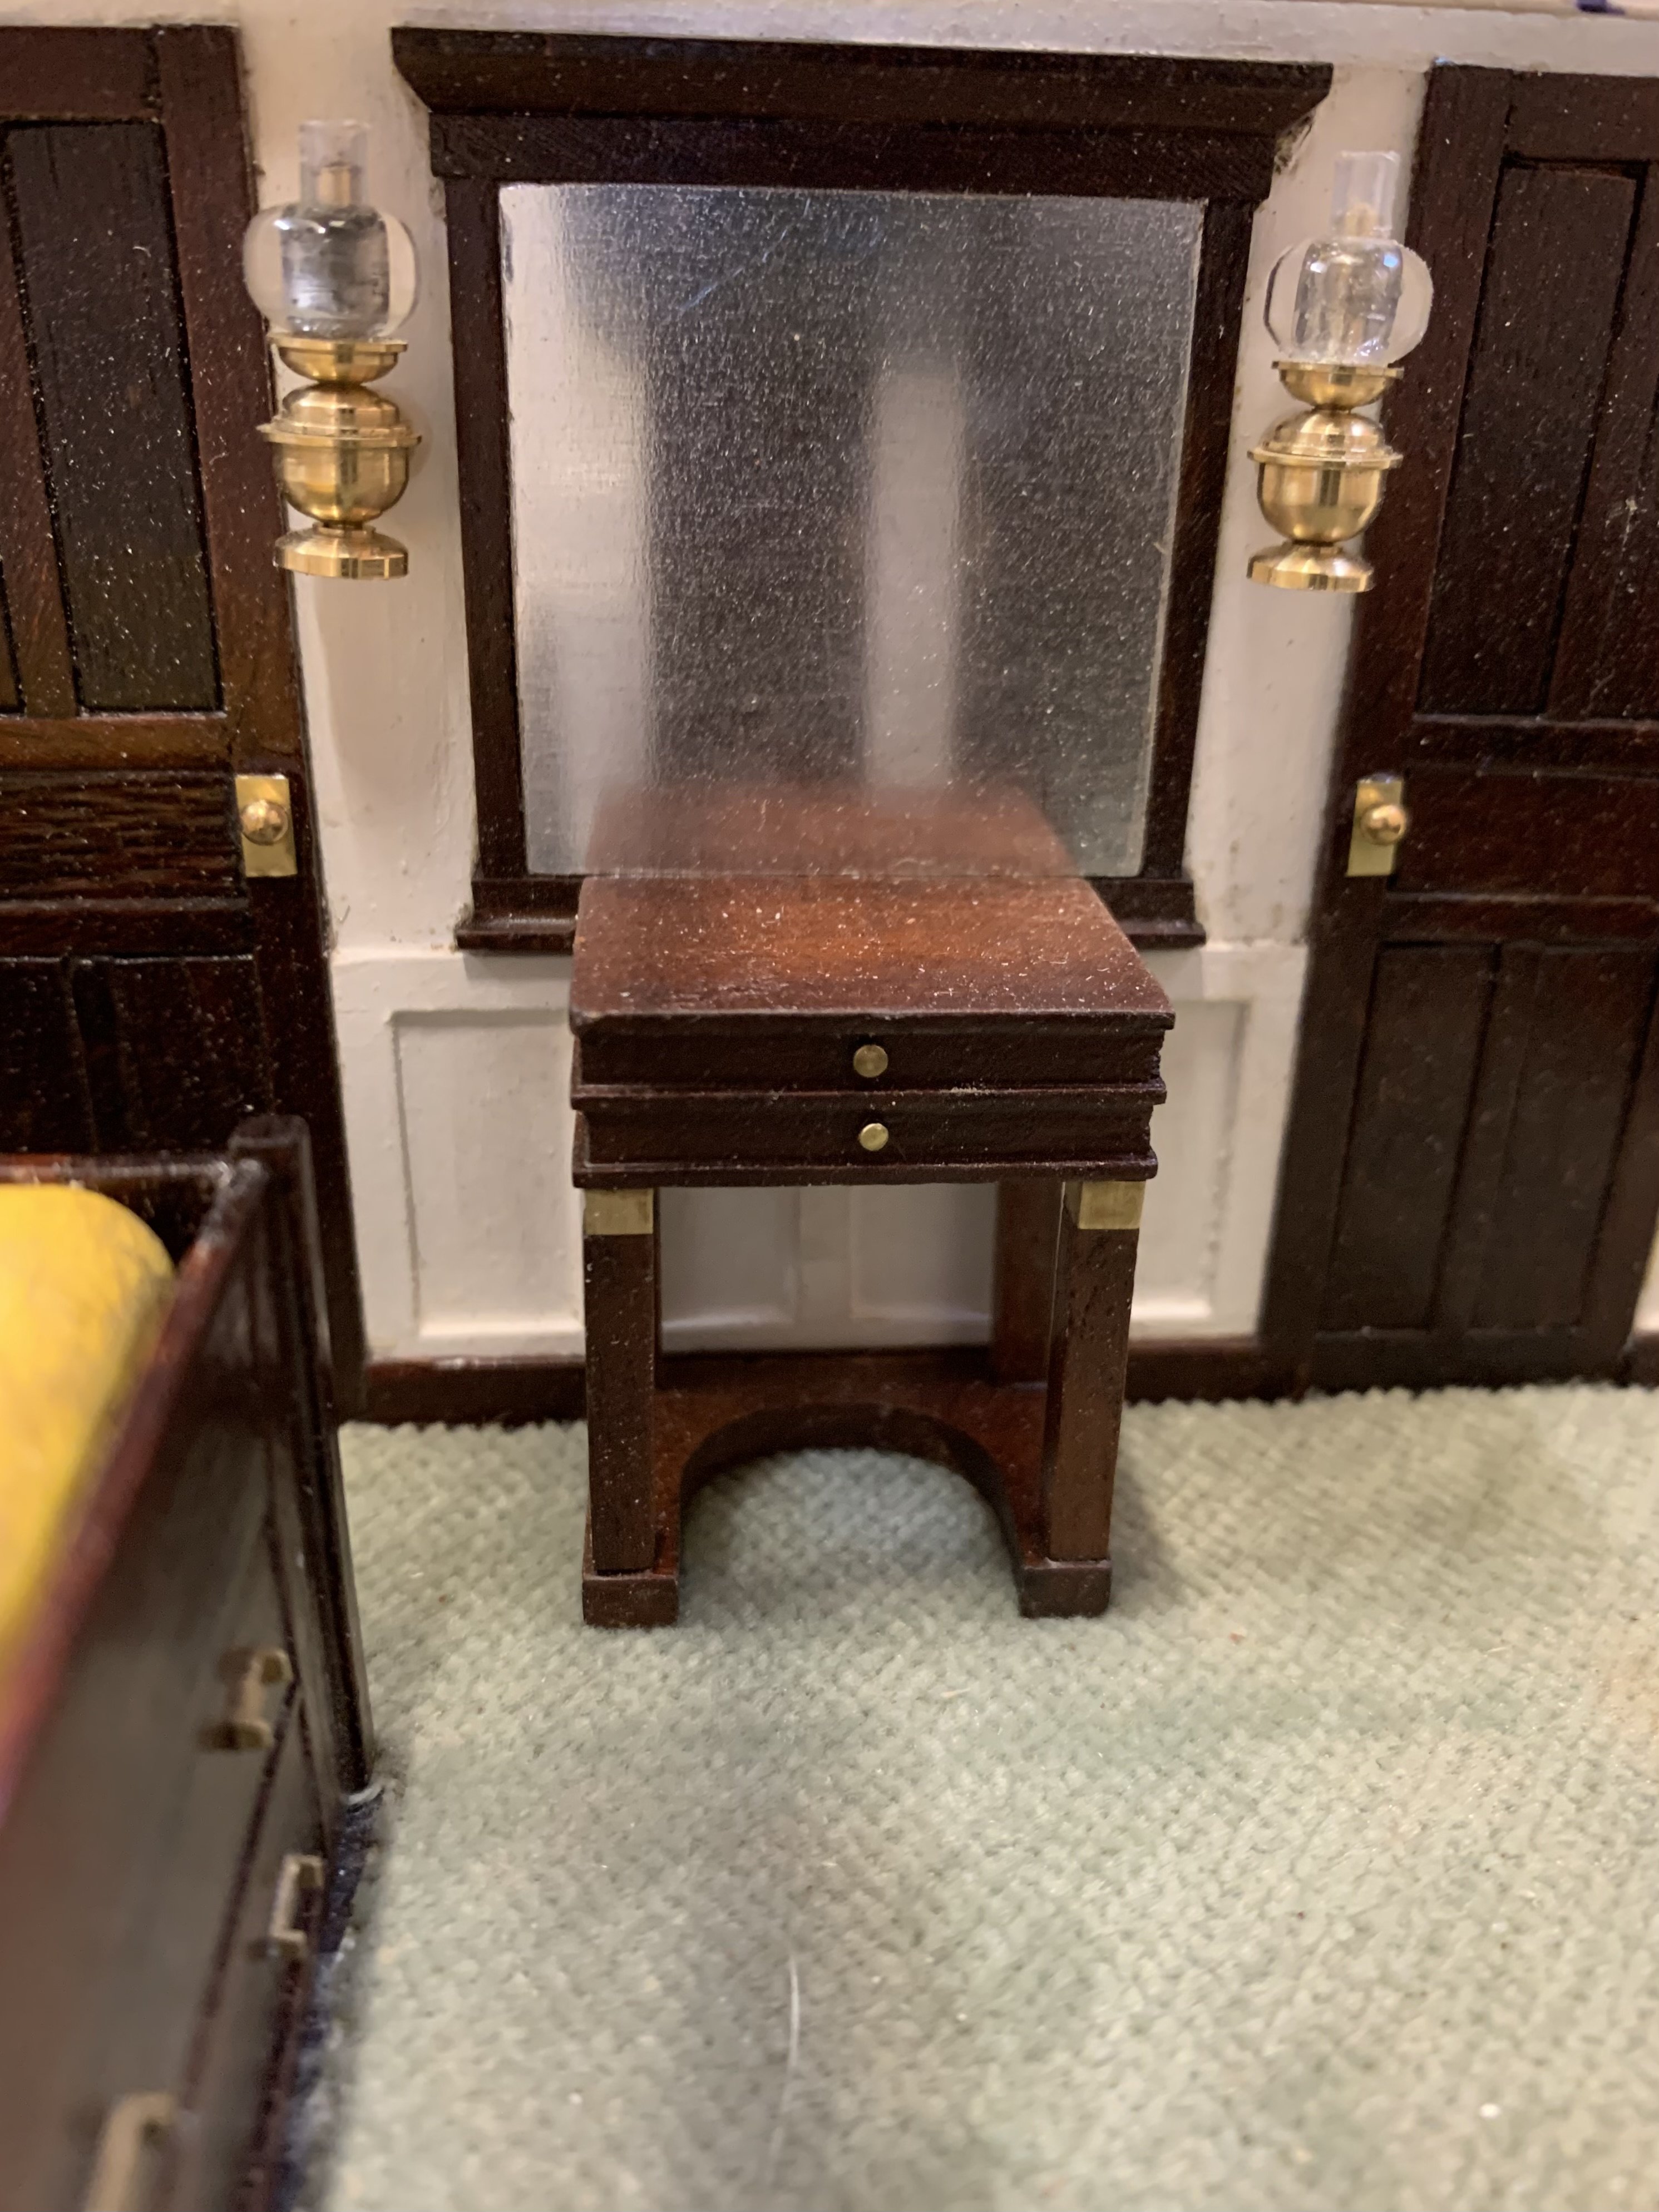
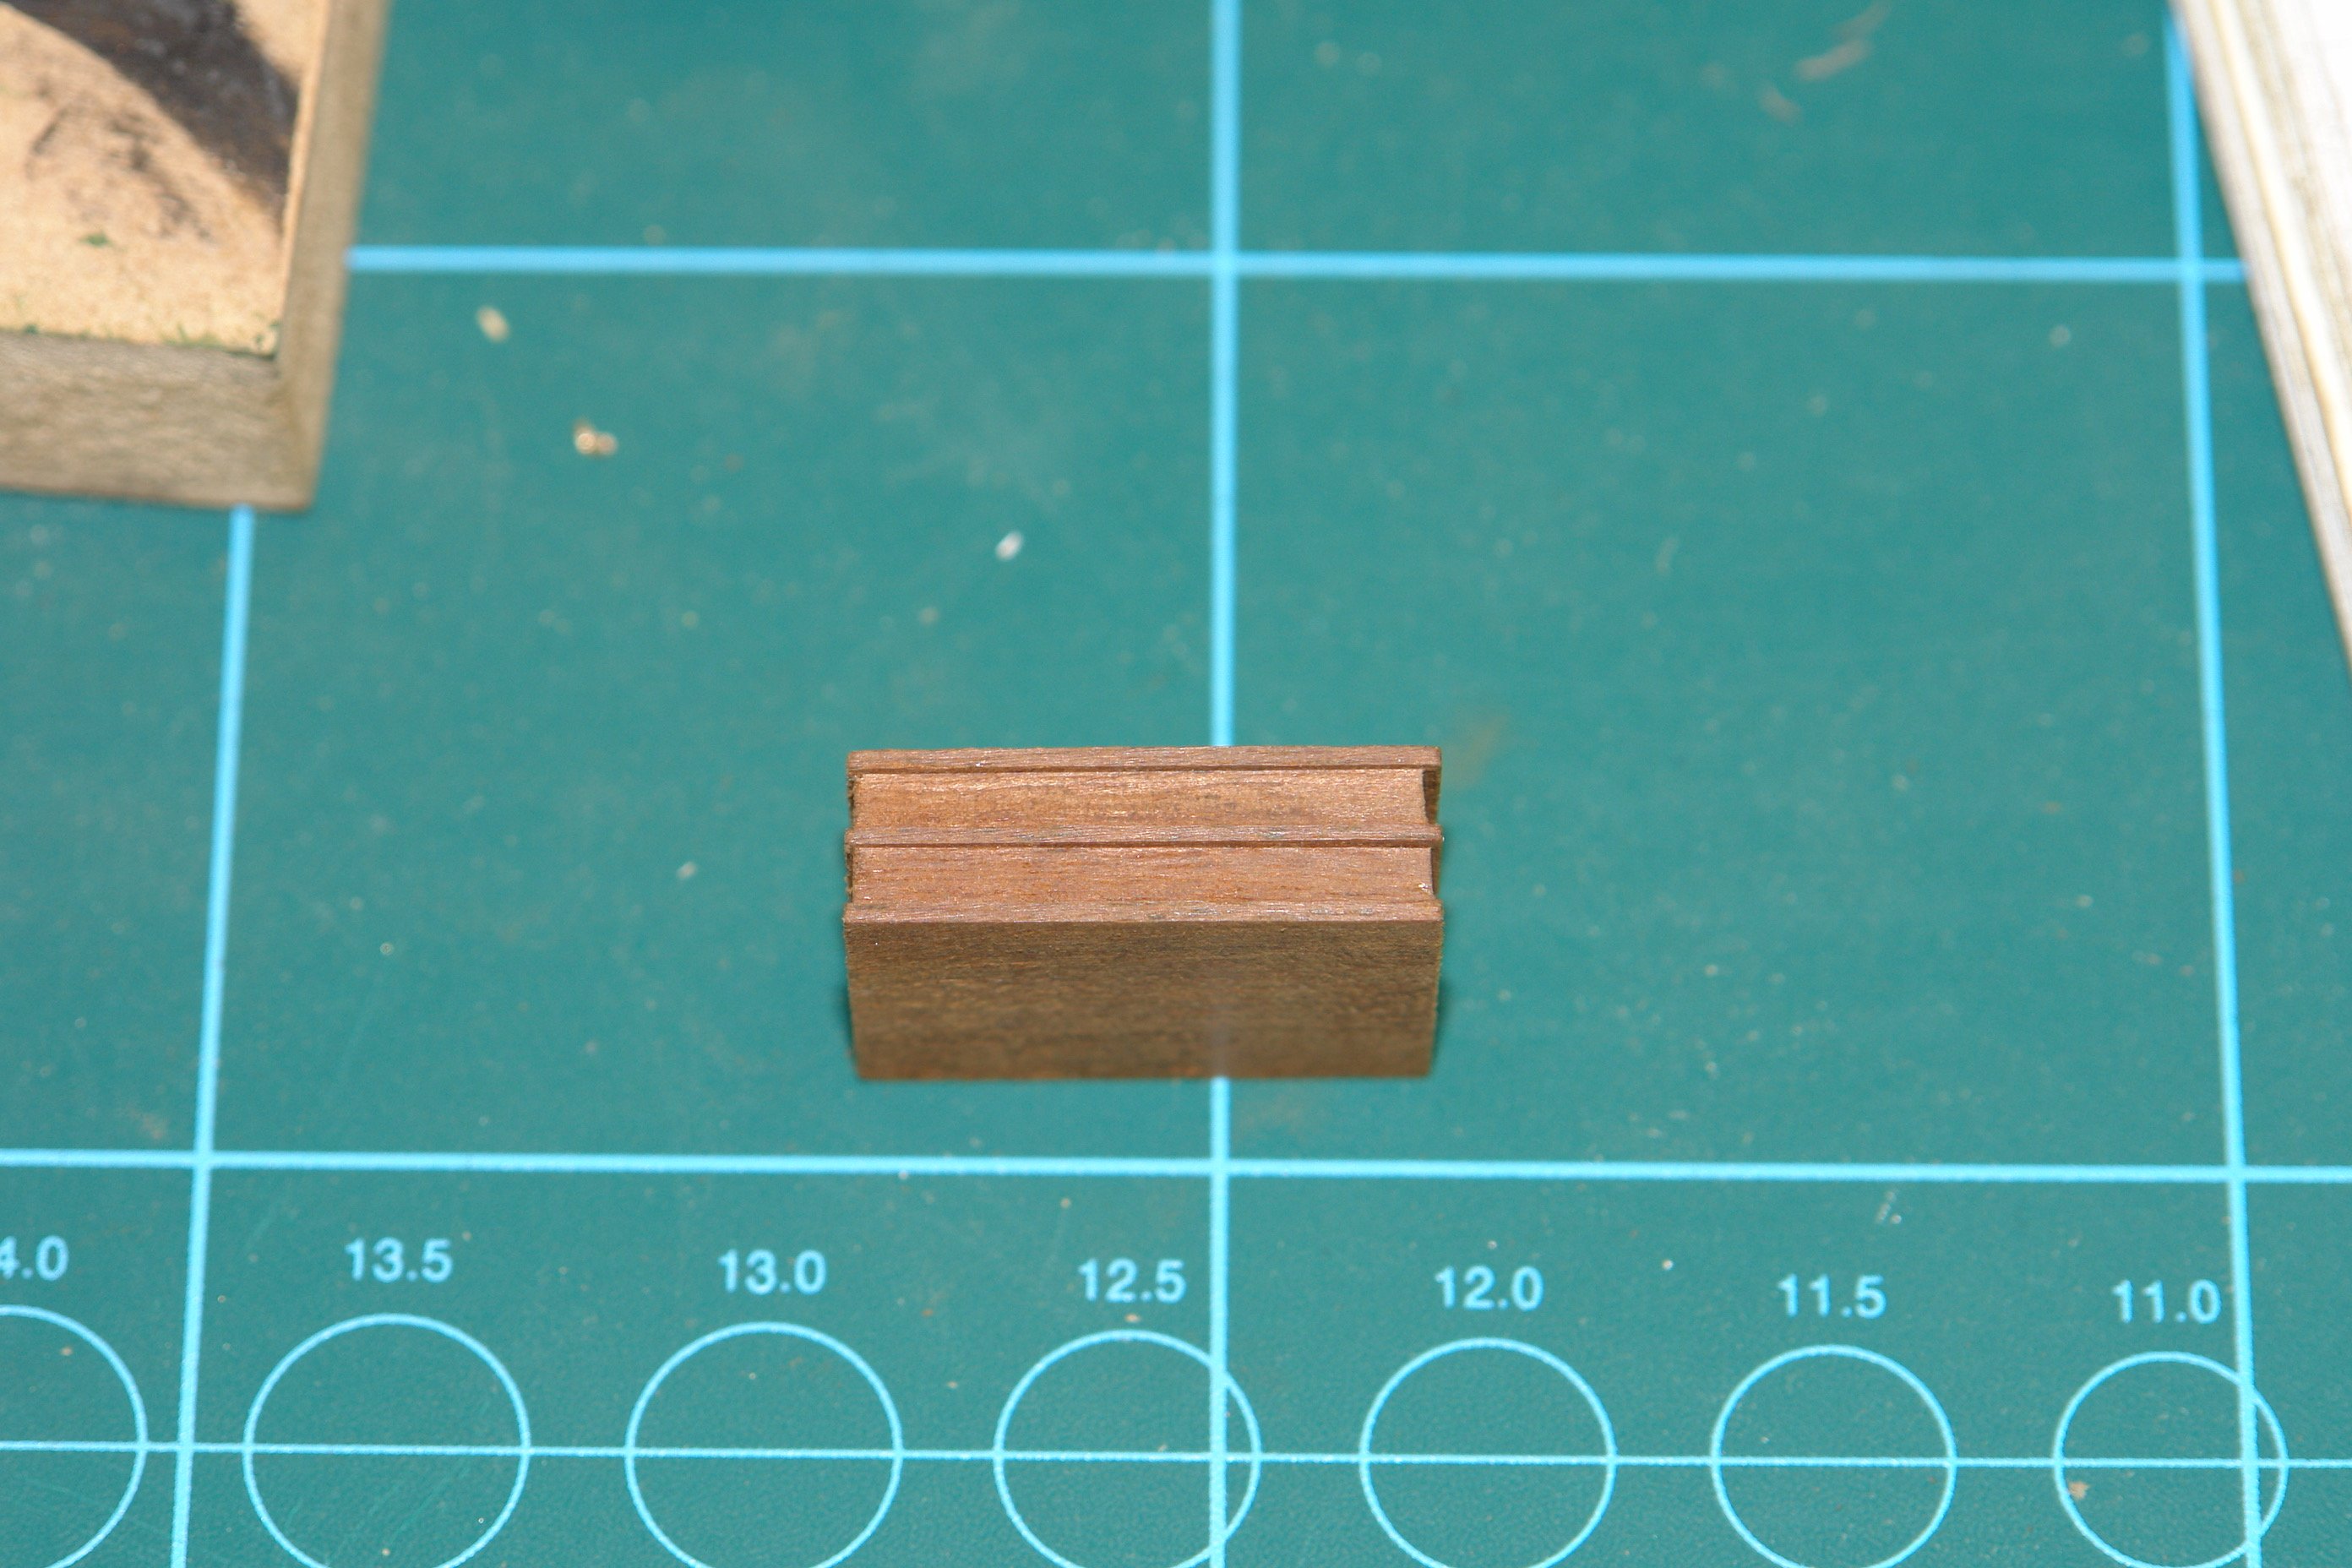
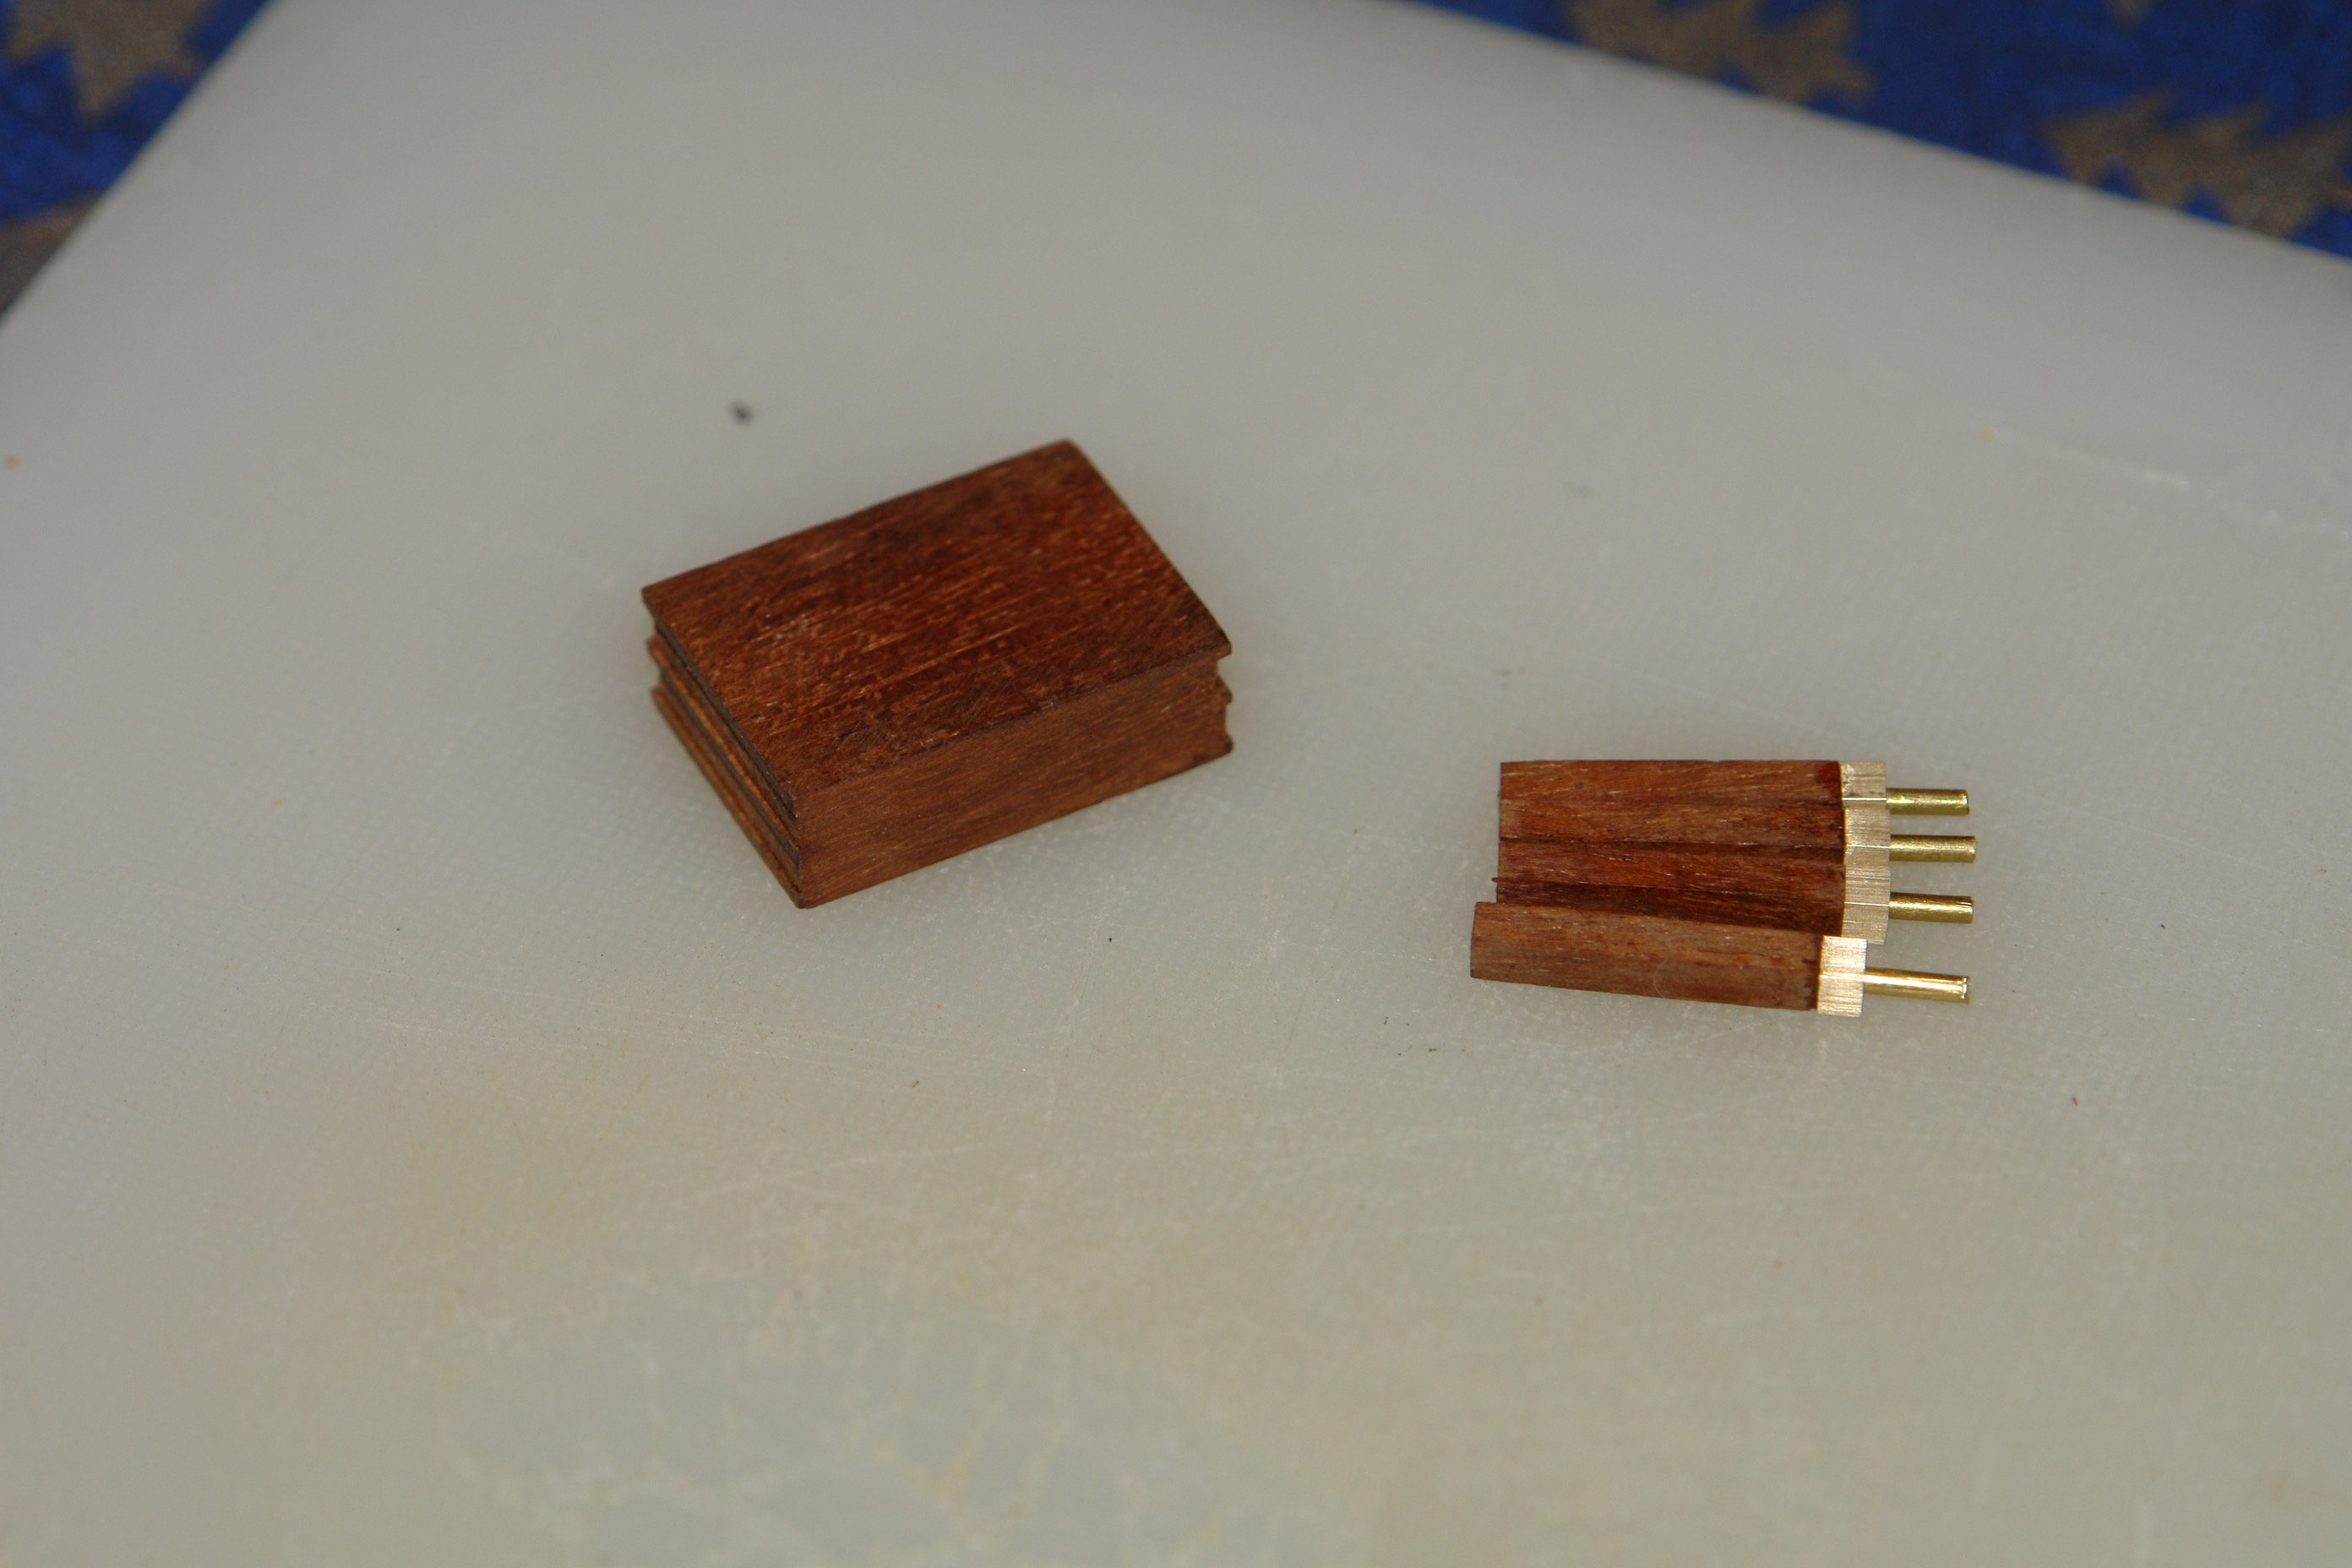
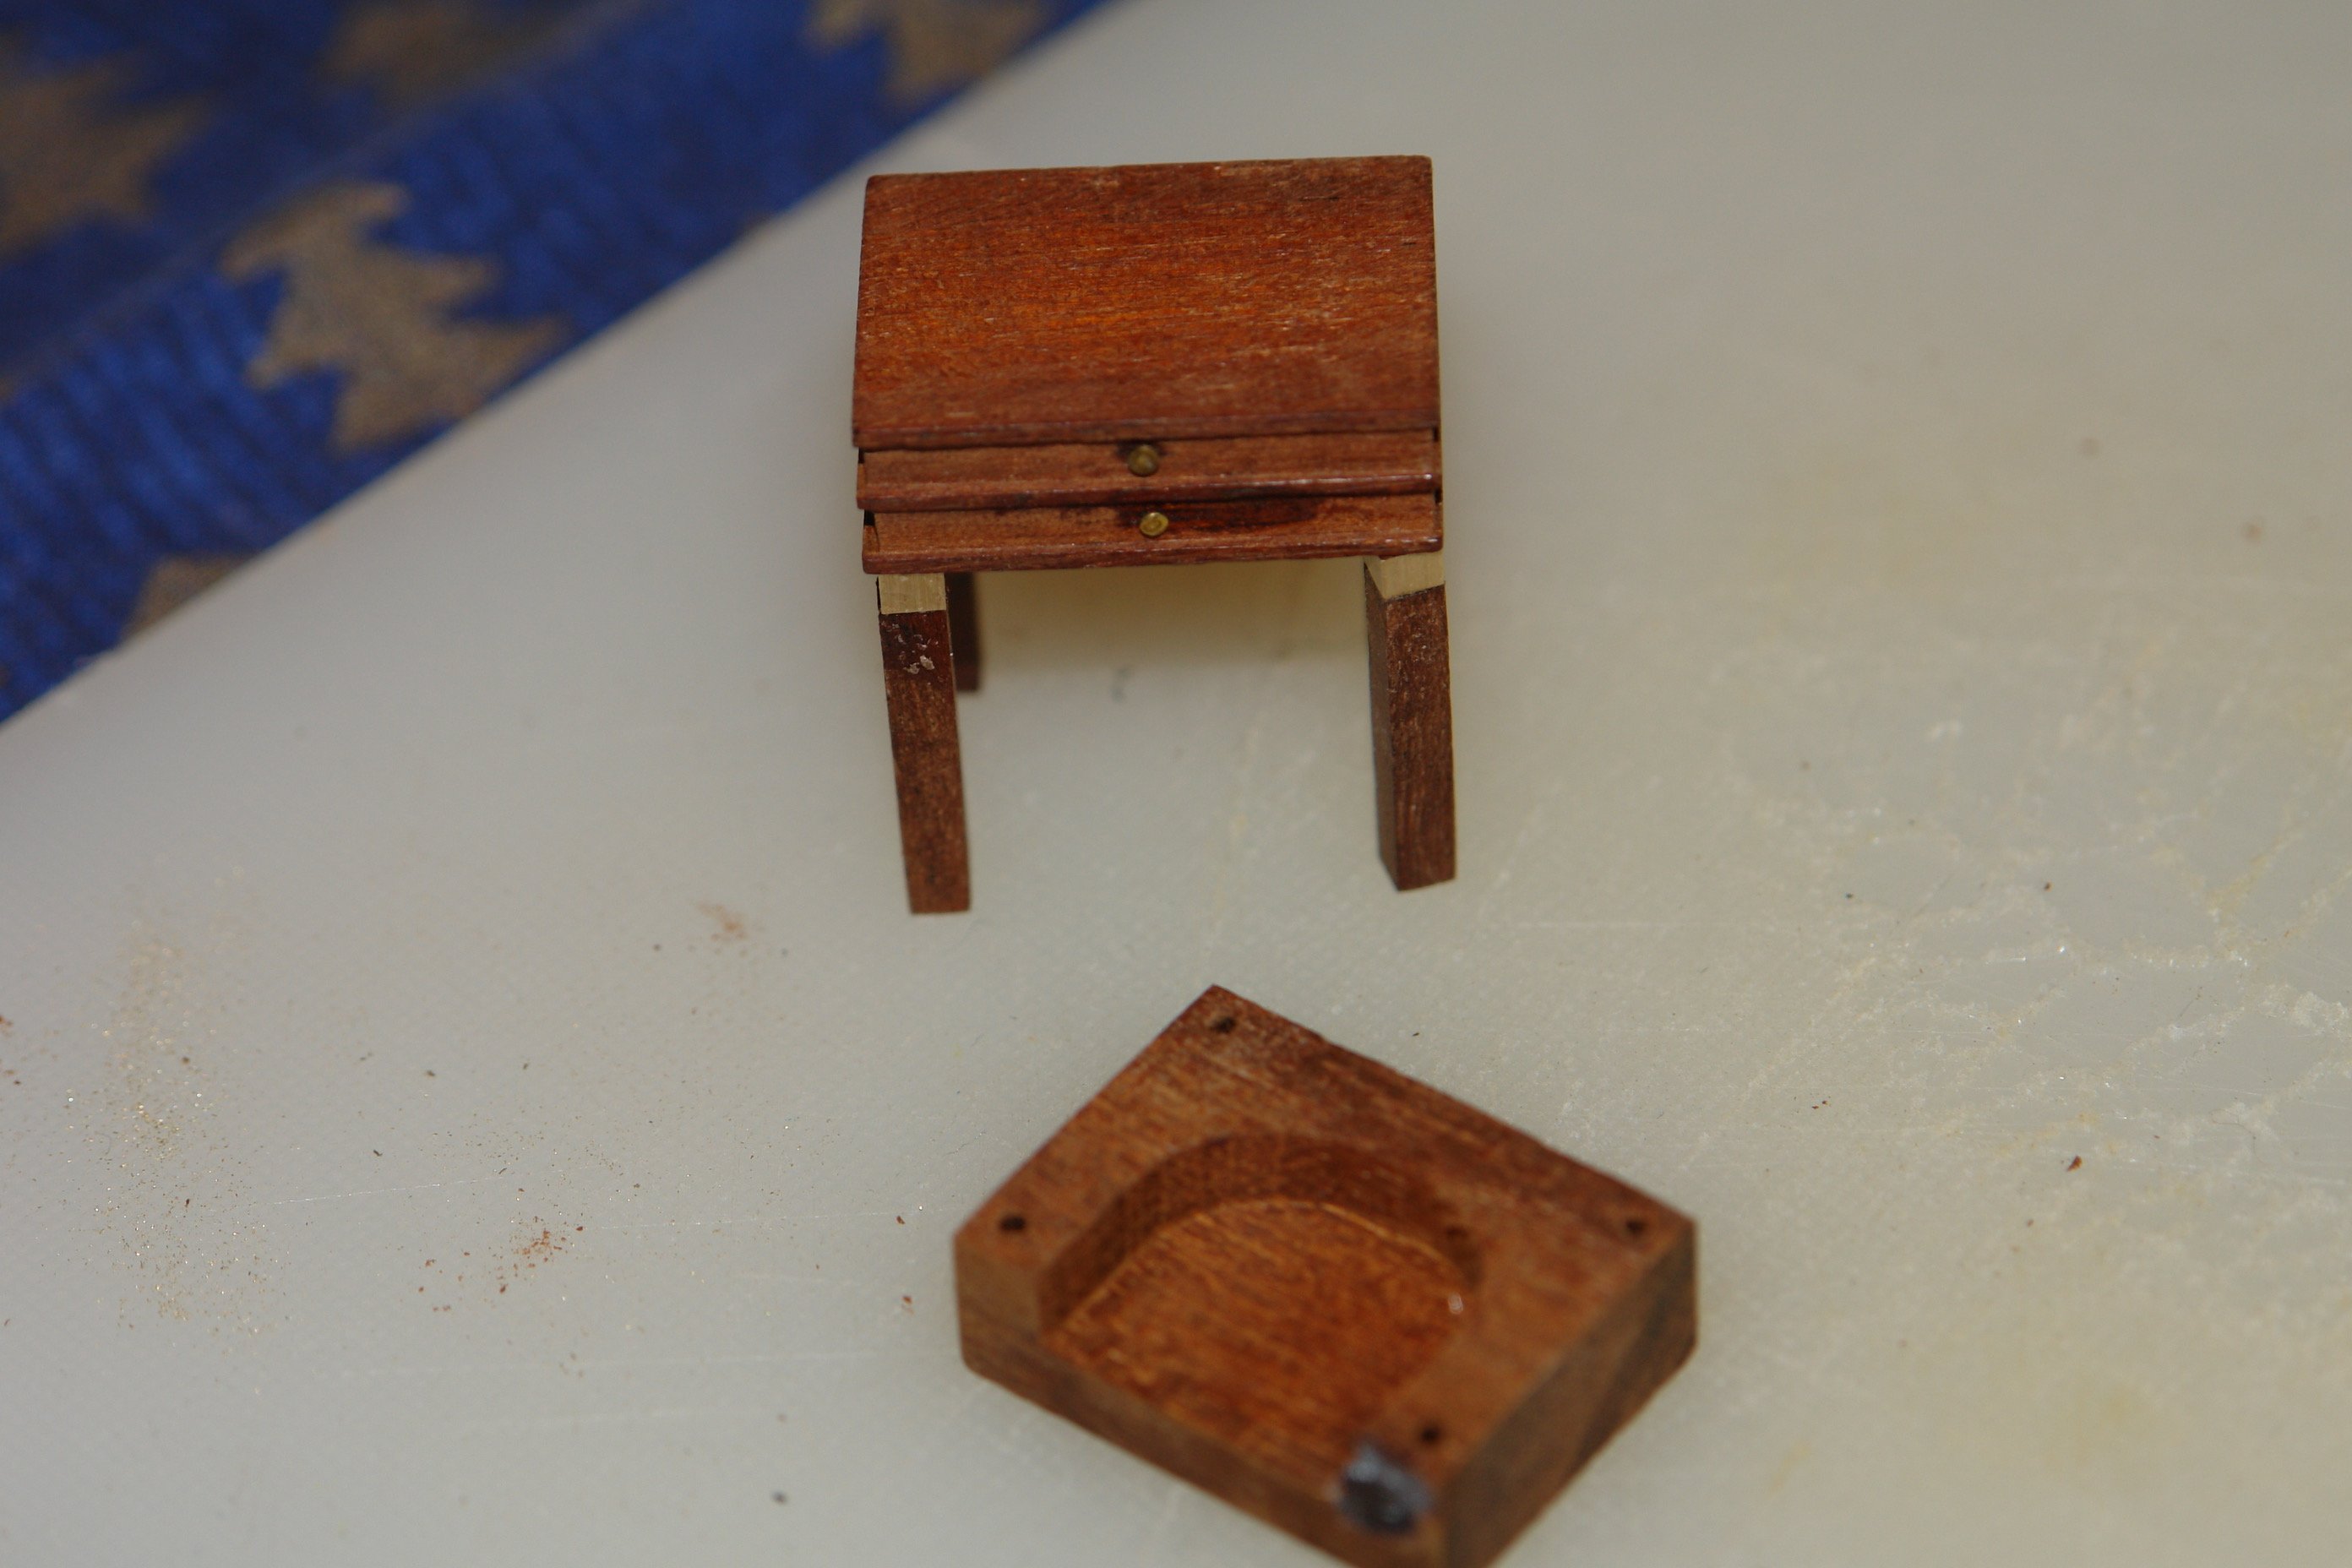
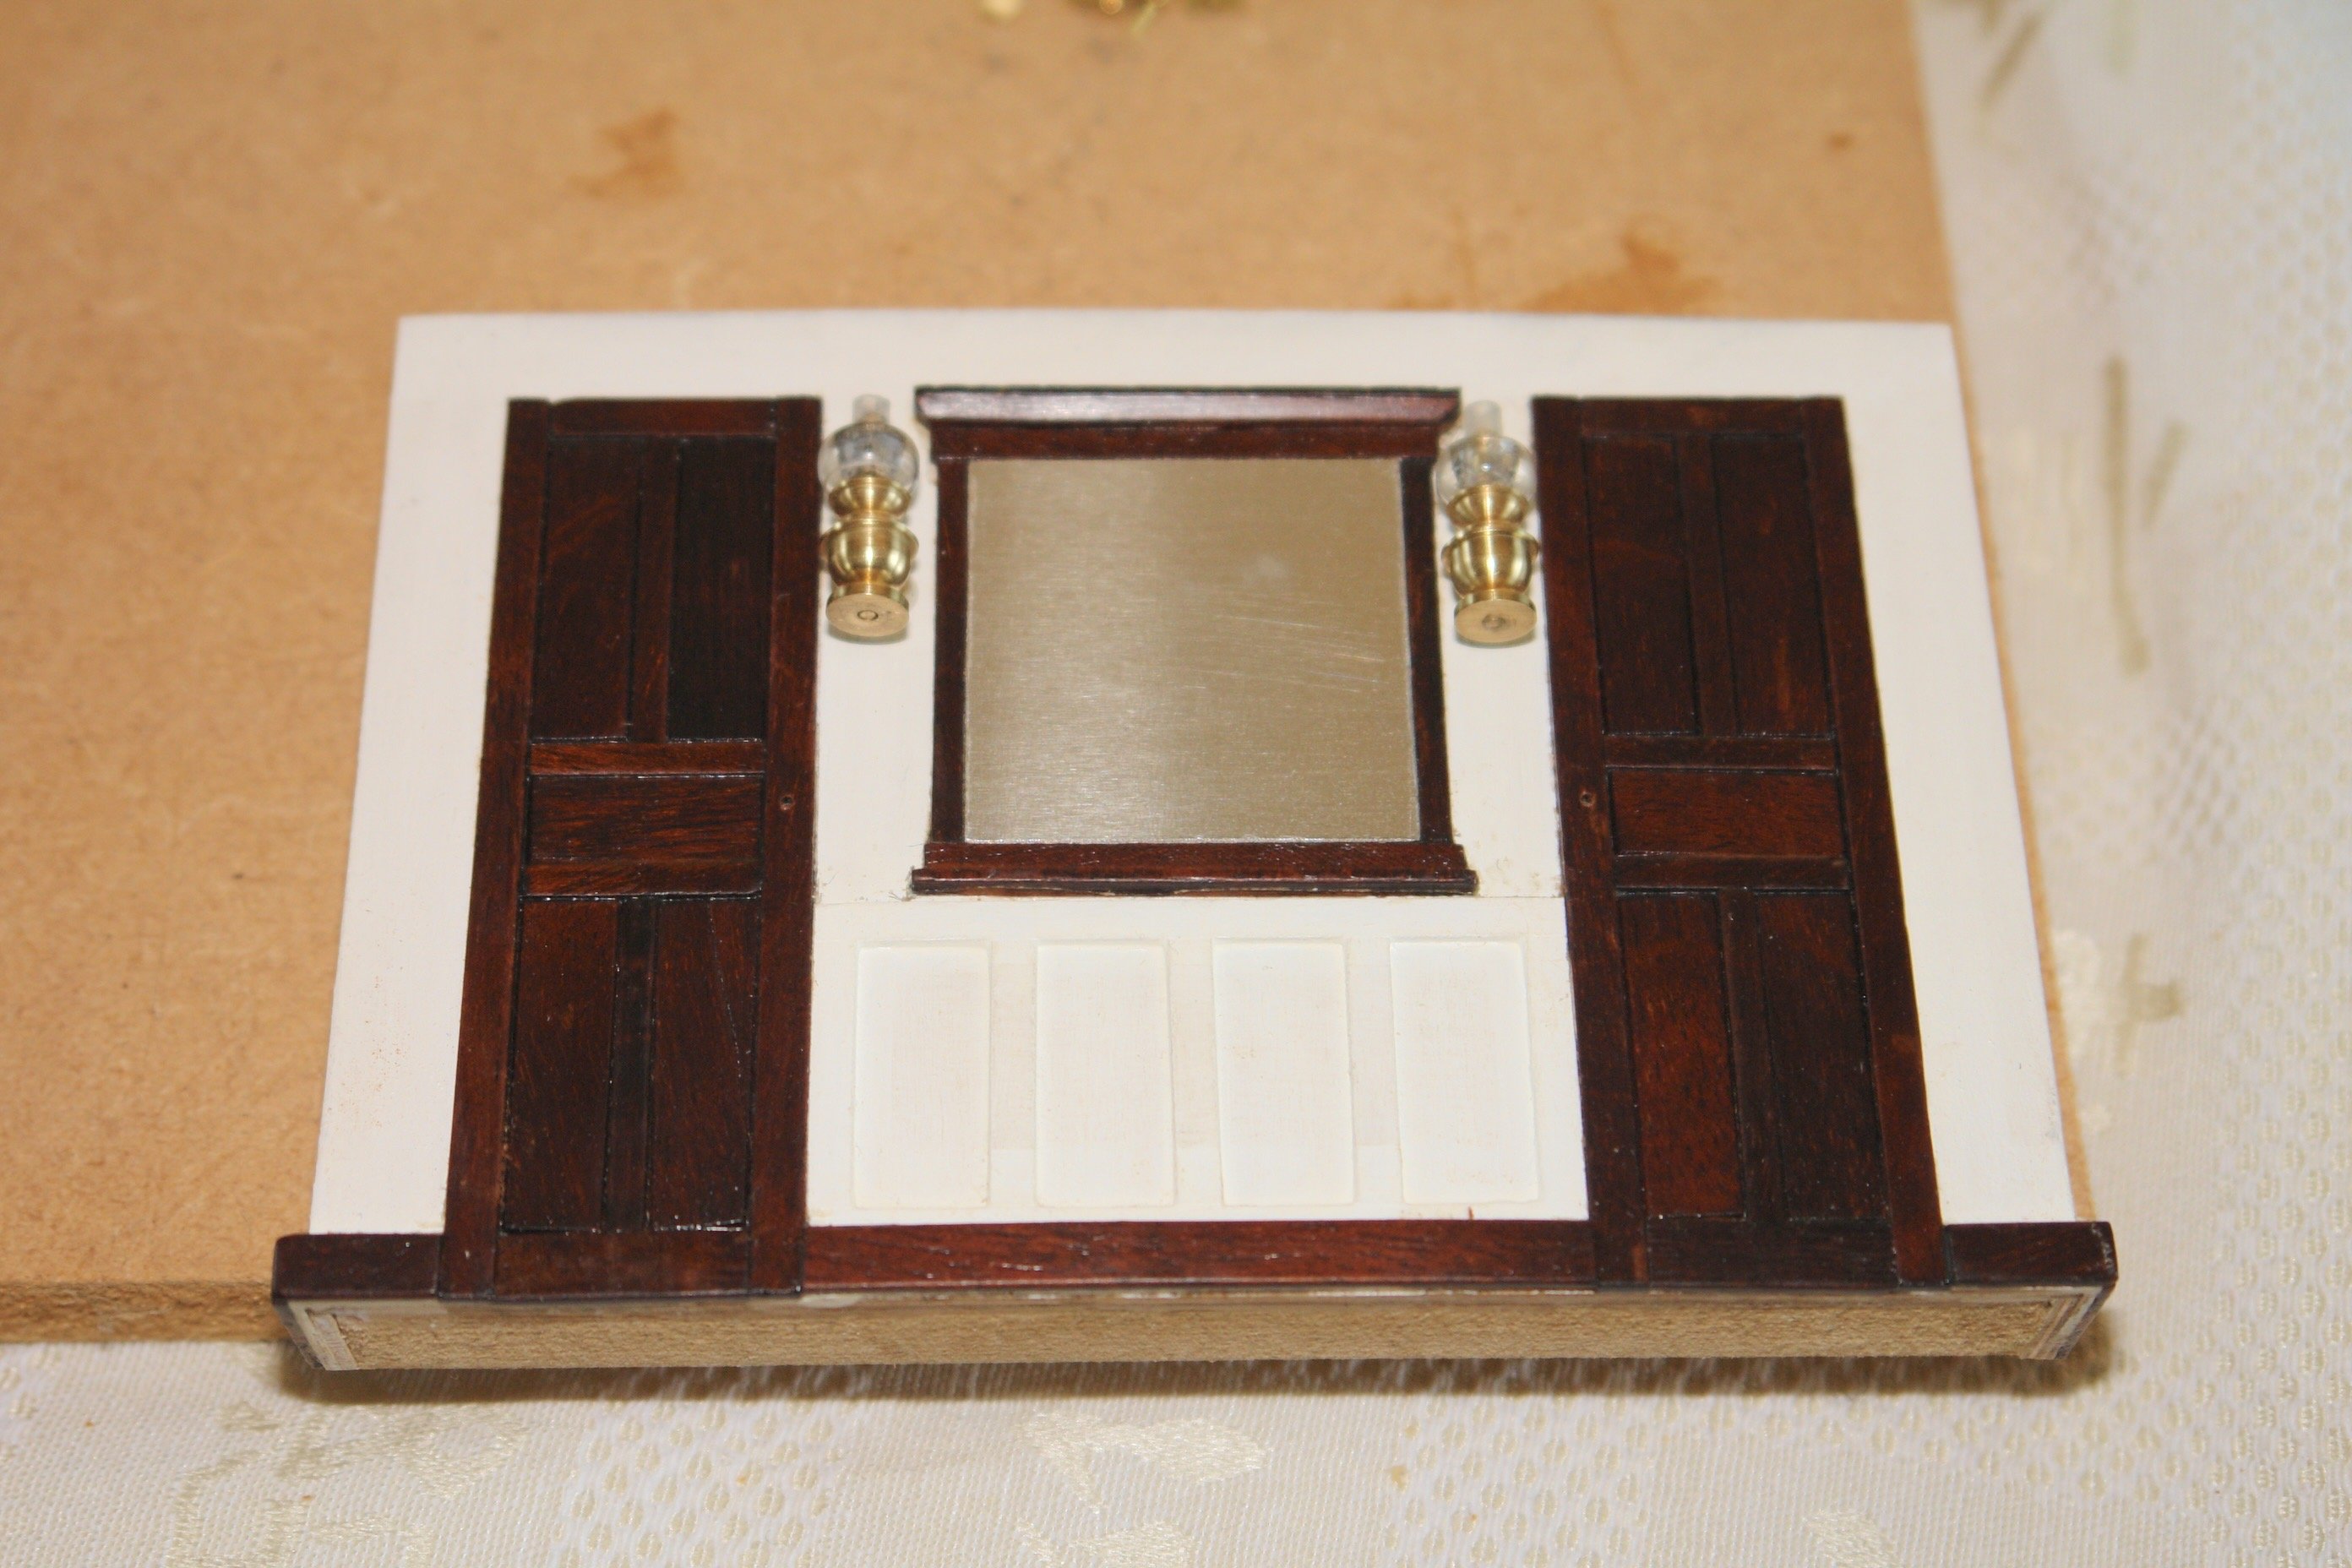
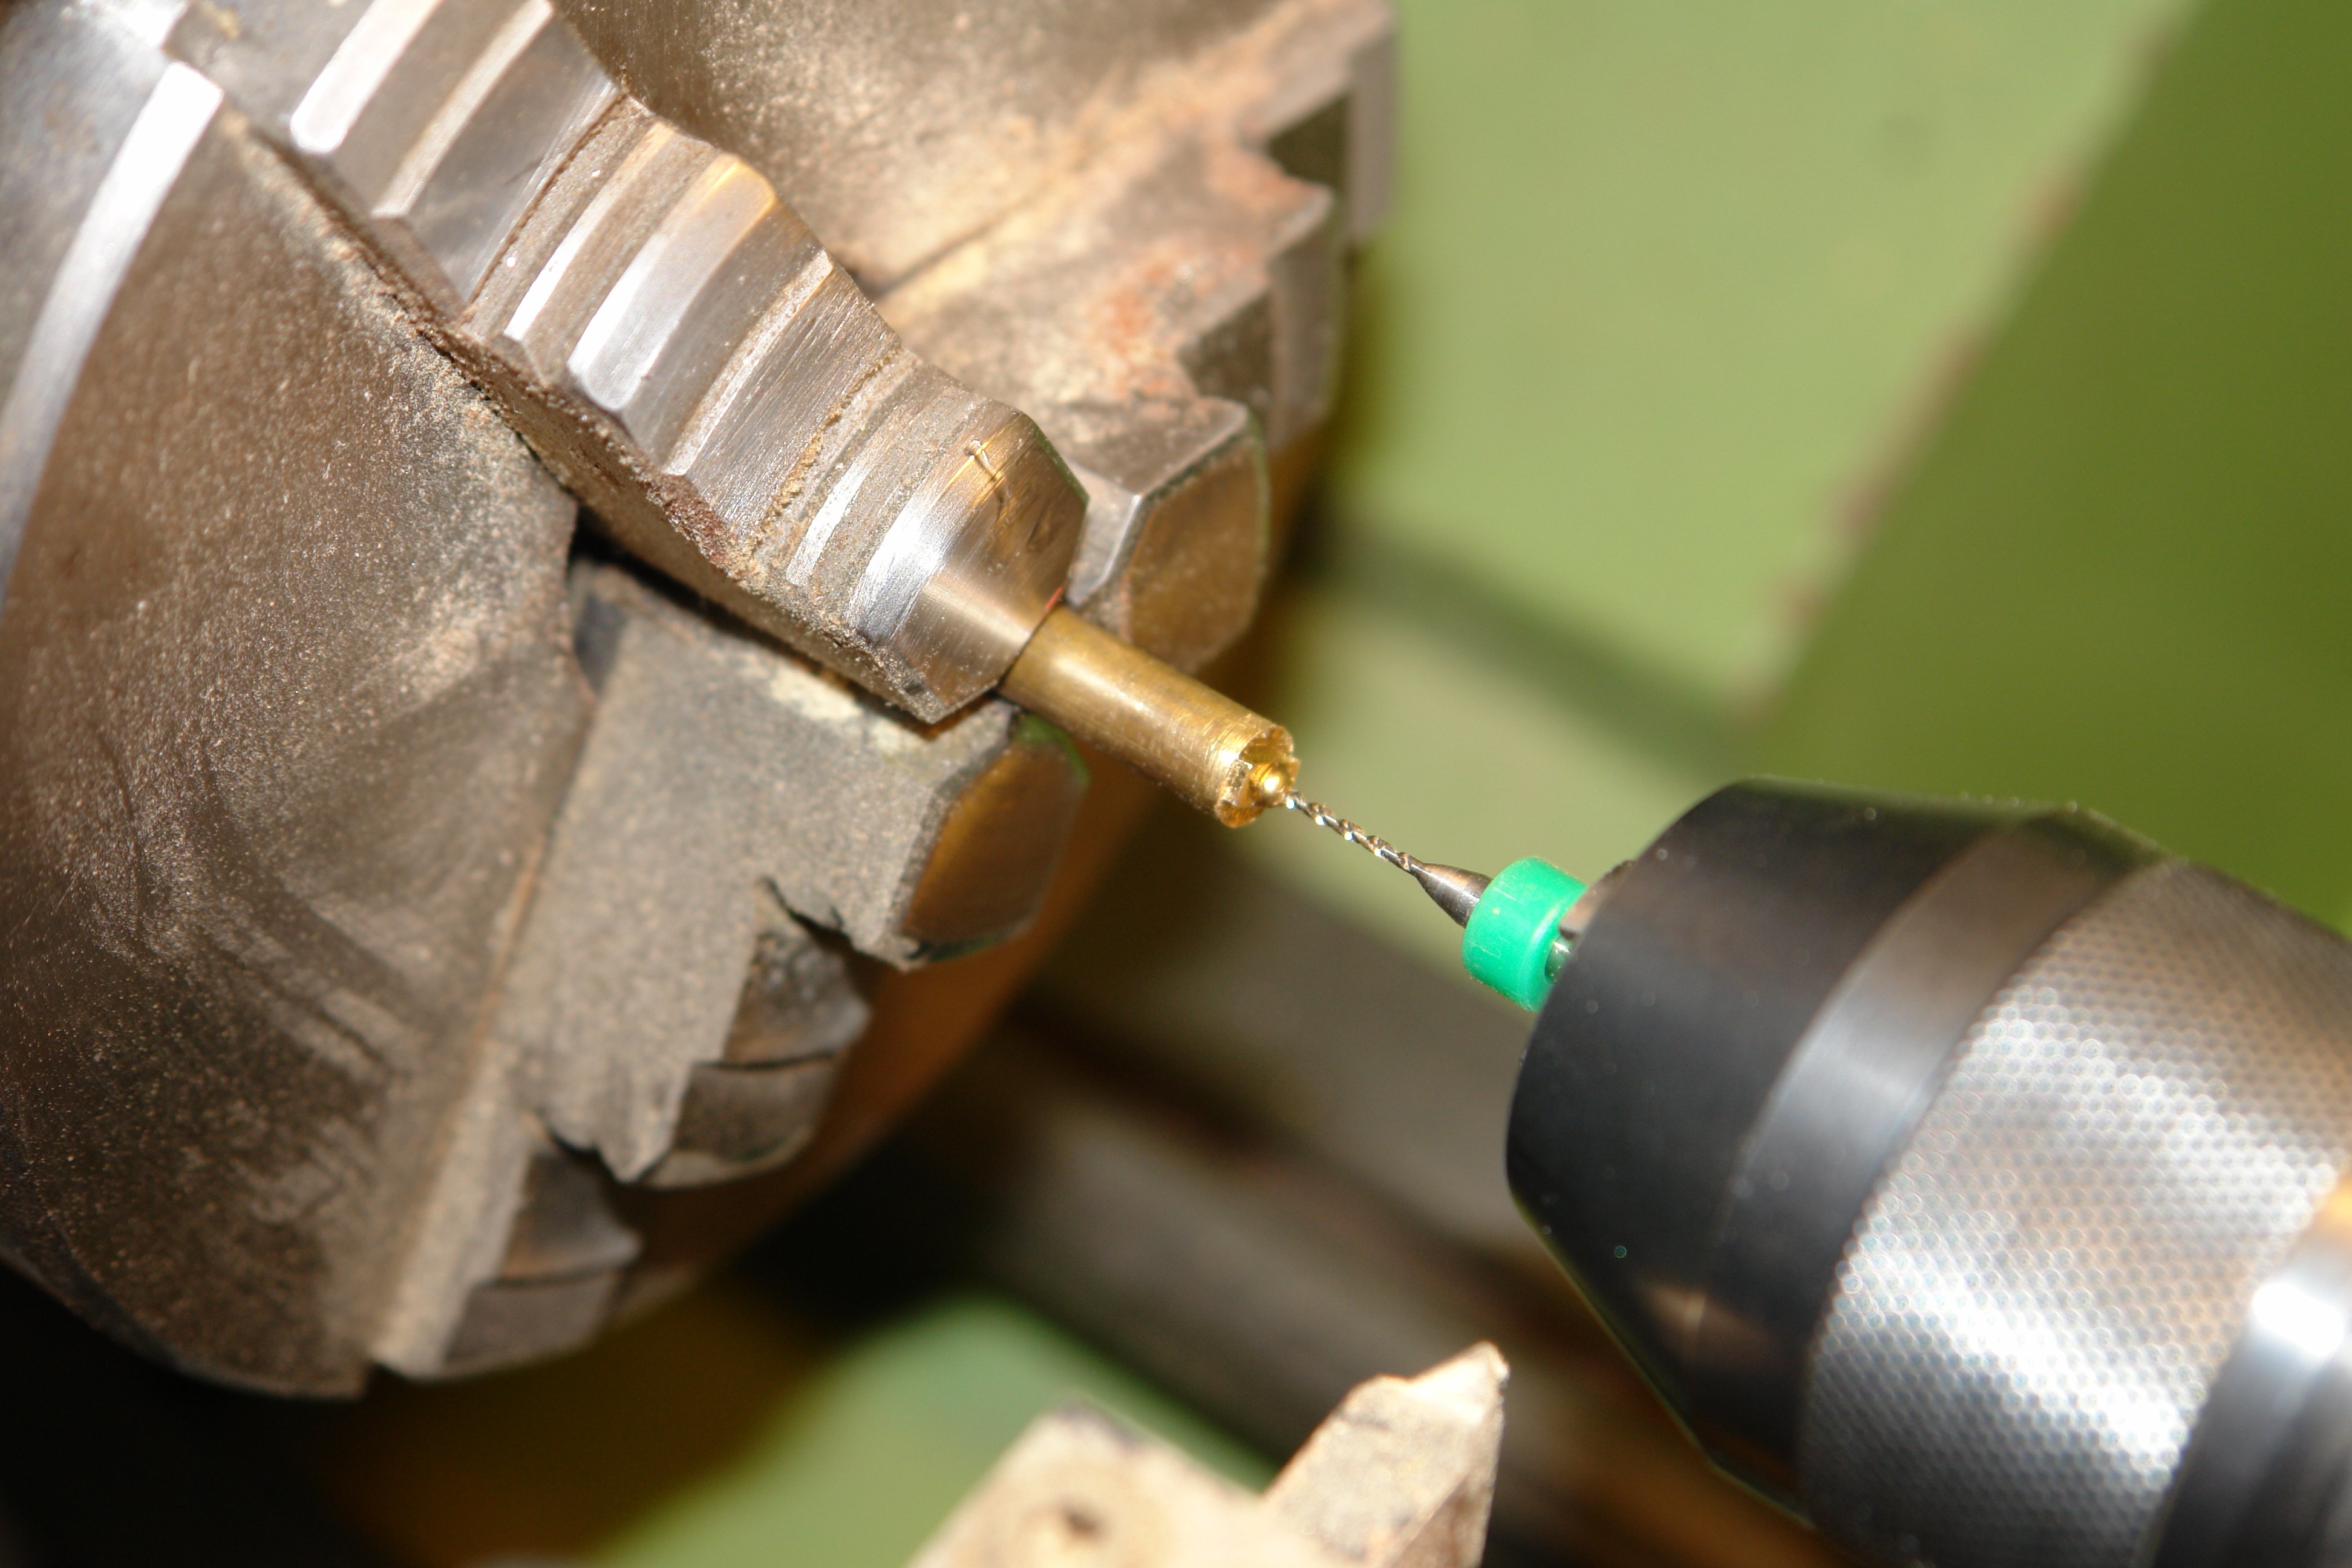
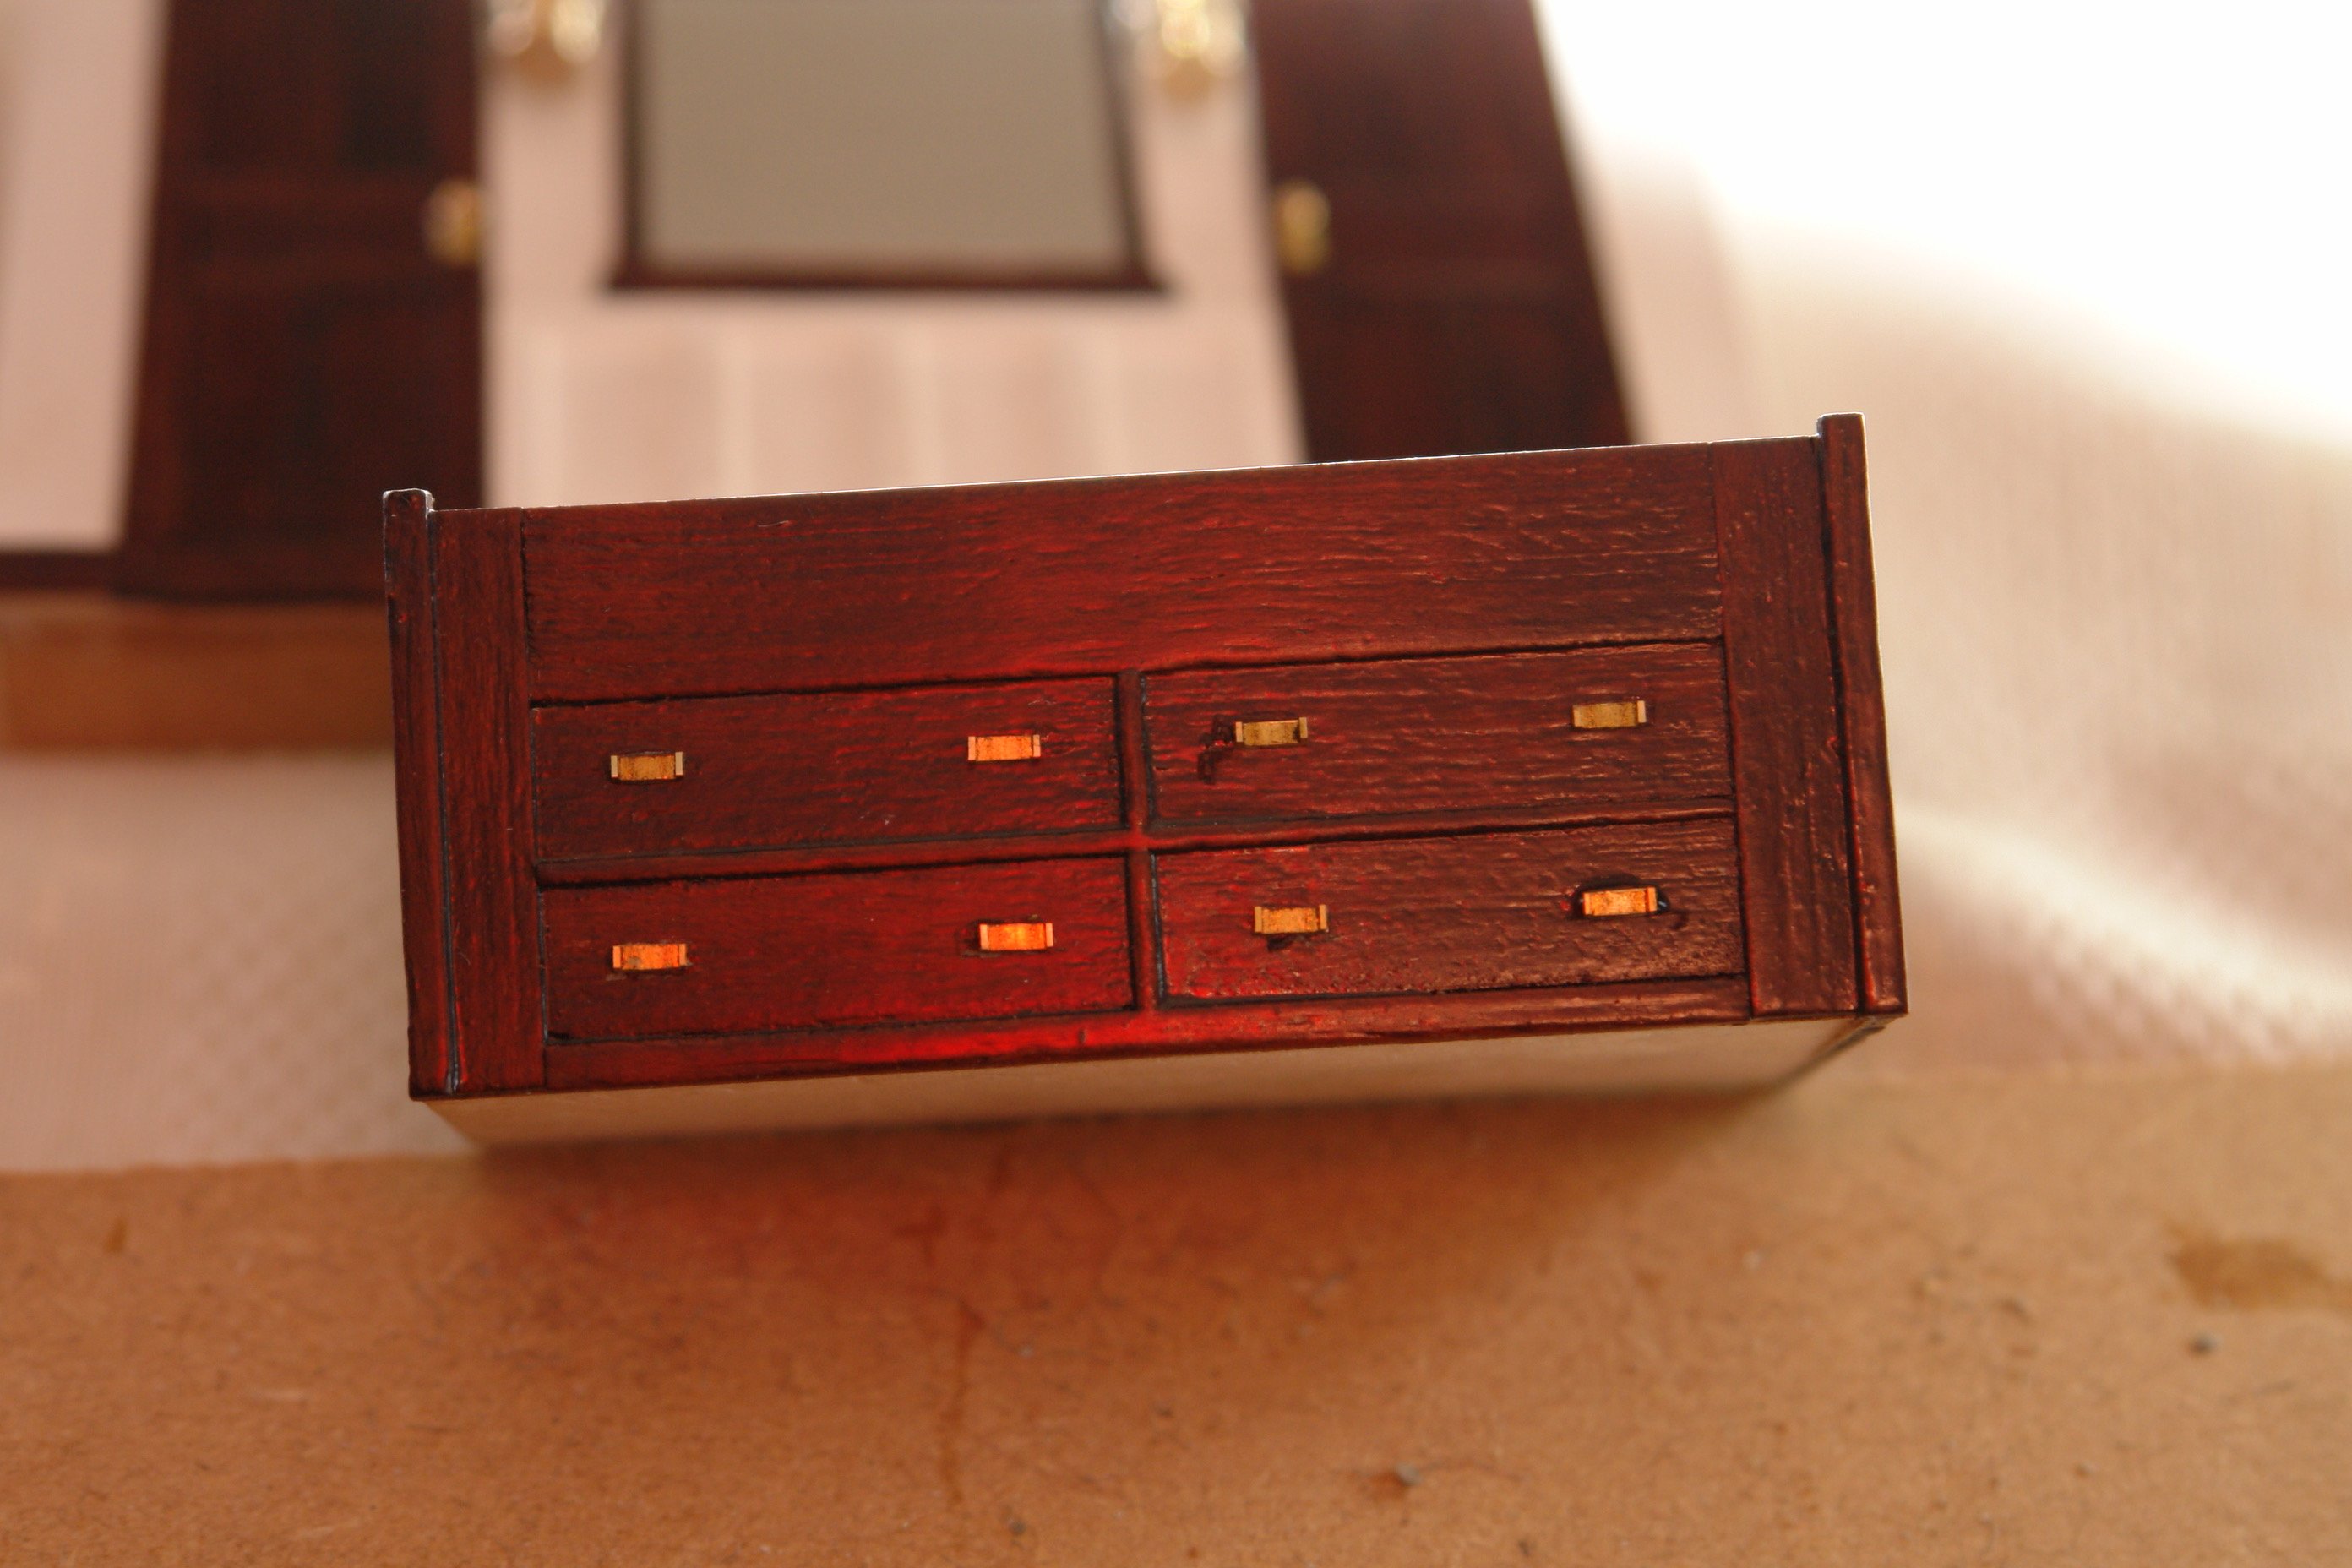
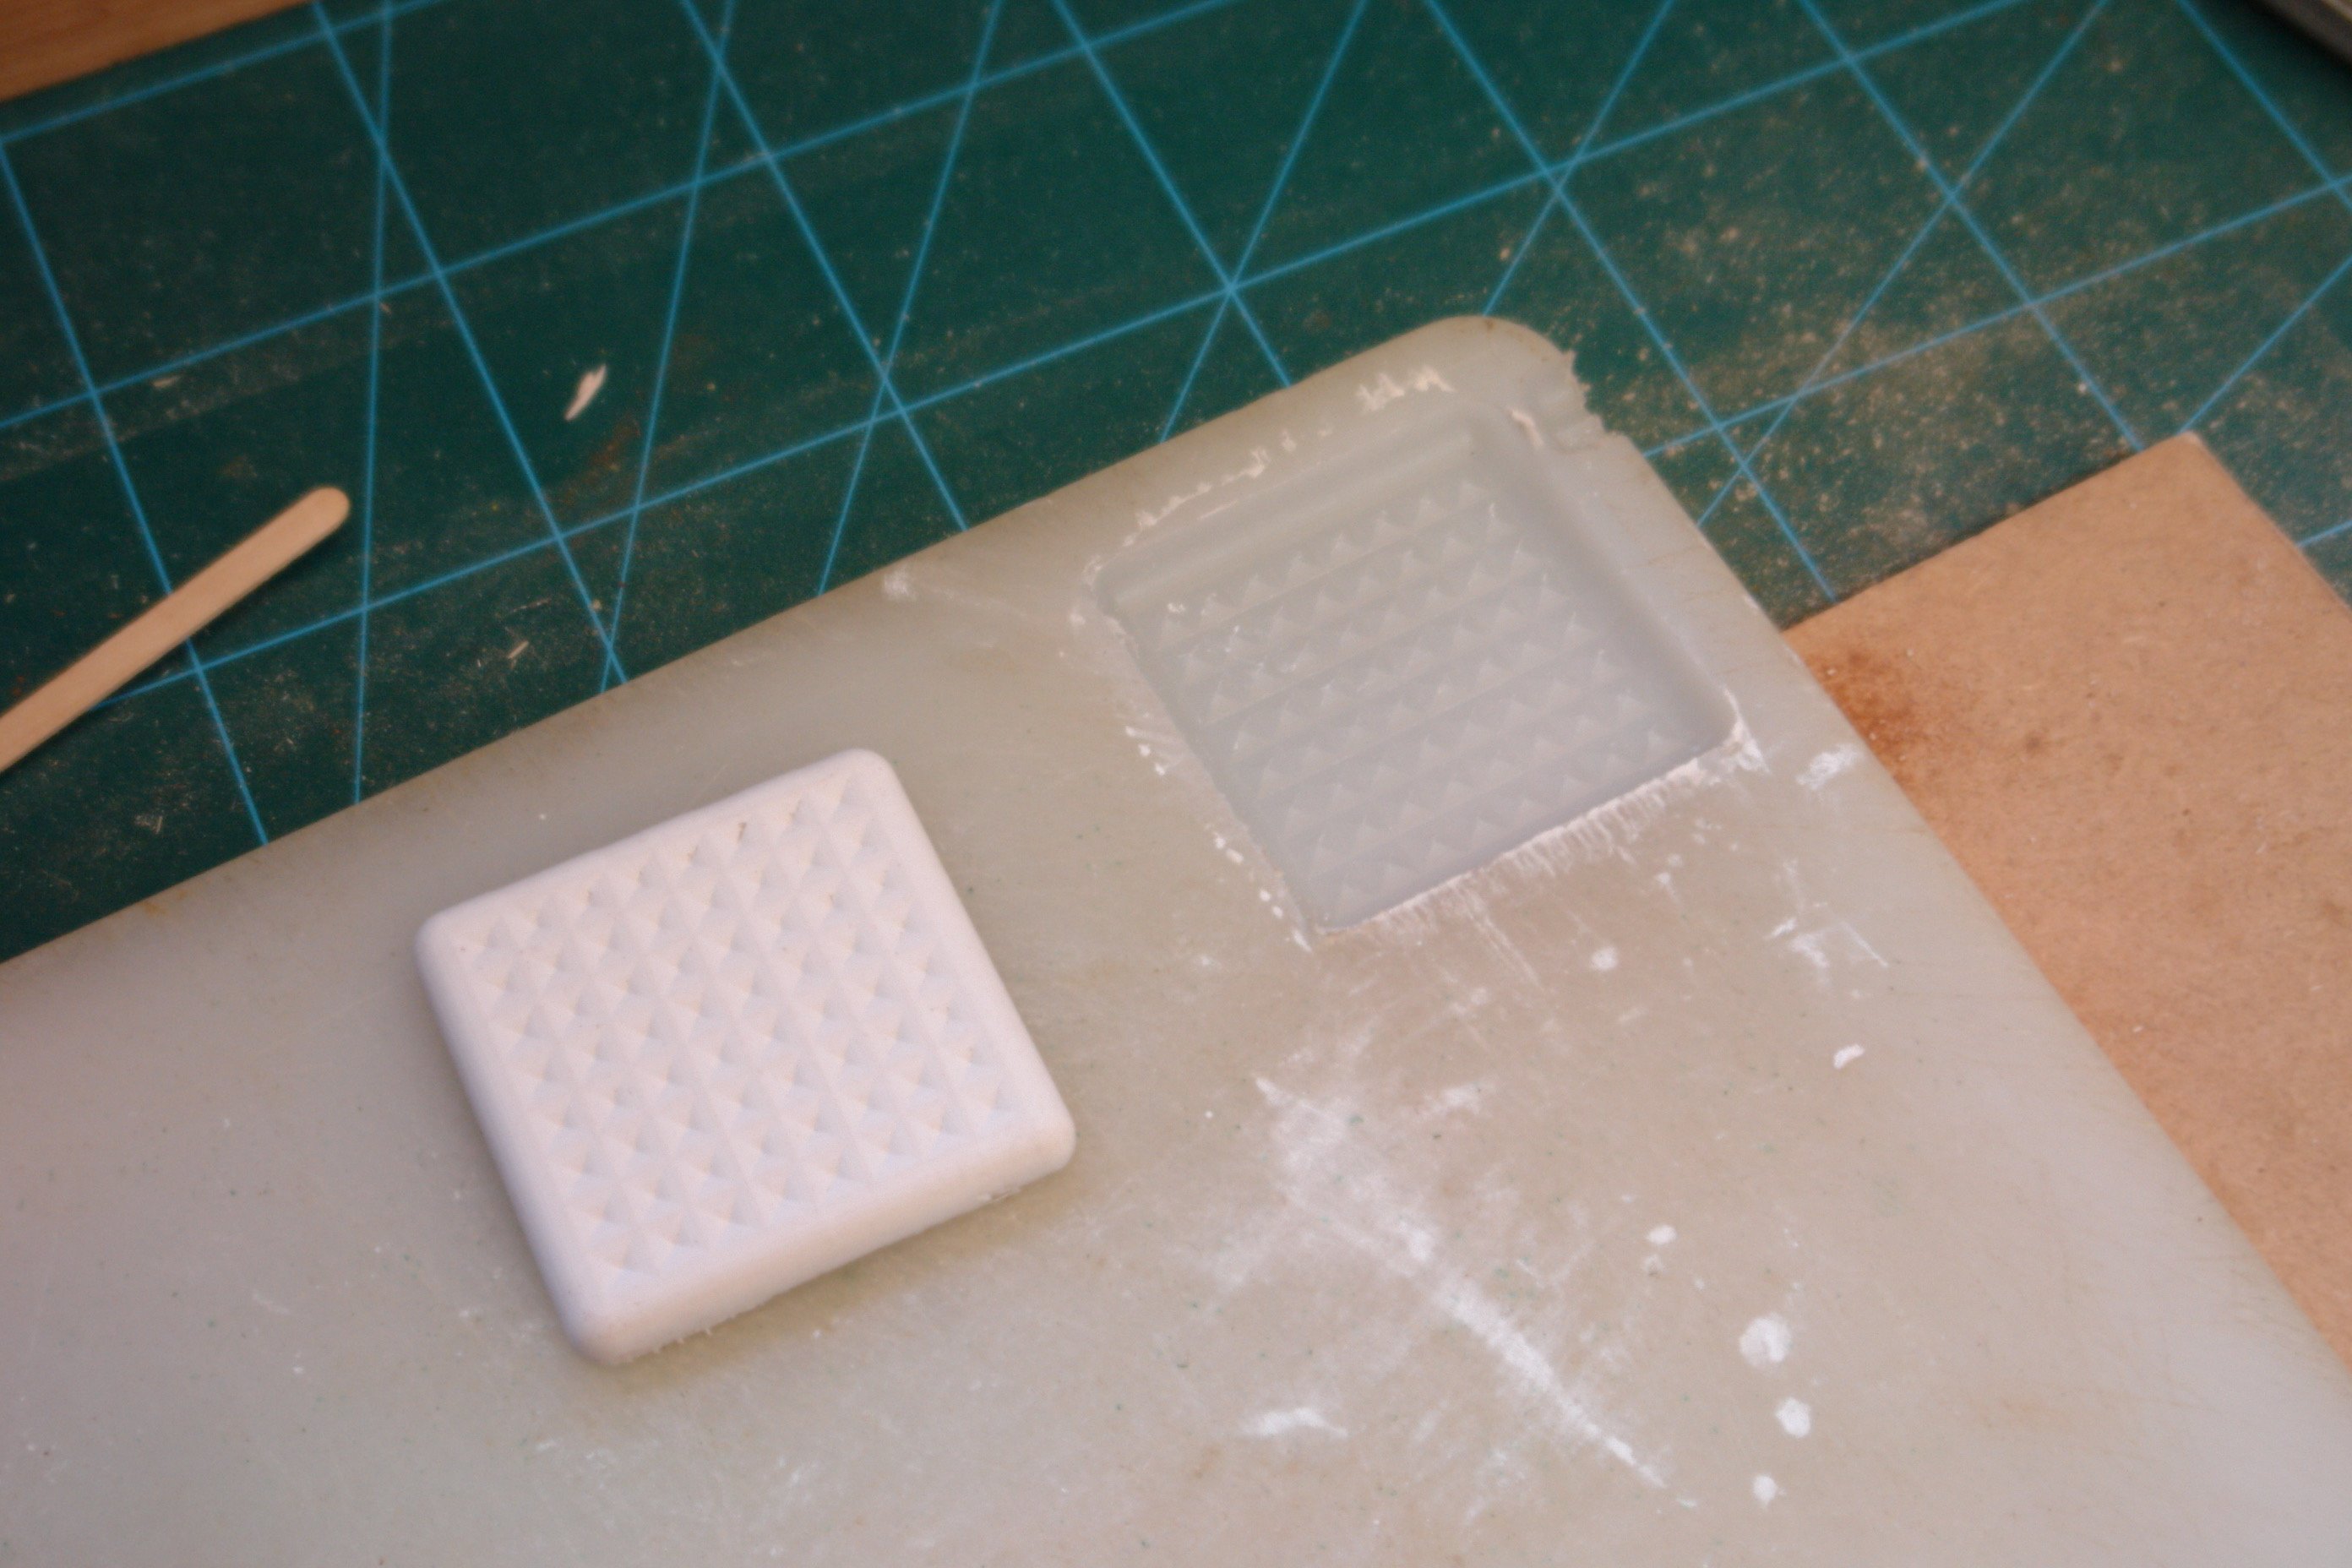
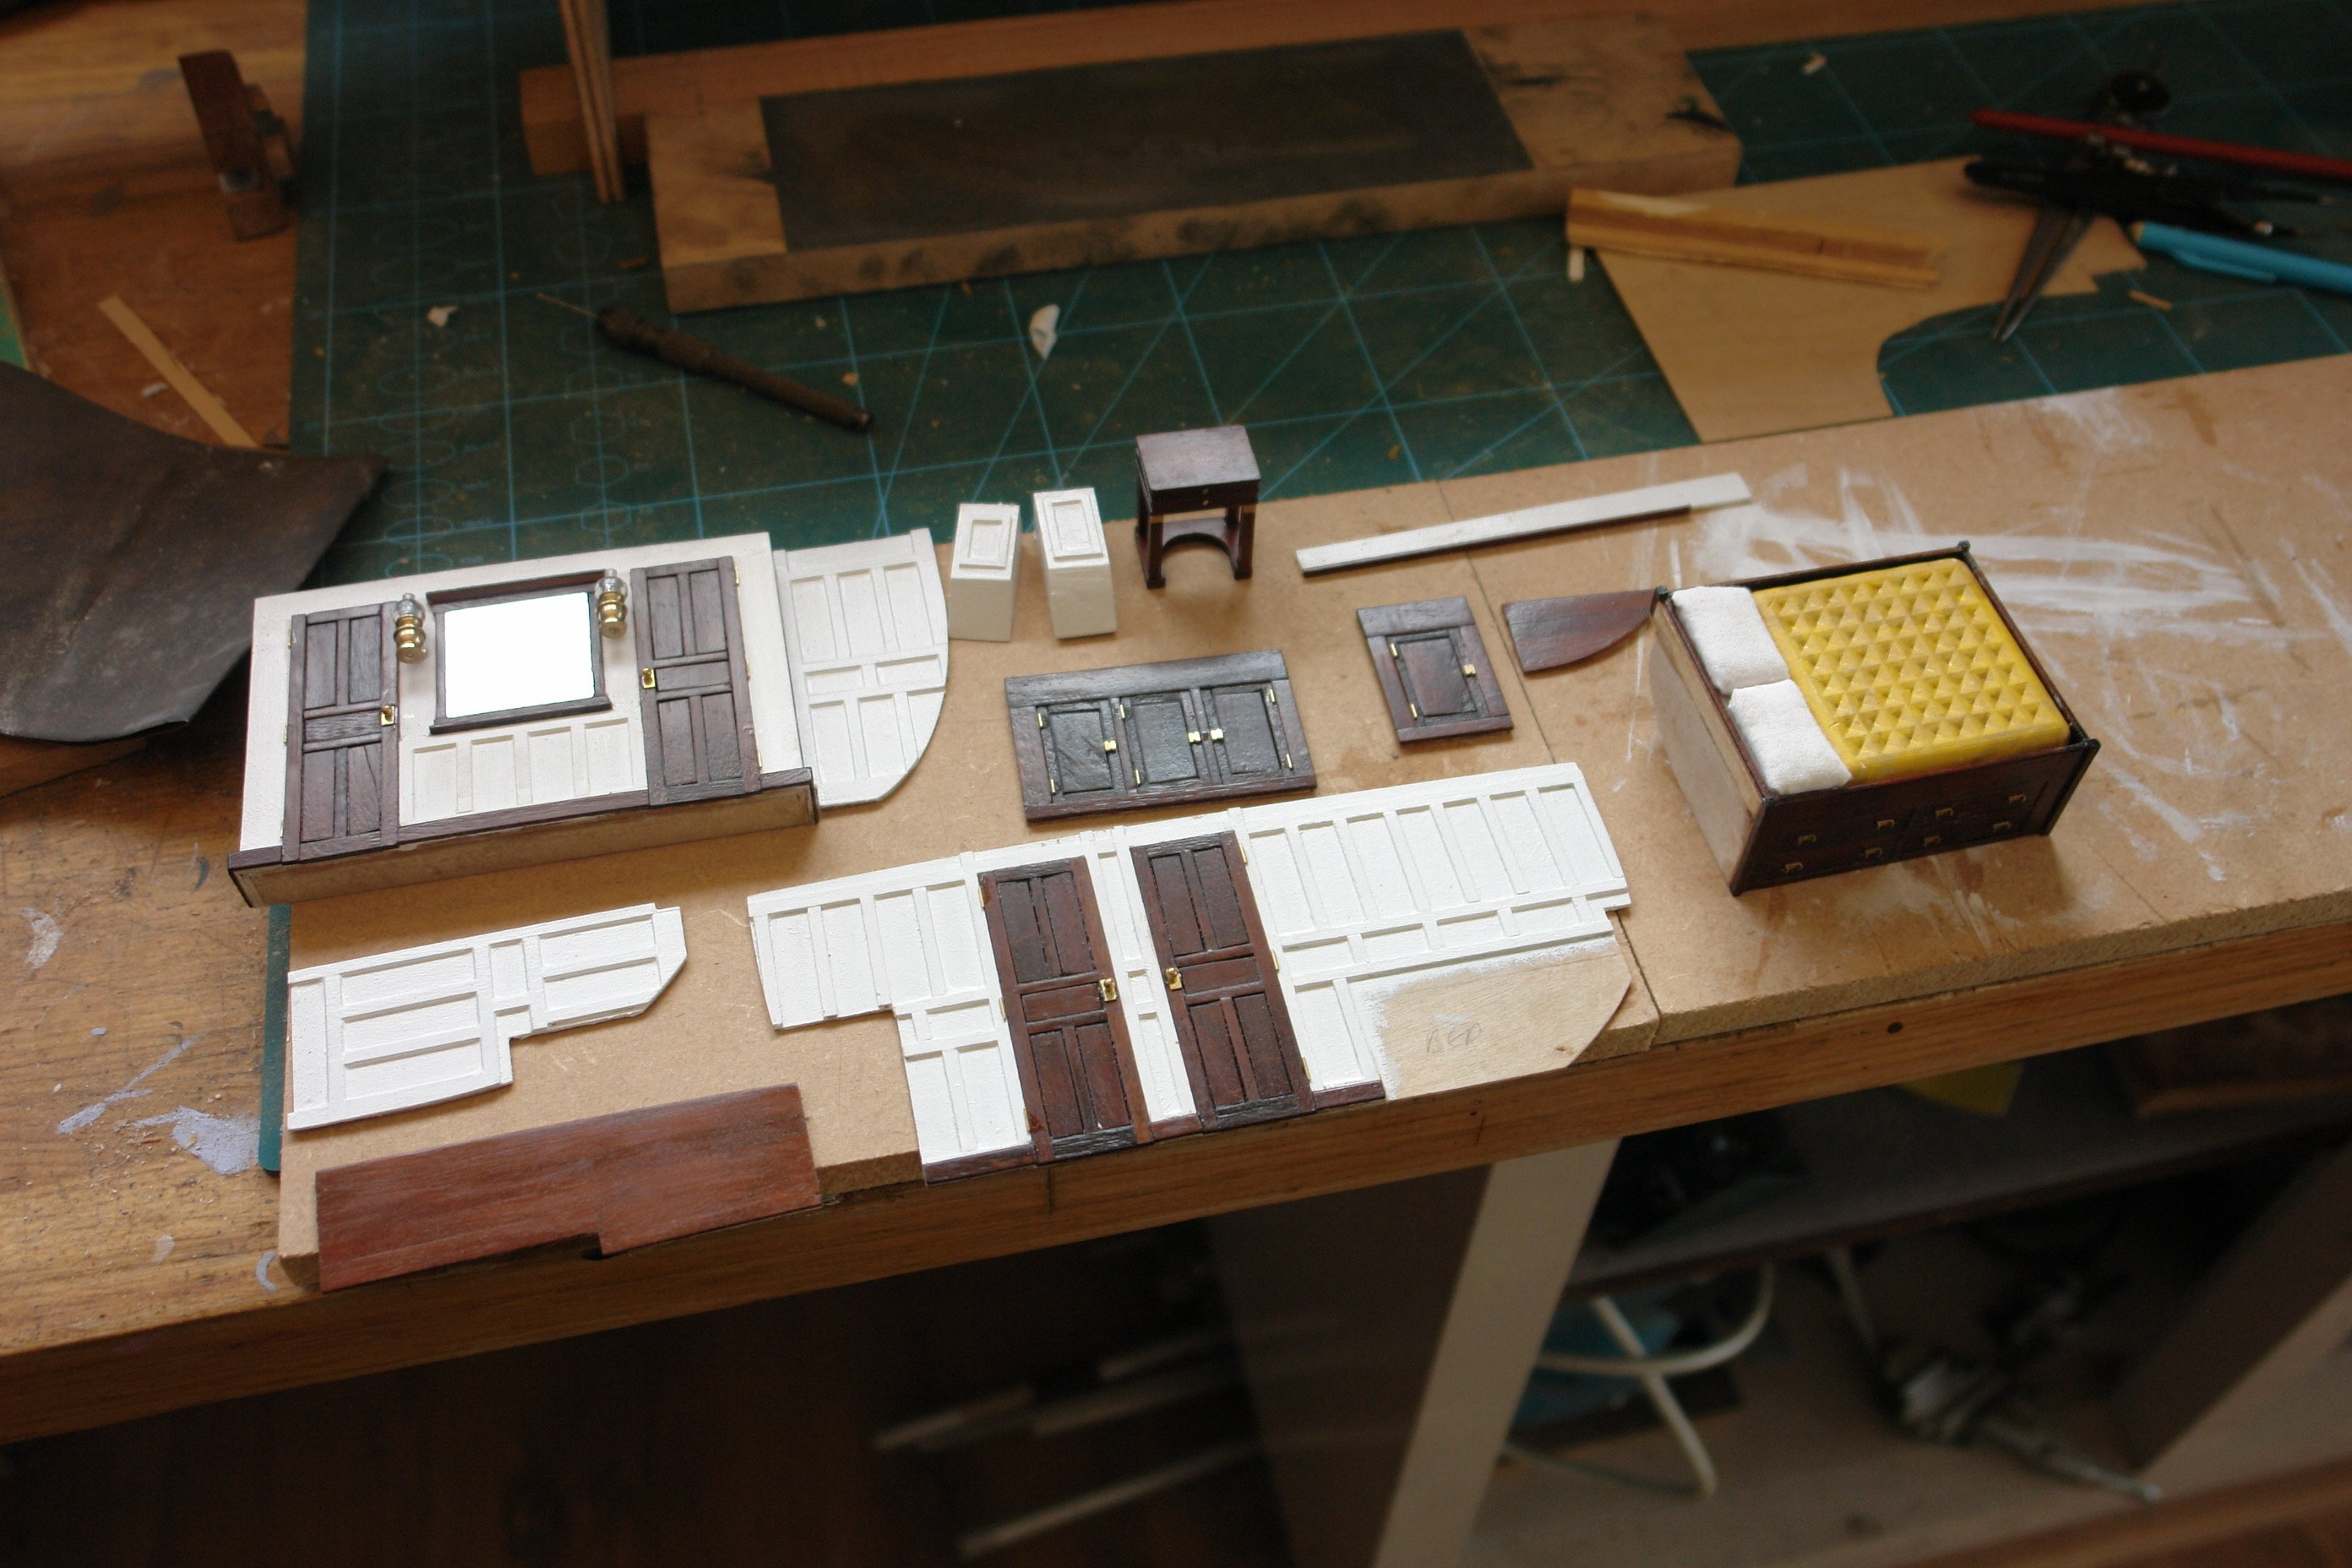
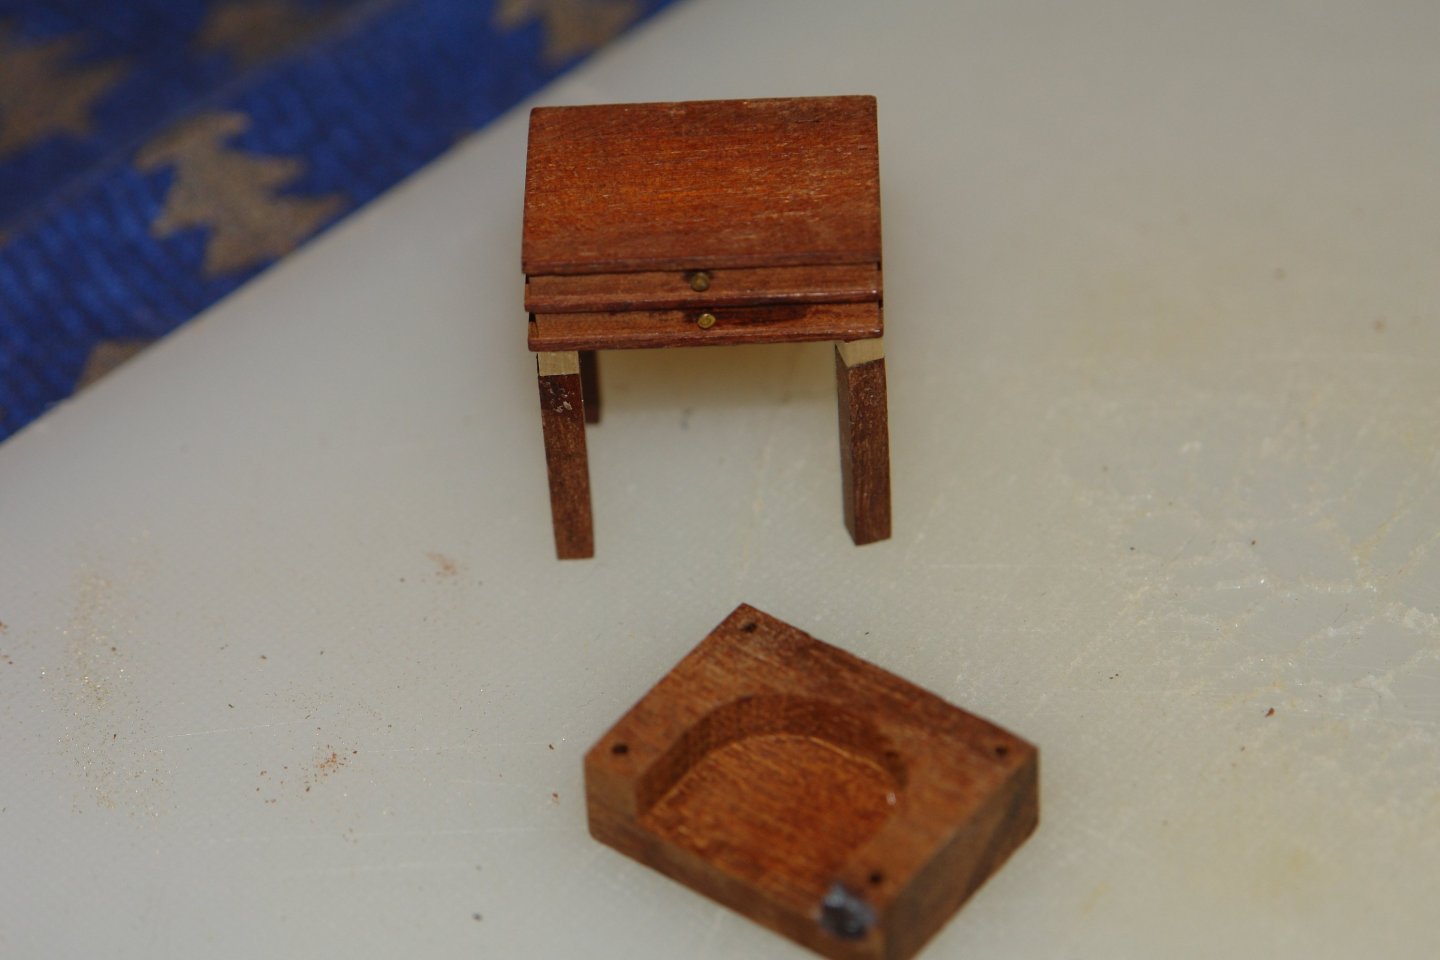
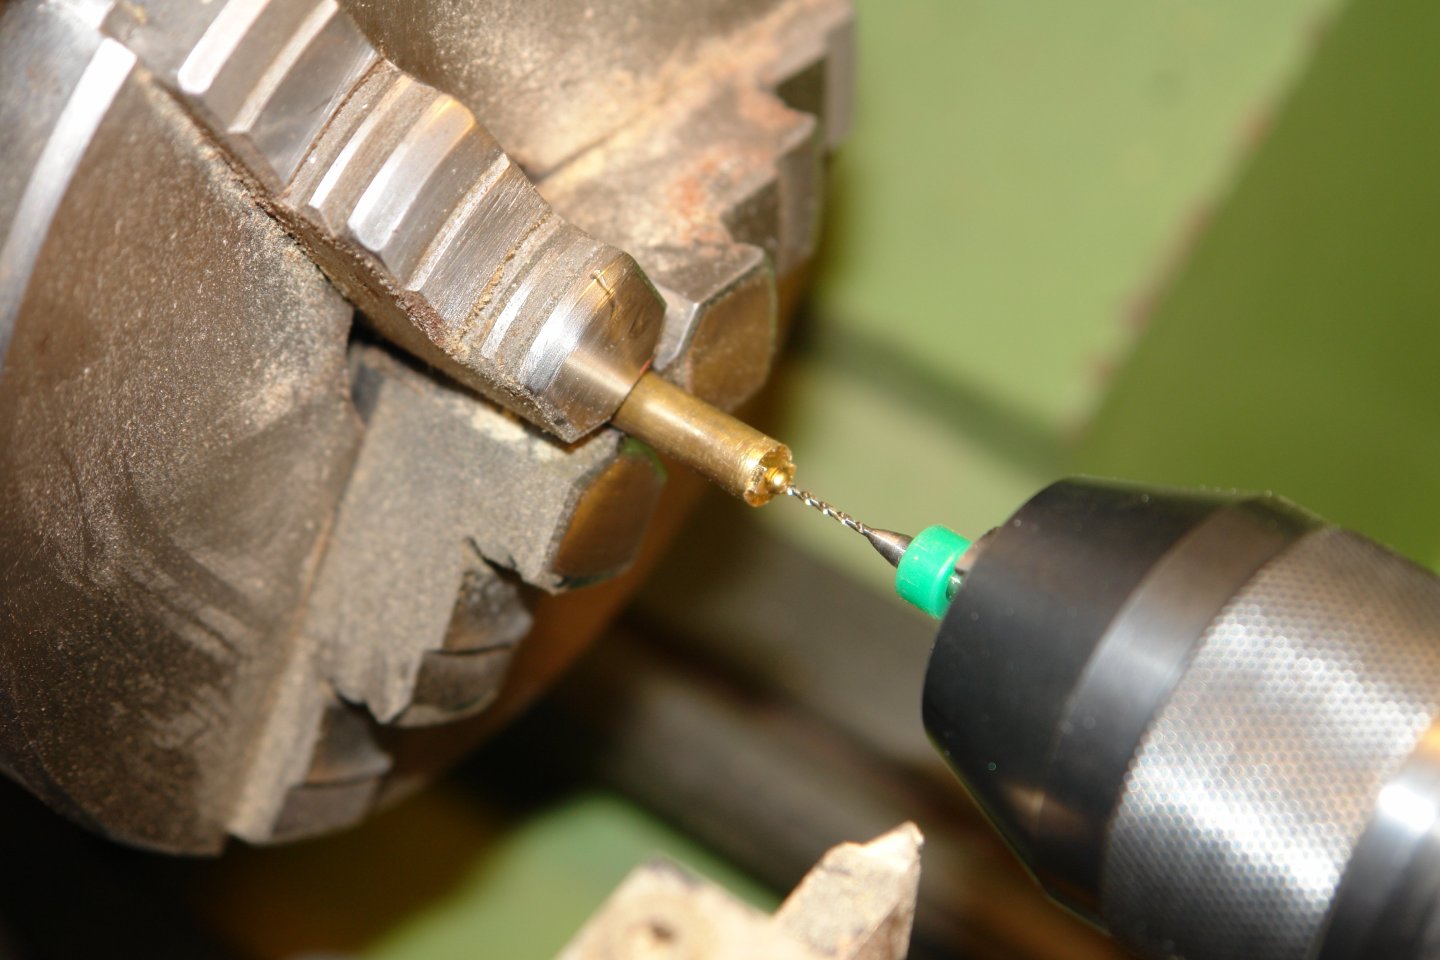
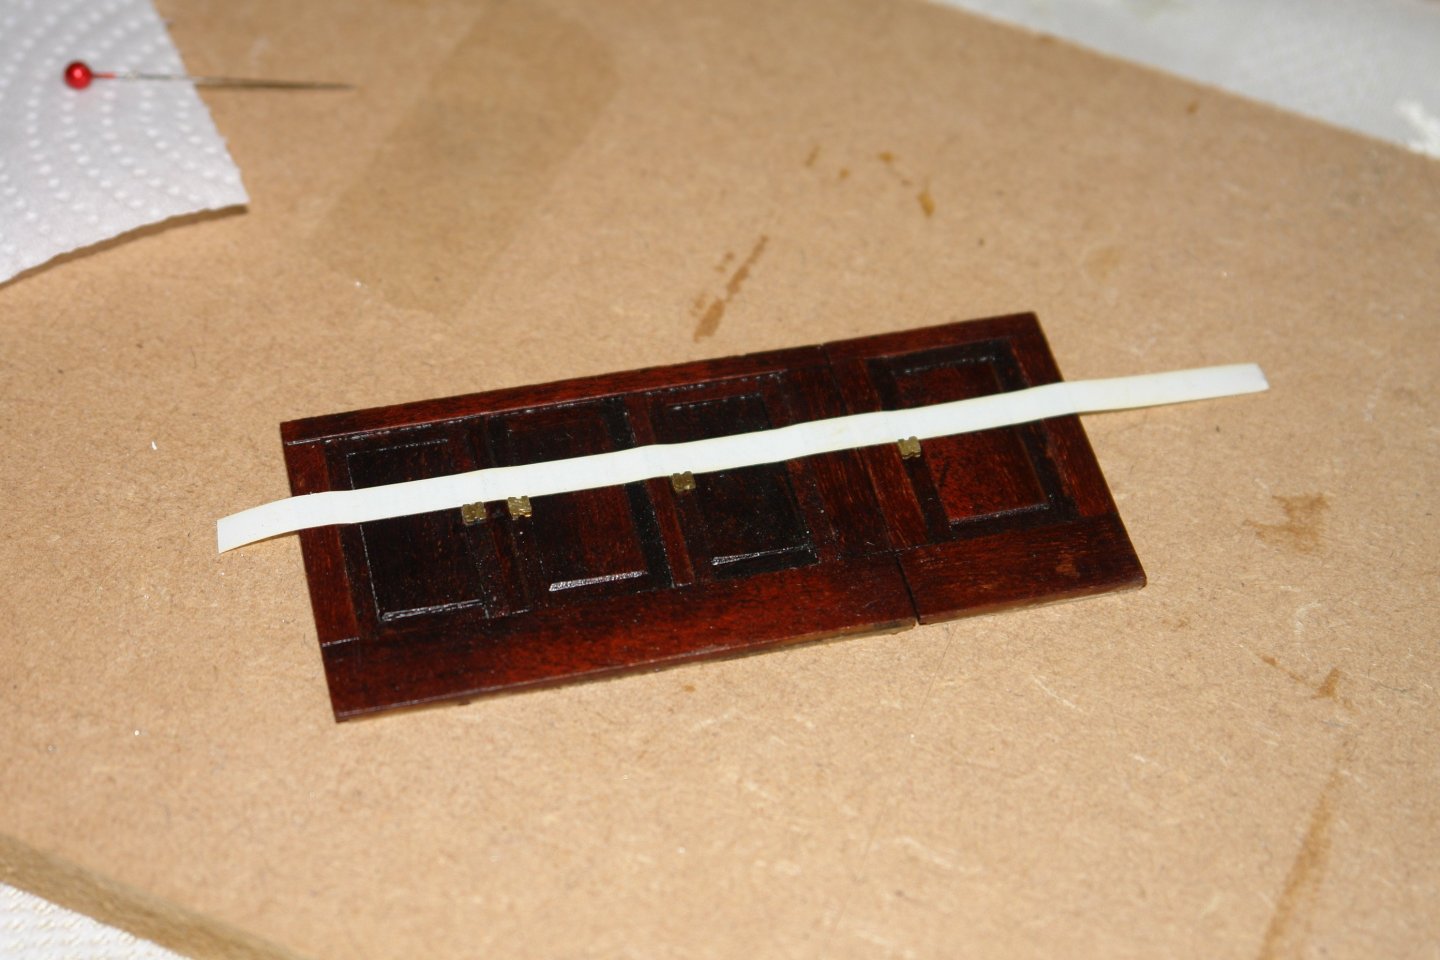
Thank you Pat. I am moving along with the owners cabin. There is a nice little dressing table between the lockers on the forward bulkhead. I started with the top / draws milled form a solid piece of mahogany. The legs have a bit of brass work. The base is likewise milled from solid. the handles are brass pin heads. I needed door handles. I had some 0.1" brass balls but these need to be drilled to take a shaft. I put piece of brass in the lathe and centre drilled it to form a cone. The balls were glued into the cone and then drilled with a .040" drill. I then got on with the rest of the panels. The bed has various draws. And there are cupboards on the starboard wall. The bed has a quilt but I am simplifying it. I keep reminding myself that most to this will be hidden below deck with only a very small skylight for viewing. I made a mould and cast the quilt in plaster. I now have most of the bits I need so assembly staring tomorrow.


-
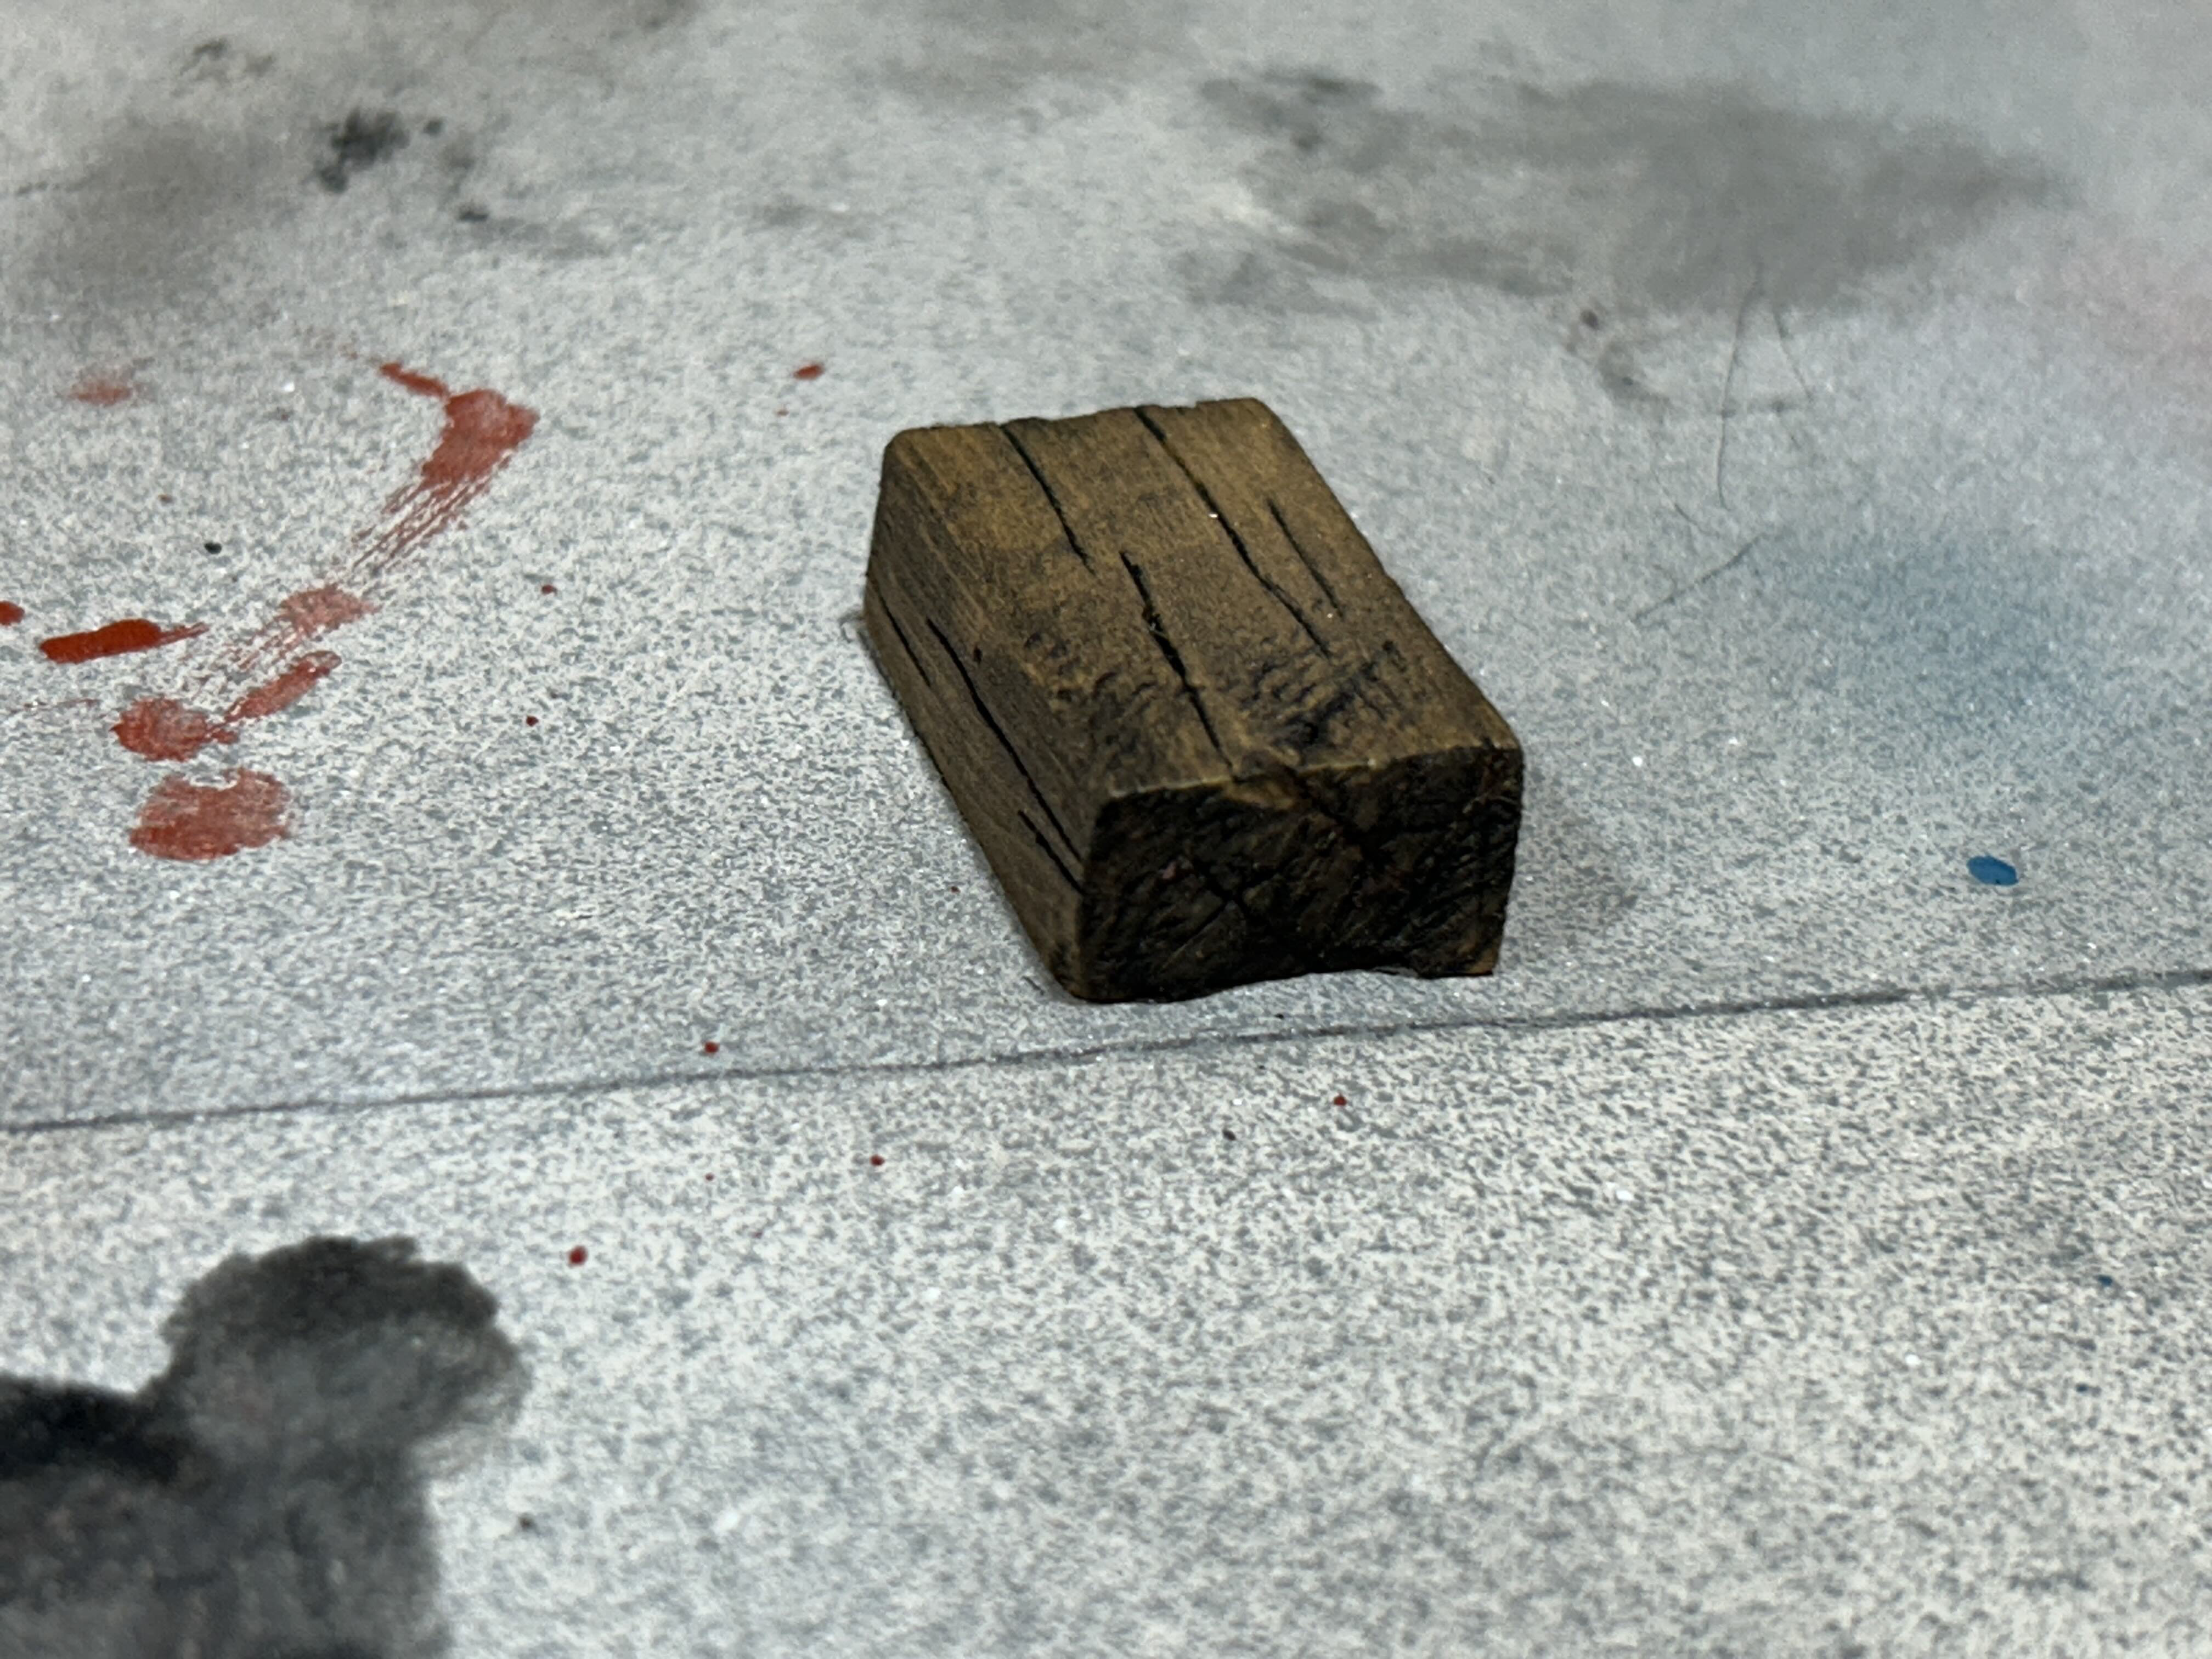
Clearly she was inspired by a house brick. And that reminds me of our local river as a child, in a very industrialised area. The river ran black, decorated by cream coloured suds of some unknown chemical. On windy days the suds would be whipped off the surface to be blow across the town to the shrieks of the local women as they rescued their husband's shirts off the neat rows of communal washing lines. On summer's days we would go down to the river for what we optimistically called the "River Don Brick Floating Contest". I understand the river now has fish in it. A benefit of deindustrialisation.