trippwj
-
Posts
3,156 -
Joined
-
Last visited
Content Type
Profiles
Forums
Gallery
Events
Everything posted by trippwj
-
 There is a CD of many of the existing plans and drawings (mostly from the 1927 rebuild) available from the Museum Store for $15 at http://store.ussconstitutionmuseum.org/products/uss-constitution-plans-for-model-ship-builders-and-general-researchers
 -
Best available plans at US Navy are as is not as built. There are not a lot of as built plans for those frigates, but rumor has it that a private project is underway to transcribe the narrative documents into a useful publication of some sort.
-
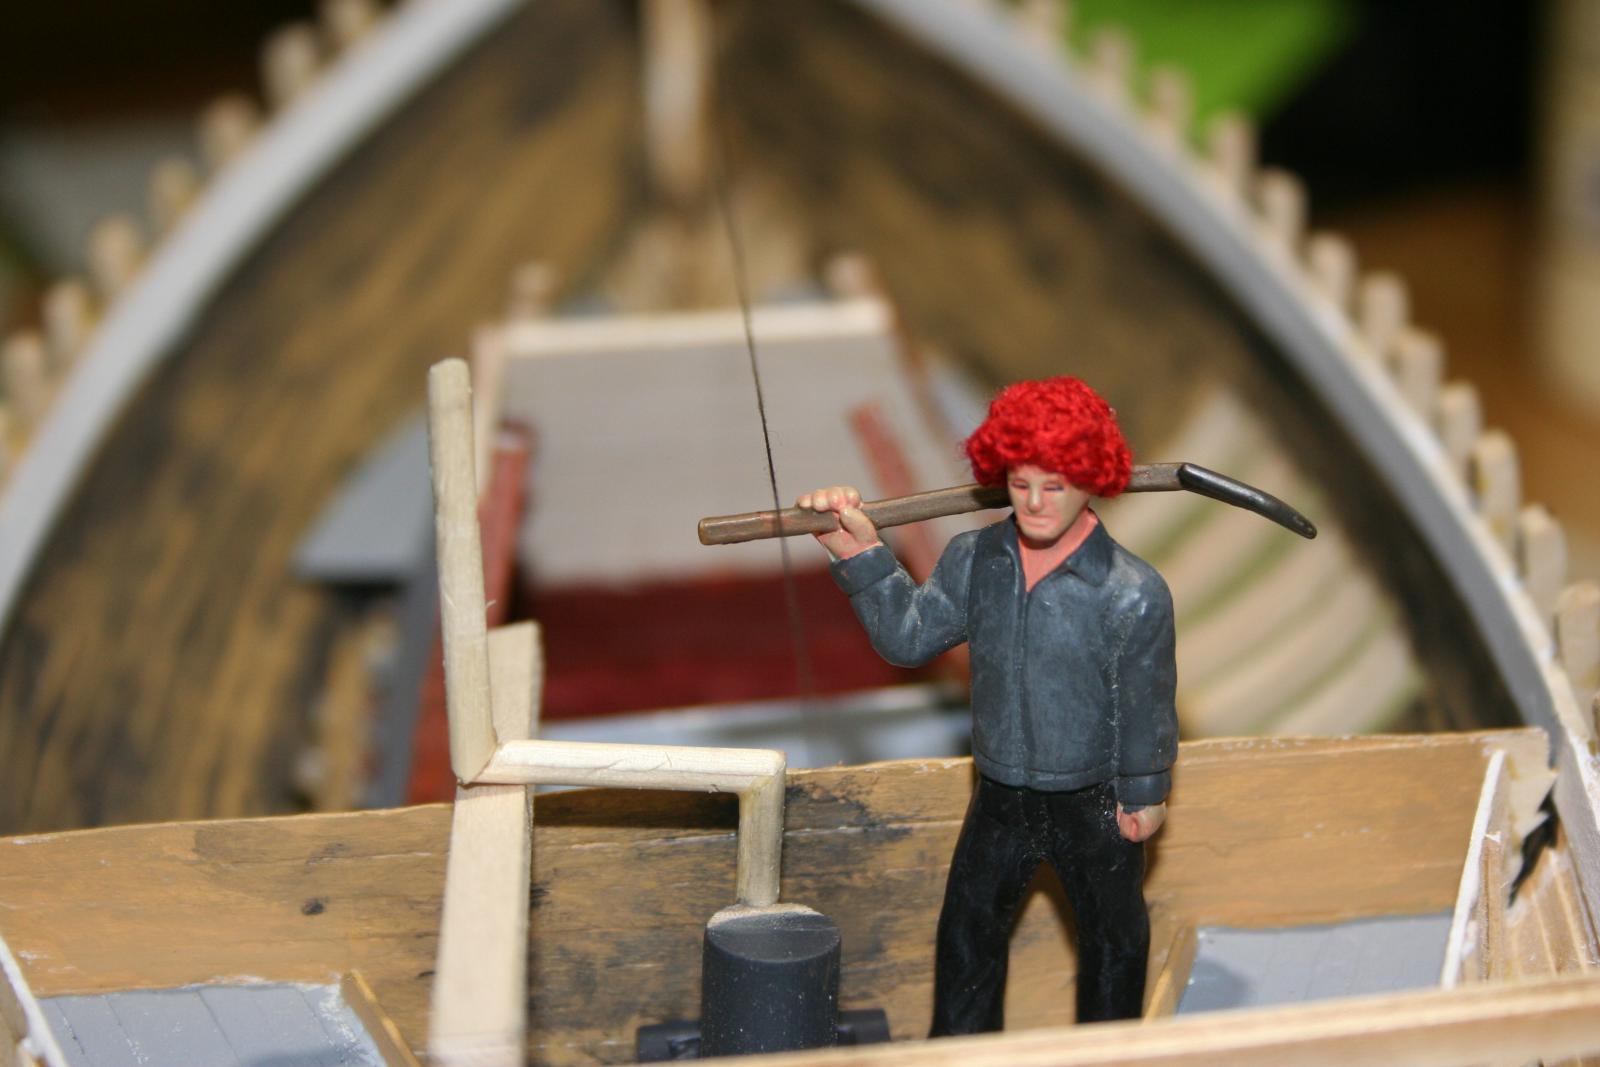
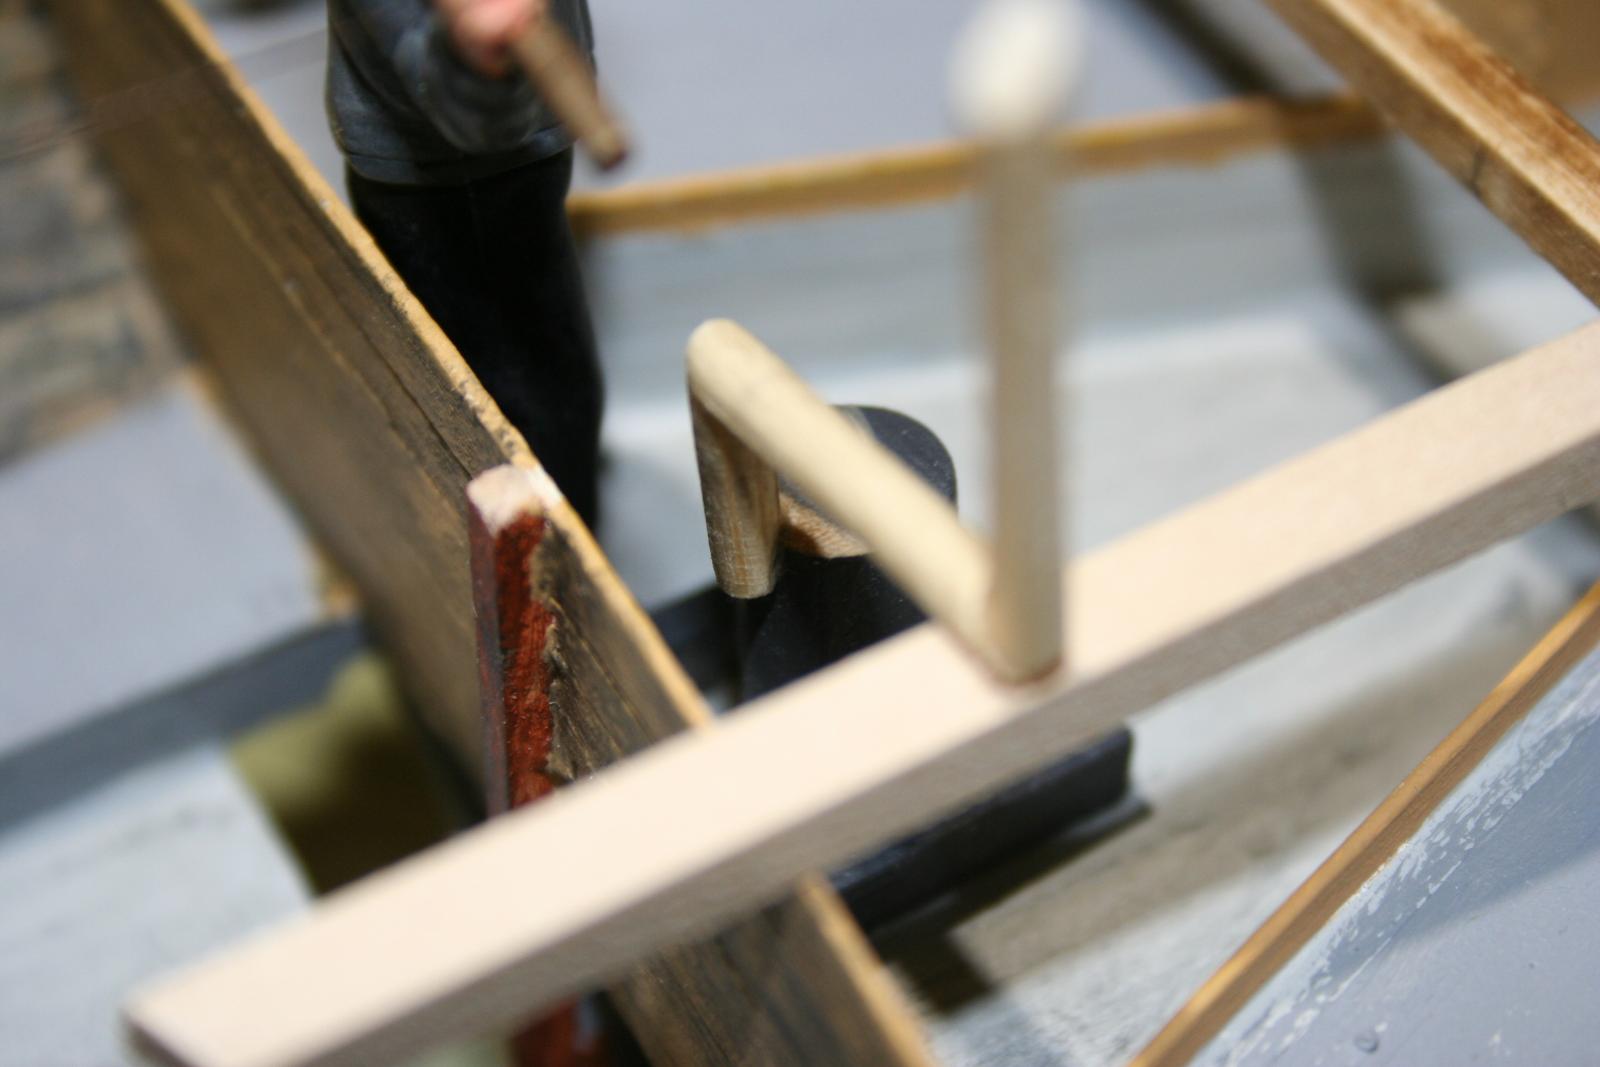
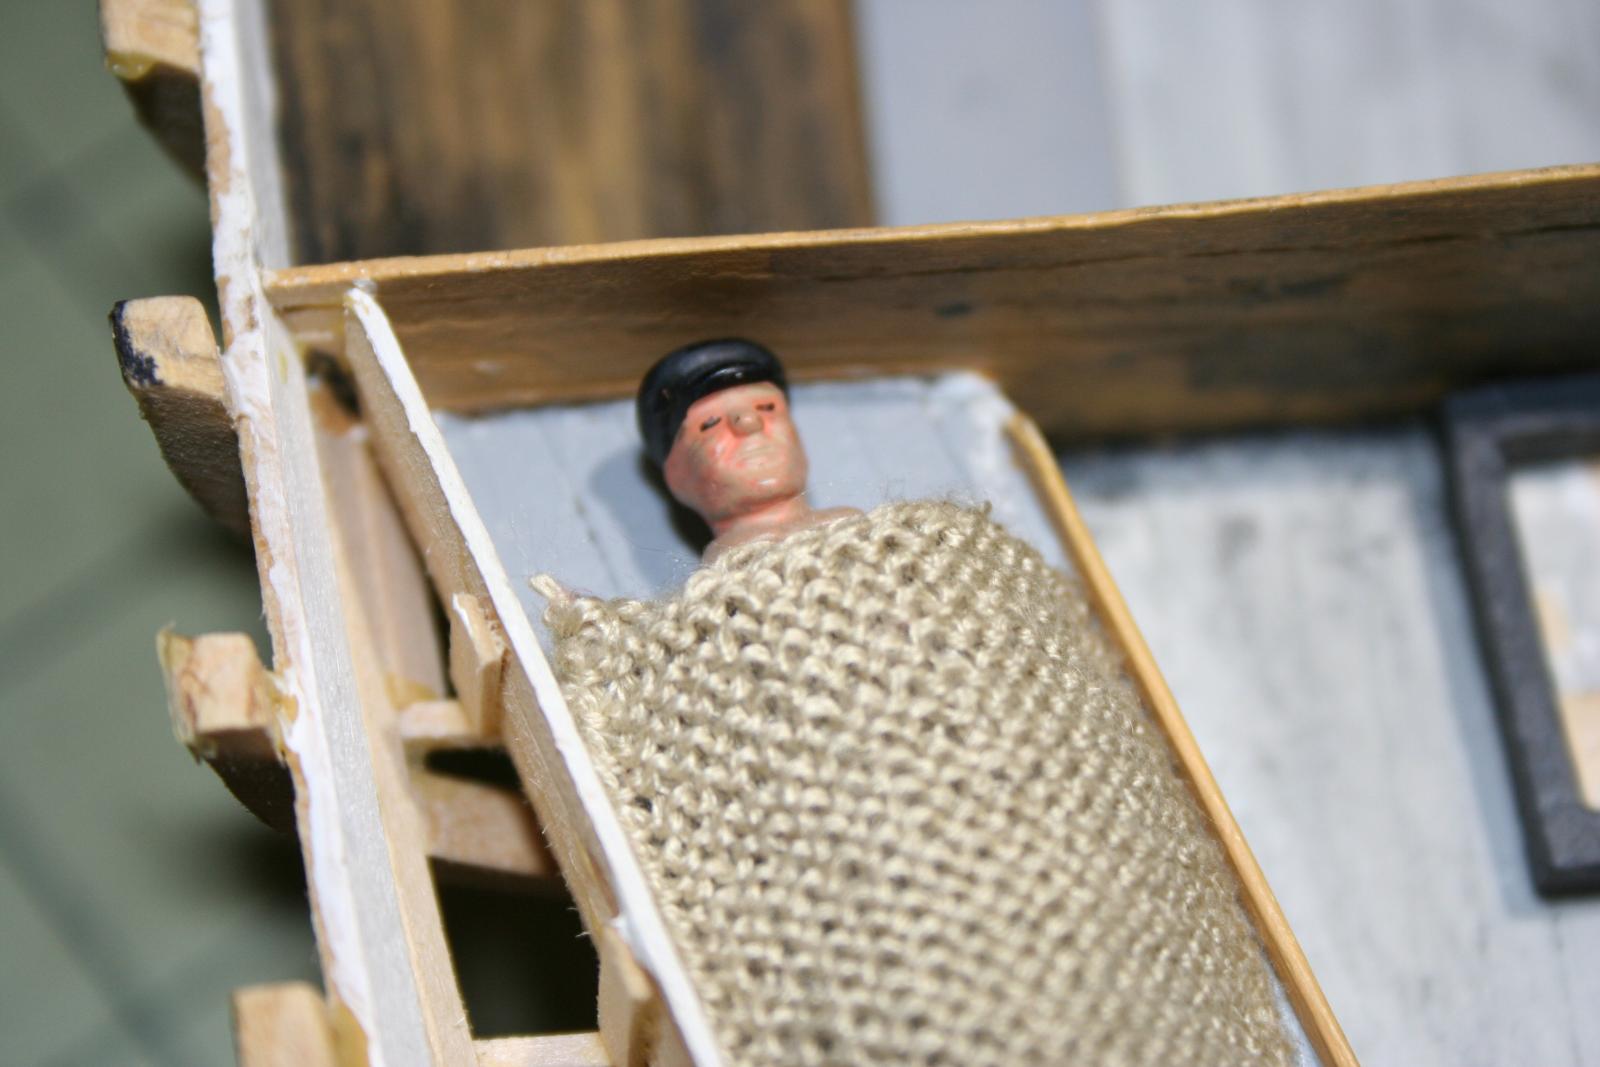
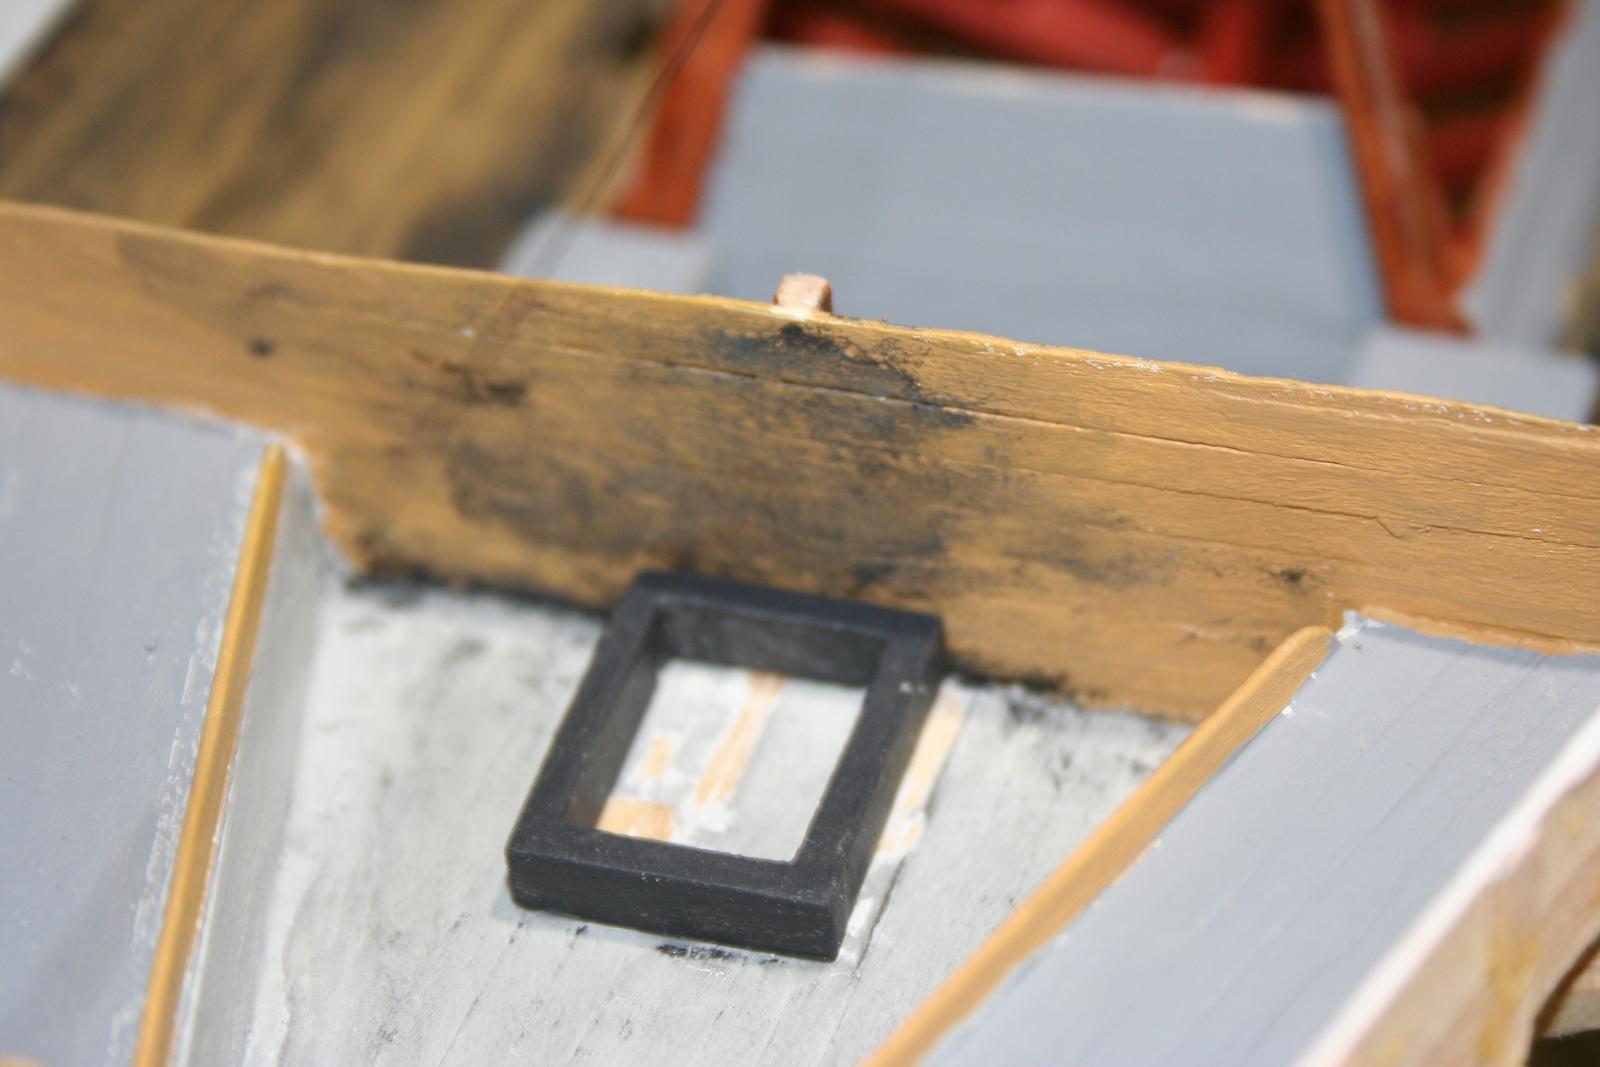
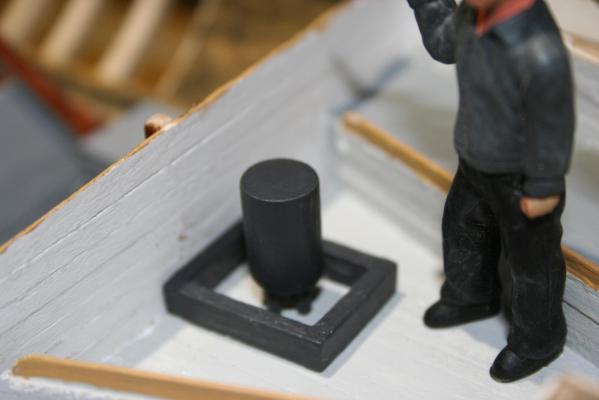
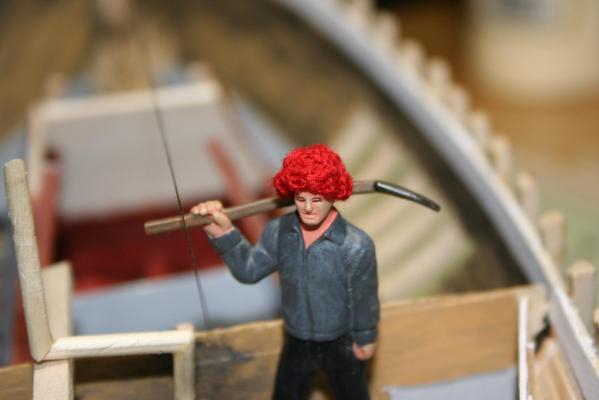
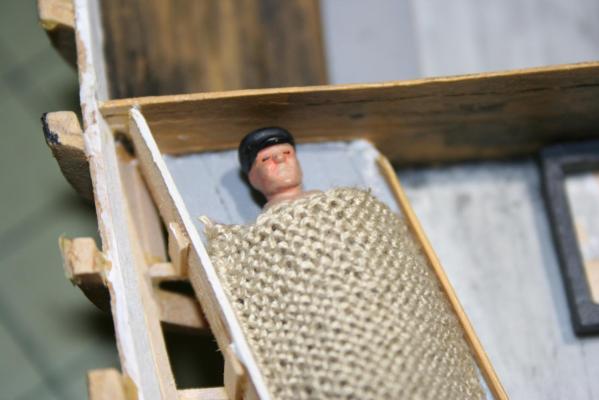
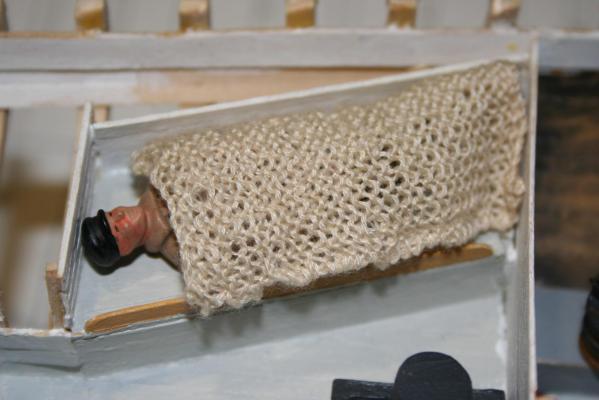
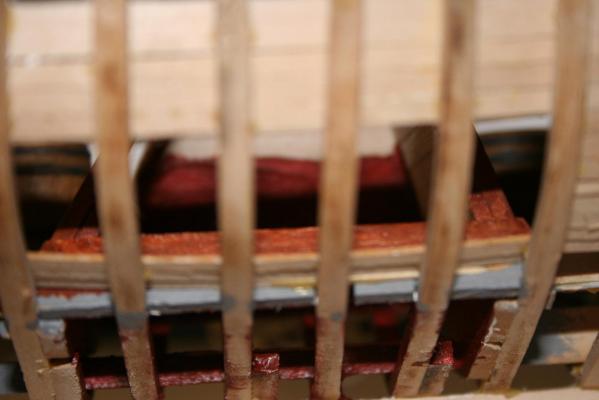
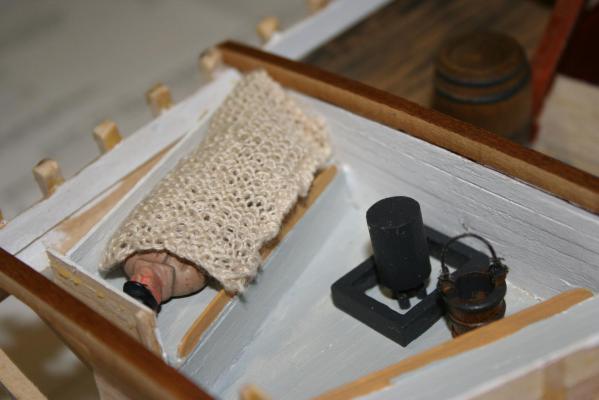
Building continues at a snails pace here in the ole shipyard. Continuing that gradual work on the ships stove. You may recall when last we visited it looked like this. The stove itself is a length of 3/8" diameter dowel (works out to about a 12" diameter coal stove). The flue pipe is made from 3/31" dowel. I decided to replace the metal piece that came with the kit and make it all out of dowel. Still need to finish sand, prime and paint the pipe and add the final angled piece at the top. You may have noticed the worker - since it gets cold up here the Admiral kindly knitted him a watch cap to ease labor relations a bit. She also wasn't totally satisfied with the first blanket, so has knitted a new one for the cabin. These last couple of shots show the soot on the bulkhead and the coal dust from the stove. Will be a small coal bin on the starboard side of the stove (next piece on my list). Other than a couple of more interior details, I guess my next step is to start framing in the deck itself. For that, will need to practice with the scroll saw so I can cut the 30 bazillion knees I need for the deck beams.


-
Hmmm...why is it always the RUM???? Any suggestions on the appropriate container for 1890-1910 era?
-
Hey, Mobbsie - thanks for stopping by! The stove is about 80% built - a bit more detailing and then the stovepipe before I install it. Rope coils - in progress. The Admiral frowned when i suggested foul weather gear - something about not knitting with the antennas from a fly. Go figure! Probably will have that mug and kettle, and will add a bucket as the head
-
Your pictures are more than welcome - they give me some ideas on how to do my display when I get to that stage.
-
John - Thanks for the link and your pictures - very nice work! My below deck detailing is my own take on what it might be like on the ECB during her active fishing life - taking some liberties with the color scheme (particularly in the hold) to reflect a working boat vice one that has been refurbished. The cabin is roughly following the plans for the kit.
-
Looking good, Augie. How detailed will you get with the deck furnishings - cats? rats? holystones???? Enjoy your holiday!
- 2,191 replies
-
- 3
-

-
- confederacy
- Model Shipways
- (and 1 more)
-
From post #1 - Rules are simple: 1) Someone posts a picture of a ship, someone guesses the name of the ship. Whoever gets it right, posts the next picture. Make sure the name isn't showing. 2) It is to the poster to follow the thread as long as its ship was not found, and to be the judge of the proposed solutions. So, without the consent of the poster, the next one is not to post a new ship. 3) If the ship's name isn't guessed in a fortnight, the same player will show a picture with the ship's name and post a new "name the Ship picture. 4) If the player whose turn it is has not replied in a fortnight, then the previous winner gets to post again.
-
Robhvw - go ahead and post a new ship if you are so inclined. Old salt hasn't been on the site since November 22nd. Regards - Wayne
-
Hey, Adam - many thanks for the kind words! Should have seen the looks she got at the doctor's office waiting room the other day while she was knitting the blanket. Priceless!!!!
-
Well, the Admiral read this and is now contemplating how to make them some bedding - she muttered something about the mattress stuffed with straw and wandered off with a glazed look and something about how thick would a piece of straw be at scale....
-
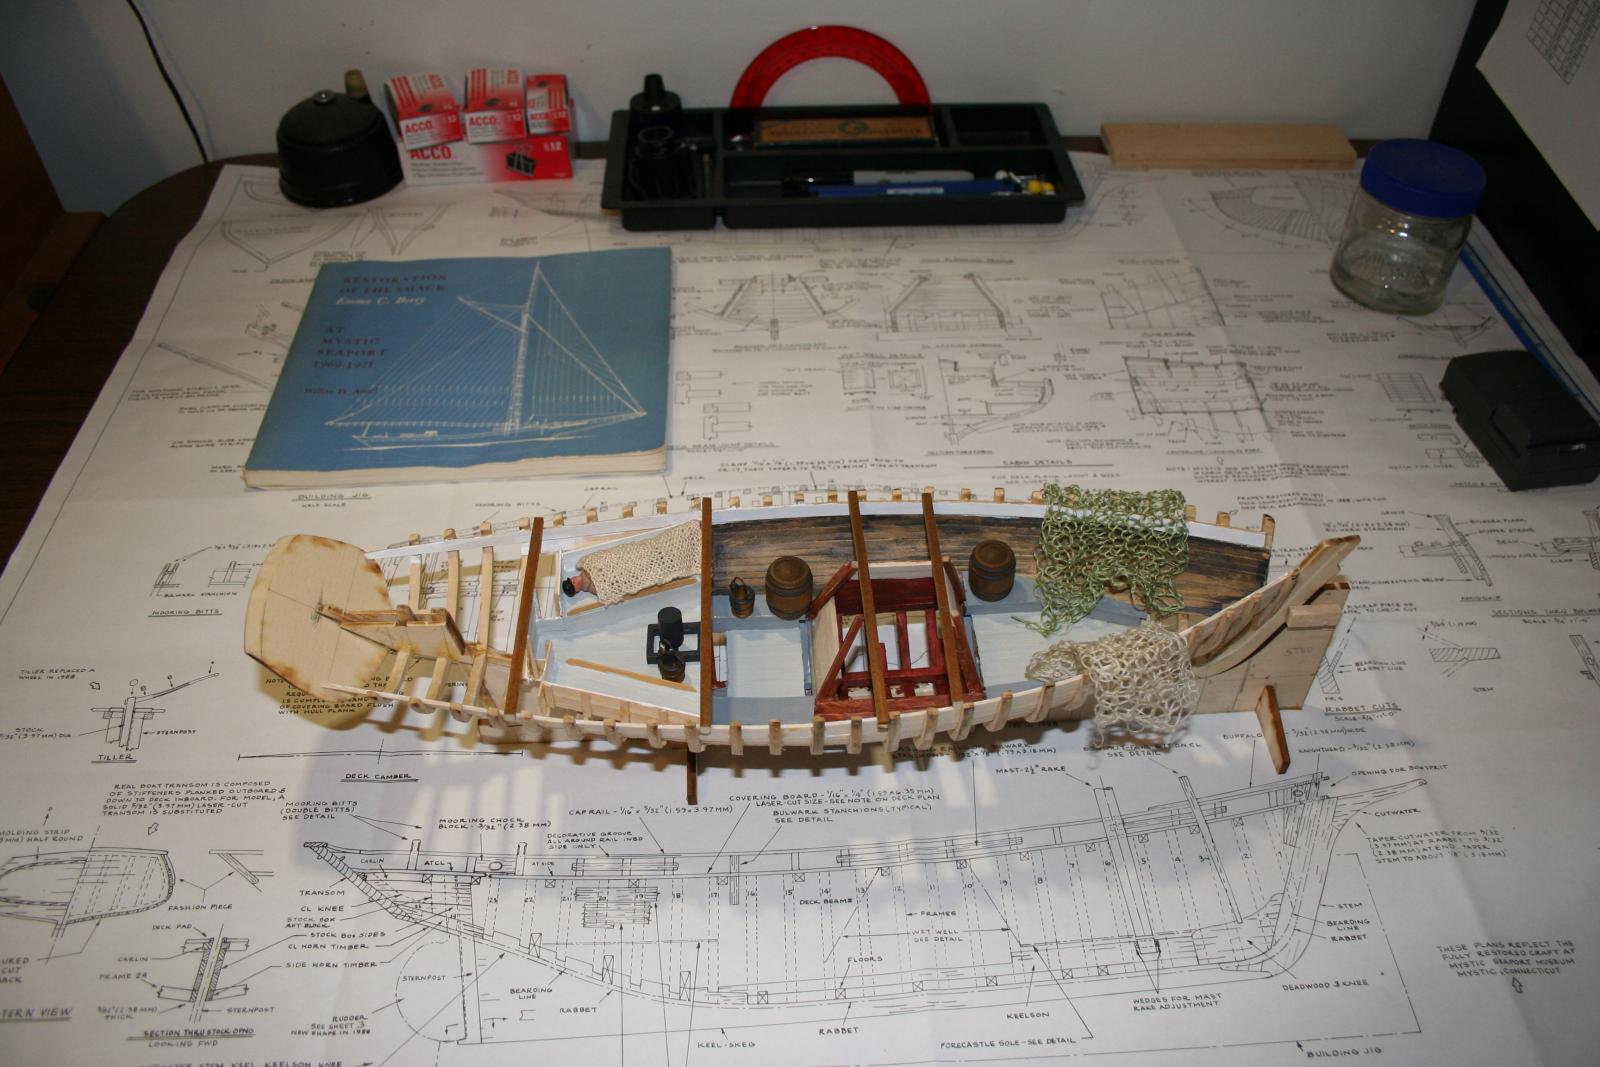
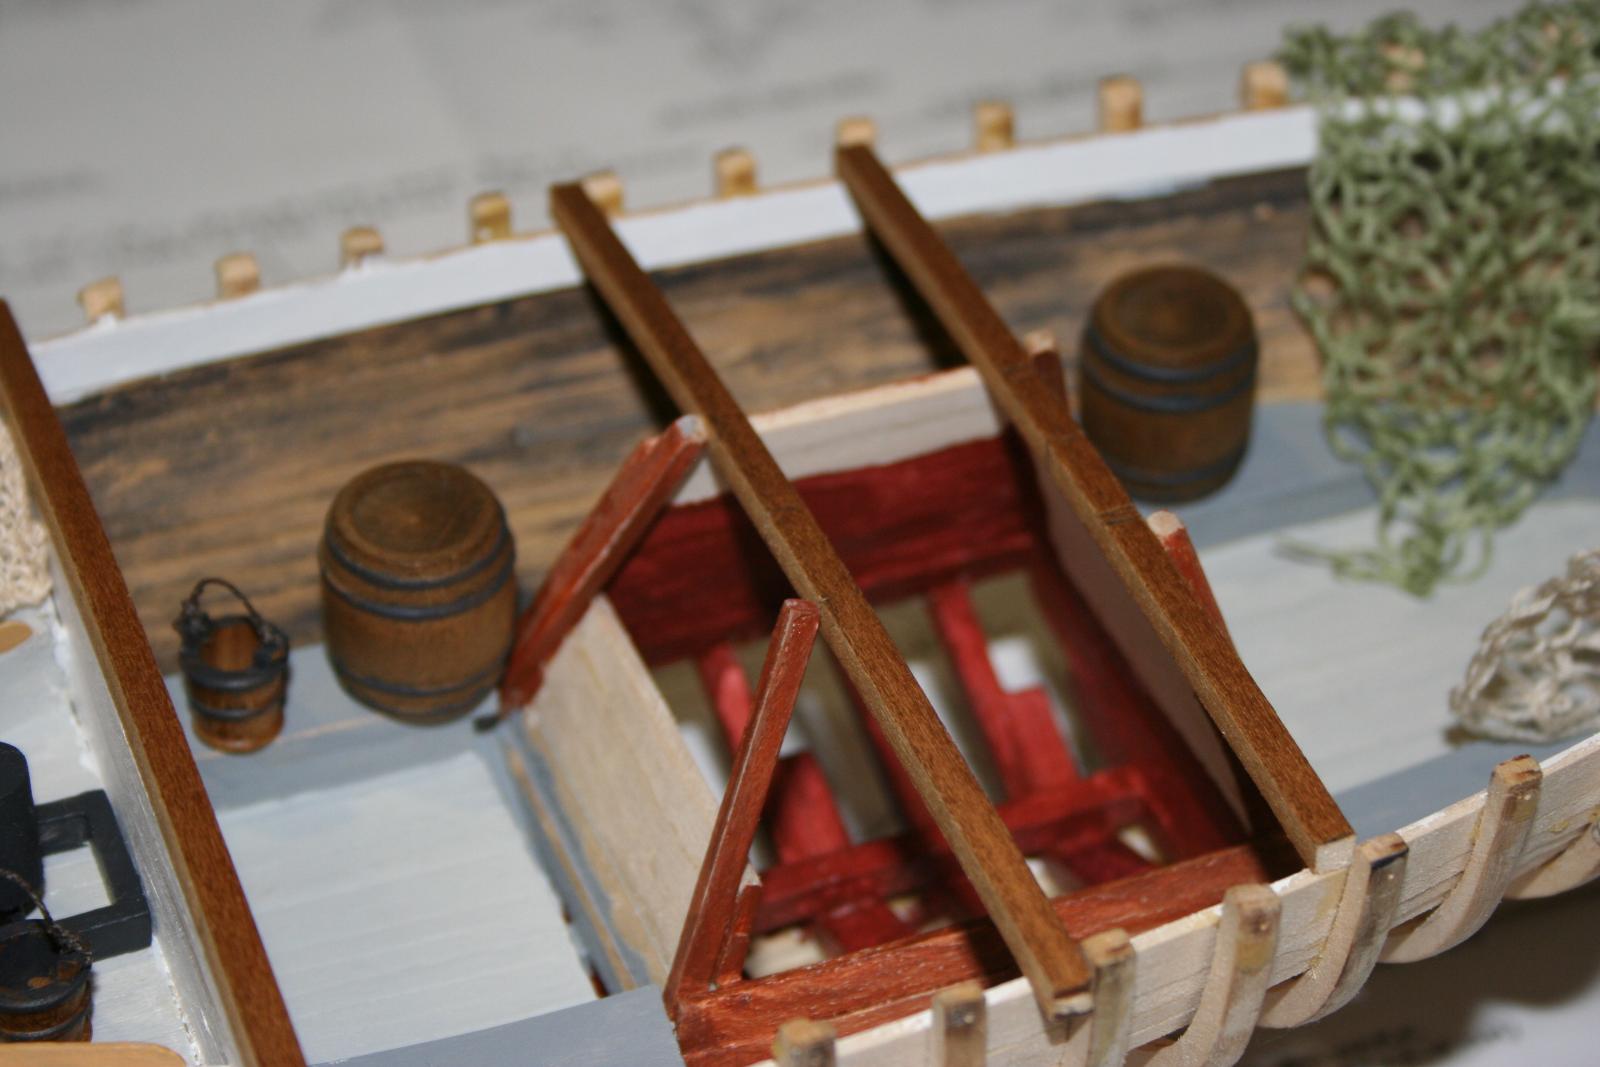
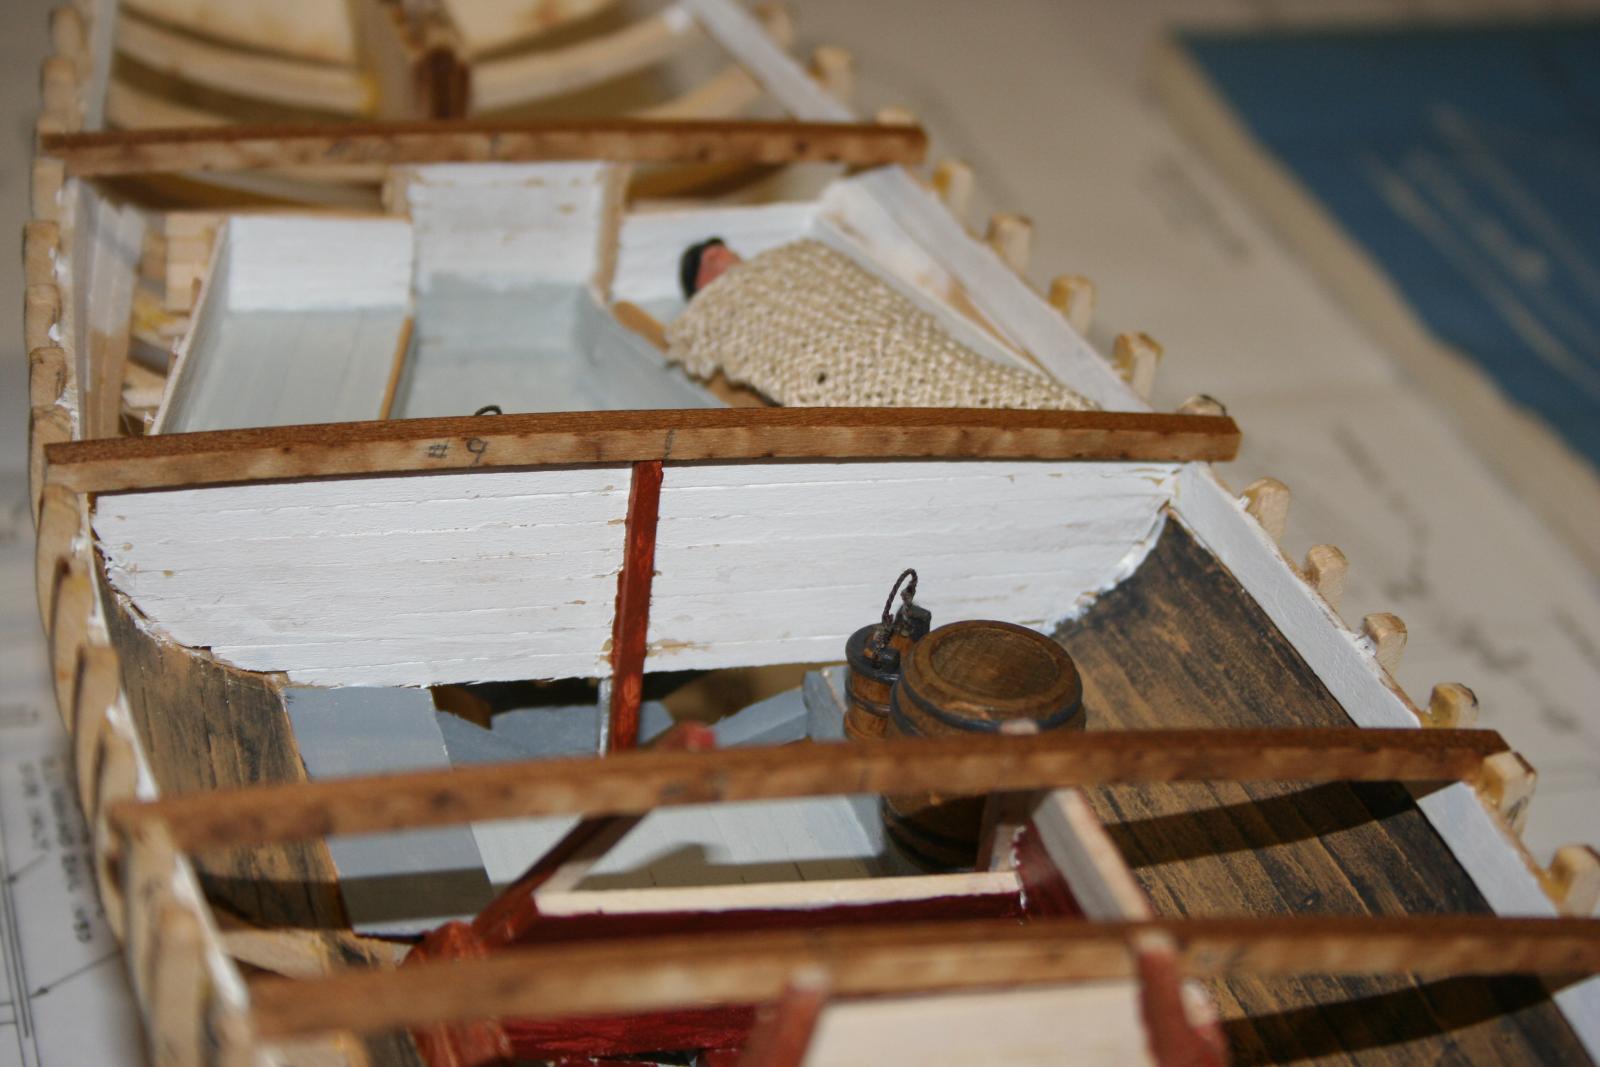
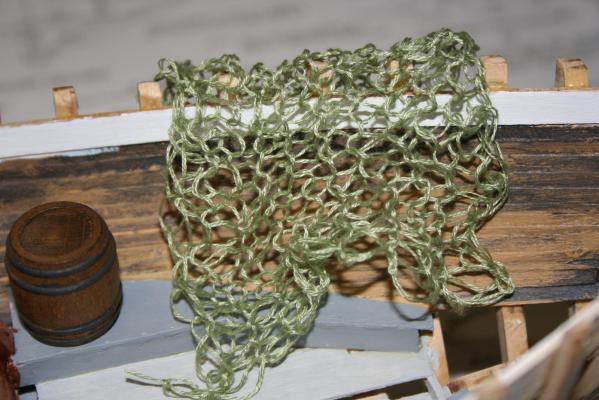
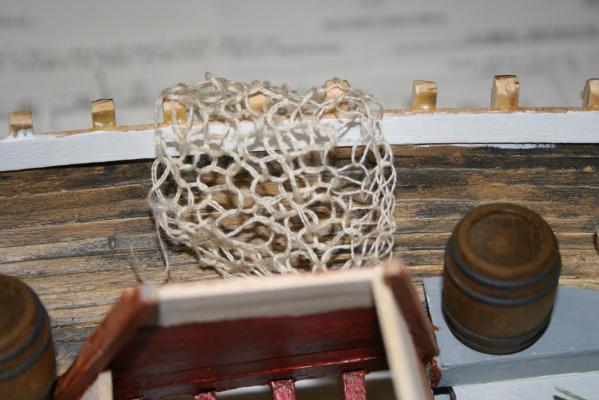
Good evening, one and all. Have been working on the ECB with some nice progress. First, a full overhead view of current status. What, you may ask, are those things hanging over the rails? Well, mister man, them be home built nets for the hold. Yep, the Admiral has been busily making fish nets for the ECB. But wait, there's more! We can't have the crew shivering on the cold cabin - so knitted using common pins as the knitting needles, we have a scale blanket for the crew. I am still working on the stove - using the Fatsco Tiny Tot Stove as a model, it is made of a dowel cut to scale (about 18 inches tall, 13 inches in diameter). The legs are just toothpicks. Will be adding some sand into the base and a cooktop before running the stovepie to the overhead. Have been working on color scheme - think I will go back to a grey for the outside of the wet well - the brown just doesn't feel right. I like the bottom red on the interior. Will leave it partially unpainted as a repair underway. I will be keeping this section unplanked. I will also be leaving off some deck planks - probably around the wet well and also at the cabin. Not quite sure yet. I also have finished the bulkhead between the cabin and the hold. The hold side will be painted in the same way as the hold so it looks a tad weathered and worn. The cabin side will be a dirty white - backs up to the coal stove, so it would tend to get a bit mucky. I still need to do some more painting and paneling for the cabin before I start installing the deck framing. The forward hold is nearly finished, just need to decide what is going to be in there and anchor it in place. Appreciate any suggestions or ideas on how to make it look better - still a long road to travel with this one and am enjoying the ride!


-
Walt - The fore and aft pieces (the bed logs) need to fit tightly to the hull planking to get the good seal. The bed logs along the port and starboard have grooves (forget the technical term) that allow them to fit over the frames and then down to the planking. On the real boat, there would be a great deal of caulking and so on to seal the fit.
-
Eamonn - Sorry, no stove in the kit with this one! I am working on an update that will show the intermediate stage result - may go back and tweak the design slightly, though. Steal away, my friend - you flatter me!
-
Those frames look wonderful! Now, did you go all out and add stopwaters etc? :rolleyes: I can understand fully the challenge on the framing jig - from what I understand, if that is out of alignment it will come back to bite you down the road - often painfully! Enjoy the build, Tony -
- 255 replies
-
- 1
-
-
- granado
- bomb ketch
- (and 2 more)
-
Nice shop! Your Gorch Fock is looking sweet!
-
Nice looking set of weaponry, Maestro. Happy Thanksgiving to you and the Admiral as well.
- 2,191 replies
-
- 2
-
-
- confederacy
- Model Shipways
- (and 1 more)
-
It is a sad situation - and so very many questions remain unanswered related to the financial management by the organization. Of course, it didn't help when the former Executive Director resigned, went to work for another Non-profit as the Executive Director, which coincidentally had been hired to manage the Amistad....second non-profit is now, also, undergoing a major shake-up (the afore mentioned Exec Director is no longer with the second non-profit either). Sigh...for all the gory details check out the series of articles in the New London Day newspaper dating back to 2012, and also in some of the Maine media related to the Harvey Gamage.
-
Looking good, Adriaan. Getting those fiddly curves to look right can be frustrating - appears you have it setting in the right way.
-
You really need some larger furniture, mate! She looks sweet there - that case is fantastic!
- 1,279 replies
-
- 2
-
-
- agamemnon
- caldercraft
- (and 1 more)
-
Fantastic results, Bob - and she looks mighty fine in the place of honor!
-
Swan Class Masts and Spars versus Mermaid Class
trippwj replied to SaturnV's topic in Masting, rigging and sails
One other resource you may want to check is the thesis by Peter Flynn - H.M.S. Pallas: historical reconstruction of an 18th-century Royal Navy frigate (2006) at Texas A&M - https://repository.tamu.edu/handle/1969.1/3765 While the Pallas was of a slightly earlier class (1757 - Venus class, 36 gun 5th rate) than the Triton (1773 - Mermaid class, 28 gun 6th rate) , the dimensions are fairly close, and there is quite a bit of detail in his thesis, which may be a bit more relevant than the 16 gun Swan class data. Dimensions listed for Pallas (1757) then for Triton (1773) Length: (gundeck) 128 ft 4 in (39.12 m) 124 ft 1 in (37.82 m) (keel) 106 ft 4 in (32.41 m) 103 ft 4.625 in (31.51188 m) Beam: 35 ft 10.75 in (10.94 m) 33 ft 7 in (10.24 m) Tonnage: 728 73/94 (bm) 620 21/94 (bm) Hope this helps a little! -
Swan Class Masts and Spars versus Mermaid Class
trippwj replied to SaturnV's topic in Masting, rigging and sails
Of course, there were frigates with the name Triton built in the 1769 Mermaid class (Triton launched in 1773), as well as a 24 gun sixth rate launched in 1745, and a later fifth rate launched in 1796. You may want to take a look at the thread here for some more details http://modelshipworld.com/index.php/topic/1270-hms-triton-history-background-request/ As far as the mast construction, it may well vary quite a bit. I am not familiar enough with the differences between the sloop (Swan class) and sixth rate (Mermaid class) but the length difference (about a 30 foot difference for the gundeck length, and almost 24 feet on keel), along with the beam (about a 6' 8" difference), the Mermaid class would have a larger rigging, which may result in the need for a made mast as opposed to a stick mast. -
Beautiful, Sjors, just beautiful! Your current fleet is impressive - once you add the Aggie into that fleet, one would almost think you could dominate your local canals! It does leave me wondering, though, that since you have this apparent tendency to continue to grow the ships (appears the Aggie will dwarf the Fonz), what could you possibly have waiting in the wings?
- 1,873 replies
-
- 3
-
-
- occre
- san ildefonso
- (and 1 more)