


rafine
-
Posts
2,932 -
Joined
-
Last visited
Content Type
Profiles
Forums
Gallery
Events
Posts posted by rafine
-
-
Thanks Thomas, Nils and wq3296.
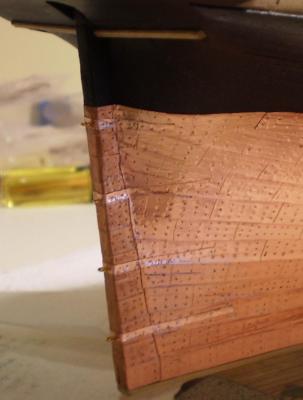
Nils, the copper is tape embossed by a block with cut off nails.
Bob
-
-
-
All in all Nils, this is a spectacular achievement. Very impressive.
Bob
-
-
Thanks so much Frolick for the very kind words. They are much appreciated.
Bob
-
I'm usually not a fan of sails Nils, but yours look fantastic.
Bob
-
Thanks for the info Wayne.
Thanks B.E. and Alistair. The laniard passes through the hull and is tied off internally (I didn't). It is shown by Sam and by AOTS. Syren has similar laniards which pass over the bulwarks, rather than through them.
The photos seem to magnify the separation B.E, but I will give some thought to what you say.
Bob
-
-
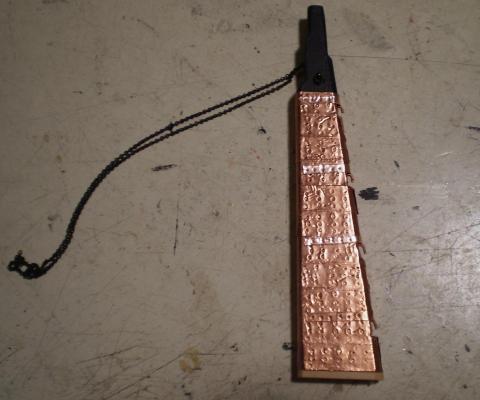
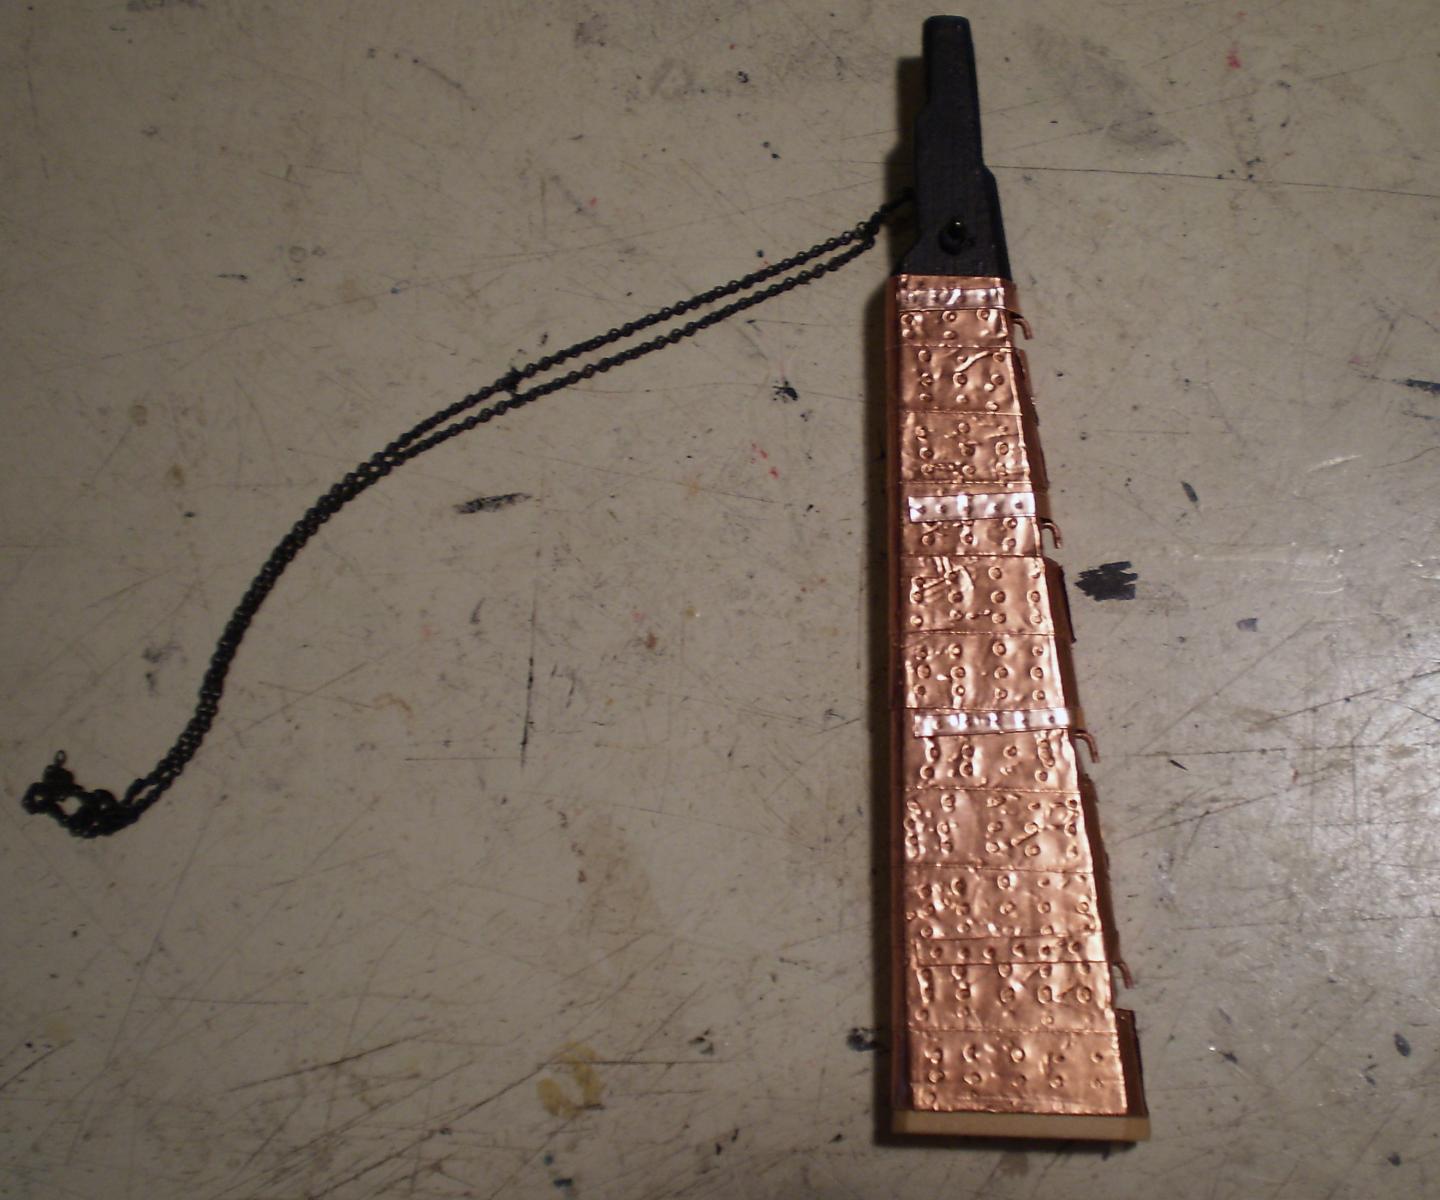
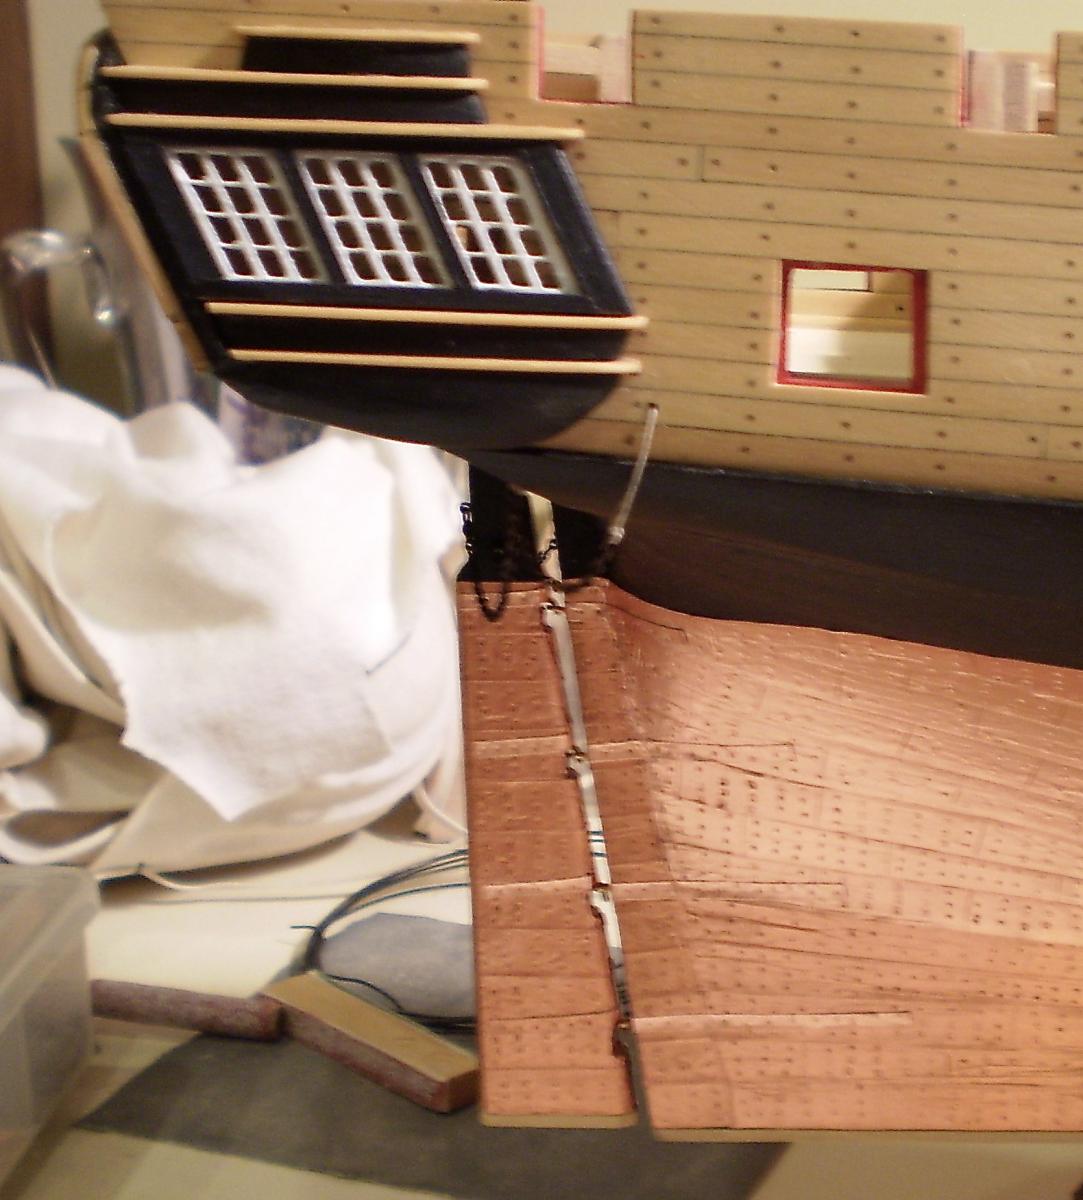
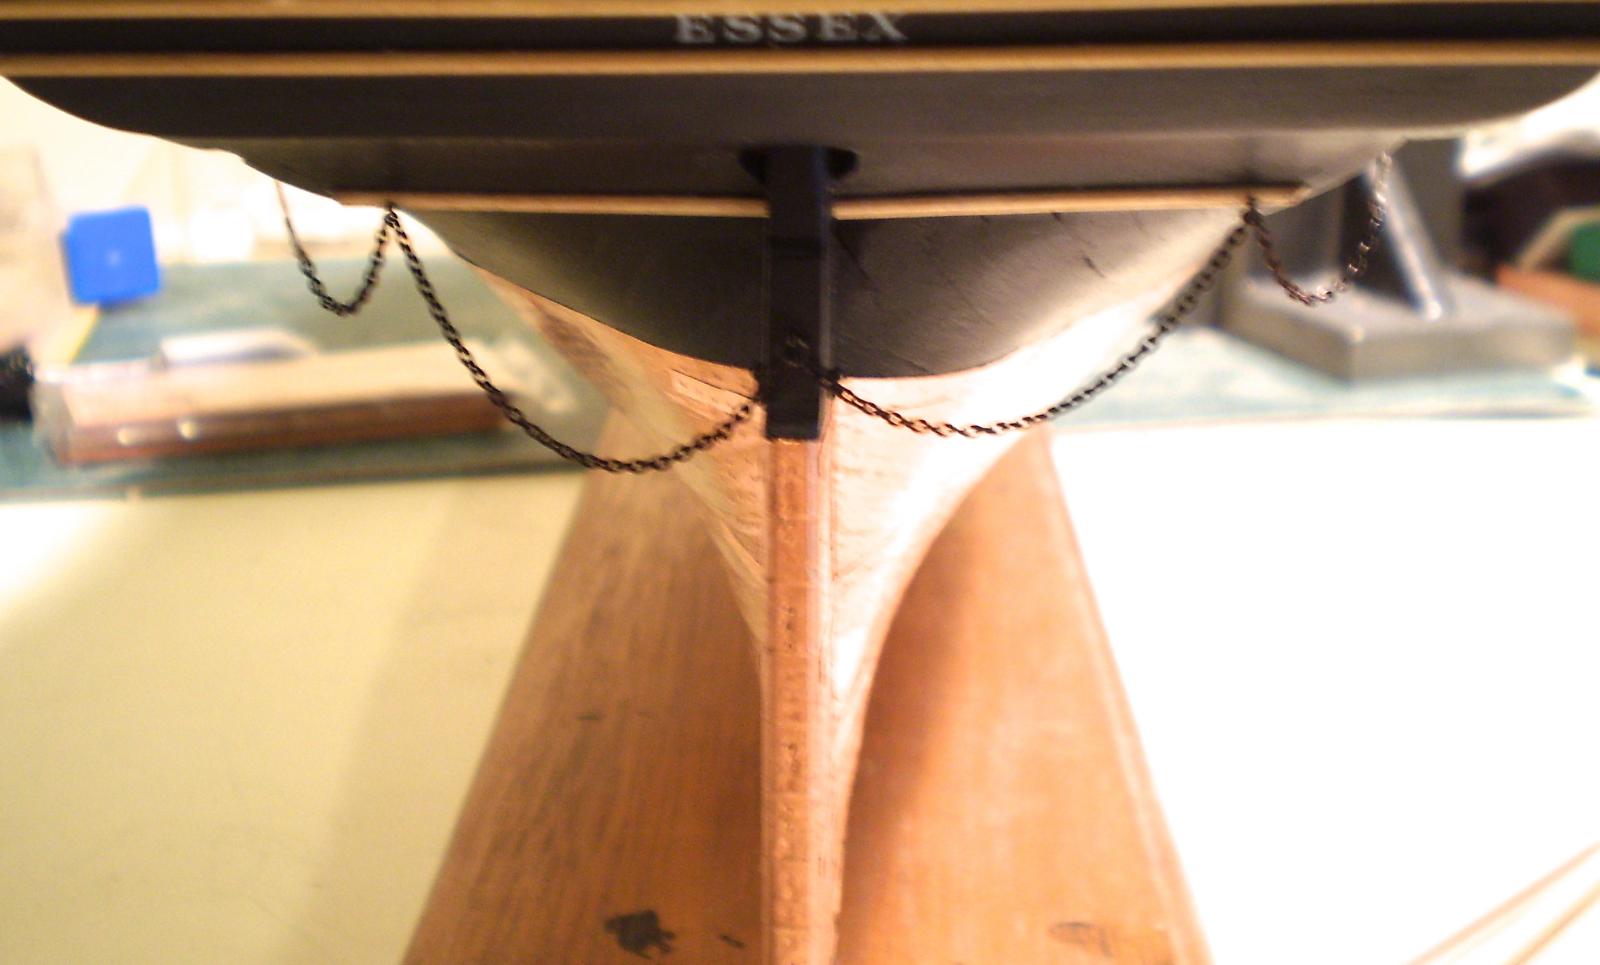
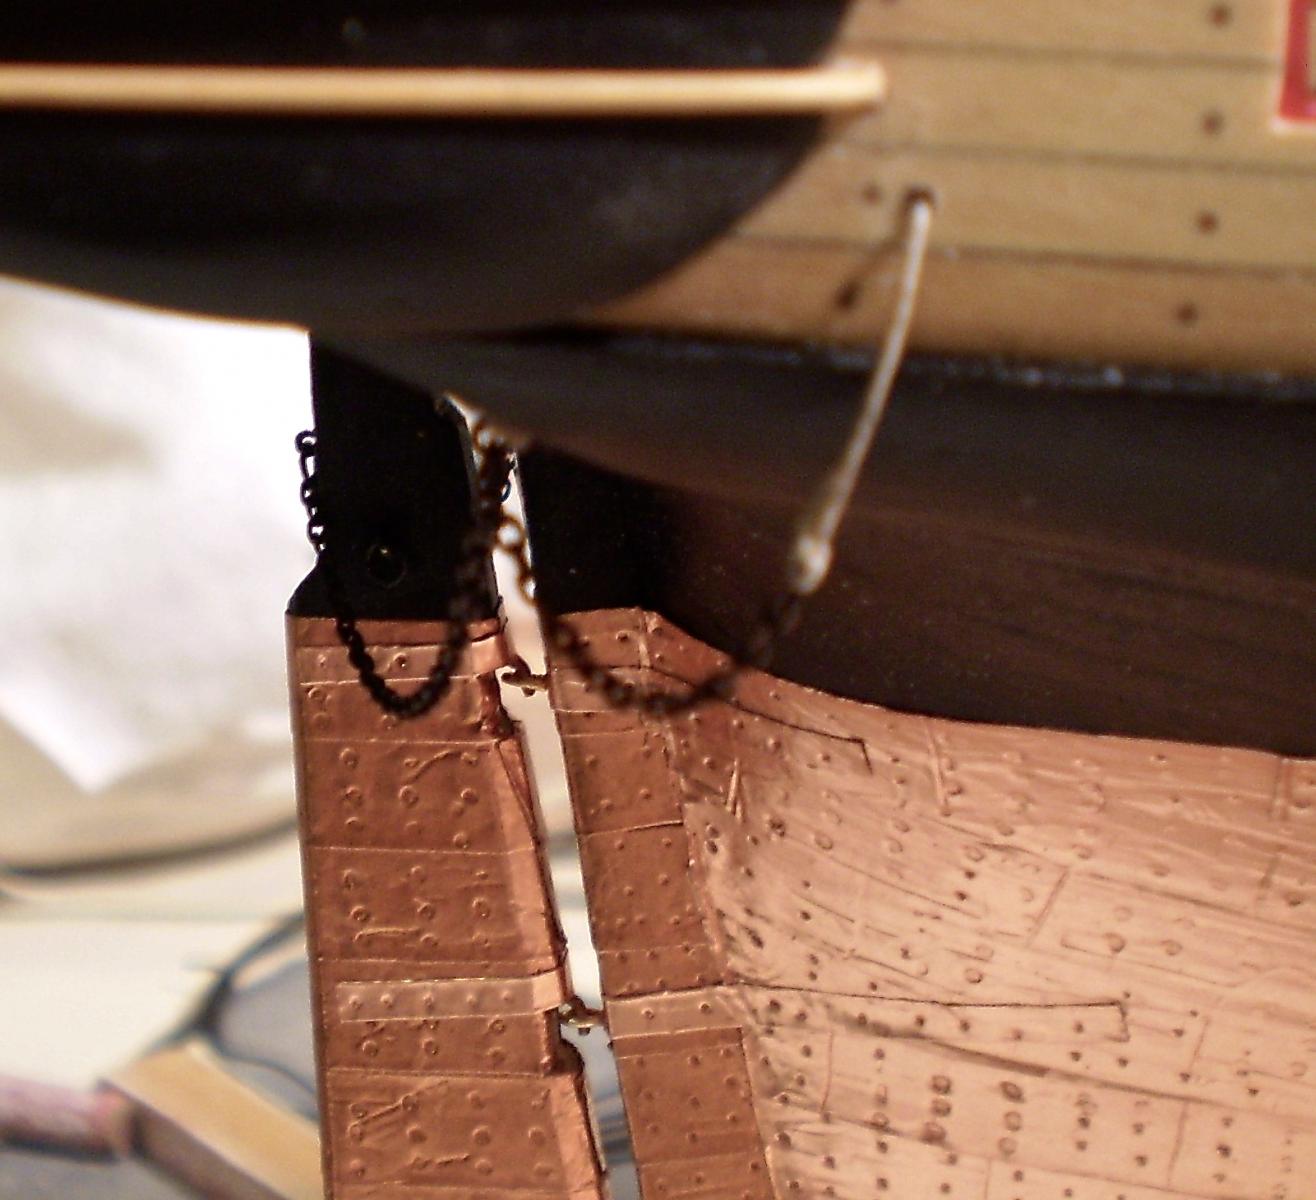
For no particular reason, I decided to do the rudder next. I used the kit rudder piece, which was shaped, painted and coppered. I added three ringbolts ( which don't show up on my photos at all). The pintles and gudgeons are simplified as a concession to scale and done with copper tape, eyebolts and wire. The chains are attached to one of the ringbolts. I used a smaller chain than that provided in the kit, which I had on hand.
Bob


-
-
Really nice Patrick. We all know the mixed feelings of finishing, but it's time to get her done.
Bob
-
Your work is simply spectacular Nils. The level of detail is wonderful.
Bob
-
-
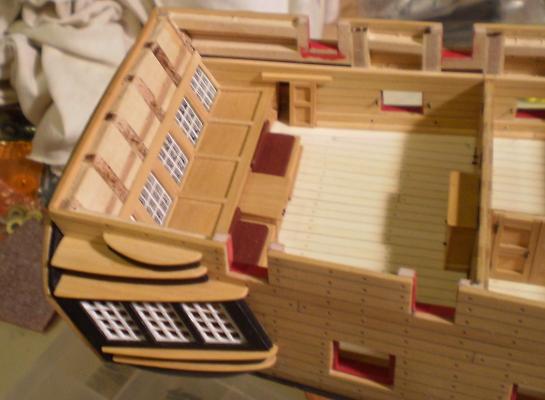
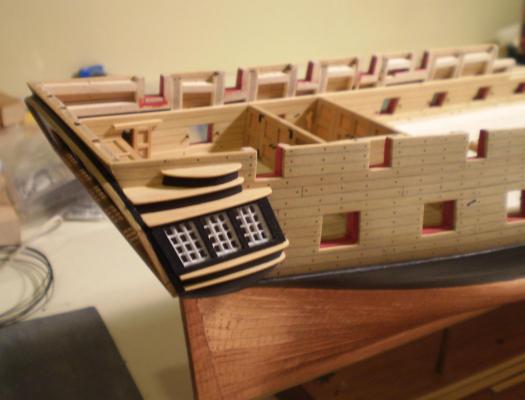
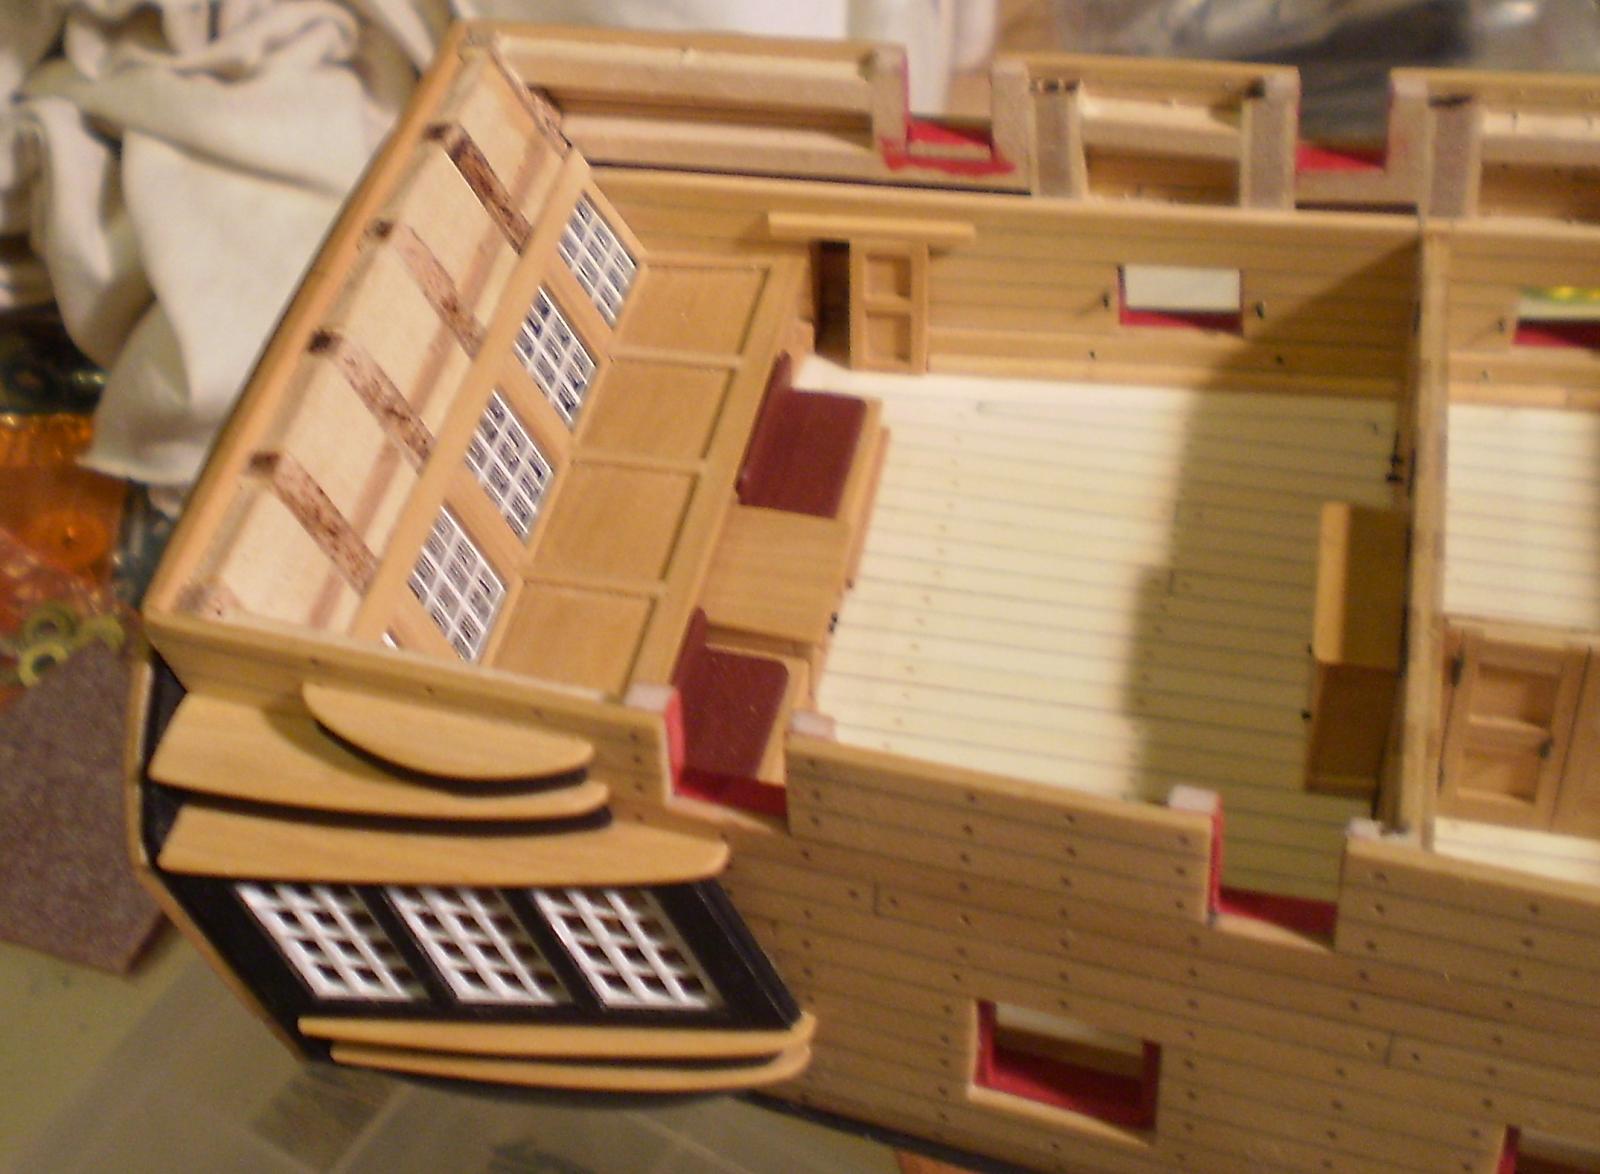
Thanks Ken. The cabin planks stay as is. I'm planning on leaving at least half the deck over the cabin open so there should be some view of it.
Thanks Sjors. I've tried to see both sides at once,but it doesn't work so well. I only know there are differences because some of the parts aren't exactly identical from one side to the other.
Bob
-
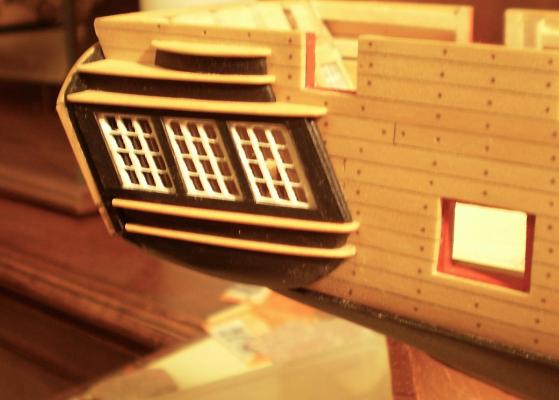
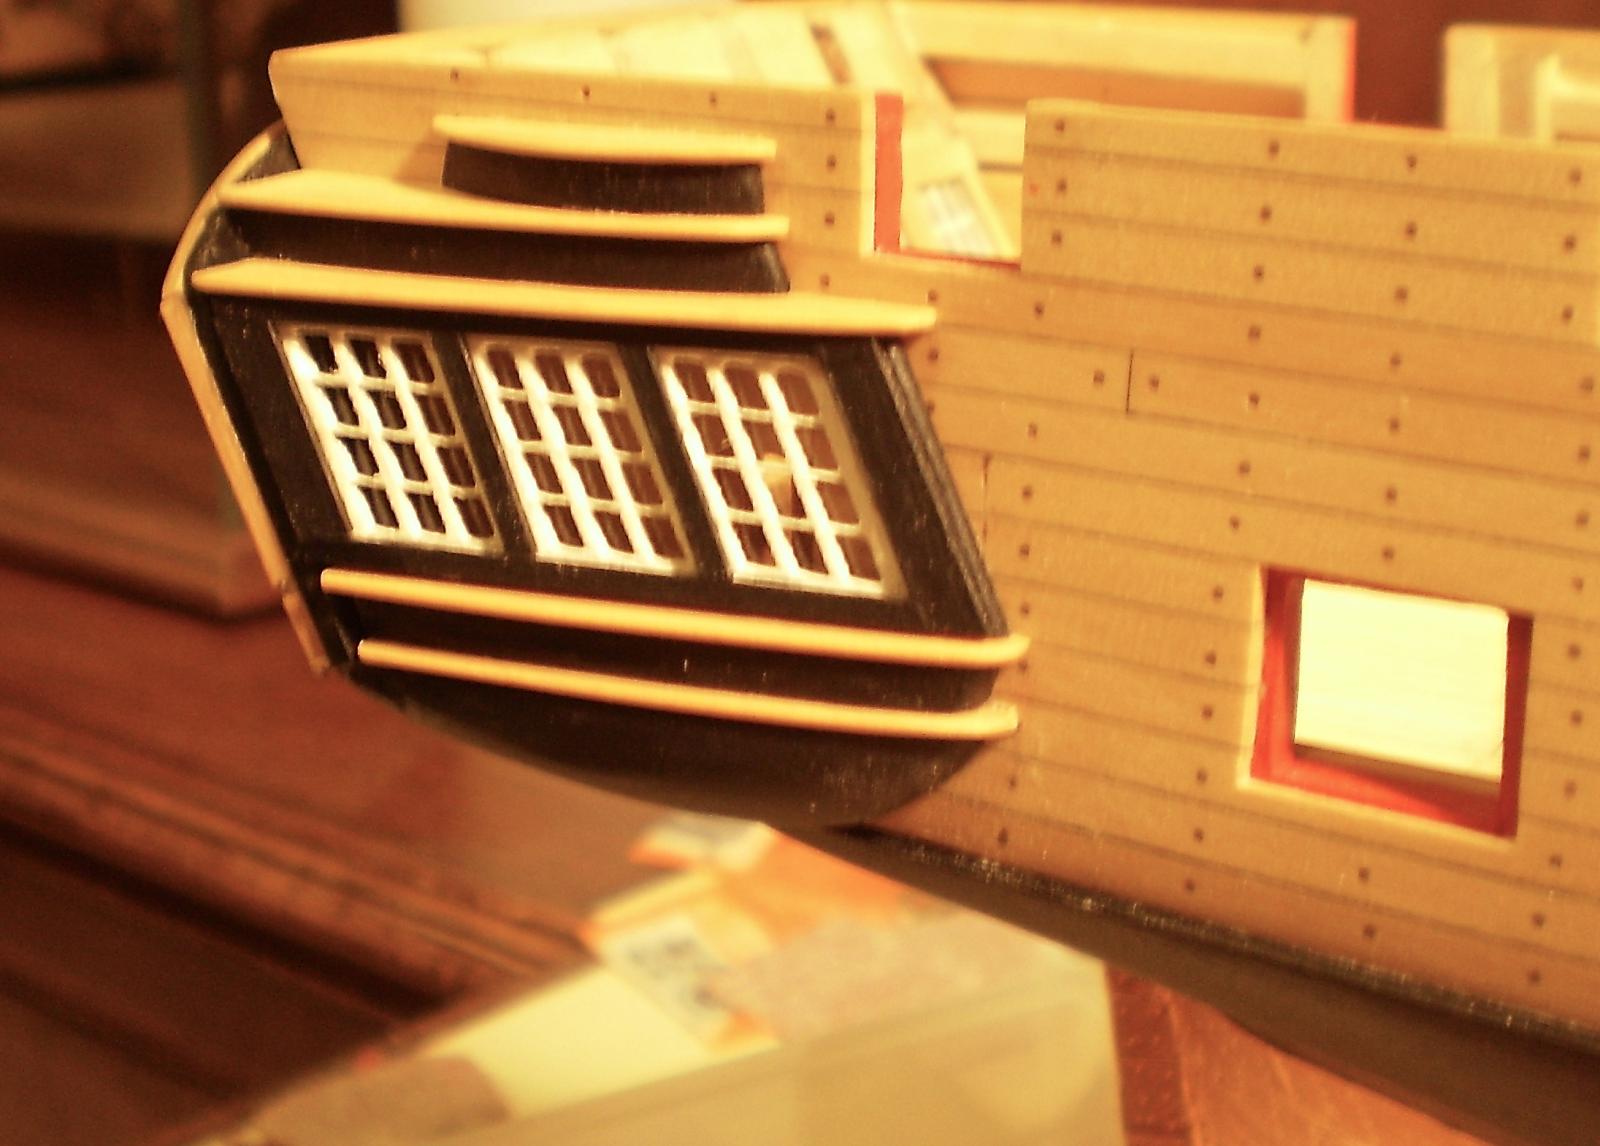
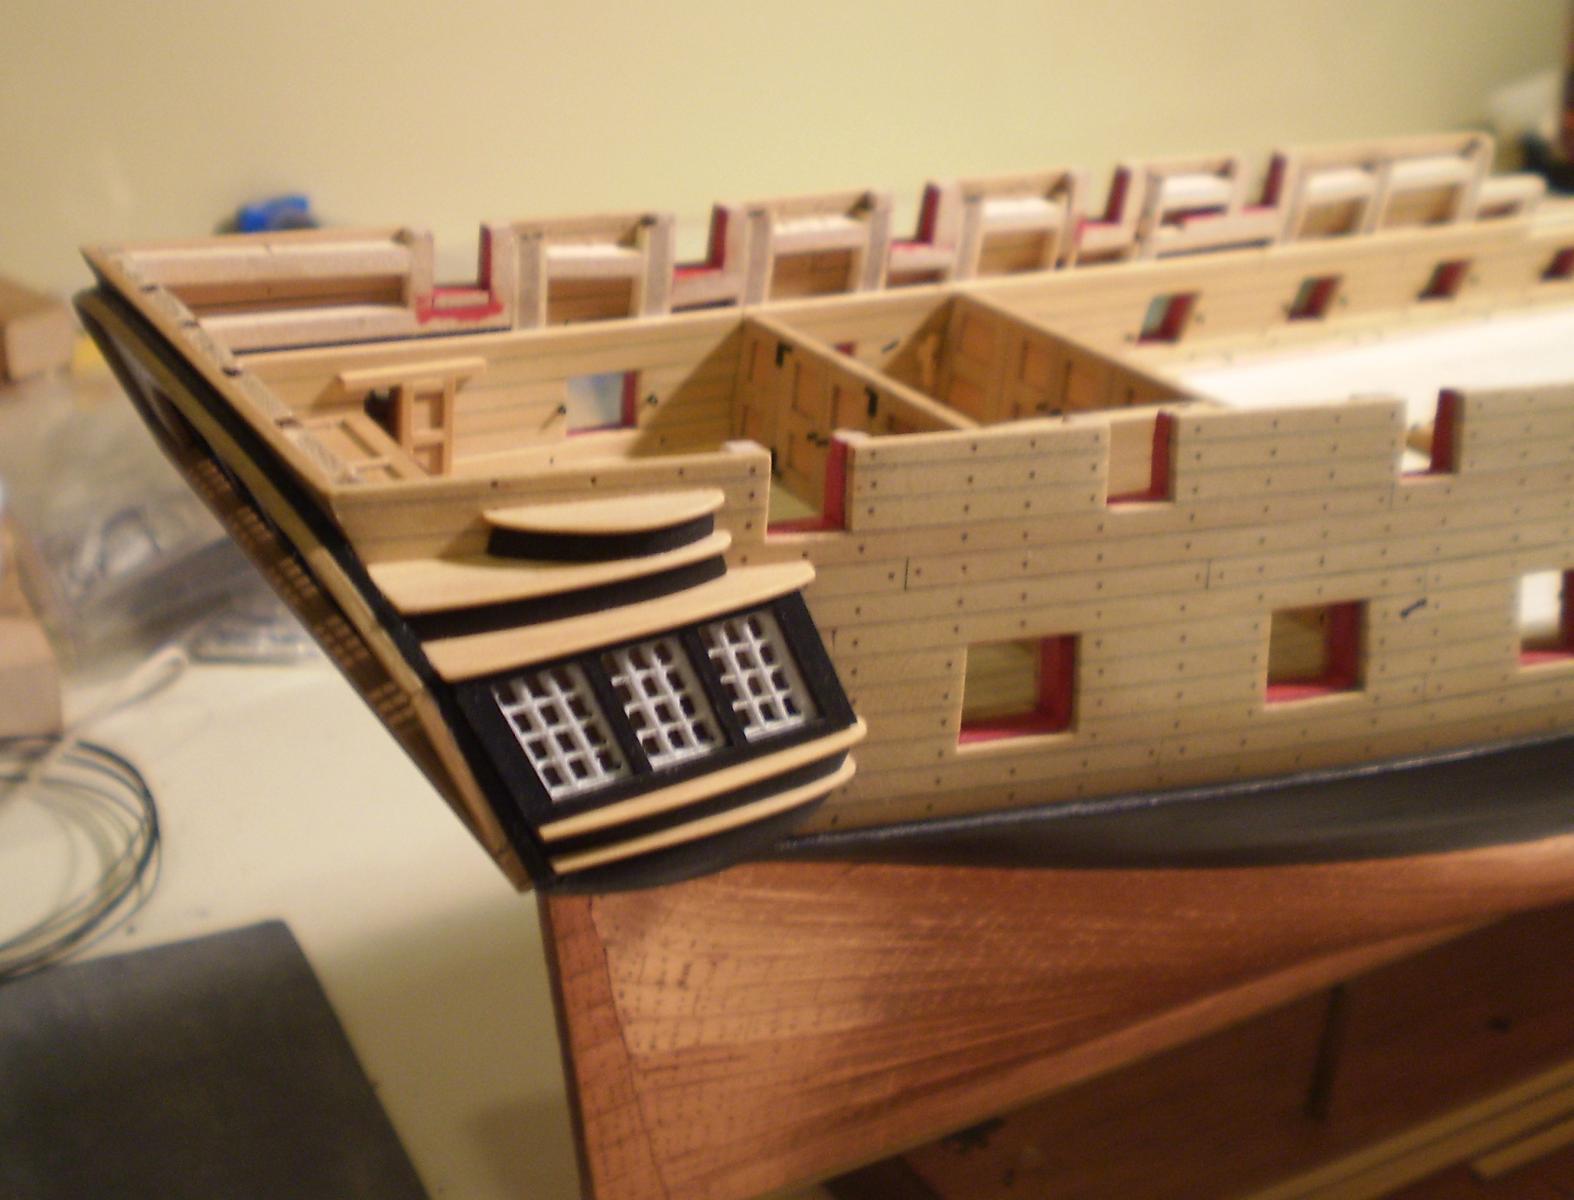
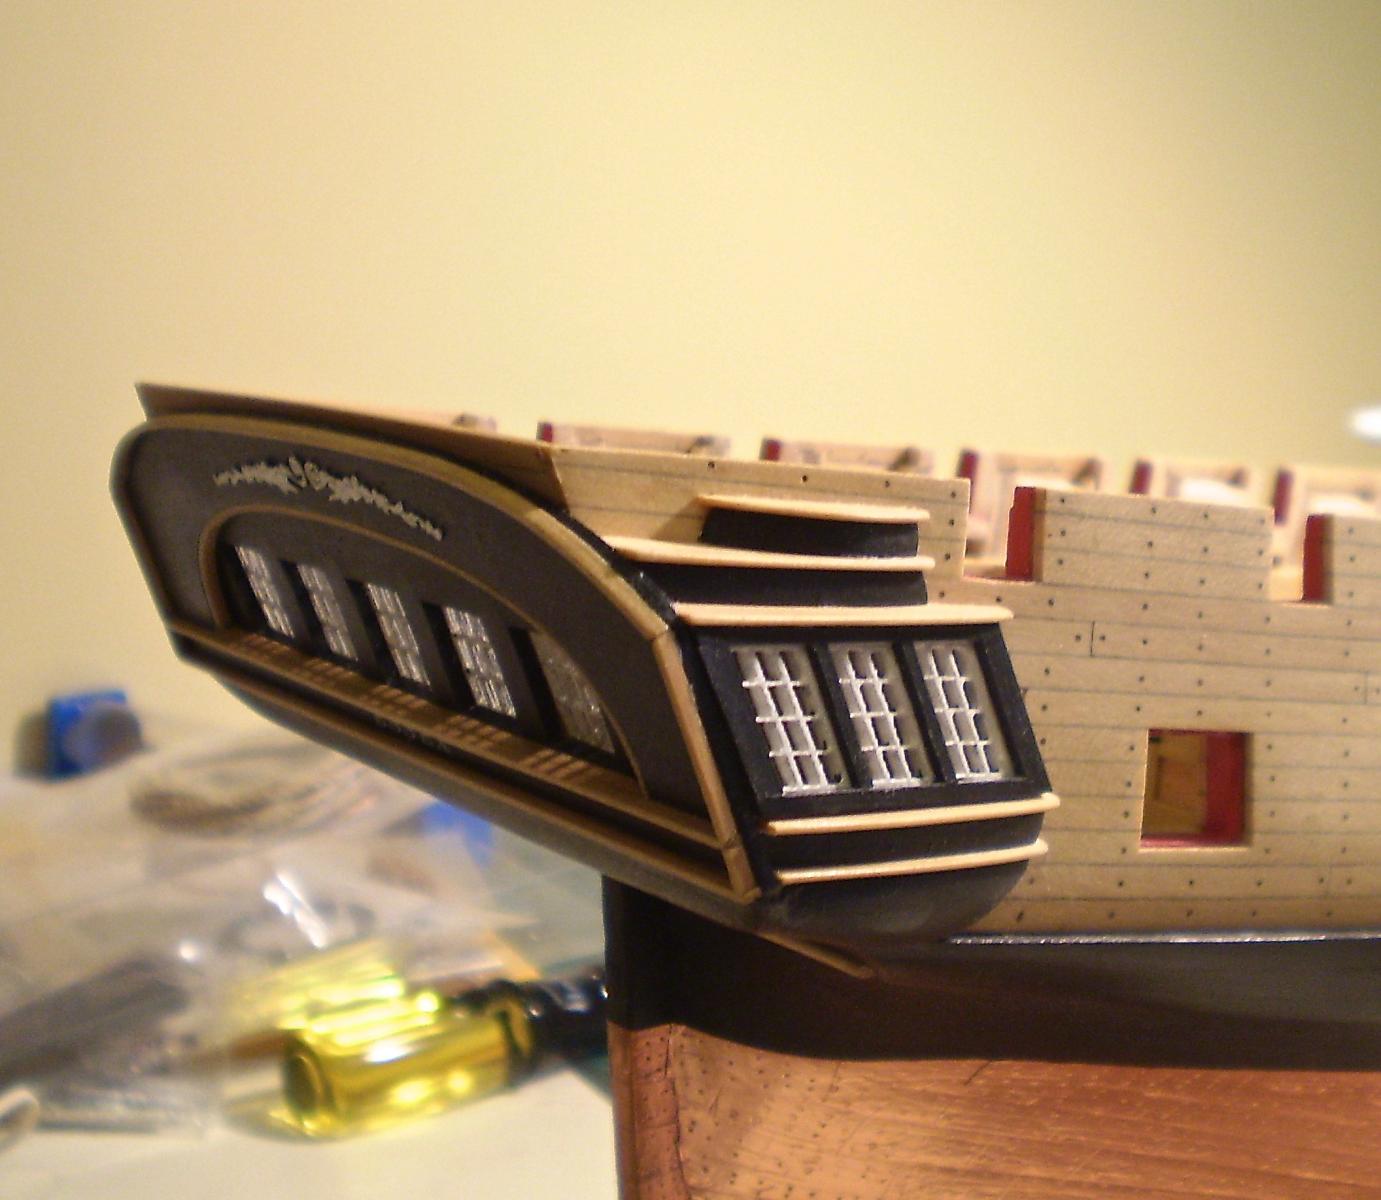
The starboard gallery is now done. While not exactly the same as the port side, I think it's pretty close. Prior to attaching the port side pieces, I had used them as templates to lay out the corresponding starboard pieces. Because of the almost inevitable small differences in hull shape etc., the parts still required fitting, but all went relatively smoothly. Even the lower finishing, which was still the trickiest part, was a lot easier the second time around.
I'm still debating with myself over what to do next.
Bob

- Remcohe, realworkingsailor, Gahm and 21 others
-
 24
24
-
-
You should be pleased Gary. Well done.
Bob
-
Wonderful work on those masts and yards Nils.
Bob
-
-
Really nicely done planking Gary.
Bob
-
That's just sick Remco. Actually, I'm sick with envy.
Bob
-
Looking at that mortar, I can only conclude that you've been secretly practicing on that lathe for weeks. Beautiful work.
Bob
-
Thanks so much to all of you for the very generous comments and the "likes". I hope that your confidence is well placed. We will soon see.
Bob

Frigate Essex by Rafine - FINISHED - Model Shipways - Kitbashed
in - Kit build logs for subjects built from 1751 - 1800
Posted
Time to start making guns. After searching around for barrels to replace the kit castings, I could find none that closely matched the sizes needed. As a result, I had two choices: use the castings or make my own. In this case, I chose to try to use the castings. After a lot of filing, drilling out the bore and adding the rings for the breeching rope to the button, the barrels looked acceptable to my eye. They were then painted black.
Next came the question of the carriages. This time, I decided not to use the kit parts, but to use the laser cut pear carriage kits from the Lumberyard. Here again, because of the odd scale of the kit (1:76.8), finding a size match was a bit of trial and error. I ended up using their 1:64 6 lb carriages. These still required some modification to allow the barrels to fit. After assembly and finish with Wipe-on Poly, I added the eyebolts, ringbolts and the quoin handles (these were done with the smallest brass belaying pins that I had on hand). The bolt heads on the carriages were done with a fine tip marker. The barrels were then glued in place and the cap squares added using black painted tape ( another concession to the very small size of these pieces).
I'm going to rig these guns with blocks and rigging line from Chuck. Sizes are again the issue and I'm now awaiting my second order from Chuck to pick what I want to use.
Bob