


rafine
-
Posts
2,932 -
Joined
-
Last visited
Content Type
Profiles
Forums
Gallery
Events
Posts posted by rafine
-
-
Thanks so much to all for the kind comments and the "likes". The interest and encouragement are always appreciated.
Wayne, I've looked at AOTS and used it to help with the stove, but I still don't really understand the meaning of "bearers" in TFEP or how the metal base plate for the stove was mounted in a metal basin. Any thoughts?
Bob
-
Thanks Patrick. The cannon are 12 lbrs. The scale is 1:76.8. I wish it were 1:64.
Thanks Nils for the interest and nice words.
Thanks Tim. Thankfully, the kit issues are largely behind me, since I'm scratch building almost everything now. I will be doing a full masting and rigging.
Bob
-
Sam, What did that pan look like, and how was the stove mounted in it? Your prototype is mounted only on a plate, but your drawings show something that looks like wooden beams below the plate. Do you have, or could you draw, a picture of what it should look like?
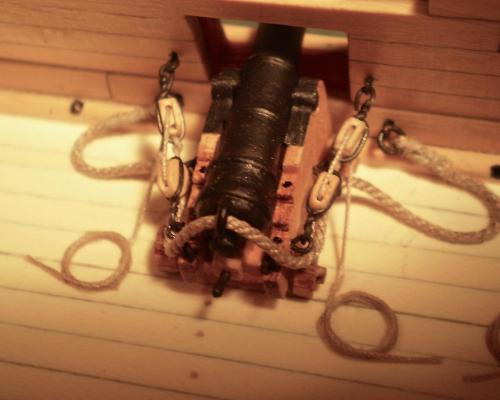
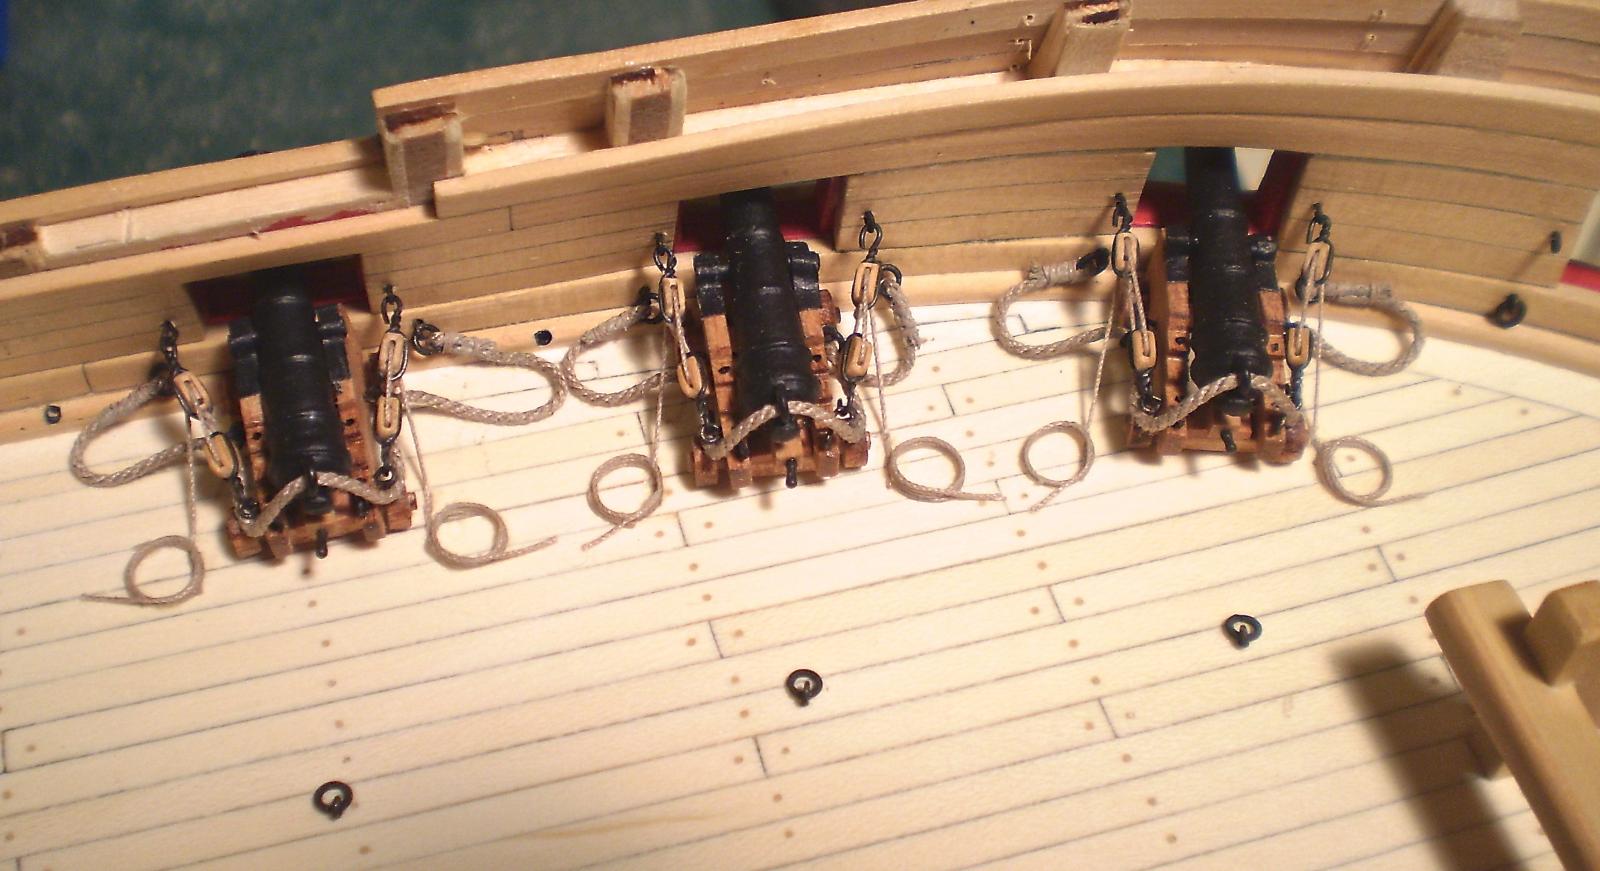
While thinking about the stove mounting, I installed and rigged the first six guns. For this I used blocks and rope from Chuck. I can say without hesitation that I am a satisfied customer. I've used Morope in the past, but I like Chuck's stuff a whole lot better and intend to do all of the rigging on Essex with it. After ordering a variety of sizes, I settled on the 1/8" blocks, the .035" line for the breeching rope and the .008" line for the tackles.
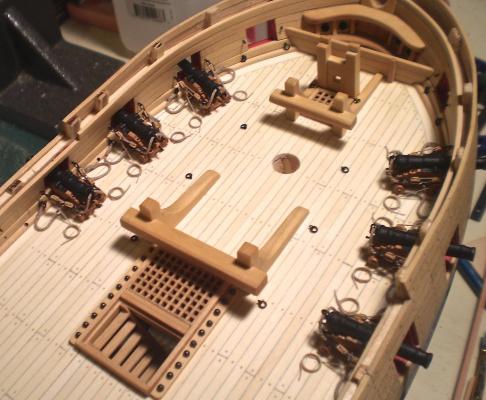
I also made and mounted the main cable bitts. These were done in boxwood and are merely a larger version of the fore riding bitts, previously done. I also added the first ringbolts to the deck.
Since I am waiting to receive more carriage kits from the Lumberyard, I will probably do some more work in the bow area, rather than moving back along the gun deck for now.
Bob


- dafi, Barbossa, freewheelinguy and 15 others
-
 18
18
-
Congratulations Patrick on a really wonderful build. It's been a pleasure following along and I look forward to your Connie.
Bob
-
Thanks Remco. If bricks were to be used, I couldn't resist your challenge to do them individually. Fortunately, it seems that bricks were not used.

Bob
-
Thanks Nigel. I look forward to how you will do it on Mordaunt when you get there.
Thanks Scott for the nice words.
Frolick, I'm confused by your comments on the jeer capstan etc. The item under discussion is the method of mounting the stove to the deck. Any thoughts on that?
Bob
-
Thanks guys for the nice words and "likes".
Thanks for the info Wayne. That description helps to make sense of drawings I've seen. I assume that the "Bearers" are wooden beams.
Mark, It would be ready if I could do the pots and pans like Remco, but at this size I'm not sure that I could see them, no less make them.
Bob
-
Thanks so much Patrick, Dirk, Terry and the "likes".
I have a question that I hope someone can help with. Would the stove have been mounted on a brick base or on a metal base or some combination of them?
Terry, it's hard for me to answer your question. I have no idea what will happen with the kit at the ME end. If the necessary corrections actually get made, you would probably be better off waiting. On the other hand, if that's not going to happen, or if you're willing to endure the frustrations and problems caused by incorrect parts and plans, go ahead and give it a go. There were times that it wasn't much fun. Although I'm glad now that I worked through it, there were a lot of times when I thought of trashing the whole thing.
Bob
-
Thanks Hamilton for your continuing interest.
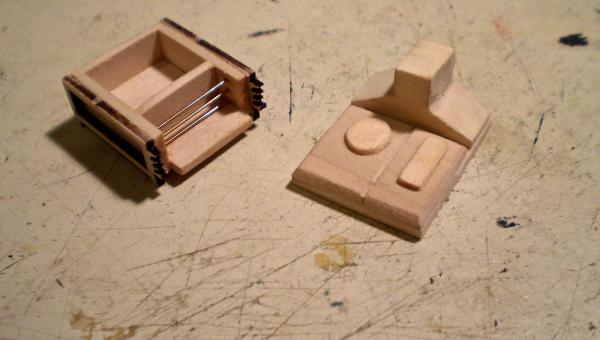
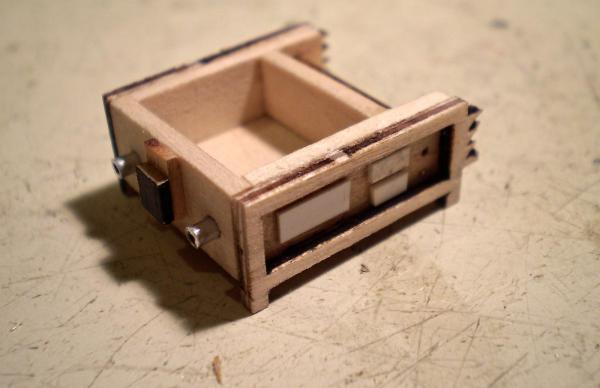
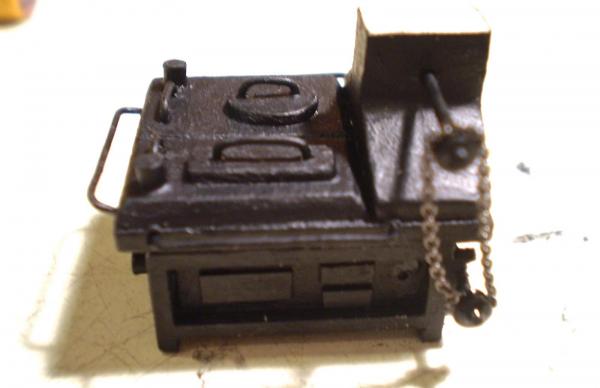
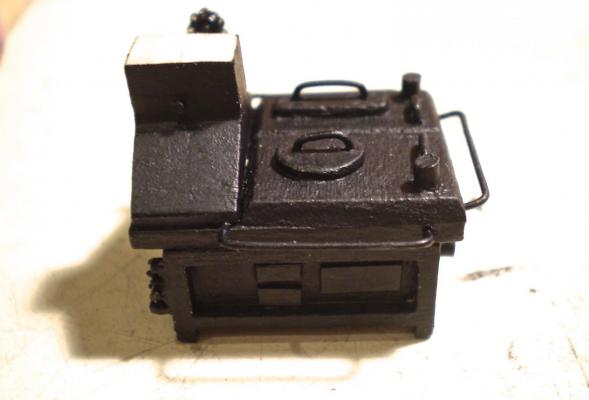
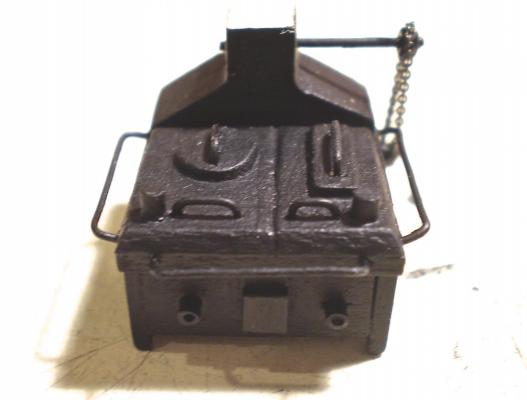
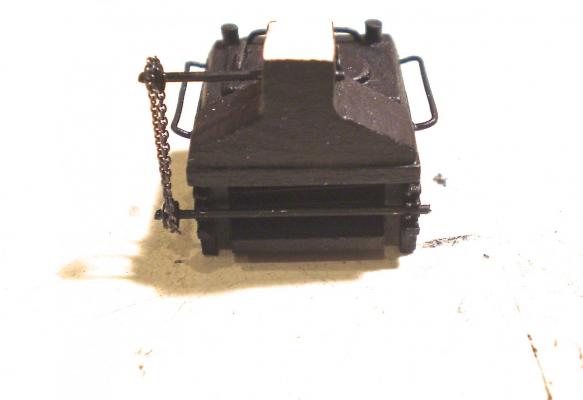
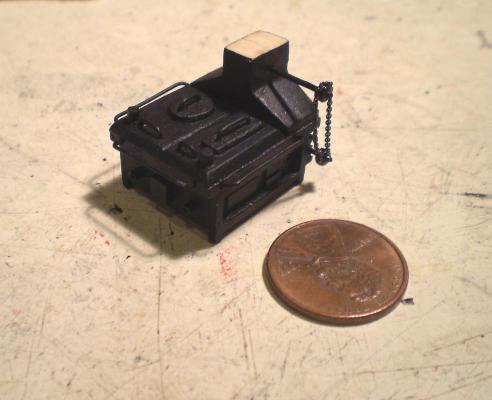
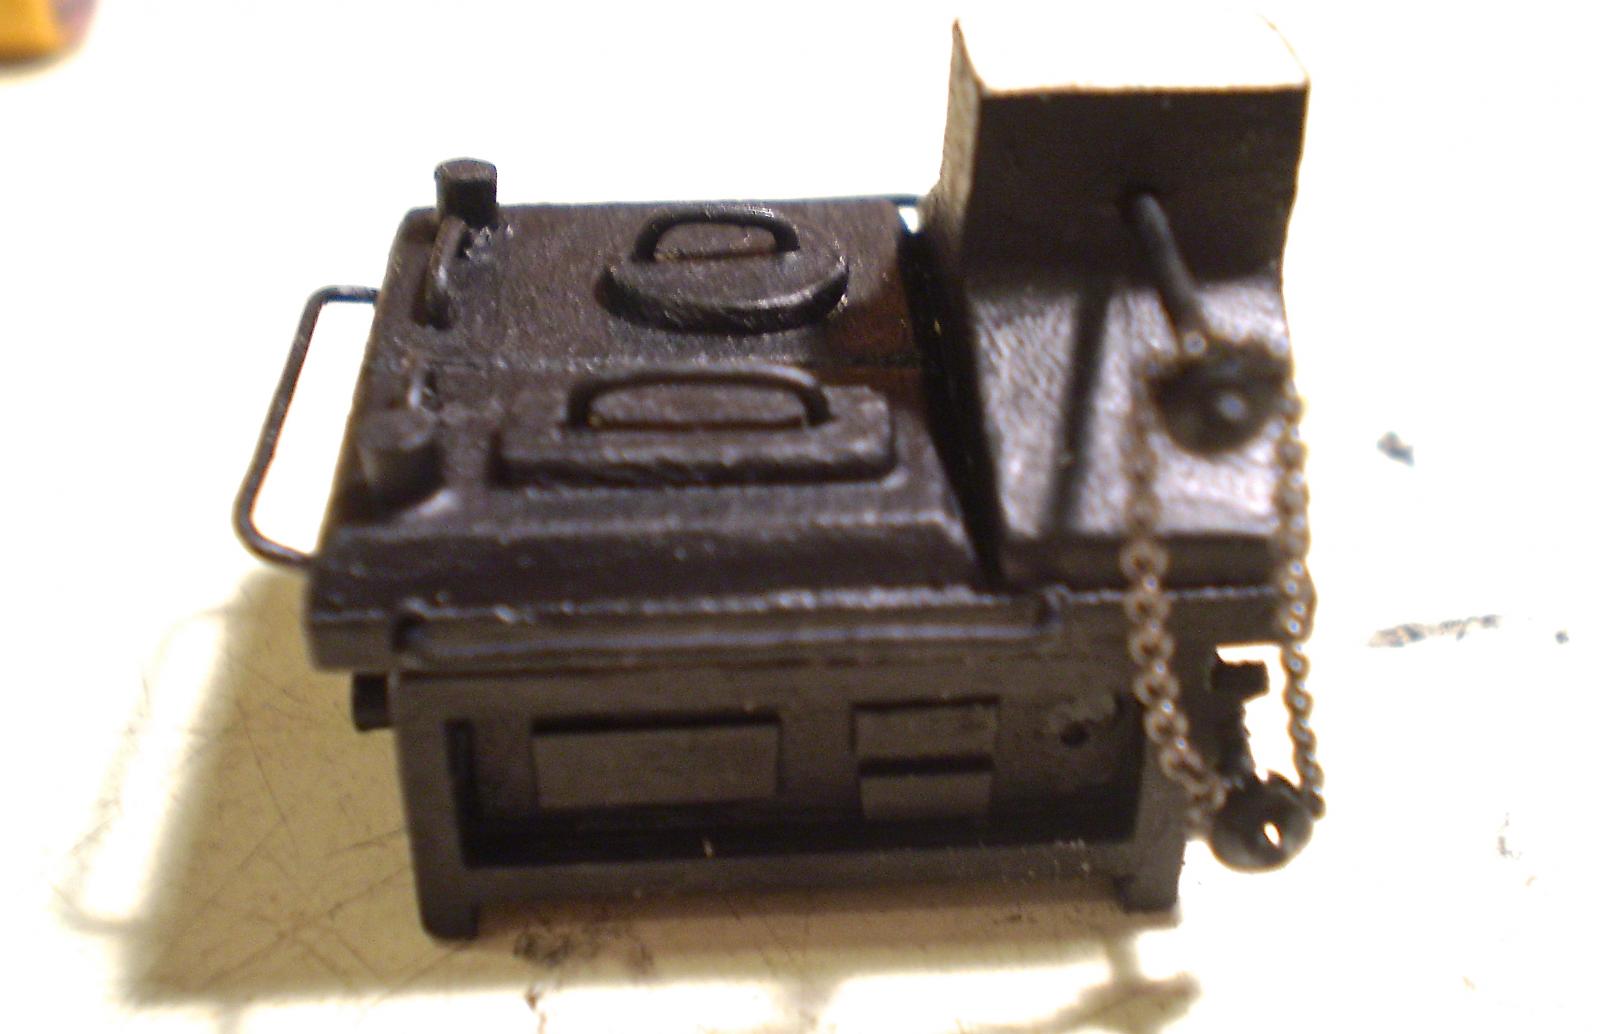
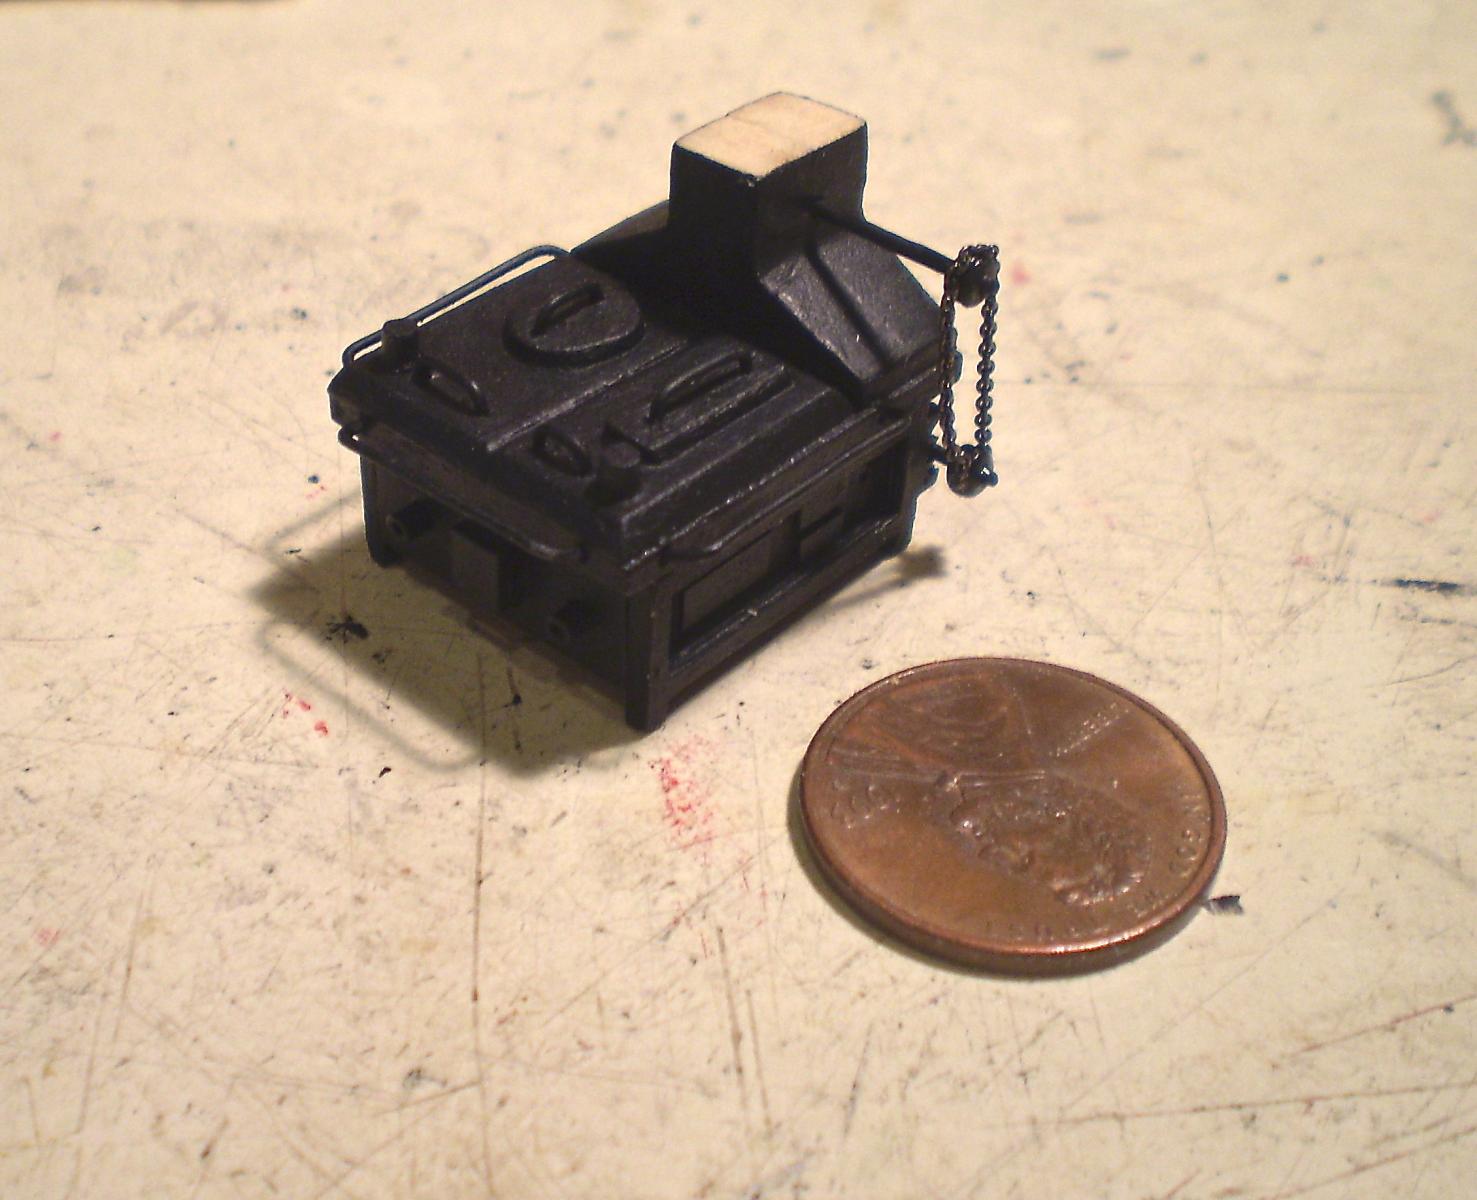
I have now built the stove, but will not mount it until sometime later in construction to avoid damage to this very delicate little piece. Since the stove is painted, I chose to use the basic kit pieces to assemble it. I did a number of the details with non-kit items. For example, I used very thin styrene to do the various doors, a couple of very small bulls eyes I had for the pulleys and some tiny (40 links per inch) chain to connect the pulleys. Doing this piece almost convinced me that my aging eyes and hands need to work in larger scales. Still very enjoyable, but getting very difficult.
Next, I will start to mount and rig the first few guns.
Bob
- Rustyj, augie, realworkingsailor and 19 others
-
22
-
You're off to your usual great start Rusty. I look forward to watching your progress.
Bob
-
Beautiful boat Patrick. I can't wait to see the other two completed and installed.
Bob
-
Nils, your metal work is simply superb (as is all of your other work). Thank you for posting logs of your completed models.
Bob
-
Thanks Rusty. This stuff is my favorite as well.
Bob
-
-
Thanks Mark, B.E., Sjors and Alistair for the very generous praise. I owe so much to the inspiration, teaching and assistance provided by you guys and the MSW community. We all profit greatly from our participation.
Mark, the poly is applied after the parts are completed, but before they are installed. I try to keep the mating surface clean or sand it before gluing. I also use pins to increase the strength of the bond whenever any stress will be applied to the part.
Bob
-
Thanks Nils and Nigel and the "likes". Your continuing interest and encouragement is appreciated. I'll try to post a full profile photo soon Nigel.
Bob
- Mirabell61 and NMBROOK
-
2
-
Thanks so much Patrick and Augie. Patrick, at least half of the quarter and forecastle decks will be left unplanked.
Bob
-
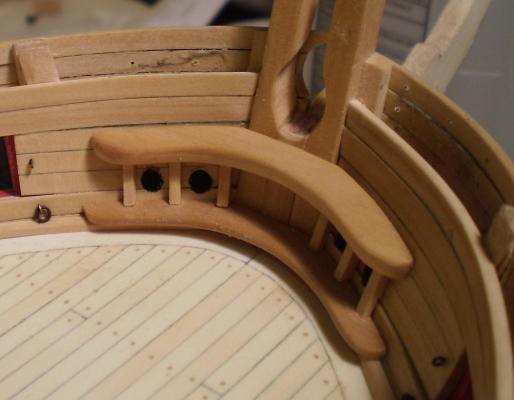
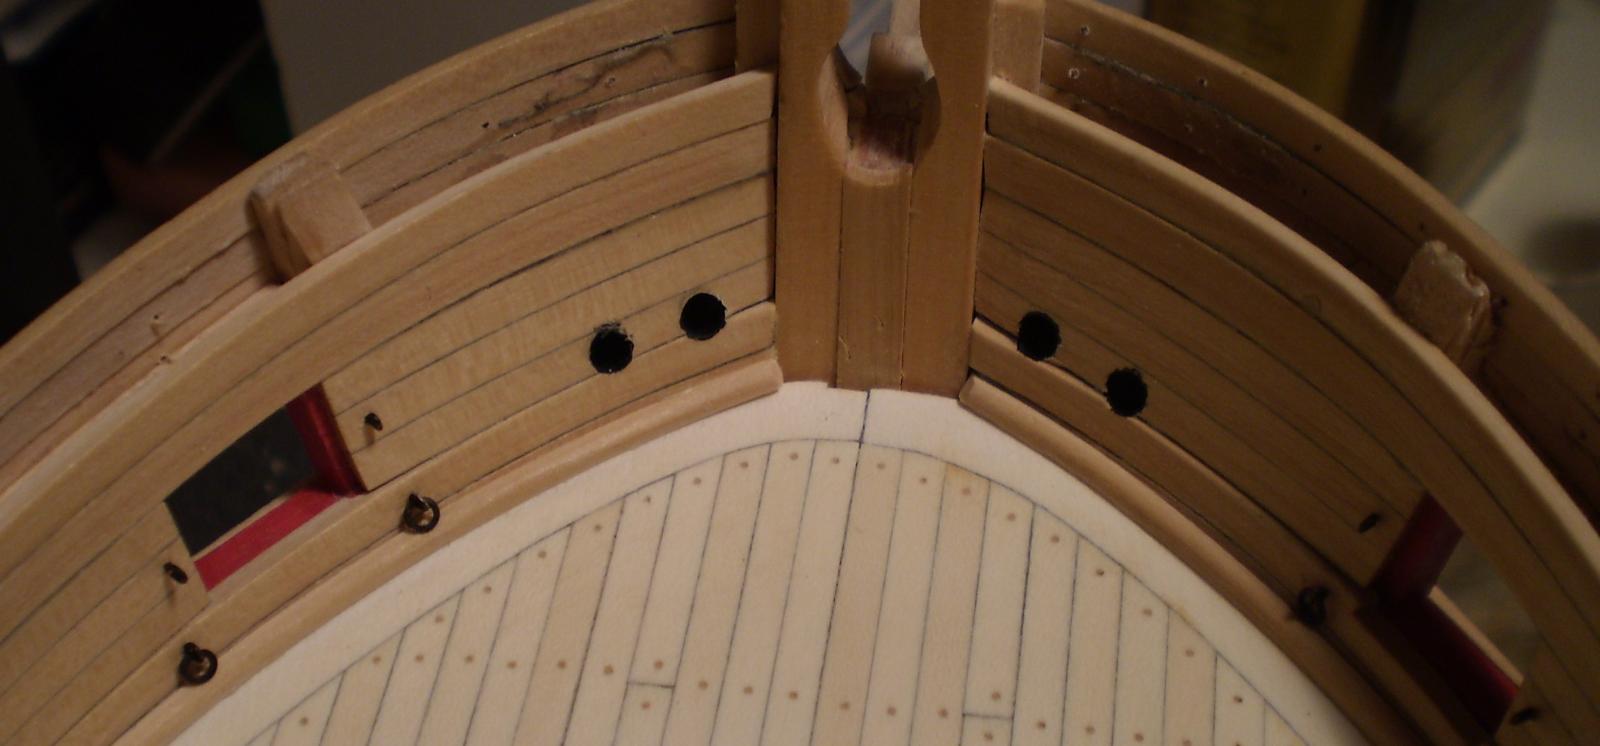
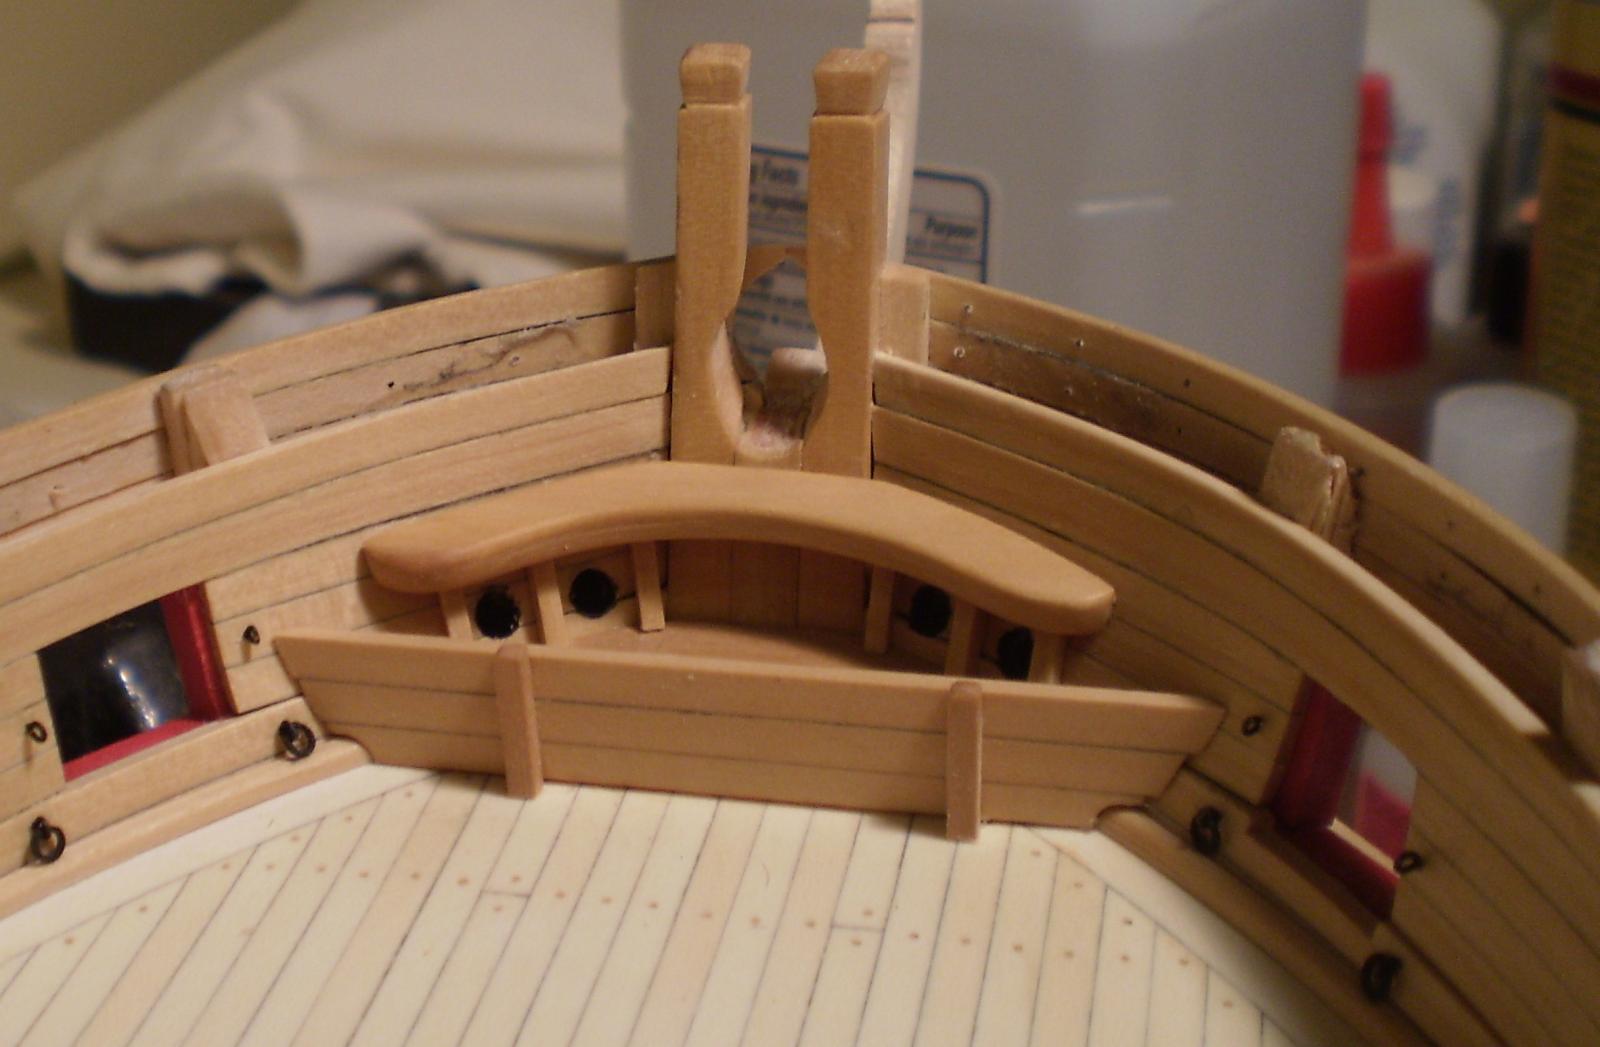
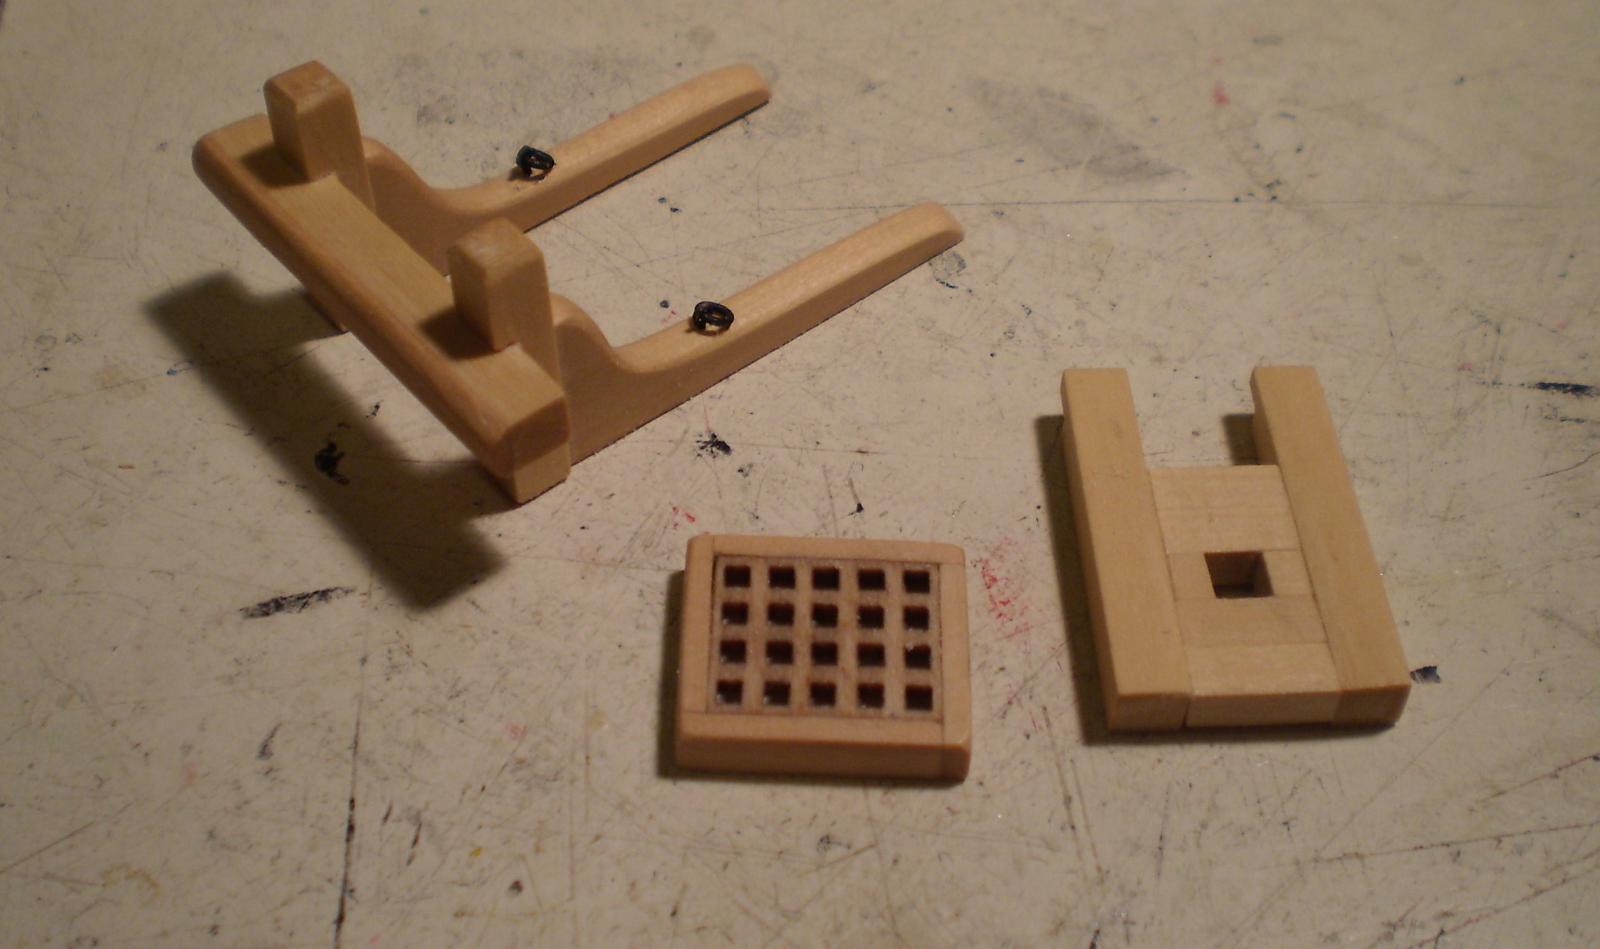
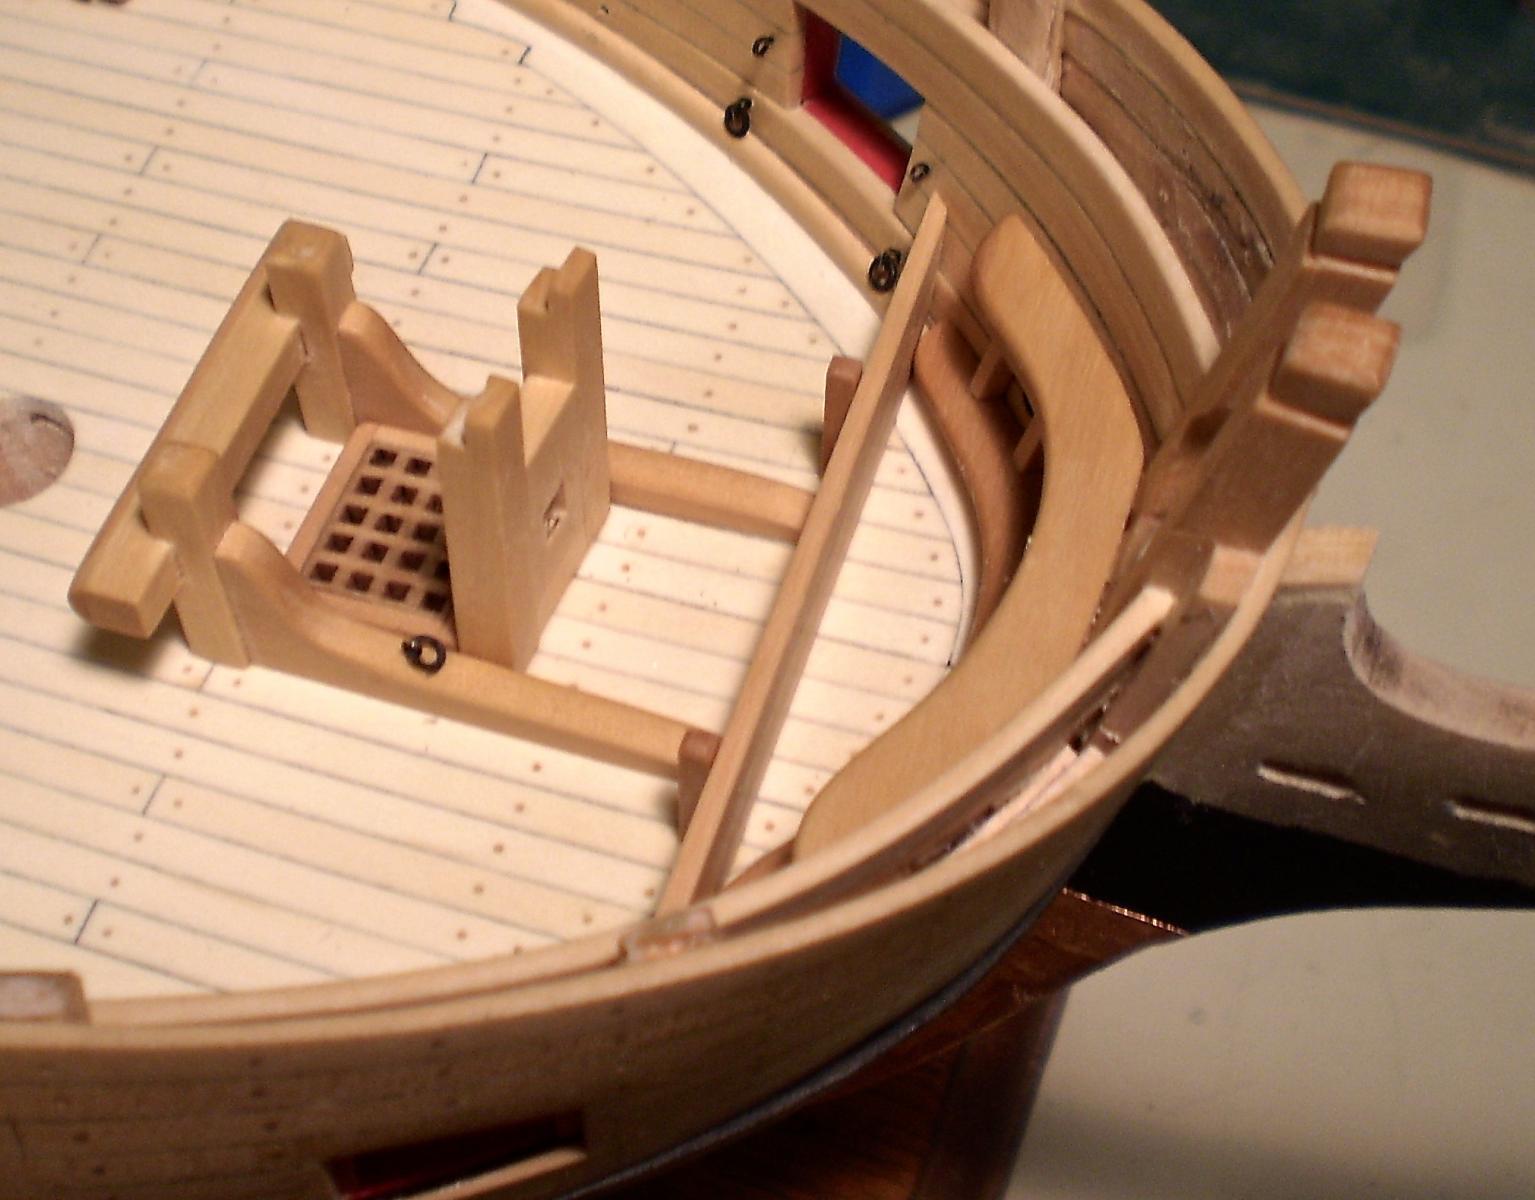
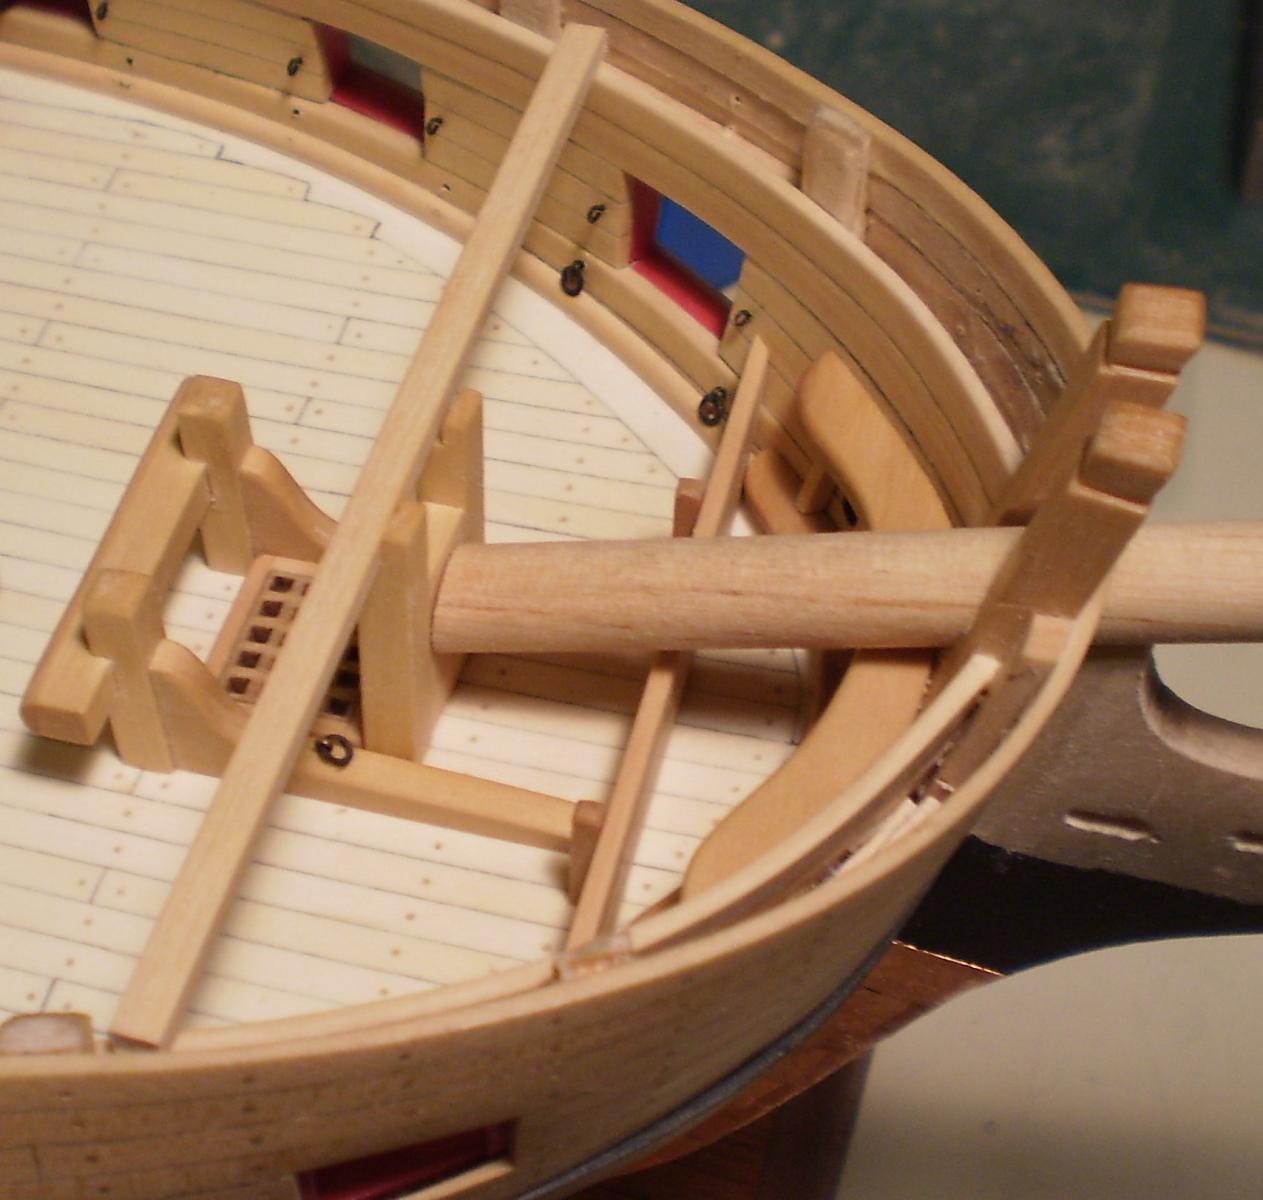
A busy few days have resulted in my first work at the fore end of the ship. The items made and added are the hawse holes (inner end), the bolsters and bucklers, the manger, a scuttle, the bowsprit bitts and the fore riding bitts.
I decided to do the inner part of the hawse holes to allow me to do the other interior work at the bow. I won't do the outer part until I'm ready to do the exterior bow work, such as the knees and head work. The bolsters above and below the hawse holes were cut and shaped from boxwood sheet, using the kit parts as rough templates. The bucklers were cut to fit from boxwood strip.
The manger boards and supports were made from boxwood strip and shaped to fit the bulwark contours.
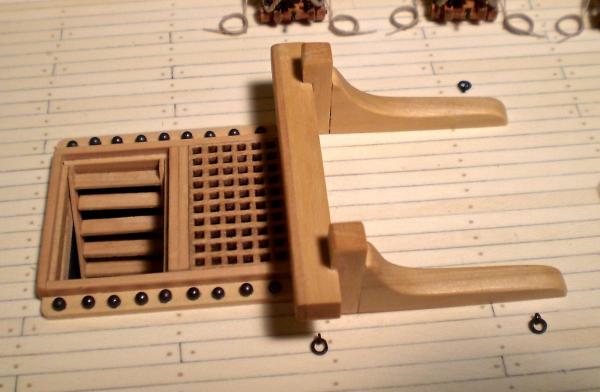
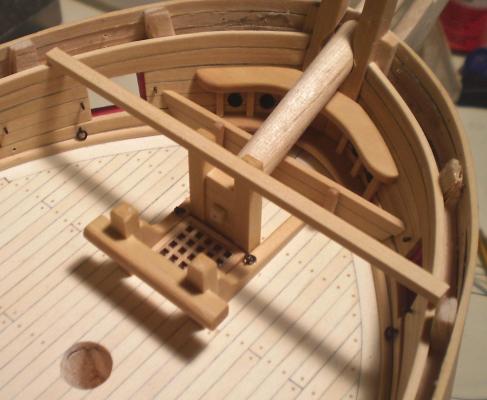
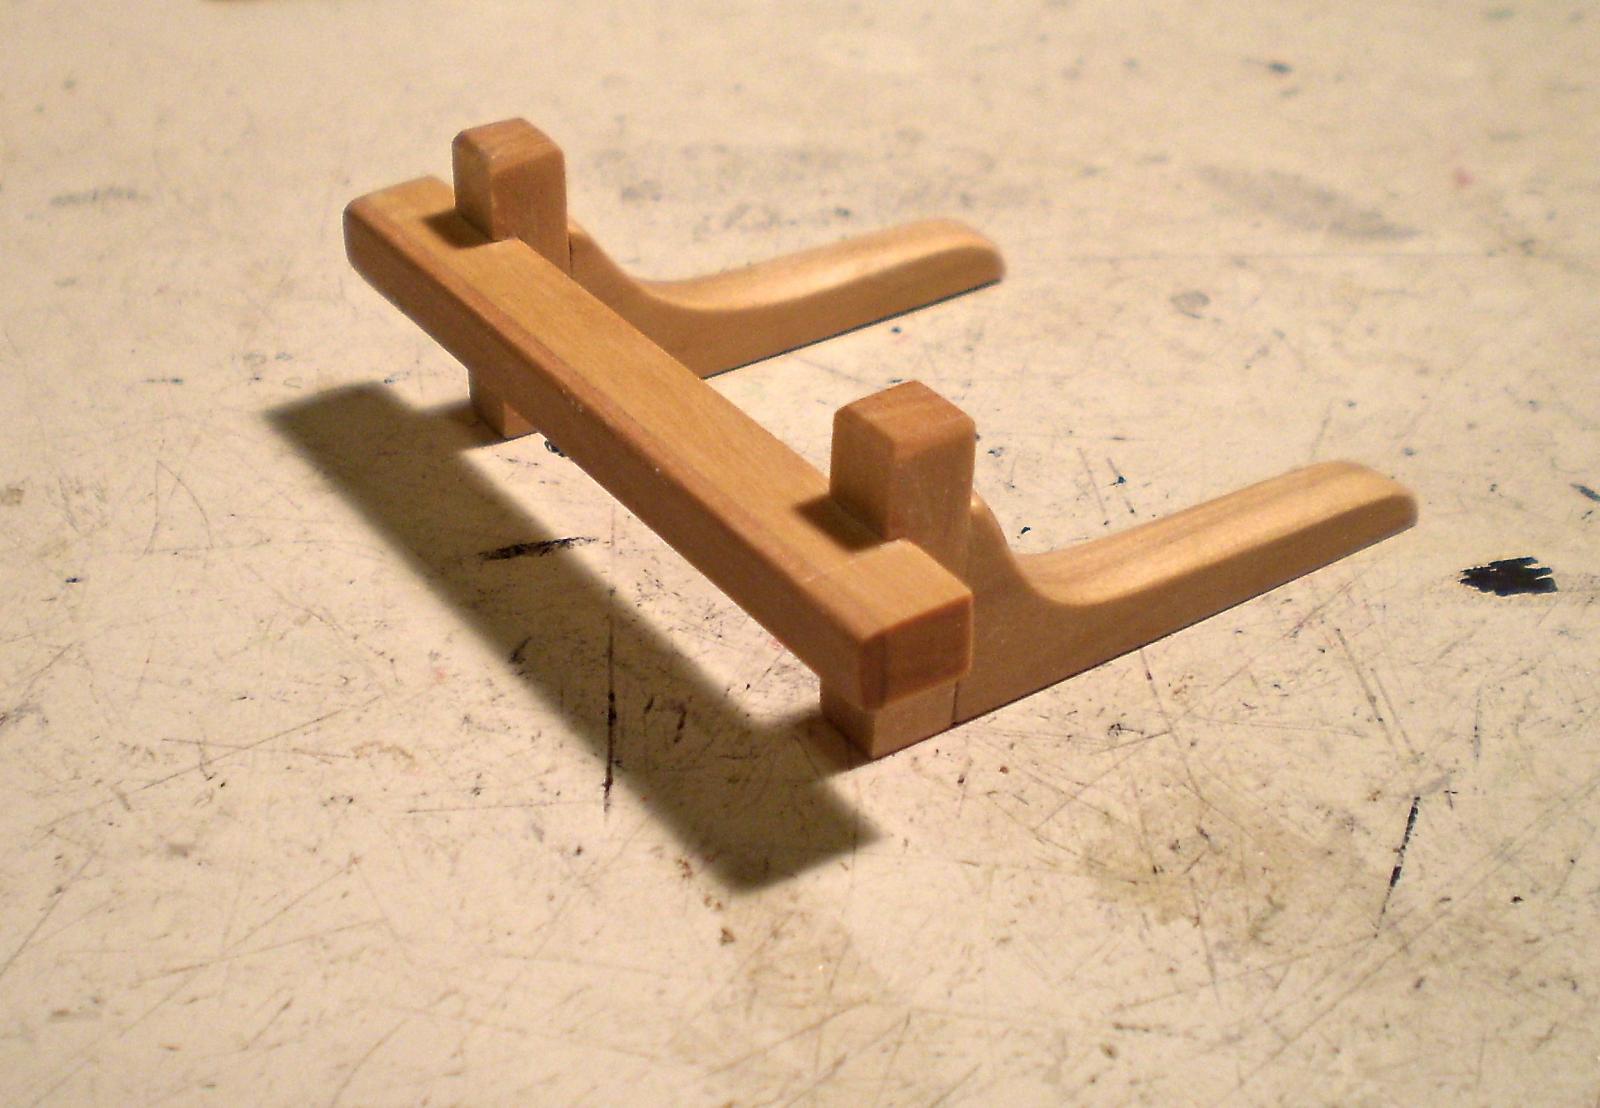
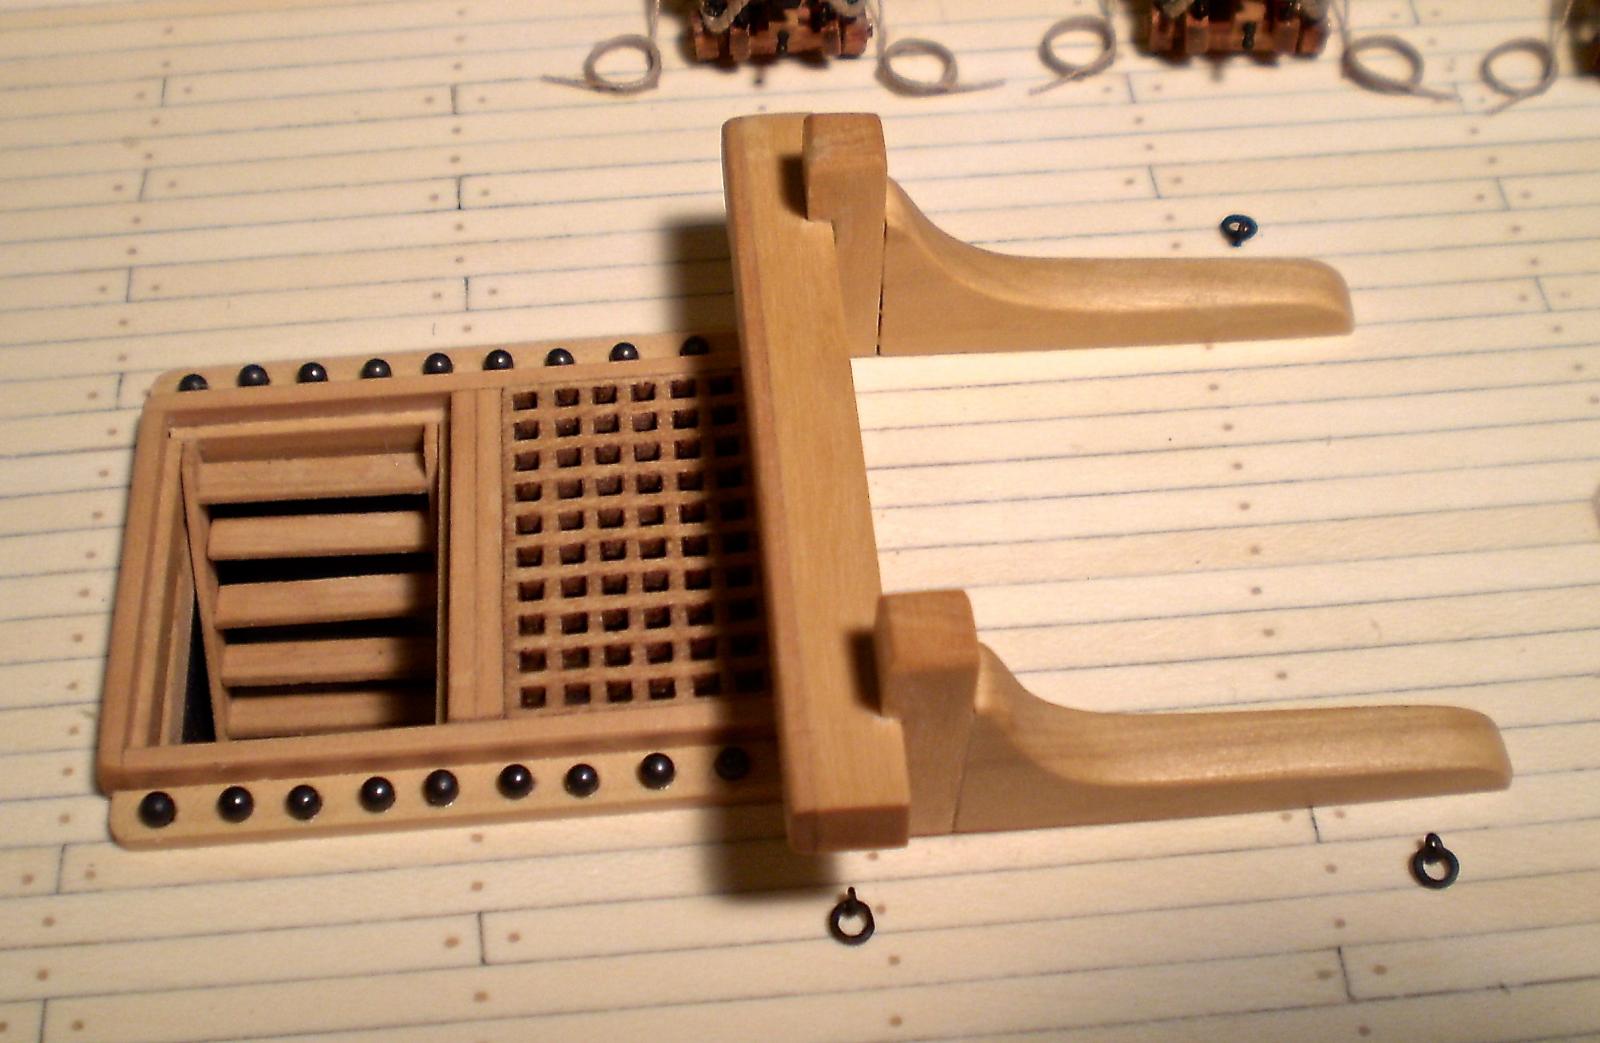
I made the scuttle coaming from boxwood strip and the grating from the laser cut kit part, as I had with the various hatches previously made. The fore riding bitts were made from boxwood with a piece of pear for the face of the crosspiece. Ringbolts were added to the standards. The bowsprit bitts were done with boxwood strip. In order to do the the bowsprit bitts, I cut a piece to represent the forecastle deck beam to which they are fitted and also cut a piece of dowel to represent the bowsprit. The last two photos show these fitted in place temporarily.
All of the boxwood parts were finished with Wipe-on Poly. The bitts were pinned and glued to the deck.
Bob


-
Thanks so much Nils. It was one of my favorites to build.
Bob
-
Very nicely done Gary. It looks great.
Bob
-
You're off to a great start Rusty. I can't even describe how envious I am of you to get this opportunity.
Bob
-
-
-


Constitution by patrickmil - Model Shipways - 1/76th
in - Kit build logs for subjects built from 1751 - 1800
Posted
I'm sure that you're going to do a great job on Connie, Patrick. You will find that the odd scale requires that you do a lot of measuring and searching when looking for parts such as cannon and their carriages to replace the kit parts. That has certainly been my experience with Essex.
Bob