HOLIDAY DONATION DRIVE - SUPPORT MSW - DO YOUR PART TO KEEP THIS GREAT FORUM GOING! (Only 24 donations so far out of 49,000 members - C'mon guys!)
×


aydingocer
-
Posts
916 -
Joined
-
Last visited
Content Type
Profiles
Forums
Gallery
Events
Everything posted by aydingocer
-
 Thanks, Yves, If I go for the railroad diorama option, I will consider this. Right now I am building the railroad only for curiosity and for reference to the distance between the wheels.
 -
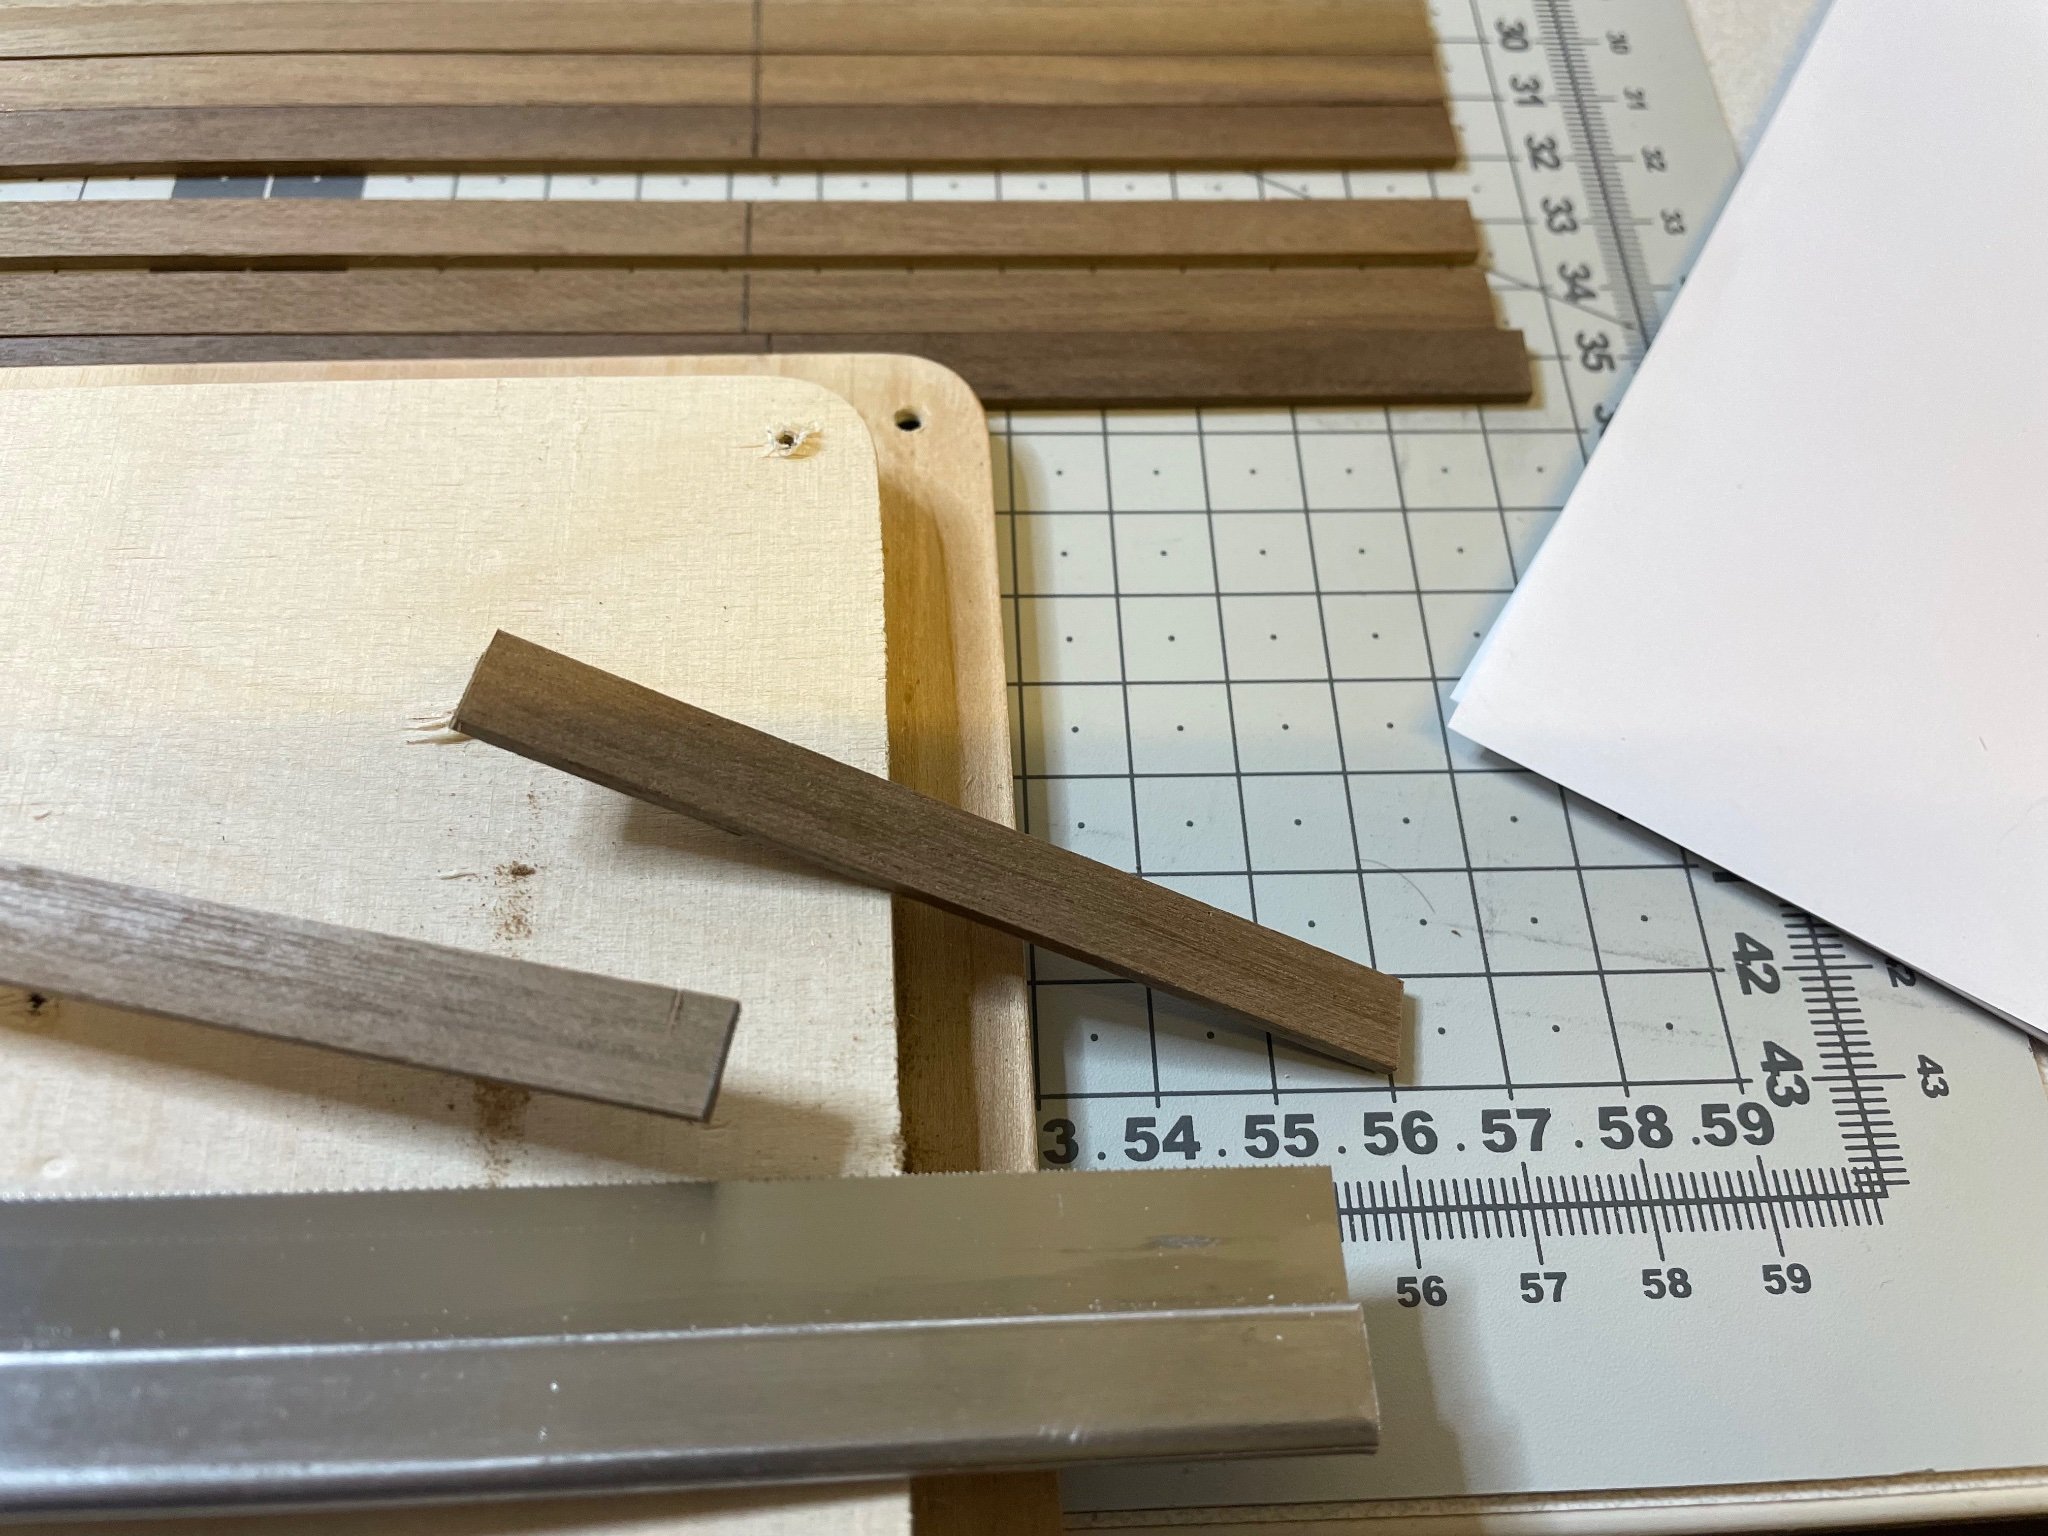
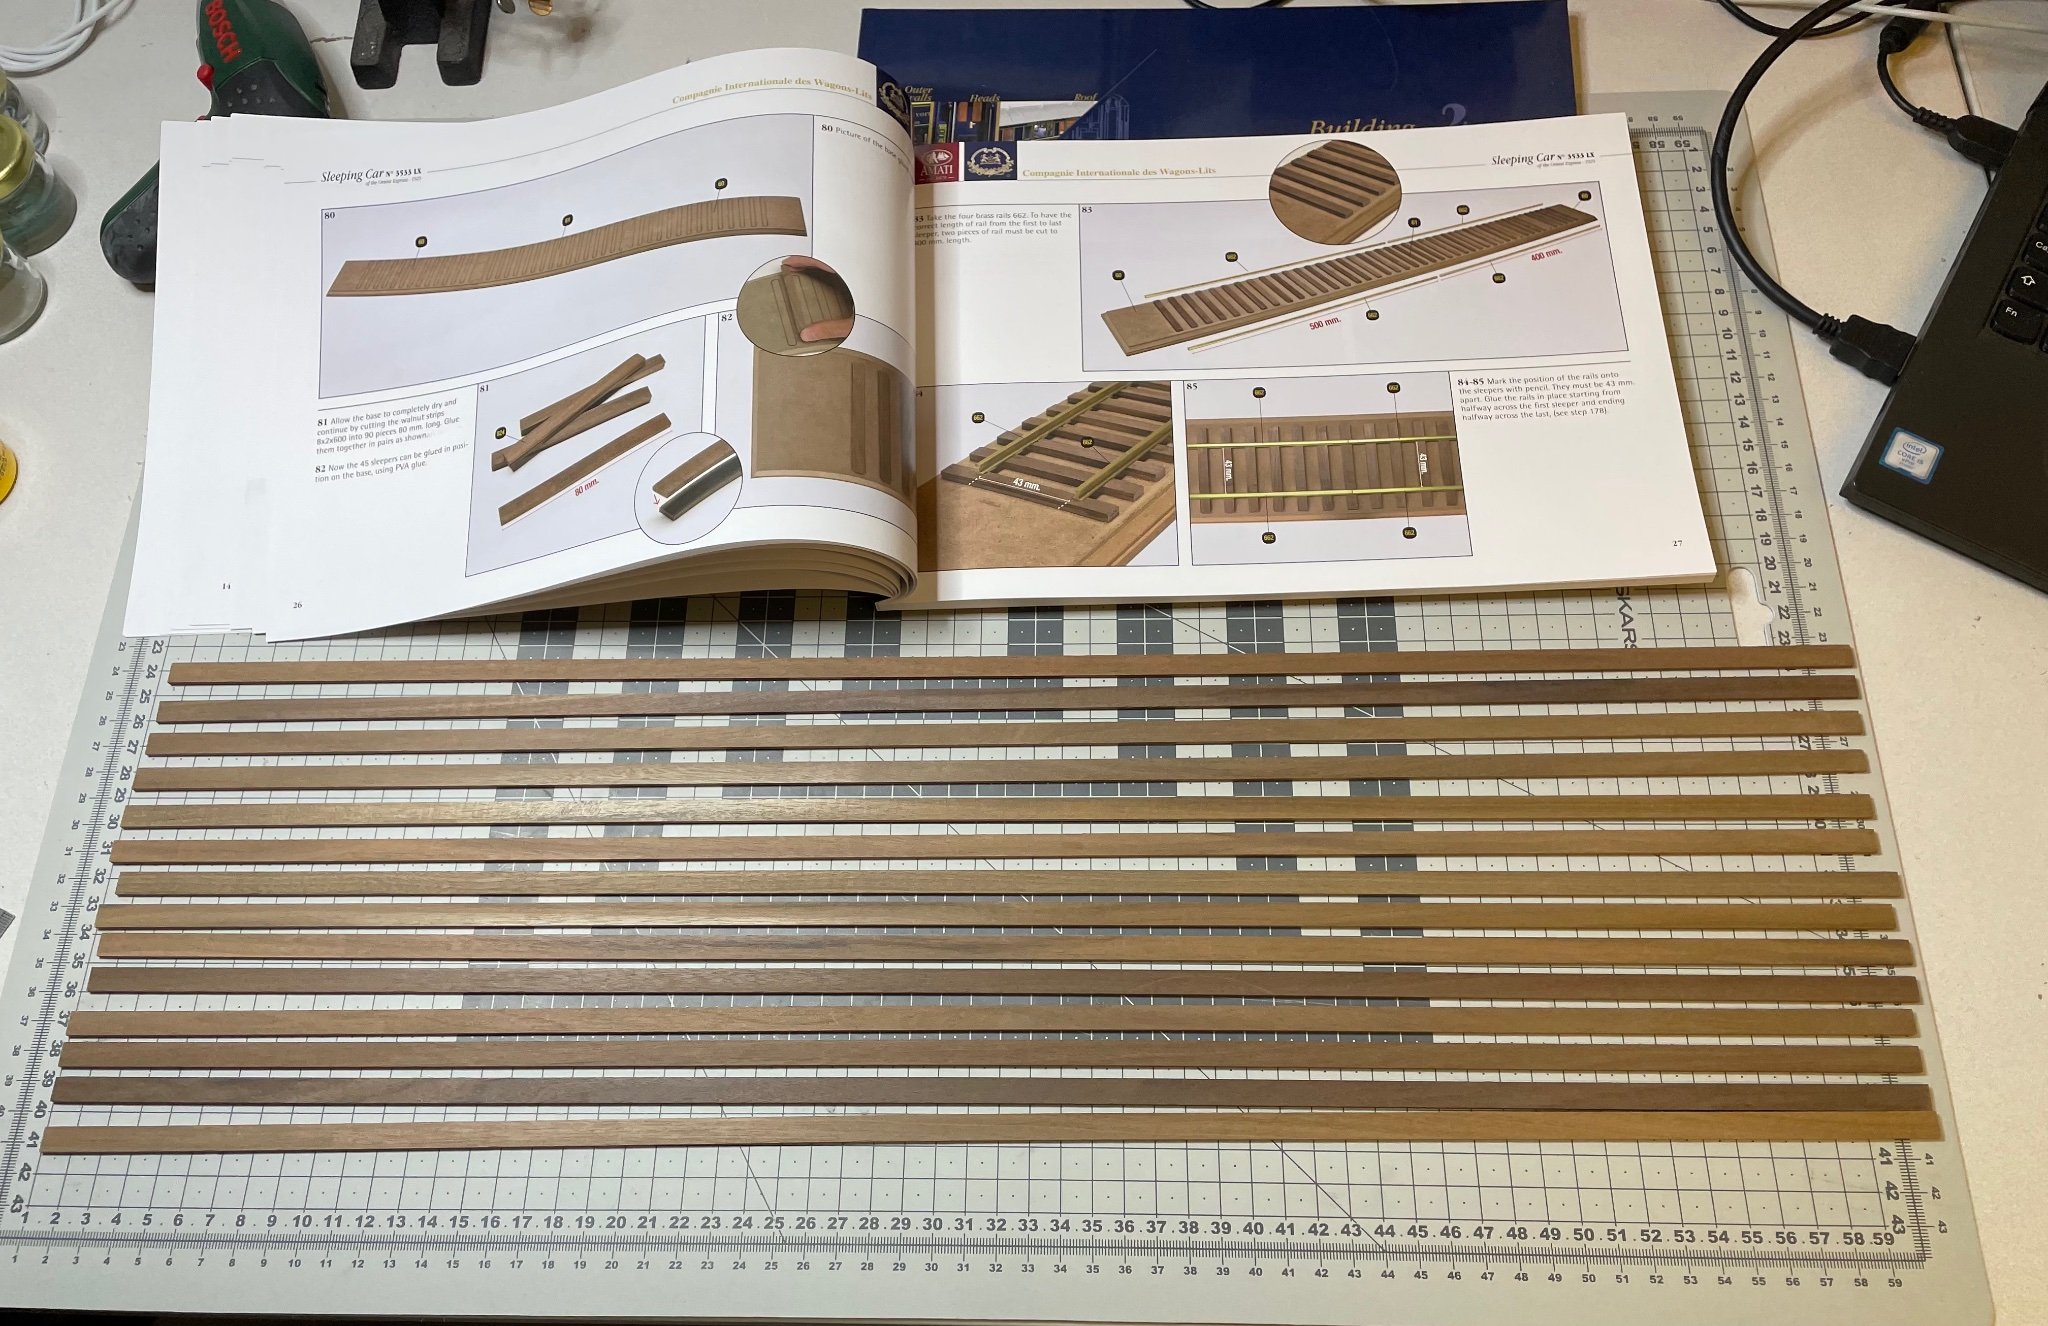
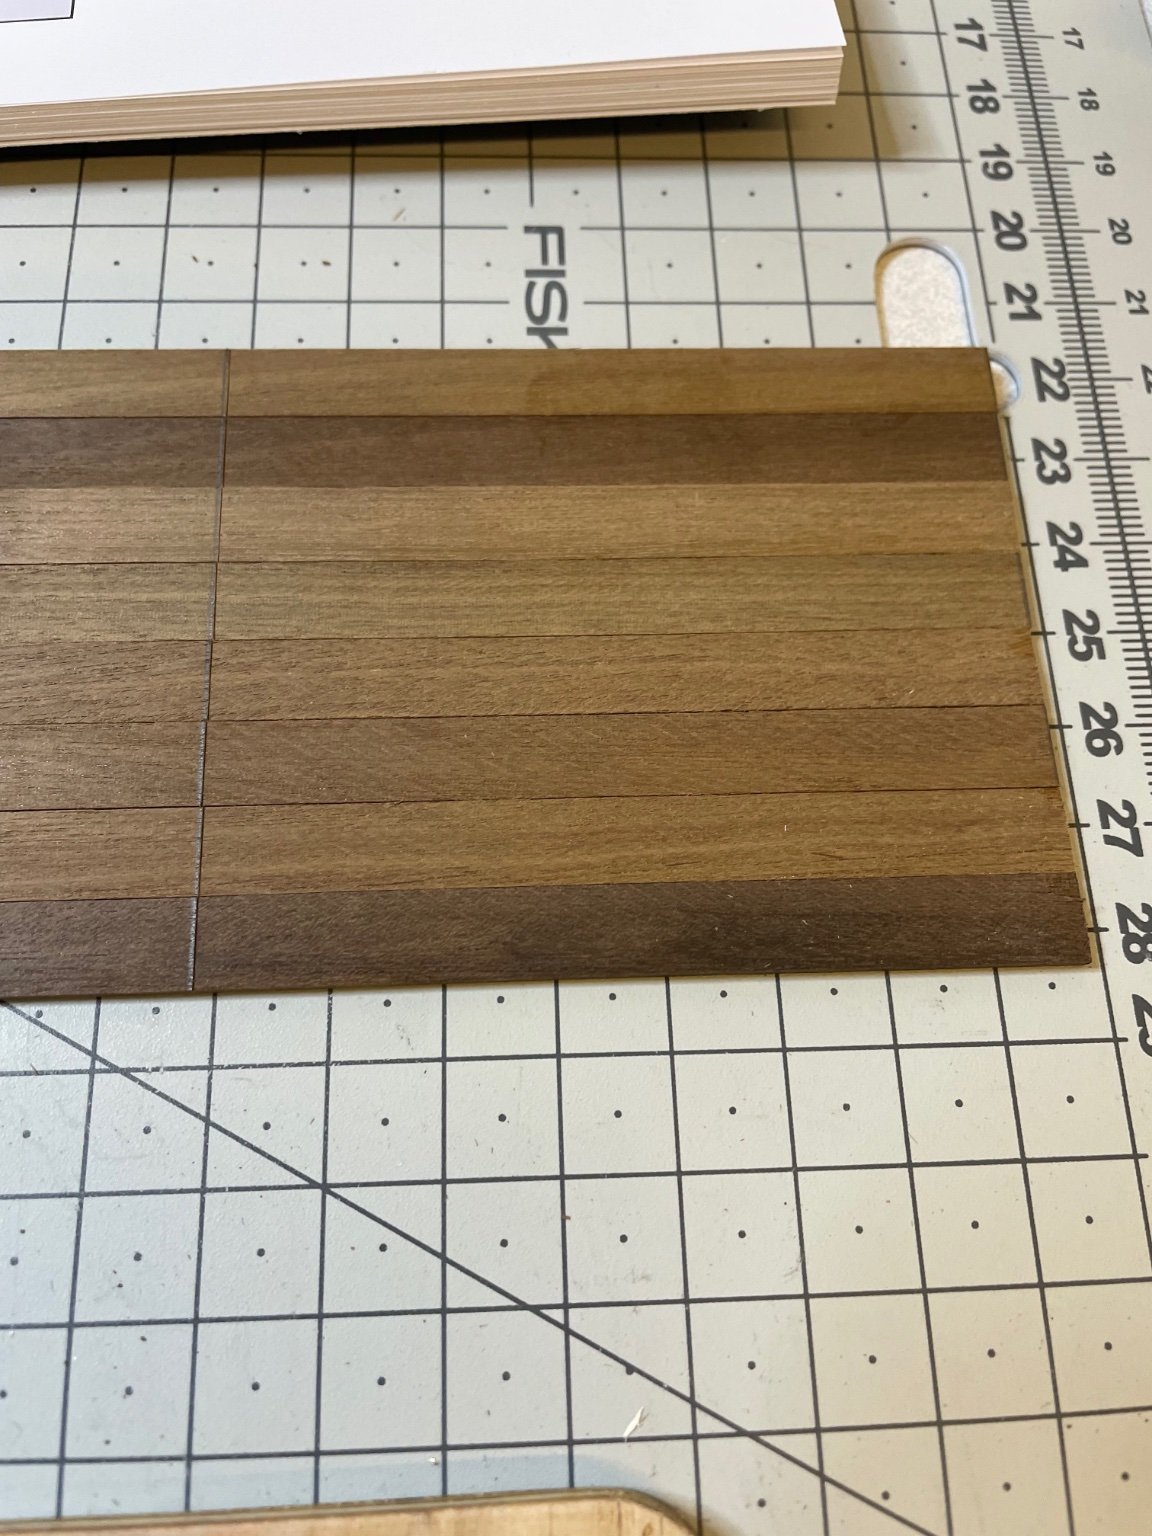
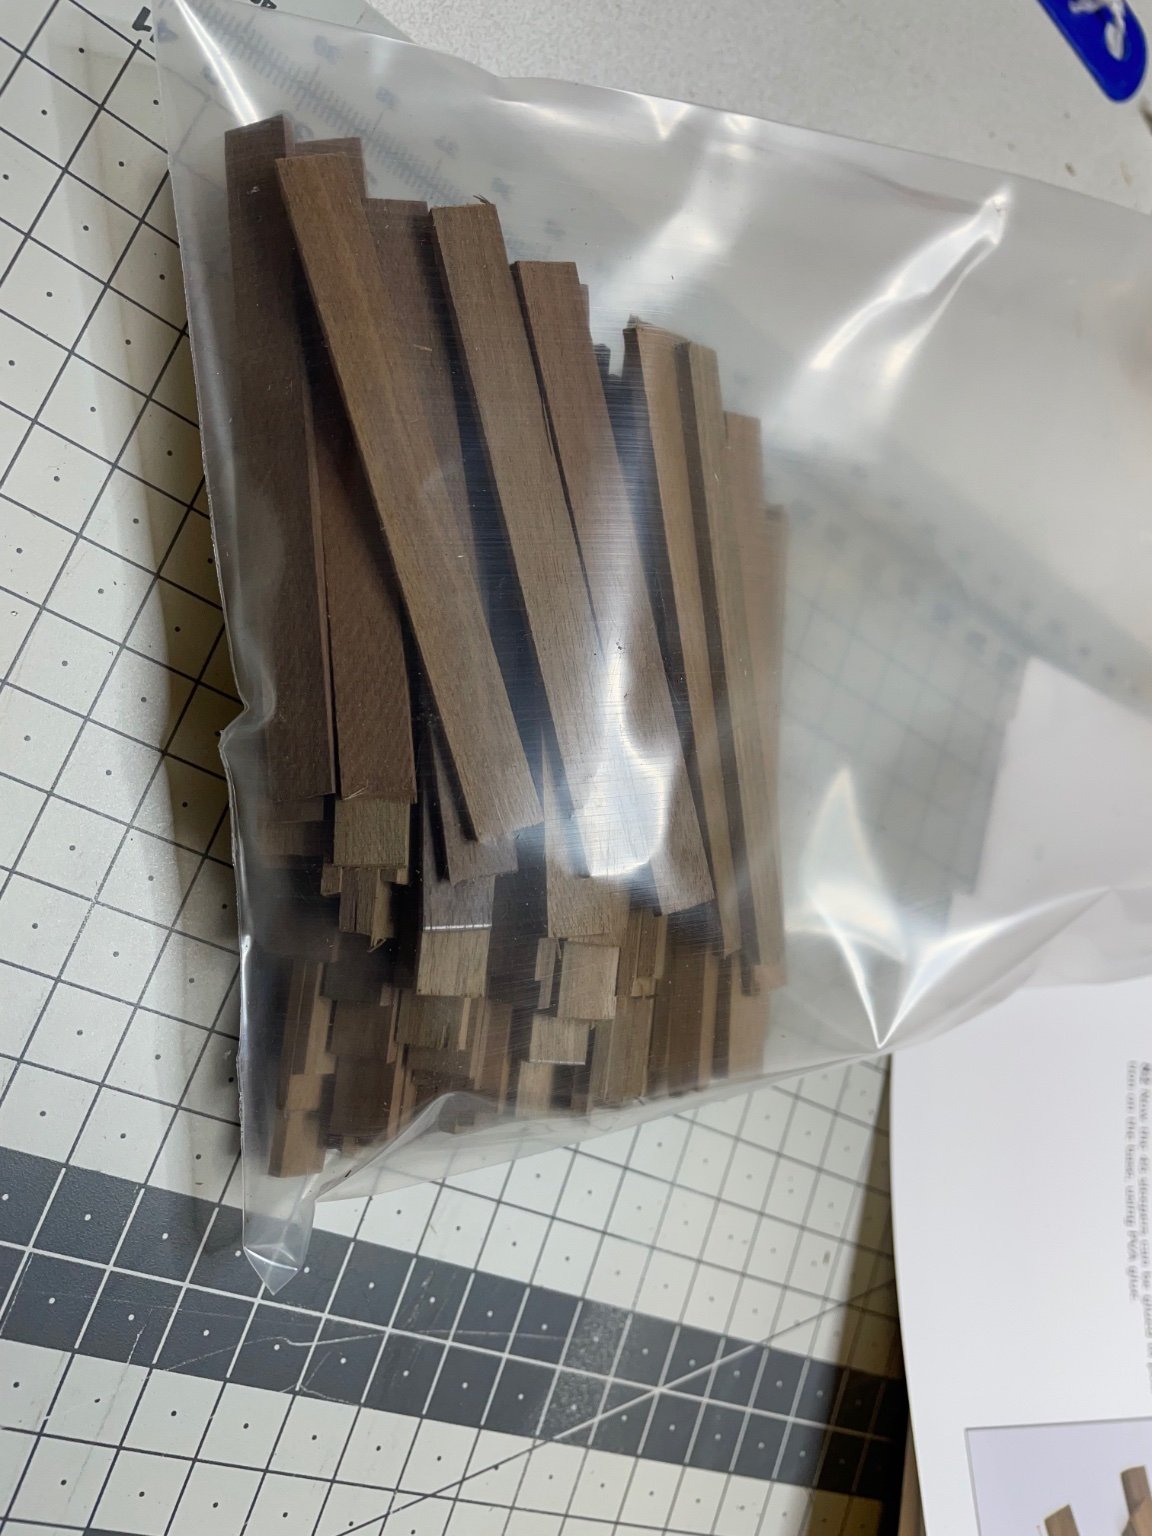
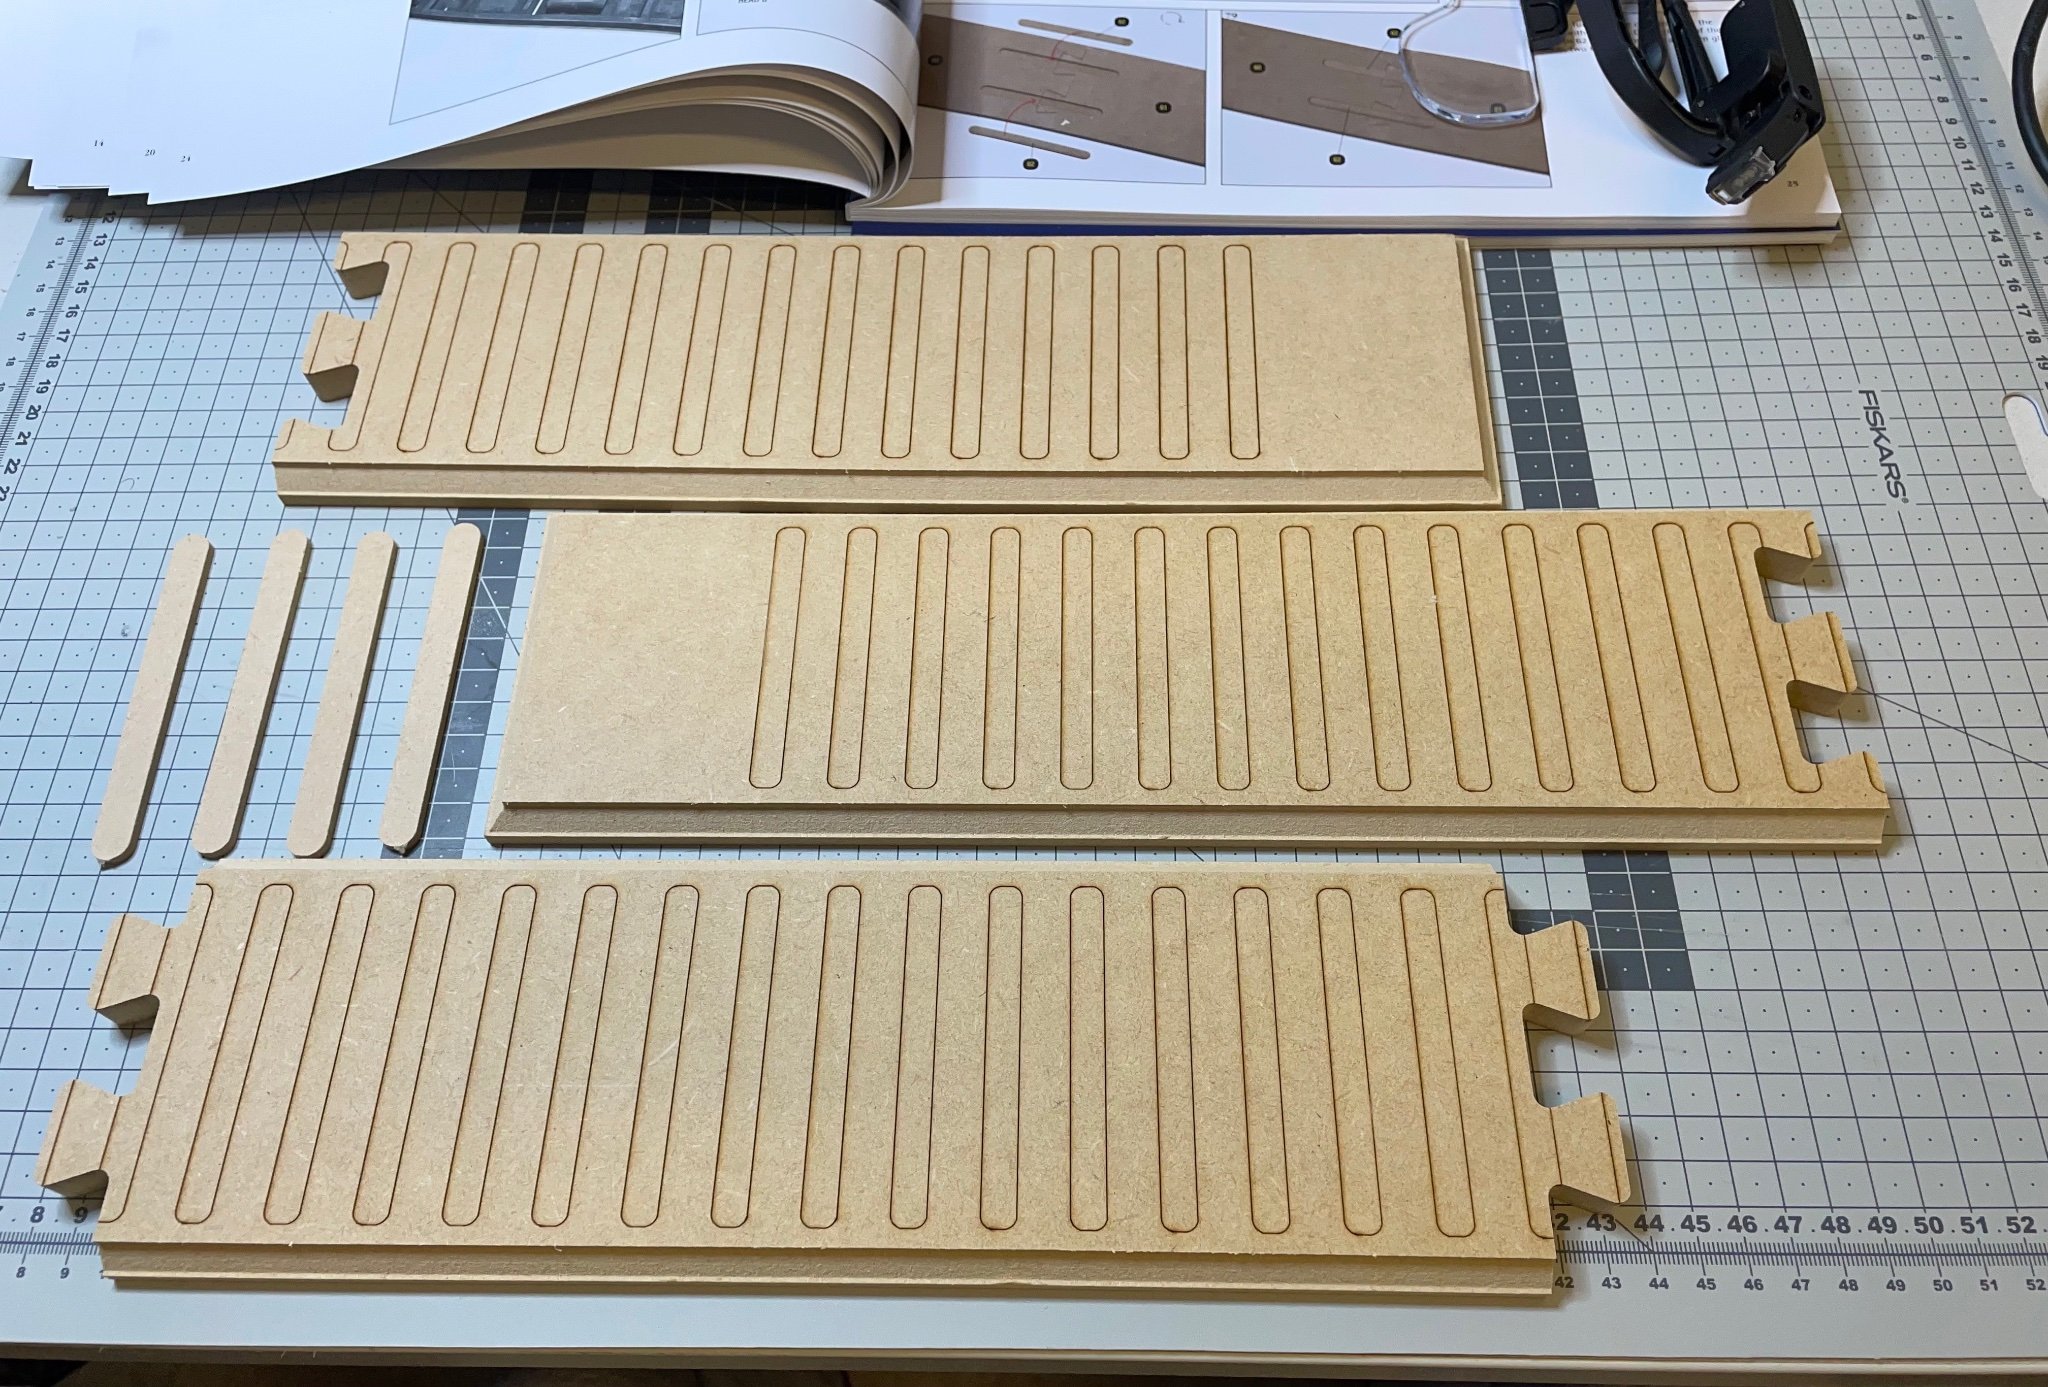
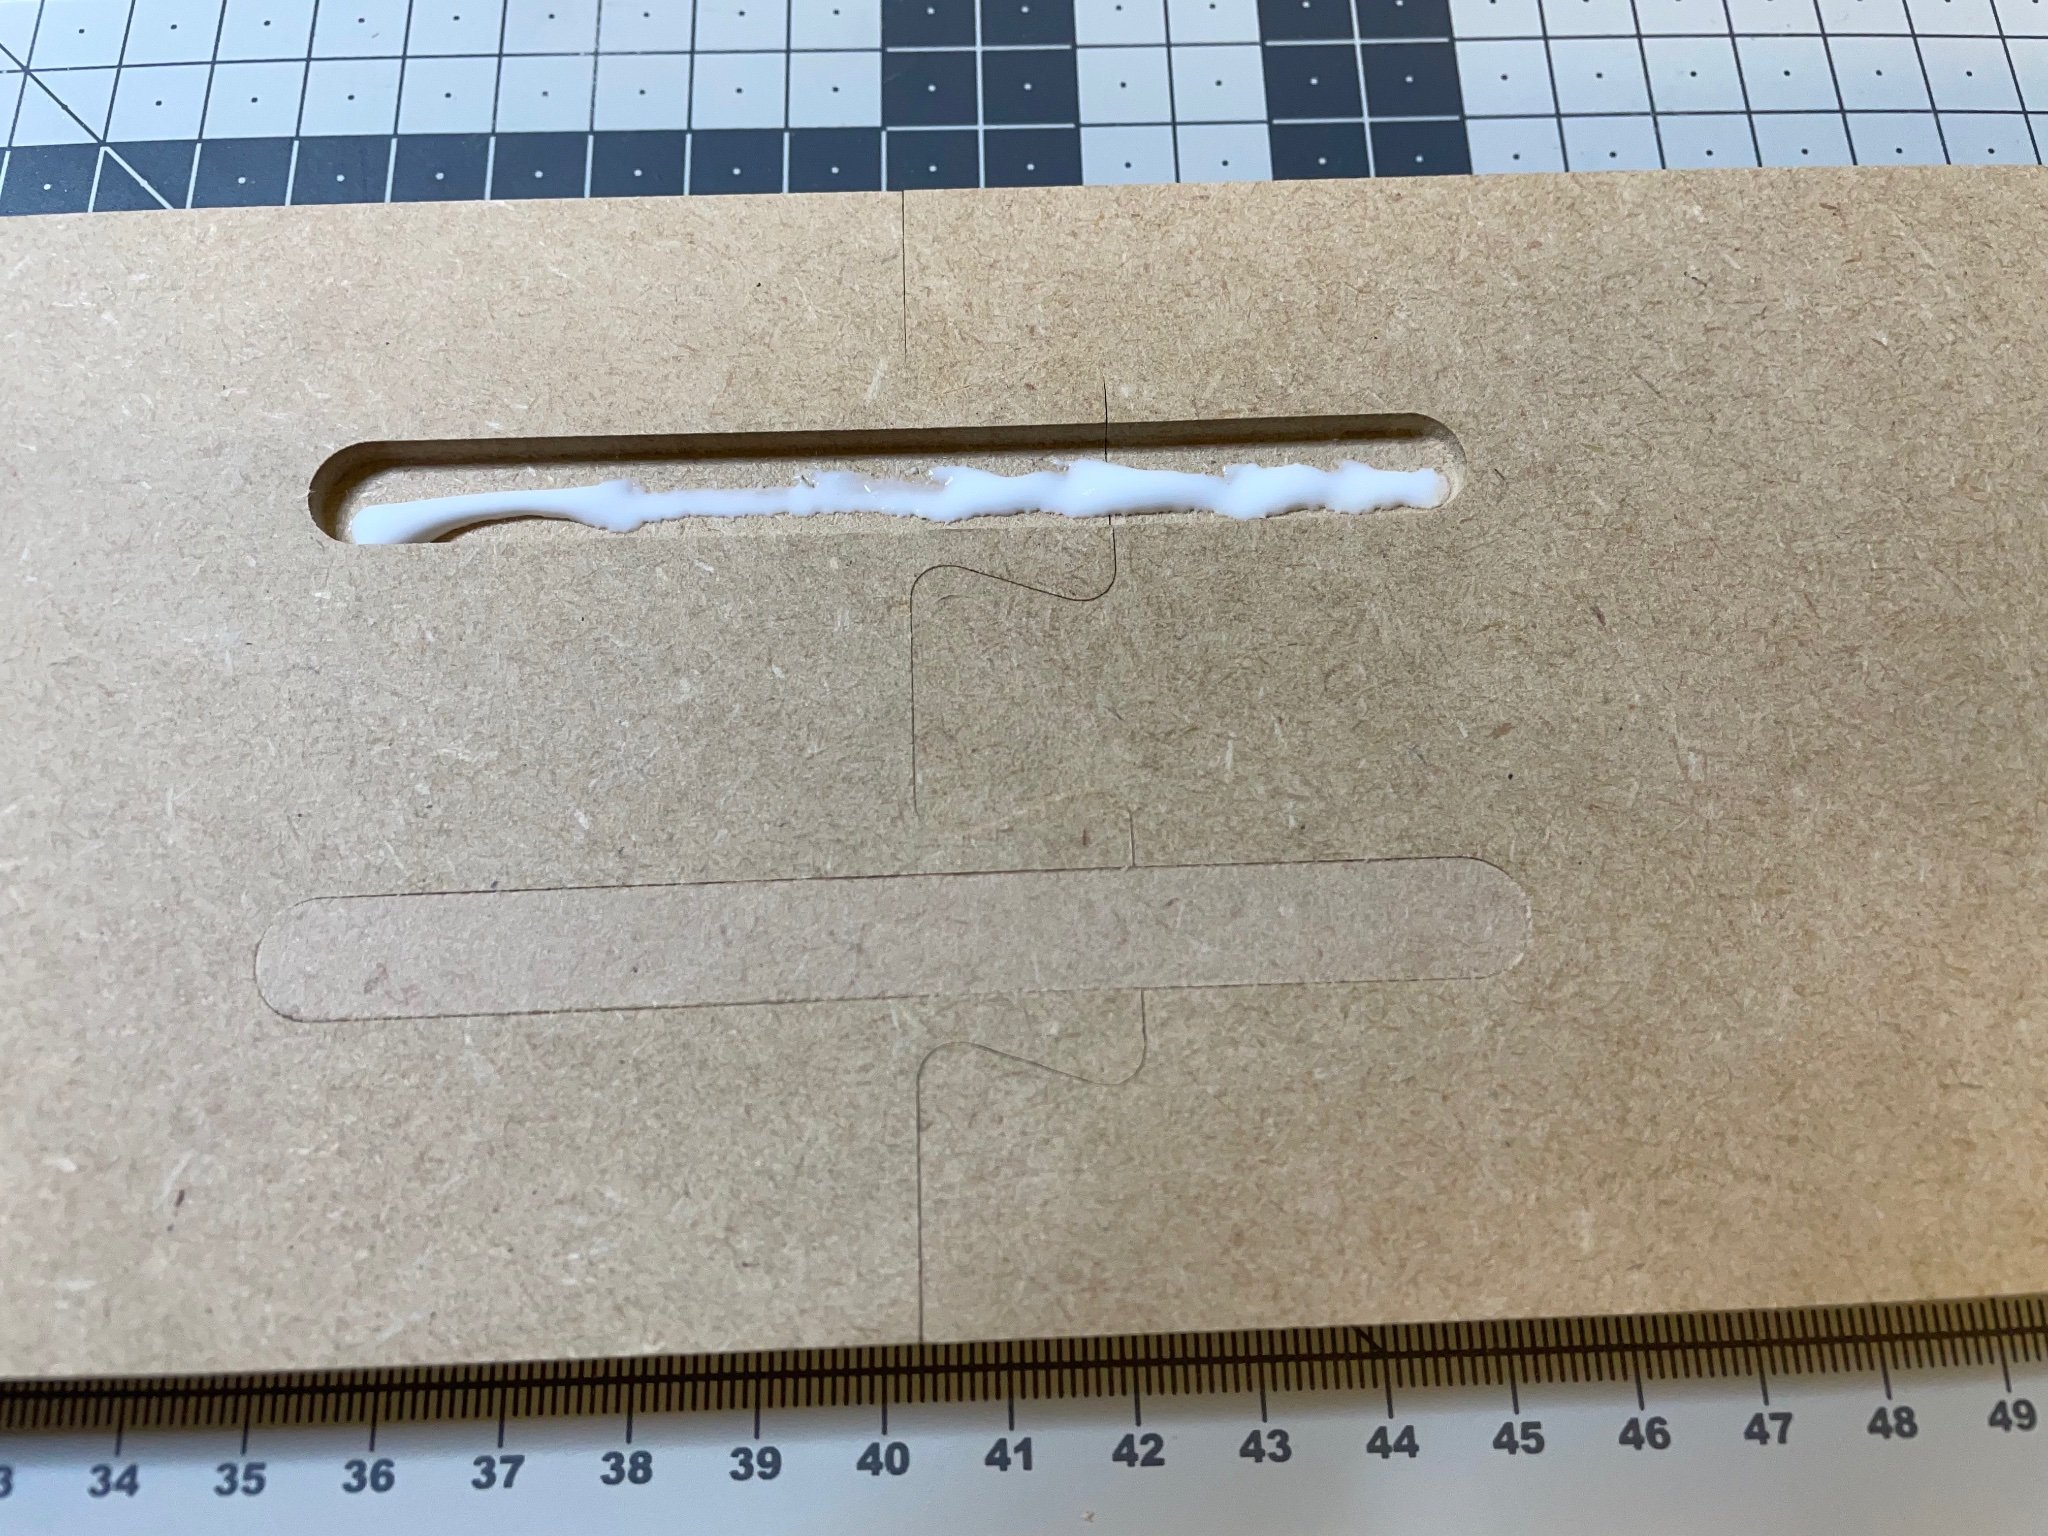
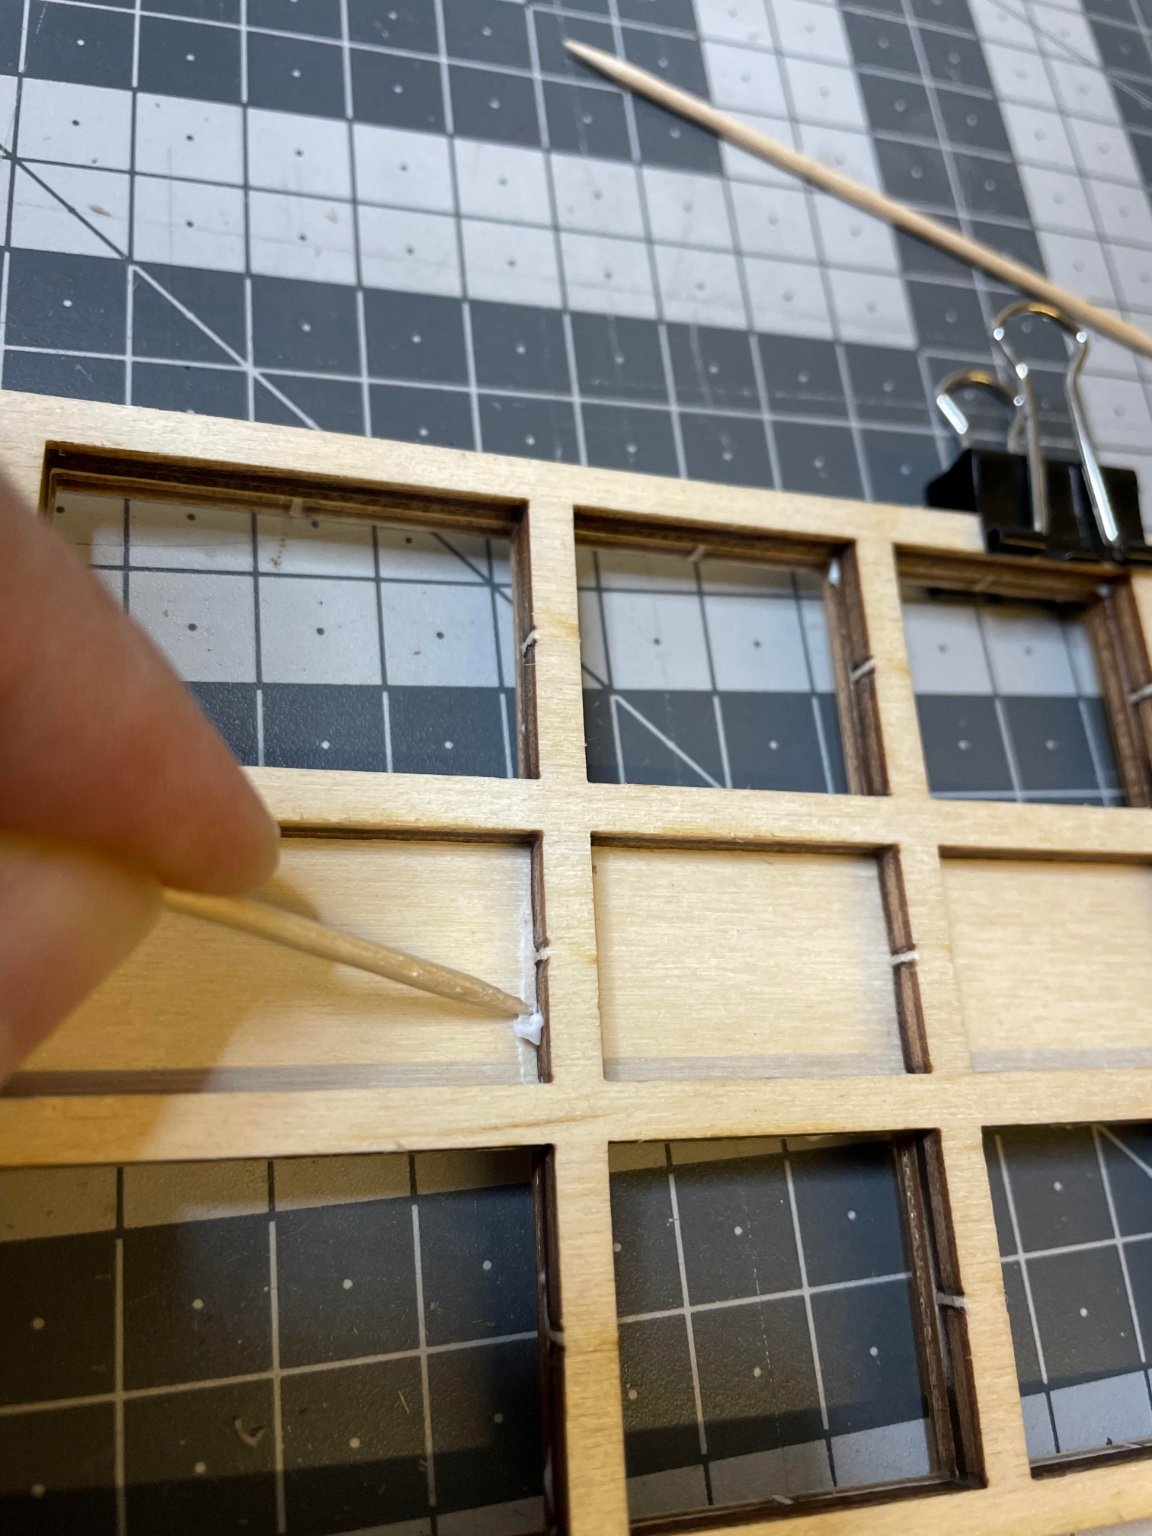
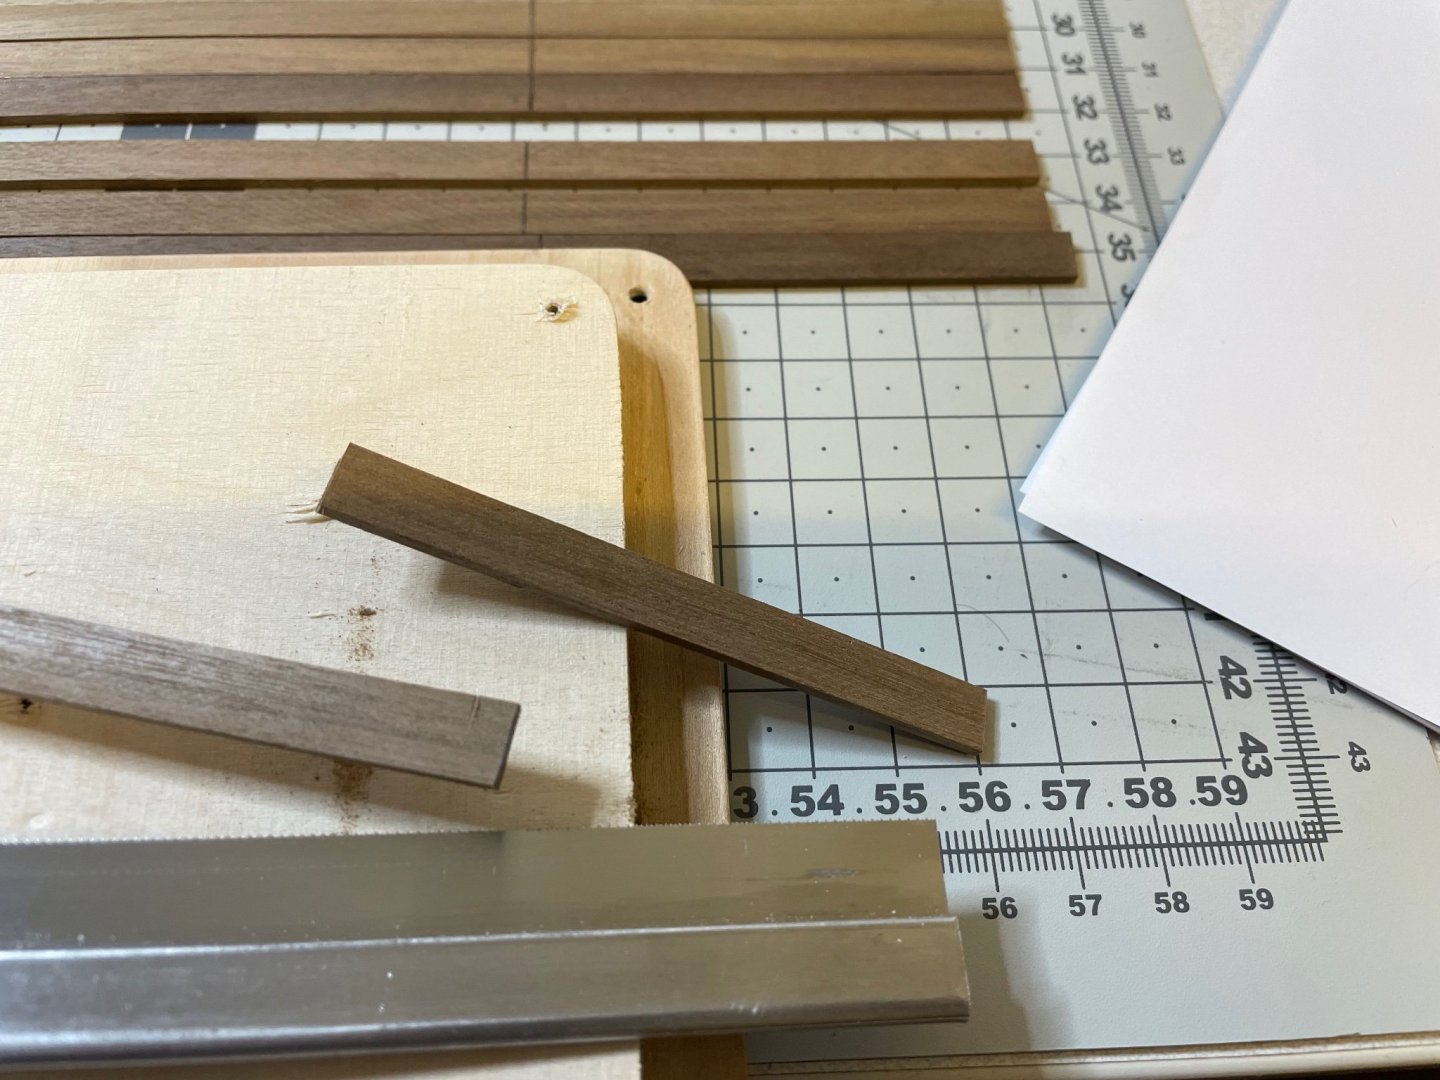
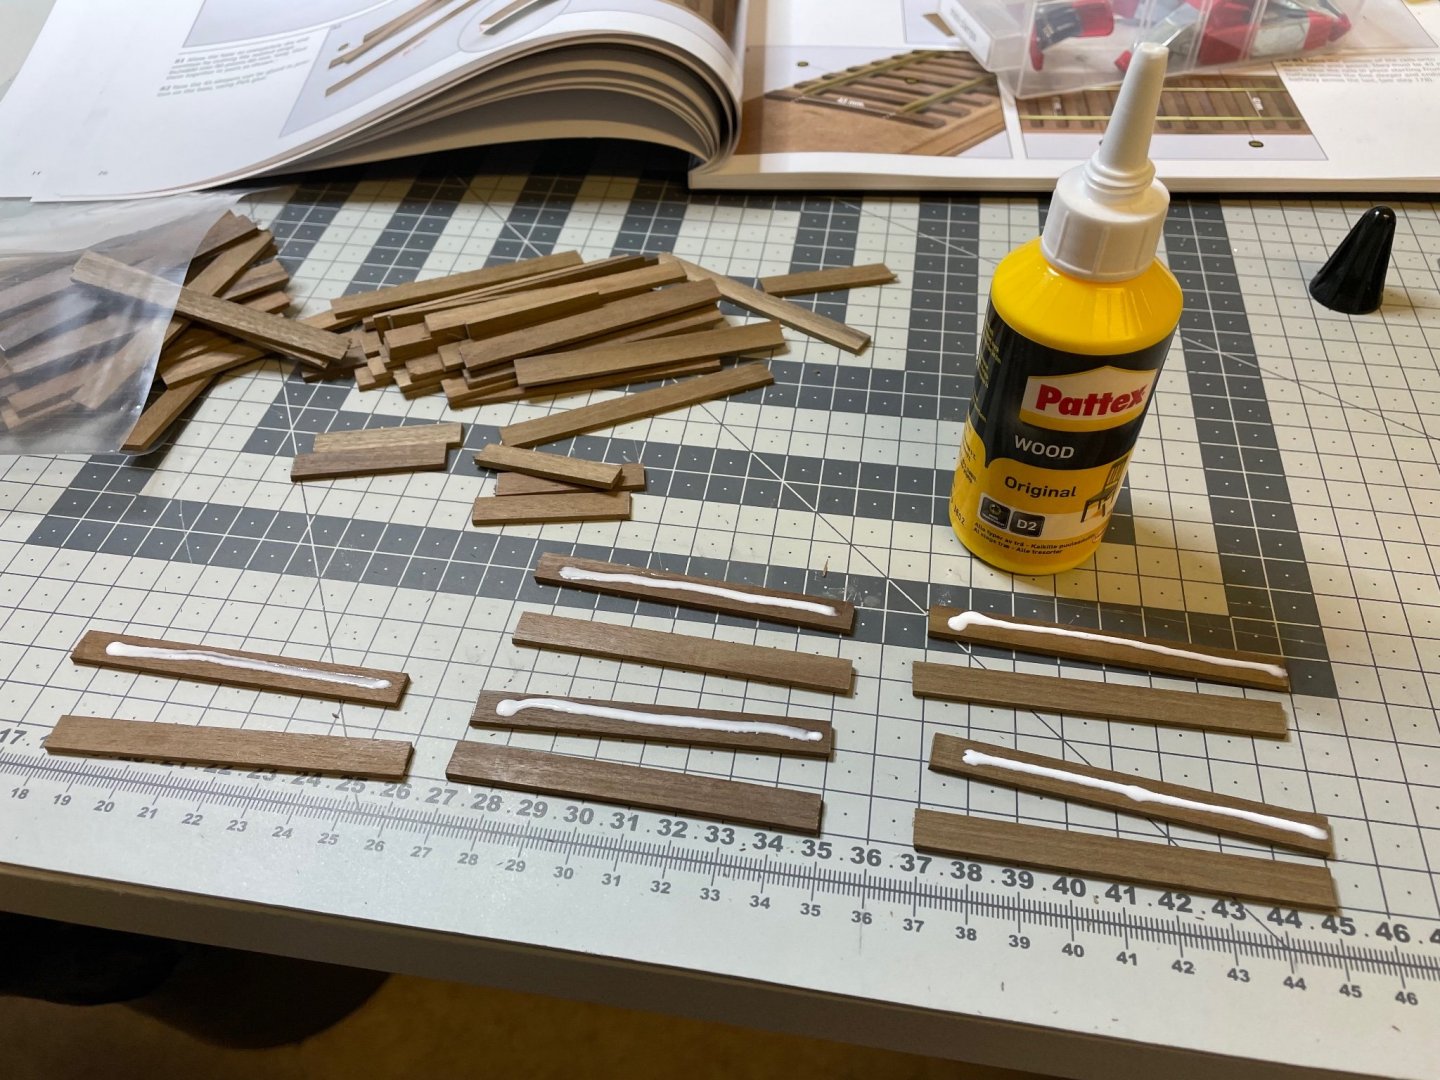
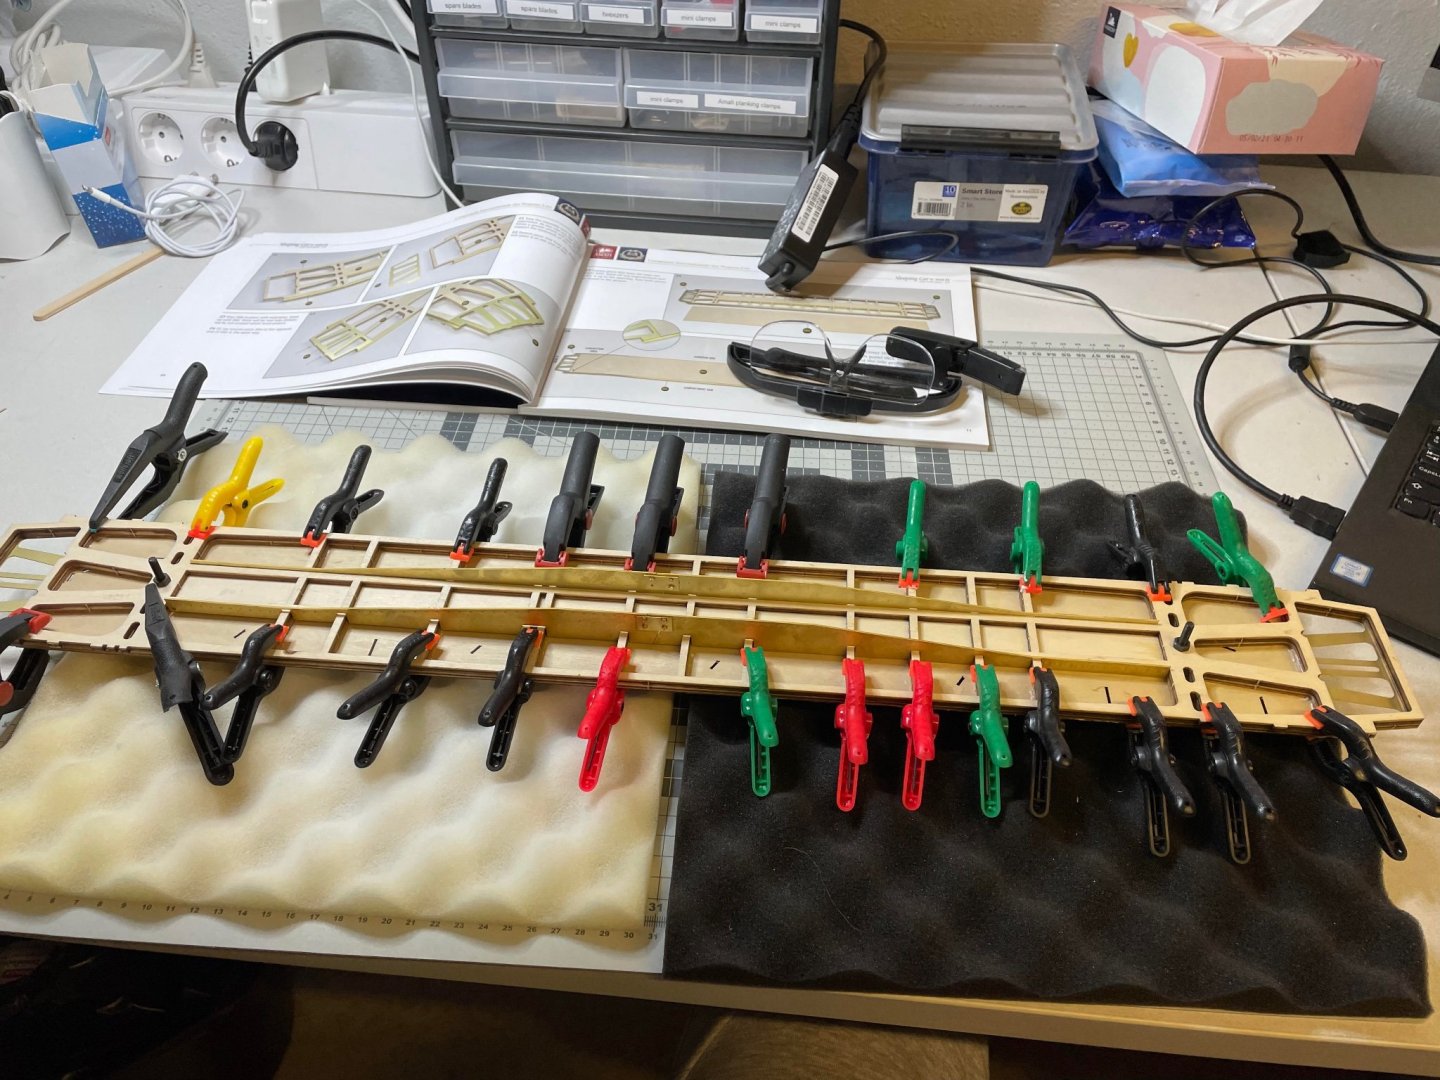
Sleepers You need to cut 80mm size from the 8x2mm walnut strips supplied. Altogether 90 pieces. In the photo that's 1 down, only 89 to go Figure 52: I used saw to cut them. Figure 53-55: Each two are then are glued in pair to end up with 45 sleepers. Figure 56: That's all for today! Thanks for watching!


- 293 replies
-
- 13
-

-
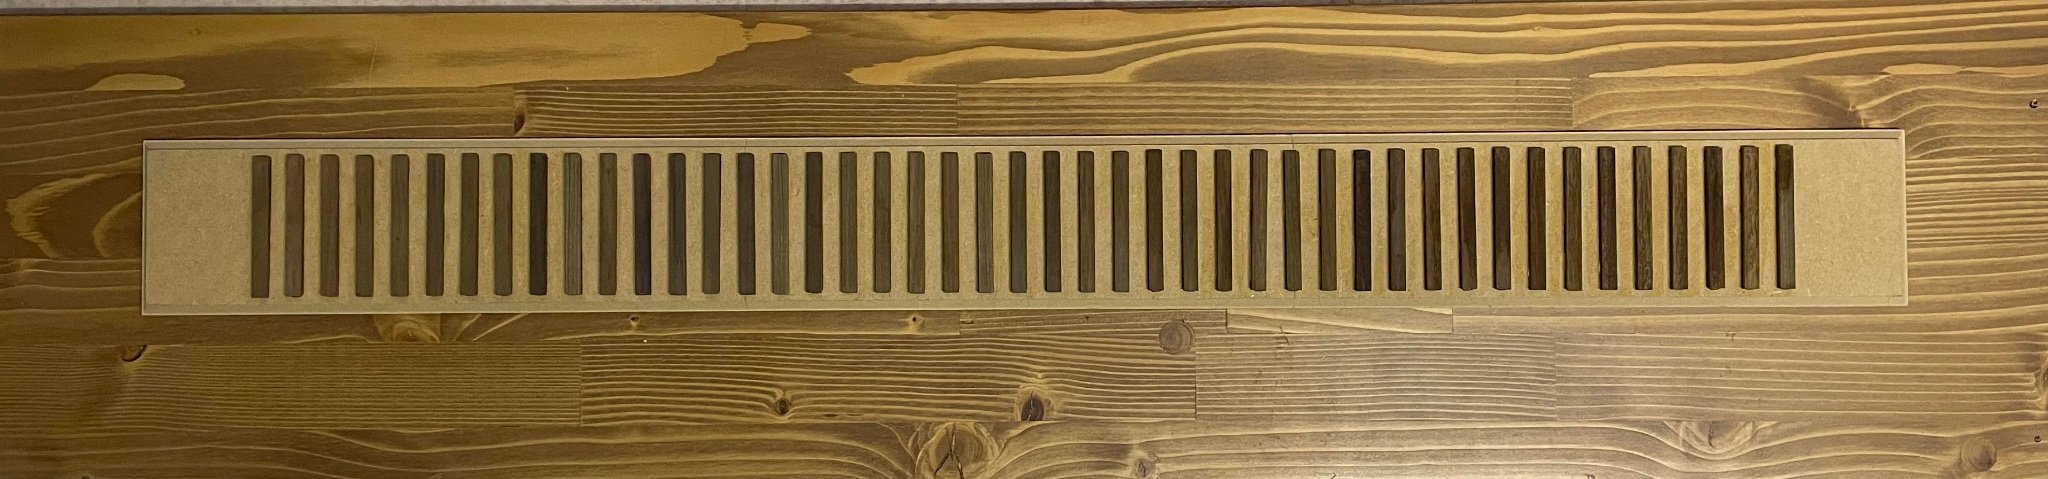
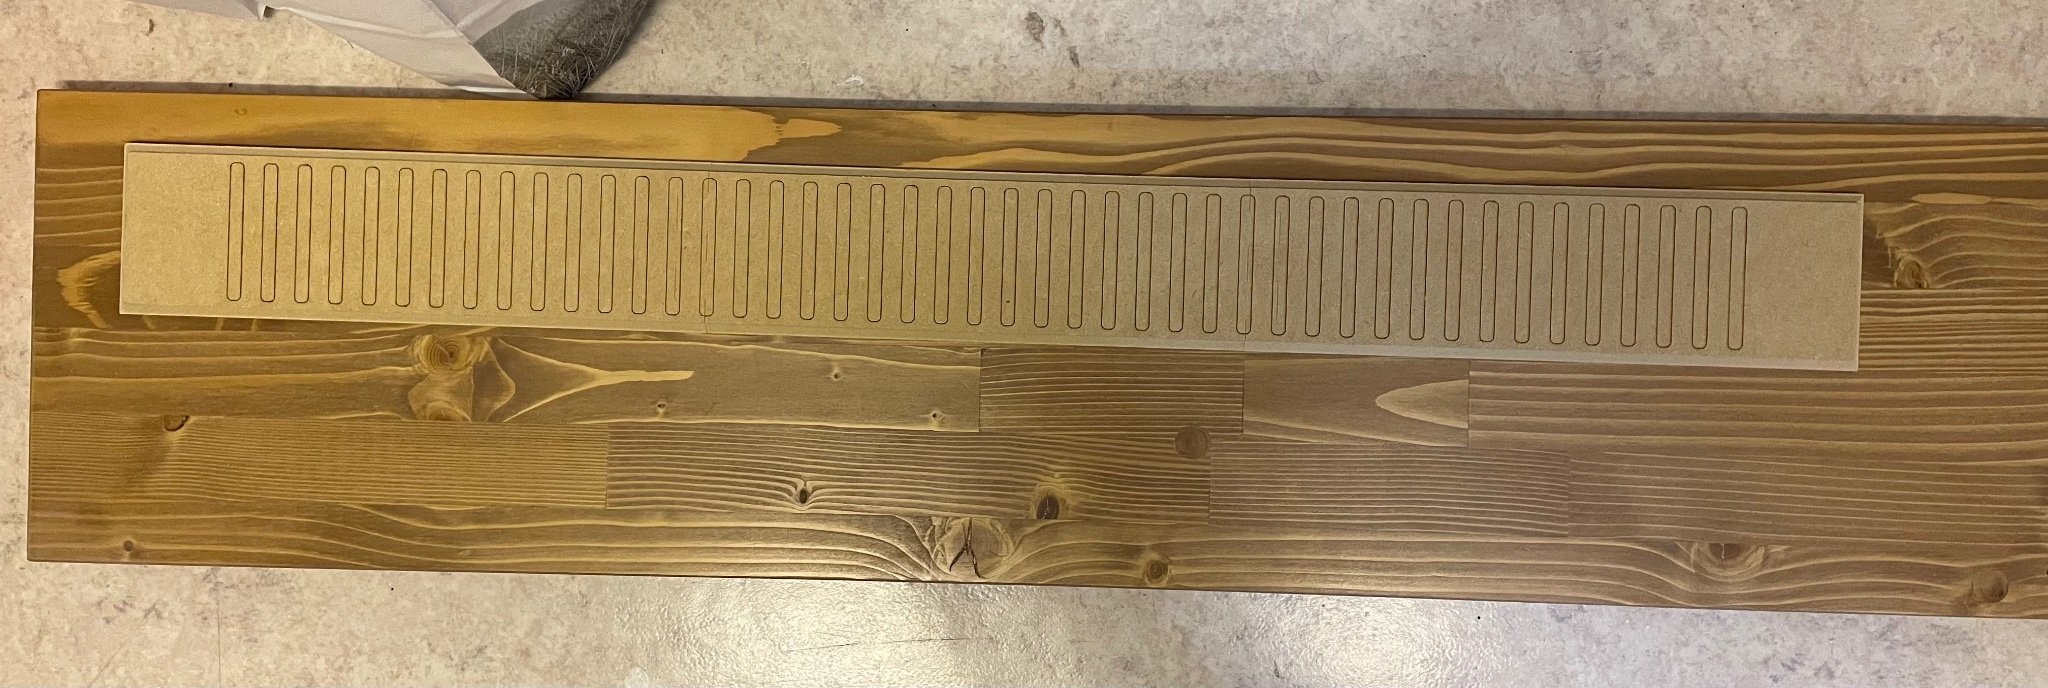
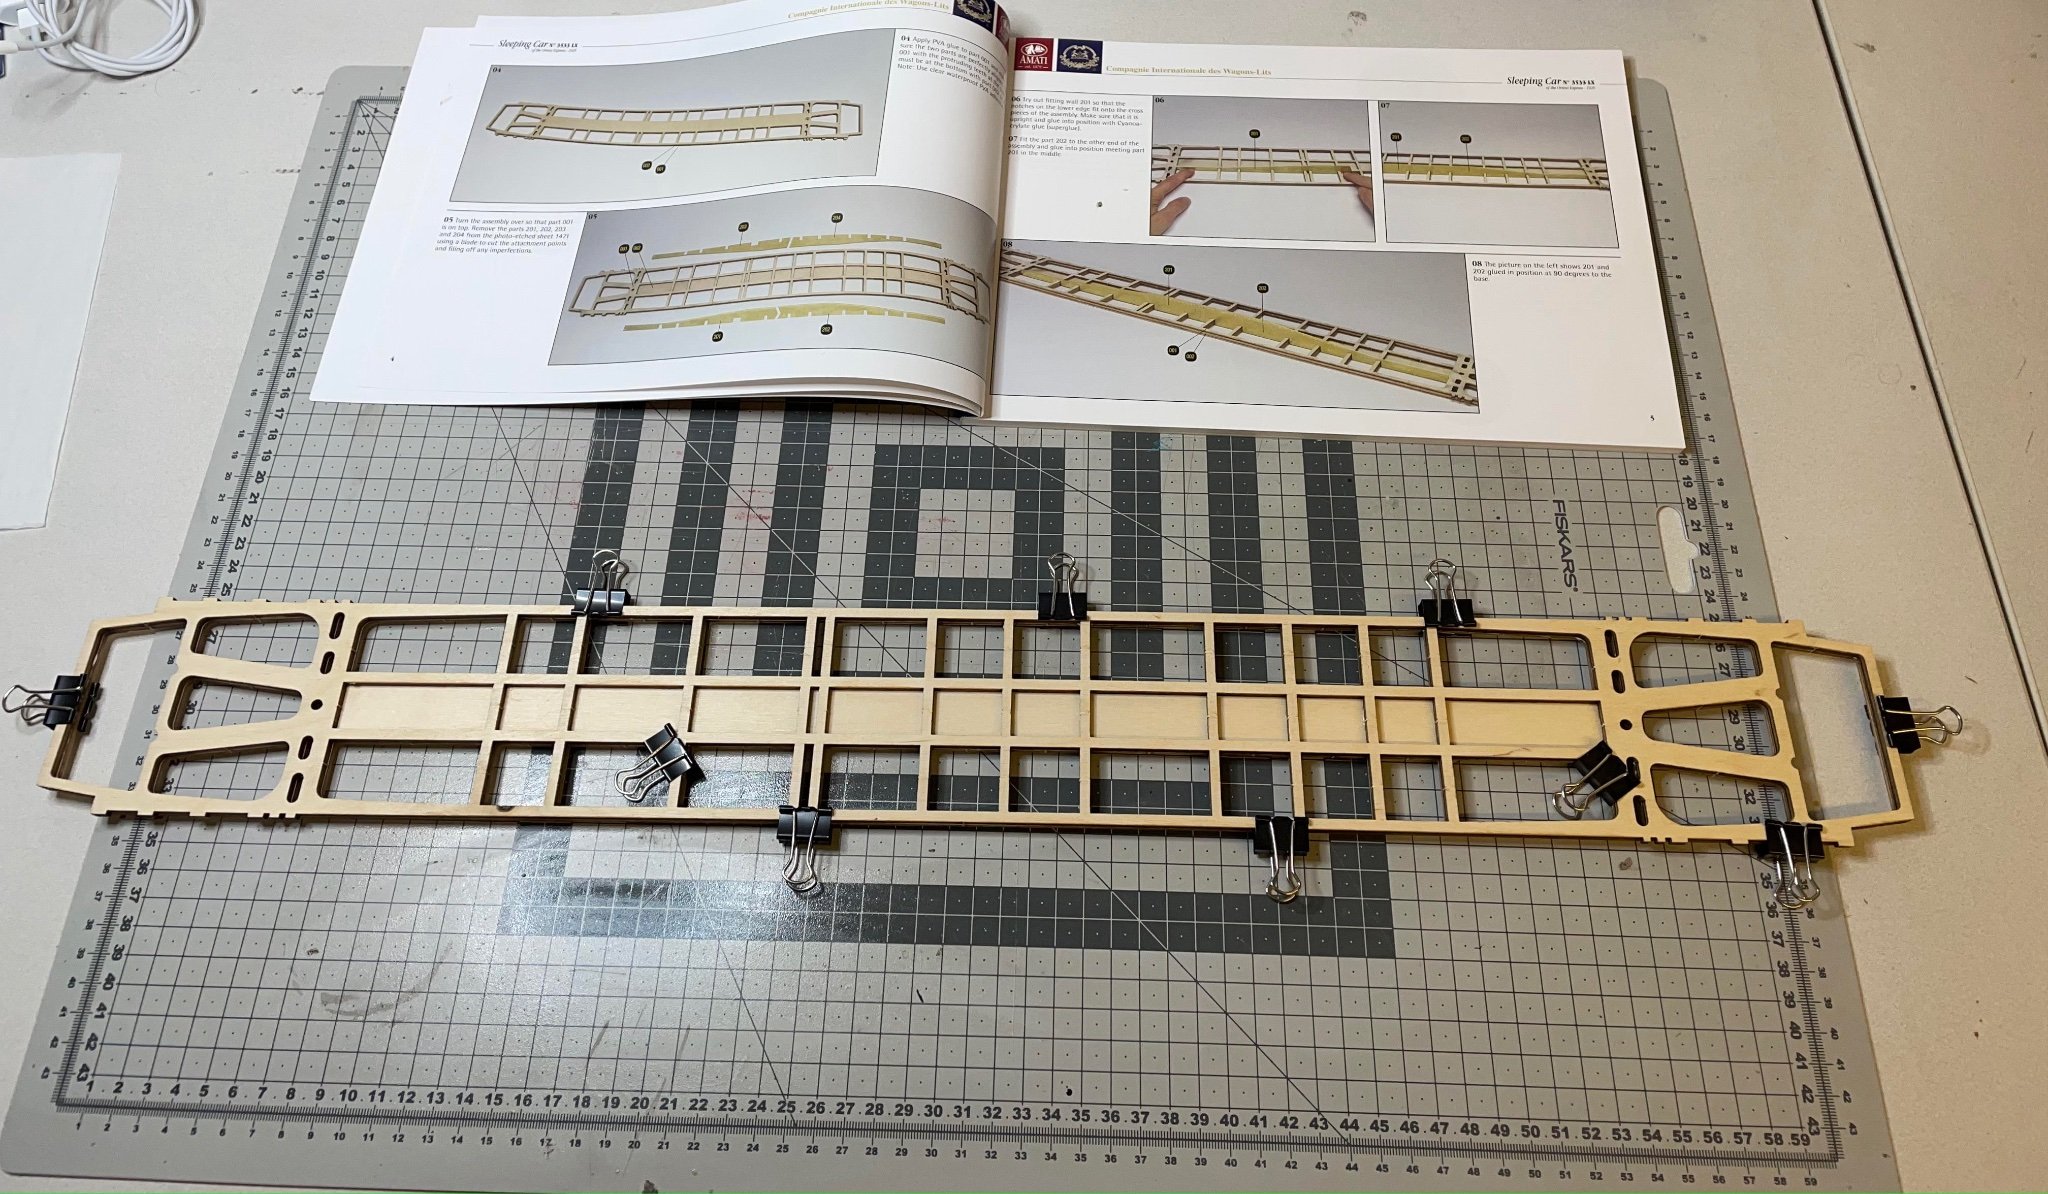
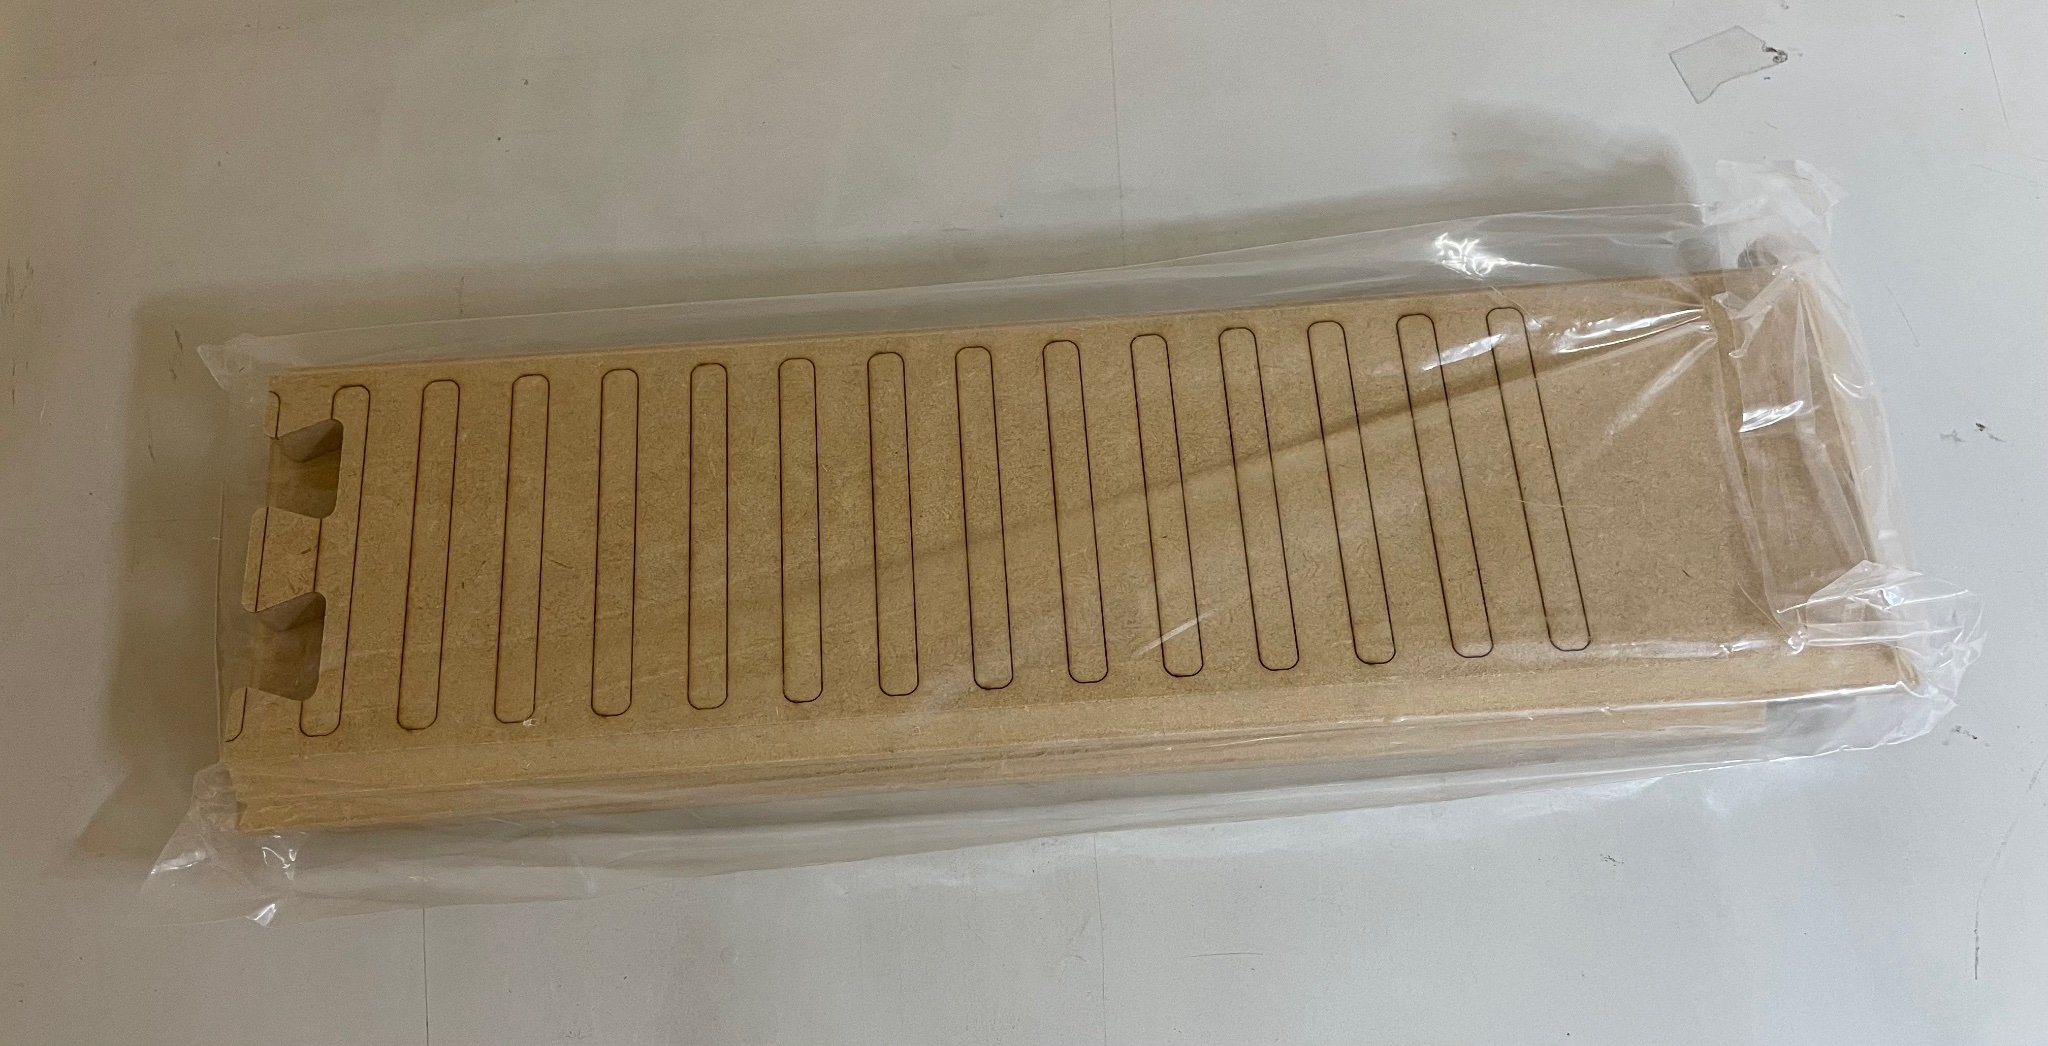
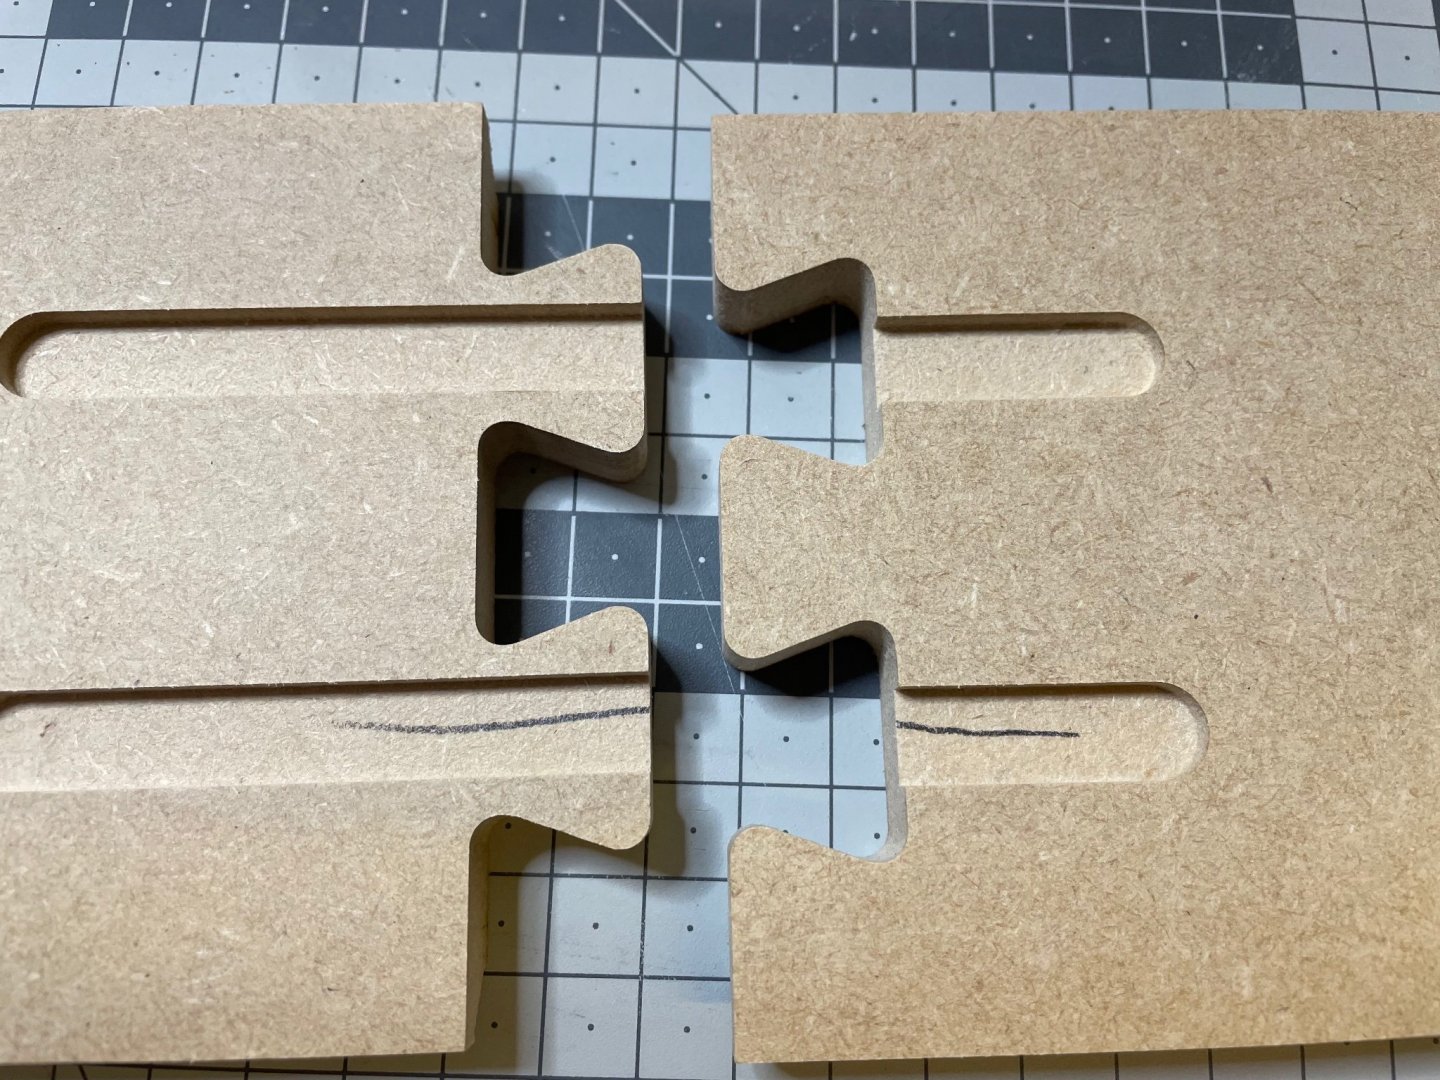
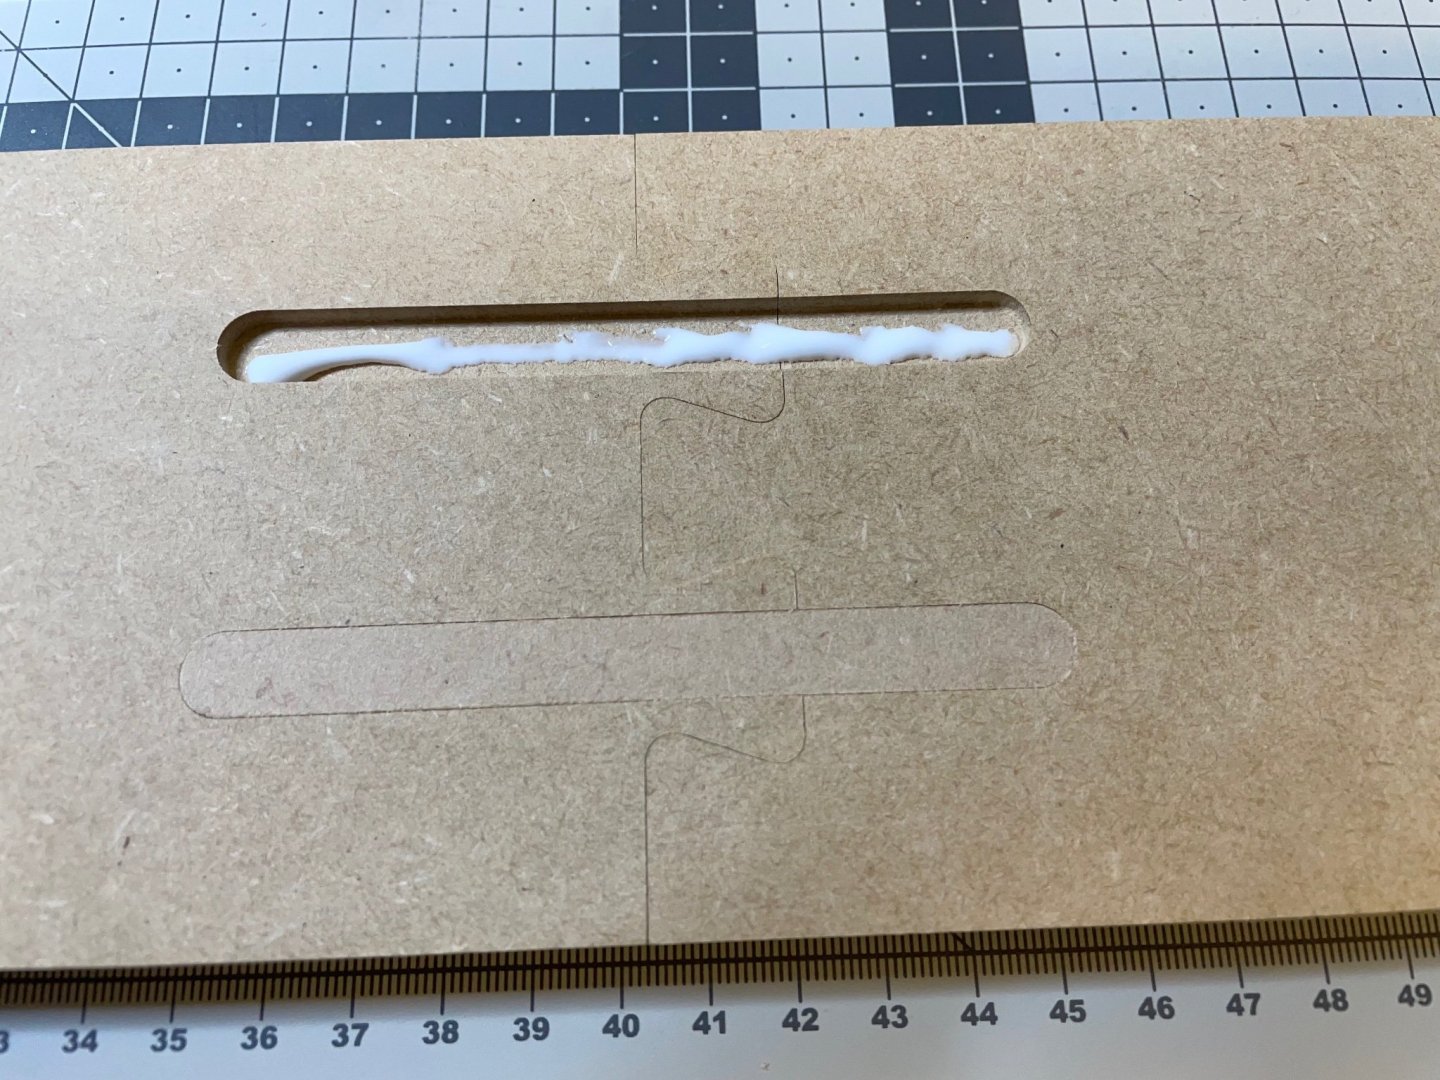
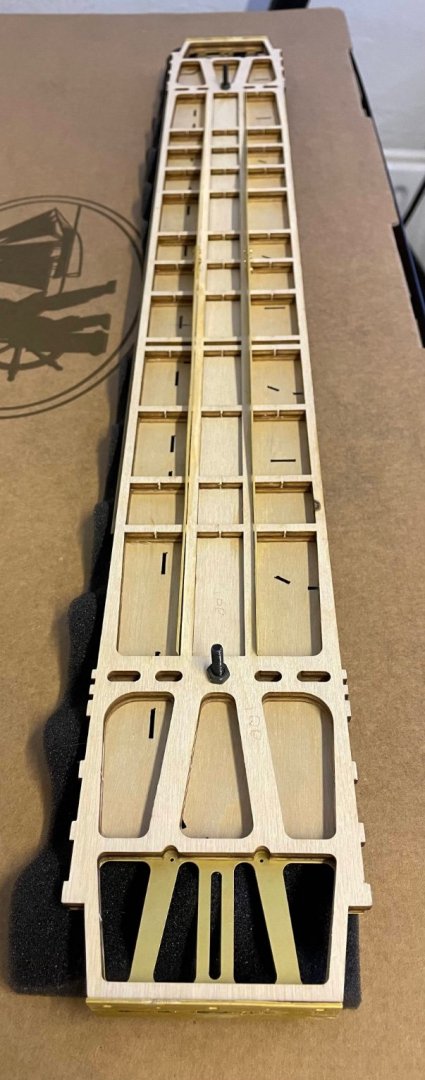
Rails. Well I am not a big fan of dioramas. I don't like adding even human figures, I just prefer to display the model just as it is. It is a question of taste. Having said that I will give a shot to build the rails. The main reason being the instructions say they will be used to align the wheels later. I am not sure if I would put it to the final display. It is 1 meter long, adding almost 25cms to the length of the wagon. MDF base plates fit extremely precisely. The pencil mark on the back in two of the grooves tell matching parts. Figures 48-52


-
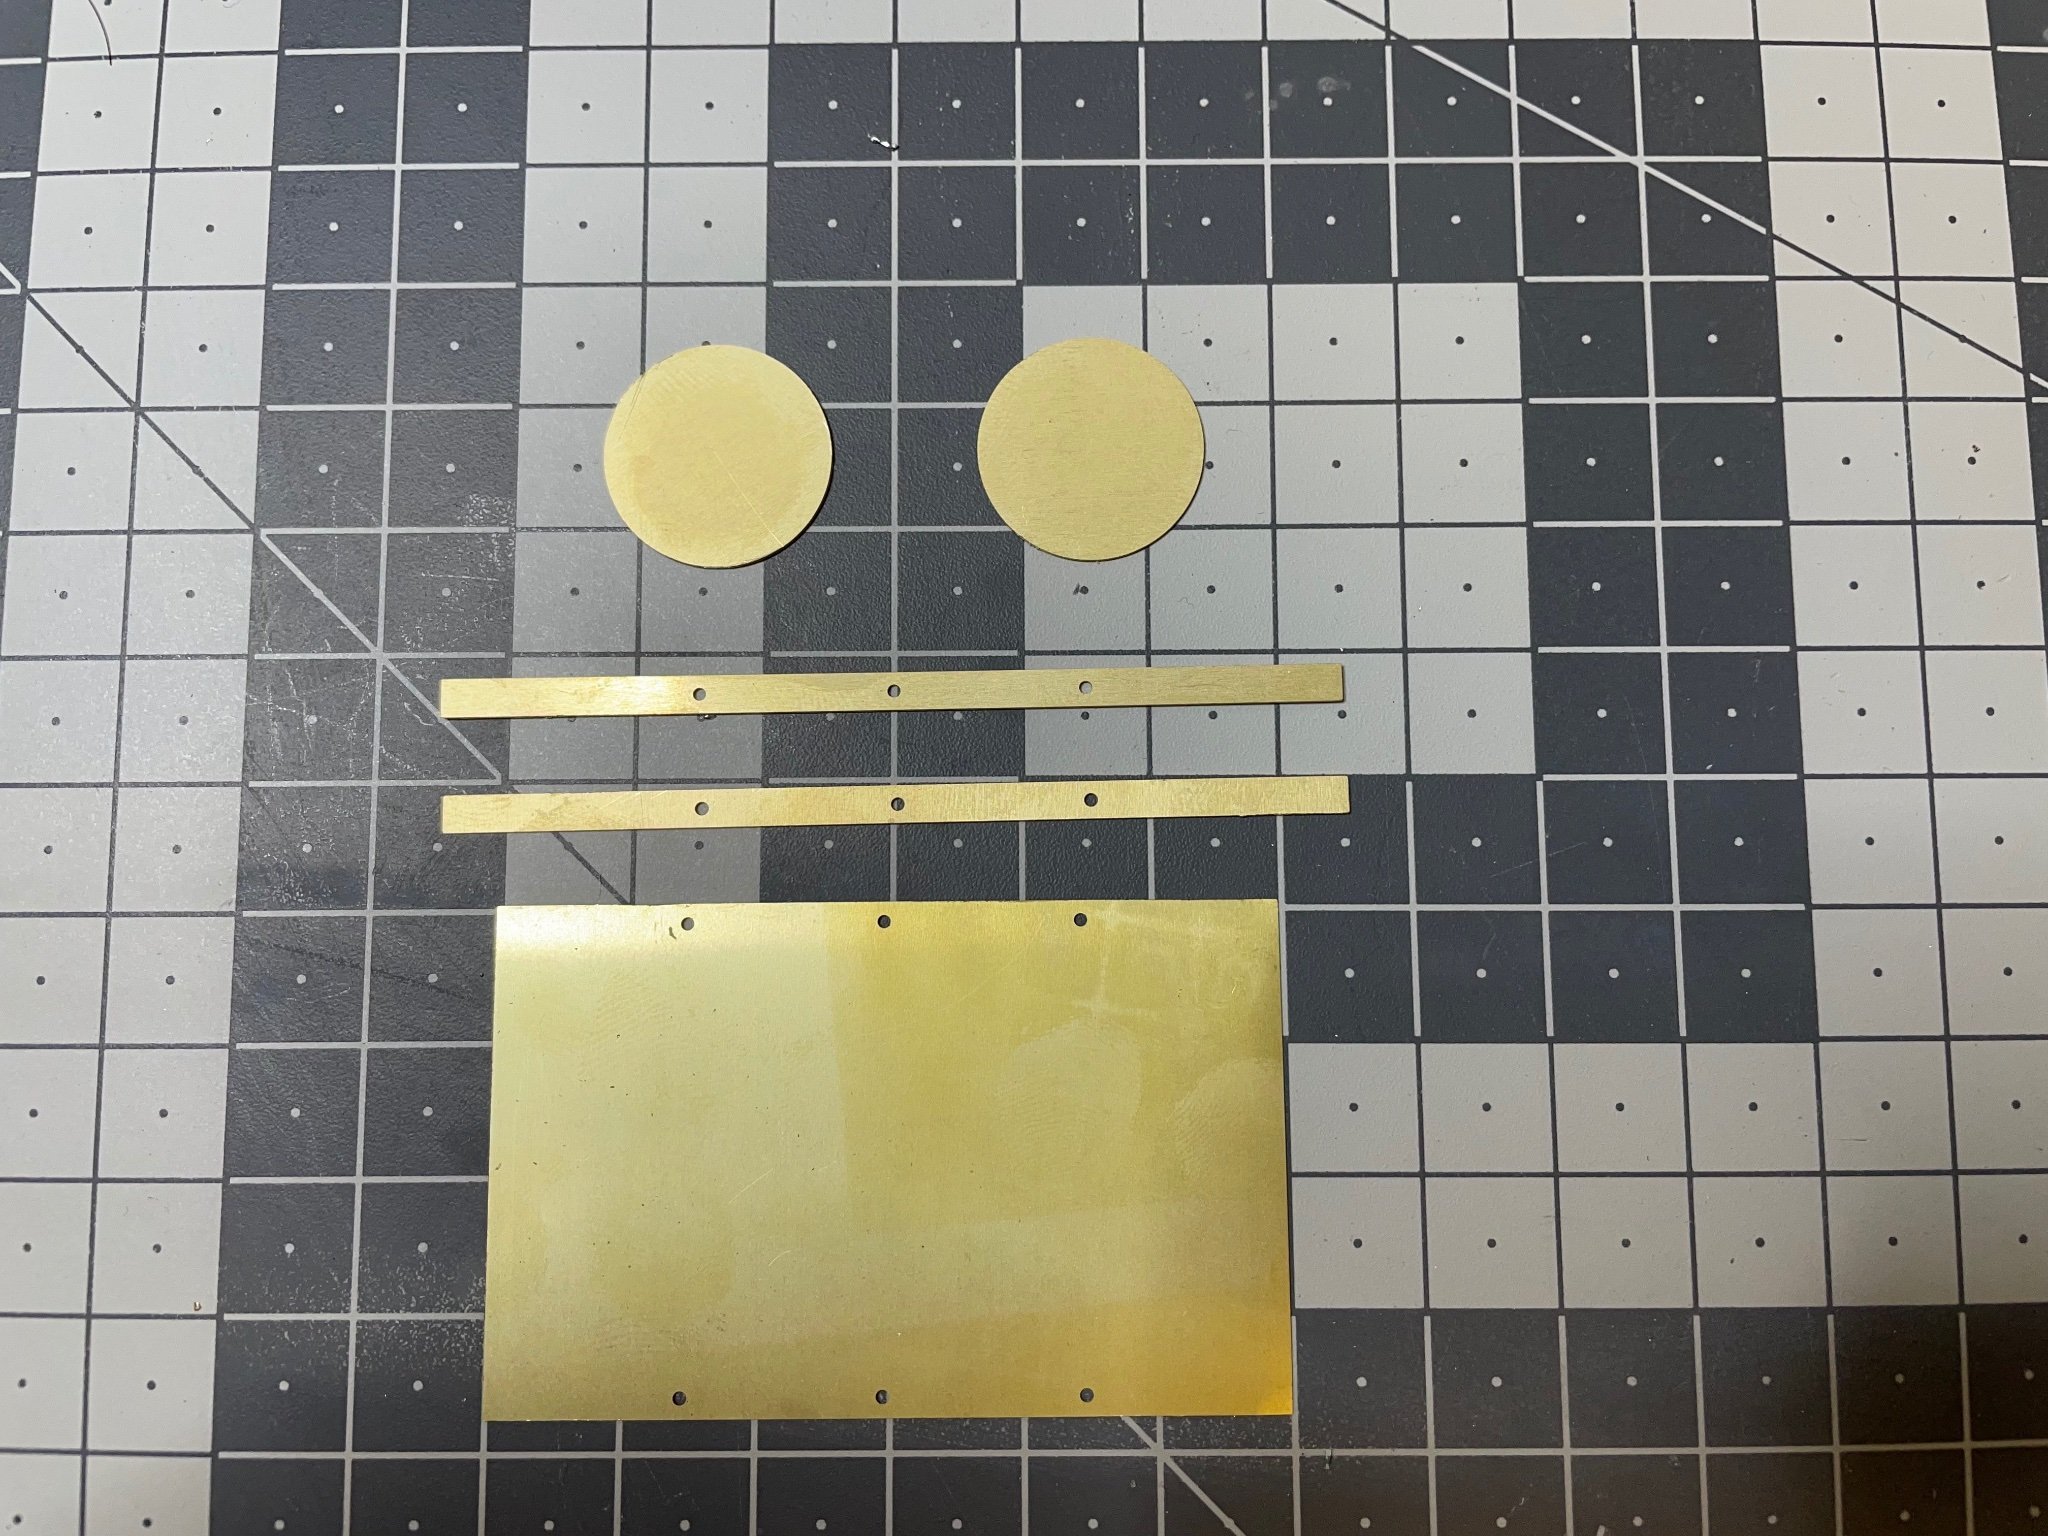
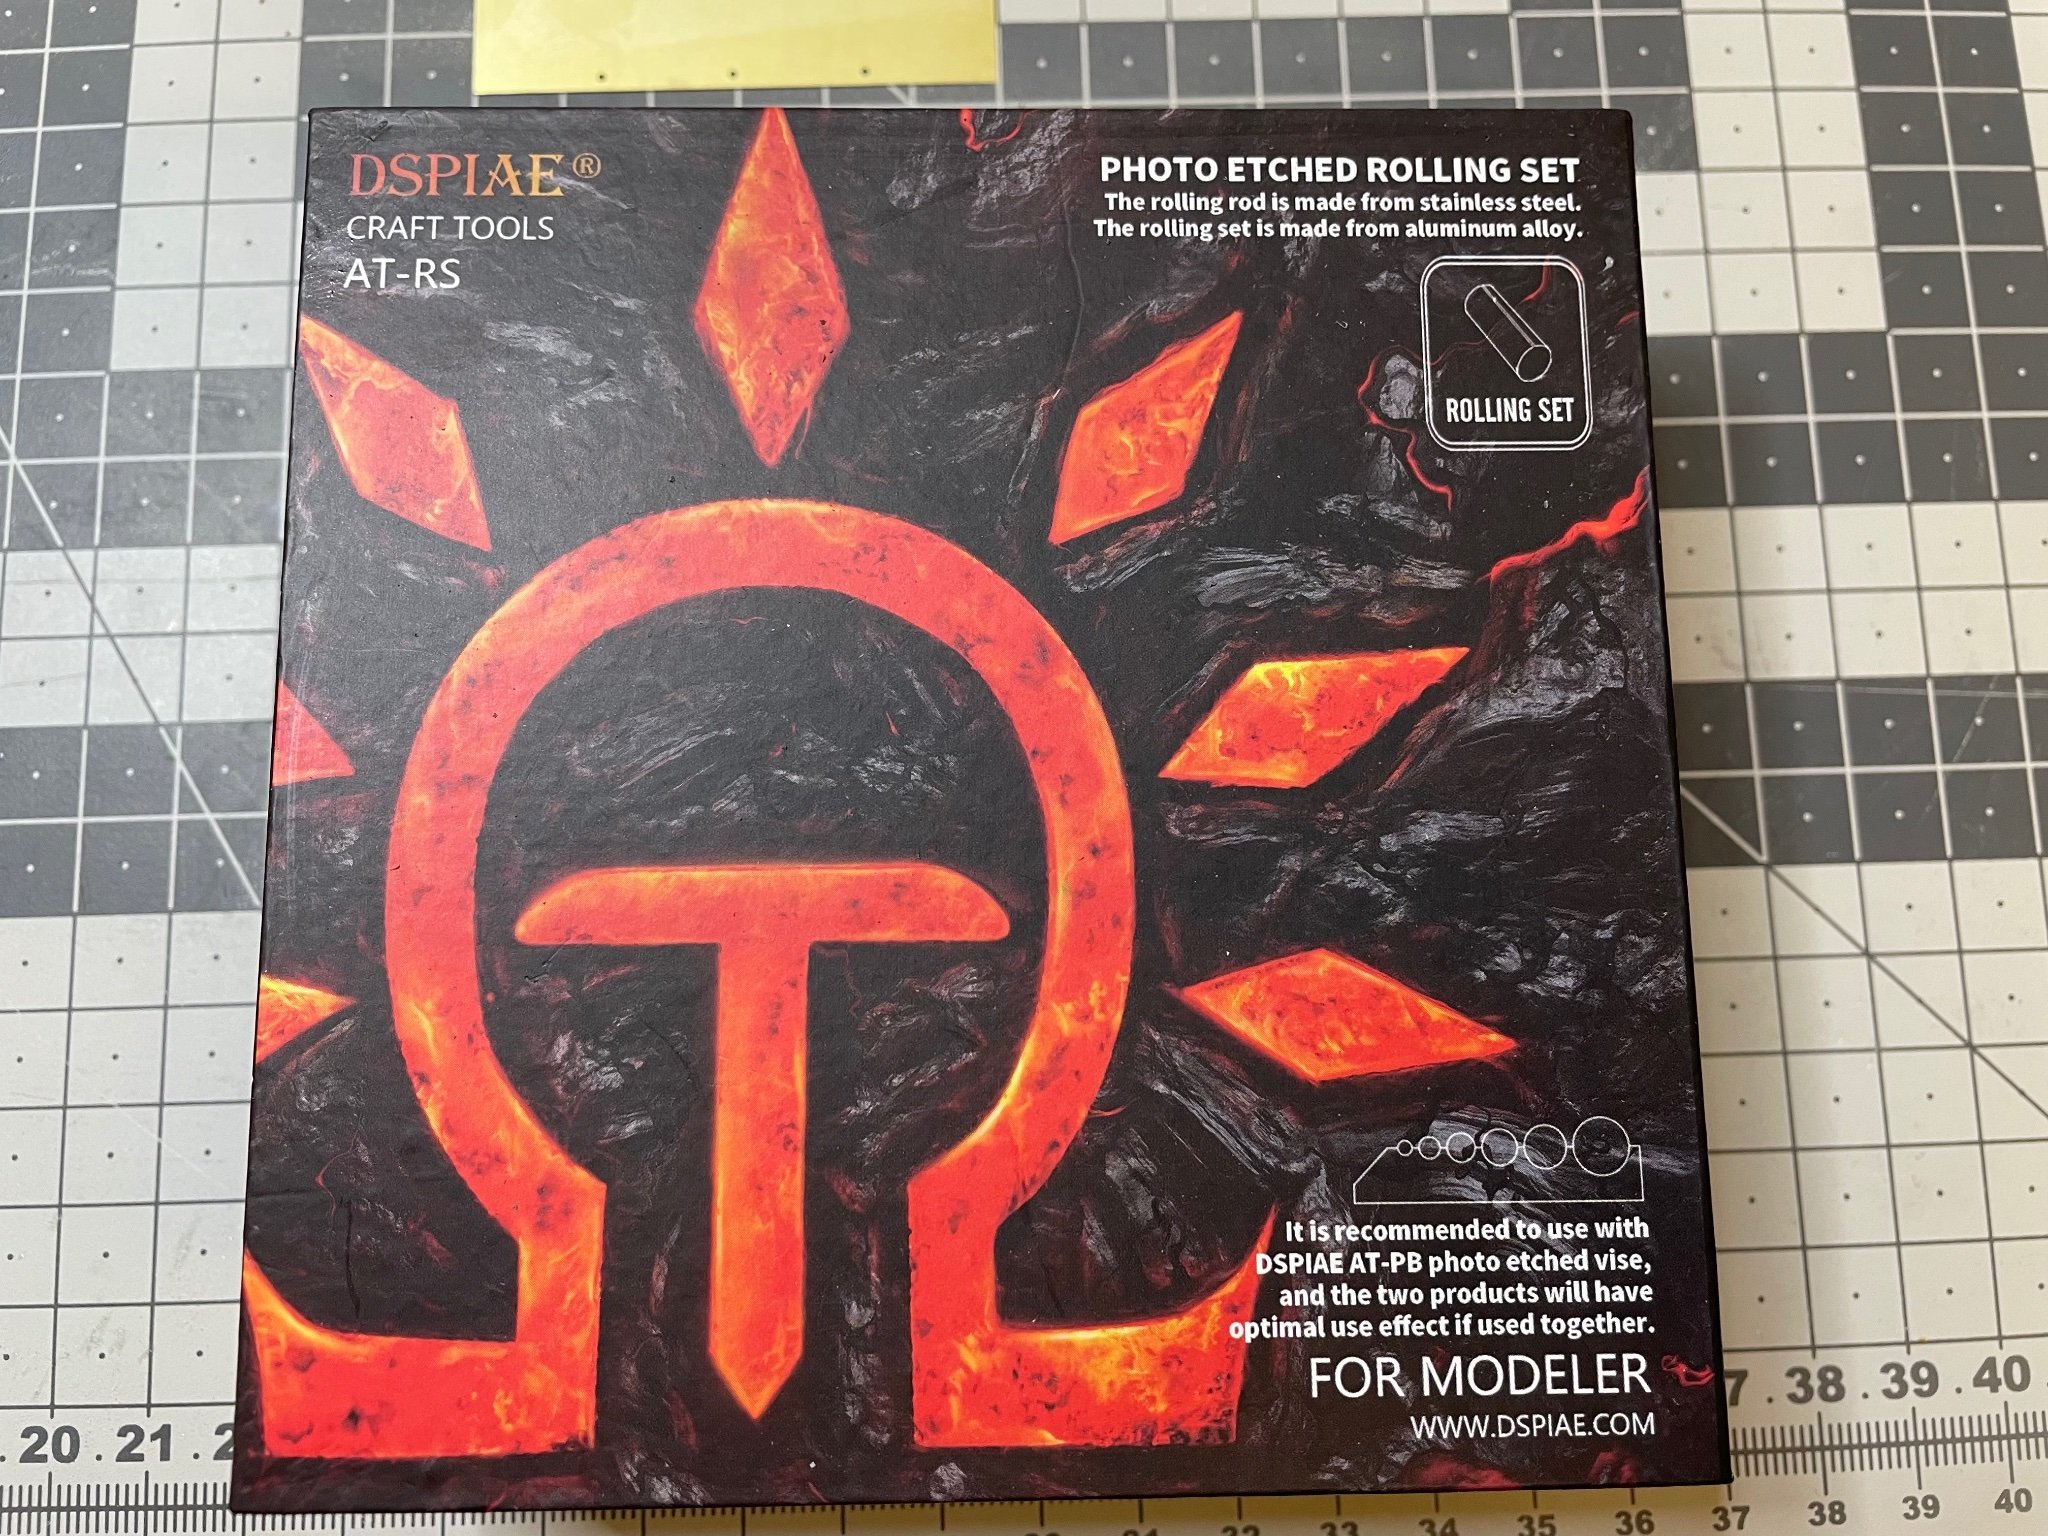
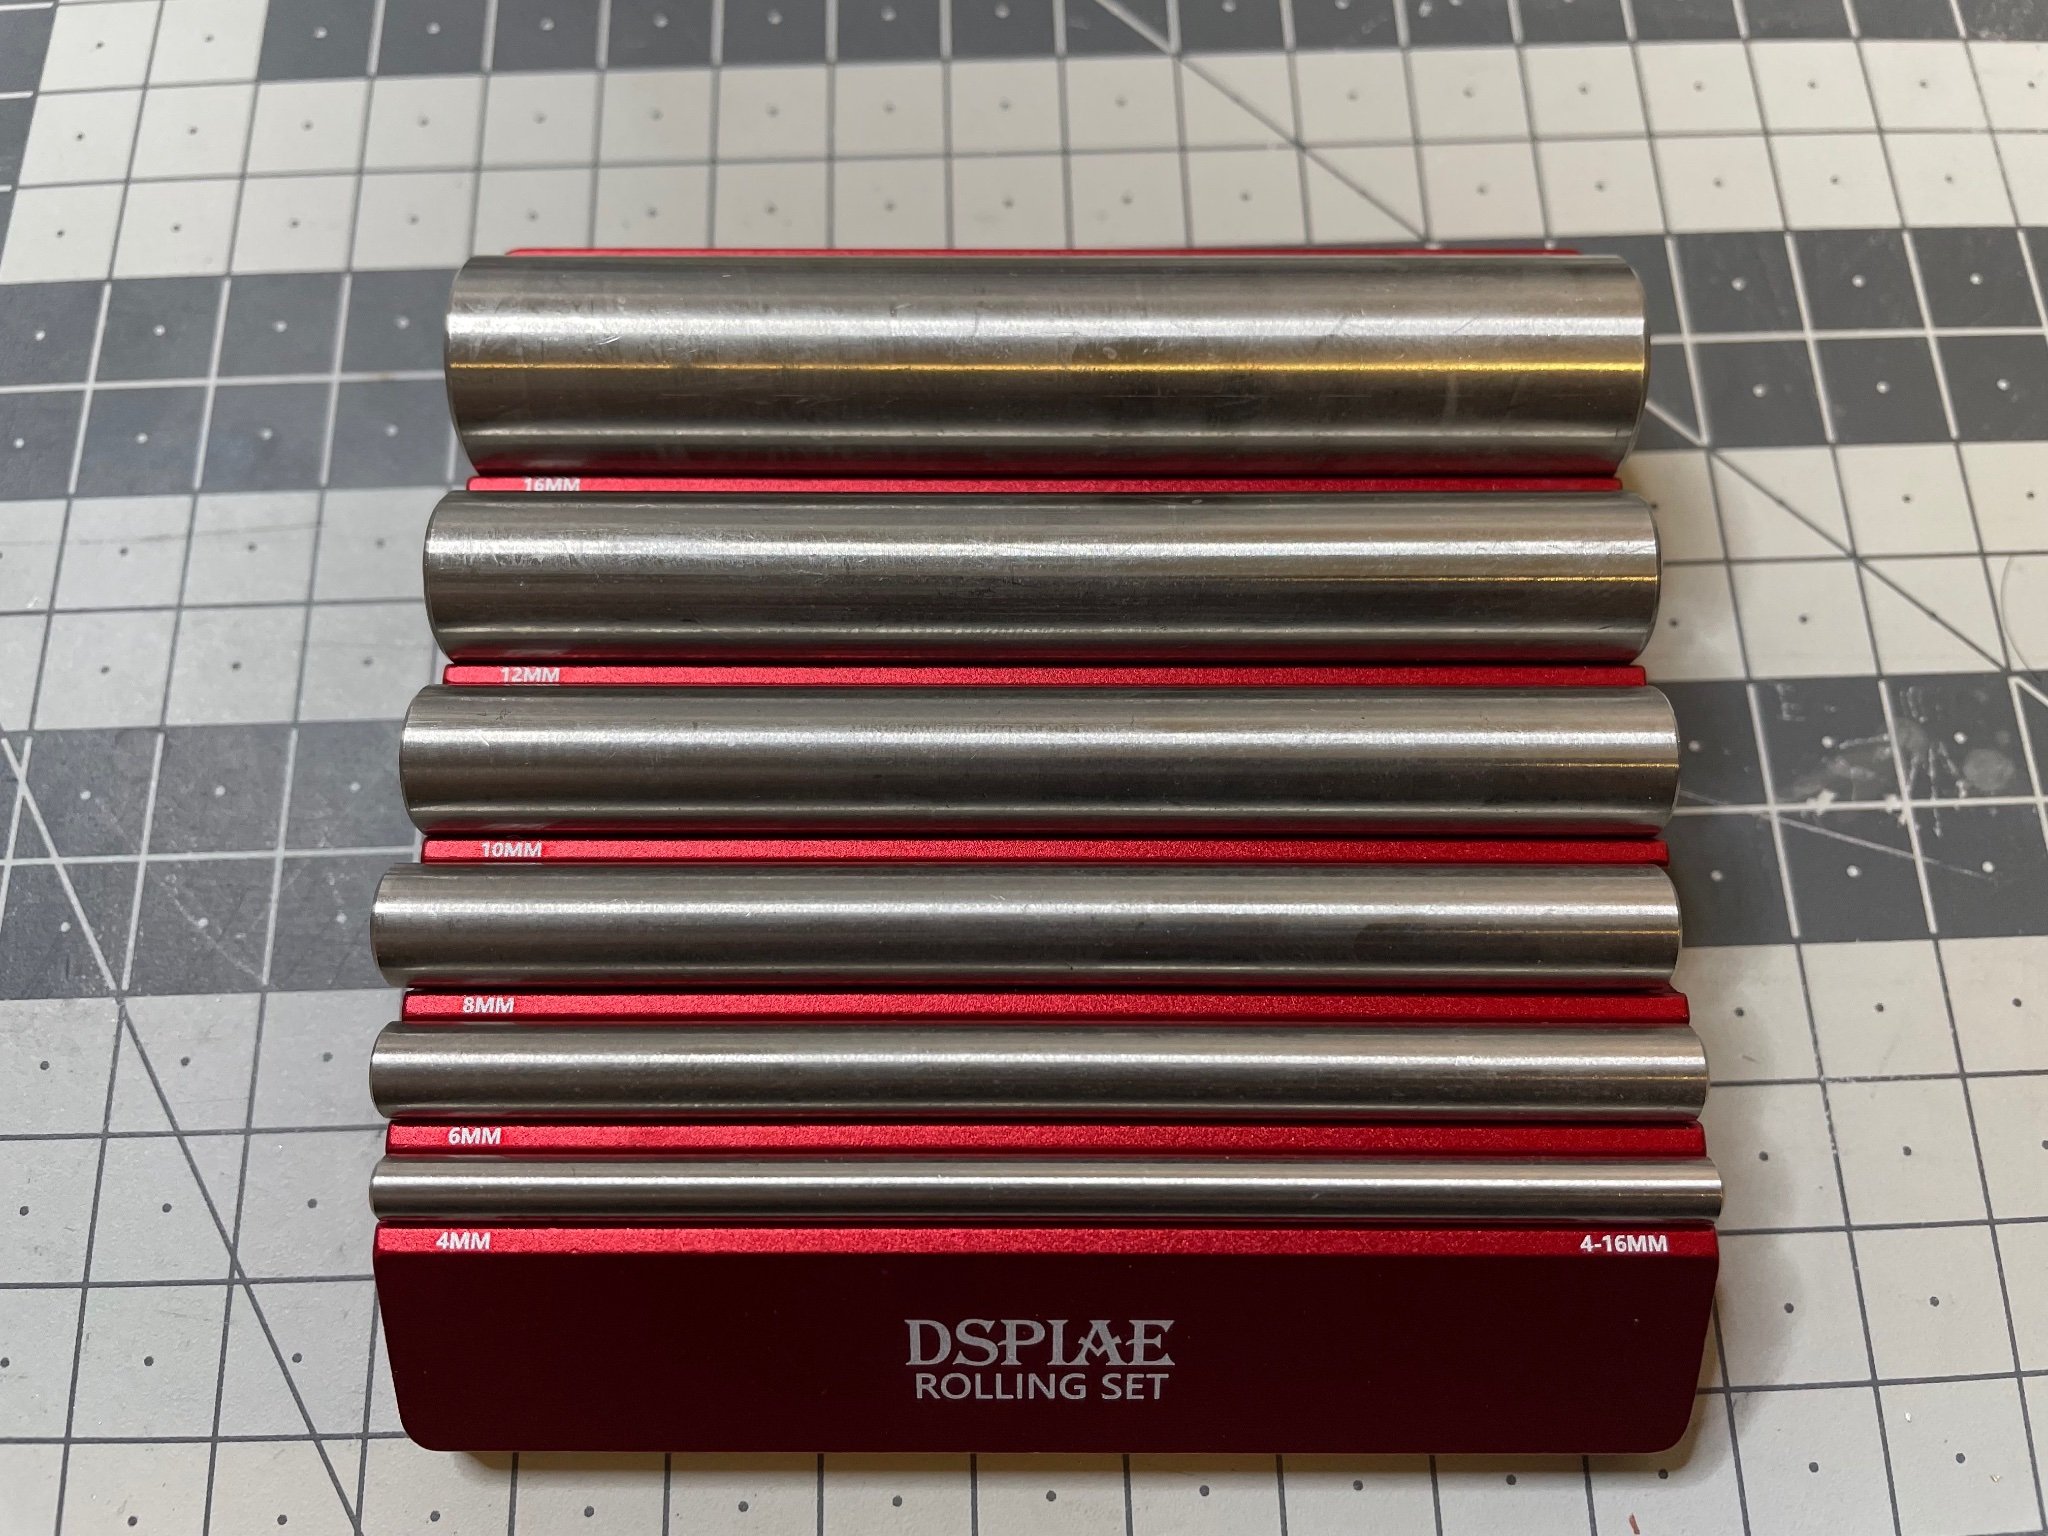
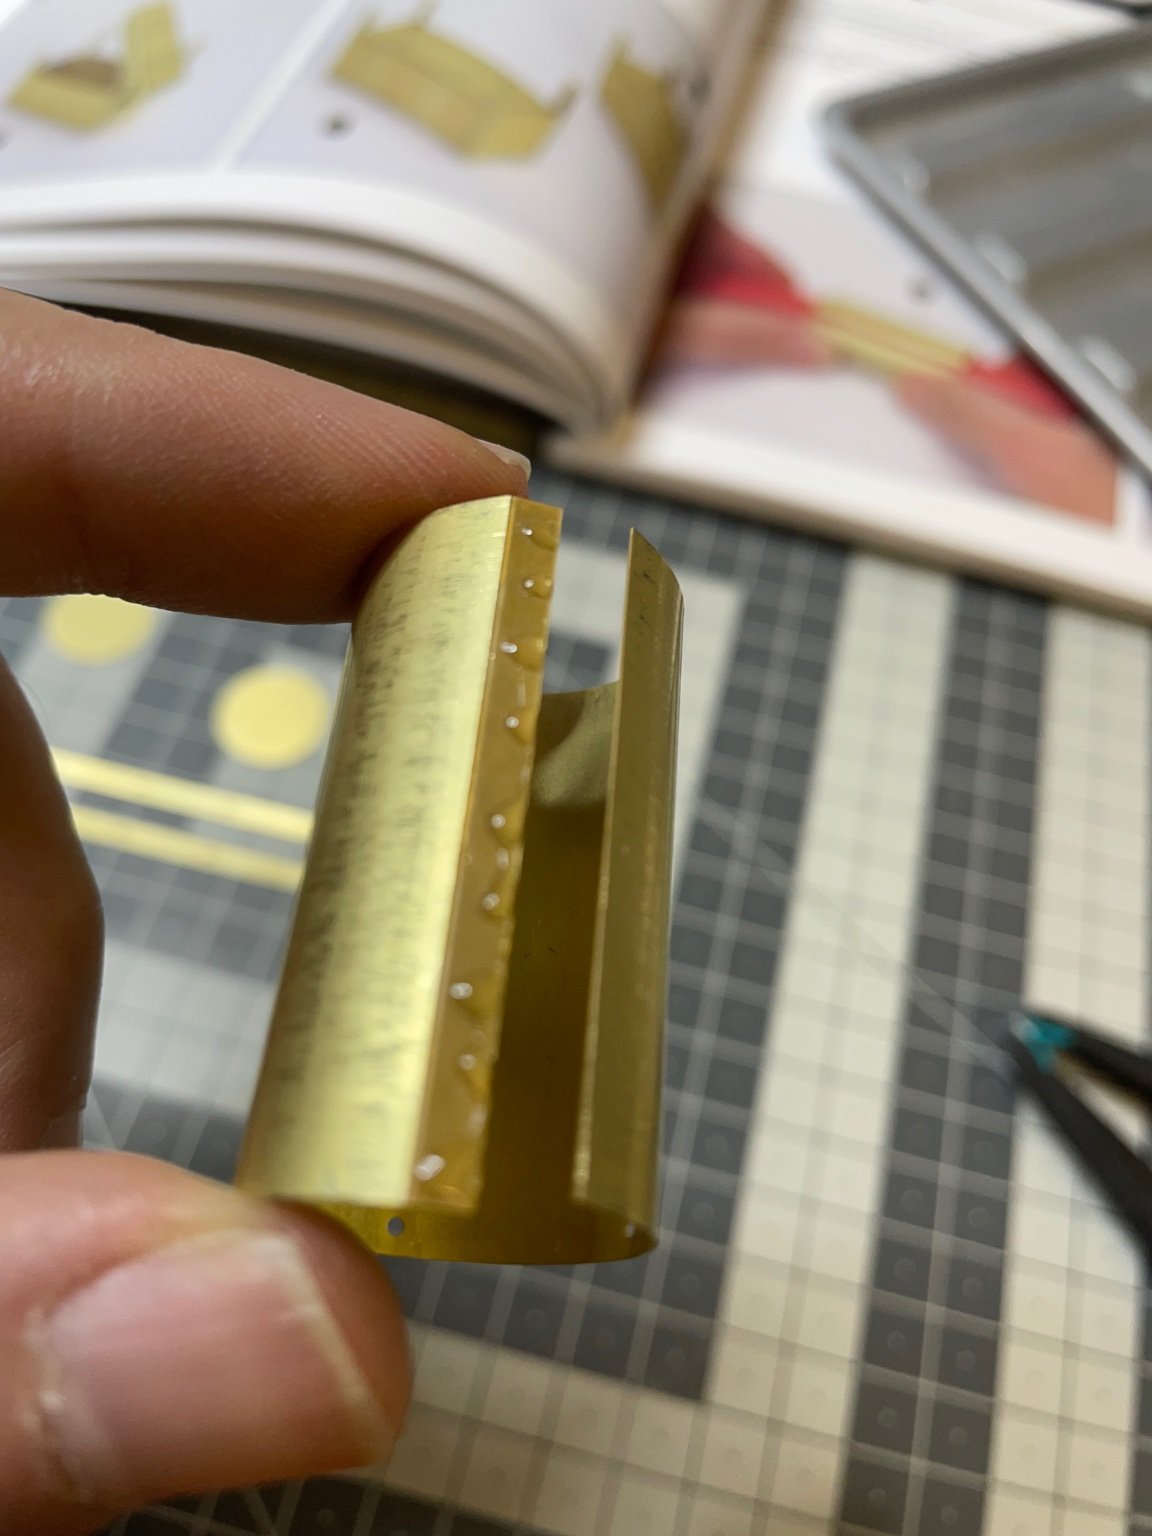
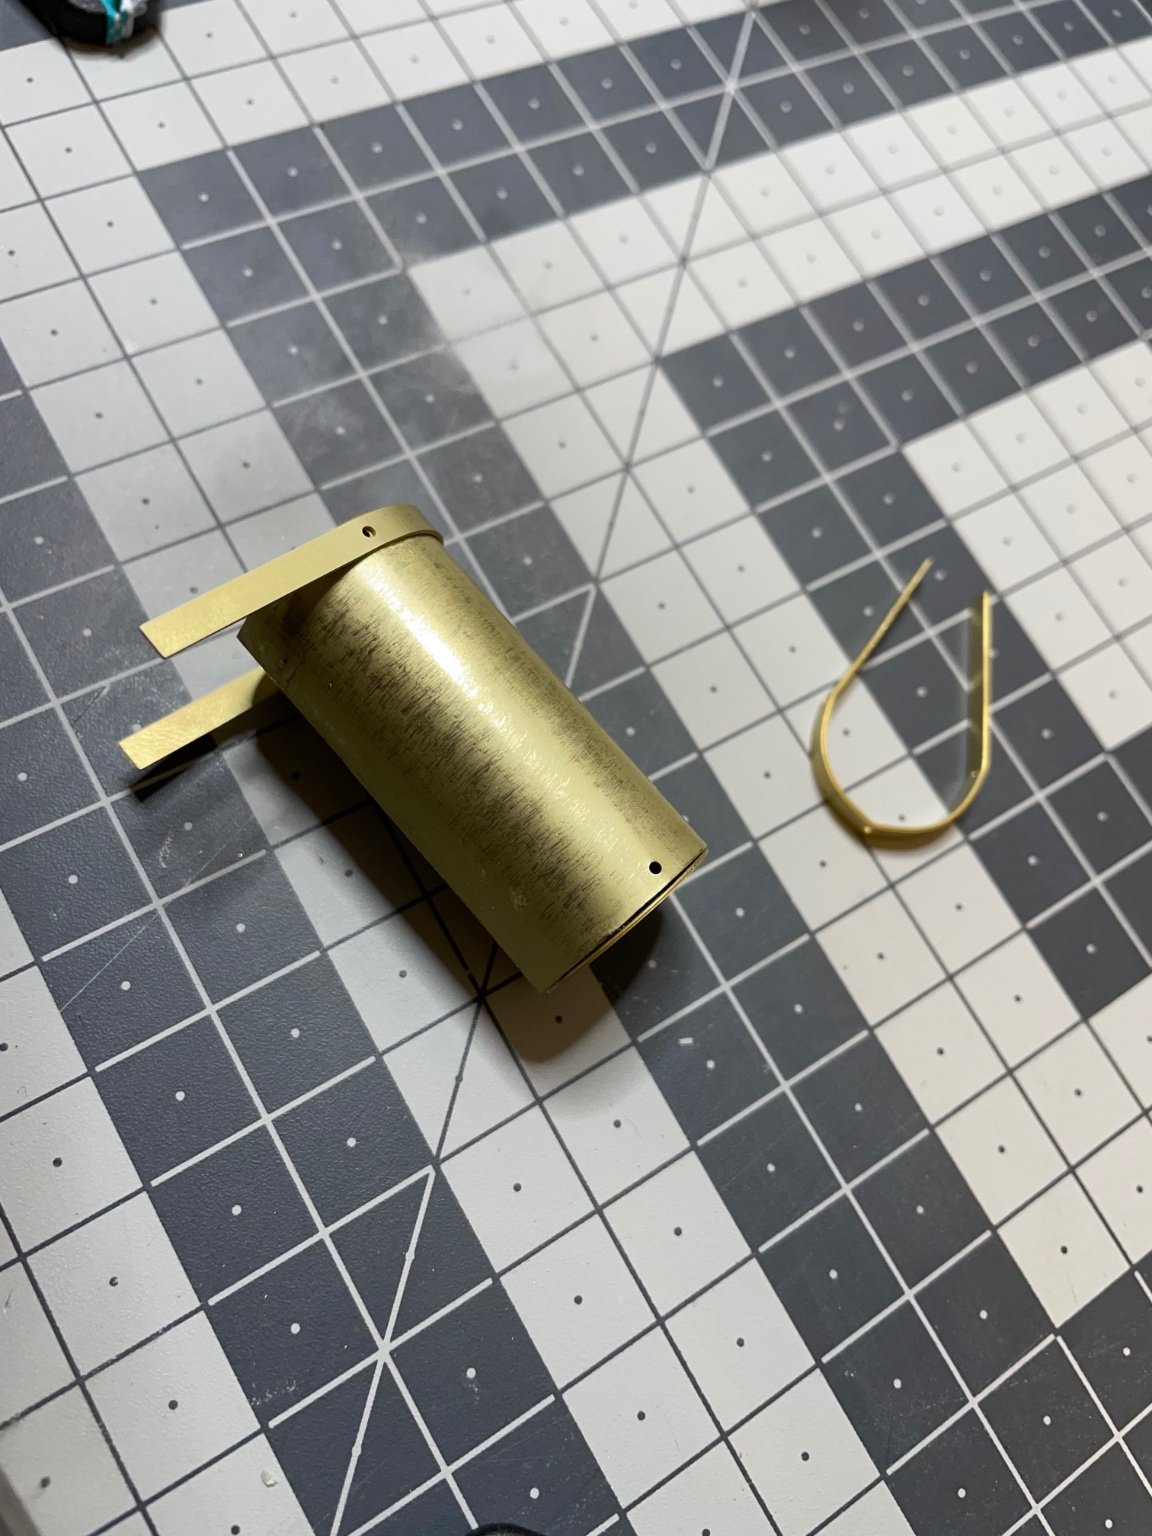
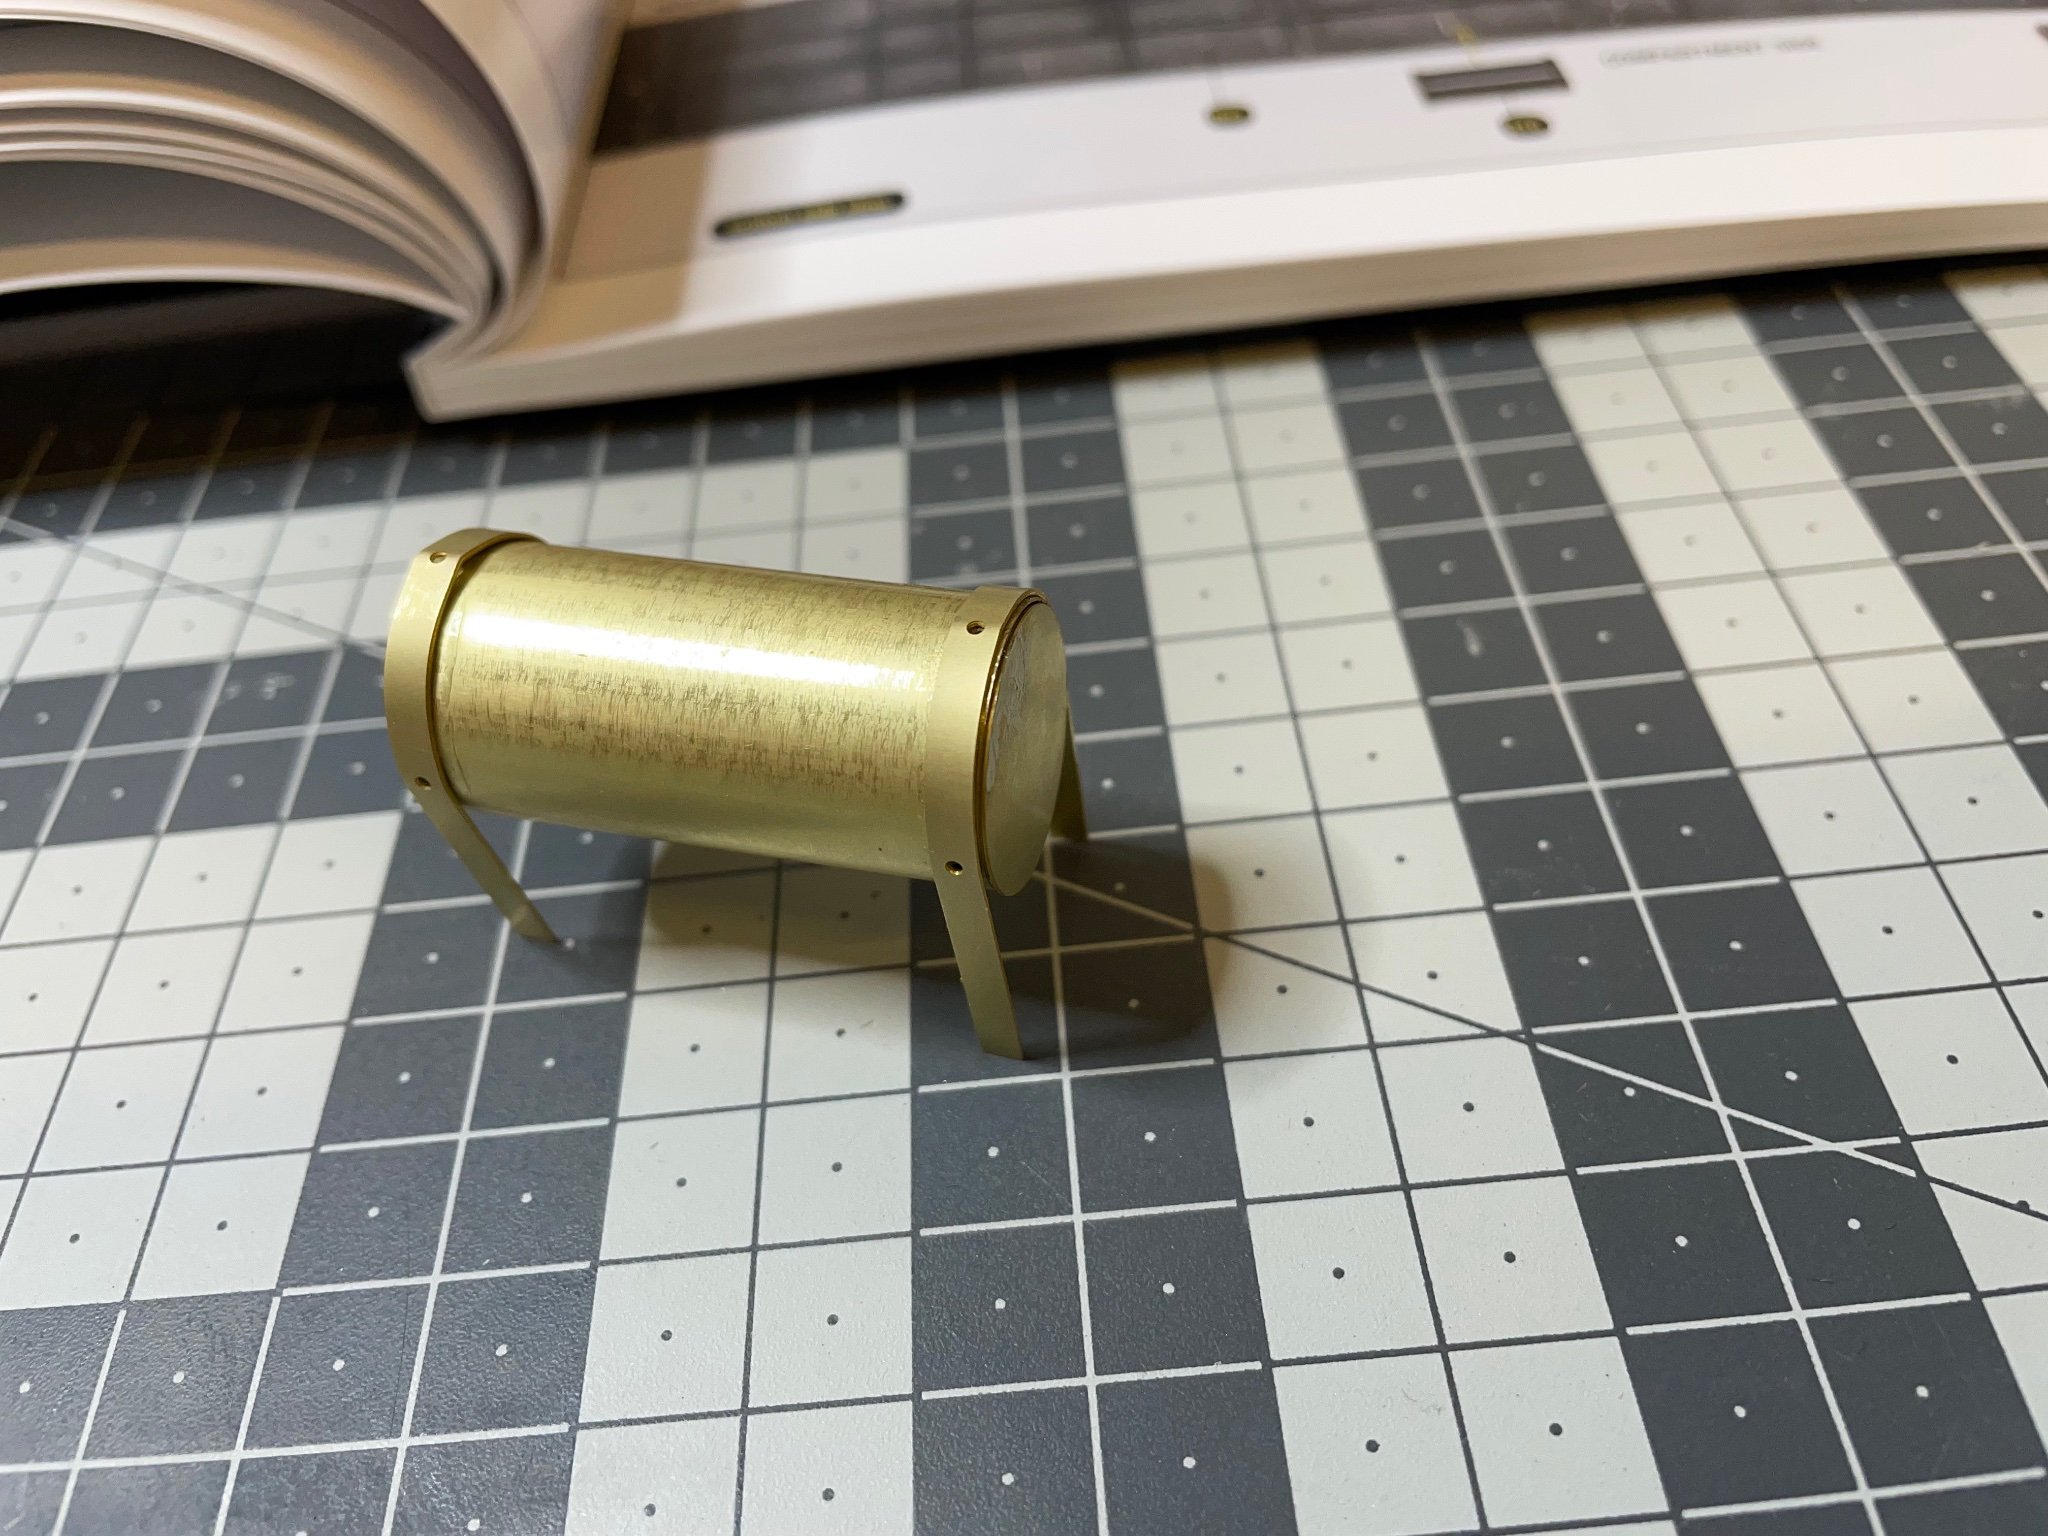
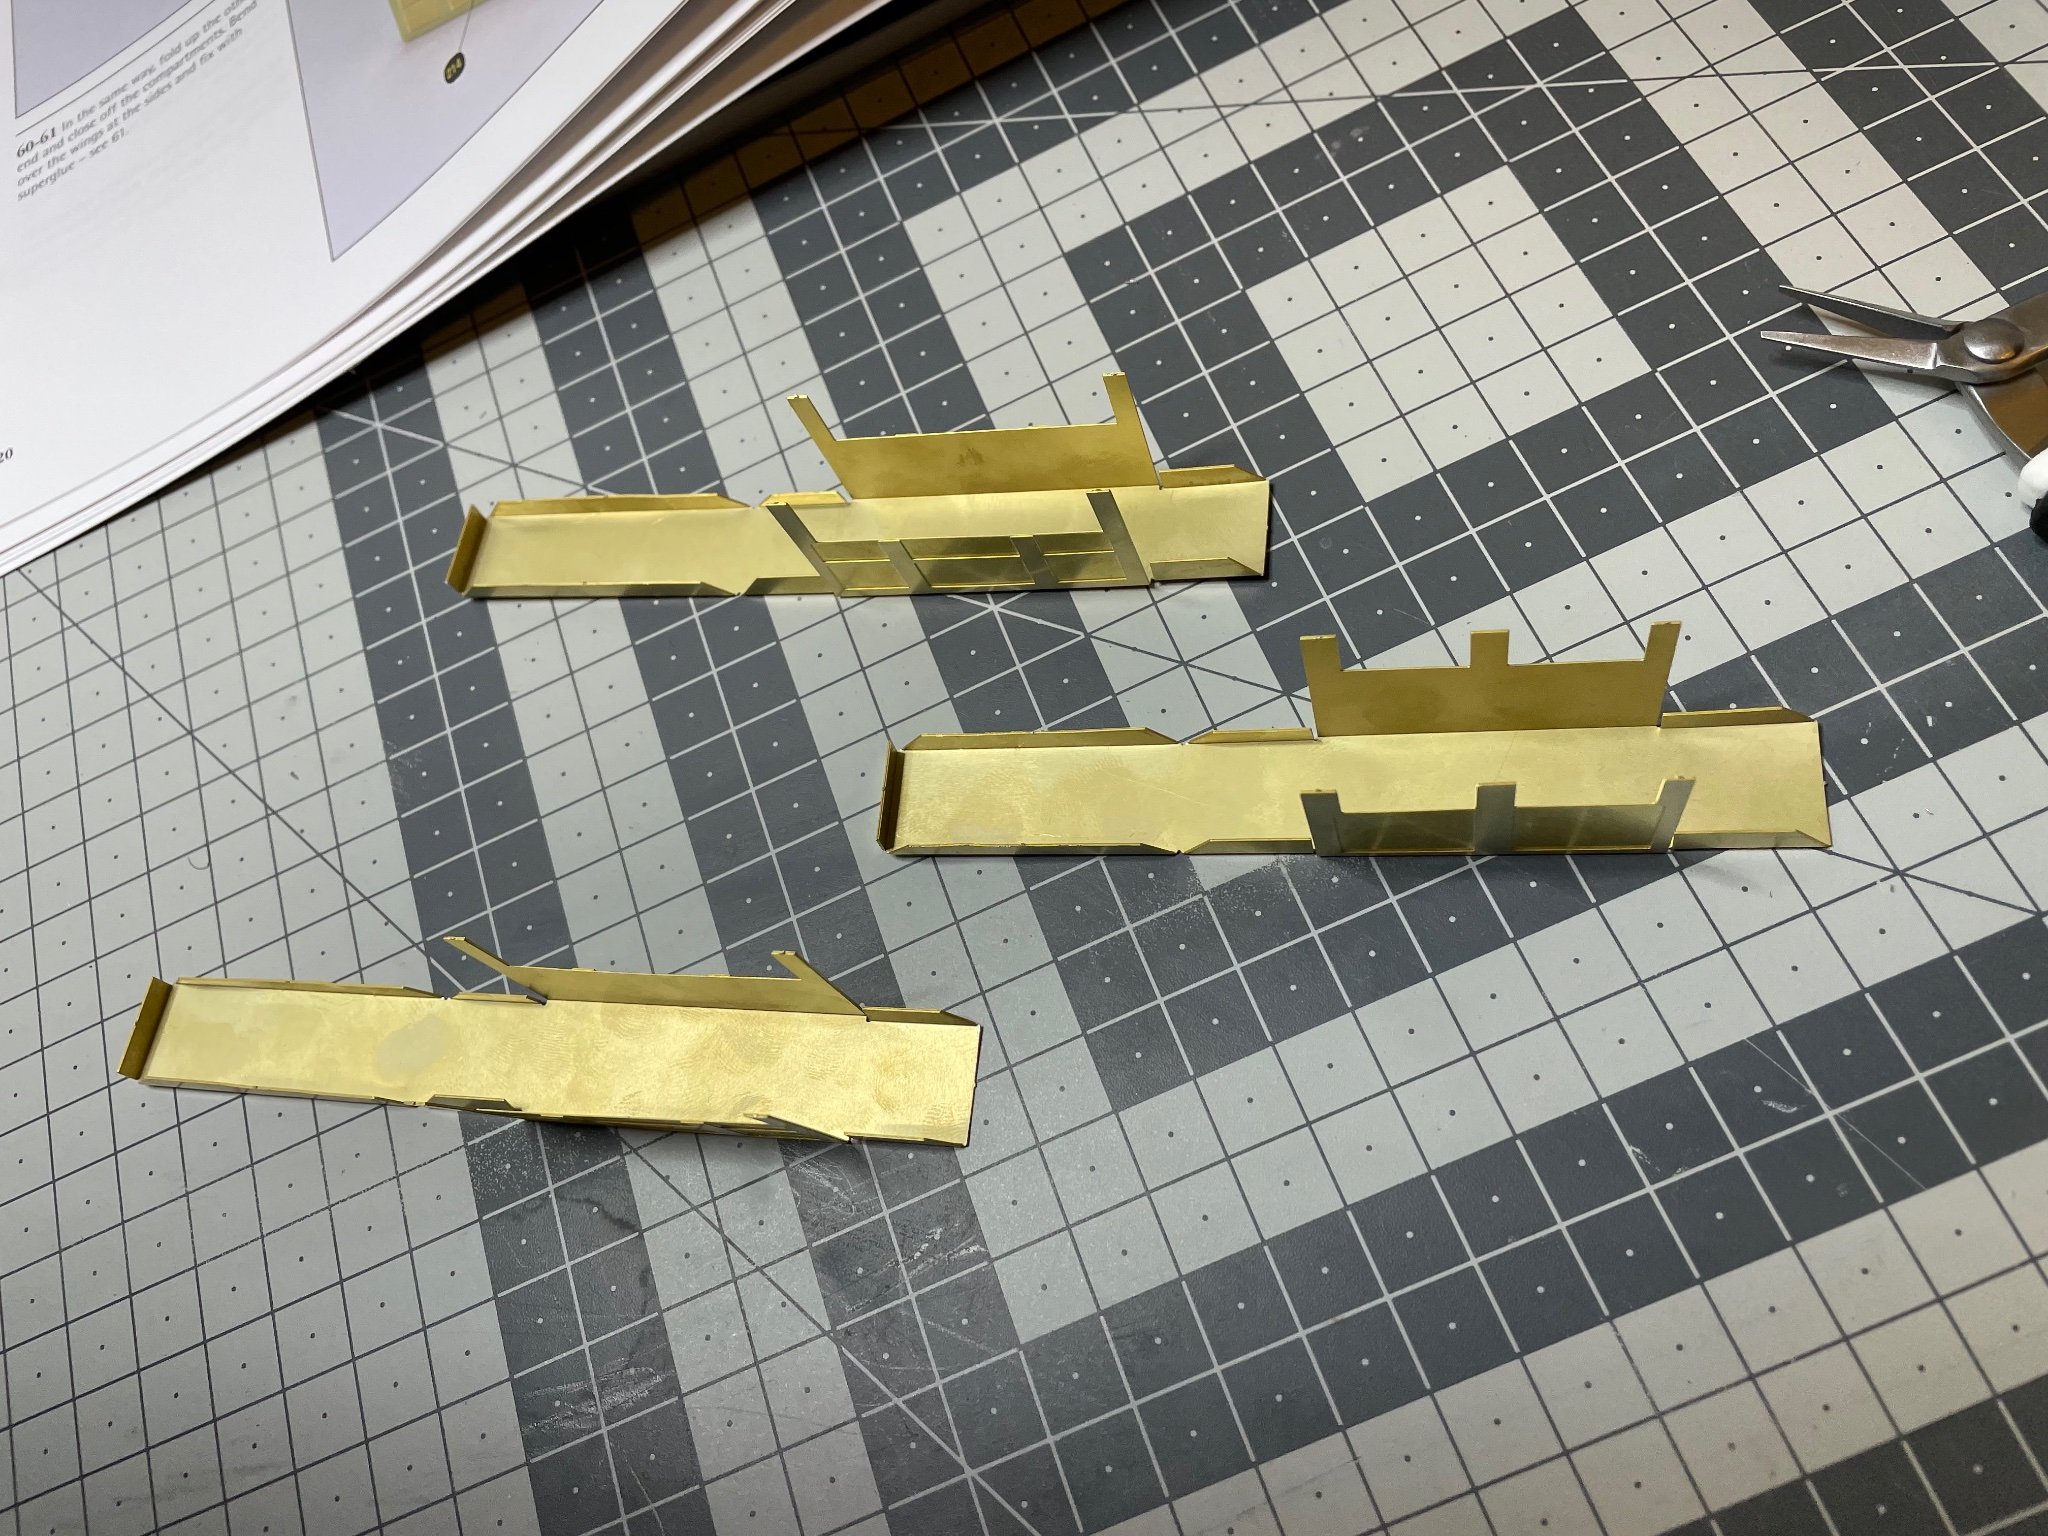
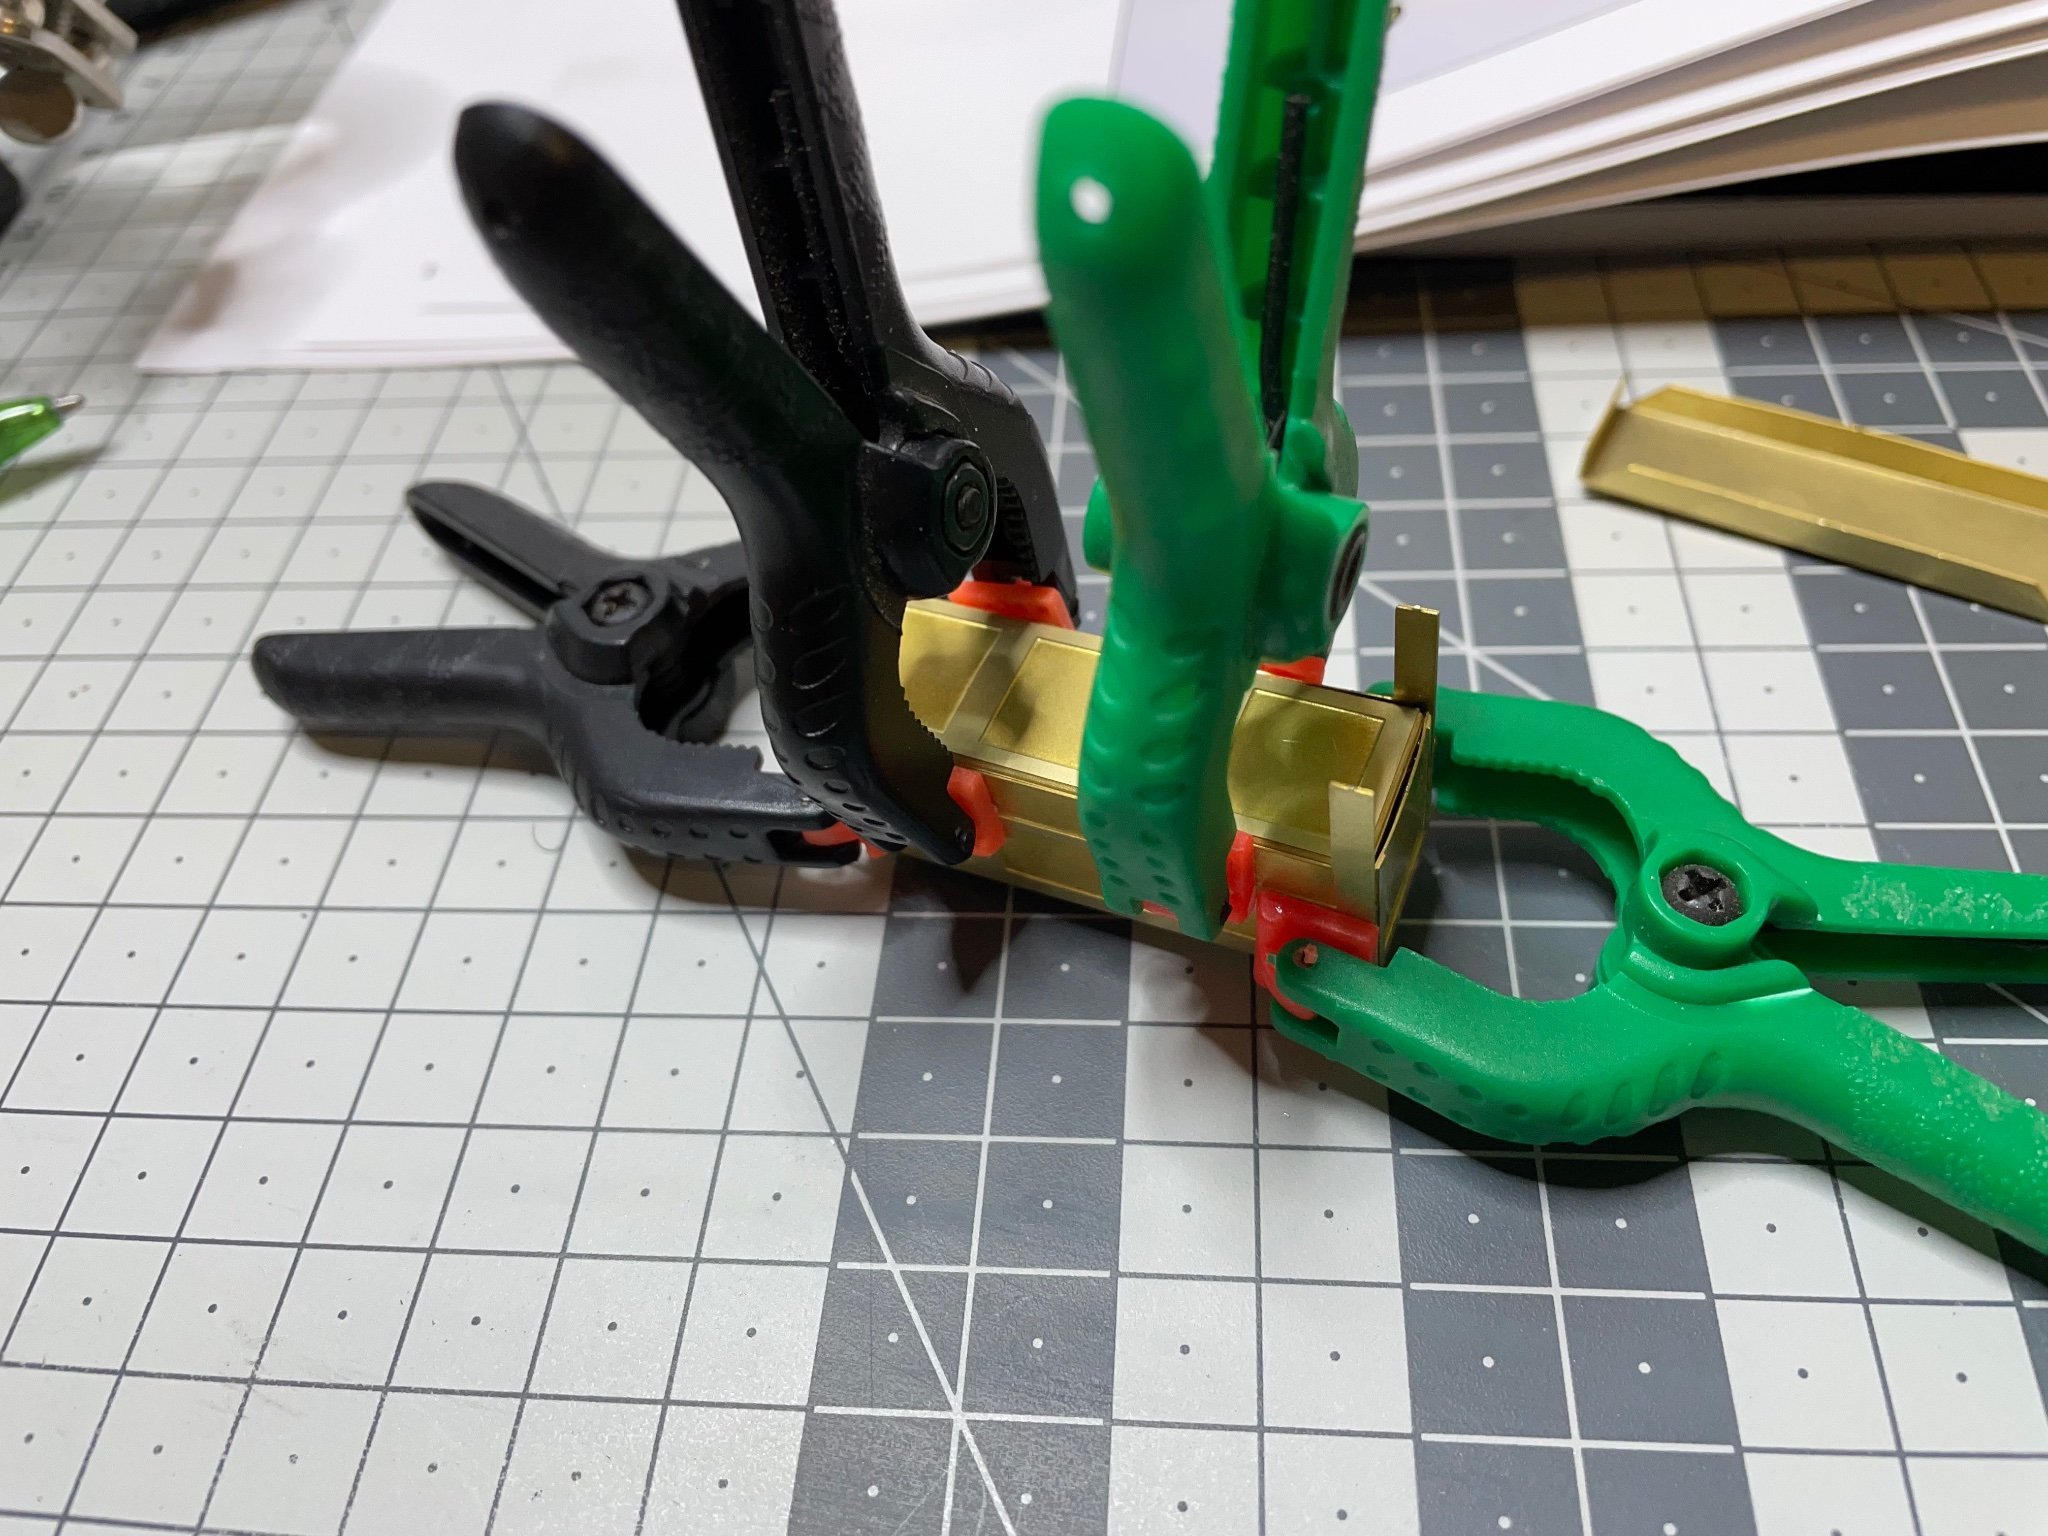
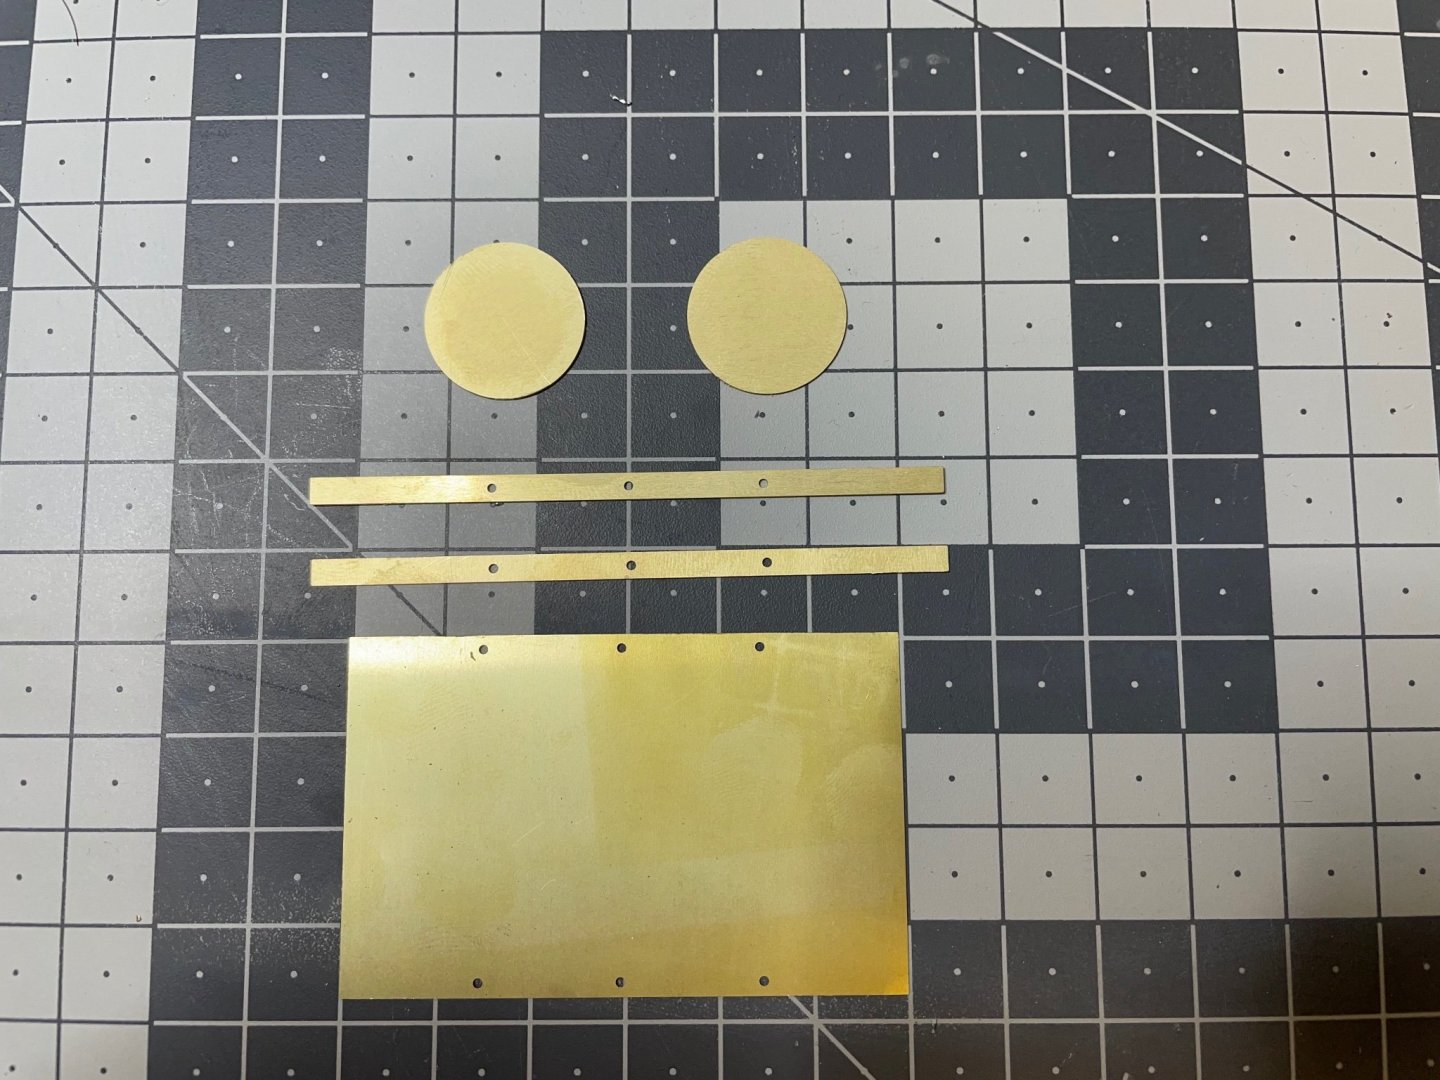
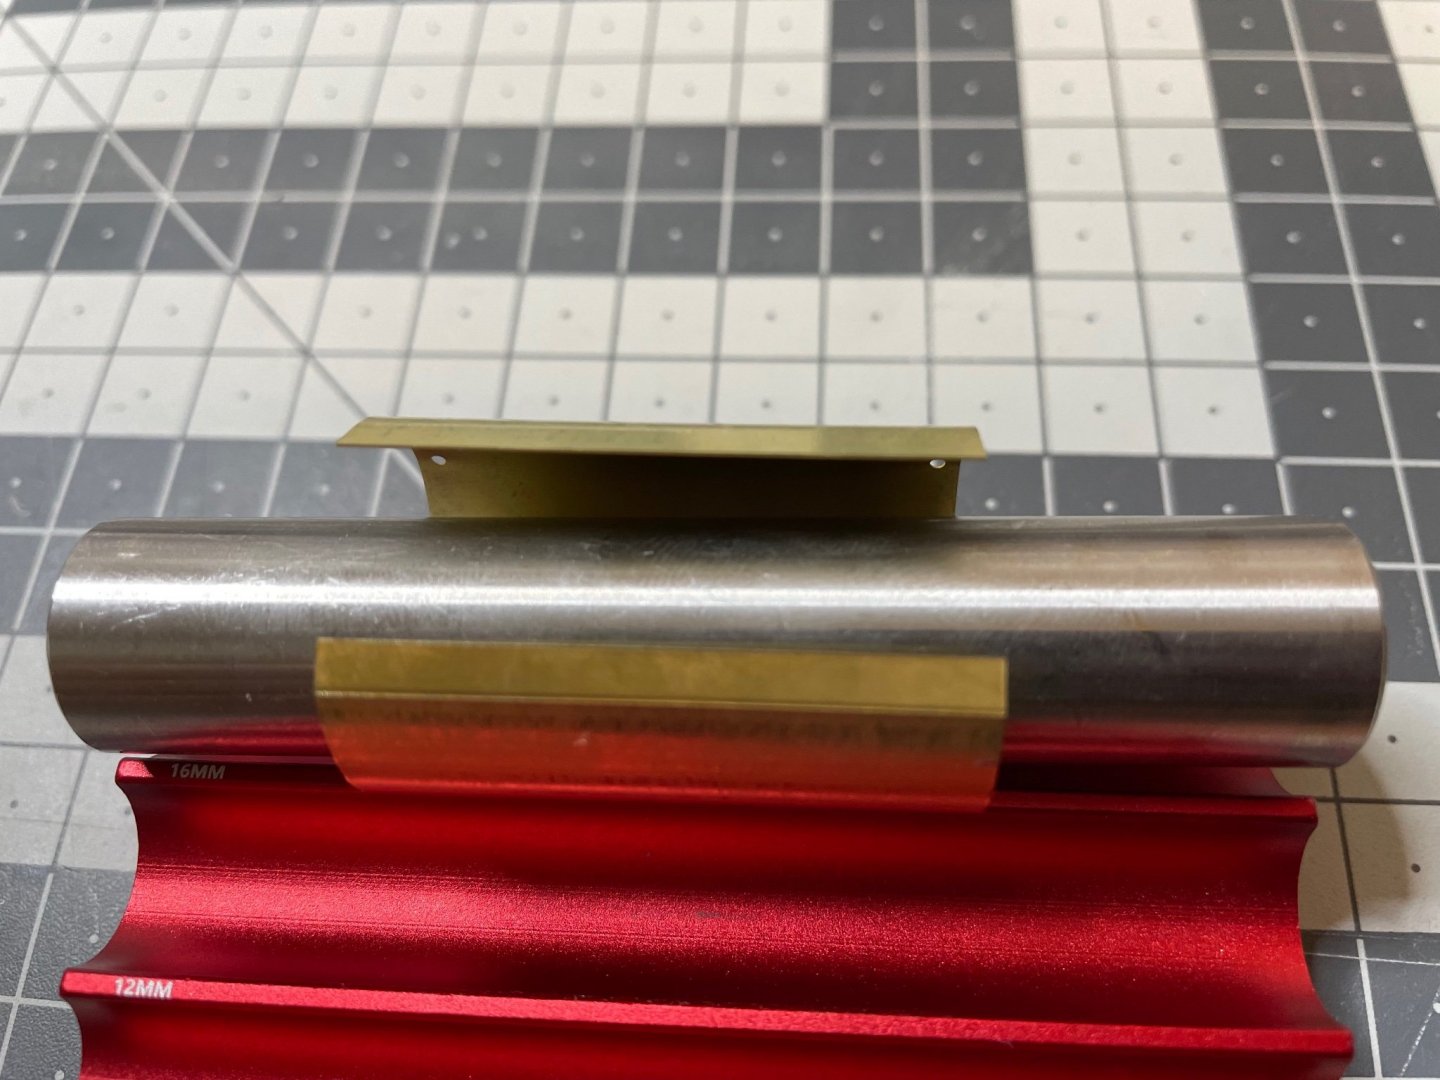
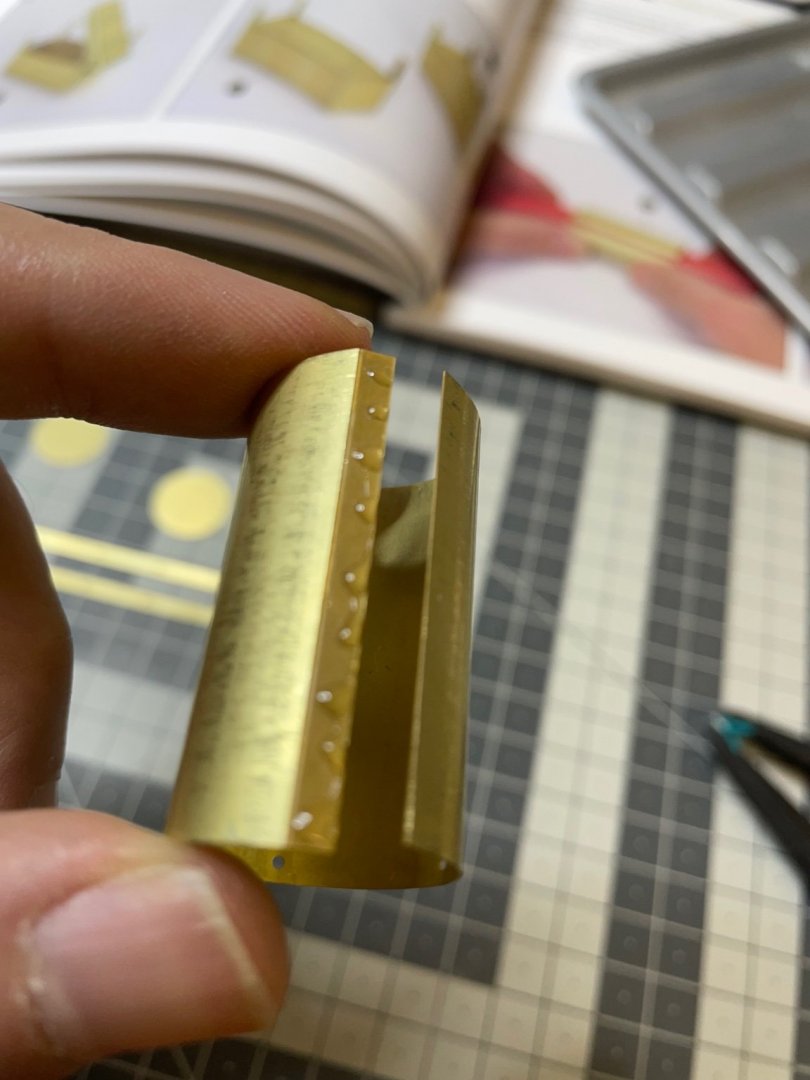
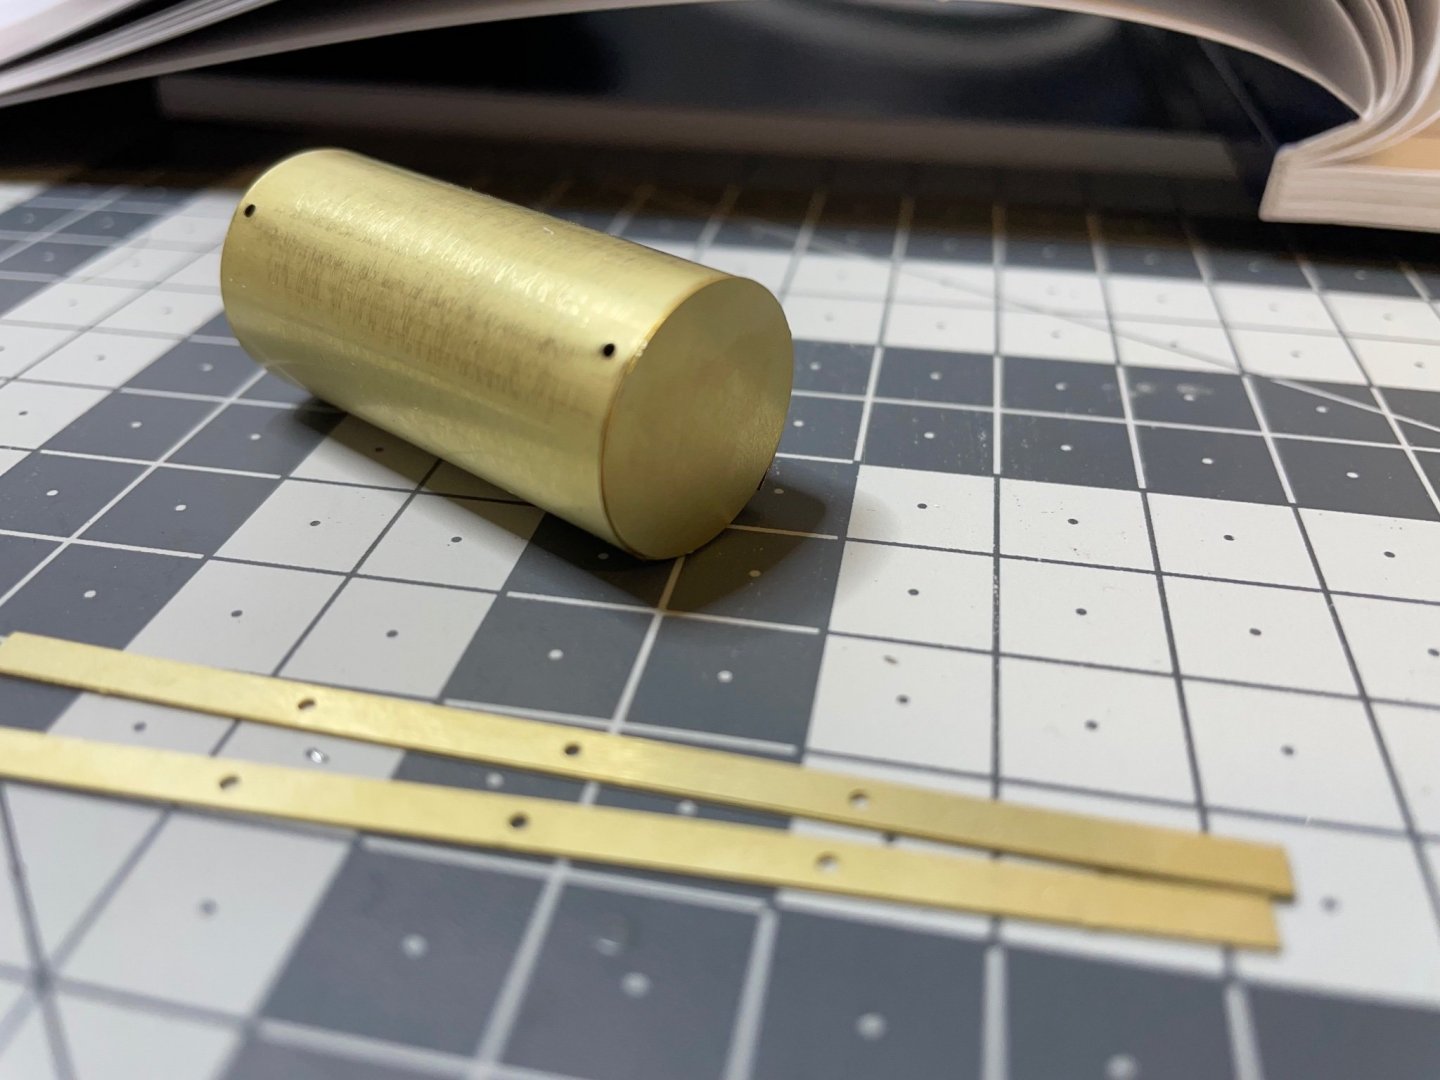
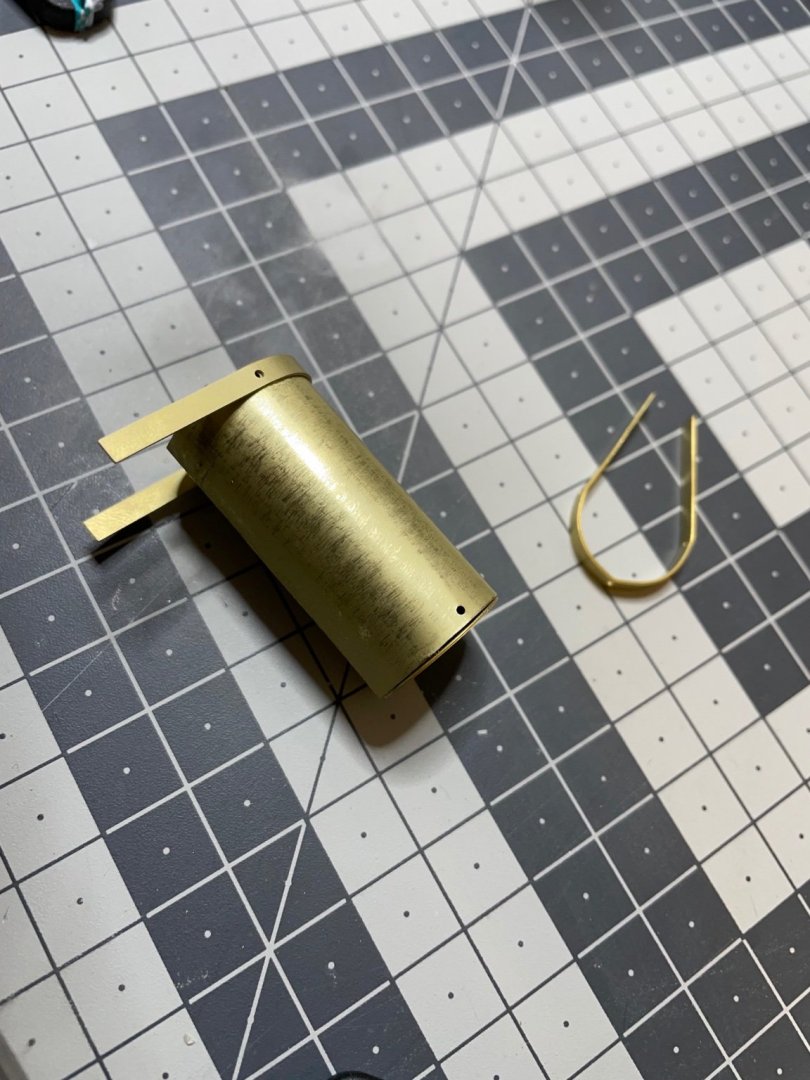
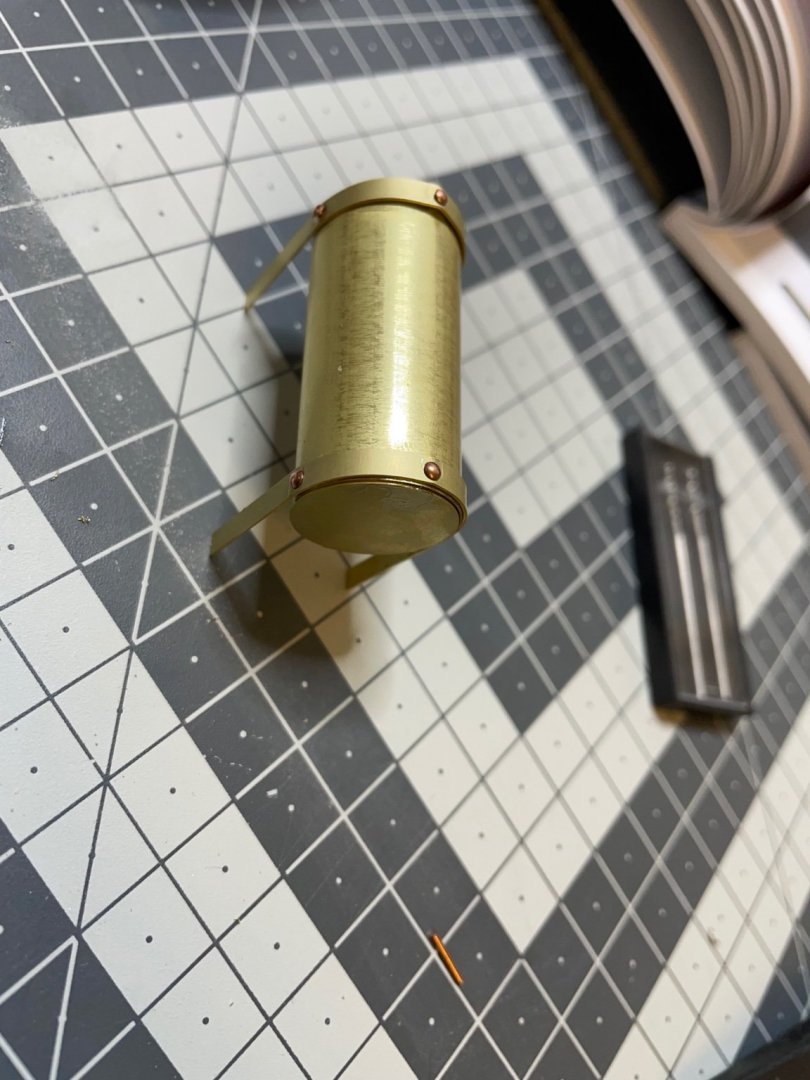
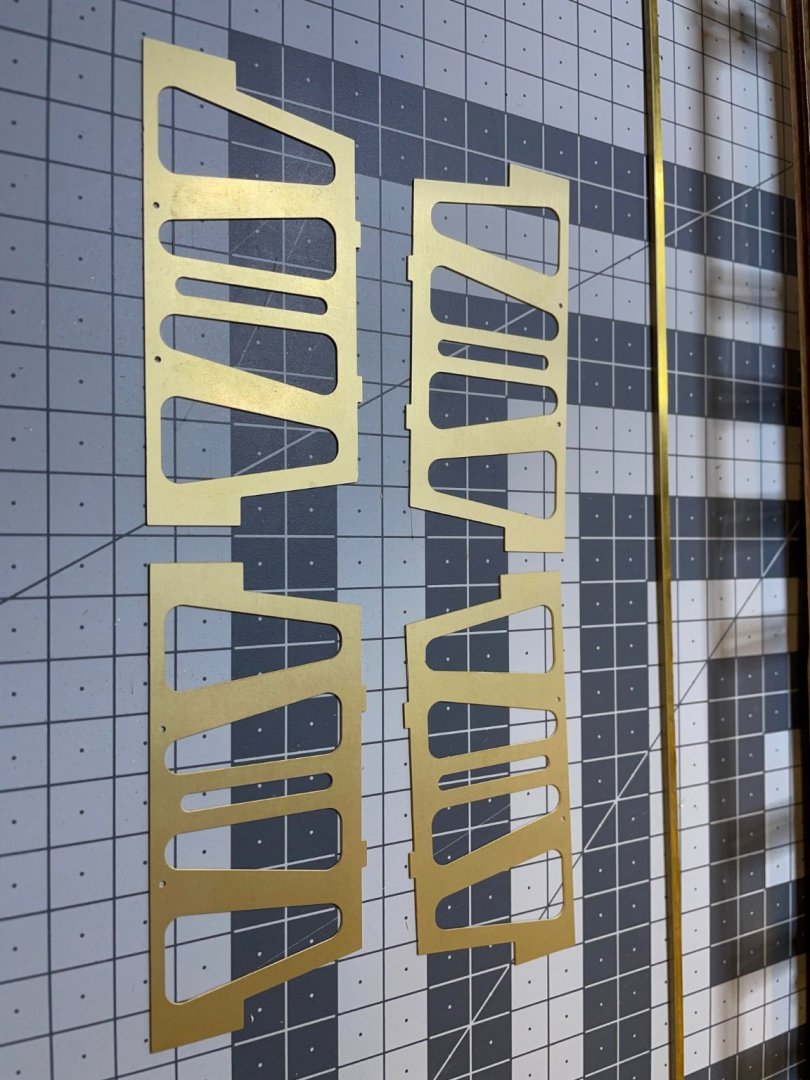
Compressed air cylinder. First time in my life I have ever bended a brass sheet into a curve. With the help of DSPIAE brass bender kit, I can say that the result was quite good. You will make a cylinder of diameter 18mm. I used 16, 12 and 10mm rollers to achieve it. I had to enlarge the holes with drillbit to fit the copper rivets. Here are 13 photos showing the progess. Figures 35-47:


- 293 replies
-
- 14
-
-

-
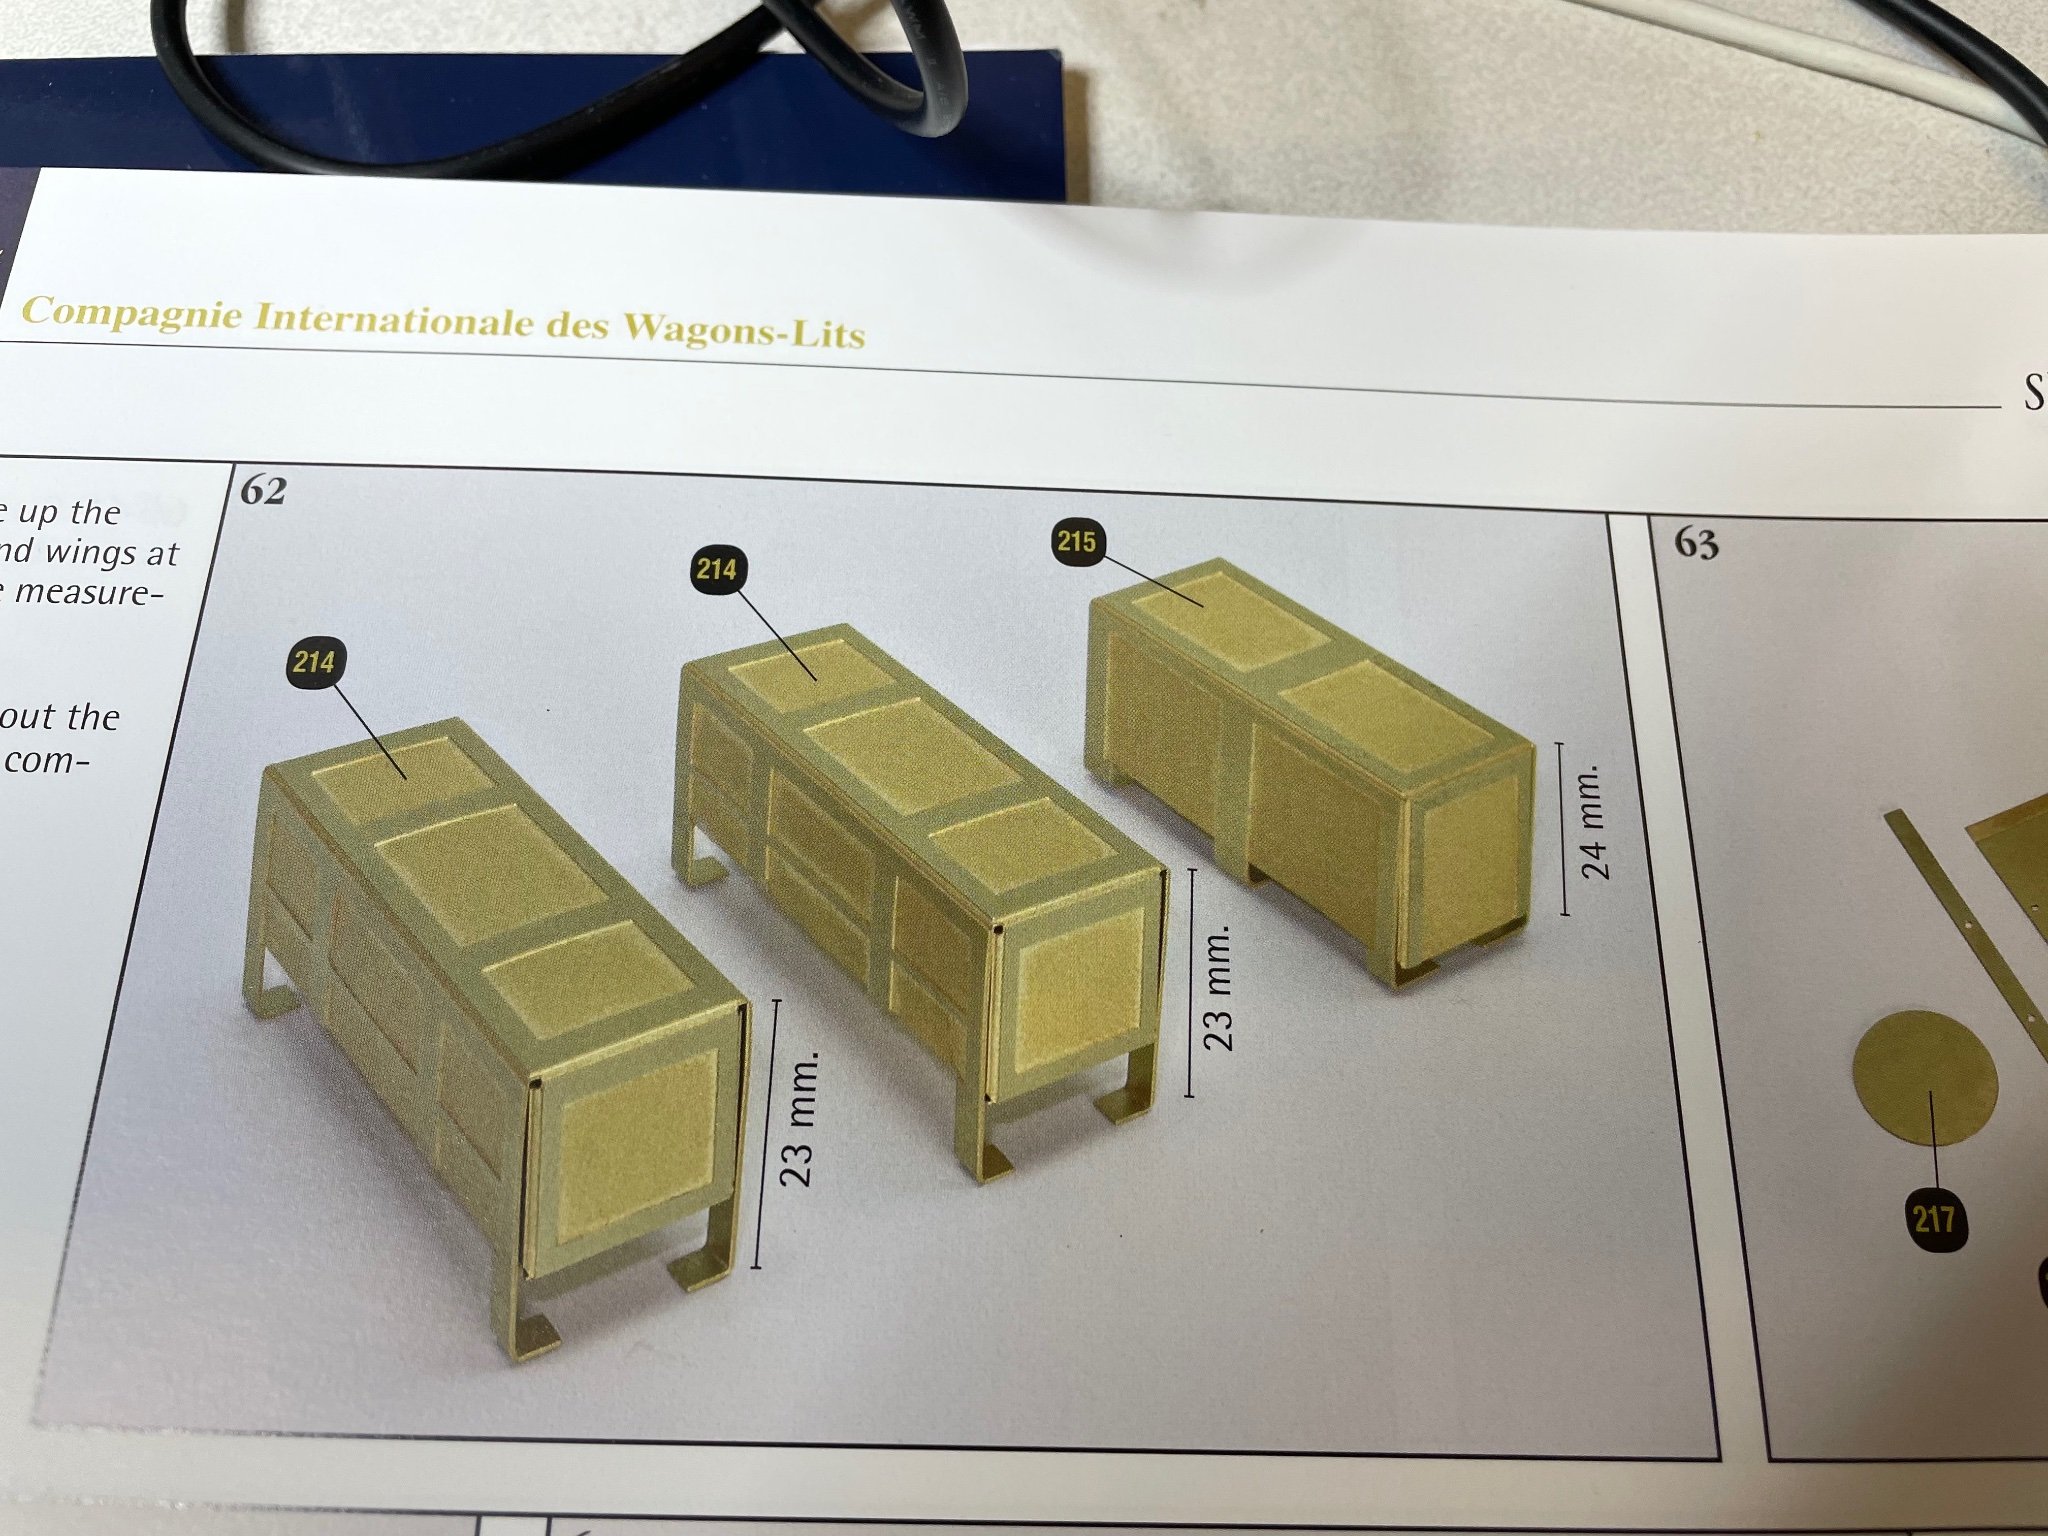
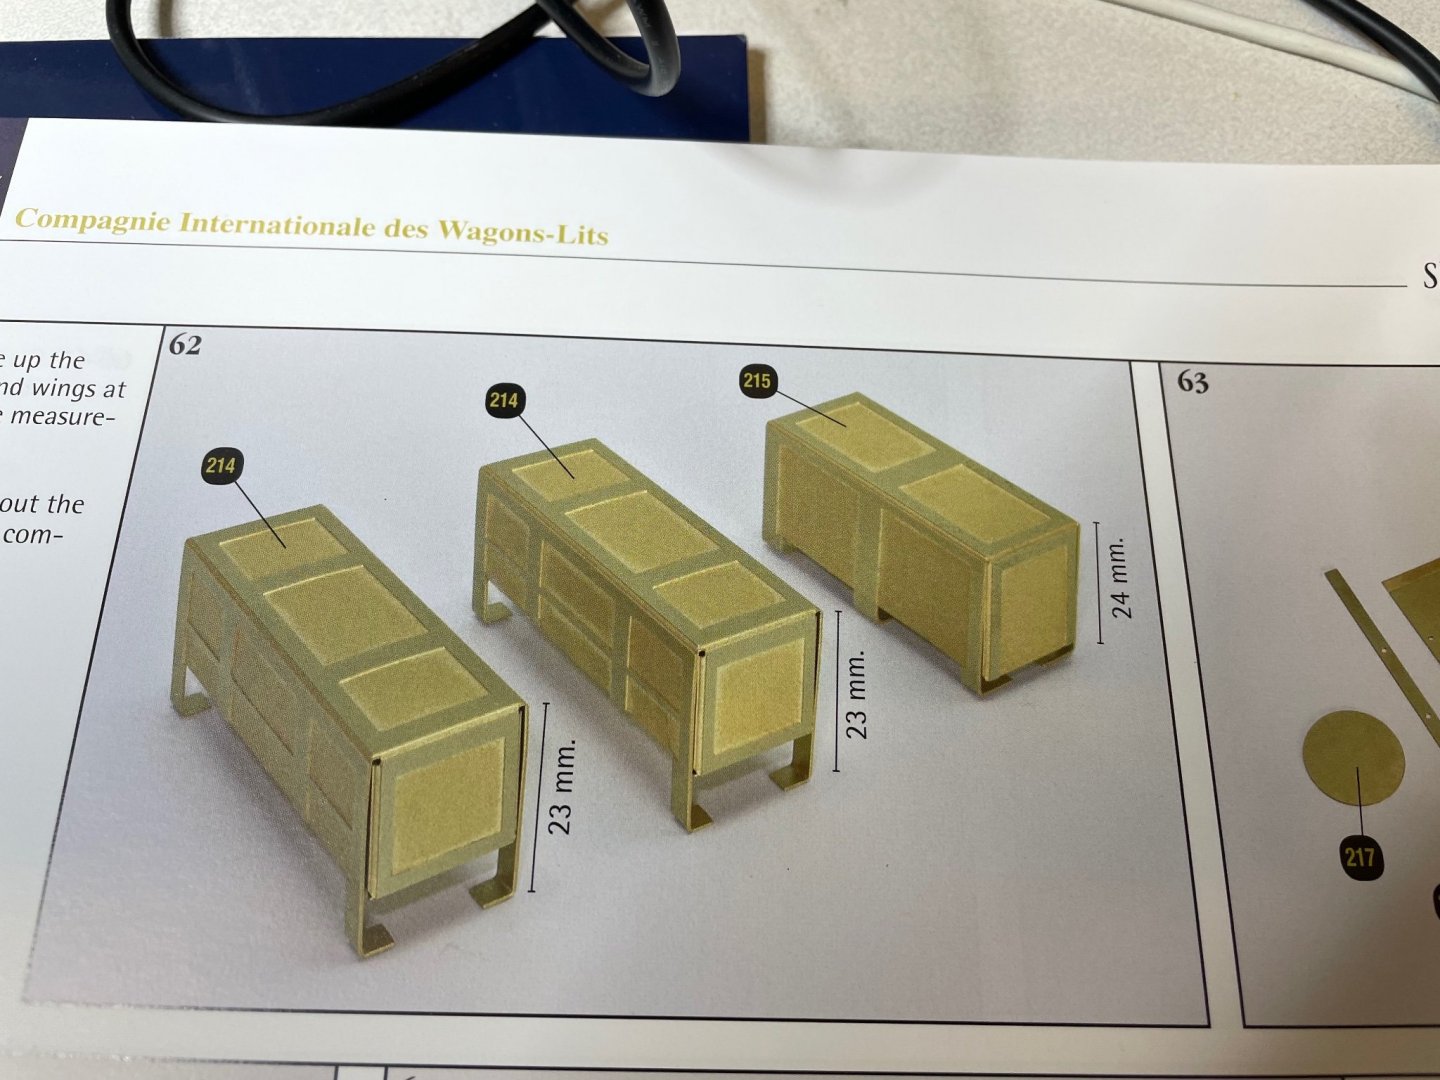
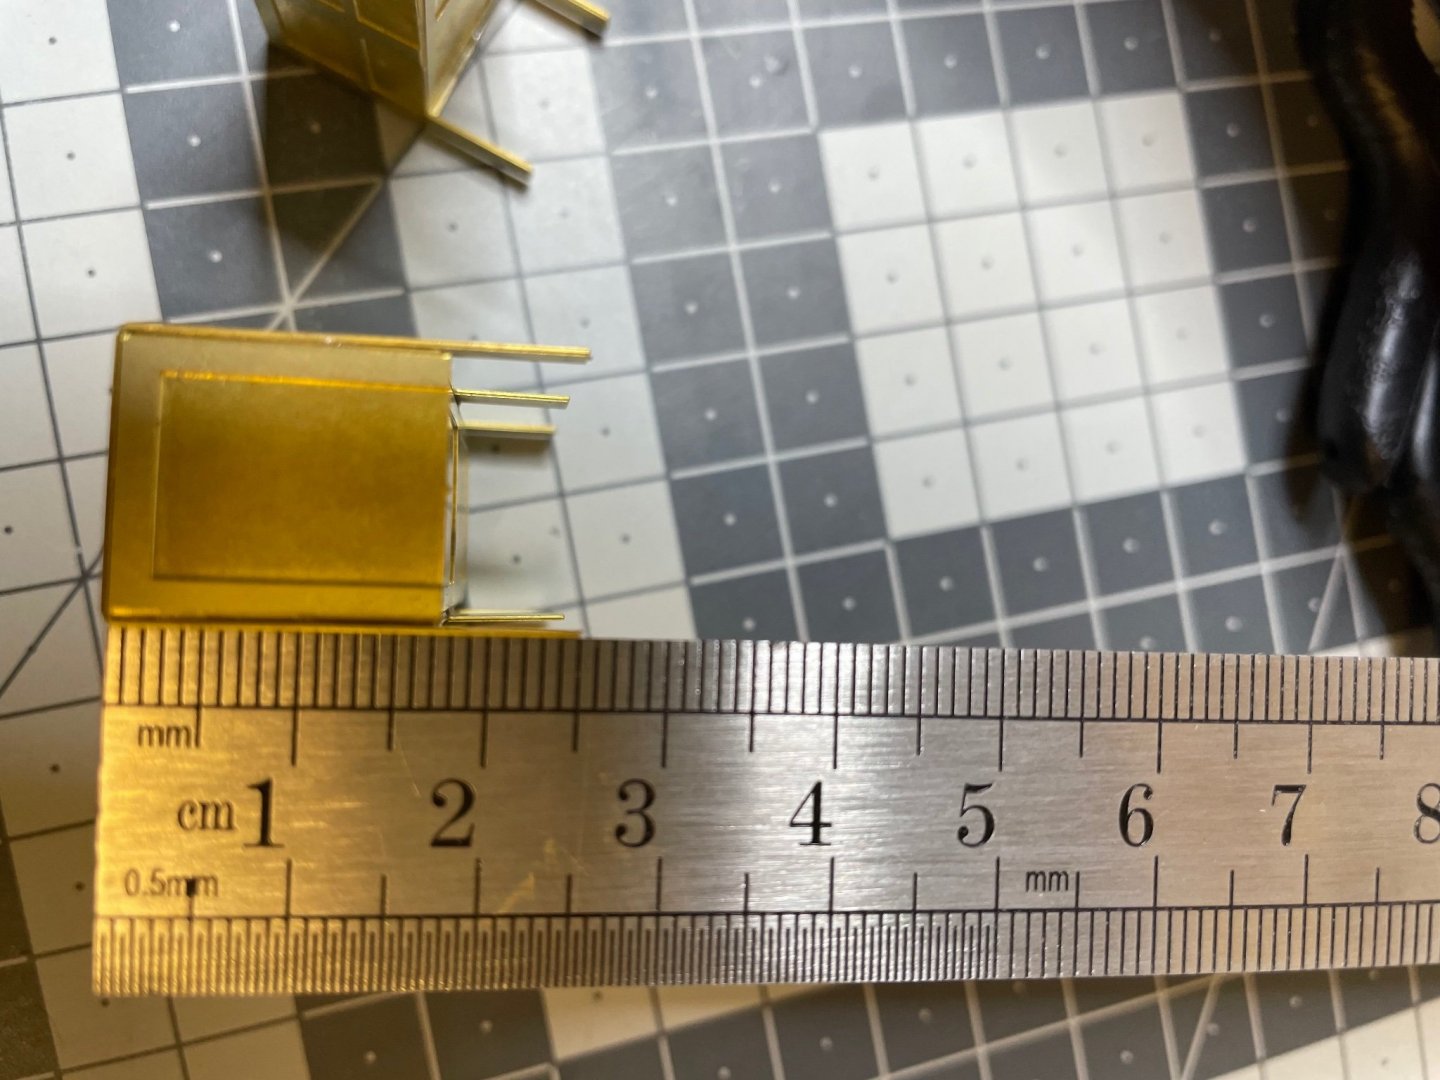
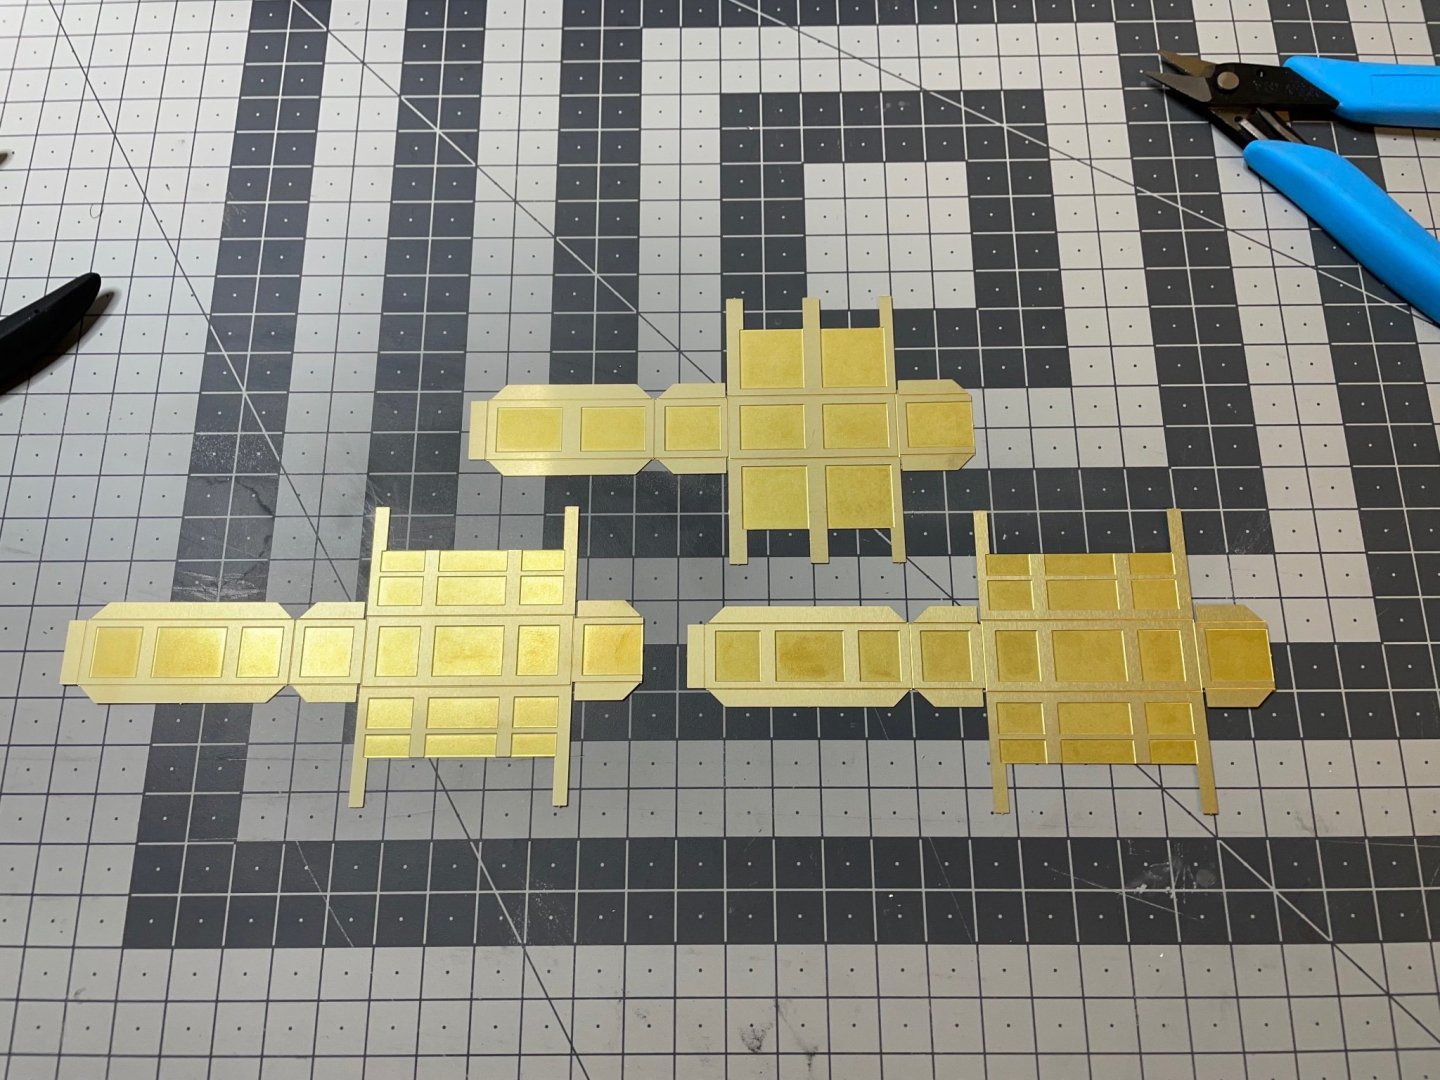
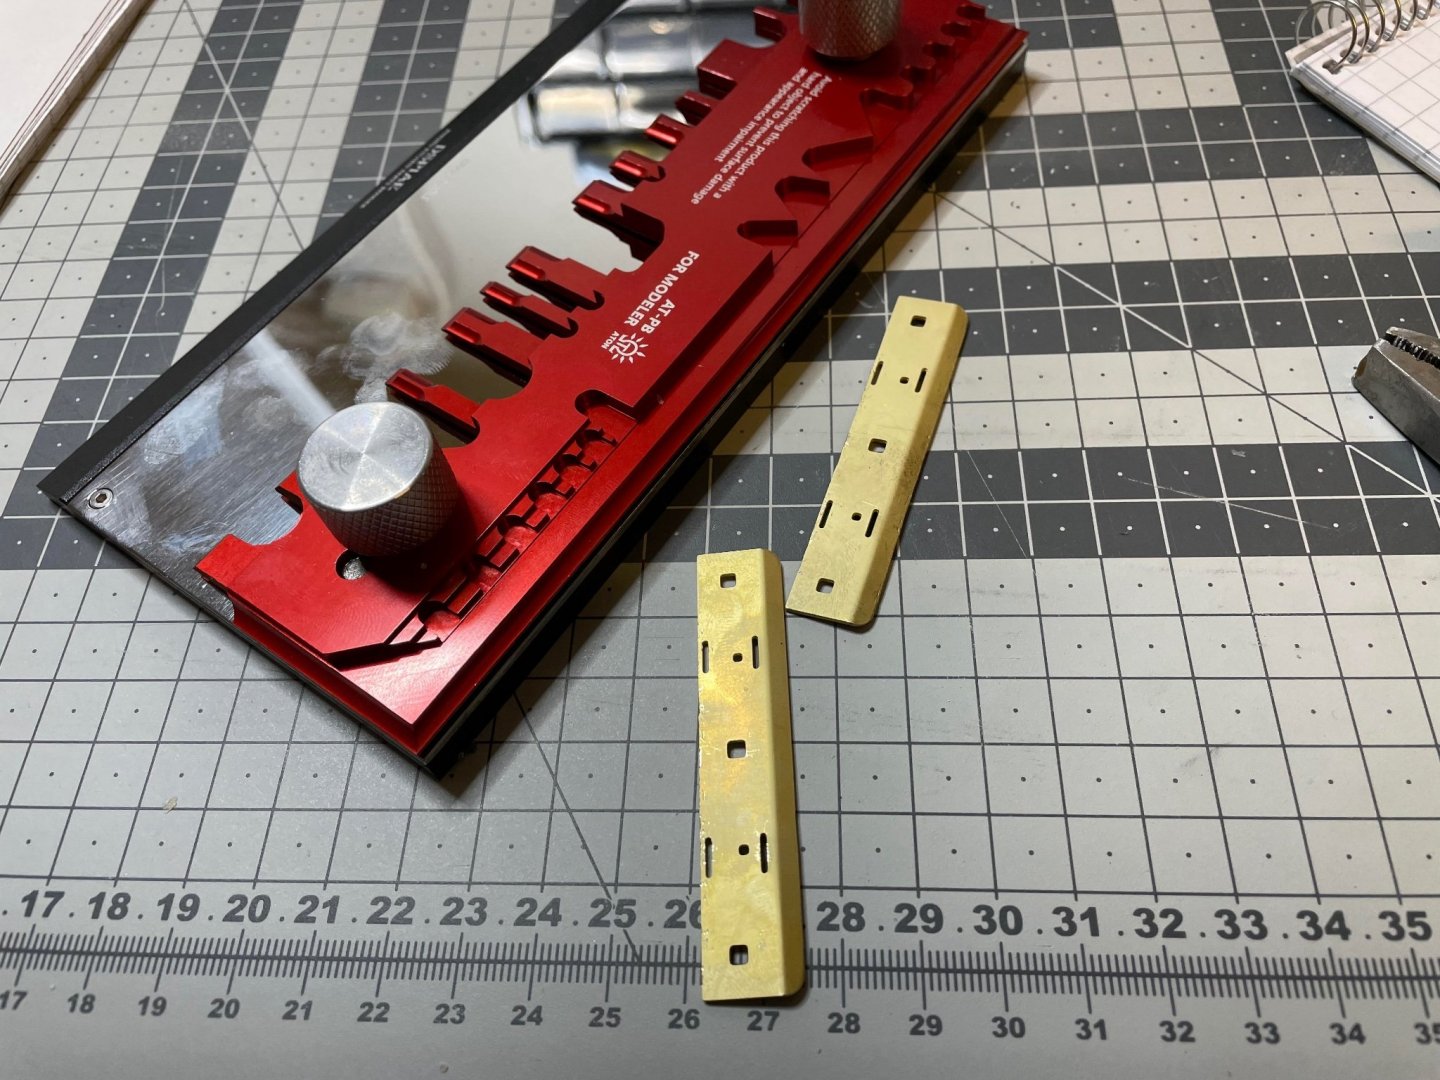
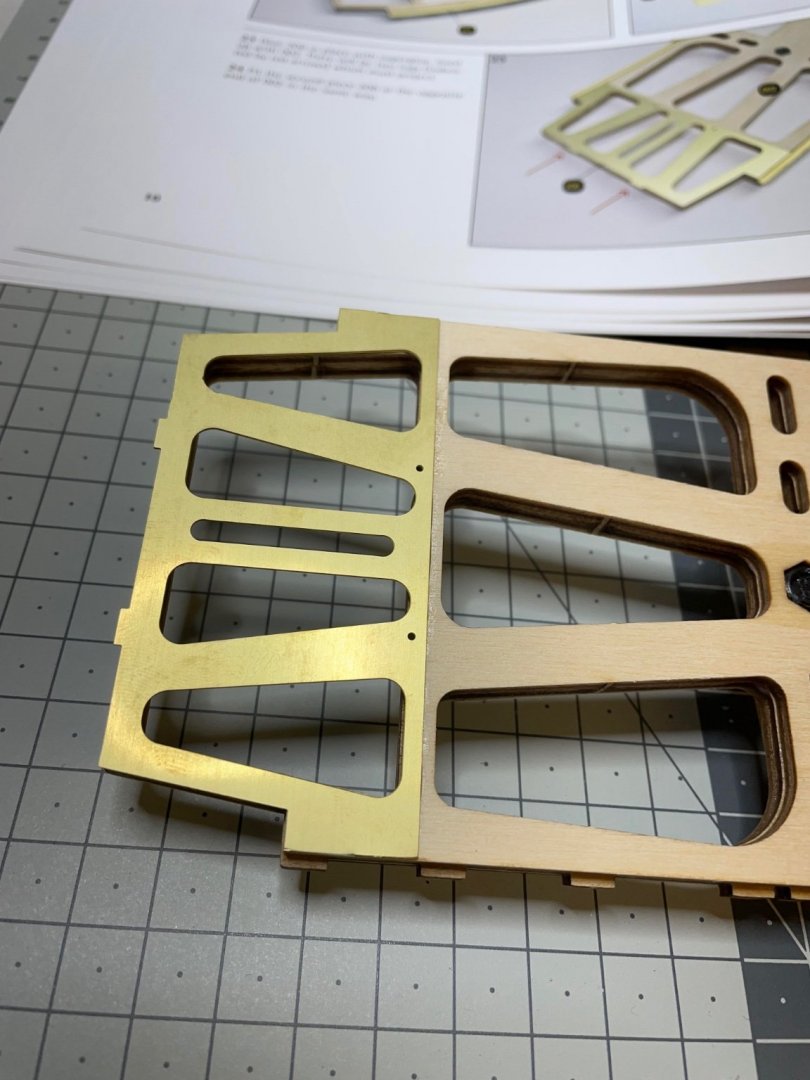
This is what I saw complaints in several build logs:The legs are quite short. As opposed to the picture in the manual, you are left with only around 1 mm margin to bend to act as feet to glue on the body. The photo etched parts are clearly different size than in the manual. A bad point for a kit of this level. Figures 33-34: Maybe I'll add some wooden support or something like that to the bottom. I'll see when I come to that.
- 293 replies
-
- 10
-
-
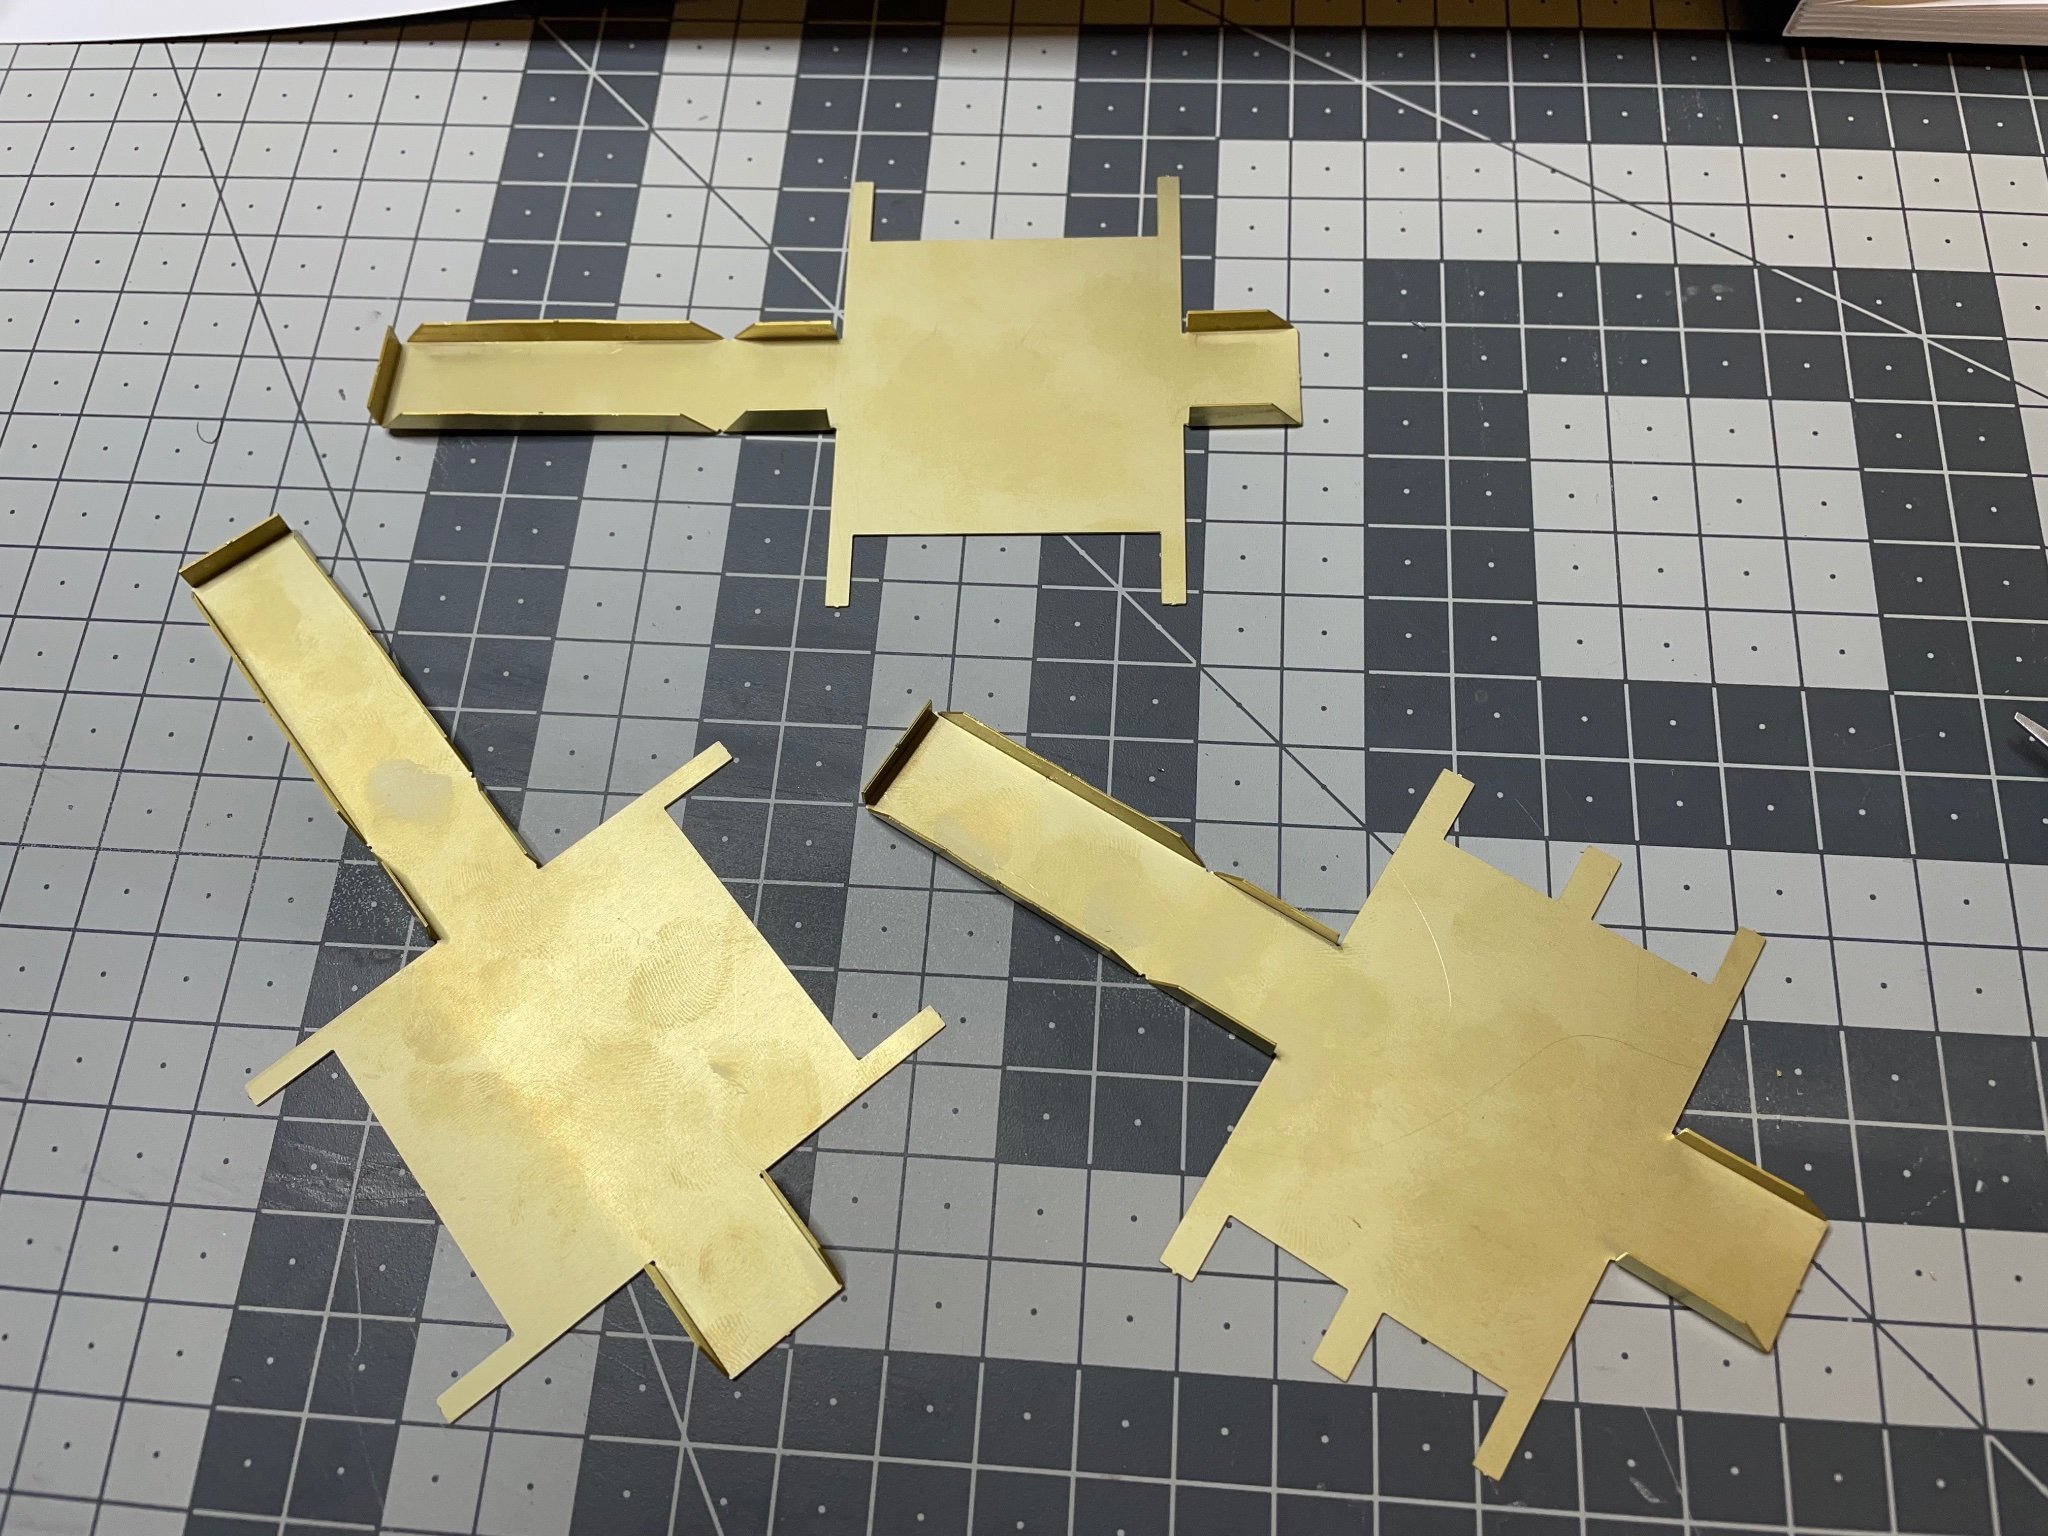
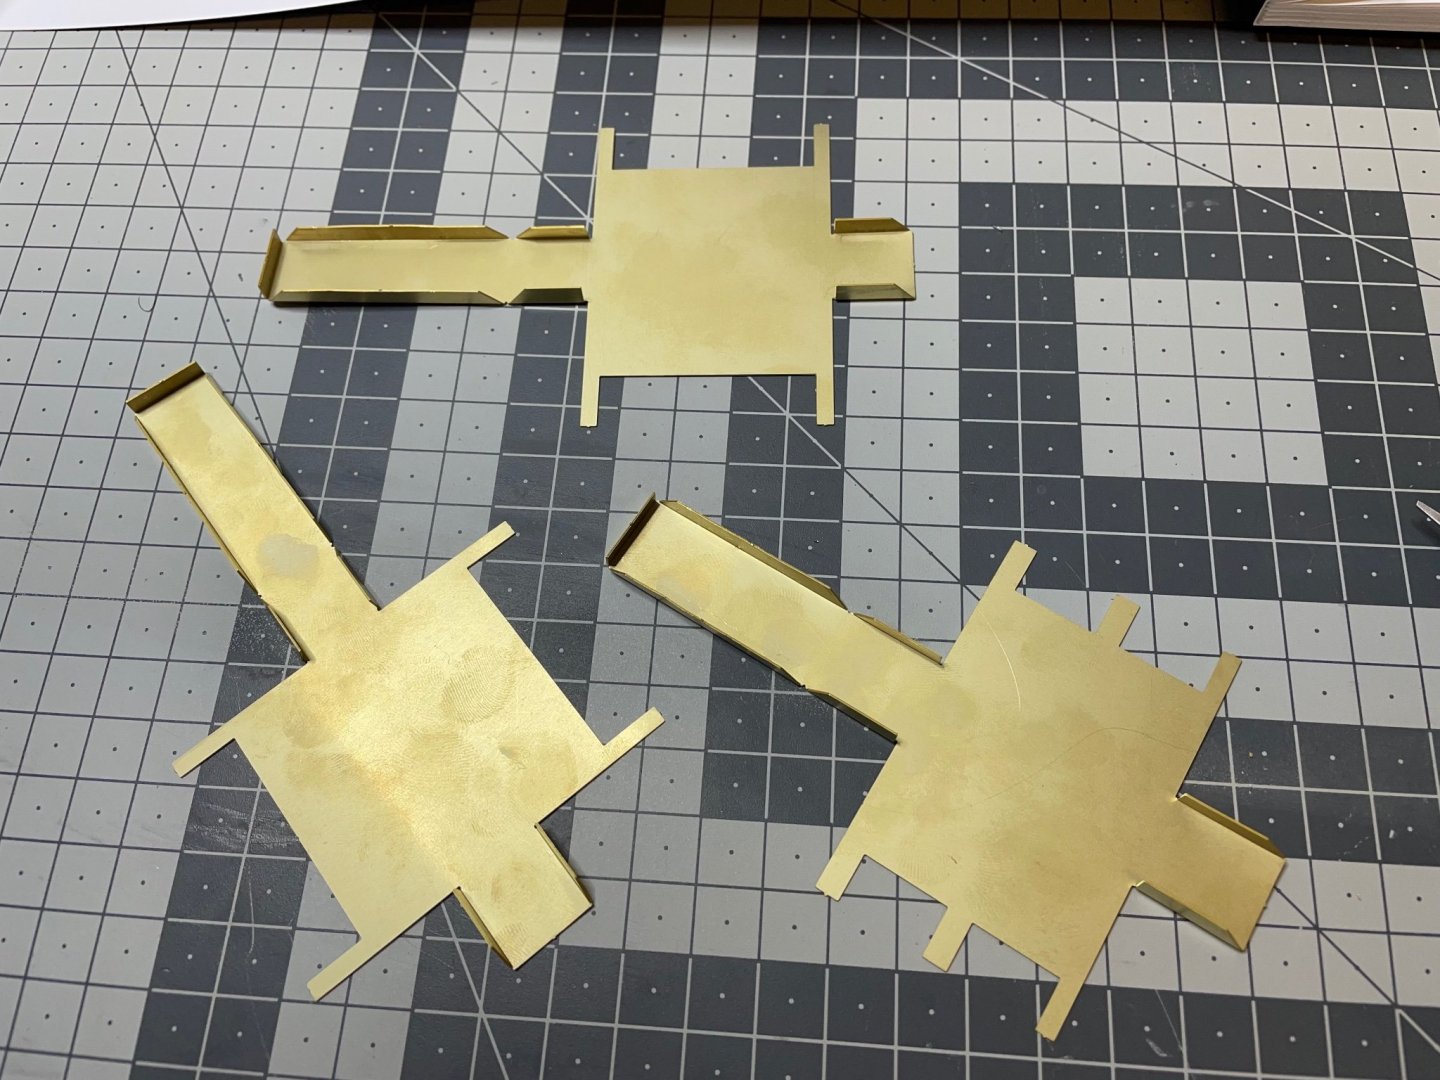
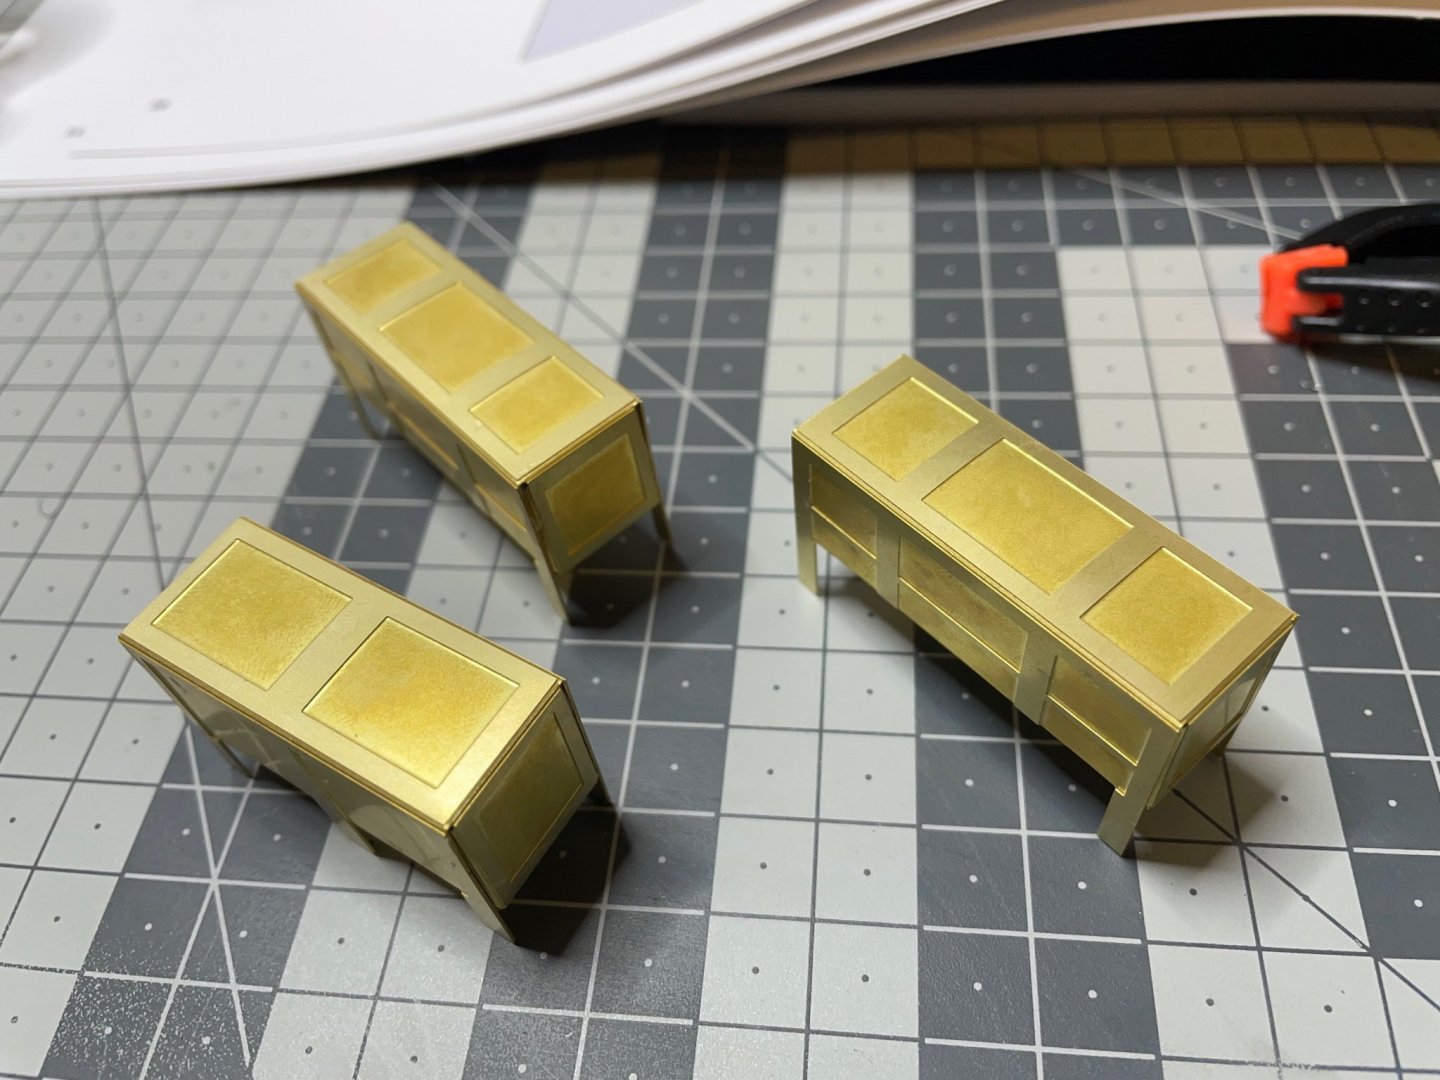
BUILD DAY 3: 3 hrs (TOTAL: 9 hrs) Making the battery housings. I used superglue all the way. Some modelers use solder at certain spots. Though I have soldering kit and done soldering on electronics level, I am not thinking of using it in this build, unless I have to. Figures 28-32:


- 293 replies
-
- 13
-
-
Thanks!
-
Thanks Yves, I also hope to post all my work to completion! I would also dream of traveling in Orient Express, maybe some day some company will bring it back as a tourist attraction, who knows.
-
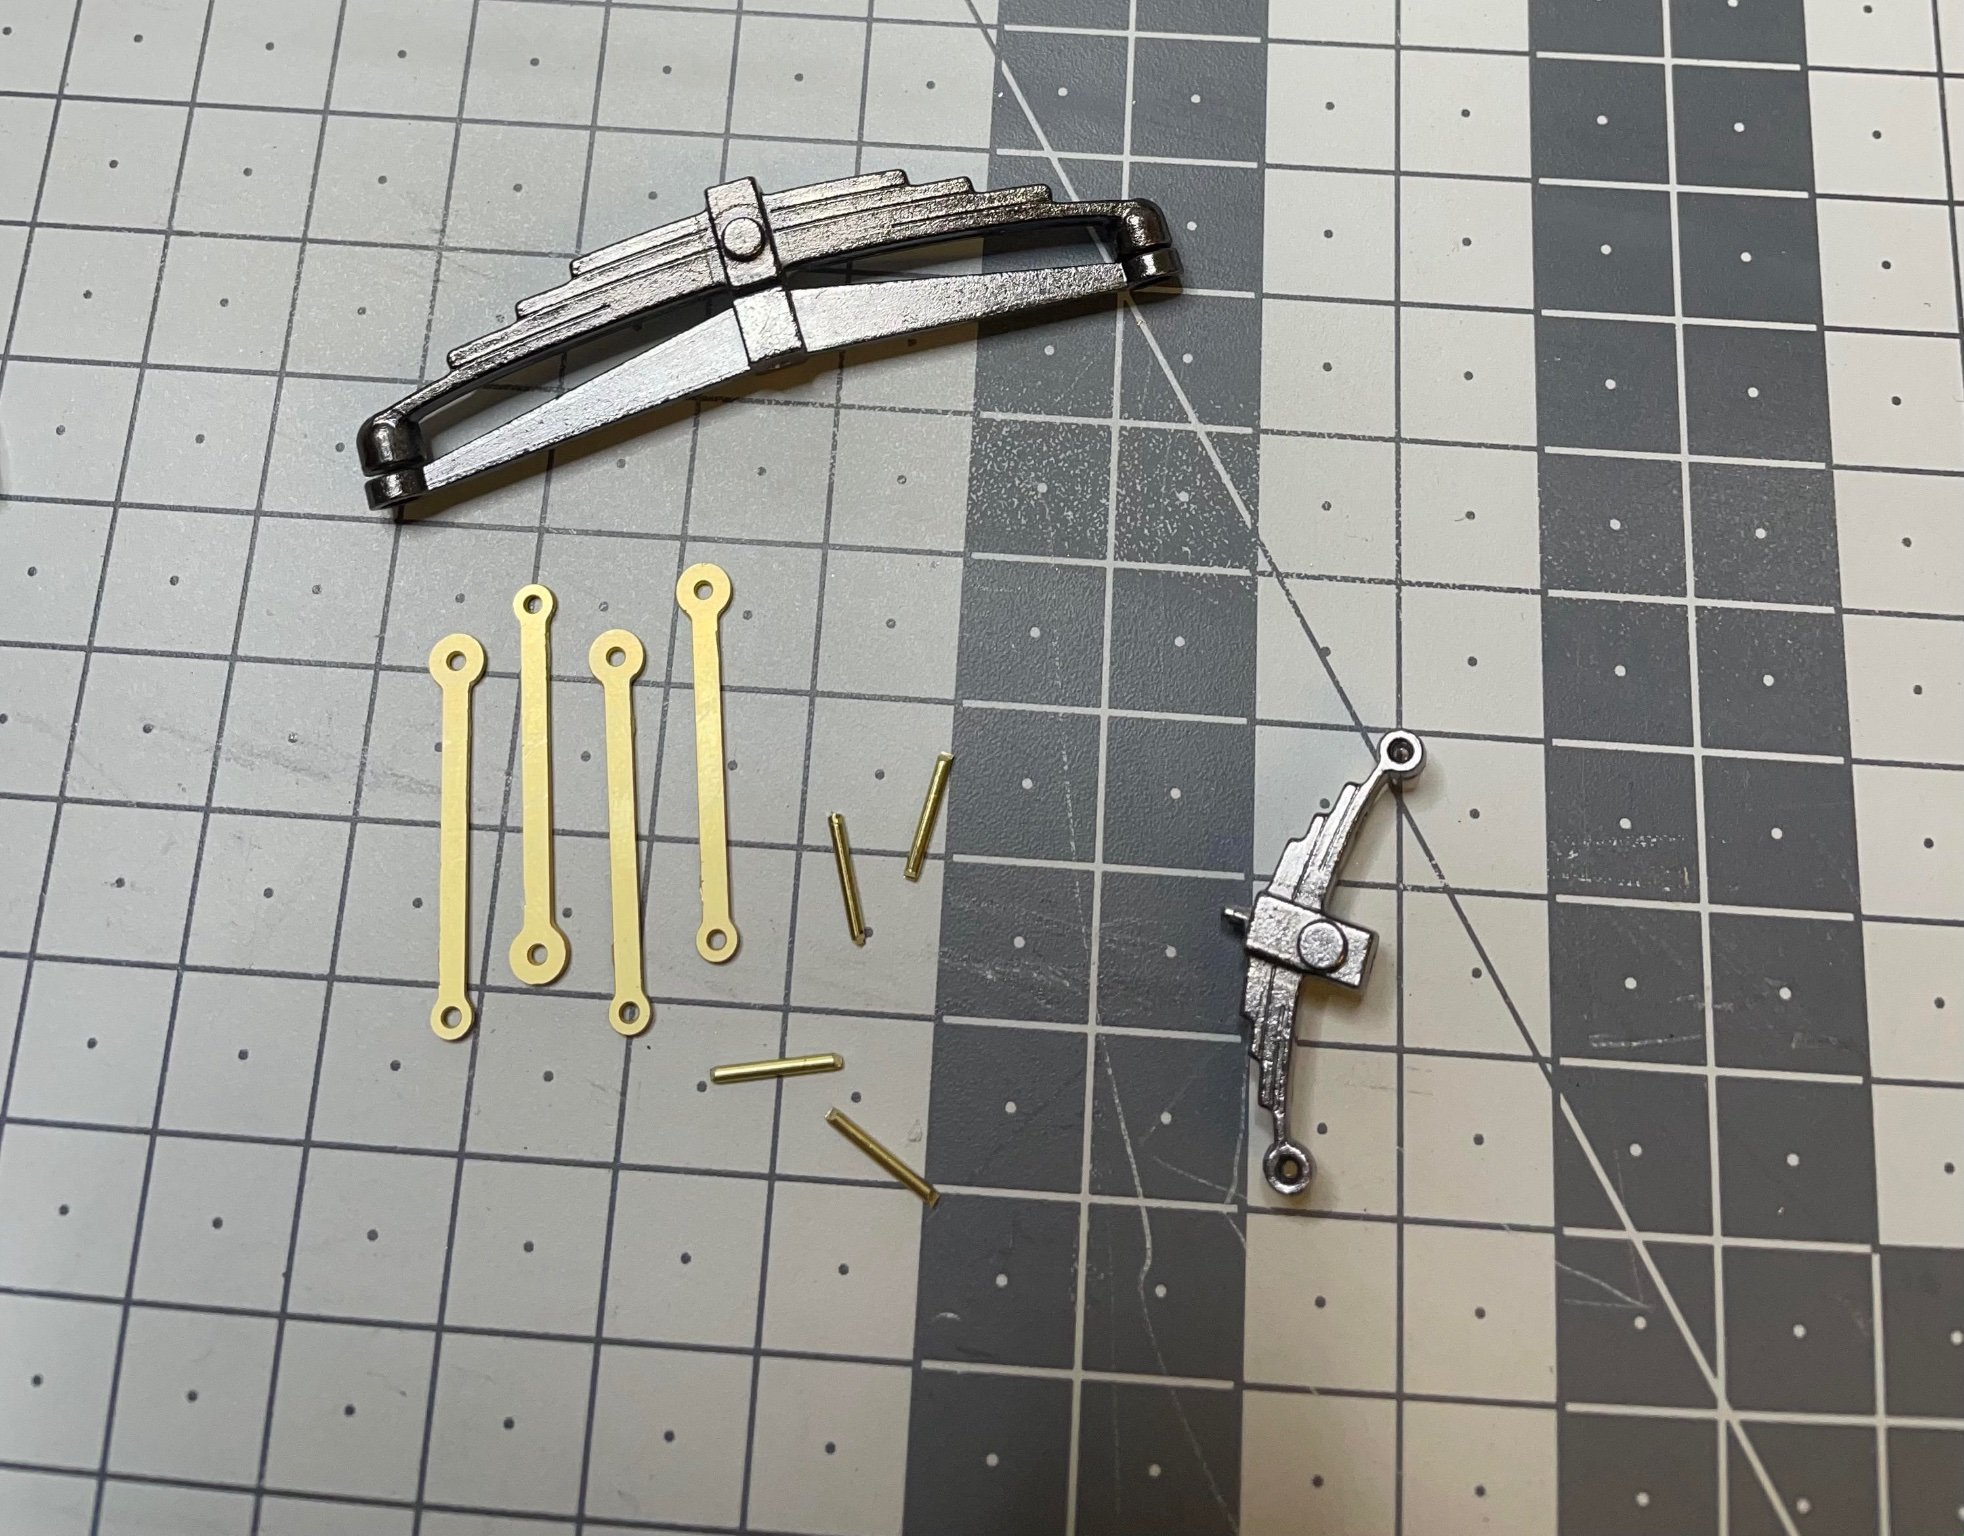
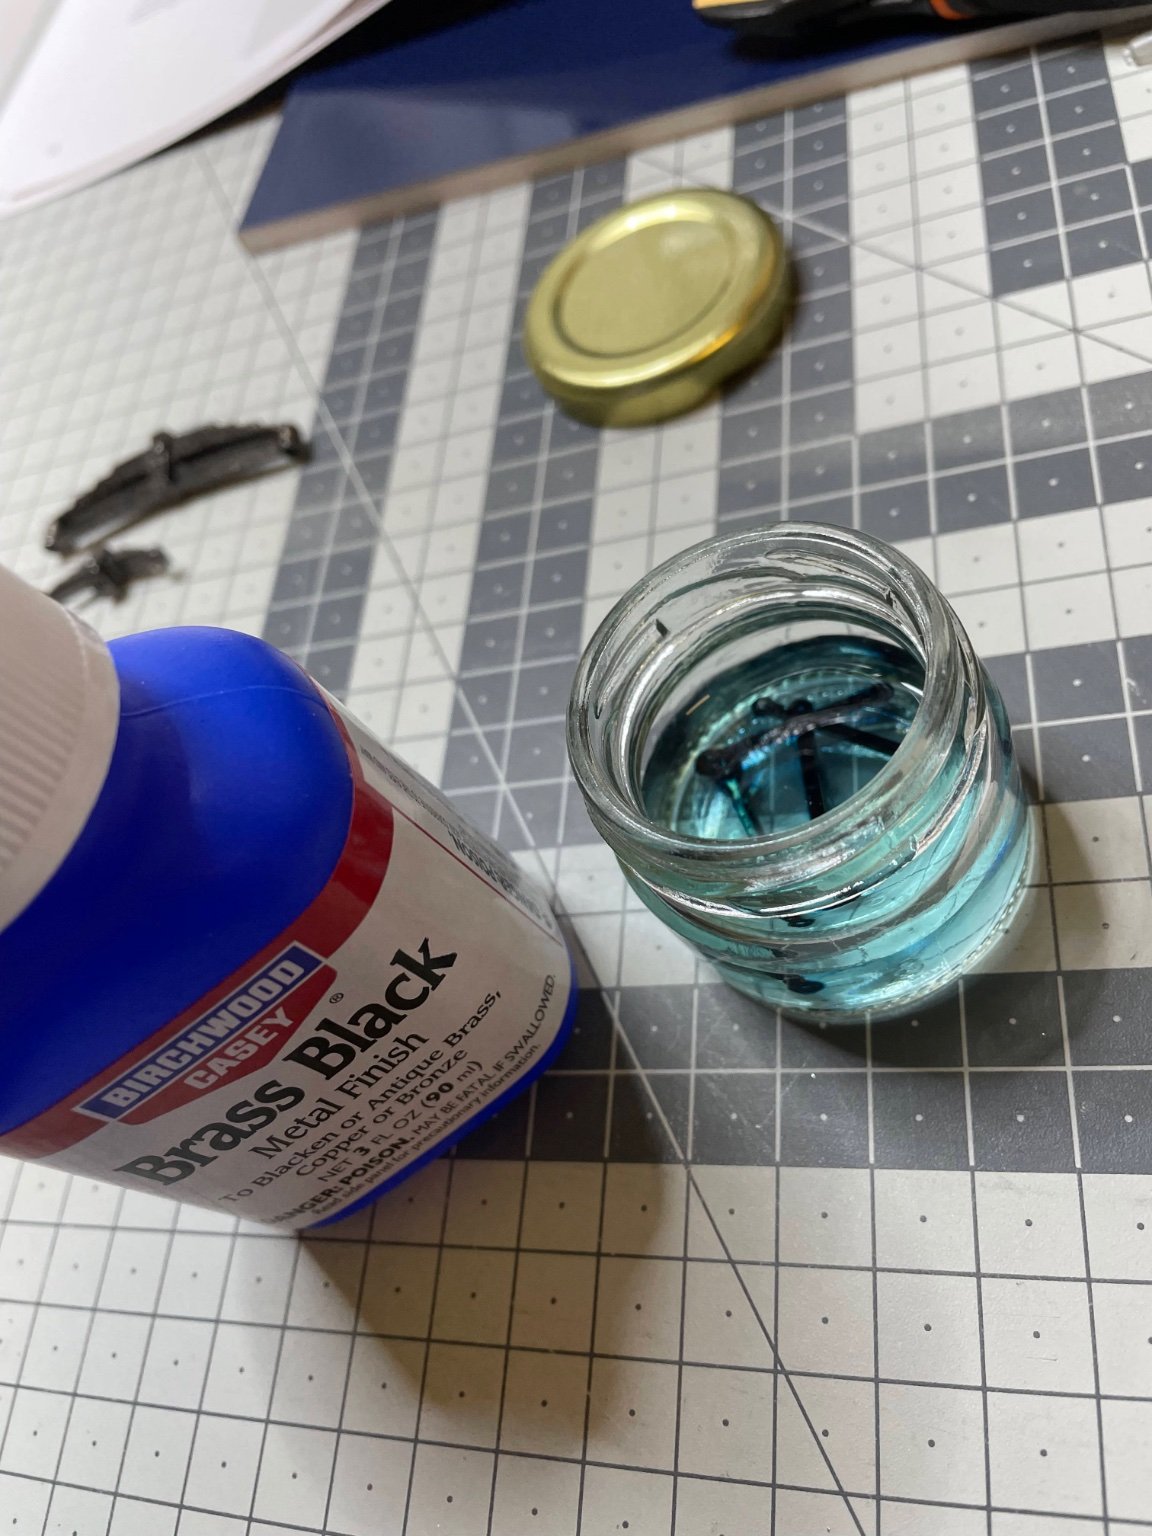
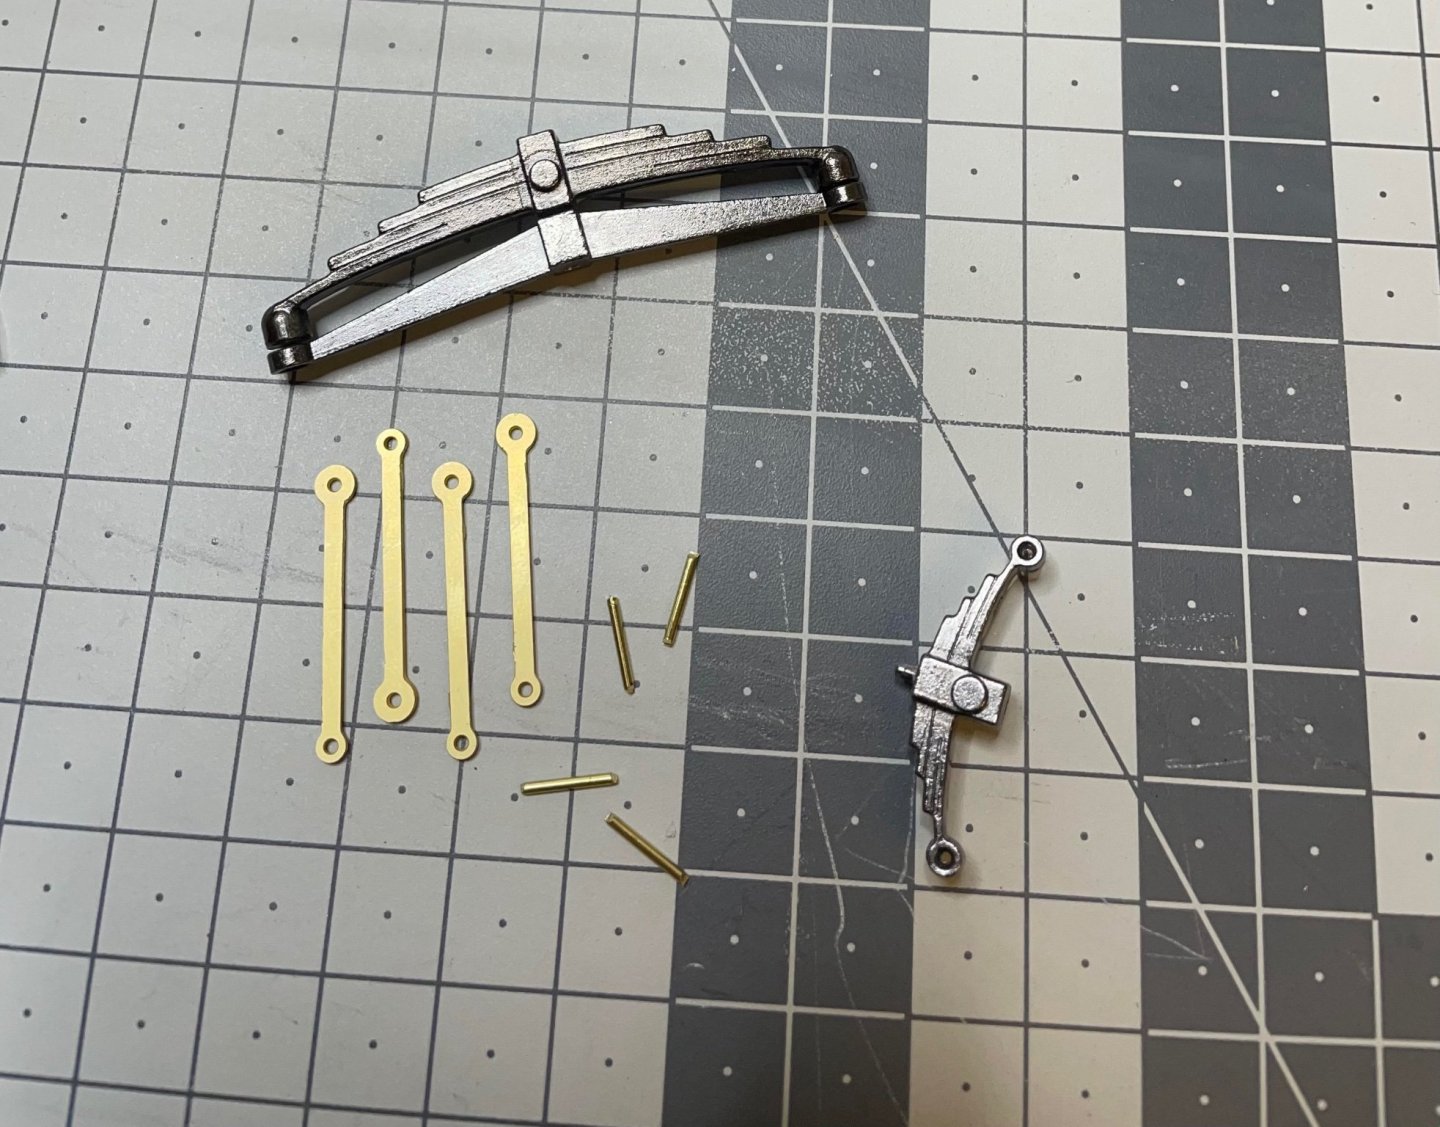
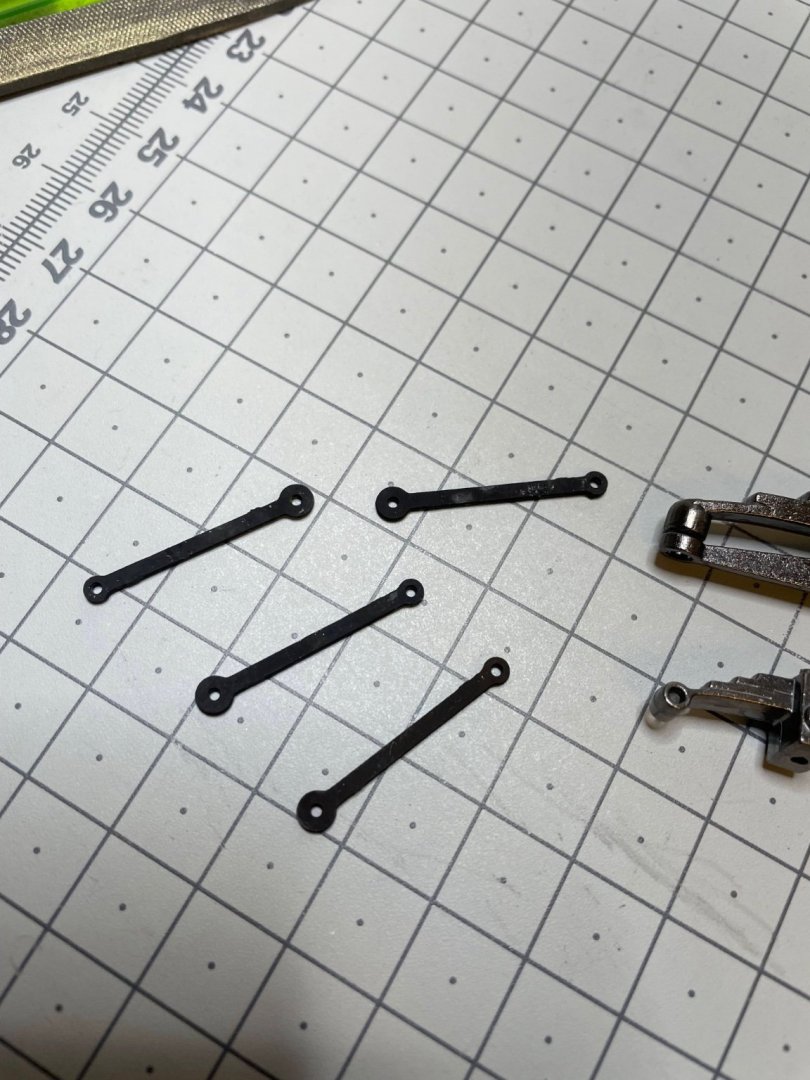
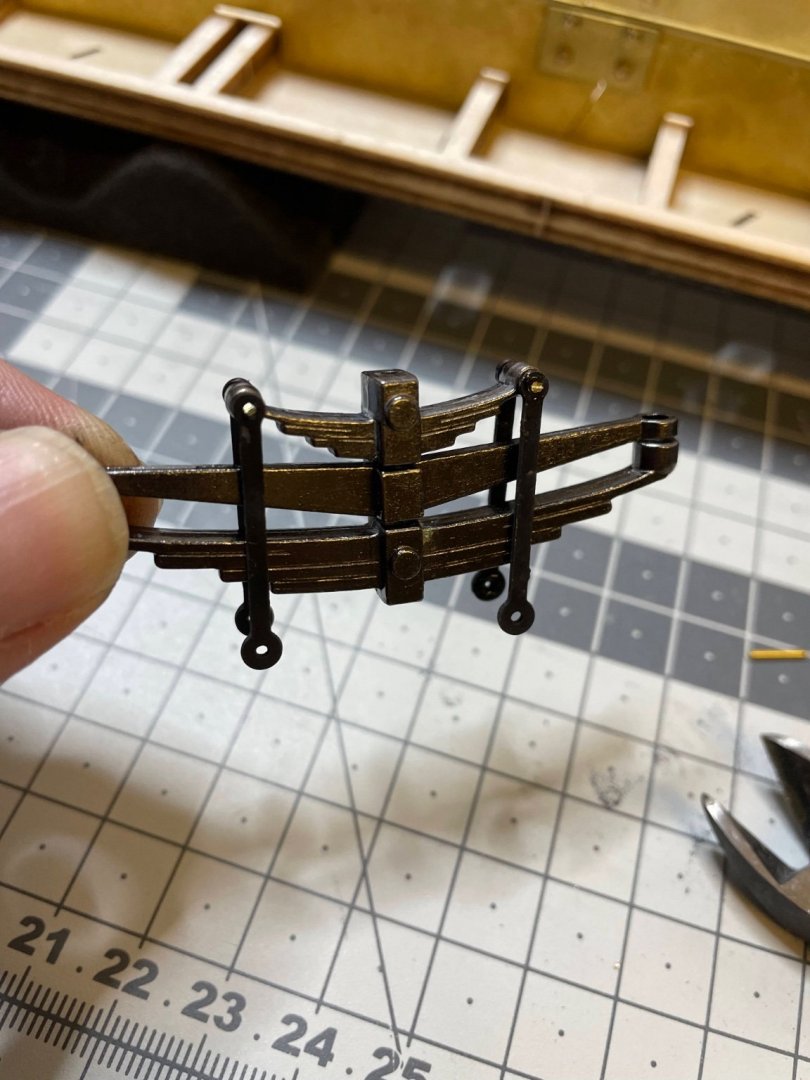
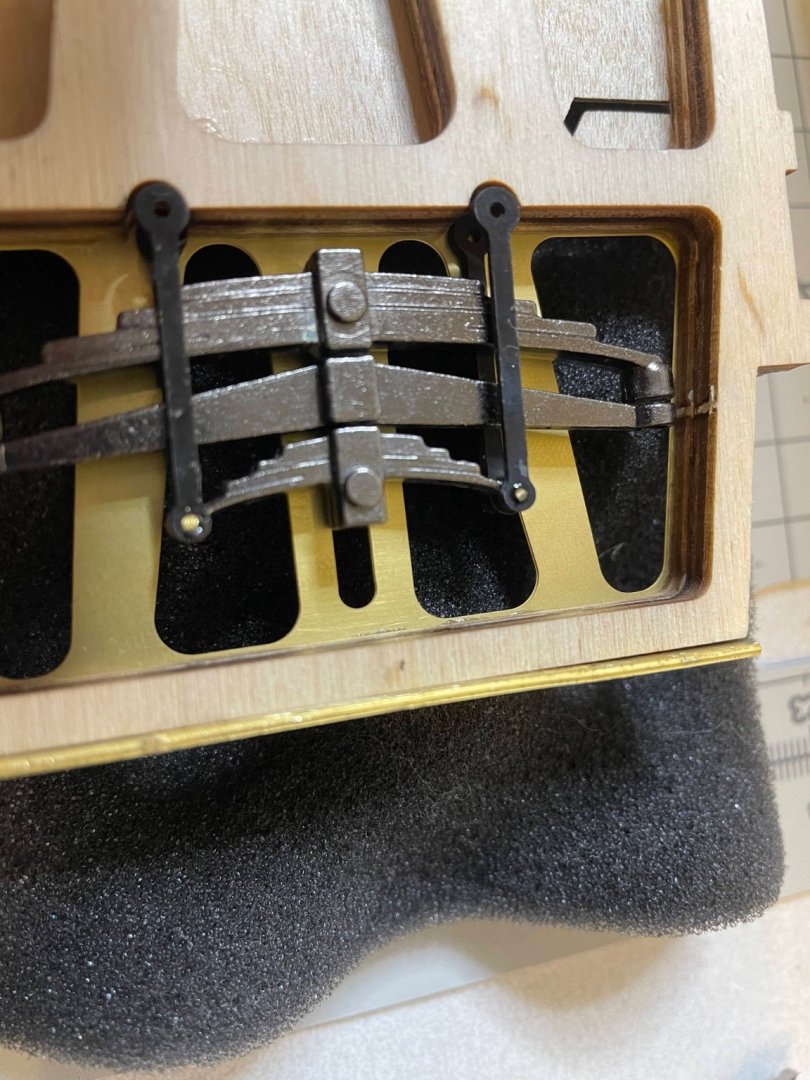
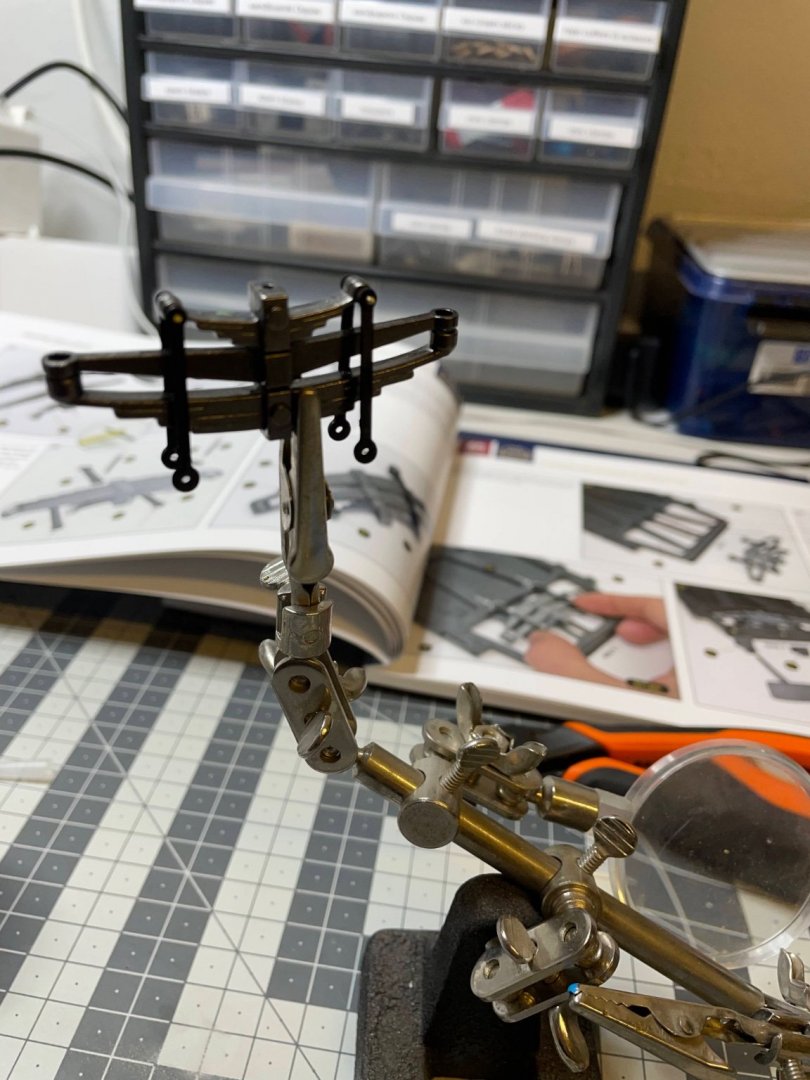
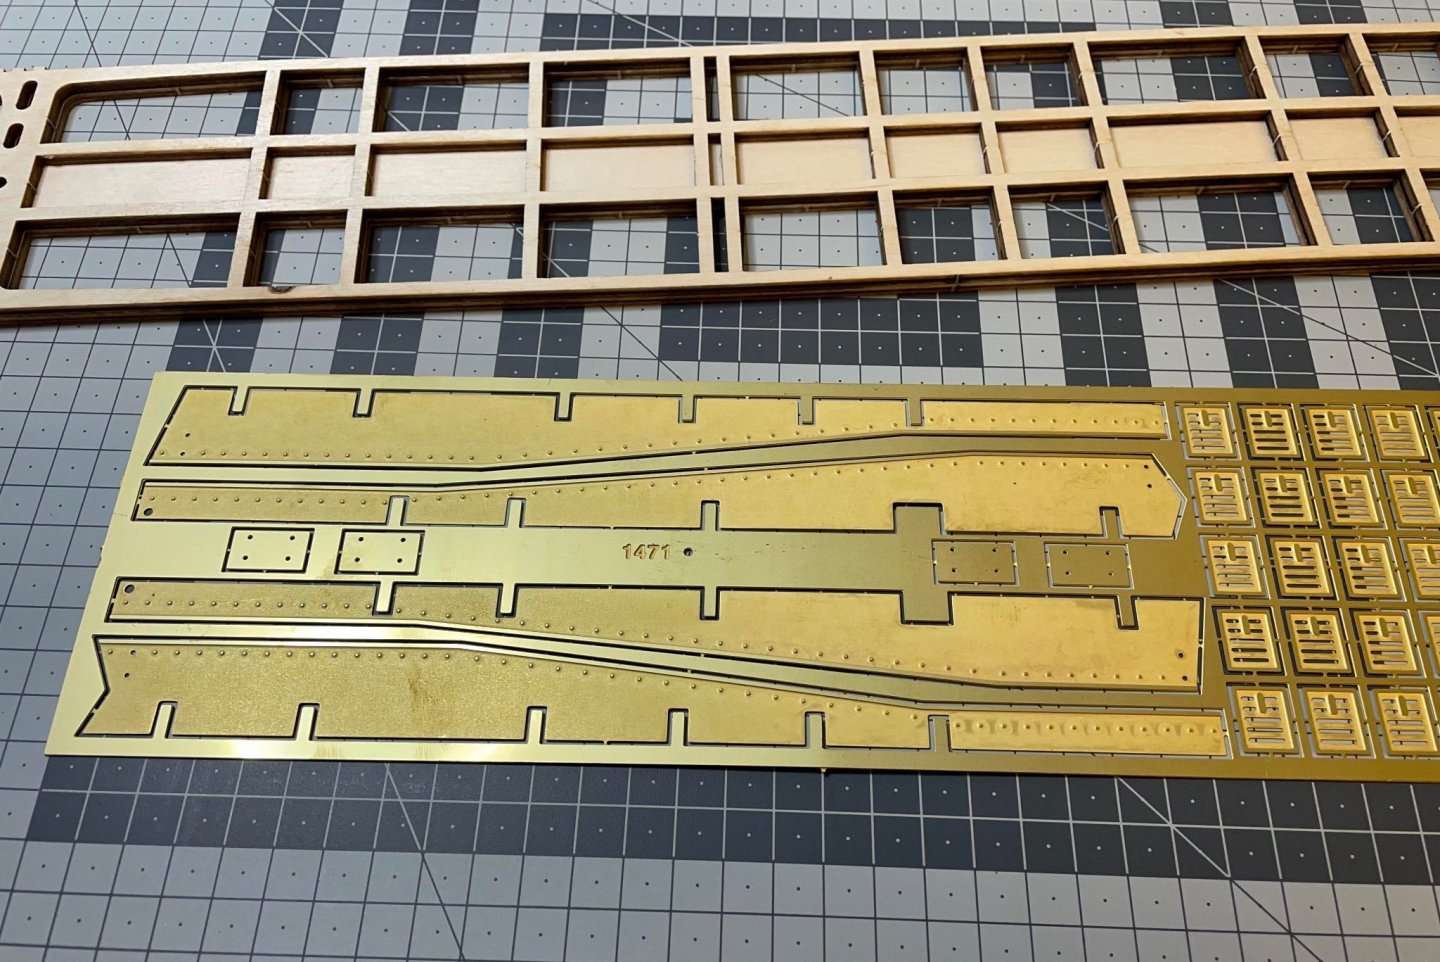
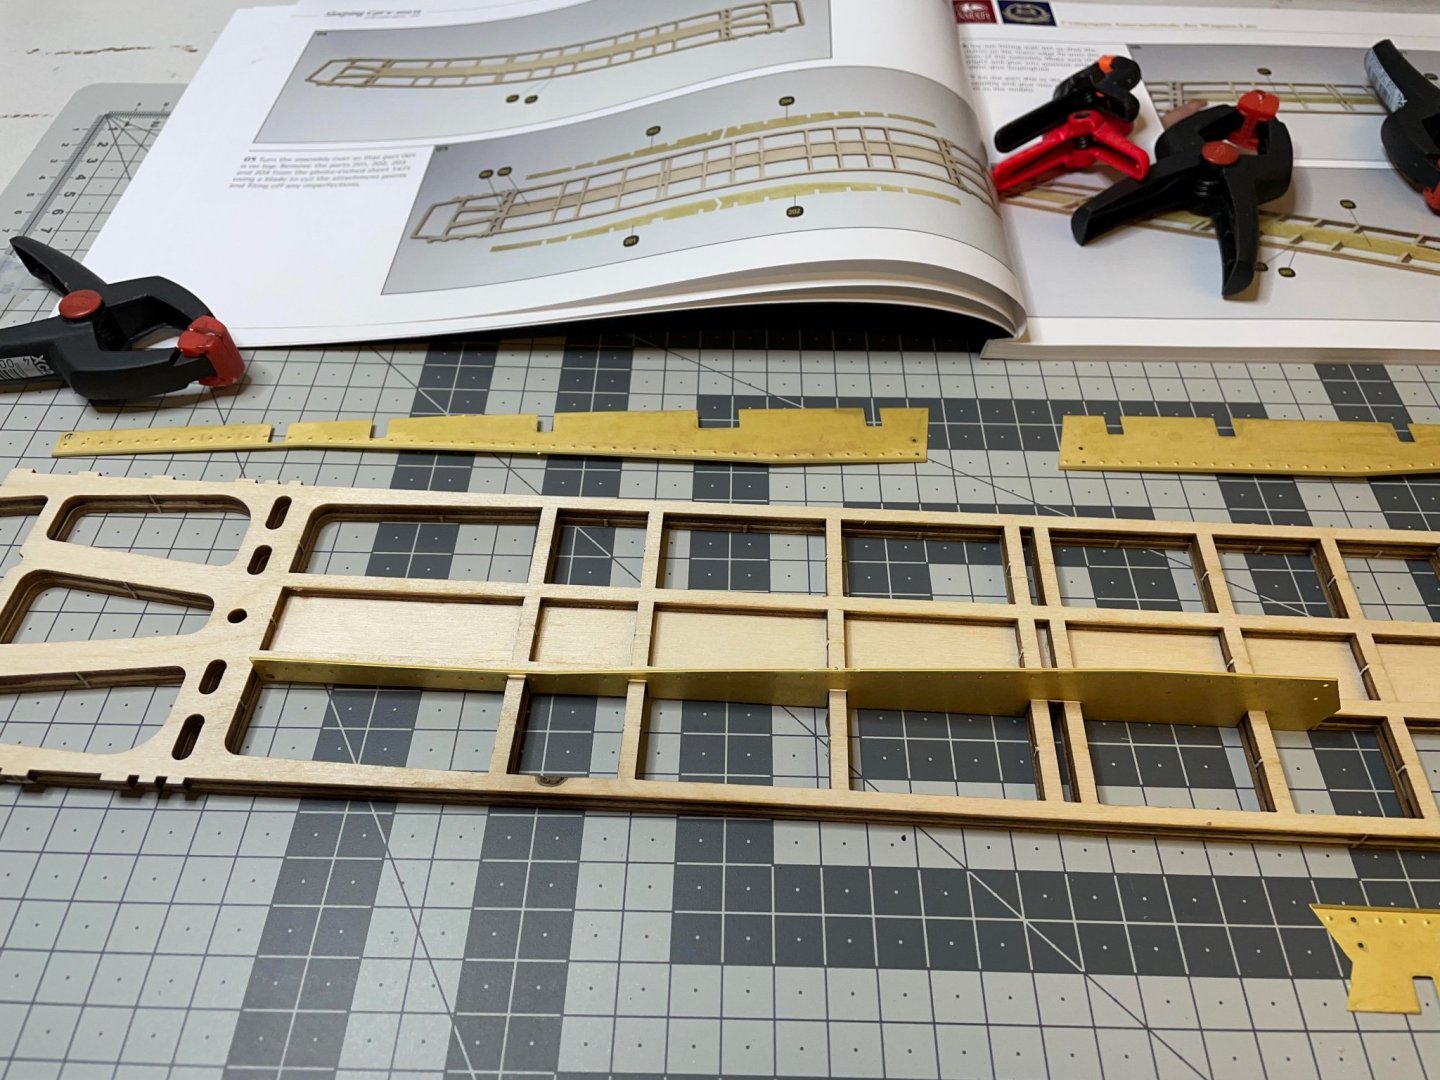
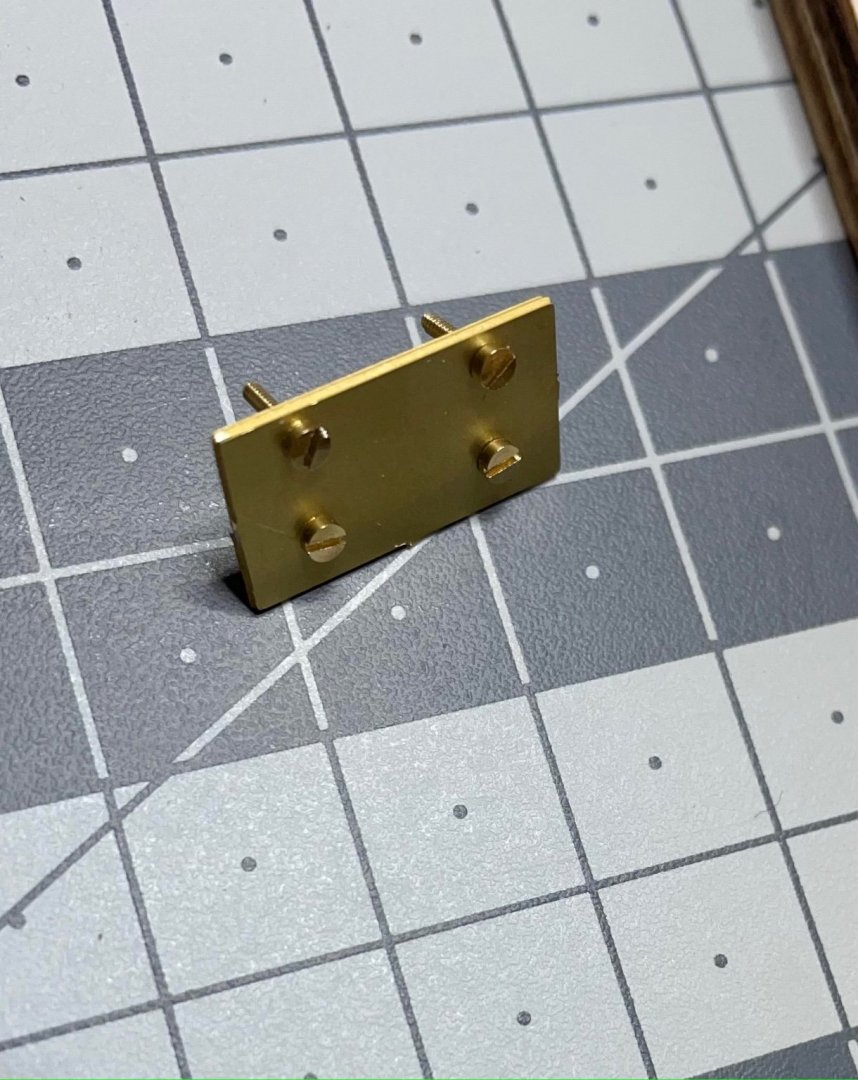
Still waiting to hear from Amati about the missing L-profile, I am continuing with other areas. 2 bumpers have to be bent 30 degrees. In this post I will appraise DSPIAE Photo Etch Bender: Highly recommended. Figure 21: Now some explanations on the next photos (Figures 21 to 27): I am not too much familiar with railway terminology, the next component is called "Leaf springs". There will be 2 of them to be installed on either end. Dry fit the parts first, enlarging of some holes with a drillbit is needed here and there, as shown below, this is also mentioned in the instructions. I use Casey's Brass Black for staining small parts. - Get rid of the grease (I use degreasing spray which I have at home, used on electronic circuits or wiping your keyboard etc), - Soak them in the Bras Black liquid 1-2 minutes, - Rinse with water. The "stirrups", i.e. the 4 small rods hanging down, should move freely in pairs, in order to be able to fit to the body (dry fitted in the photo) Figures 21-27: That's all for today! Thanks for watching!


- 293 replies
-
- 15
-
-
BUILD DAY 2: 2 hrs (TOTAL: 6 hrs) Thanks for the encouraging words! After yesterday's recovery from near-disaster (see my previous post), all looks good now and the build can continue. Figures 19, 20:
- 293 replies
-
- 13
-
-
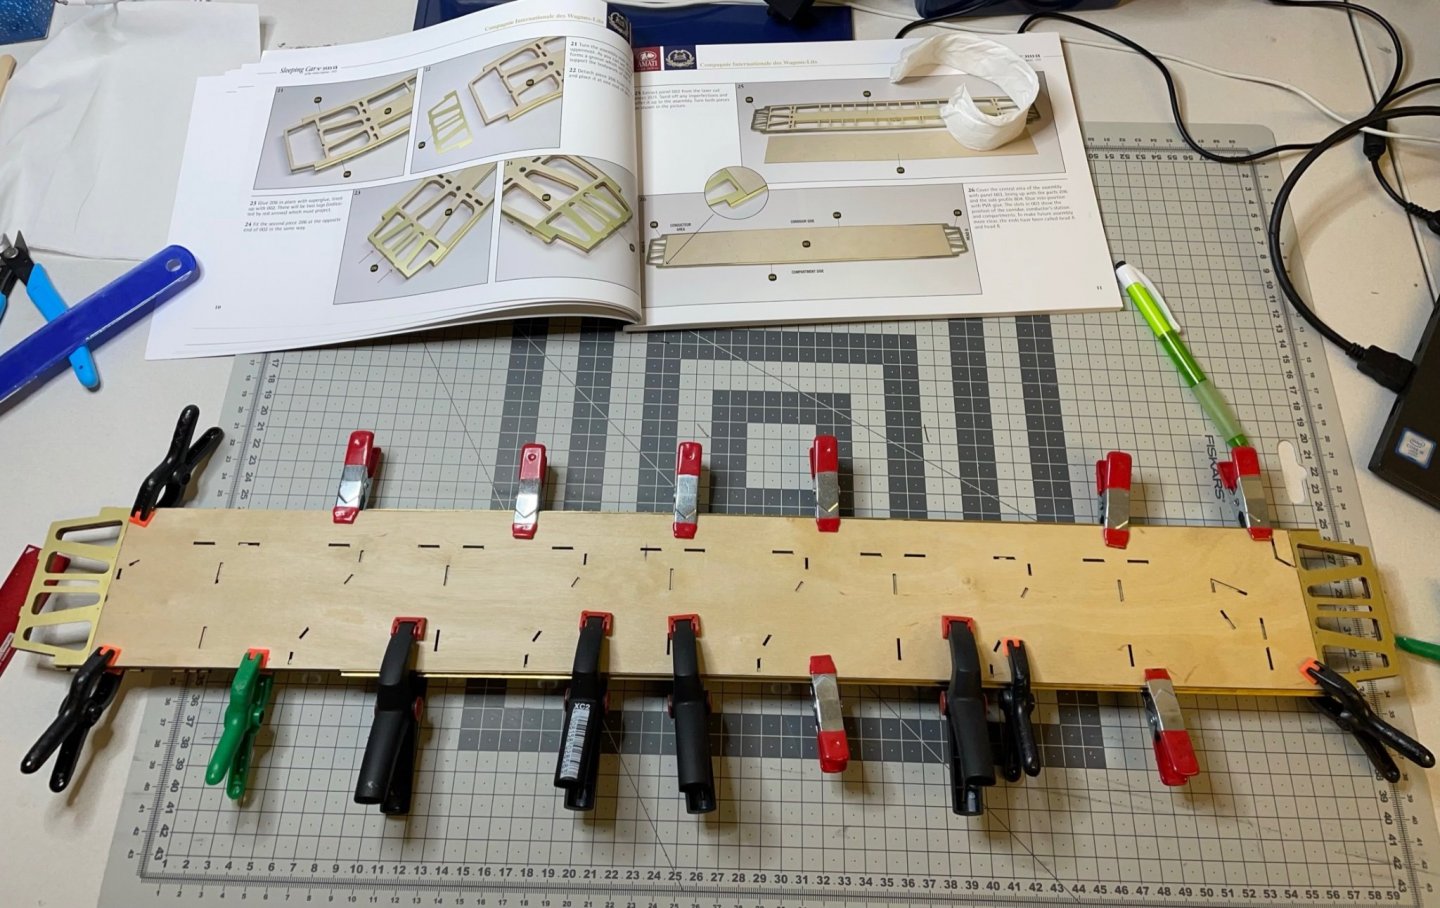
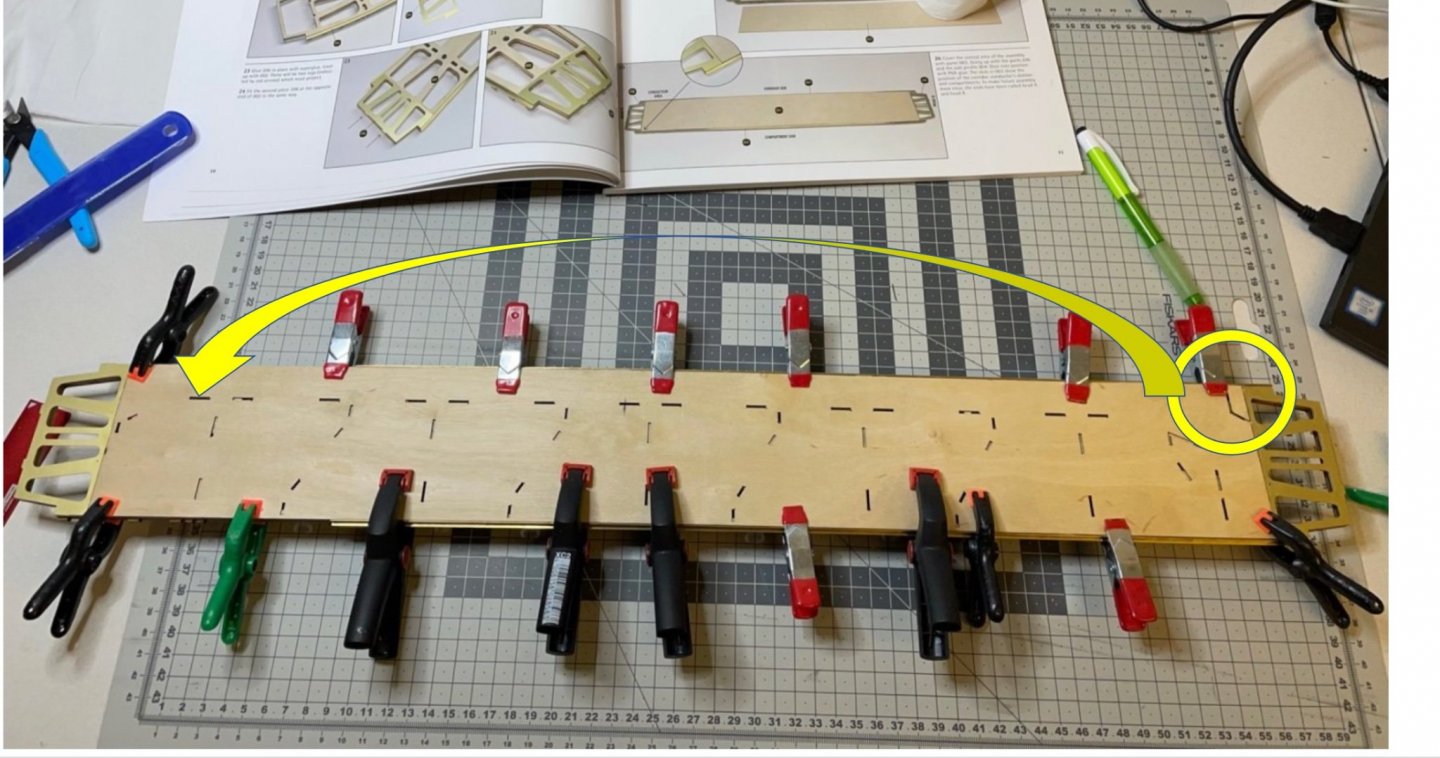
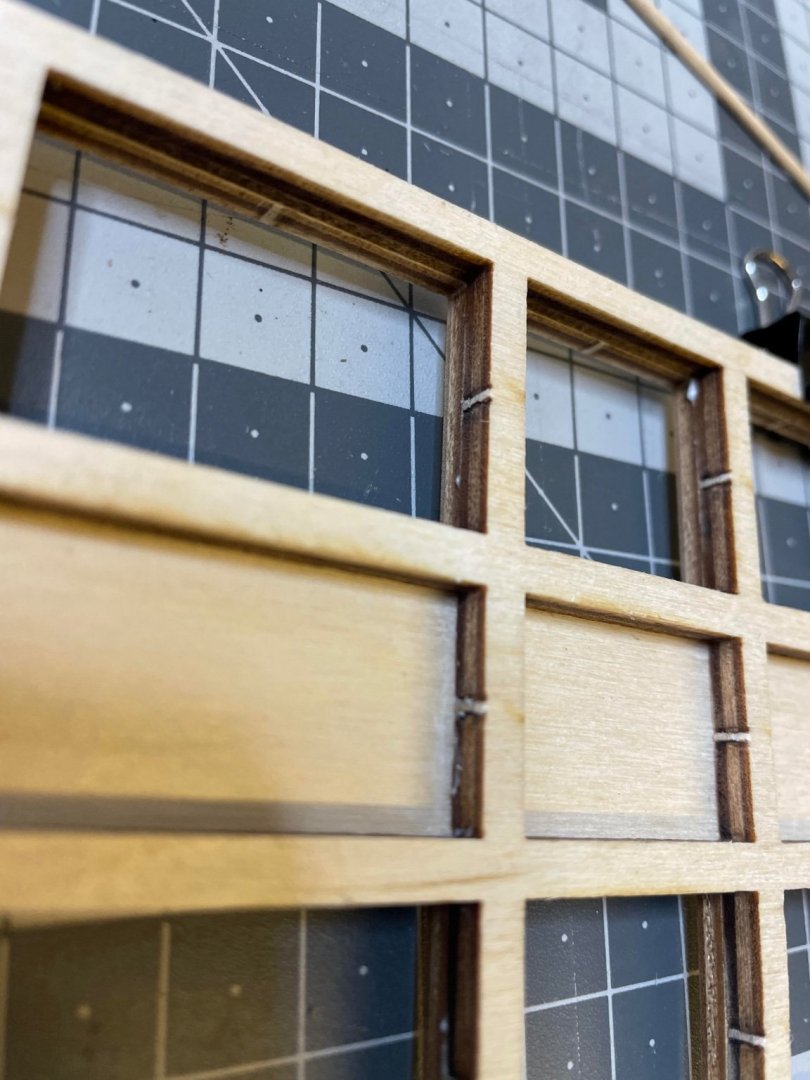
Floor panel in place, completing the first day's work. Figure 18a: EDIT : Noticed a terrible terrible mistake, luckily only in less than an hour after assembly, before the glue totally dried! It was this close to make it total garbage or very costly to revert. I glued the floor panel in the wrong direction and I always double check the instructions. This train is very symmetrical, yet it doesn't forgive even a slightest assumption that any part is symmetrical. Do not repeat my mistake, if you build this kit! Now looking back, actually what mislead me was that, it looked like the "front" face of the board would face up. You know, the face where the laser cuts are clearer. However it appears that you should glue the "rear" face facing up. It will be covered with carpets, but still, one would easily assume that the front face would face up. Anyway, always check the photos and instructions! So, I removed the floor very carefully using knife, cleaned the glue remains, sanded, flipped the panel and glued back in correct orientation. What I mean by correction looks like below. The small slot in the circle mark should be on the opposite side. Figure 18b: That's all for today. Thanks for watching!
-
I sent a note to AMATI and decided to continue as long as the missing part creates no obstacle. Two of these parts below will be used later. Figures 16, 17:
- 293 replies
-
- 10
-
-
Now this is an annoying moment for any modeller: A missing part from the kit. One of the profiles (PART 804) is missing. There should be 3 of them but I found only 2 in the box and I looked everywhere. Contacted AMATI about it. Let's see what (if ever) they will reply. Otherwise I will need to look around shops for 2x4x500mm L shaped brass profile. I may get my hands on a plastic version, which should be fine since it will be painted, but I won't go for that option until I am hopeless to get the proper part. This is leaving it incomplete at the moment. Figure 15:

- 293 replies
-
- 10
-
-

-
-
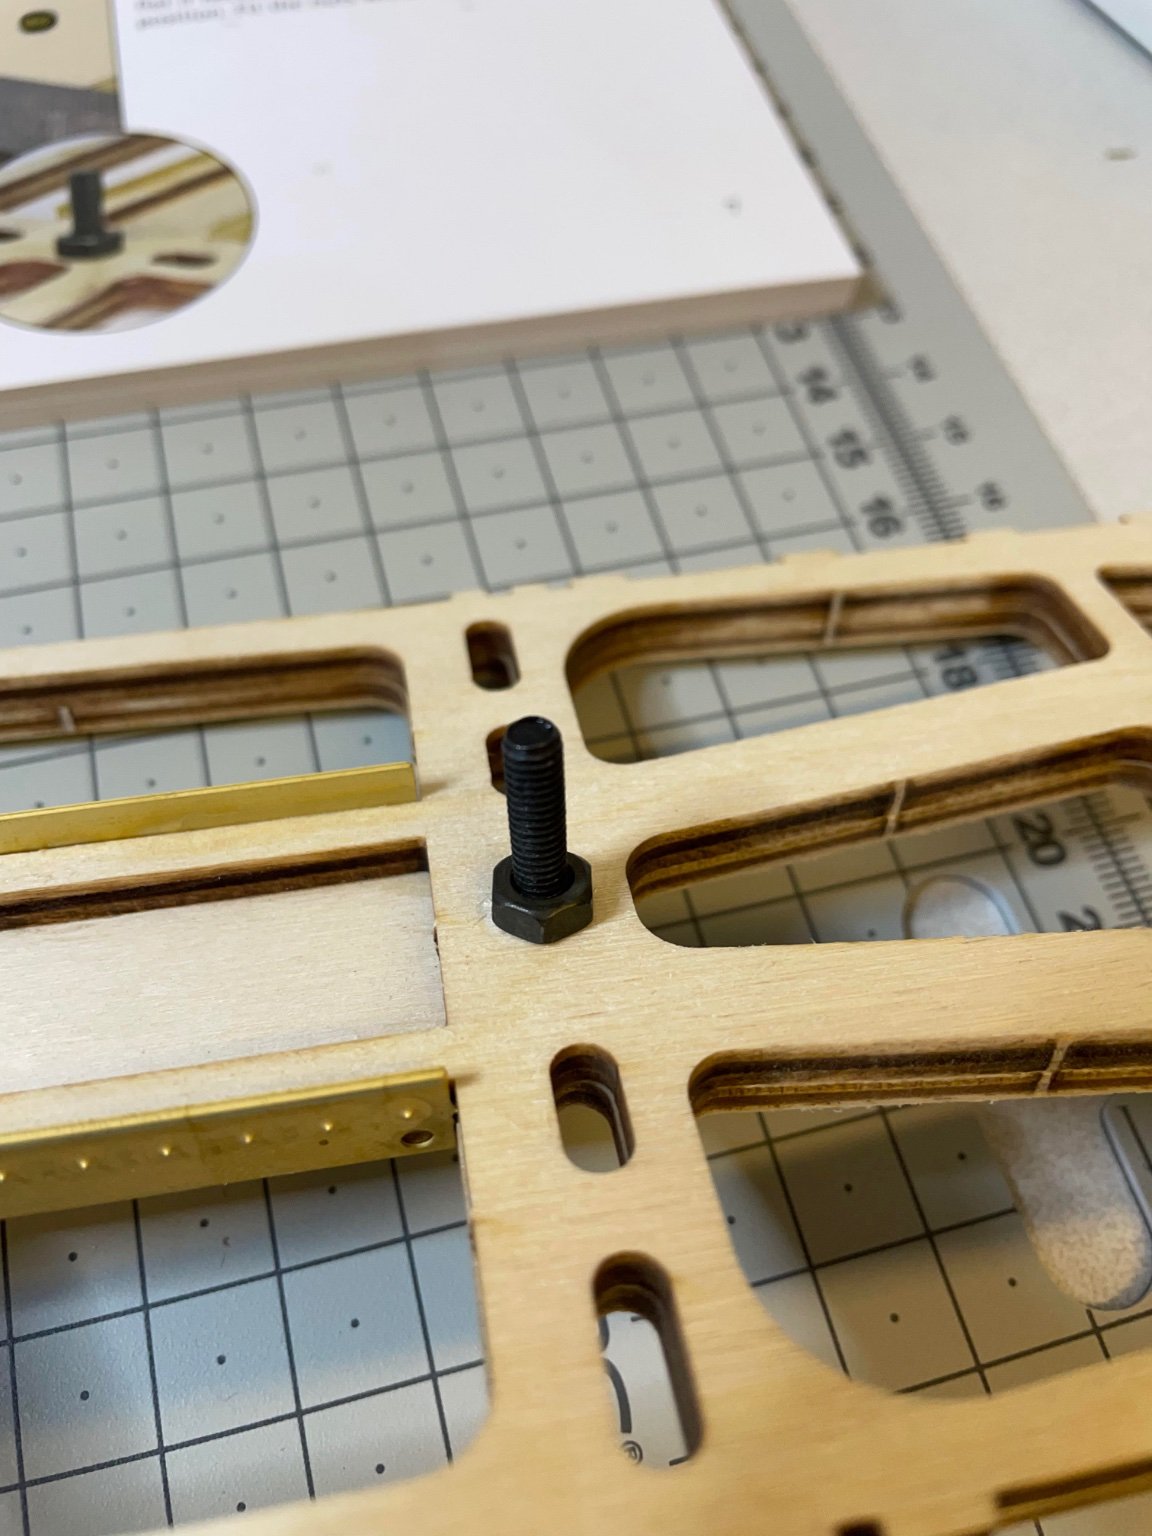
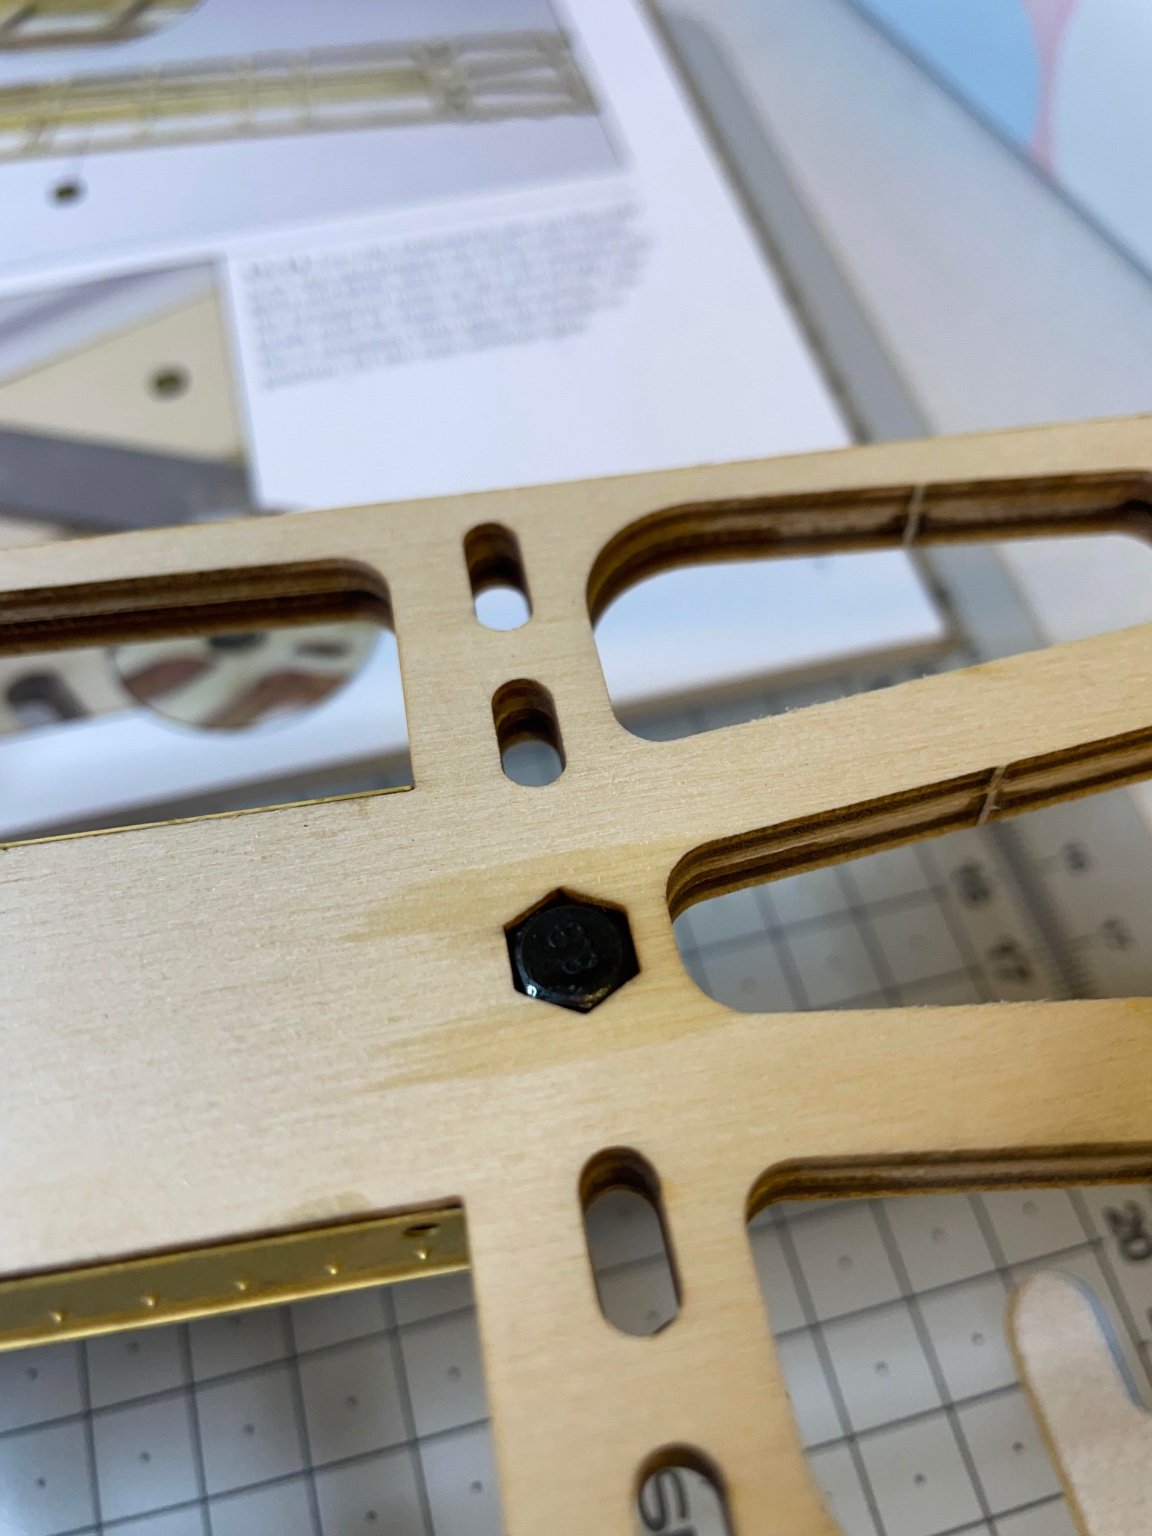
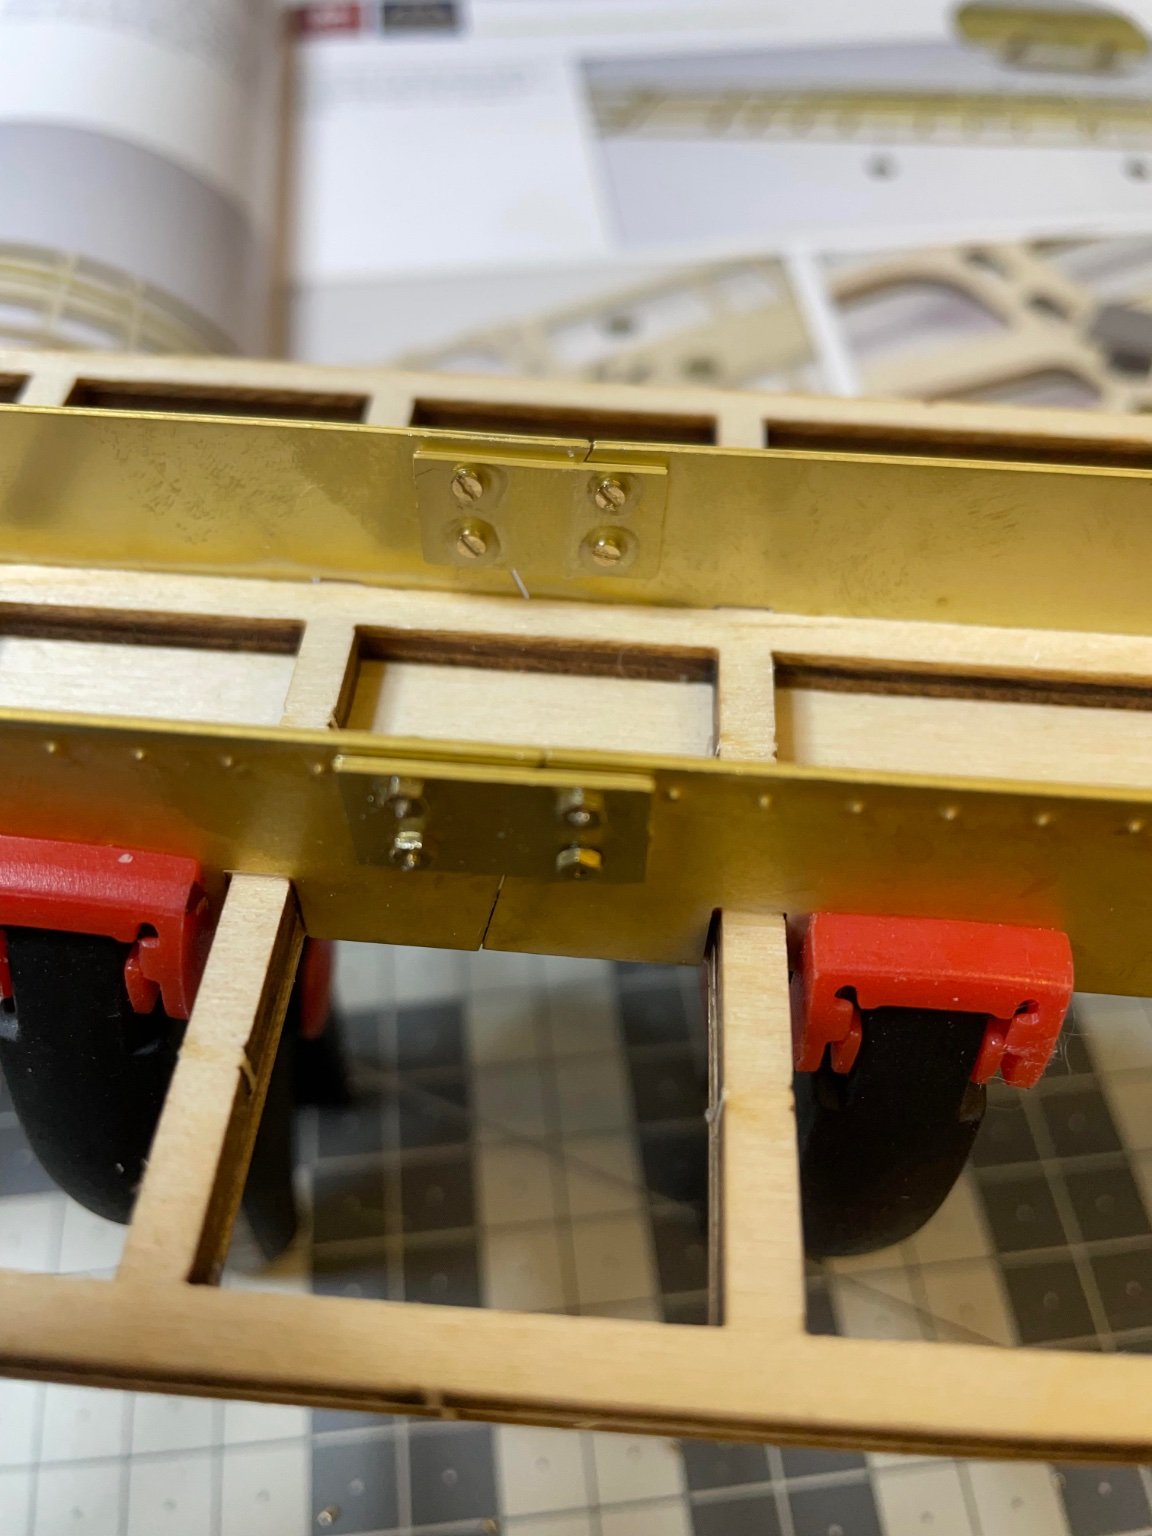
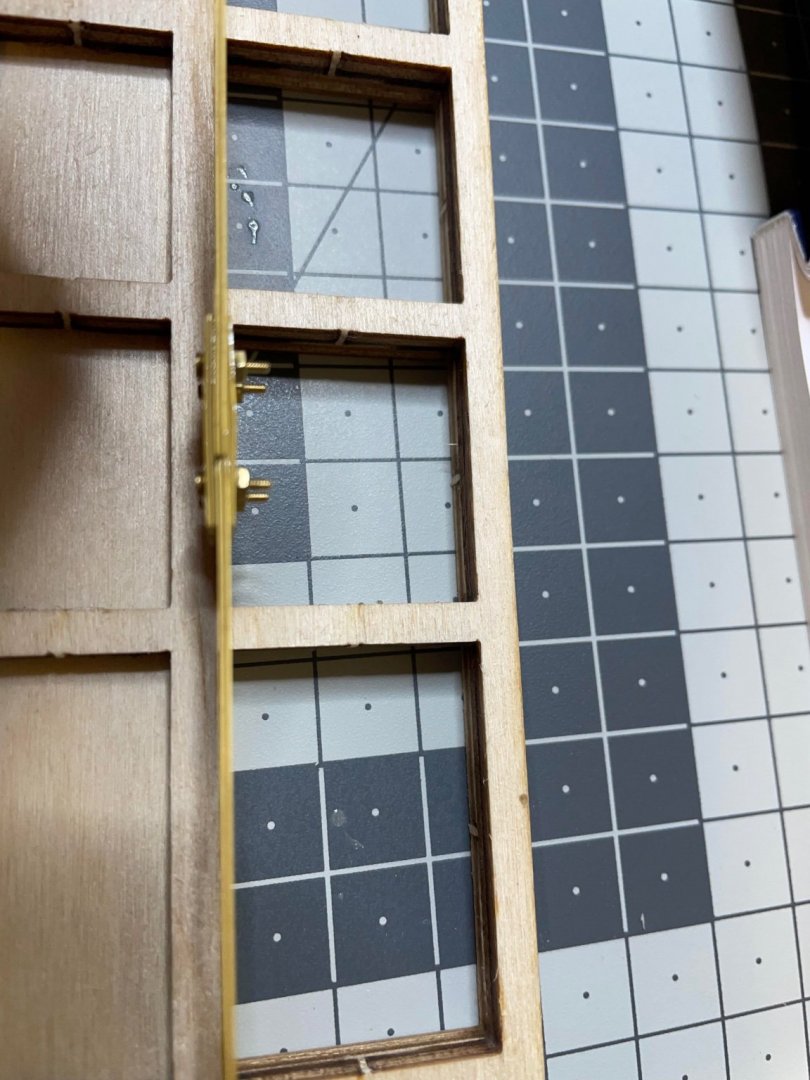
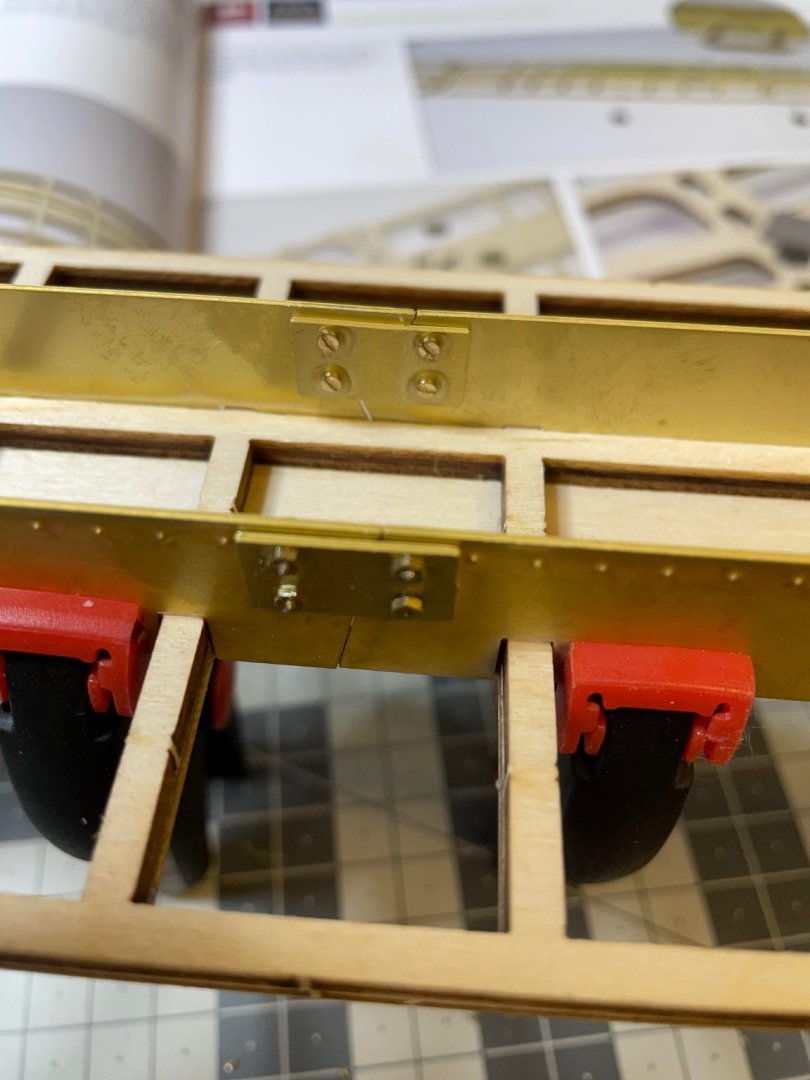
Bolts and nuts in place. If I guess right, they will carry the wheel structures (bogies?). Figures 13, 14:


- 293 replies
-
- 10
-
-
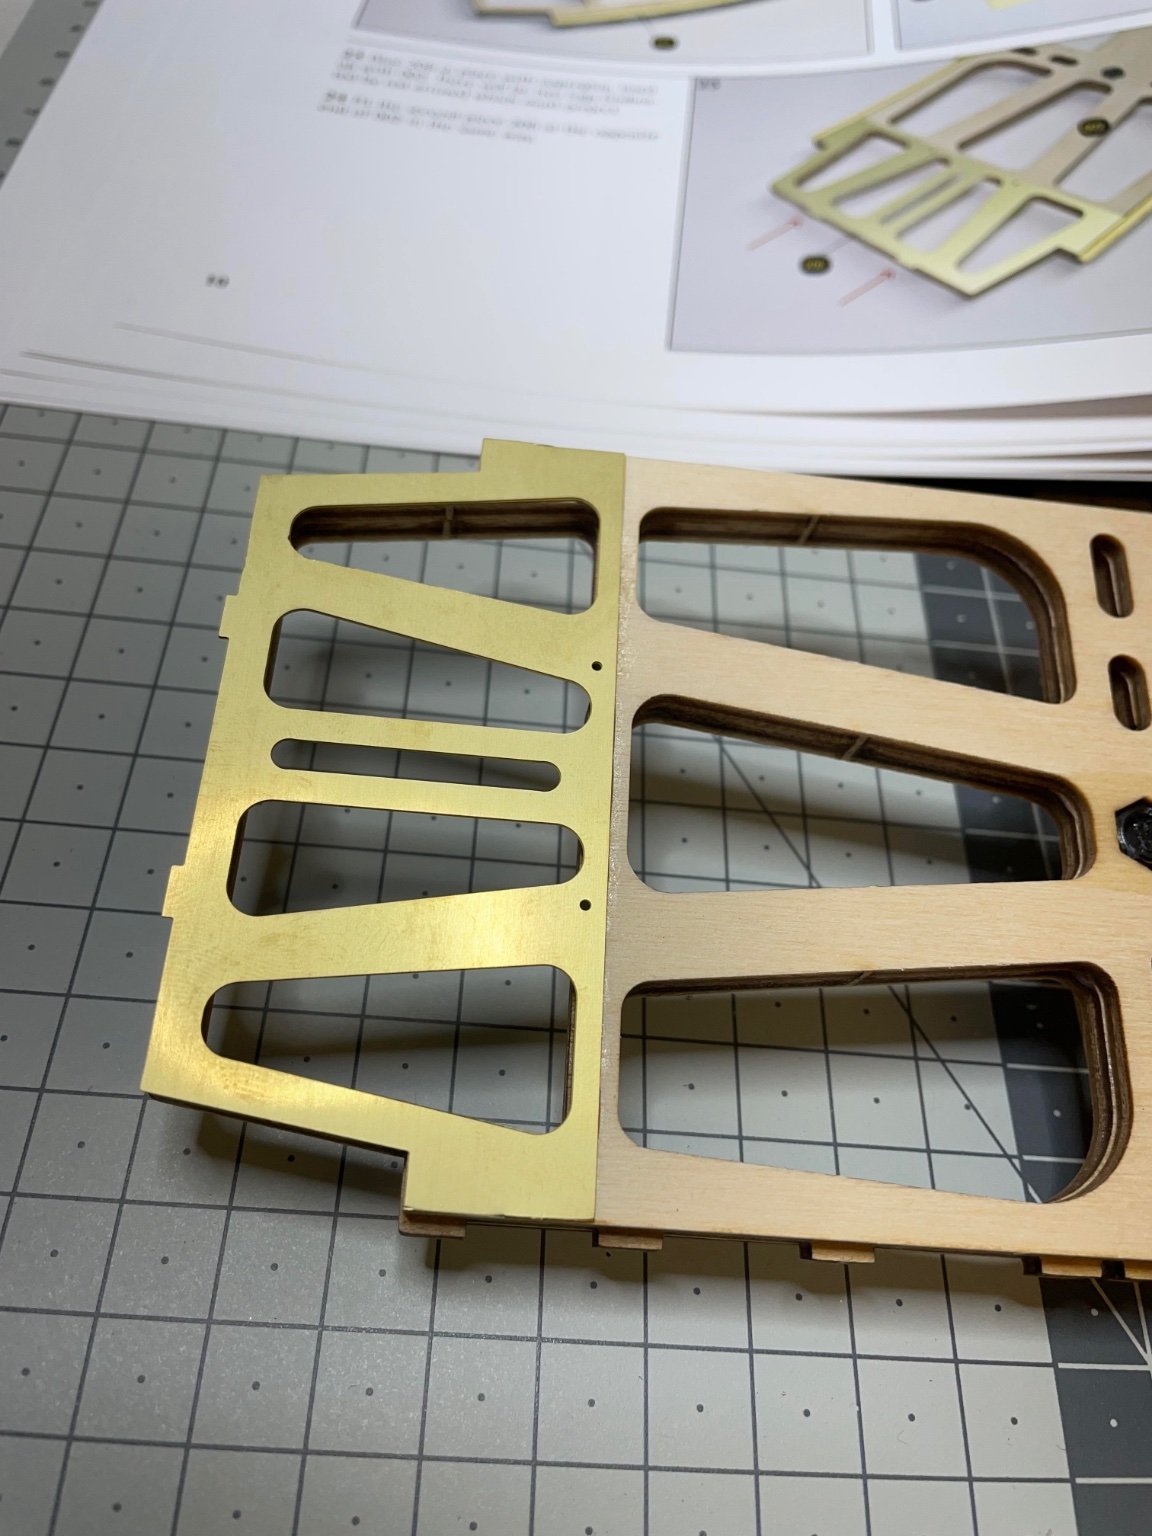
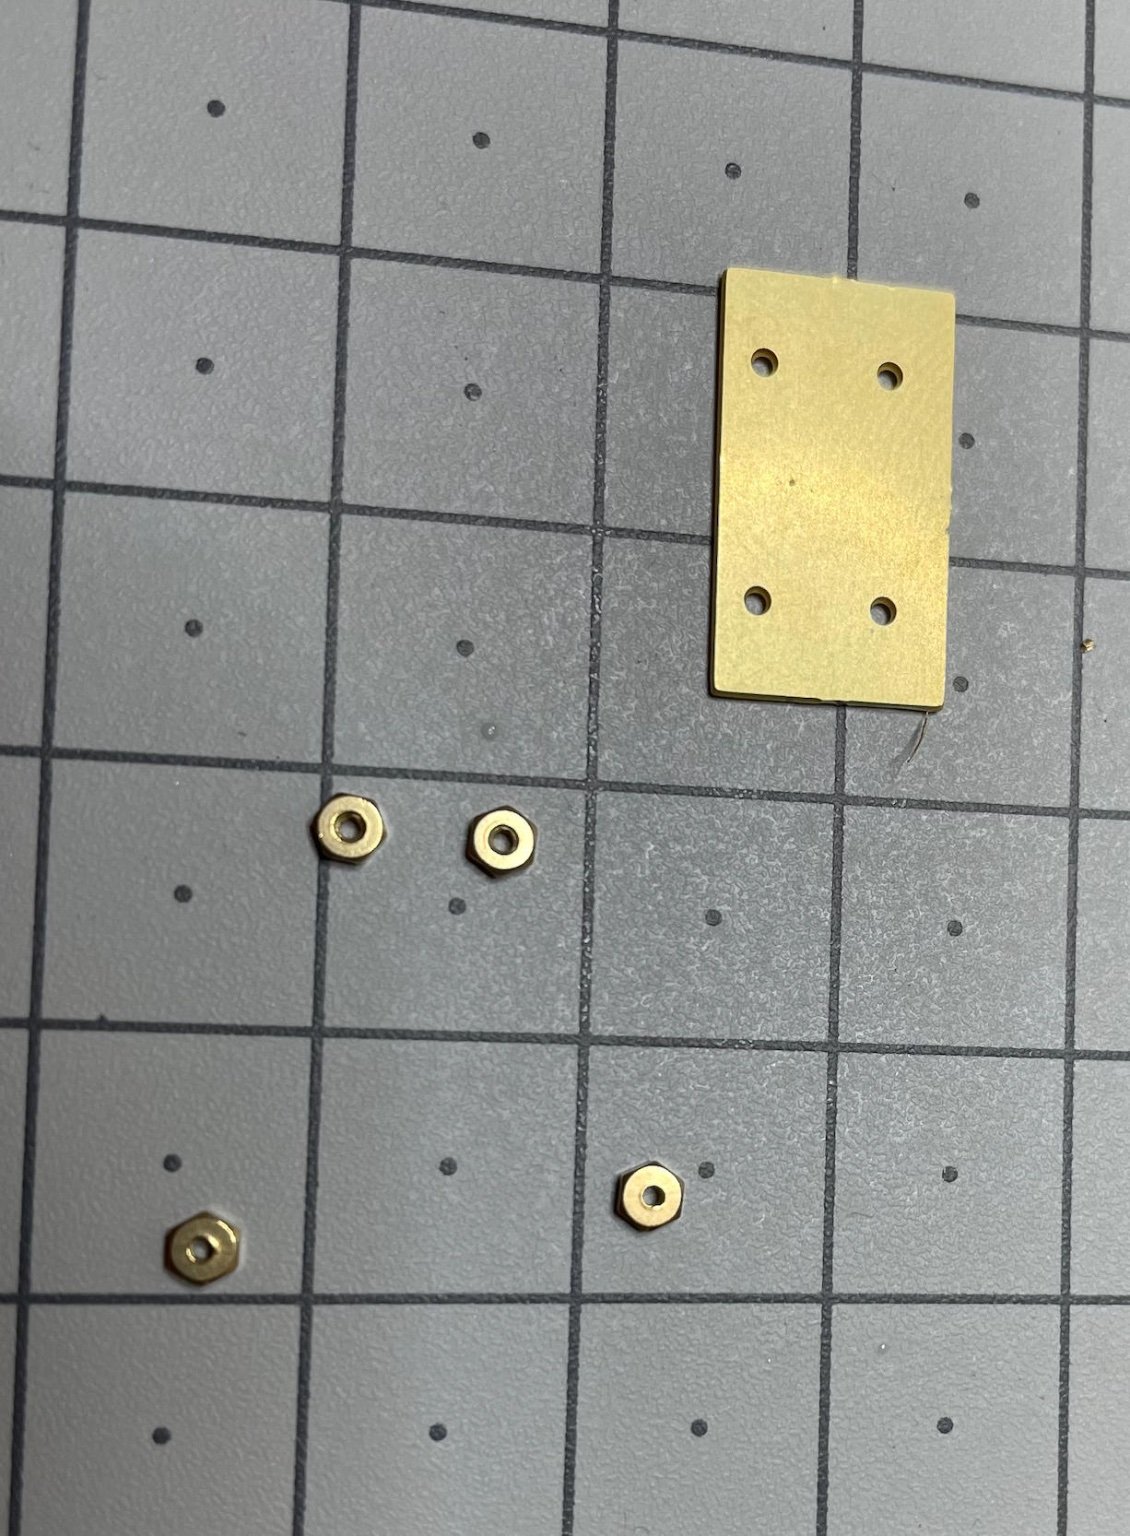
Now the first brass parts. Figures 7, 8: Strengthening pieces, using 1mm brass bolds and matching nuts: Figures 9, 10, 11, 12:

-
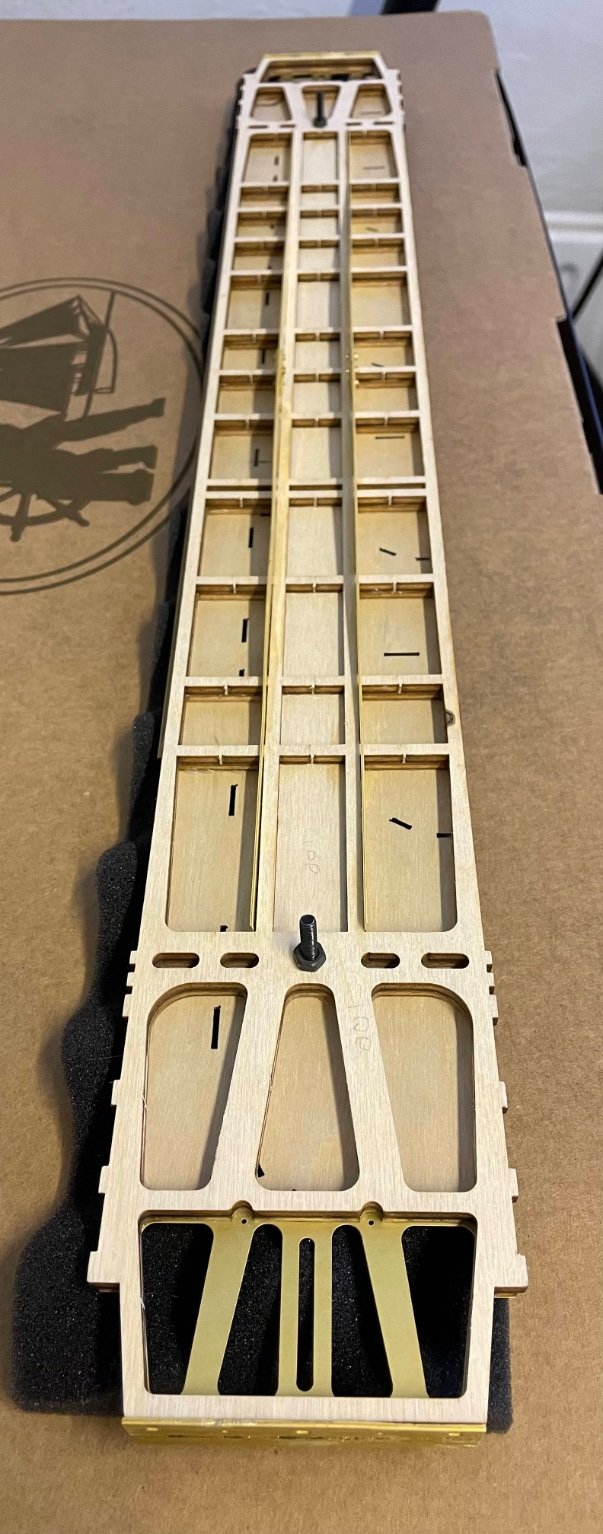
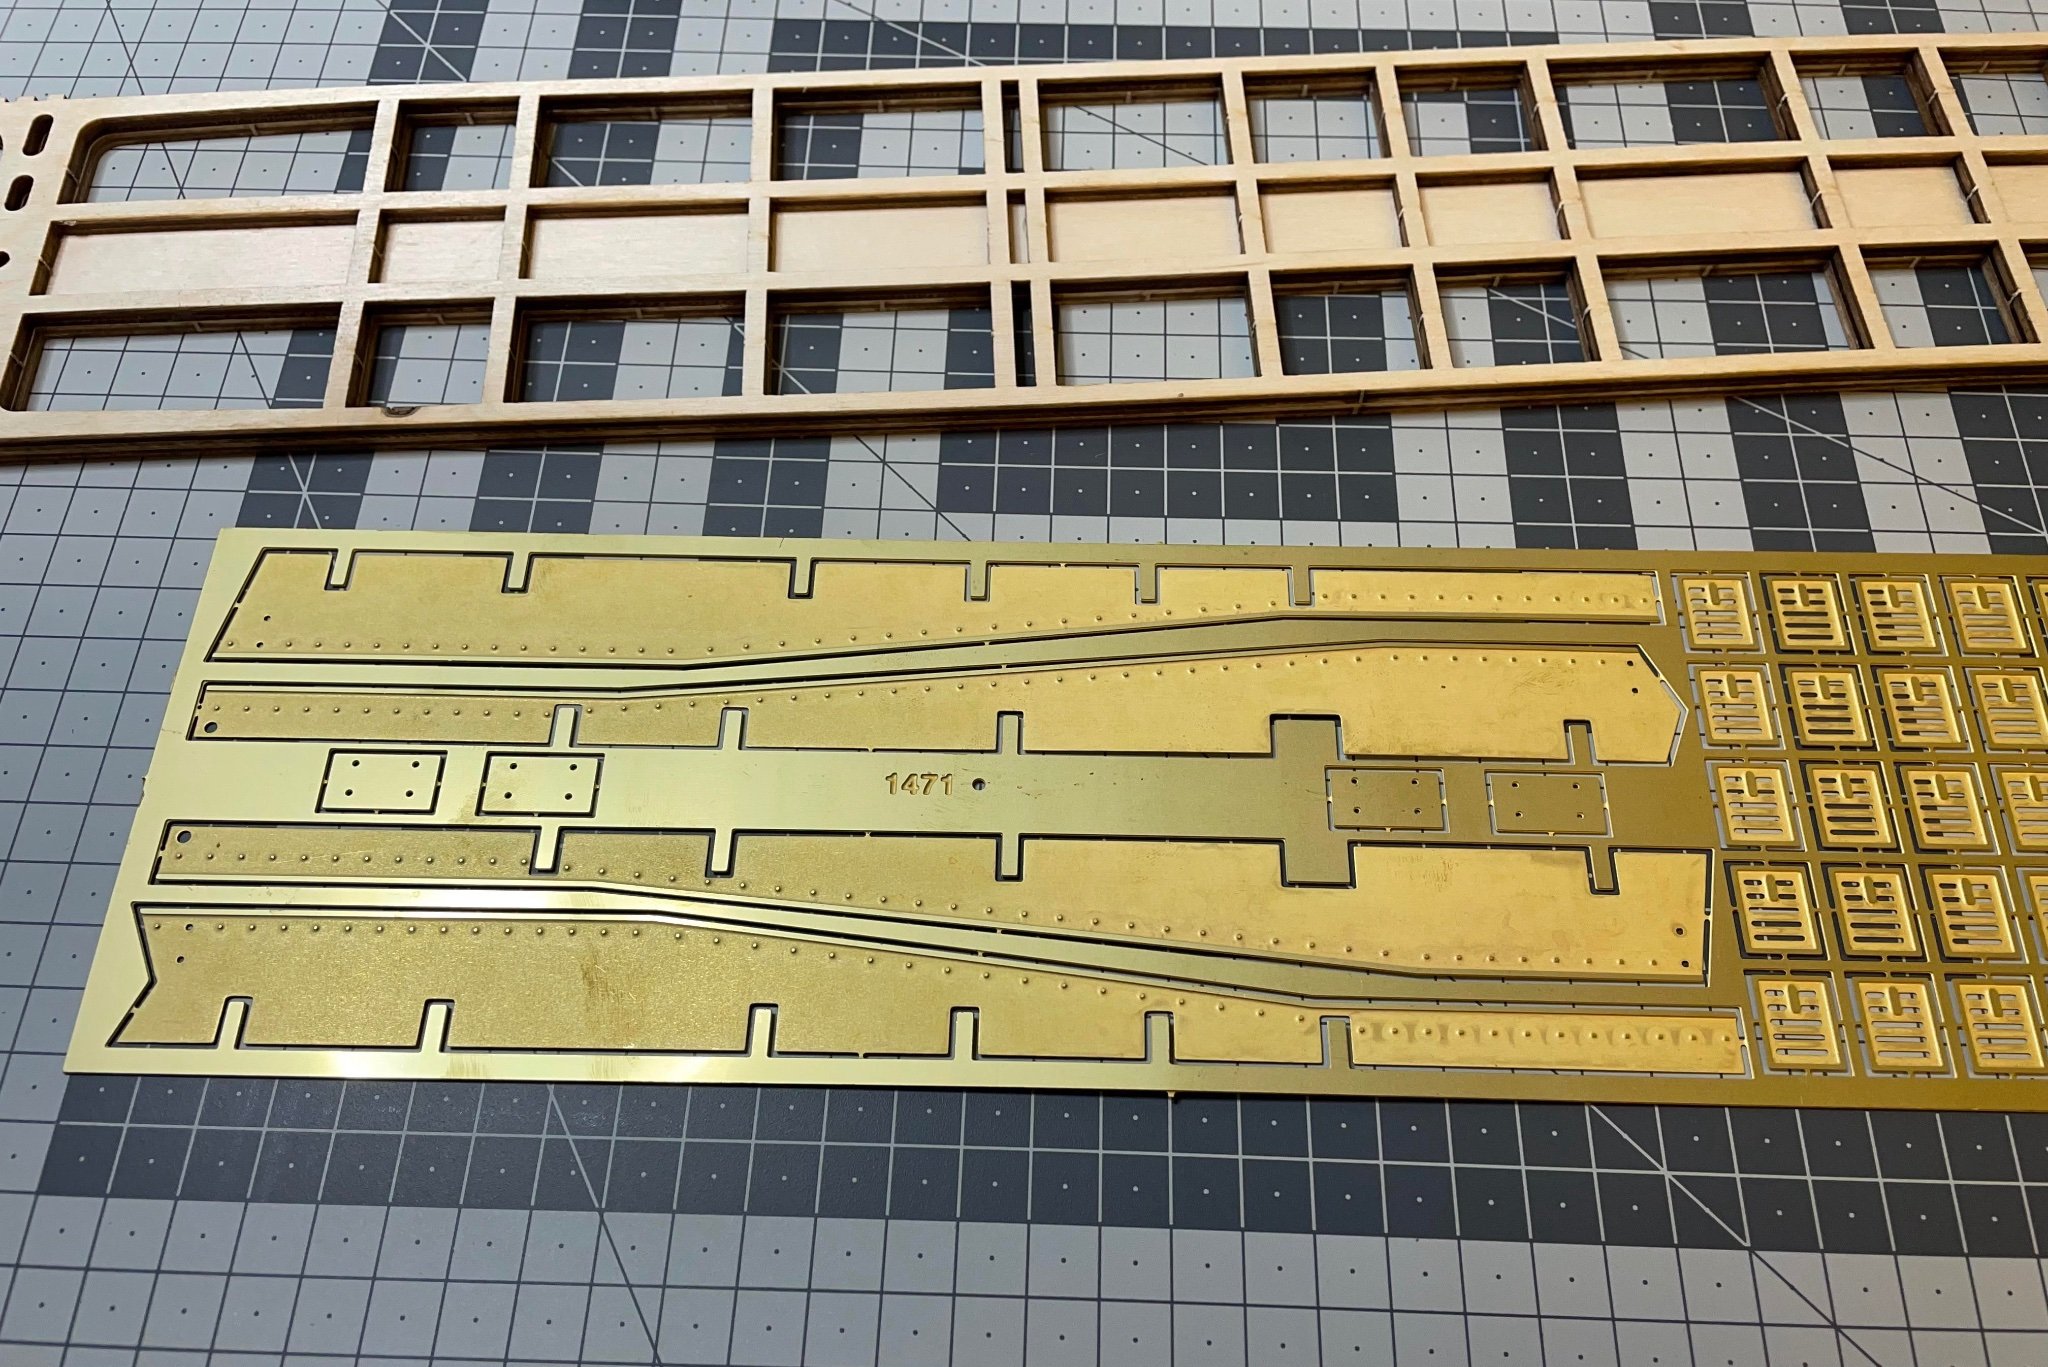
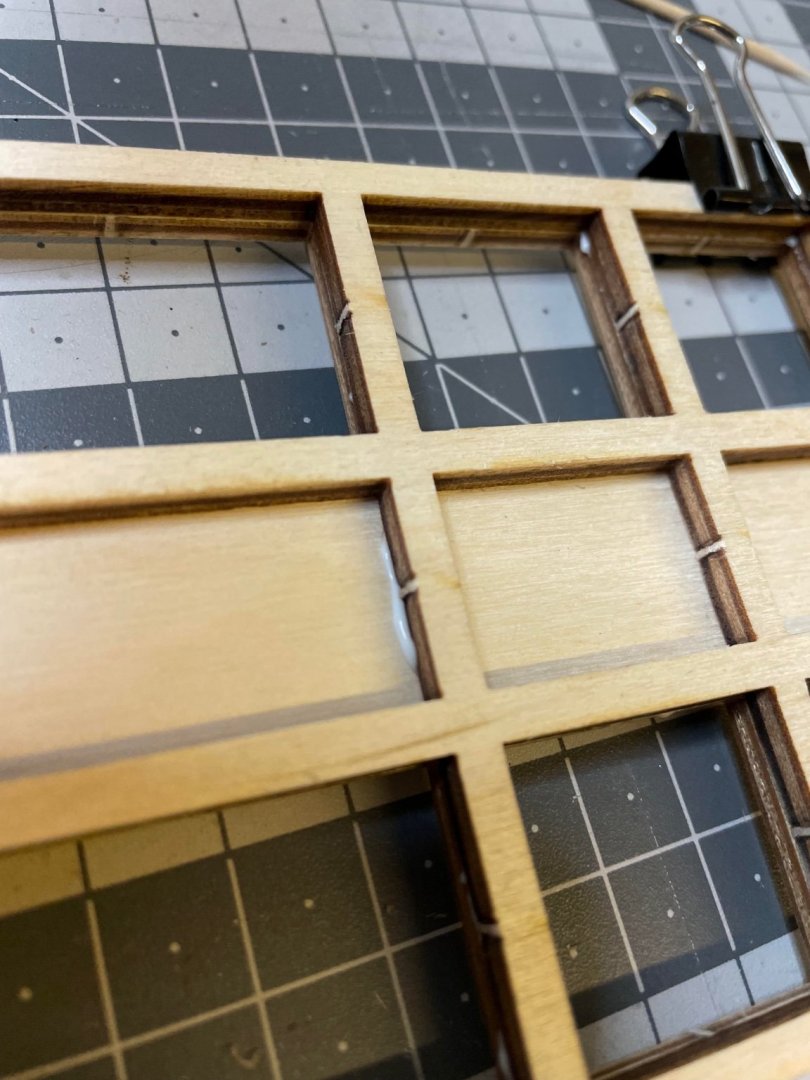
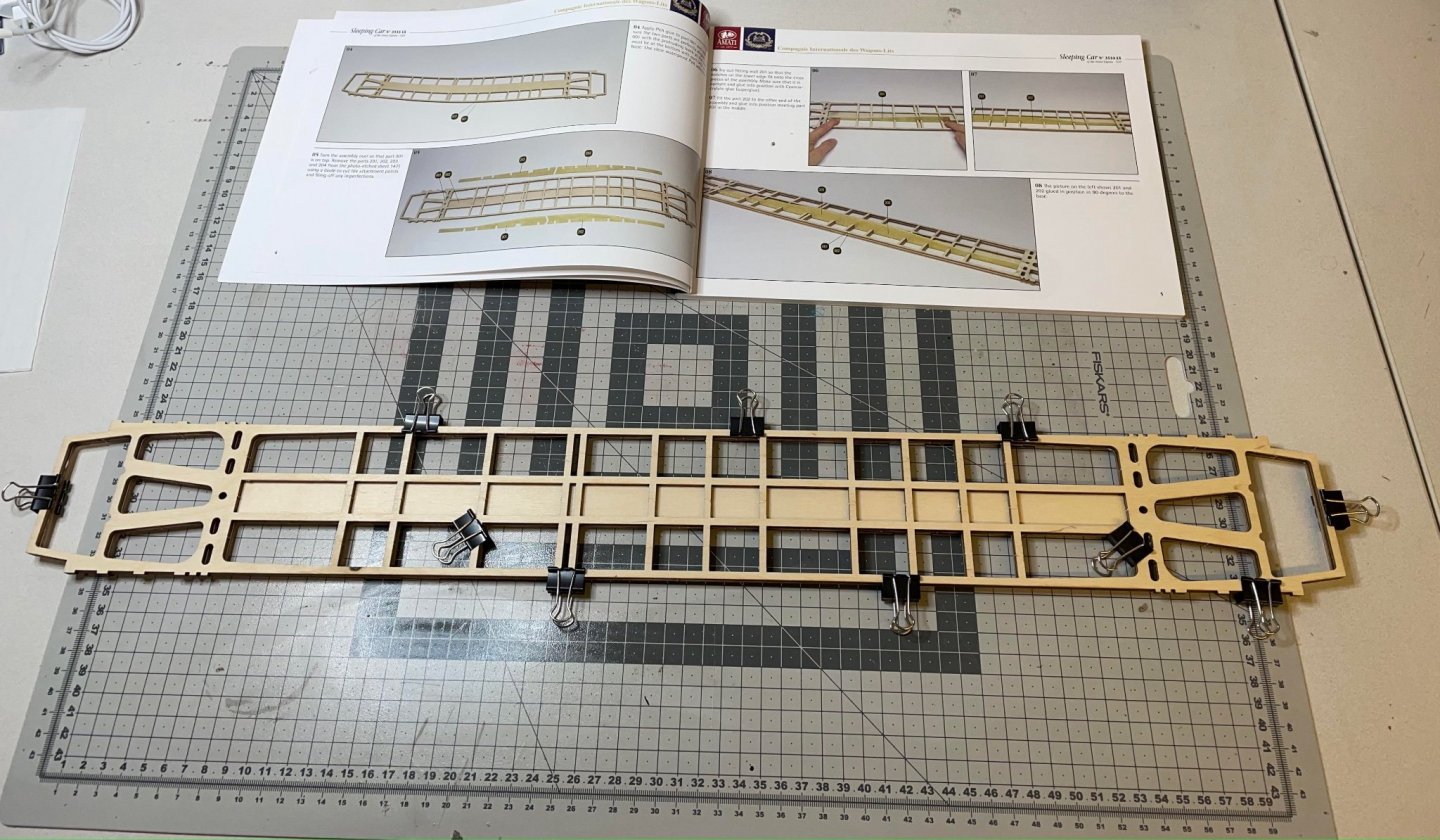
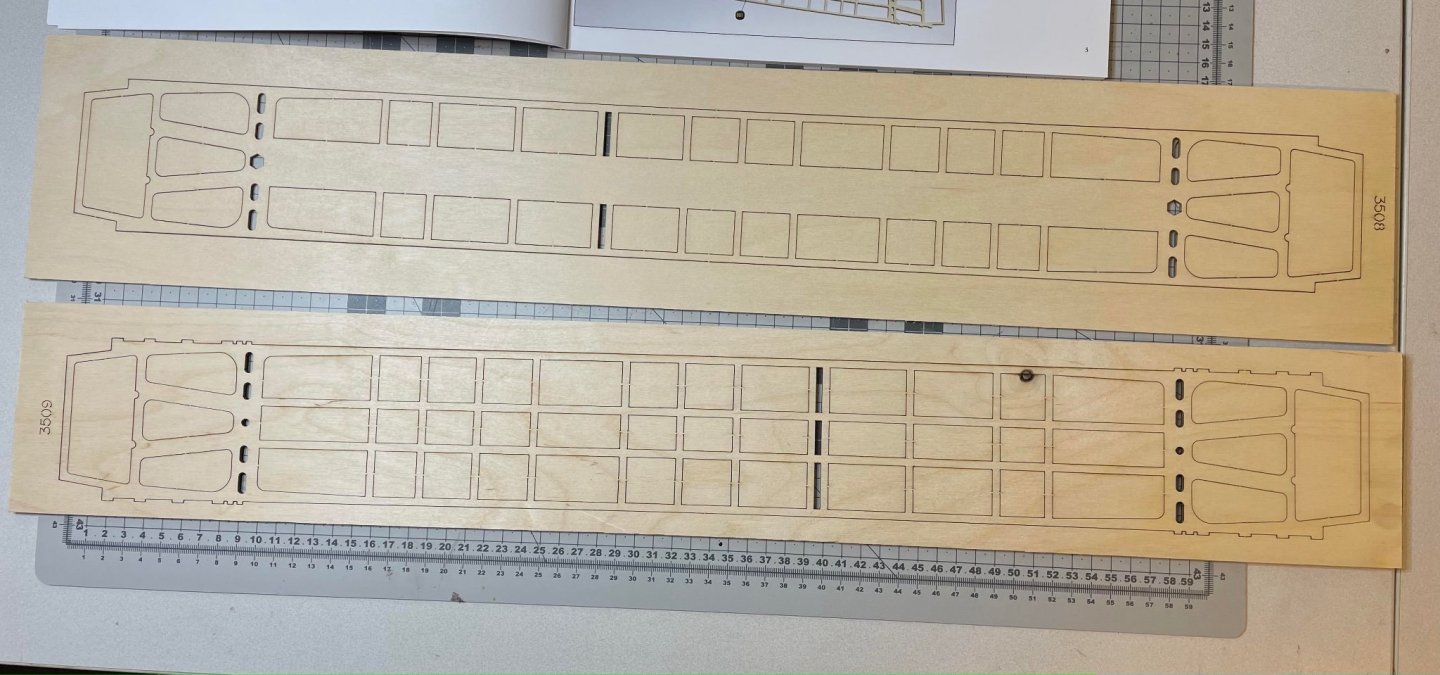
BUILD DAY 1 - 4hrs (TOTAL : 4hrs) Building commences. Started by removing and cleaning the first pieces. Figure 1: A lot of neat looking cut outs, felt just too nice to throw away . I want to keep them who knows for future use elsewhere. Figure 2: The two layers are to be glued one on top of the other using PVA glue. Here I show cleaning the excess glue to avoid future regrets if I let them get hard where they are. Figures 3, 4, 5: Waiting to dry. Figure 6:


- 293 replies
-
- 10
-
-
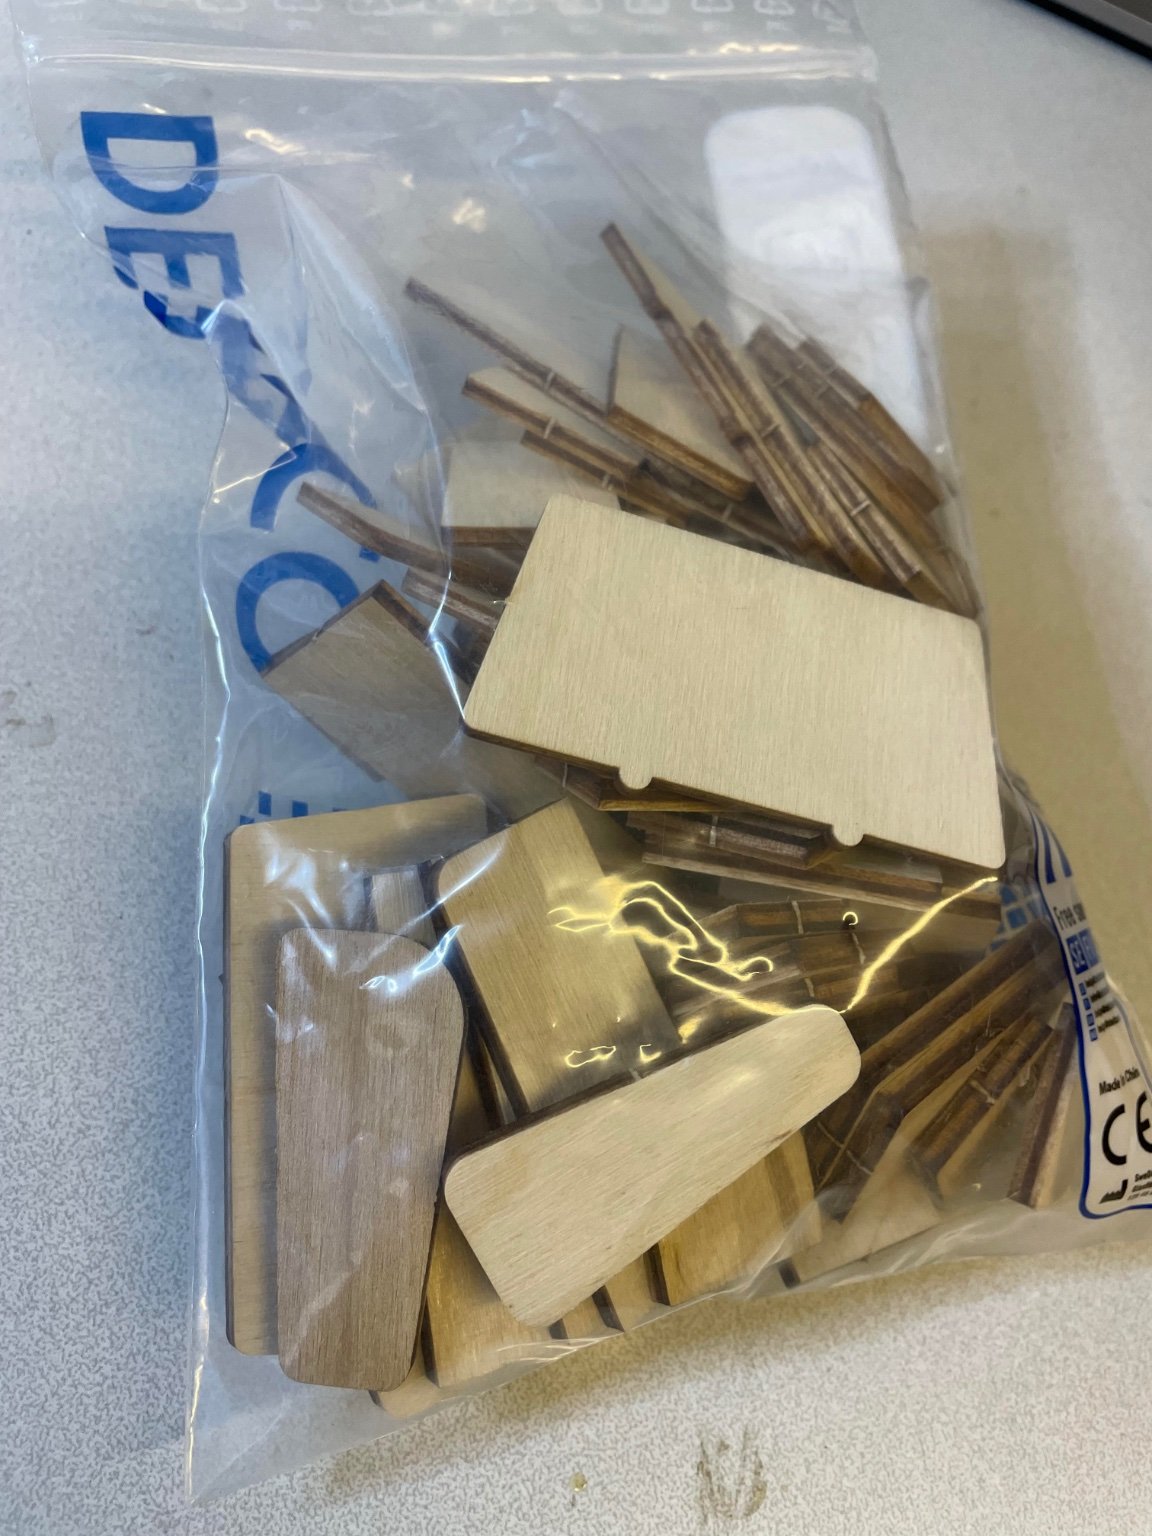
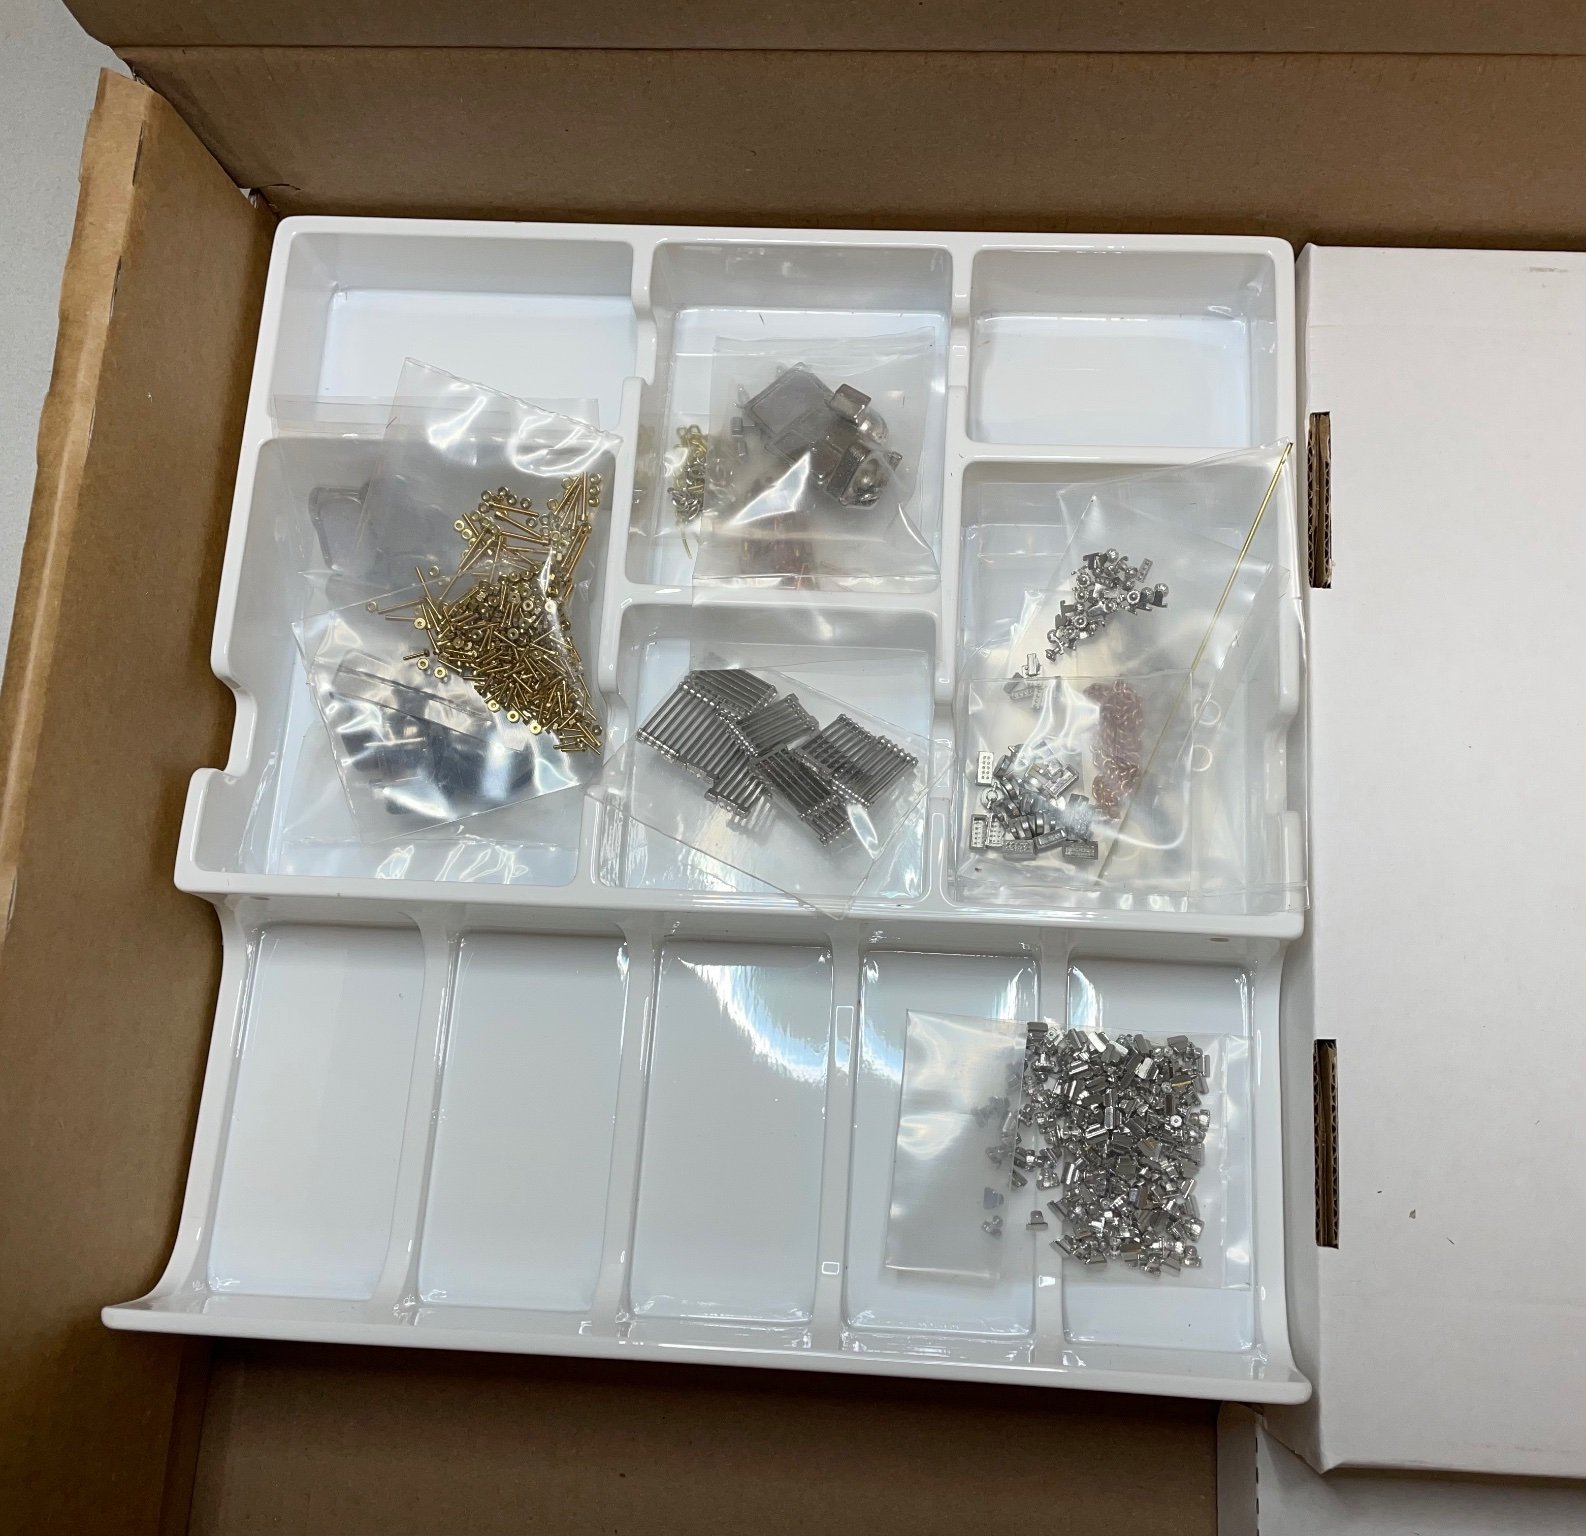
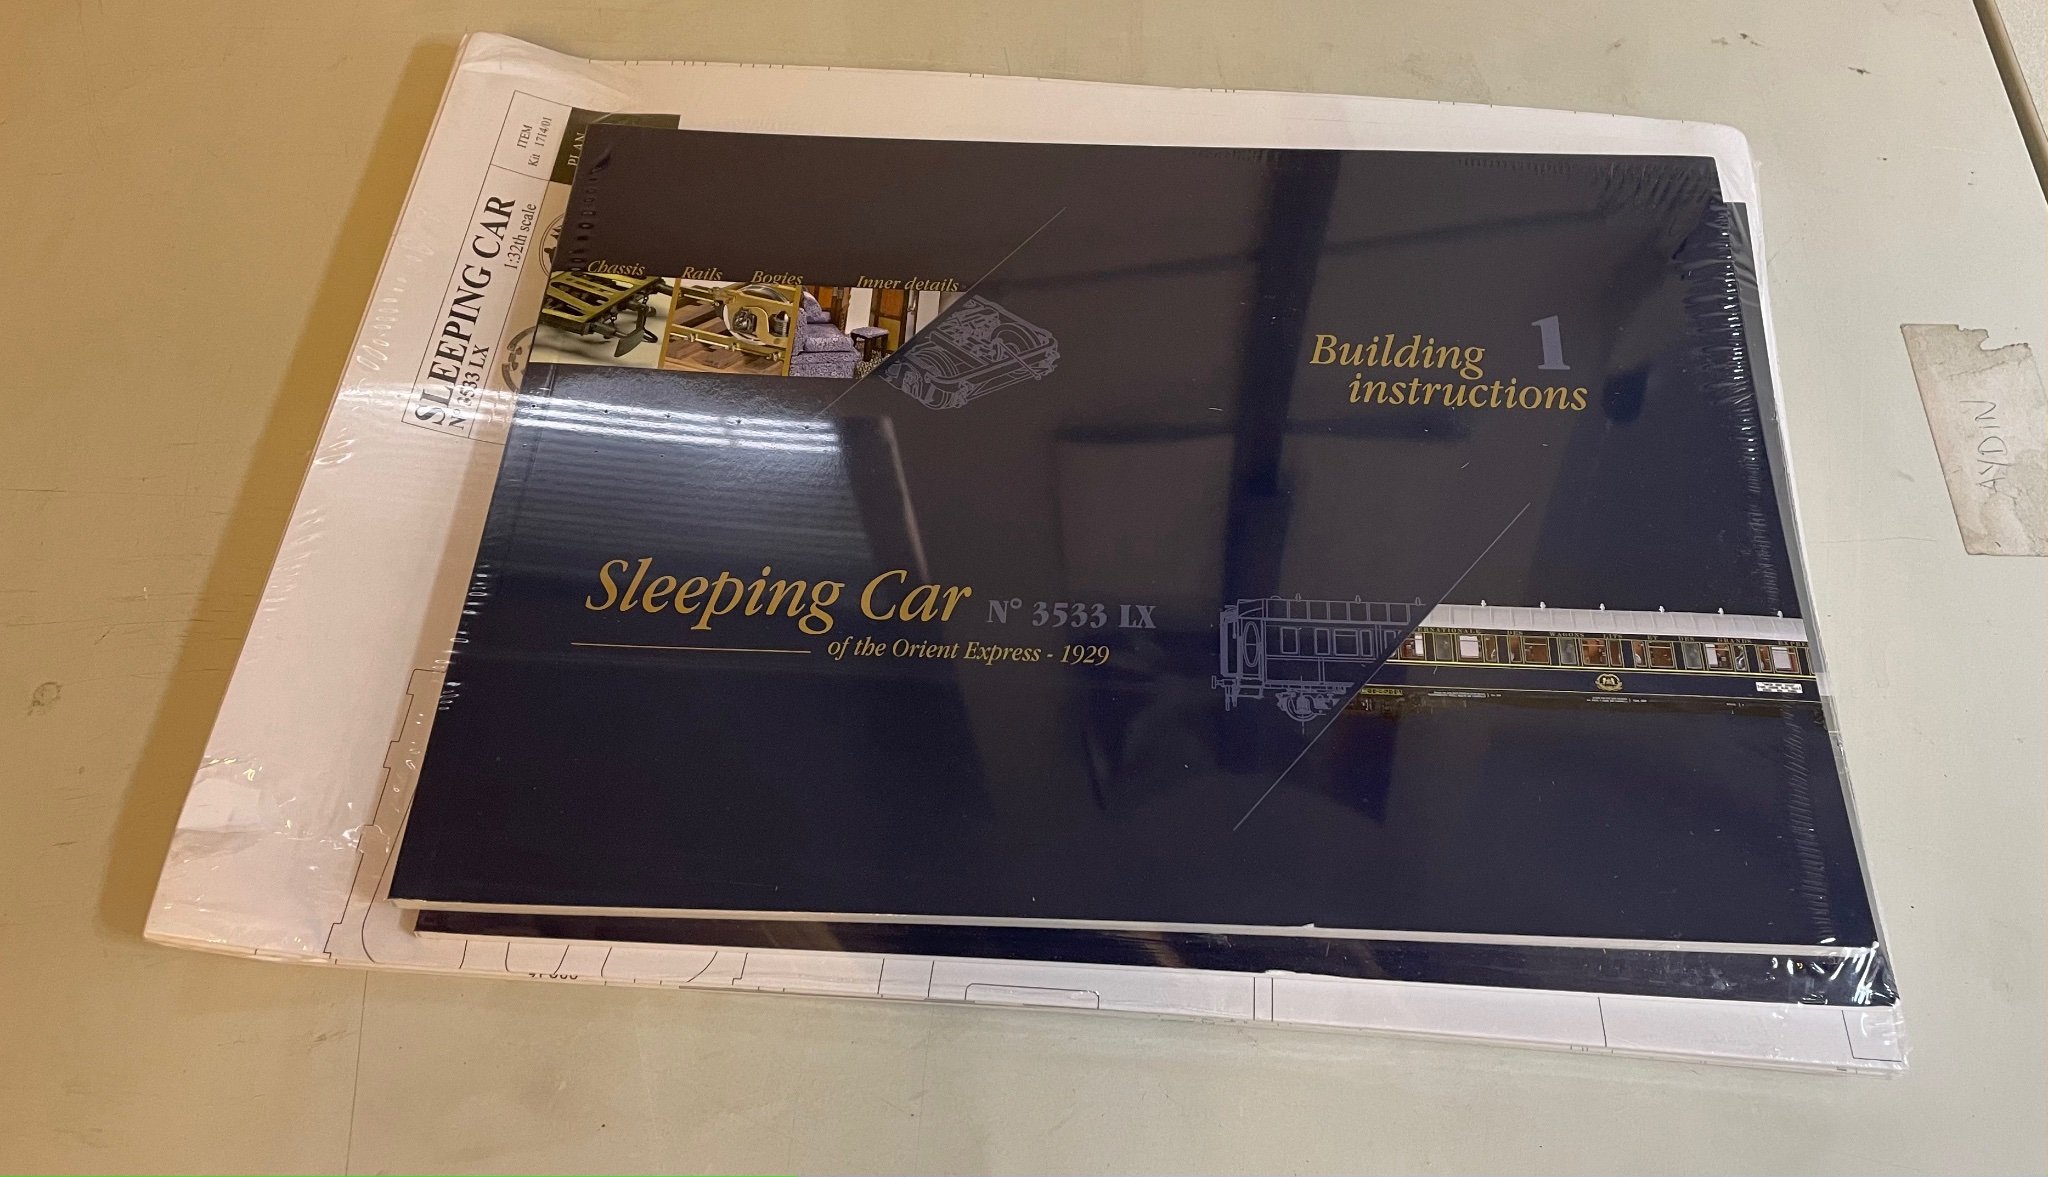
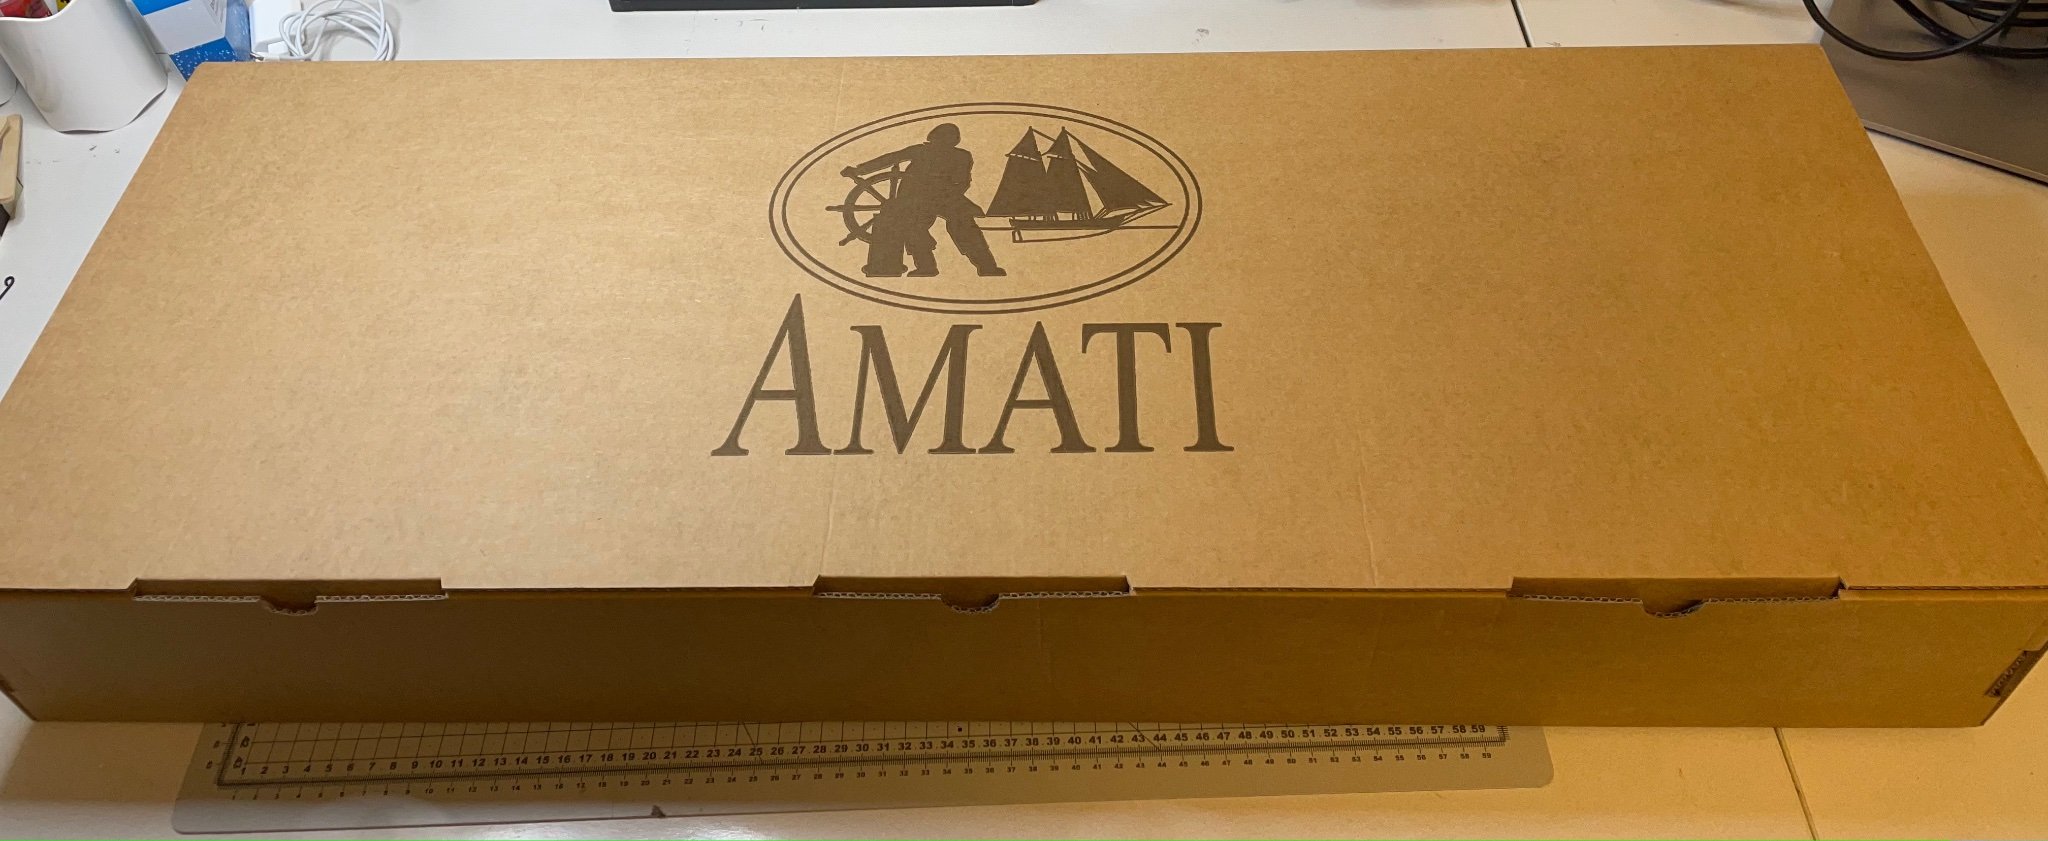
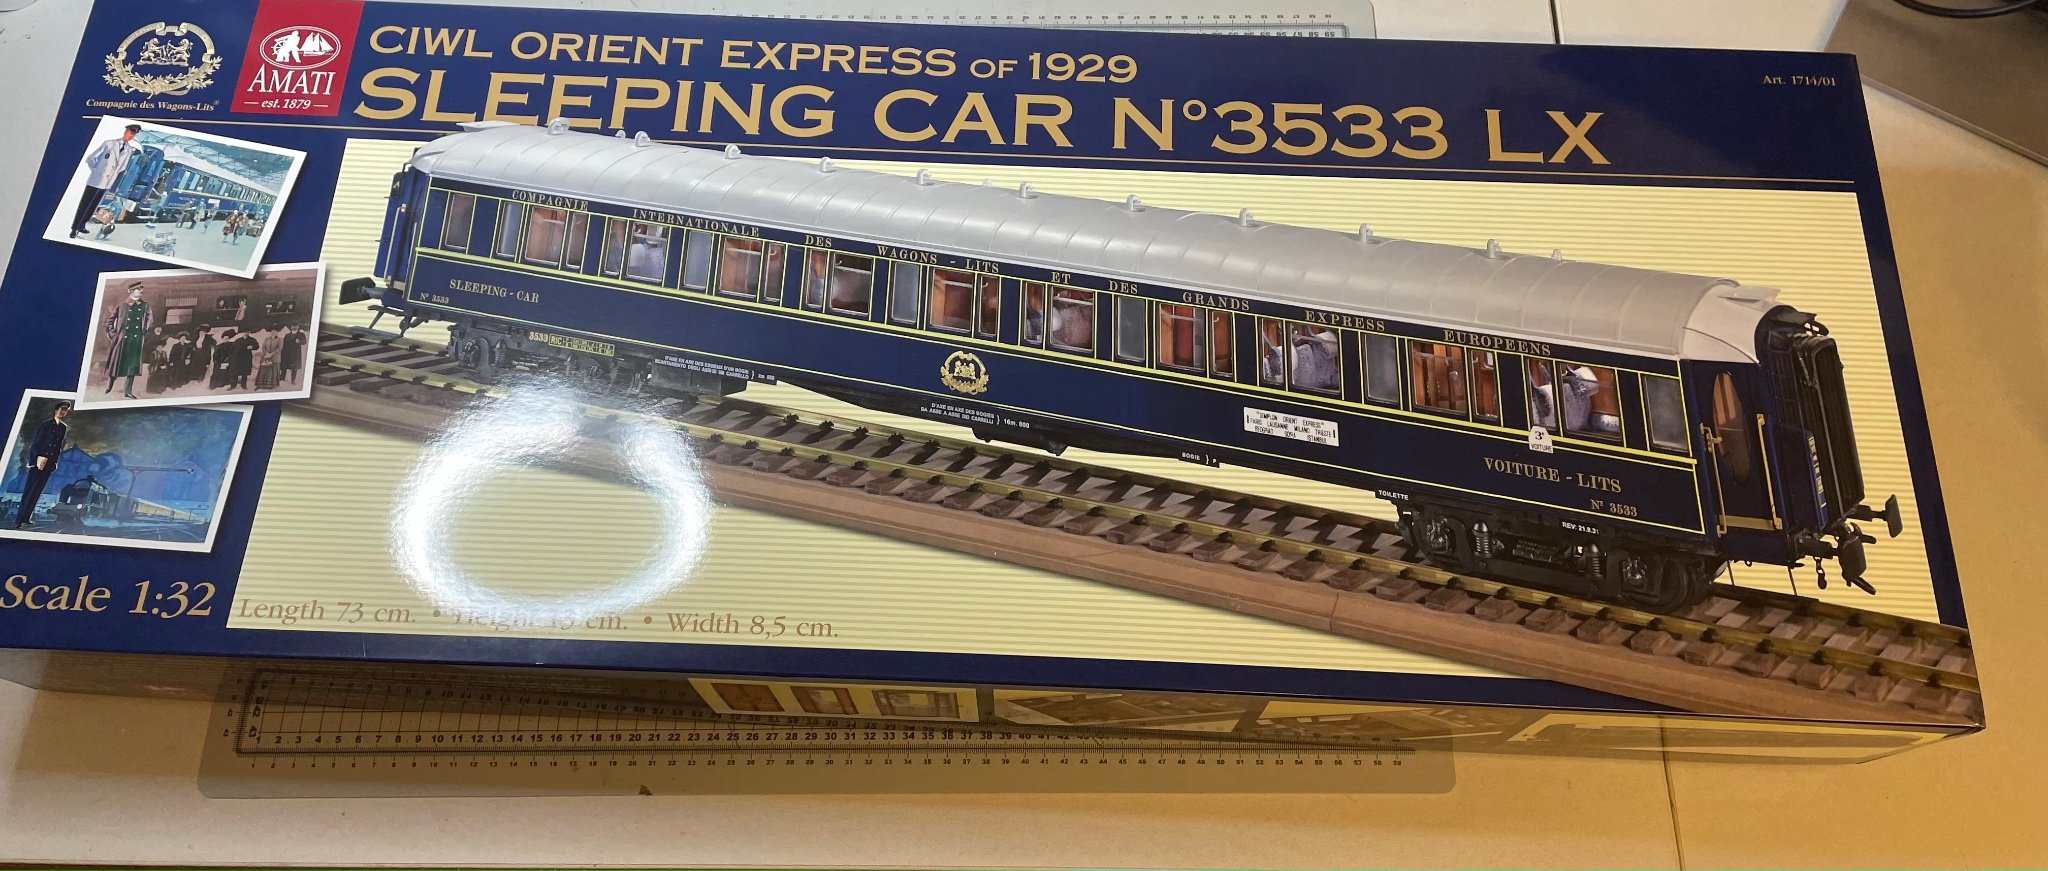
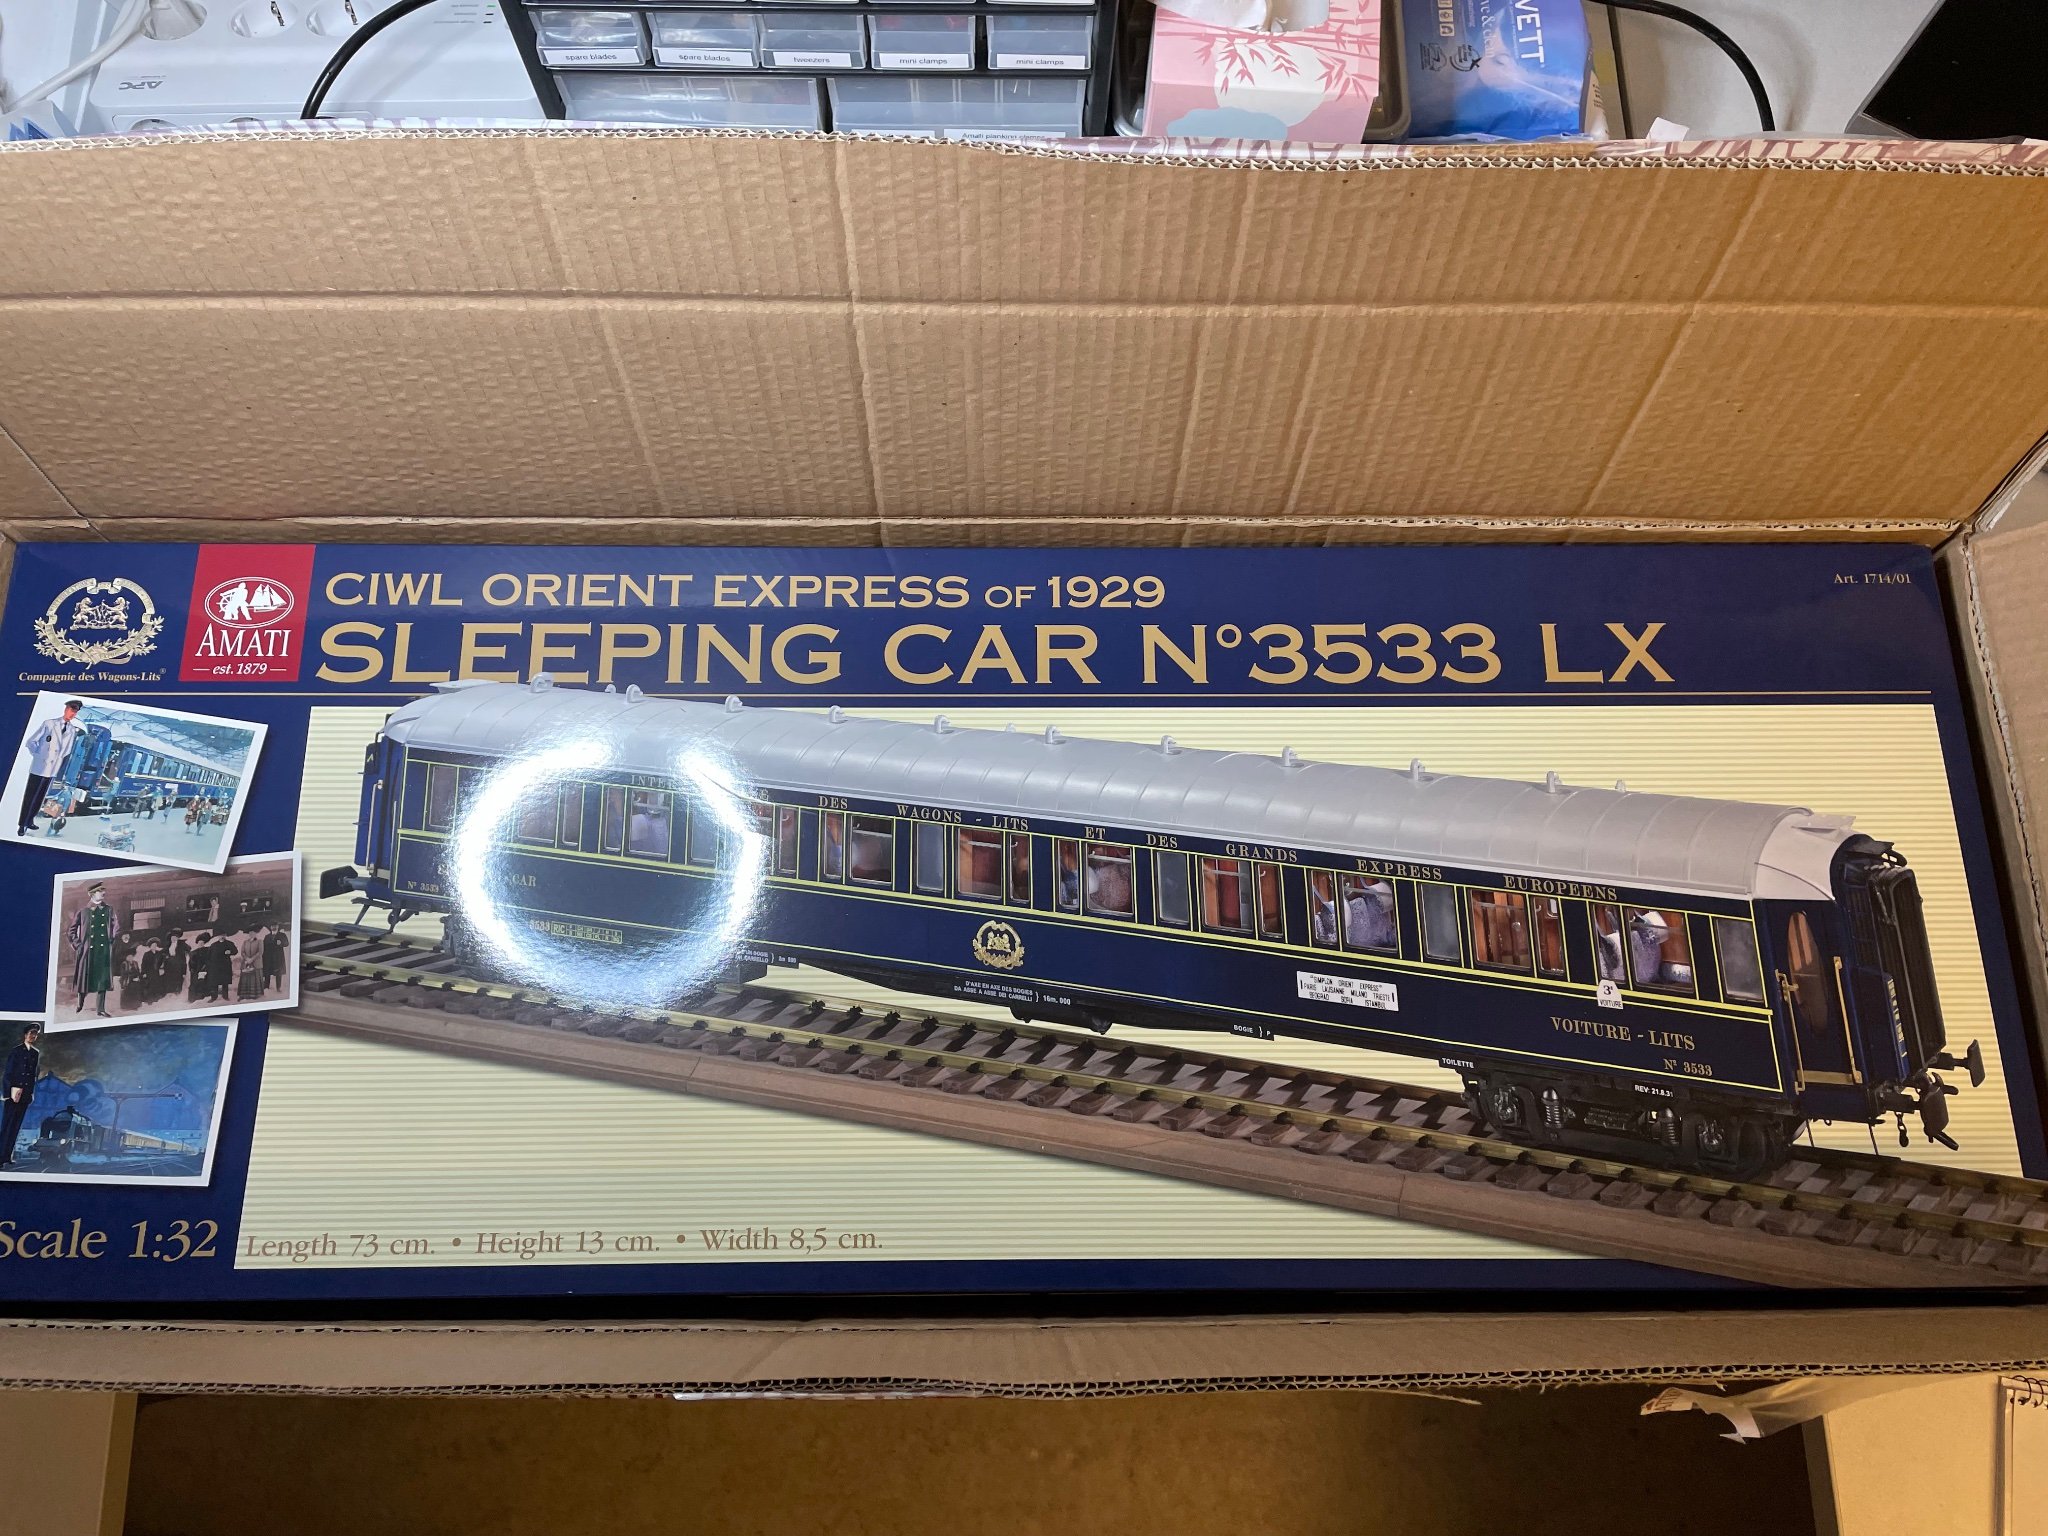
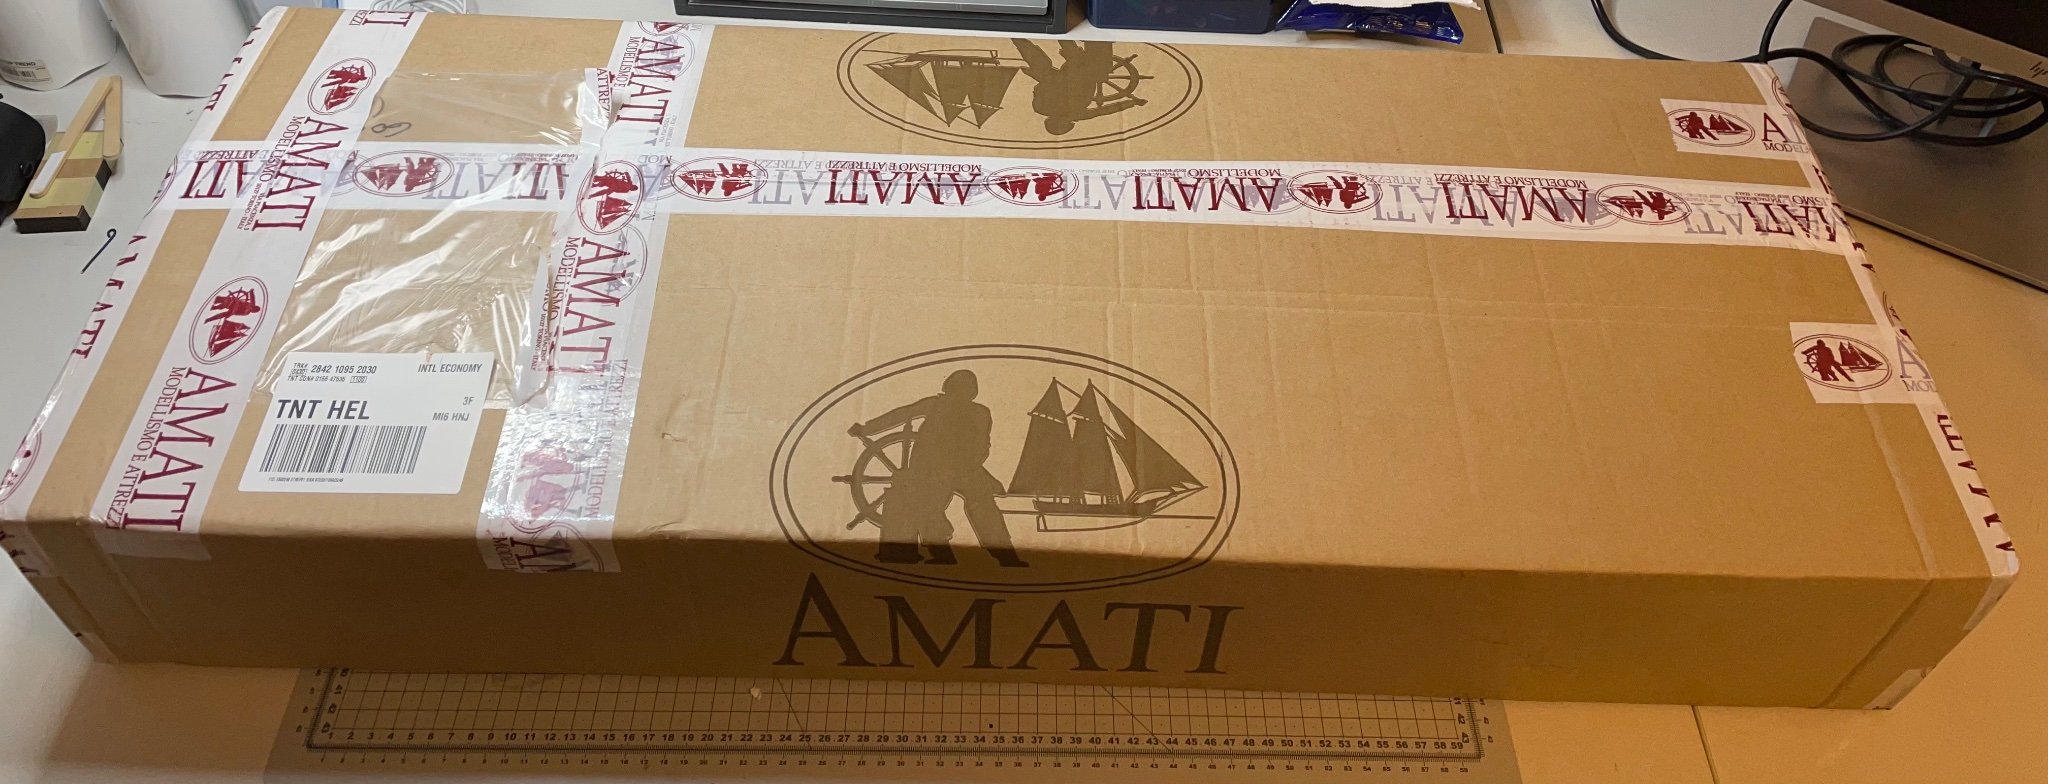
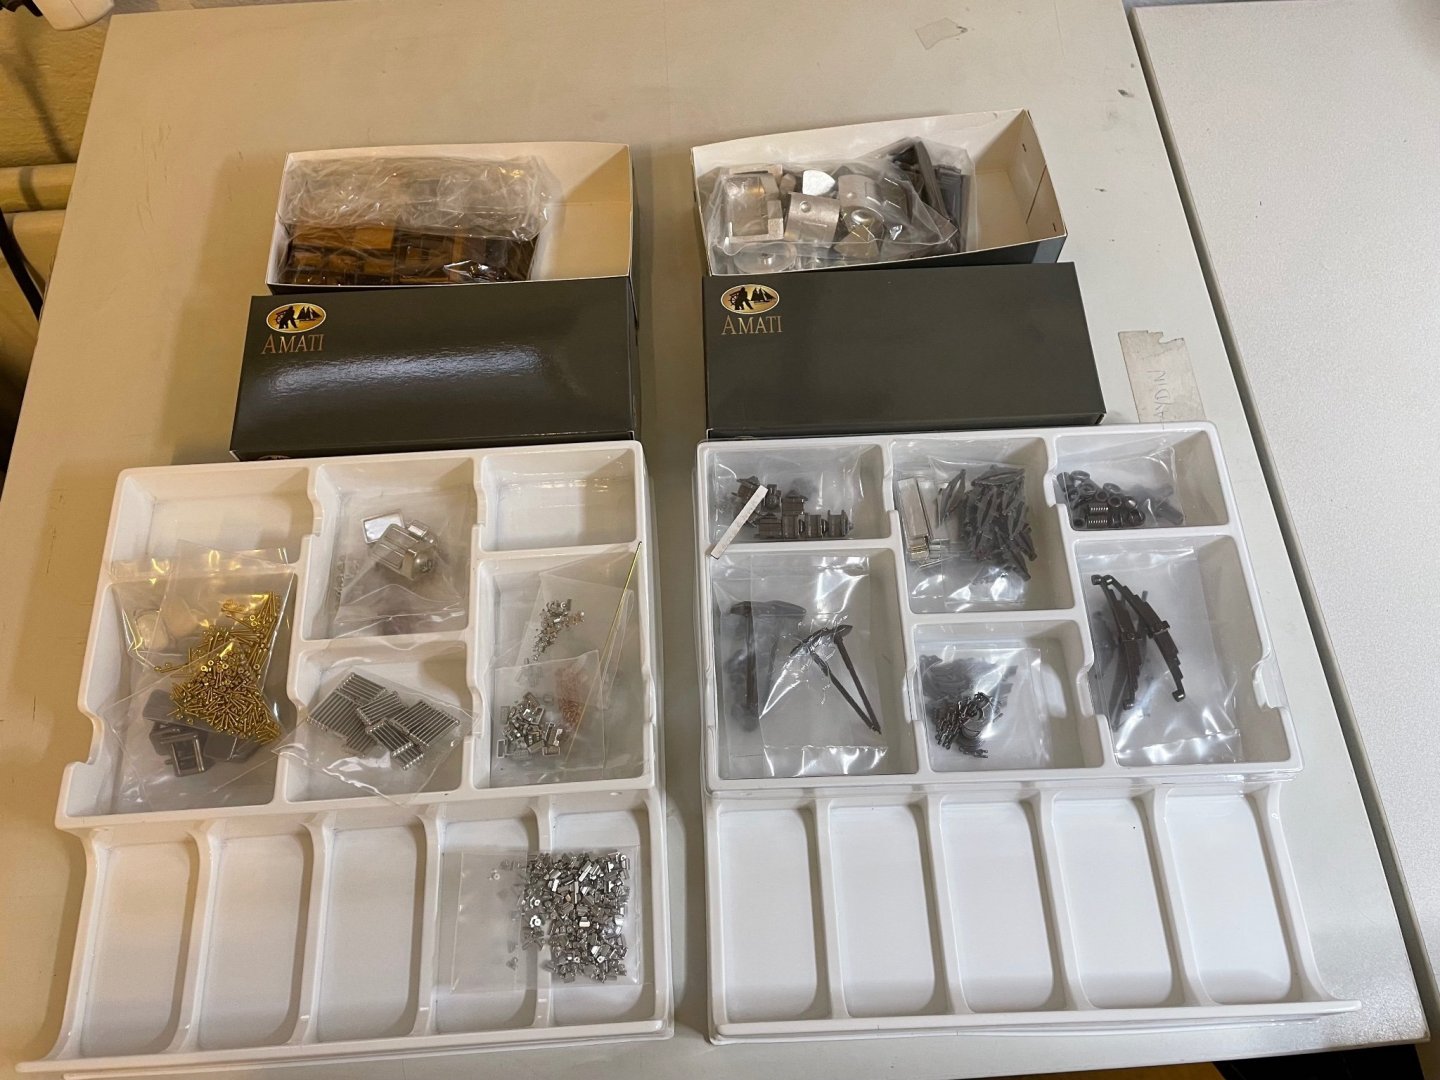
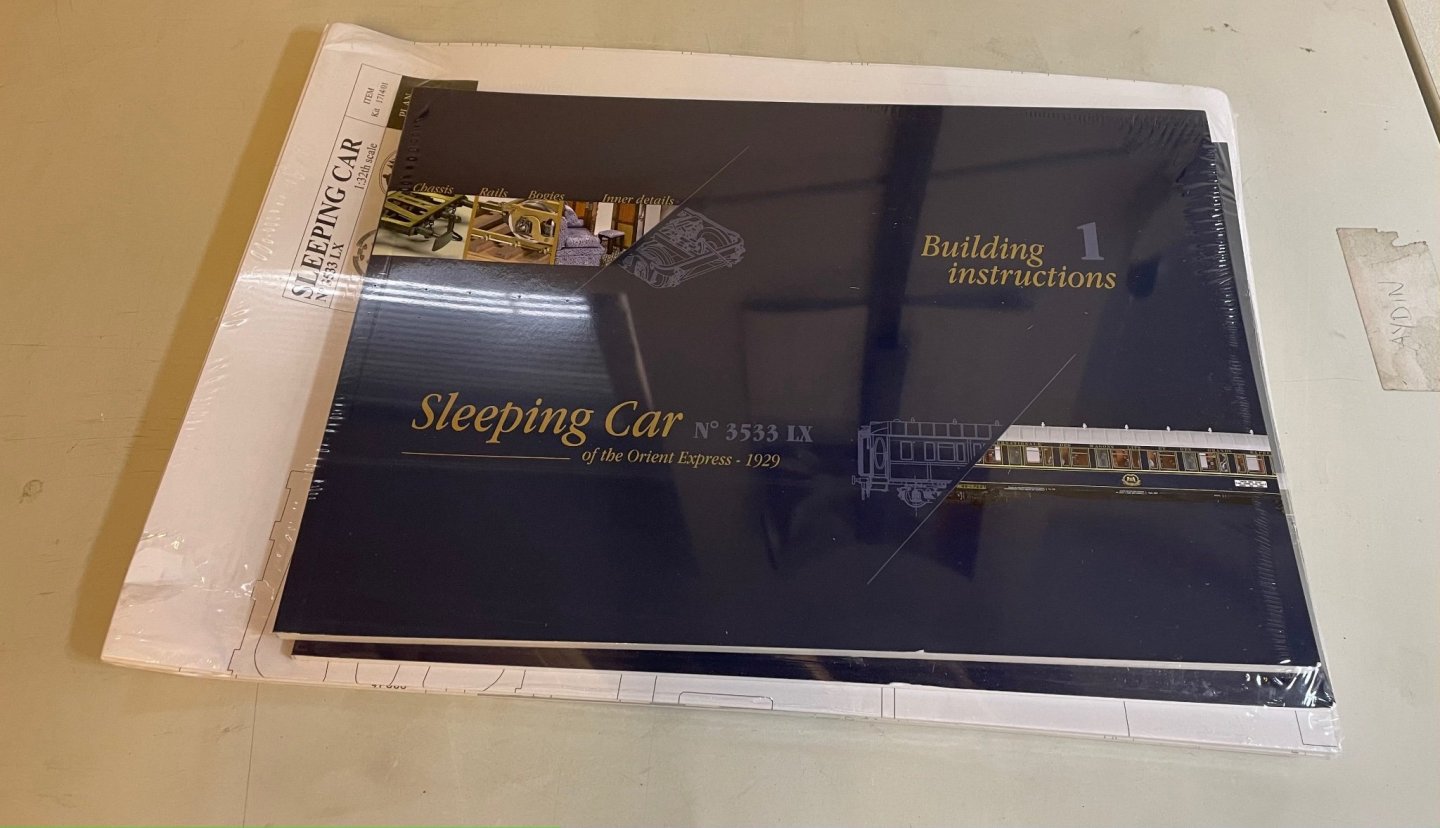
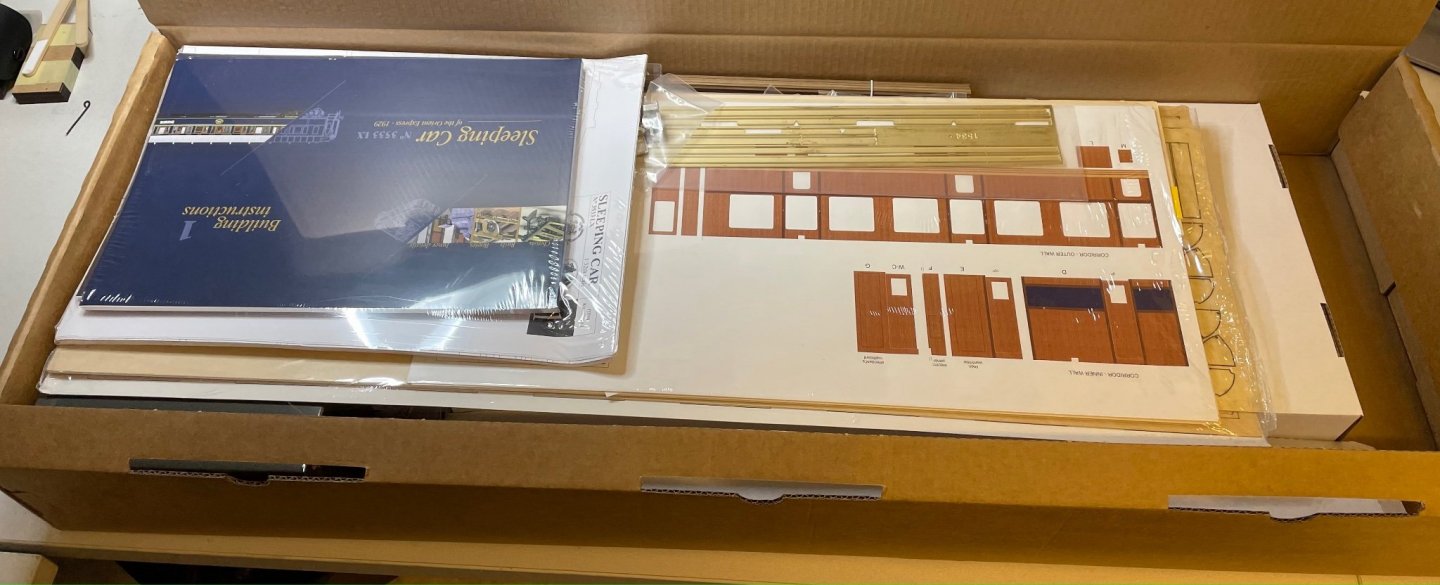
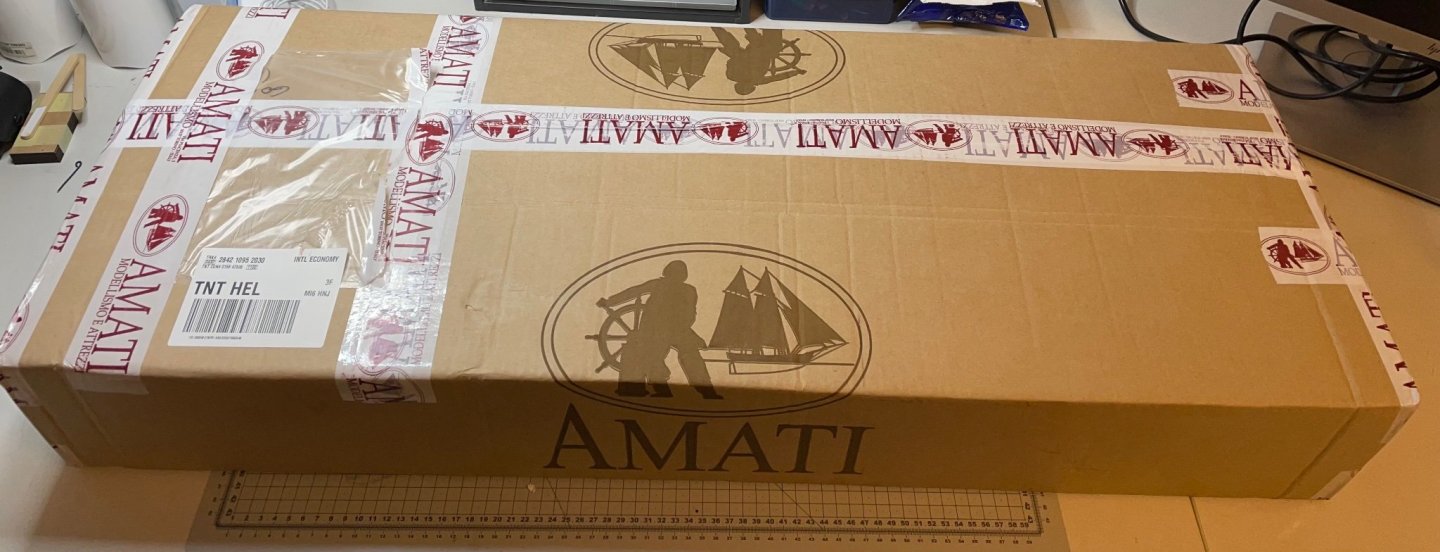
Dear fellow forum members and readers, After somewhat a long time, I am back in these pages with a new build log. This is my next Amati kit after Riva Aquarama (link to build log here). I was then truly impressed with the quality material, instructions and precision of Amati kit and when I saw the review in this forum I just had to order this lovely train kit, also having my past ties with the destination city of the Orient Express, Istanbul, where I studied and lived many years before moving to Finland. Anyway, I received the package about an hour ago and didn't want to wait a minute to open it also for the sake of checking for any damages during transportation. For start, I will only post a few unboxing photos rather than a detailed unboxing since it is already been done in this excellent review by James H. Packaging and first impressions: The shipment package is 95x37x15 cm, where the actual kit box sits flush in it. Weight is around 9kg according to the shipment information. The package is heavier on the left part, where more metal parts are located. Sent by Amati by FedEX. No damage noticed on the package. Contents have been shaken a bit during transport. The small nylon bags were spread in the box, but all parts remained contained in their nylon bags. So no problem. Here are some unboxing photos. I hope to start tomorrow if not already today. Regards, Aydin


- 293 replies
-
- 14
-
-
-
non-ship review 1:24 Istanbul tram - OcCre
aydingocer replied to James H's topic in Non-ship kit reviews
I also got inspired from this review and bought this kit. Almost ready and looks like in the photo this at the moment. I actually wanted to write this post for sending my thanks to Occre. There were a couple of missing parts and some wires supplied too short (though it is also possible that I might have lost the parts and used the wires a bit too generously), but they sent me the missing parts free of charge with no questions. It was as easy as filling a form on their page. The parts were in my post box within 2-3 weeks. One recommendation to Occre; although the photos are detailed, they don't always provide sufficient information to see the exact assembly points at several spots. A sheet of drawing would be helpful. Depending only on the photos for building a model is not really a modeller's way. Regards, Aydin
-
non-ship review 1:24 Istanbul diorama - OcCre
aydingocer replied to James H's topic in Non-ship kit reviews
Looks like they have corrected it on Occre website visuals: https://www.occre.com/diorama/diorama-istanbul.html I believe your post has made an impact -
kit review Kit Review - HMS ENTERPRIZE (1774) by CAF MODELS
aydingocer replied to kljang's topic in REVIEWS: Model kits
Hi, Thanks for the great review and making us aware of this exciting kit. One question though: In this review, including the photos of the kit, the name is spelled ENTERPRIZE, whereas in Caf Model's website it is ENTERPRISE. So which one is it?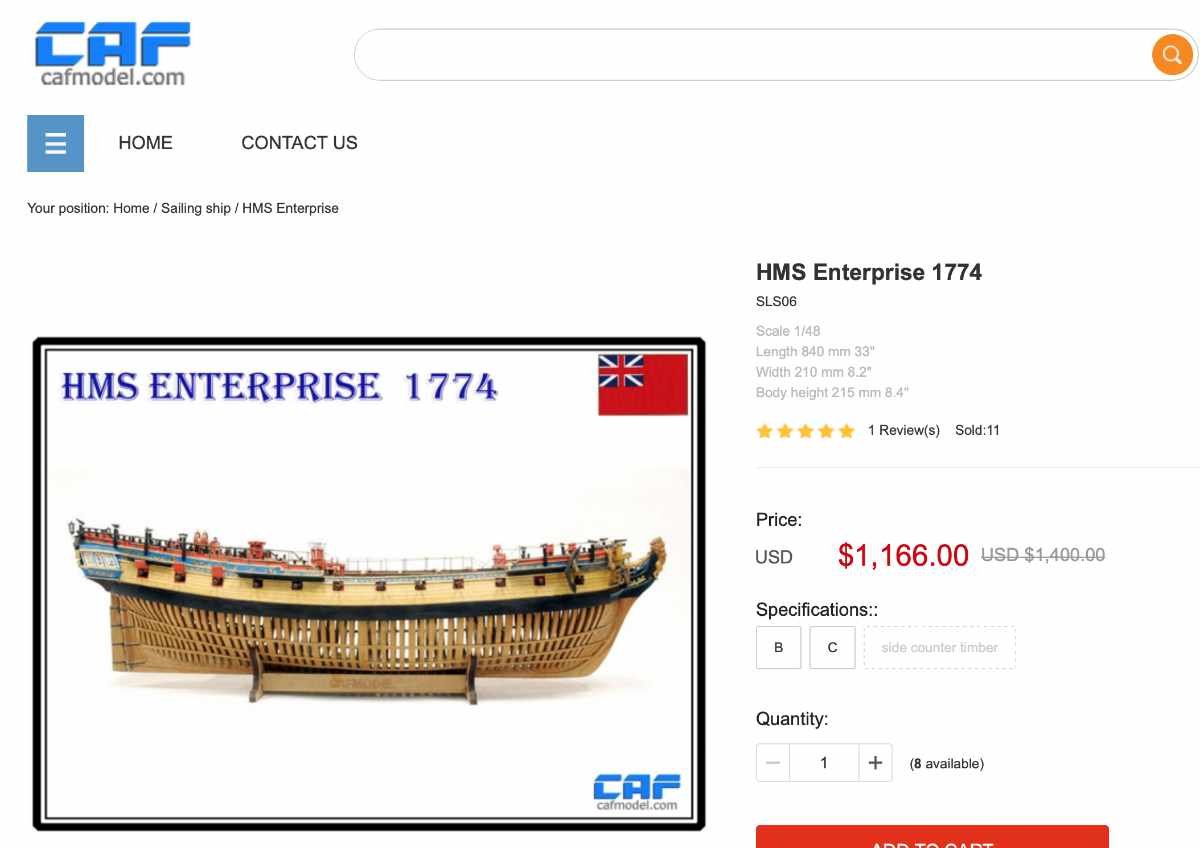
-
non-ship review 1:24 Istanbul diorama - OcCre
aydingocer replied to James H's topic in Non-ship kit reviews
Thank you for the great review. I have bought the tram kit and cannot wait to start building it. However as someone who lived several years in Istanbul in the past, the only thing that discourages me from building this diorama (other than the misspelled KAPALICARSI text, which can be corrected), is the fact that this beautiful nostalgic tram, which is operating between TAKSIM and TUNEL districts (as indicated on the model), does not travel via the Grand Bazaar at all 🙂. It operates back and forth on Istiklal Street which is 2-3km long. Other than this reality check fail, it seems like a beautiful background to the tram and it can be excused for the sake of combining two attractions of the city 🙂. -
Good luck with the build and remember to check a few posts above by seahorse where one of my mistakes in the build has been addressed. Regards, Aydin
-
According to the manufacturer's specs max keel length is 100cm but there may be a degree of tolerance, though I doubt it will work with keels significantly longer than that. Specs: http://www.hobbyzone.pl/en/boat-building-tools/26-professional-building-slip.html
-
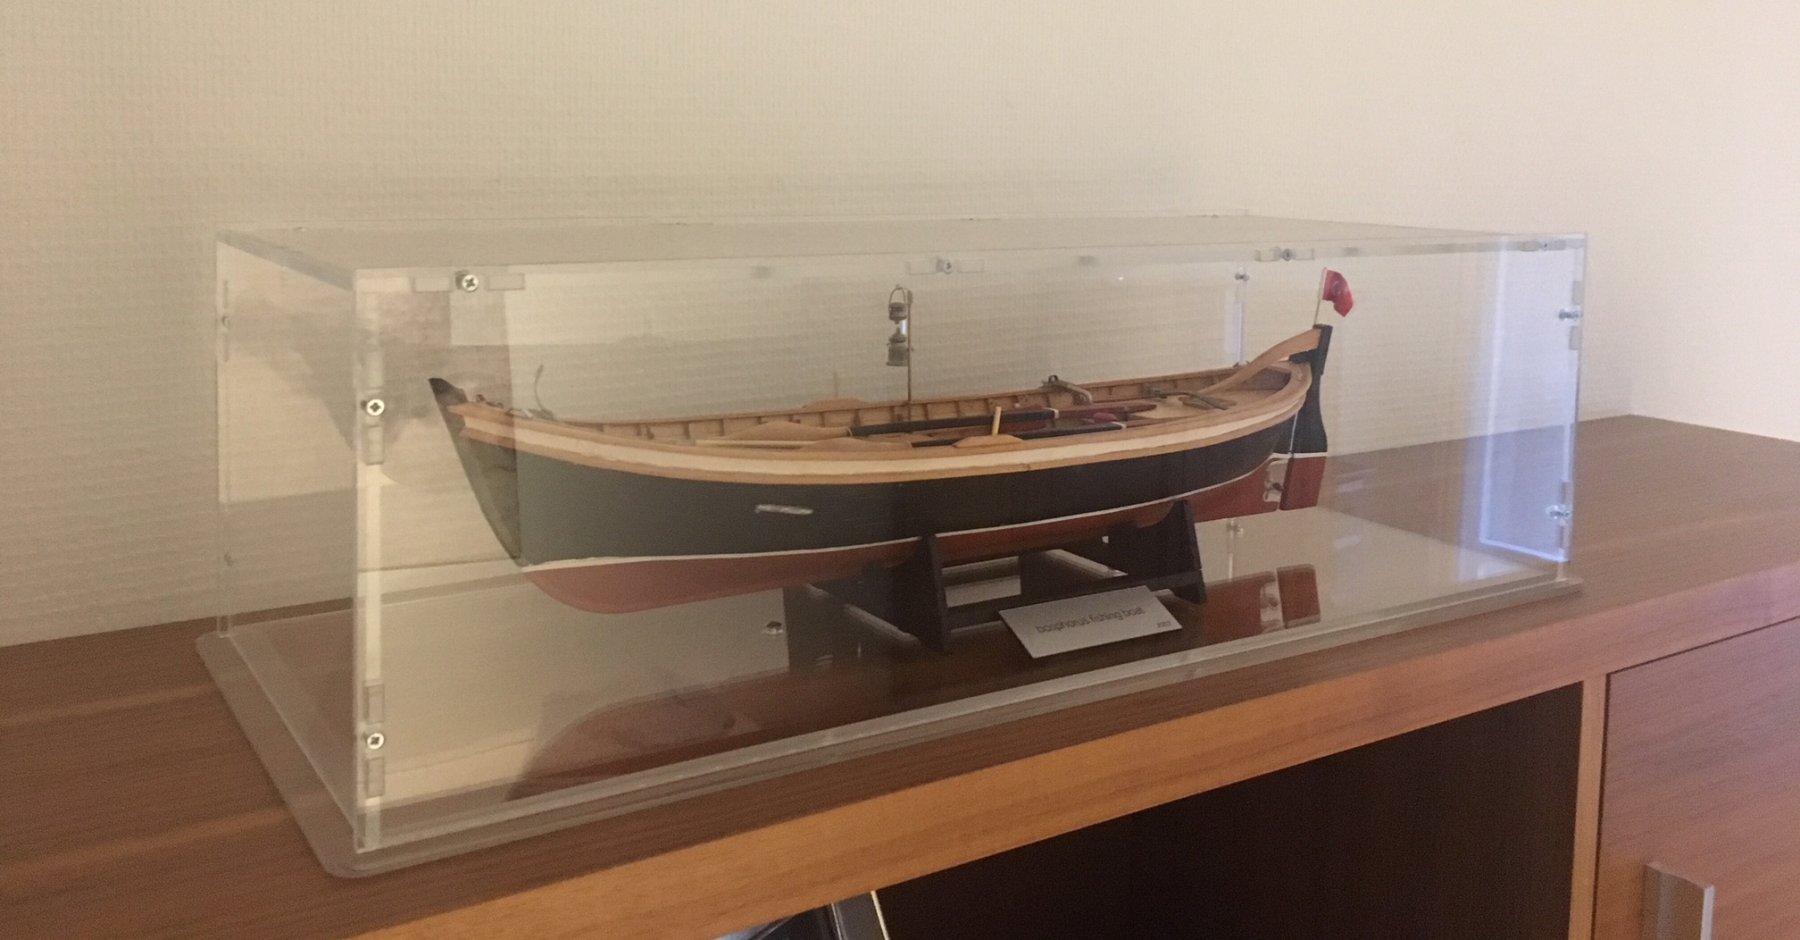
Hi Per! Having said that, it is already in its display case (see image) :). By the way, I strongly recommend this German shop at http://www.sora-shop.com, which manufactures custom made assemble-it-yourself display cases at a very good price and accuracy. BR; Aydin

- 62 replies
-
- 1
-
-
- bosphorus
- tersane model
- (and 1 more)