CDW
-
Posts
7,760 -
Joined
-
Last visited
Content Type
Profiles
Forums
Gallery
Events
Everything posted by CDW
-

Mitsubishi A6M2b by CDW - Tamiya - 1:72 scale - Finished
CDW replied to CDW's topic in Non-ship/categorised builds

- 66 replies
-
- 10
-

-
Mitsubishi A6M2b by CDW - Tamiya - 1:72 scale - Finished
CDW replied to CDW's topic in Non-ship/categorised builds
When you buy a model aircraft with a detailed canopy frame like this one, do yourself a huge favor and buy a pre cut canopy mask if one is available. If your time is worth more than a dollar or two per hour, it will be money well spent. In this case, none was available to be found stateside, so I had to wing it. -
So glad to know you made it through surgery okay, but sad to learn recovery will be a longer process. I once had a Toyota Land Cruiser fall on top of me and it broke my shoulder. I was so sore after the third day it was unbelievable. Took quite a while to get past the soreness. Get plenty of rest and follow instructions. They know how to help you best get through the process without undue difficulty.
-
Beermat. A catchy name that I will be sure to remember.
-
Mitsubishi A6M2b by CDW - Tamiya - 1:72 scale - Finished
CDW replied to CDW's topic in Non-ship/categorised builds
Will definitely stay tuned for that one when you build it. Who publishes it? -
Trying to understand white balance
CDW replied to Gaetan Bordeleau's topic in Photographing your work. How to do this.
I have enjoyed your videos many times in the past and never realized you were a member here. Hiya Paul! Great videos, kudos to you. -
Mitsubishi A6M2b by CDW - Tamiya - 1:72 scale - Finished
CDW replied to CDW's topic in Non-ship/categorised builds
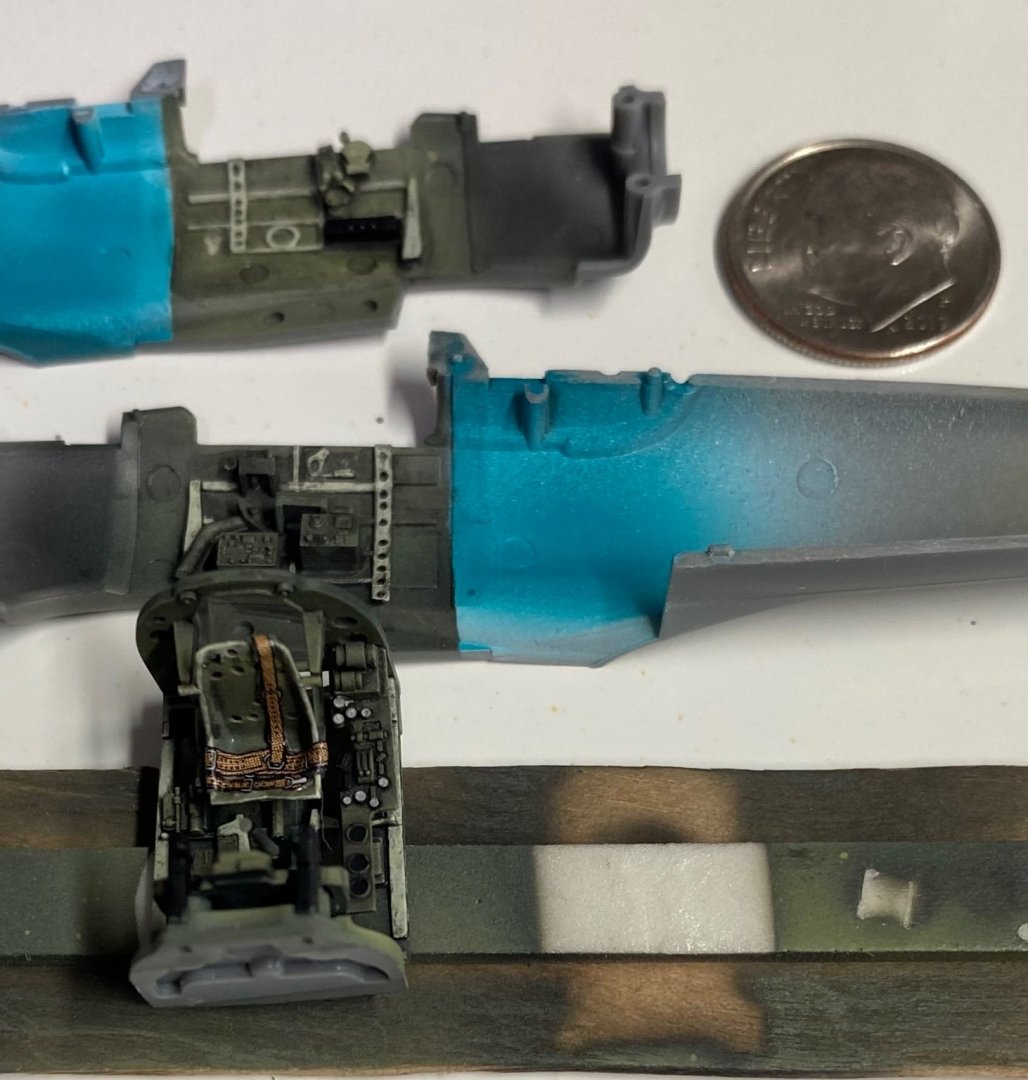
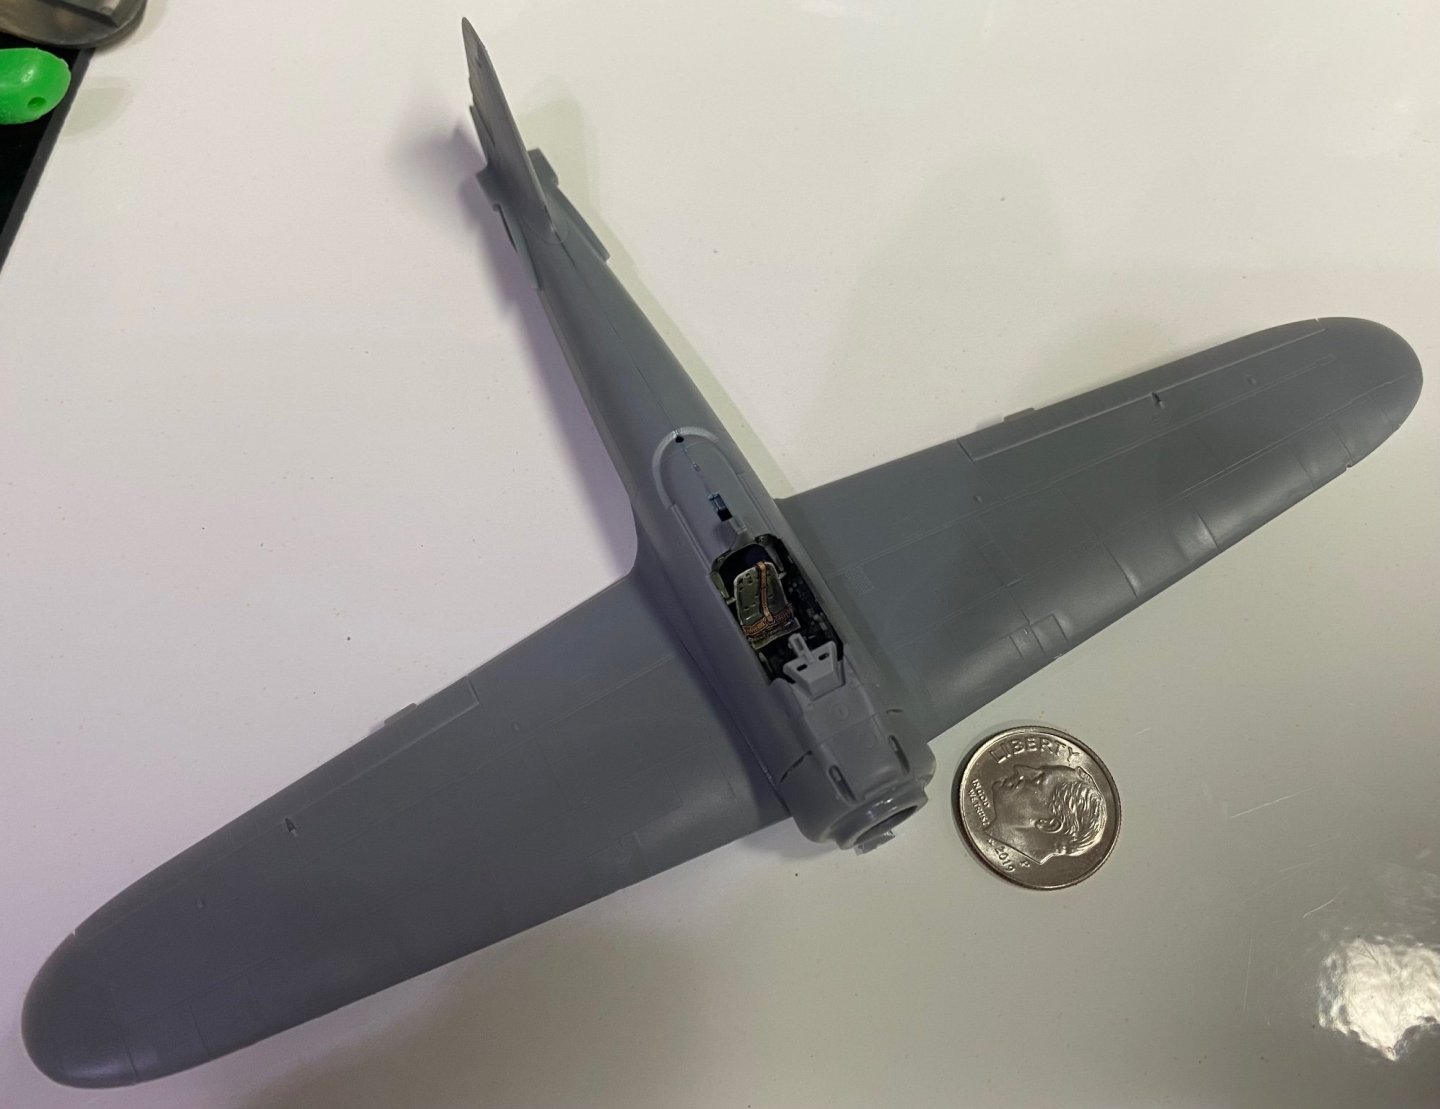
Continuing with the box stock build, used the kit decal for the seatbelt. The only thing added was a photo copied paper seatbelt to give the decal a more 3d appearance. Once the decal was in place and totally dry, gave the cockpit a dull clear coat to blend the colors together. Cemented the fuselage halves together , inserted the cockpit and cemented it in place, then cemented the wings to the fuselage. Will allow this to thoroughly dry over night.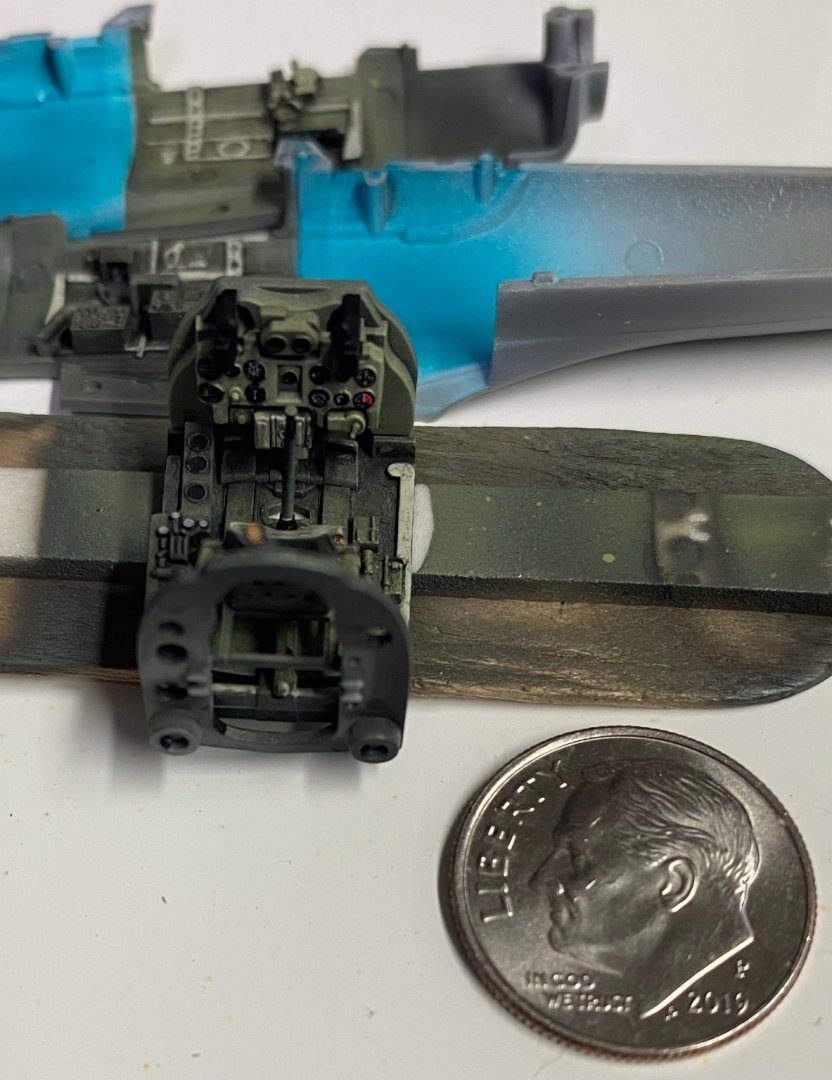
- 66 replies
-
- 15
-
-
Mitsubishi A6M2b by CDW - Tamiya - 1:72 scale - Finished
CDW replied to CDW's topic in Non-ship/categorised builds
Thanks Dan -
Mitsubishi A6M2b by CDW - Tamiya - 1:72 scale - Finished
CDW replied to CDW's topic in Non-ship/categorised builds
Opti Visors work miracles. -
Mitsubishi A6M2b by CDW - Tamiya - 1:72 scale - Finished
CDW replied to CDW's topic in Non-ship/categorised builds
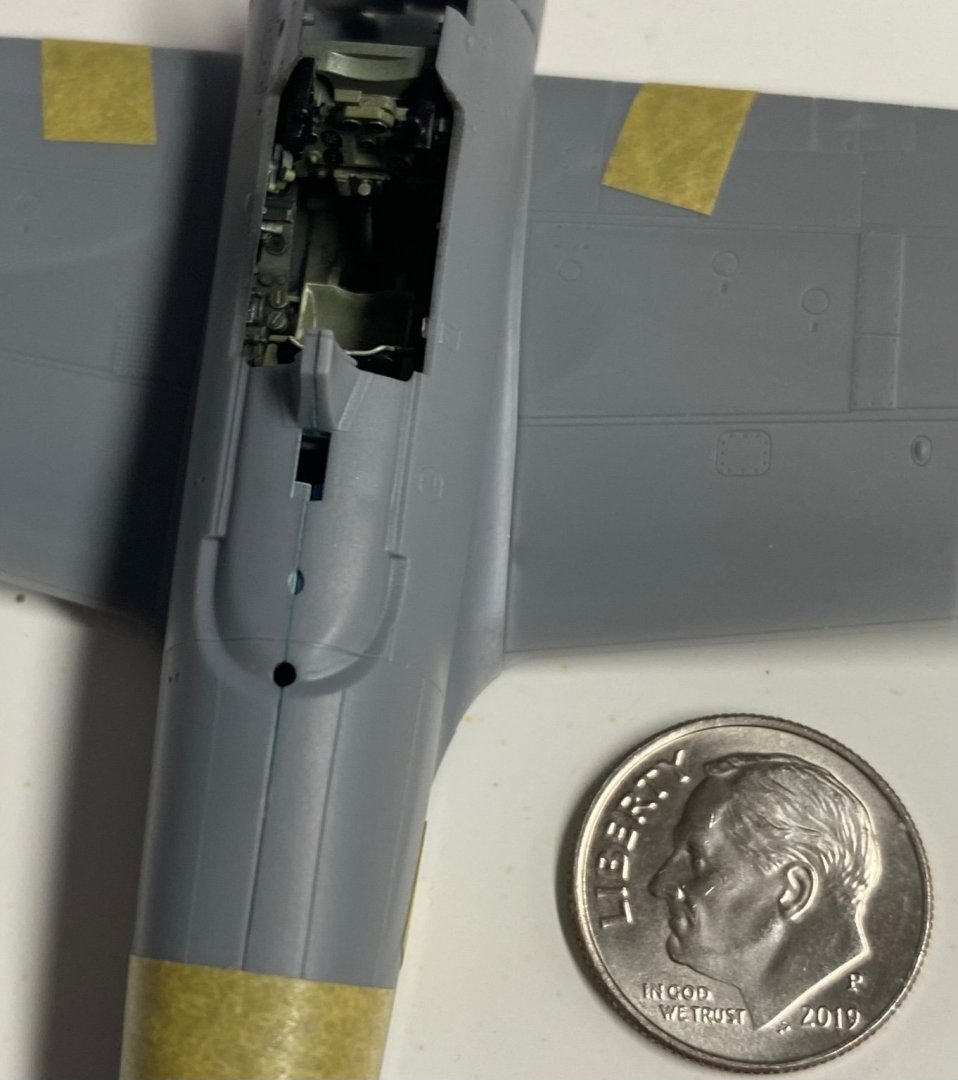
With decals and a wash, the office is dry fitted into the fuselage. Nice fit, no problems at all. Need to add the seat belts before buttoning it up.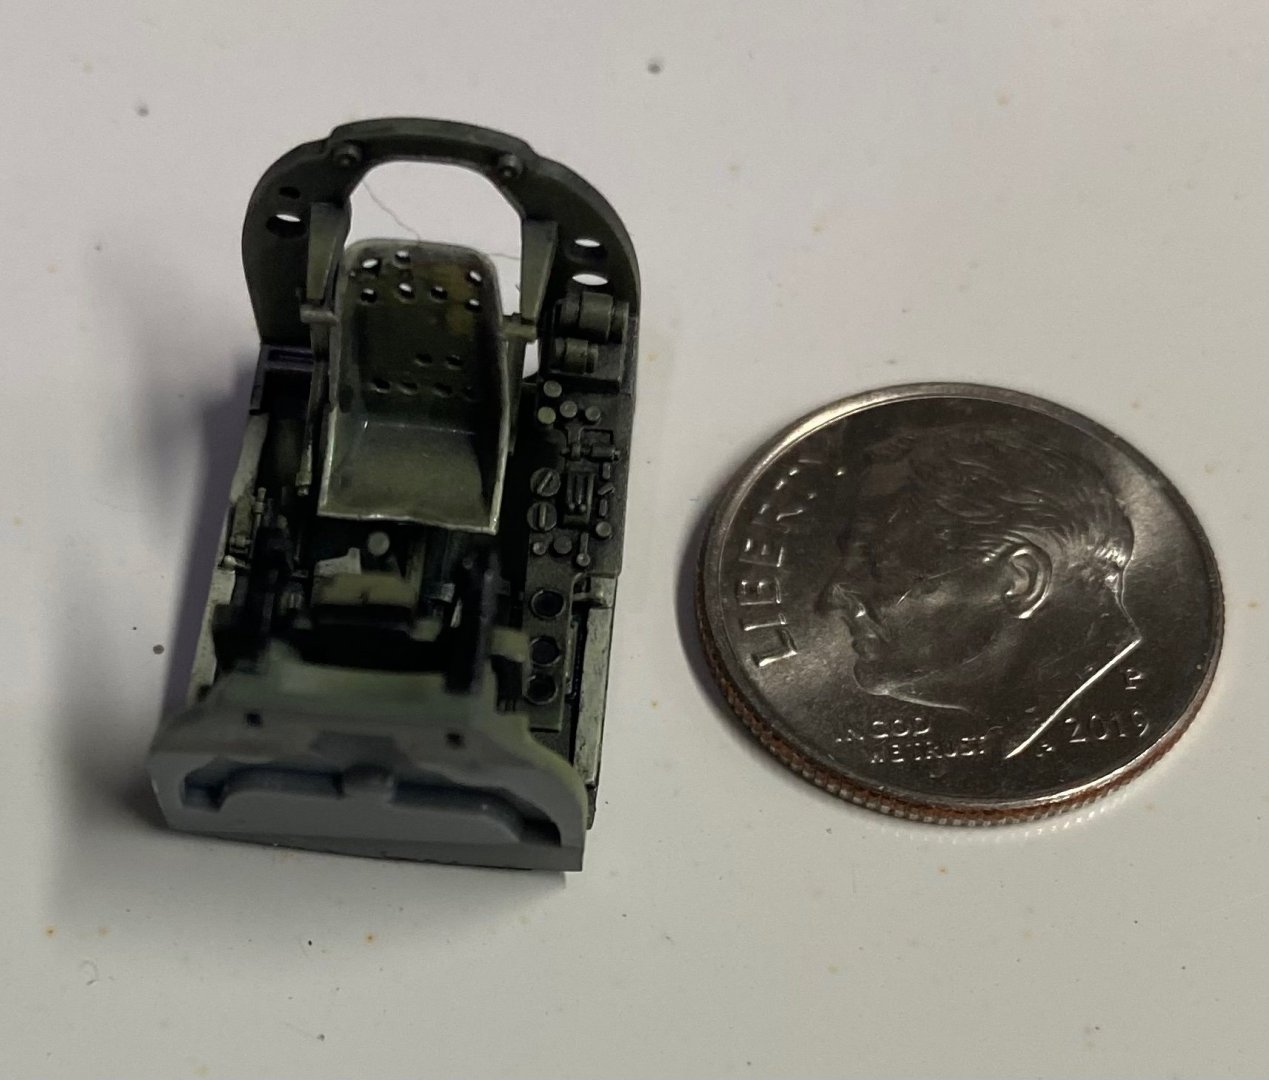


- 66 replies
-
- 17
-
-

-
The vibrant colors of the model look amazing. Very well done.
-
Mitsubishi A6M2b by CDW - Tamiya - 1:72 scale - Finished
CDW replied to CDW's topic in Non-ship/categorised builds
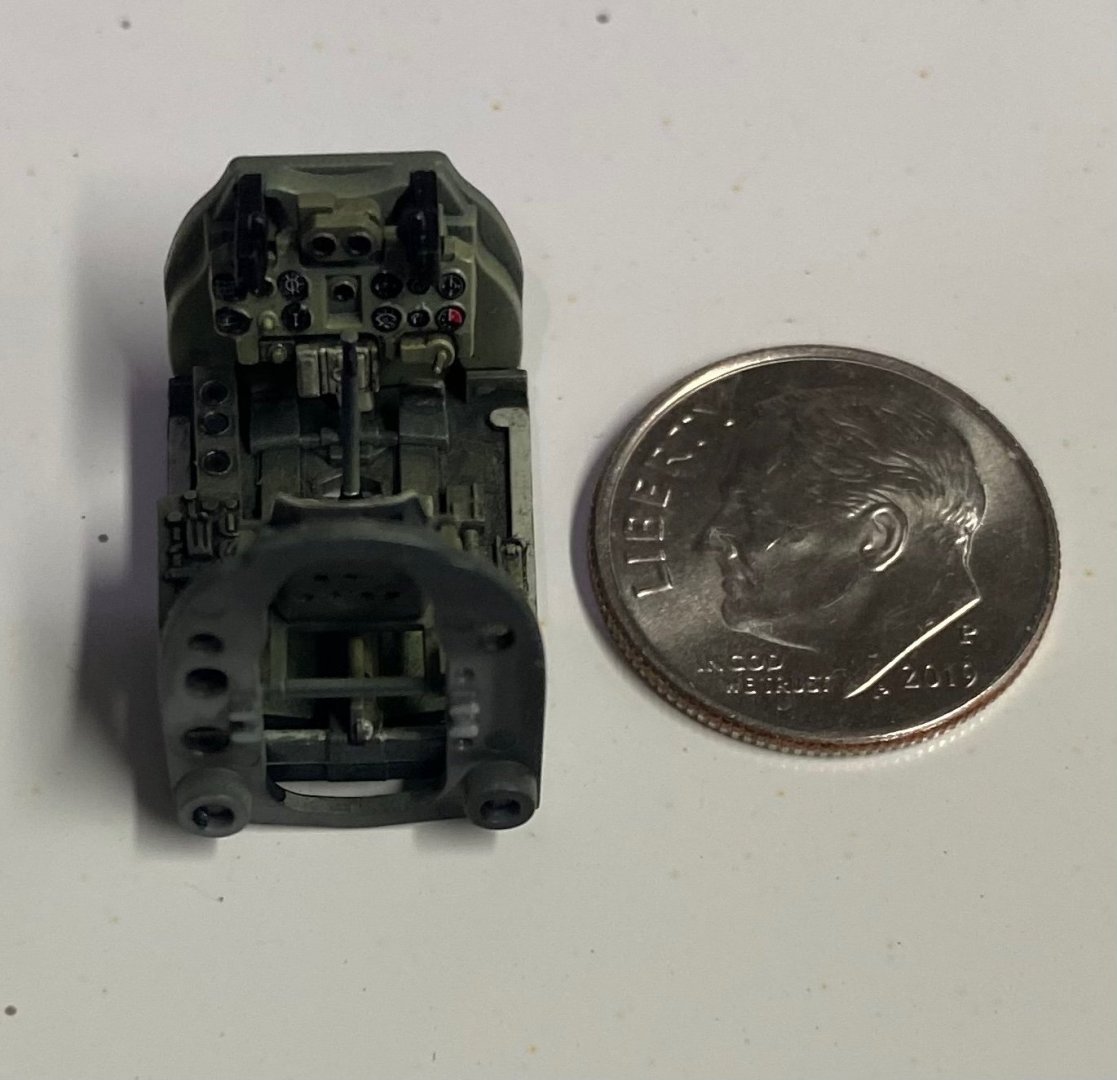
After some detail painting of the cockpit parts everything was given a coat of gloss varnish in preparation for decals and a wash.
- 66 replies
-
- 12
-
-
Mitsubishi A6M2b by CDW - Tamiya - 1:72 scale - Finished
CDW replied to CDW's topic in Non-ship/categorised builds
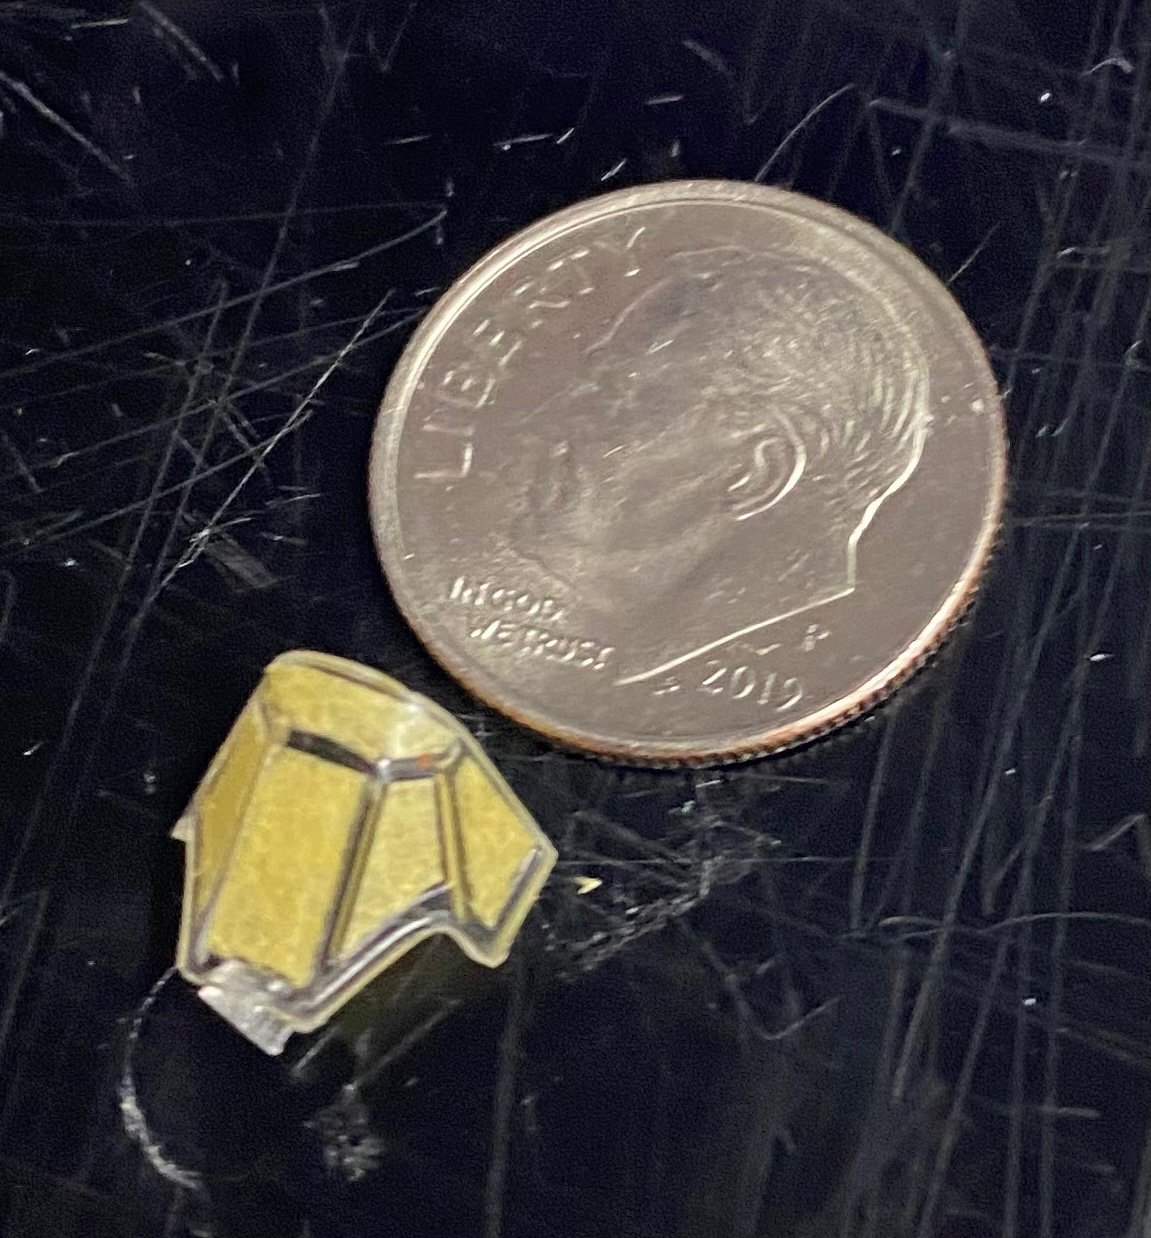
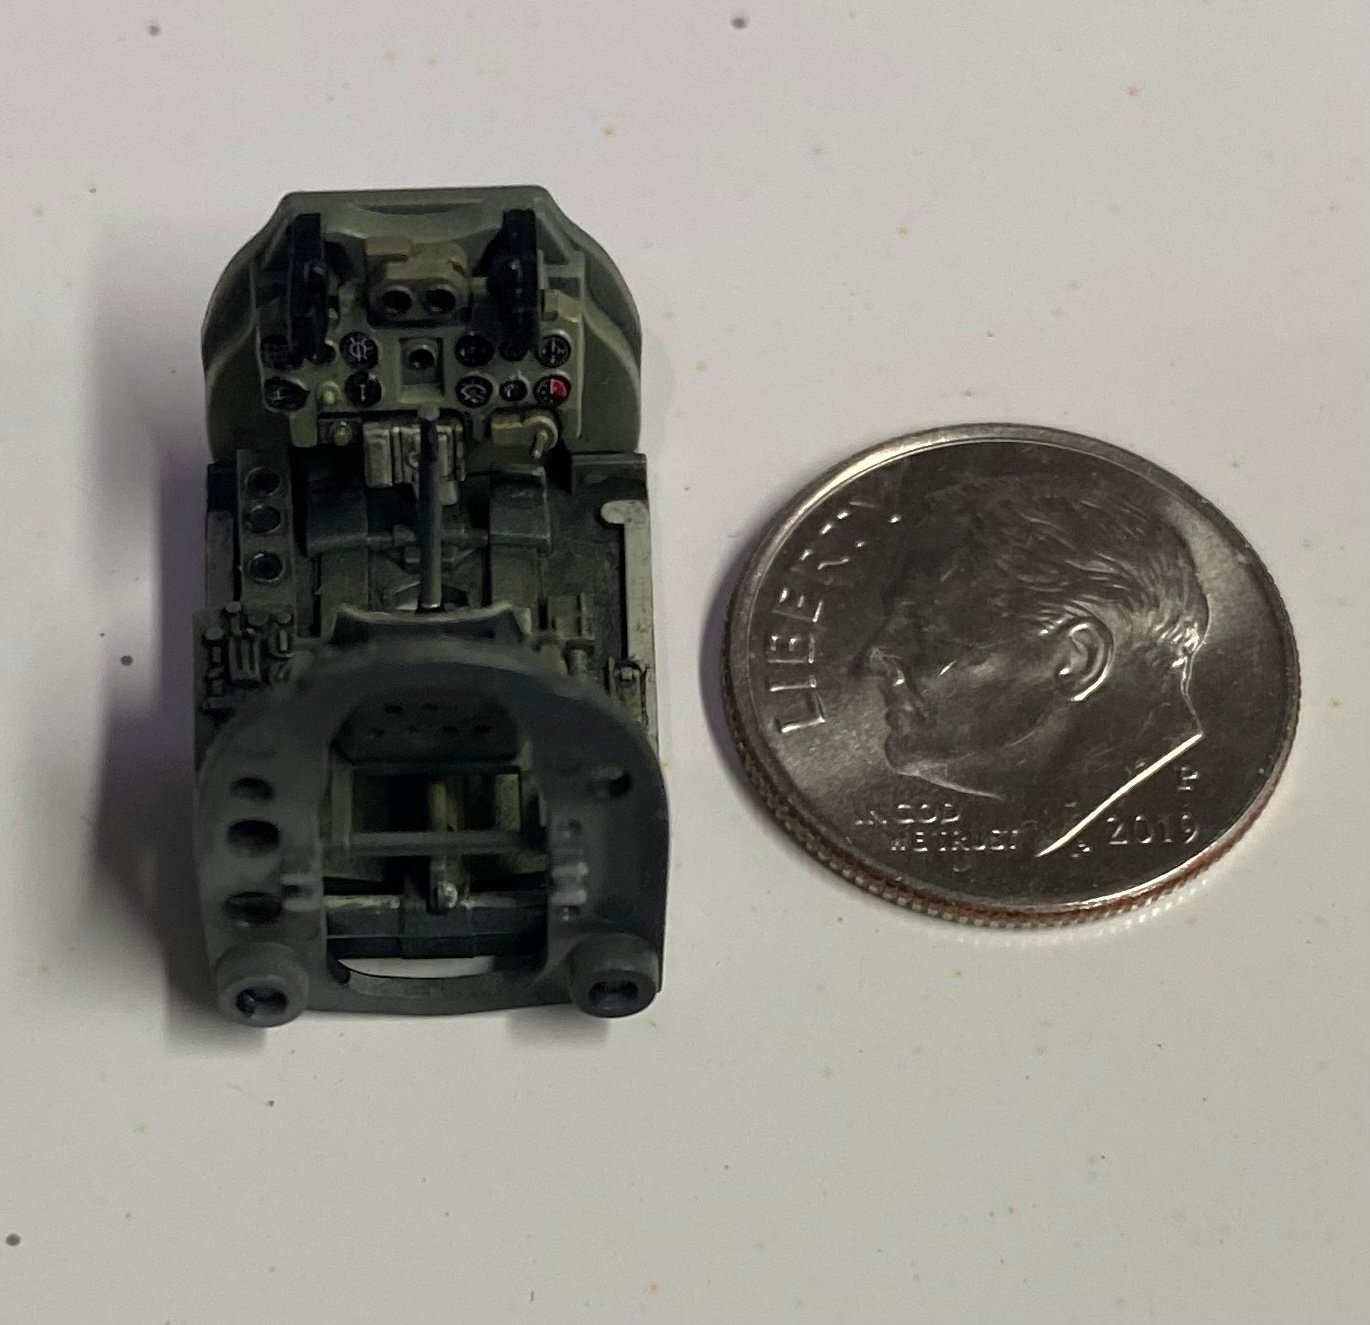
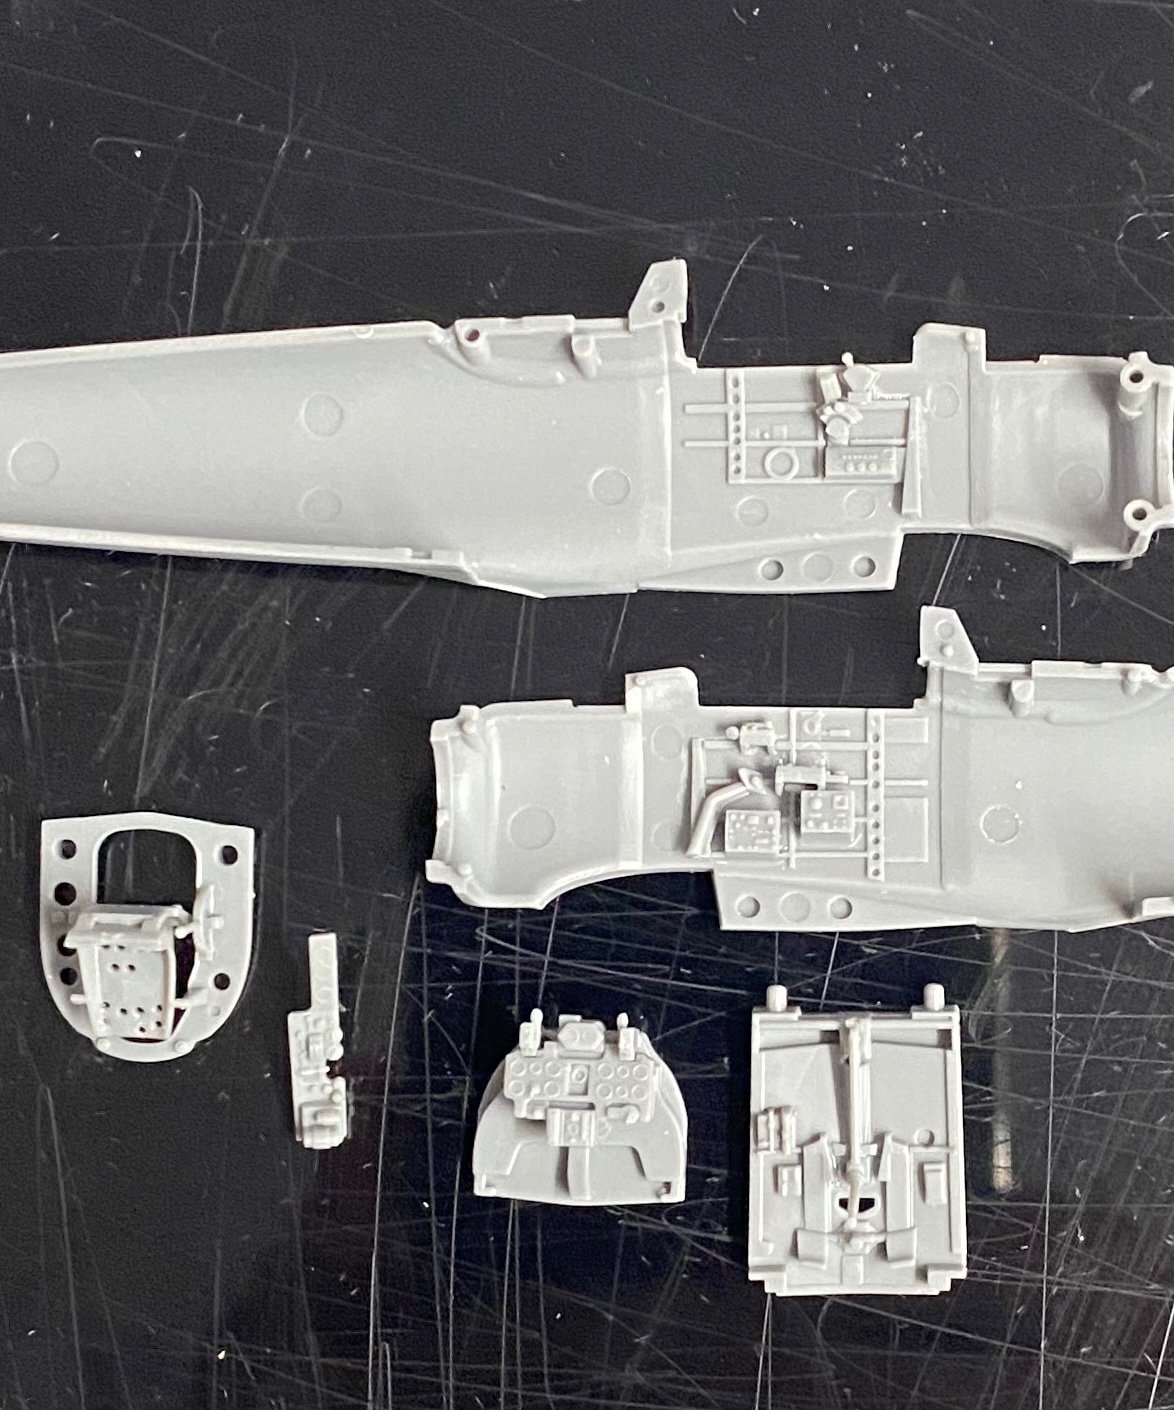
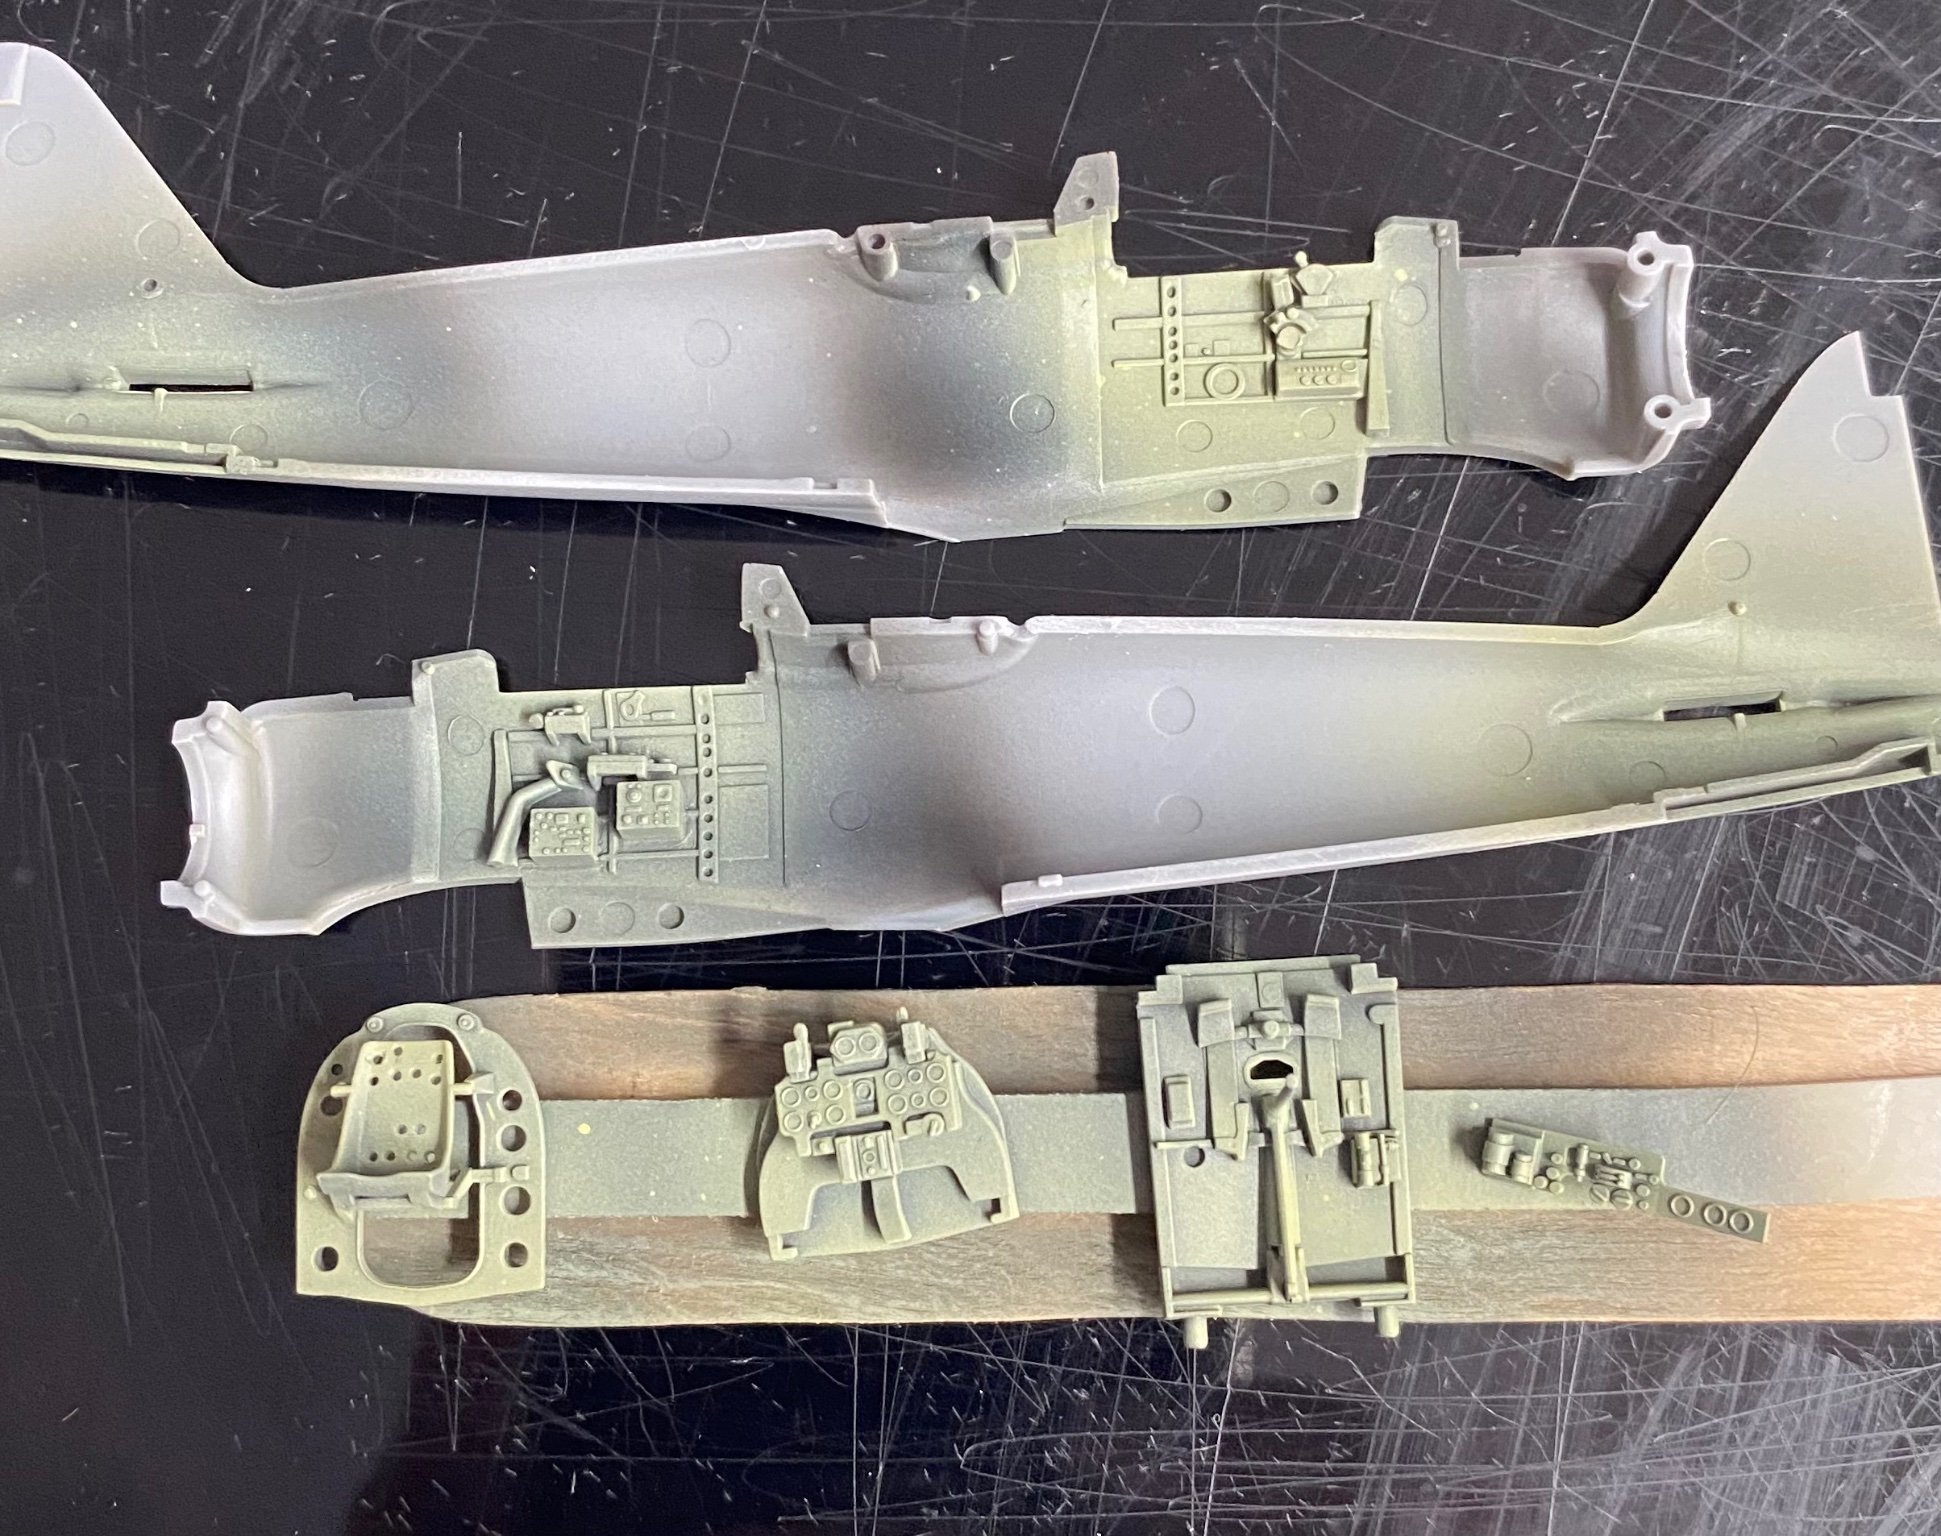
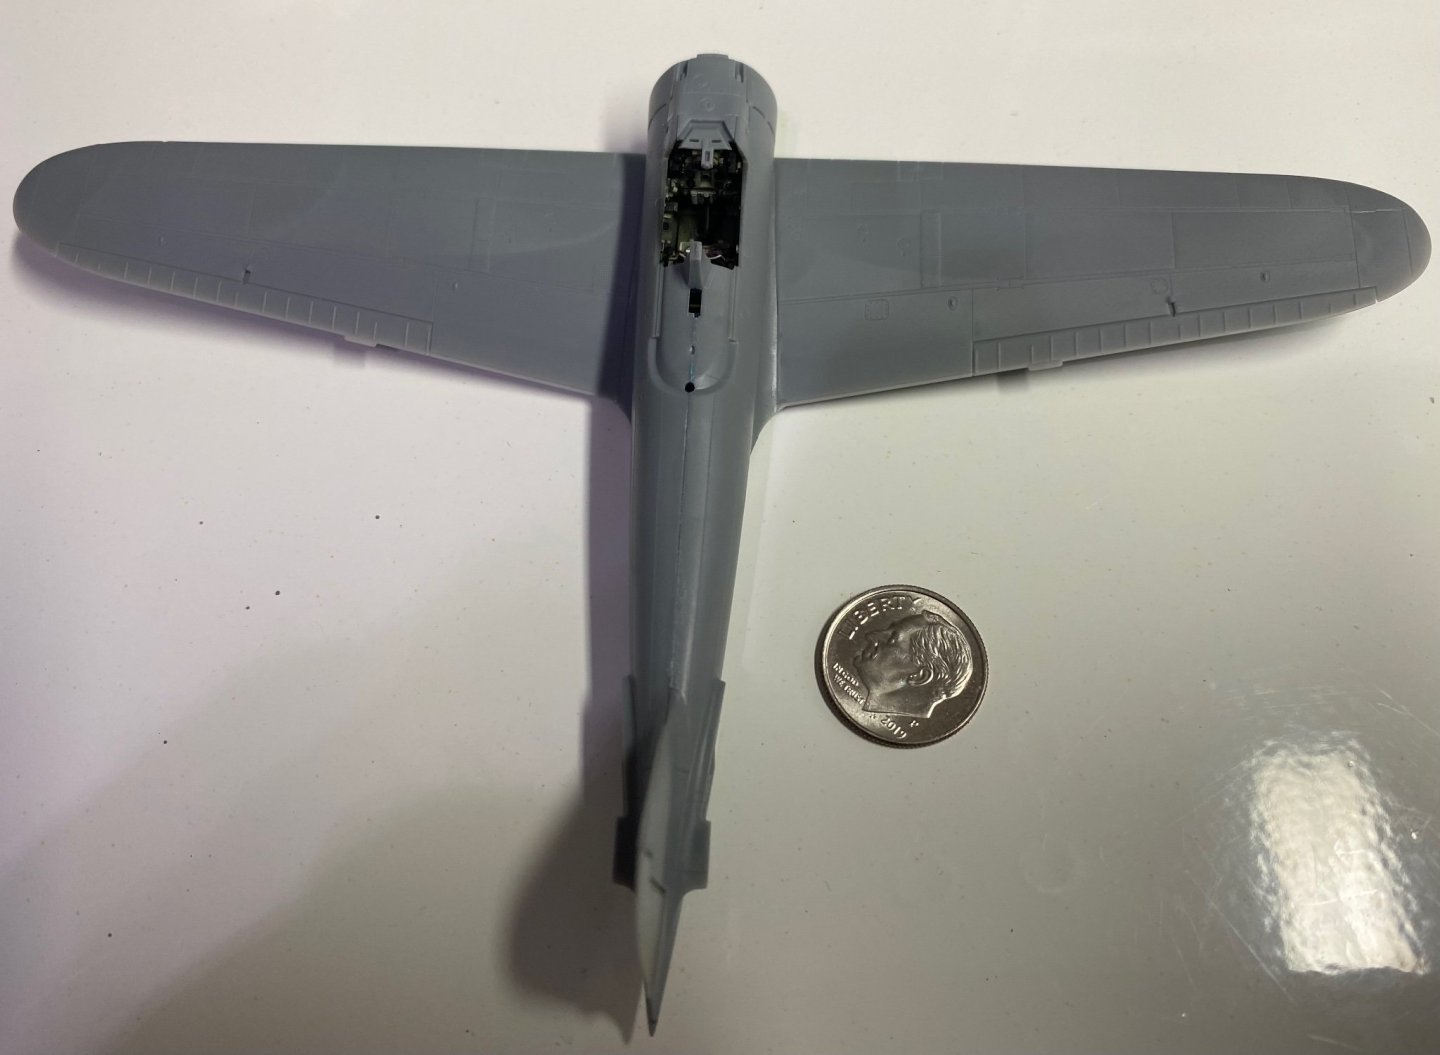
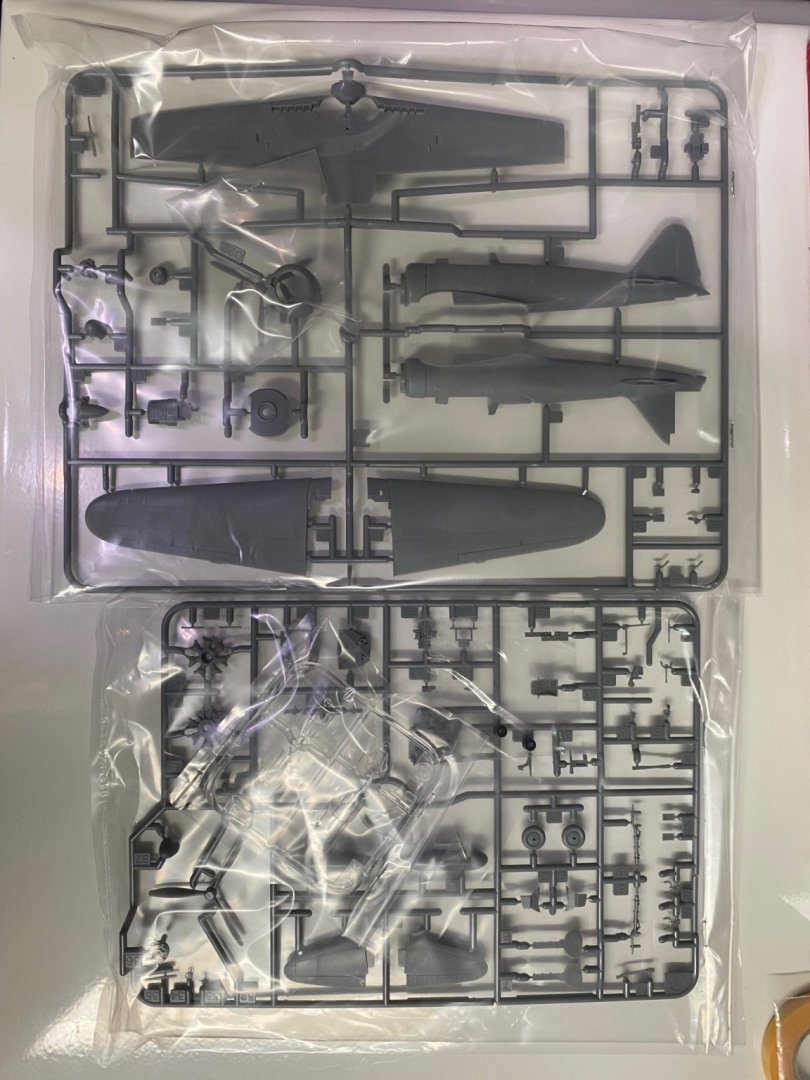
It’s pretty good right out of the box which is how I intend to finish this one. What I really want to do is try a different approach to the airframe painting using a mottle (sp?) technique. Saw someone else do it and want to try it for myself. Who knows, this could potentially make a 1:72 scale modeler out of me which would be something I have never done. 1:72 has gotten a whole lot better since I last checked one out. Molds are very nice. Very tiny, too. -
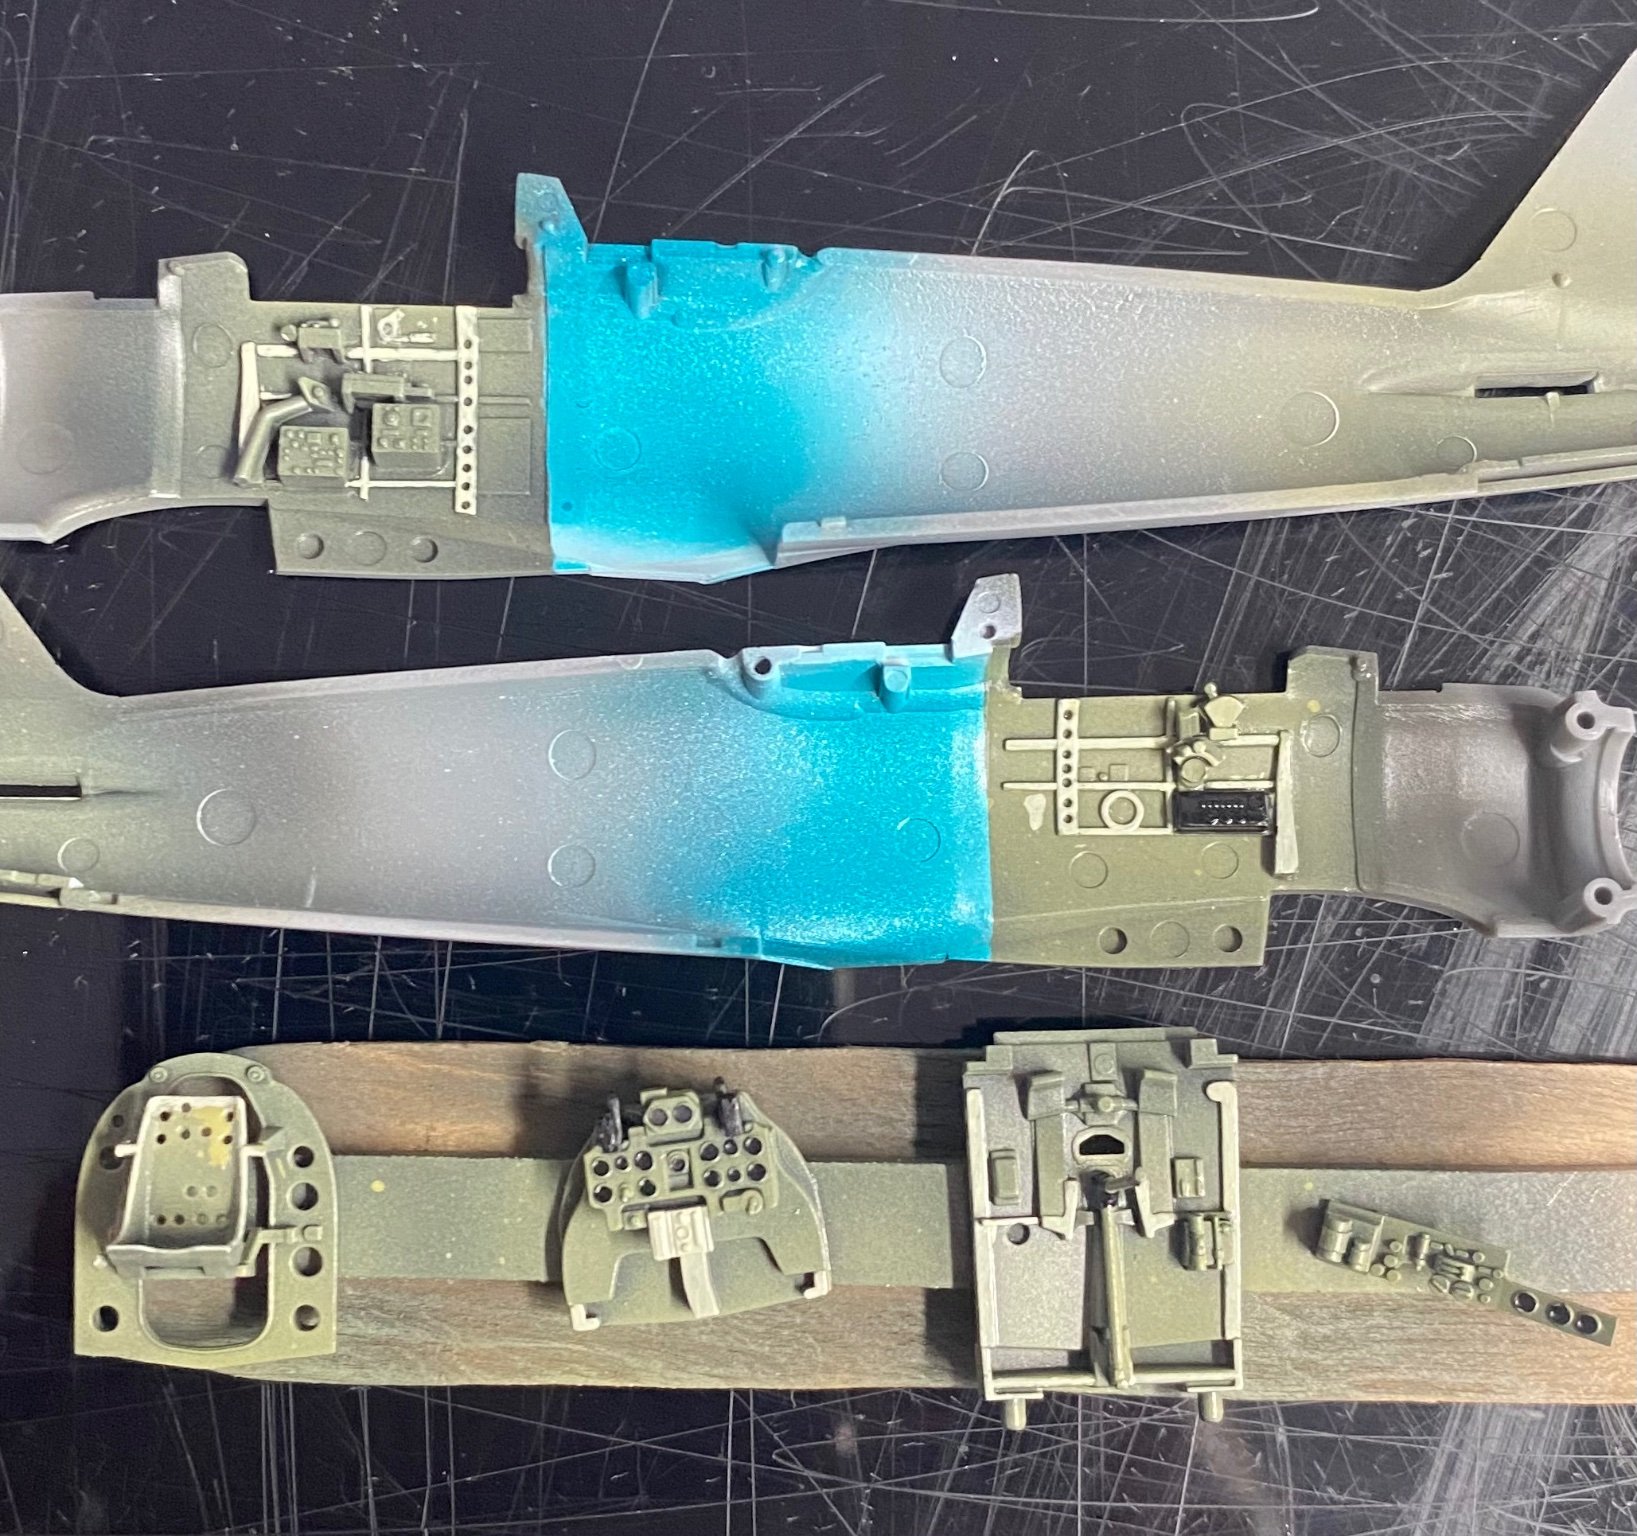
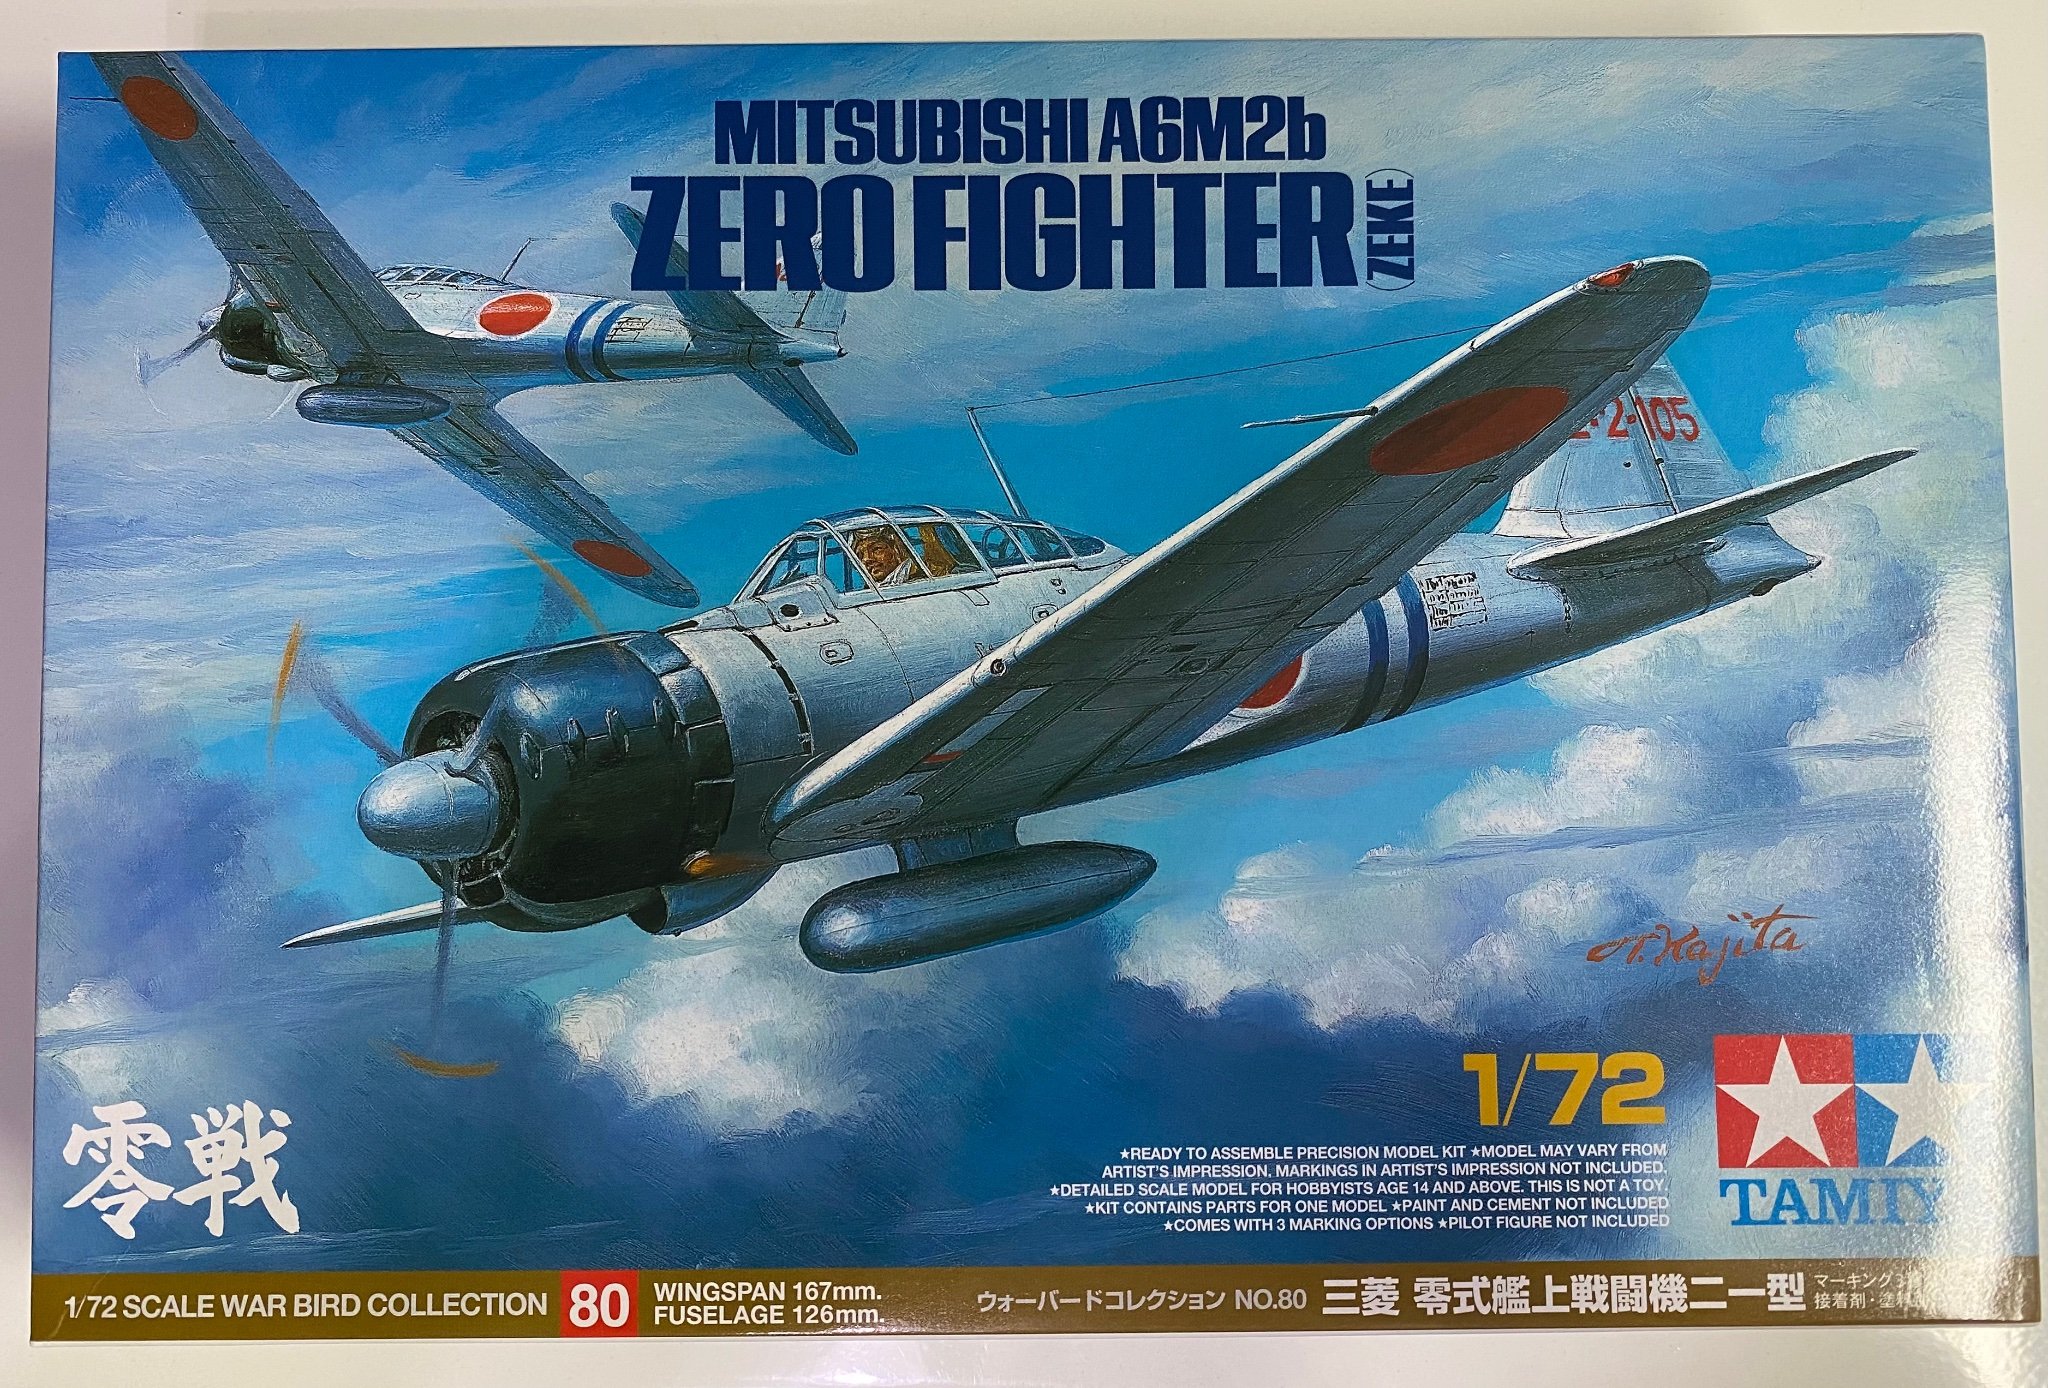
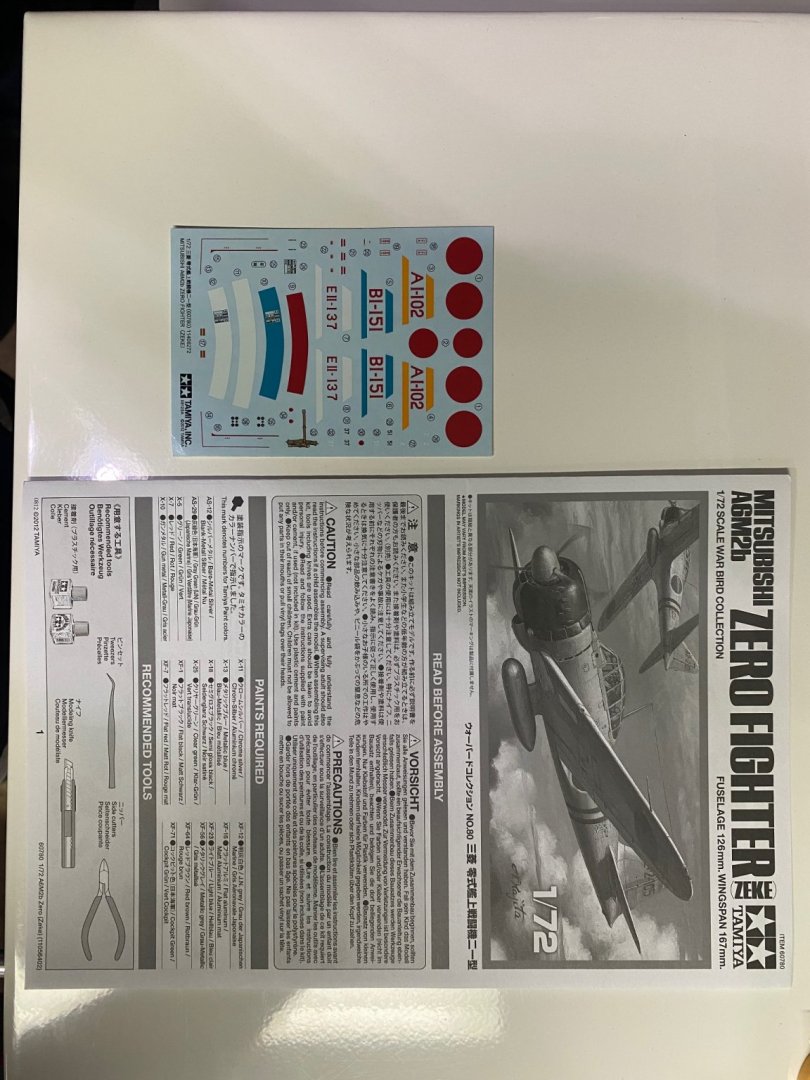
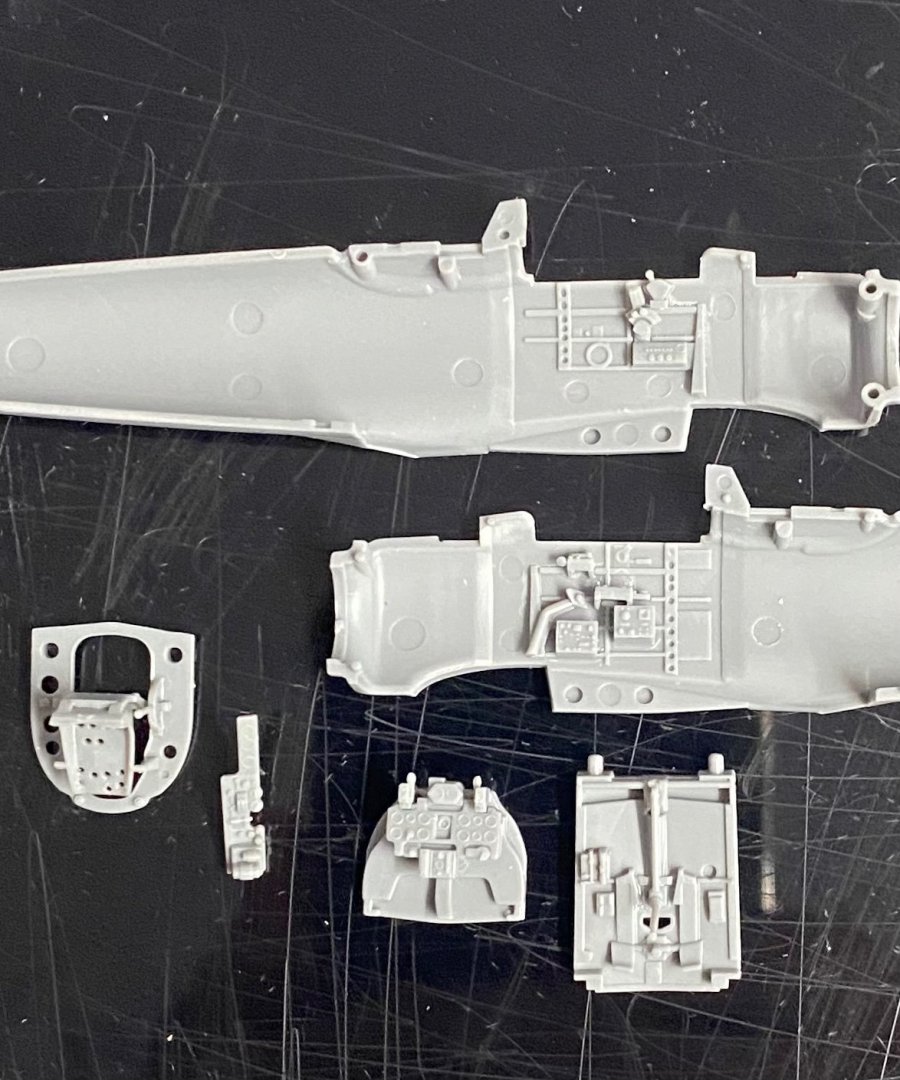
Kit box and contents Fuselage halves and cockpit pieces After a black base coat, a light coat of Japanese interior green. Typical Tamiya engineered fit is fantastic. I drilled out the lightening holes in the seat.


- 66 replies
-
- 10
-
-
Very nice looking parts you're printing there! I wonder if that "gold" label CA glue gives off toxic fumes like the other CA does? I know for sure it doesn't frost clear plastic like the other stuff does.
- 460 replies
-
- 4
-
-
- Finished
- Flower-class
- (and 1 more)
-
Hoping the best for you in surgery tomorrow, HOF. I bet you will be back stronger than ever.
-
You know the deal...SWMBO (she who must be obeyed) decrees, wishes are granted. Happy wife, happy life.
-
Nice job sealing inside that hull. Looks like you've done this before. 🙂
-
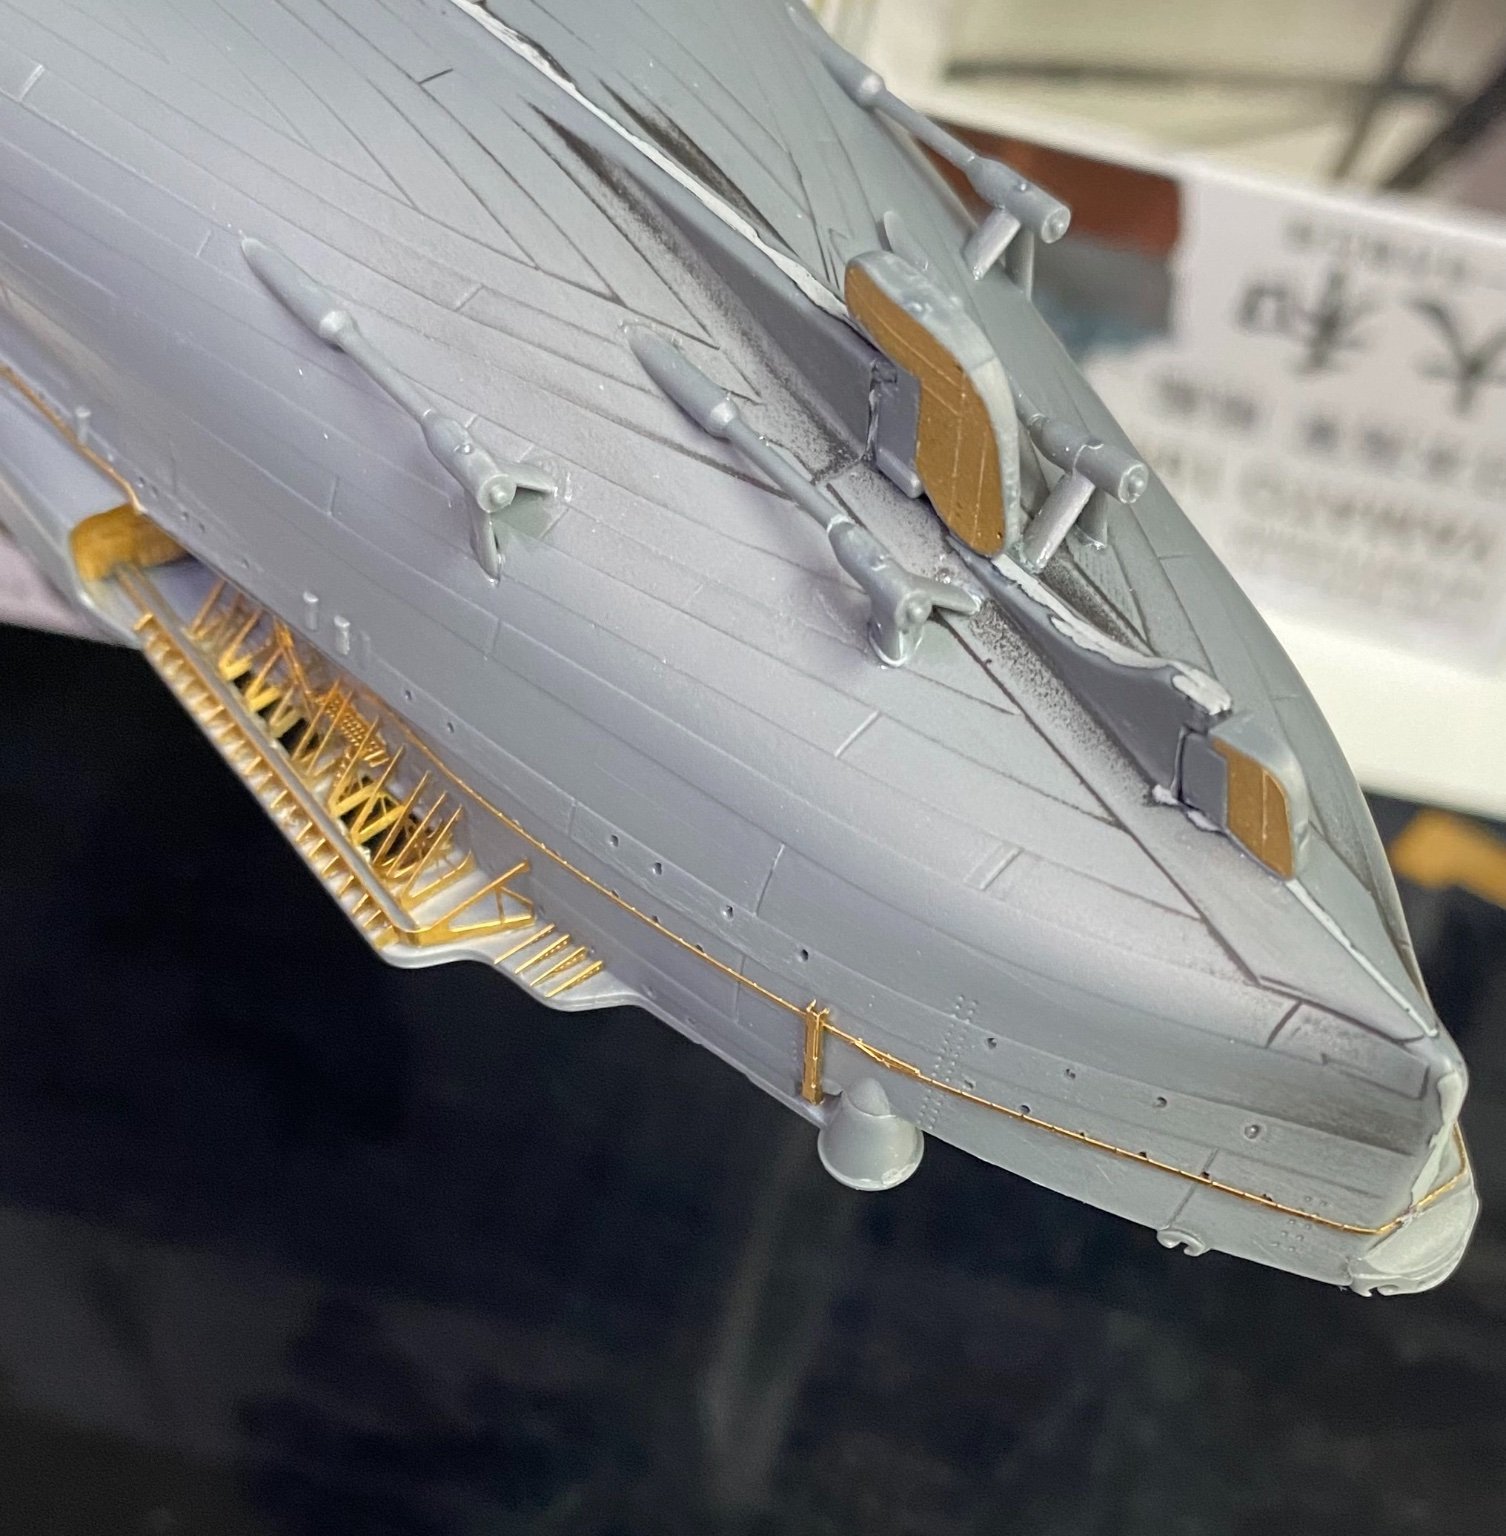
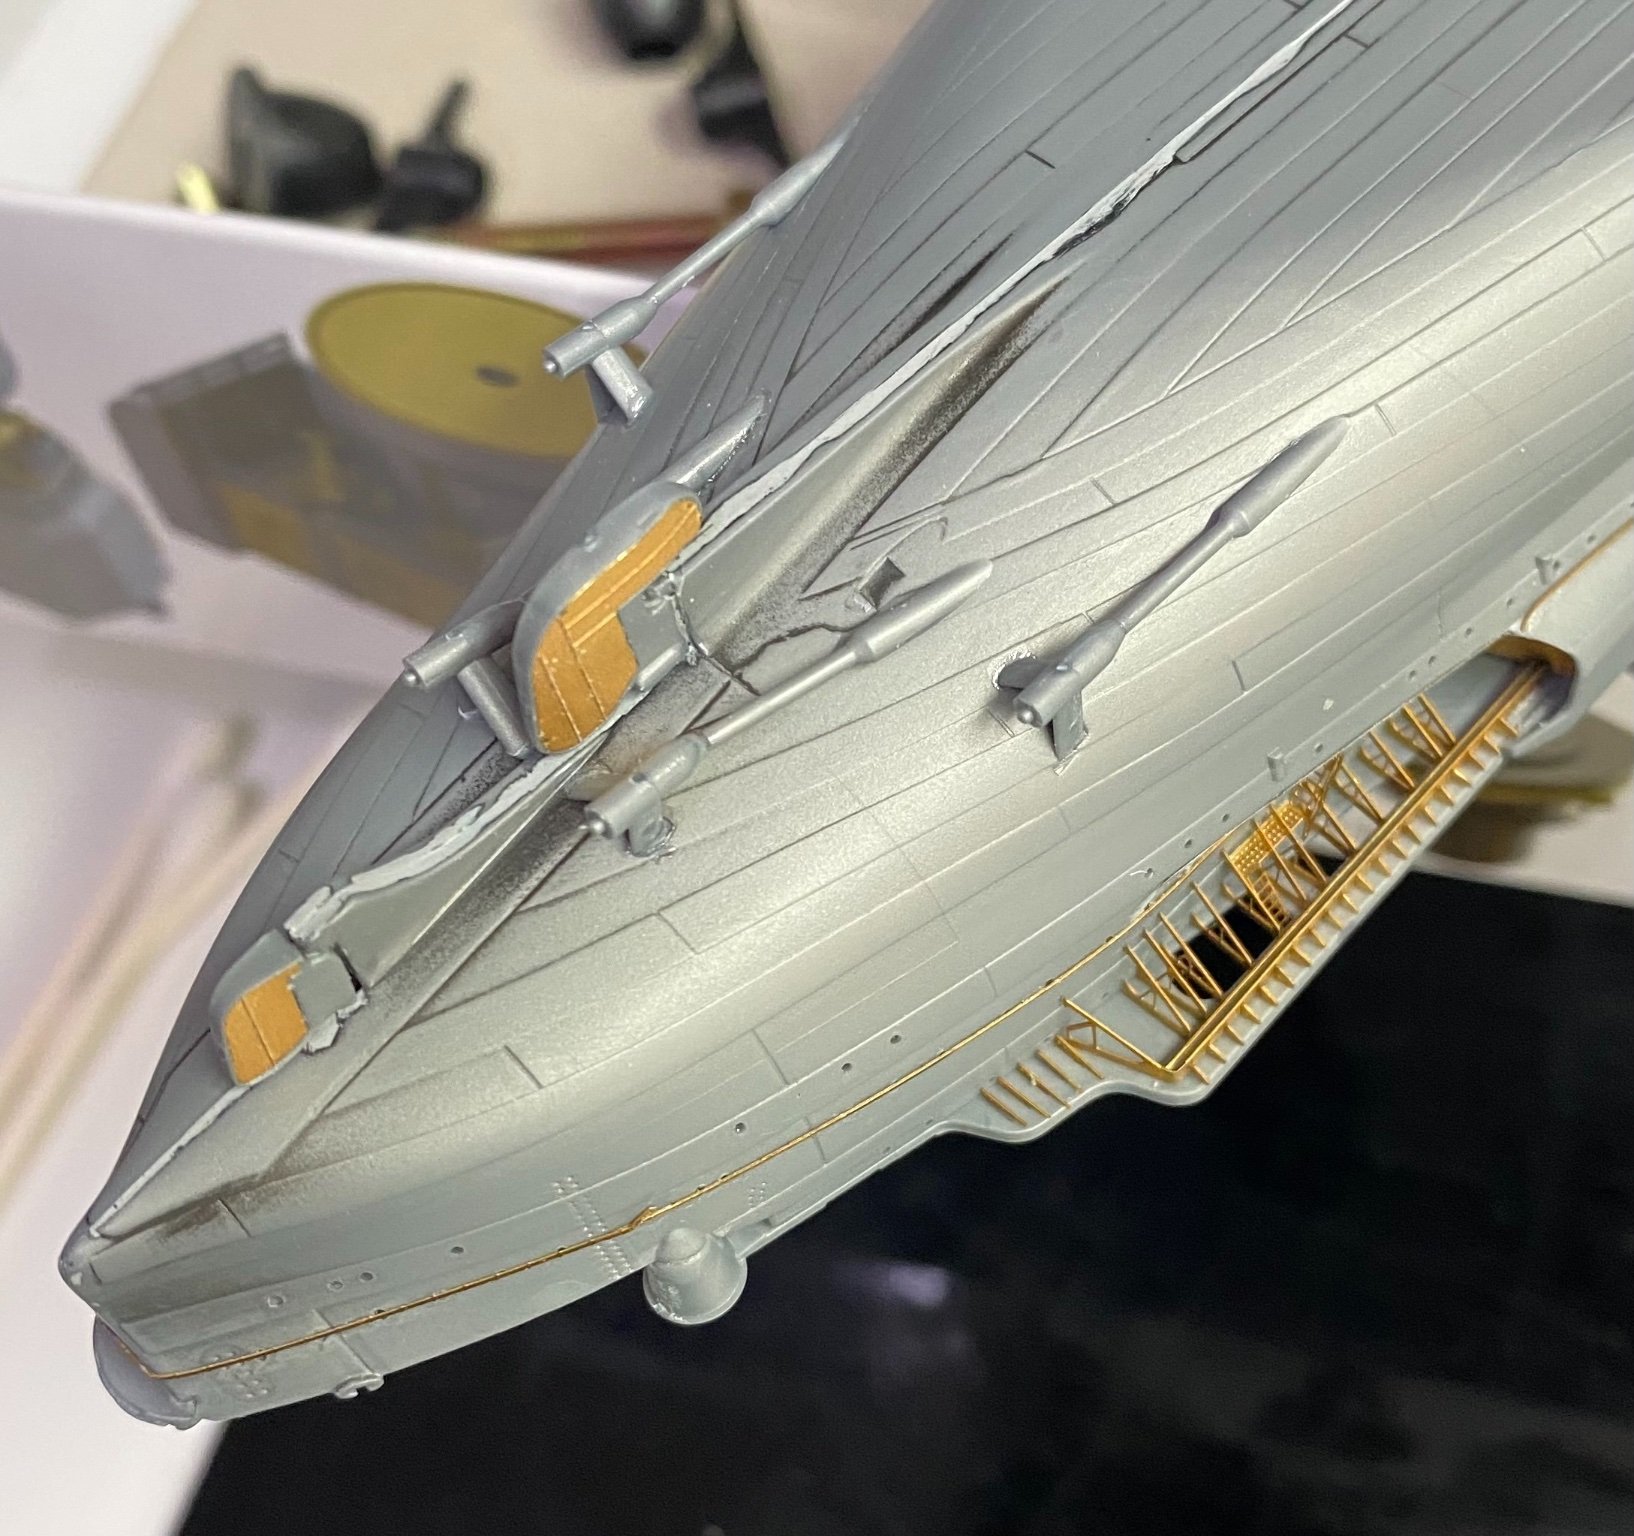
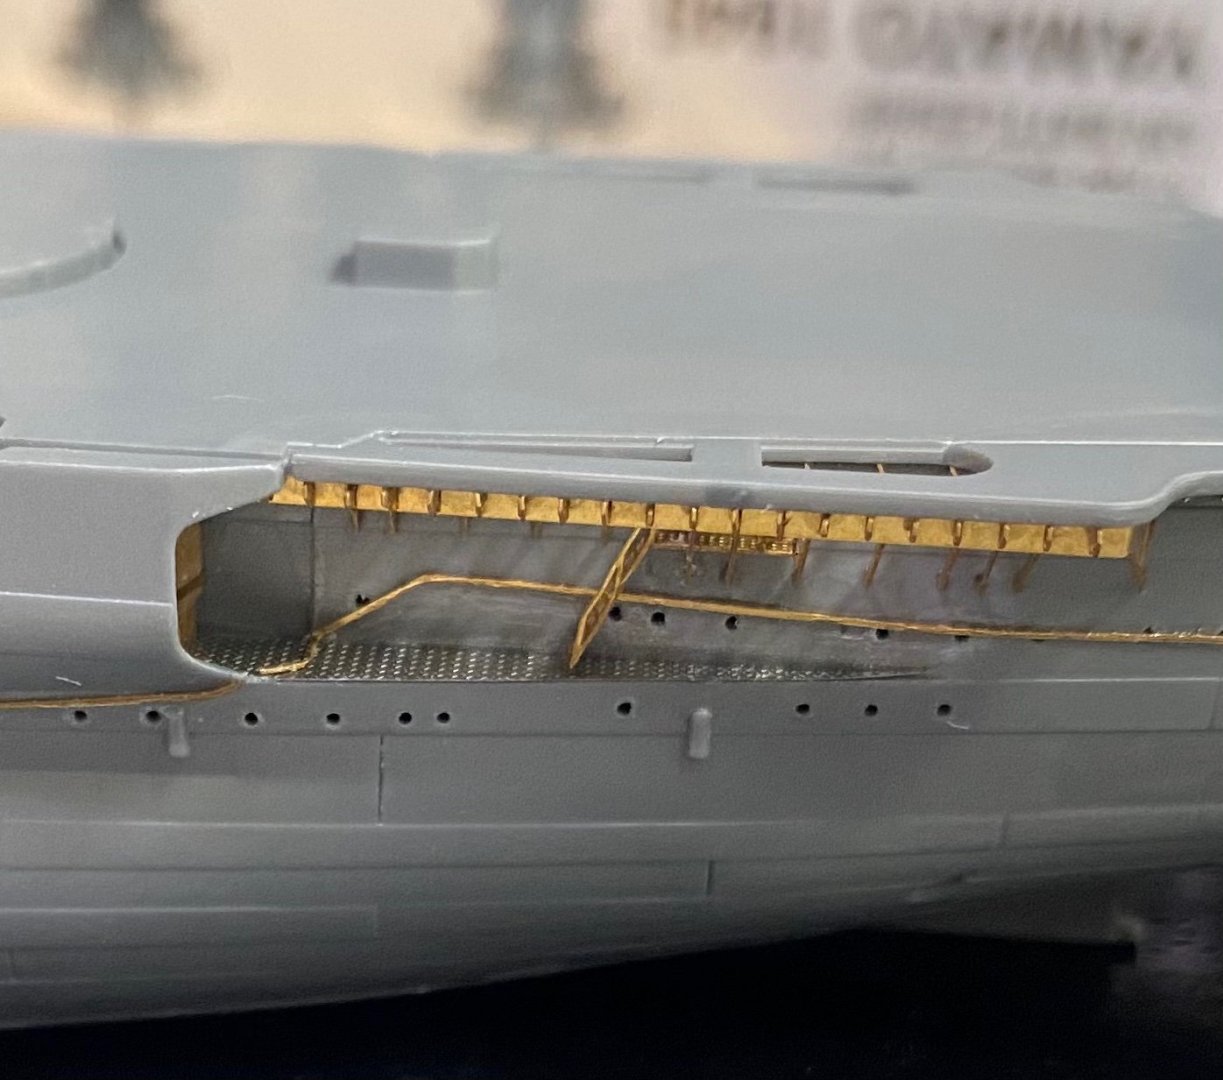
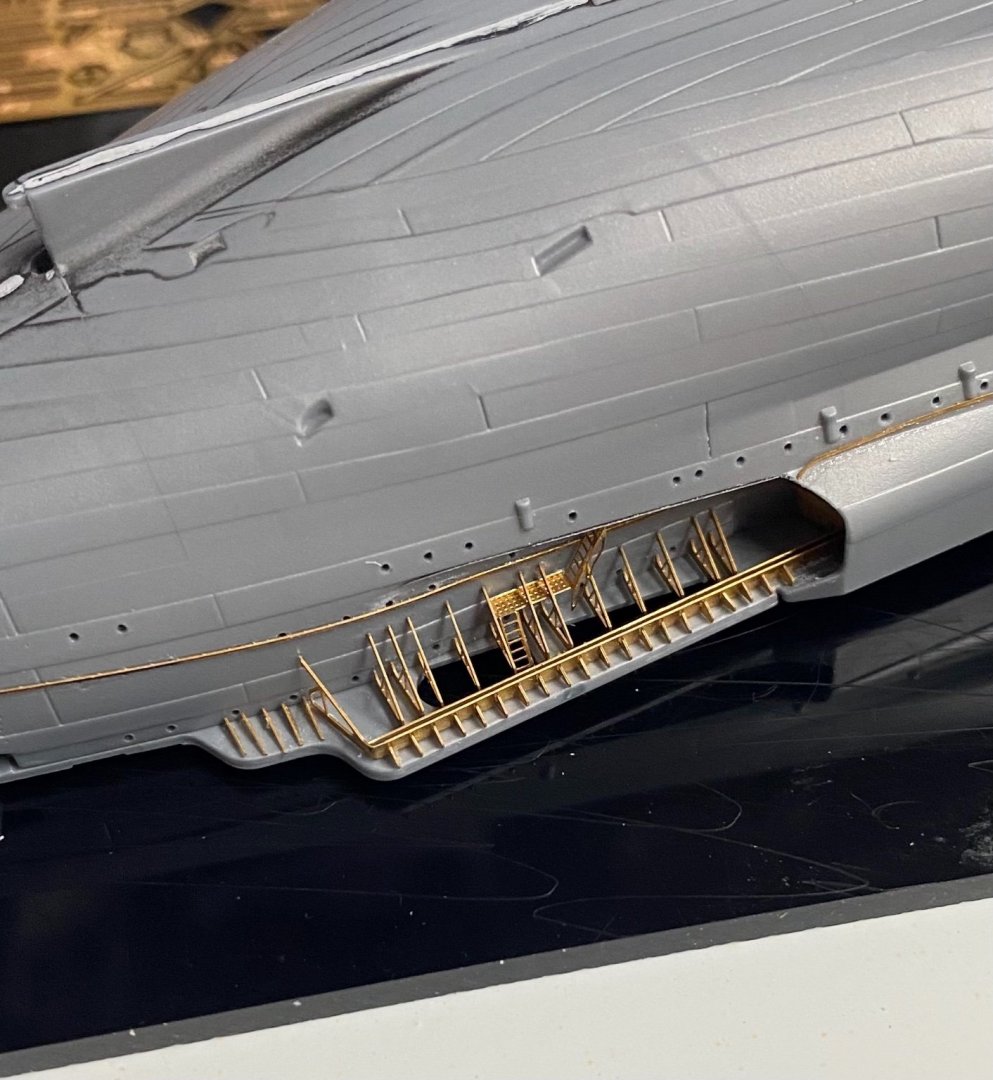
Thanks OC. For some reason, the other side currently under construction doesn't fit quite as well as the one pictured. It only takes just a tiny fraction off to cause a lot of extra work, but nothing some patience and a good diamond file can't fix. Taking my time, enjoying the journey.
-
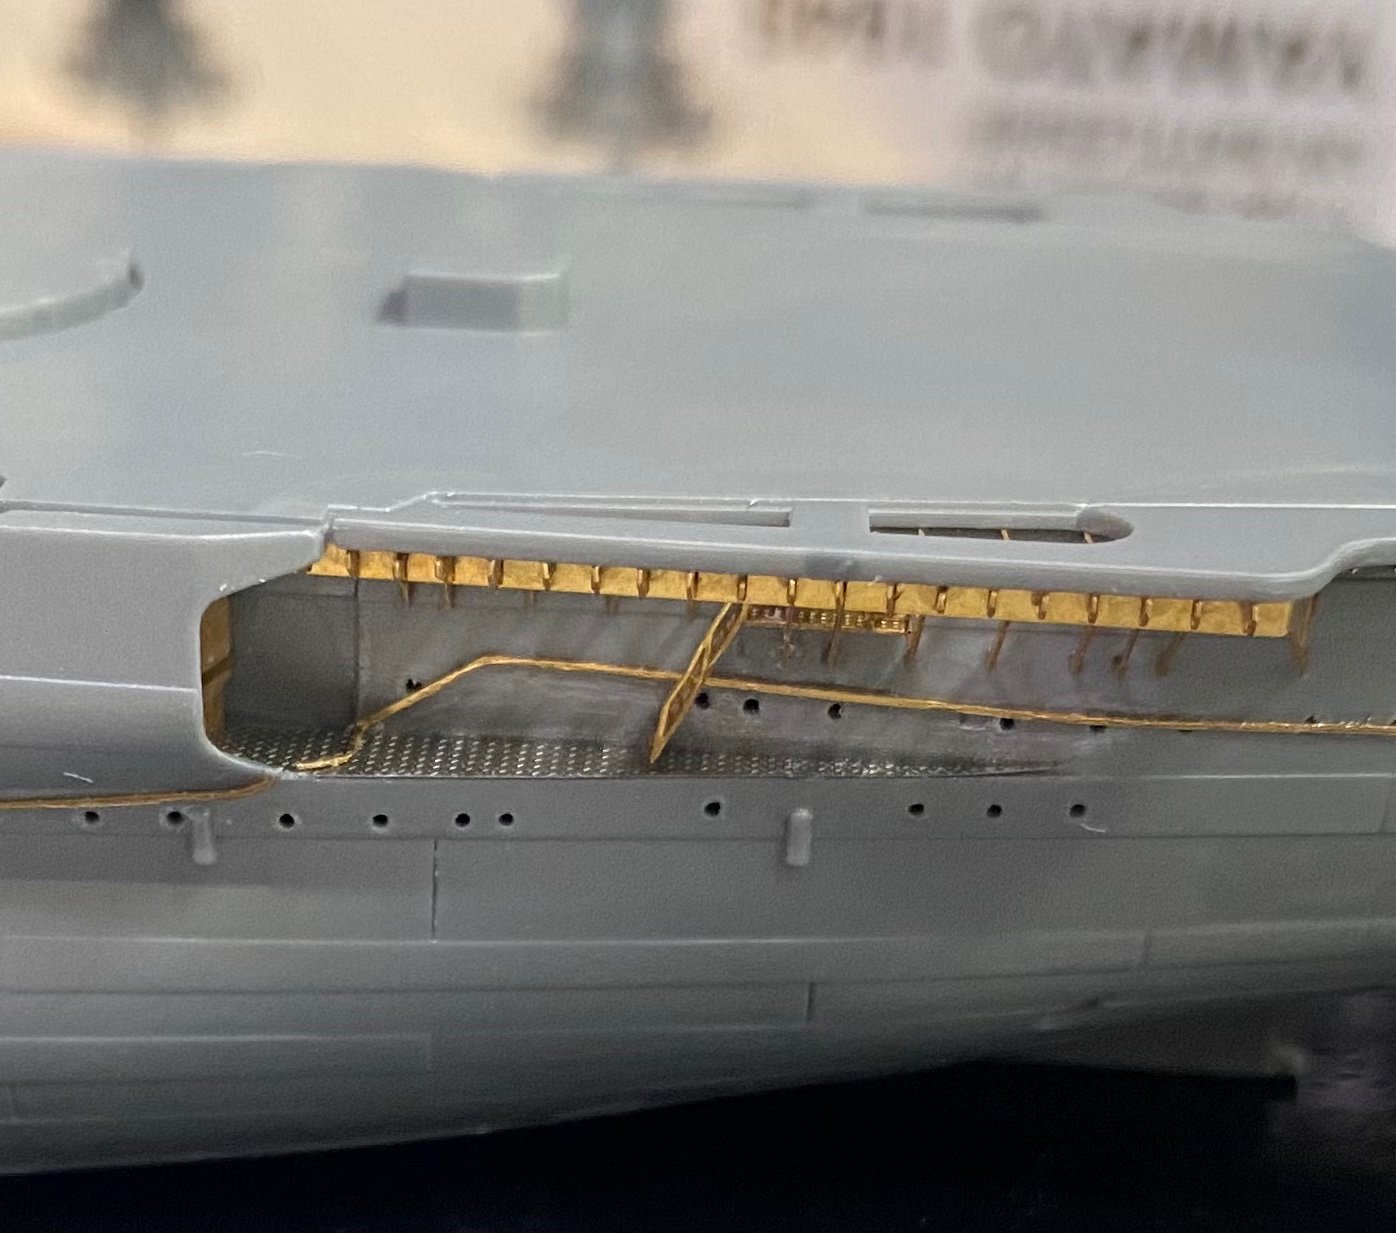
Spent a little more time to finish up this particular detail, which will be repeated in kind on the other side of the ship.
- 85 replies
-
- 12
-
-