HOLIDAY DONATION DRIVE - SUPPORT MSW - DO YOUR PART TO KEEP THIS GREAT FORUM GOING! (Only 13 donations so far - C'mon guys!)
×

CDW
-
Posts
7,742 -
Joined
-
Last visited
Content Type
Profiles
Forums
Gallery
Events
Everything posted by CDW
-
 Add some masts, radar arrays, build and detail some boats, then will be ready to do some painting.
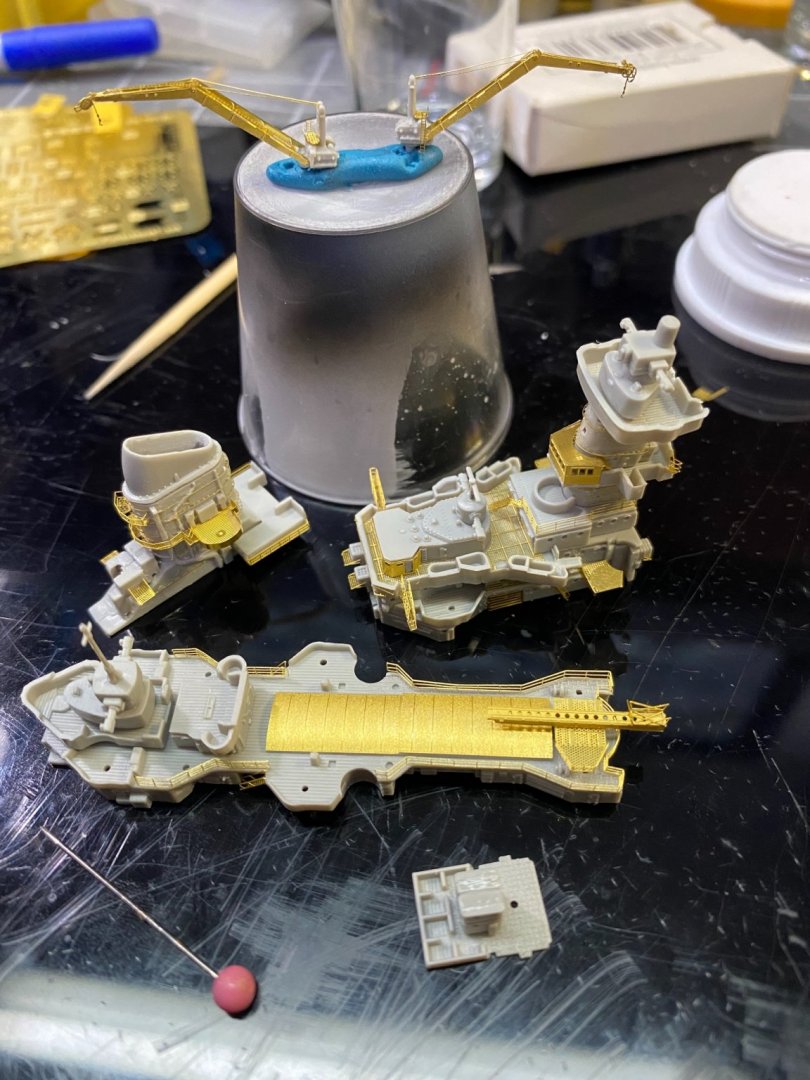

- 174 replies
-
- 7
-

-
- prinz eugen
- trumpeter
- (and 2 more)
-
I definitely want to hear about your progress with that machine once you get underway, EG.
-
Thank you Roger. Yes, it is a USA manufactured glue called Gator Grip Gator’s Grip Hobby Glue – Gator's Model Studio (gatorsmodelstudio.com) I use the Thin Blend type. It's possible that a shop in your country may carry this item in inventory. It is not an instant set. However, it usually holds the PE to the location placed by surface tension, then it sets up in minutes. I like it because it's easily cleaned up with water, can be diluted, and gives me the extra time I need to position the parts where I want them. But there are times when I want an instant set, then I use CA glue for that.
- 174 replies
-
- 9
-
-

-
- prinz eugen
- trumpeter
- (and 2 more)
-
My Cuban cousin does that a lot. 😄 Of course, the other thing to make sure of, and you probably already have done this: Check to make sure that there is no excess friction, wobble, anything mechanical that could be a potential source of unwanted movement. When we're dealing with tolerances of fractions of a mm, just the slightest thing can cause it to be outside of tolerance.
- 460 replies
-
- 7
-
-
-
- Finished
- Flower-class
- (and 1 more)
-
Thanks Alan, with this, I had to give it a rest for a while for the eyes to become uncrossed.
- 174 replies
-
- 6
-
-

-
- prinz eugen
- trumpeter
- (and 2 more)
-
Well, yes they do. The first link I posted (see above a few posts up) was for the WW2 version, but I completely understand that you might not be interested.
-
Here is a 1:350 Tamiya 1991 USS Missouri that was built using the Pontos set, along with details from Infini, right here on MSW
-
Looks like the new airbrush is working well for you. You enjoying it?
-
Do you have a link to those videos? I am curious to see what is totally wrong.
-
Okay, that's better...Spruebrothers are a very good USA online hobby seller. Phantom Phreaks are a company who manufacture decals, particularly F-4 Phantom decals. It seems that they are taking on a joint venture to produce a new line of 1:32 F-4 Phantoms. Awesome! That's going to be a very costly undertaking on their part. Hope it pays off well for them.
-
Here's one without the wood deck: PONF22002 1:200 Pontos Model Detail Up Set - USS Missouri BB-63 1945 without Wood Deck (TRP kit) - Sprue Brothers Models LLC Scratch that. It's 1:200 scale
-
This: BB-63 USS Missouri Model Kit | Detail Set For Tamiya (freetimehobbies.com) Only one I see for WW2, but it's 1945 and includes a wood deck which you already have.
-
There is nothing to indicate who it's from except a logo that's unknown to me. Just CAD drawings, an idea. Not even a prototype yet.
-
Who is that from? Looks interesting for sure.
-
I know about the 1:48 Phantoms, but have not heard about 1:32
-
It's been a long, long time since anyone came out with a new tool 1:32 Phantom. I was just thinking about how long the 1:32 Tamiya F-4's have been around.
-
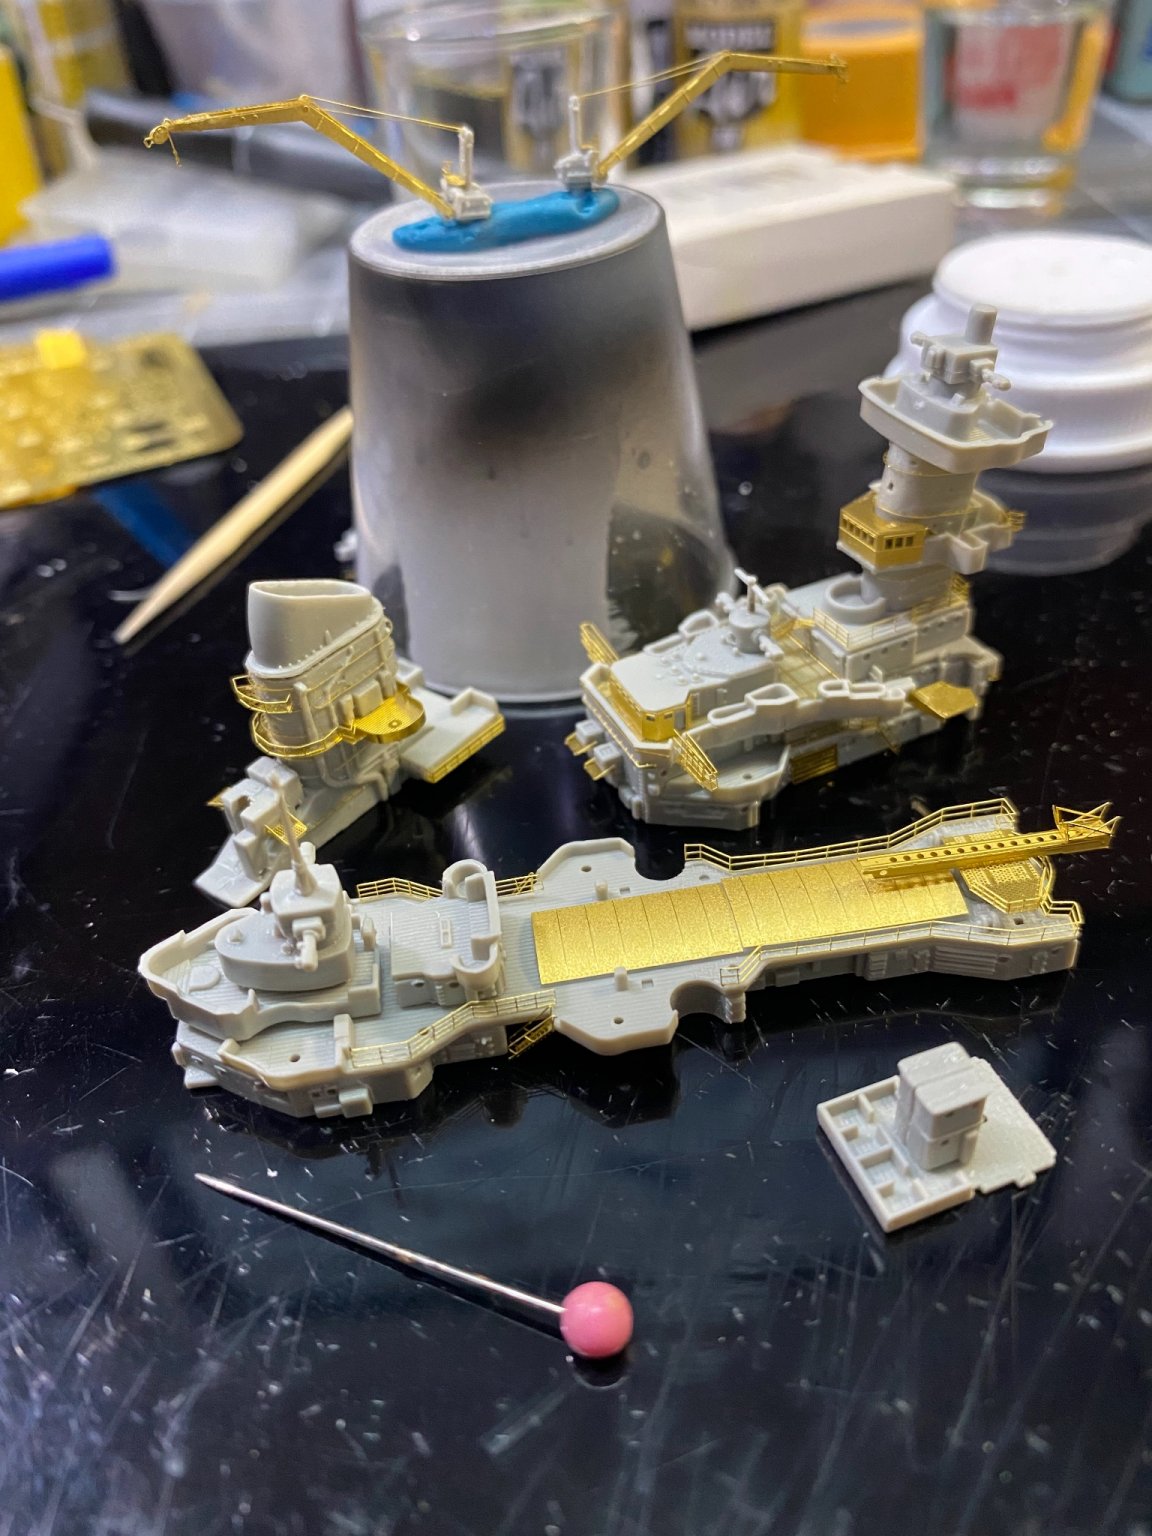
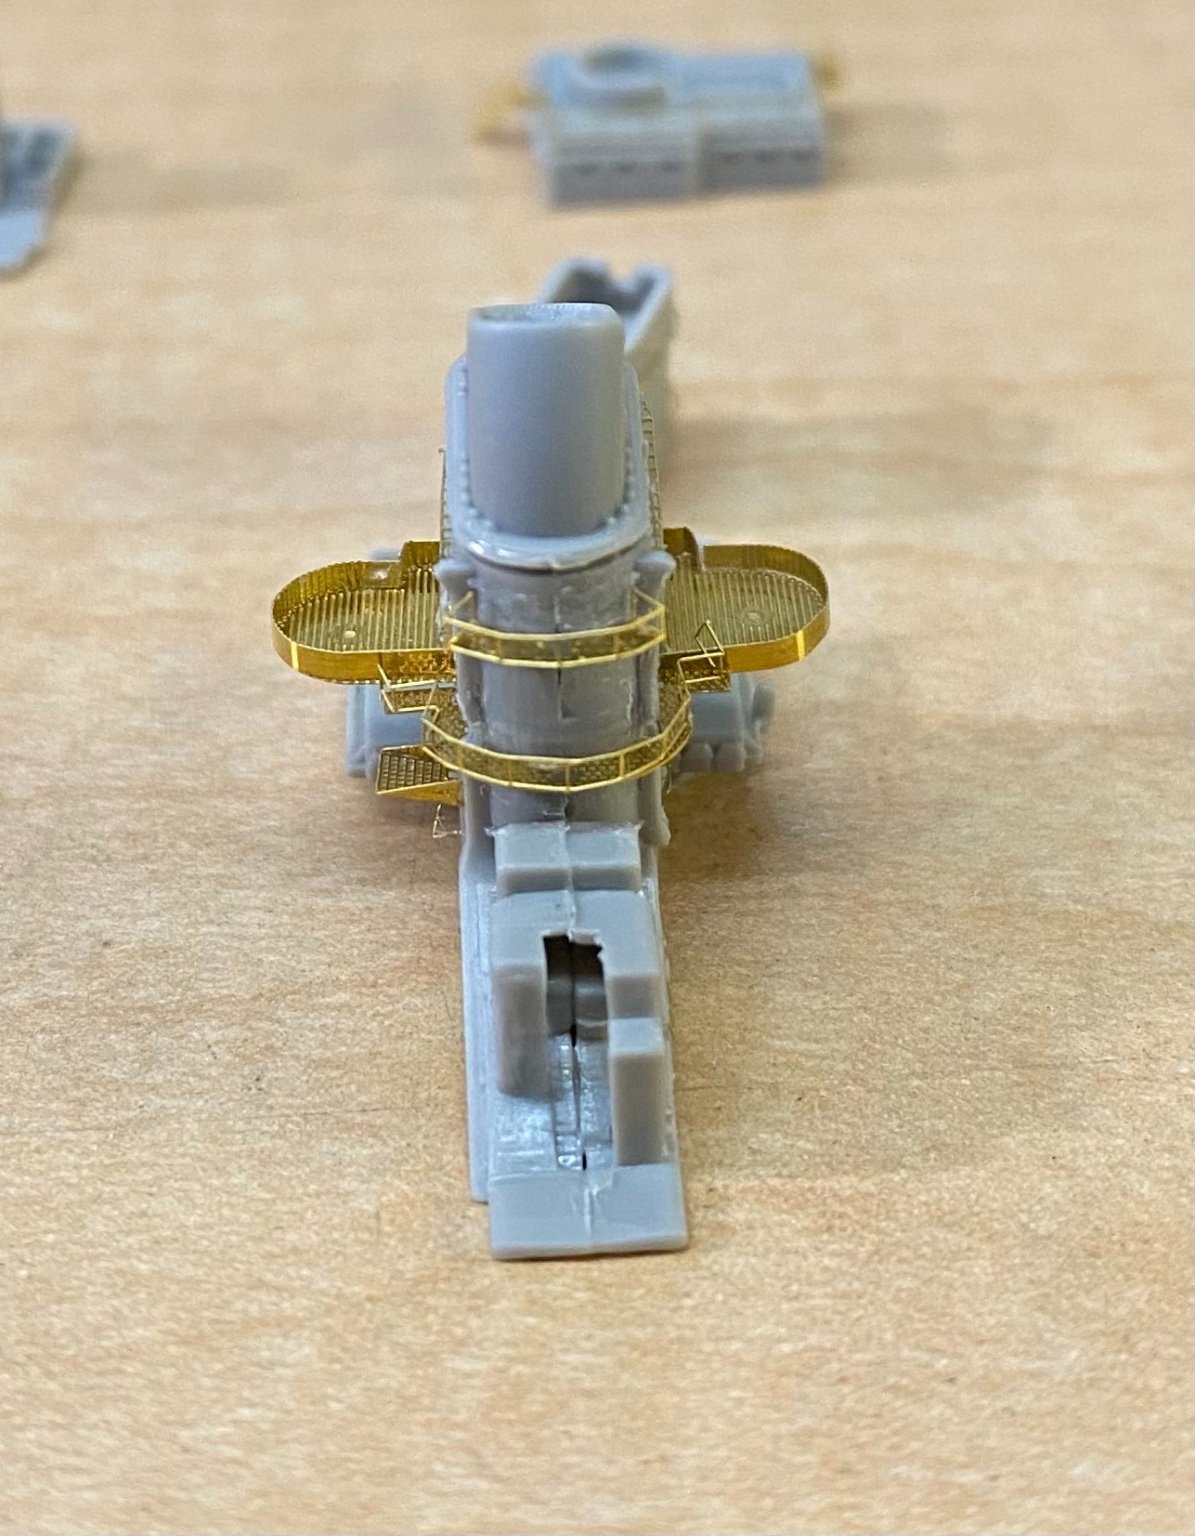
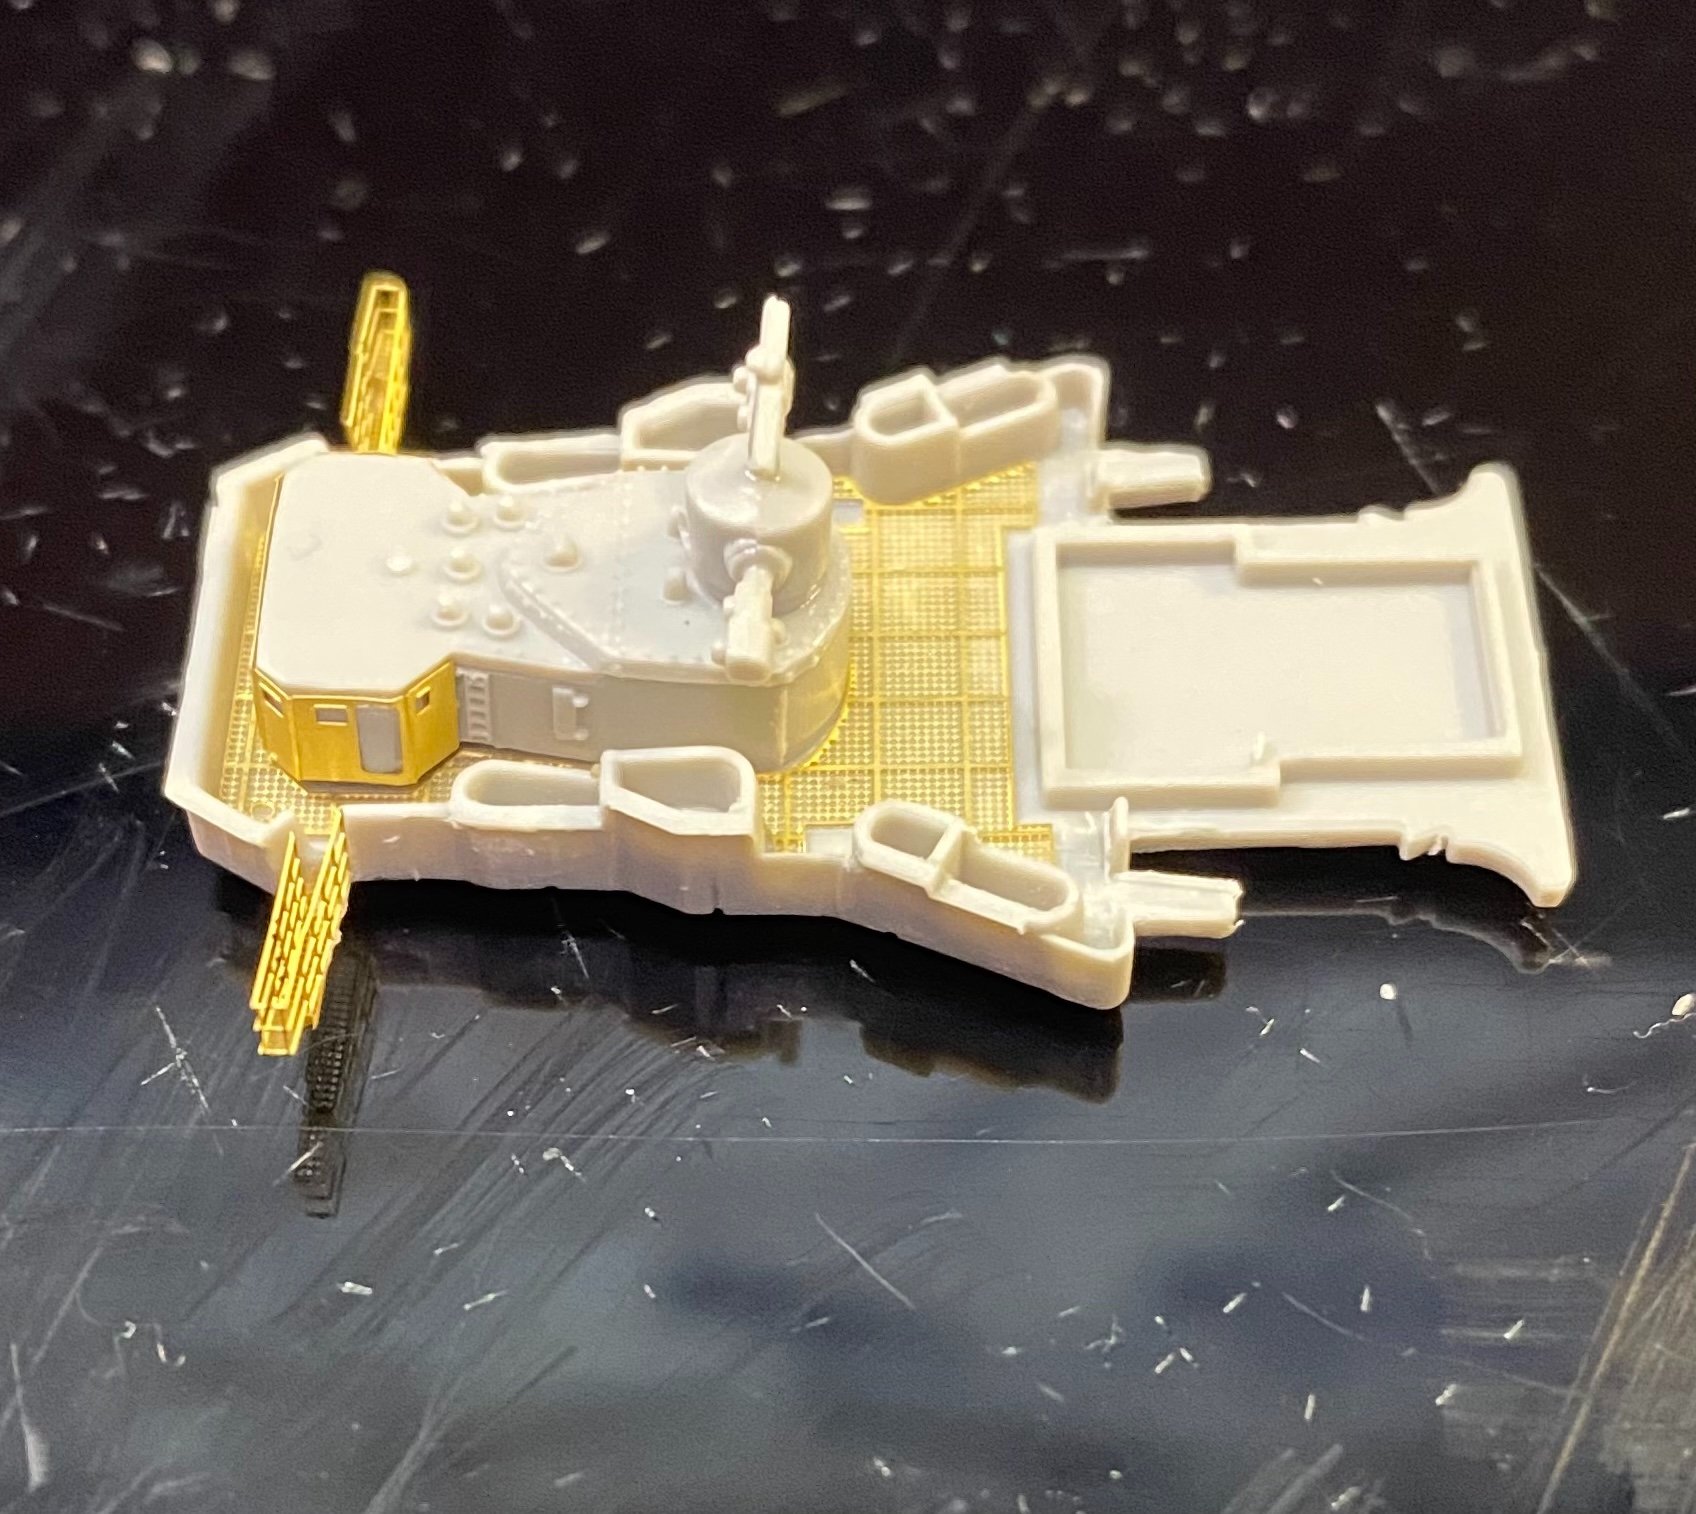
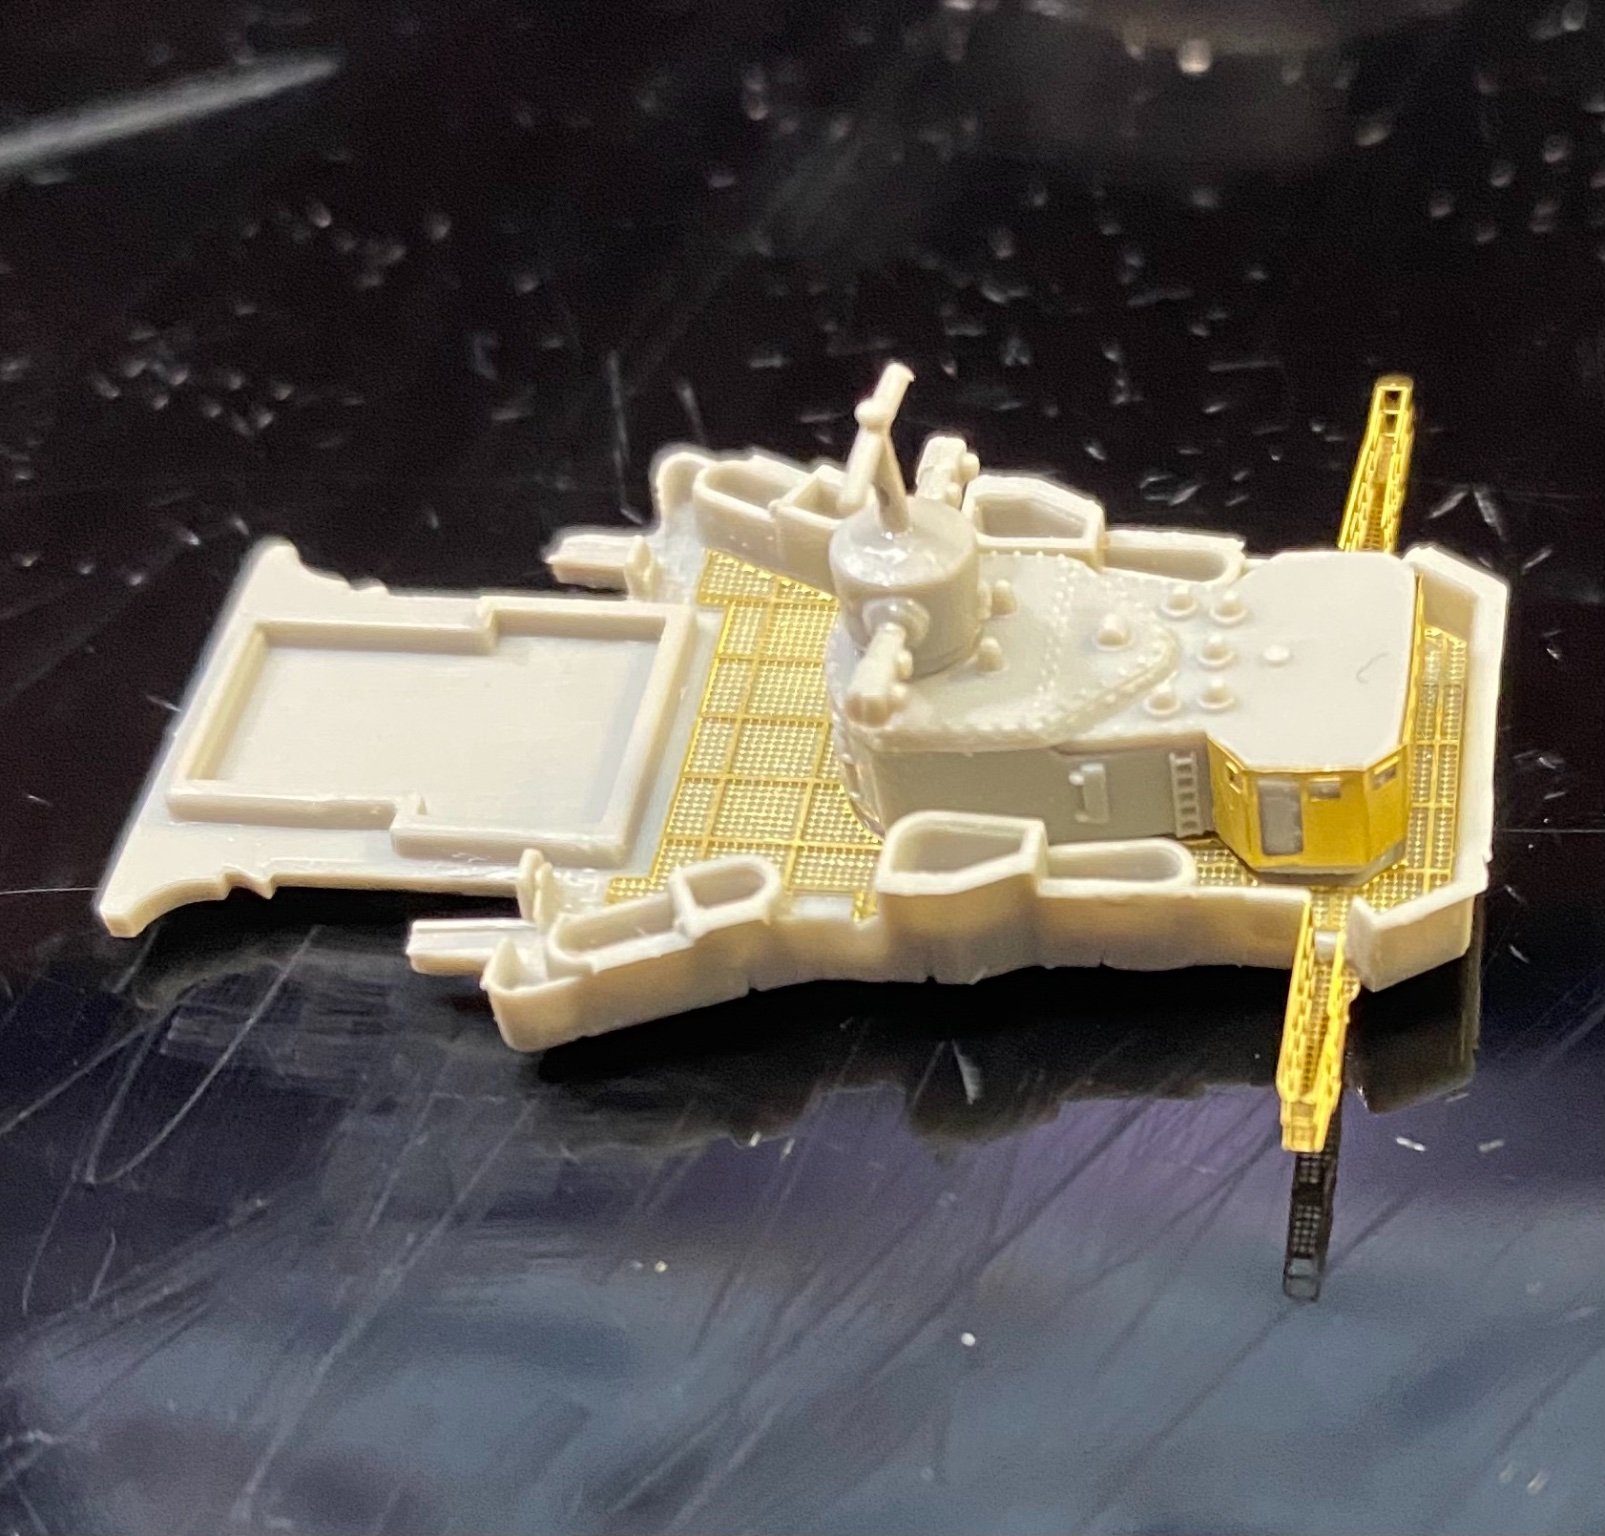
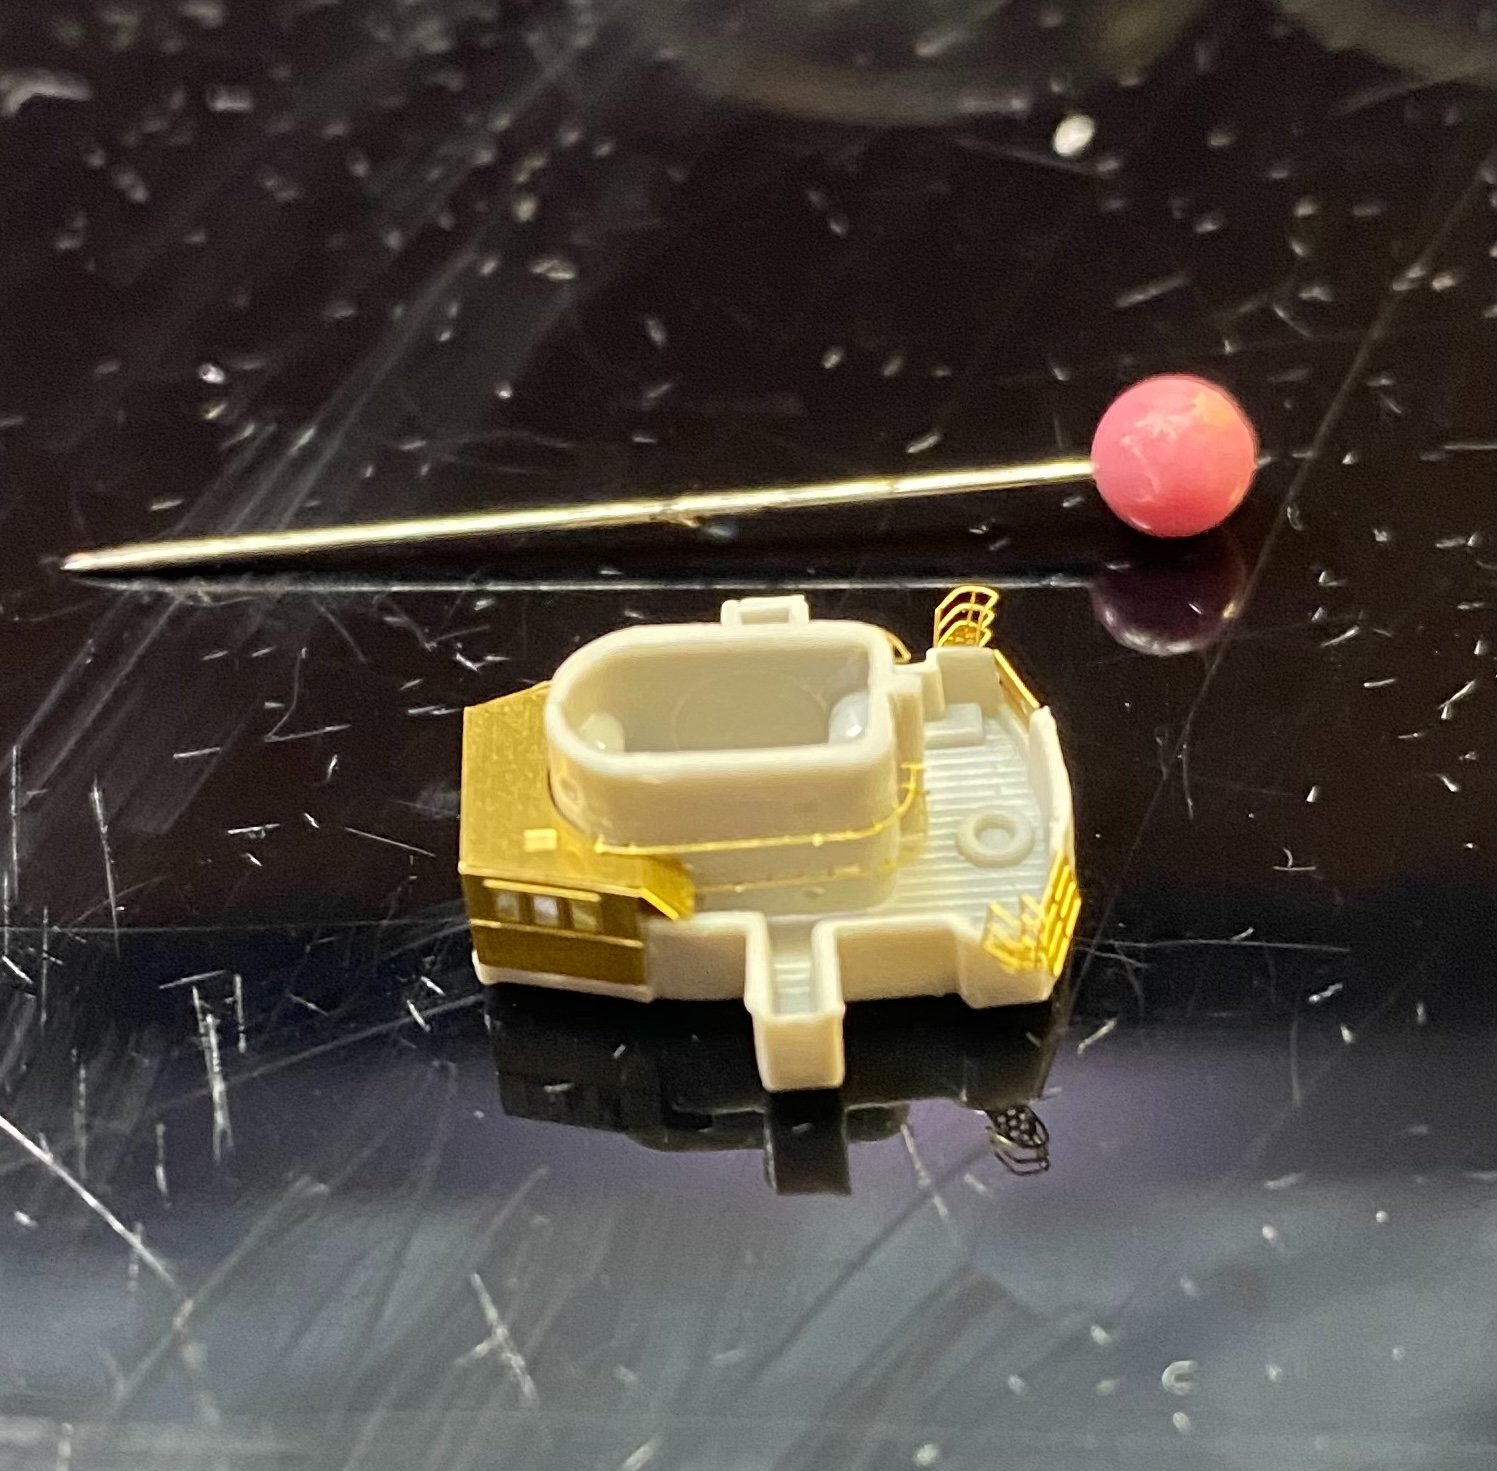
The gangways (not certain what they are called) that lead off each side of the superstructure are extremely thin. So much so, they will break apart without so much as a gentle bend which are necessary to complete construction. Even with great care, these could become a loss. Will certainly be lost if they are “bumped” during the final construction or painting stages.


- 174 replies
-
- 11
-
-
- prinz eugen
- trumpeter
- (and 2 more)
-
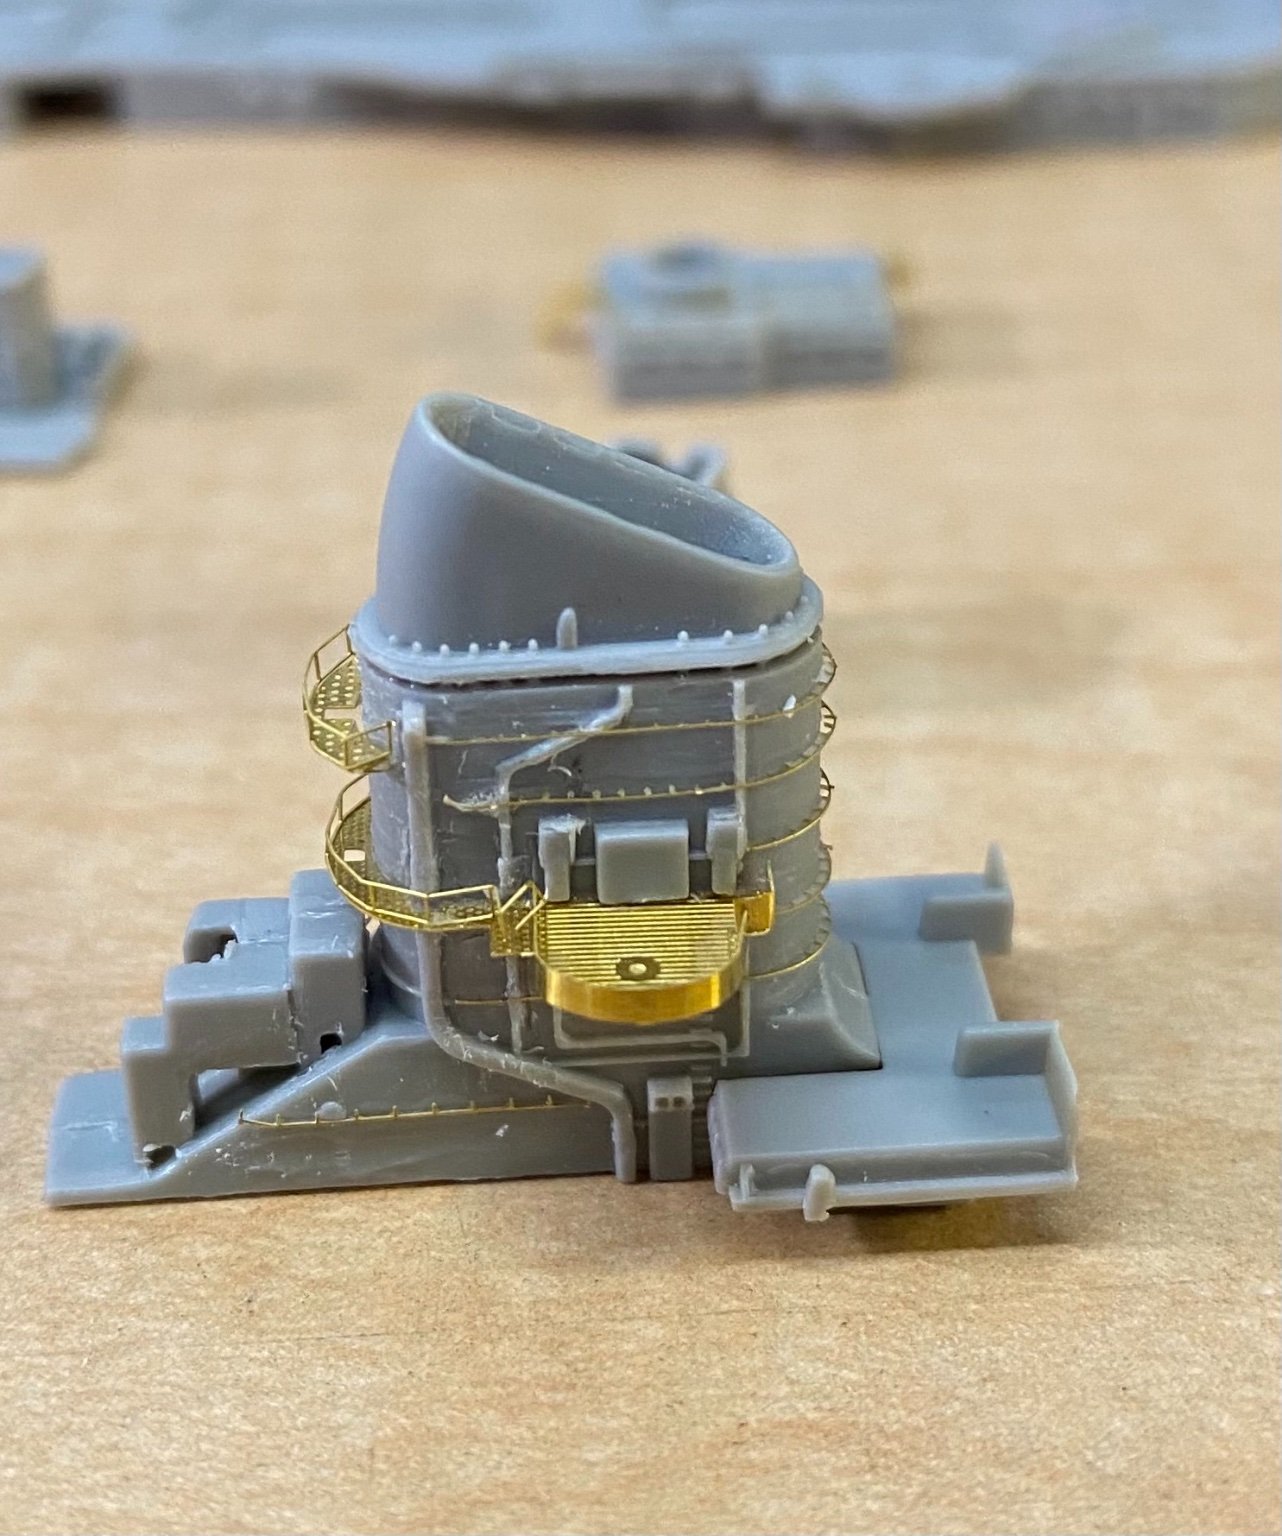
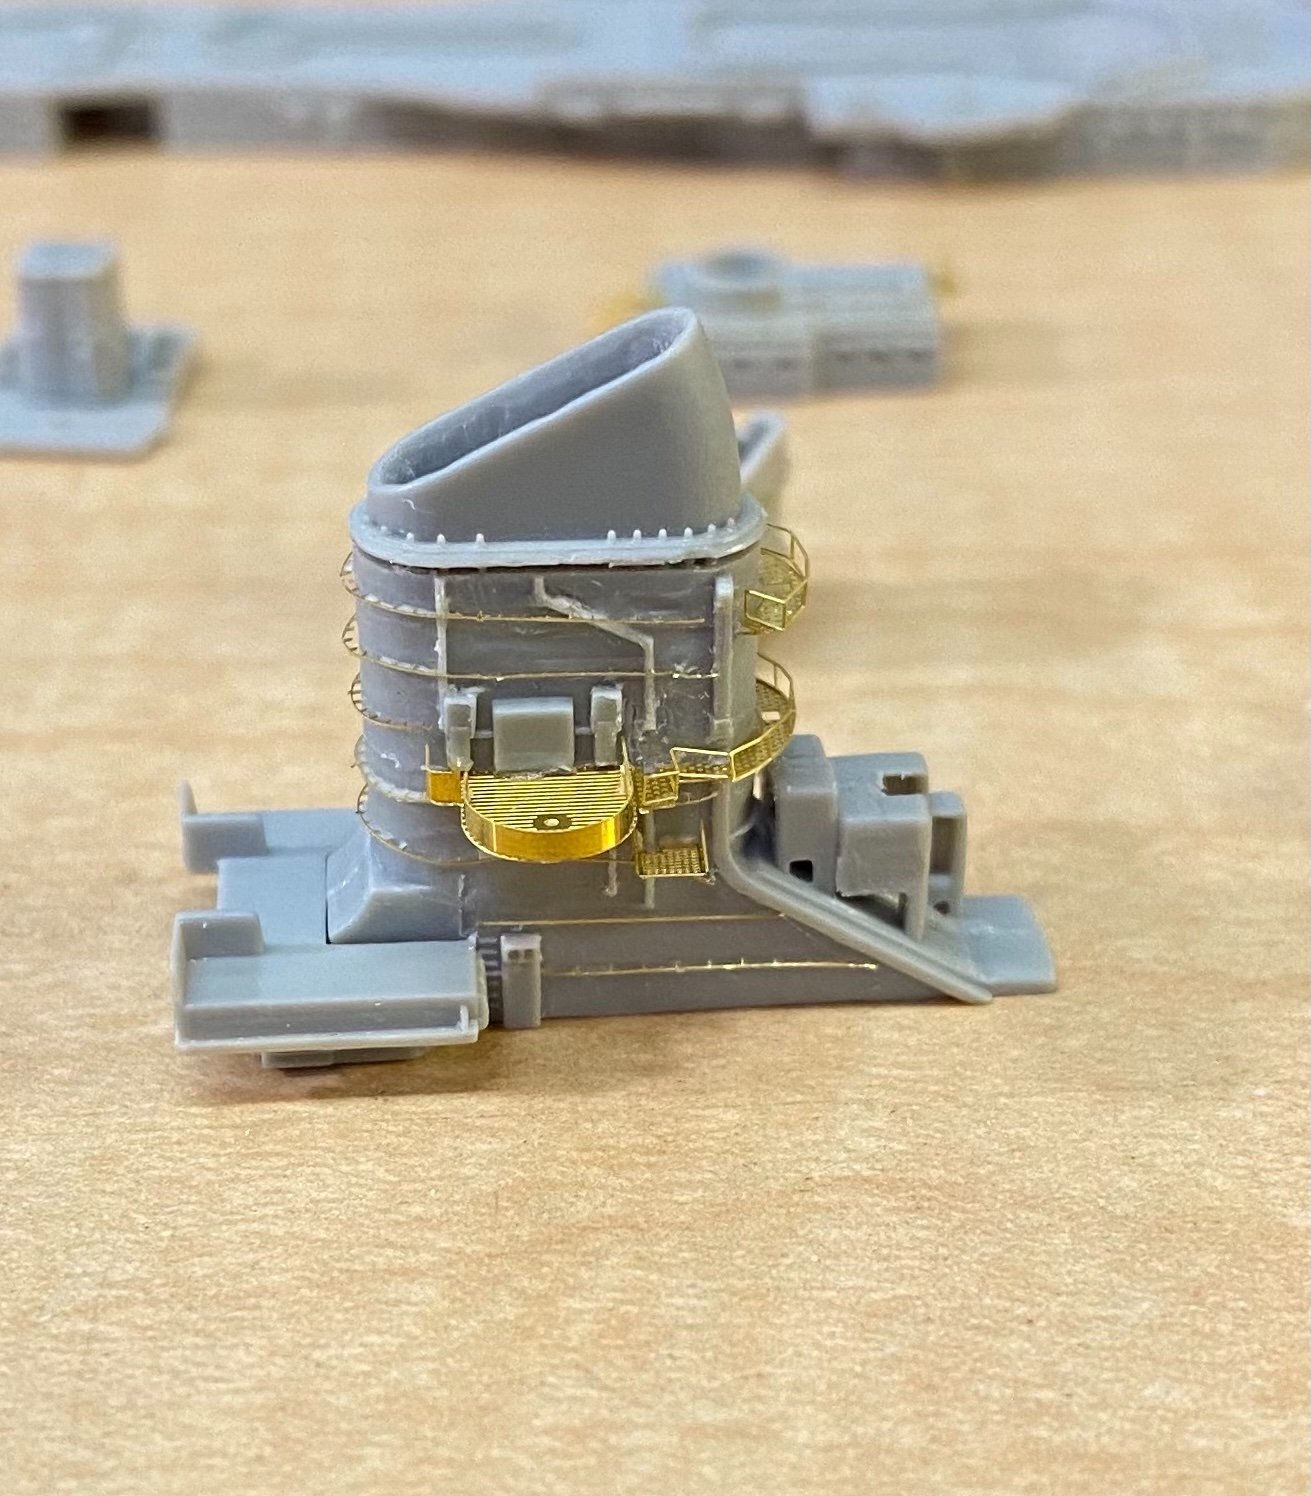
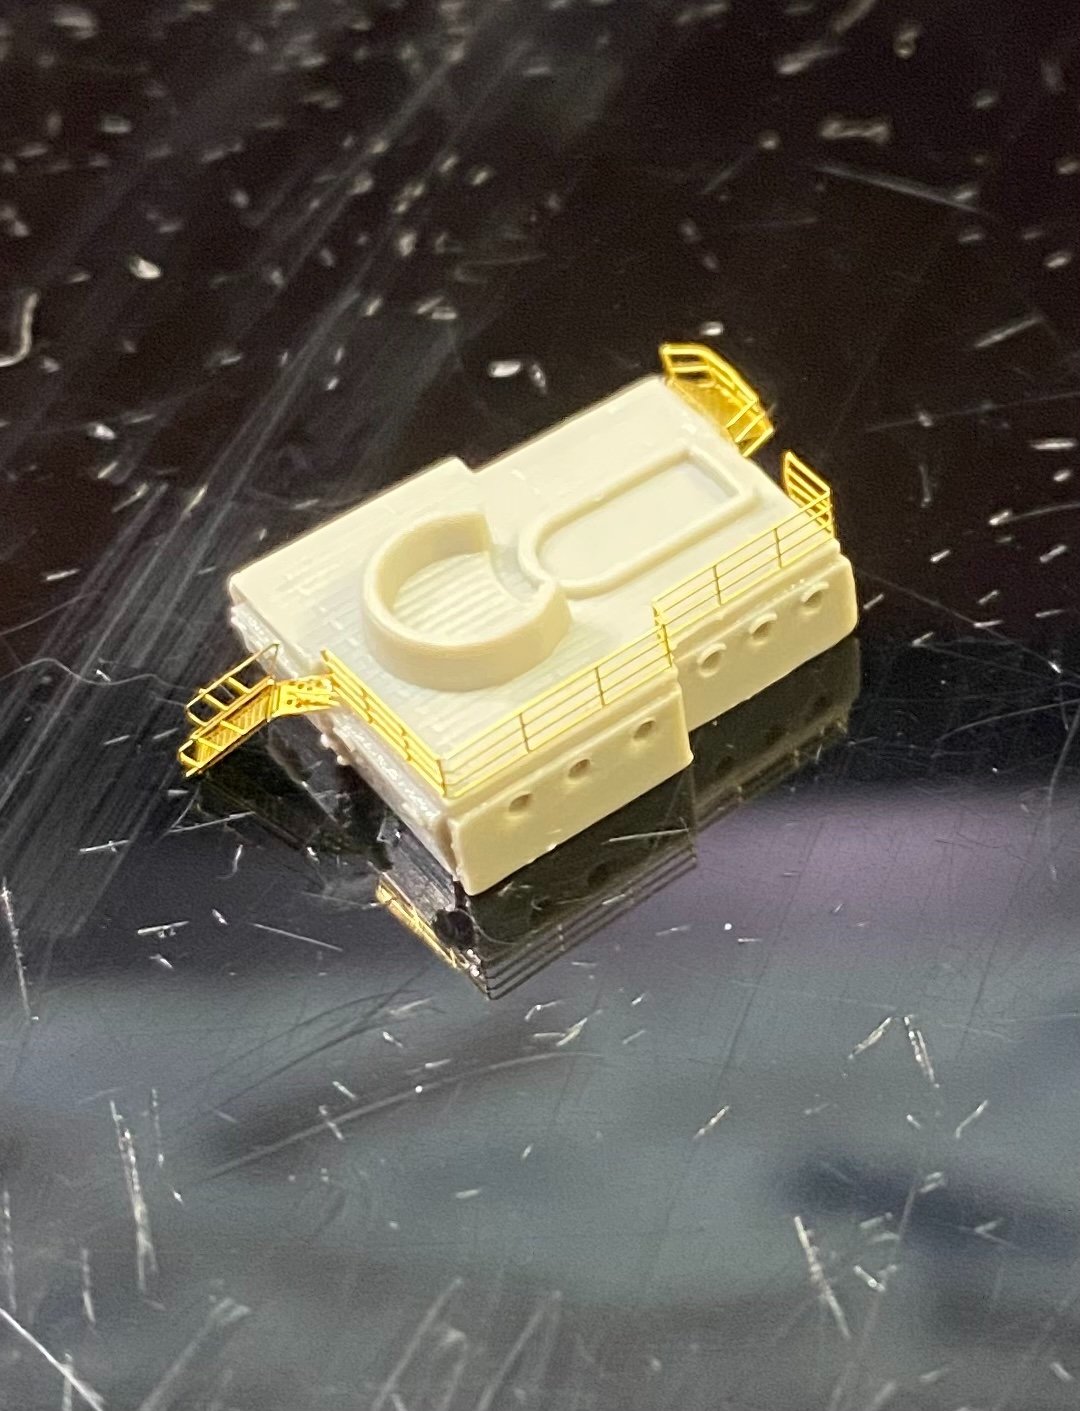
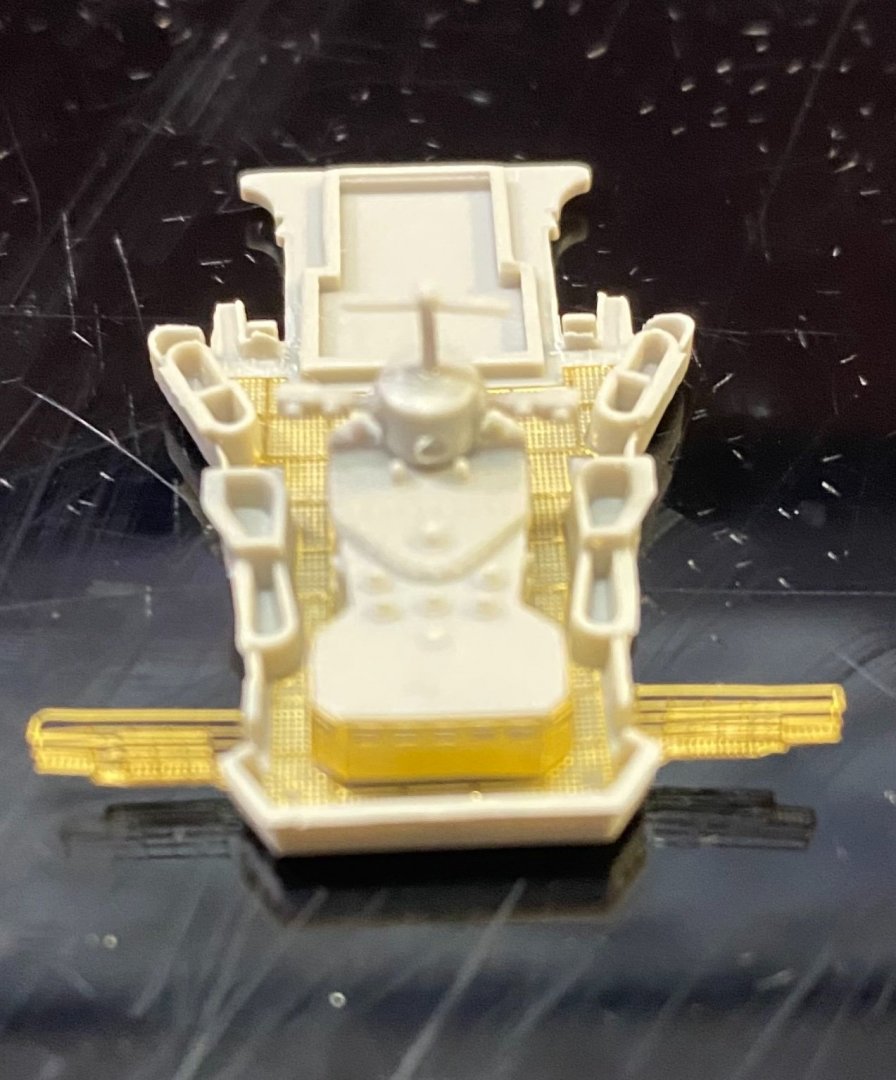
Roger The handrails are glued on without any holes drilled using acrylic adhesive.
- 174 replies
-
- 6
-
-
- prinz eugen
- trumpeter
- (and 2 more)
-
Looks great OC! Colorful uniforms and life-like
-
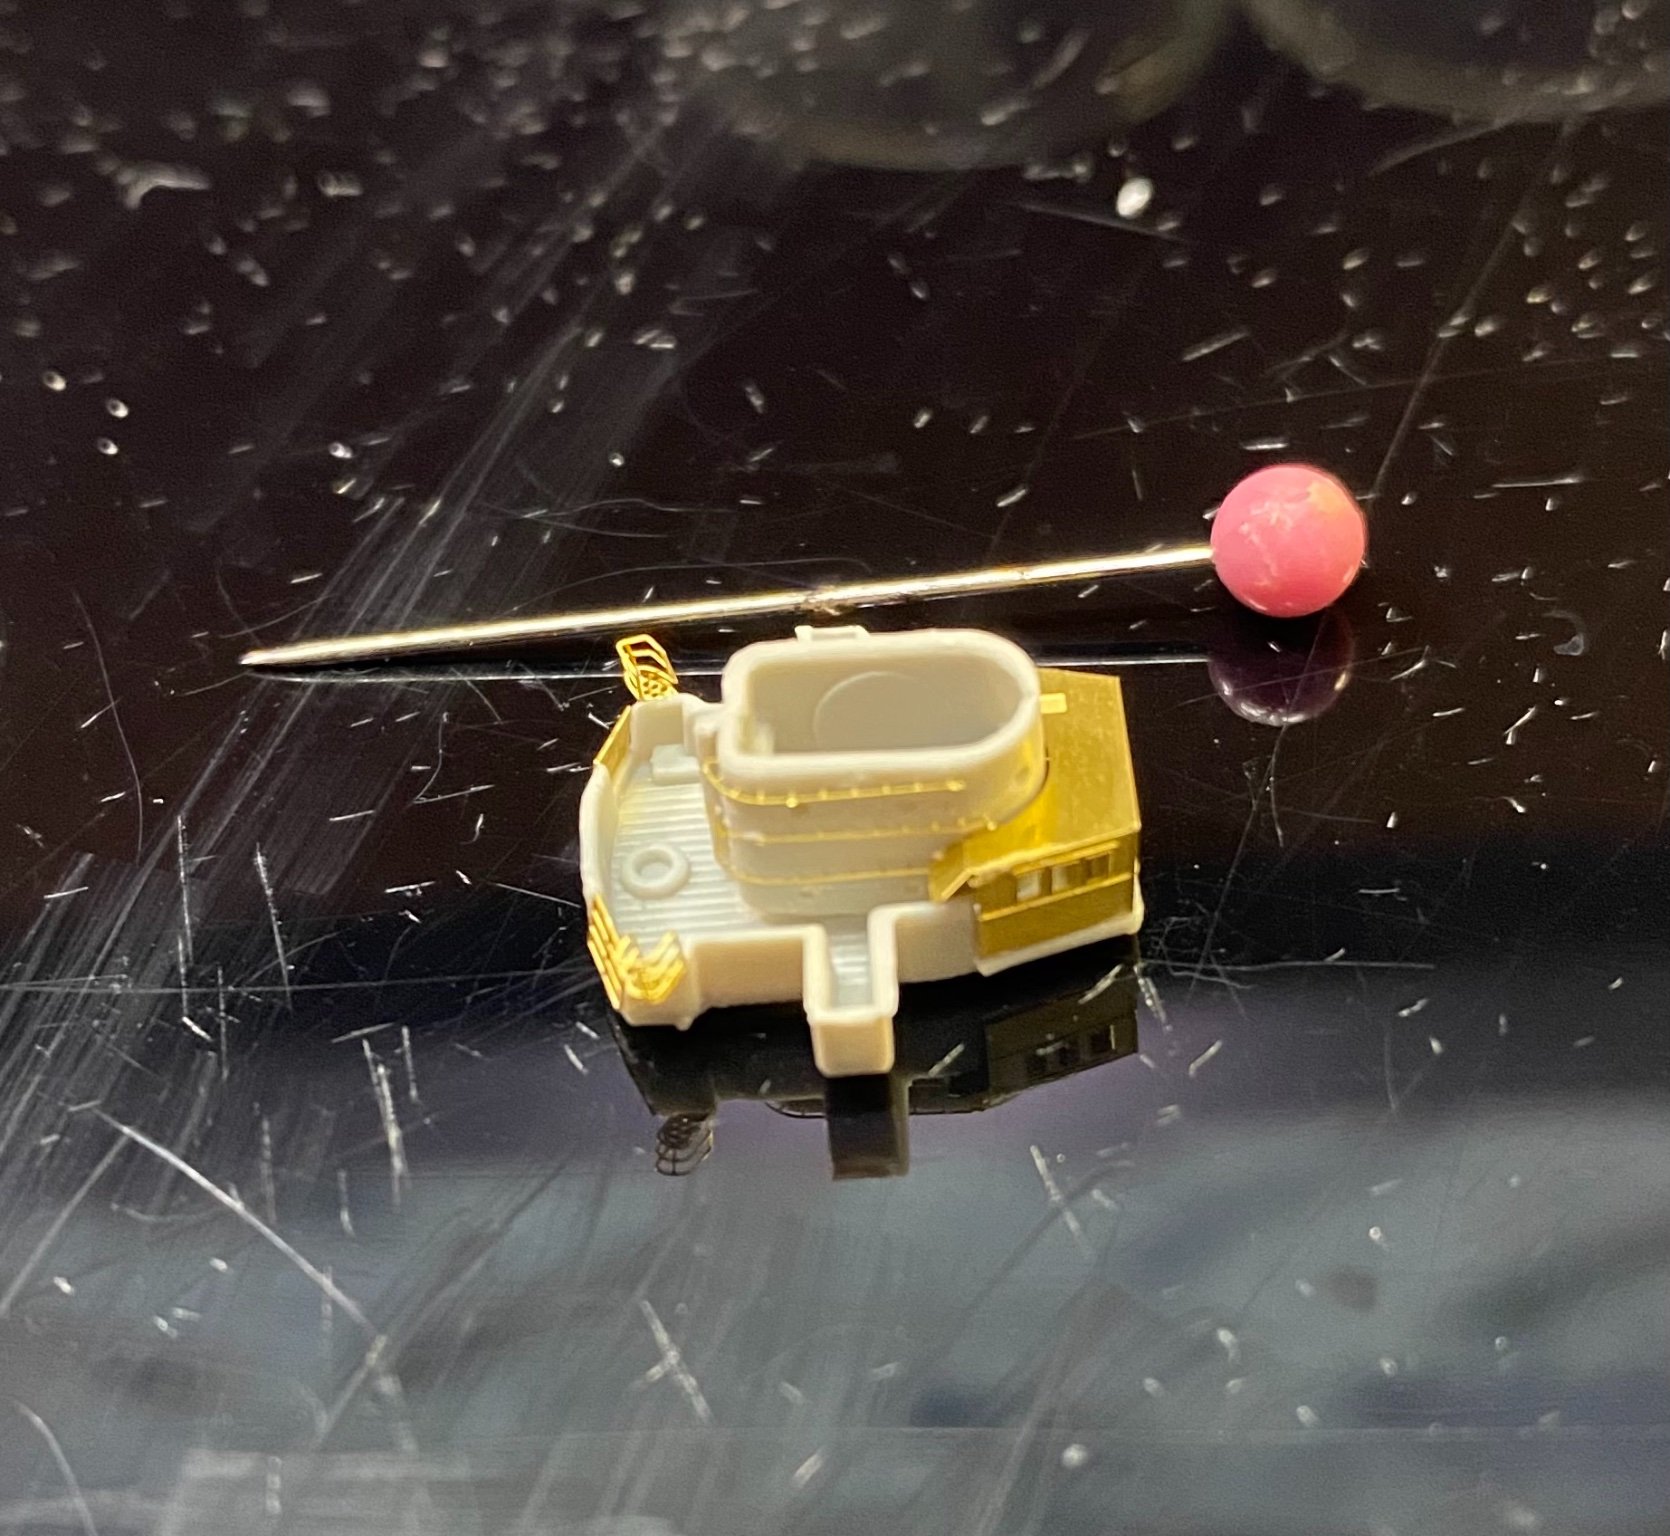
The above superstructure piece will be representative of a number of such sub assemblies where some of the parts are dry fitted while the photo etch is securely glued in place. Once all the sub assemblies are ready, they will all be dry fitted together in one big superstructure, painted, disassembled, wood deck stickers added, then glued back together for final assembly and detailing.
- 174 replies
-
- 6
-
-
- prinz eugen
- trumpeter
- (and 2 more)
-
Epoxy will work best if first there is a little "tooth" sanded or filed into the areas to be bonded. Two smooth surfaces will not bond together as well. Second, for decades I have used Sig epoxy to great success. I have tried other brands, but never found them to be as reliable or consistent as Sig. My purpose has been RC aircraft related as well as a few scale model water craft. SIG EPOXY GLUE - Sig Manufacturing (sigmfg.com)
- 460 replies
-
- 6
-
-
-
- Finished
- Flower-class
- (and 1 more)
-
That resin printer is magic. I have no understanding at all of the technology behind it, just that it's as different as night and day between it and the type of printer that produces the hull. Was it as challenging to learn? Does it use the same shape files?