CDW
-
Posts
7,755 -
Joined
-
Last visited
Content Type
Profiles
Forums
Gallery
Events
Everything posted by CDW
-

Sikorsky CH-53 by mtaylor - FINISHED - Revell - 1:48 - PLASTIC
CDW replied to mtaylor's topic in Non-ship/categorised builds
I've noticed with some Tamiya flat colors, they turn out extremely flat...too flat. They need some gloss clear mixed in as a binder to bring some gloss to it. -
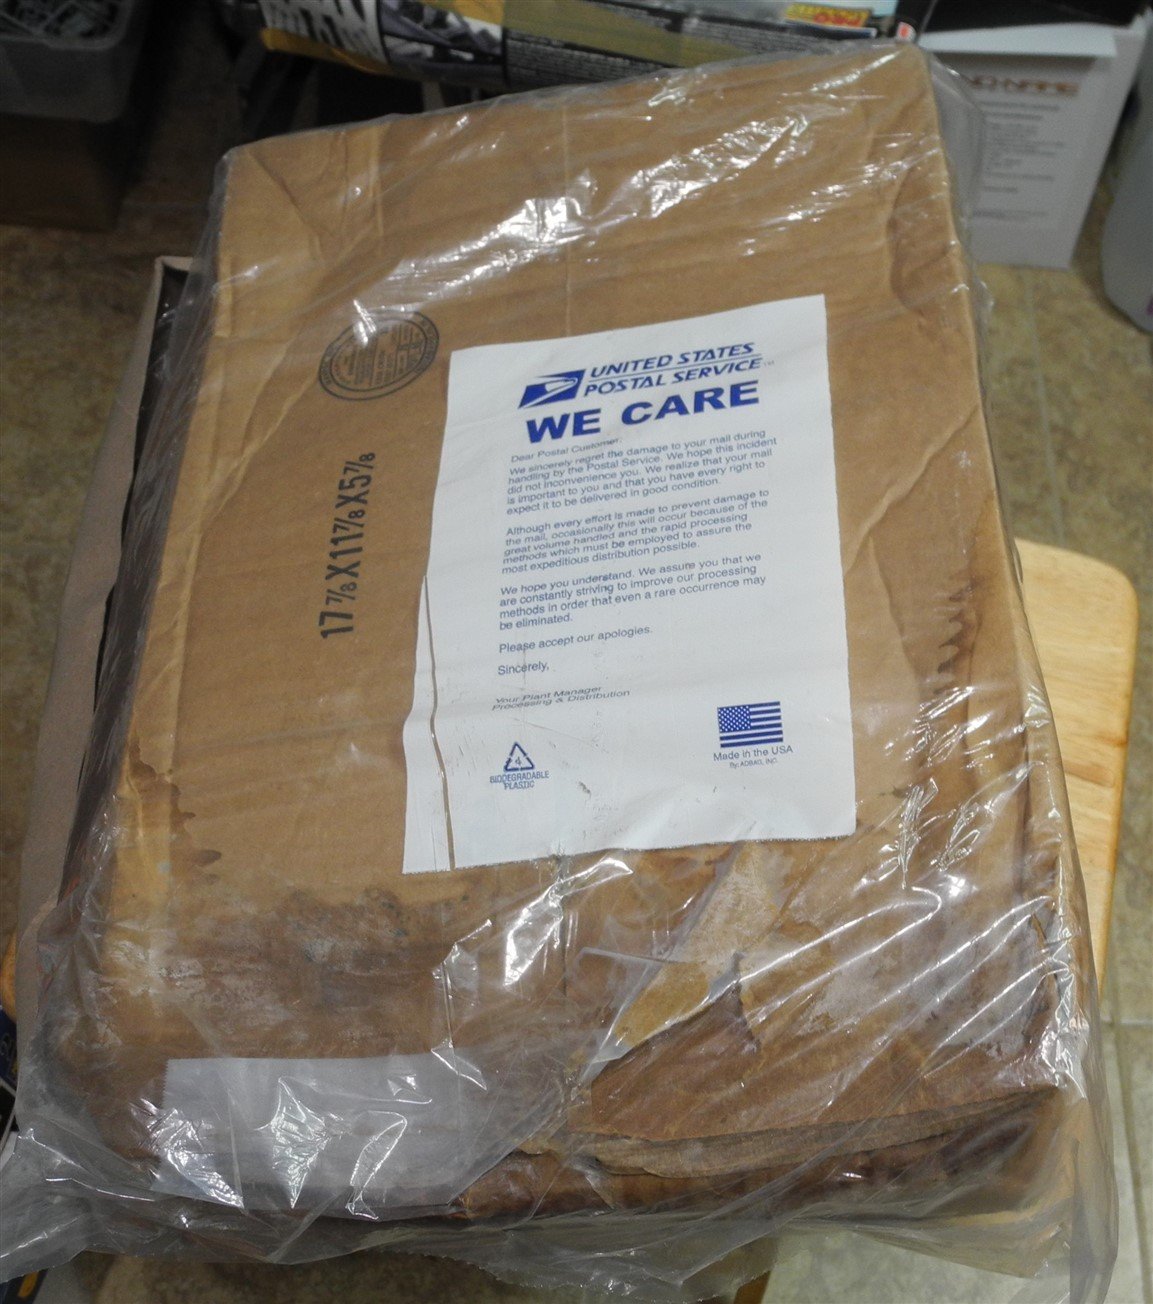
No alcohol was required to get over it. The seller and I agreed on a 50% discount. That took the sting off the damage received. He actually got a bargain because the kit would be very hard to re sell had I returned it for a full refund. That's why you always want to send packages insured to recoup potential damage, though this is the first time in many hundreds, probably well over a thousand, online purchases I have made. Maybe I've been lucky?
-
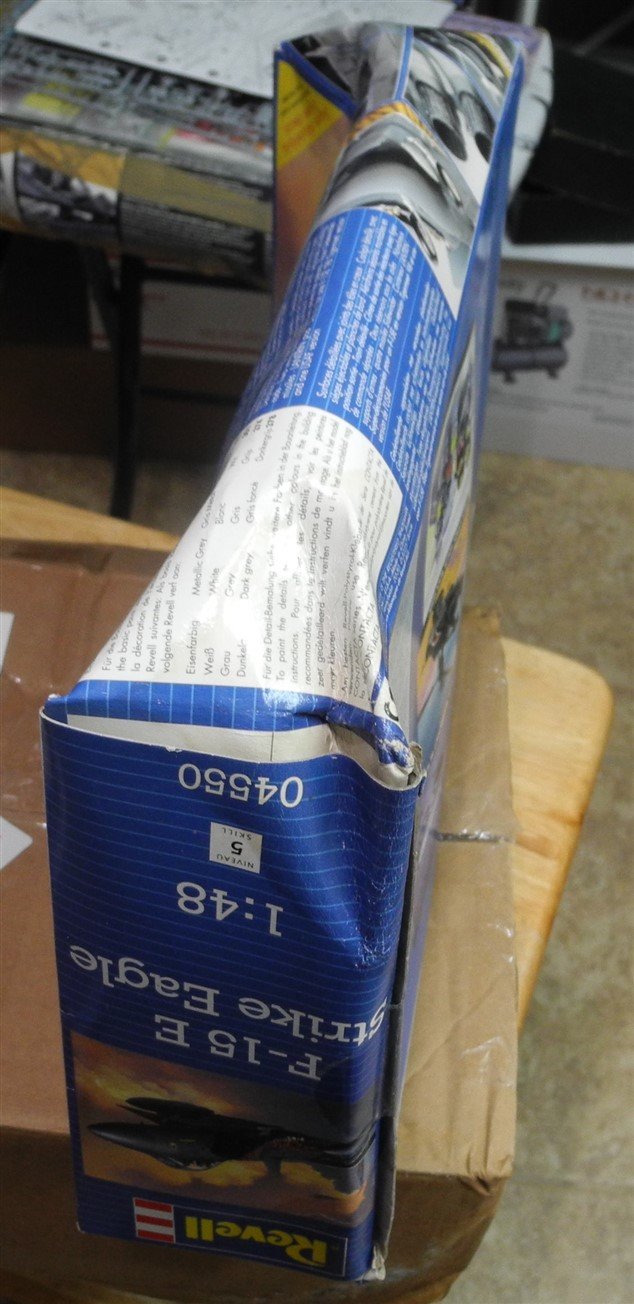
If I had to guess, they unloaded the cargo hold of a plane while it was raining and the package was placed in a partial puddle, then other boxes stacked on top of it. I wondered why the package was delayed in arrival and then I found out. They destroyed the package.
-
You betcha, and there are even more to do. To acquire a set of decals equal to the ones that came in my kit (and subsequently were ruined by heat), I had to buy another kit. Well guess what, the kit arrived to me today, damaged...and water damaged at that! I might be able to salvage the decals, but I'm not certain of it. As a consolation, the post office took the blame so the seller's insurance should cover it. He already provided a partial refund that he and I agreed upon. This was a Ebay item.


-
No, these are from two different sheets/sets. One set provides the tail codes and insignia's, another set provides all the minute data decals. Two different makers entirely.
-
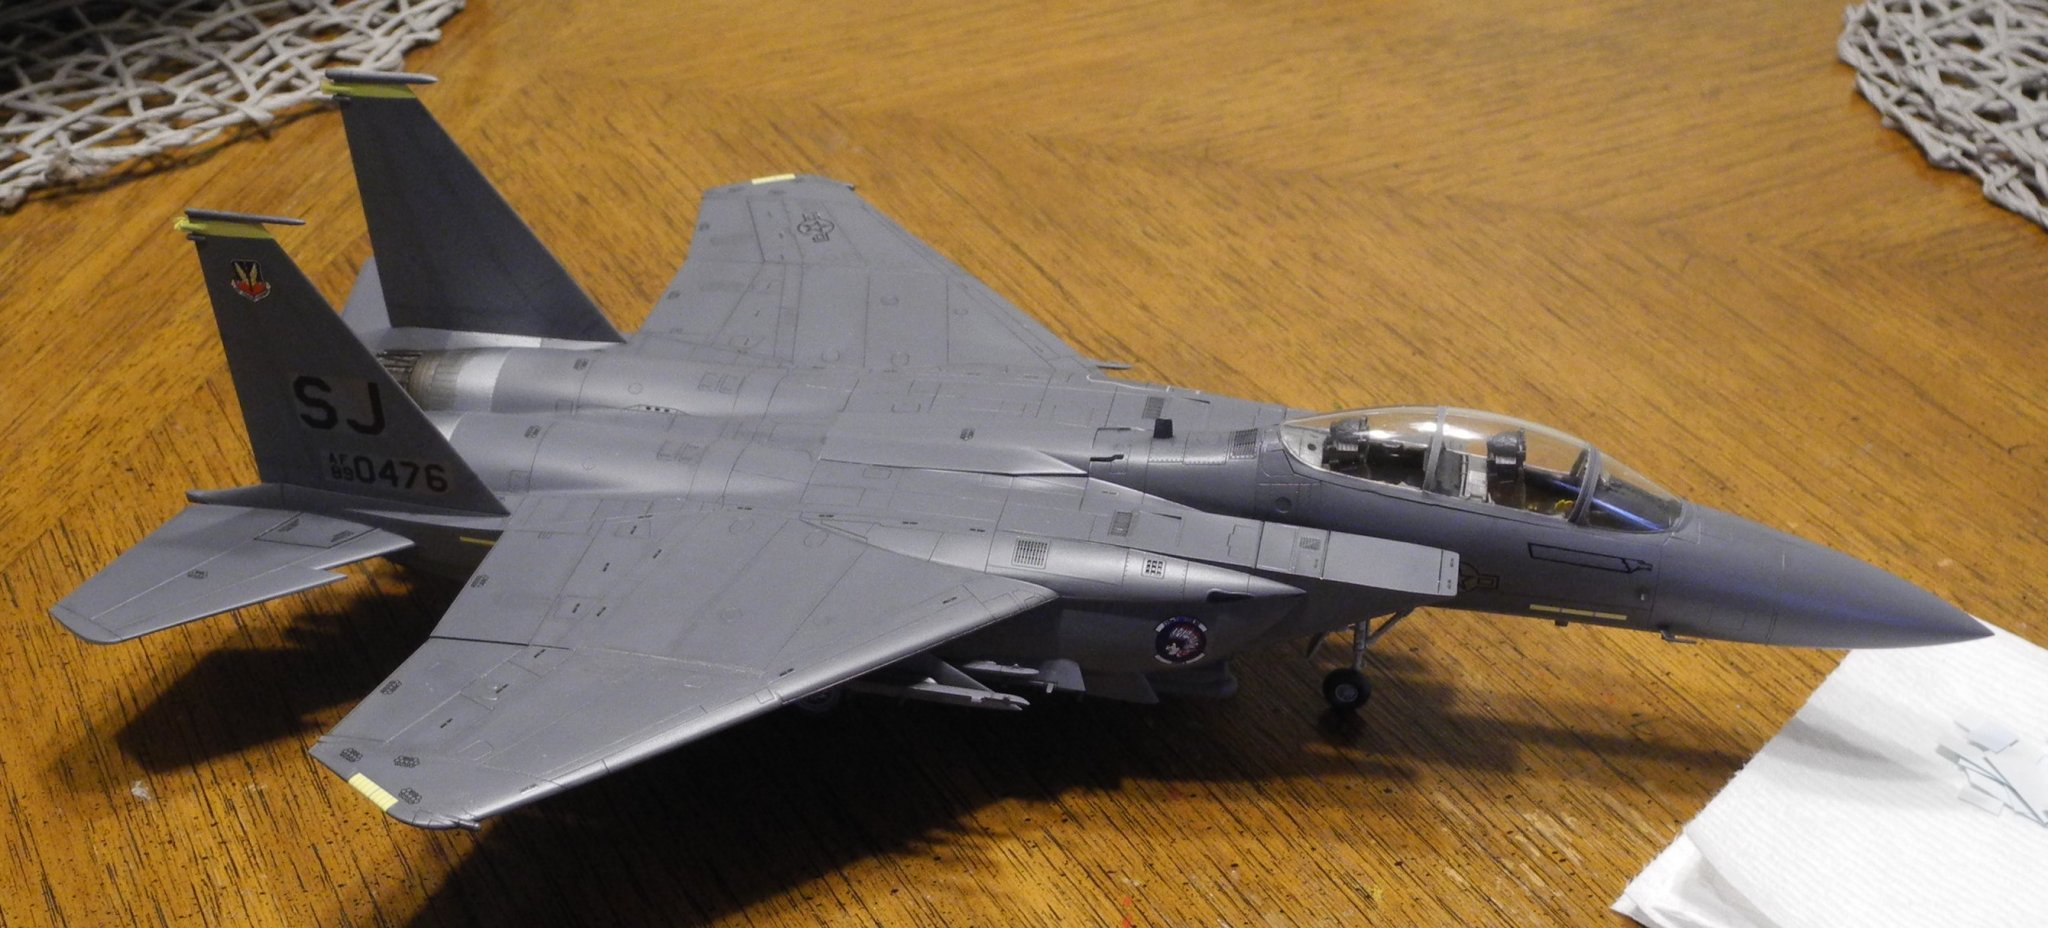
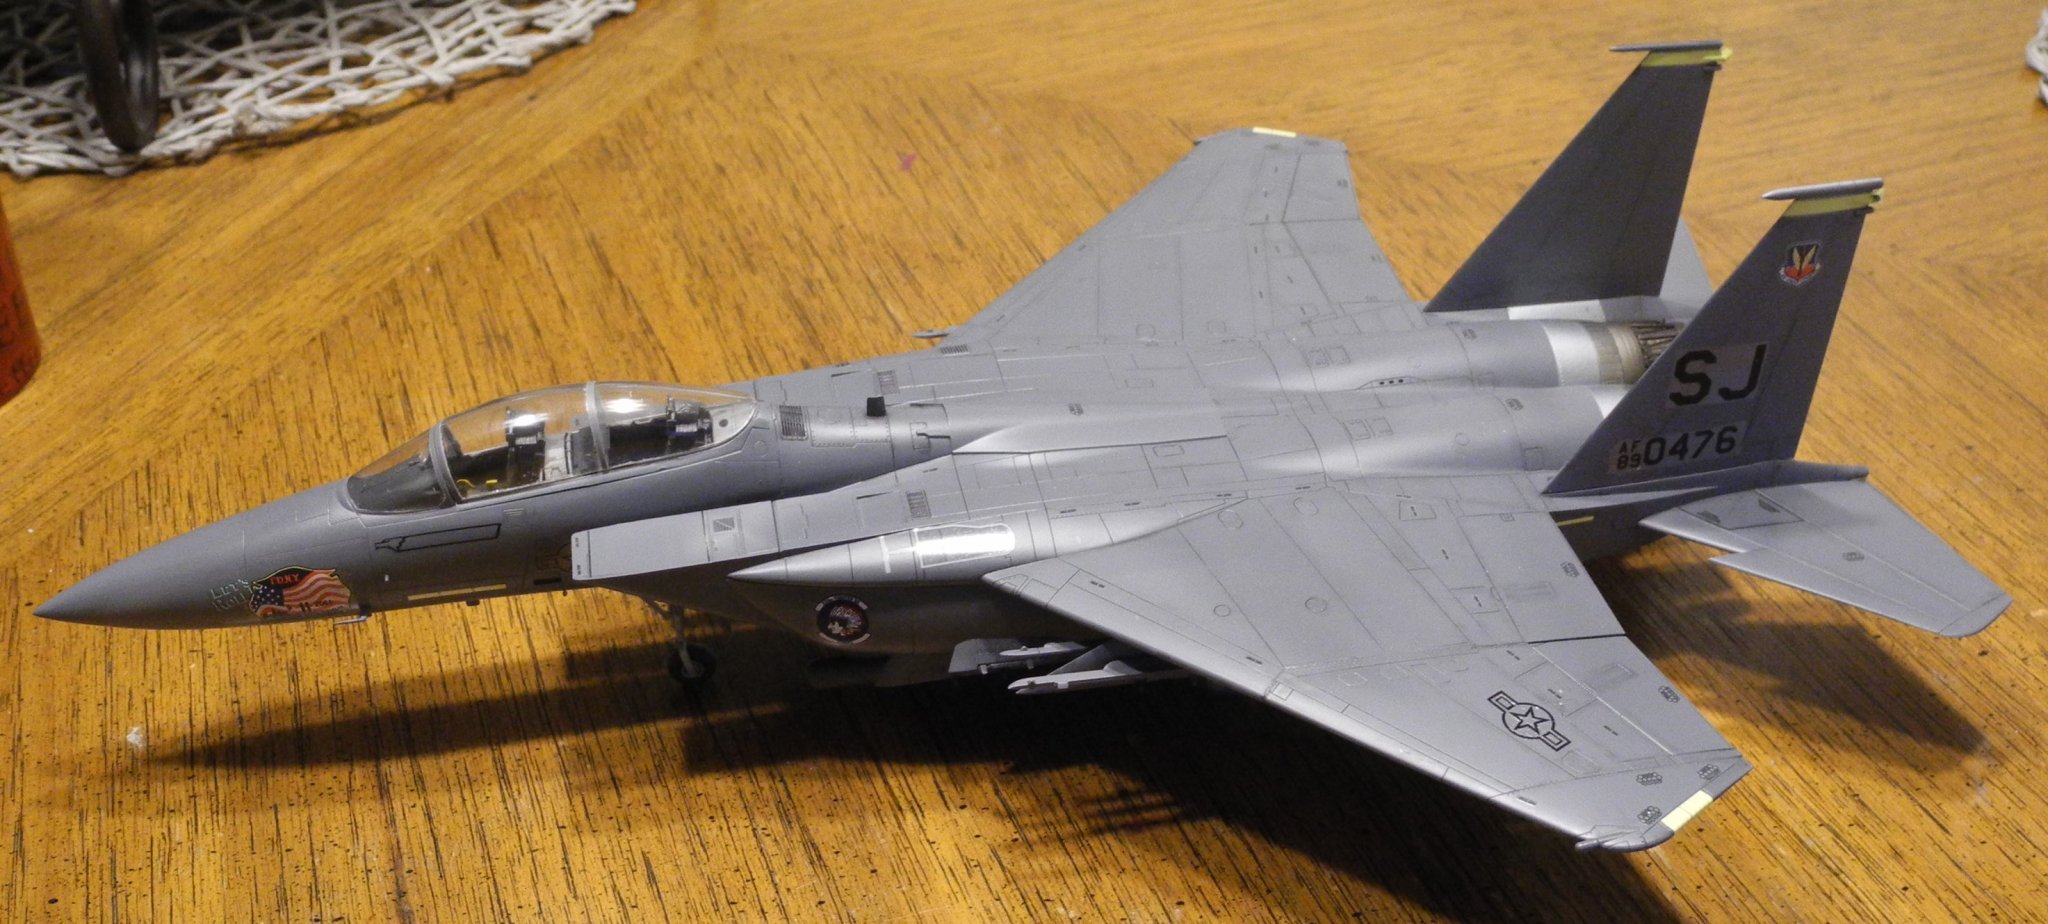
Yep, 335th Fighter Squadron, Chiefs. This particular aircraft carried the avatar "F.D.N.Y. - Let's Roll" and all F-15E aircraft of the squadron carried the "9-11-2001 Never Forget" moniker. No information on the pilot or weapons officer. The decal sheet gave the option for a number of different aircraft from the squadron.
-
Decals underway. There's a ton of small data markings, still lots to do.


-
Sikorsky CH-53 by mtaylor - FINISHED - Revell - 1:48 - PLASTIC
CDW replied to mtaylor's topic in Non-ship/categorised builds
What parts are you painting now, Mark? Interior parts all need to be painted first, that's for sure. I'm trying to remember if this kit has raised or engraved panel lines? I had this same kit many years ago, but cannot recall. I do remember it was a nice kit. -
Interesting timing. I just added my tail code markings tonight. 😎
-
Sikorsky CH-53 by mtaylor - FINISHED - Revell - 1:48 - PLASTIC
CDW replied to mtaylor's topic in Non-ship/categorised builds
The outfit I worked for had two helicopters and a couple of fixed wing aircraft. Our helicopter pilots always sat on the left, because I rode in the right seat many times. Never thought about it till you mentioned it, but you're correct, the cyclic is on the left. -
Sikorsky CH-53 by mtaylor - FINISHED - Revell - 1:48 - PLASTIC
CDW replied to mtaylor's topic in Non-ship/categorised builds
Mark If you have a Hobby Lobby store near you, I recommend the Iwata Neo airbrush as a great beginner's airbrush. It's very moderately priced at $59, and with their easy to acquire coupon, you can take 40% off that. The airbrush is easy to use, sprays a beautiful pattern for general airbrush work, and will leave you feeling pretty good about your work when it's all said and done. Of course, you would also want a decent compressor. The little aerosol cans are a bad experience imho. -
Sikorsky CH-53 by mtaylor - FINISHED - Revell - 1:48 - PLASTIC
CDW replied to mtaylor's topic in Non-ship/categorised builds
Do you have any old built models laying around and don't have any emotional attachment? Take those old models, break out your new airbrush, mix up some paint and practice, practice, practice. Experience is almost always the best teacher. -
B-25 Mitchell "Meet Miss Runyon" by Javlin-HK-1/32
CDW replied to Javlin's topic in Non-ship/categorised builds
Very nice cockpit. The seats look exceptional as does the instrument panel. This is where a photo etch set really shines. -
Sikorsky CH-53 by mtaylor - FINISHED - Revell - 1:48 - PLASTIC
CDW replied to mtaylor's topic in Non-ship/categorised builds
Besides being great paint and a huge selection of colors, the bottles were 2 or 3 times the size of competitors and not much difference in price. All the way around, Floquil was great paint. -
Bell UH-1H Huey By lmagna - Dragon - 1/35 - PLASTIC
CDW replied to lmagna's topic in Non-ship/categorised builds
Battle of laDrang Valley - November 1965 You're a 19 year old kid. You are critically wounded and dying in the jungle somewhere in the Central Highlands of Viet Nam . Its November 14, 1965 . LZ (landing zone) X-ray. Your unit is outnumbered 8-1 and the enemy fire is so intense from 100 yards away, that your CO (commanding officer) has ordered the MedEvac helicopters to stop coming in. You're lying there, listening to the enemy machine guns and you know you're not getting out. Your family is half way around the world, 12,000 miles away, and you'll never see them again. As the world starts to fade in and out, you know this is the day. Then - over the machine gun noise - you faintly hear that sound of a helicopter. You look up to see a Huey coming in. But.. It doesn't seem real because no MedEvac markings are on it. Captain Ed Freeman is coming in for you. He's not MedEvac so it's not his job, but he heard the radio call and decided he's flying his Huey down into the machine gun fire anyway. Even after the MedEvacs were ordered not to come. He's coming anyway. And he drops it in and sits there in the machine gun fire, as they load 3 of you at a time on board. Then he flies you up and out through the gunfire to the doctors and nurses and safety. And, he kept coming back!! 13 more times!! Until all the wounded were out. No one knew until the mission was over that the Captain had been hit 4 times in the legs and left arm. He took 29 of you and your buddies out that day. Some would not have made it without the Captain and his Huey. Medal of Honor Recipient, Captain Ed Freeman, United States Army.- 479 replies
-
- 11
-

-
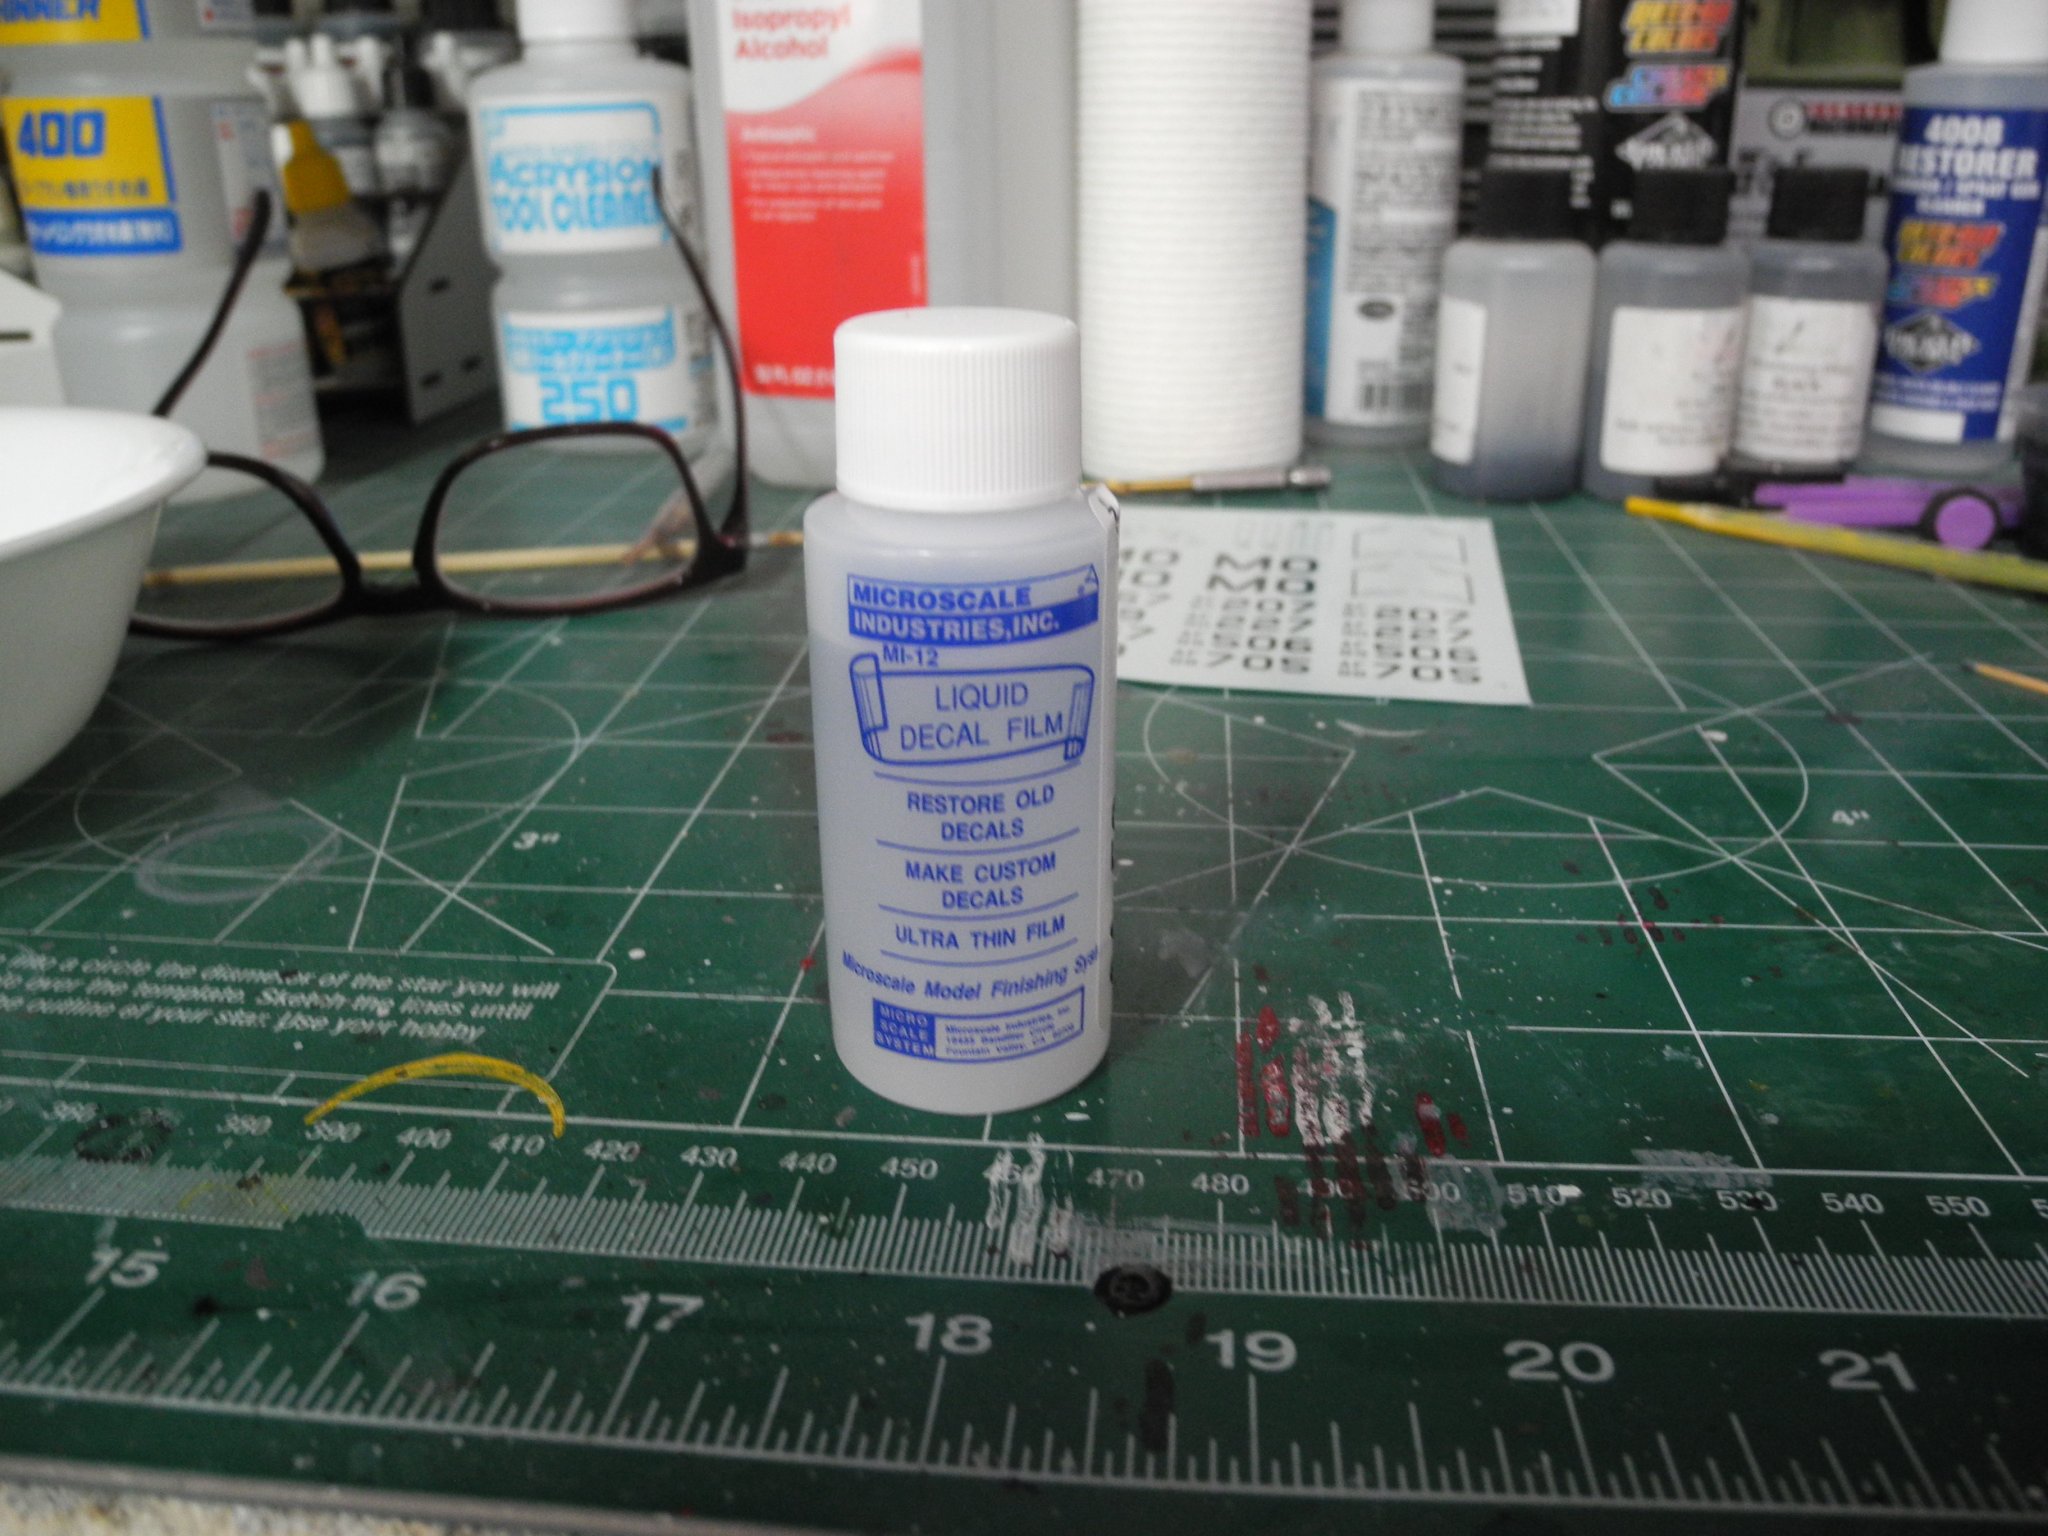
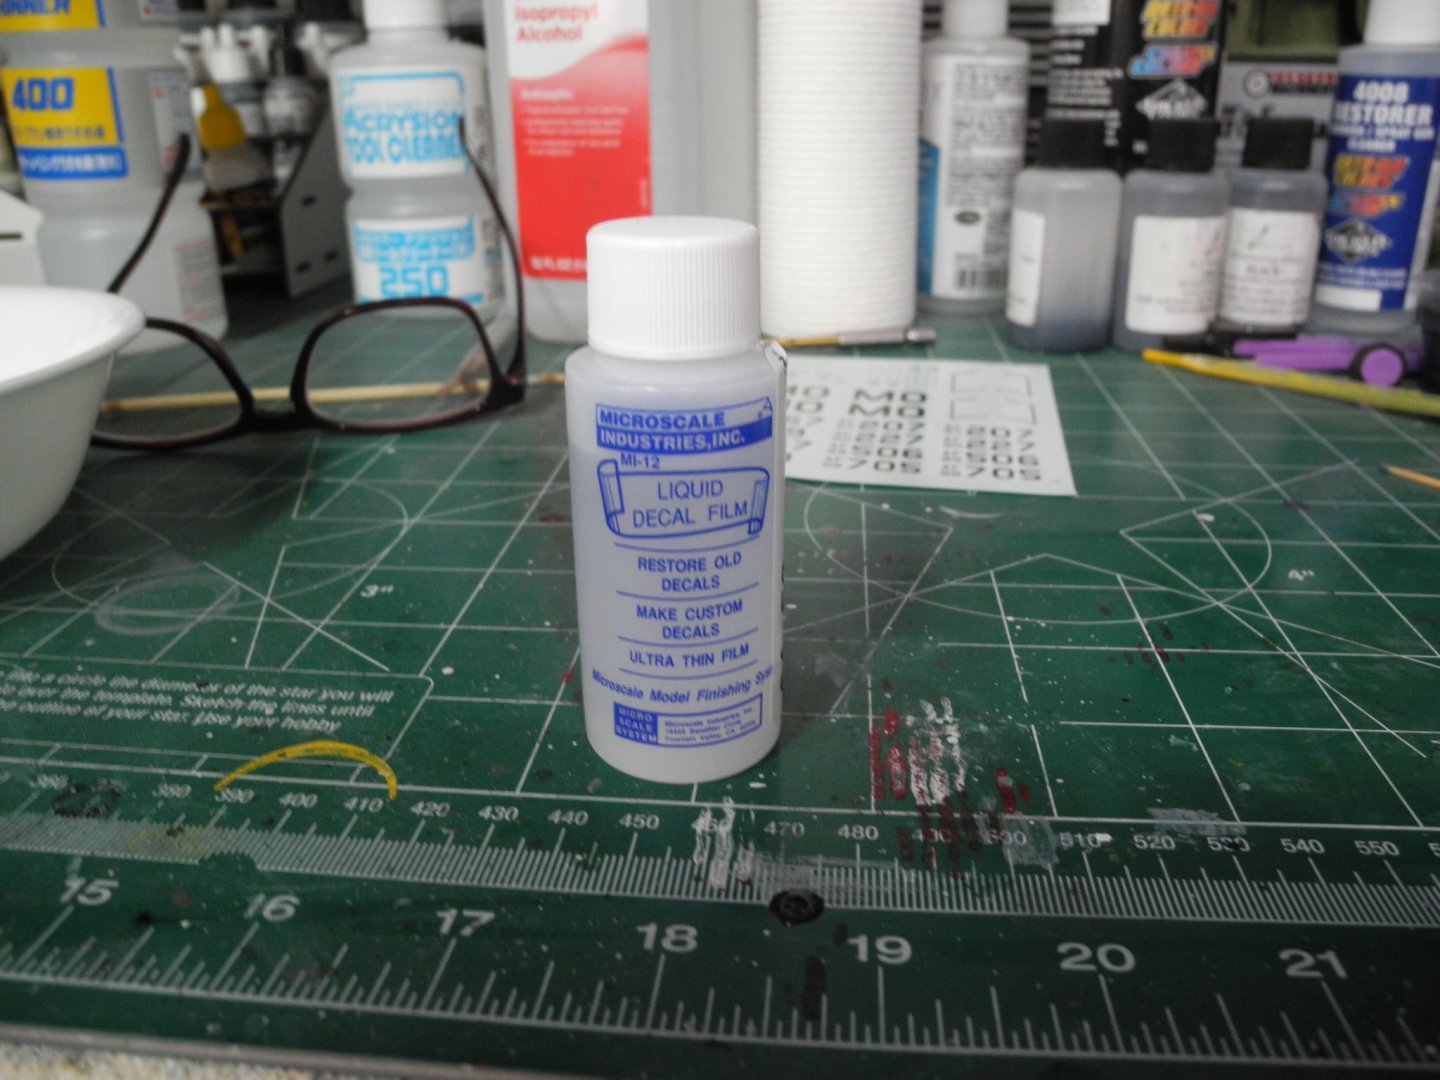
For me, the verdict is in on the Liquid Decal Film and restoration of my heat/humidity damaged decals. It does not work. Yes, the dried liquid decal film allowed me to remove the decal from the backing paper without it falling apart, but the heat and humidity destroys (apparently) the glue that's between the decal film and backing paper and it does not fix that. The decal will not adhere to the model, as it wants to curl up at the edges as the decal dries. The product would probably help for mildly damaged decals, but when they are as far gone as mine, it just didn't work. Yes, those are my drug store readers in the background. Like you, I'm still deadly with my rifle/s with iron sights. My distance vision is as good as it ever was. I prefer iron sights, they are so much easier/faster to acquire a target. I stay in practice.
-
Sikorsky CH-53 by mtaylor - FINISHED - Revell - 1:48 - PLASTIC
CDW replied to mtaylor's topic in Non-ship/categorised builds
All the old masters used oils. Shepherd Paine comes to mind. Remember all the diorama photos in the Monogram kits showing Shep's work? I promise his photos helped sell a ton of Monogram kits. -
A few days ago when I last worked on the decals for this model, I managed to spill the entire bottle of Microsol decal solvent in my lap. Today, I went to my local hobby shop to buy a replacement bottle of Microsol and found another product made by the same manufacturer called: . I thought it was worth the cost (less than $5) to buy a bottle to try and restore the old, dried out decals that left me stranded with this build. The decal sheets have been given a coat of the product and I will be testing out the decal sheets with the application very soon after the solution has had ample time to dry. Will post my results...keeping my fingers crossed.
-
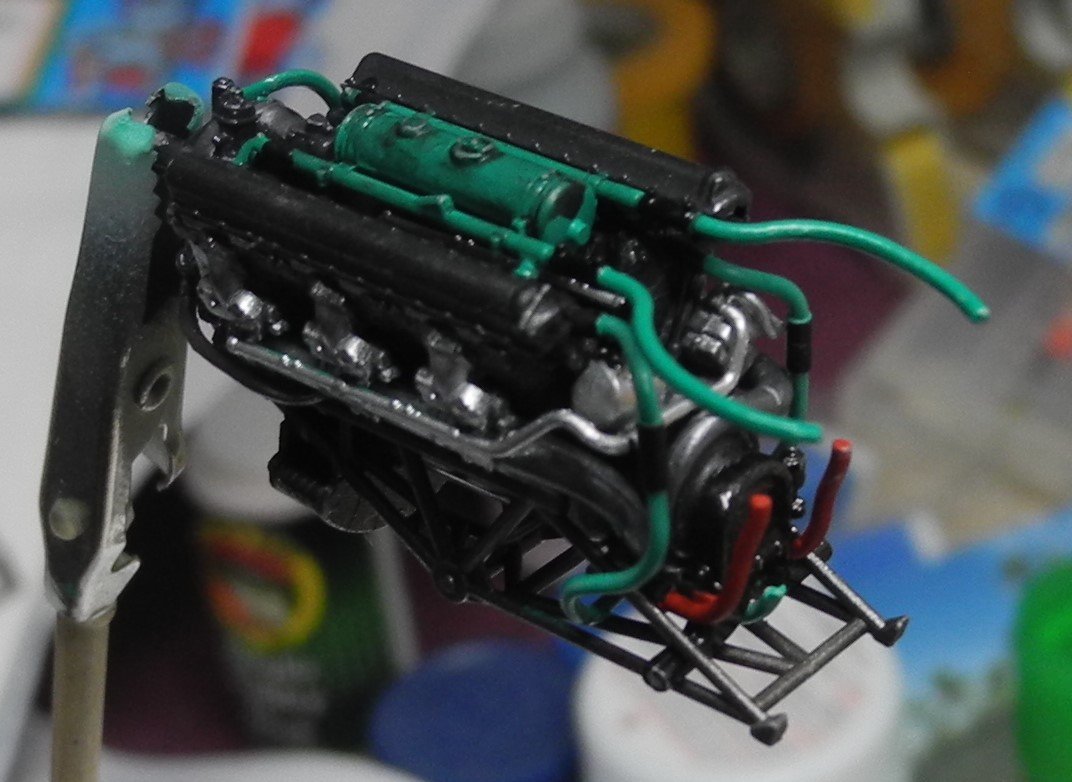
Thanks for the nice comments gentlemen. I am enjoying the construction of this model. Everything fits extremely well. Zvezda knocked this one out of the park in terms of engineering and quality. It's on a par with Wingnut Wings WW1 kits.
-
Bell UH-1H Huey By lmagna - Dragon - 1/35 - PLASTIC
CDW replied to lmagna's topic in Non-ship/categorised builds
Jack of Diamonds is a messenger who brings important news. Ace of Spades is the symbol of death. Combination of the two cards is obvious... -
Bell UH-1H Huey By lmagna - Dragon - 1/35 - PLASTIC
CDW replied to lmagna's topic in Non-ship/categorised builds
With that photo, you should be able to crop out the cards and print them on white decal paper. A piece of cake. -
Yves You're doing a marvelous job on the Discovery. The kit itself far exceeds my expectations of what was inside. A very interesting model to say the least.
-
Bell UH-1H Huey By lmagna - Dragon - 1/35 - PLASTIC
CDW replied to lmagna's topic in Non-ship/categorised builds
Back then? It still does, right? It's the death card. Your time is up. -
Bell UH-1H Huey By lmagna - Dragon - 1/35 - PLASTIC
CDW replied to lmagna's topic in Non-ship/categorised builds
I looked it up and what I recalled was an ace of spades on a Marine Huey, Monogram 1:48 scale.