CDW
-
Posts
7,755 -
Joined
-
Last visited
Content Type
Profiles
Forums
Gallery
Events
Everything posted by CDW
-
 Thanks, Ken. I am hooked on big biplane models. They fly so nice, slow, and aerobatic. They have a certain appeal unmatched by more modern aircraft. I suppose a lot of that has to do with watching biplanes work the fields crop dusting when I was a kid. Man, that was exciting to watch back then and stirred the imagination so much.
 -
Great old Revell trawler you've got going here, Richmond. This one brings back lots of memories from long ago, she was originally boxed and sold as a 'Russian Spy Trawler' back during the cold war era. Looking forward to how you finish this. Everything you've done to now looks super.
- 7 replies
-
- 5
-

-
- northsea fishing trawler
- revell
- (and 1 more)
-
Thanks Slog. I've been spending time watching experts reveal their painting techniques on Youtube videos and that's what I'm using here. Knowledge passed on by others. In this age of computers and internet, it's almost like the sky is the limit for instruction we could only dream of some years ago.
-
Thanks OC. I started building these flying models when I was 9 or 10 years of age. I learned by reading hobby magazines, periodicals, and trial & error as no one in my family, particularly my father, was a builder. My first flying model was a Stuka built as a glow powered free flight model. It flew great, but I didn't understand how critical it was to time the amount of fuel the engine had remaining so as to limit the actual powered flight time. My model climbed, circled to the left and then dived down, repeated this cycle several times all while under power. Each cycle, the model came closer to the ground until finally, the wing tip caught the top of the grass then the thing cart wheeled and ripped the wings of it. I cleaned it up, rebuilt it, and kept it hanging on my wall as a reminder of the mistake I made with my first flying model. Had I carefully timed the amount of fuel remaining in the engine prior to launching it, so that the model only flew in a powered state for 15 seconds or so, it would have climbed while circling to the left, the engine would have shut down, then it would have glided gently to the right in a slow circle and landed. That was the intended path for a FF model to take. As a 9 year old, who knew? I did after the disaster. 😵
-
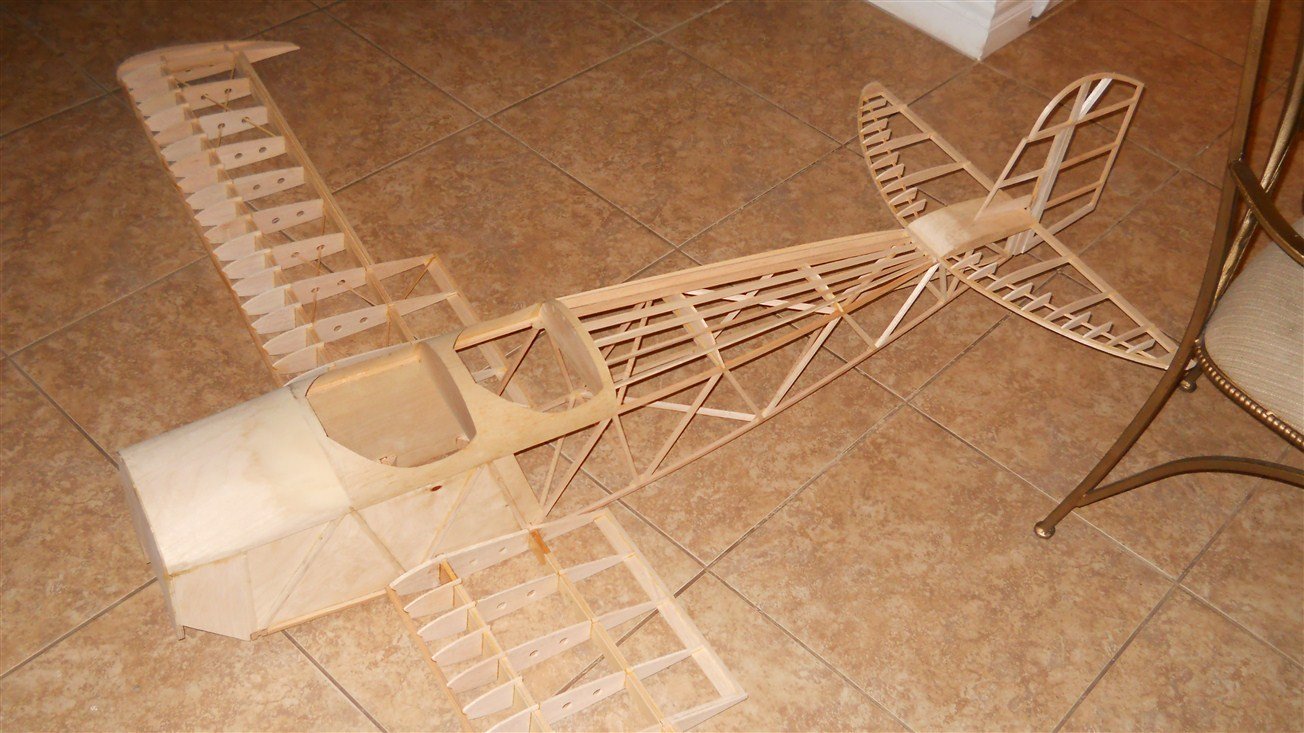
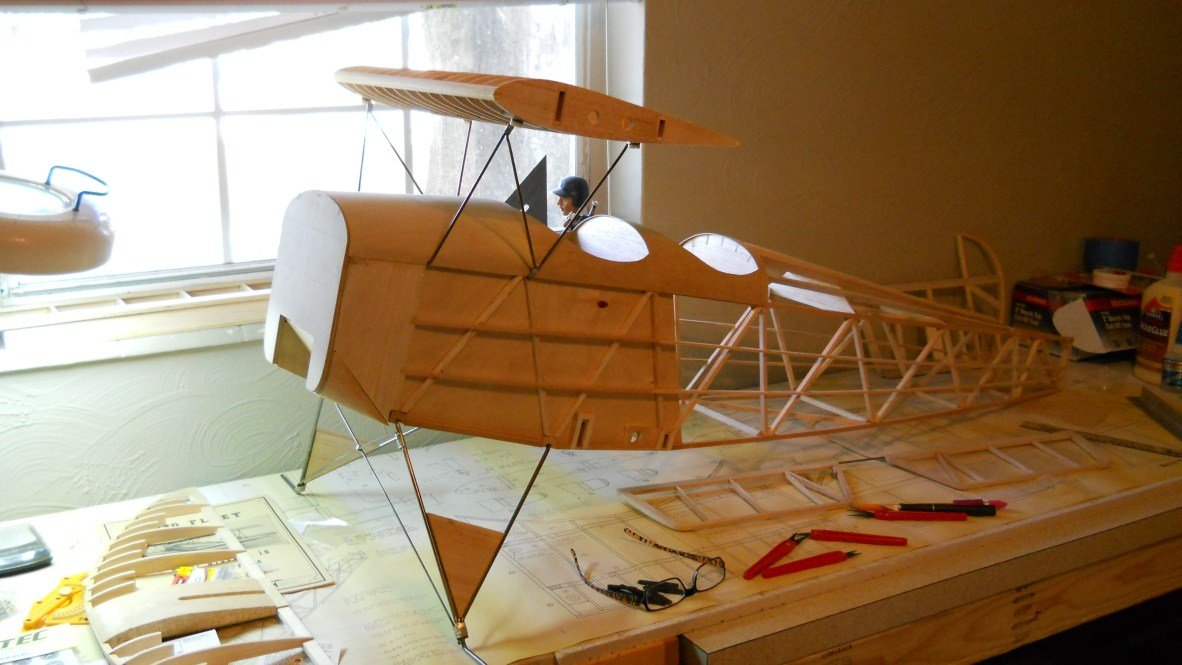
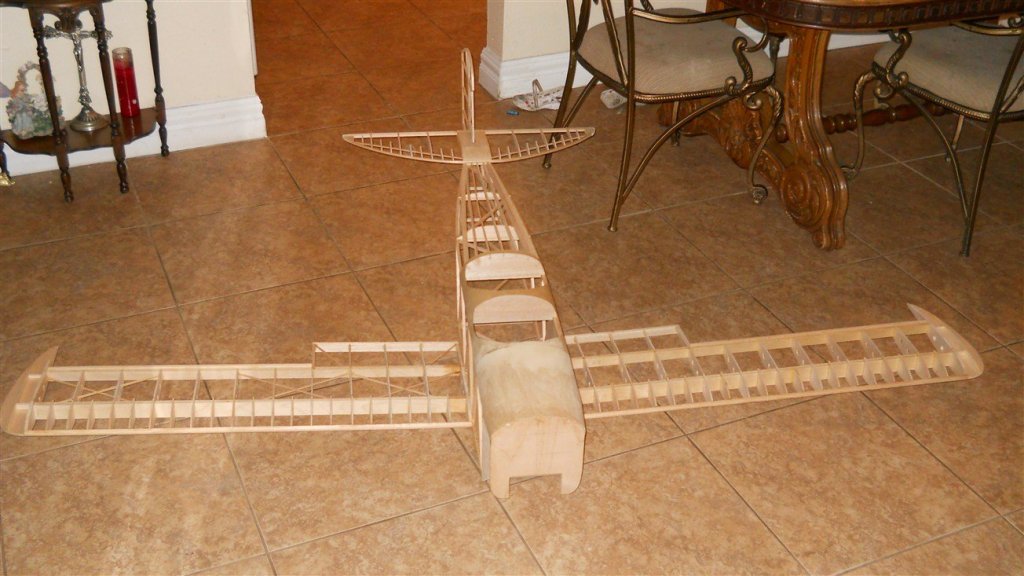
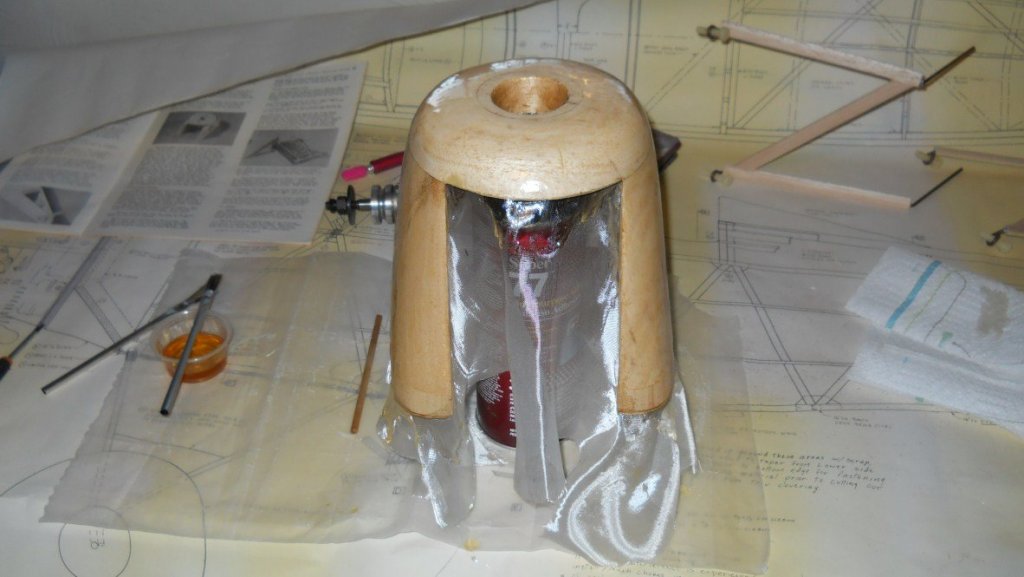
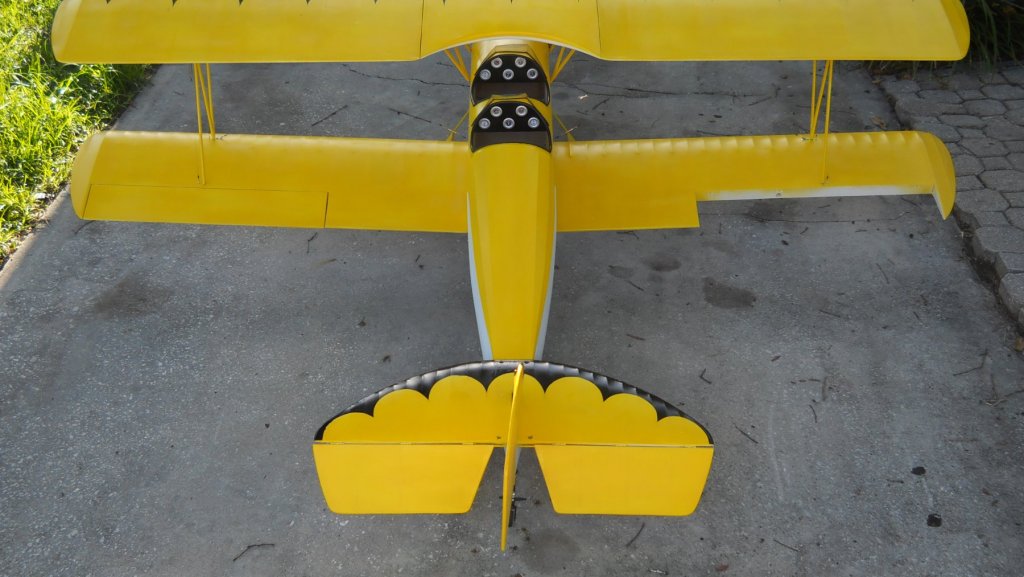
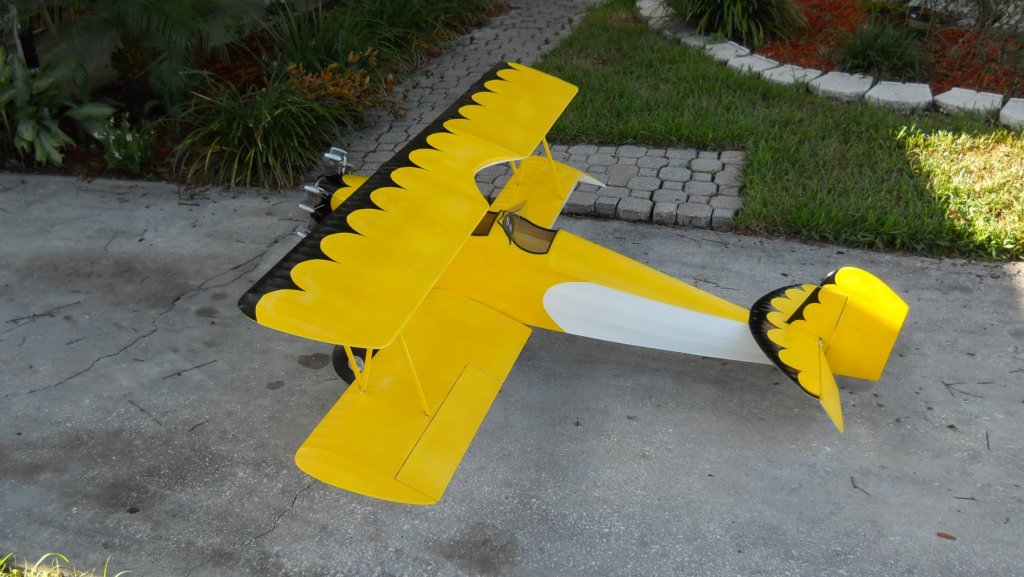
This is one of the last flying models I built before I rekindled my interest in plastic models. This is a 1/4 scale Fleet Biplane. The Fleet was a trainer purchased by the US Army Air Corps in the years prior to WW2. This particular model has a wingspan of 8 feet and is powered by a 1.8 cubic inch single cylinder four-stroke cycle engine that has been converted (by me) from glow plug to an electronic spark ignition system. It currently resides hanging from the rafters in my garage along with a number of other flying models. It is covered to protect it from the elements of dust and insects.


-
Yes, but you totally get what you pay for with them. There are no let-downs. Besides plastic models, I am a long time scratch builder of flying model aircraft. Even when building from scratch, I will often spend more than the WnW kit prices to build and finish a WW1 airframe from balsa, plywood, spruce, basswood, tissue, and dope. So relatively speaking, their products are a bargain for the sale prices they are offering now.
-
Thanks Jack. I'll order some of those and give them a try.
-
Admiralty model query
CDW replied to iMack's topic in Building, Framing, Planking and plating a ships hull and deck
Until reading this explanation, I had no idea my early (decades ago) career in land and construction surveying had so much in common with ship modeling terminology. Almost everything you said here about ship modeling/terminology mirror the principles, practice, and terminology of land surveying. 🙂 -
The dental cost situation seems universally bad. People in the USA take South American holidays just to get their dental work done. They can actually come out ahead by spending the money to vacation in South America at a resort and get their dental work done there at the same time. I spent well over $12,000 cash for dental work that was a total rip off. I trusted the dentist and got screwed, had to get extractions anyway in just a few years after the expensive "fix".
-
Slog Your decal work looks great. I've had good and bad experiences with Micro Sol, but it seems mostly due to the decal material itself. I cannot recall with certainty the name of it, but there once was a model rail road decal solution that was my go-to for best results. I believe it was named "solvaset", or something close to that. Canute will probably know if he reads this. I'm still searching for a go-to clear coat. Tamiya clear is just not as reliable as I would like. Don't know of a better alternative right now, but I'm still searching.
-
I have the Revell 1:72 U-boat and thought it was rather large. This 1:48 scale model makes mine look tiny in comparison.
-
I have ordered 6 different aircraft from WnW to take advantage of that massive sale. Even with postage from New Zealand, there's considerable savings to be realized from retail price in the USA. PS: I forgot to mention...unless I follow the link you provided, I cannot see the sale prices. I made a mistake initially by going a direct link to wingnutwings DOT com, but that will not show their sale. If someone else wants the sale prices, they need to click on the link you provided, not by going directly to wingnut wings main web address directly.
-
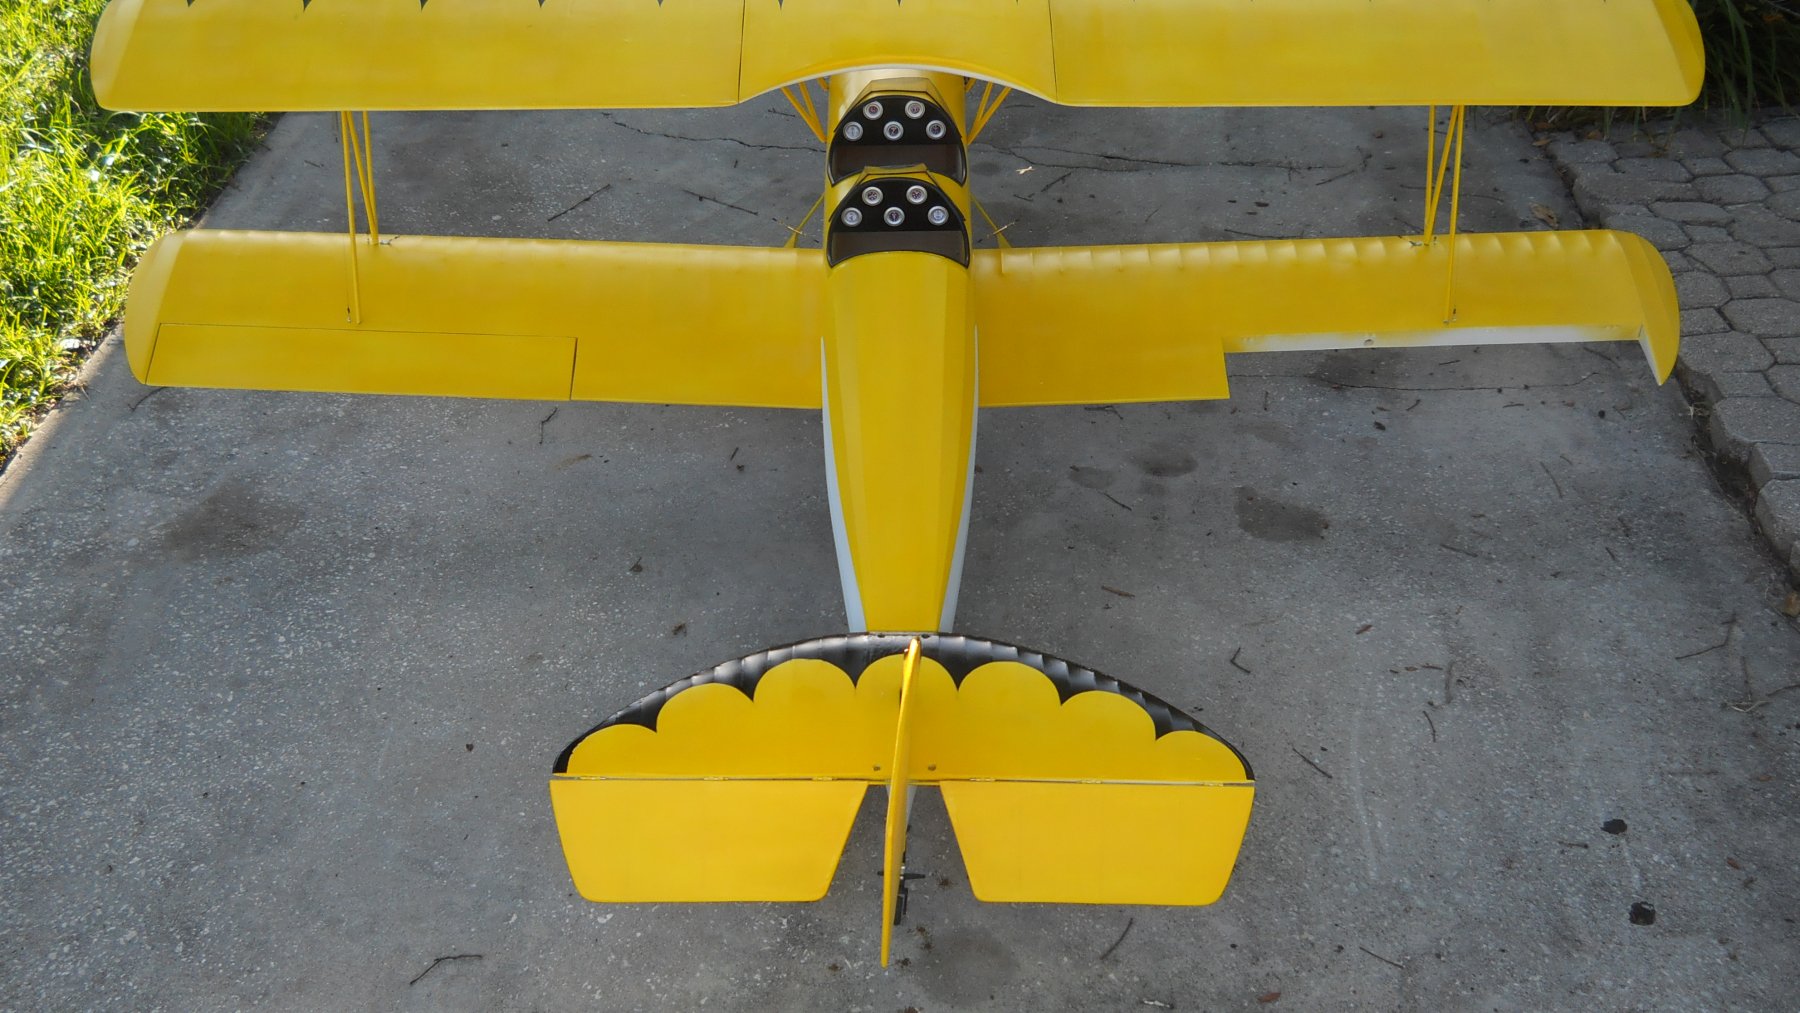
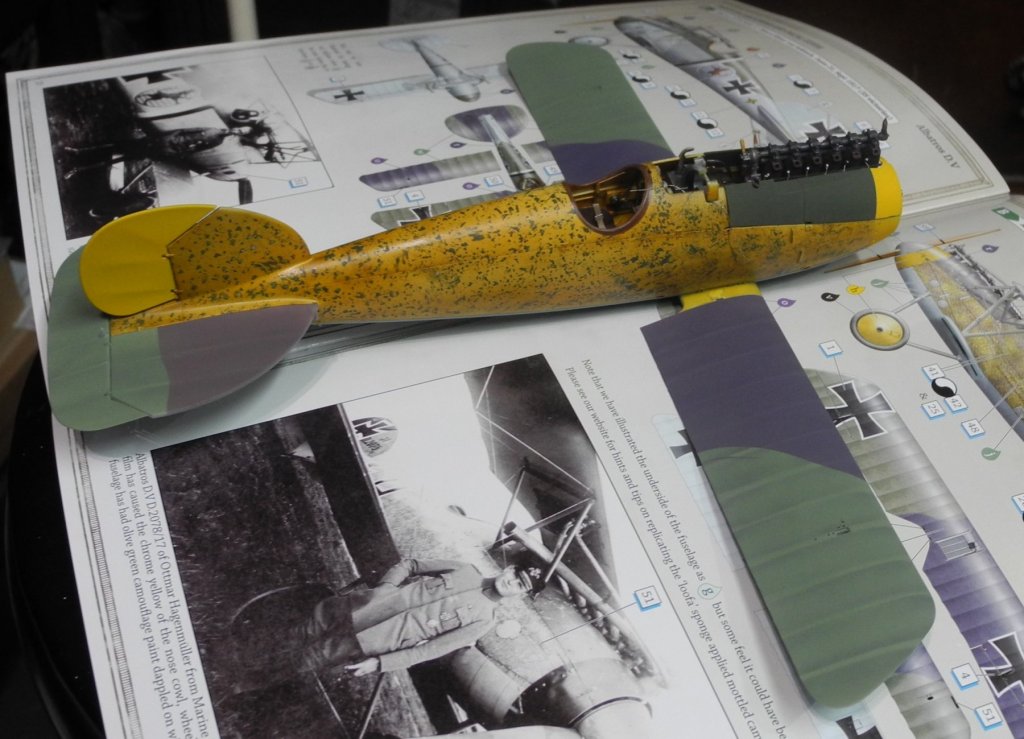
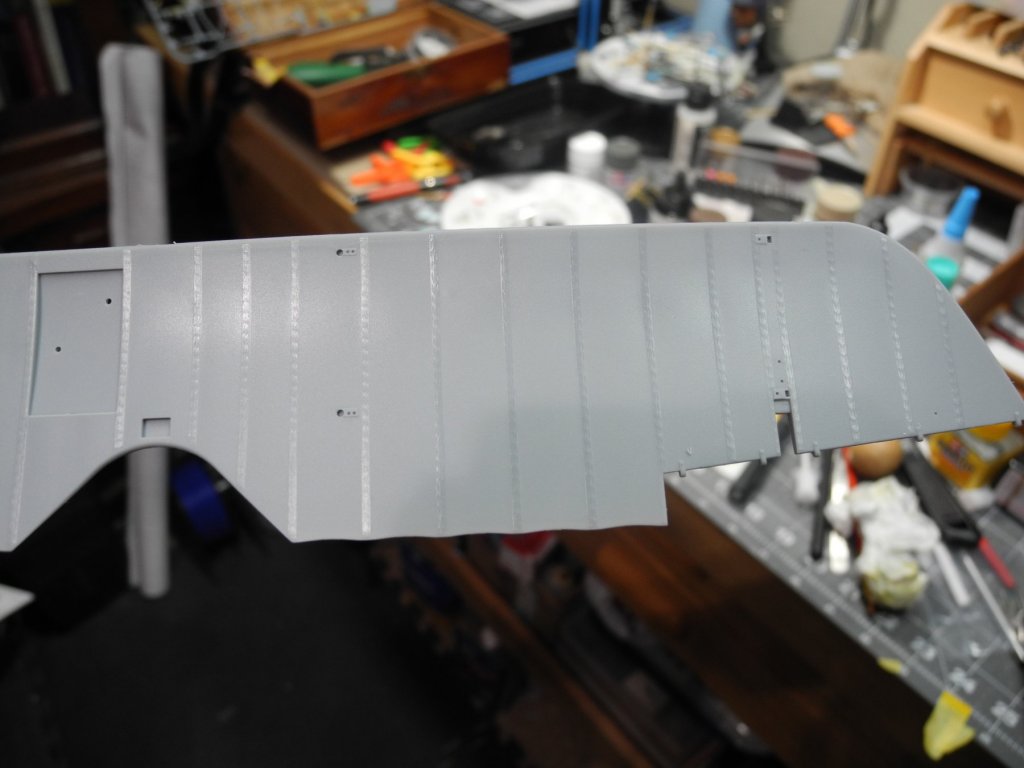
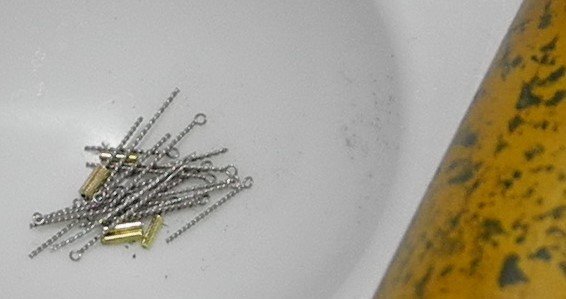
Thanks for the nice comments. Yes indeed, it will be added. There are a lot of little details that need to be painted on as well as adding some parts to the wings. Right there on that little plate in the middle of each wing root go 4 turn buckles. Then there are more turn buckles that are added to other parts of the lower and upper wings as well as to the fuselage. The old WW1 era biplanes had lots of small bits and pieces scattered all over each aircraft. Some of the later aircraft, like the Fokker D.VII eliminated a lot of that to make the airframes more aerodynamic and slippery (faster 🙂).
-
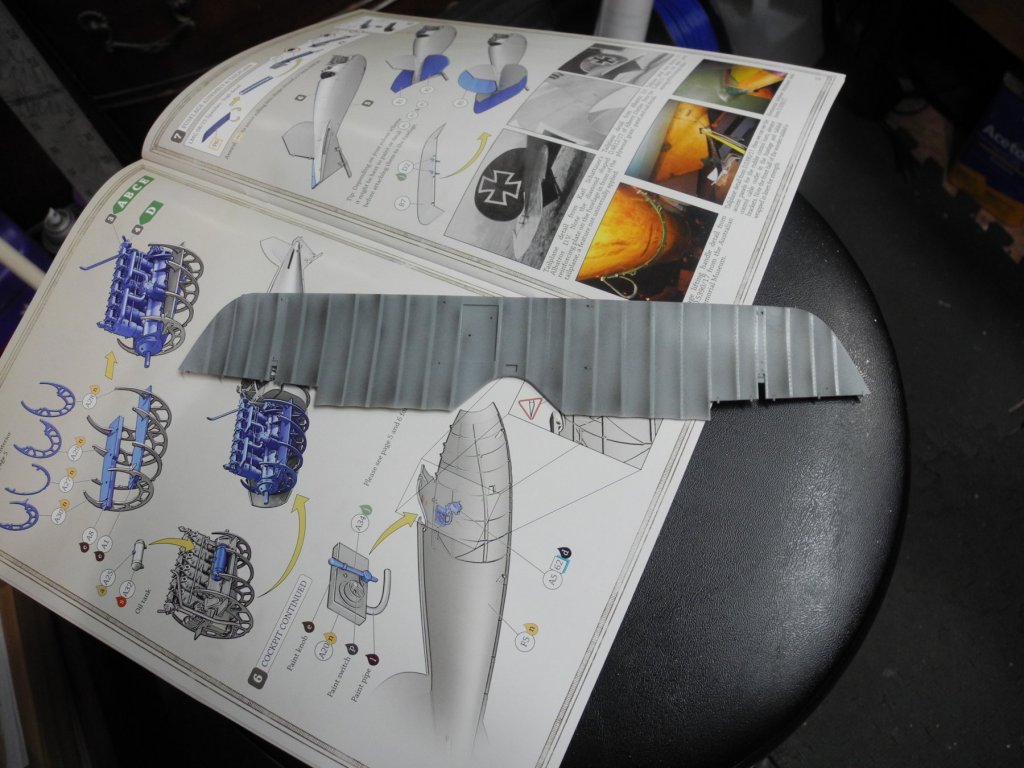
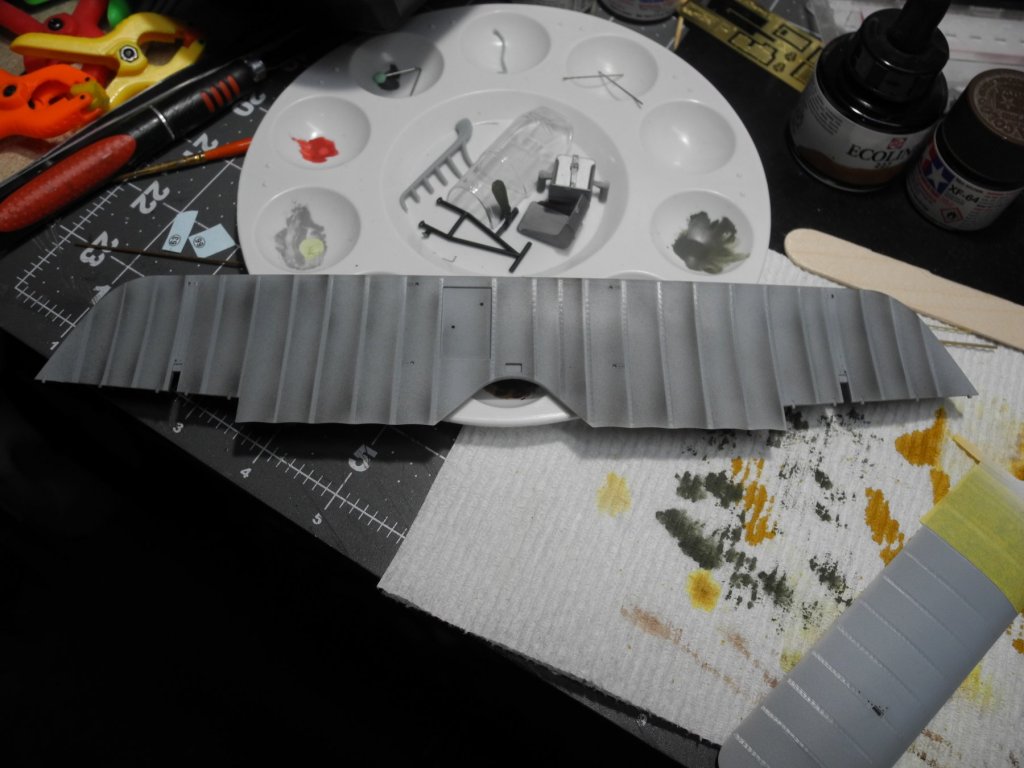
Preview dry fit of coming steps...quite a few details to be added before the wings and struts can be permanently mounted.

-
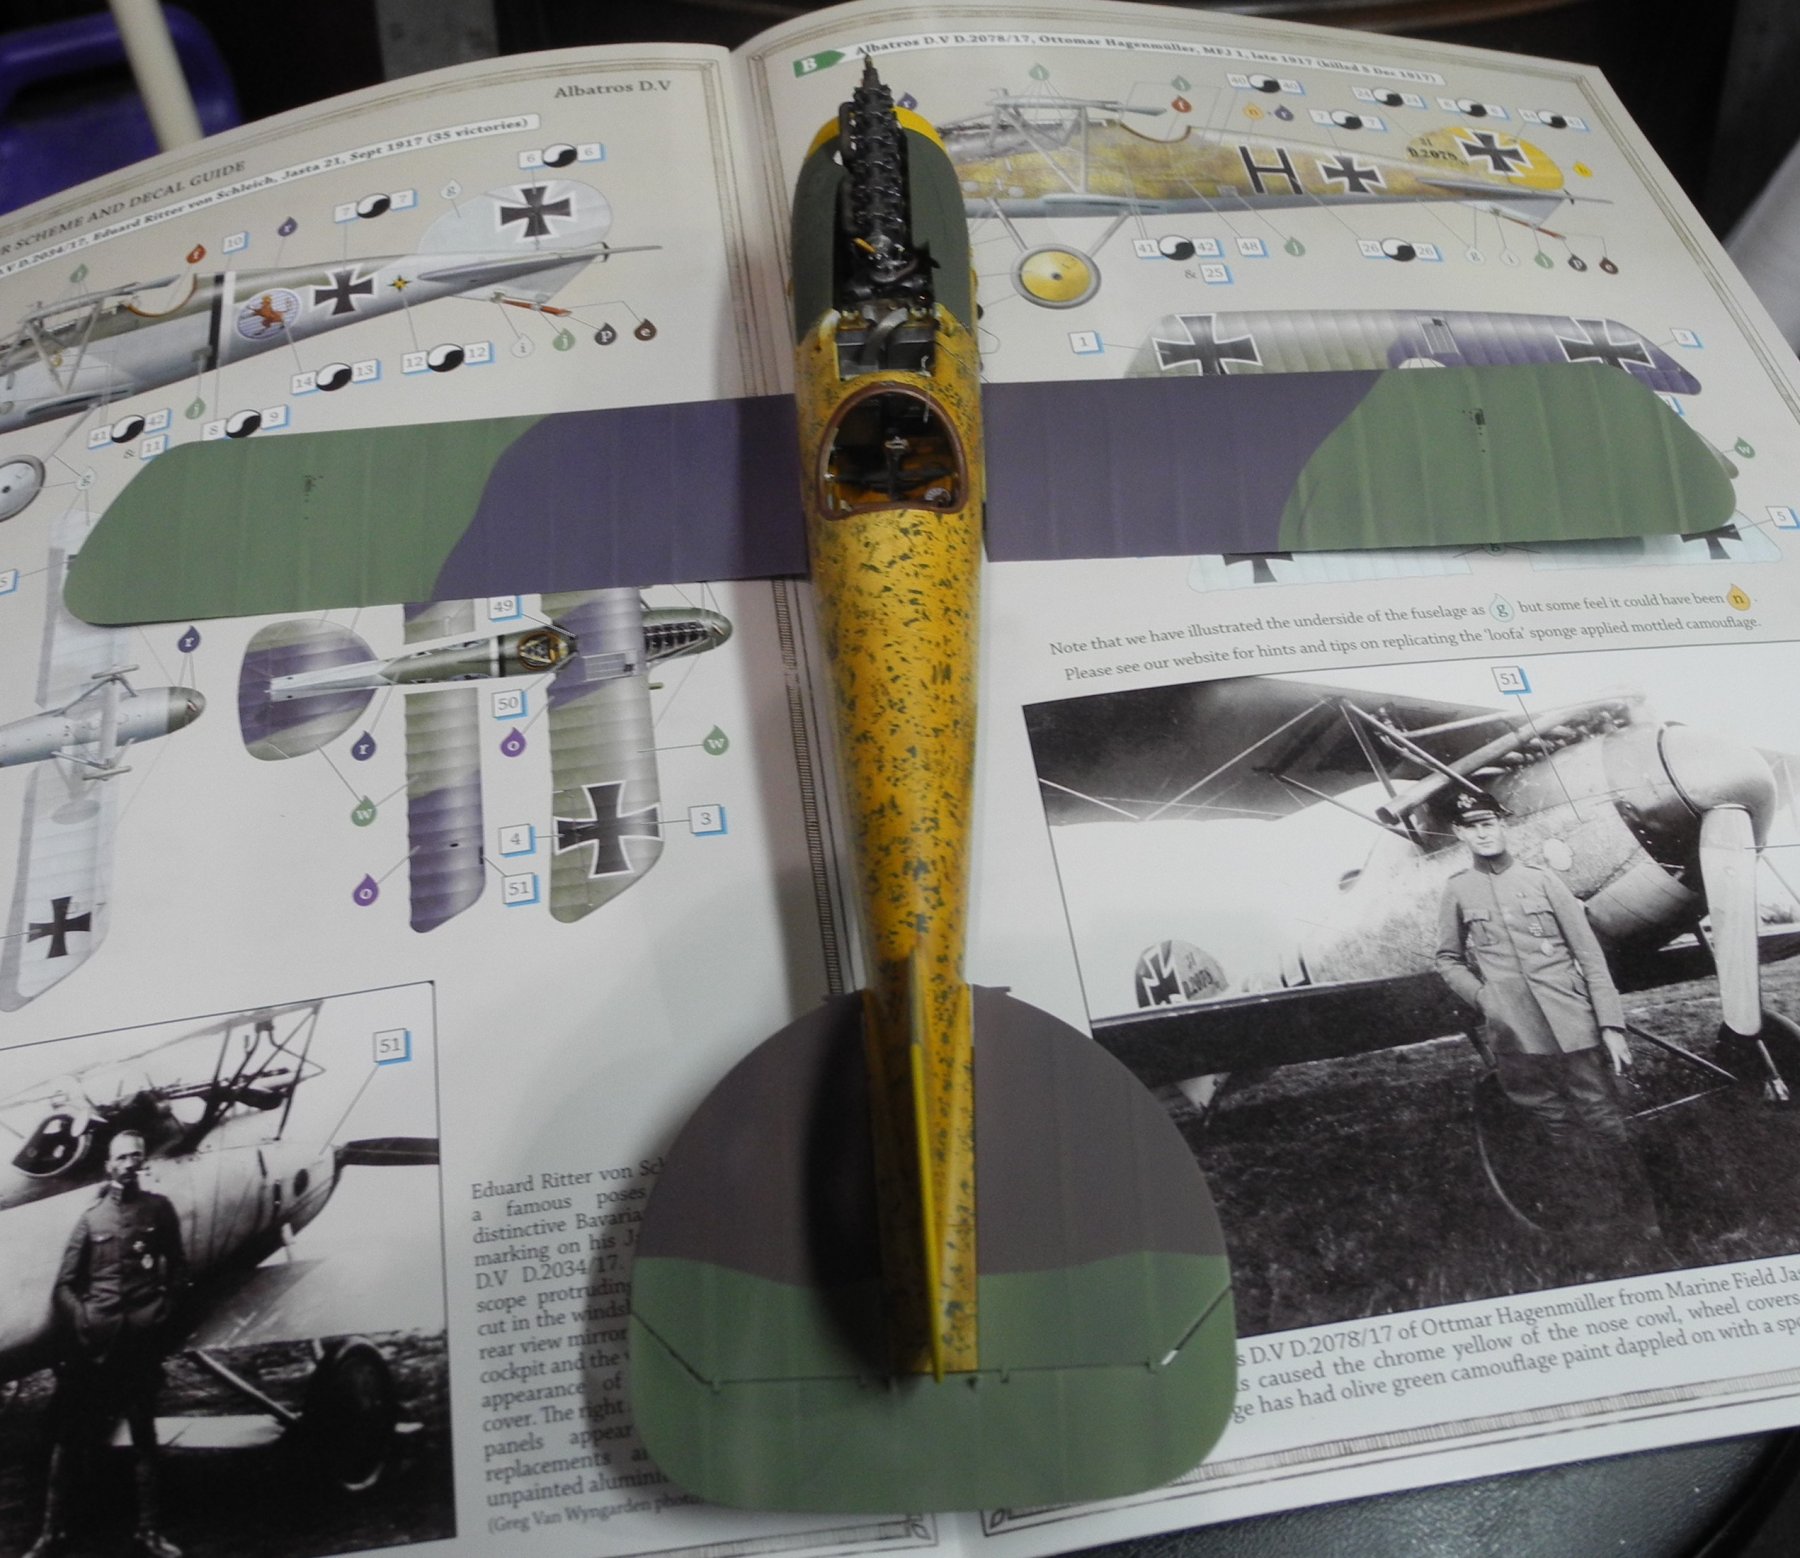
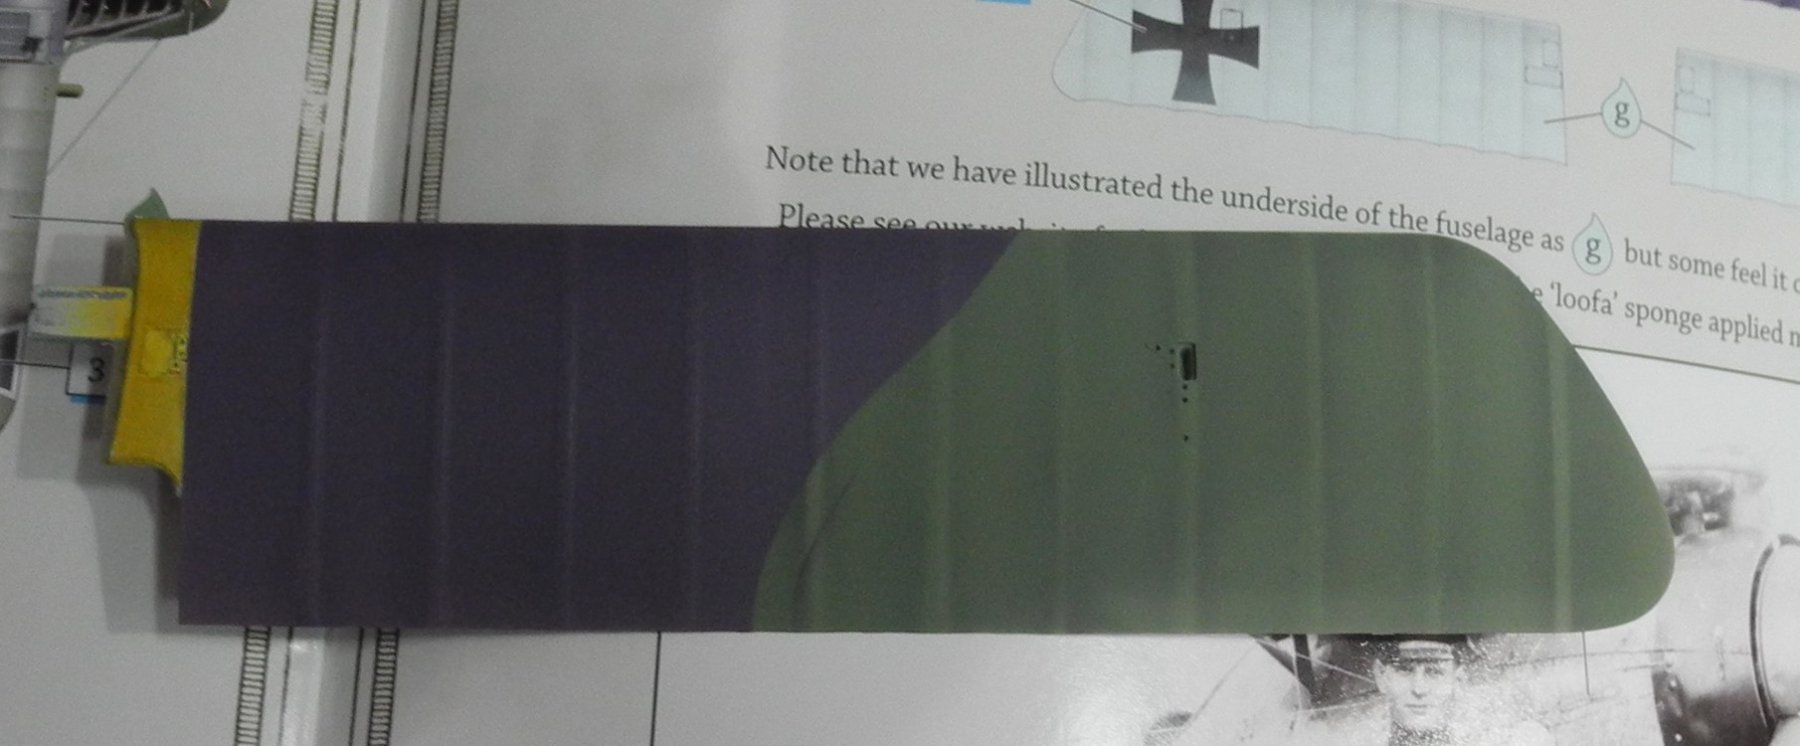
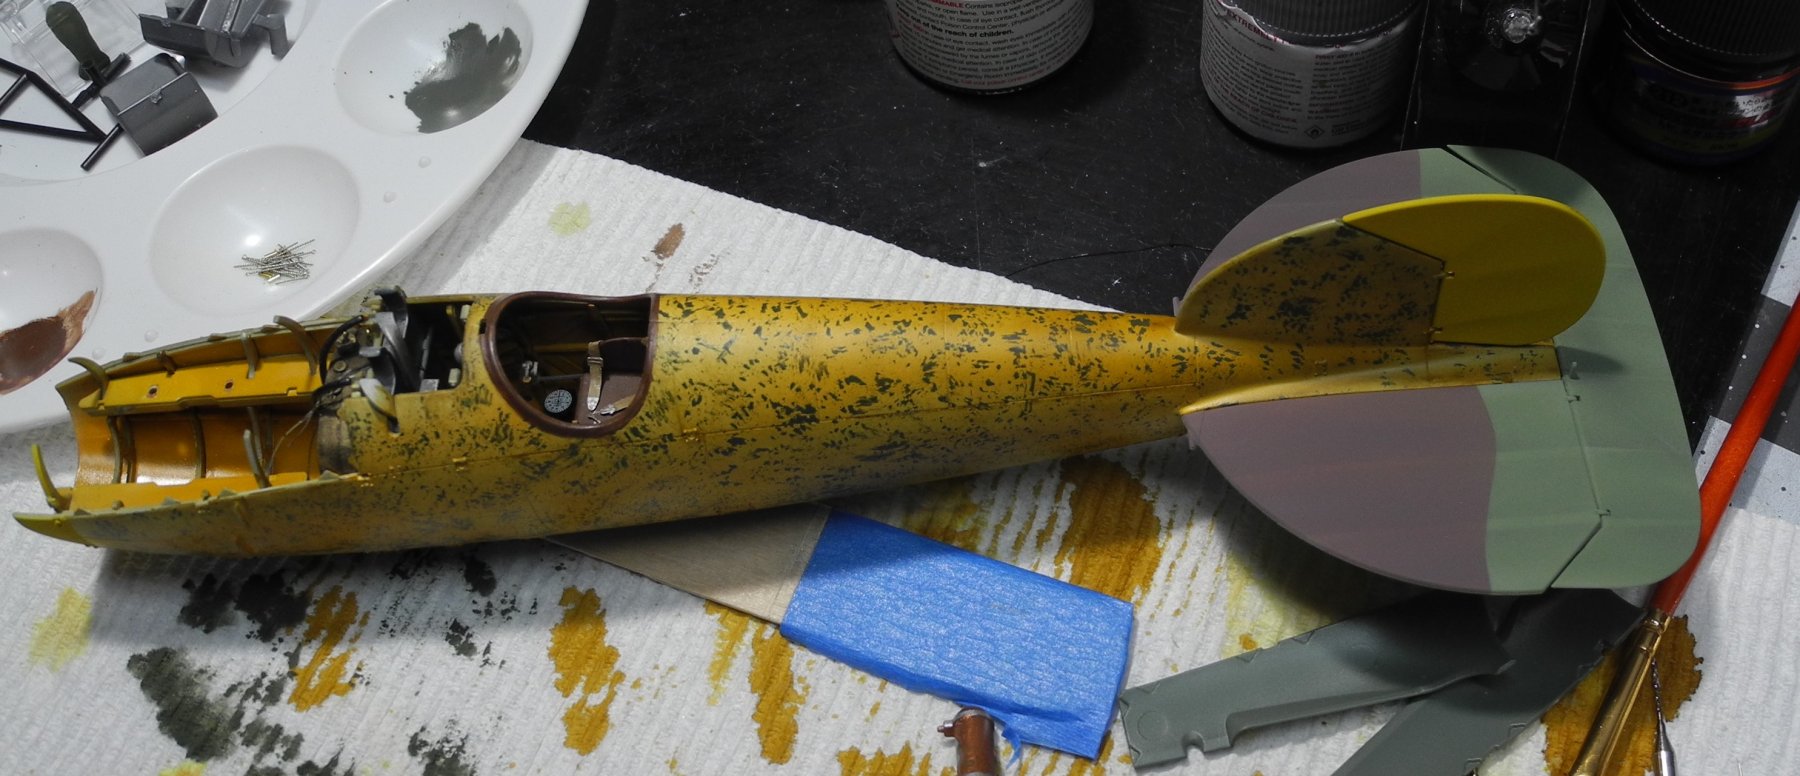
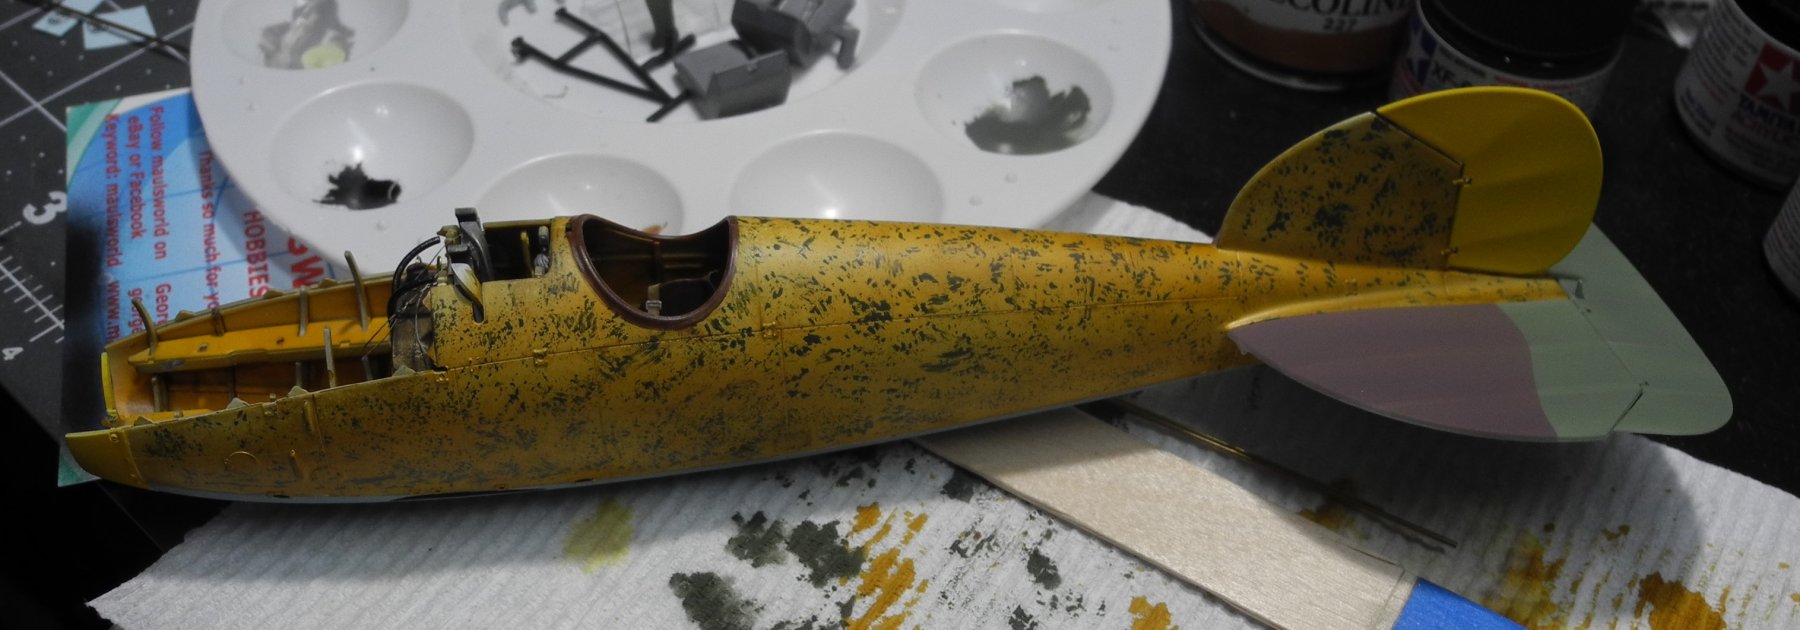
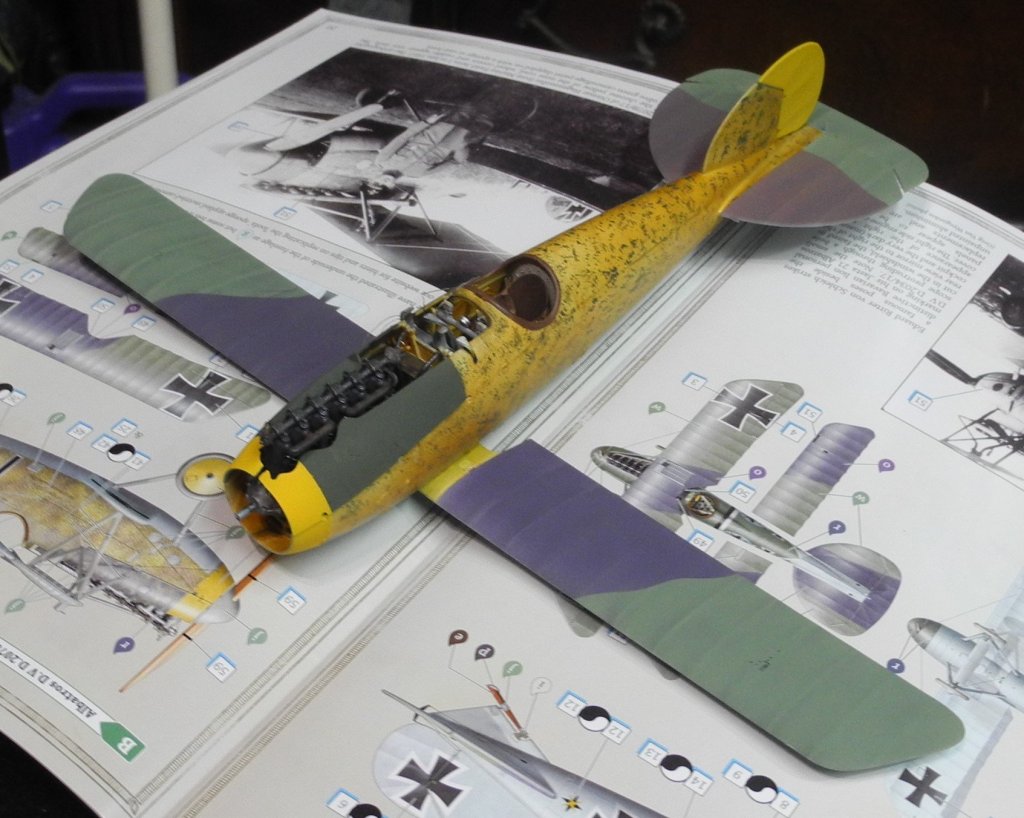
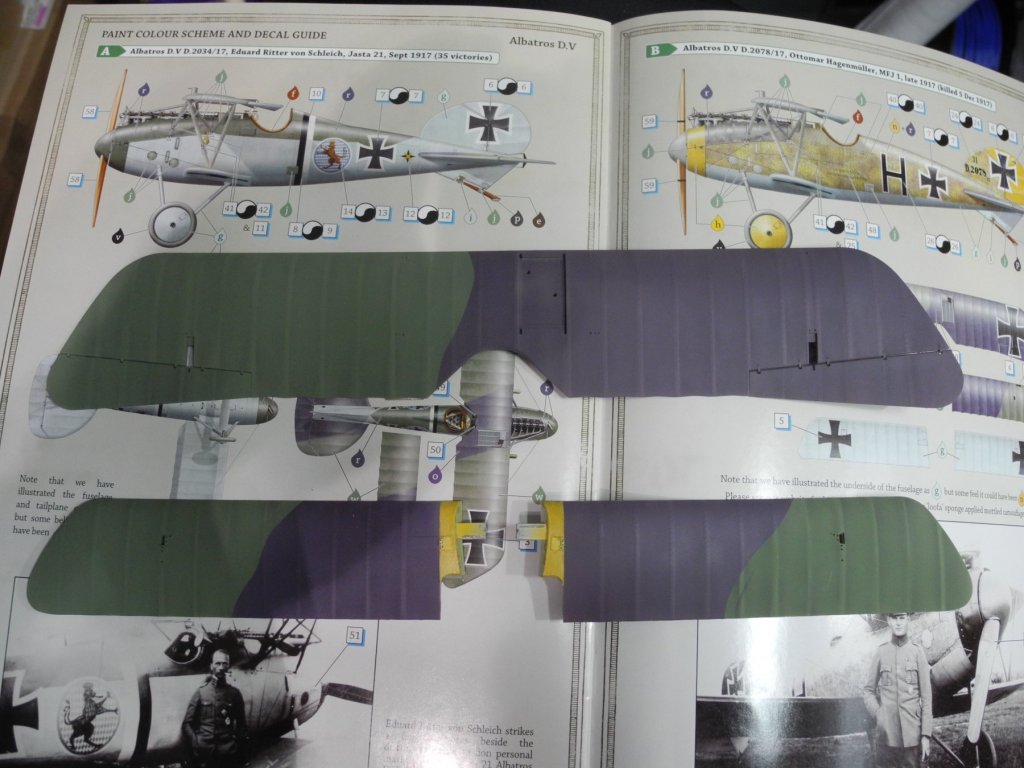
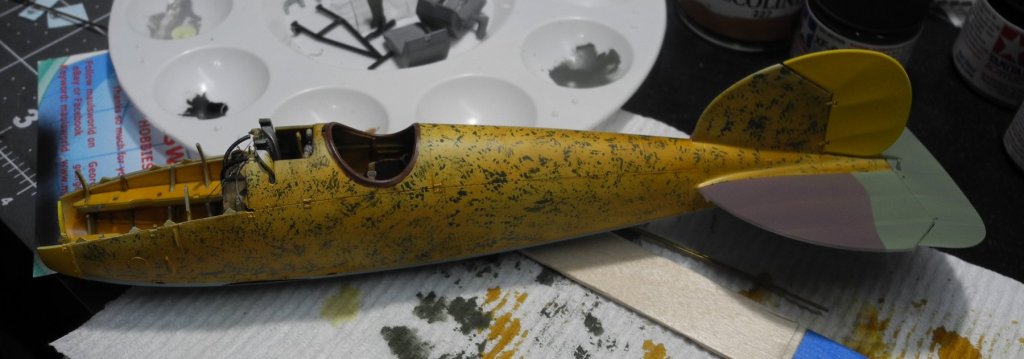
Here the color coats have been applied over the preshaded wings. Colors are Tamiya, the mauve color being one mixed in the recommended ratio provided in the painting instructions. A trace of paint slipped past my masking of the lower right wing that will require some touch up. 😕 Maybe I should leave it as-is just to add a human touch.

- 165 replies
-
- 10
-
-
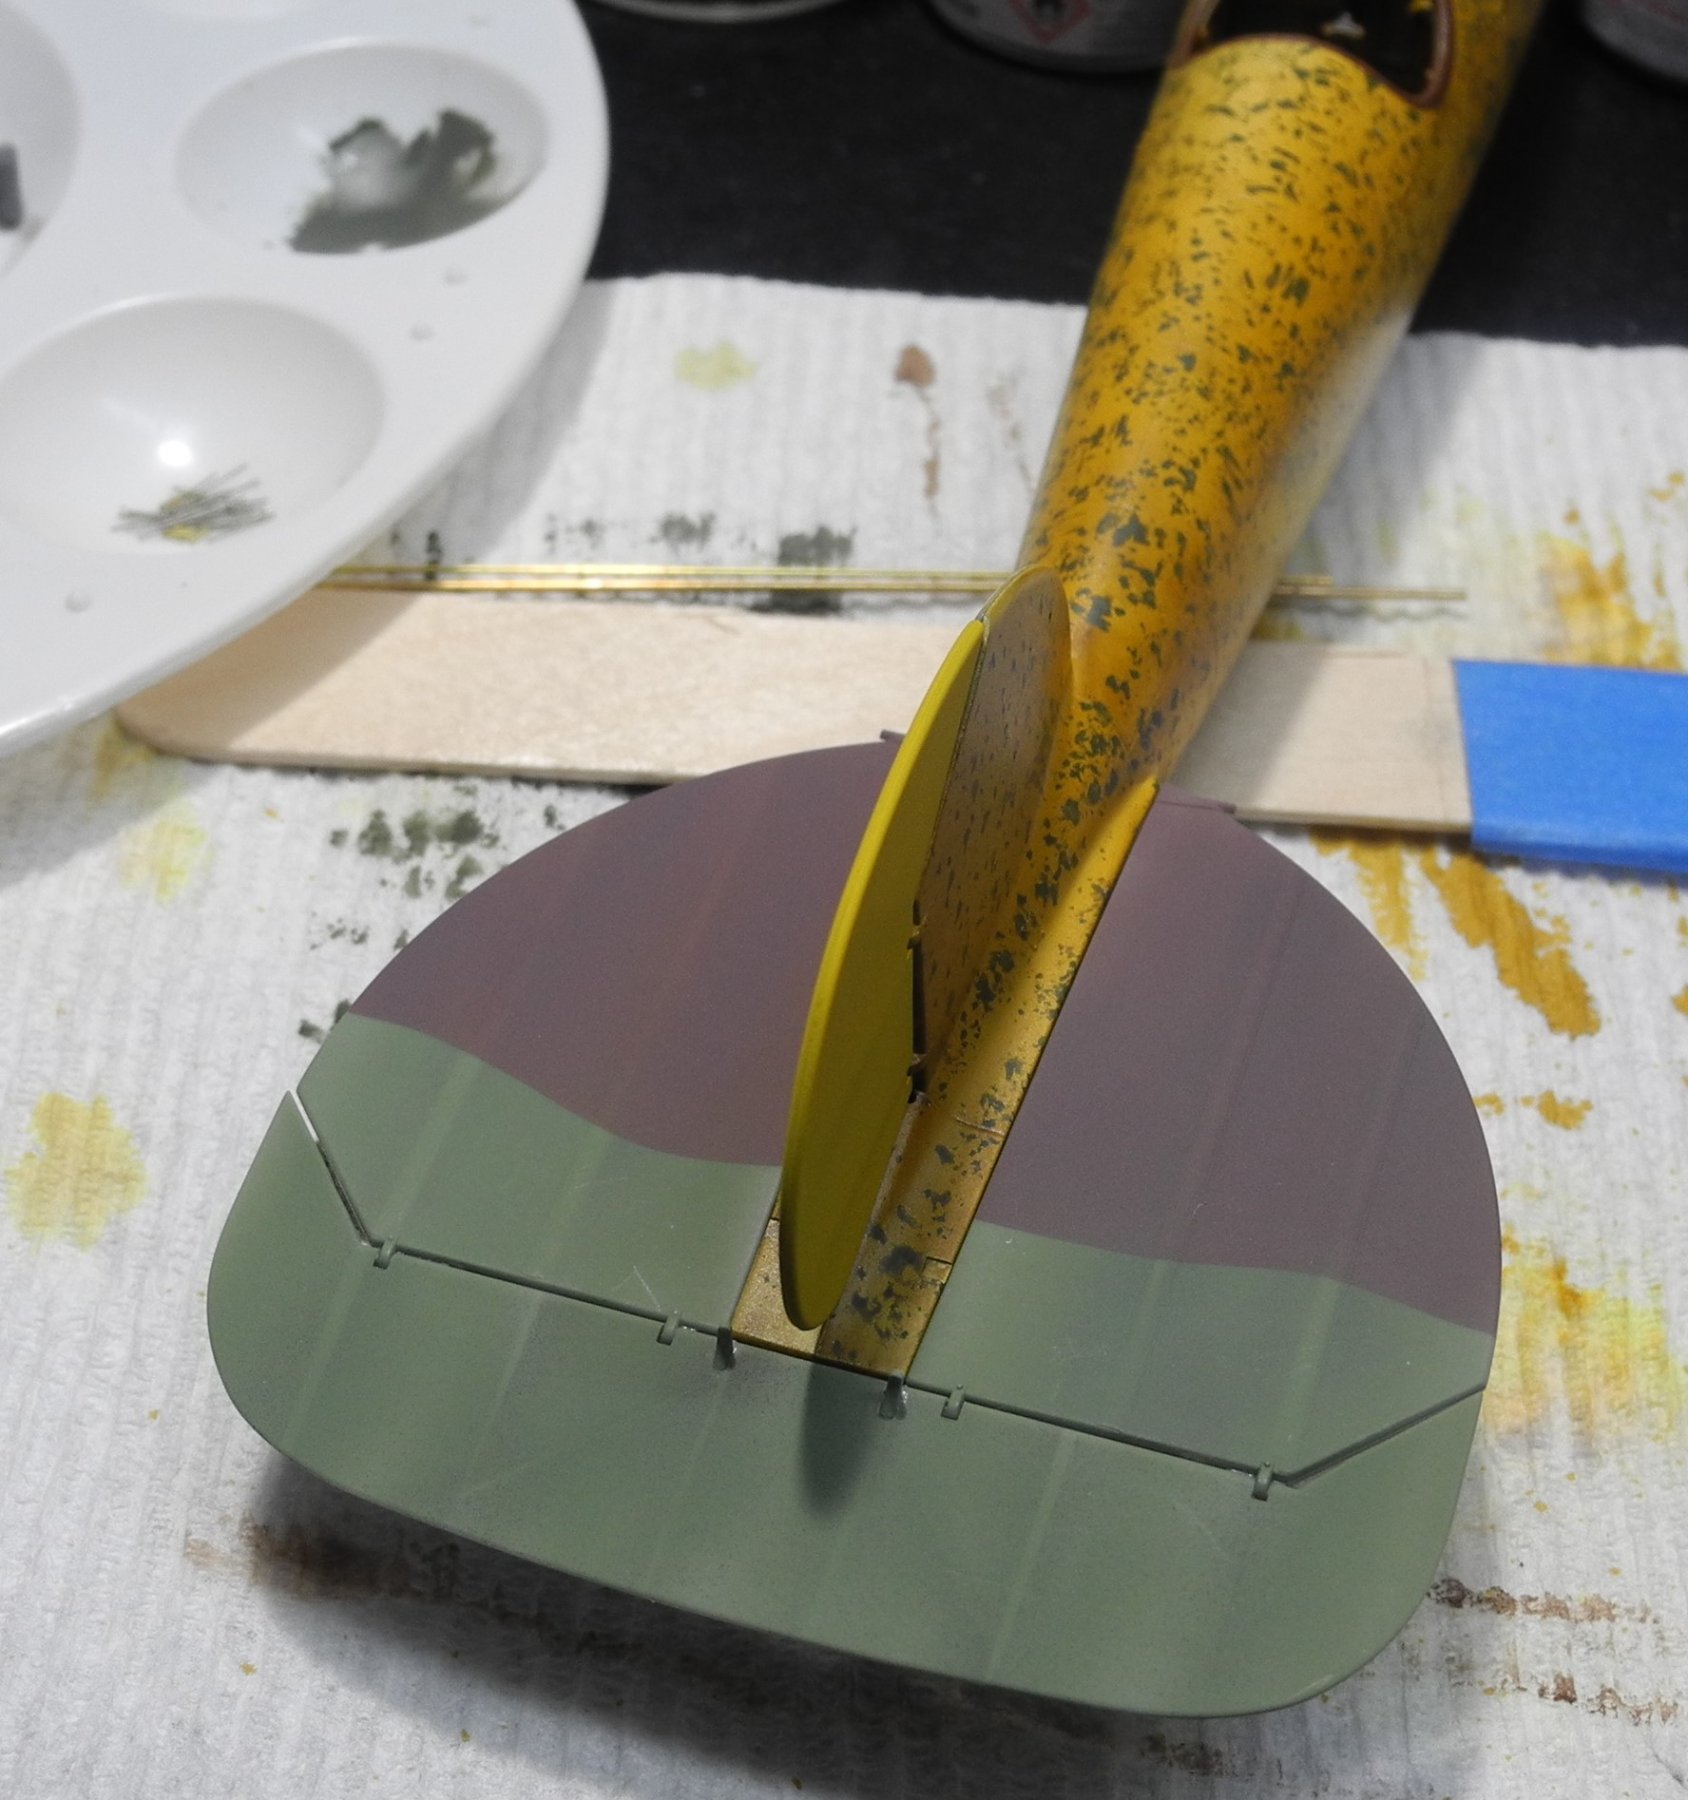
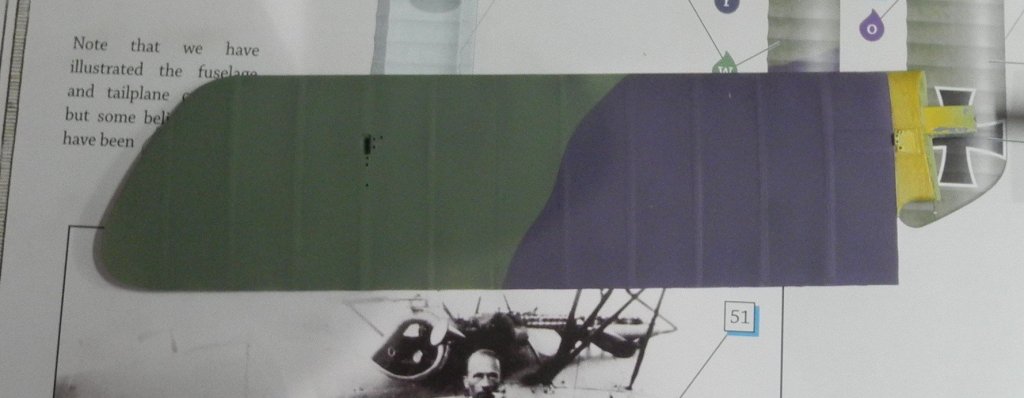
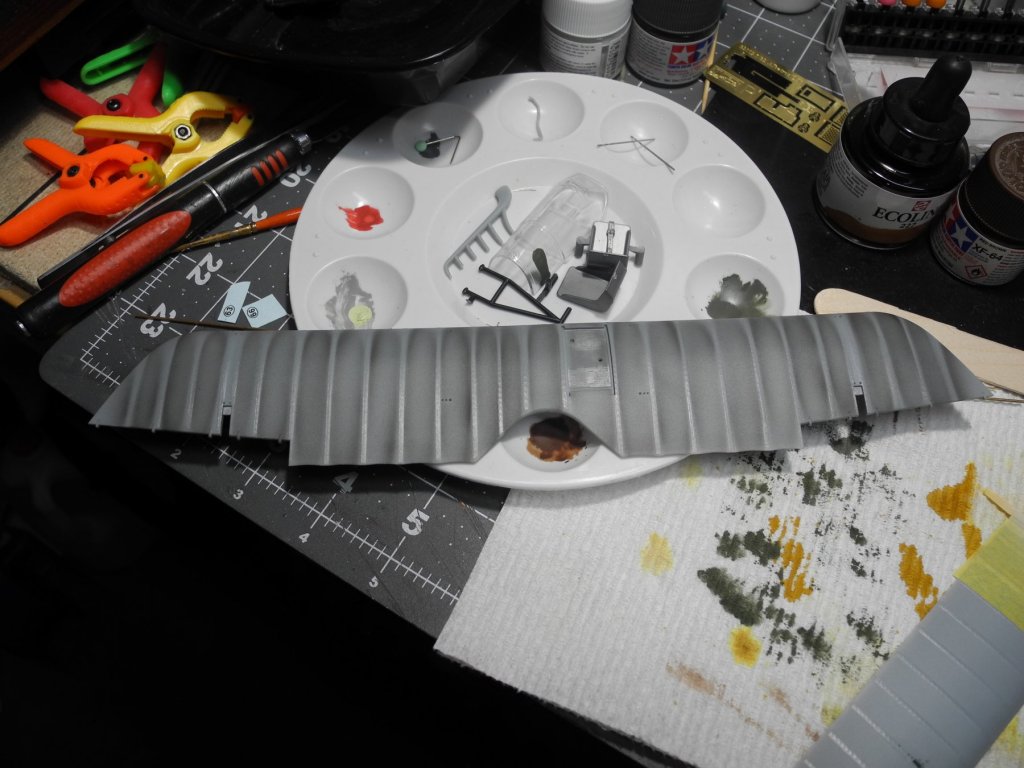
With WW1 aircraft as well as some early WW2 aircraft, the airframes are covered with fabric then doped and painted. One can see the pronounced effect of the fabric stretched over the airframe where each wing rib is clearly seen by the imprint it makes upon the fabric. When modeling these aircraft, one wants to achieve the illusion of depth in the painted finish to simulate the stretched fabric covering the airframe, particularly between each wing rib. Here you see the molded plastic wing. Over each rib is a "tape" that was used to strengthen the fabric where covered the ribs. To achieve the illusion of depth, each wing rib is preshaded with flat black on each side of each rib, leaving the rib tape it's natural plastic color. Once the color coats are sprayed on, the rib tapes will stand out in light contrast to the surrounding darker paint and giving the painted finish "depth". When modeling and painting a steel ship, this is called oil canning. I use a business card or index card to cover each rib as I gradually preshade each side of each rib. Later in this thread, you'll see the clearly pronounced effect of the preshading on the finish paint.
- 165 replies
-
- 14
-
-
It takes a very steady hand to do what you're doing. One slip and the bit goes through. Kudos for taking on that tedious task.
-
I should have mentioned earlier...these are home made turn buckles. Twisted micro wire gets inserted and glued into micro brass tubing. Flying wires are seized onto the twisted wire loops. Easy peasy.

-
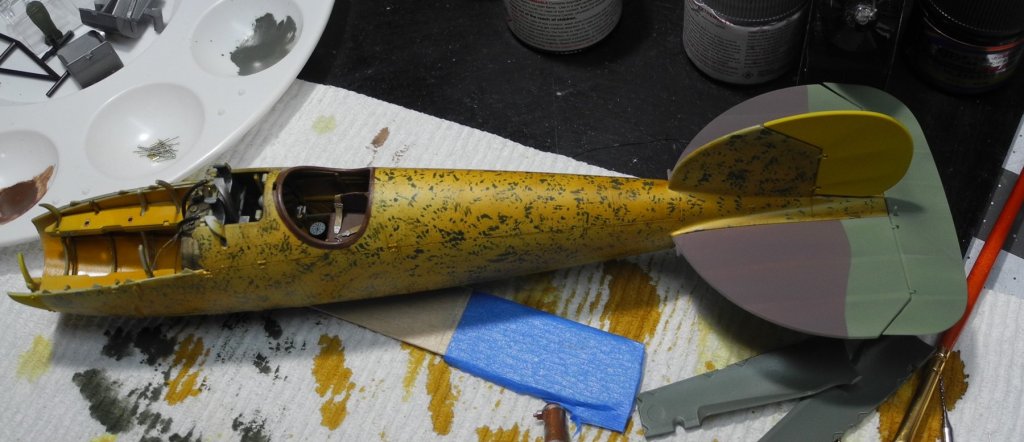
Thanks to both of you for your comments. Yes, the tops of the top and bottom wings will receive the same color combination.
-
Worked on the stabilizers tonight with color coats. Not much, really.


-
When you watch that video, you'll see the '60's sidewinders must acquire the target at less than 20 degrees from the afterburner, and everything is within visual range... Today, weapons systems can track, lock, and fire upon multiple targets at once, many many miles beyond visual range. Aspect angle is not even a thing anymore compared to what it once was. A modern fighter can lock on and fire upon a target at any angle. Now as to whether or not the F-8 could maneuver sufficiently to gun fight a modern aircraft, that's another story.