CDW
-
Posts
7,760 -
Joined
-
Last visited
Content Type
Profiles
Forums
Gallery
Events
Everything posted by CDW
-
 Thanks, Jack. I just found these 1:200 scale sailors at Shapeways, and ordered a set. I think I can make these work for me.
- 467 replies
-
- 8
-

-
- mikasa
- wave models
- (and 1 more)
-
Thanks Popeye. In the particular paint scheme I am doing, I don't think the ship would have ever seen any combat yet, and not too much time at sea, either. So I don't intend to add much in the way of severe weathering or battle damage. I want to begin looking for some 1:200 sailors, maybe from Shapeways? Want to give it a somewhat busy look by adding some action figures. Maybe could add some guys shoveling coal into a few of those "coal chute covers" on deck. Gonna look to see what I can find that's close to being period correct.
- 467 replies
-
- 5
-
-
- mikasa
- wave models
- (and 1 more)
-
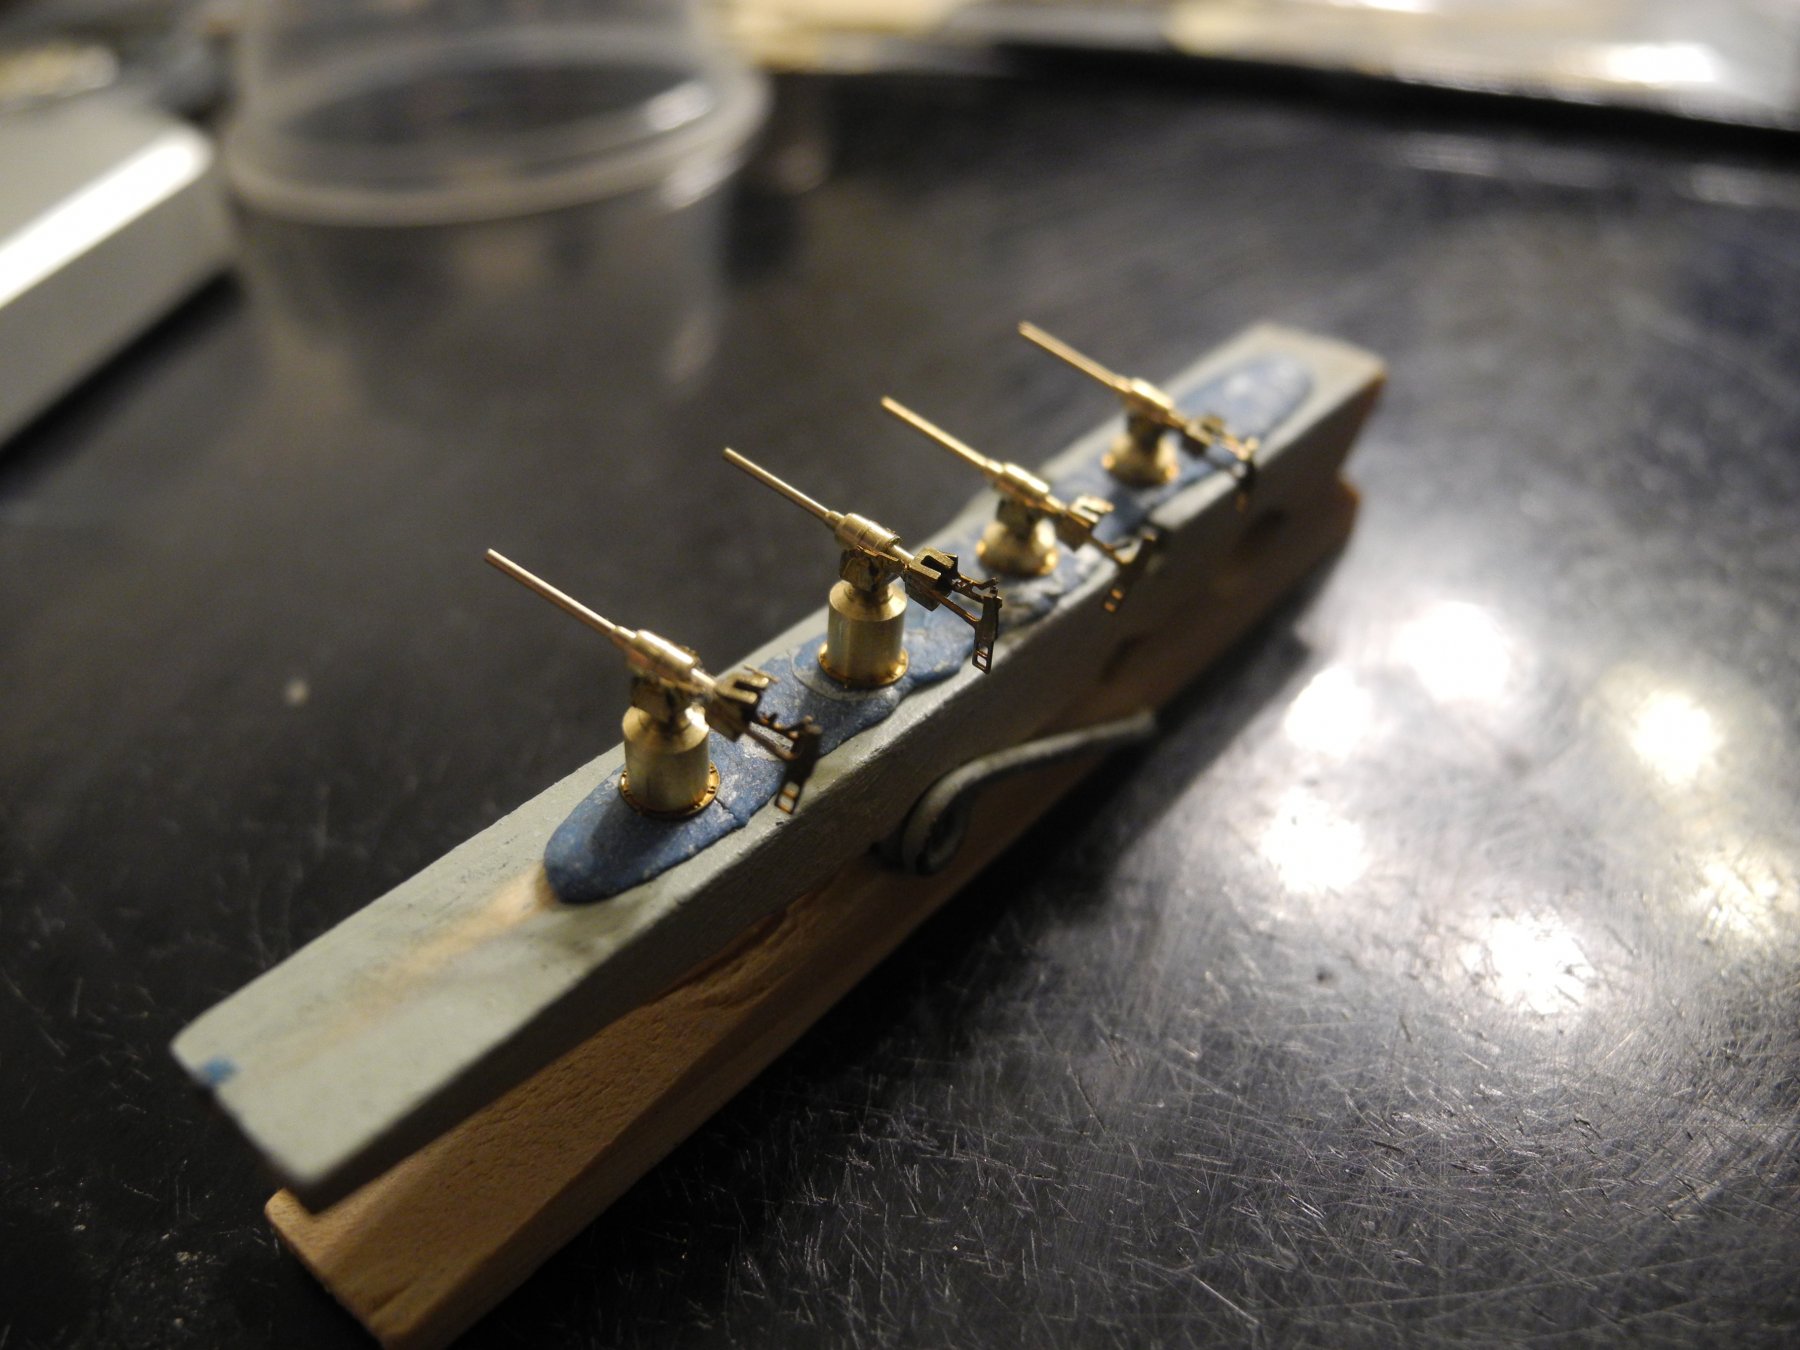
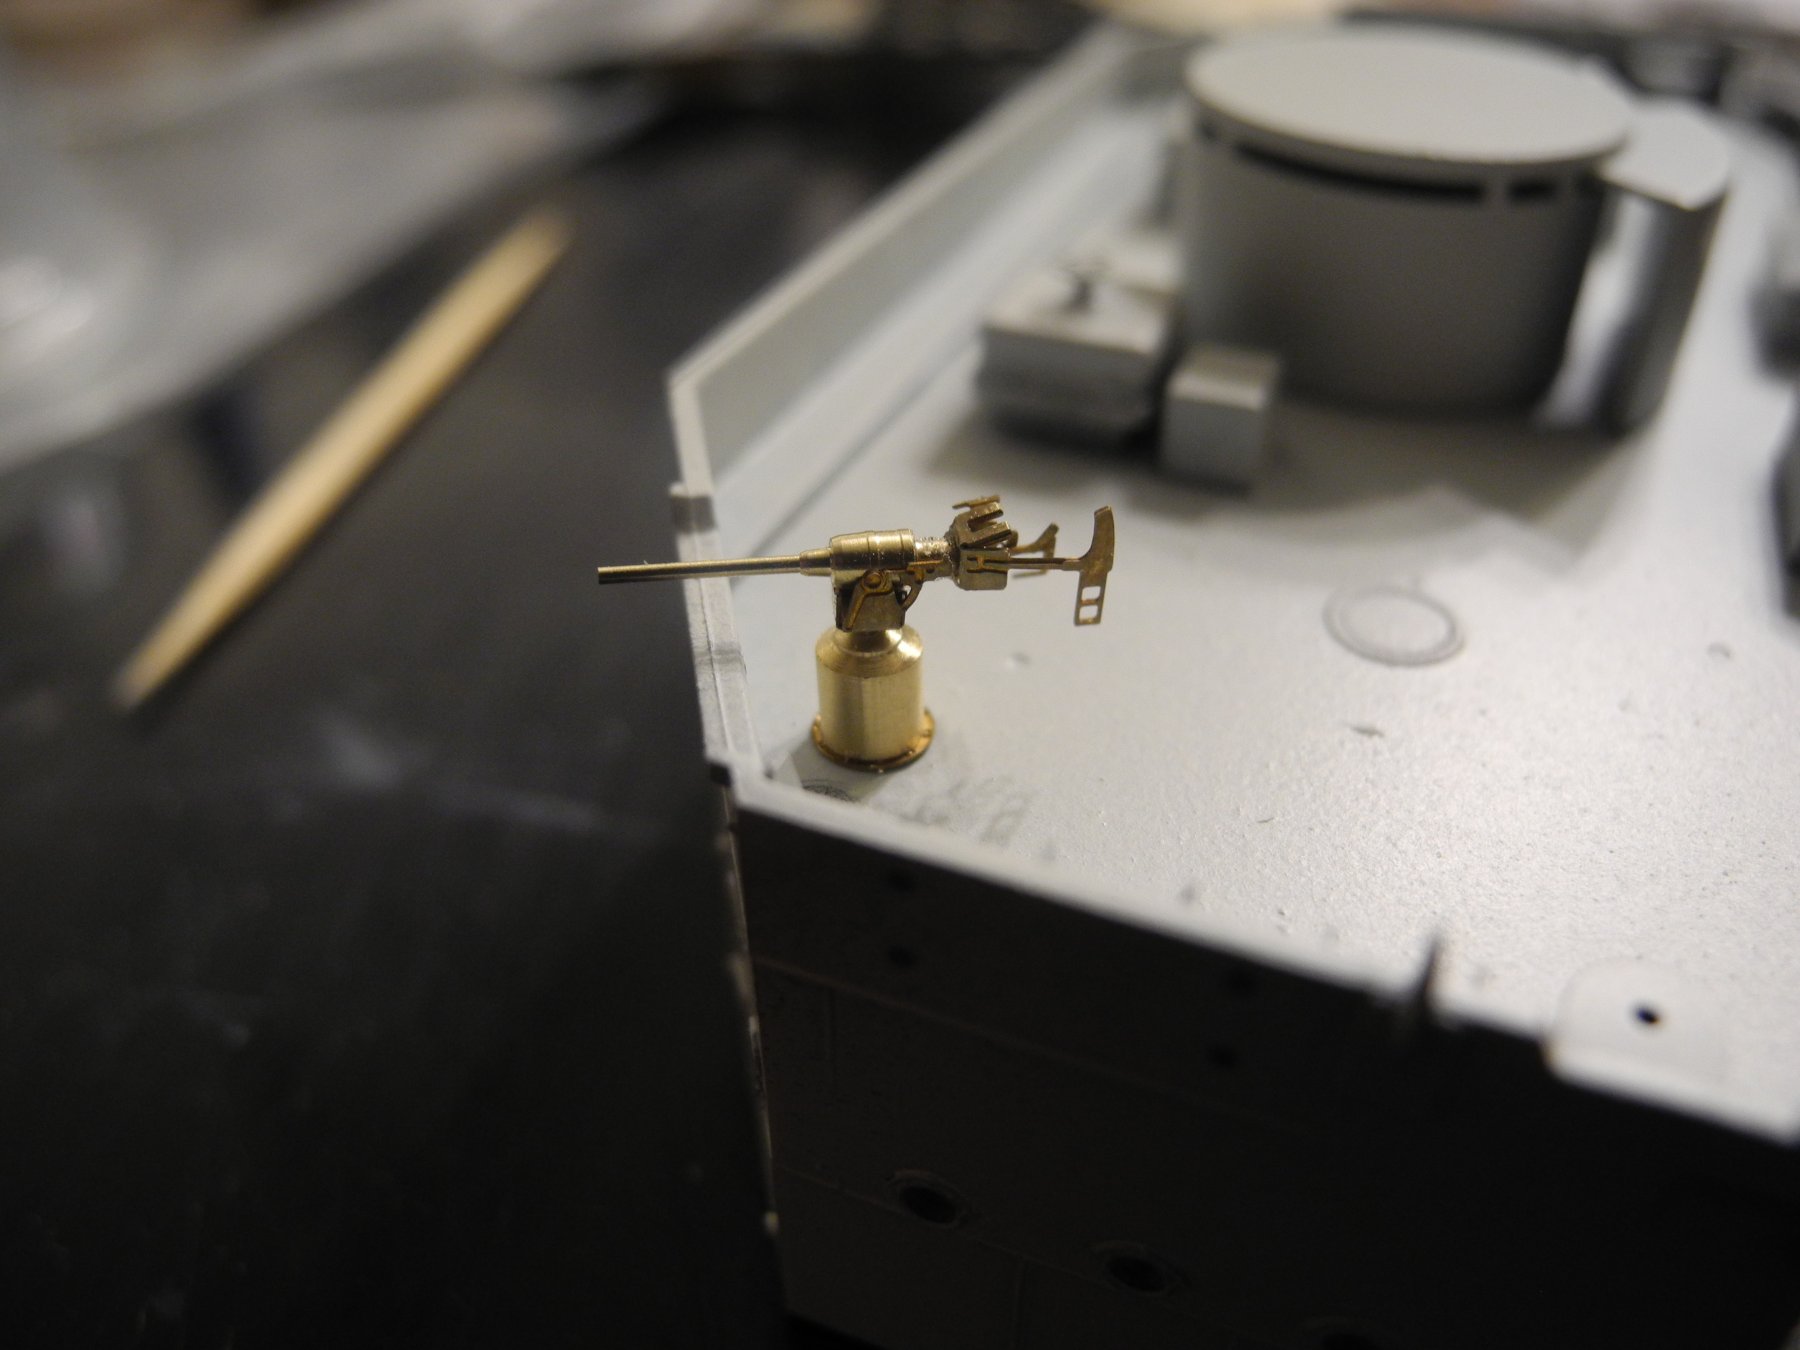
One of the four 47mm guns that are mounted to the front bridge lower deck.

- 467 replies
-
- 11
-
-
- mikasa
- wave models
- (and 1 more)
-
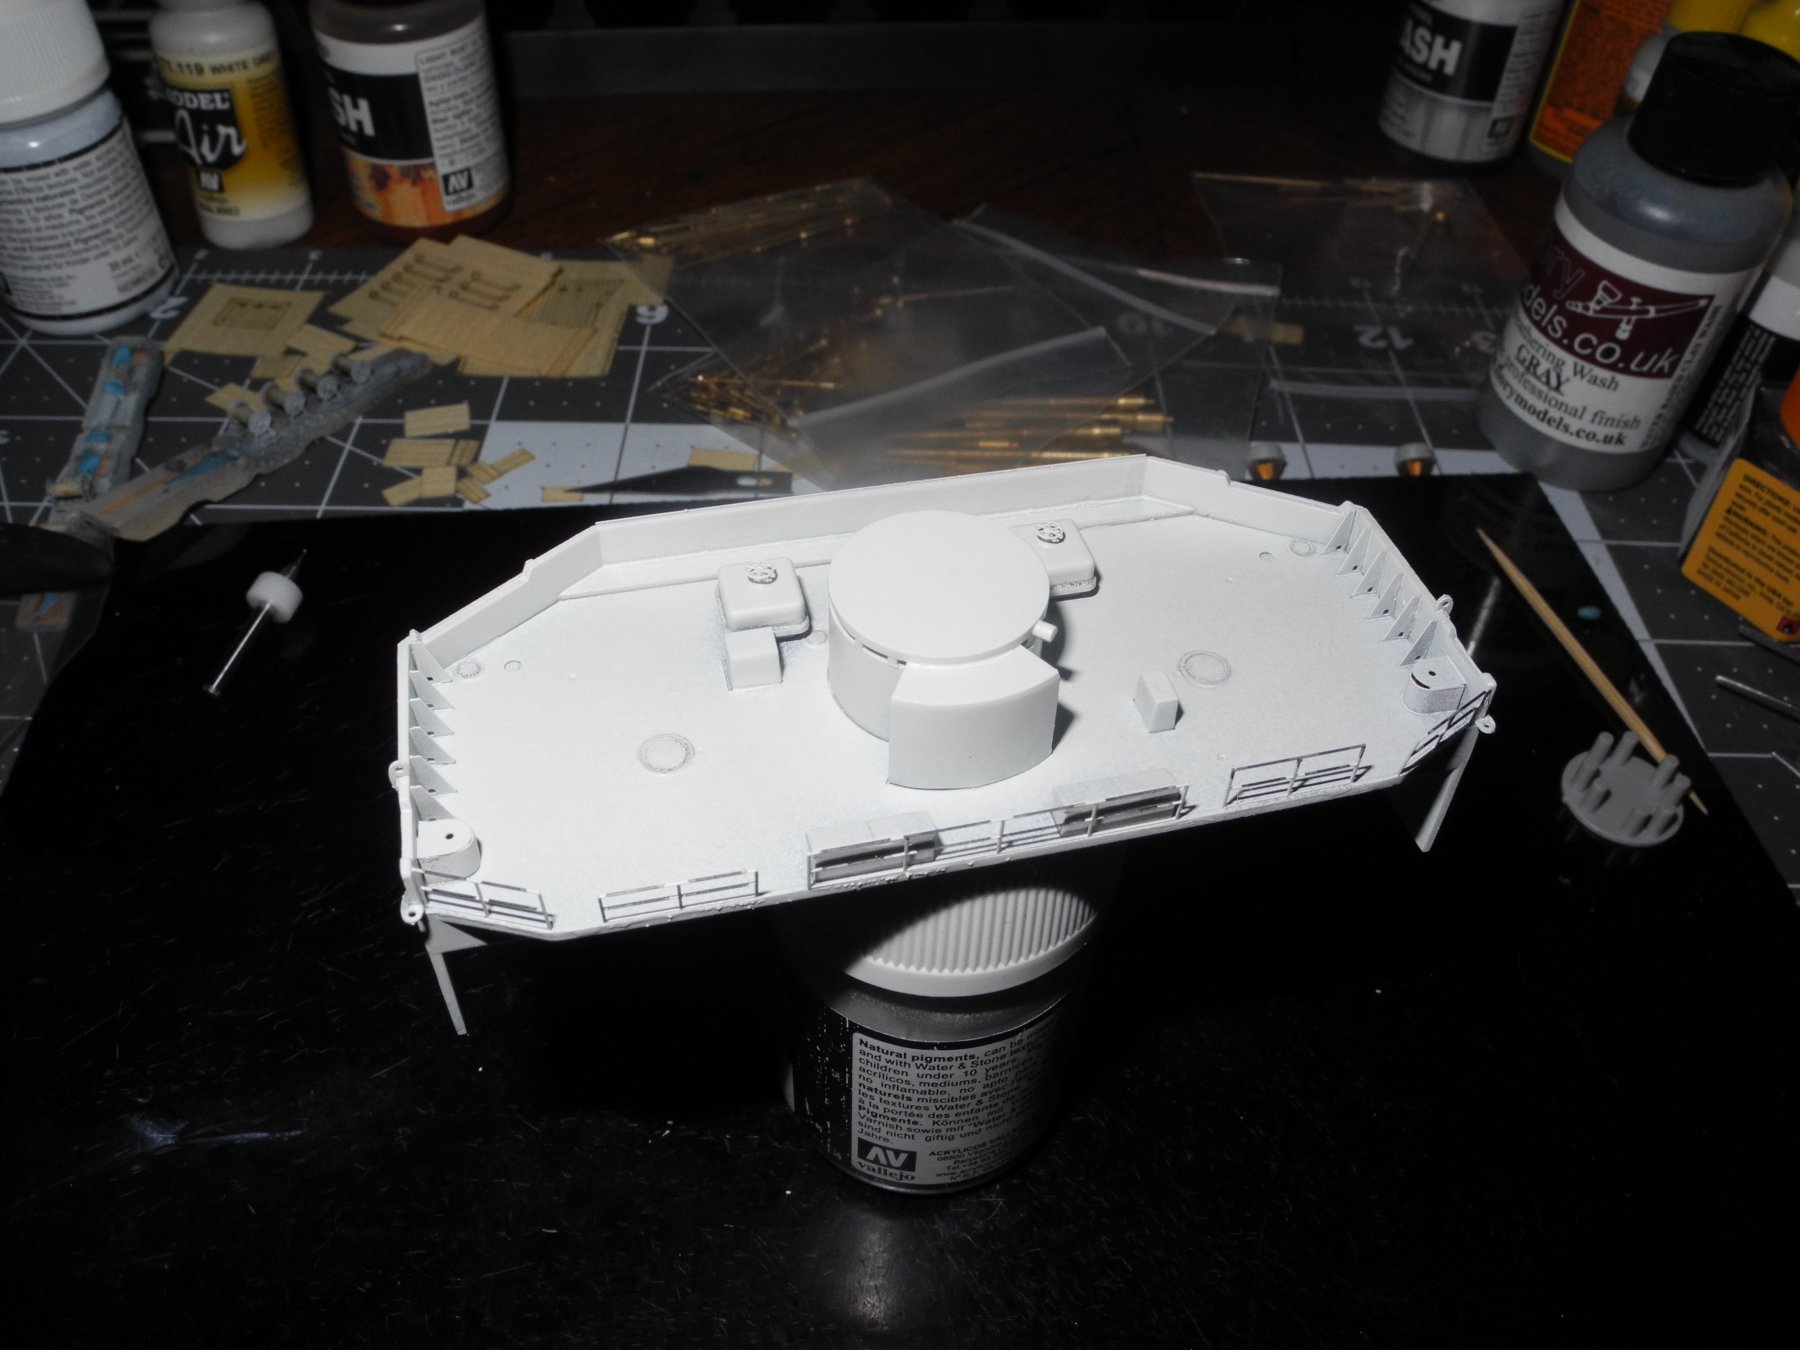
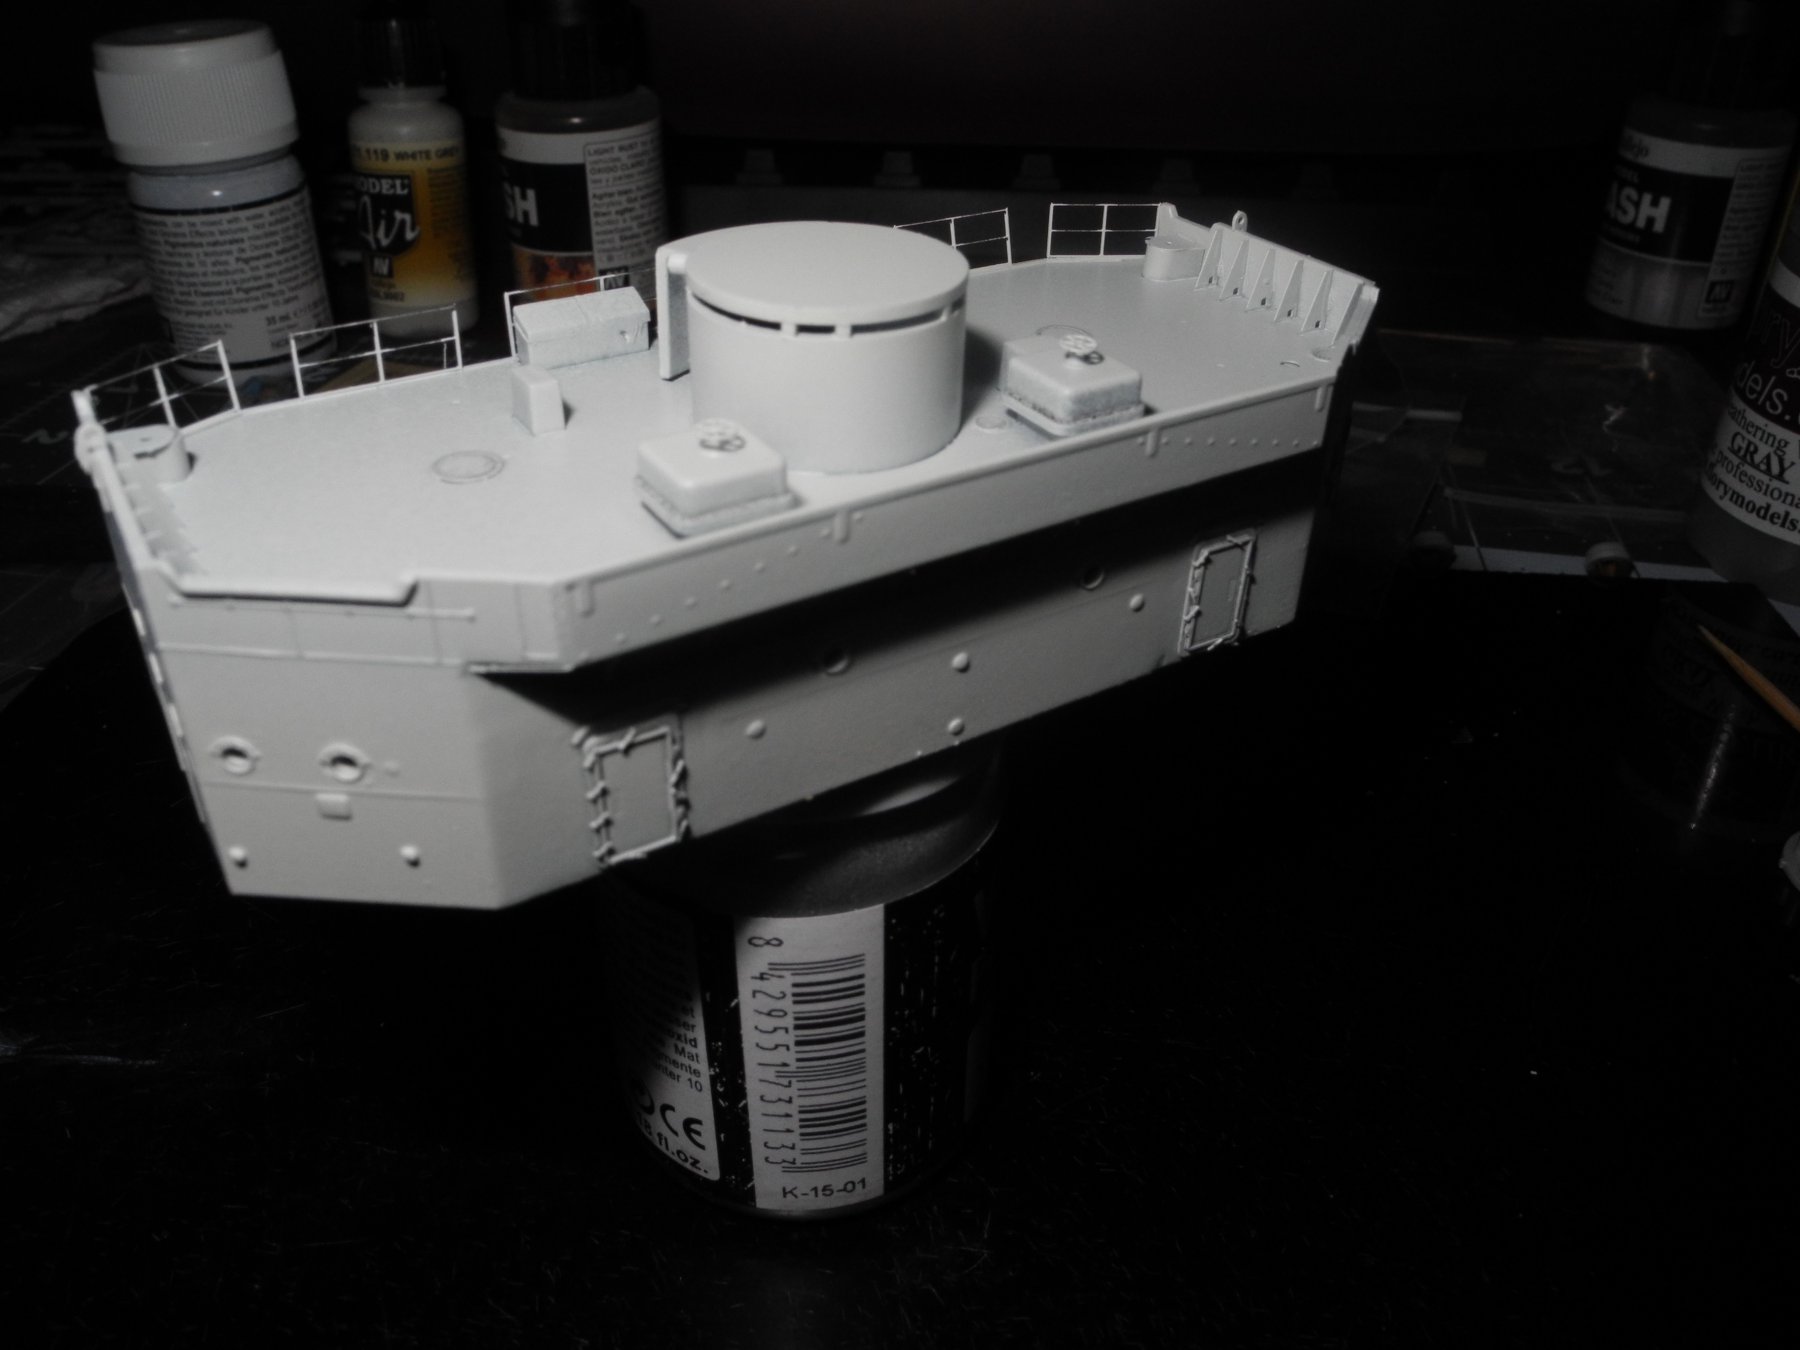
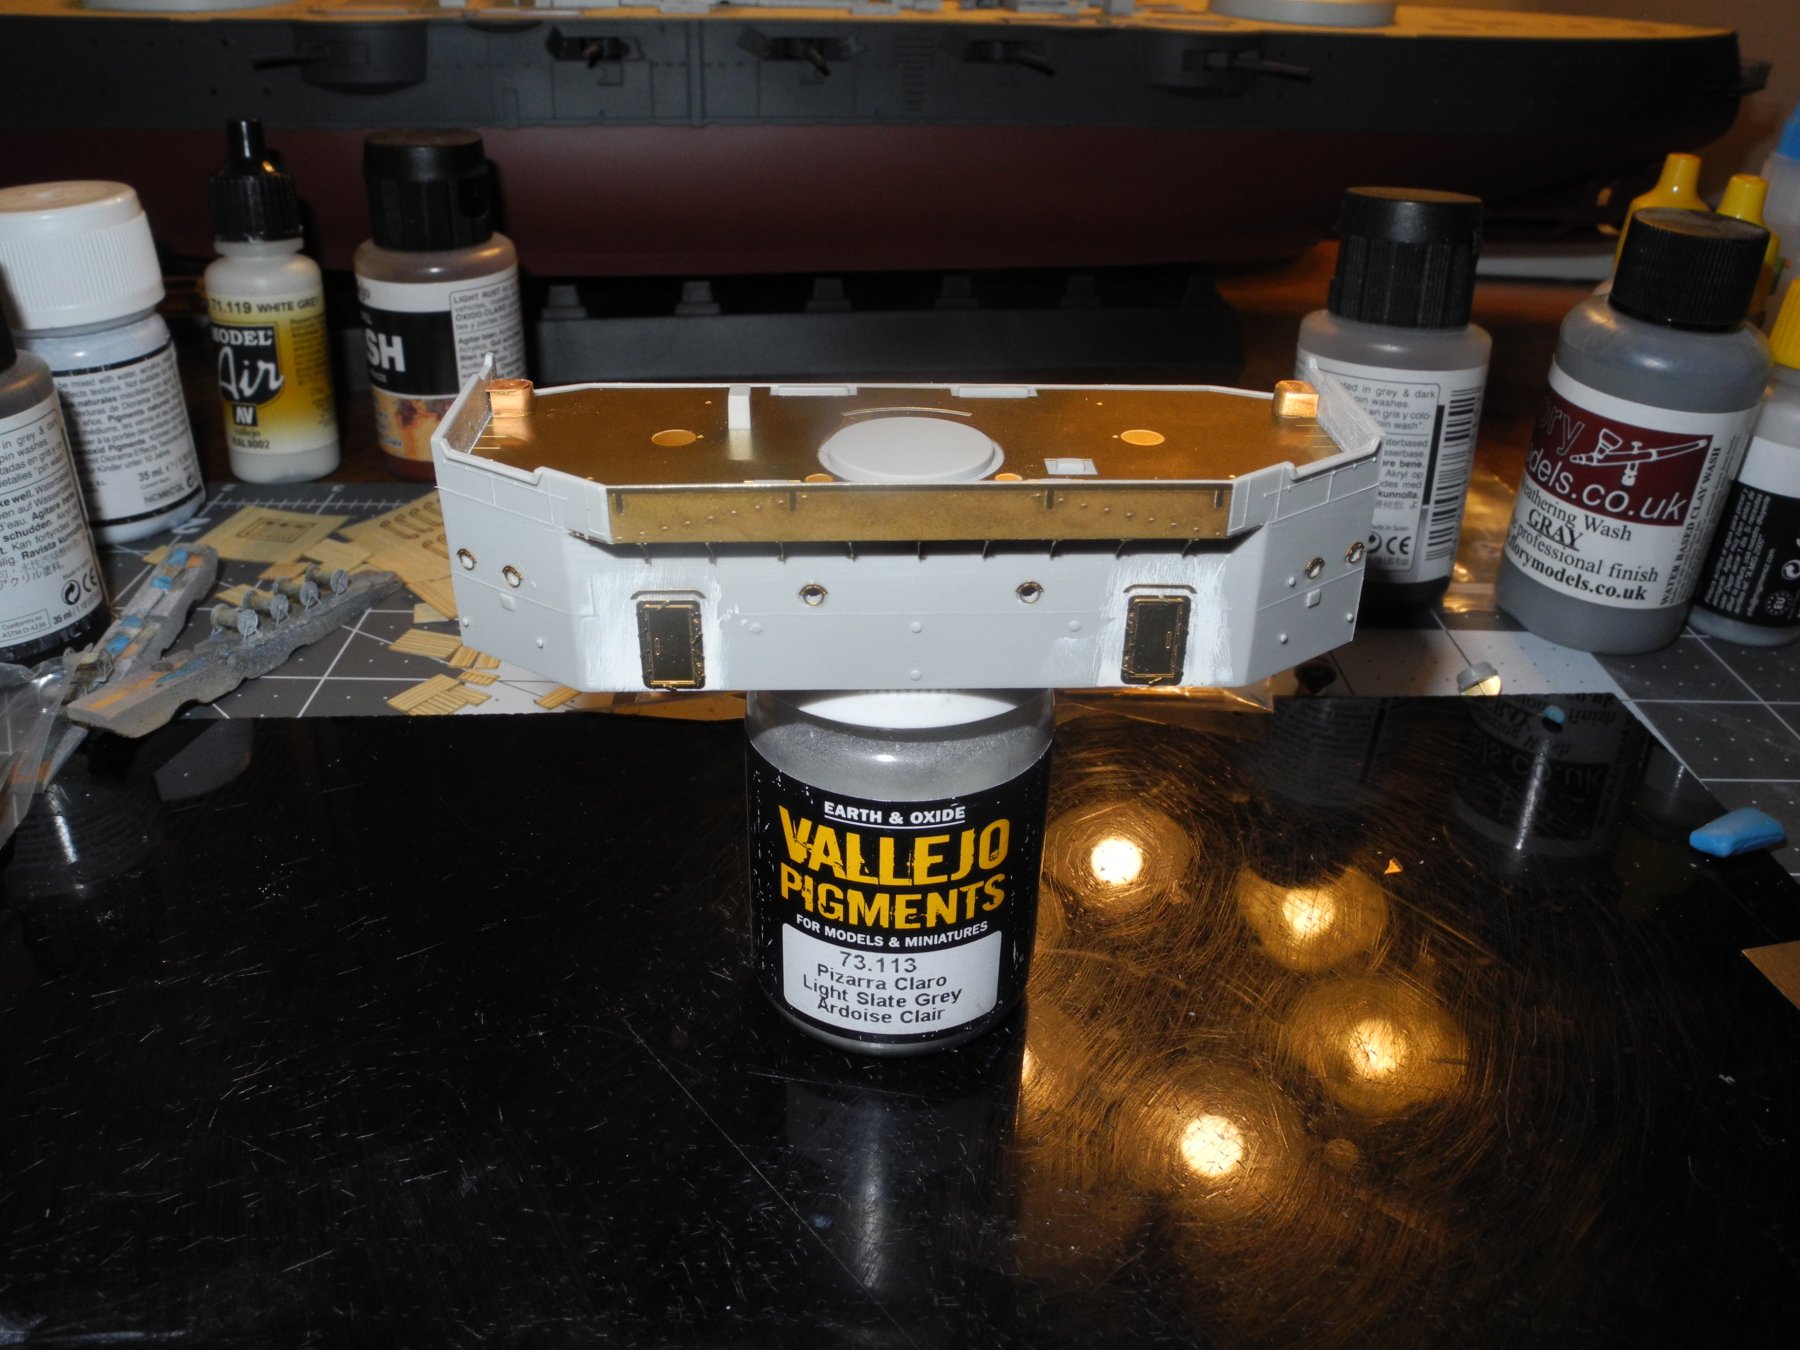
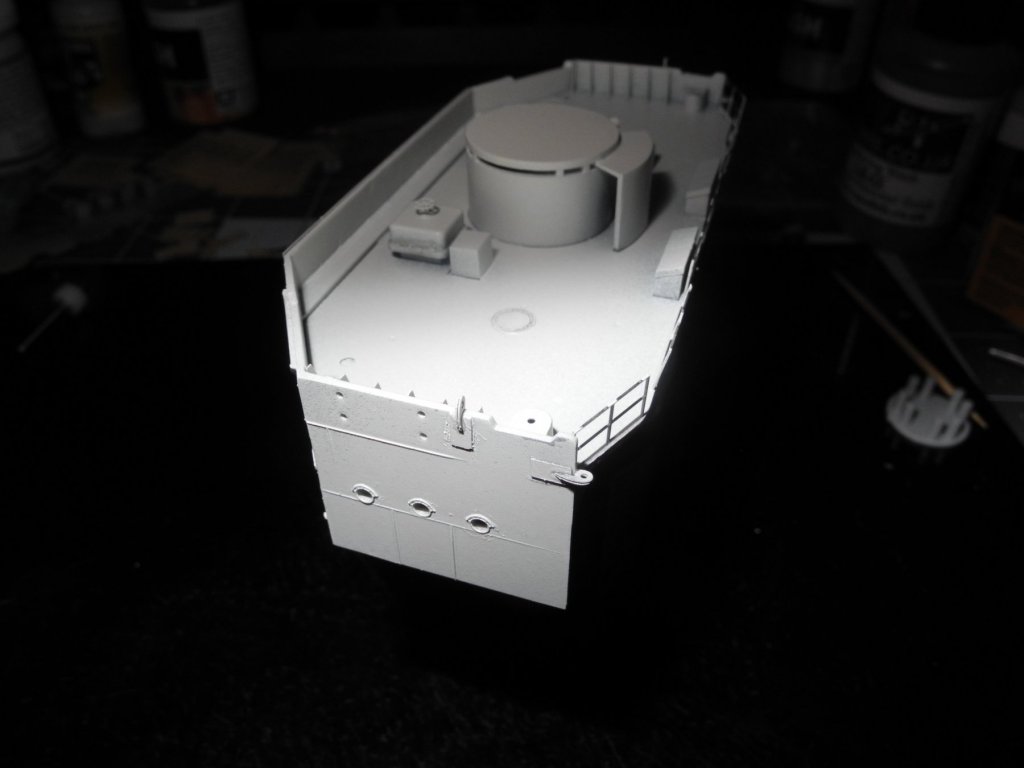
With some paint and a few more details added. Sorry, but my lighting and photography skills are awful. Will build some small guns that go on the bridge next.

- 467 replies
-
- 10
-
-
- mikasa
- wave models
- (and 1 more)
-
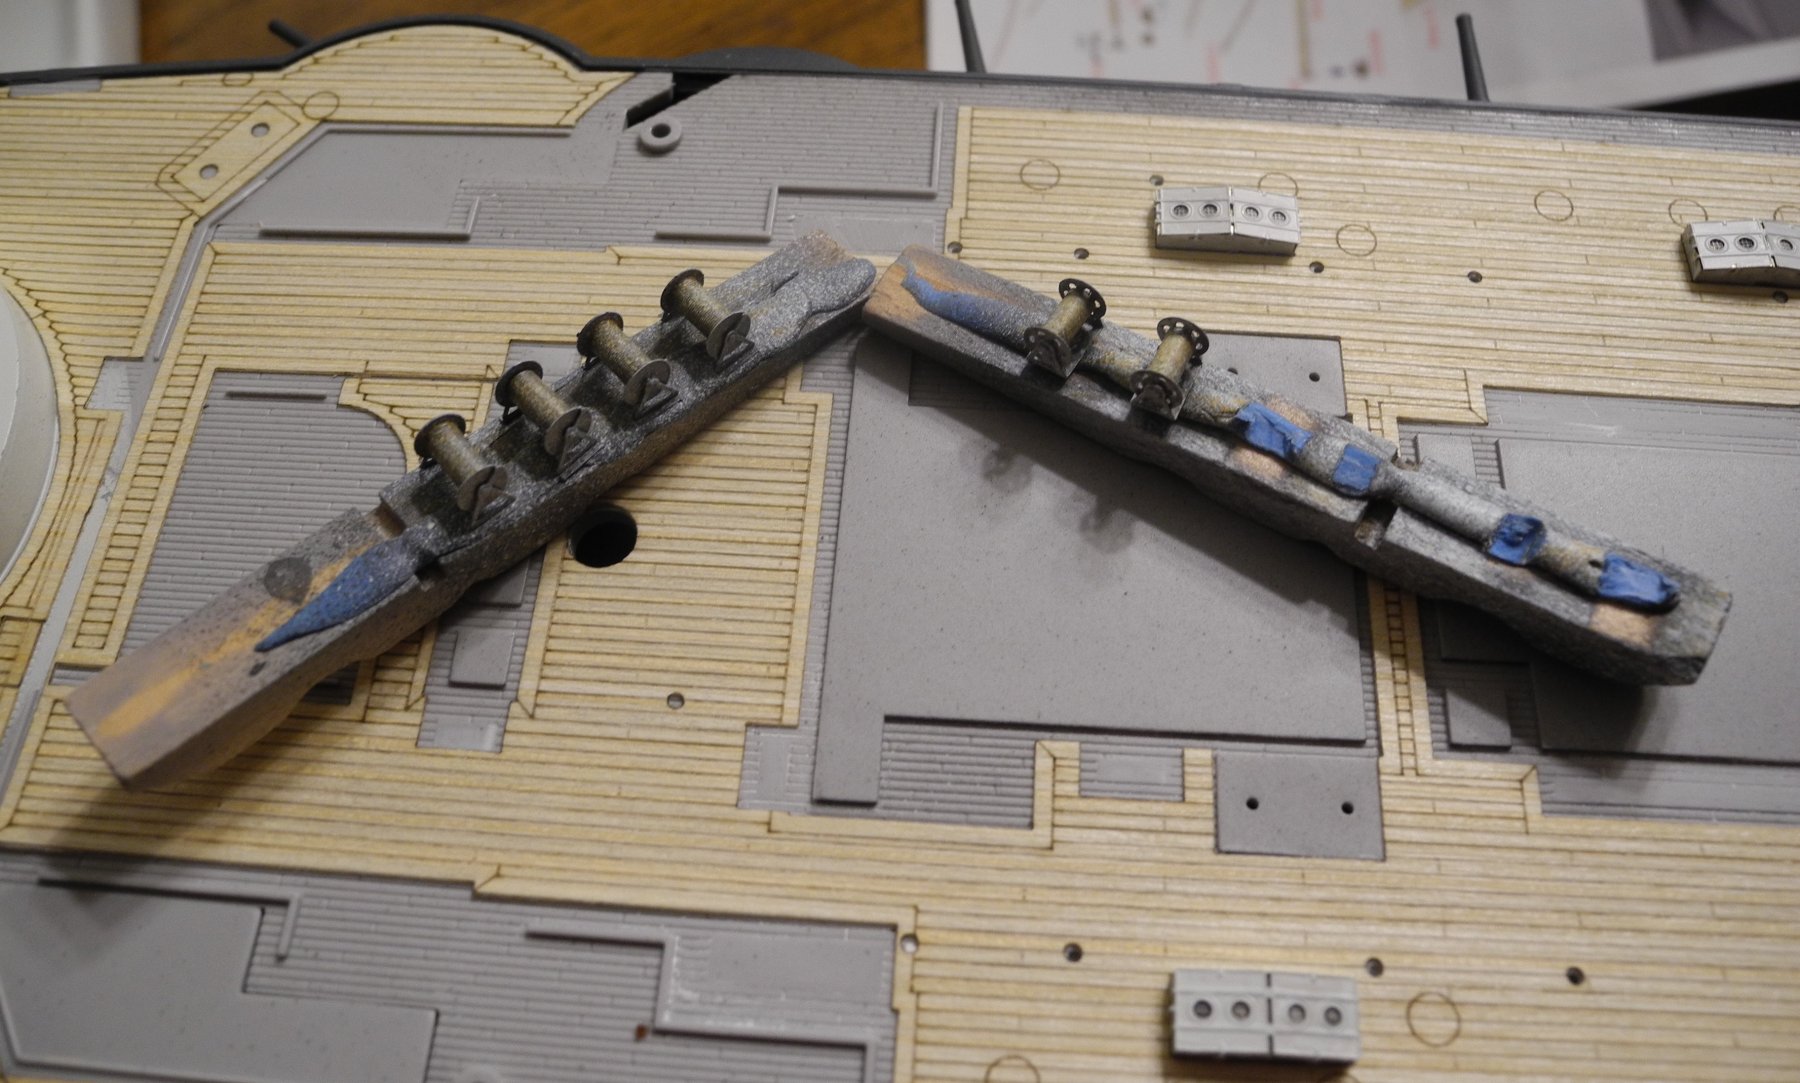
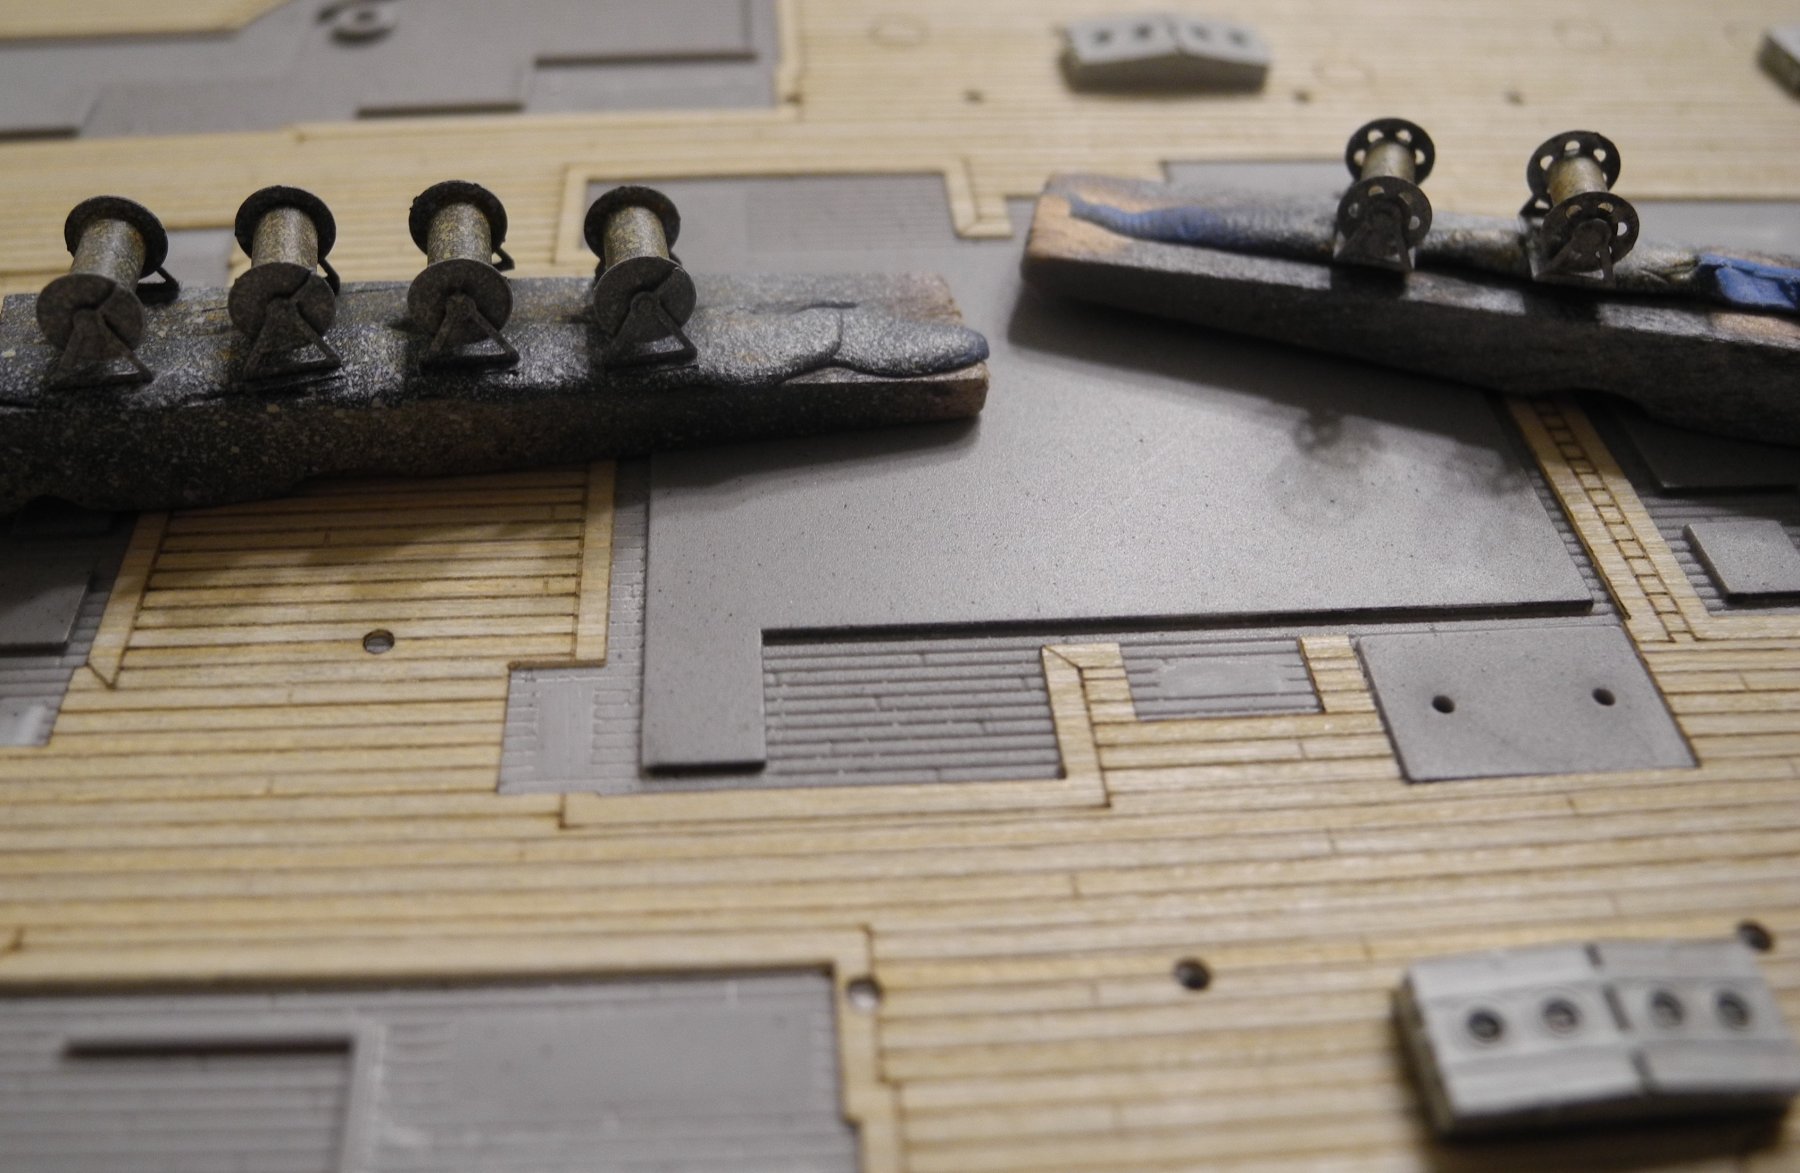
Nice that they give you the boom cables with the photo etch. A very realistic look to it, the way the cables sag and all. I like it.
-
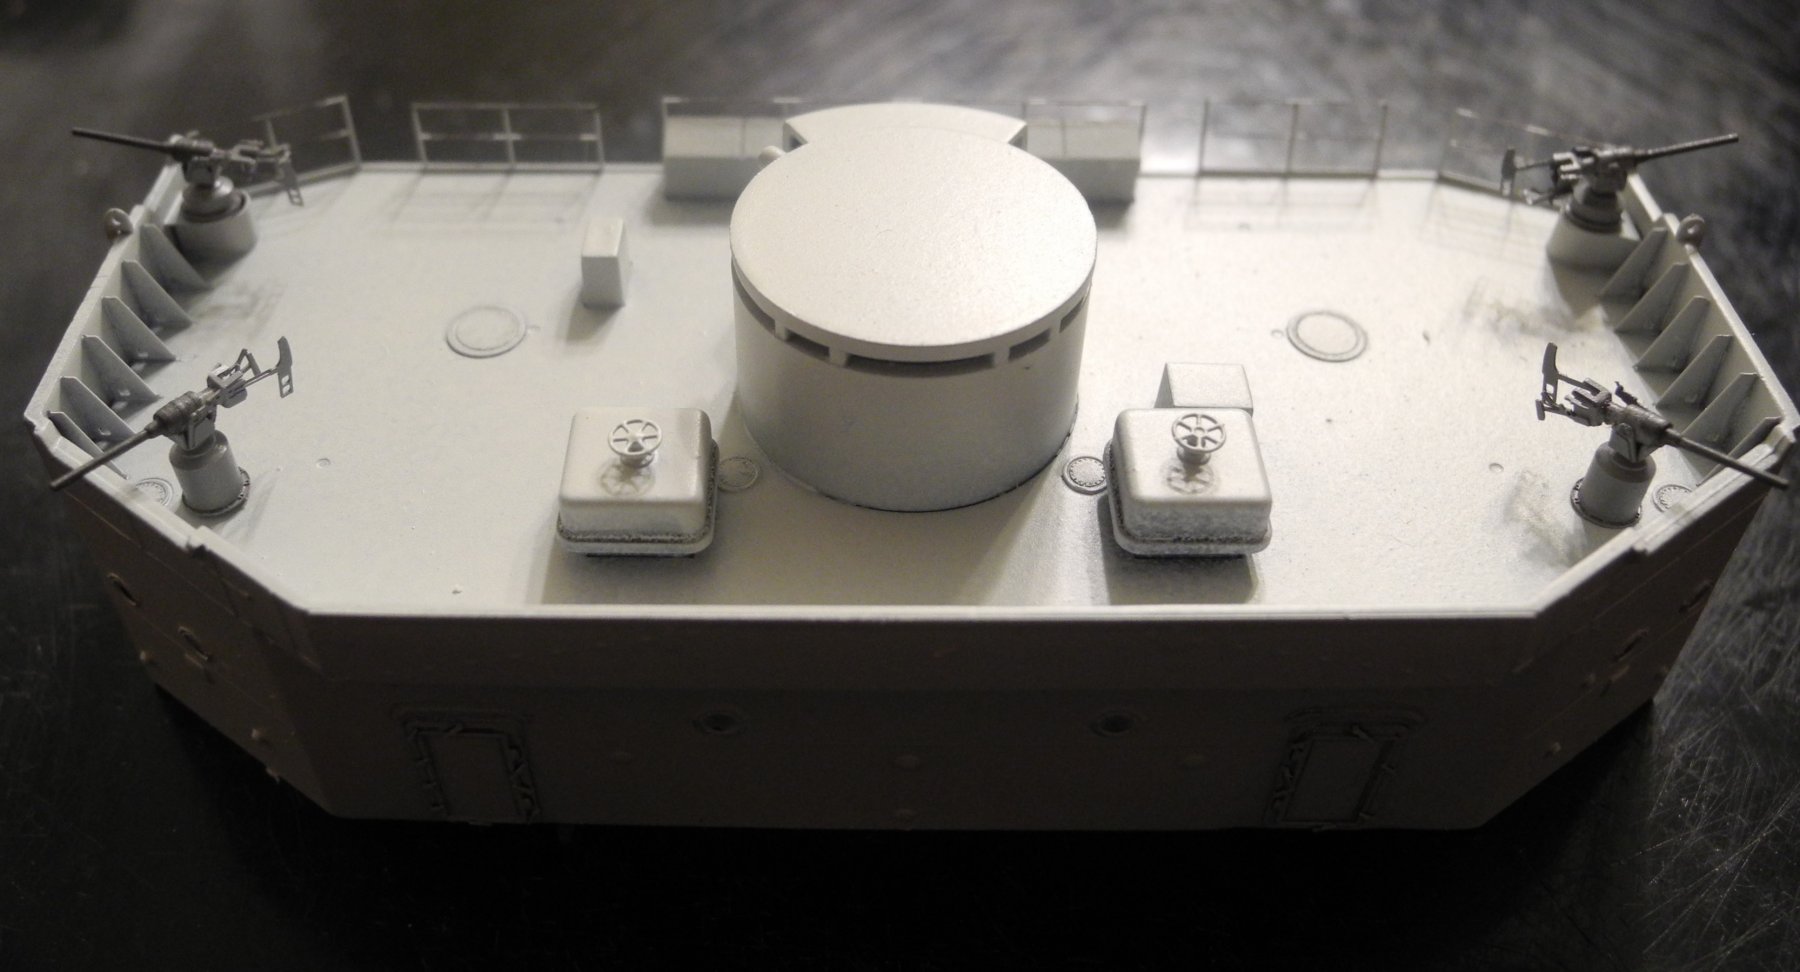
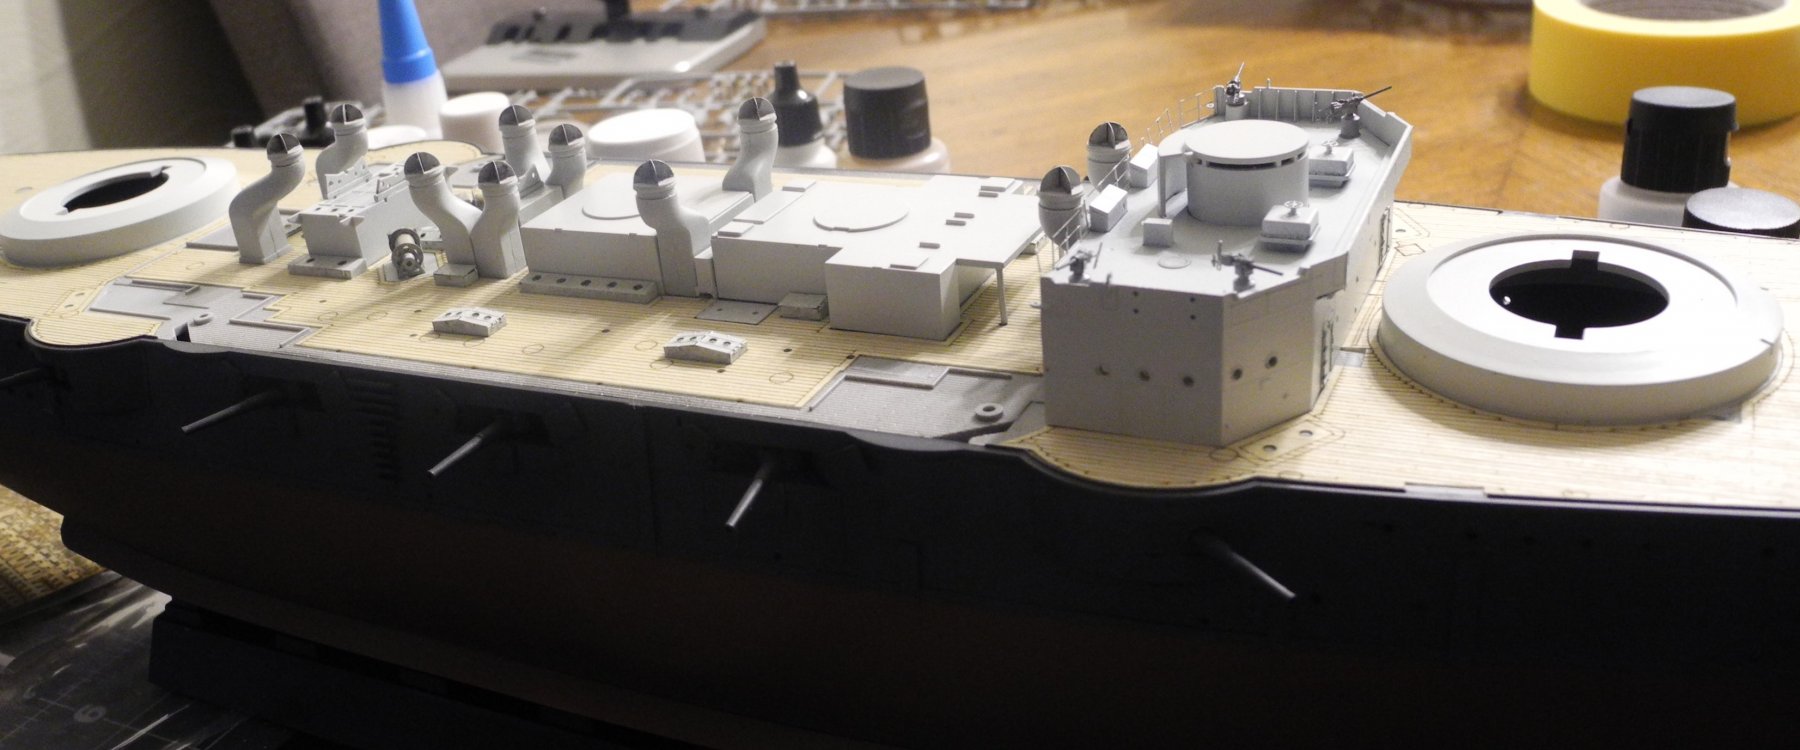
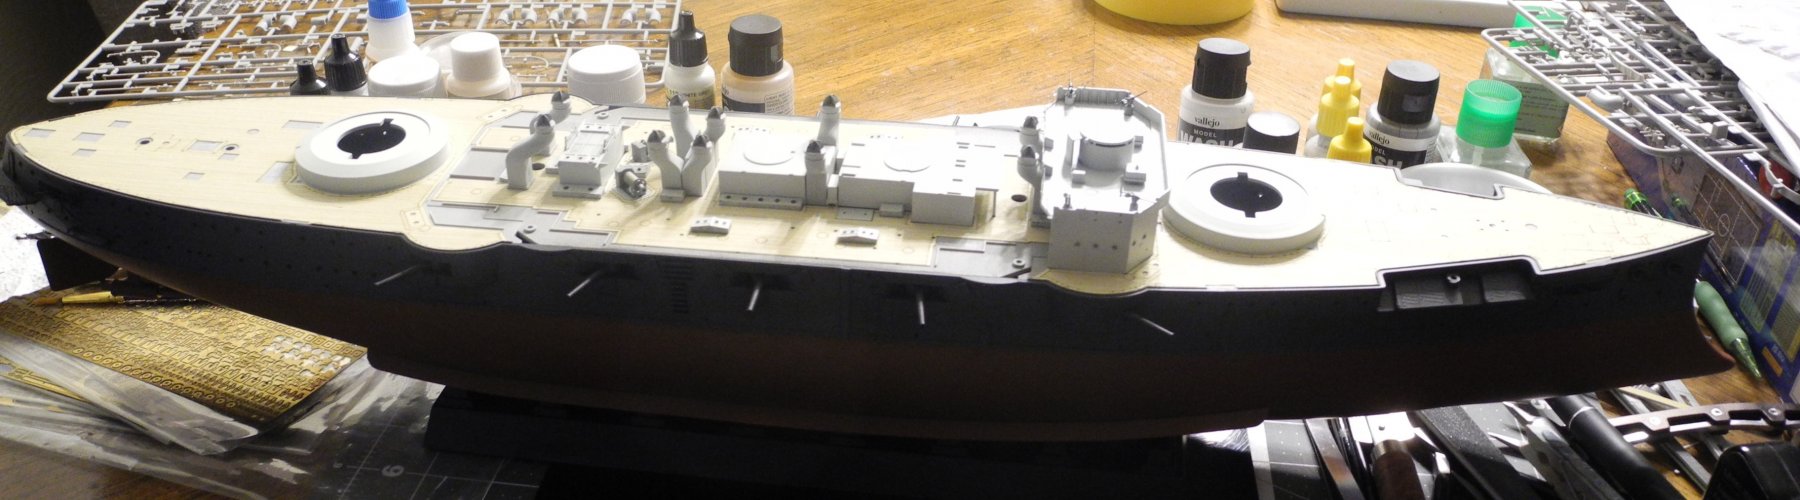
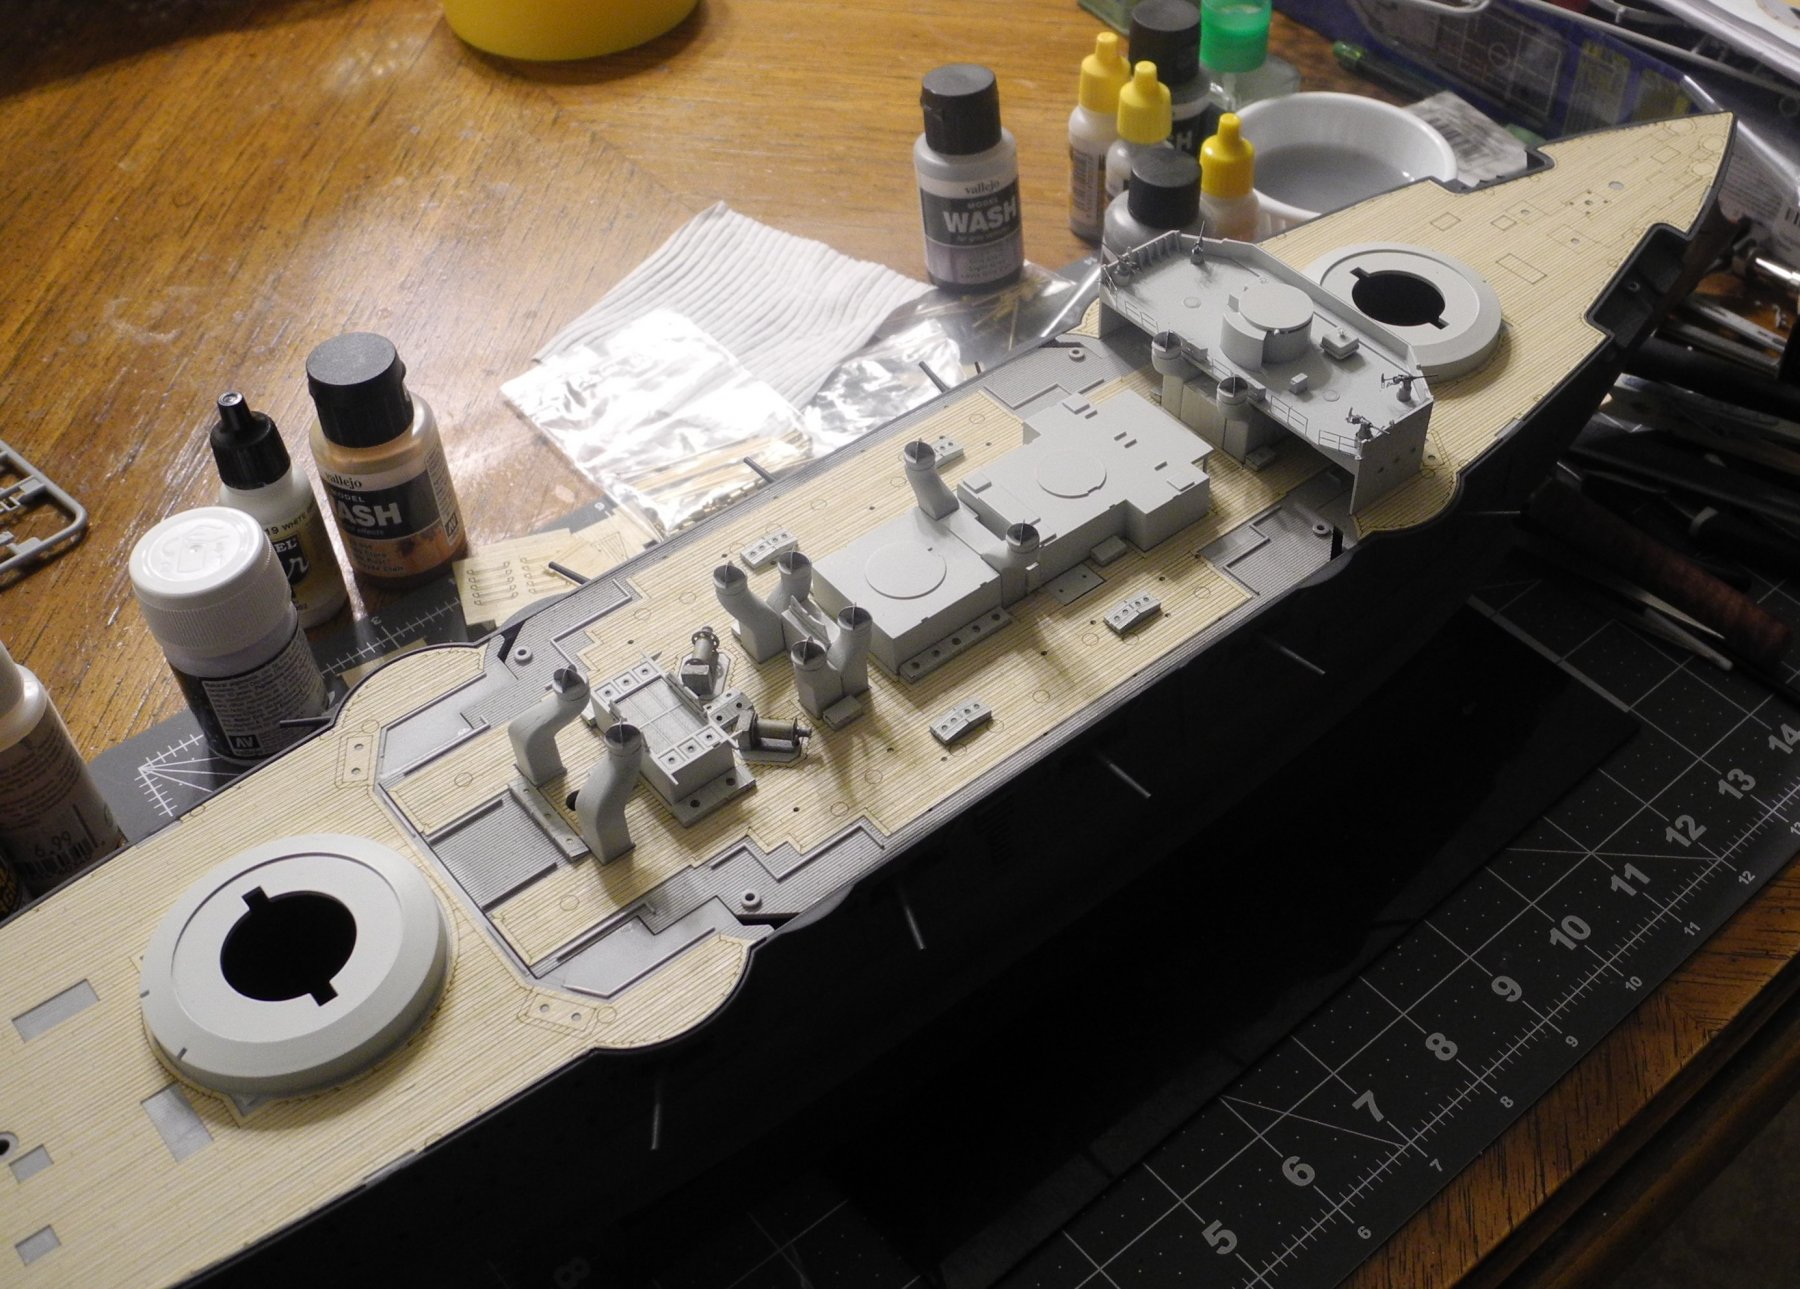
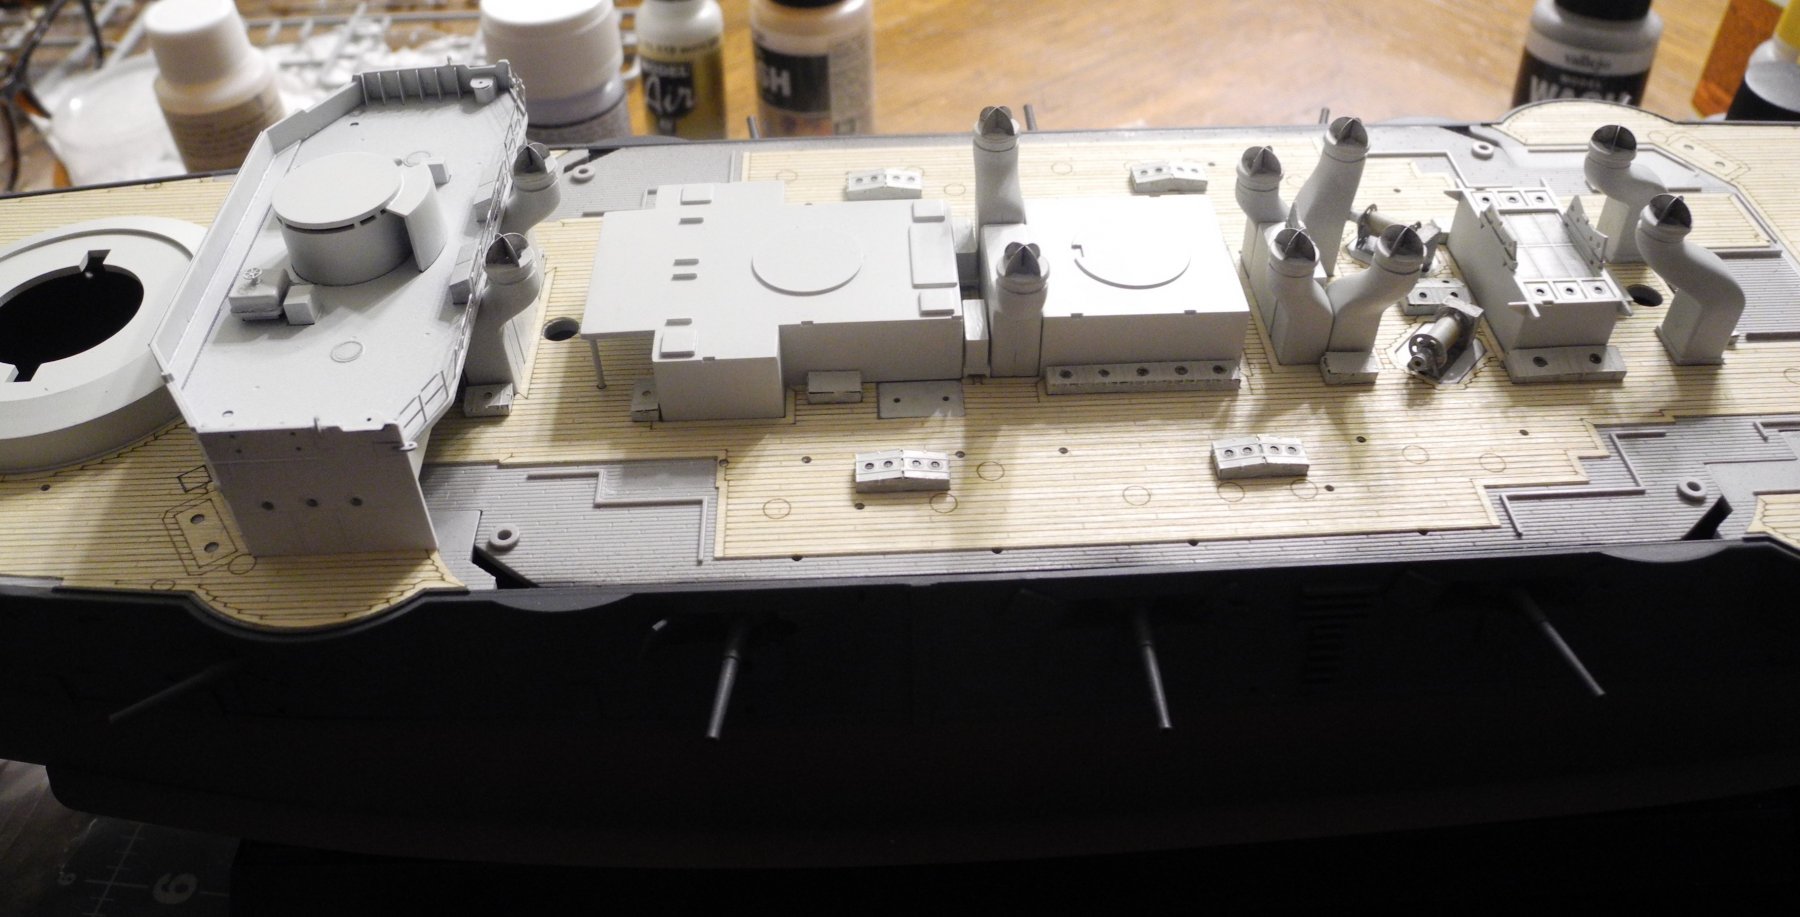
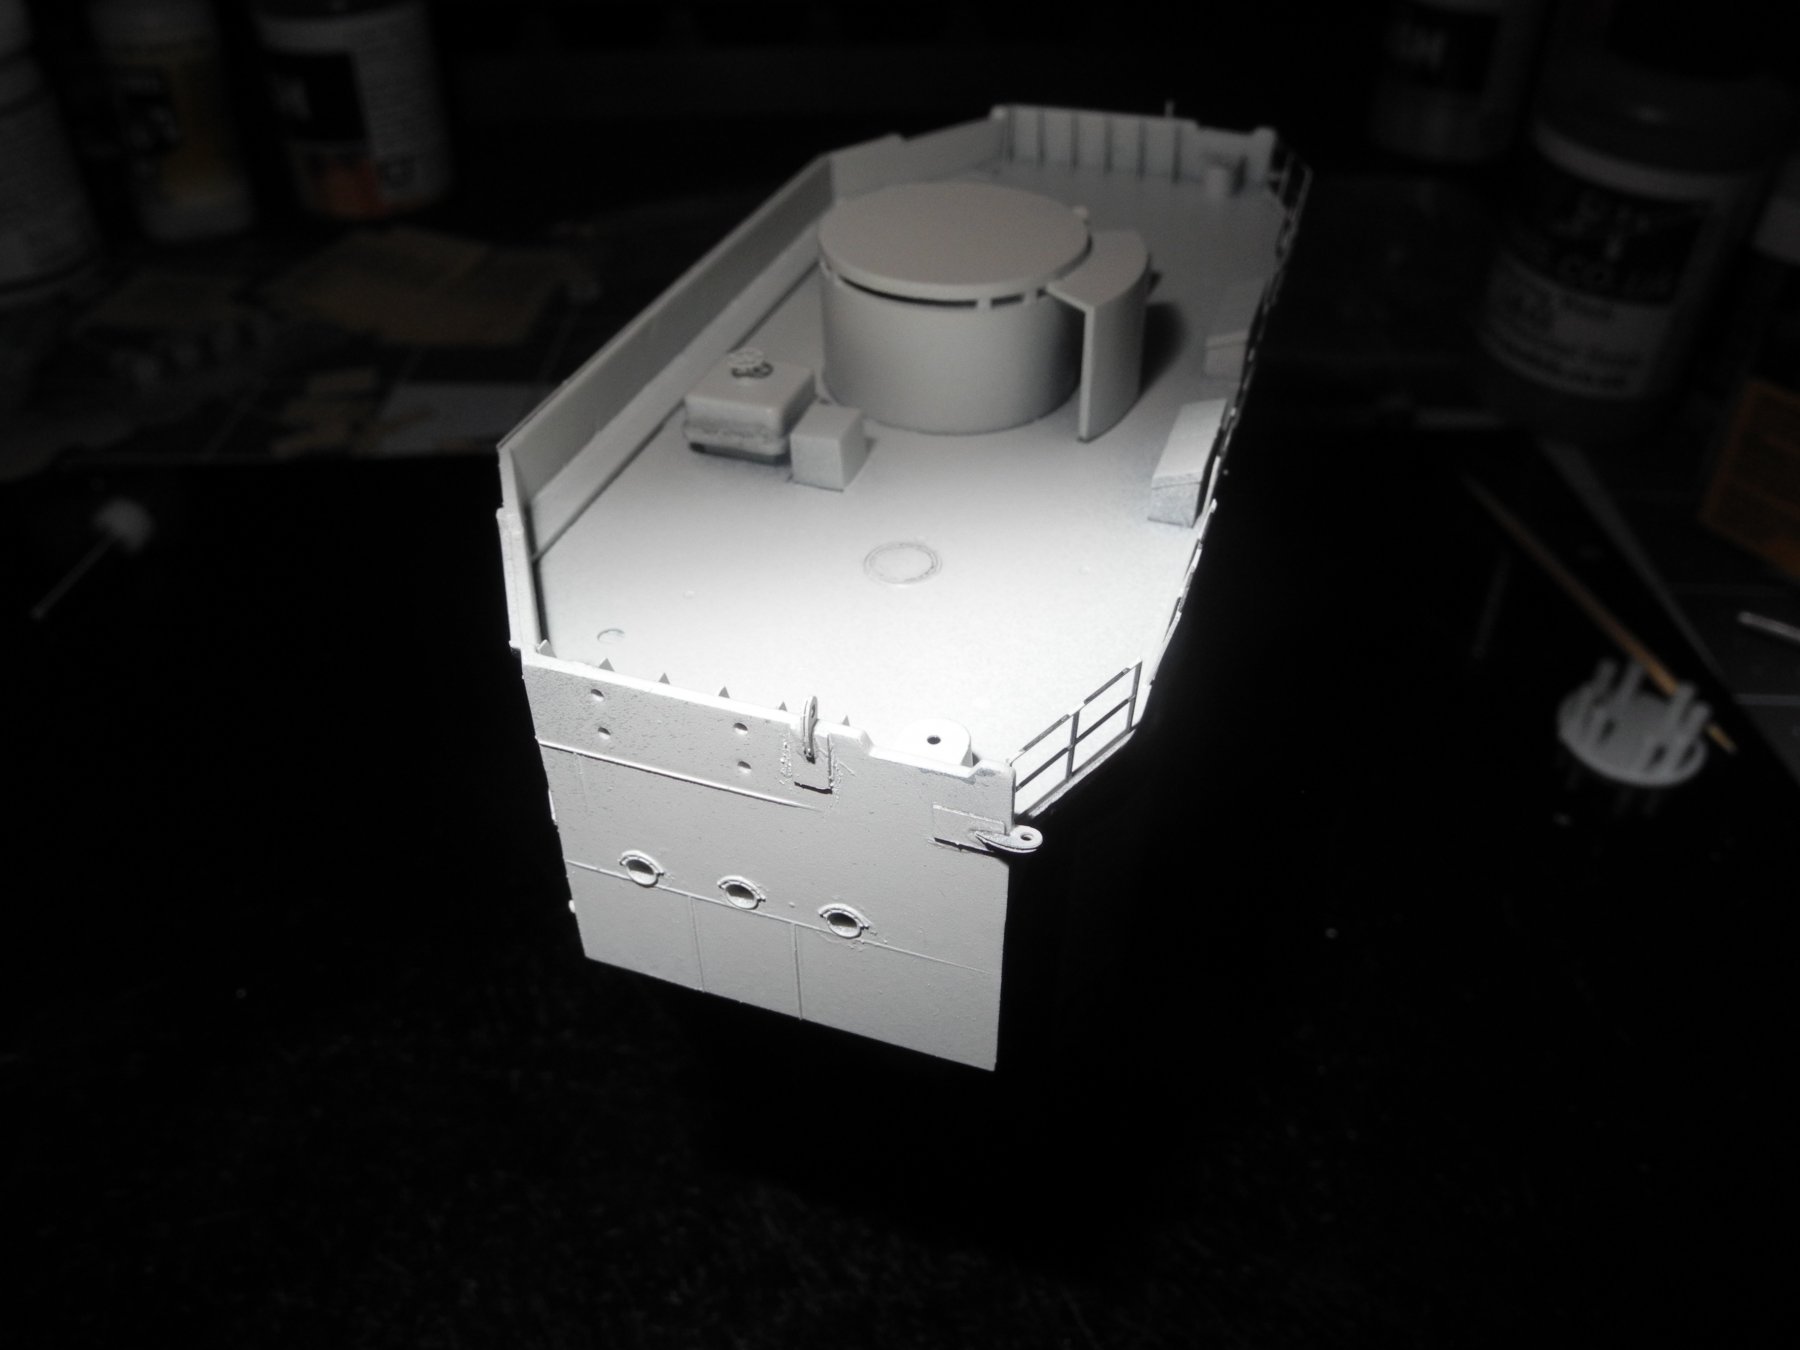
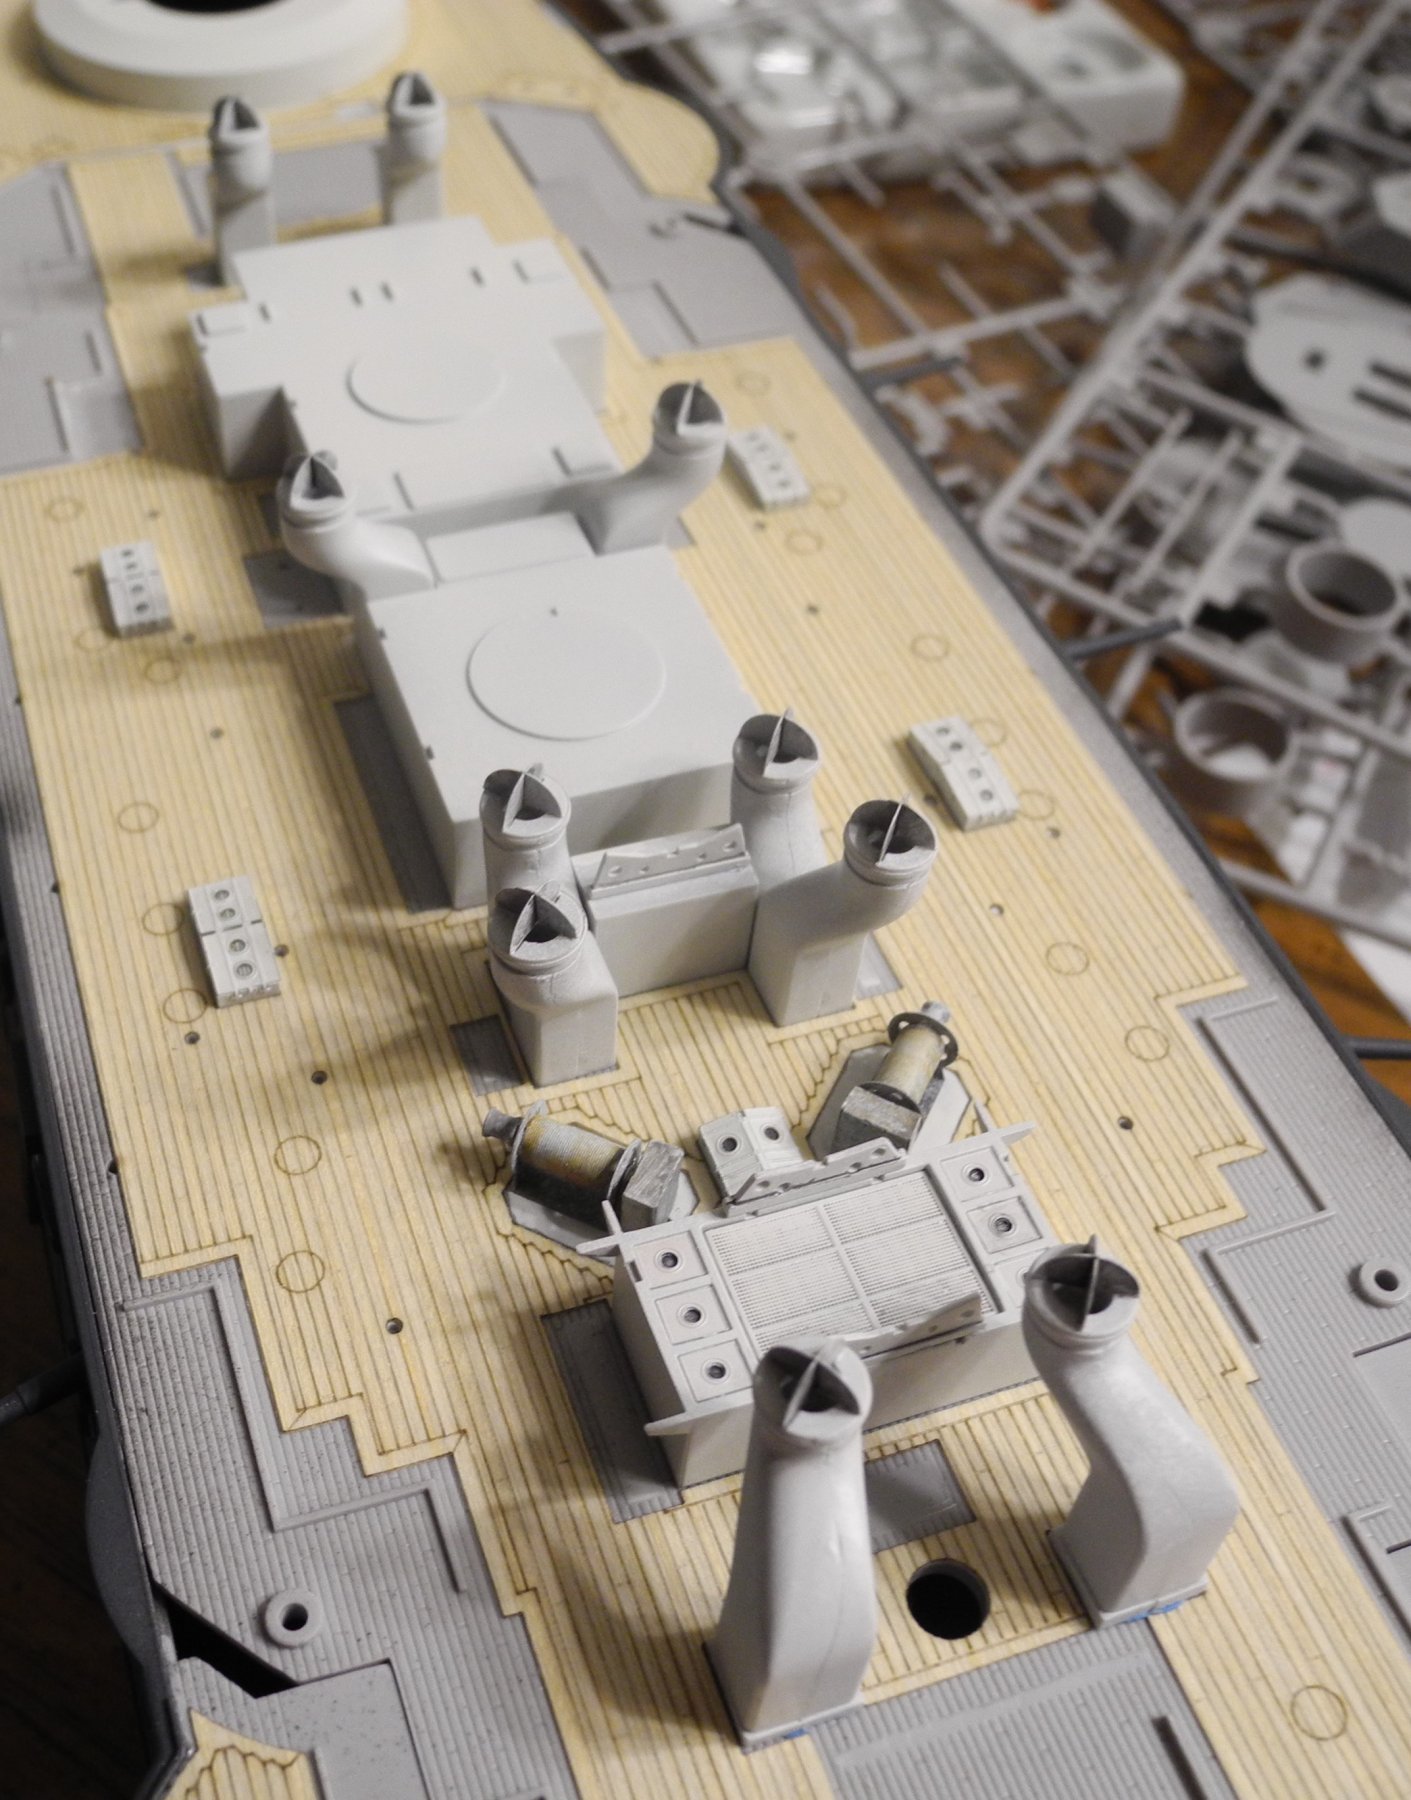
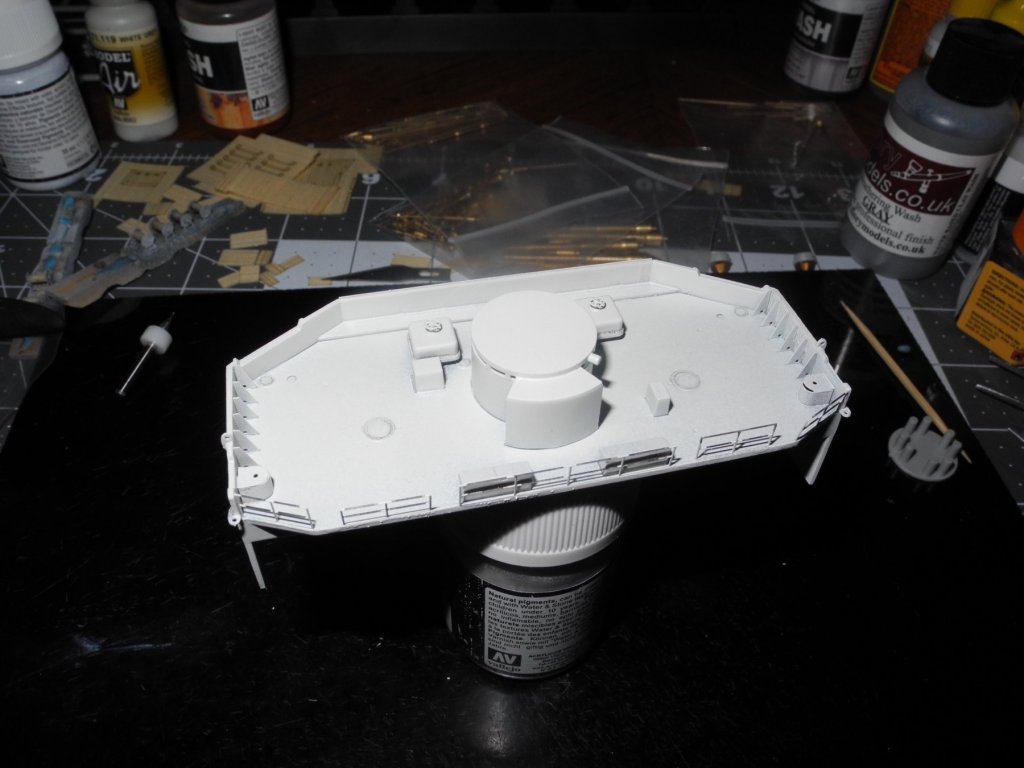
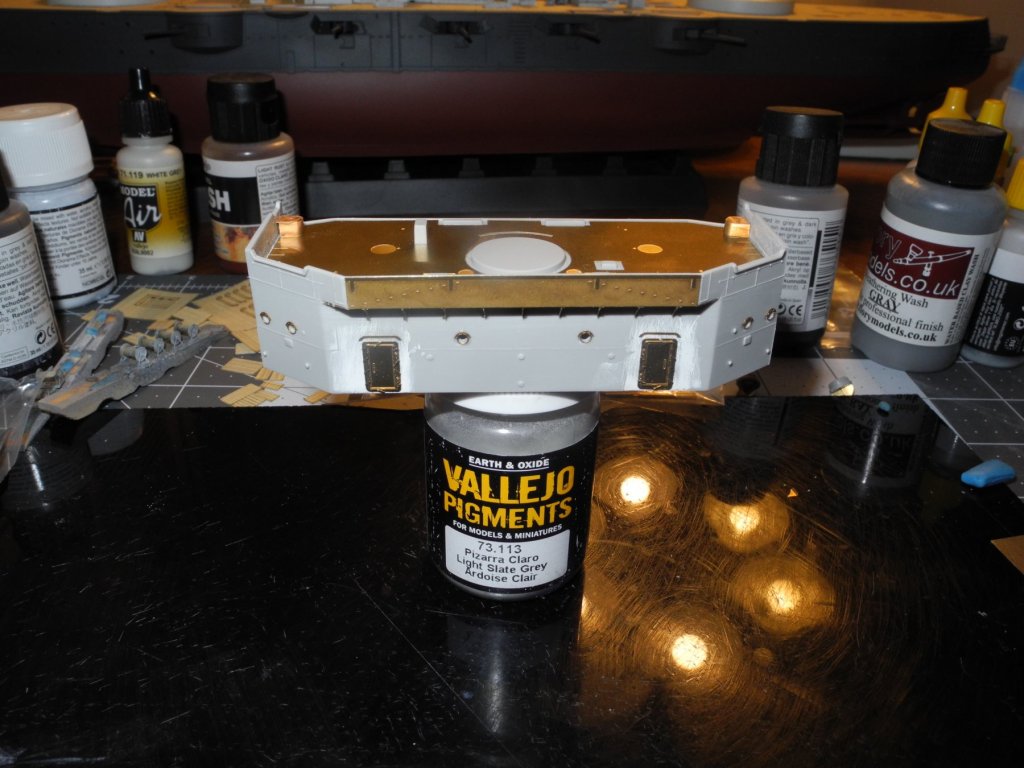
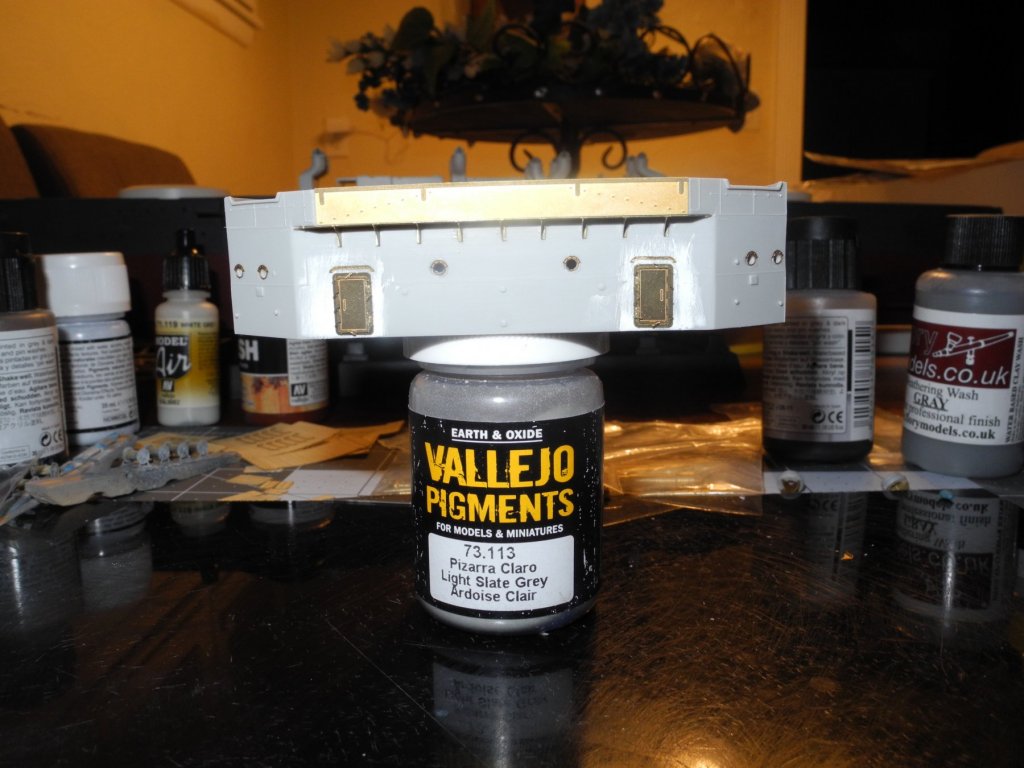
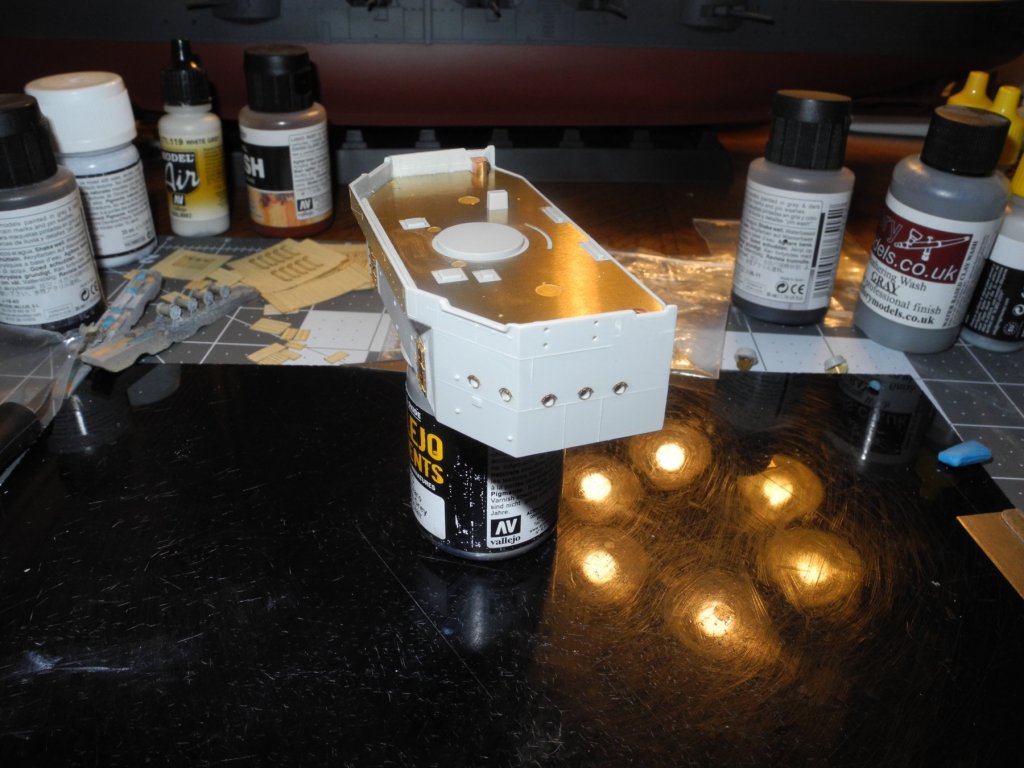
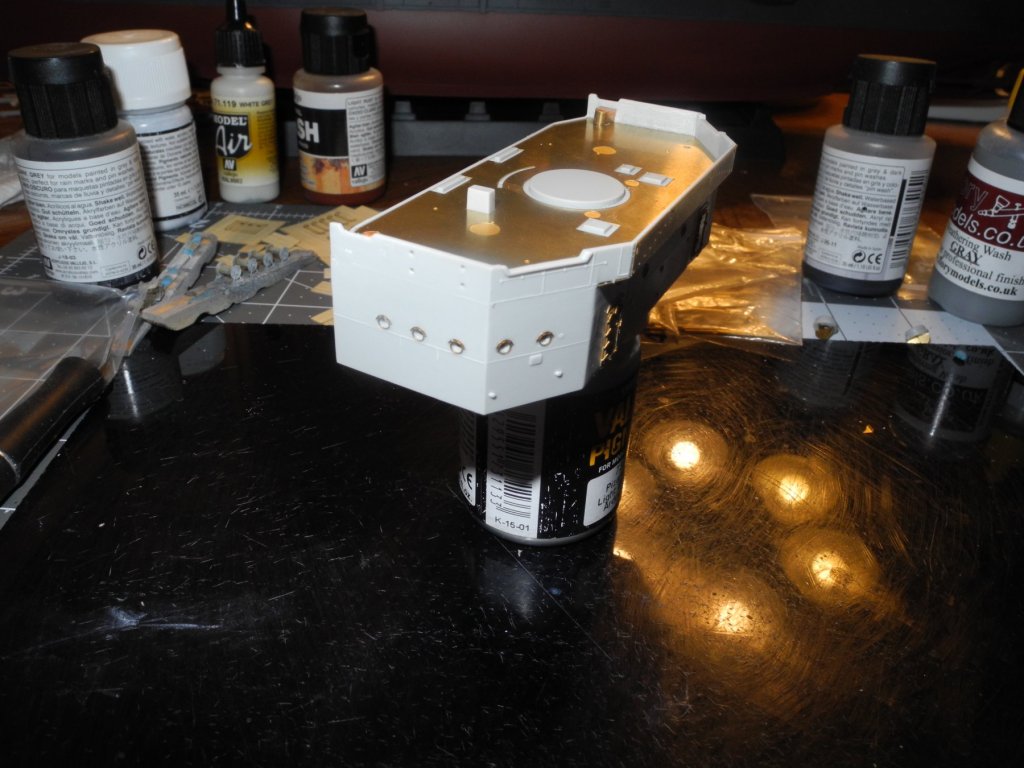
Spent some time, but it doesn't look like much done today. The front bridge requires cutting, filing, and sanding before adding photo etch details to build it. The entire deck gets replaced. Structural details, gussets, portholes and doors have to be added. Next will be a host of other bits and pieces including guns, before the bridge is done. This will take a few days before taking on the rear bridge which is nearly a clone of the front bridge. A little difference, but not a lot.
- 467 replies
-
- 10
-
-
- mikasa
- wave models
- (and 1 more)
-
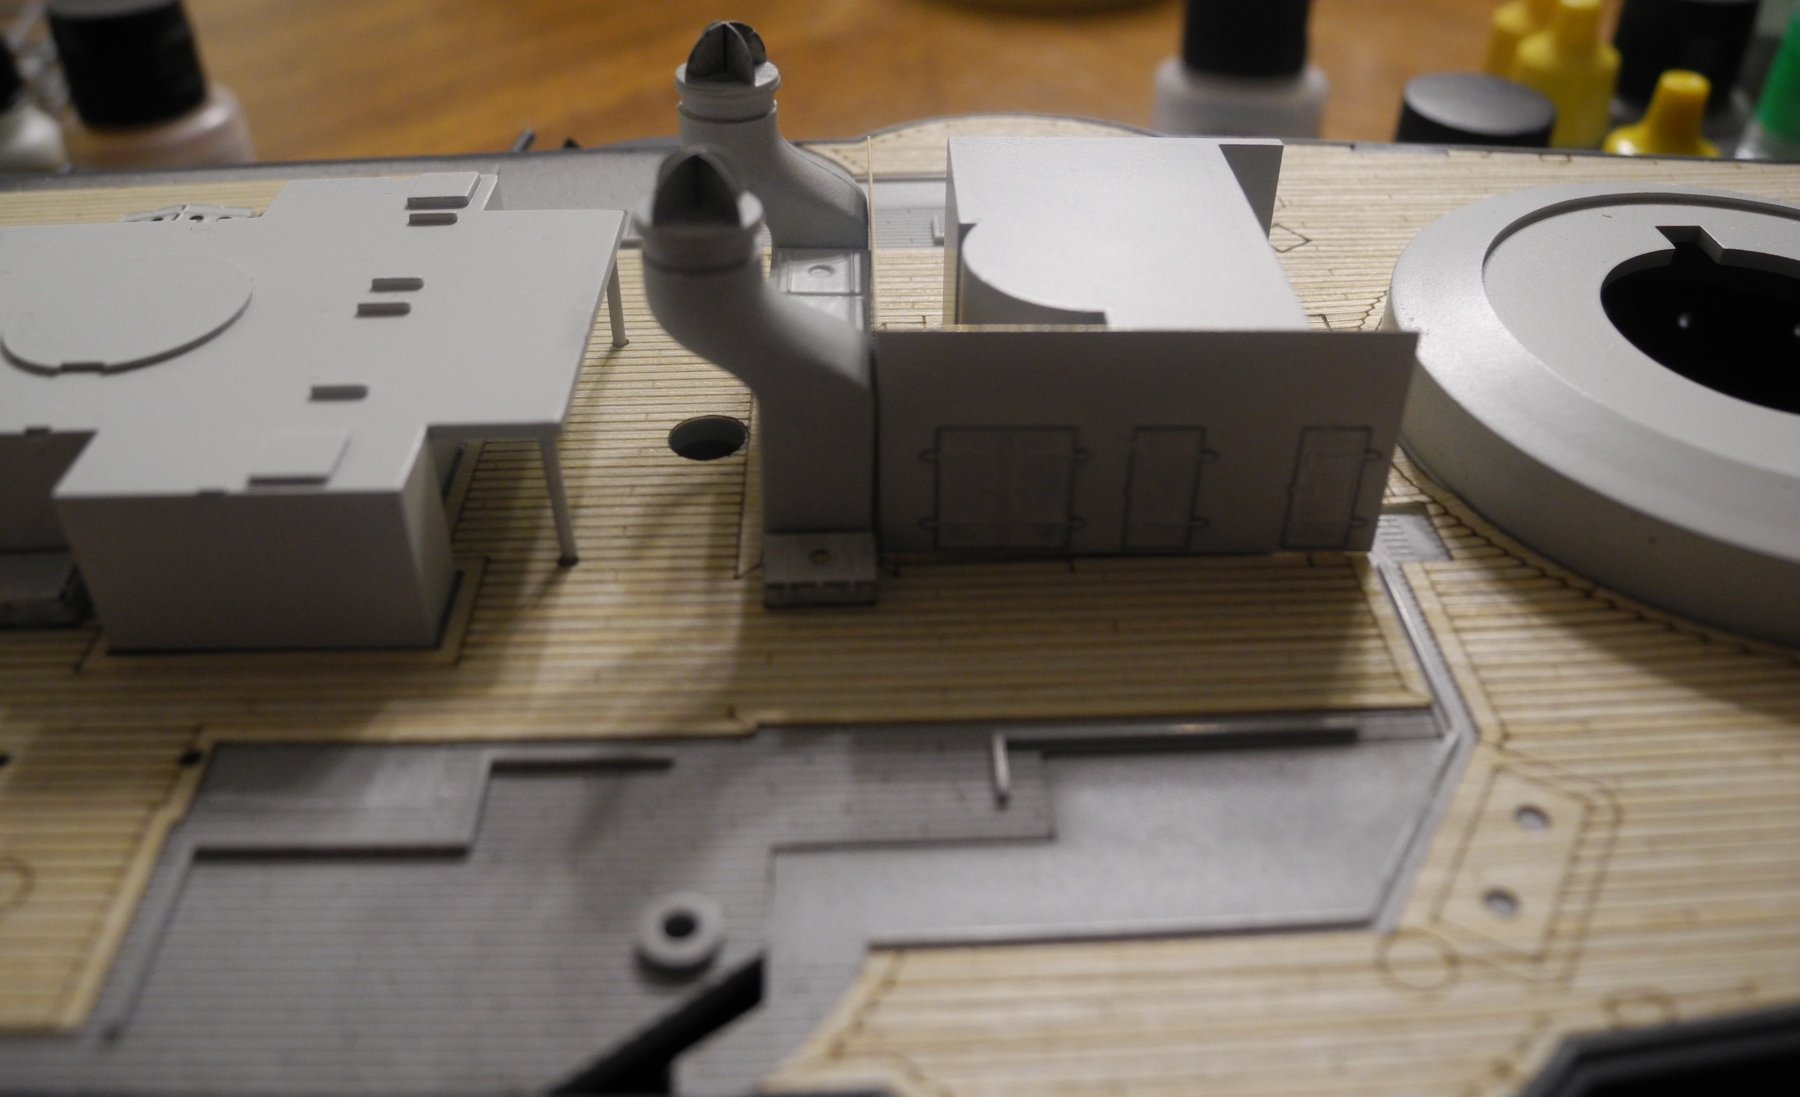
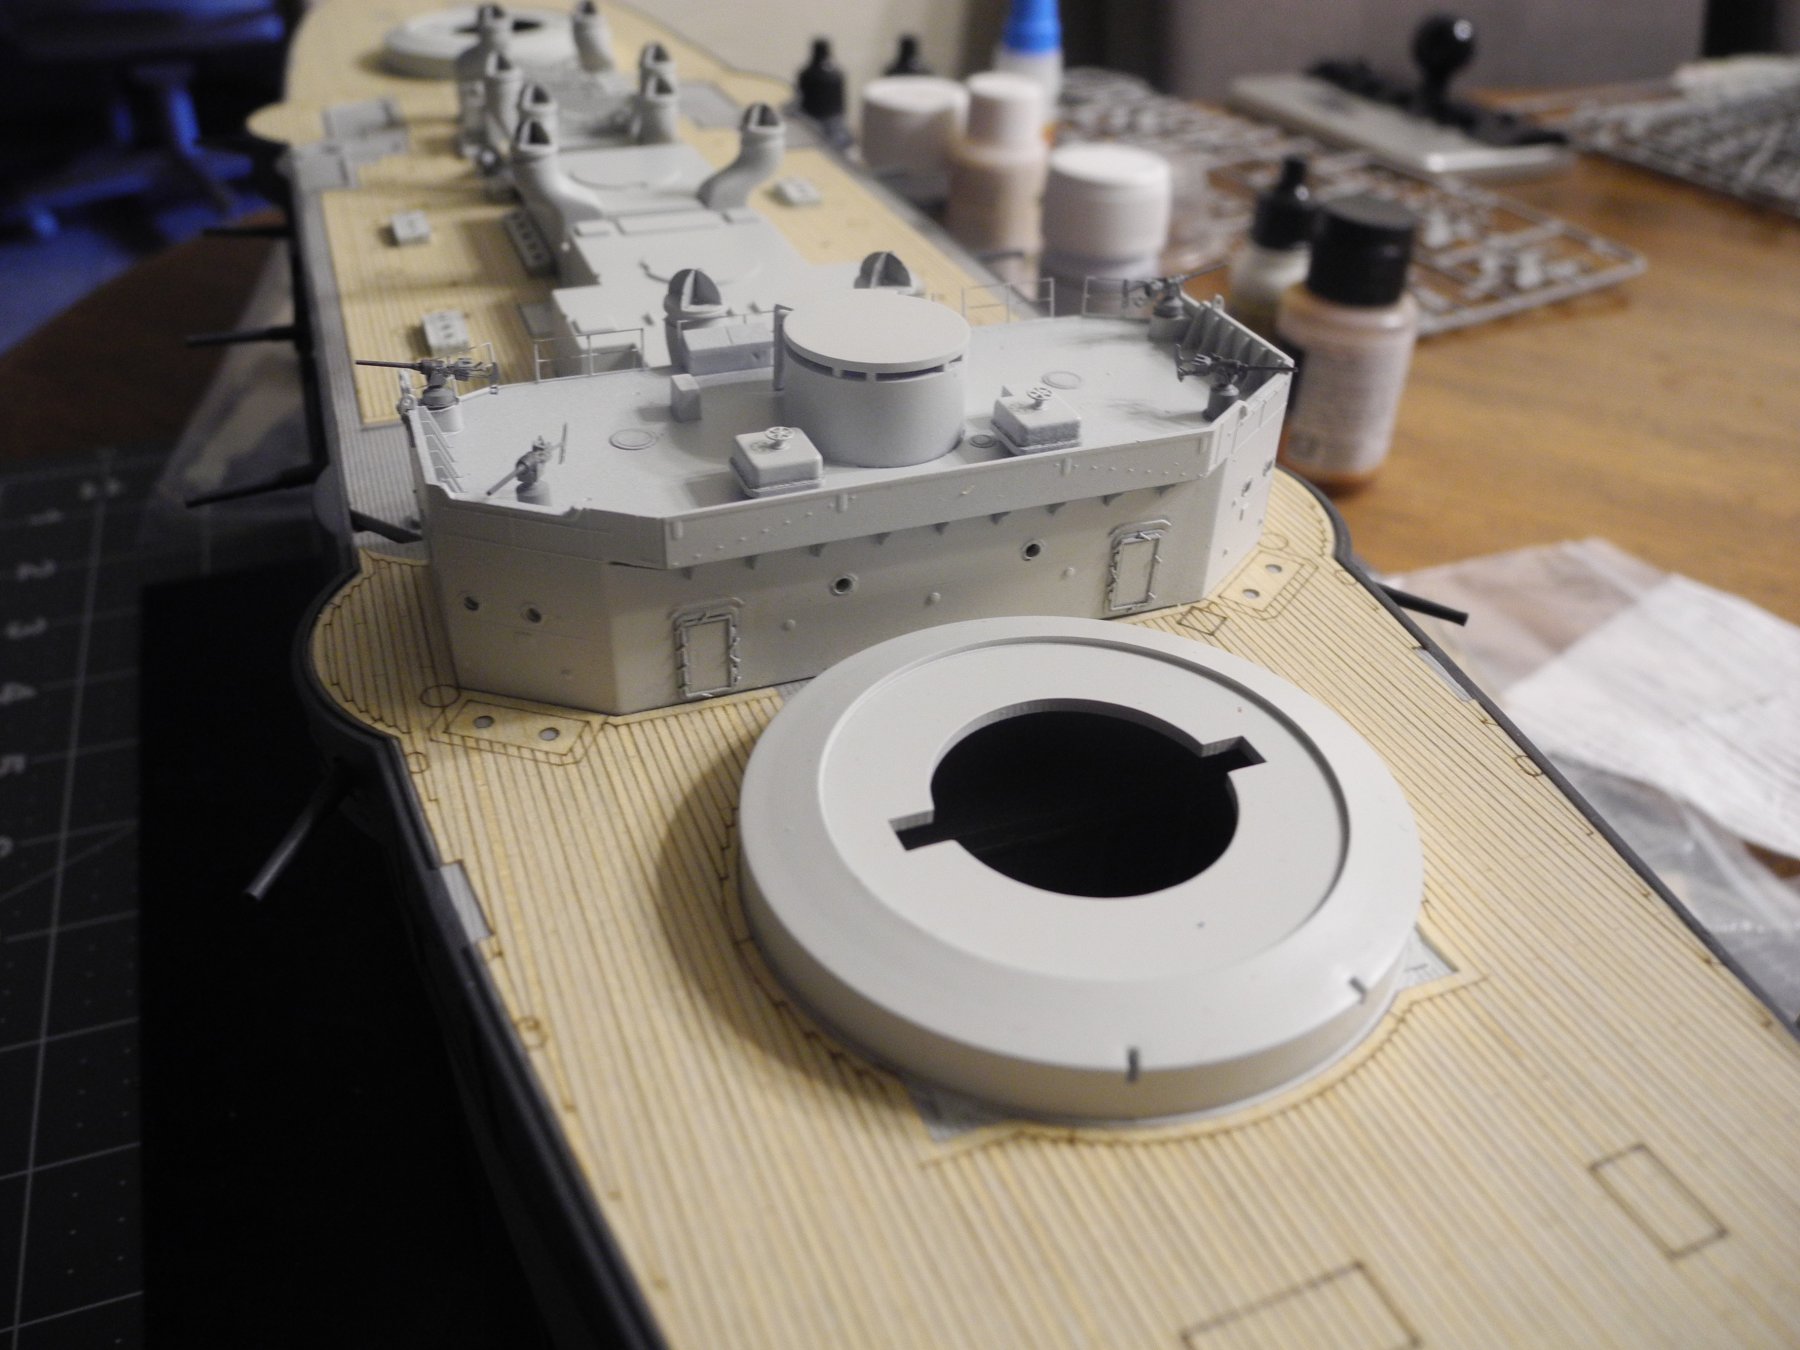
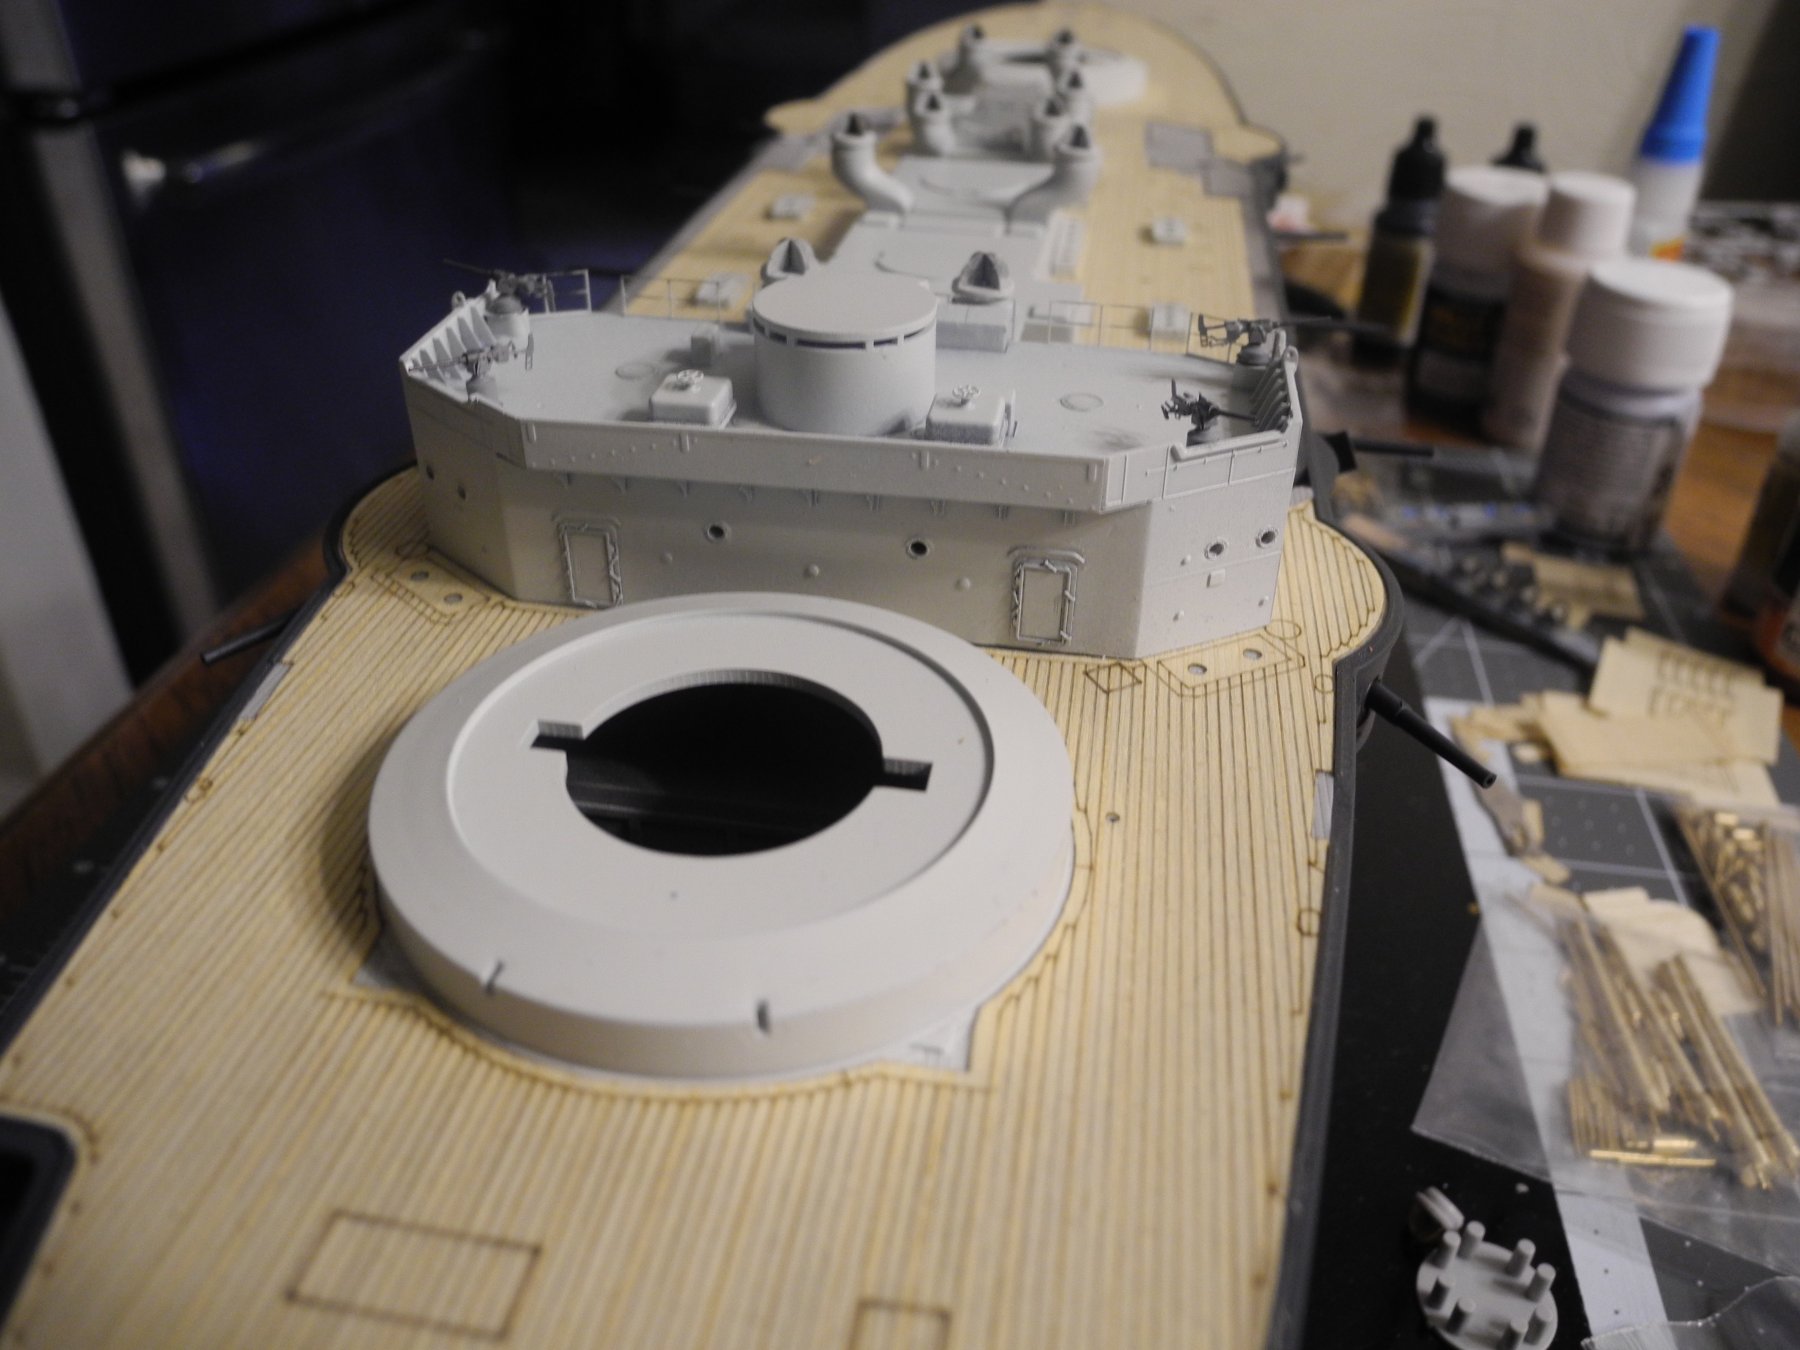
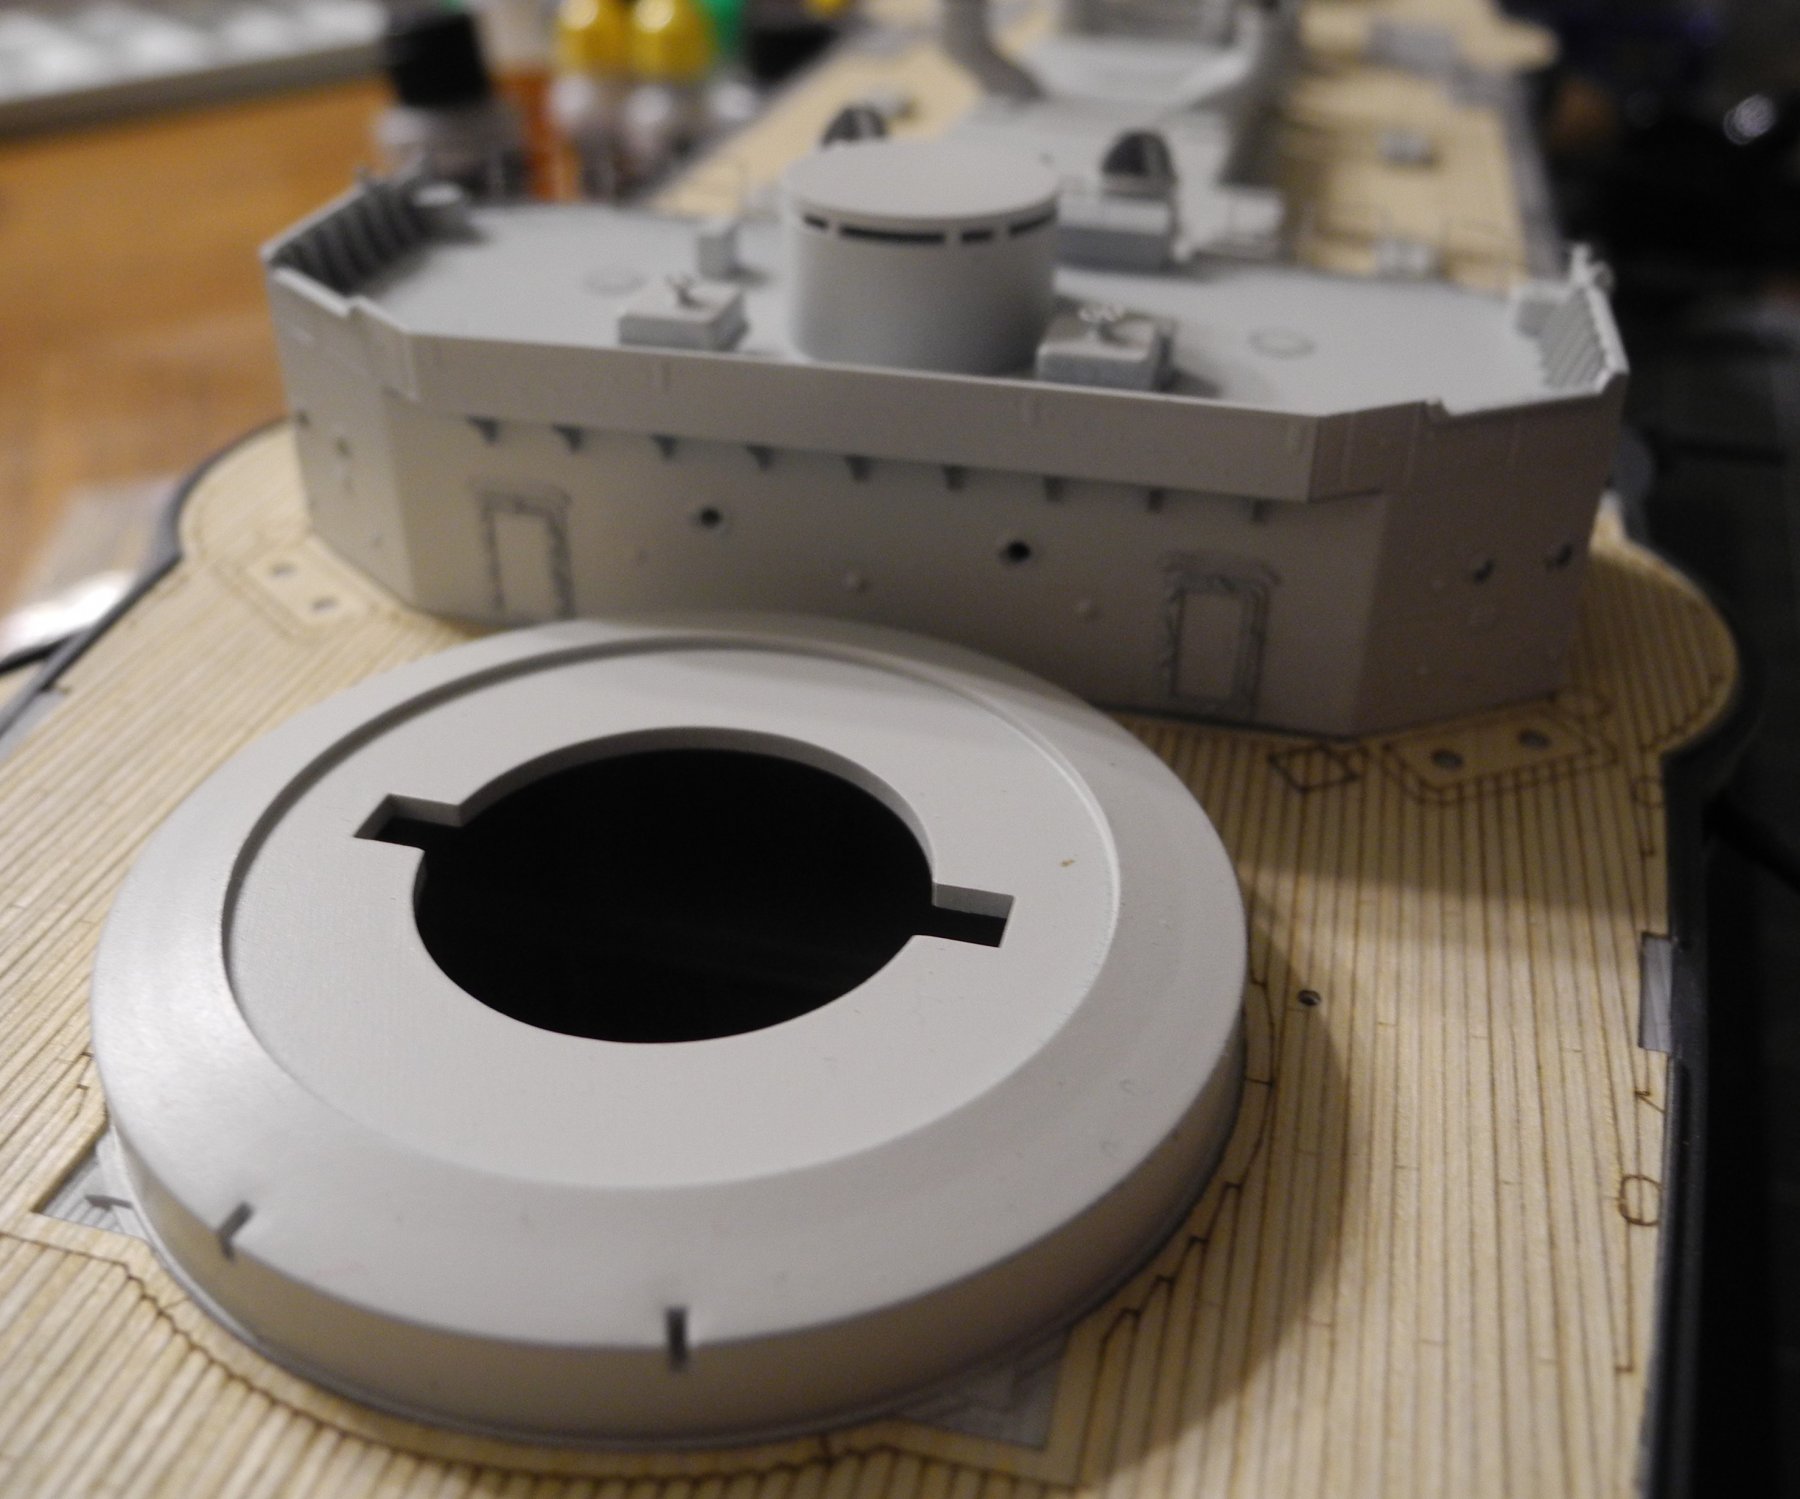
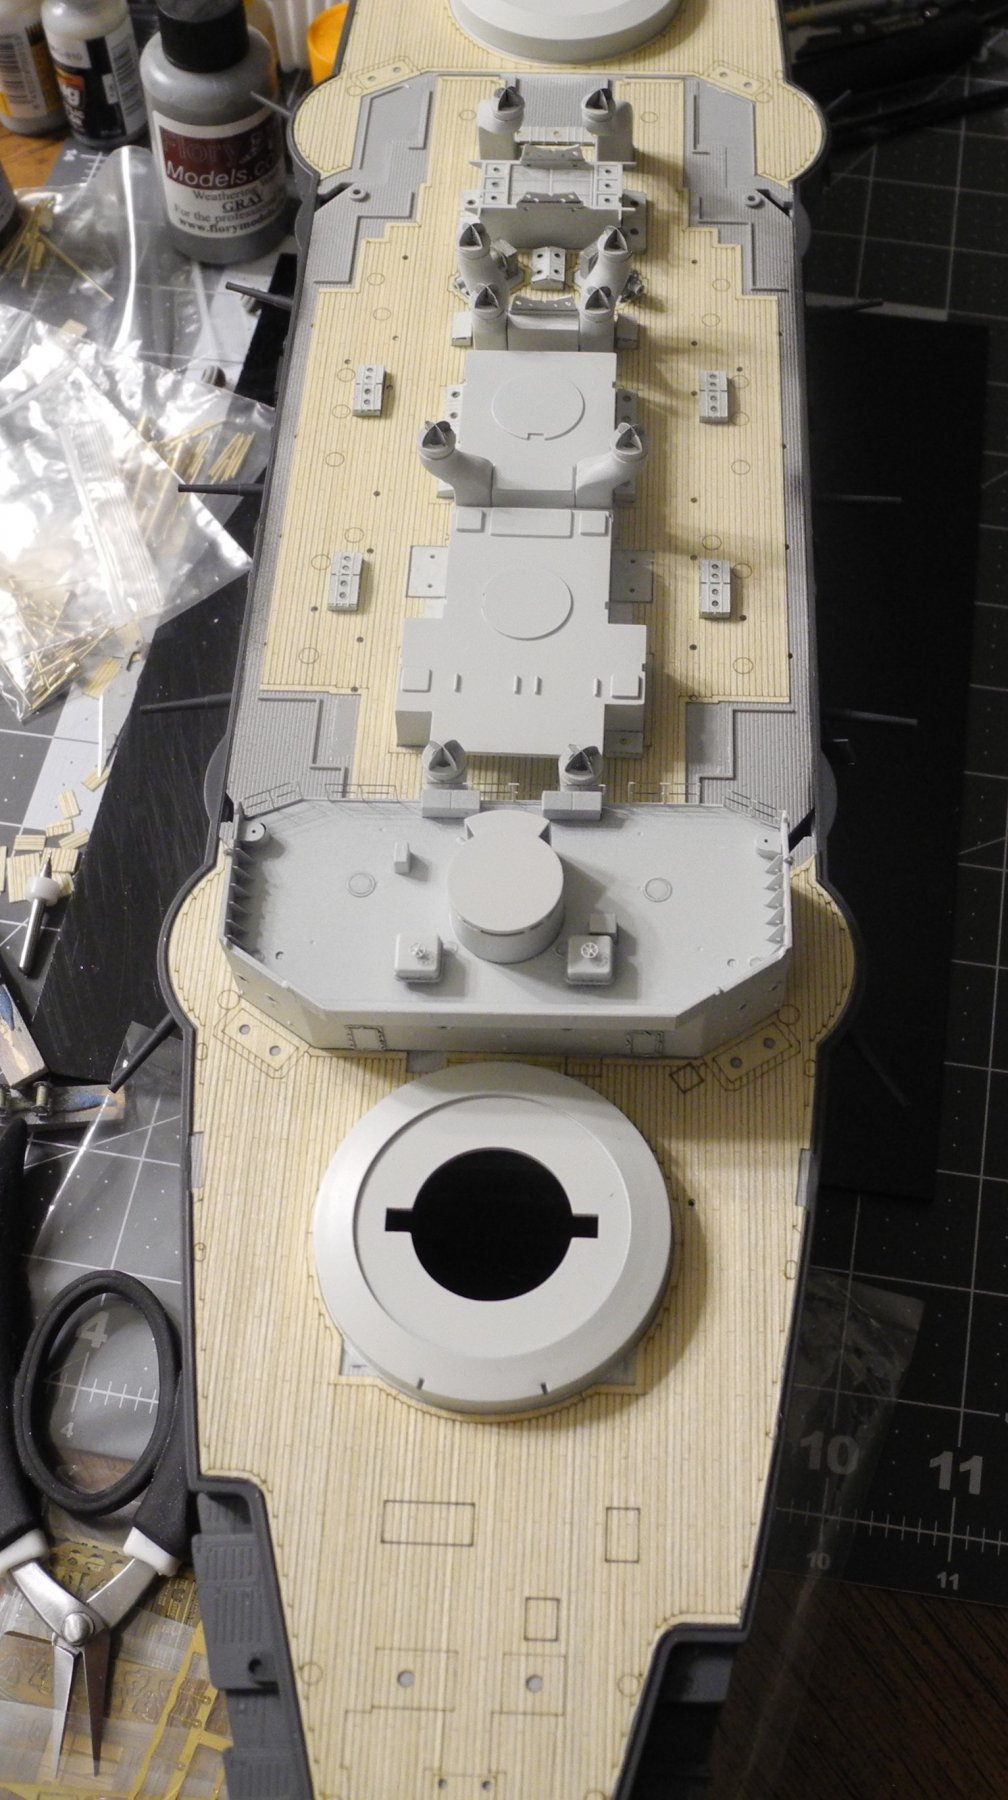
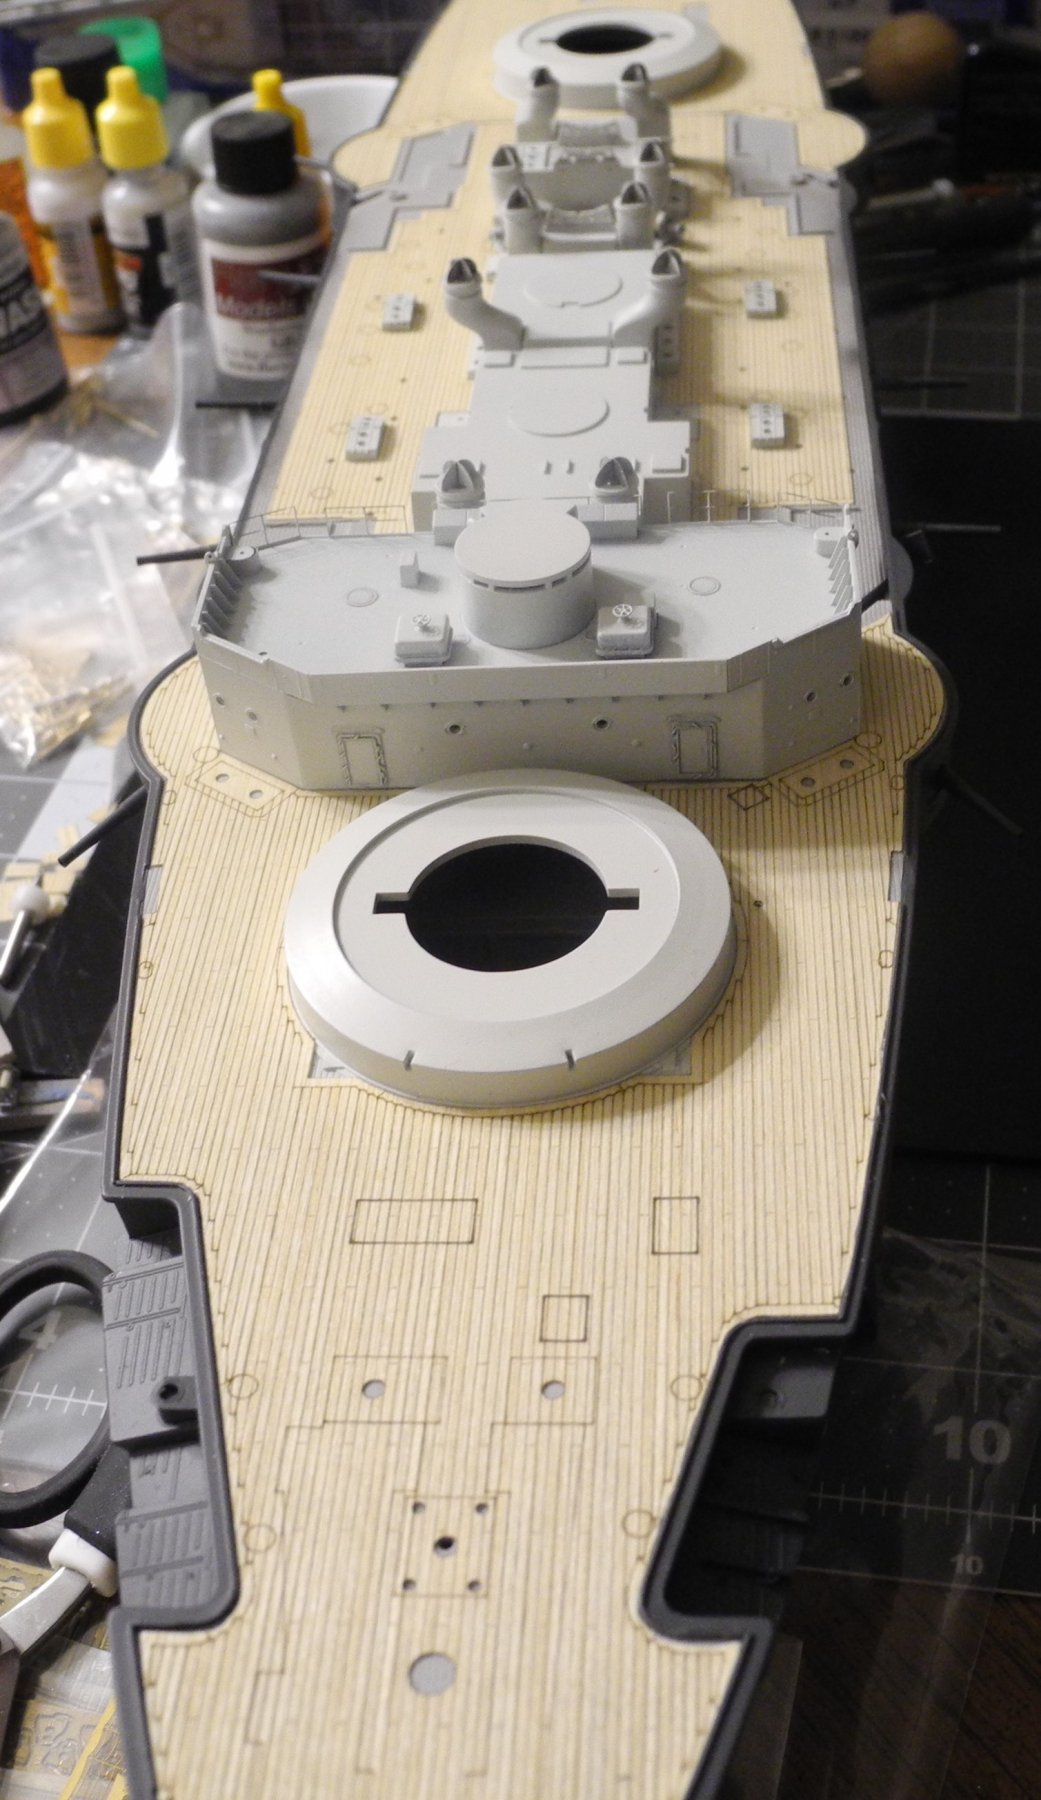
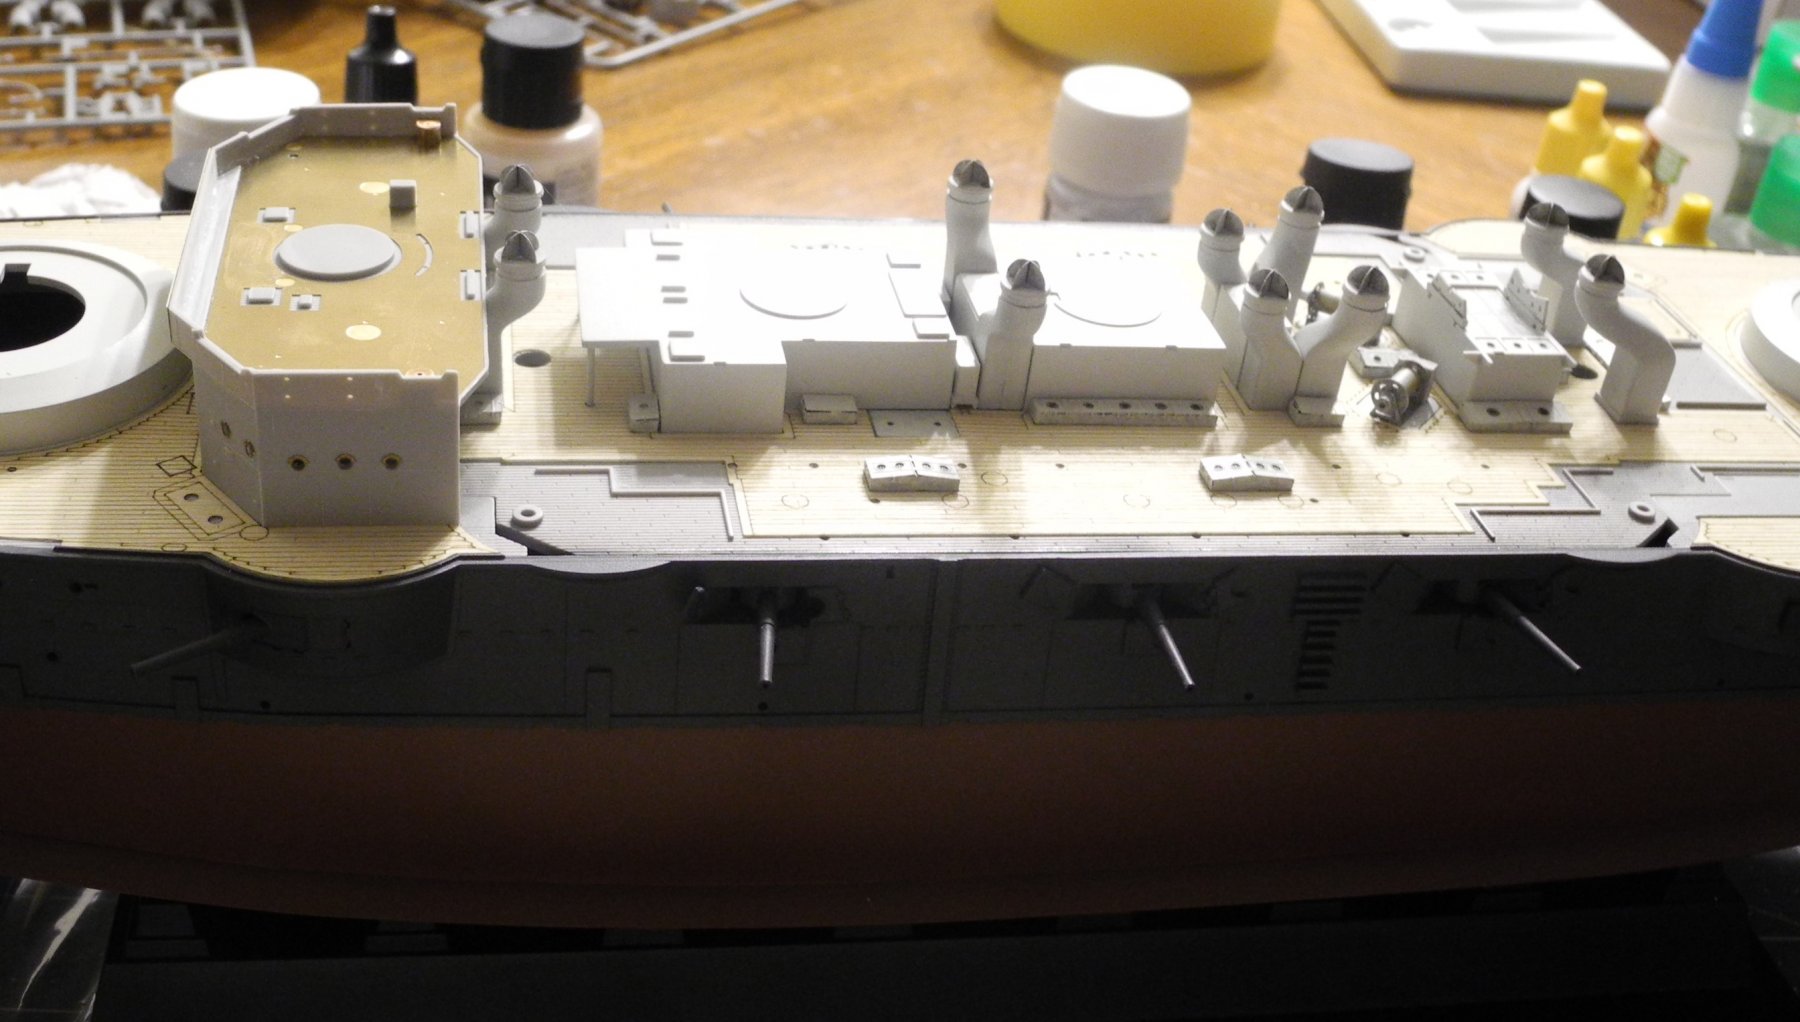
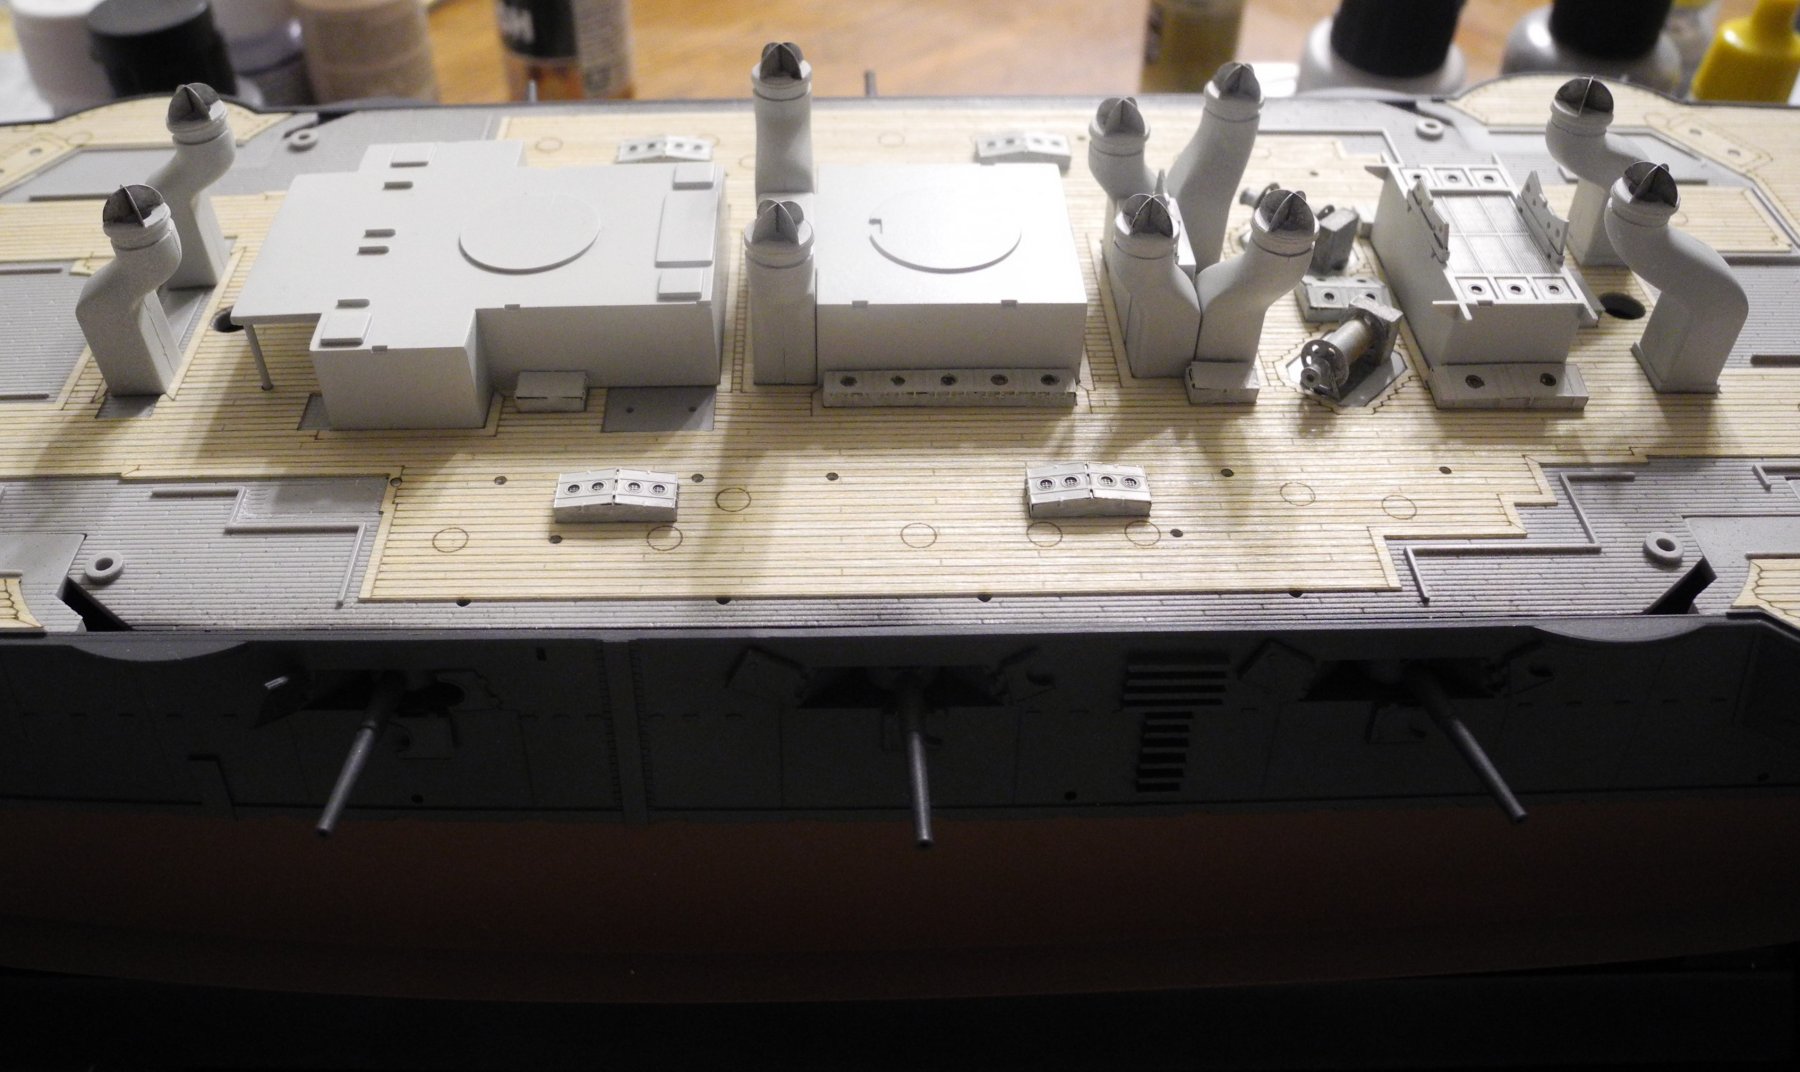
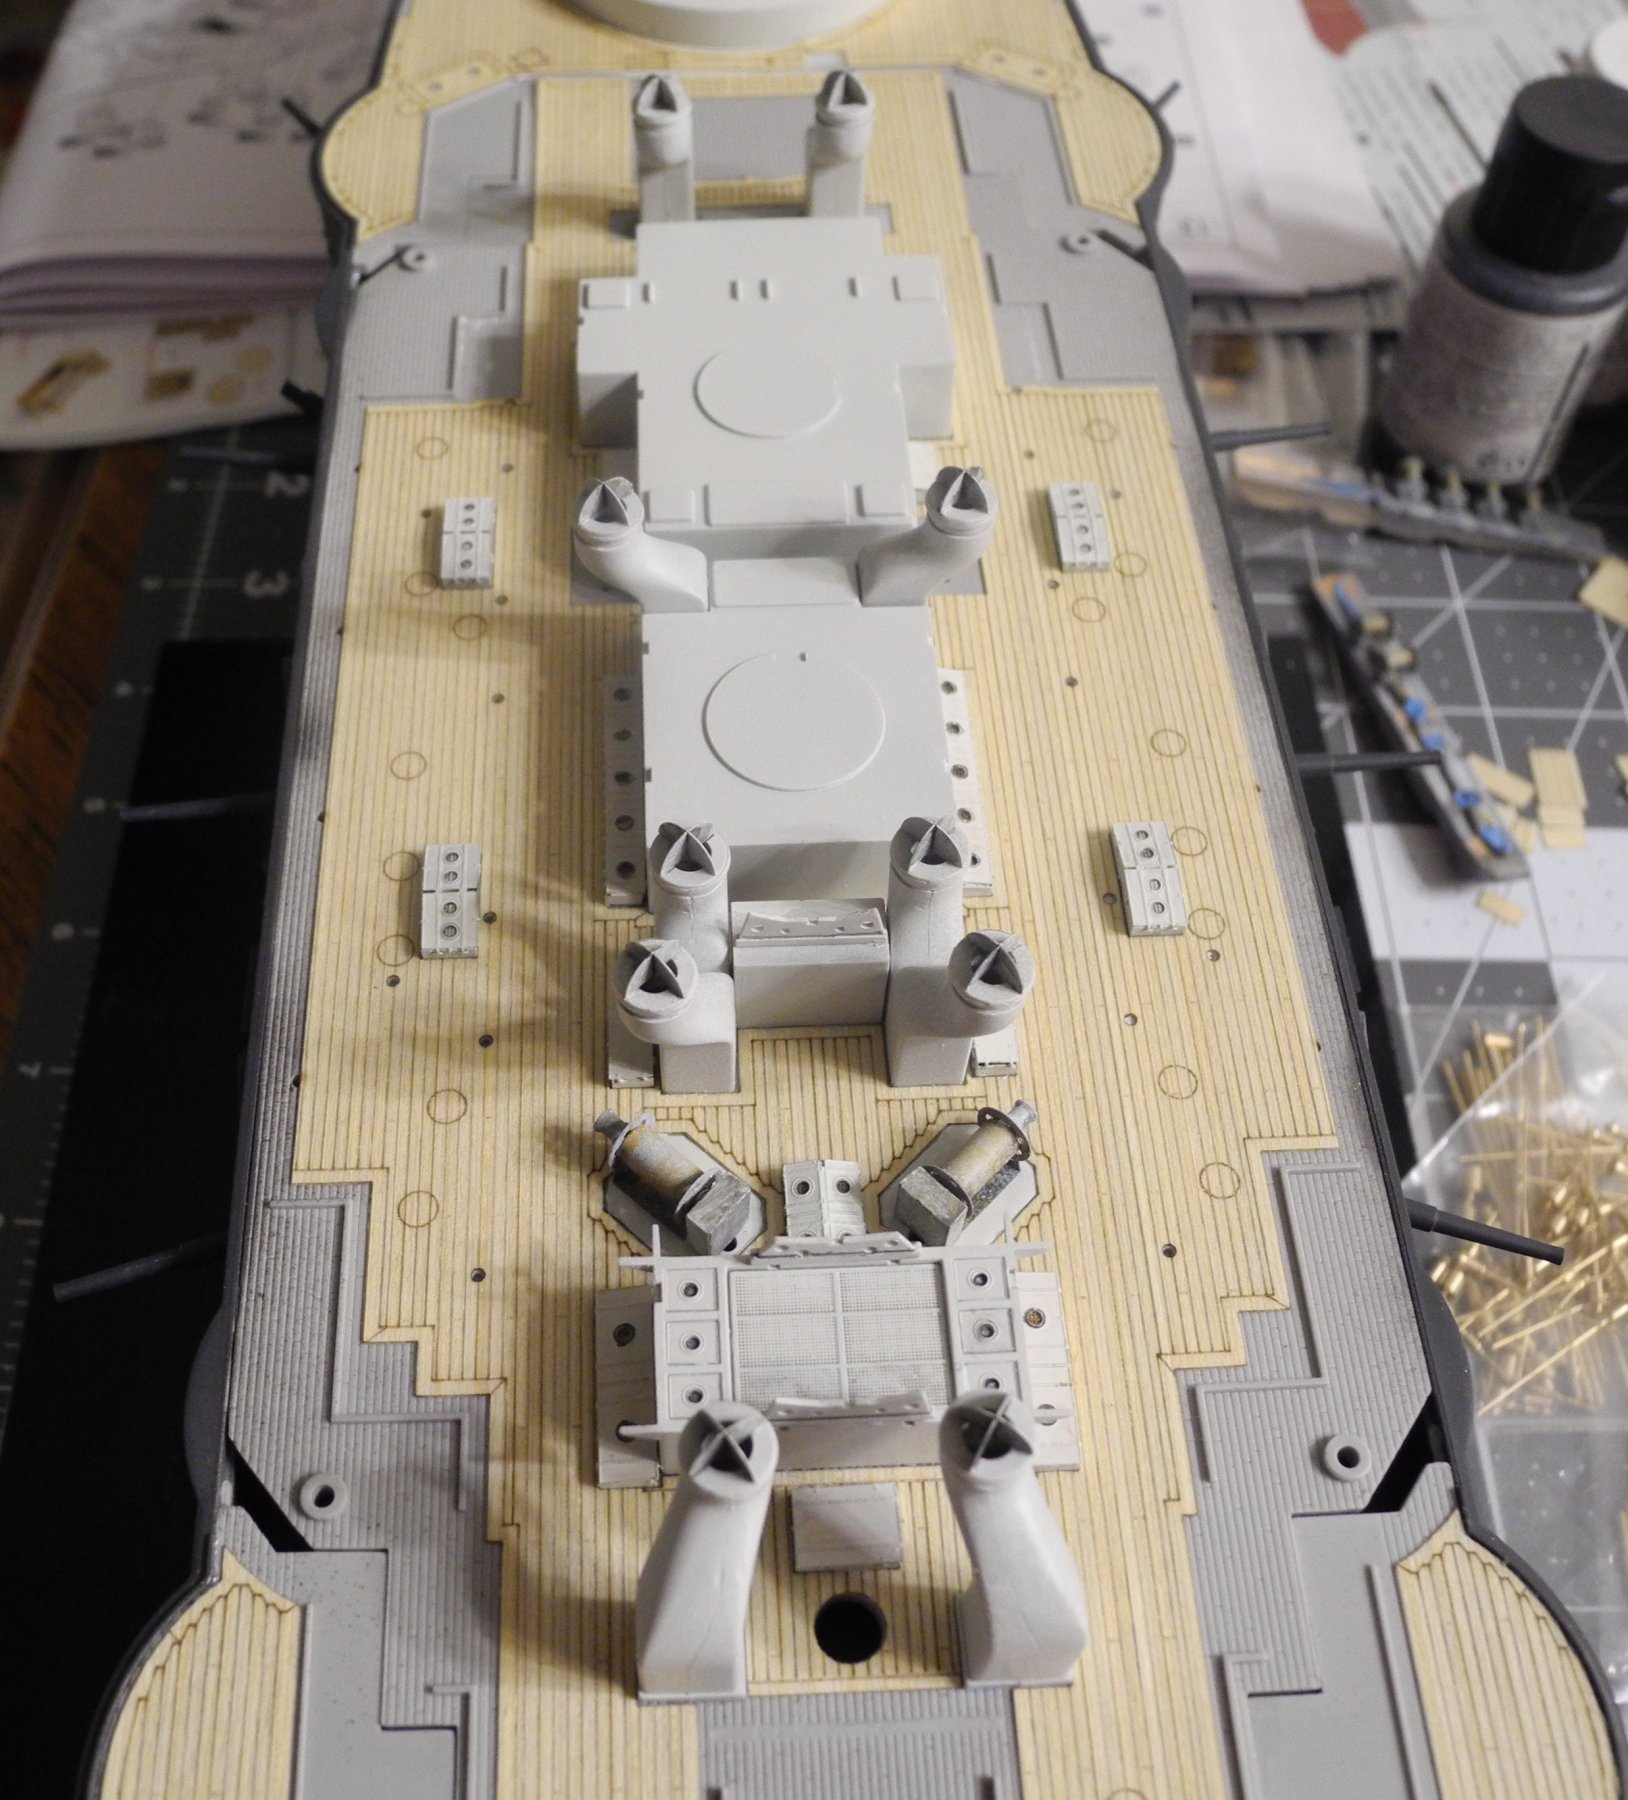
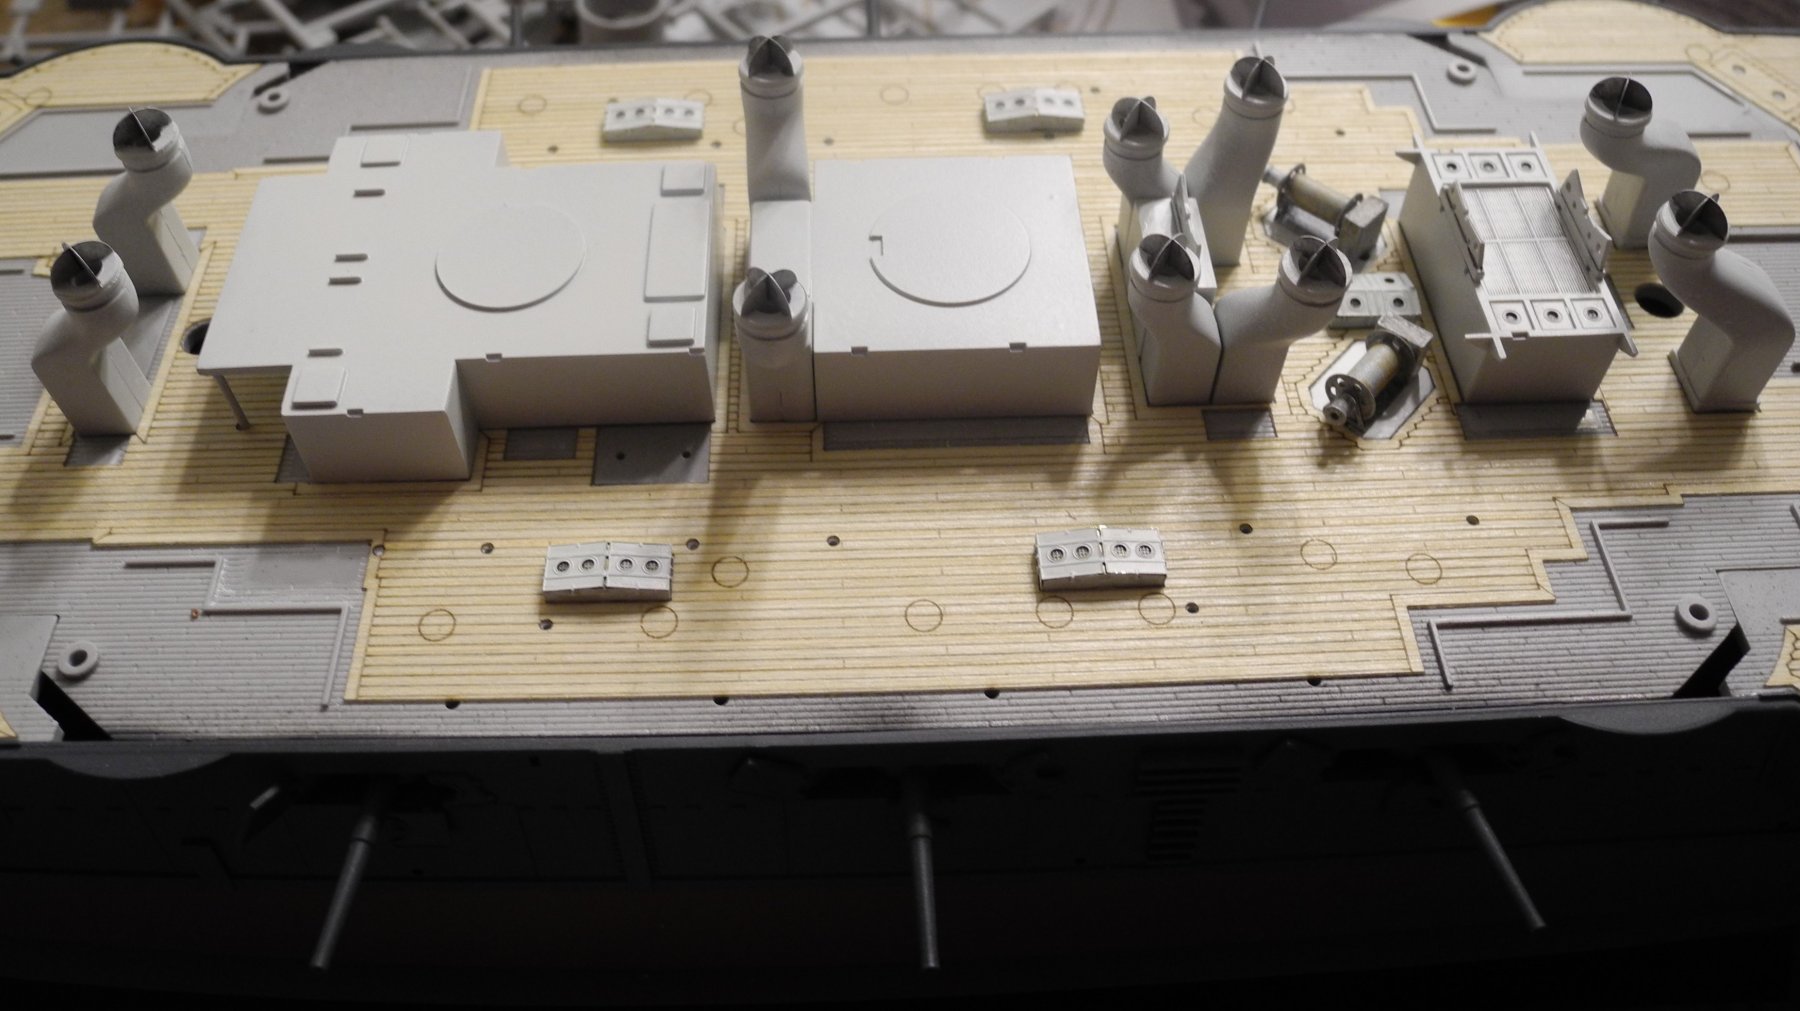
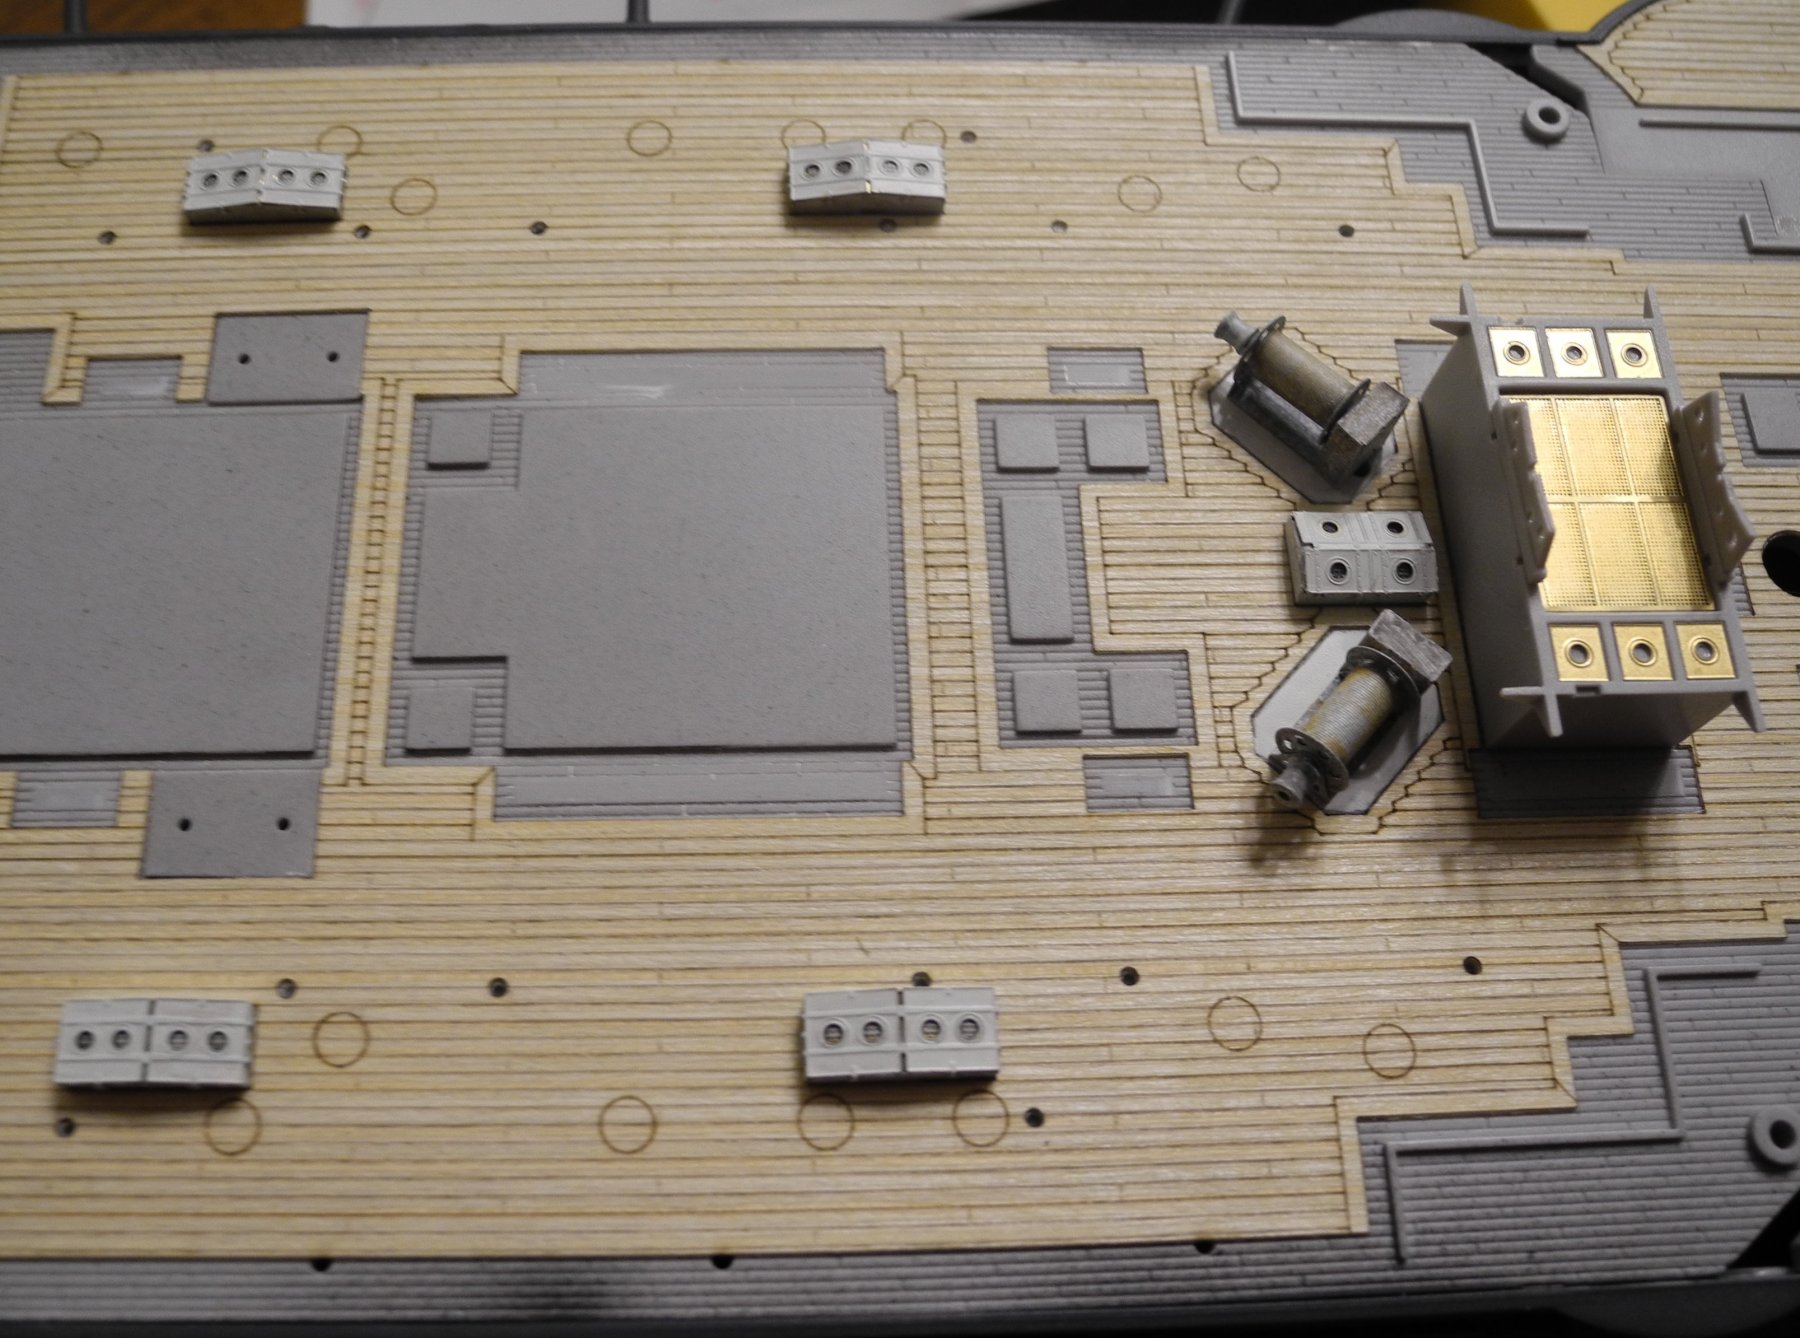
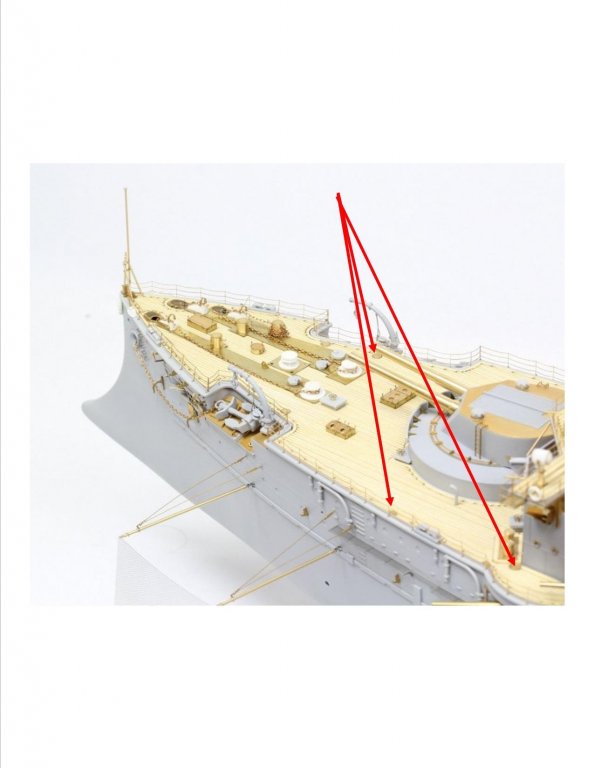
Thanks for the photos, OC. Yesterday, Popeye had asked whether I needed to remove some round spots on the wooden deck. I answered, no, they were markers for some unidentified PE disks that are shown on the plans but not identified for what they are. In later conversation, we decided the round covers are actually coal chutes...where they loaded coal for firing the turbines into the ship's hold. These covers are dotted all over the deck of the ship. My comment was simply that the actual parts are not identified as to what function they serve. But I think we have that much cleared up now. Thanks!
- 467 replies
-
- 6
-
-
- mikasa
- wave models
- (and 1 more)
-
Once again, you've done some remarkable brush work on that crane. It looks outstanding, OC. You must have a very small brush to paint inside that boom.? PS: I like the combination of kit parts with the photo etch ones to build your crane. Looks very good that way.
-
Must have been one heck of a big sweat shop in that hold below for all the poor blokes shoveling coal. No wonder this ship has so many ventilators. Lots and lots of coal dust.
- 467 replies
-
- 5
-
-
- mikasa
- wave models
- (and 1 more)
-
AMS is an acronym coined by modelers who are afflicted with "advanced modeler's syndrome". Modelers afflicted with AMS cannot build a model out of the box, stock, among other symptoms. 🙂 We grew up on a street with no stormwater drainage improvements. When it rained, a river of water flowed down the street in front of our house, then it turned and flowed down the side street along side of our house. We would race upstream with our sacrificial model boats during a rainstorm, release them in the water, then run back to the house and go out on the side porch where we waited with our BB guns. When the boats floated down the street and rounded the corner to come down the side street, we opened fire at each other's boats. A winning shot was a water line hull shot that sunk the boat. But it was fun to shoot the superstructures off the boats as well.
-
Thanks, Ken. I'll bet you're right. Never thought of that. In 1:1 scale, these covers would measure approximately 2' in diameter. About the size of a manhole cover.
- 467 replies
-
- 6
-
-
- mikasa
- wave models
- (and 1 more)
-
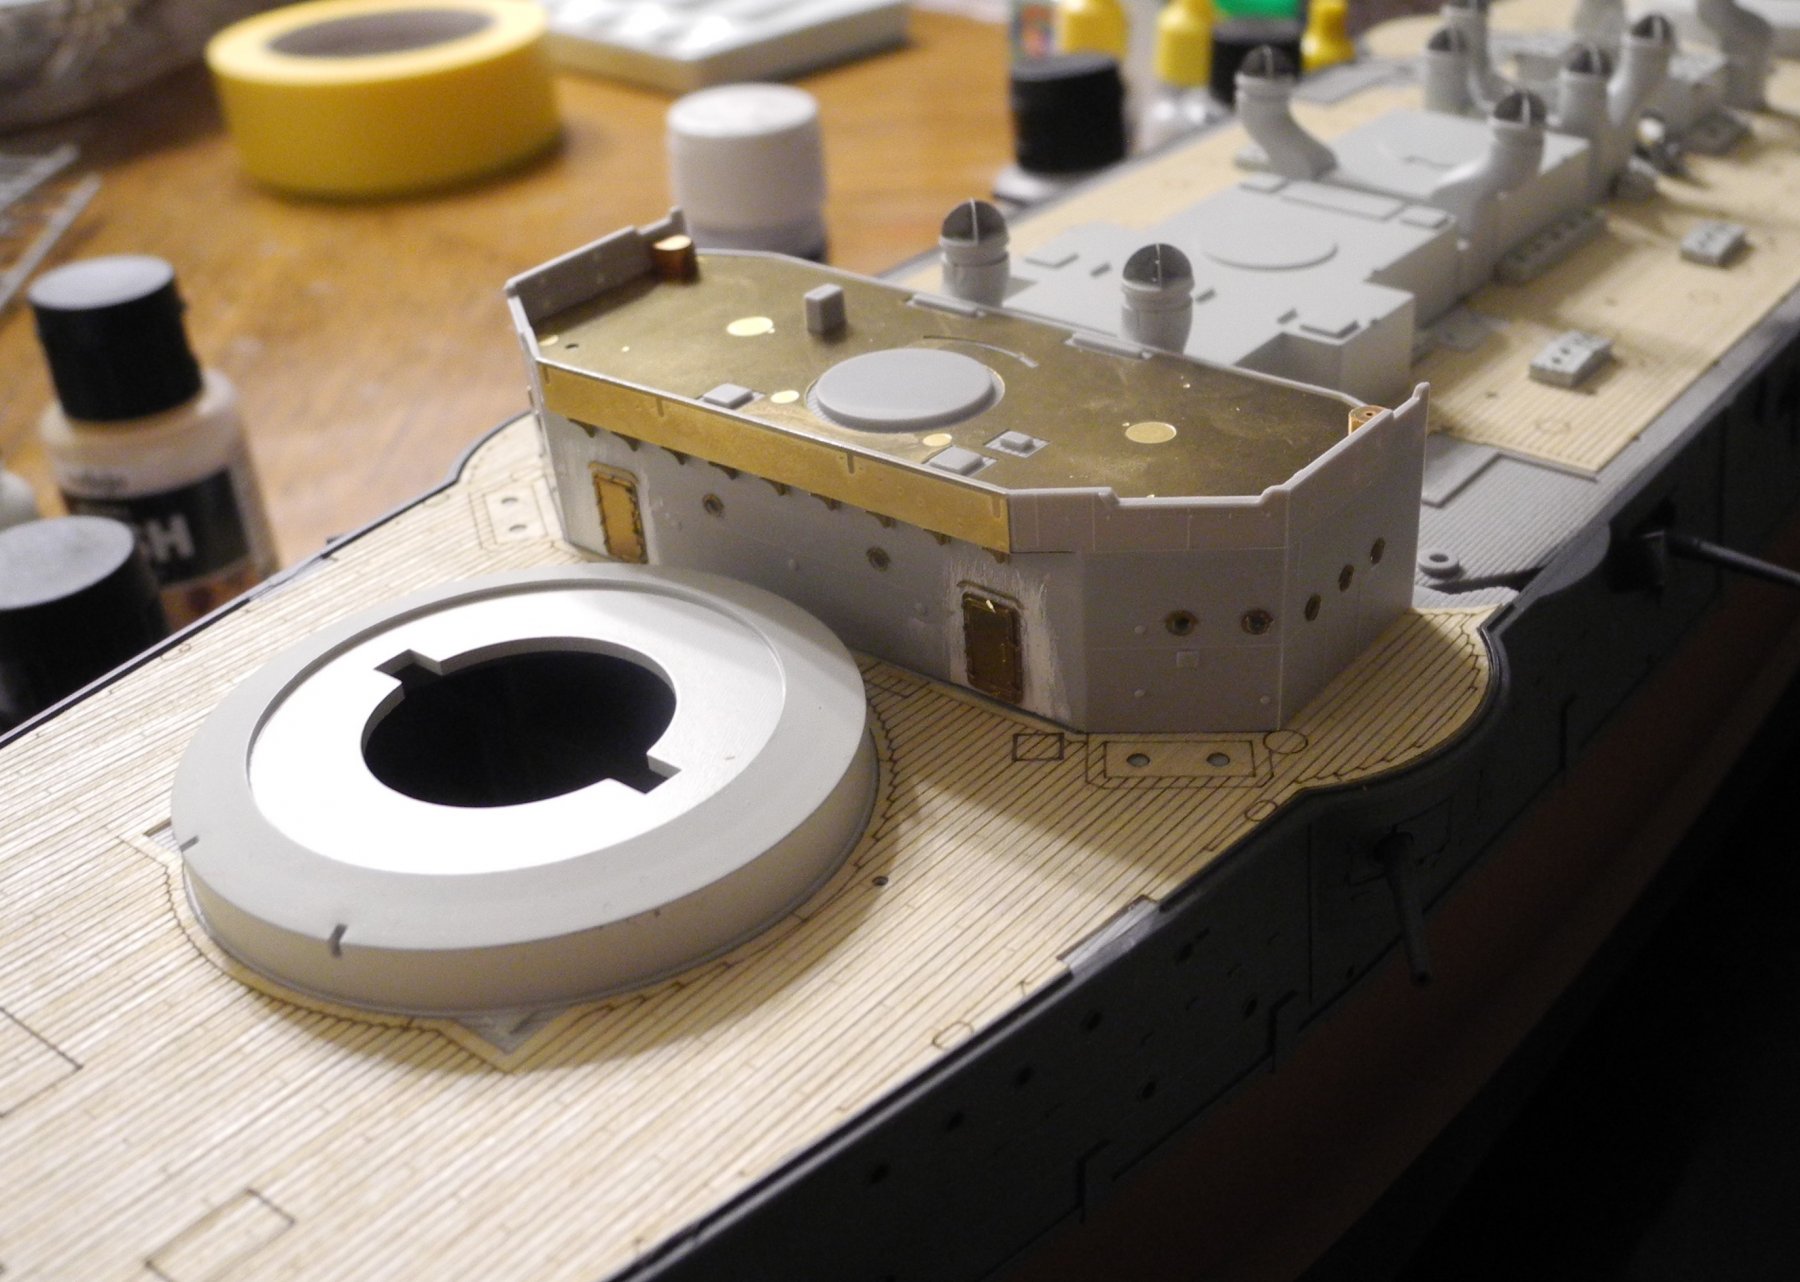
Yes, I have the full instructions that came with the Pontos set, if that's what you are asking. But there is nothing on the instructions that identifies what the various parts are, just their identification number in the Pontos scheme of things and drawings to indicate where they are attached. They (round disks) are fairly prominent on any 1/200 scale rendering of the Pontos equipped Mikasa, but I have yet to read anyone give a name to the object. I presume they are some type of cover for something, What, I do not know.
- 467 replies
-
- 6
-
-
- mikasa
- wave models
- (and 1 more)
-
Yes, a very nice destroyer model indeed. I'm really enjoying this thread with the variety of renditions of the same ship. Each one has it's own set of outstanding qualities and express the creativeness of the individual modeler.
- 1,090 replies
-
- 9
-
-
- showcase models
- vendetta
- (and 2 more)
-
Those are actually location markers for something. I'm being cryptic because I don't actually know what they are at this point. They are round photo etched discs with some details scribed on top of them.
- 467 replies
-
- 5
-
-
- mikasa
- wave models
- (and 1 more)
-
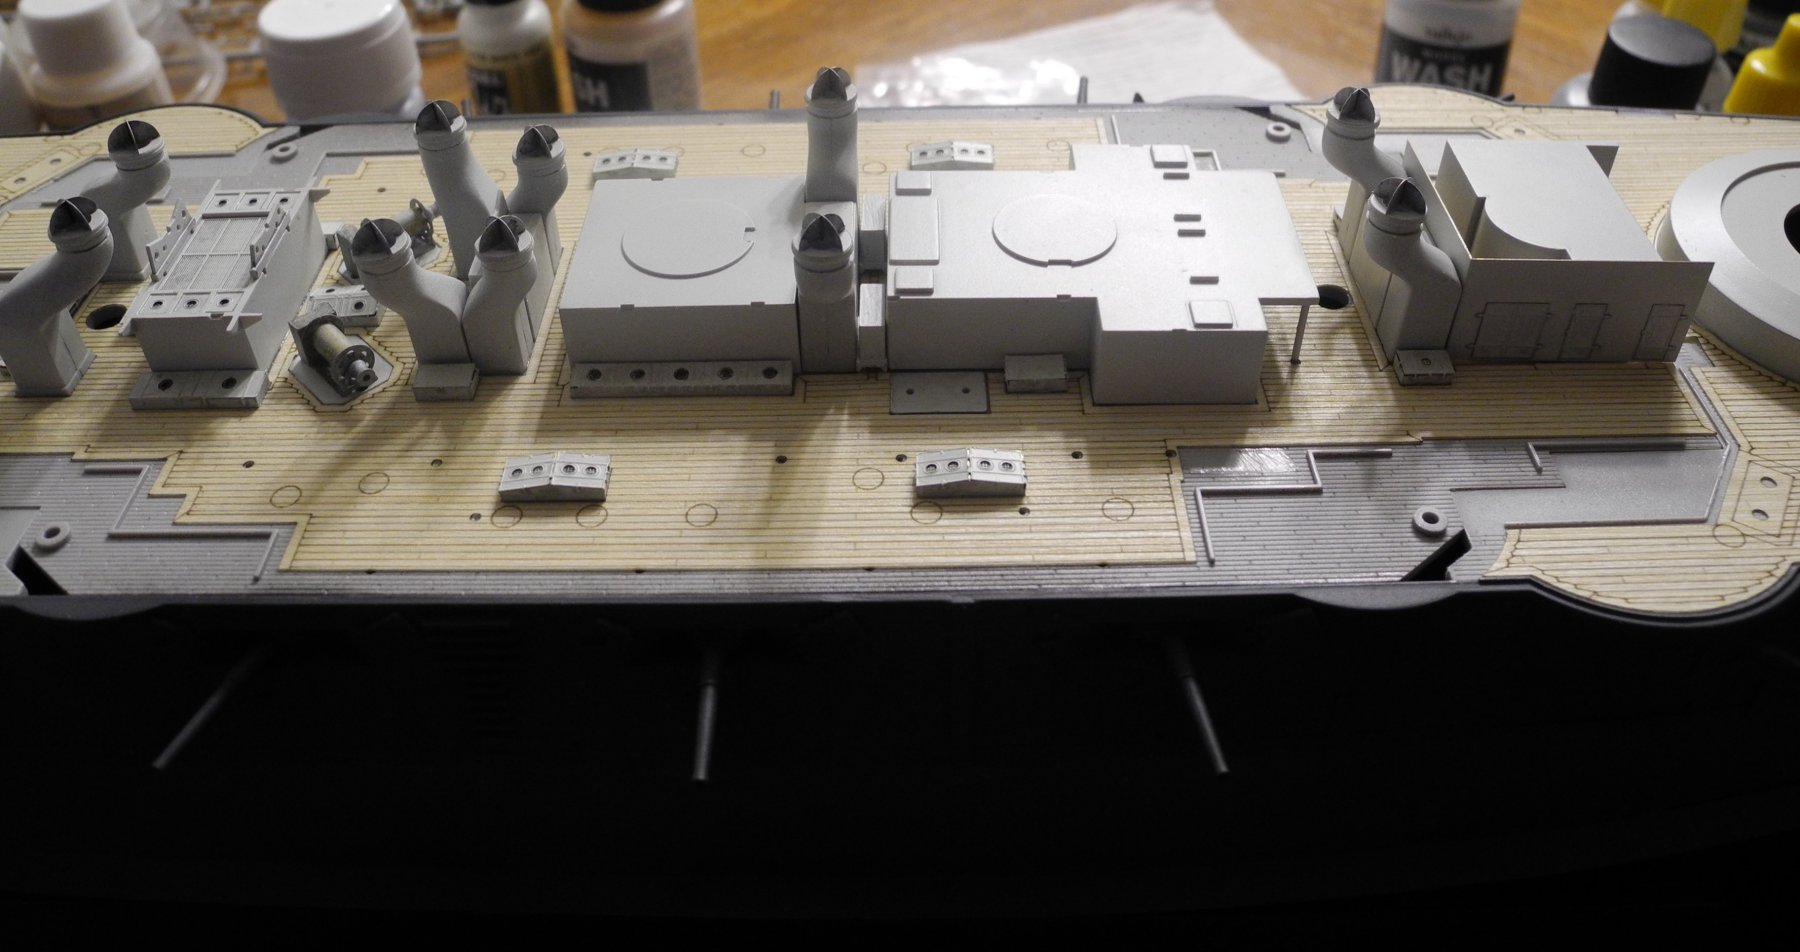
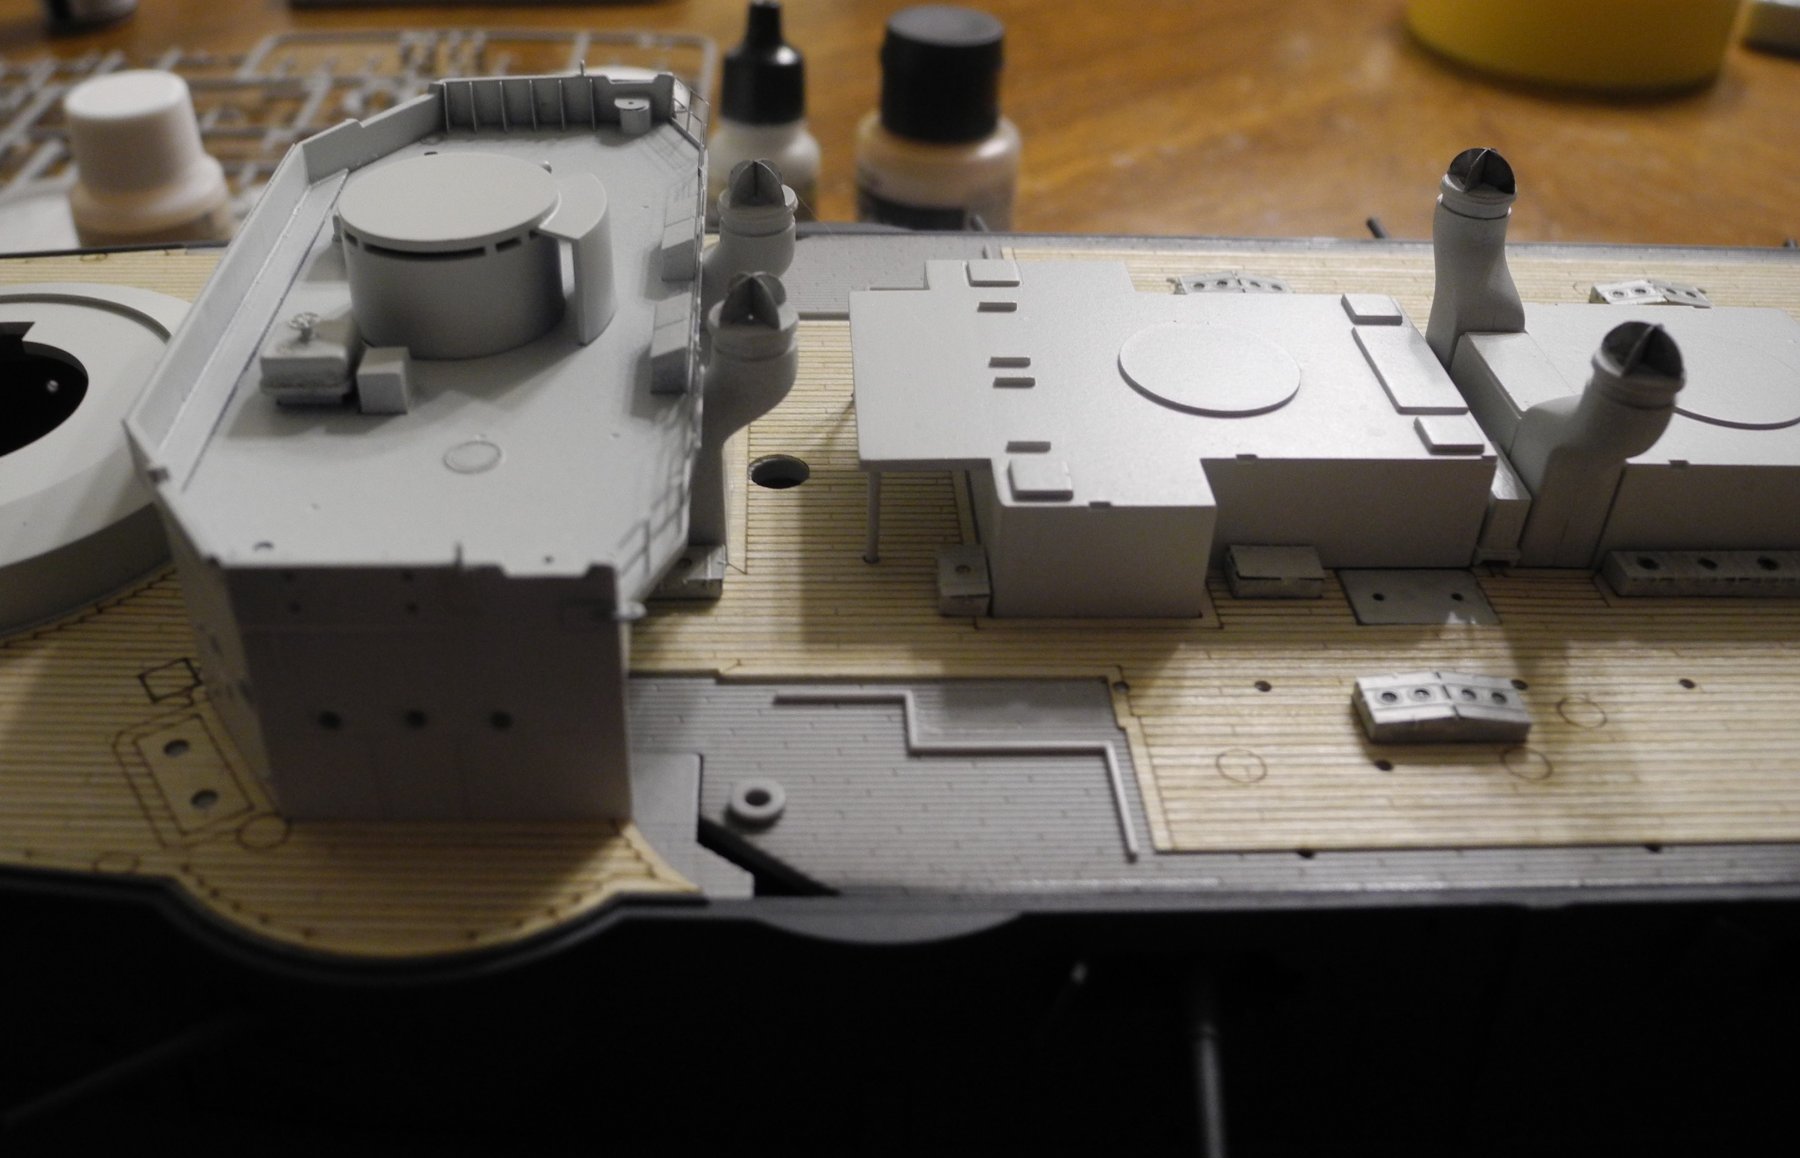
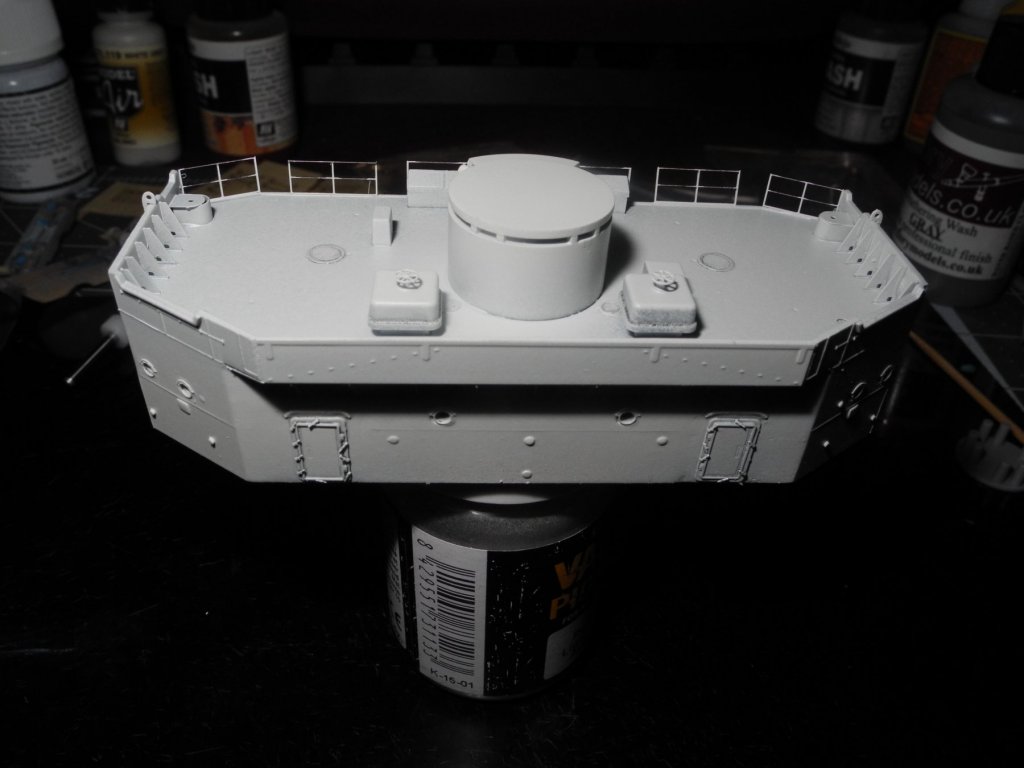
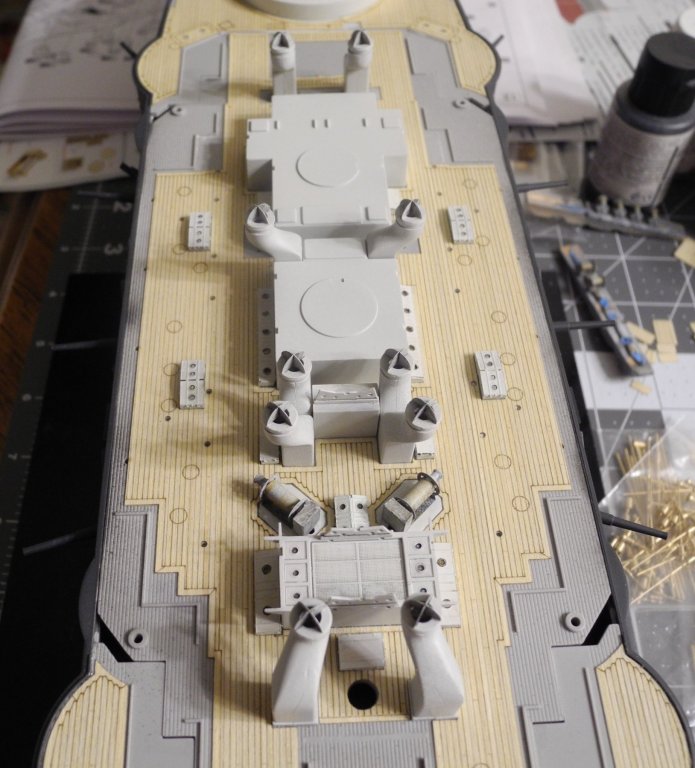
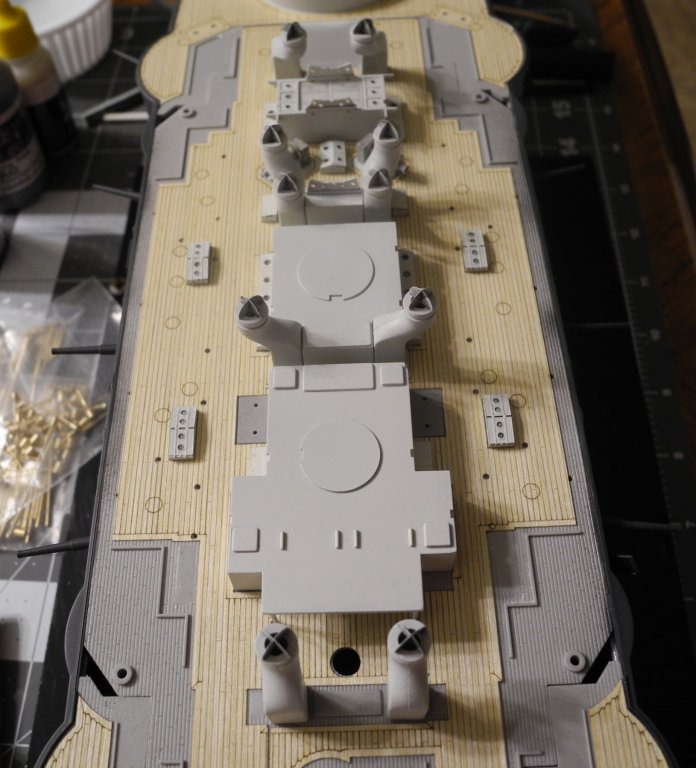
Each one of these storage lockers are made from multiple pieces of photo etch. Made some more lockers and painted, then glued everything to the deck. That's about all that will get done on Mikasa today. More tomorrow.

- 467 replies
-
- 11
-
-
- mikasa
- wave models
- (and 1 more)
-
Absolutely beautiful model, Jesse. Just outstanding.
- 1,306 replies
-
- 5
-
-
- syren
- model shipways
- (and 1 more)
-
Just found your Arizona build log. Will follow and enjoy it with you. I think projects like this one are some of the most fun you can have in modeling. No AMS is required nor needed, just build it and detail it as you see fit...the only rule is to have fun doing it. Besides, it helps many of us re-live a great childhood past of long summer days of building our models, then floating them in puddles, streams, and ponds. I know I did a lot of that.
-
This model has the entire hangar under the main deck. A real opportunity for super detail if one wished to do that. A novelty, the main deck is molded in clear if someone wanted to leave either part, or the whole deck visible to the hangar. I won't do that but it will be a good place to park the flight of aircraft while the B-25's are lashed to the main deck..