CDW
-
Posts
7,760 -
Joined
-
Last visited
Content Type
Profiles
Forums
Gallery
Events
Everything posted by CDW
-
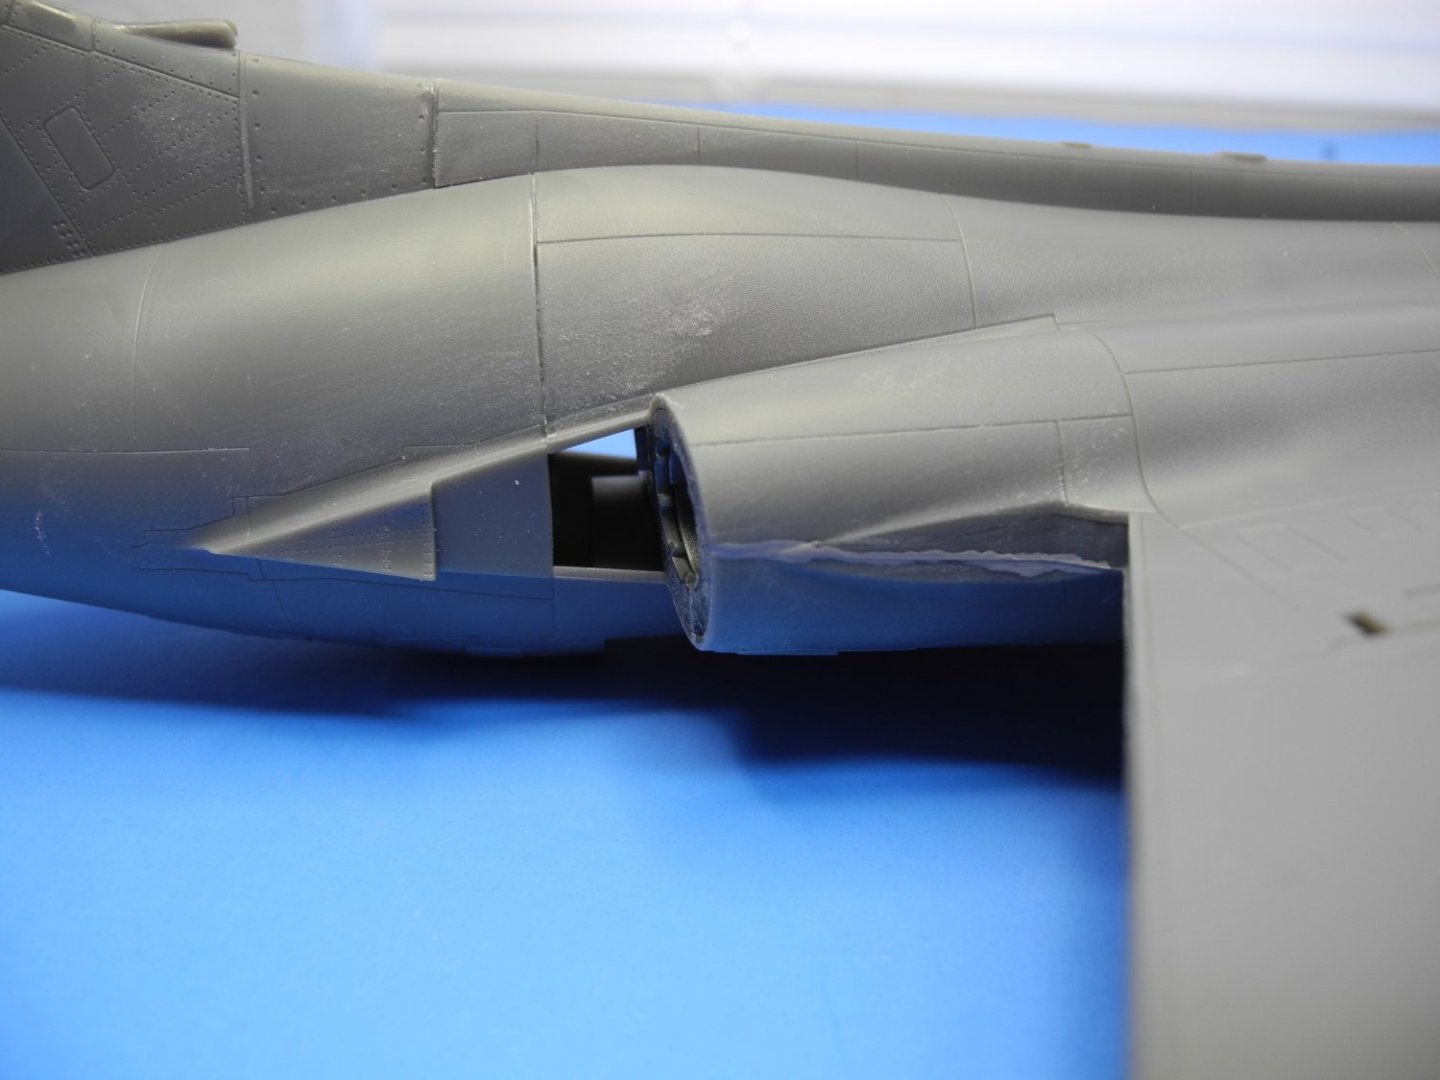
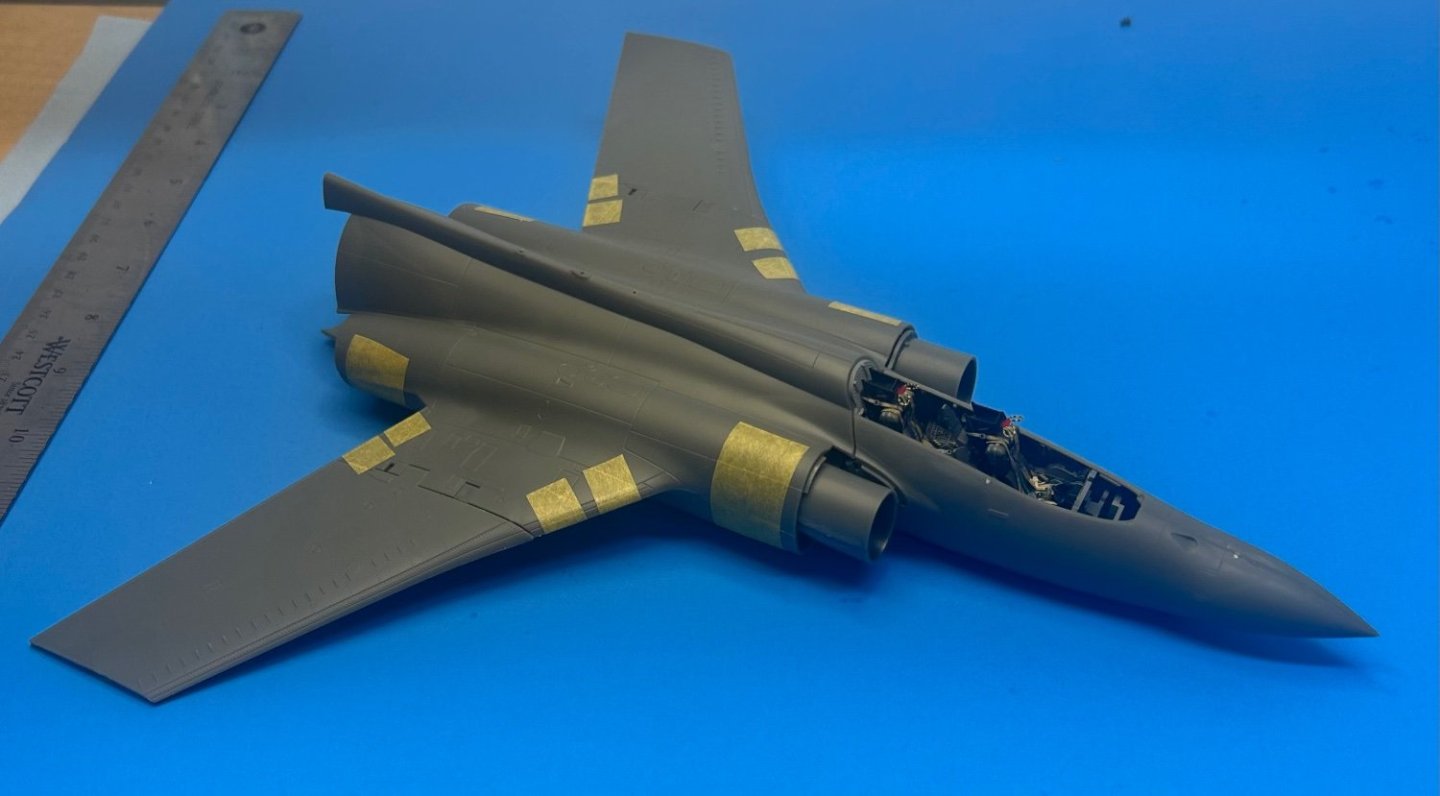
 Trying to decide whether to pose the speed brake opened or closed. Photos of it on the tarmac shows it both ways.
- 332 replies
-
- 12
-

-
Airfix really stepped up their game with this iteration of the Buccaneer. The first one in the 90's was a bit of a beast to do, but it turned out very nice when it was all said and done. This new mold is WAY better than that one so I have high hopes for it. I still prefer the S.2B version, though, in Gulf War colors/markings. I also like to use Mr Surfacer 1000 as my primer coat for the finish. I'll reduce it around/about 6 parts leveling thinner to 4 parts paint, and lay it down in thin coats so as not to hide fine surface detail while still leveling it all up. By the way, this reminds me this is a BIG airplane. It will take up a lot of shelf space.
-
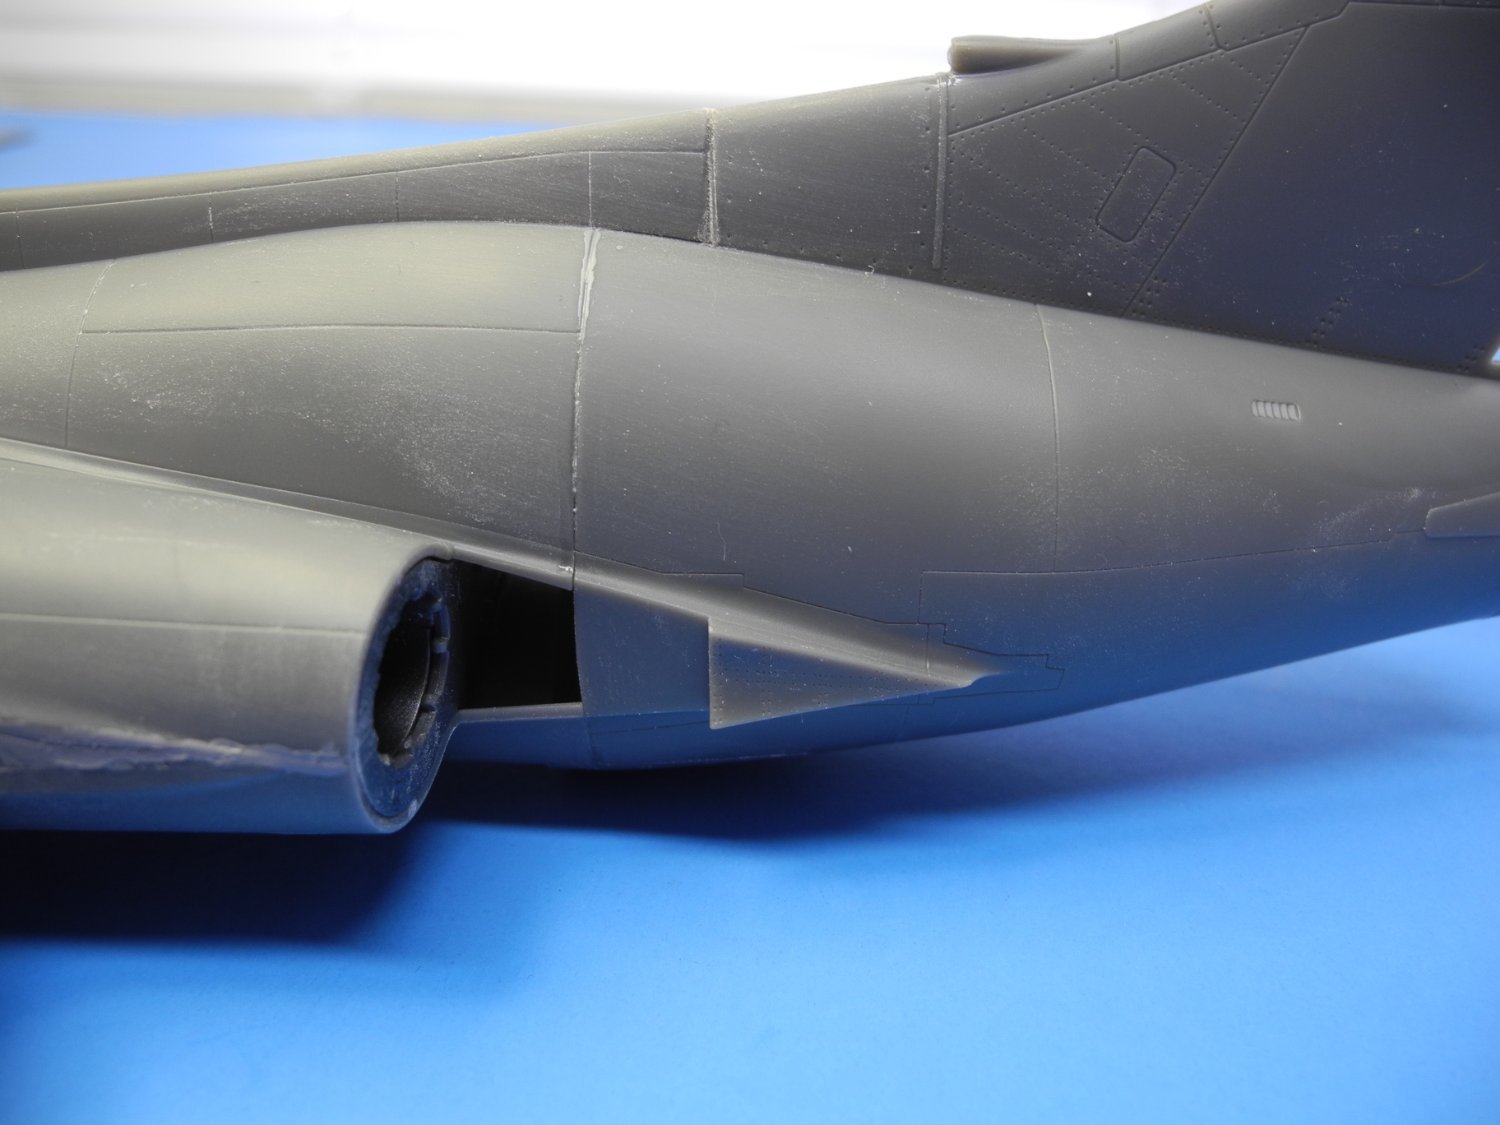
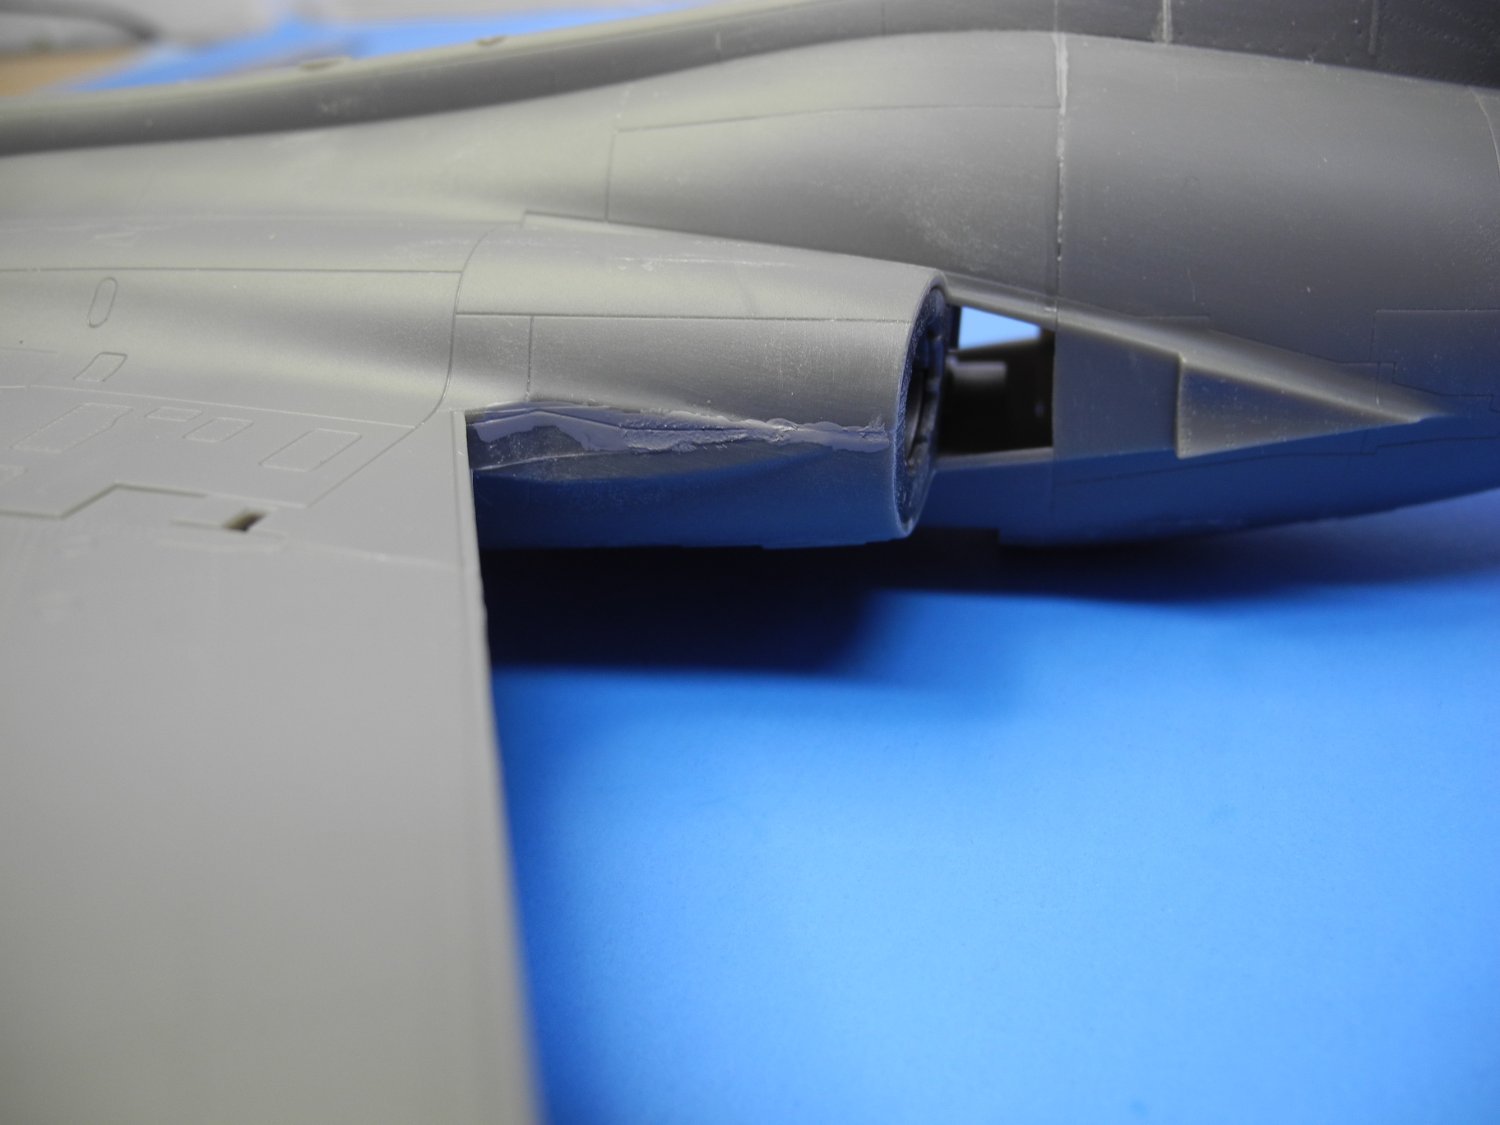
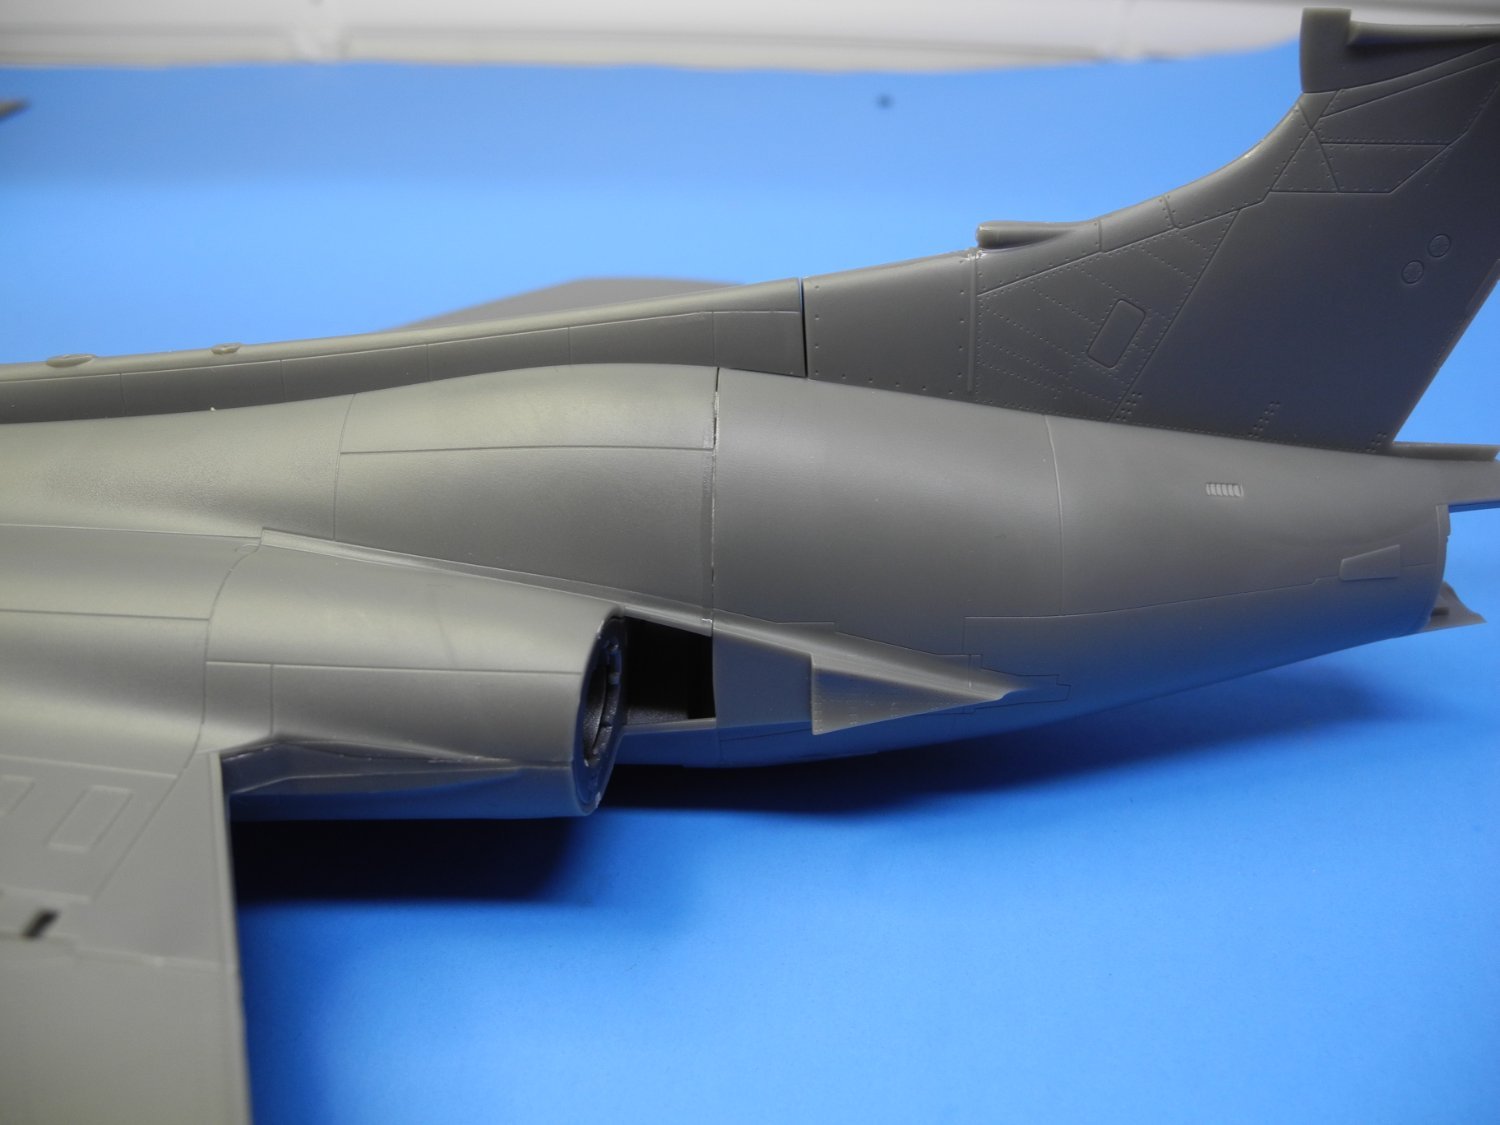
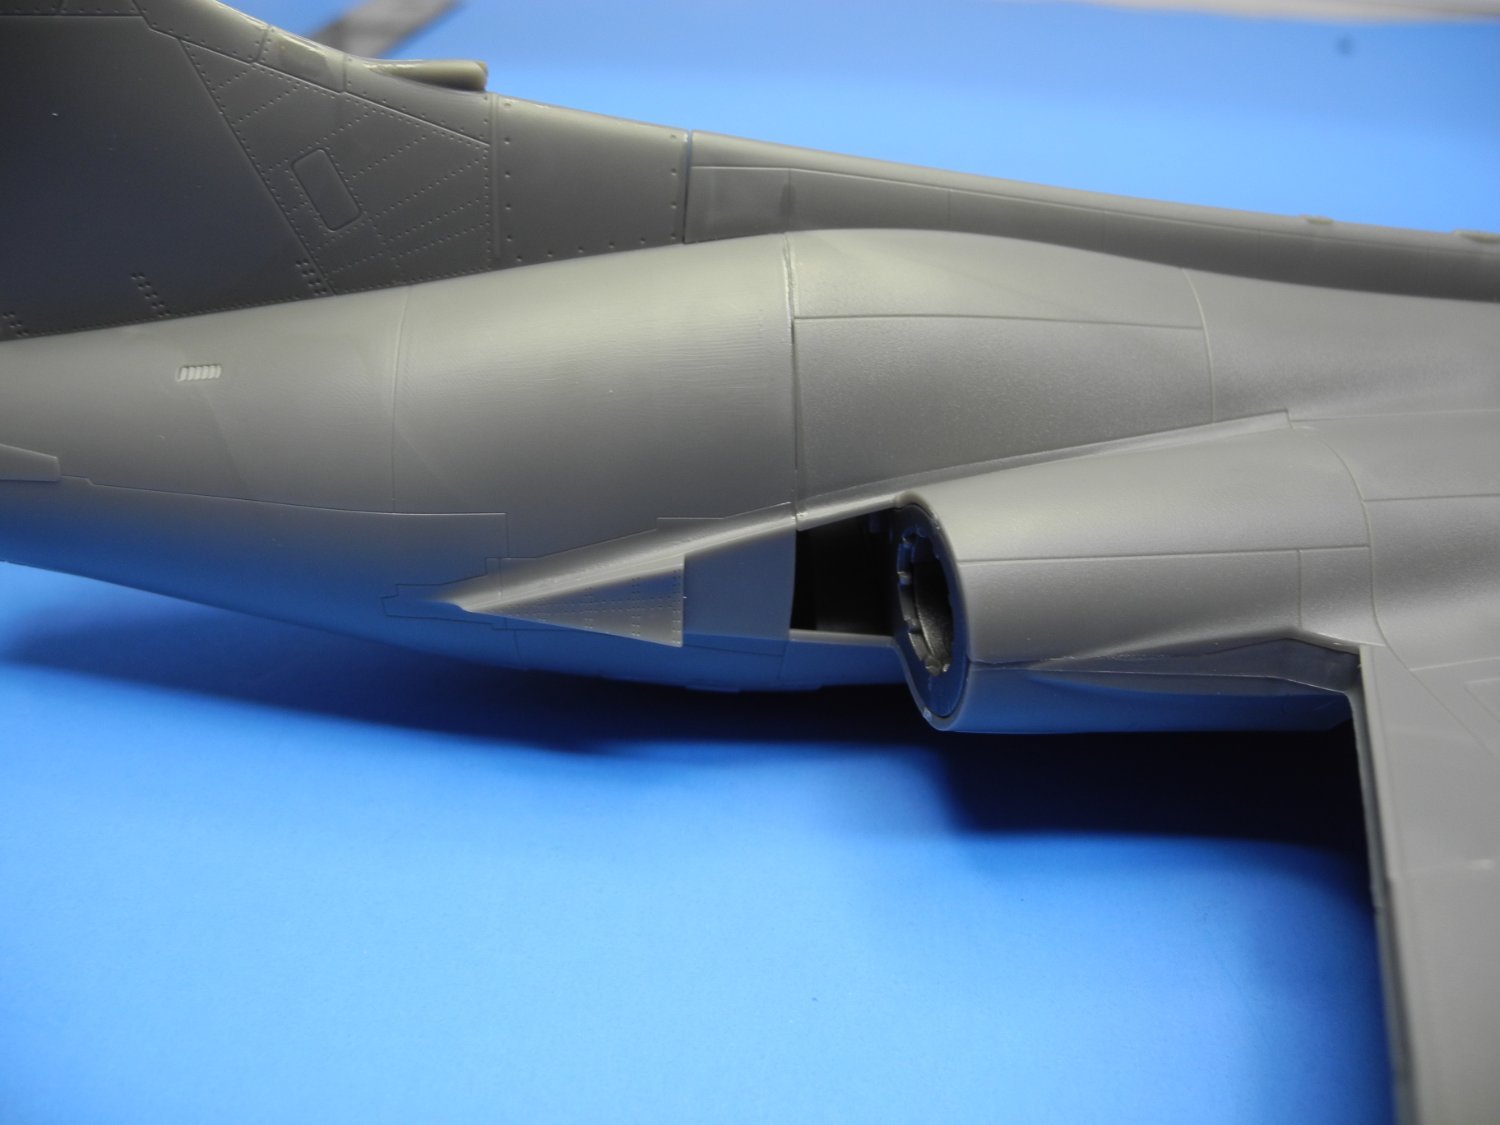
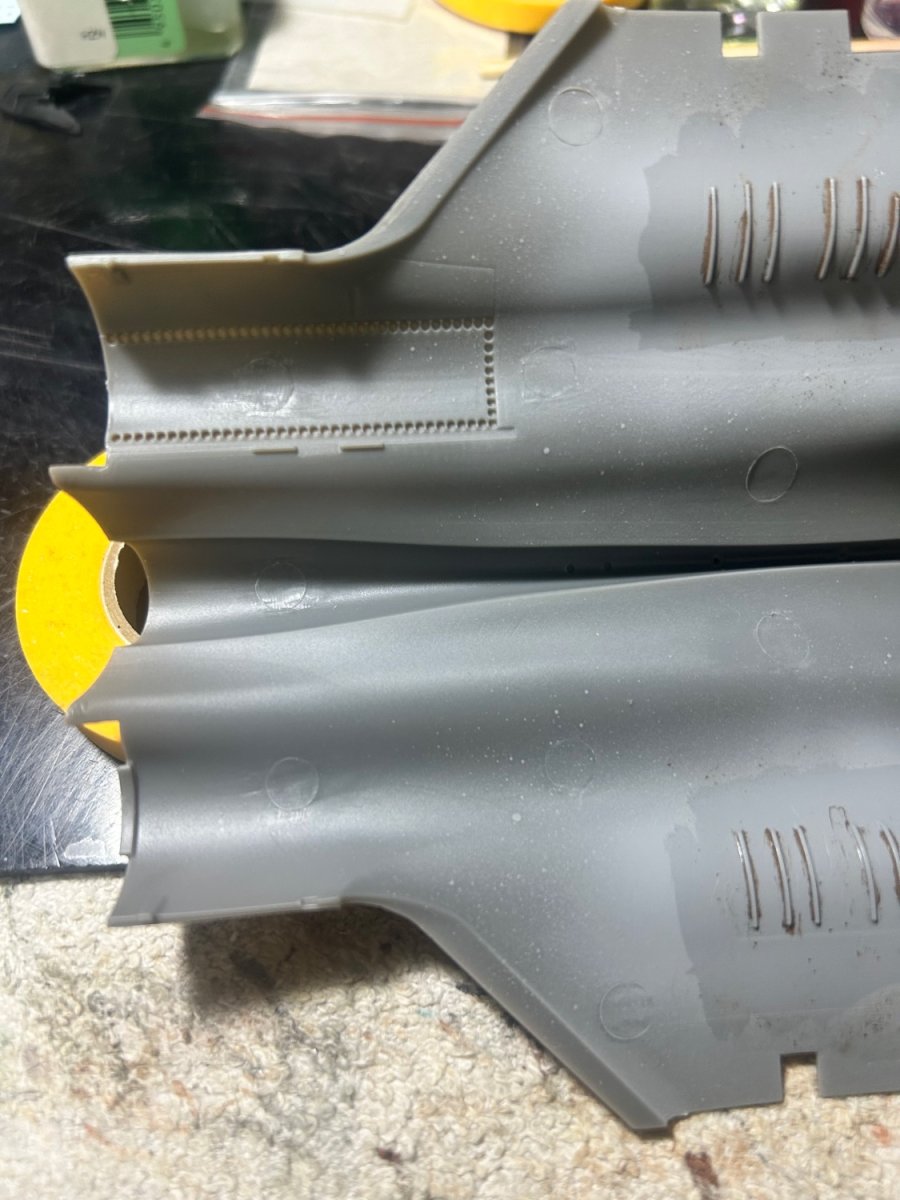
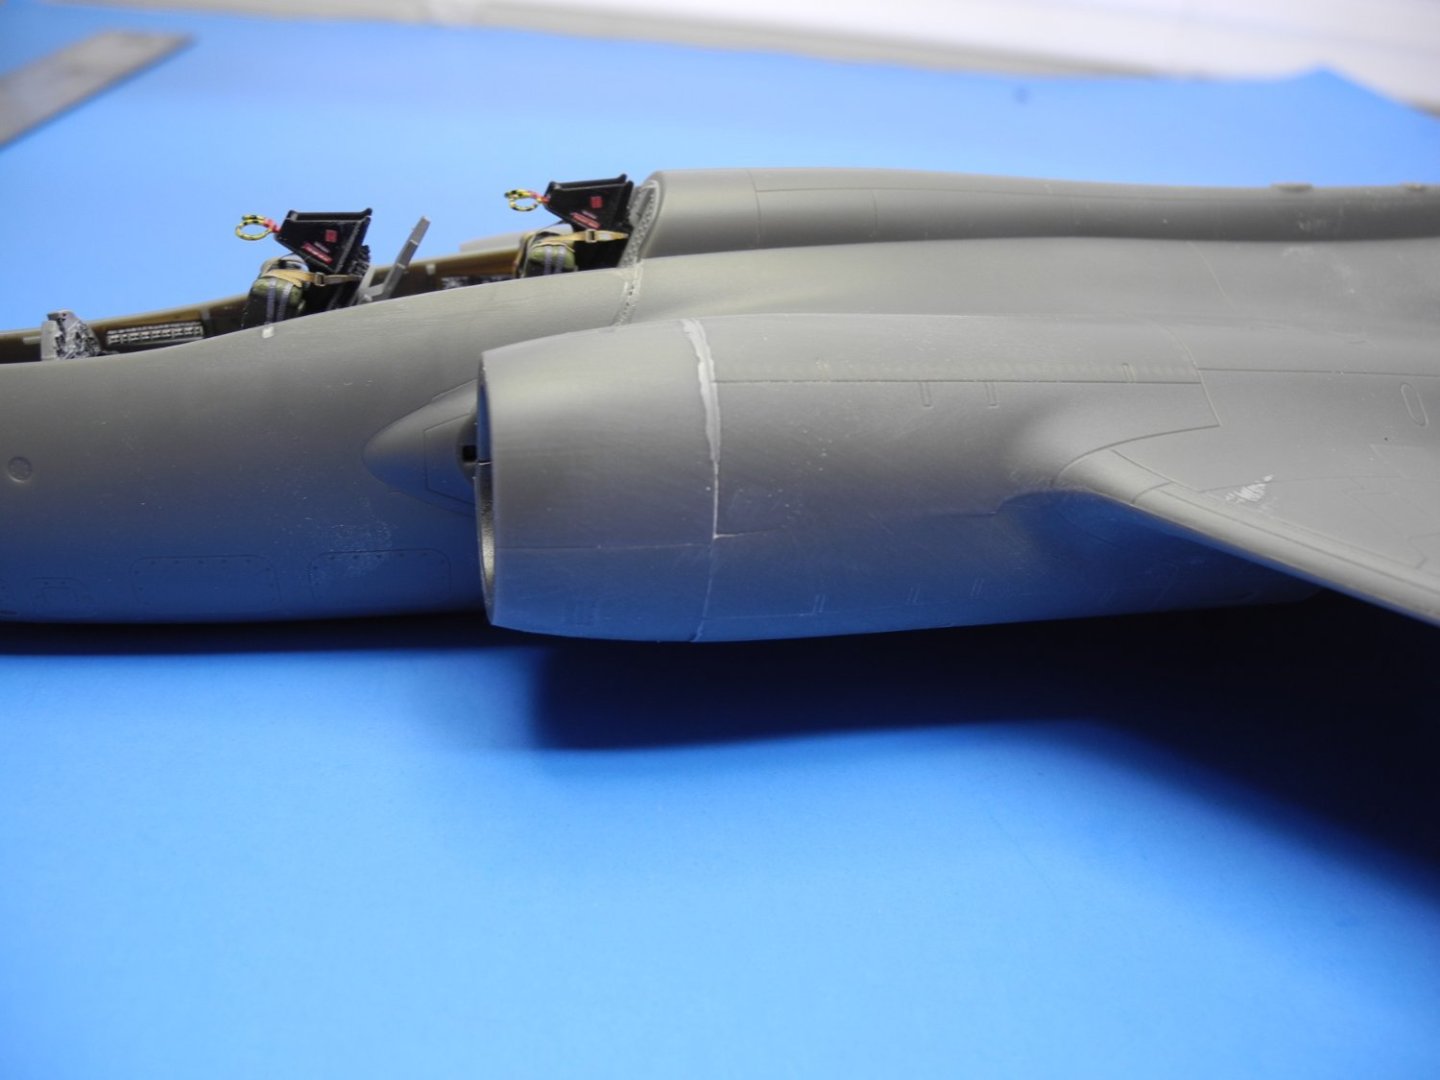
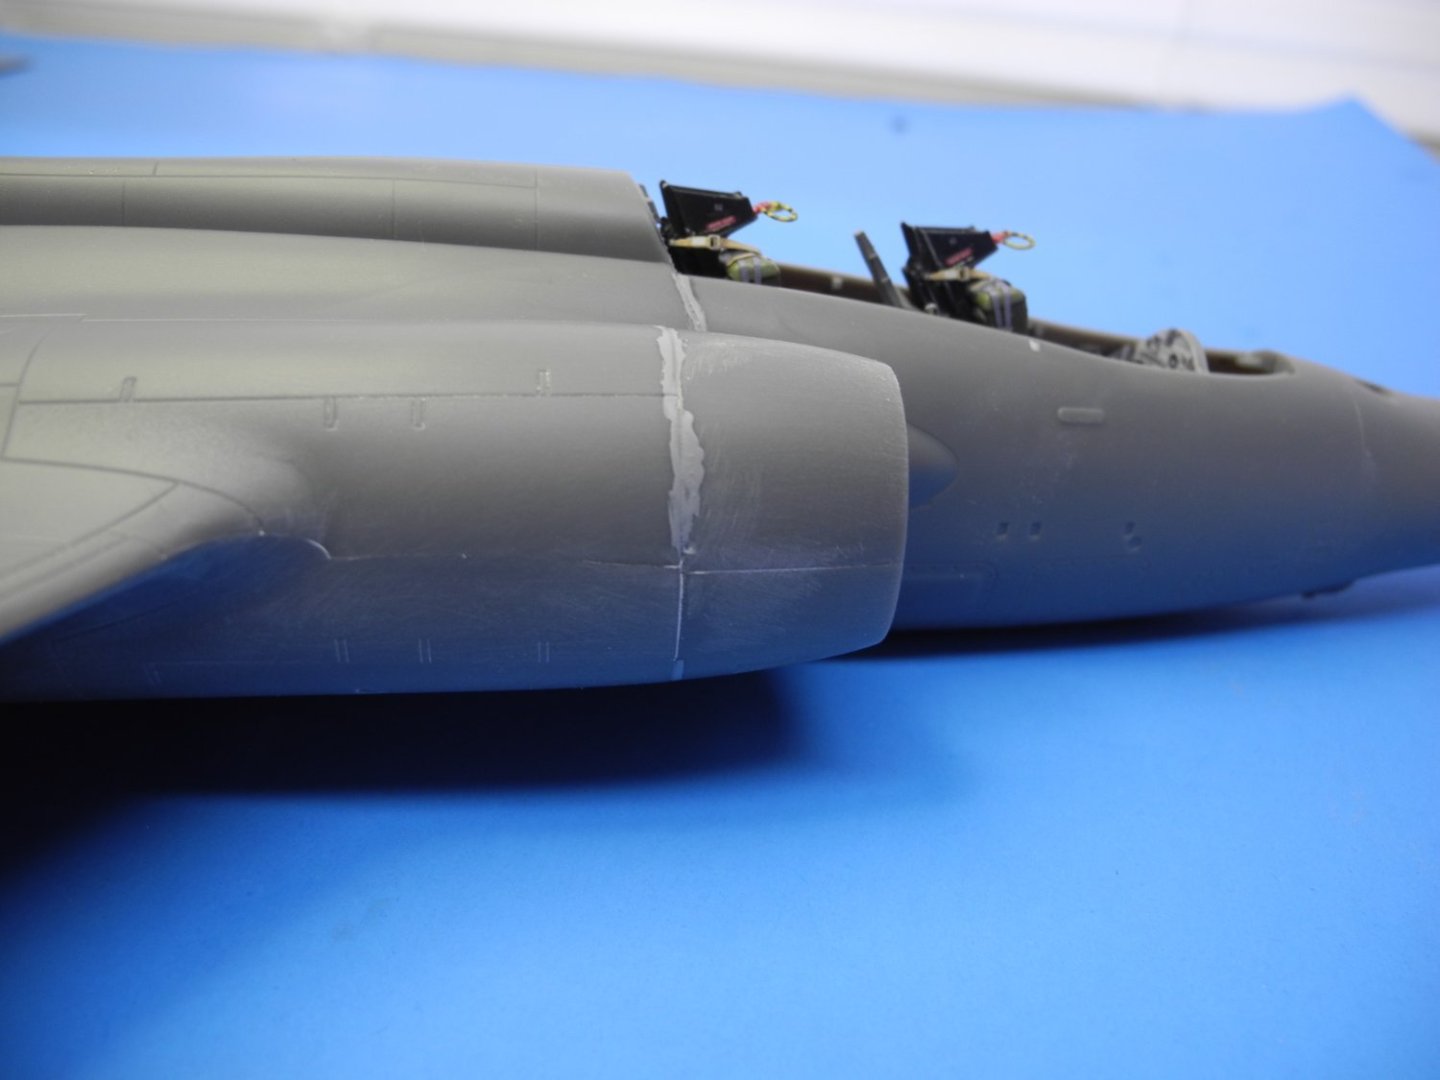
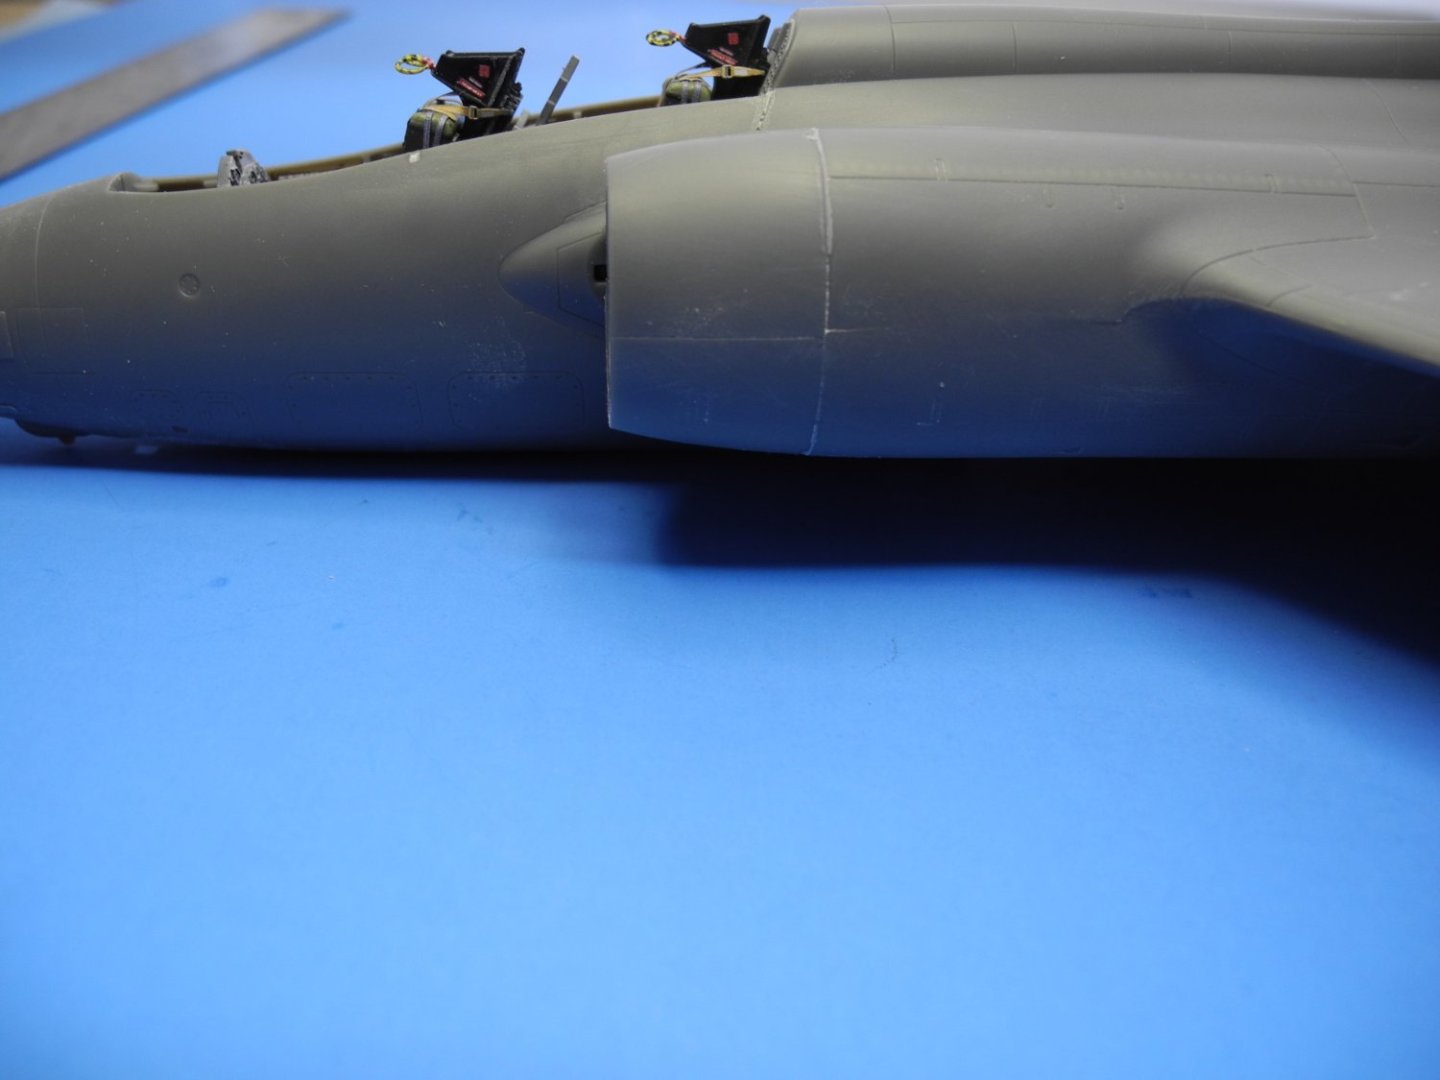
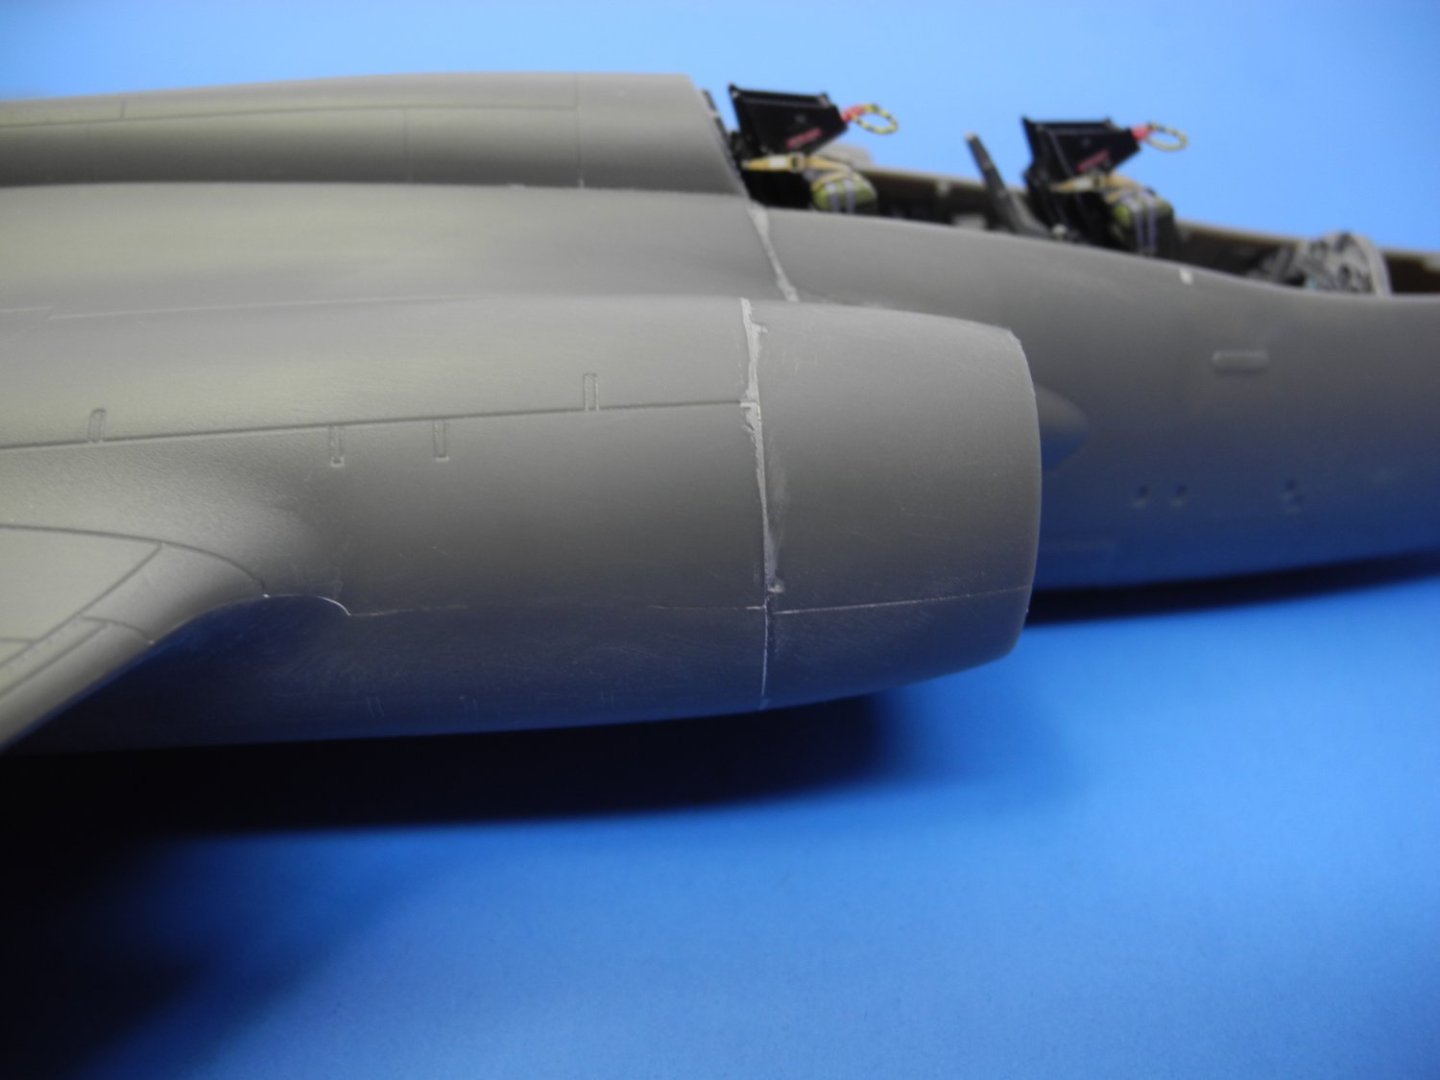
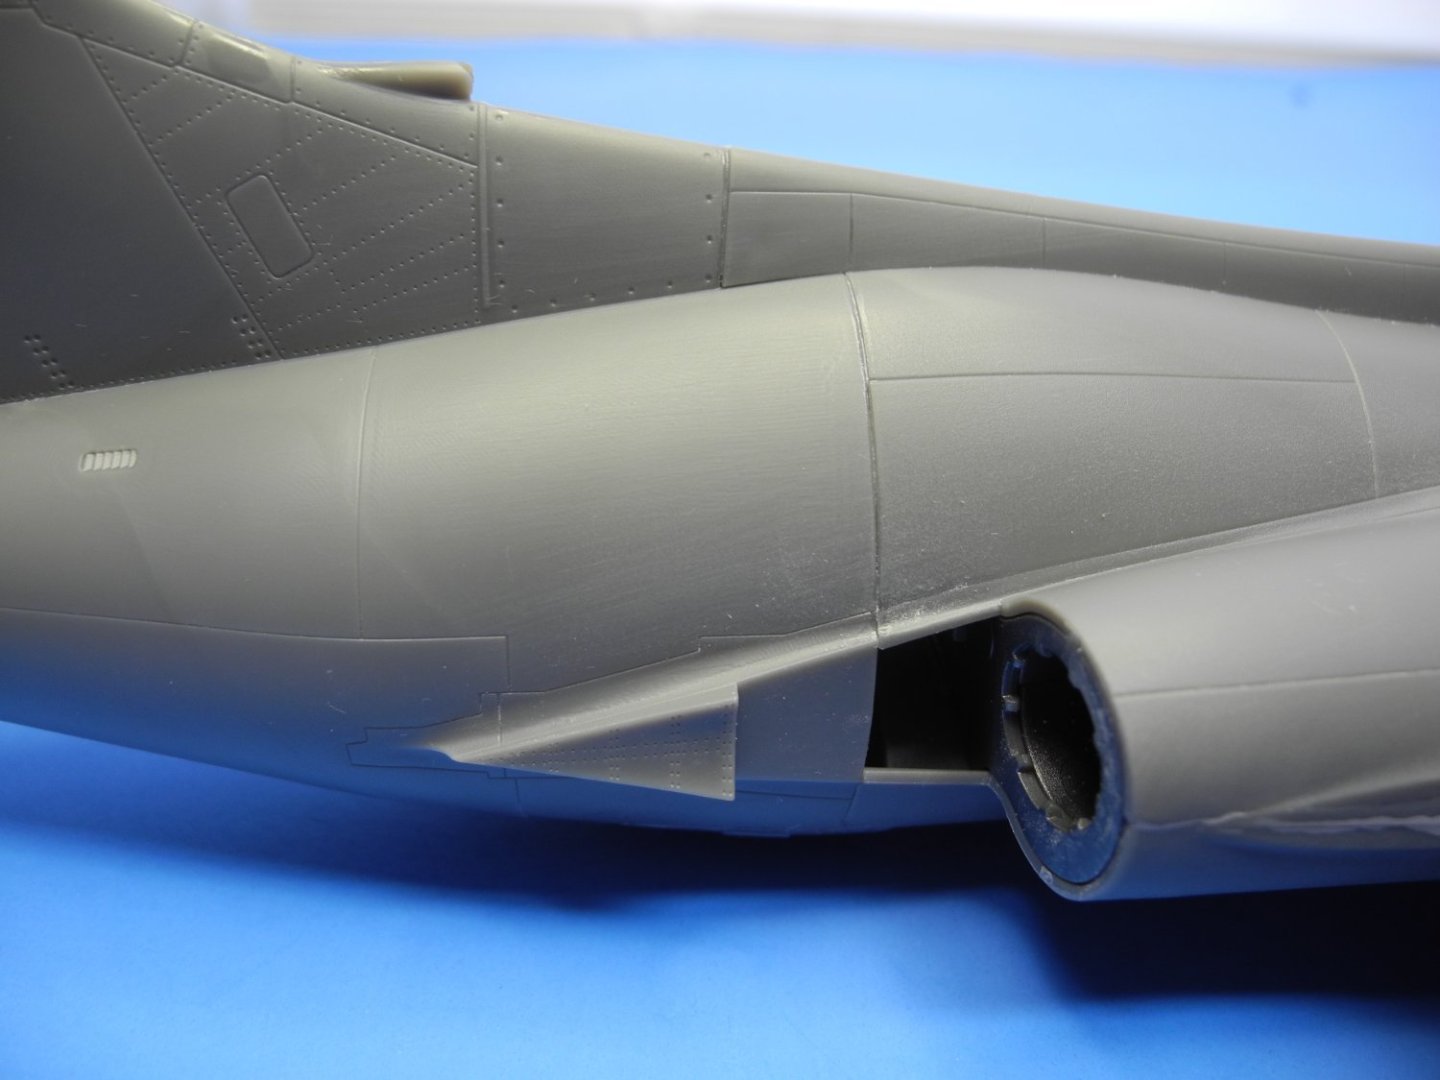
Thanks Mike. Here the intakes have been cemented in place and an application of Mr Surfacer 1000 brushed into the seams. Once the Mr Surfacer was dry, knocked it all down and smoothed it out with a Tamiya fine sanding sponge, wet. Helps prevent the creation of new scratches when you sand it wet. Also added some stretched sprue to the hefty gap that was in the seam in front of the vertical stab.


- 332 replies
-
- 10
-
-
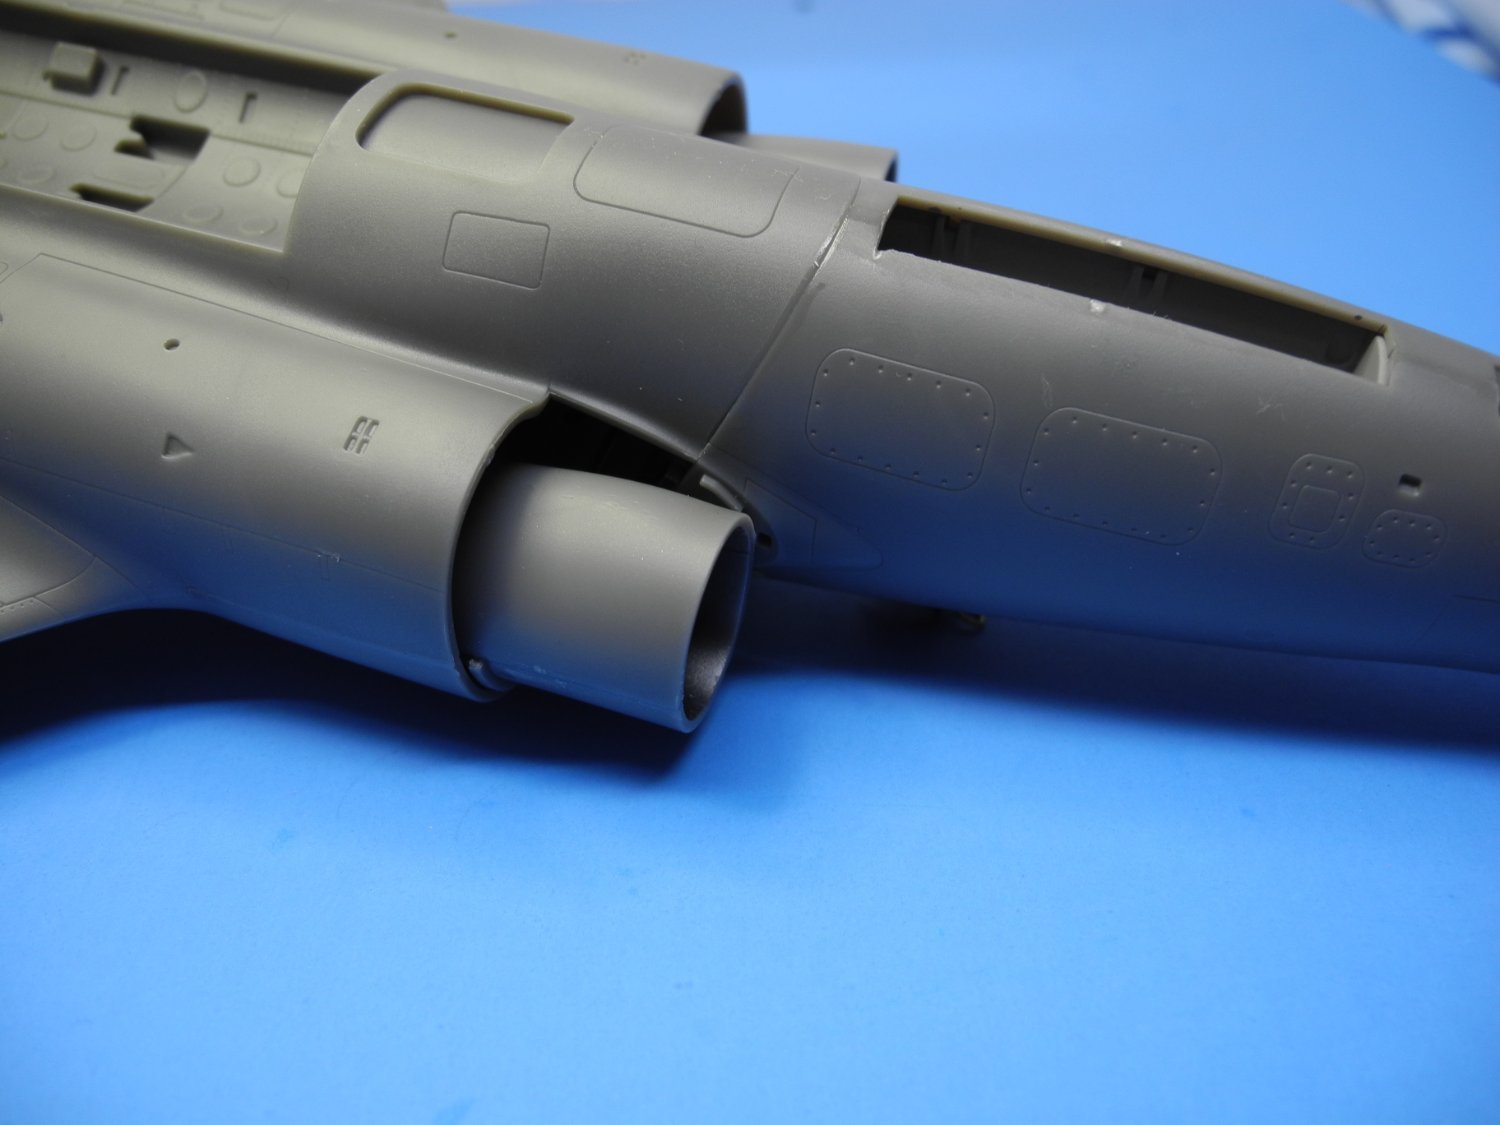
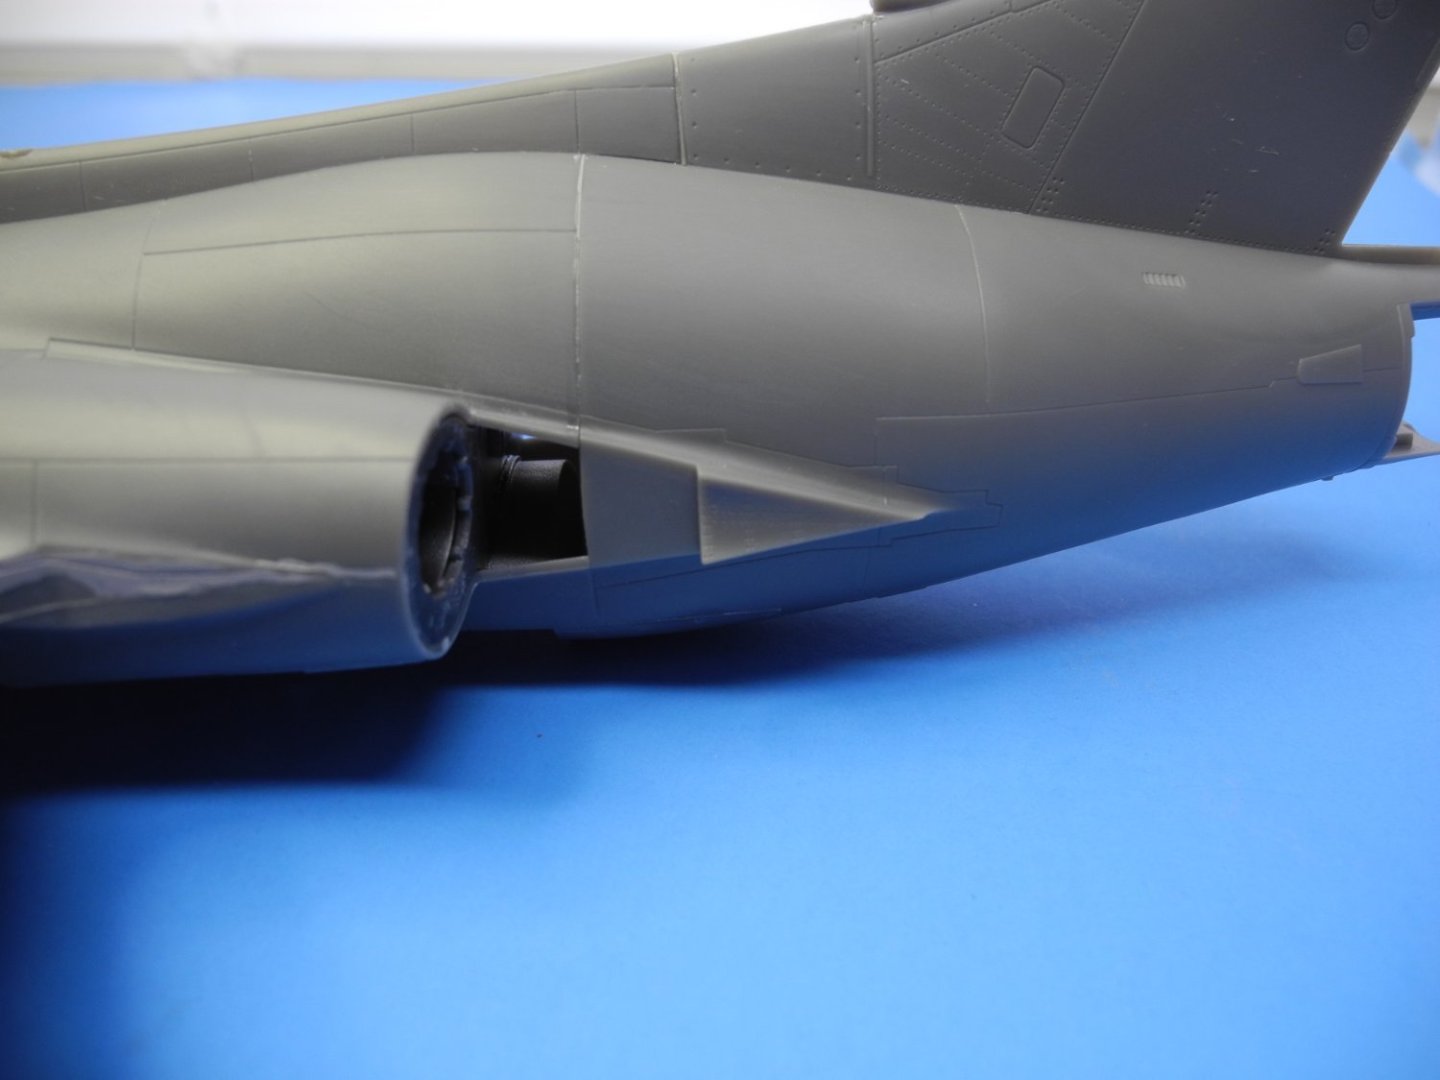
Beautiful engine mold.
-
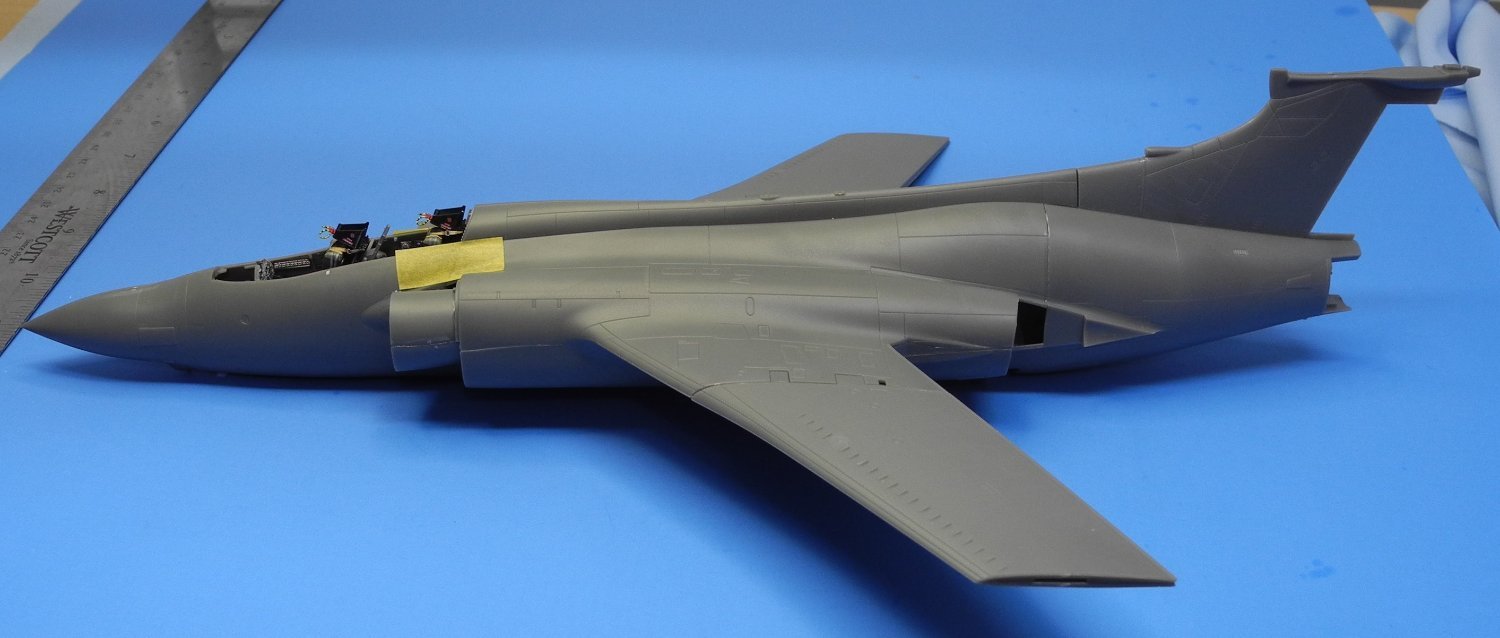
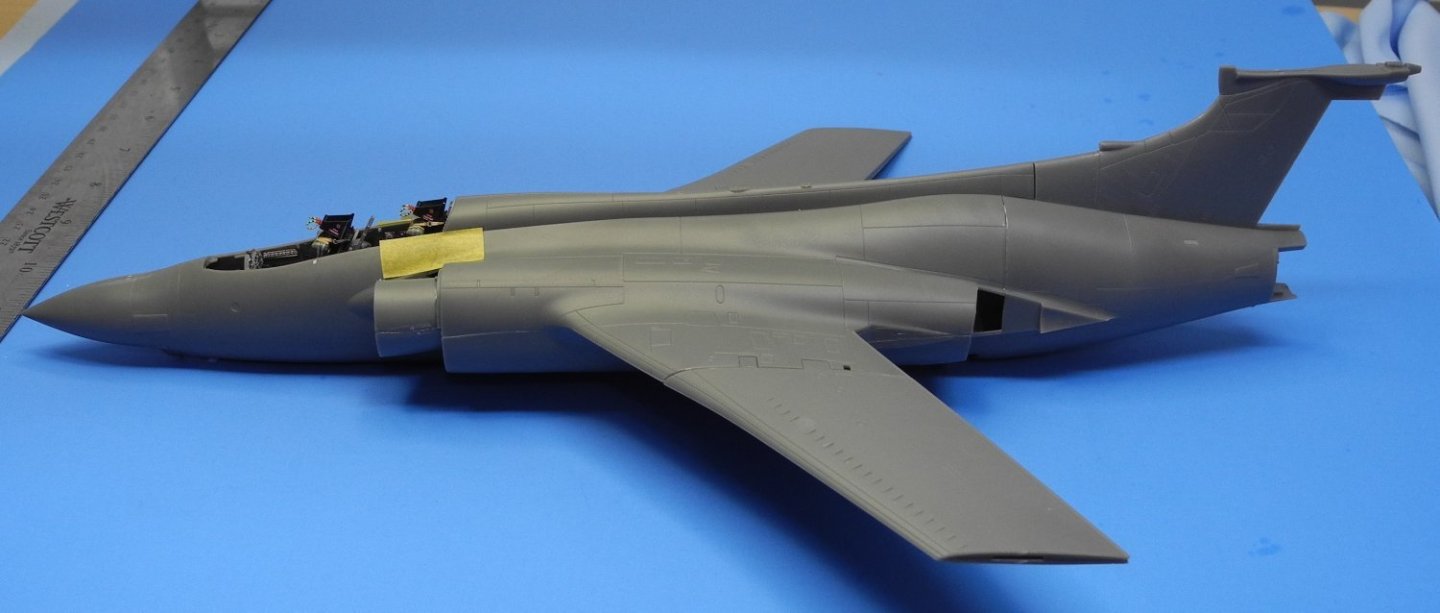
Glue dried sufficiently to attach the tail cone/vertical stabilizer assembly to the fuselage as well as the forward fuselage/cockpit assembly to the fuselage. Once the joins are sanded a bit to smooth them out and an application of Mr. Surfacer with a little more sanding to blend it all in and the join areas should disappear. There is one area just forward of the vertical stabilizer where I will glue in a piece of stretched sprue to fill a small gap. Next comes flaps, horizontal stabilizers, intakes, jet nozzles, and various protrusions from the fuselage and wings. I may go ahead and prep the areas that need it with Mr Surfacer and a little sanding before adding the nozzles and intakes. They may get in the way of that later if I wait.


- 332 replies
-
- 11
-
-
My old '51 Chevy had those splash rods you described.
-
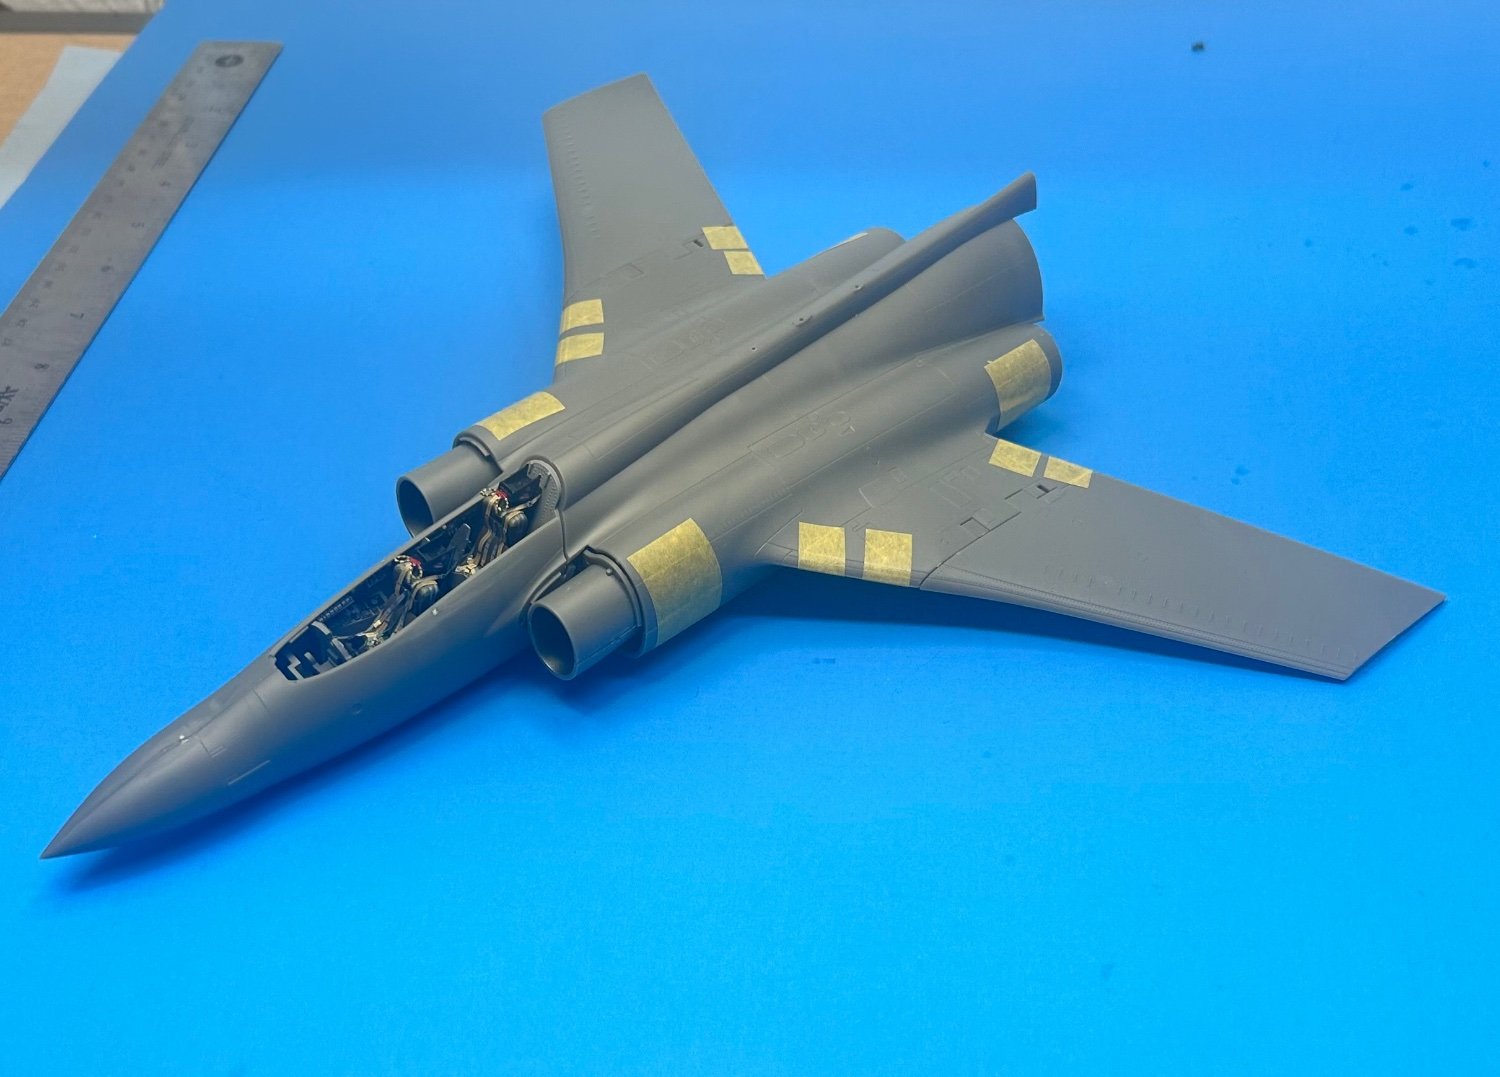
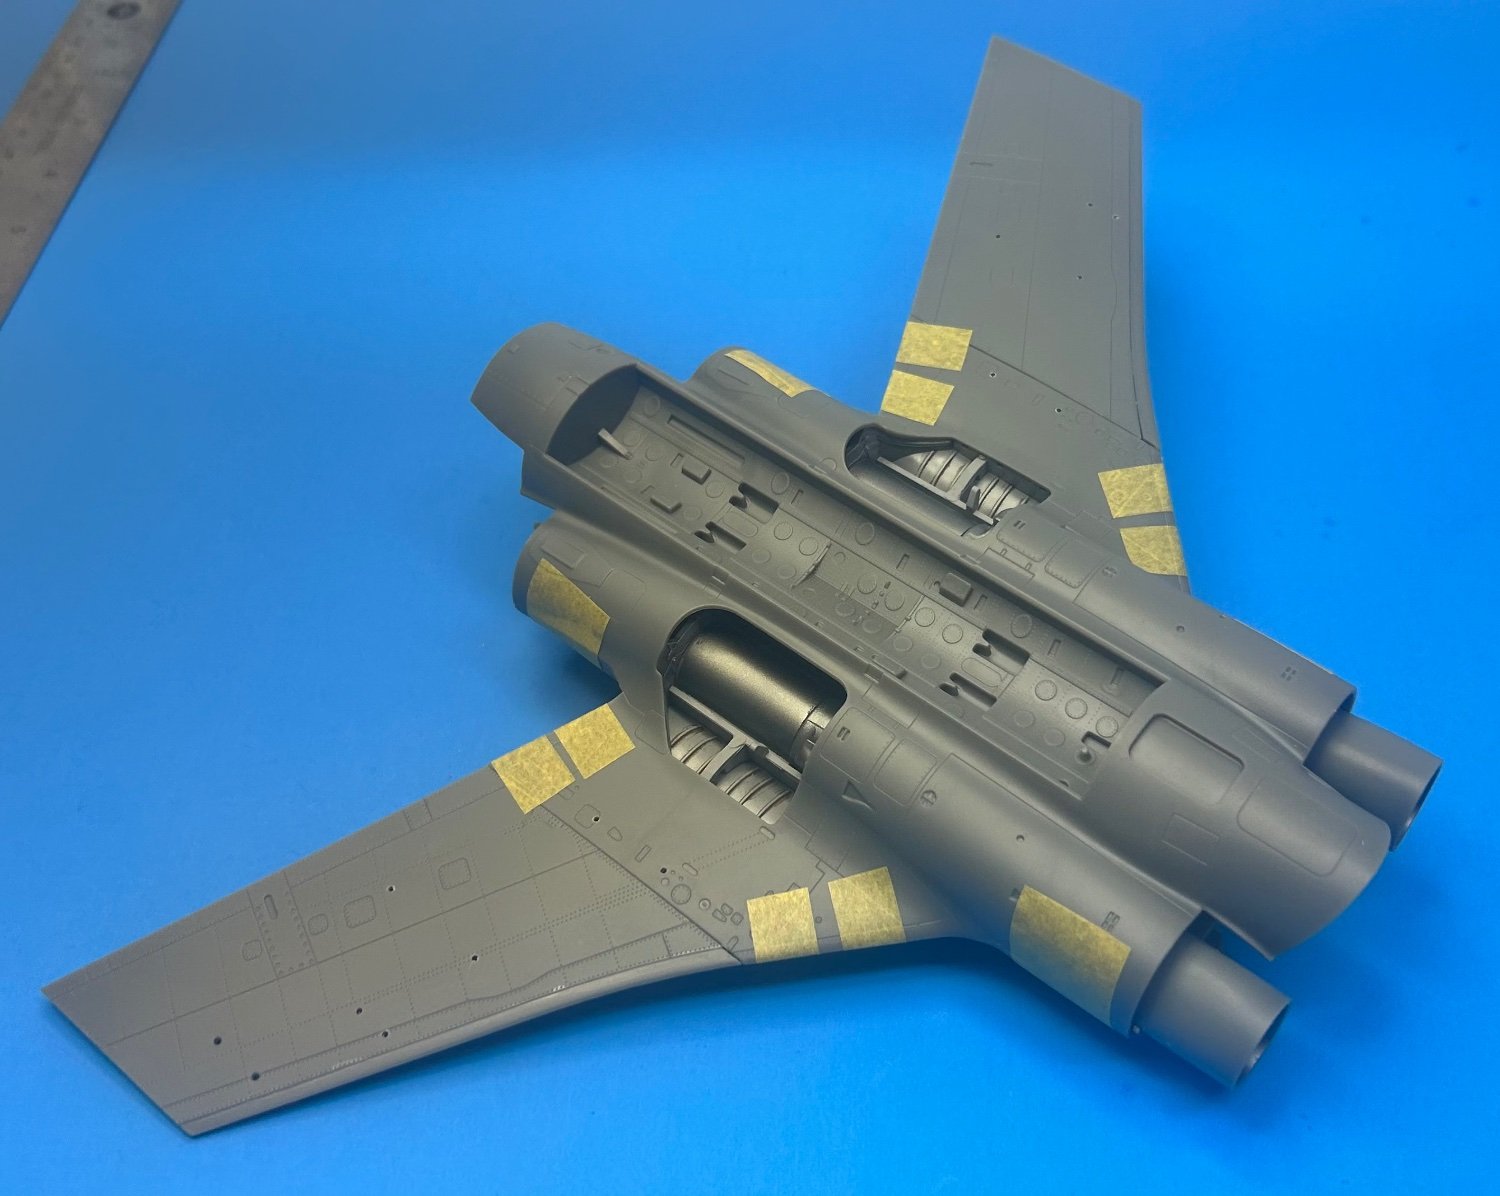
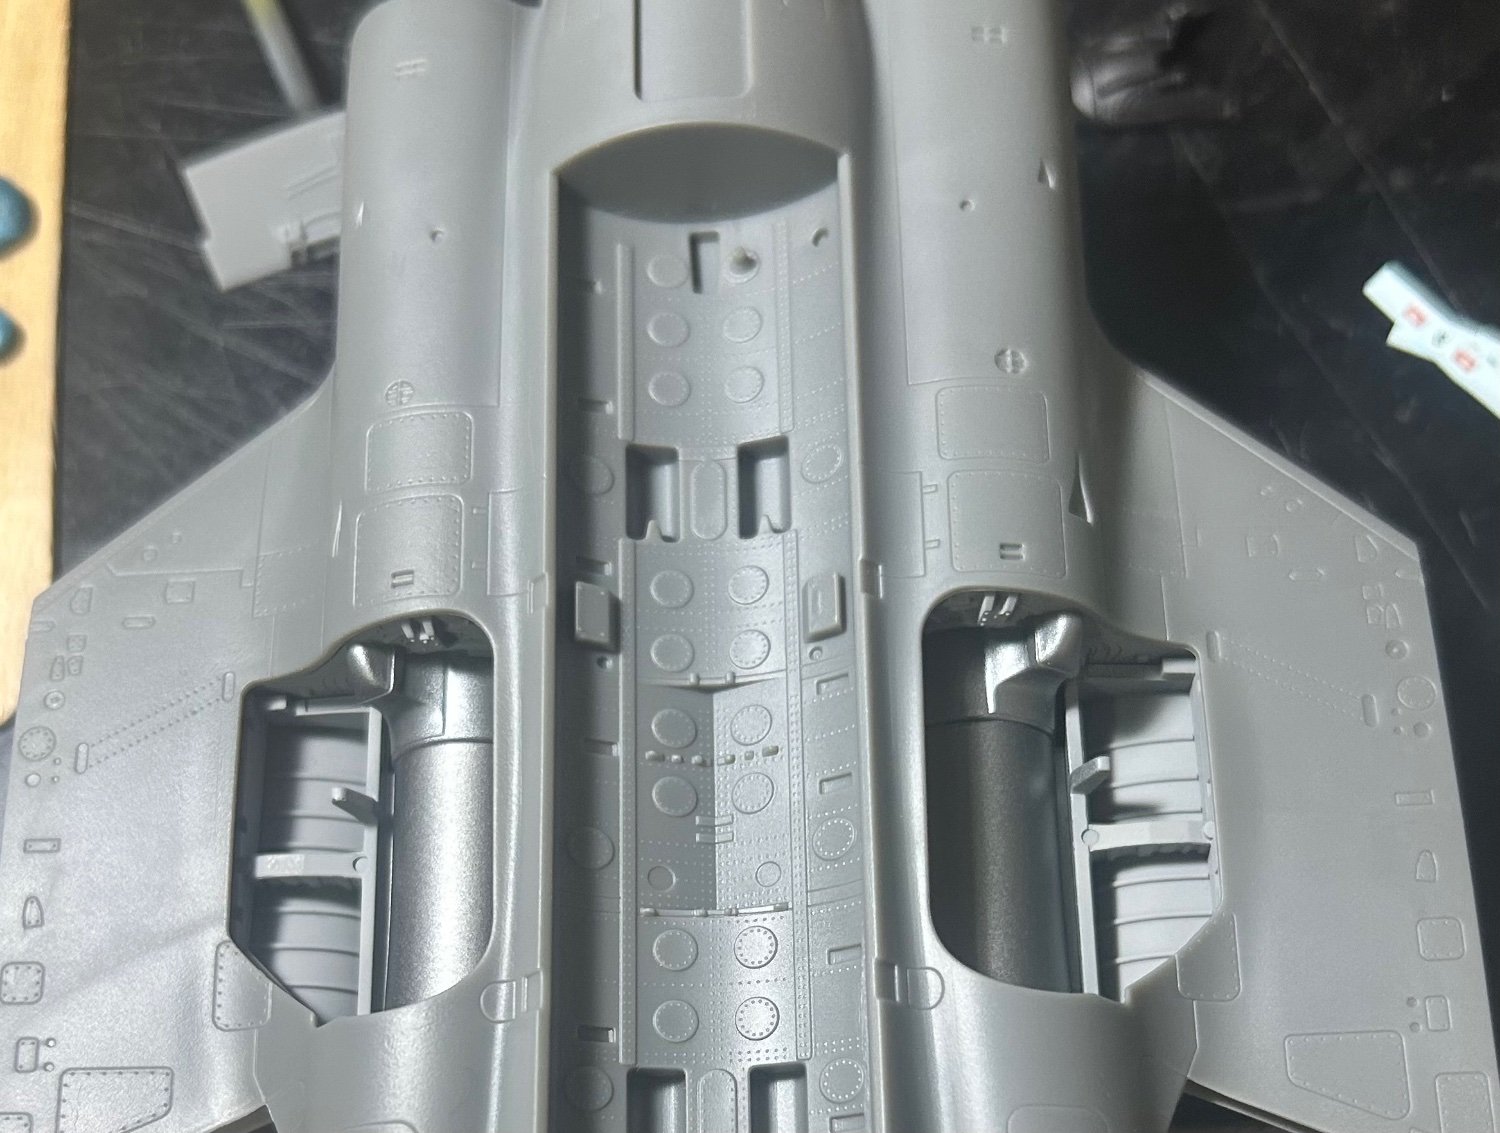
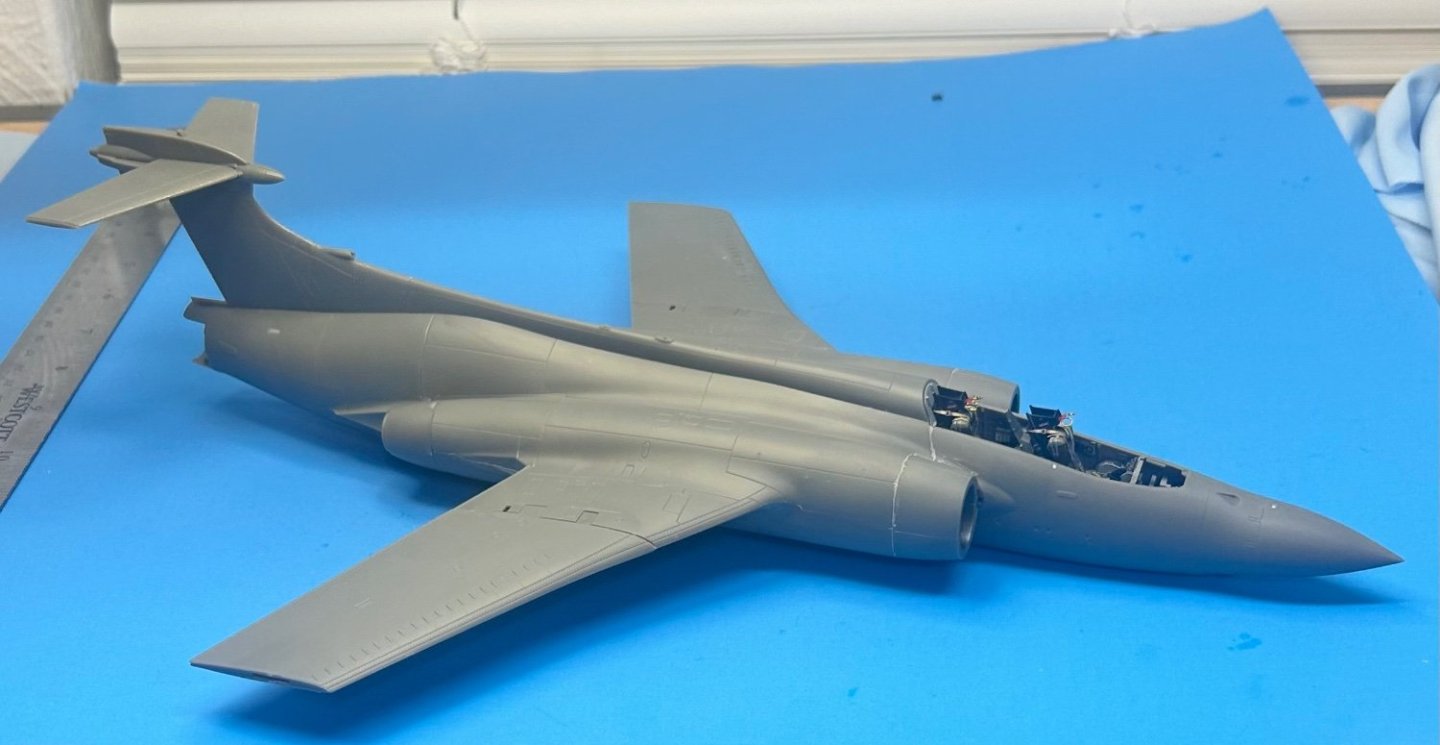
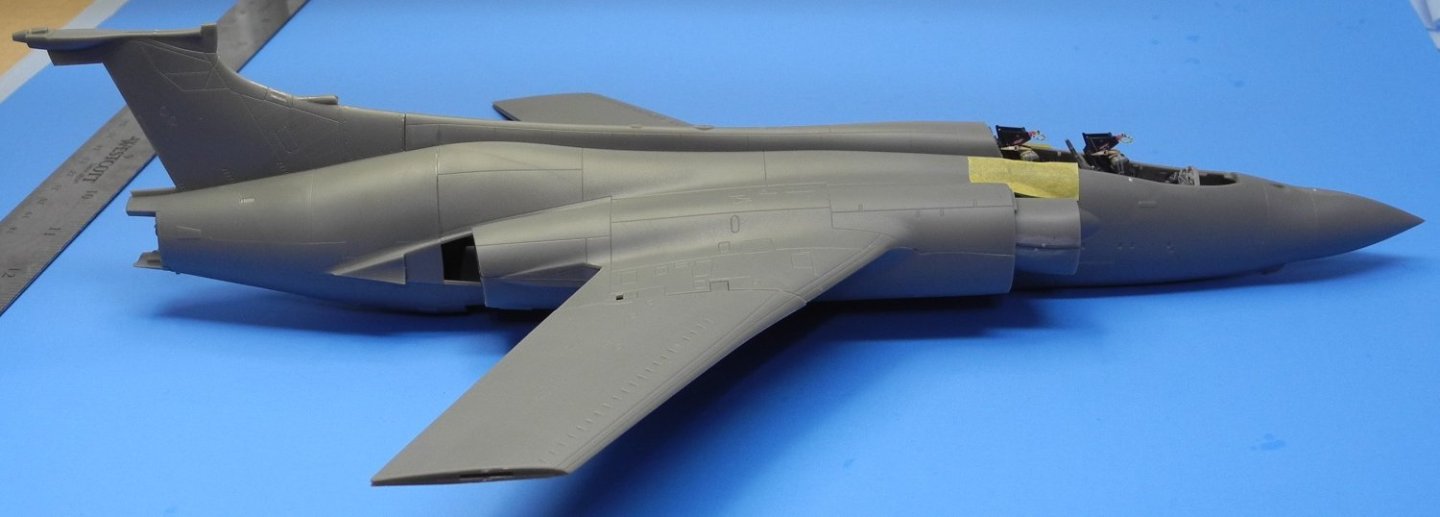
Upper and lower fuselage halves have been glued together with the wings glued in place in the extended position. Waiting for the glue to dry overnight. Forward fuselage and cockpit posed in place with no glue yet. Everything fits very well.


- 332 replies
-
- 11
-
-
Bristol F.2B WW1 Fighter by CDW - FINISHED - Eduard - 1:48 Scale
CDW replied to CDW's topic in Non-ship/categorised builds
Silver medal award IPMS region 11 show March 18, 2023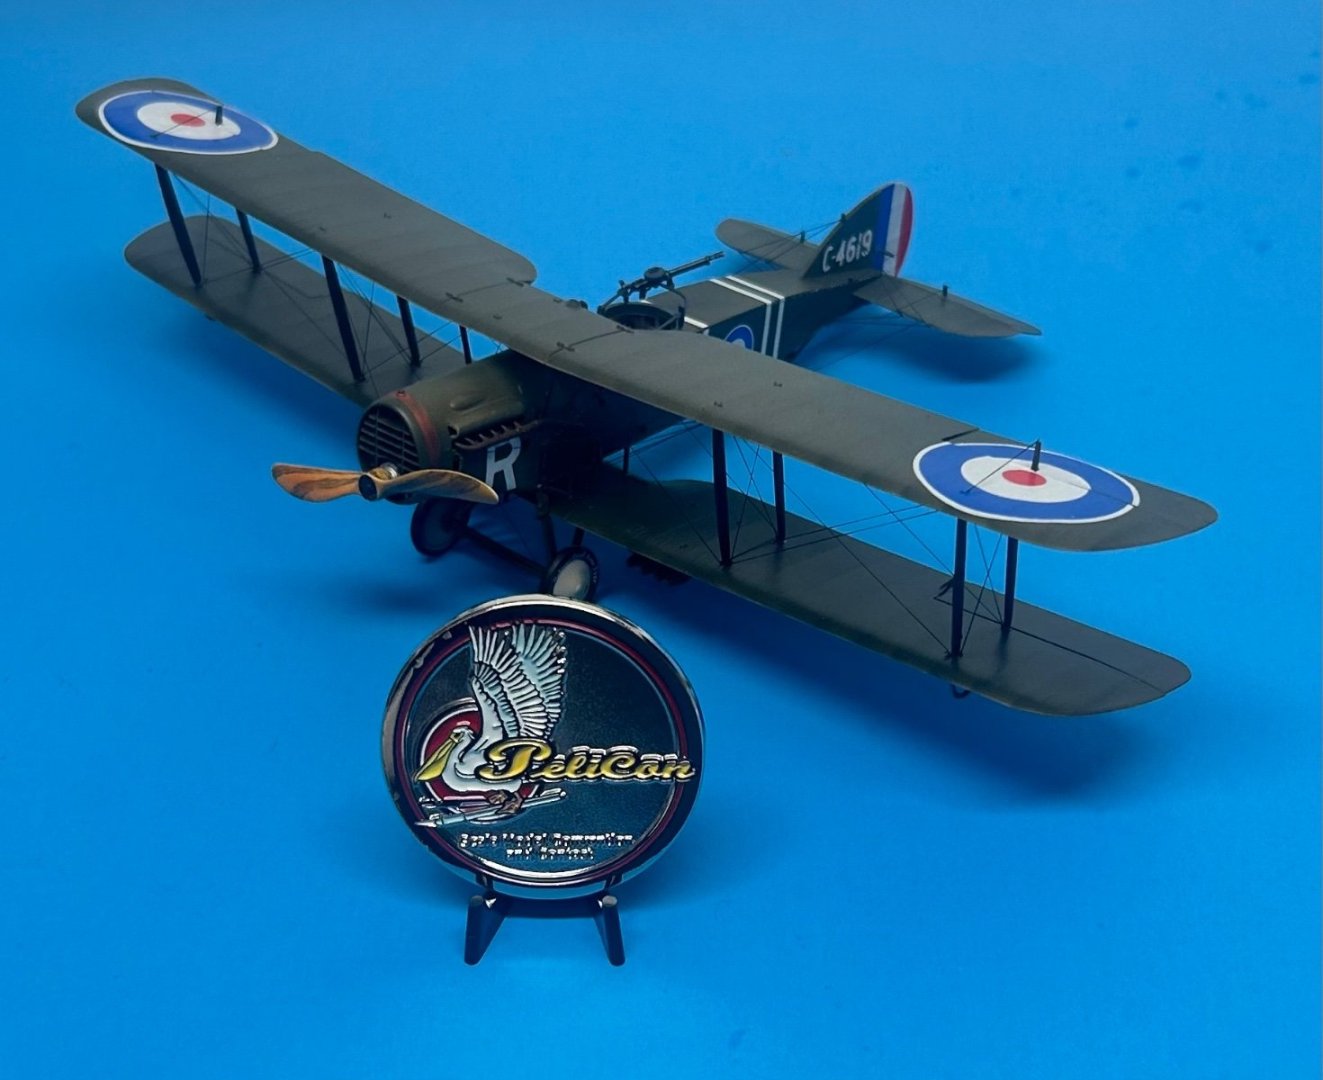
- 140 replies
-
- 11
-
-

-
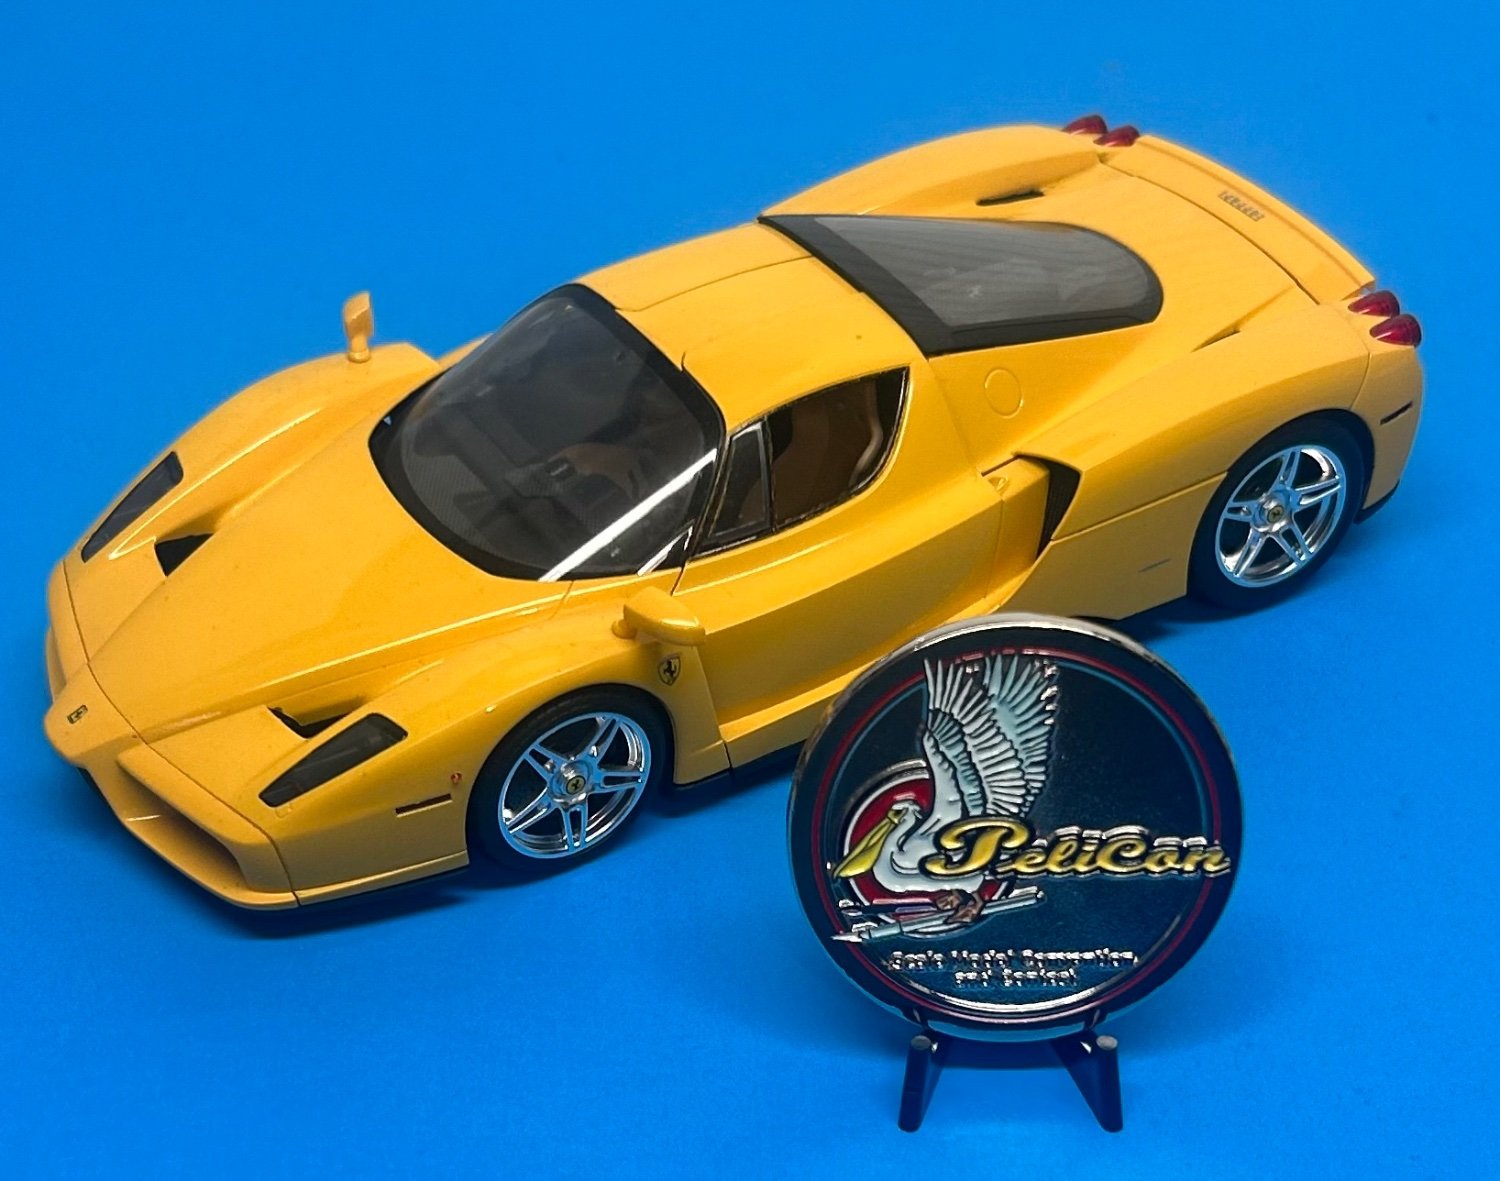
Enzo Ferrari by CDW - FINISHED - Tamiya 1:24 Scale
CDW replied to CDW's topic in Non-ship/categorised builds
Silver medal award IPMS region 11 show March 18, 2023
- 128 replies
-
- 12
-
-
-
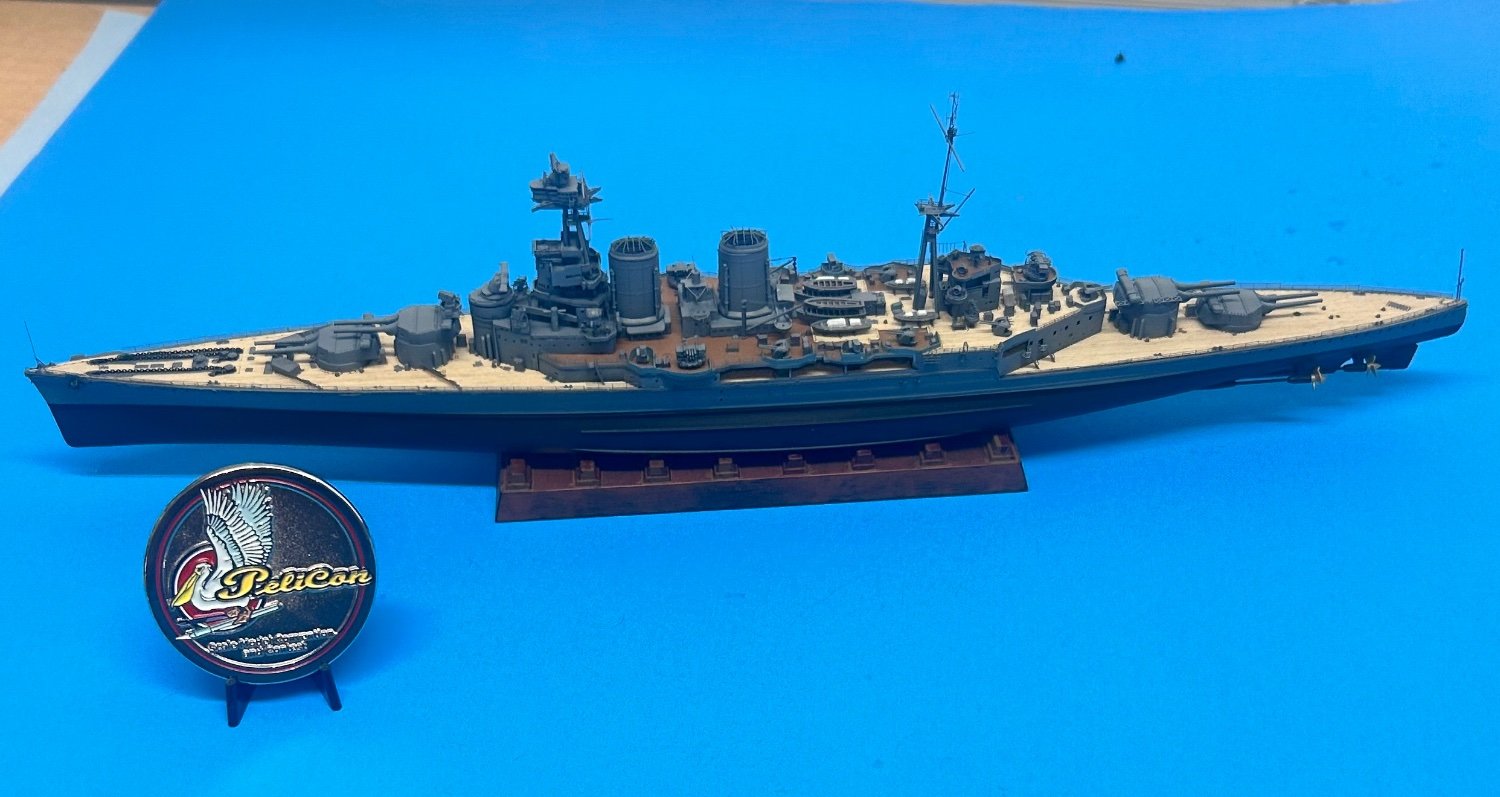
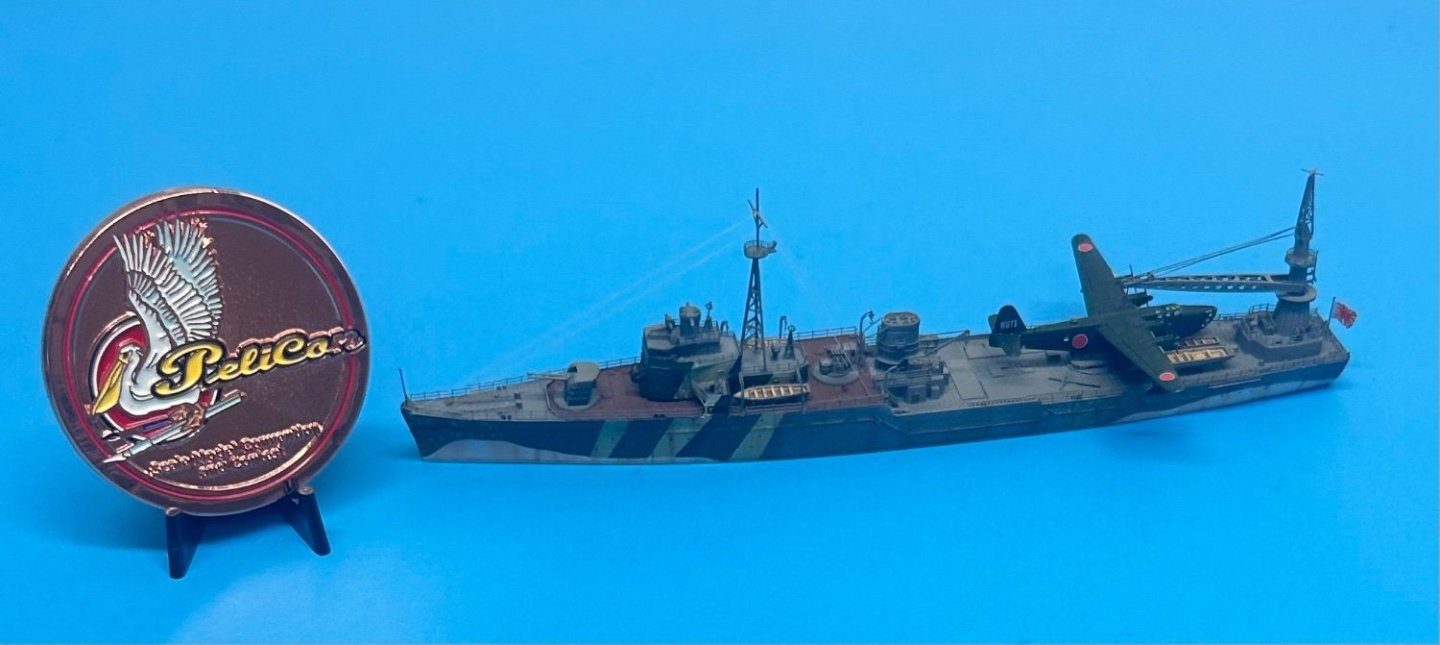
Bronze medal award IPMS region 11 show March 18, 2023
- 127 replies
-
- 9
-
-

-
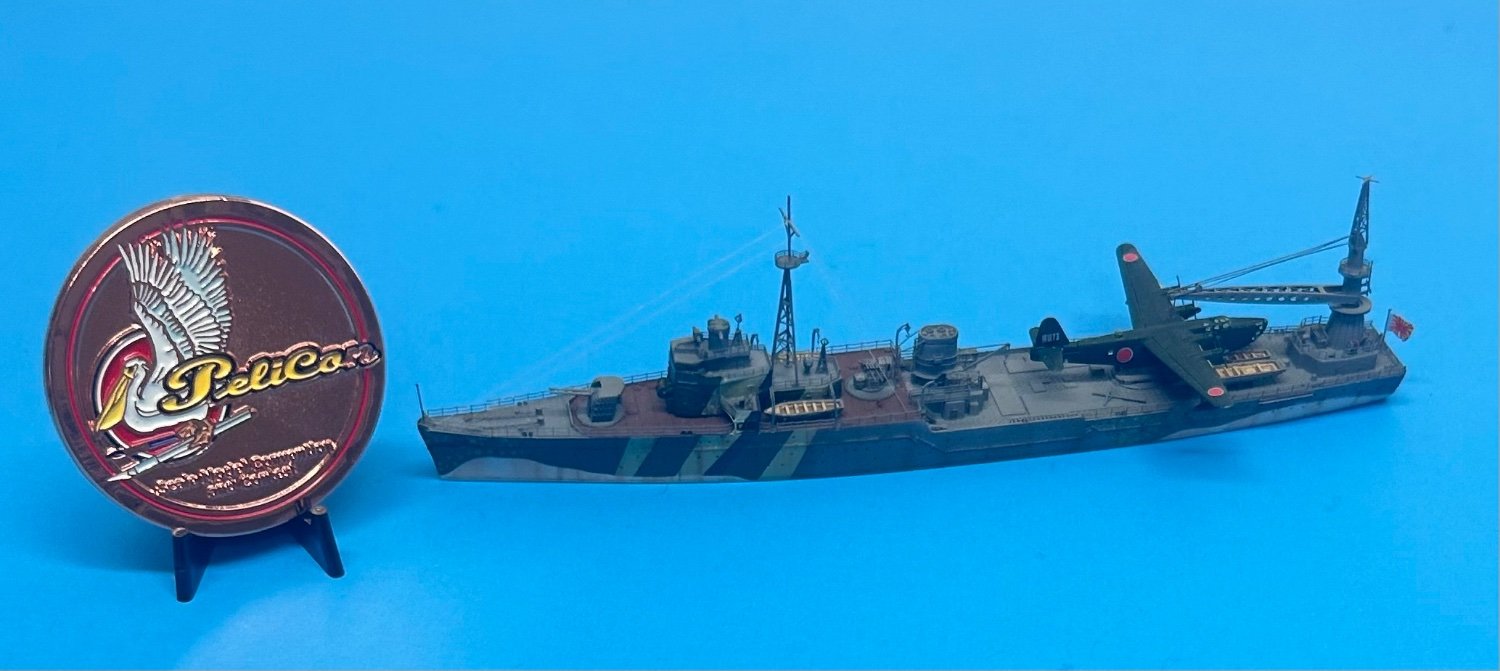
- Akitsushima
- Pit Road
- (and 2 more)
-
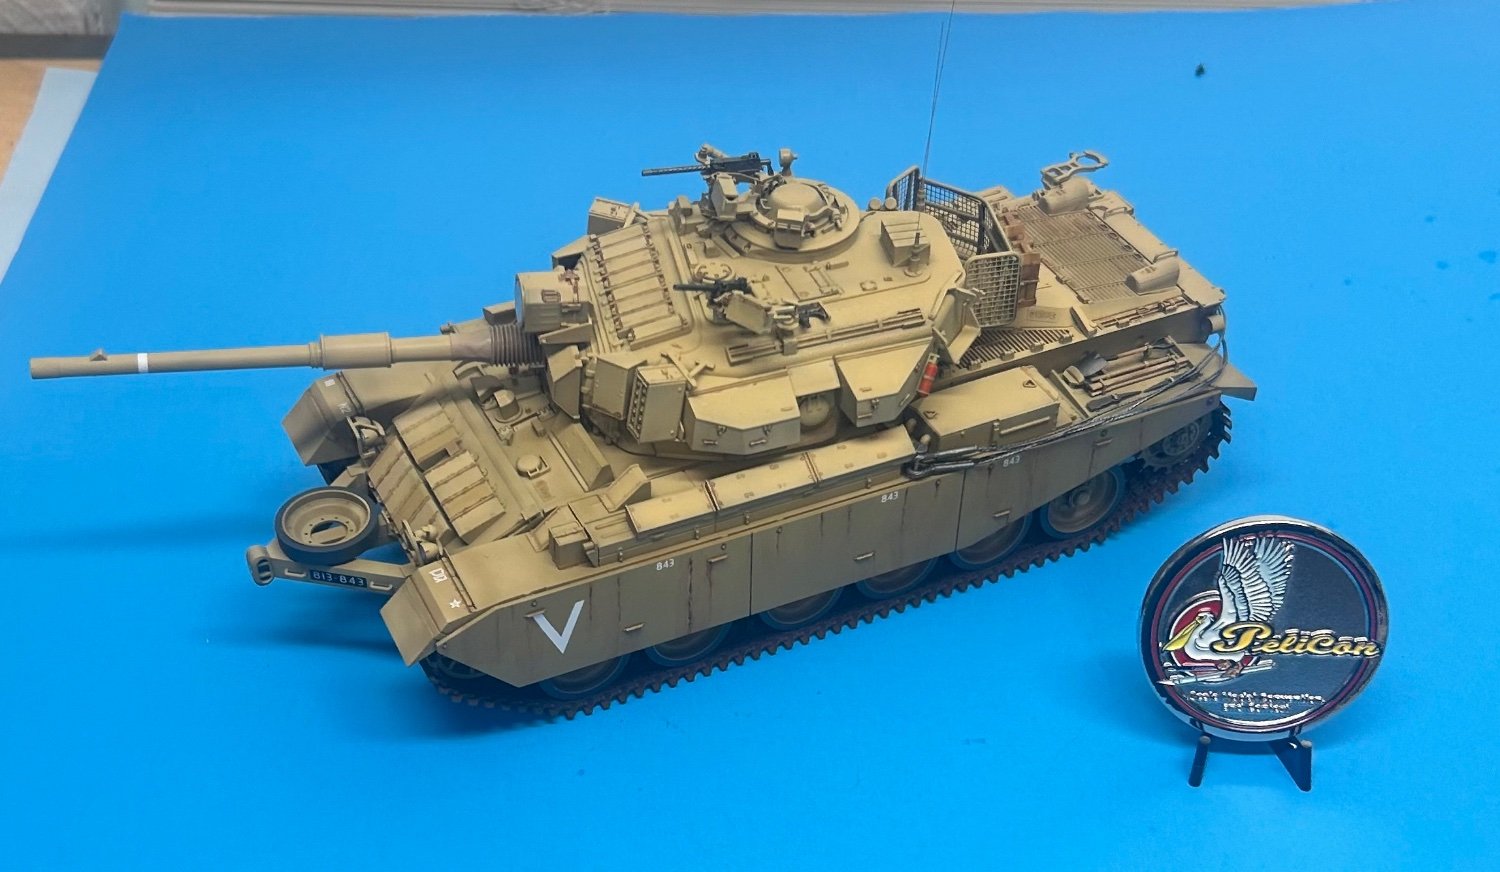
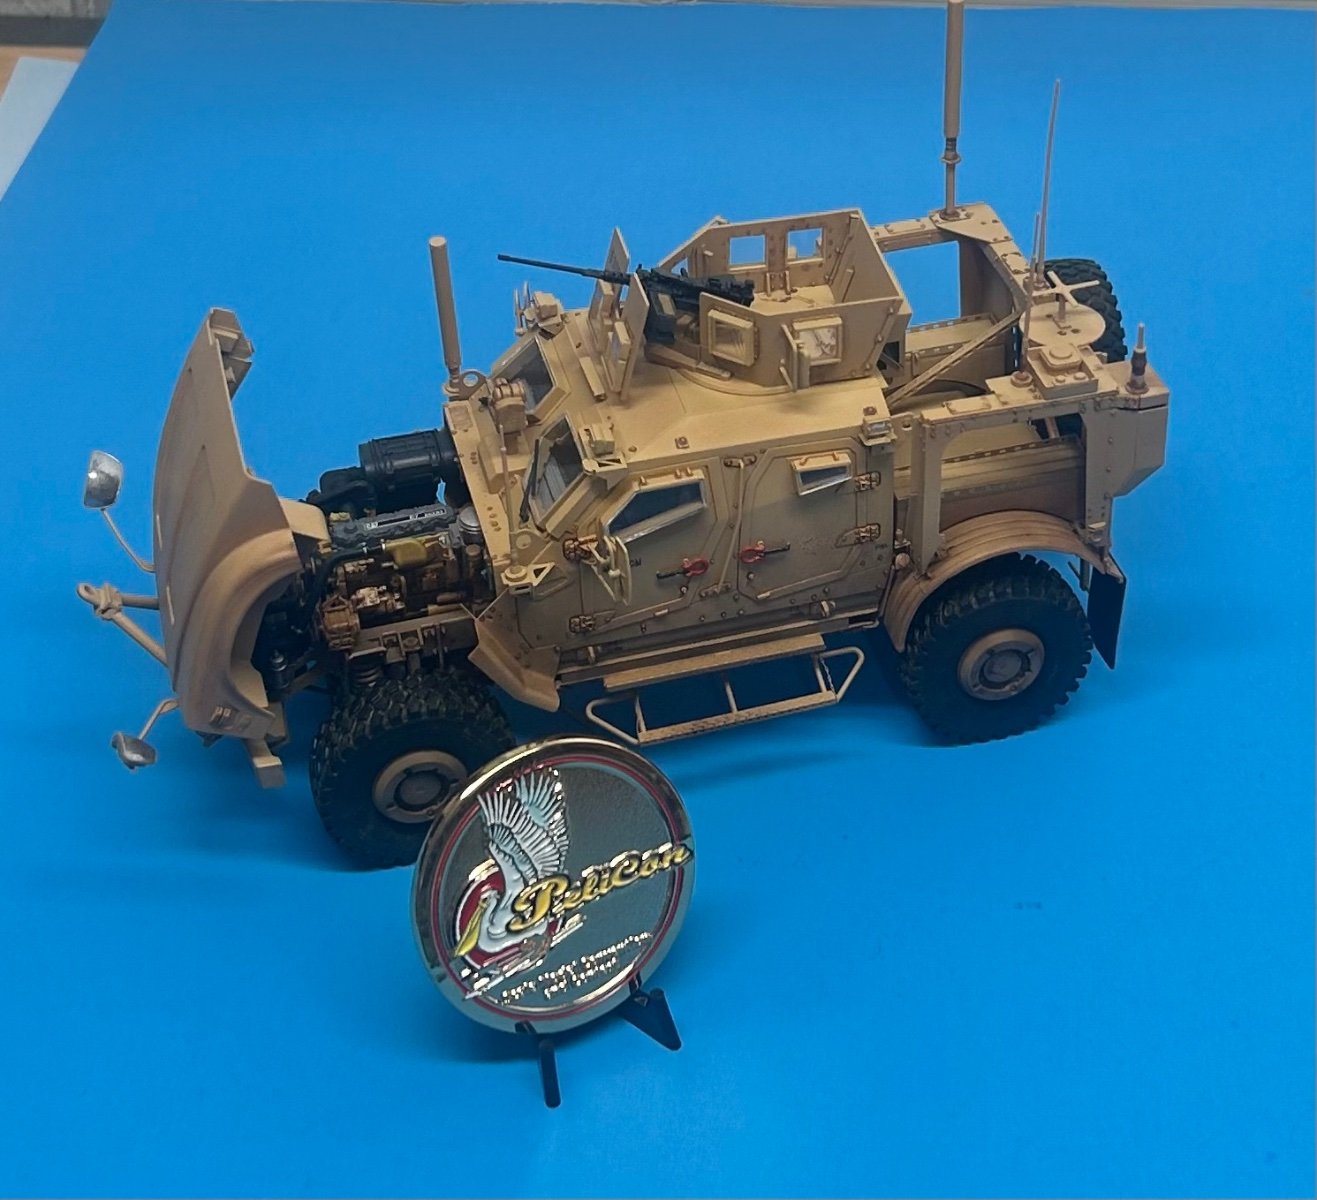
MRAP ATV by CDW - FINISHED - Rye Field - 1:35 Scale
CDW replied to CDW's topic in Non-ship/categorised builds
Gold medal award IPMS region 11 show March 18, 2023
- 217 replies
-
- 10
-
-
-
Gold medal award IPMS region 11 show March 18, 2023

- 174 replies
-
- 10
-
-
-
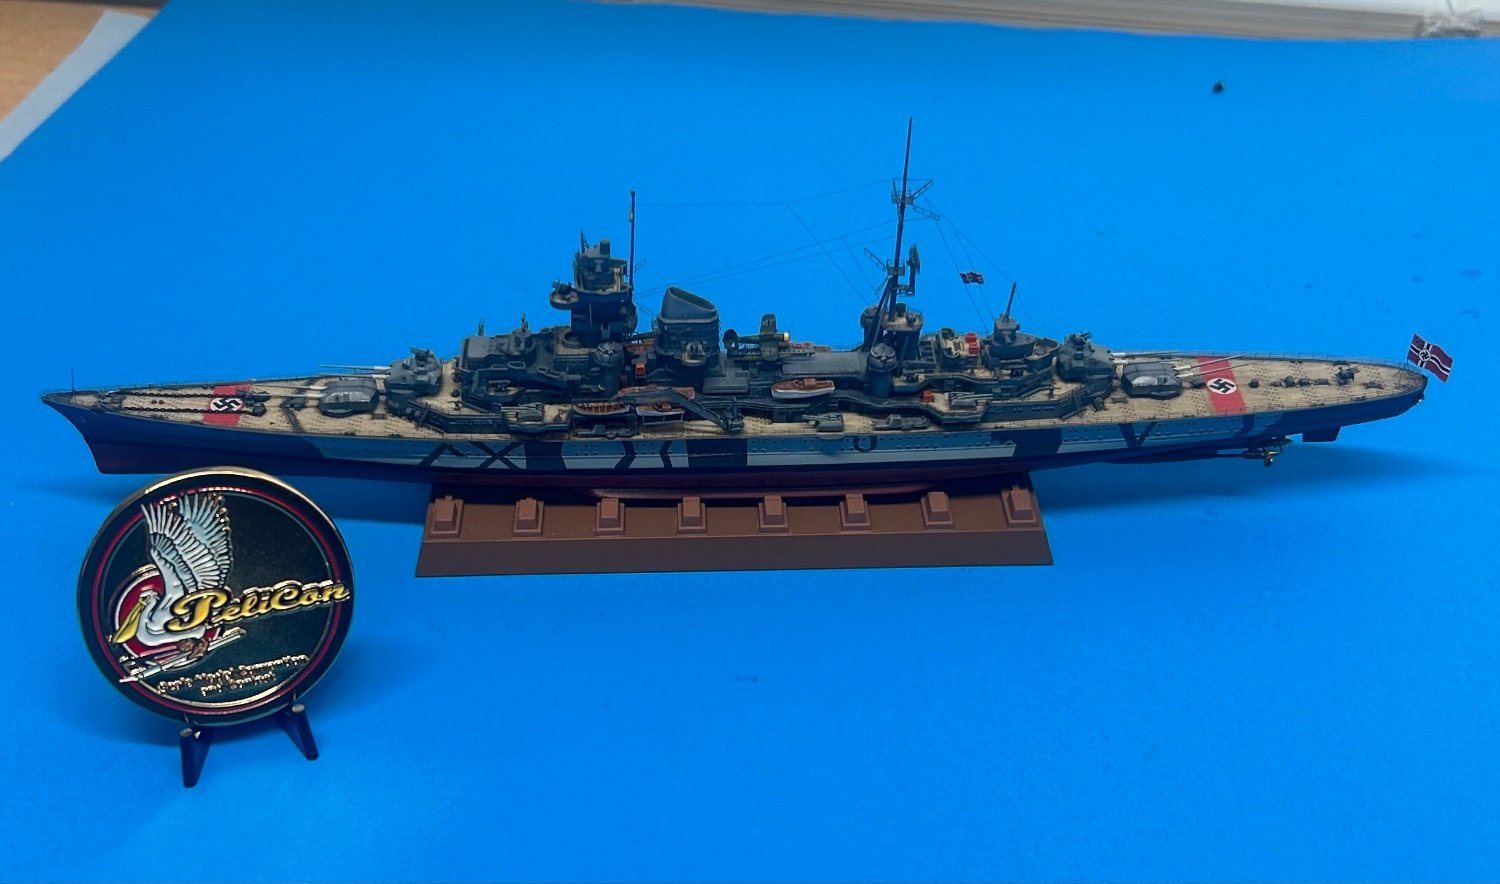
-
- prinz eugen
- trumpeter
- (and 2 more)
-
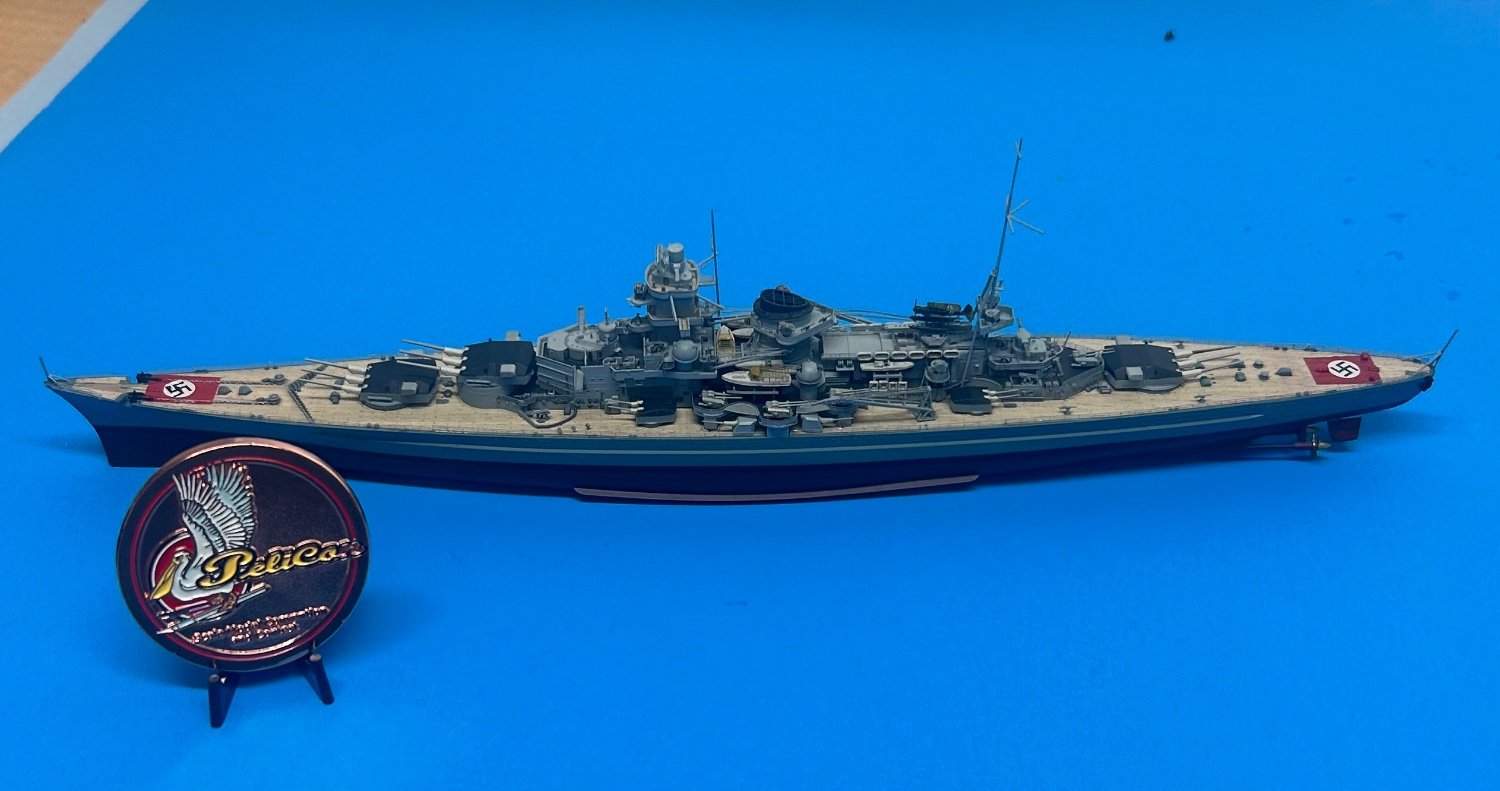
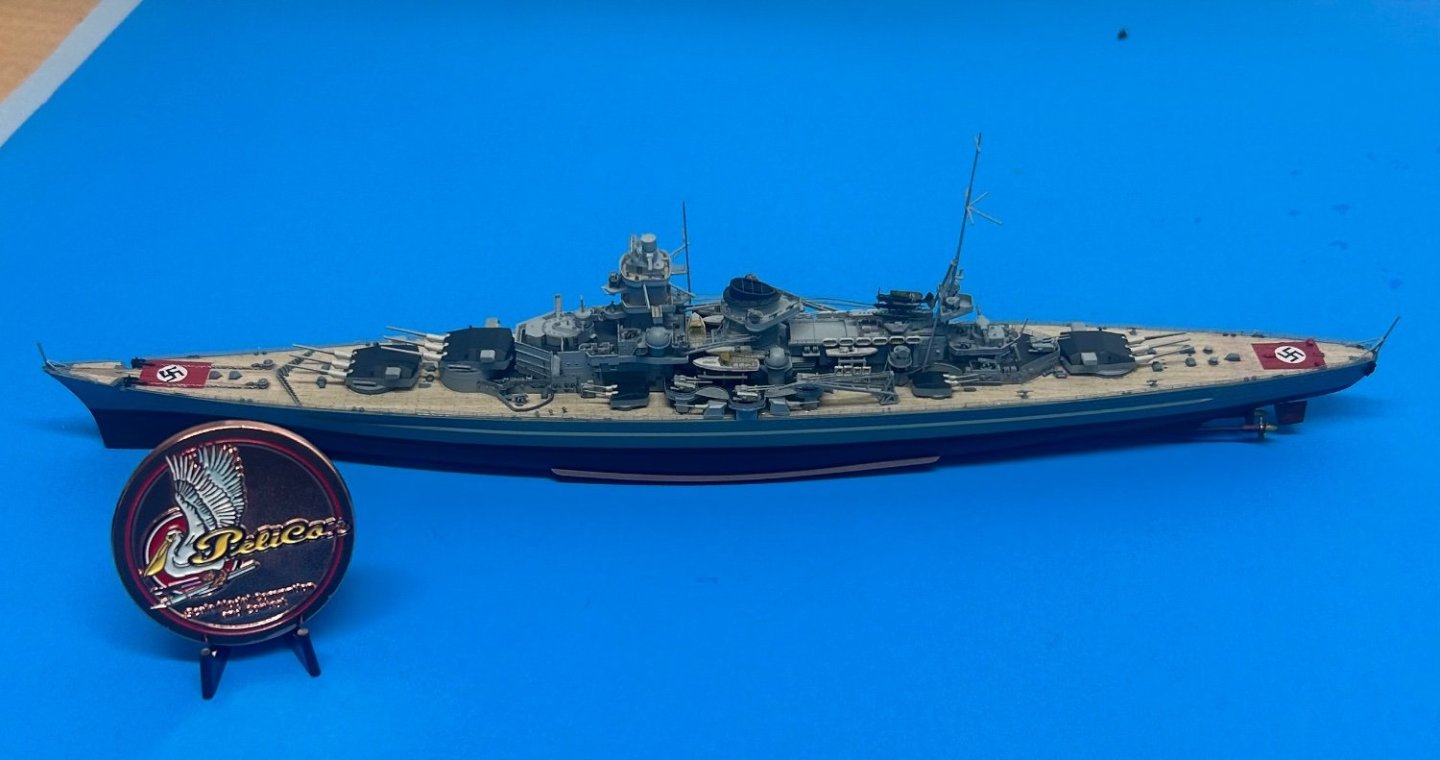
Bronze medal award IPMS region 11 show, March 18, 2023
- 168 replies
-
- 10
-
-
- Scharnhorst
- Flyhawk
- (and 1 more)
-
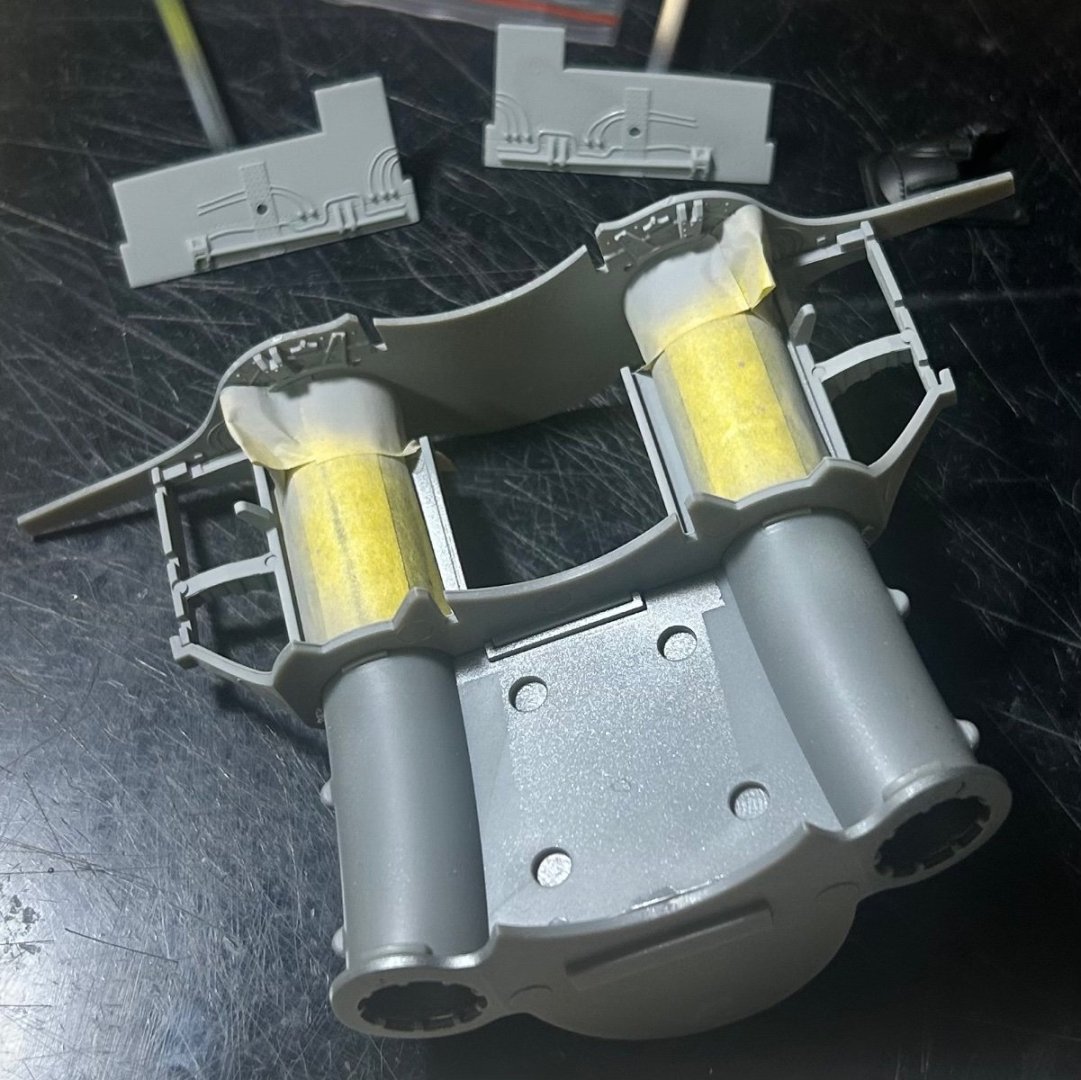
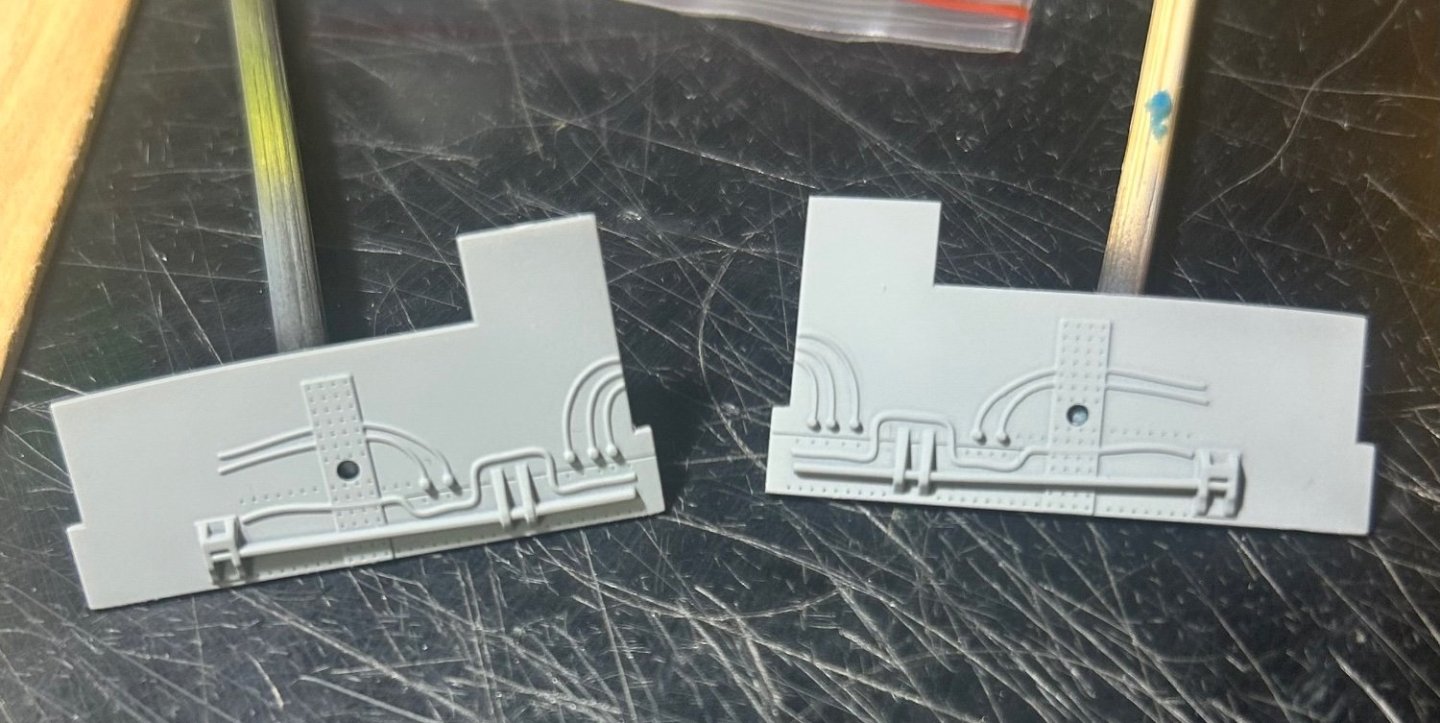
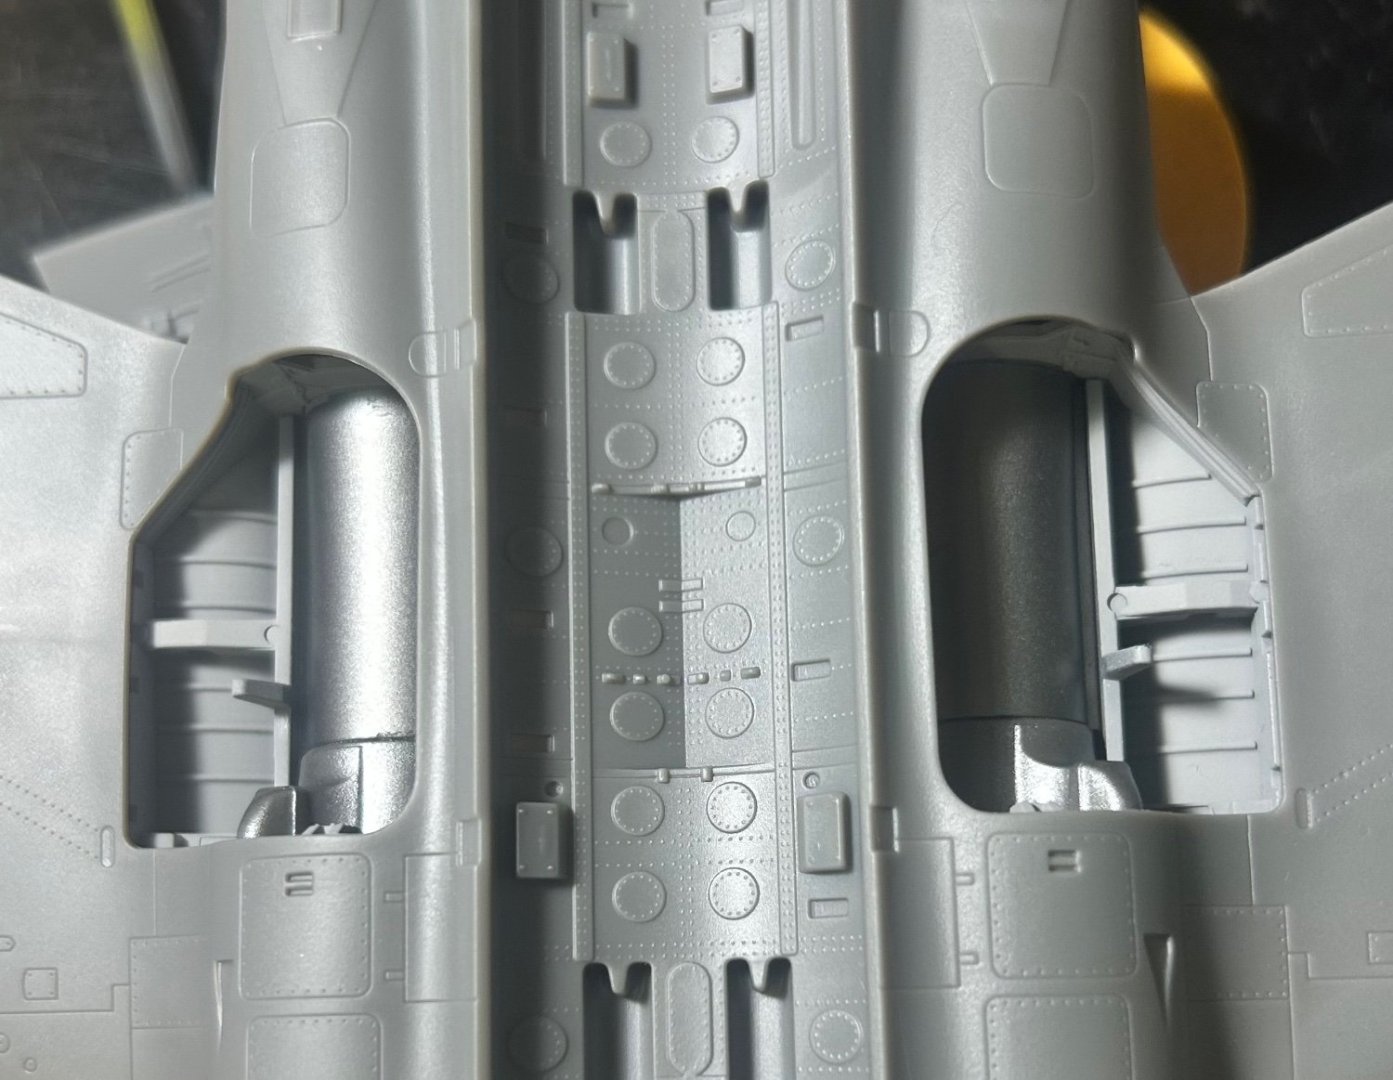
Airfix provides one basic engine, decently detailed, for the option of an open engine panel on top of the fuselage. Also included but not shown here are pieces to represent engine piping plumbing and wiring. The upper fuselage is partially perforated so the engine panel can readily be cut out. A paper template is included to get the precise shape cut out to fit the removable panel which comes as a separately molded part. My model will not display the open panel but it could be nice if someone wanted to take the time to detail it. The instructions suggest putting the engine in place even though it may not be openly displayed as it aides in the alignment of the entire assembly.

-
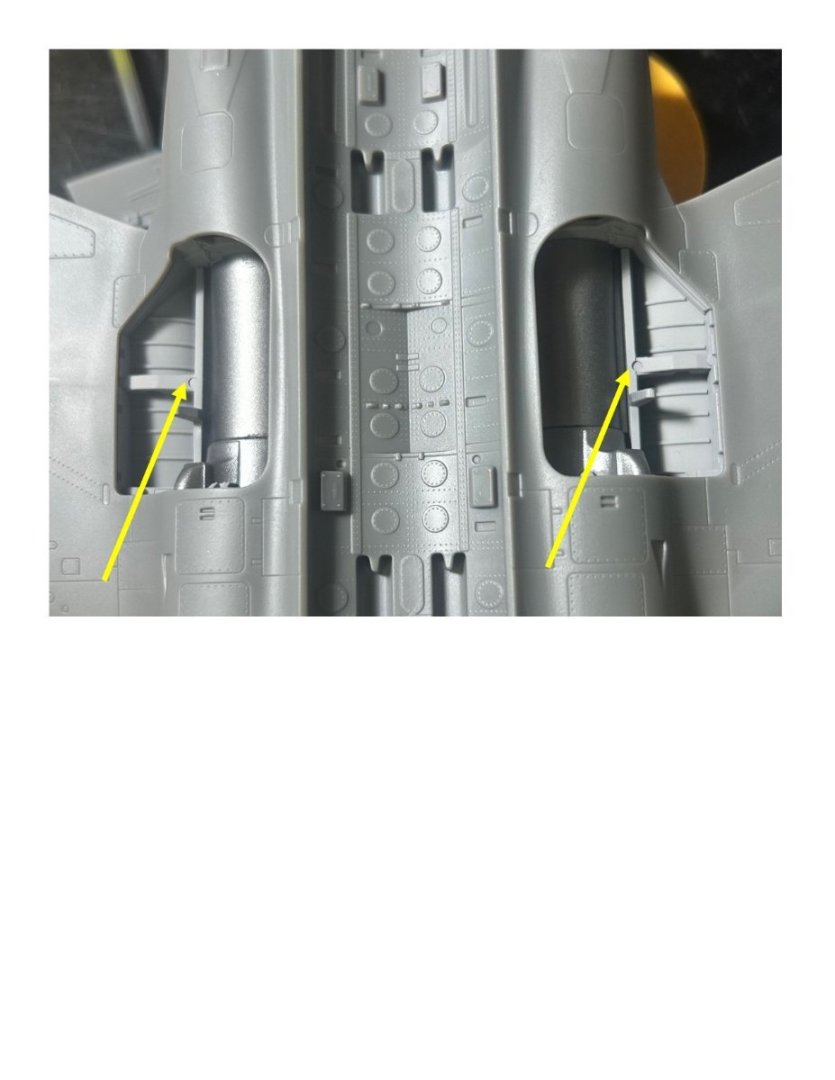
There is a lot of detail to file off on the cockpit bits. Good luck and have fun. At first, I thought these were location points for the LG assembly, but now believe they are ejector pin marks which need to be filled. Will double check then fill and retouch as needed. Does your kit have these marks, Arthur? No biggie, just something to be aware of.
-
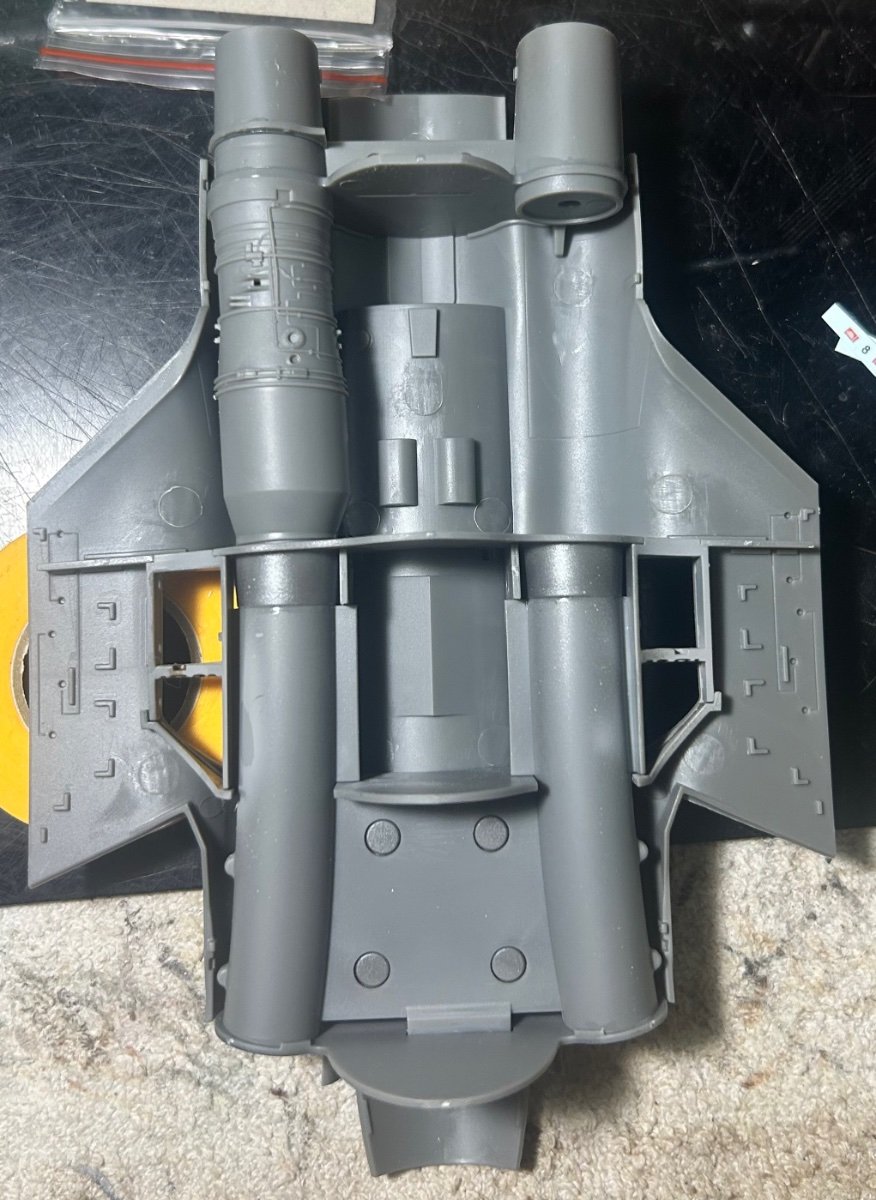
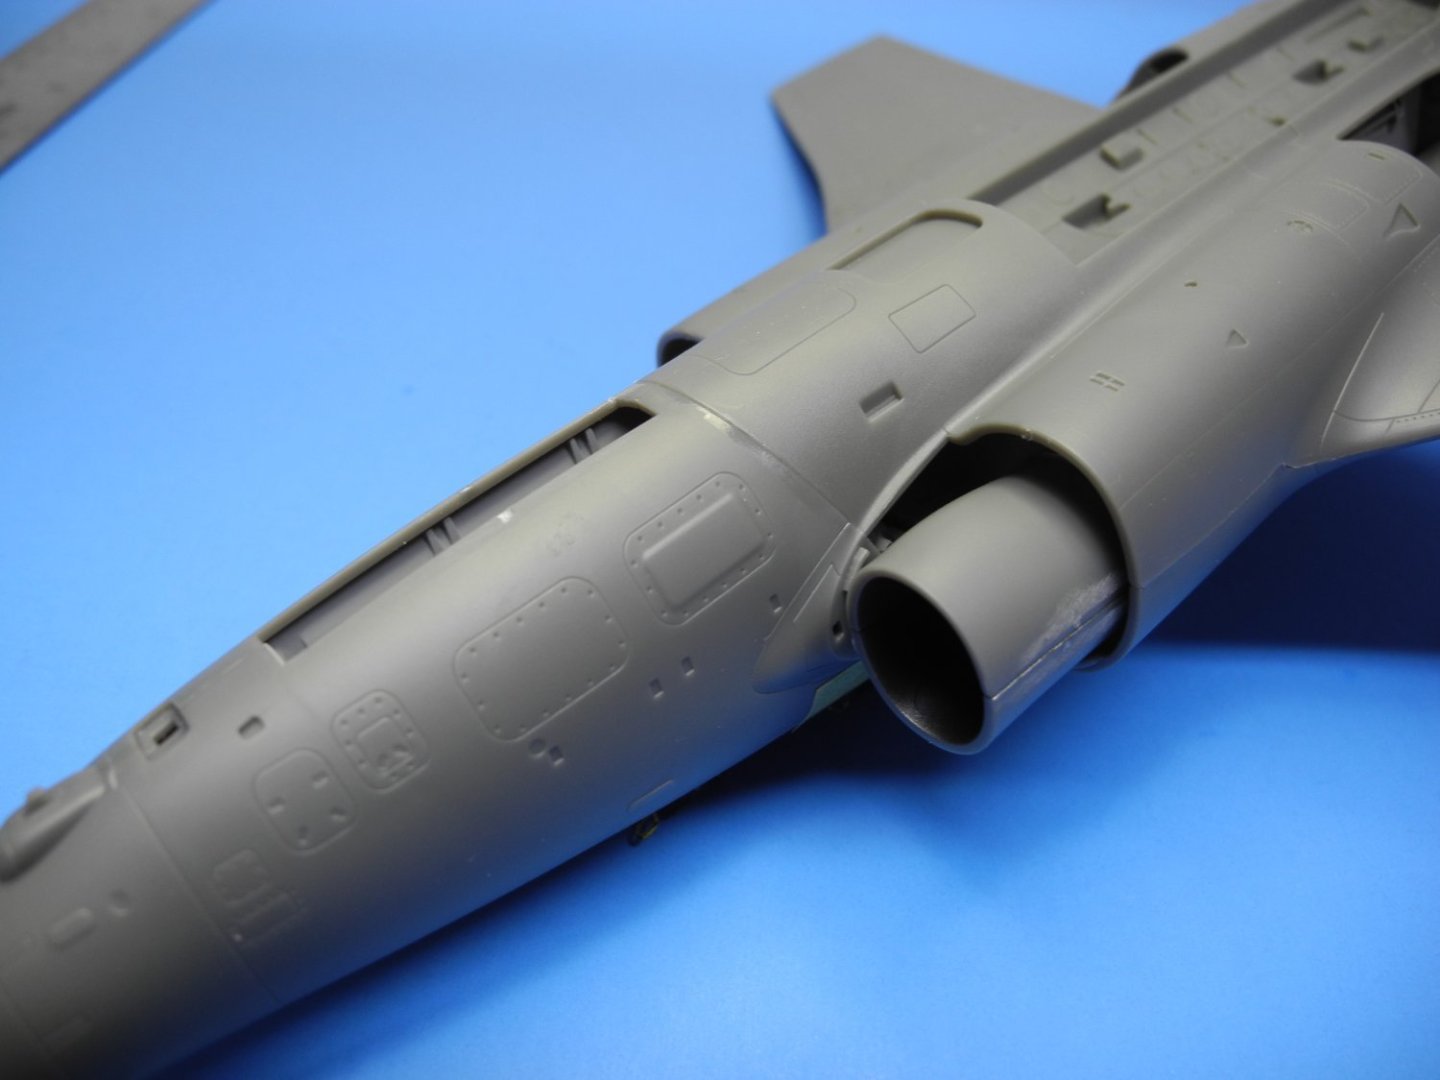
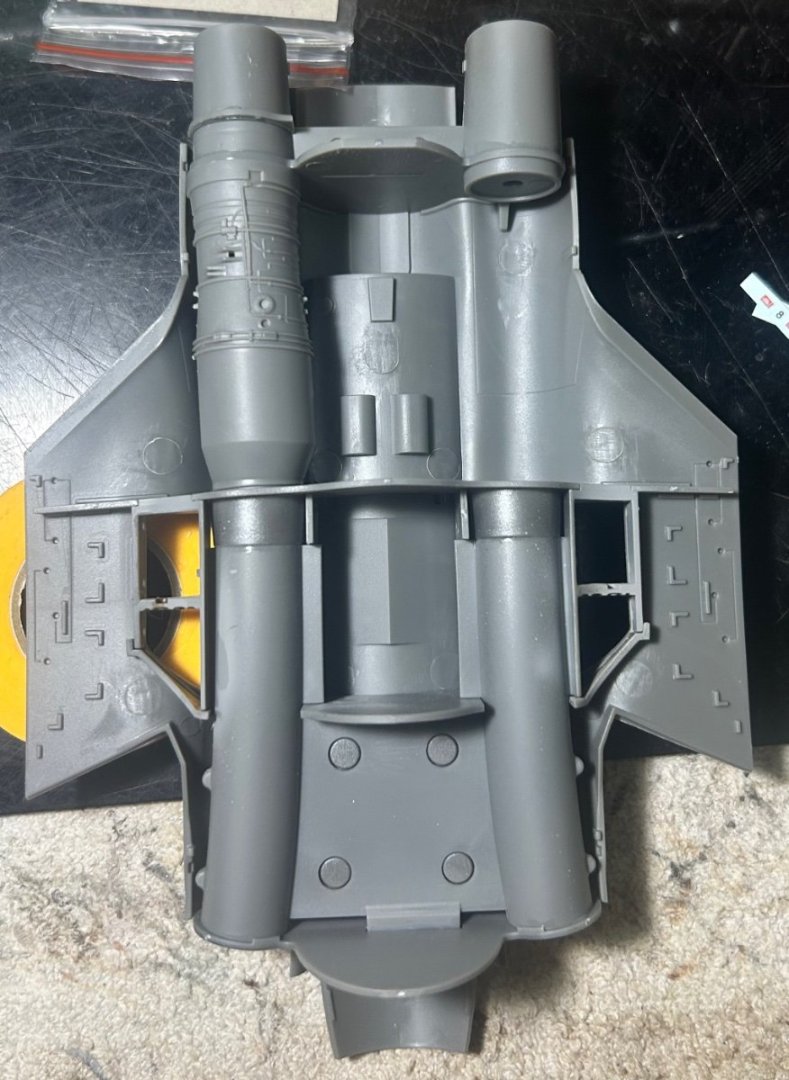
Beginning the assembly and painting of the engines, trunking, and wheel wells. Nice details are molded in. Will pop once it gets some detail paint and a wash. All dry fitting so far shows a clean trouble-free fit with little to none seams showing up. This seems to be the best fitting Airfix kit I have worked on to date.

-
Andy One of my favorite modelers to watch and learn from is a guy named Greg, from the UK (Gregs Models on YouTube). Many times, I have watched him scan/copy his decal sheets then print a black and white copy which he uses to cut his own masking to paint his markings instead of using decals. His finished work is always superb. I believe you are right on the money about painting vs decals particularly when it comes to large stripes but it's also true of national insignias and ID numbers. often the national marking decals are not colored properly and need correction. I love the results you got painting on your stripes.
- 146 replies
-
- 11
-
-
Does Airfix have a North American customer service center like Tamiya does, or do the replacement parts come out of GB? Either way, it's good news. In the past, I have requested to buy replacement decals for Tamiya kits I owned where the decals were ruined due to my own issues, but they replaced them for free. Was really surprised by that.
- 146 replies
-
- 10
-
-
You should have seen my mishap with my first full-size RC helicopter. I had the Tx stick in the wrong position and as soon as I plugged in the Rx, the main rotor started to spin up and that thing left a heck of a mark on my forearm. It's crazy how much power those things produce. If fully spinning, it could easily cut off a finger, I am certain. It's good for you that your hand was nowhere close to your props when that thing fired up or this would have been a whole different story. These things are definitely not harmless toys.
-
Just $29? Man, I am behind the times. I had no idea you could by a transmitter for that small amount. How many and what type batteries does it take? I presume AA's. Did that include the receiver, too?
-
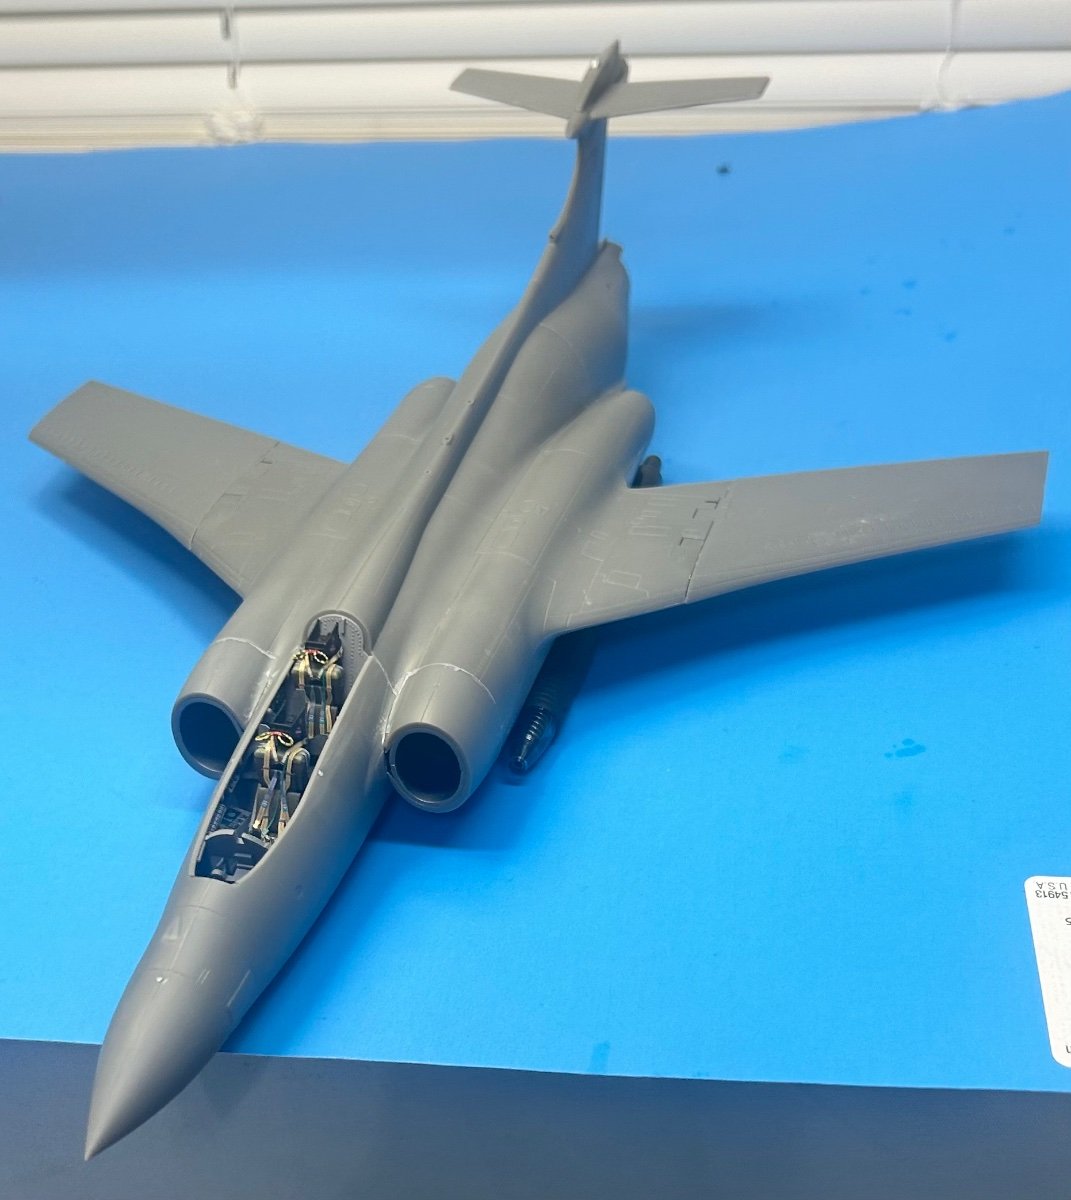
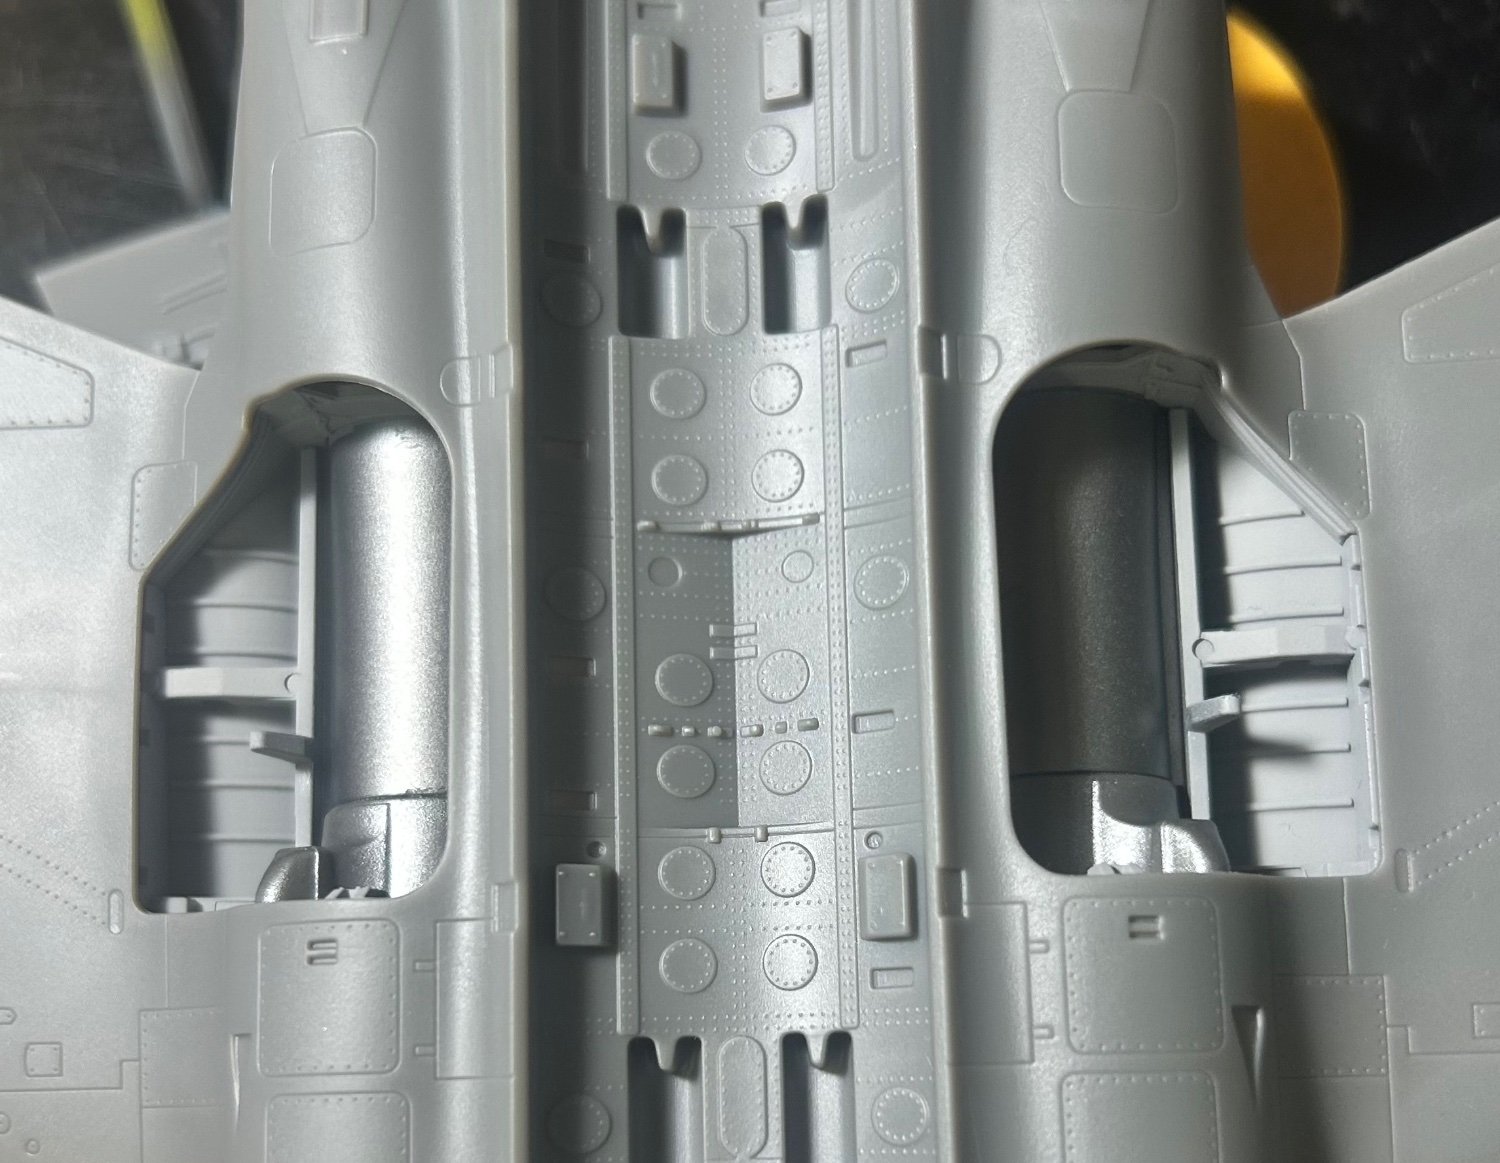
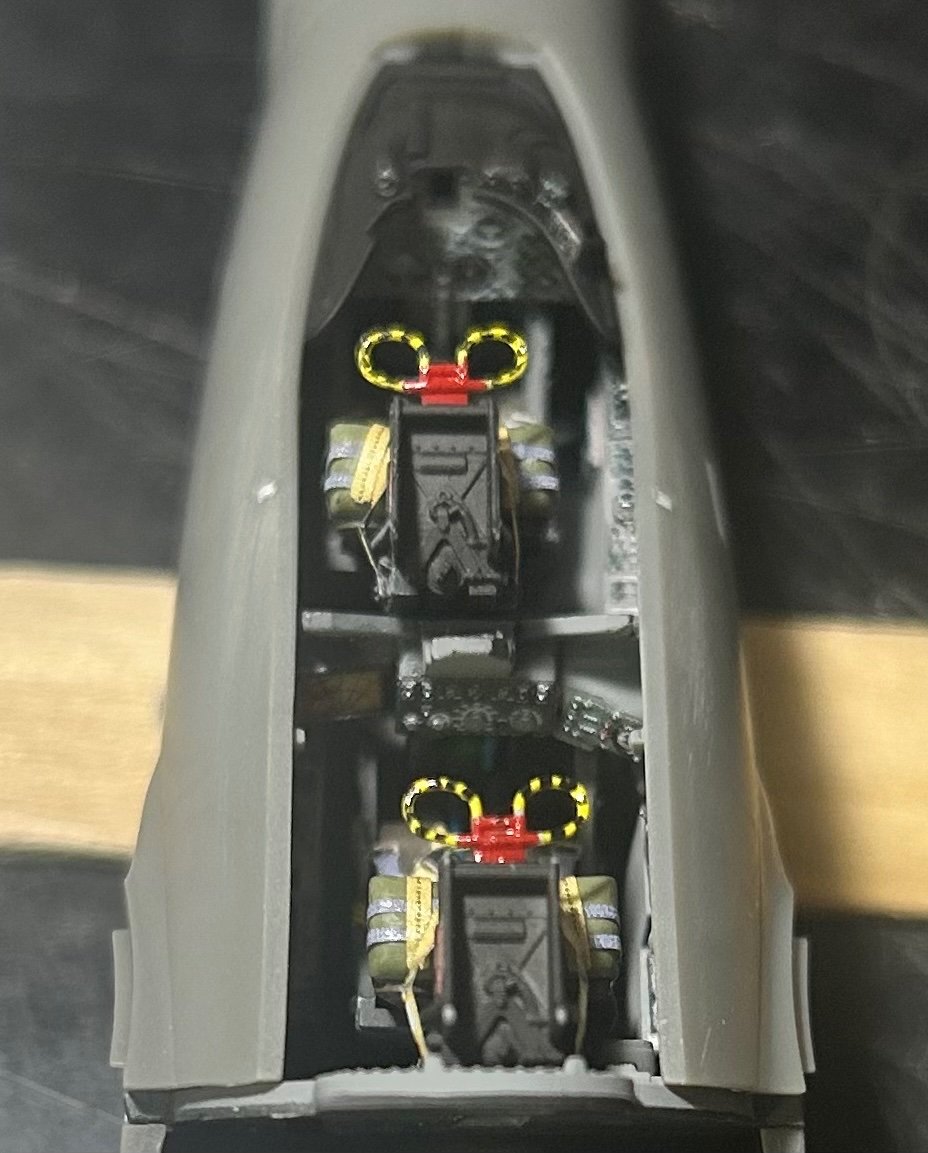
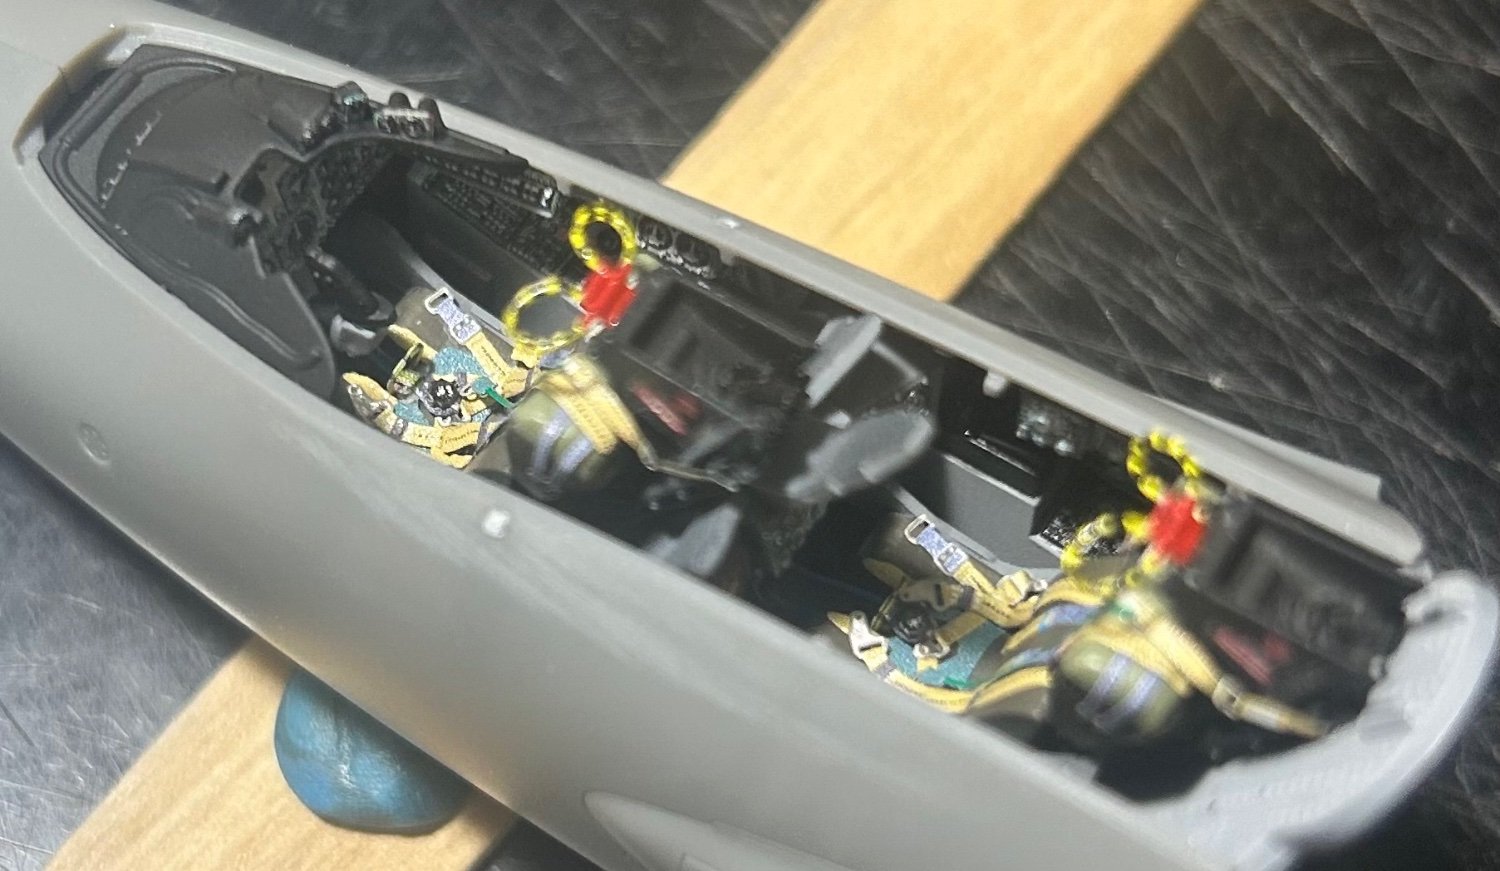
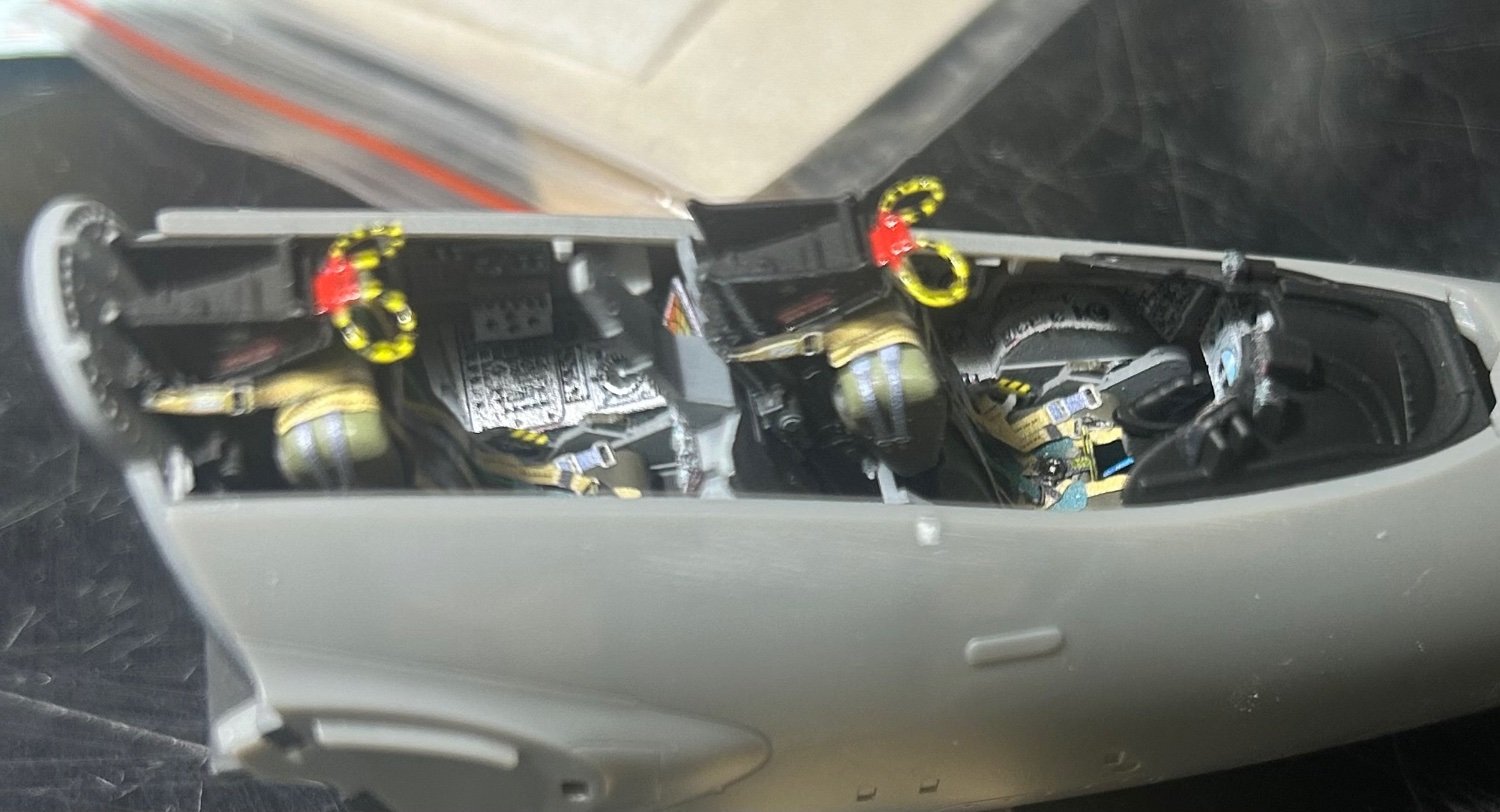
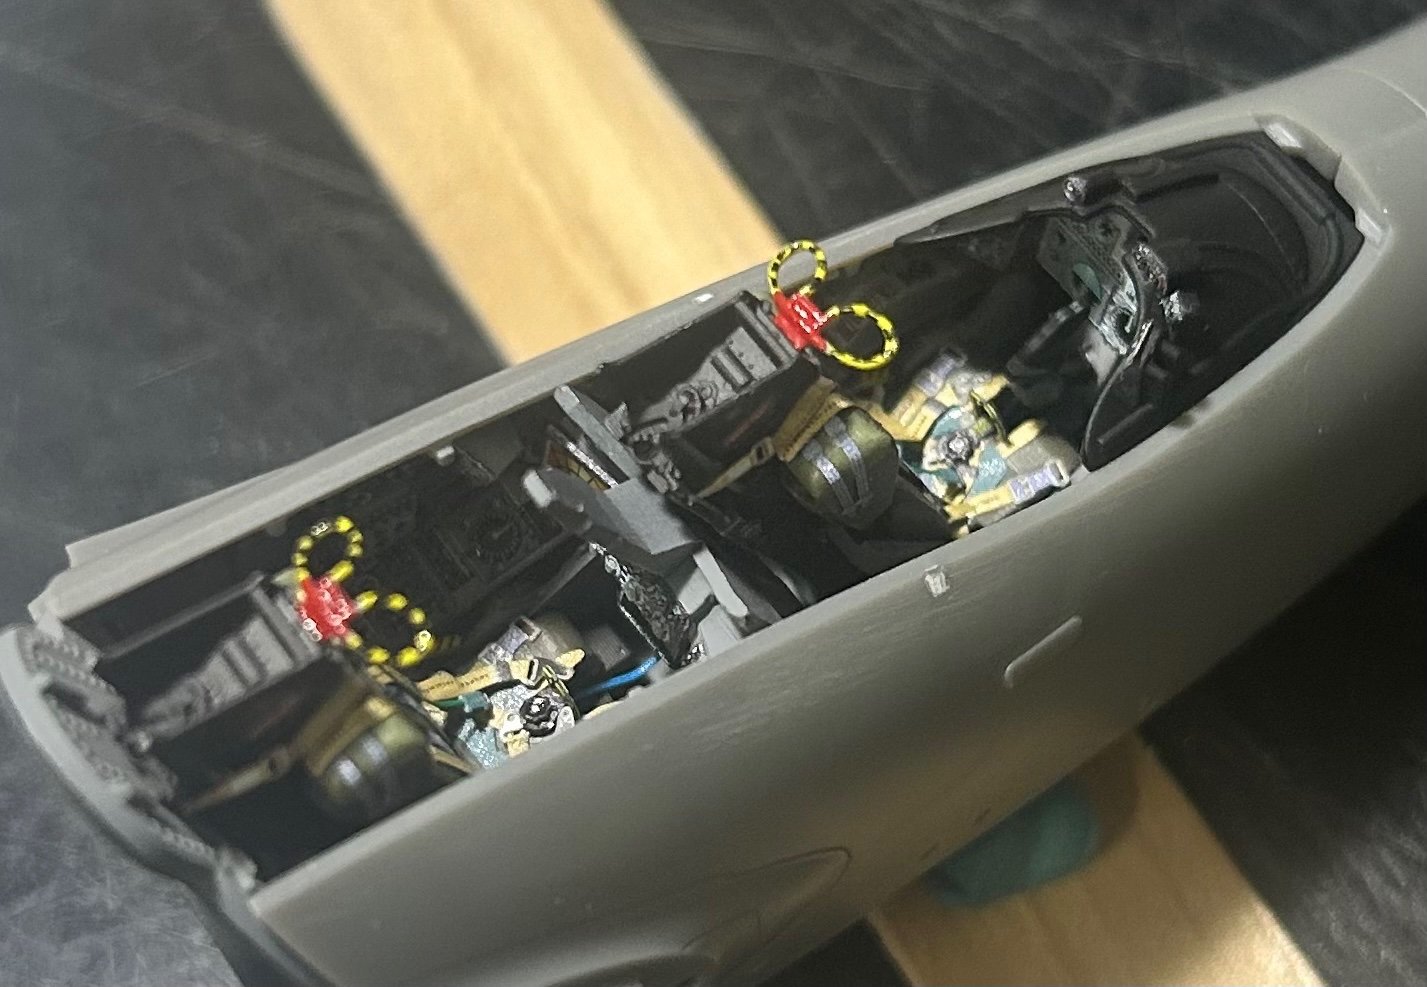
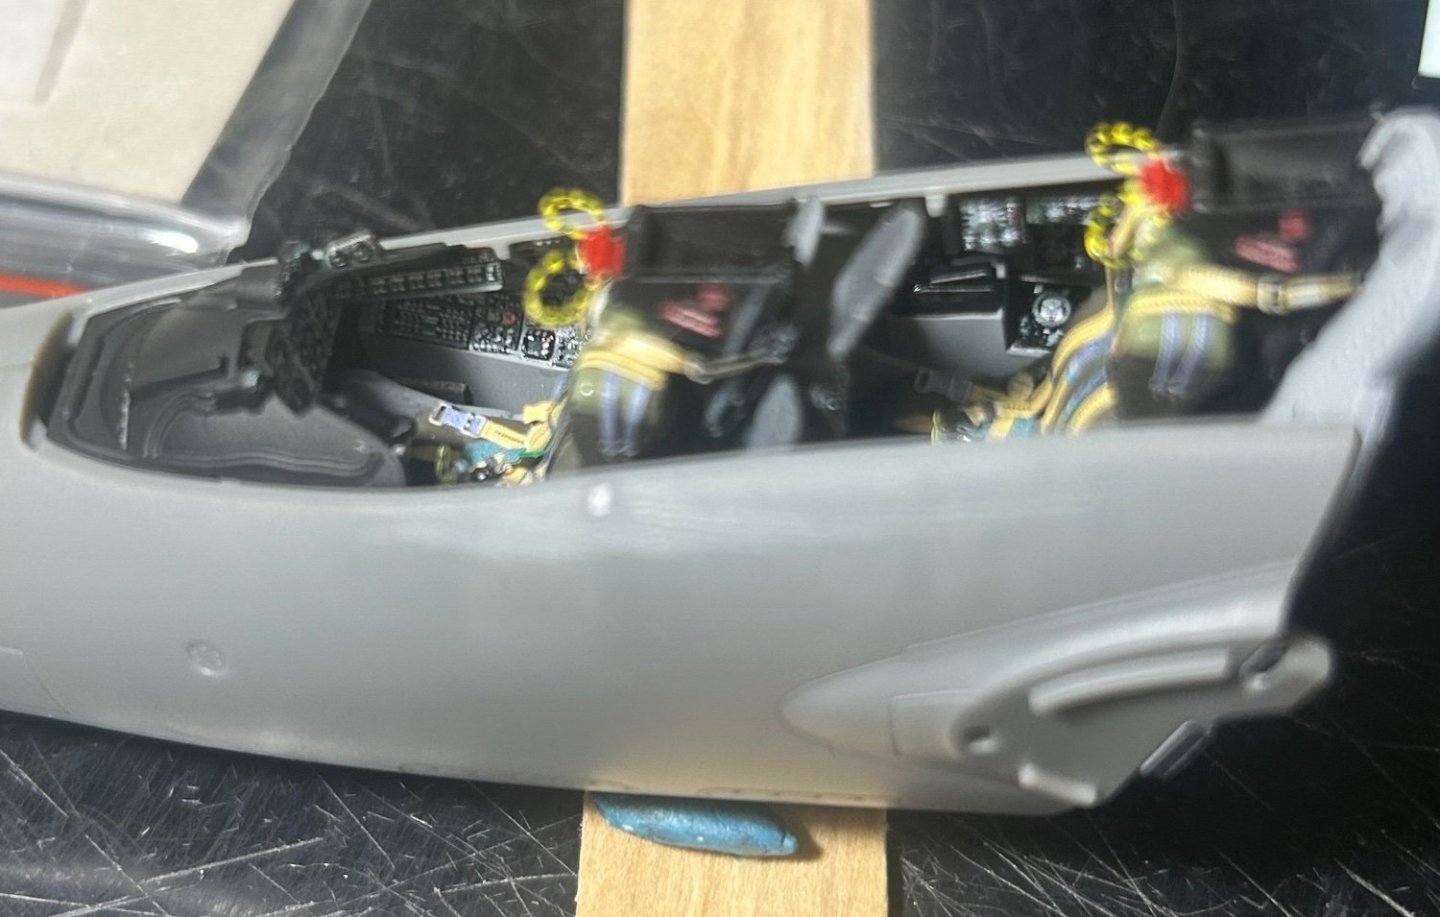
One last dry fit before gluing the fuselage halves together. A lot of detail buried inside there. You can clearly see the offset between the tandem seats that Ken spoke about in an earlier part of this thread. Thanks again because I would surely thought I put something together wrong if he had not mentioned this fact. Looks odd and have never seen that on another two-seater .


- 332 replies
-
- 16
-
-
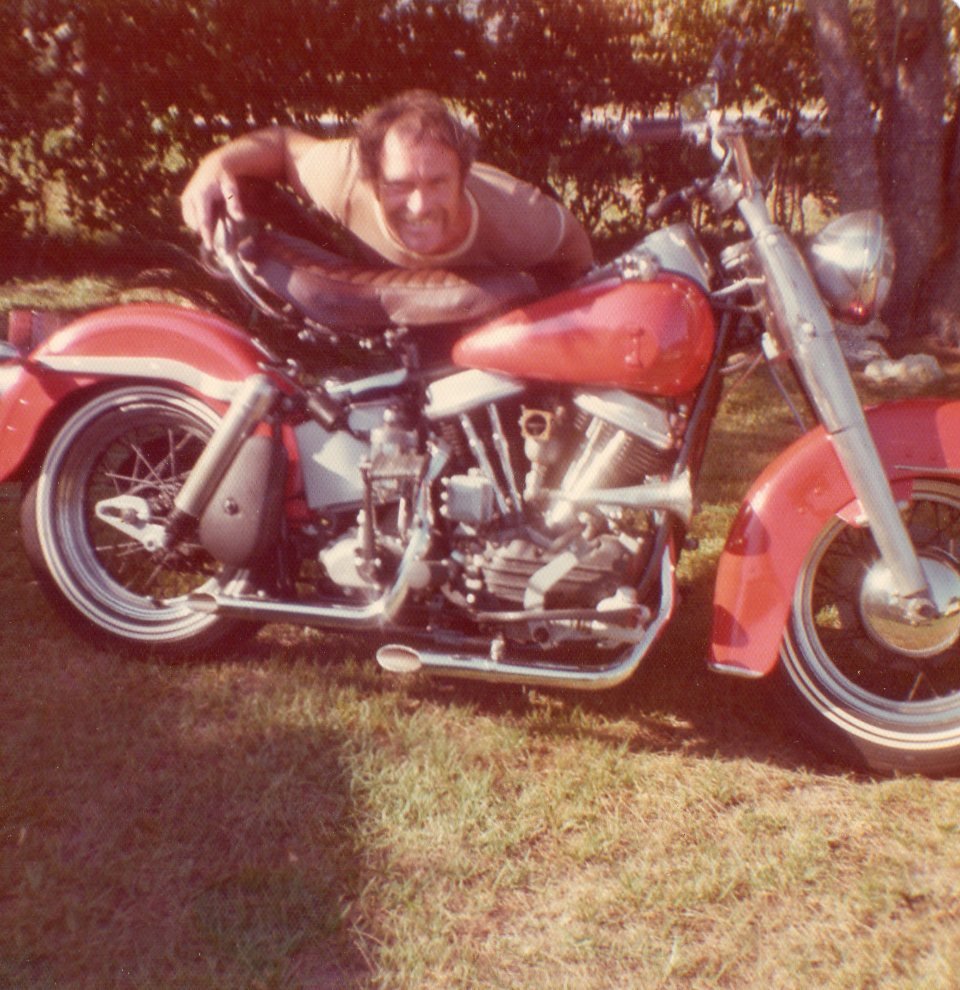
My brother and I both owned Panhead Harley Davidson motorcycles in the early '70's. Mine was a 1964 FLH model Duo Glide and his was a 1958 FL model Dou Glide. The FLH signified high compression versus the FL was standard compression. I can tell you for sure that the FLH was a much higher performance engine than the standard one. In the photos, his was the red 1958 Panhead. Mine was the black 1964 Panhead.
.thumb.jpg.b8a003d15b7f05de121a502b2cb1eea1.jpg)
-
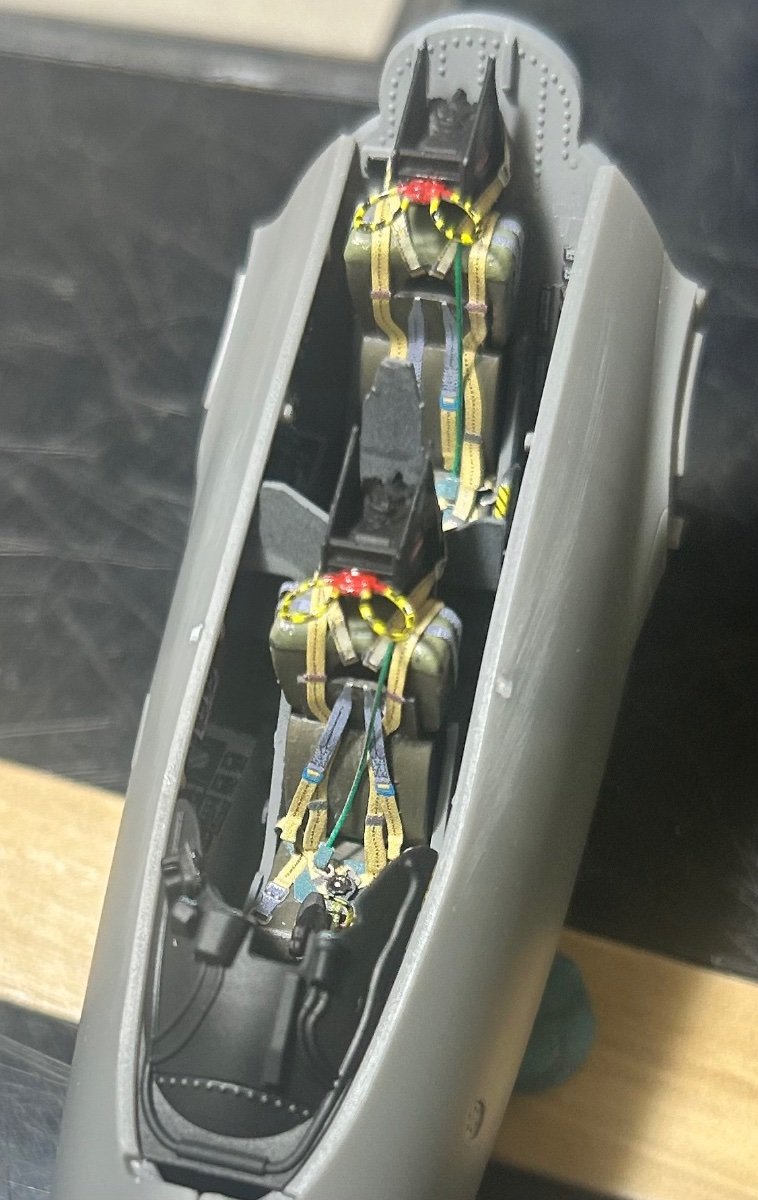
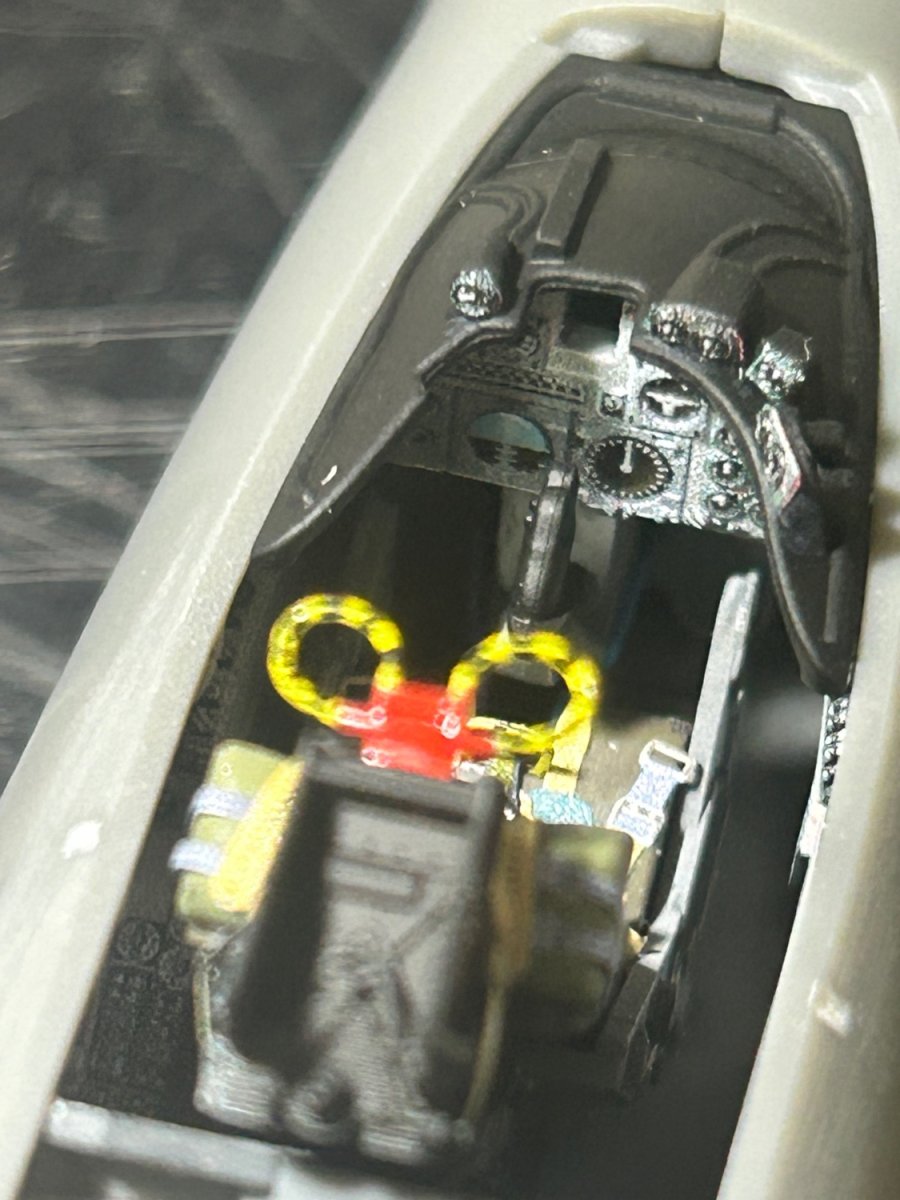
It's better by orders of magnitude than my best hairy stick efforts could produce. The Quinta Studios 3D sets are very economical when compared to Eduard photo etch sets, but the Eduard versions of 3D decals are a little on the pricey side here in the USA. Prices may vary in other countries, I don't know.
- 332 replies
-
- 10
-