mikiek
-
Posts
2,276 -
Joined
-
Last visited
Content Type
Profiles
Forums
Gallery
Events
Everything posted by mikiek
-
 Hey Tom - with the basswood a lot of people use Golden Oak. With basswood I think it looks real nice. If you want it a little darker then apply 2-3 coats. Keep in mind that stains look and behave differently on different woods. My deck is boxwood and Golden Oak looked dreadful on that. If you want it uniform then use a conditioner/sealer first. Personally I like the blotchiness. I think it adds a weathered look so most times I dont use the sealer. The biggest source of blotches is glue so sand, sand, sand before you stain. As basswood has a tendancy to "shed" hit it last with some very fine sandpaper or steel wool to help remove flakes.
 -
Take care of yourself Simon - the boat isn't going anywhere.
- 120 replies
-
- 1
-

-
- mercury
- victory models
- (and 1 more)
-
Tom - just my opinion but that early american looks pretty dark for a deck
-
they call that zip seizing
-
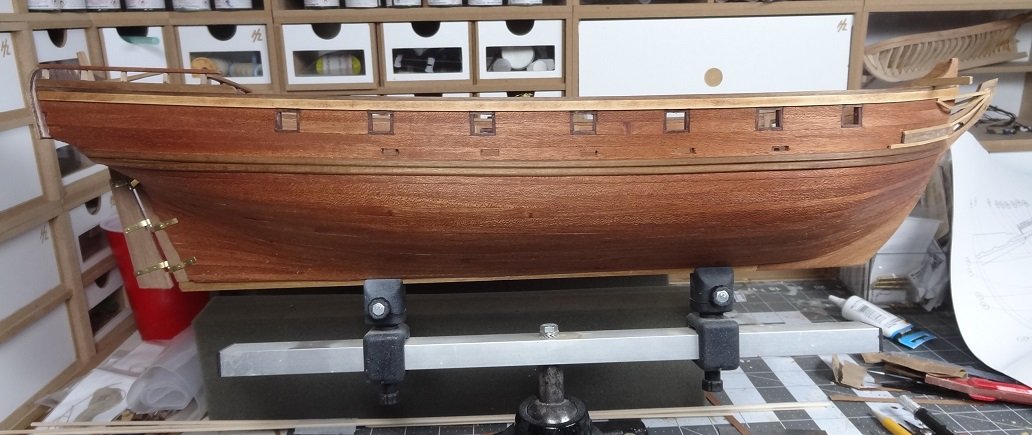
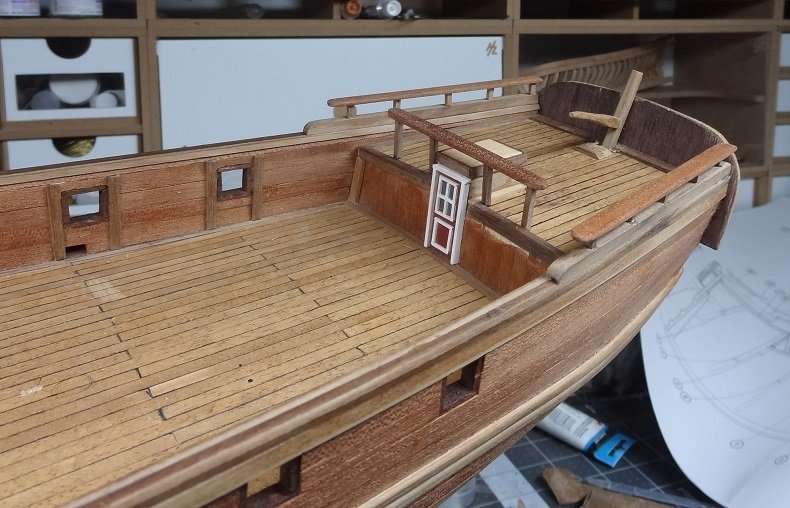
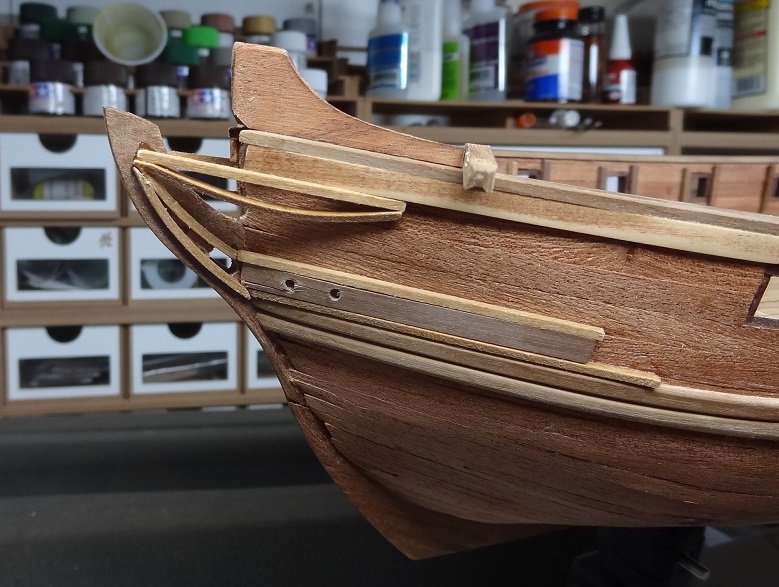
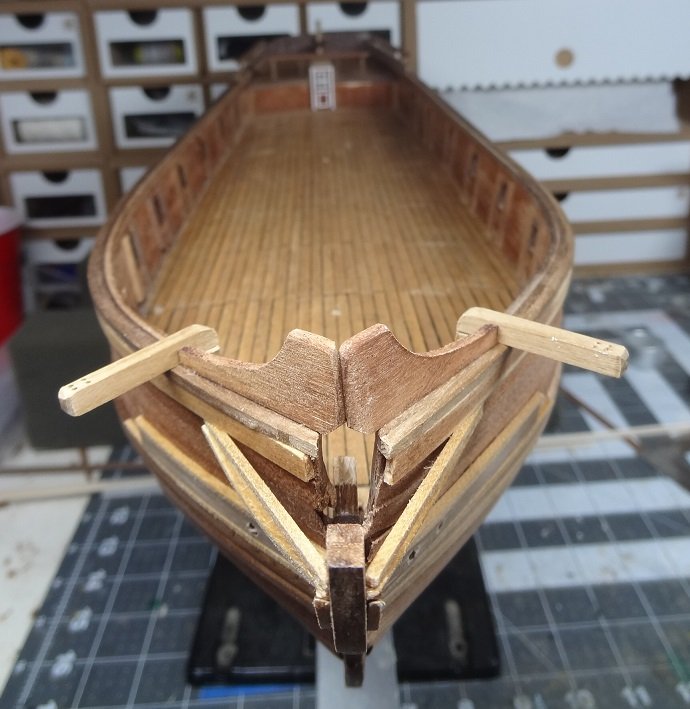
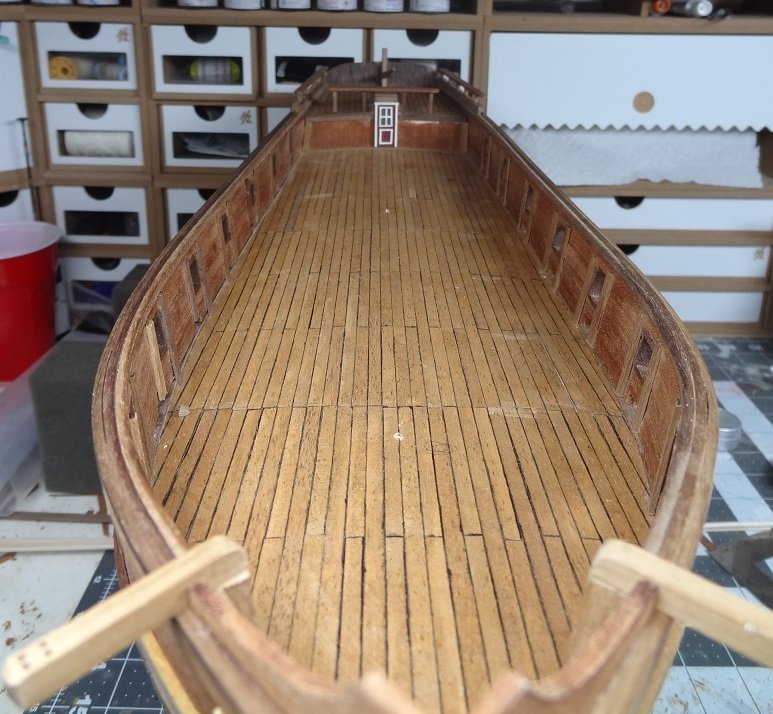
Dang - almost 2 weeks since I posted. I haven't been goofing off - not too much. Came across this game Naval Action a while back. I find it almost mesmerizing and fun to play. A lot of time spent there lately. Work is continuing since the completion of the hull. There are a few deck items and hull trim going in and the next step is the masts. I'm starting the channels and preparing do drill out the holes for the masts. That's always a troubling exercise for me. That and the hawsers. The plans show the main mast at no angle, flush with a frame piece. The foremast is angled although there is nothing stating how much. The manual - " drill mast holes per plan". Well thank you. This kit has had it's ups and downs. I've been shorted several more sizes of sticks but then there will be some good technique for doing something. I'll try to do a short eval when it's all over. Here's a few shots: I did an initial wipe down of the hull with linseed oil but all the pieces added afterwards are still unfinished. Trim at the bow (head). Camera sure makes it look rough. In the plans those rails are set almost 1/2" higher. Way too high. Took them down some. In need of a cleanup for sure! Thanks for reading......

- 136 replies
-
- 5
-
-
- enterprise
- constructo
- (and 1 more)
-
It looks as good as the air brush would have done. Glad you're going with painting it instead of blackening. I think in the long run it's easier. Especially if you have to touch it up after the pieces are in place.
- 228 replies
-
- 4
-
-
- gunboat
- model shipways
- (and 1 more)
-
Yupper - pretty big indeed. BUt she's as clean as the day I put her in there. Tom that paint jar concerns me. If you end up needing the paint 6-8 months from now for a last coat or touch or something it could very well be dried up. Seal that lid or look for a better storage jar. The cardboard gaskets don't last long in my experience. These work a lot better.

-
Shape planks one for each side. How many times have I heard that? The last 4 strakes are real bears. I finished one side but did not make duplicates for the other side. So those will be custom shaped as well He's great at handing out advice, but not so great at following it. Should be done planking soon.
- 136 replies
-
- 2
-
-
- enterprise
- constructo
- (and 1 more)
-
I found it interesting. I would have assumed the grain in a dowel would run from end to end, thus giving you fairly straight stick. However if you look closely - maybe with a magnifier - you can see the grain (if there is any) goes all over. Even a stick that appears straight today will likely warp down the road. Go with what you got for this build but you might consider trying to make spars from square sticks sometime. I found it a good challenge, but at the same time some things - like cutting the octagons - can be easier.
-
All those cross tree parts are better drilled before gluing. As a matter of fact, attaching blocks, eyebolts, etc. should all be done before gluing the top to the crosstrees. I really blew it with the sprit on the first try. The normal taper that we put on most spars (fatter at one end thinner on the other) doesn't apply completely on the sprit. The top side is flat. Like you, I got something upside down. I figured I'd be a smart guy and just rotate the sprit. Oops. Did you make your spars from square sticks or did you use those from the kit?
-
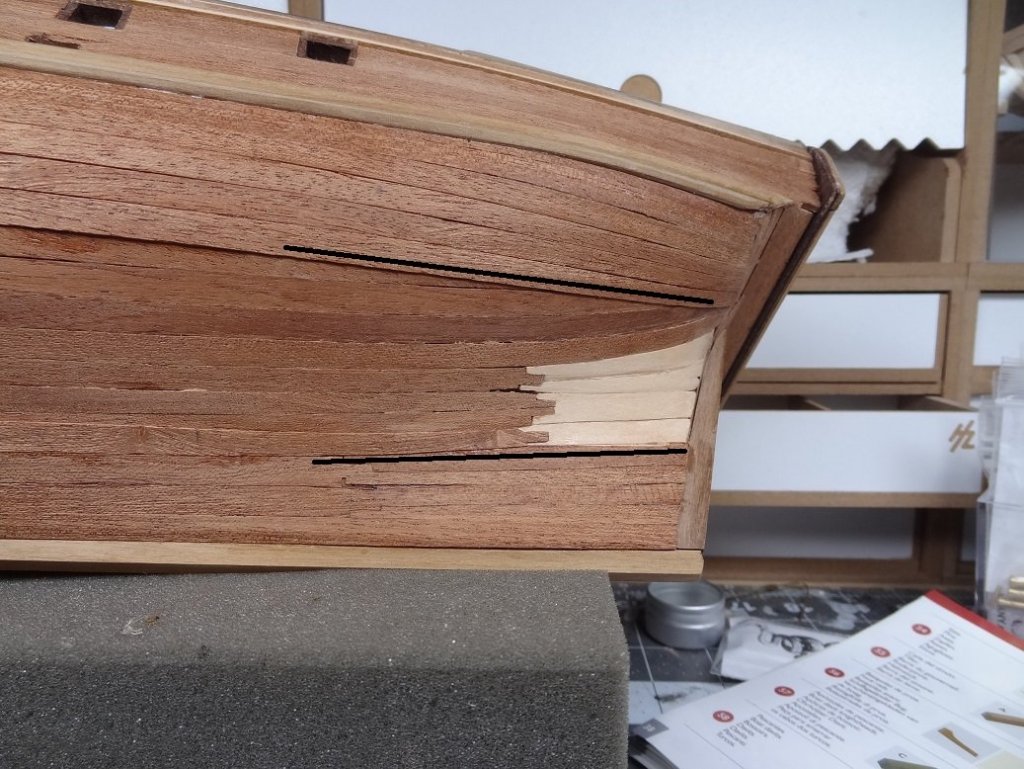
With a little hindsight in hand, and for all you future builders - Do that 2nd planking immediately after doing the first. I have broken off both rails, the transom and put a pretty good gash in the companionway shelter during the 2nd planking. As dreary as it sounds, just do it. I should have. And Constructo should have said so in the manual. I'm down to the last 4 strakes. These are going to be pretty wild. At the bow there's really only room for 2 more, and that's with them really tapered down. A the stern the same strakes will need stealers to completely cover the area. I'm trying to decide if I went wrong somewhere or if the boat just has a big stern area. I'm going to end up with 4 strakes with stern stealers (1 going into 2) to make this work. Should have more pix soon.
- 136 replies
-
- 2
-
-
- enterprise
- constructo
- (and 1 more)
-
Nice work Tom. Getting a huge task like that finished feels good doesn't it? It's my personal preference but I'll throw it out there anyway. Use the filler sparingly. Don't strive for perfection. I think the surface looks better and more authentic with some imperfections. Remember filler will cover some evils but it also covers the plank edges, wood grain, etc. Resist the temptation to slather it over the whole hull and then sand it down. Instead just put it on in the spots that need it. Remember you will also be priming, painting and varnishing this guy. Those will do a little filling as well.
-
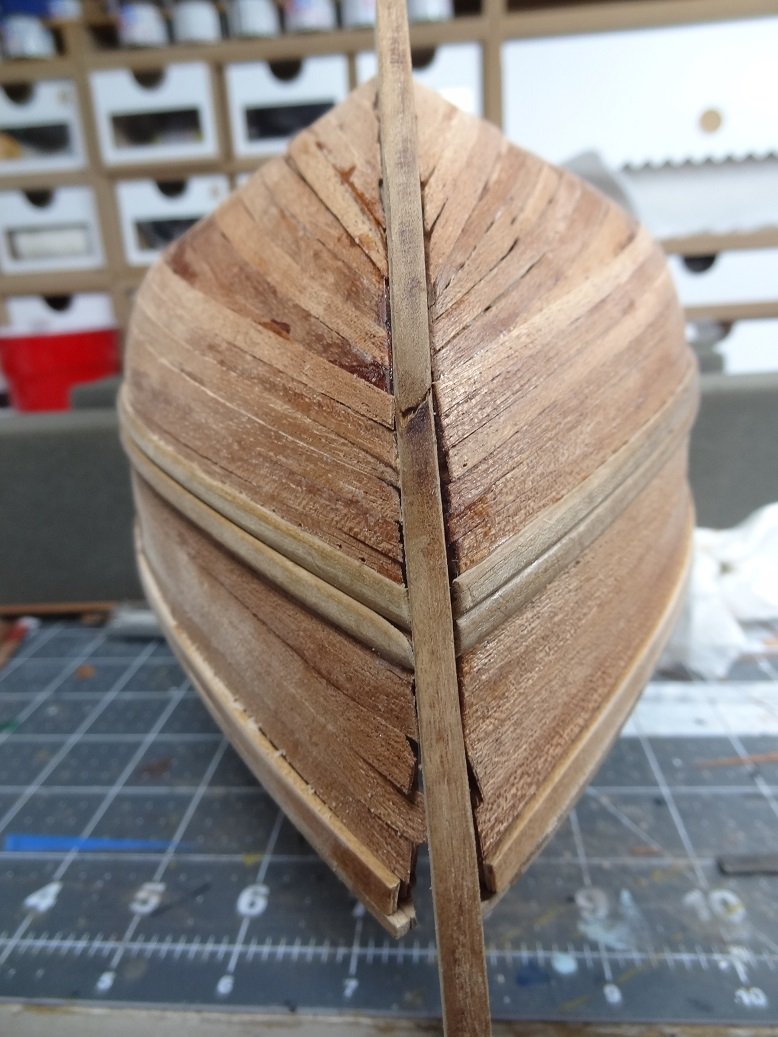
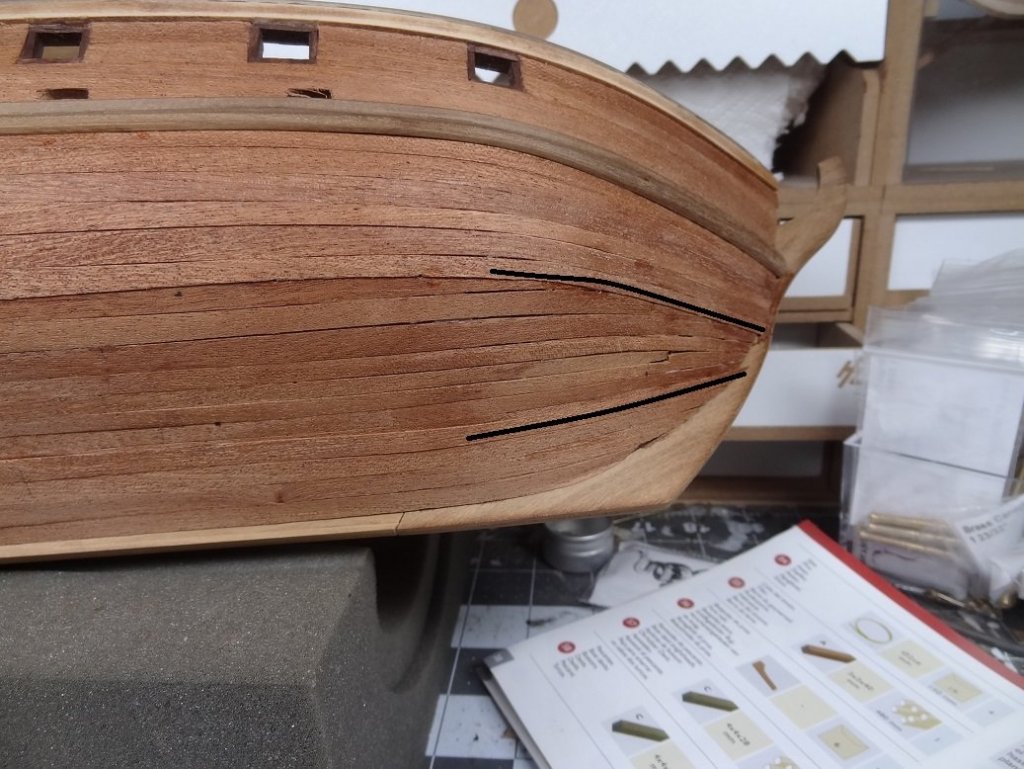
i have been taking my time with the rest of the planking. Was doing some of the other tasks and getting parts ready but all the pix in the manual show many of the parts contact the hull in one way or another. Of course that doesn't work until there is a hull to contact. So all of that is put aside until planking is done. I've got about 1/3 from the top down finished and about 1/3 from the keel up done. That leaves the toughest part. Lots of stealers and that joint where the deadwood planking meets the transom planking. That has to be a real snug fit - no gaps. So far using 5mm planks as stealers seems to be working. It's just that it requires more stealers than when I used the 7mm sticks for stealers on layer one. Fortunately they are blending together well. Also, it's obvious I have tapered the 2nd layer sticks differently (didn't plan it that way) as you can see layer one curving upwards in places where layer two is straight or curves down. Guess that doesn't matter as long as it all fits. And there's only 6 more strakes to make it all work out.


- 136 replies
-
- 6
-
-
- enterprise
- constructo
- (and 1 more)
-
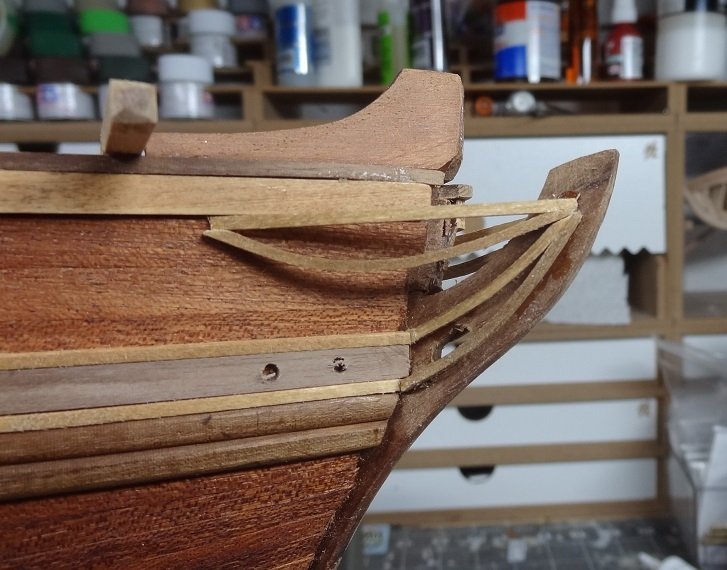
Every time I take a photo of the bowsprit all the black parts just melt into each other
-
It's hard to say if we're talking about the same piece. I was referring to a brass strap that wraps over the sprit, thru some slots in the bees and then glued together on the underside of the sprit. The glued part extends down a bit and there is a hole drilled thru it. I would take a pic but it's all black on the sprit and hard to make things out. As I mentioned, I didn't use it for anything. Darrell might be the one to ask. He did a more extensive rigging than I did.
-
I'm jealous - I wanna go too! Only about 2 days.
-
Not sure what that brass strap is for. I put one on but it is not used. Definately doesn't do anything for the boom.
-
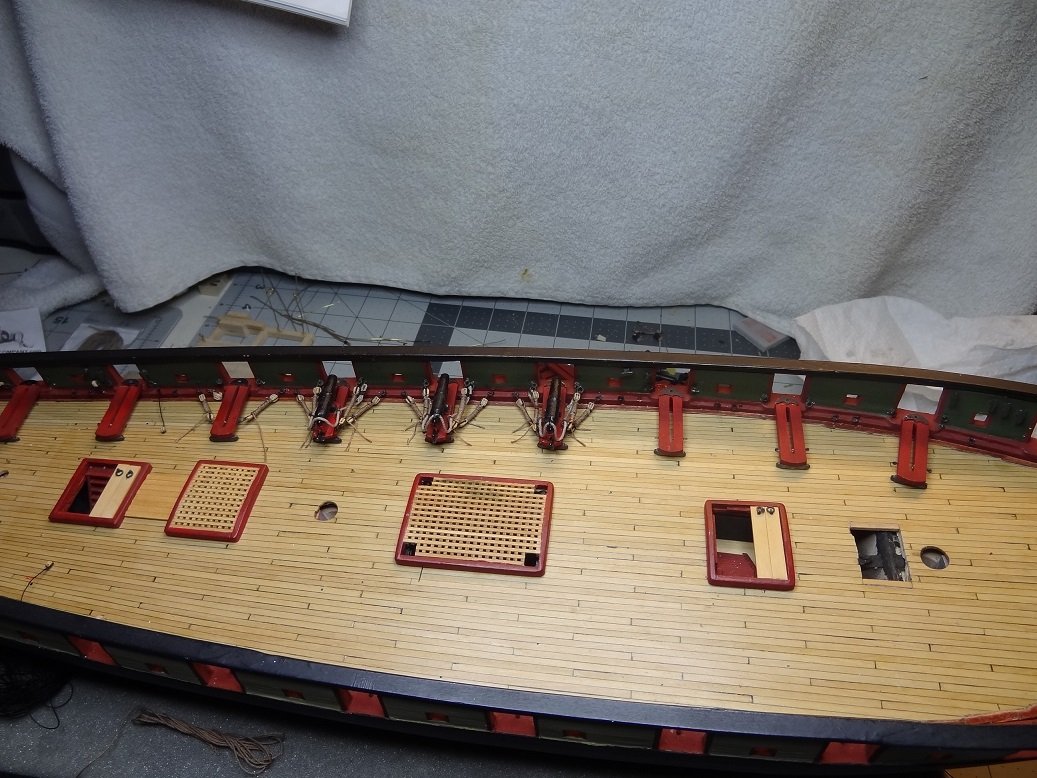
It's really not much different than yours Ron. A partial cube painted black to place below deckso you don't see what's really there. Add a ladder and a coaming. I do think that adds a lot to the view of the deck!
-
I thought I had invented the idea - yeah a rookie coming up with an idea like that. Very disappointed to find out later the same thing was included in a Constitution kit. Well, I did think of it. But someone else did first.

-
Long time no see Elijah. Glad you checked in. The 2nd layer sticks are 0,5mm thick. Not much. In this case they could have been left out. The problem was they shorted me some of the 1st layer sticks so I had to use some basswood. A real color clash. The 2nd layer is needed to hide the basswood. Often the 2nd layer is thicker. Then you do start running into situations where you really can't go without it or risk changing dimensions and having some other part not fit. No paint on this guy. Debating whether to oil it all before lacquering. That might look nice but the oil can darken things up quite a bit. I want to keep the reddish tint of the sapelli wood. Maybe just my usual Natural stain first. Or maybe just the lacquer. Still thinking.
- 136 replies
-
- 3
-
-
- enterprise
- constructo
- (and 1 more)
-
Looks familiar It does add some dimension to the deck. To this day, I find myself trying to look down in the hold to see what is there.
-
Dowels are tough to work with when they're spinning. They are never straight.
- 136 replies
-
- 3
-
-
- enterprise
- constructo
- (and 1 more)
-
Lesson learned? No Semi. No Satin. MATTE!!! Or just oil. Nothing shined back then.
-
Most of the time cleats were wood back then. Of course try painting woodgrain on those little jewels. A lot of people actually replace the pewter ones with hand made wood ones. If you stay with the pewter I would paint them some inconspicuous color.