


Bob Fraser
-
Posts
277 -
Joined
-
Last visited
Content Type
Profiles
Forums
Gallery
Events
Posts posted by Bob Fraser
-
-
Thanks for the likes!
Slow progress, but some!
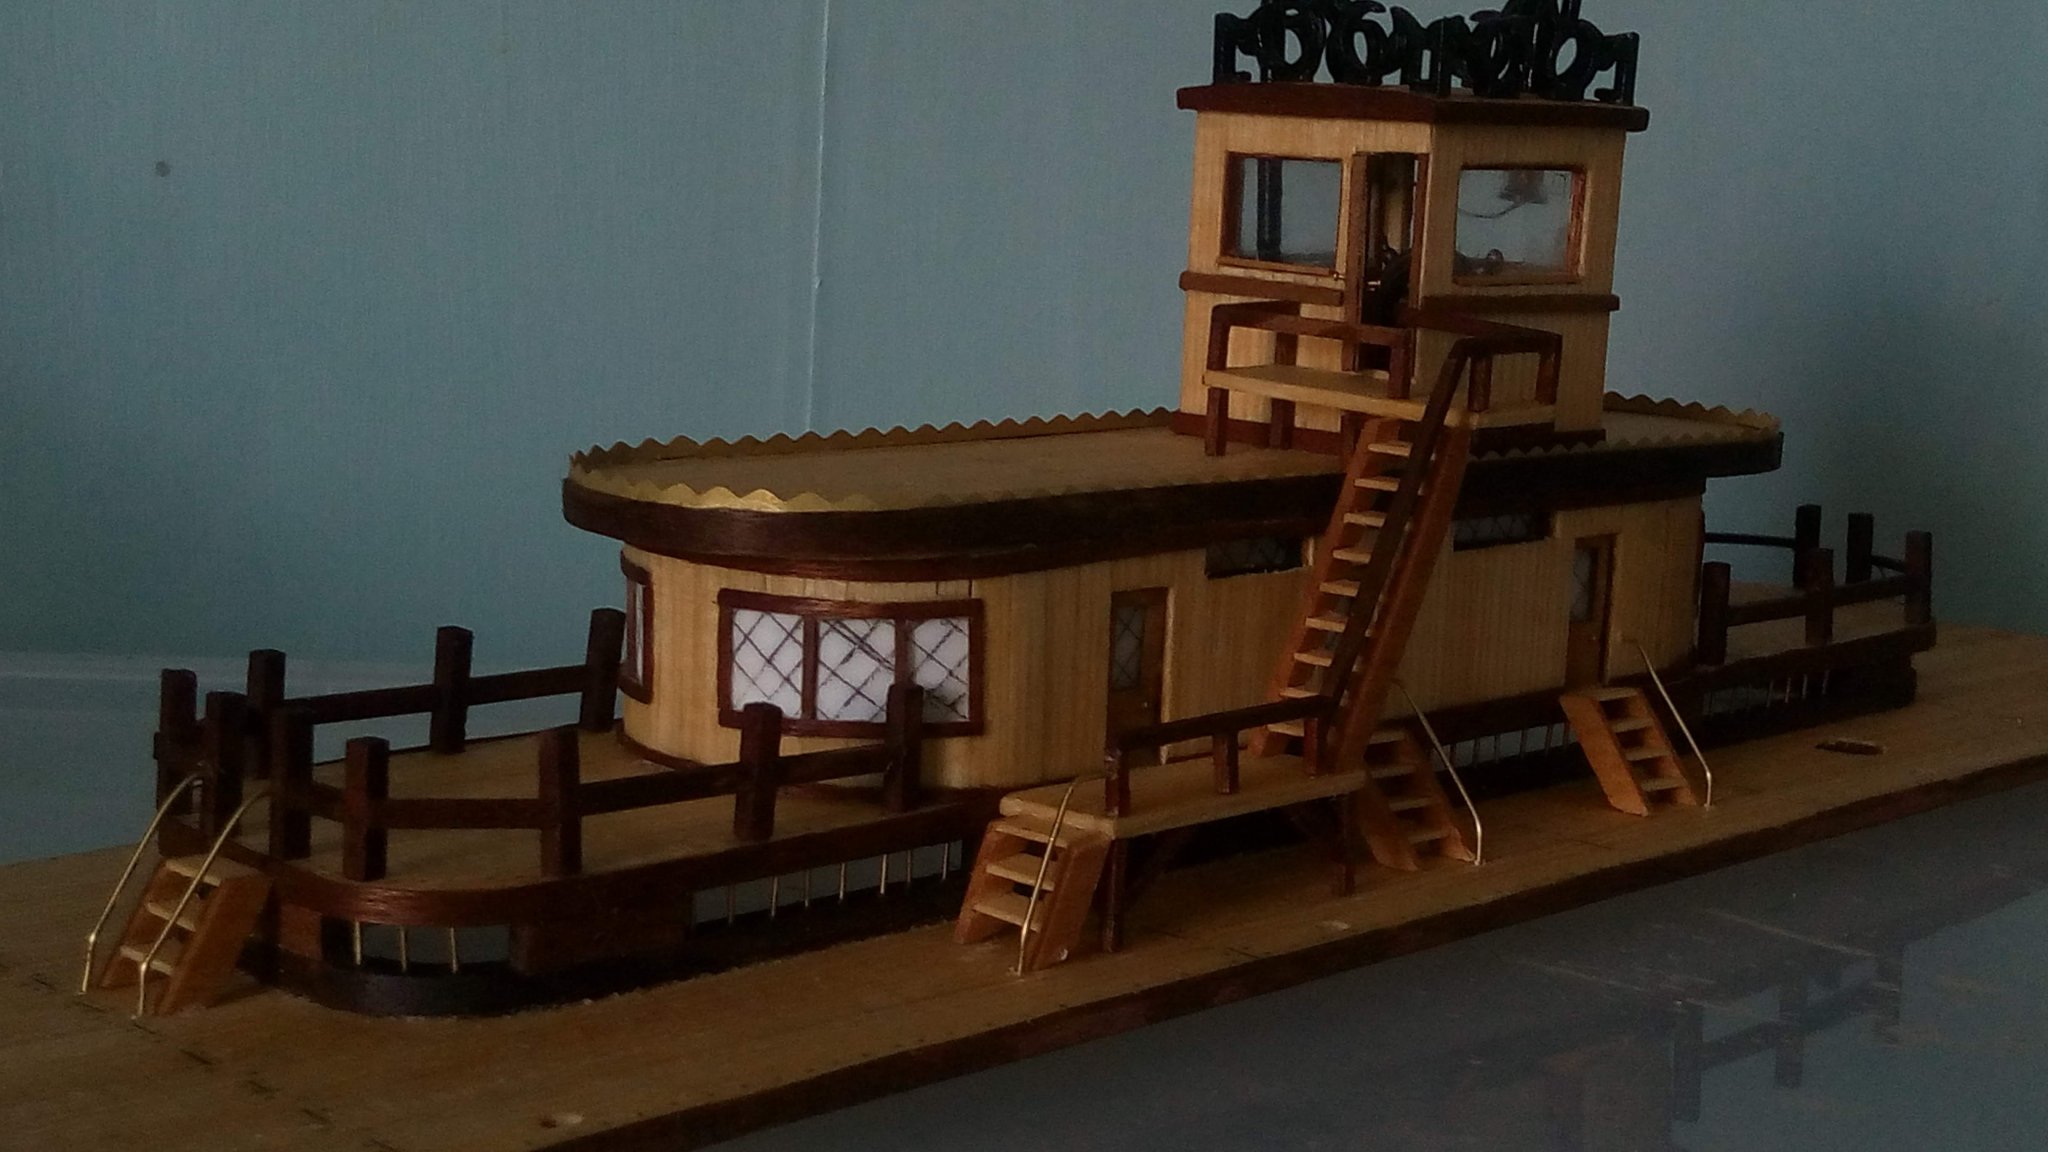
Added the brass scallops to the steering deck, and the fencing around the deck below.
Since access to the steam pipe are would be crew only I fenced that off too, and added steps.
To the steps I've added brass handrail made from 0.8mm beading wire. Not sure yet if the cabin stairs will remain one rail or to add the second.

Cheers,
Bob
-
Quick update - sorry it's been a while. Life gets in the way sometimes.
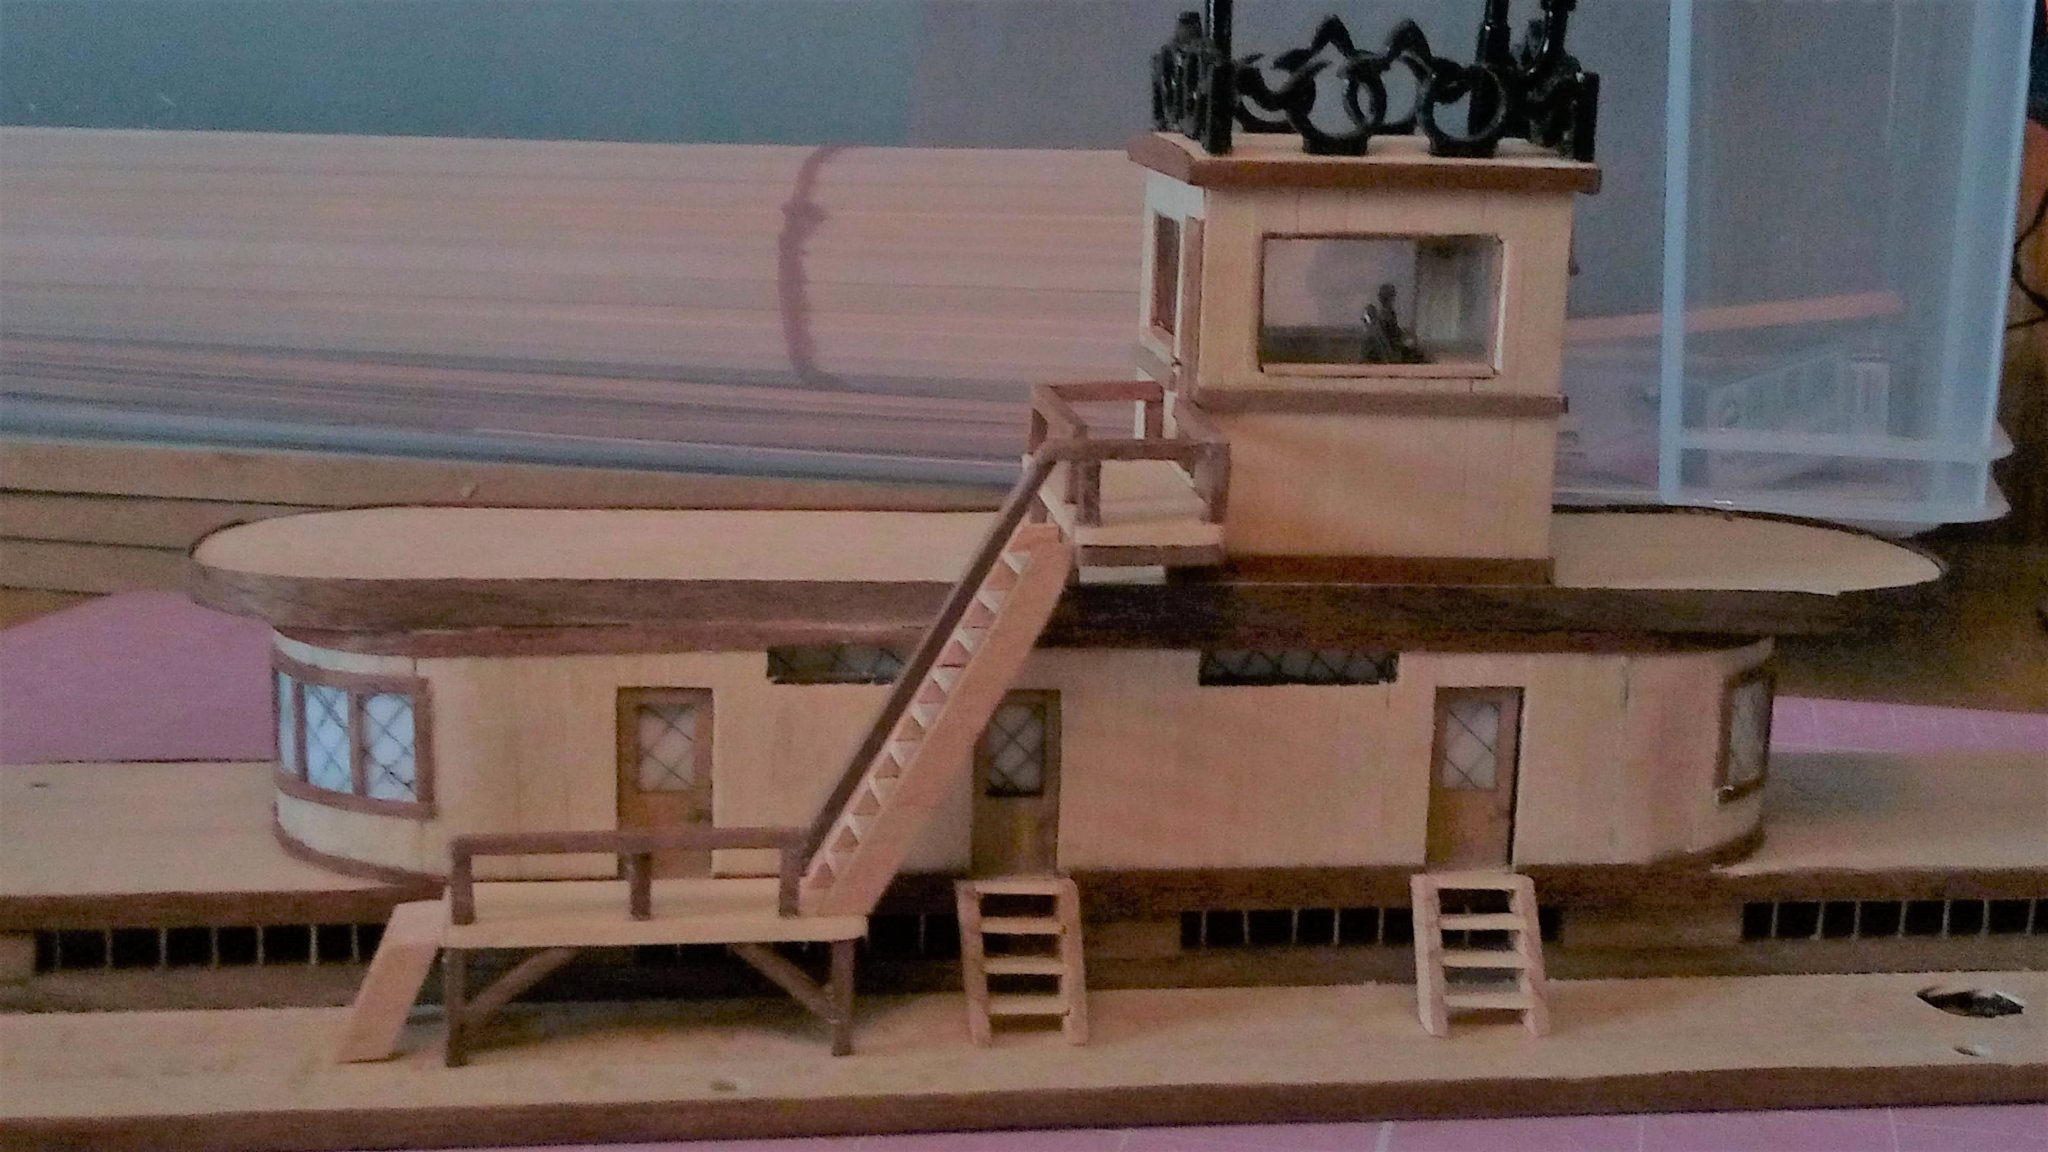
Almost done with the top deck and wheelhouse. Still got the brasswork and fences to install.
Stair measurements given by AL don't match up to the actual real life sizes. One stair too few 🙁 when trying out the first one for size with the base at the same pictured plank distance in the instructions. Ladderway to the cabin house was still too short for the angle required at 9 steps, so had to put in an "under walkway strengthener" for it to rest on.

Also noticed, missing in the written instructions but in the picture instructions and not labelled, stanchions under the forward end of the roof. Pics 54 and 55.
This doesn't appear anywhere else thoroughout the booklet in any photos. There are photo's of this model with them installed out there, and there's also a version of this (old!) that has two gangways and a straight (not spiral) staircase. Dan Vadas did a re-build of this one a few years ago. KotM by Dan Vadas
Cheers for now,
Bob
- VitusBering, Matt D, J11 and 3 others
-
 6
6
-
Some progress over the last few days.
Captains cabin almost finished. Fitted the stove, roof and rail. Added edging boards to the roof.


Added the ventilation gap to the upper deck. Remembered to drill and countersink the holes for the pins this time! 😼
That's all for now,
Stay safe, stay well,
Bob
- VitusBering, GrandpaPhil, Cathead and 3 others
-
6
-
Hi John
For scale furniture try searching for HO/OO scale stuff. It's 1/76 so very close. If you're going down that route don't use the dangling ring door handles as shown, except maybe on the "barn doors" of the stowage room, they're too large. Instead use one of the brass pins. The head on them is more to scale.
Bob
-
Hi Kenneth.
If you do a search in the search box for President and tick "titles only" you'll find 13 results. About half are for this model.
I have one of these started as far as the hull planking, but am doing some research to kit bash into a real ship a distant relative was a lieutenant on.
As said, Carronade didn't come into use until 1774, so cannon would be the correct item if you wanted some accuracy.
The instructions are a little"sparse" shall we say 🤬. Have a look on here for the planking tutorials which are really good if you haven't already got past that stage.
And as has been suggested, create a build log - so much help you won't get disheartened!
Best wishes, stay safe,
Bob
-
Glad to hear you're keeping safe.
There are a few odd anomalies with sizes. Be aware when you come to the upper deck houses the plywood is so thin it can, and sometimes does, seperate when soaked to allow for bending the curves.
Before you plank the hull or shape the bottom look at how the planks will fit - it's a job and a half if you curve the edges (at least it was for me😄!) Also the stem needs quite a bit of fettling to fit.
Take good care, stay safe,
Bob
-
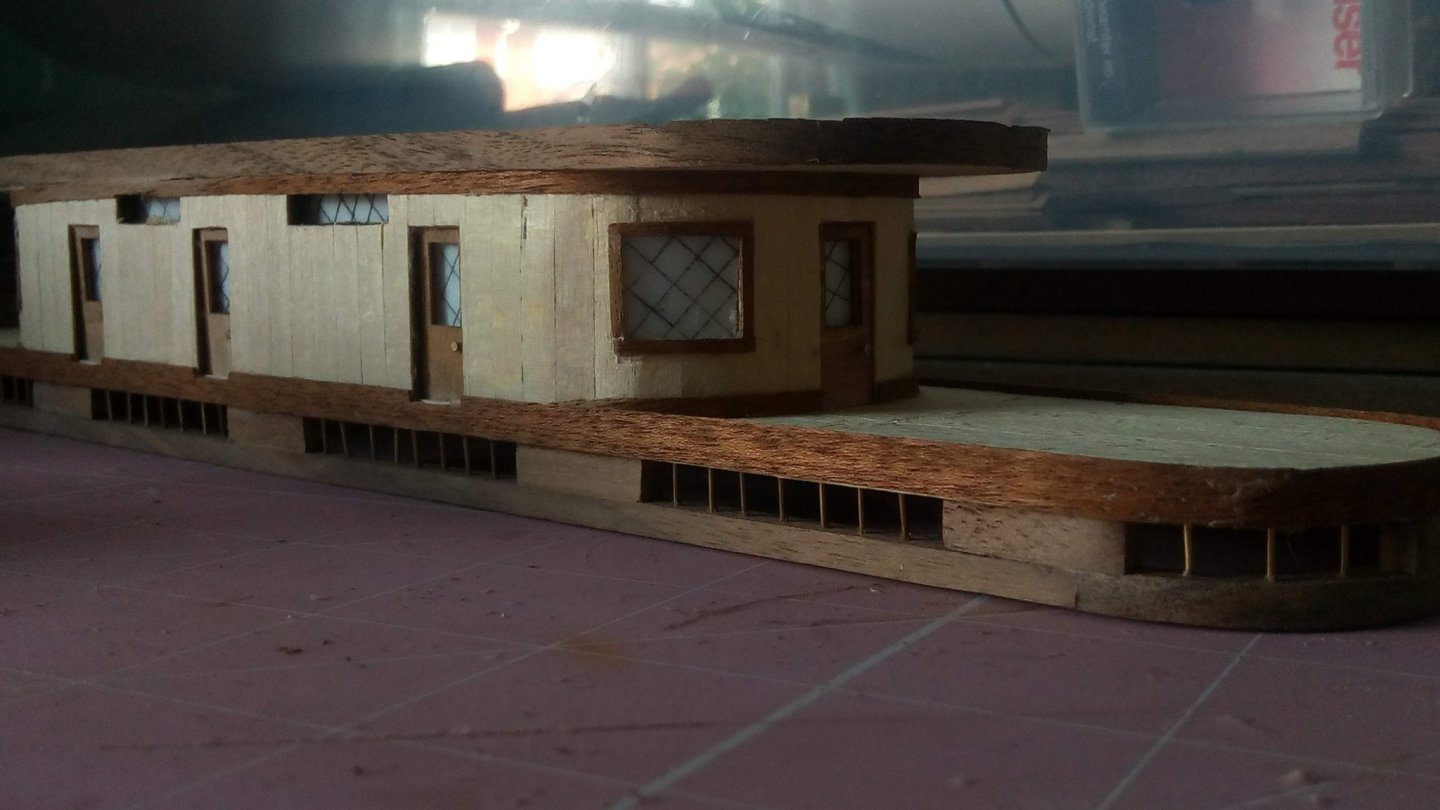
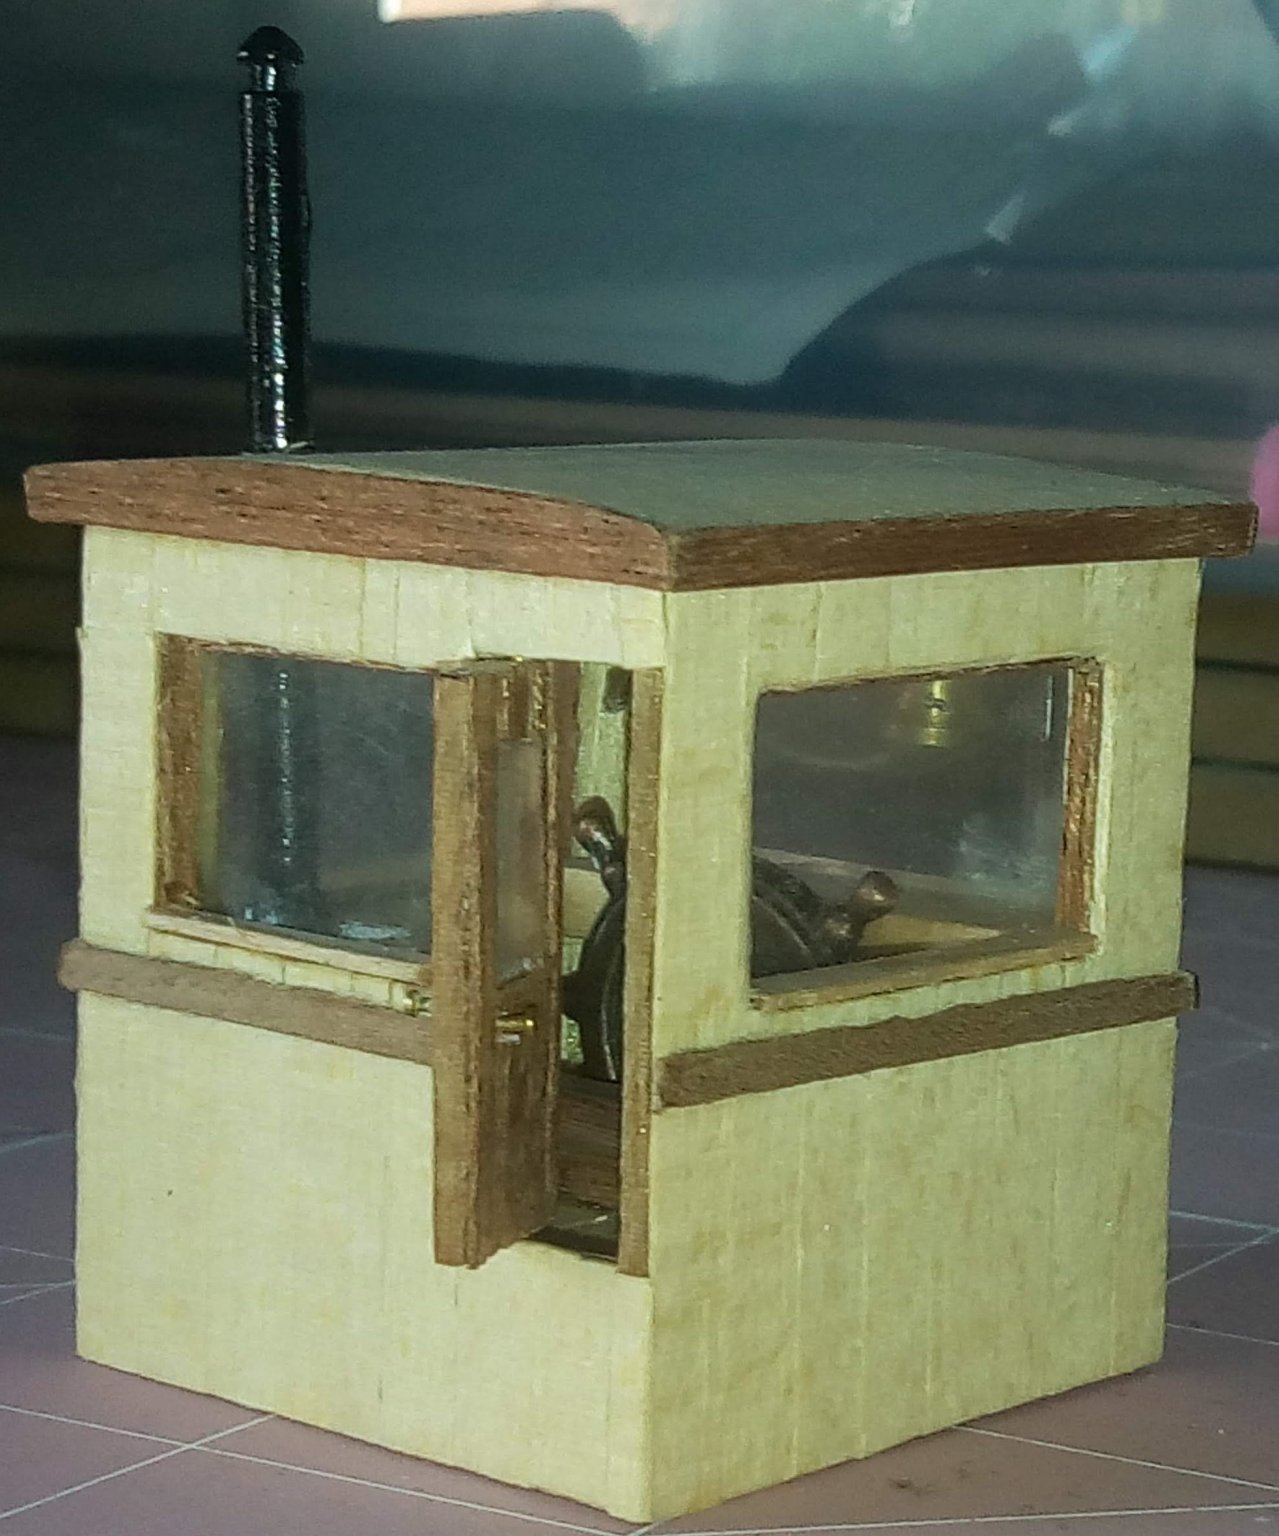
Some progress over the last week. Syrprising how small bits seem to take hours to do.
Upper deck almost finished.


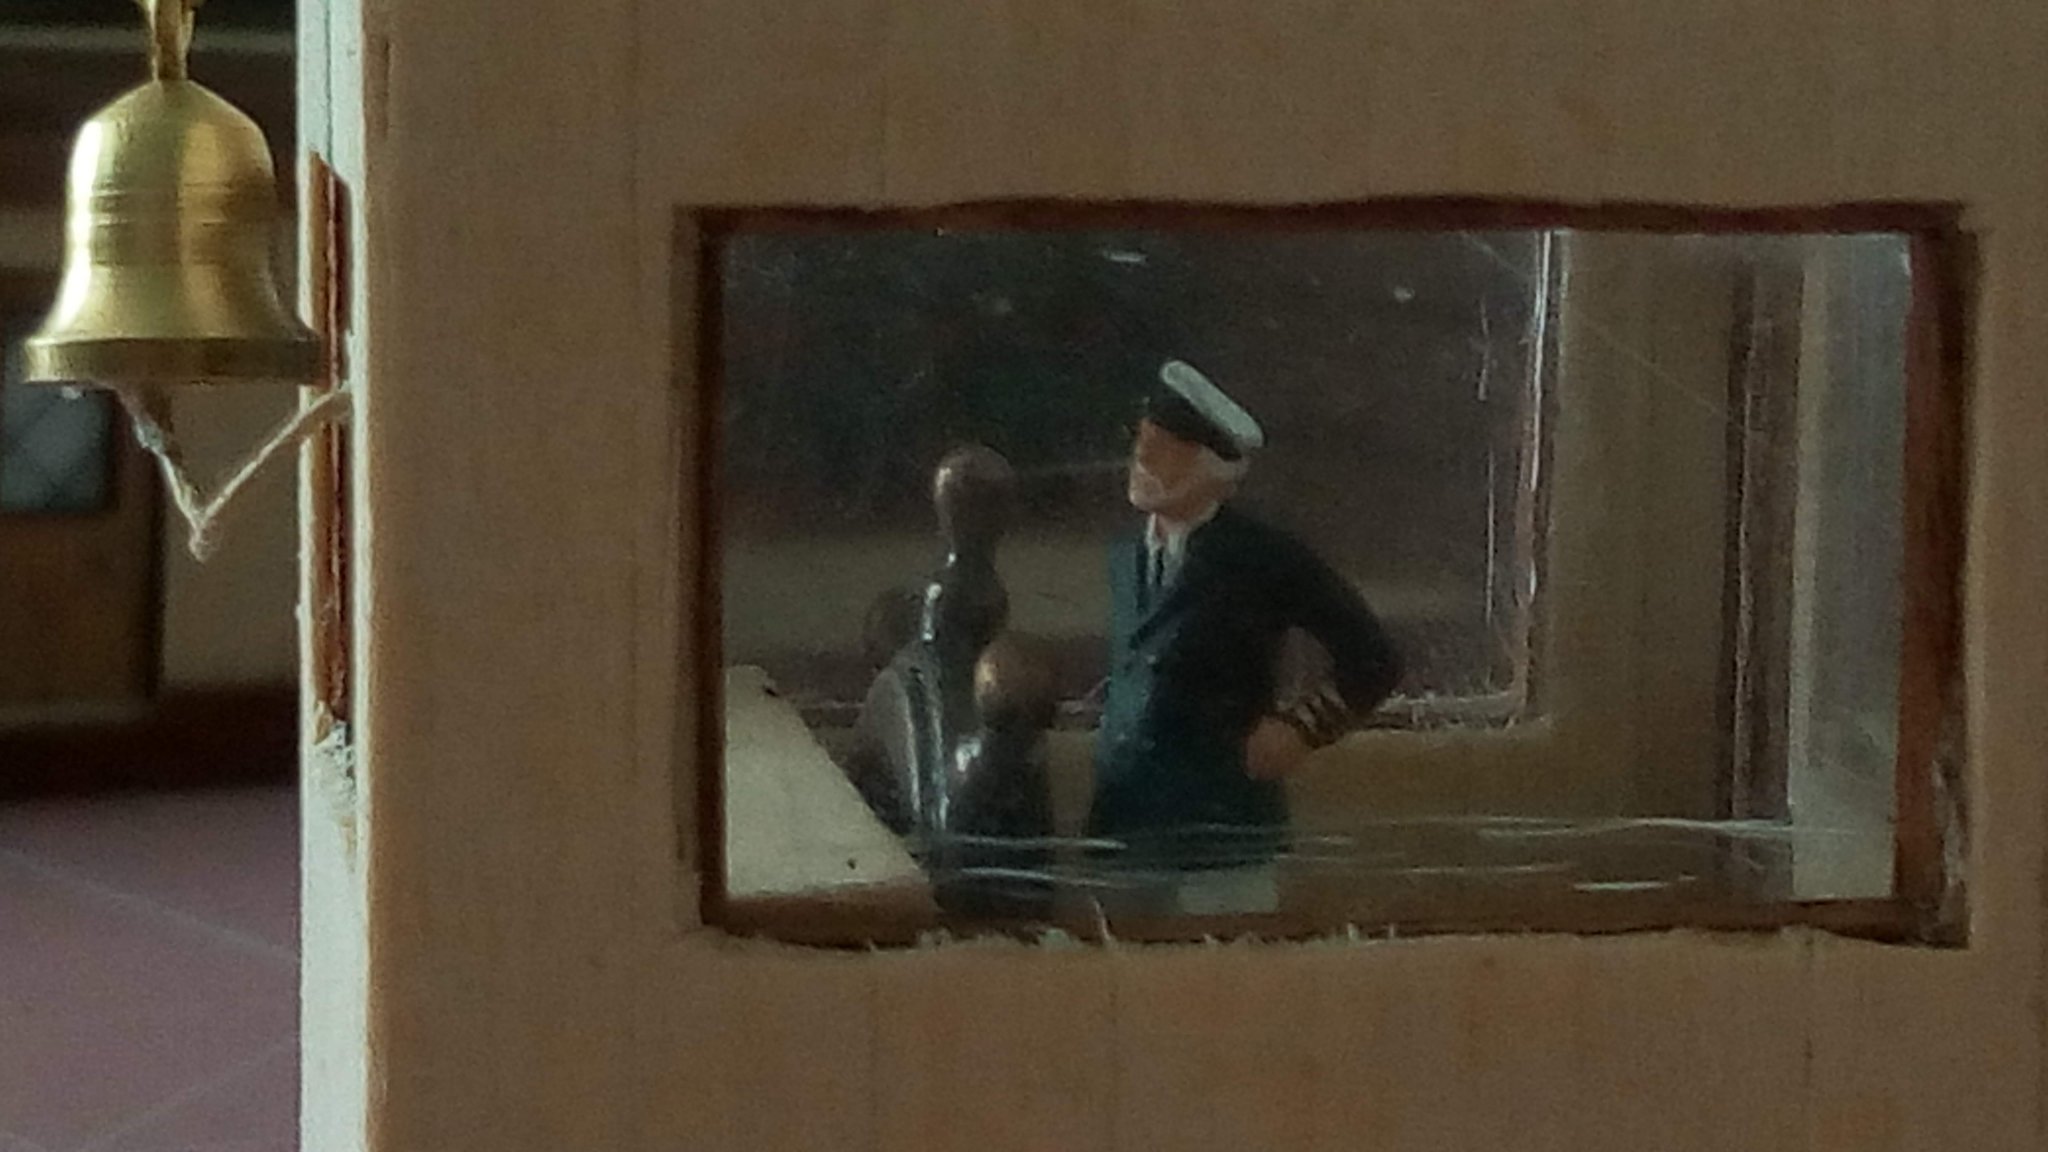
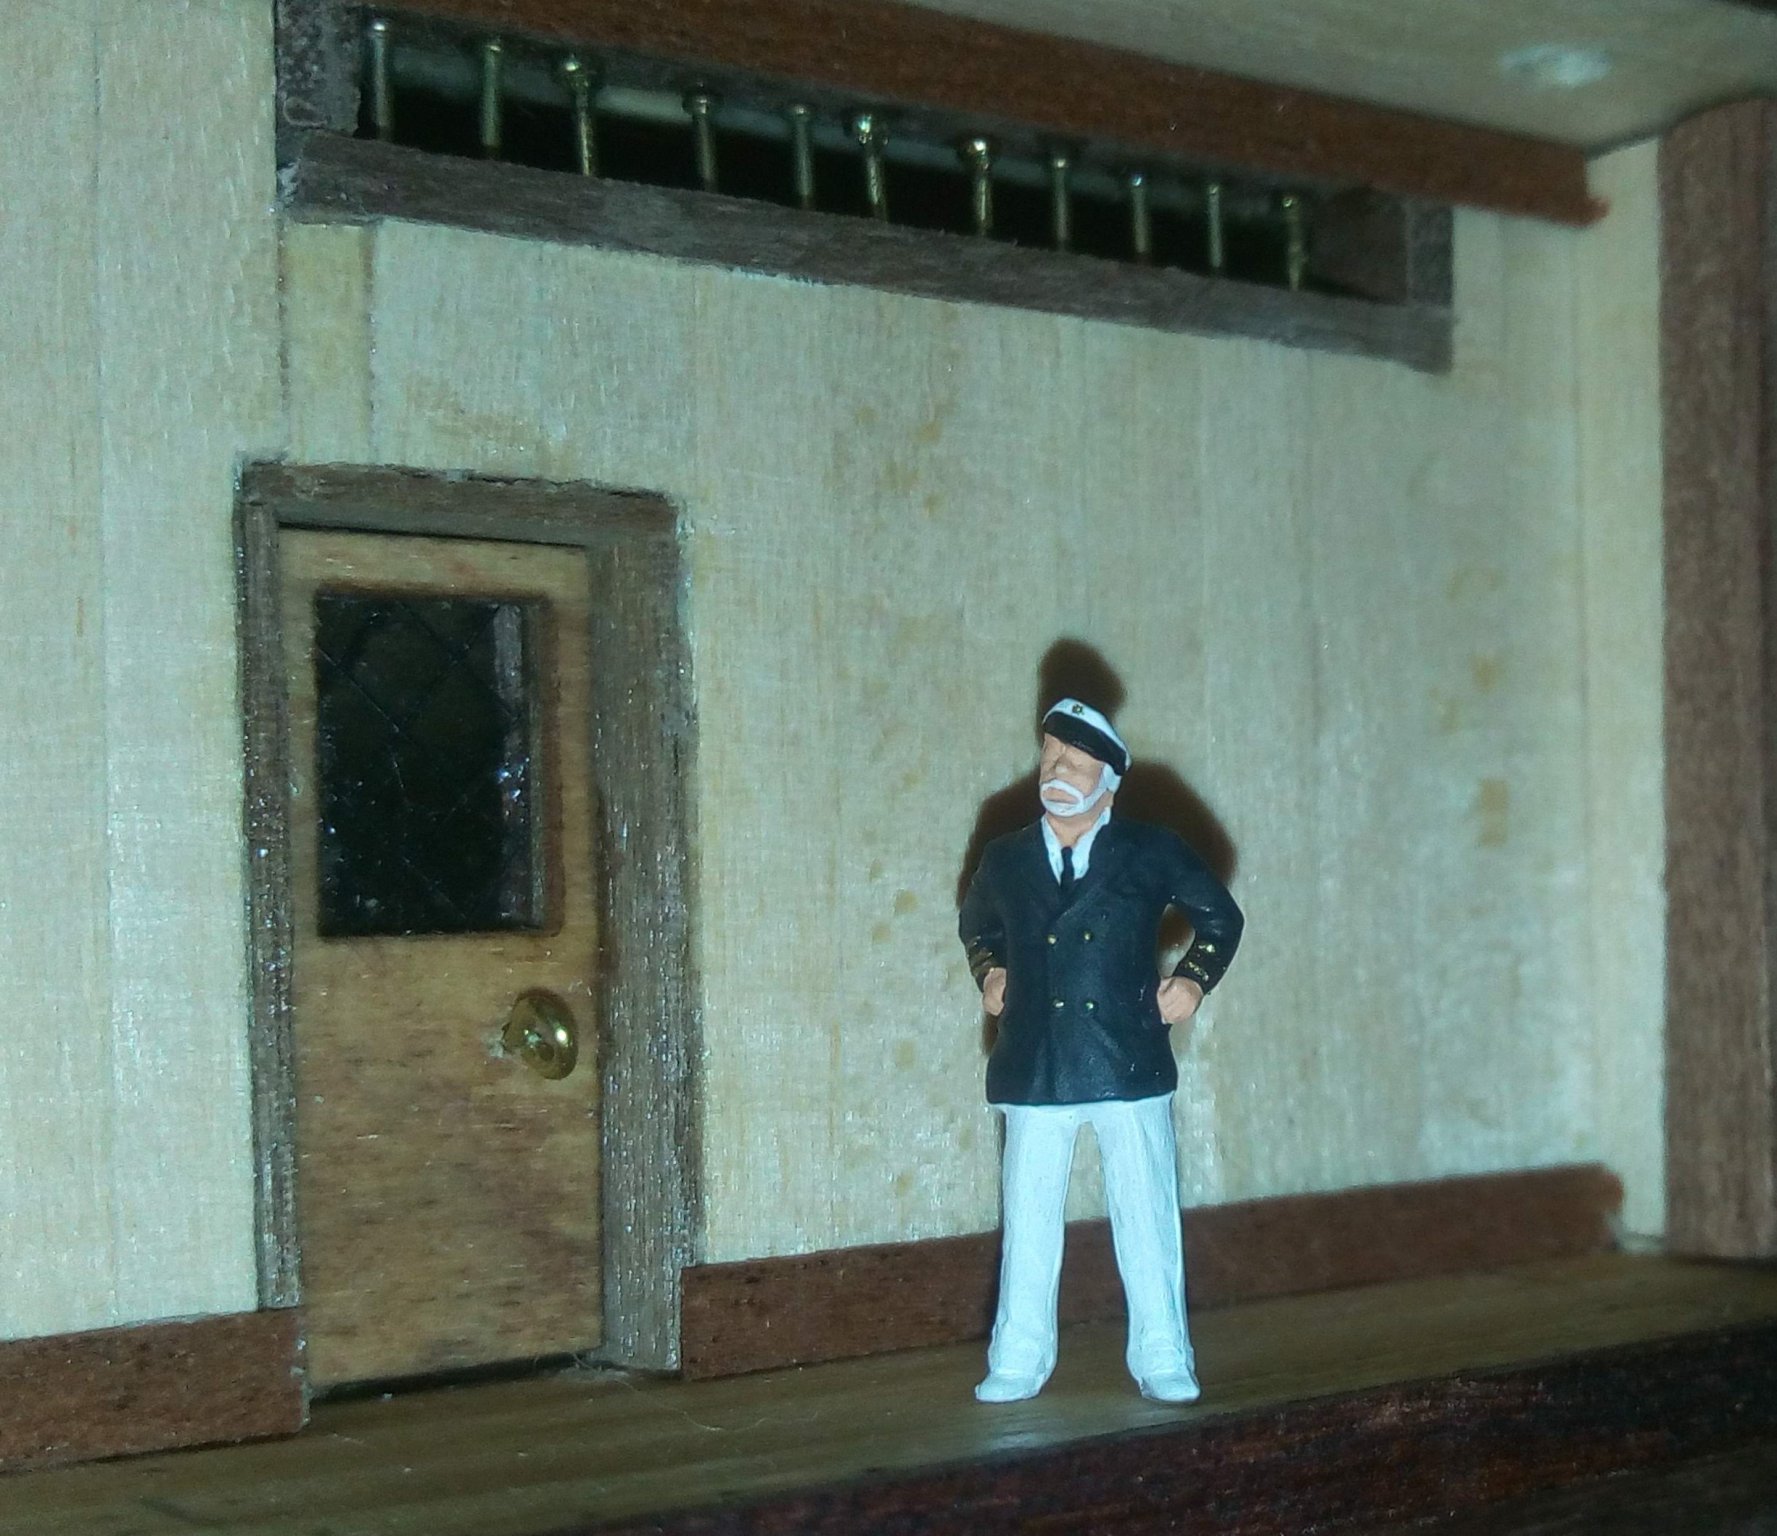
Wheelhouse. As I'm adding a captain figure there's now a step and a paperwork / coffee / whisky shelf
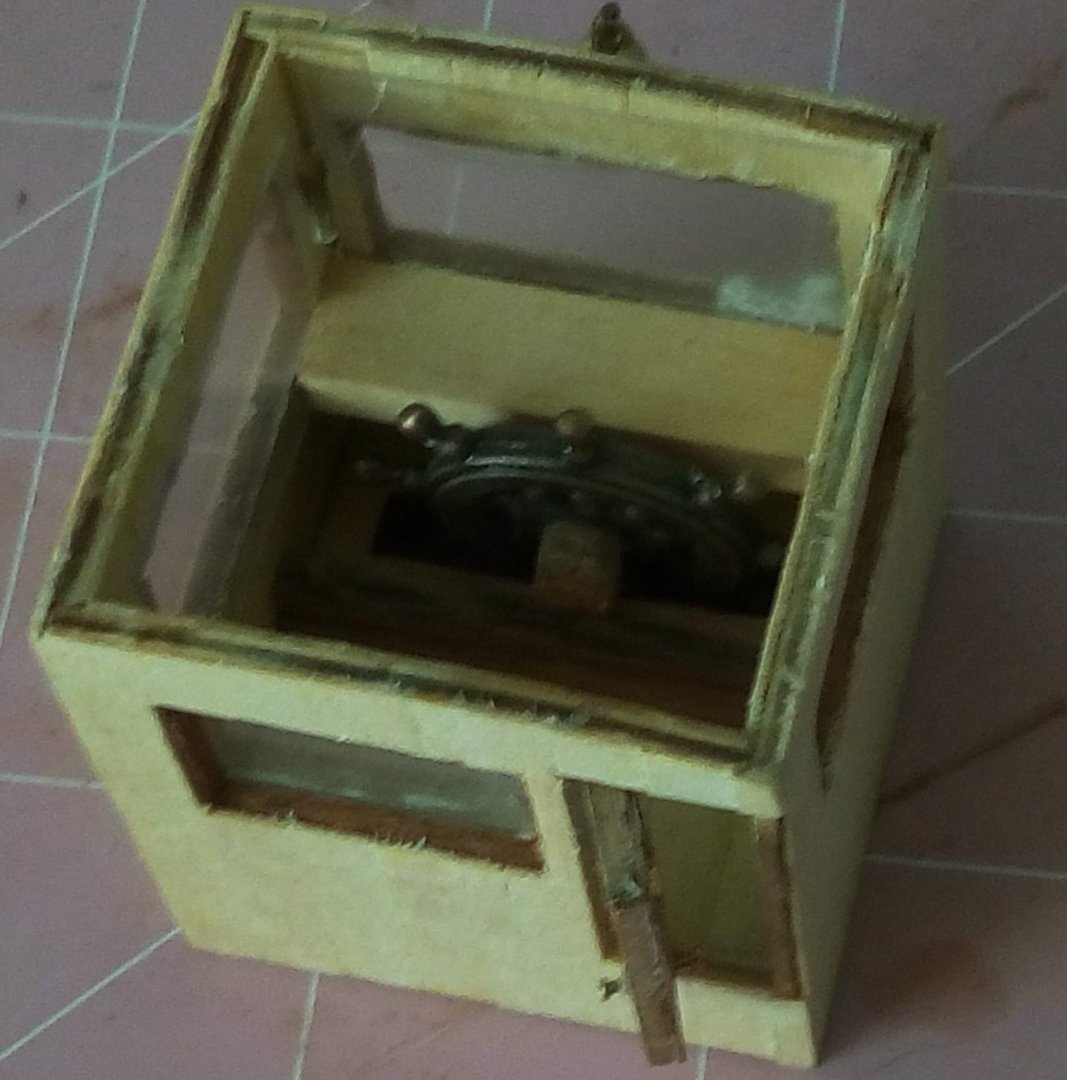
Didn't like the original plywood door, so had a play around and cut / carved this one. First time carving. Even managed to get the door to open and close on hidden hinges. using pins.
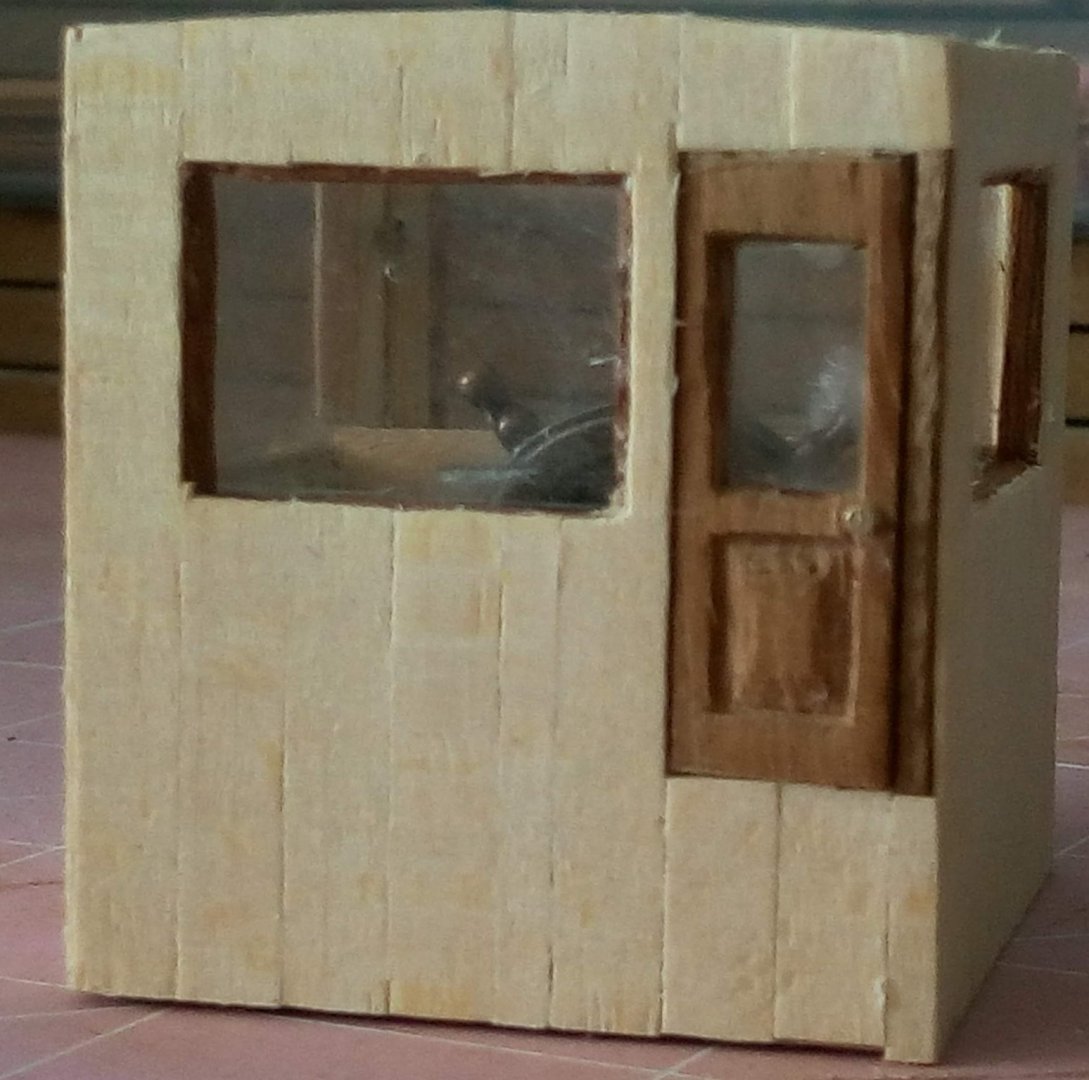
Still got to fil a sill to the lower window edges to finsih them off.
As usual, close ups show all the rough bits and small flaws 🙁
Stay safe, stay well
Bob
- EricWilliamMarshall, J11, yvesvidal and 3 others
-
6
-
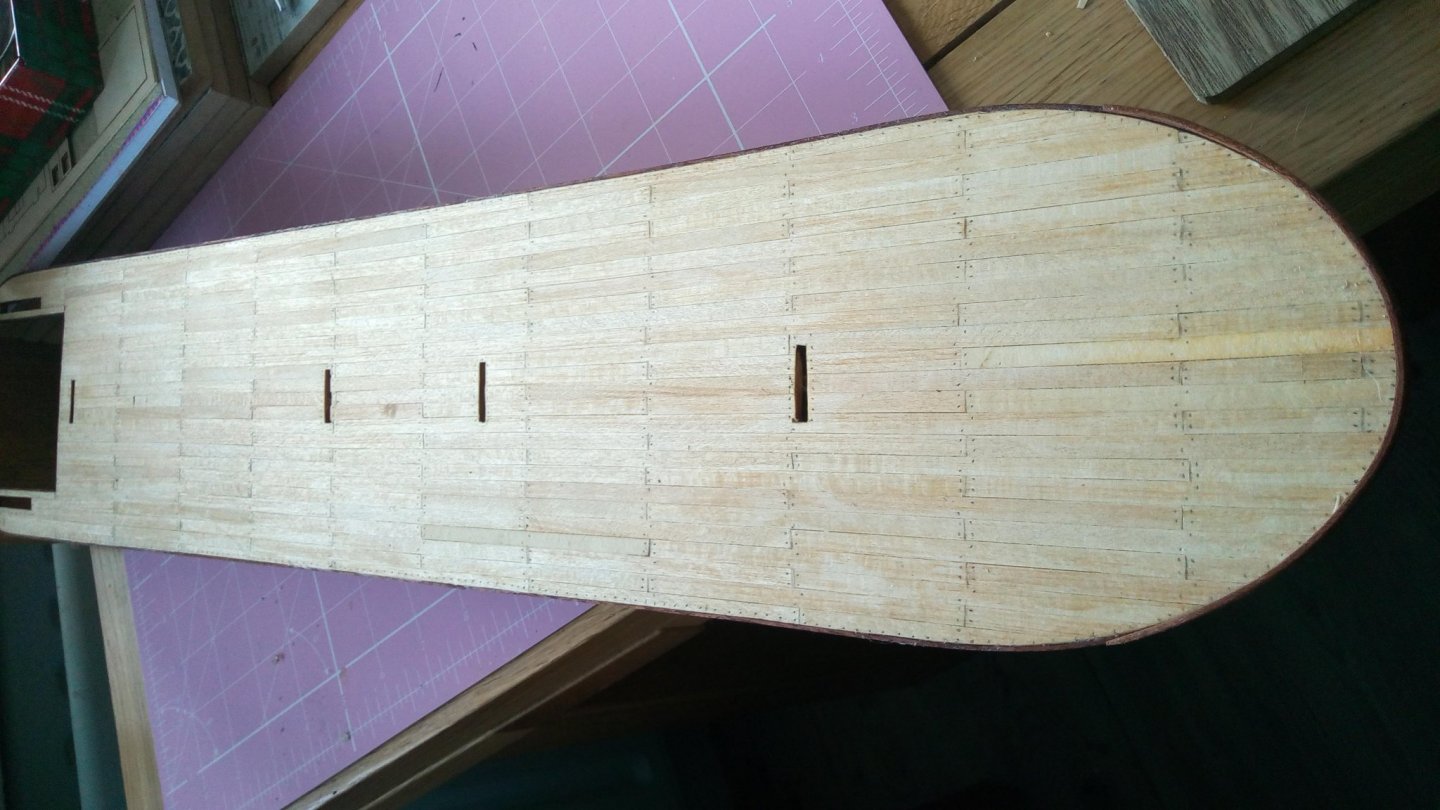
Decided to leave the spiral staircase for now, and do some of the long repetetive process of planking the large areas.
Fair bit of progress, but not much to show for it.
Fitted the second deck house and planked it. Remembered I'd got some photo-etched saws.
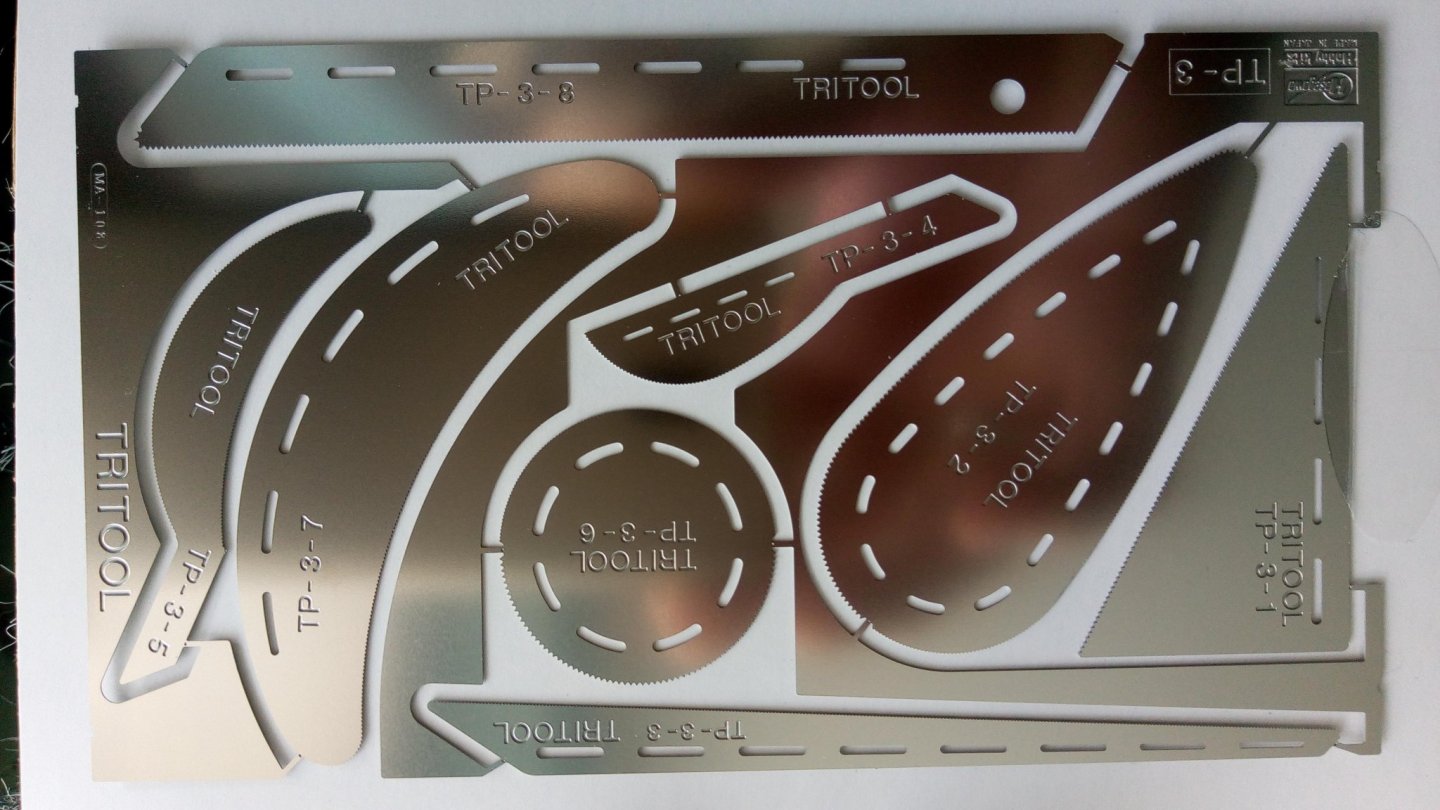
Used the long thin one to saw the tops off the planking. Fitted the livestock arches.
The pic shows it befor sanding.
Planked the 3rd and 4th Decks, and made the 3rd deck house. Also made the wheelhouse.
As she stands now
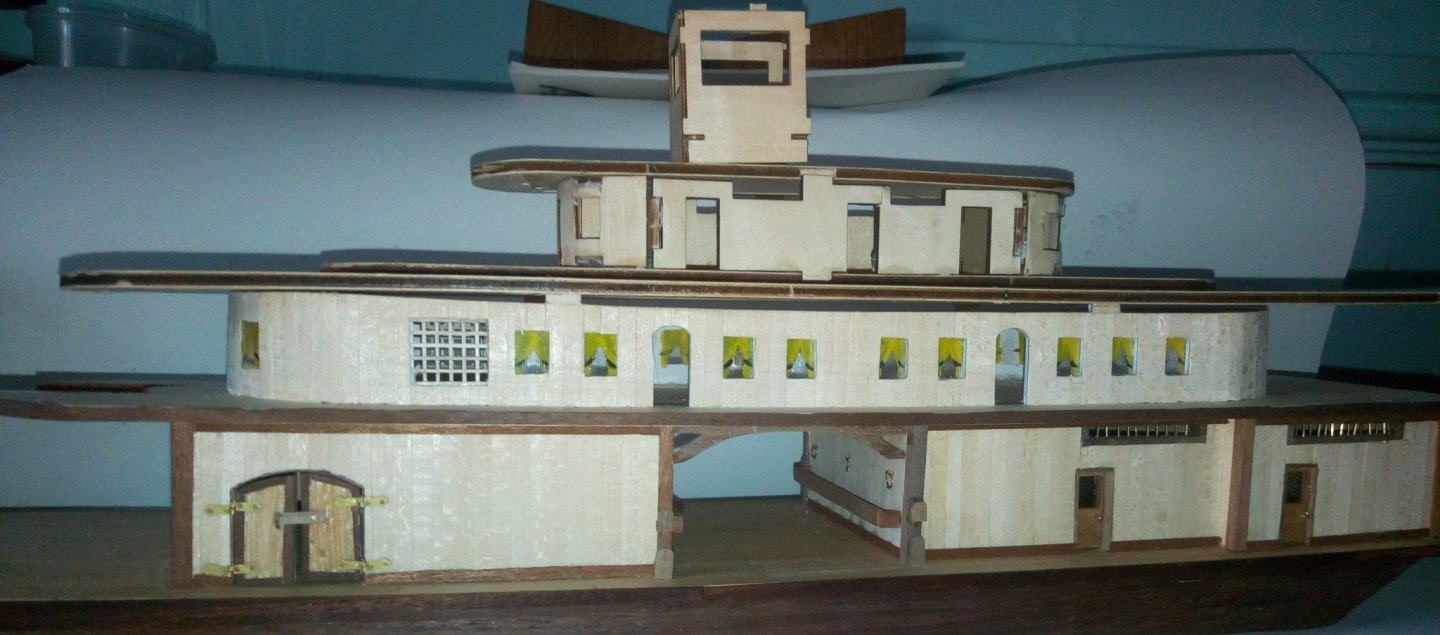
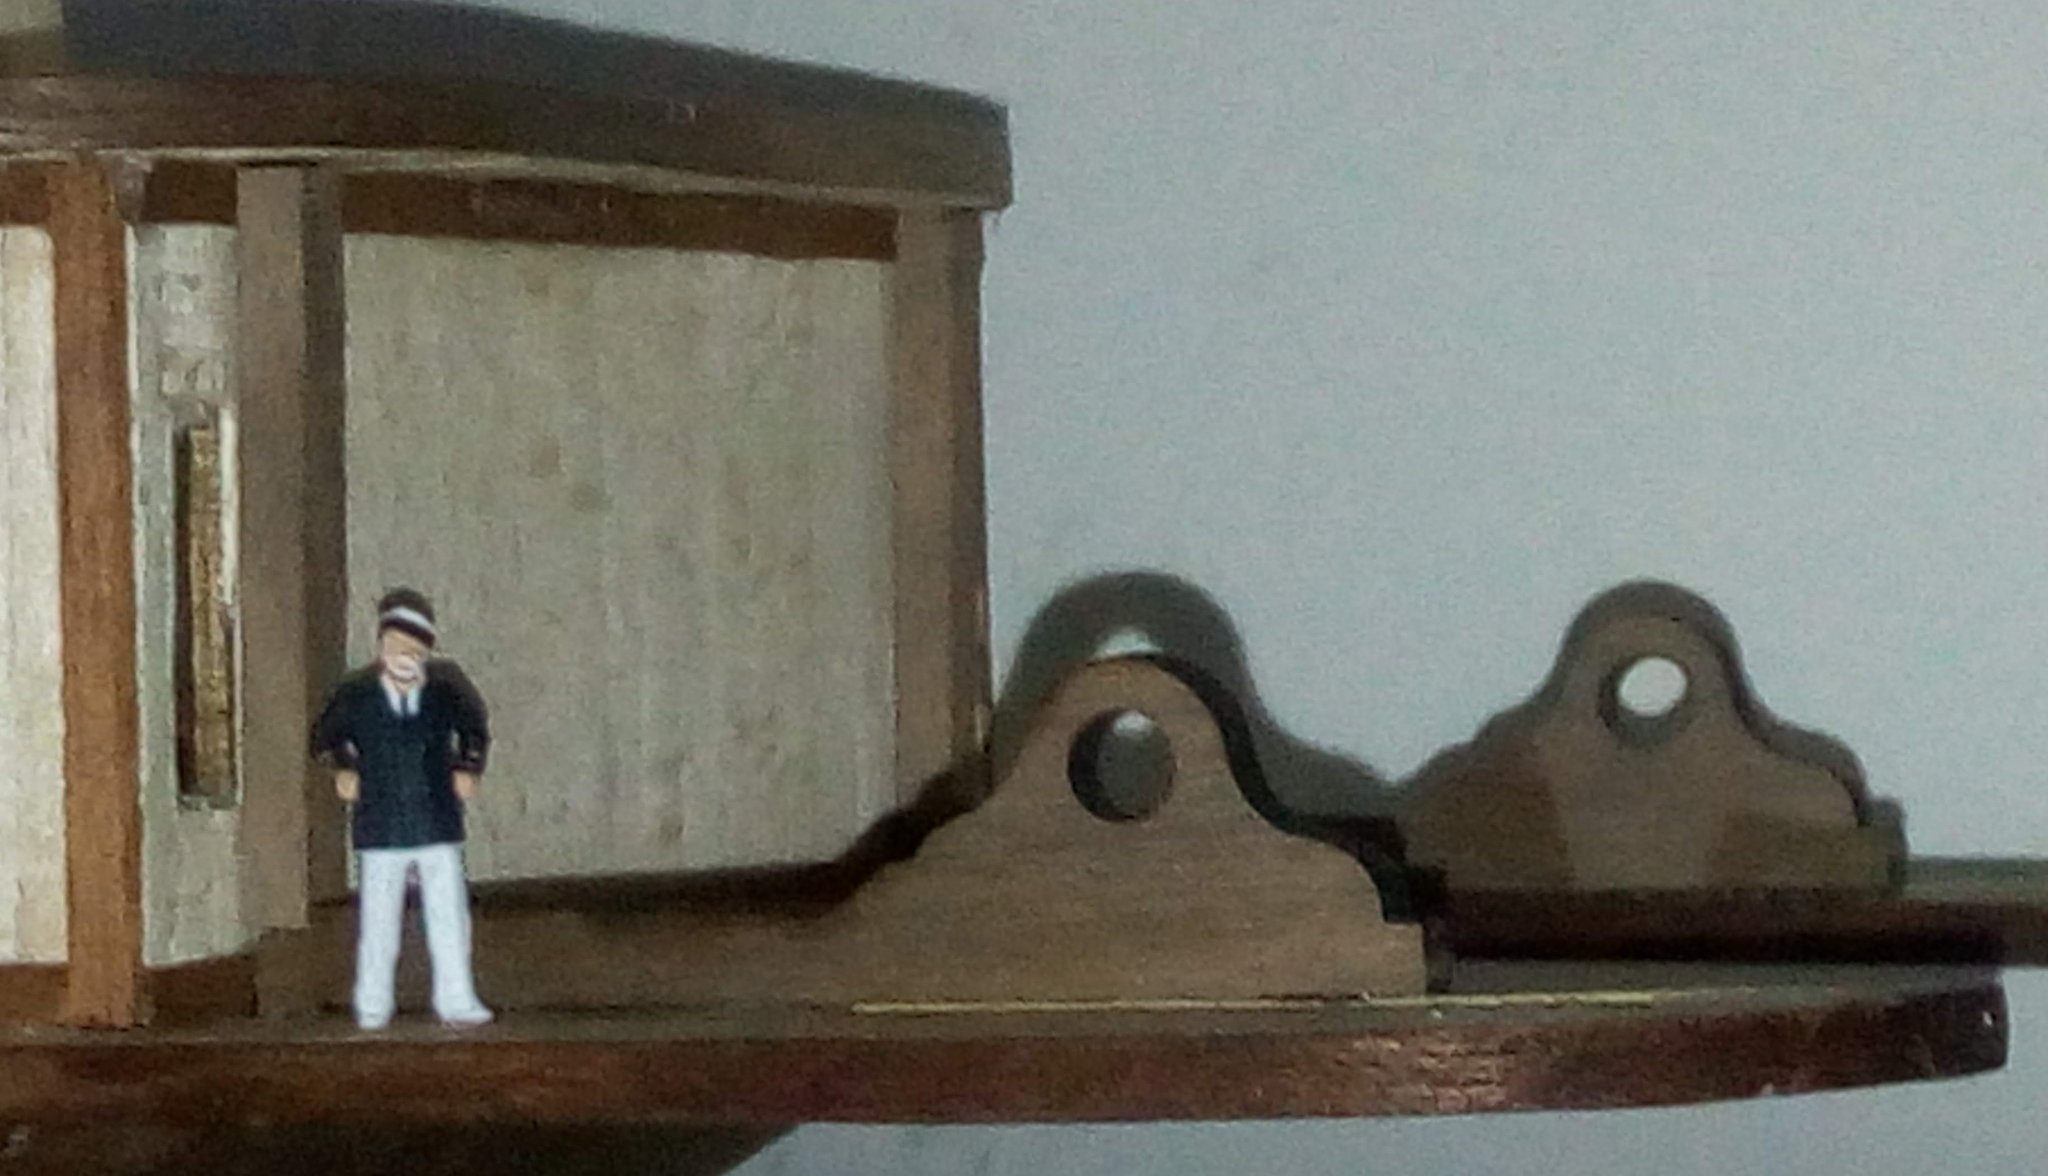
And then the captain came to visit - "Big door handles!" he says.

I'll have to look at changing them for something smaller.
He then goes aft and wants to know where the paddlewheel is!

Think I'll have to get a move on - he seems a bit impatient.
That's all for now,
Cheers,
Bob
- J11, VitusBering, Cathead and 4 others
-
7
-
Thanks for the comments and likes.
Another day creating sawdust. This is for the Admiral and she would like as much as possible in "proper" wood where it is visible, not ply.
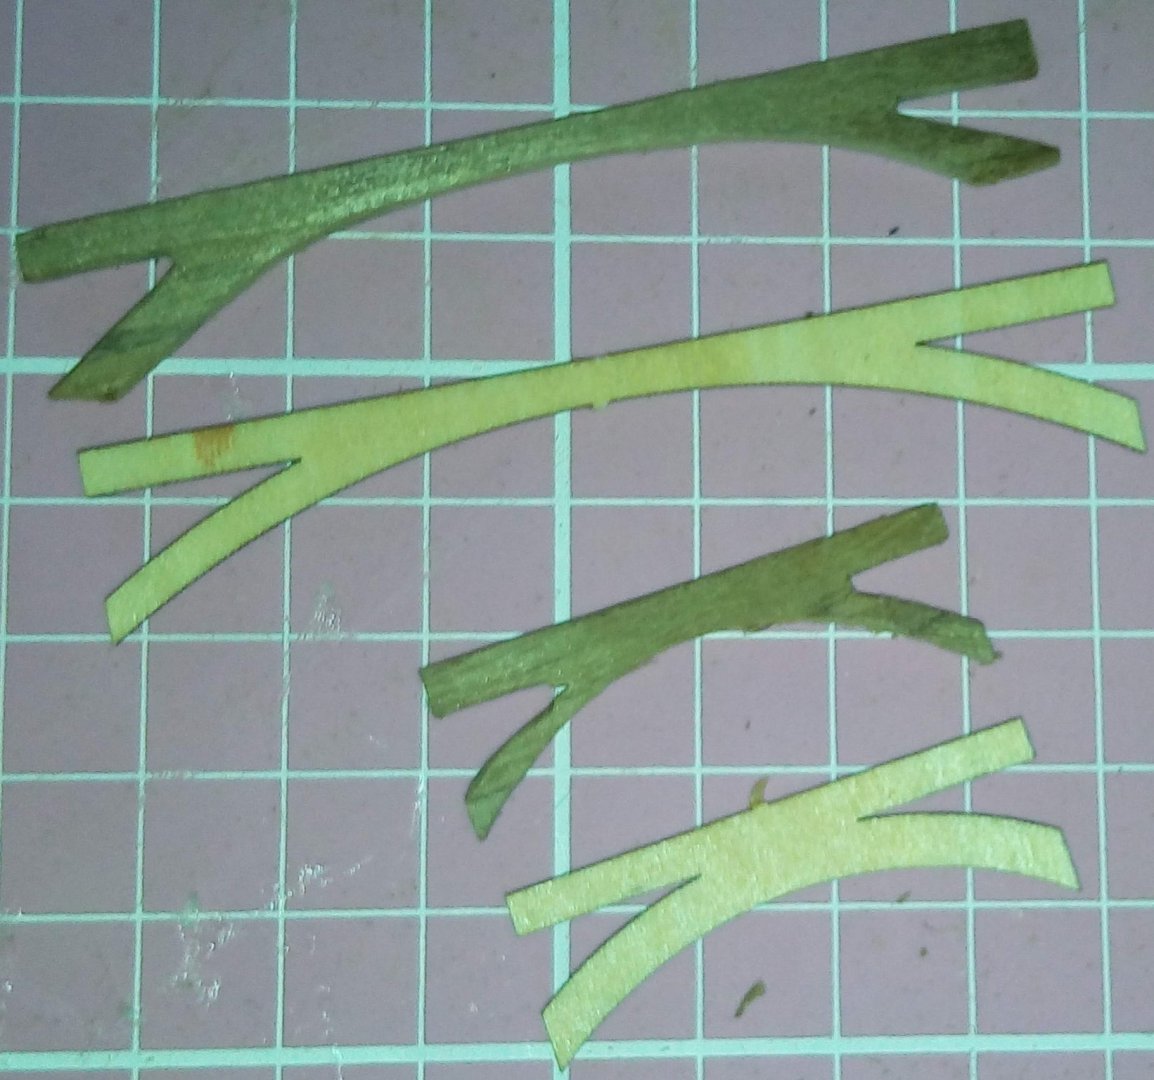
The livestock arches come in ply. Had a play around and managed to get these done. Edge glued to 10mm planks together and hand cut these. My skills aren't great, but they've been given the OK.
Next sone is to figure out the spiral staircase!
Cheers,
Bob
- EricWilliamMarshall, Cathead, J11 and 2 others
-
5
-
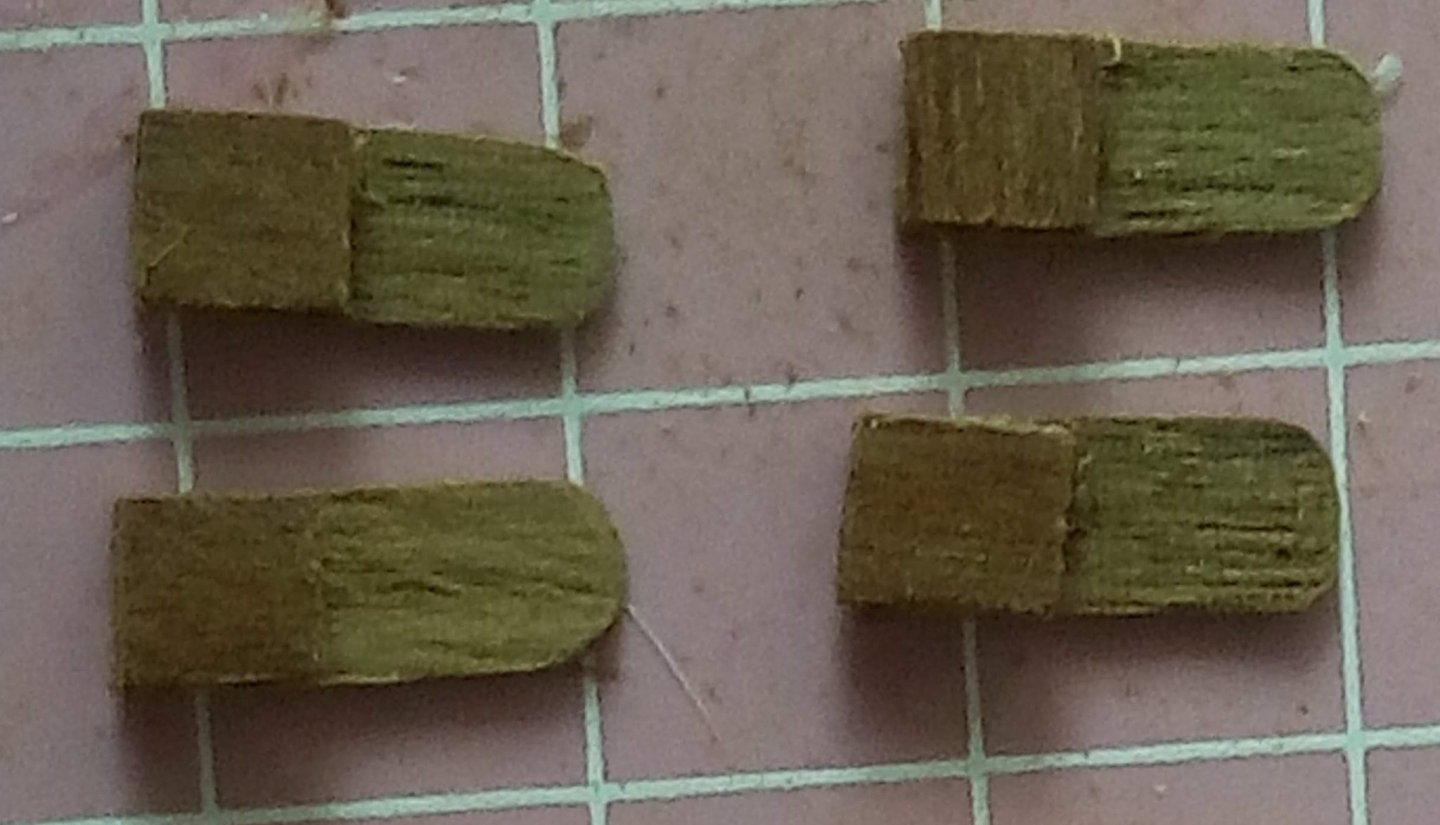
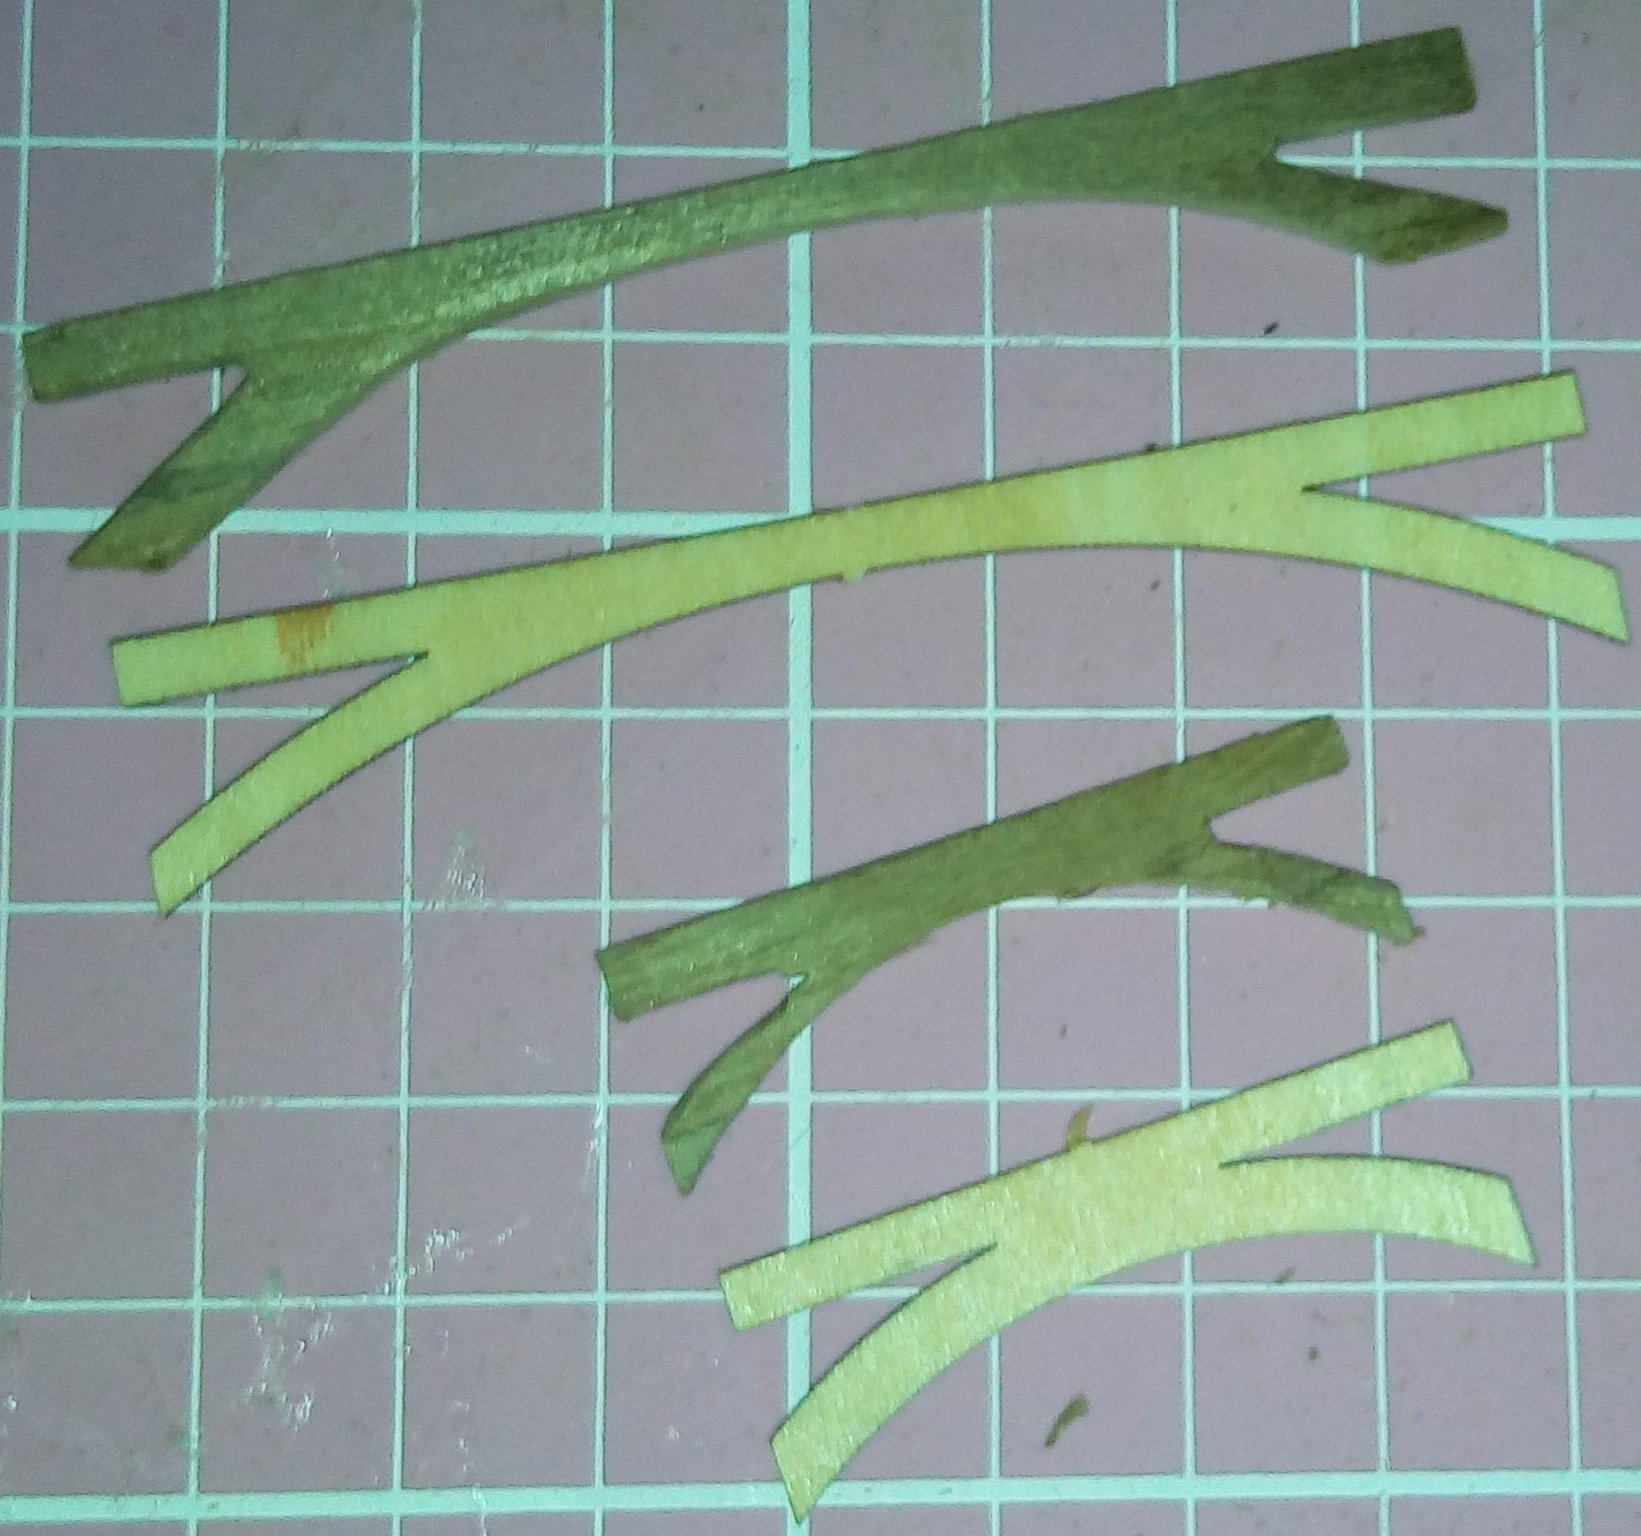
So, thought it time to make the rudders before getting too far ahead of the build.
Picture in the book shows this - looks like mahogany, same shade as the dowel
.thumb.jpg.c41e76677c30a59eb10f7eb653b7b5a9.jpg)
What you actually get is this - plywood

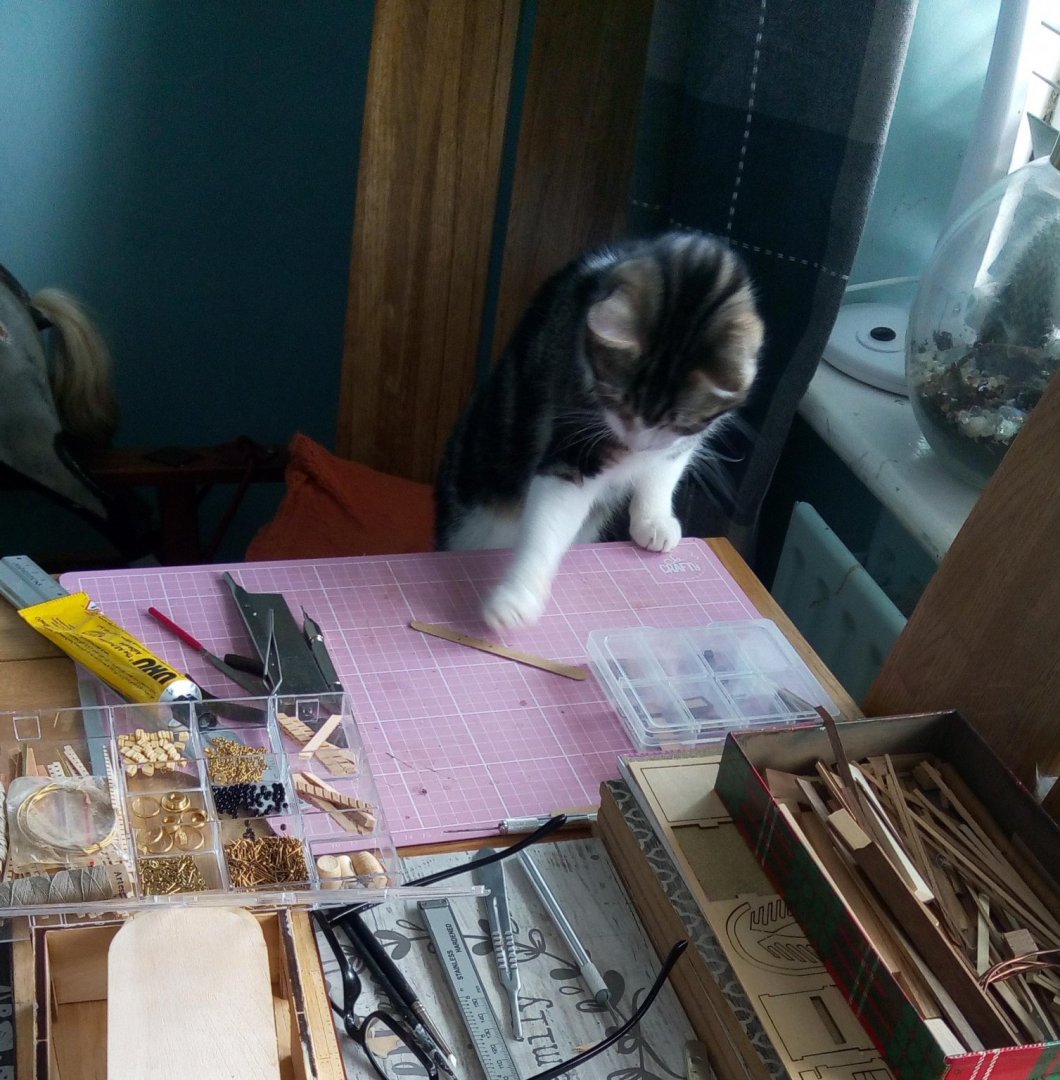
One of my helpers thought this of them

Found some scrap of the same depth and made these

- Cathead, GrandpaPhil, J11 and 3 others
-
6
-
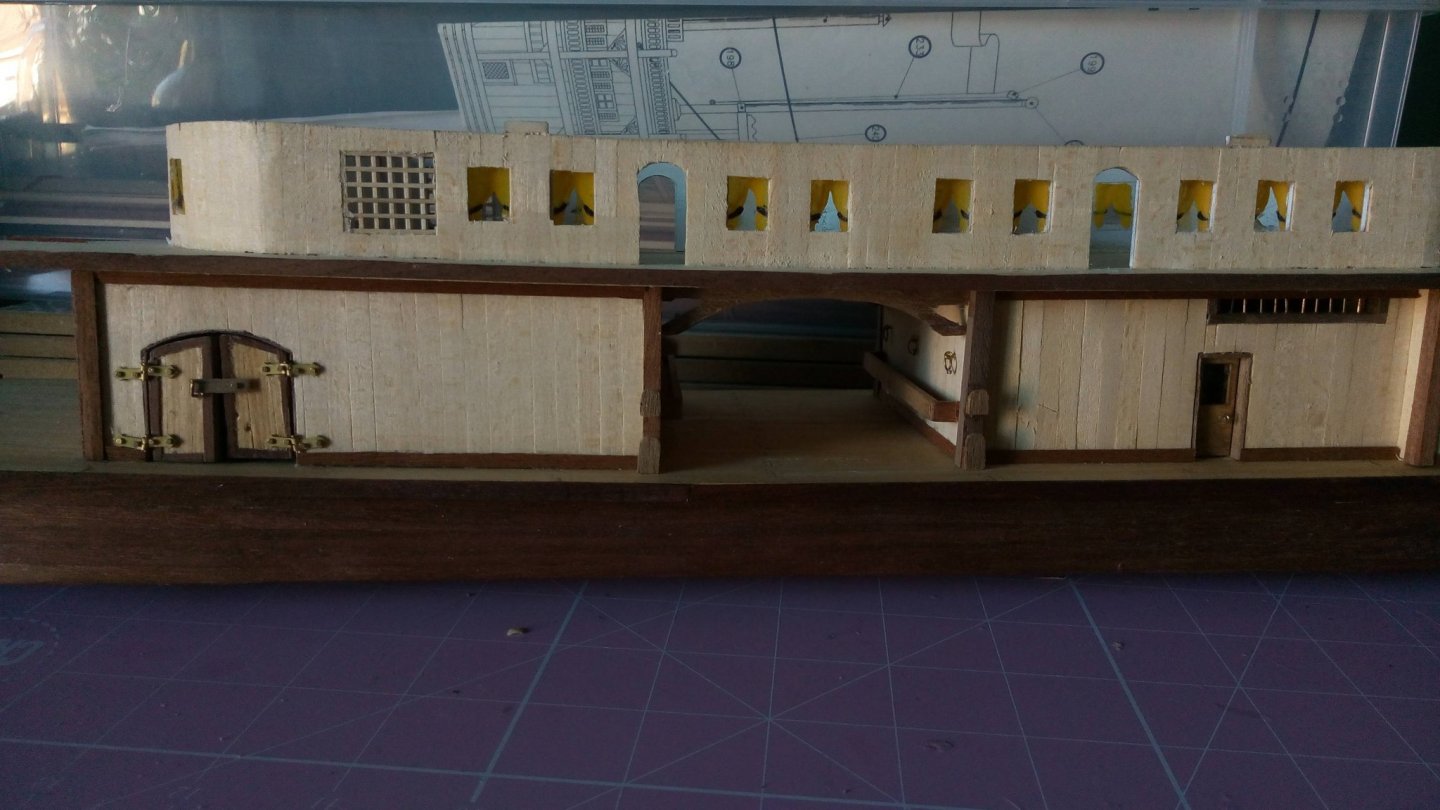
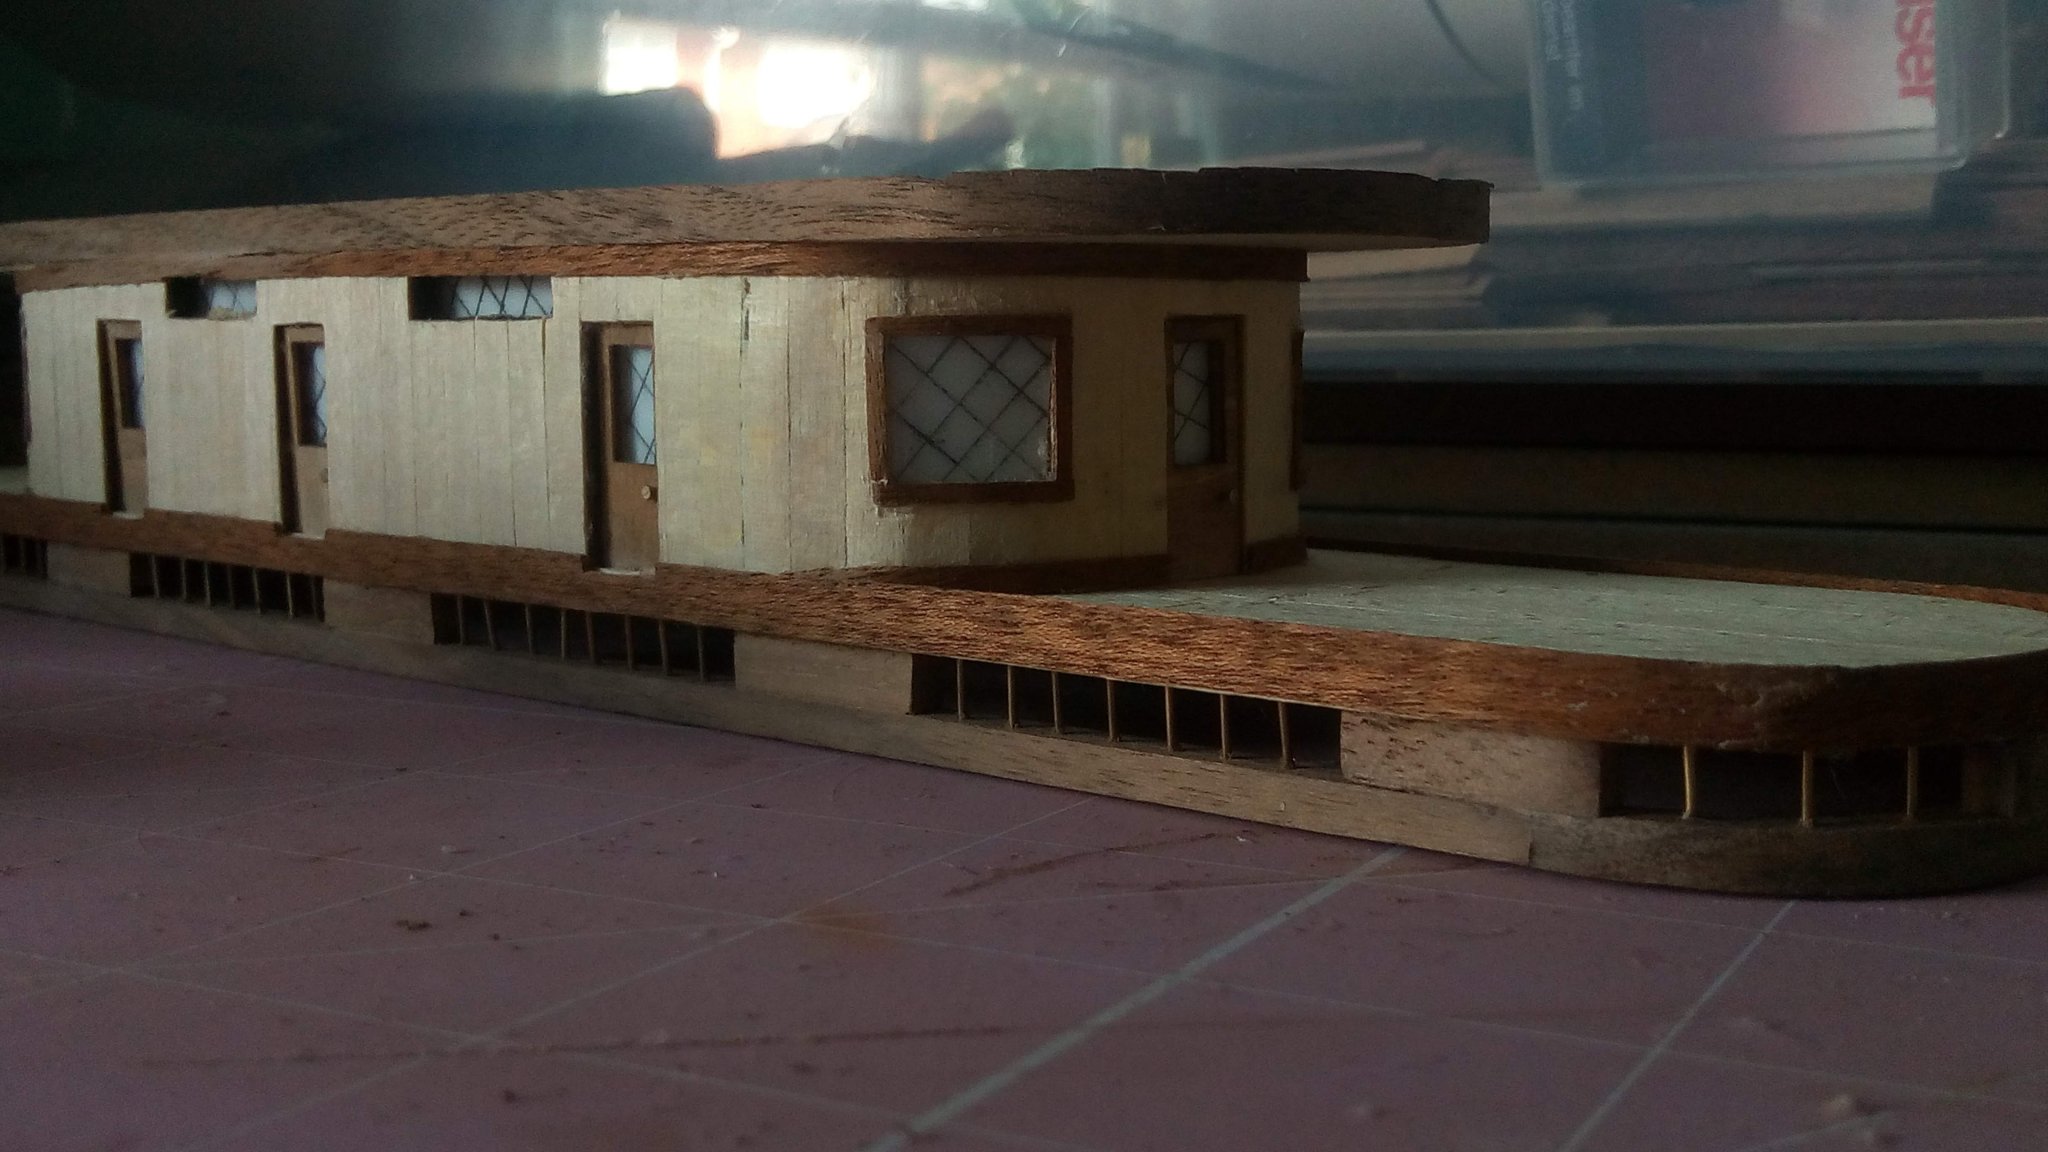
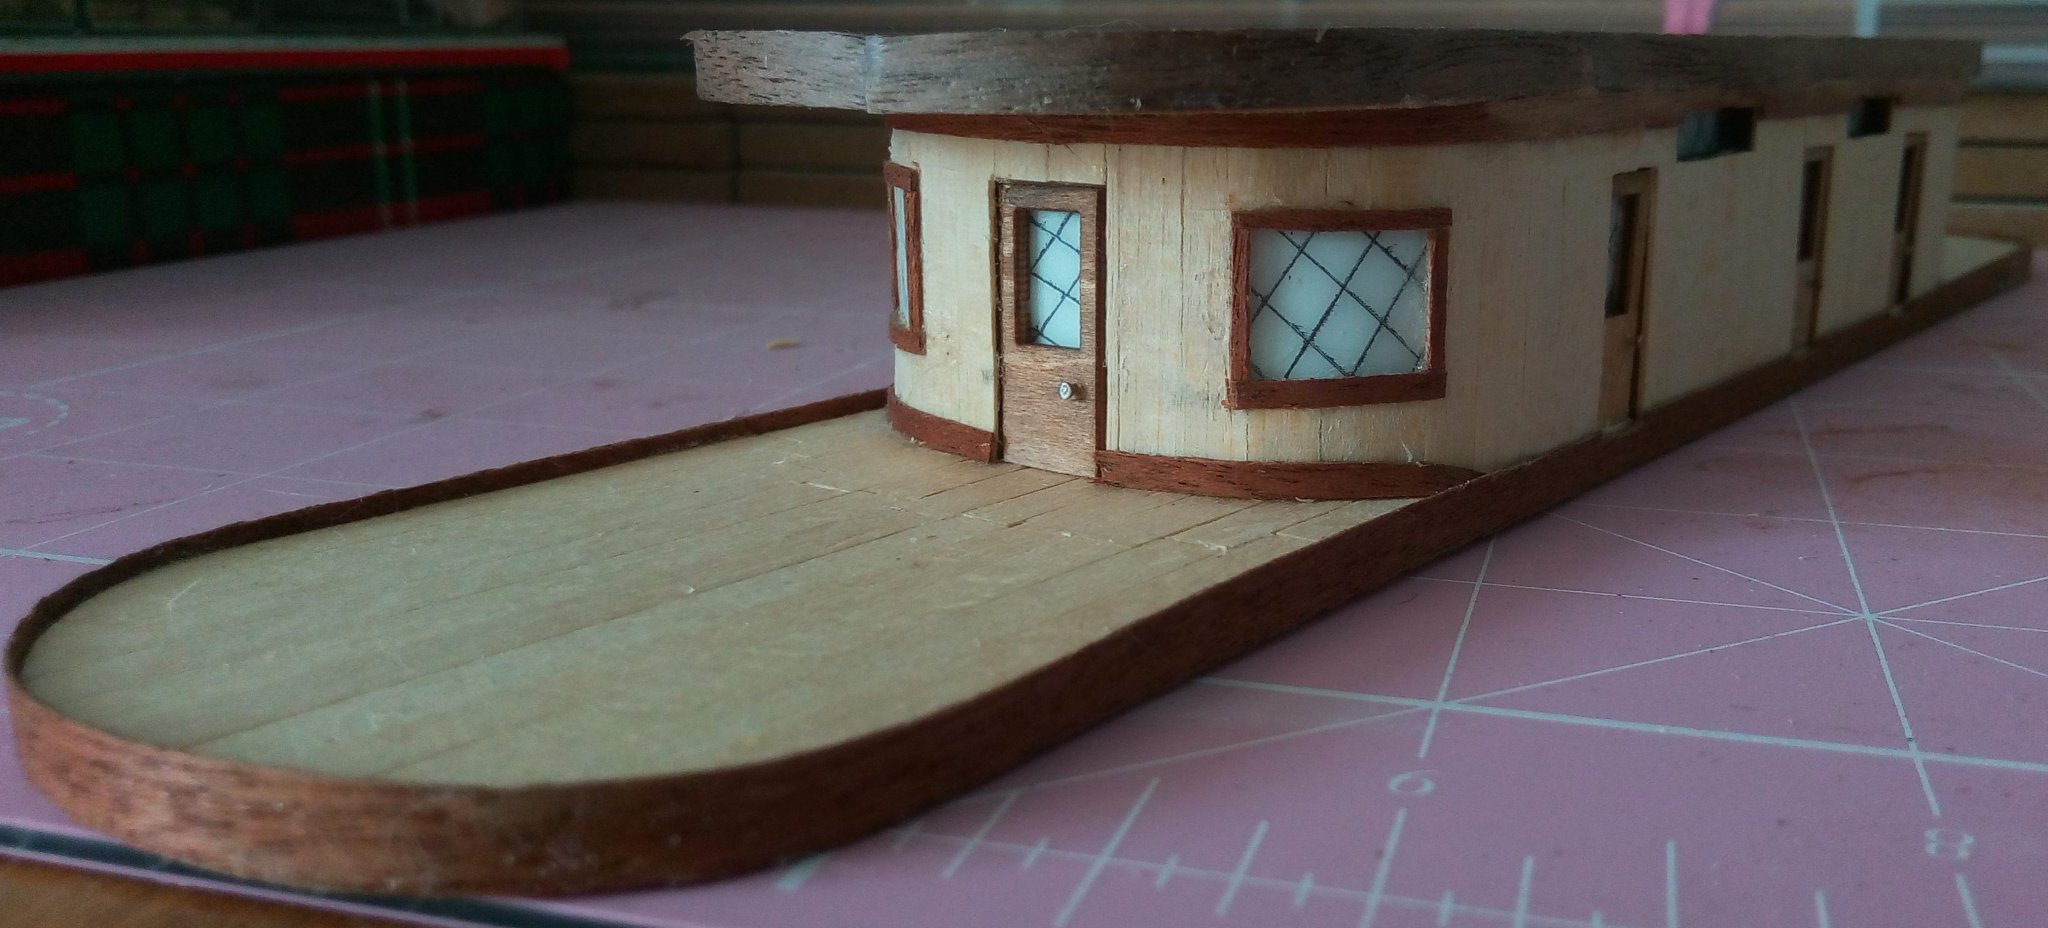
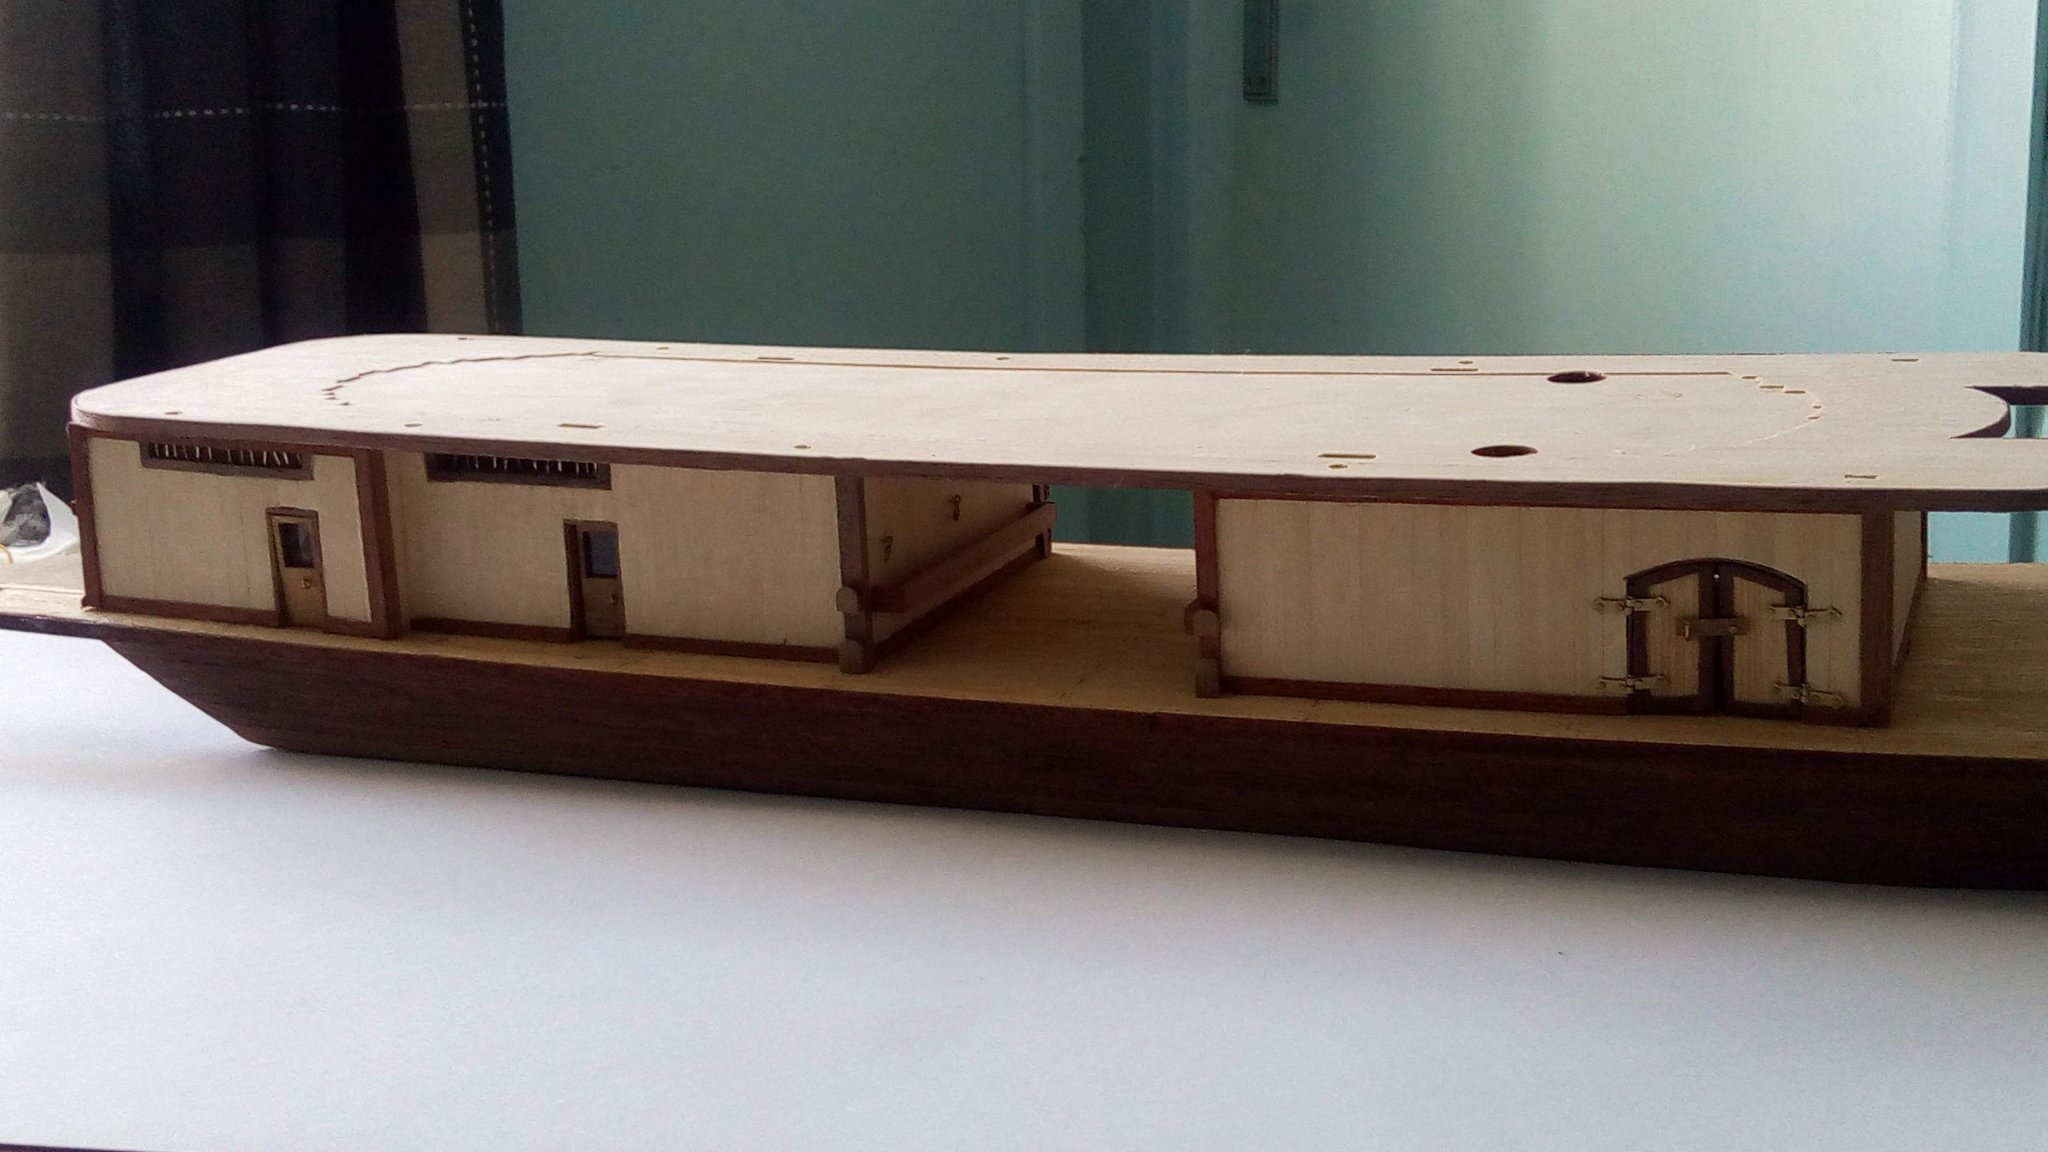
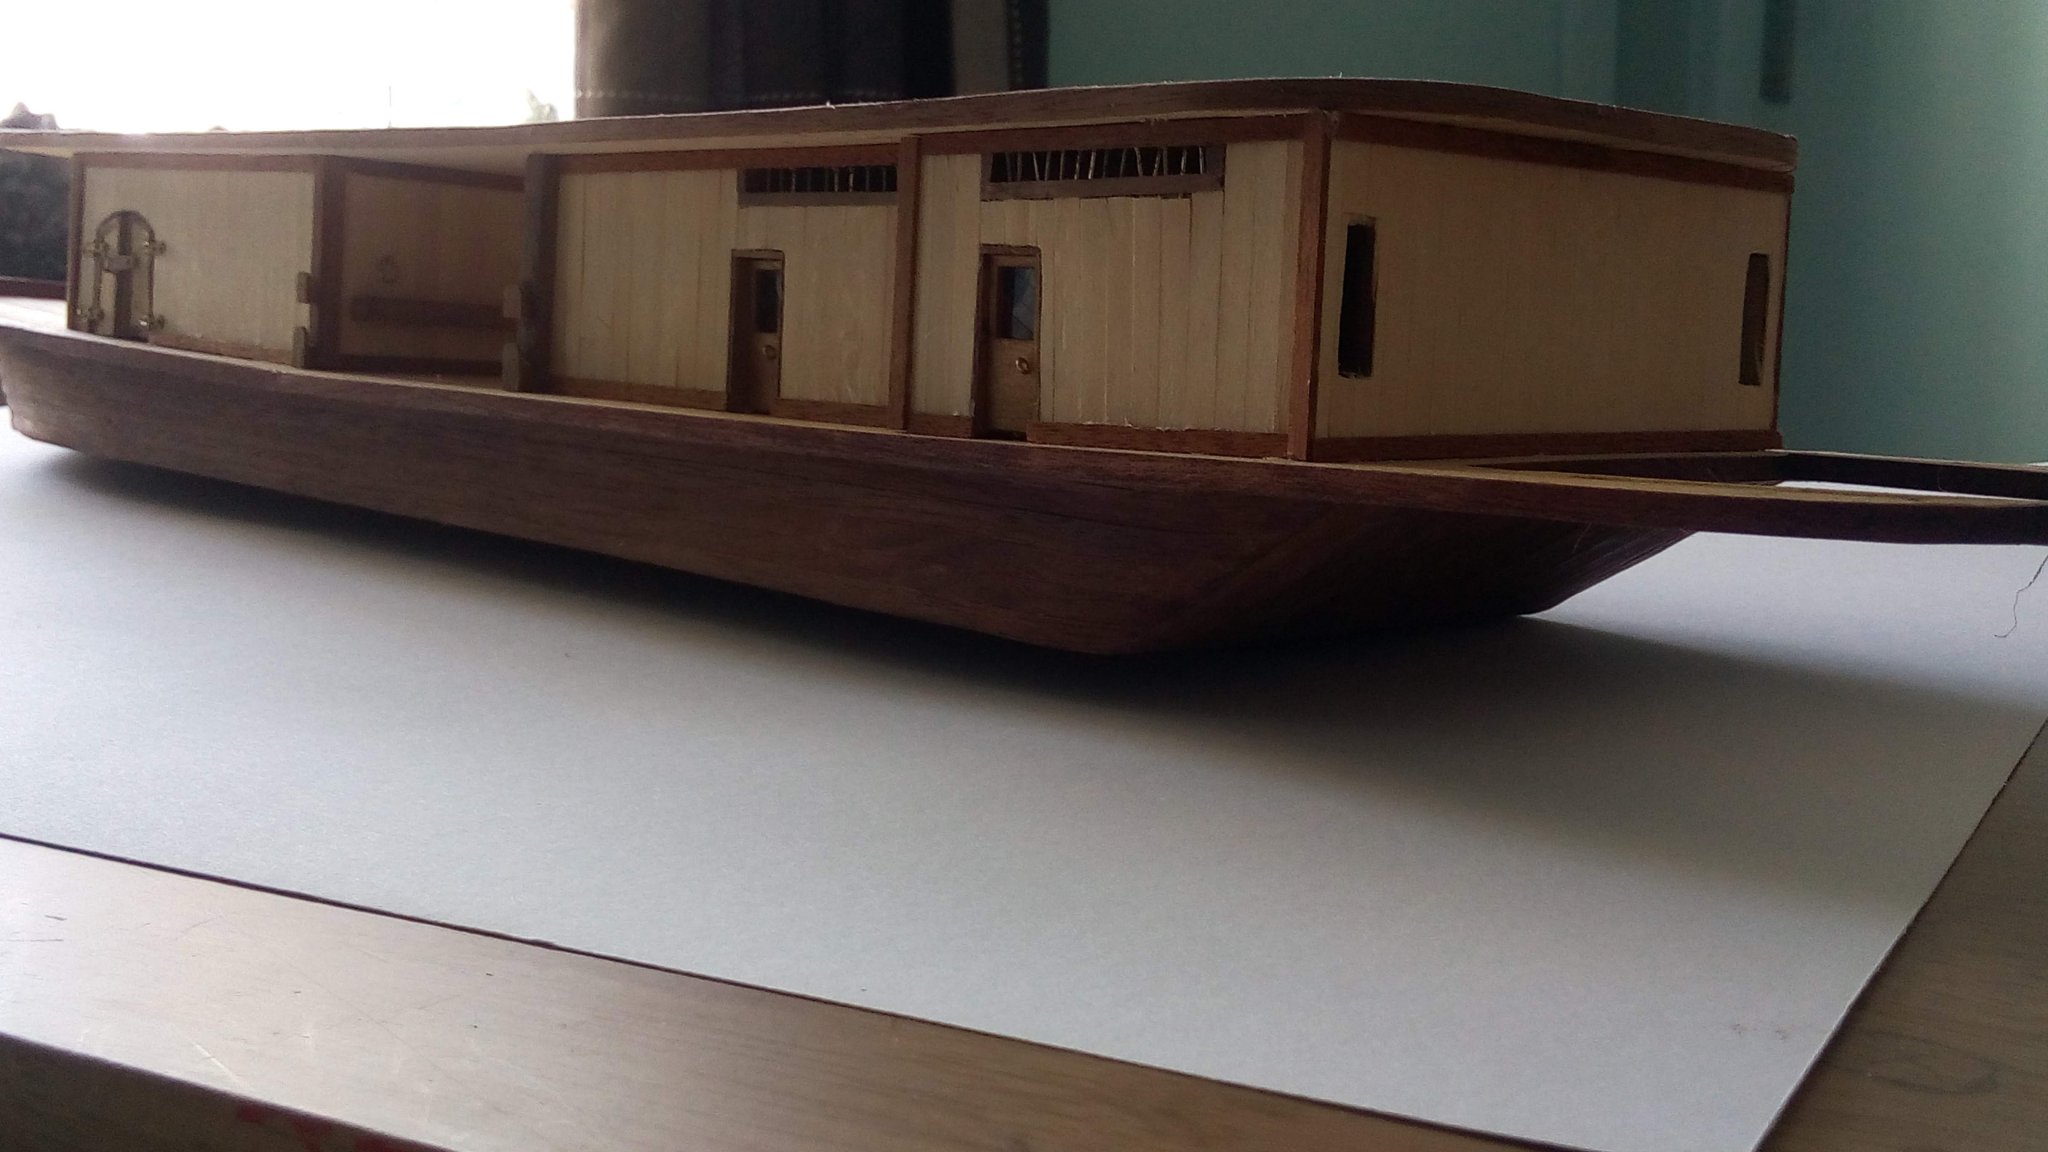
Some progress over the last few days. Small things, but lots of time taken to do them.
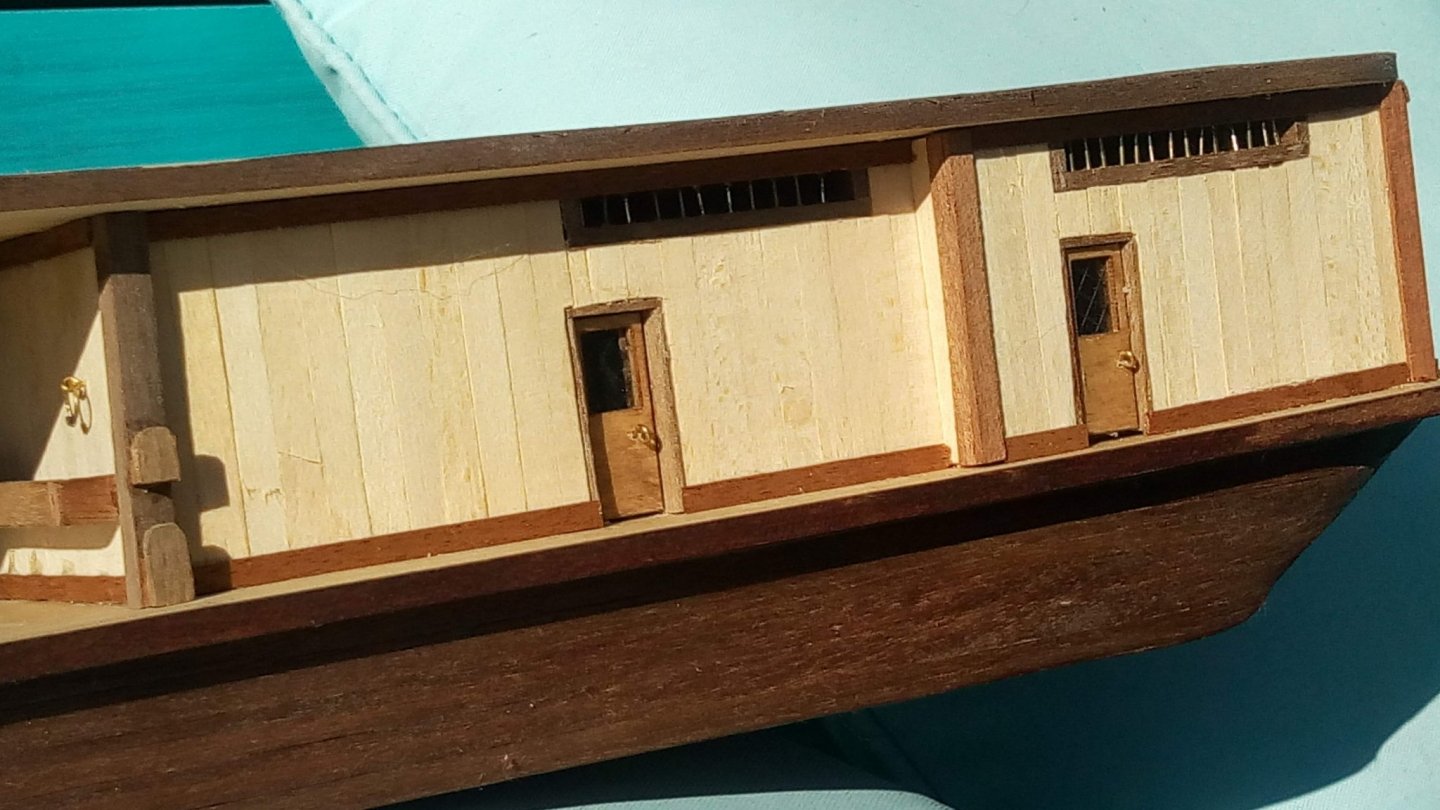
Deck house and engine house doors fitted.

Animal area bar holders fitted and adjusted - they were far too big for scale.
Roof fitted after planking and edged, all deck houses edged top and bottom to hide the gaps.


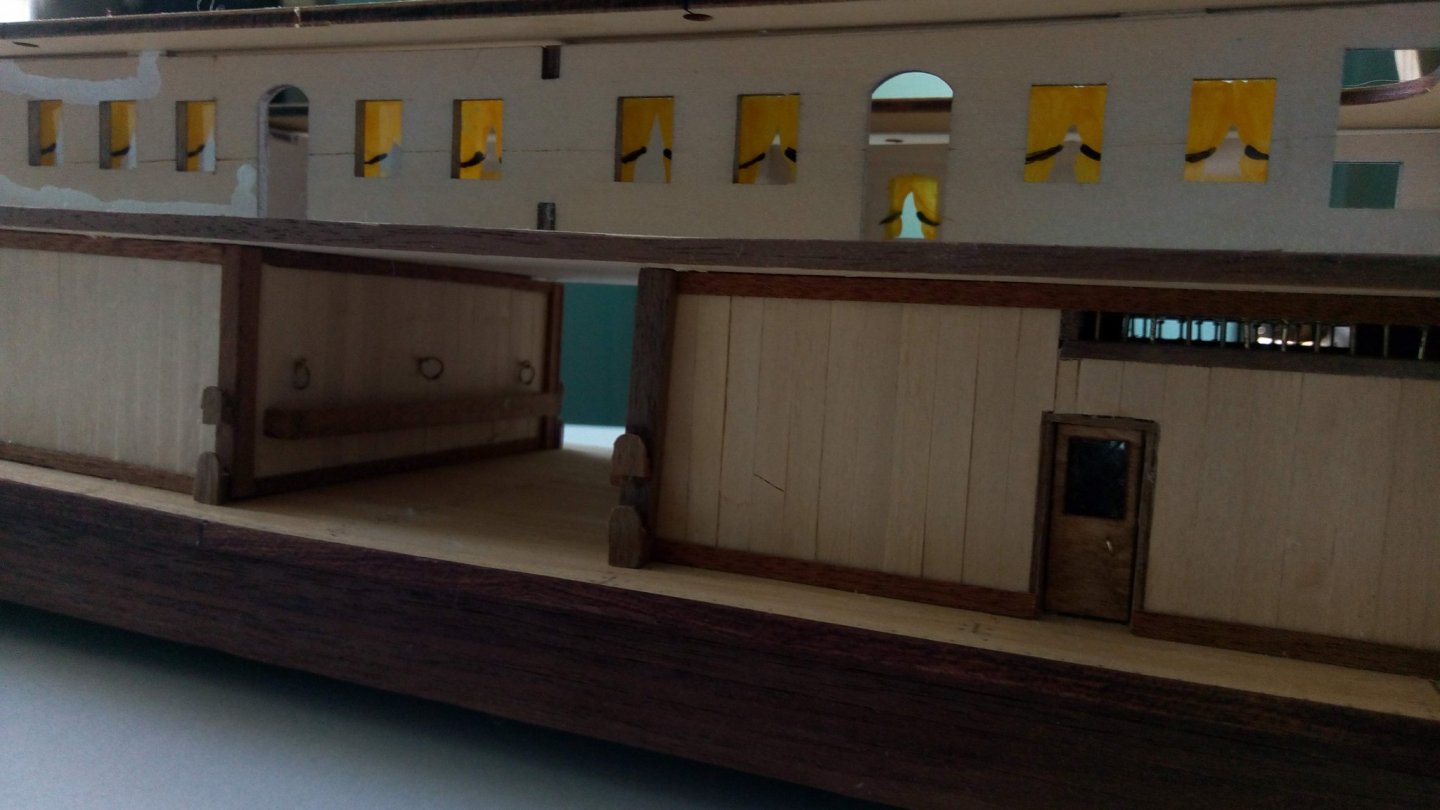
Decided not to go with the metal windows provided for the second deck.
I glued plastic sheet over these and painted curtains with tie-backs. On the curved ends I cut out a depression and glued the painted plastic so it's flush with the curve.

Not sure yet what I'm going to do with the doors.
Cheers for now,
Bob
- GrandpaPhil, VitusBering, yvesvidal and 3 others
-
6
-
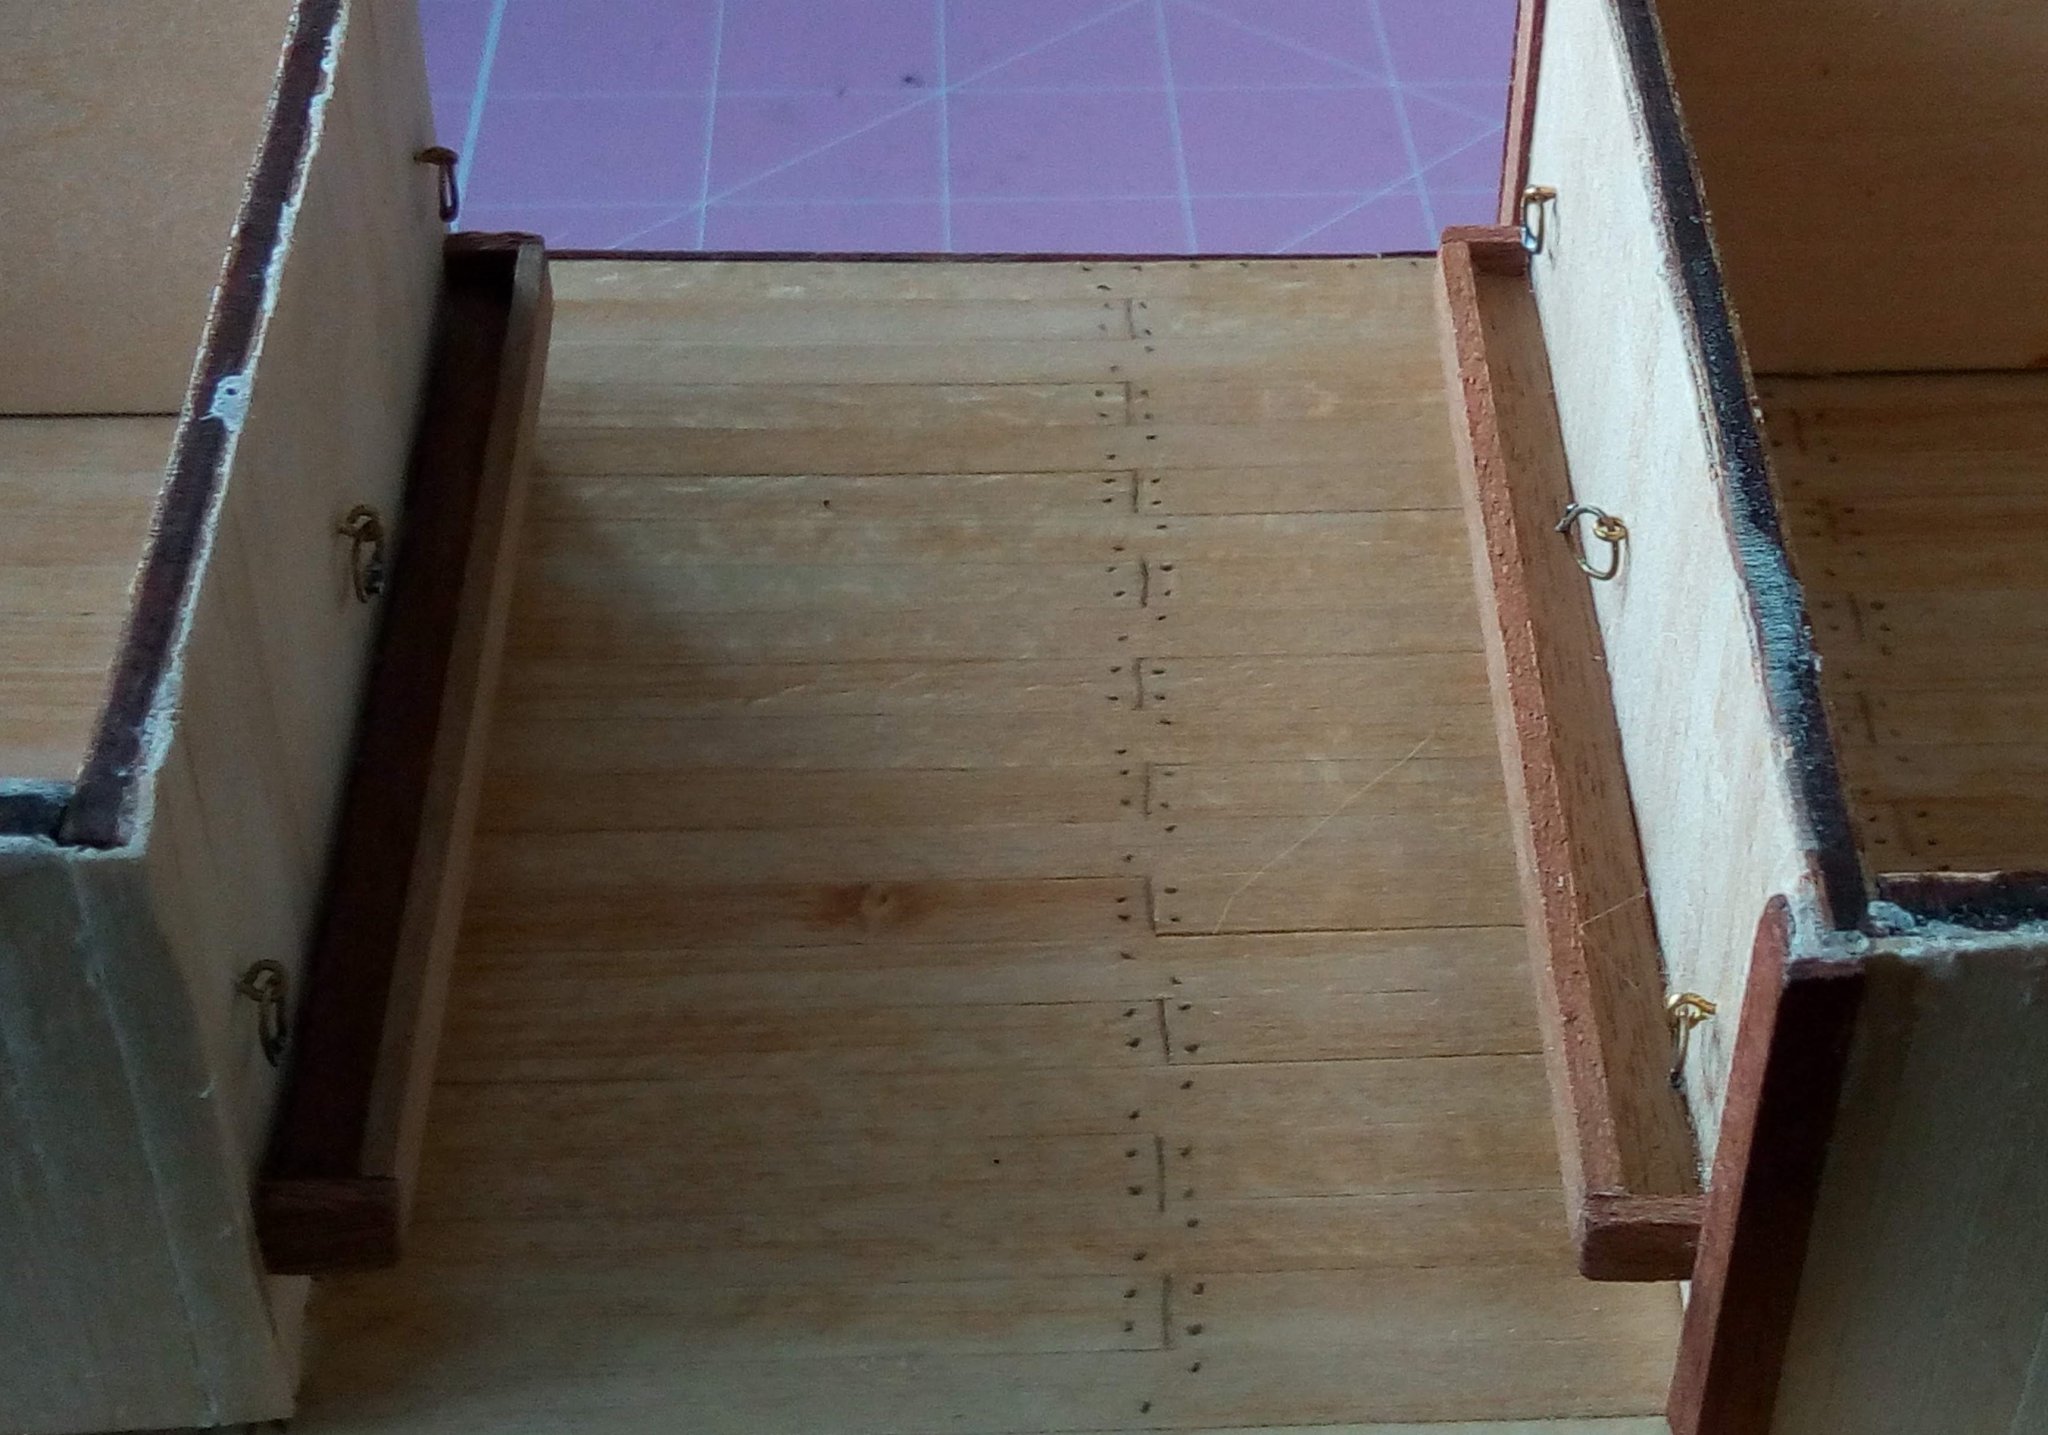
John, on mine the slots are too far away! I can fit 1 but not both to hide the hole.
Lots of dry fitting going on before gluing. However, "Ahem" despite that, I did make the reversal mistake fitting the lower deck houses reversed. fortunately the glue hadn't fully set and was able to recover.
Customisation all the way - it's not a mistake it's a customised job!
Cheers,
Bob
-
John,
when you were installing the lower deck houses were the tab slots out of alignment? This seems to have been the case with some of the other builders, and certainly is with mine.
I was thinking of positioning as close as possible and putting on a skirting to hide the gaps. Just took a close look at yours and see you've done just that.
Cheers,
Bob
-
-
Hi
welcome to the site.
It took me 7, yes seven!, years to put up a build log here. Mainly due to life getting in the way.
I did the same as you 40 years ago and botched a kit on the planking.
Having been on here and seen the incredible amount of help and expertise available from the other members I decided to give it another go.
All the best,
Bob
-
Hi John
Thanks for the words of warning. Like you I'm a novice. I'm quite a way behind you, and I've taken inspiration from all of the builds enough to start mine. Not sure if I'll go with the metal windows and doors though.
The stacks are something I hadn't considered but will look at, thanks. Sometimes "close enough" can be gotten away with, and I've made that mistake before and no doubt will do again, but those railings do seem to be where accuracy is needed.
Fortunately I bought a few "scrapped" models many years ago from ebay for their bits so I've plenty of spare wood, but I do save every spare scrap because even the smallest bits are useful!
Keep well,
Bob
-
Hi John.
She's looking good.
You're quite a way ahead of me on this one. Seeing all the logs, and someone else actively still building, gave me the push do restart mine after many years on hold.
Bob
-
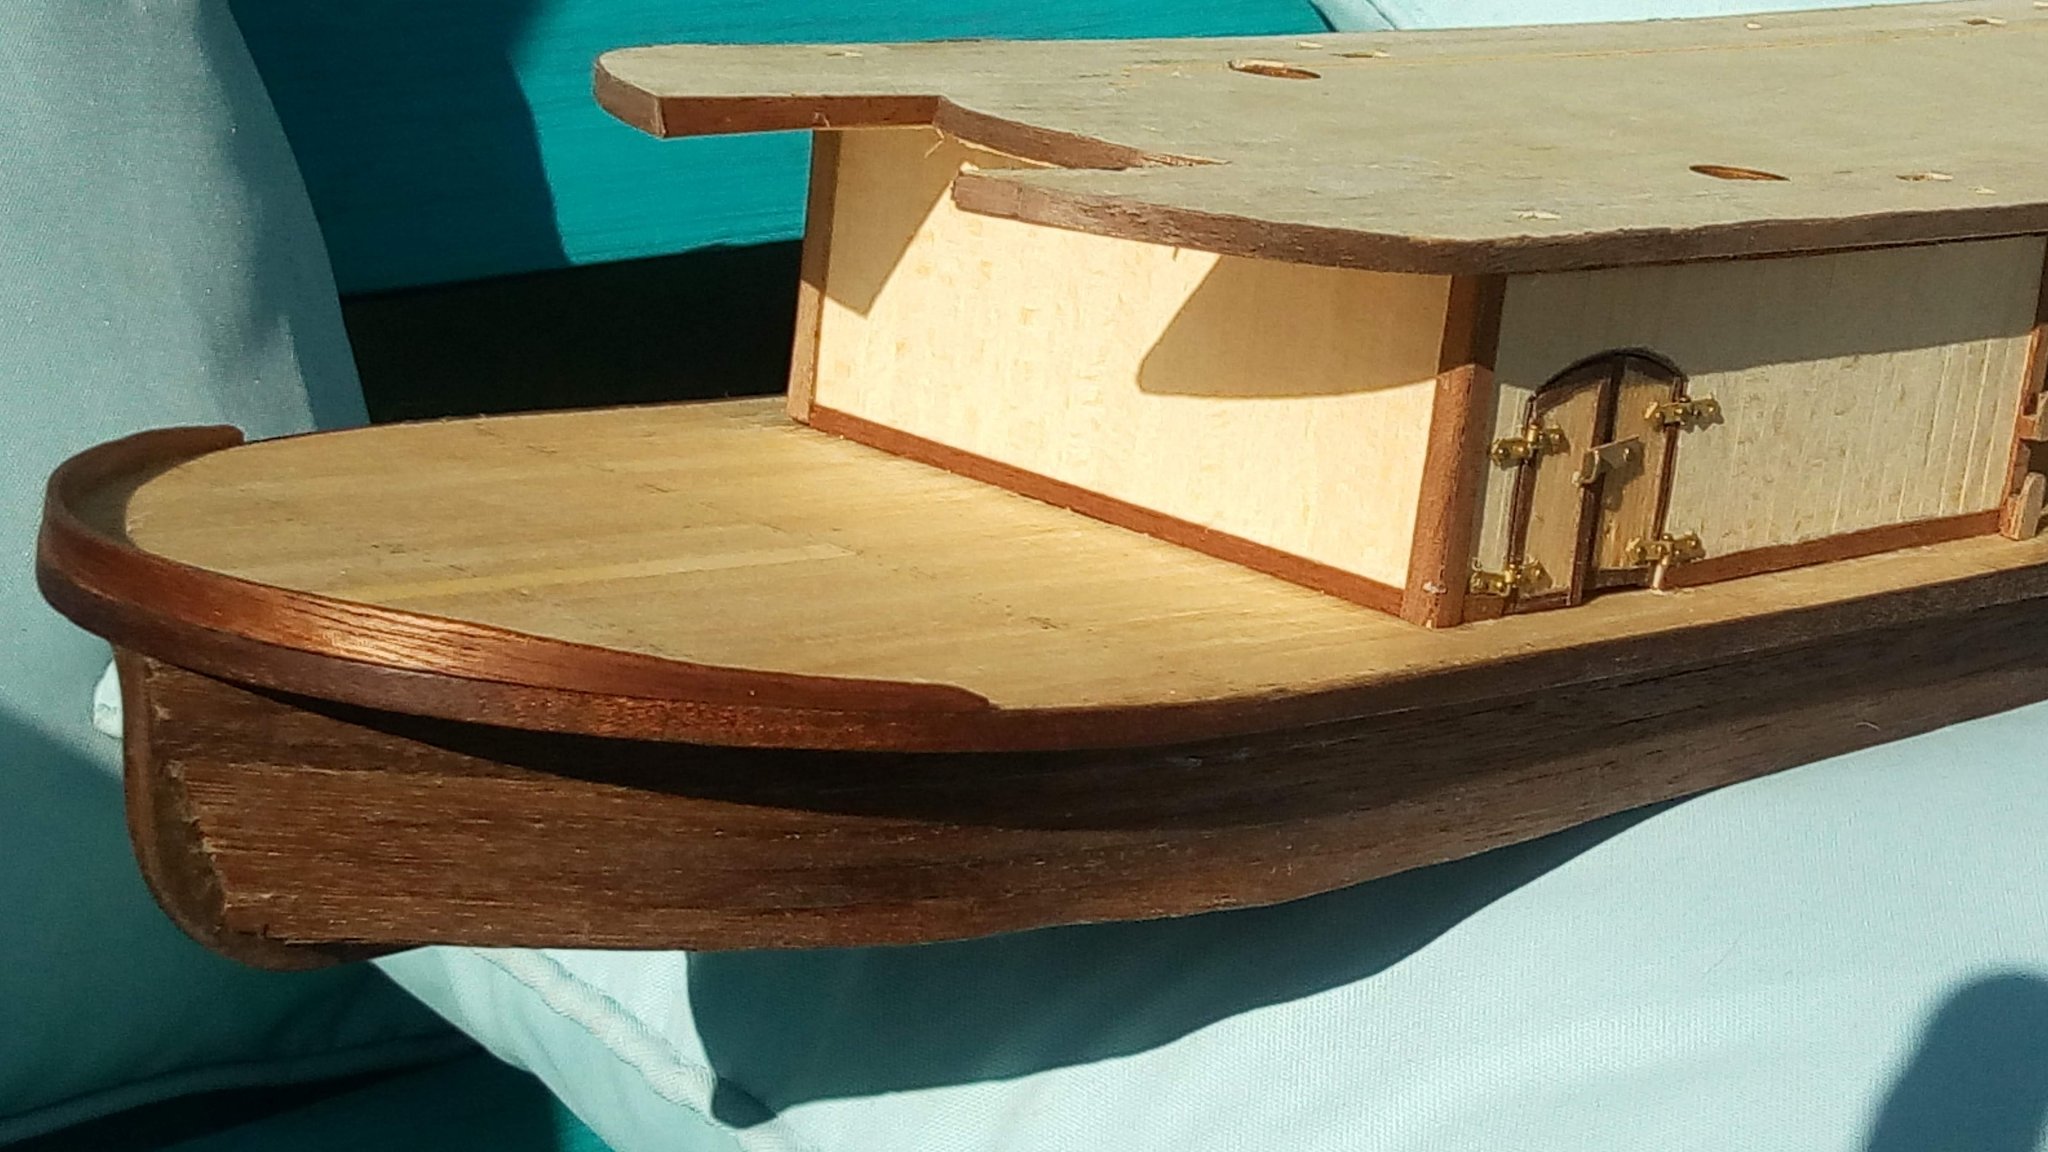
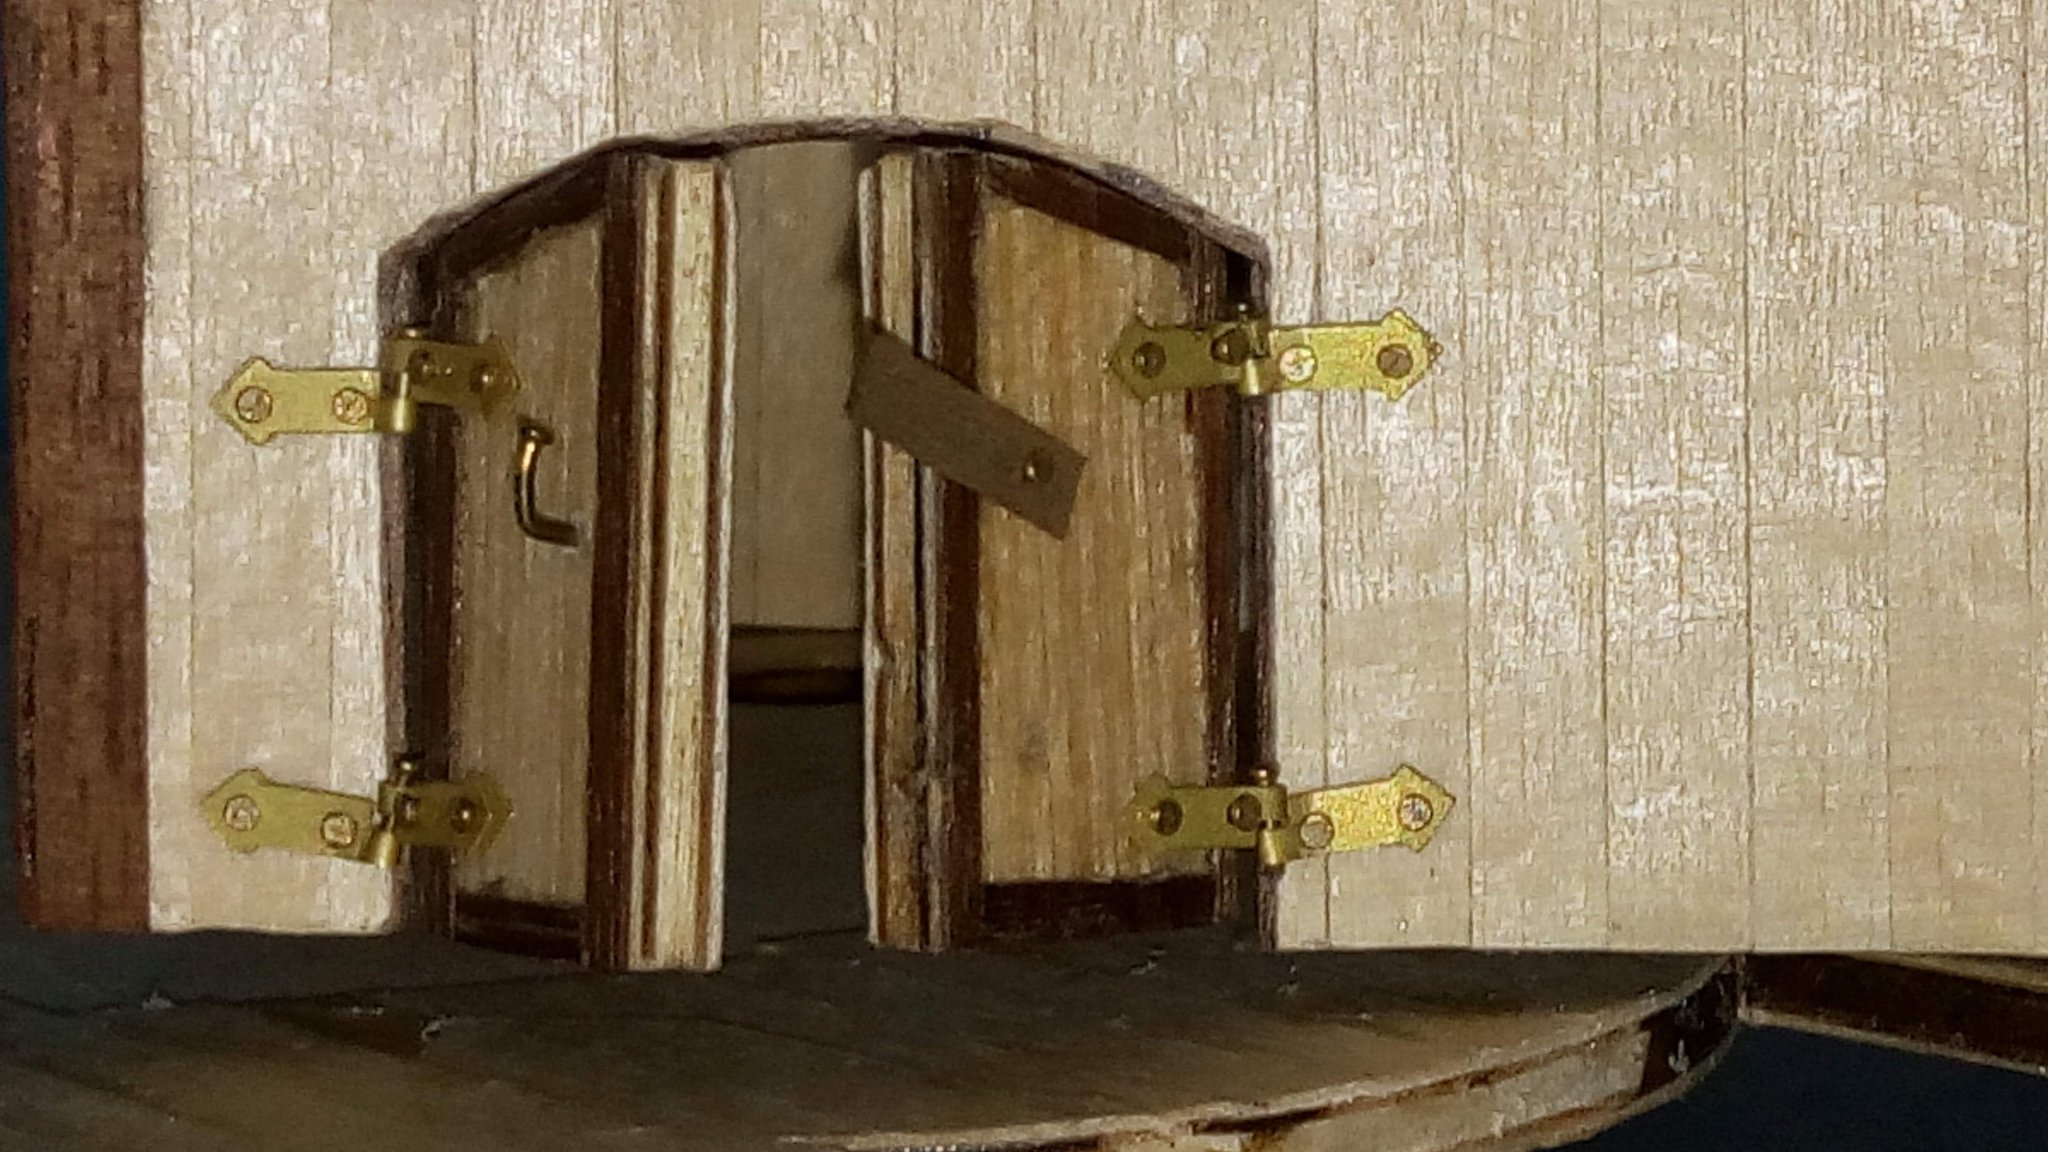
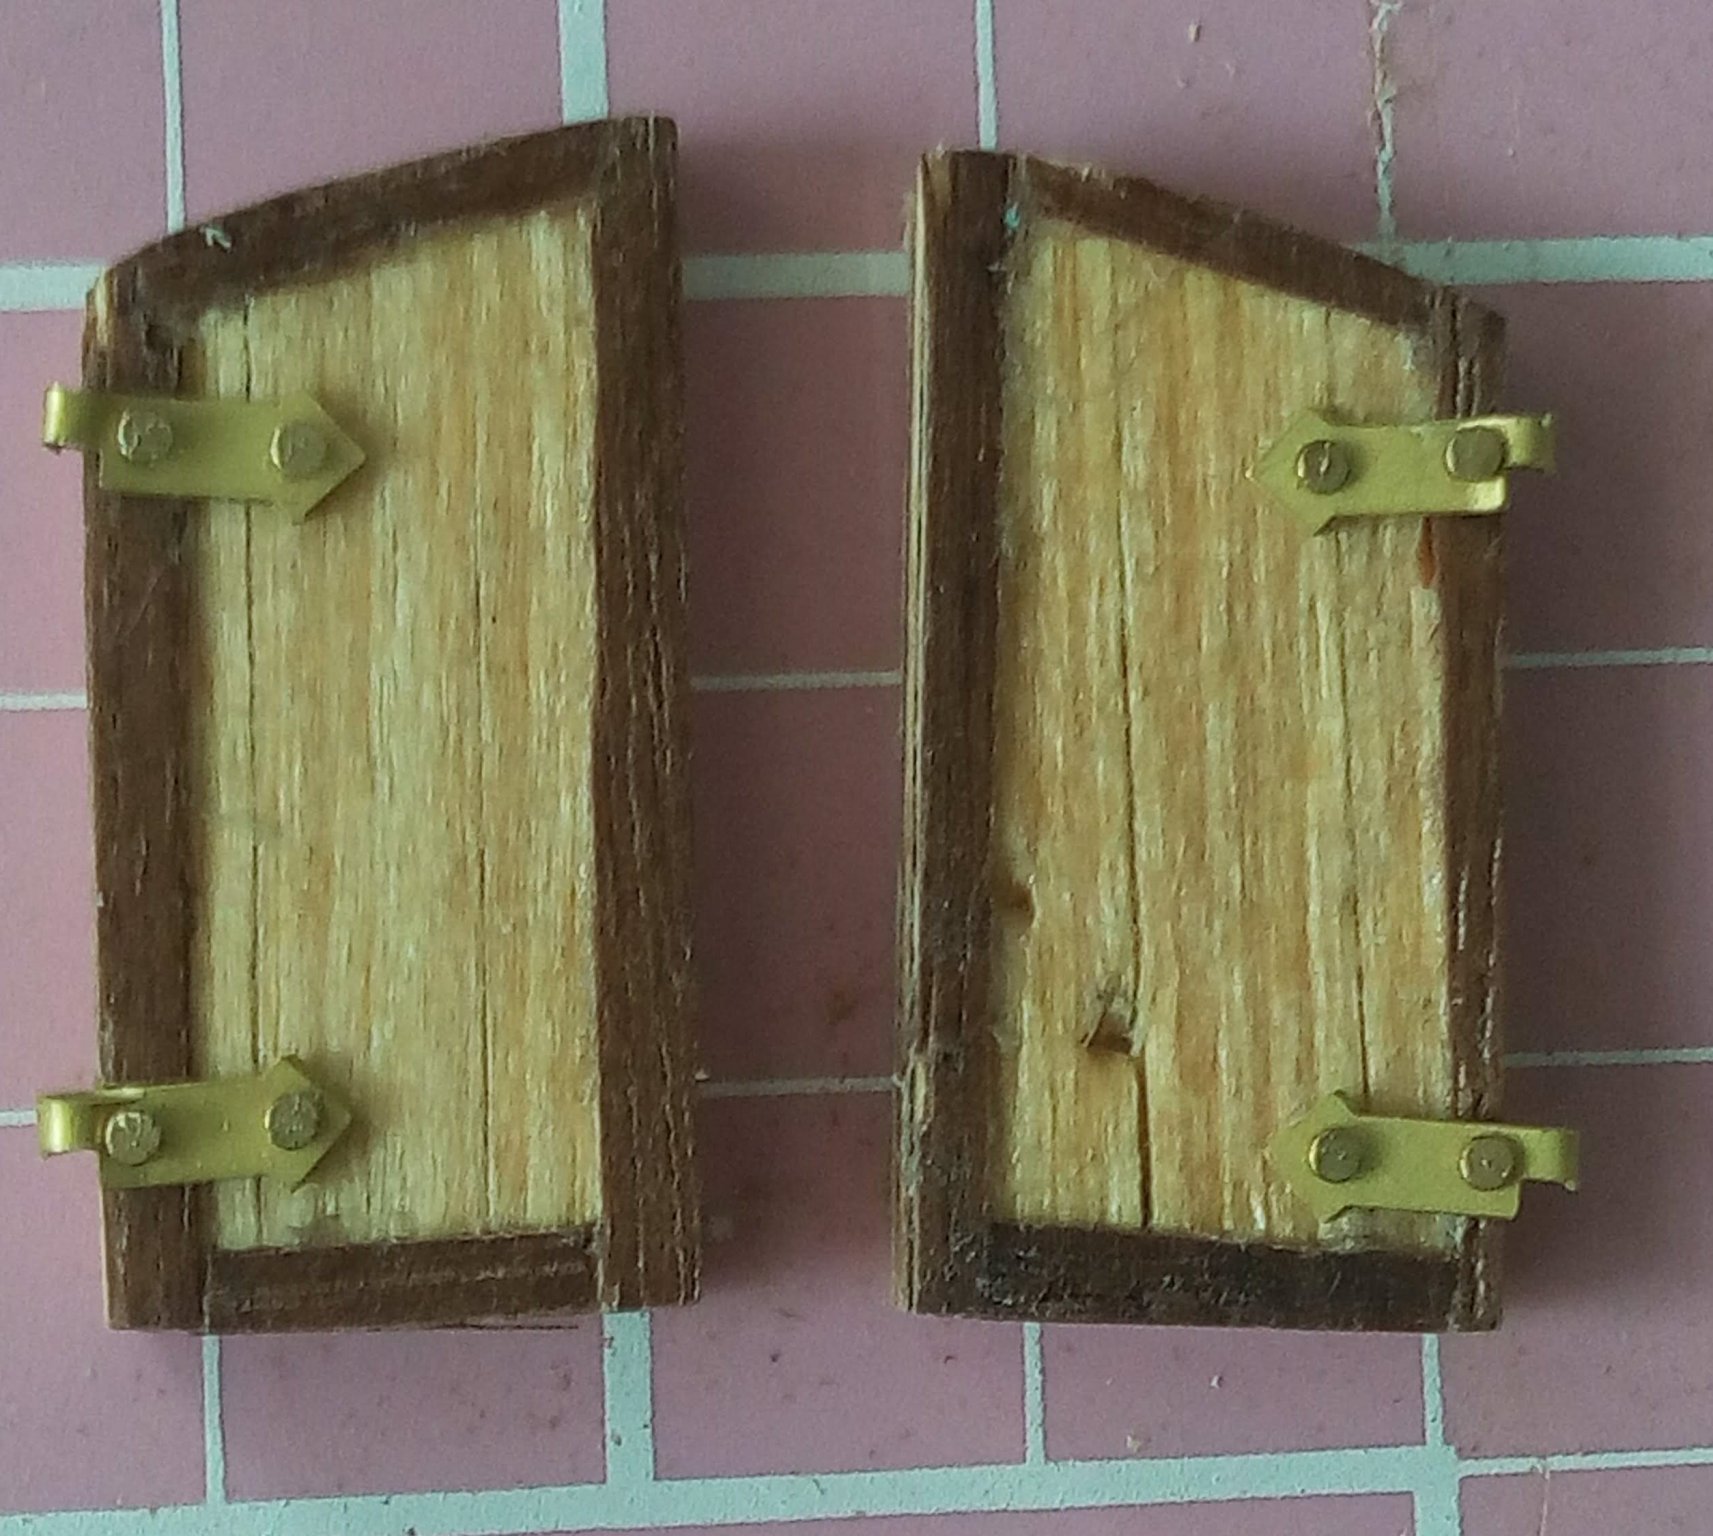
Thanks kpnuts!
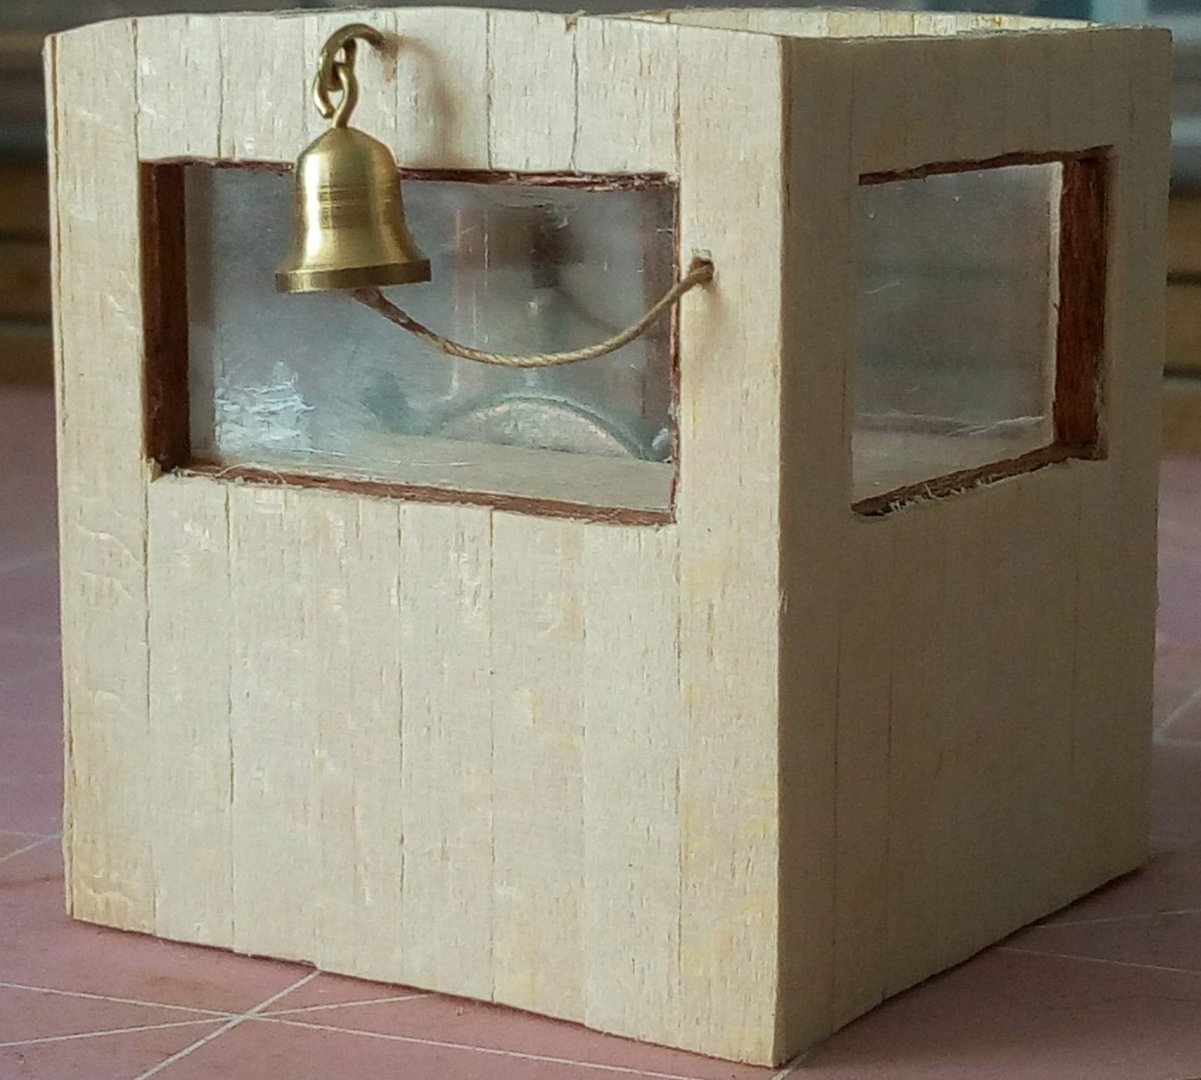
Today I've fitted the arched doors. While they look reasonable at a viewing distance, the photos close up really show all the imperfections.
Anyway, hinges work, and fitted a latch to each to stop them opening when under way.
Doors closed.

Doors open
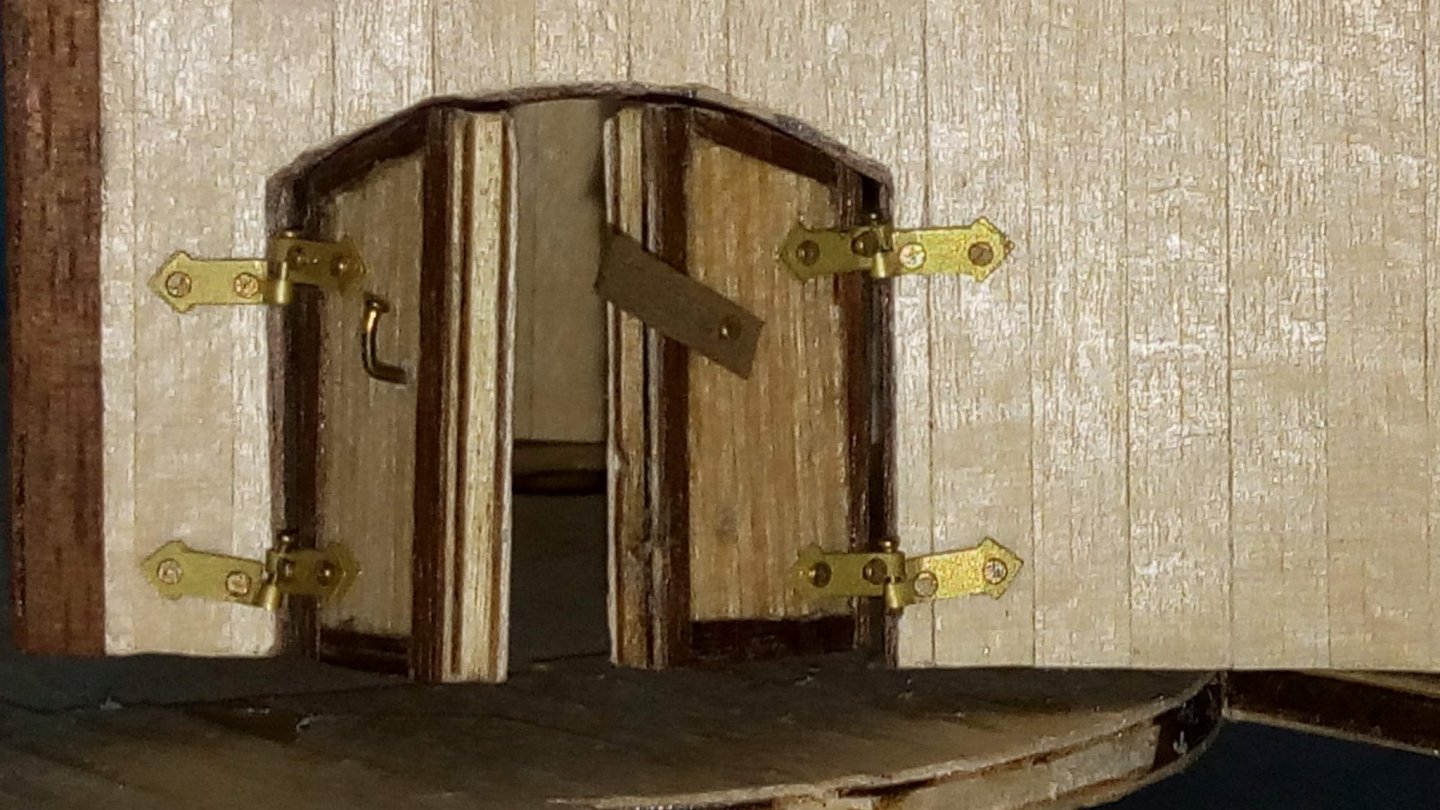
Hopefully once fitted to the deck these will look ok.
Cheers
Bob
-
Thanks Chris, thanks for looking in. Cooper is a "he" and was still chasing bits around ater they were packed away.
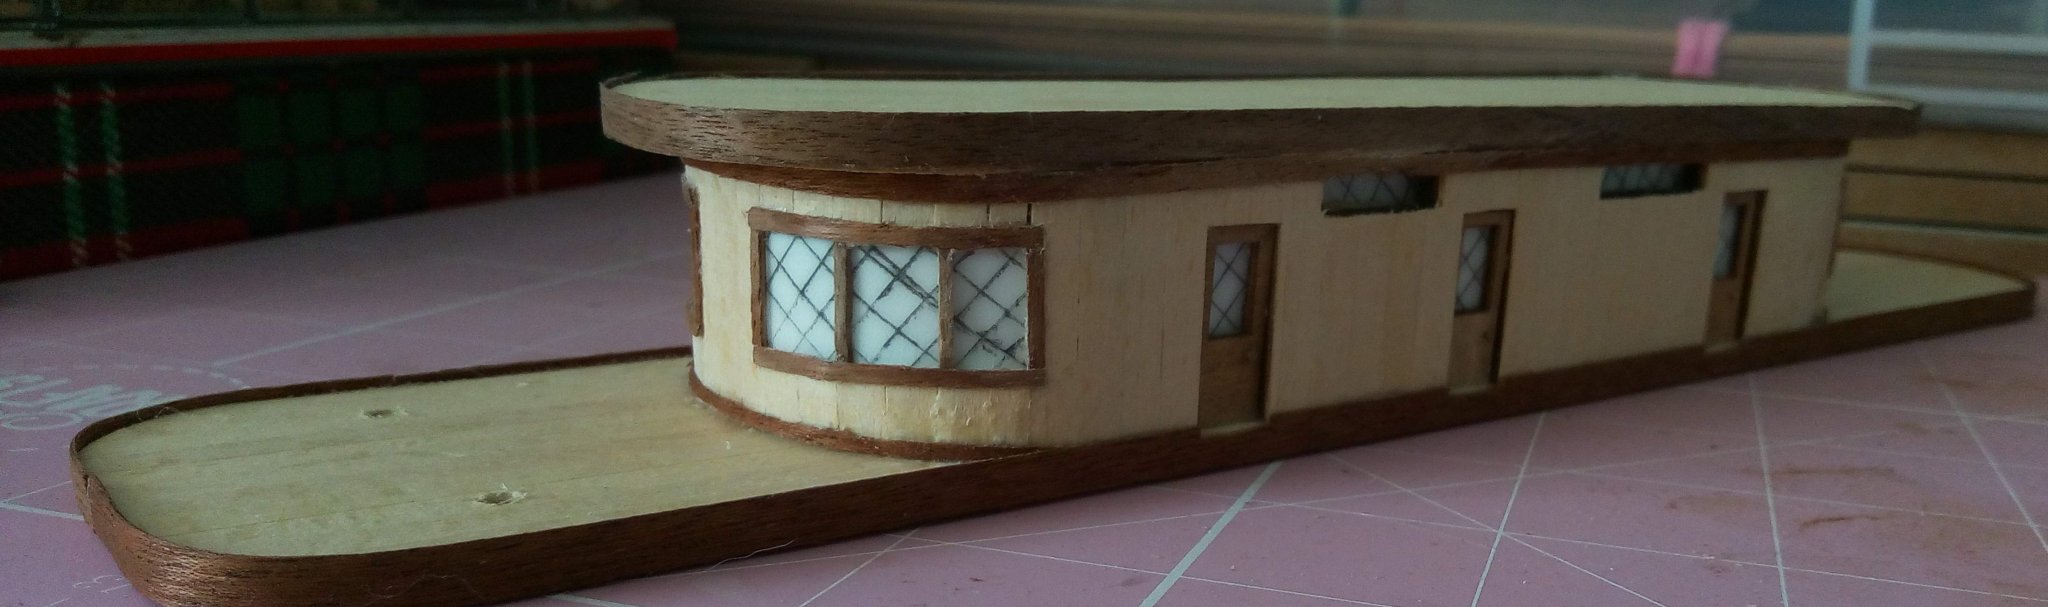
Bit more progress - after a couple of hours soaking managed to get the curved ends fitted to the top two cabins.
Lots of pins to hold the curves, not yet glued in place. Going to give them another 24 hrs to dry and keep the curve.

Even after several hours soak the plywood still cracked! Still, this will eventually be covered by the planking, so nothing that can't be sorted.
Cheers for now,
Bob
- VitusBering, Halfdan, Cathead and 3 others
-
6
-
Had this started 9 years ago, as usual life got in the way but managed to put a bit together here and there. Not worth starting a build log just to have it seem abandoned.
Just started again the other day with a bit more time available.
Building this for my Admiral who would love to travel on one, but because of her own issues barely leaves the house.
Likeley to be a slow build so please bear with me.
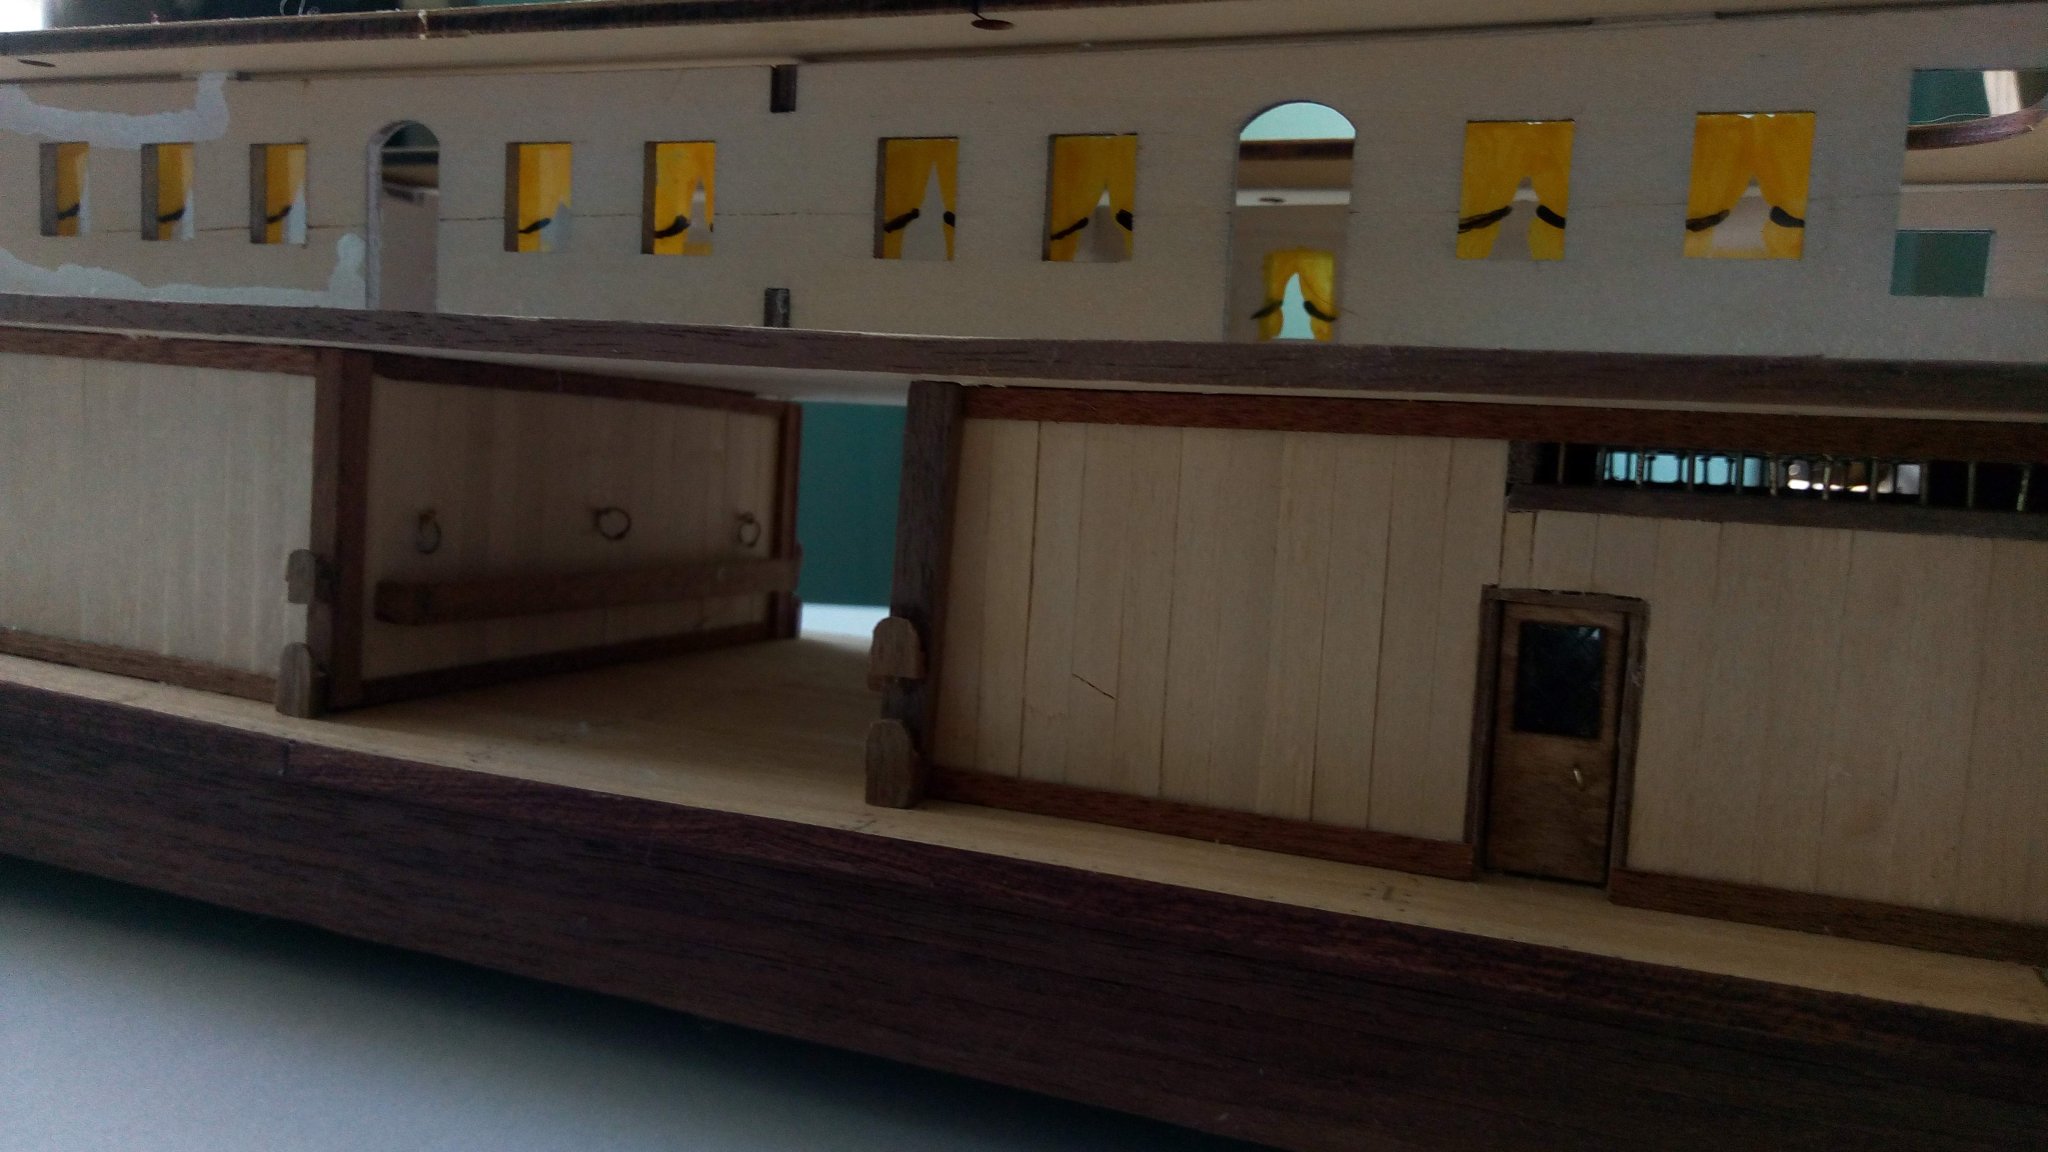
Progress so far.
Hull built and planked
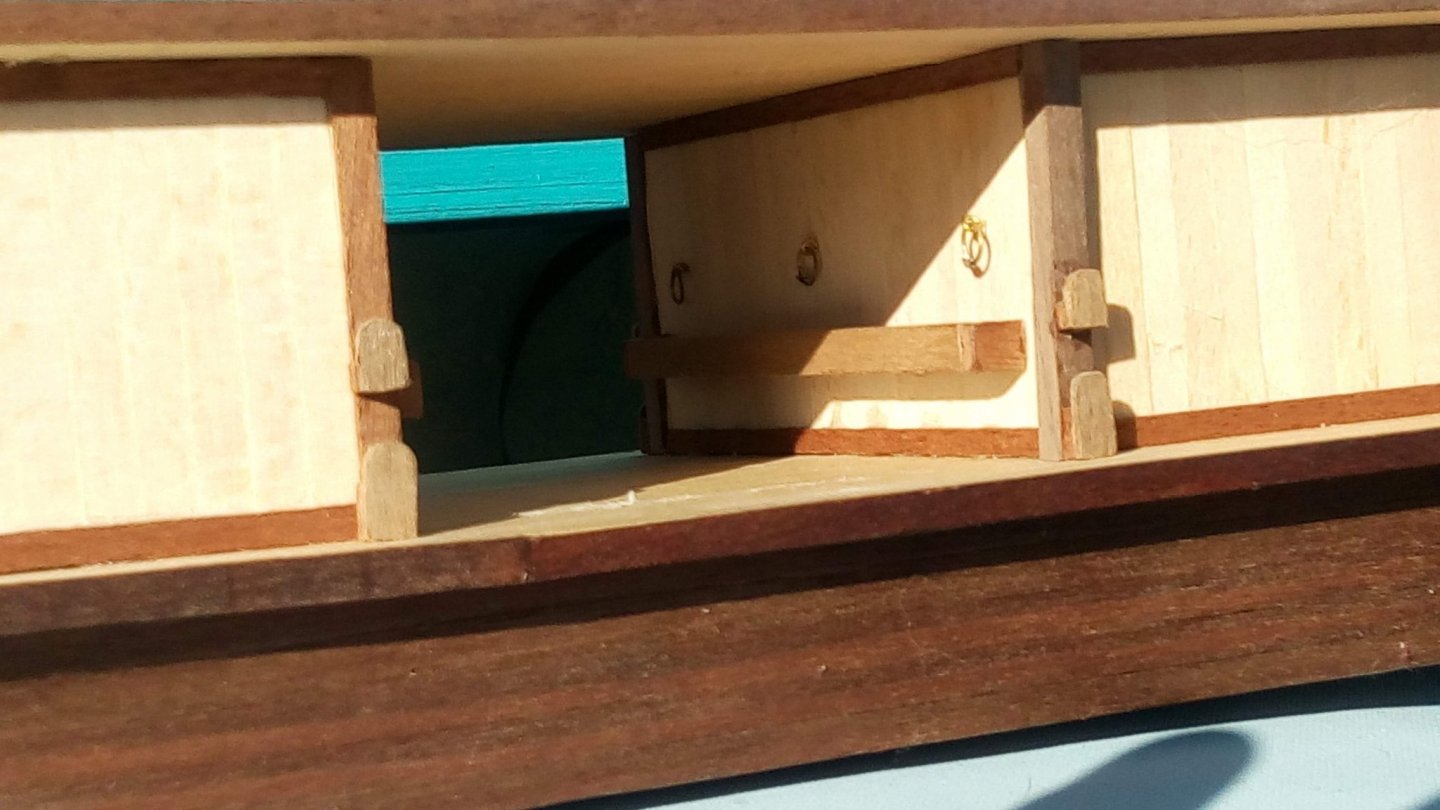
Livestock area. I added tie rings to both side. You don't want animals fighting over the hay or running wild on deck!

Hooks for the livestock area. Rounded tops so no animal injuries!
Barn doors and hinge. Looks better from a normal viewing distance 🙂

And where would I be without my helper!
Cheers for now,
Bob
- yvesvidal, GrandpaPhil, ccoyle and 6 others
-
9
-
Delftship can do this, but it may only be the pro version. Older versions of Freeship can also do this. Example here.
I haven't tried this!
Bob
-
The airix 1/130 instructions are here https://www.hismodel.com/cutty-sark-21 this may help, other instruction sets too for other scales
-
- Mark P, mtaylor, thibaultron and 1 other
-
4
-
Hi there.
here's a few links I have saved for future reference.
MSW http://modelshipworld.com/index.php?/topic/2657-modelling-a-ships-hull-with-delftship/
DELFTship http://www.delftship.net/DELFTship/index.php/forum/index
probably worth your creating an account on DELFTship too.
Hope this helps.
Bob
- NavalArchAngel, KevinR and mtaylor
-
3


.jpg.9f13688ae1c278793a899551536f2c7c.jpg)


King of the Mississippi by Bob Fraser - FINISHED - Artesania Latina - Scale 1/80 - 1st Build
in - Kit build logs for subjects built from 1851 - 1900
Posted
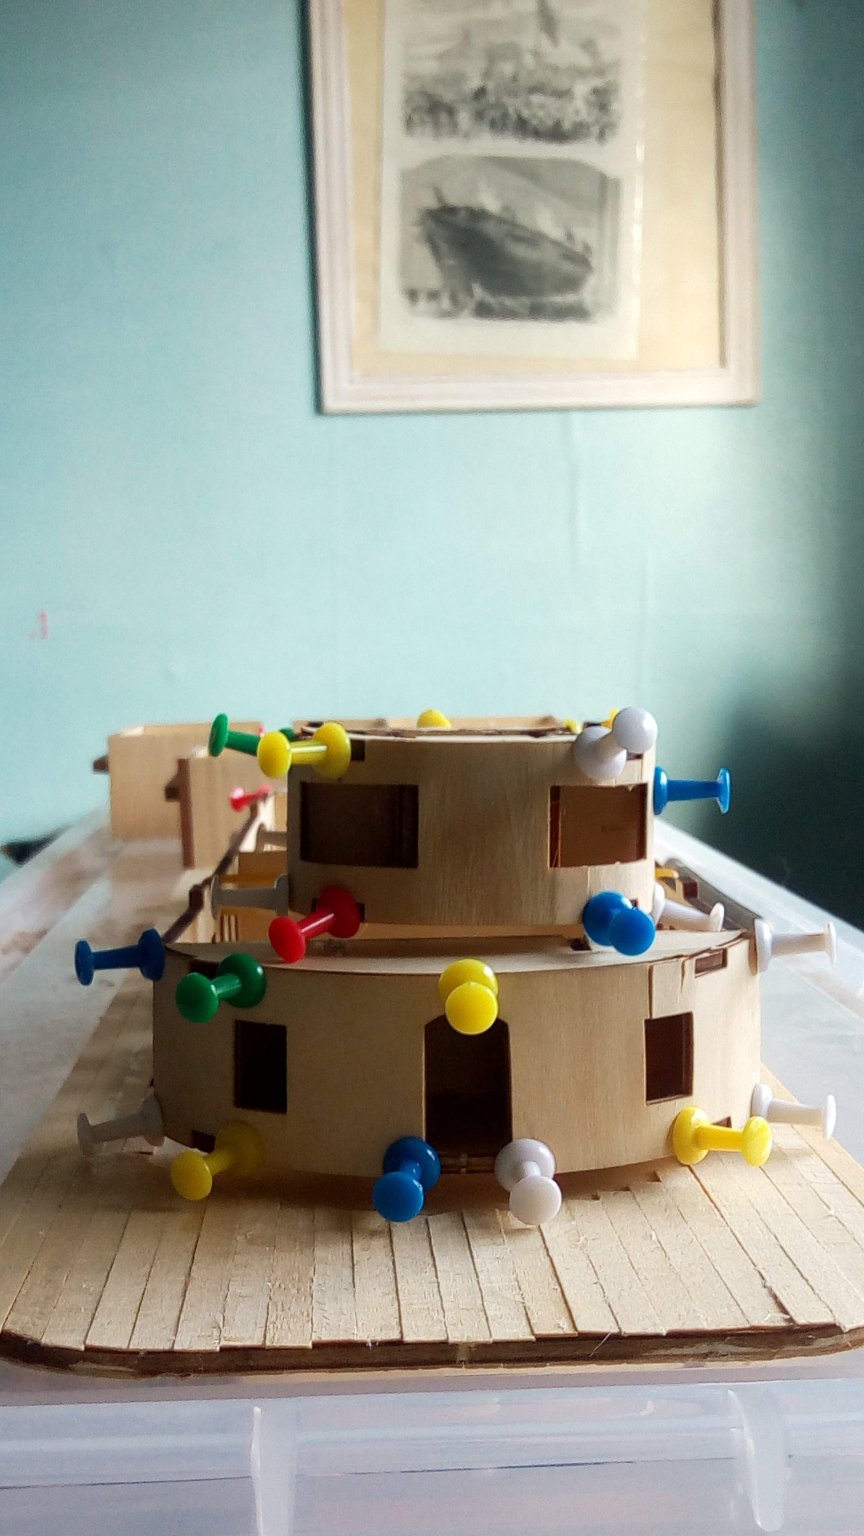
Cheers guys!
Some more progress. Help from Cooper the cat again
Eventually got them done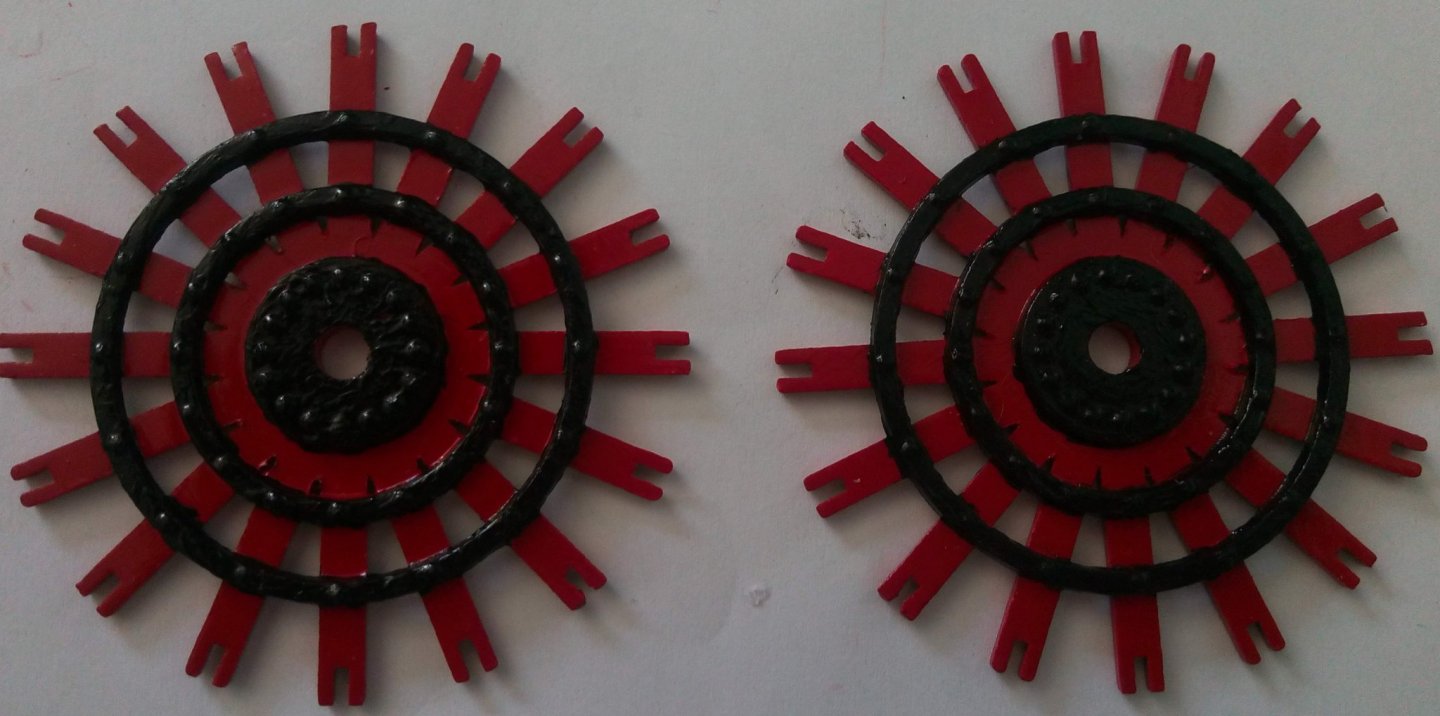
The black paint is Revell Aqua Colour. It's gone a bit thick but it represents the thick bitumastic paint used on iron. That's my story and I'm sticking to it! 😁
Added the second handrail to the stairs, fitted the second deck doors and shutters.
Made some chains for the "Crew Only" areas and fitted them with a notice.
Did a bit of research on the use of the capstan in the bow. Turns out it's steam powered and used to tighten up the main mooring rope so the bow is tight to the dock.
Where the instructions show a hawse hole there are rollers or a fairlead, another at the end of the bow plank, and bitts to the side (behind the 3 guys to the left) for other ropes.
This is the steamer "Lookout".
Here's the capstan AL provided, and the one I'm replacing it with. Brass band is from the scrap off the bridge deck scallops.
Works almost at a halt now as it's been decided not to fit the spiral staircase, but to make a straight wide one. I've got to order in the sheet wood for this.
More when I can, Look after yourselves,
Bob