Trussben
-
Posts
1,995 -
Joined
-
Last visited
Content Type
Profiles
Forums
Gallery
Events
Everything posted by Trussben
-
 Run them through the saw to get the thickness you want, then lay them flat and run them through again for the width you want. Just means two jobs instead of one - if they come the right thickness to start with you only have one operation to perform. ben
 -
Thanks AP, I also started the topsail sheet bitts, I decided to try and carve the panels into the angled tops and it didn’t come out too bad, also I left tenons on the top to fit to the gallows when I make it. ben

- 889 replies
-
- 23
-

-
Port side planking and treenailing has been completed, those with good eyes will be able to spot all the mistakes but overall I’m happy with how it turned out close to my planking plan. Now on with the Main topsail sheet bitts and then the Main jeer bitts. ben
- 889 replies
-
- 32
-
-
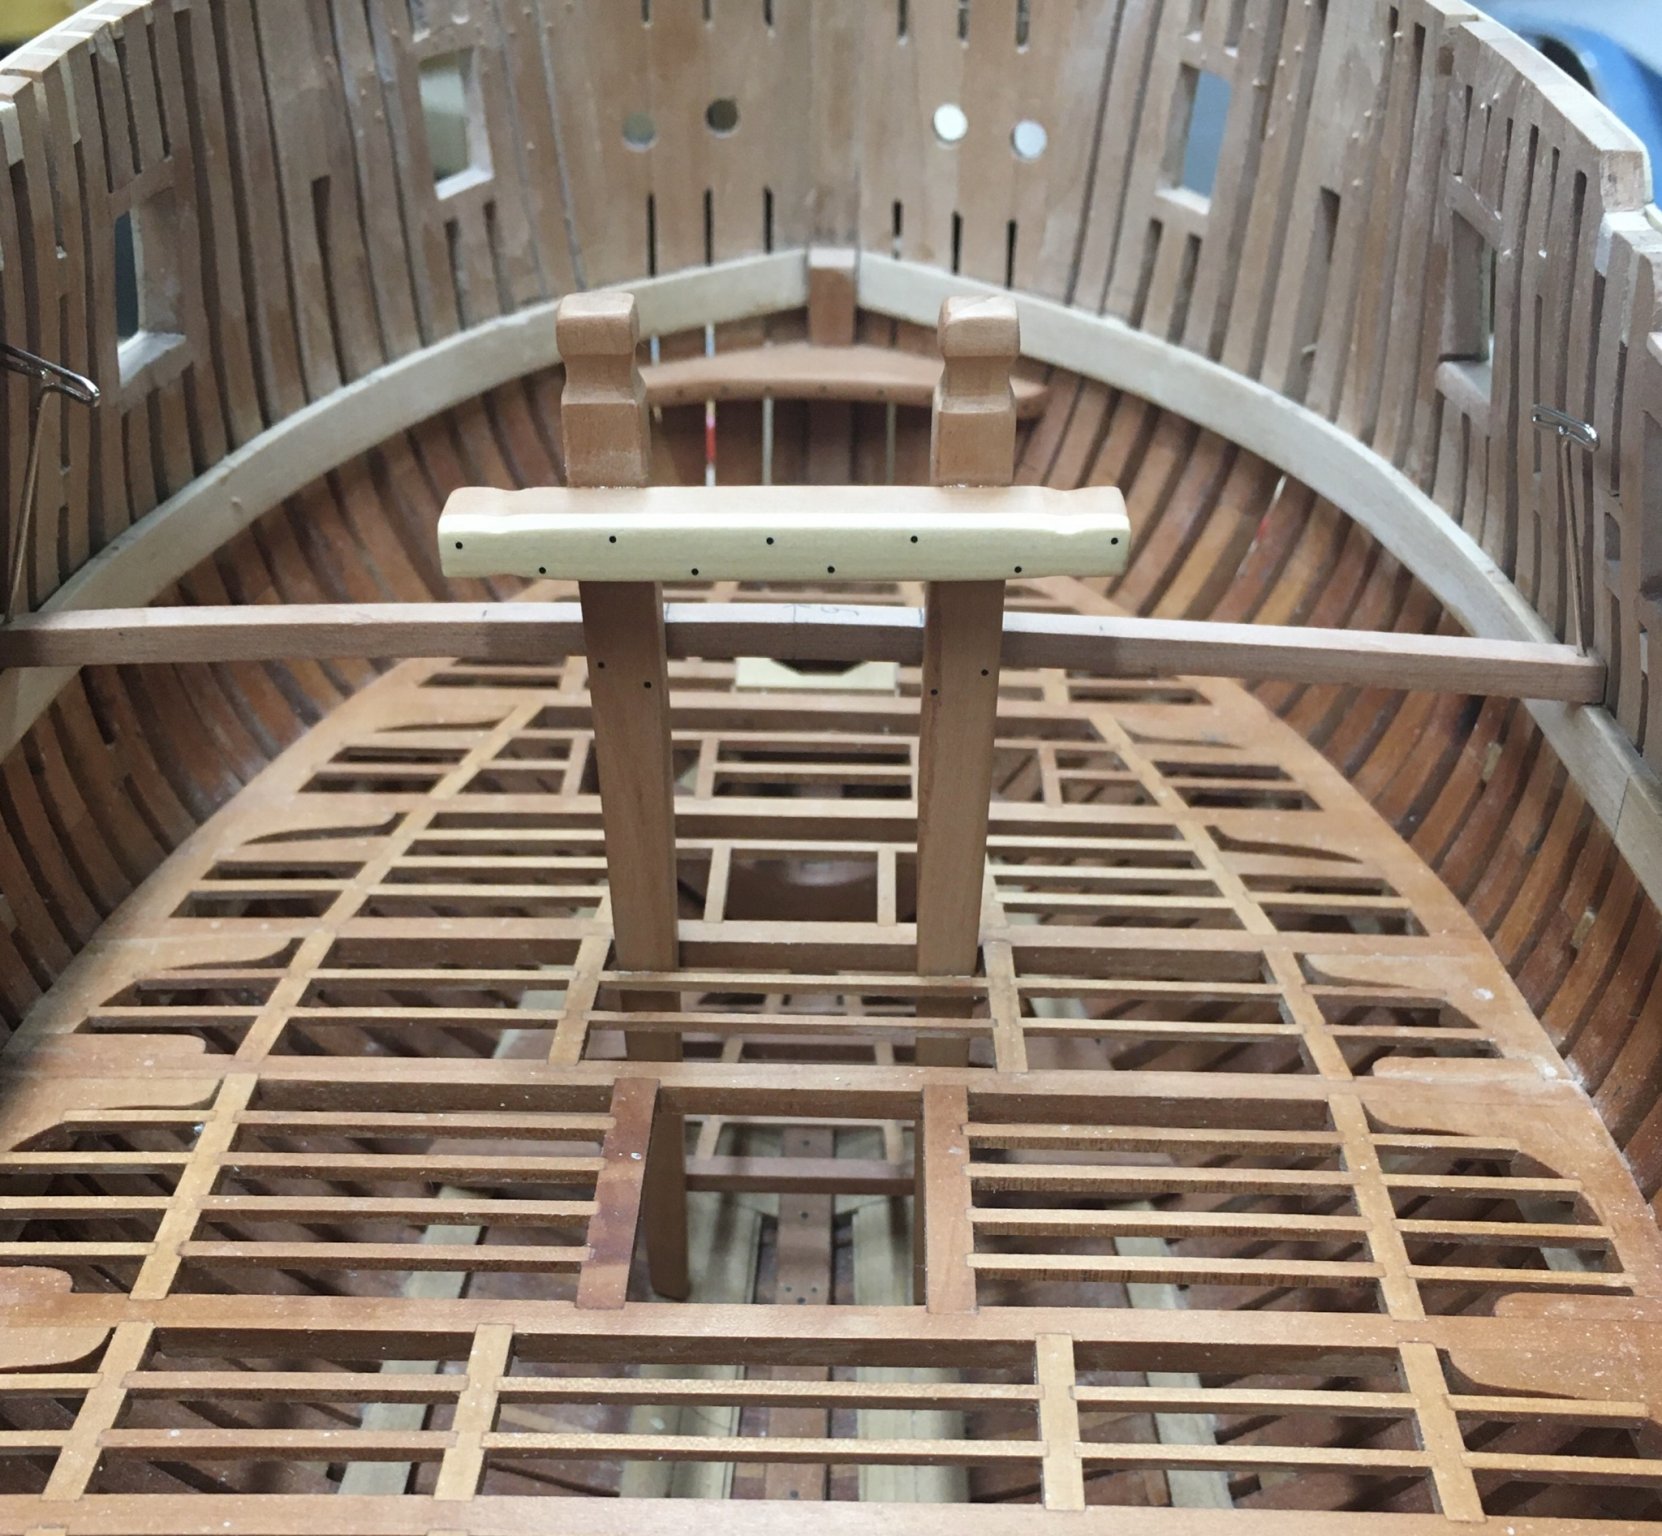
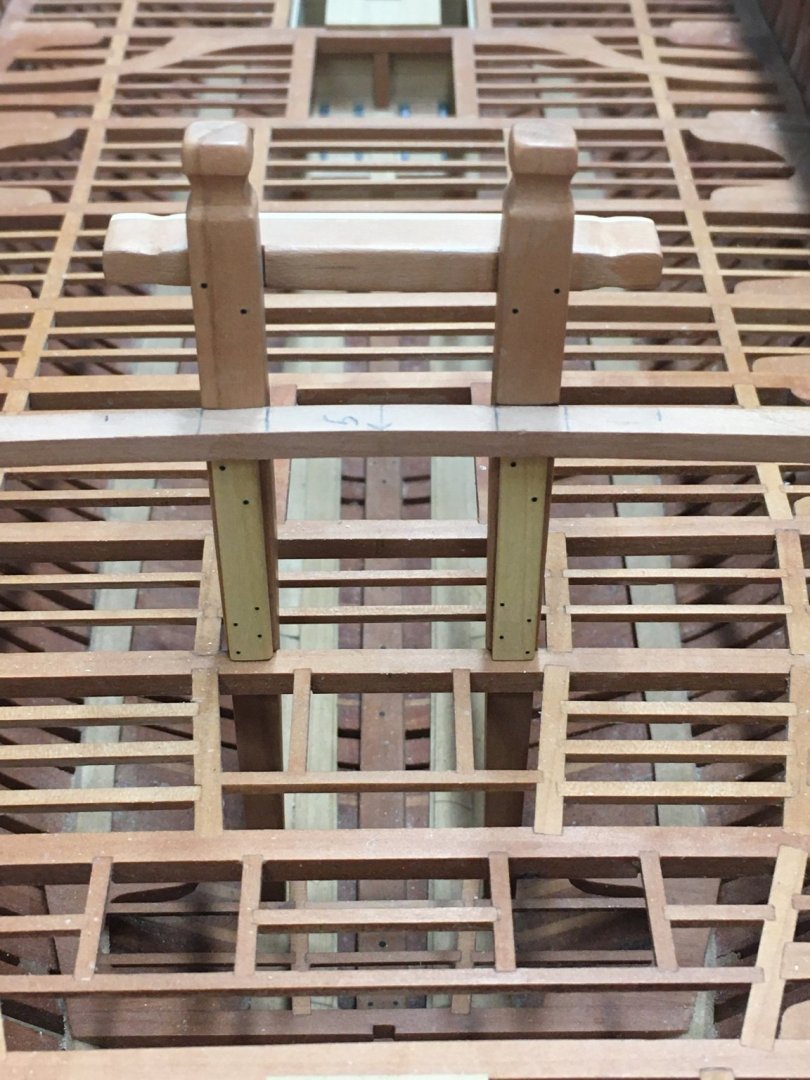
Riding Bitts are completed and temporary in situ, I decided to show the full length cleats between the upper/lower deck beams. They still need final sanding and finishing to complete later. Now onto the next set of bitts. ben

- 889 replies
-
- 21
-
-
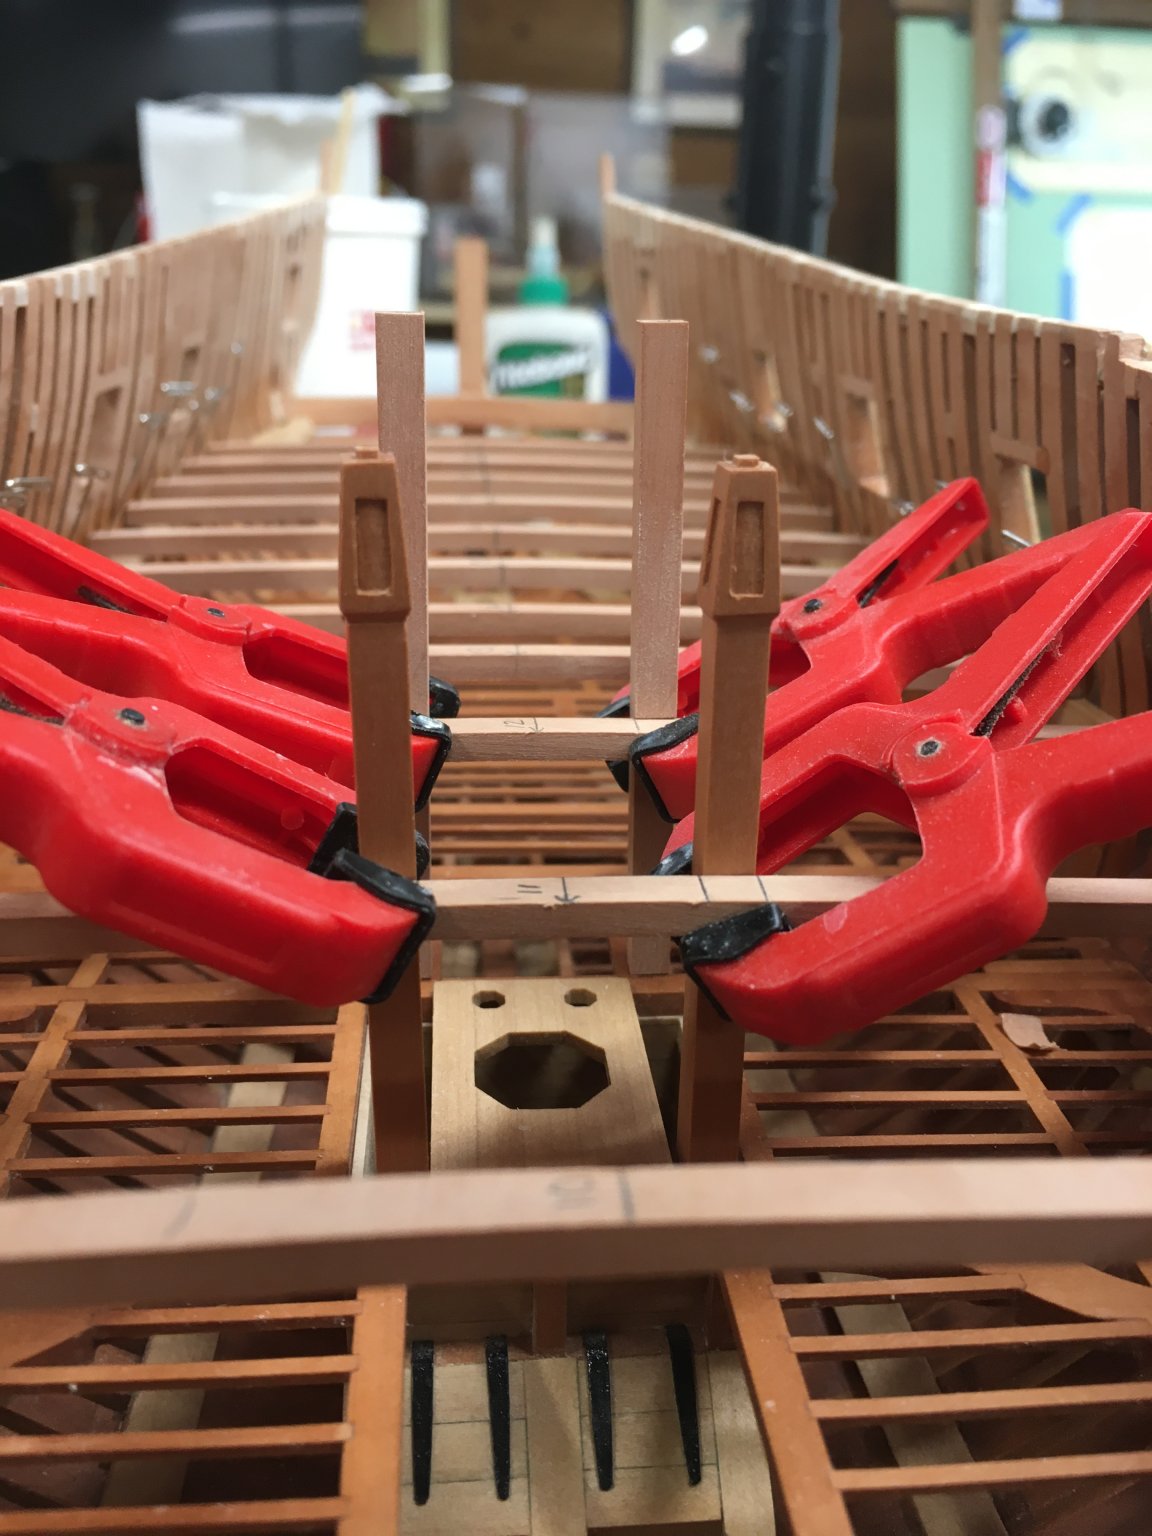
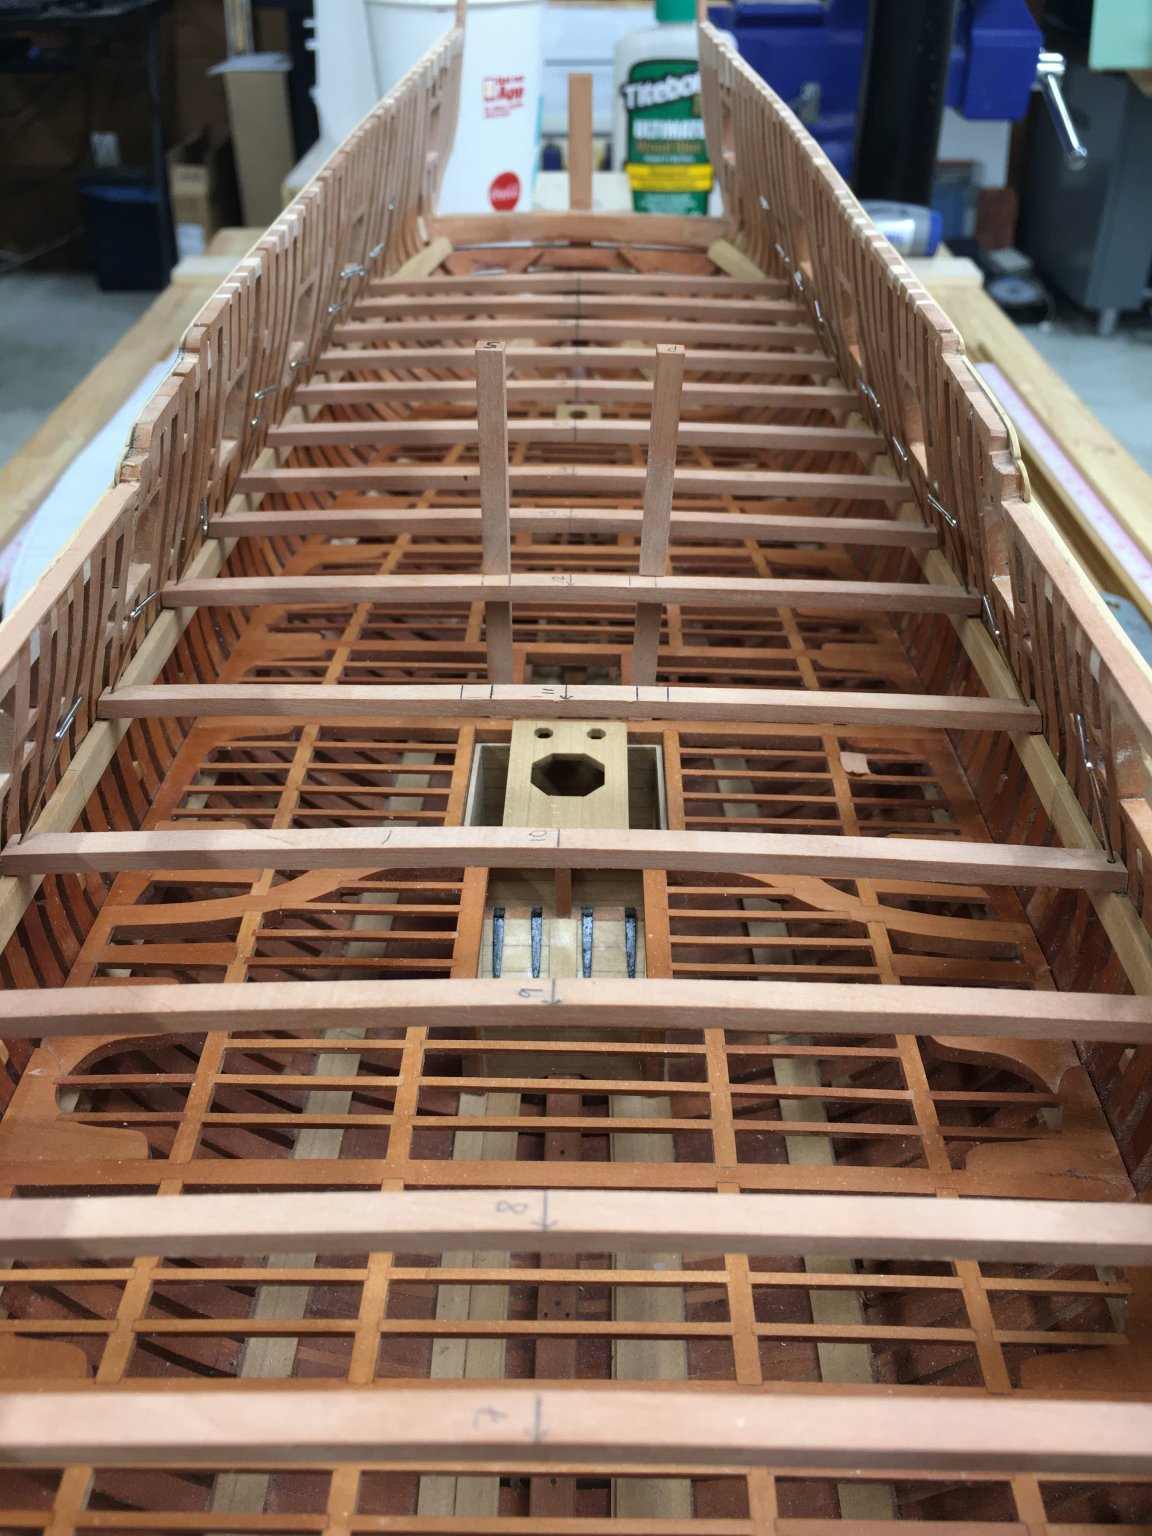
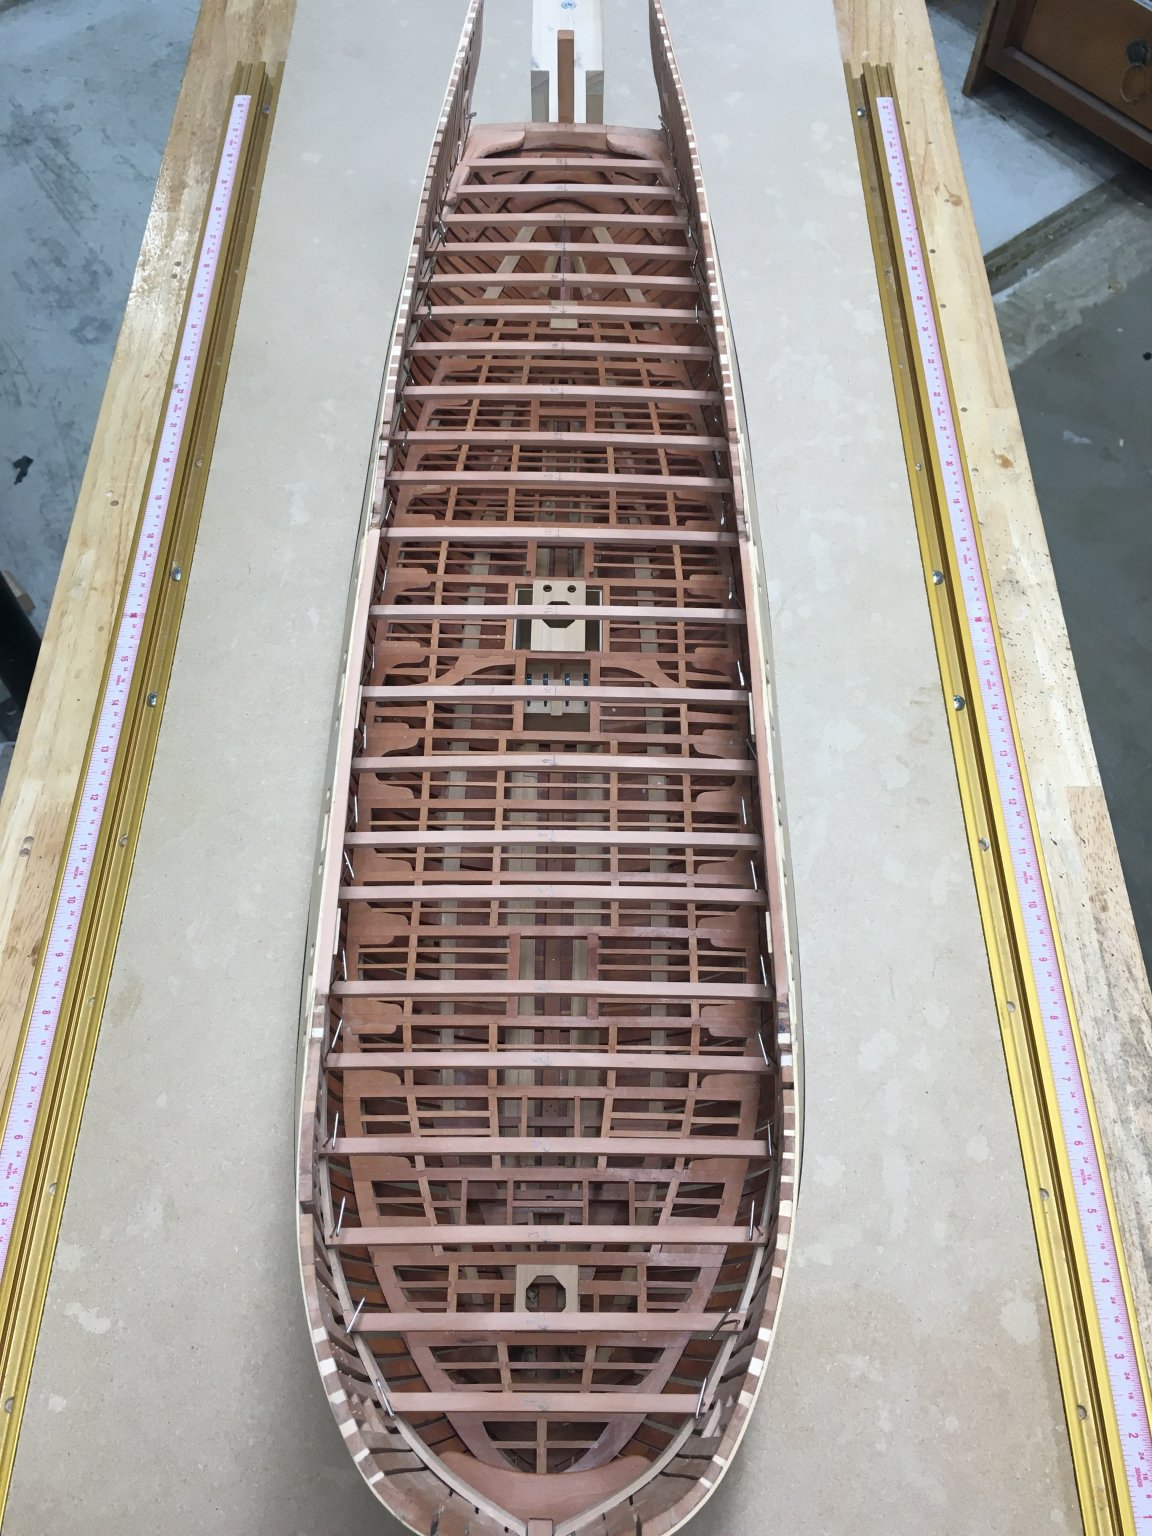
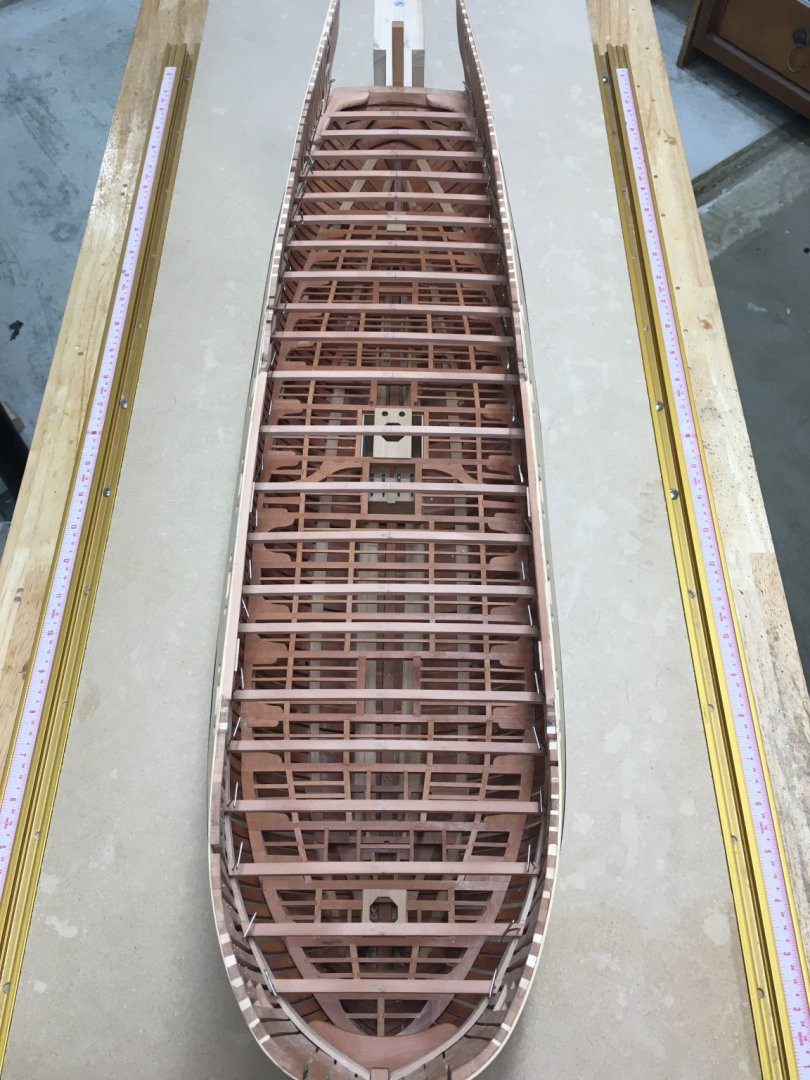
First - thanks for all the likes everybody. So I machined all of the 22 deck beams out of 9” stock with the correct roundup of 6” and here you see them temporally installed using T-pins in their correct locations. I also had to make the wing transom knees ( these are a pain to fit ) so beams 21&22 could be made. Now I came across an error I made back when building the lower deck, the distance between the beams 6&7 ( fore hatch ) are too far apart because I didn’t follow the Pegasus plans but instead the TFFM plans, lesson to be learned here - Always follow the drafts of the ship that you are actually building!! I have decided to make the upper deck match the lower deck so Pegasus will end up with a larger fore hatch than she should - hopefully it won’t interfere with anything else as it is beam 7 that is too far aft. I need to make the upper deck hook, riding bit pins and topsail sheet bit pins and get them located properly before carrying on. ben
- 889 replies
-
- 21
-
-
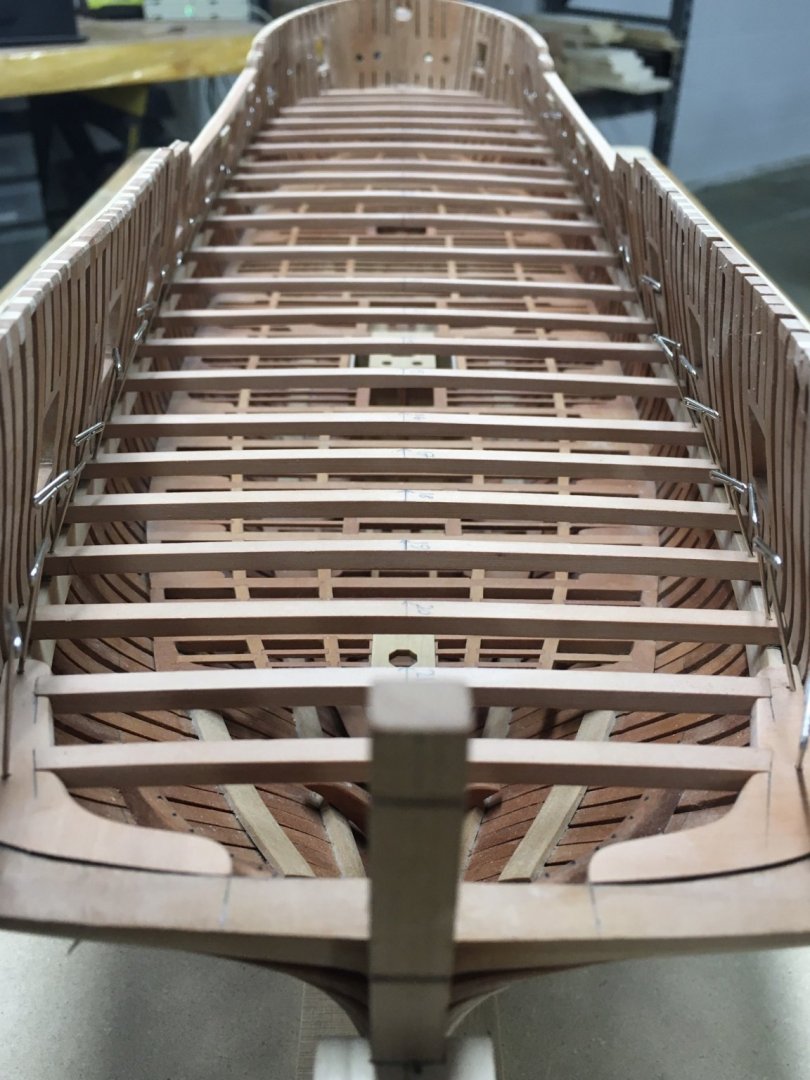
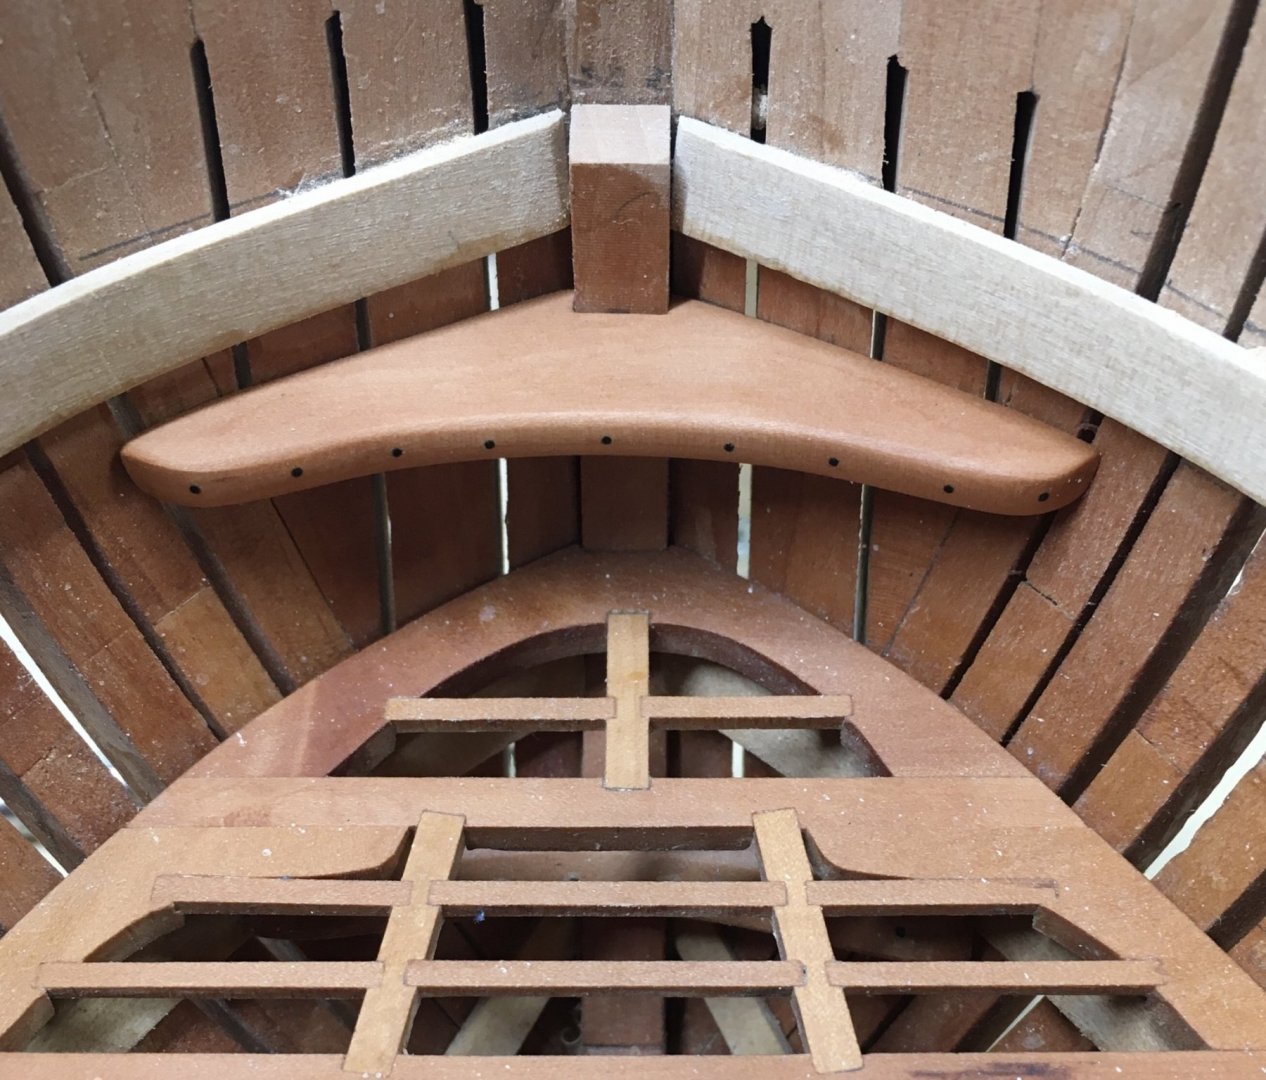
Lower Deck breast hook made and installed using 1” (0.52mm) black monofilament line “bolts”. ben
- 889 replies
-
- 27
-
-
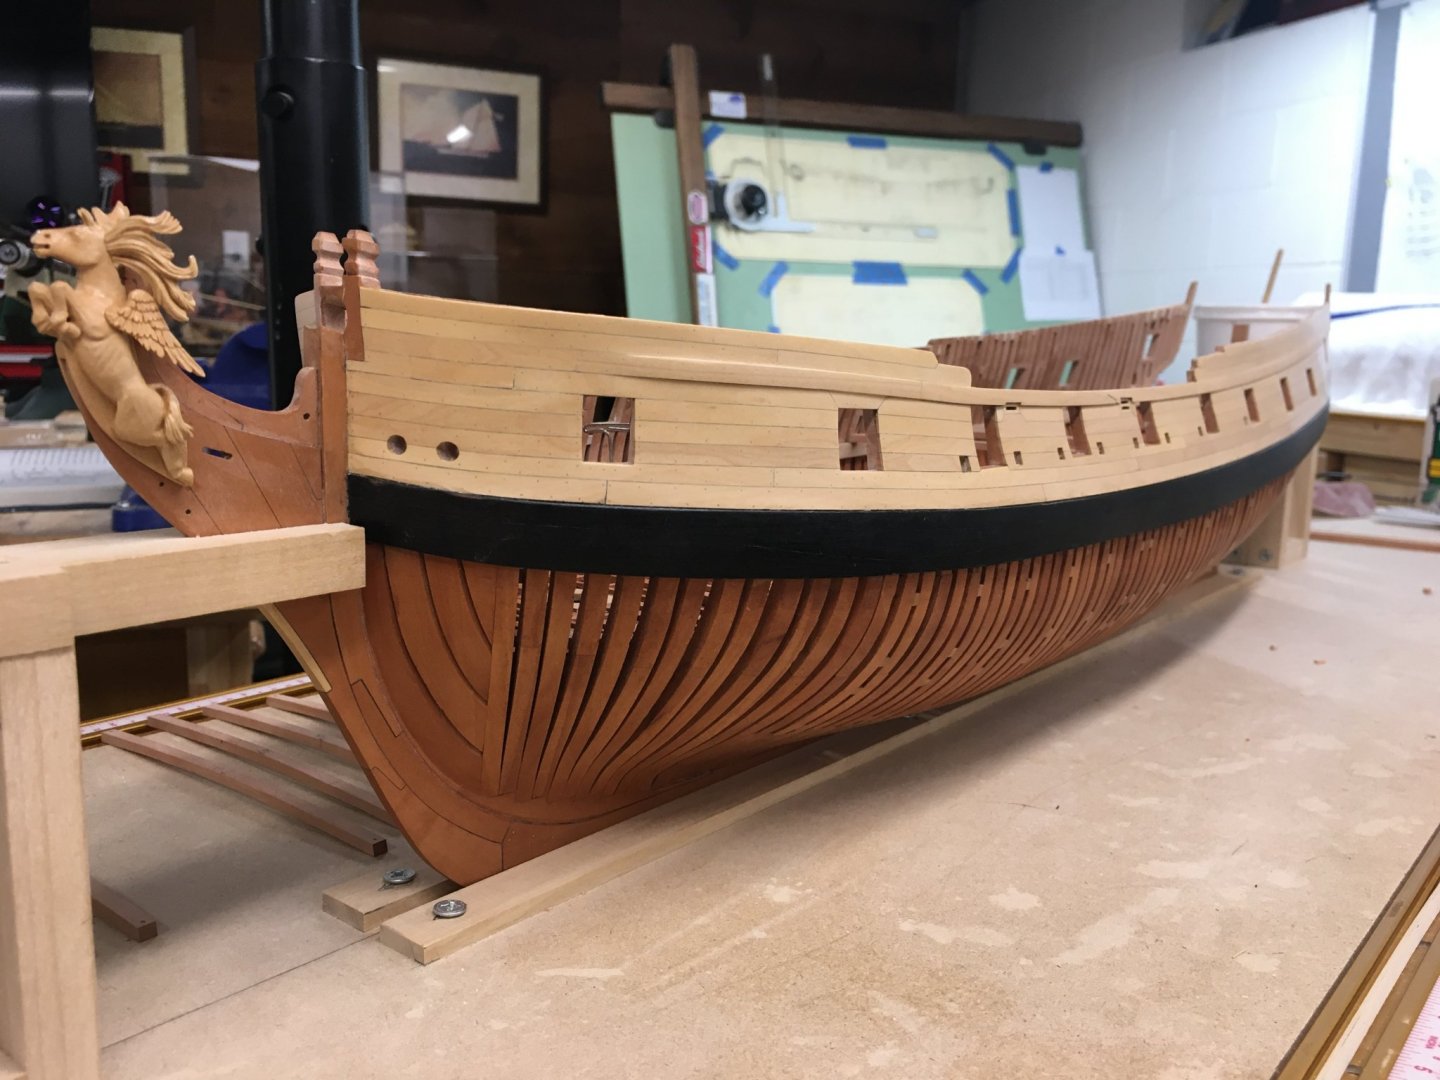
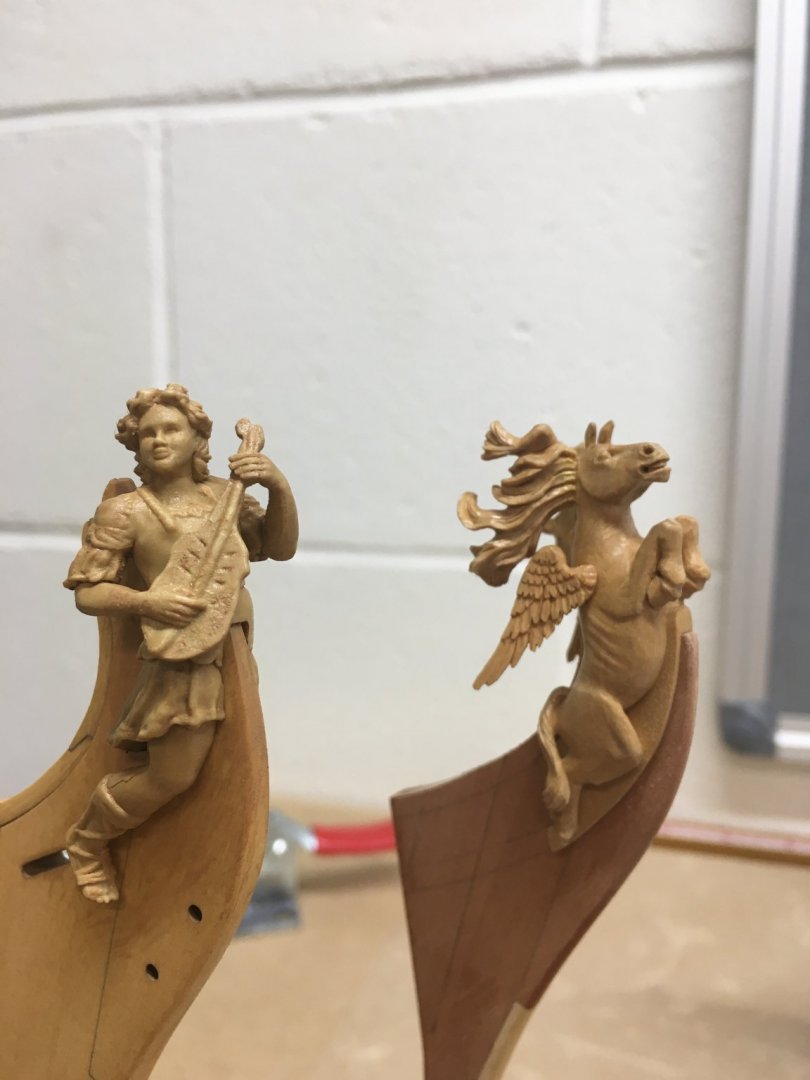
Had to clean off a little bit of casting flash and glue the arms on, starting to add some color, a very nice figurehead that Chuck supplies.
- 399 replies
-
- 16
-
-
- winchelsea
- Syren Ship Model Company
- (and 1 more)
-
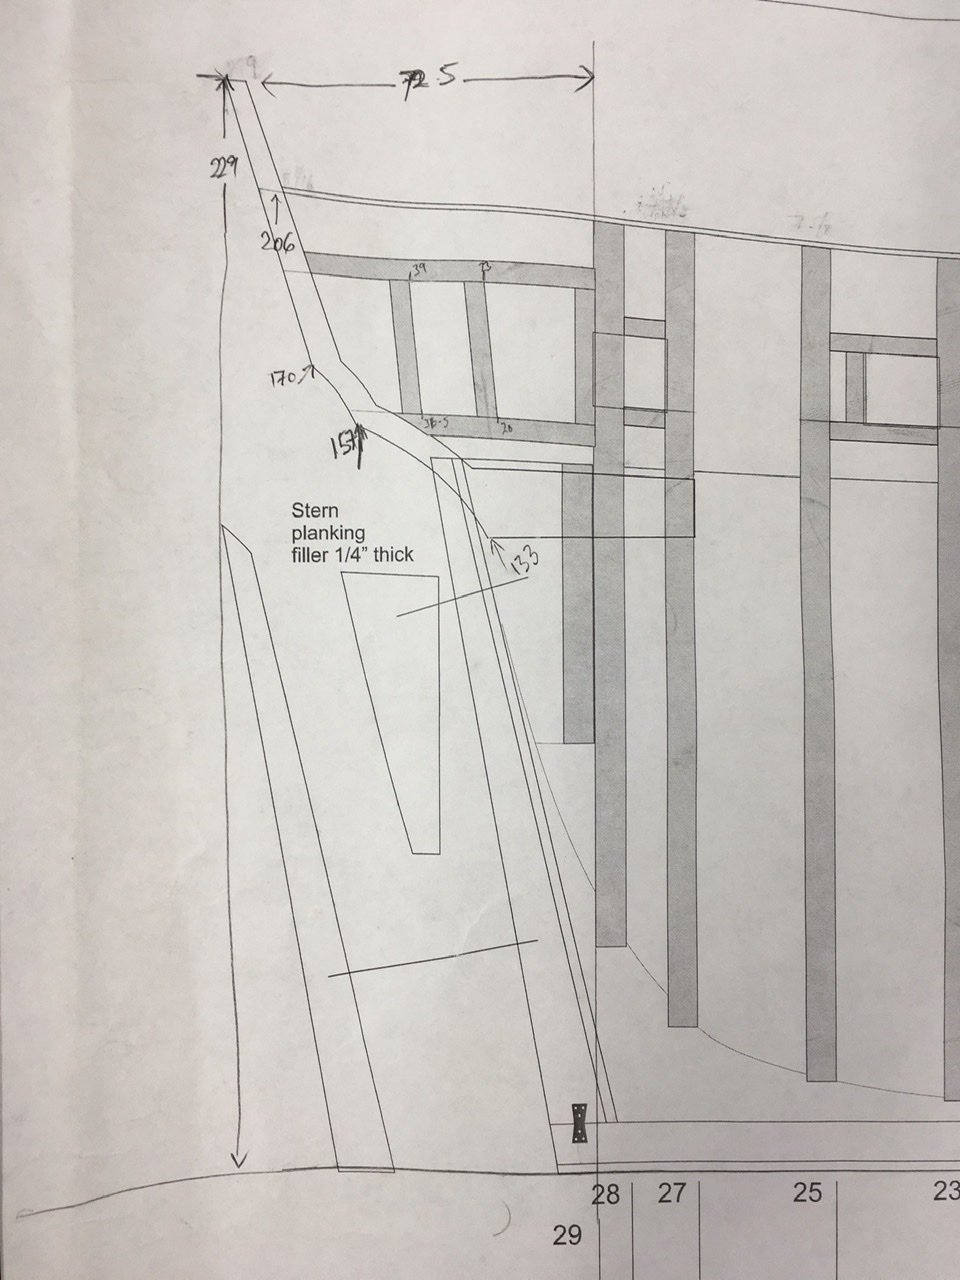
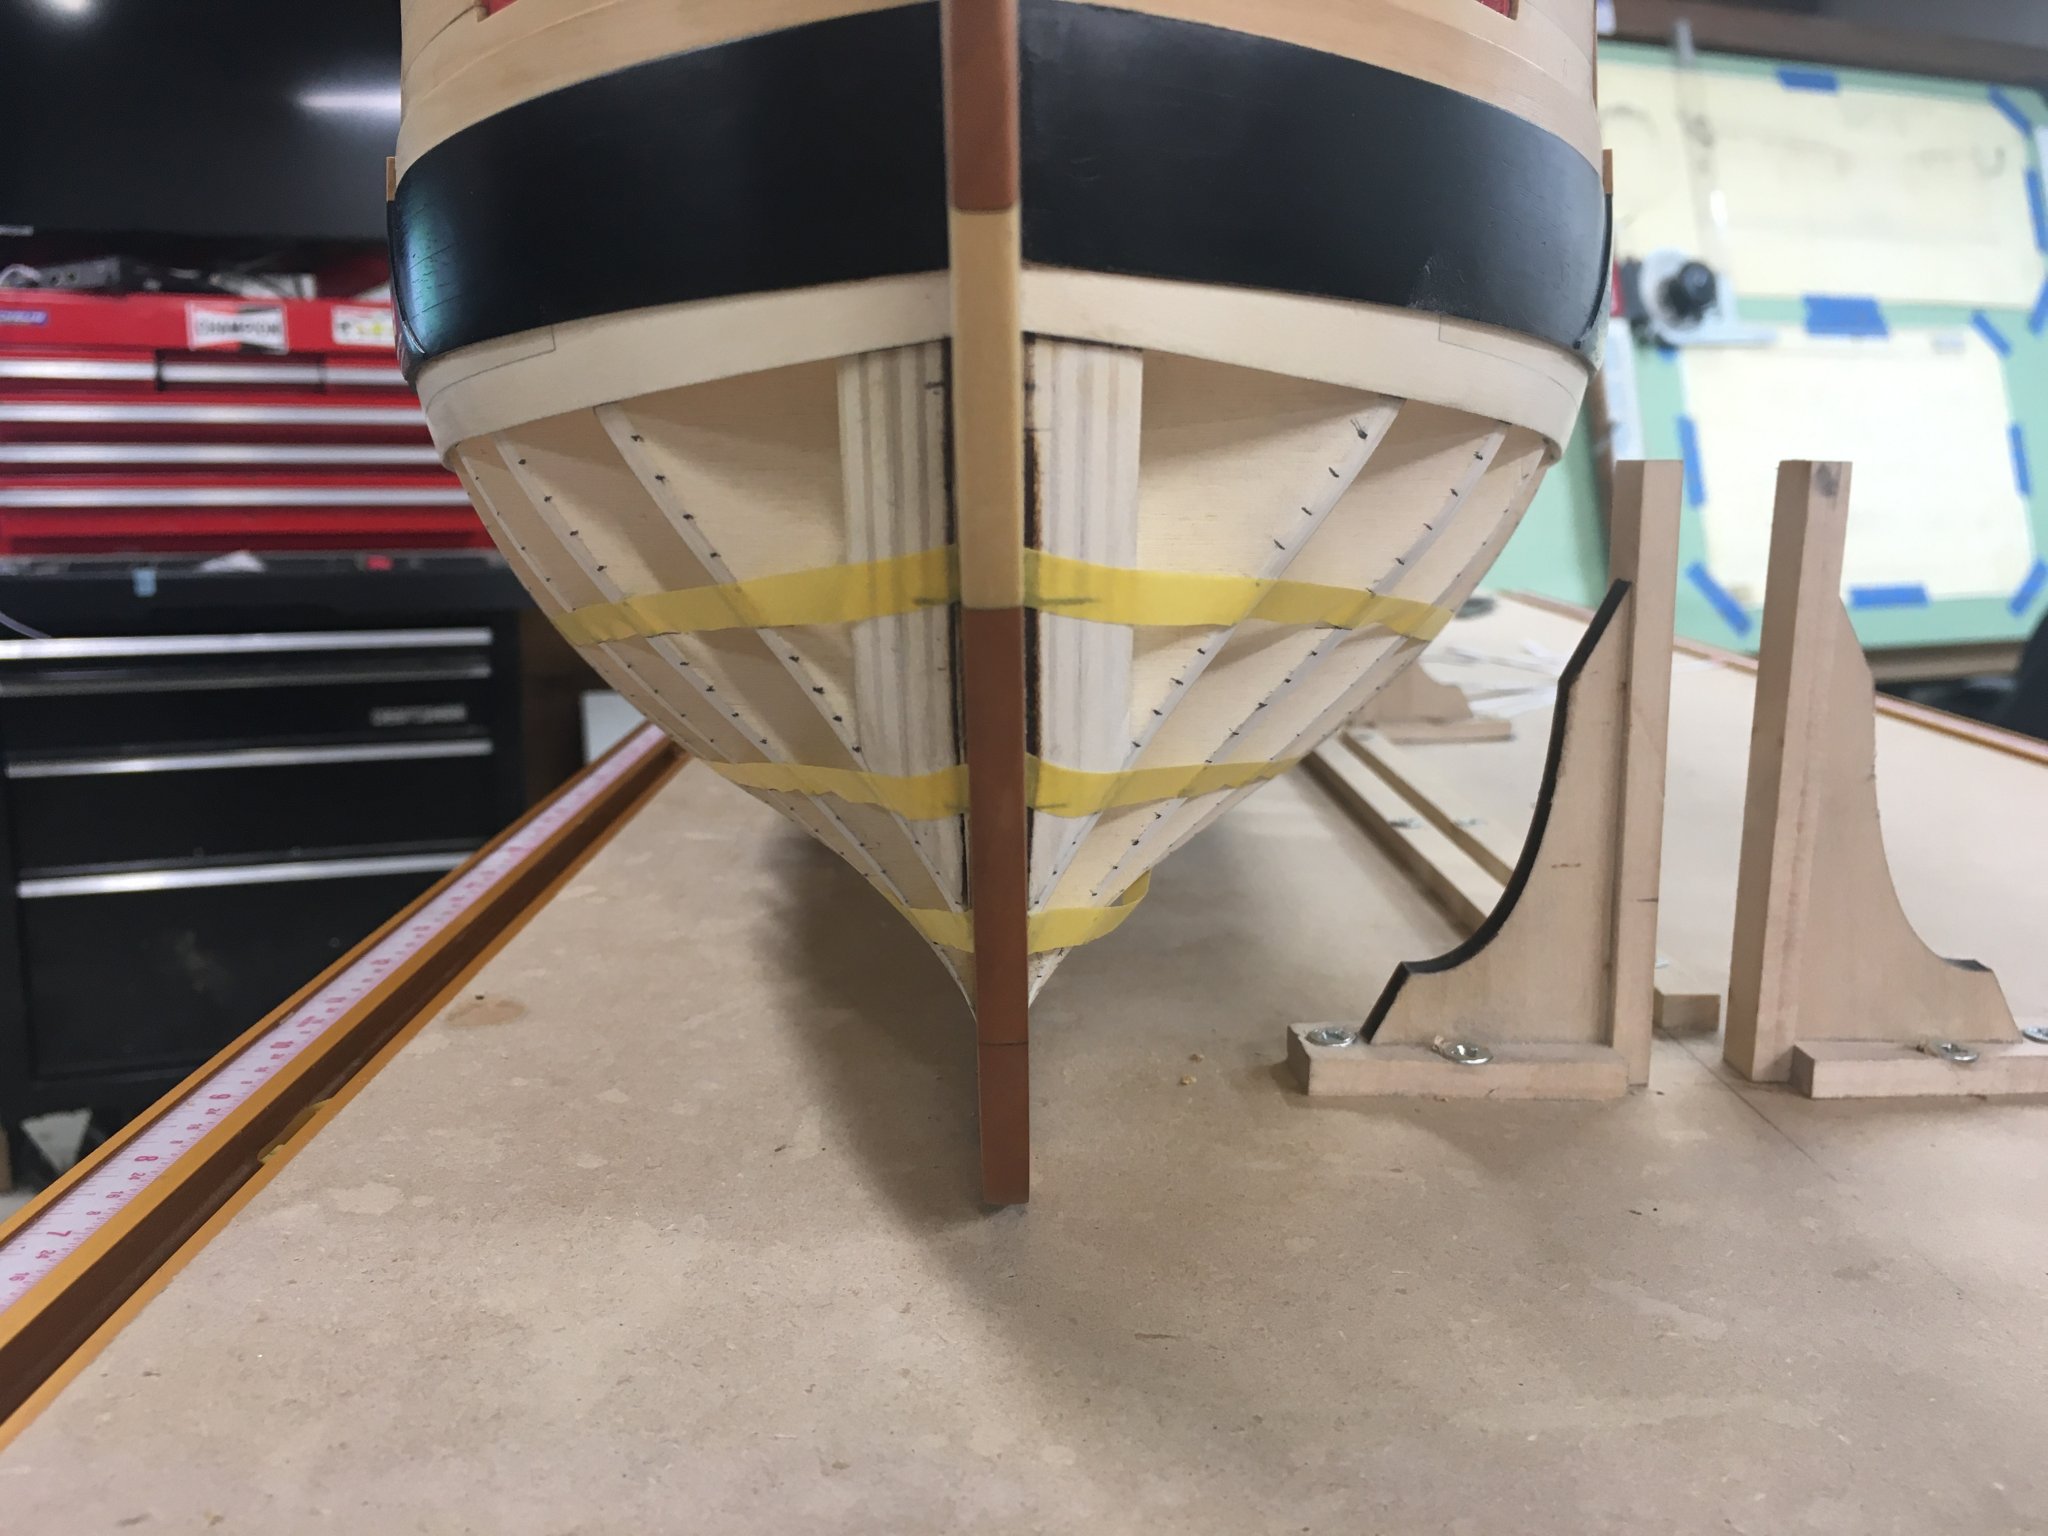
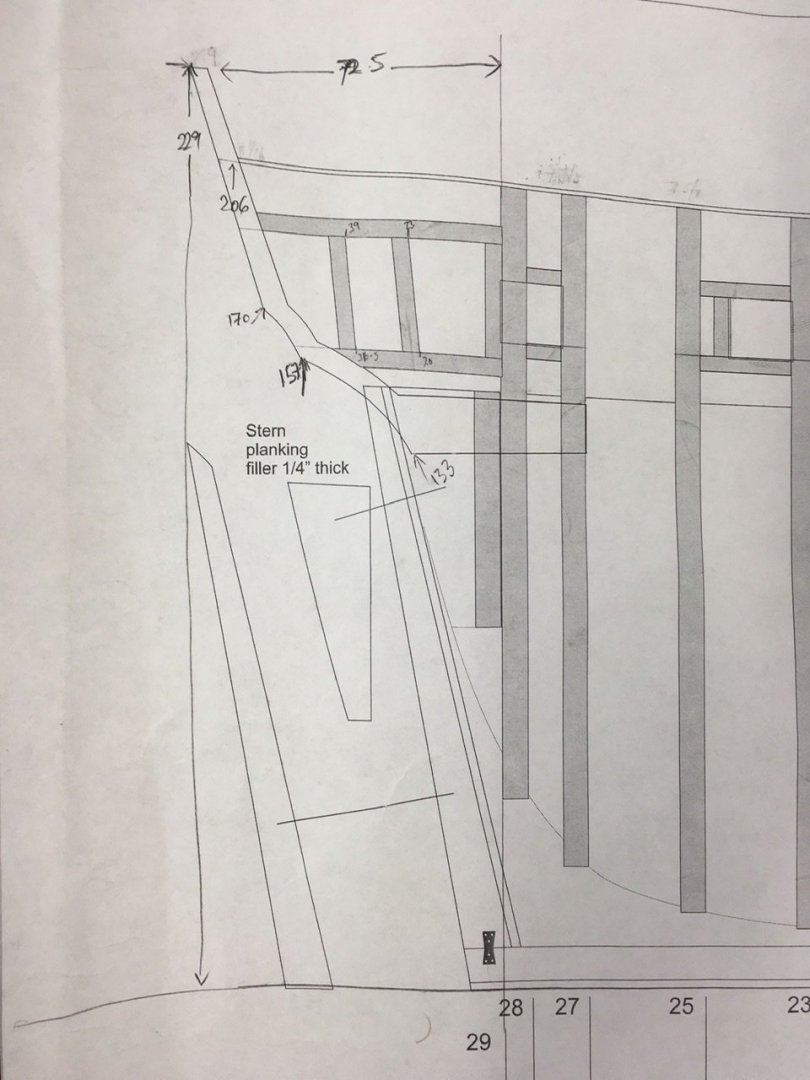
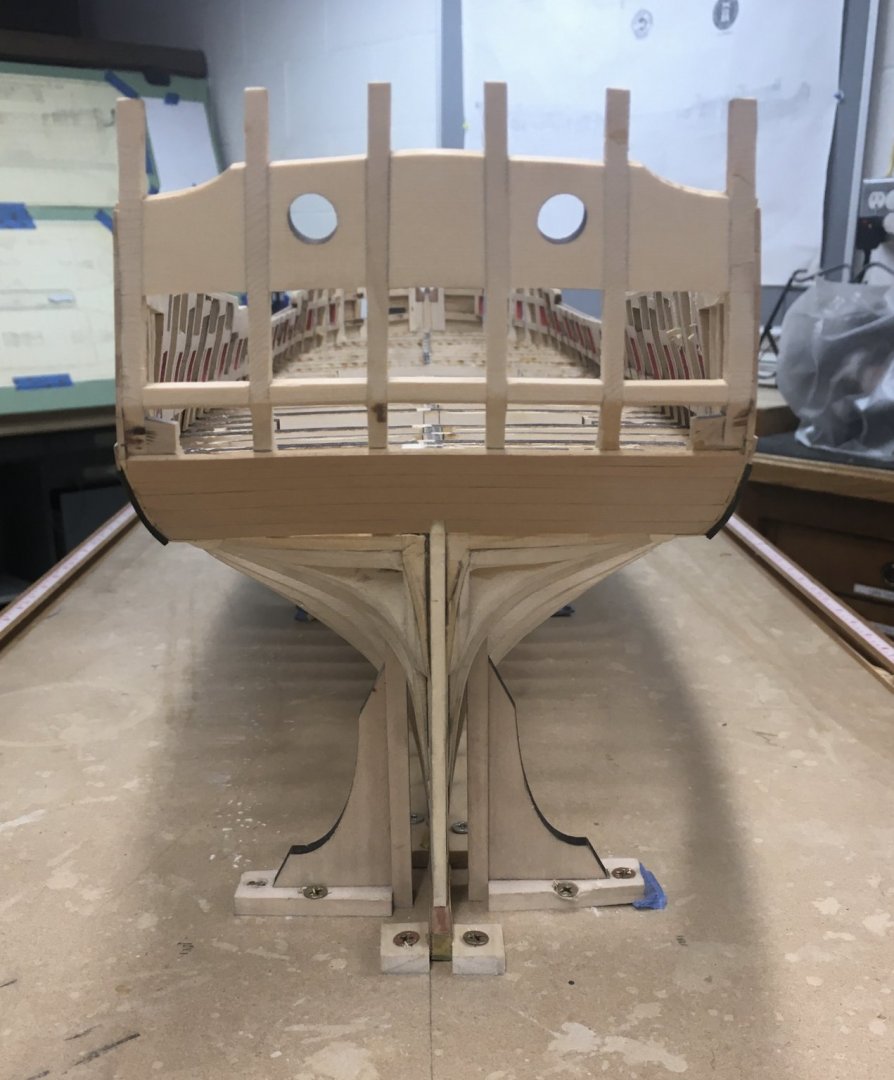
This is the type of thing I do using the plans and measurements from them to make sure those stern frames are in the correct place, you can do this with any part of the build to check your work accuracy, dimensions are in mm. ben
-
Thanks Chuck, I agree with you on that, its one of the things on this build that I am going to "FORCE" myself to do better at than I have previously done on other builds. Ben
- 399 replies
-
- 2
-
-
- winchelsea
- Syren Ship Model Company
- (and 1 more)
-
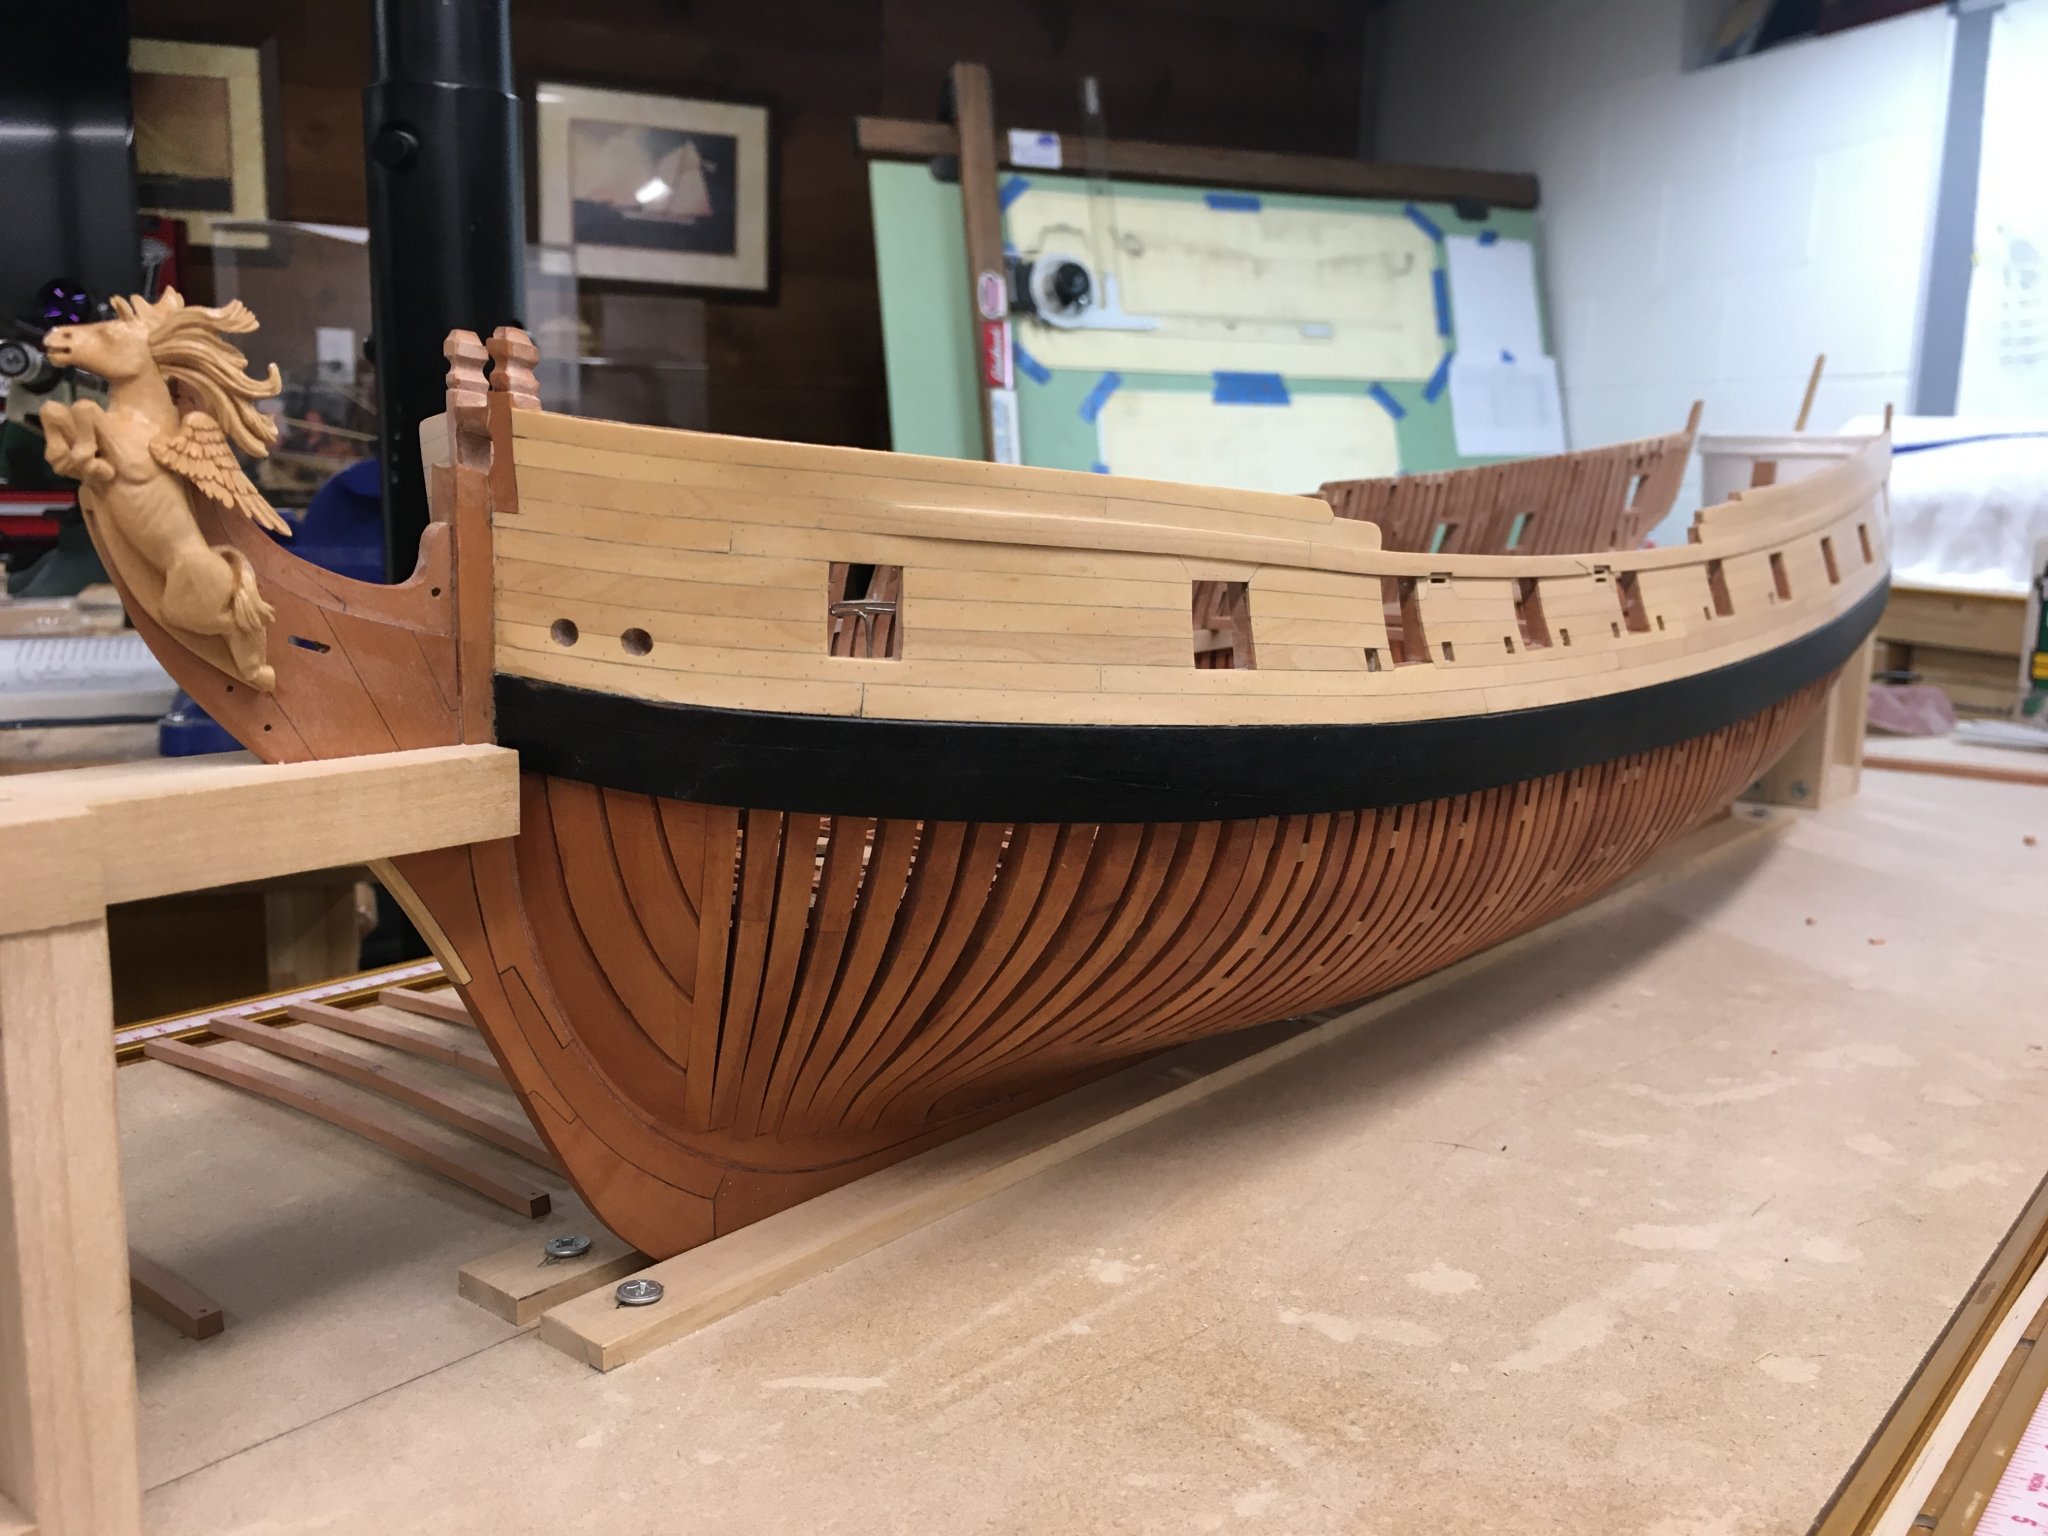
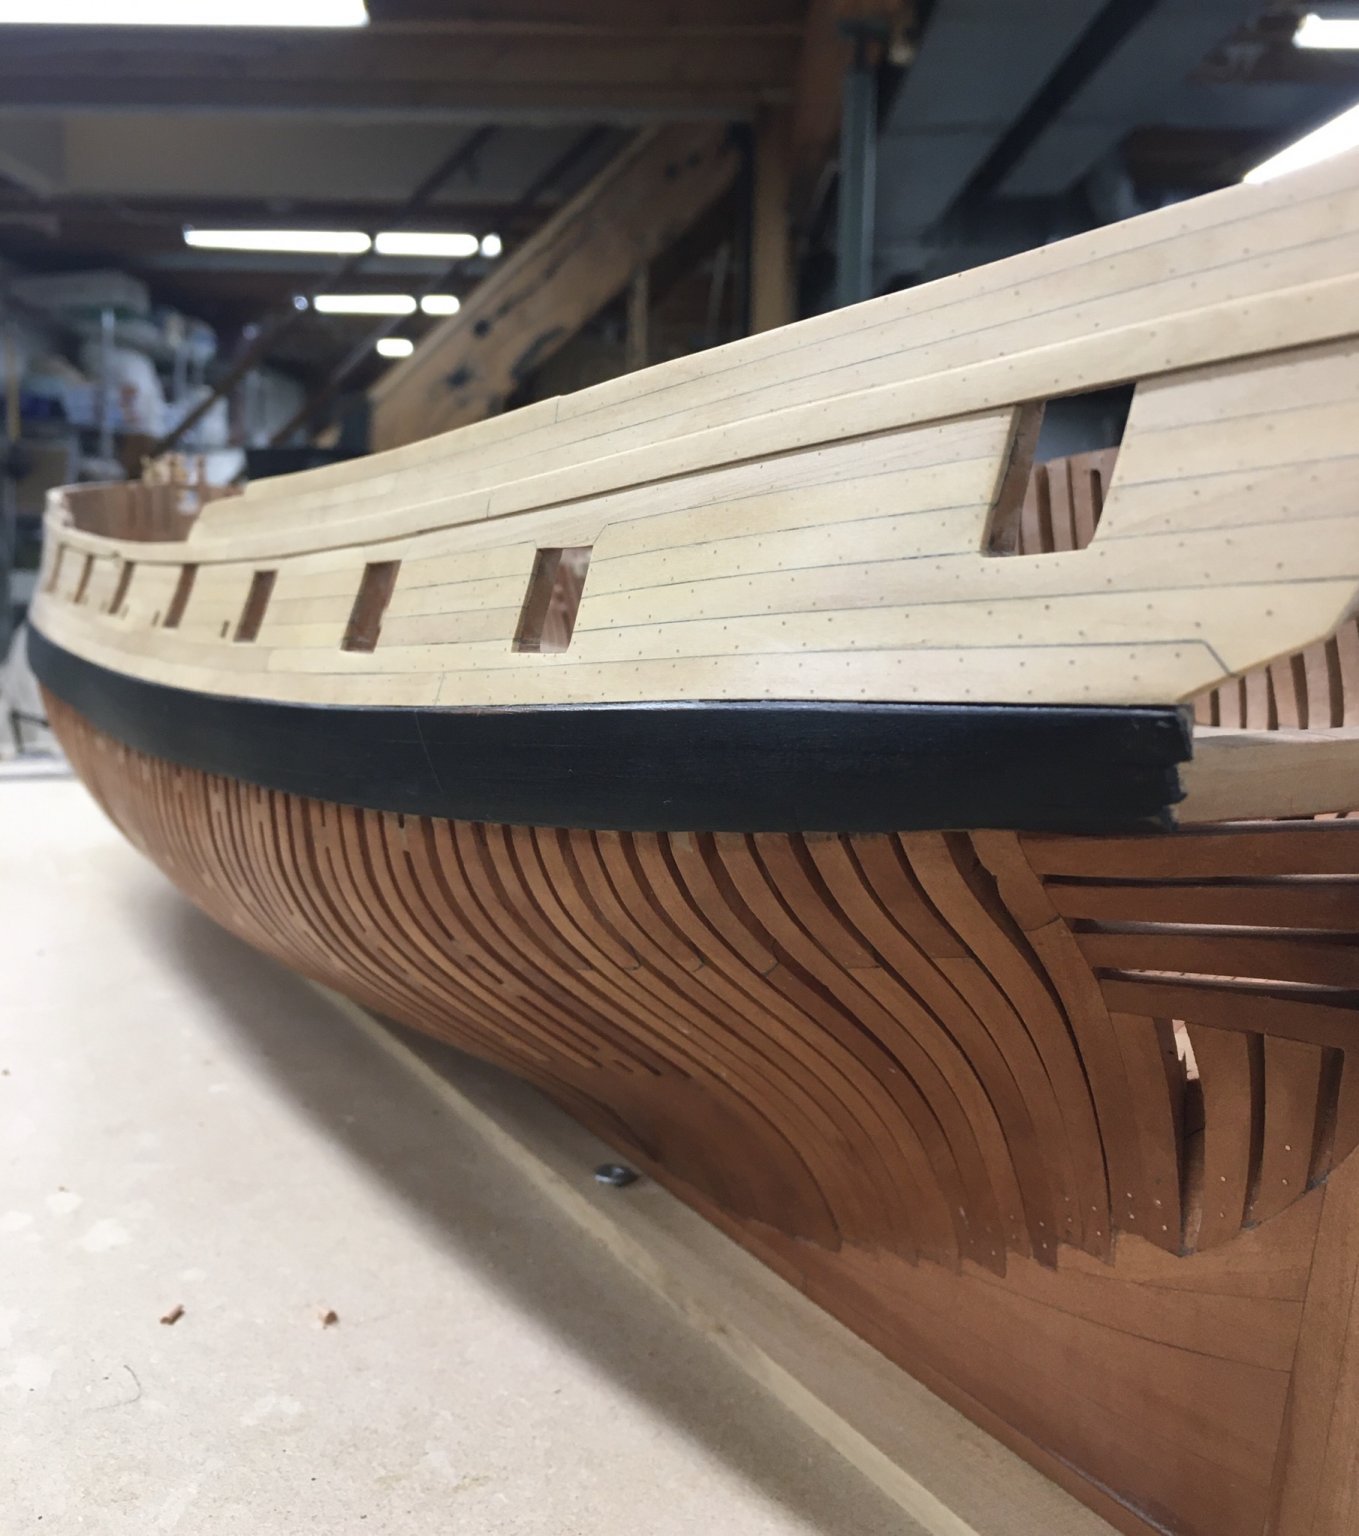
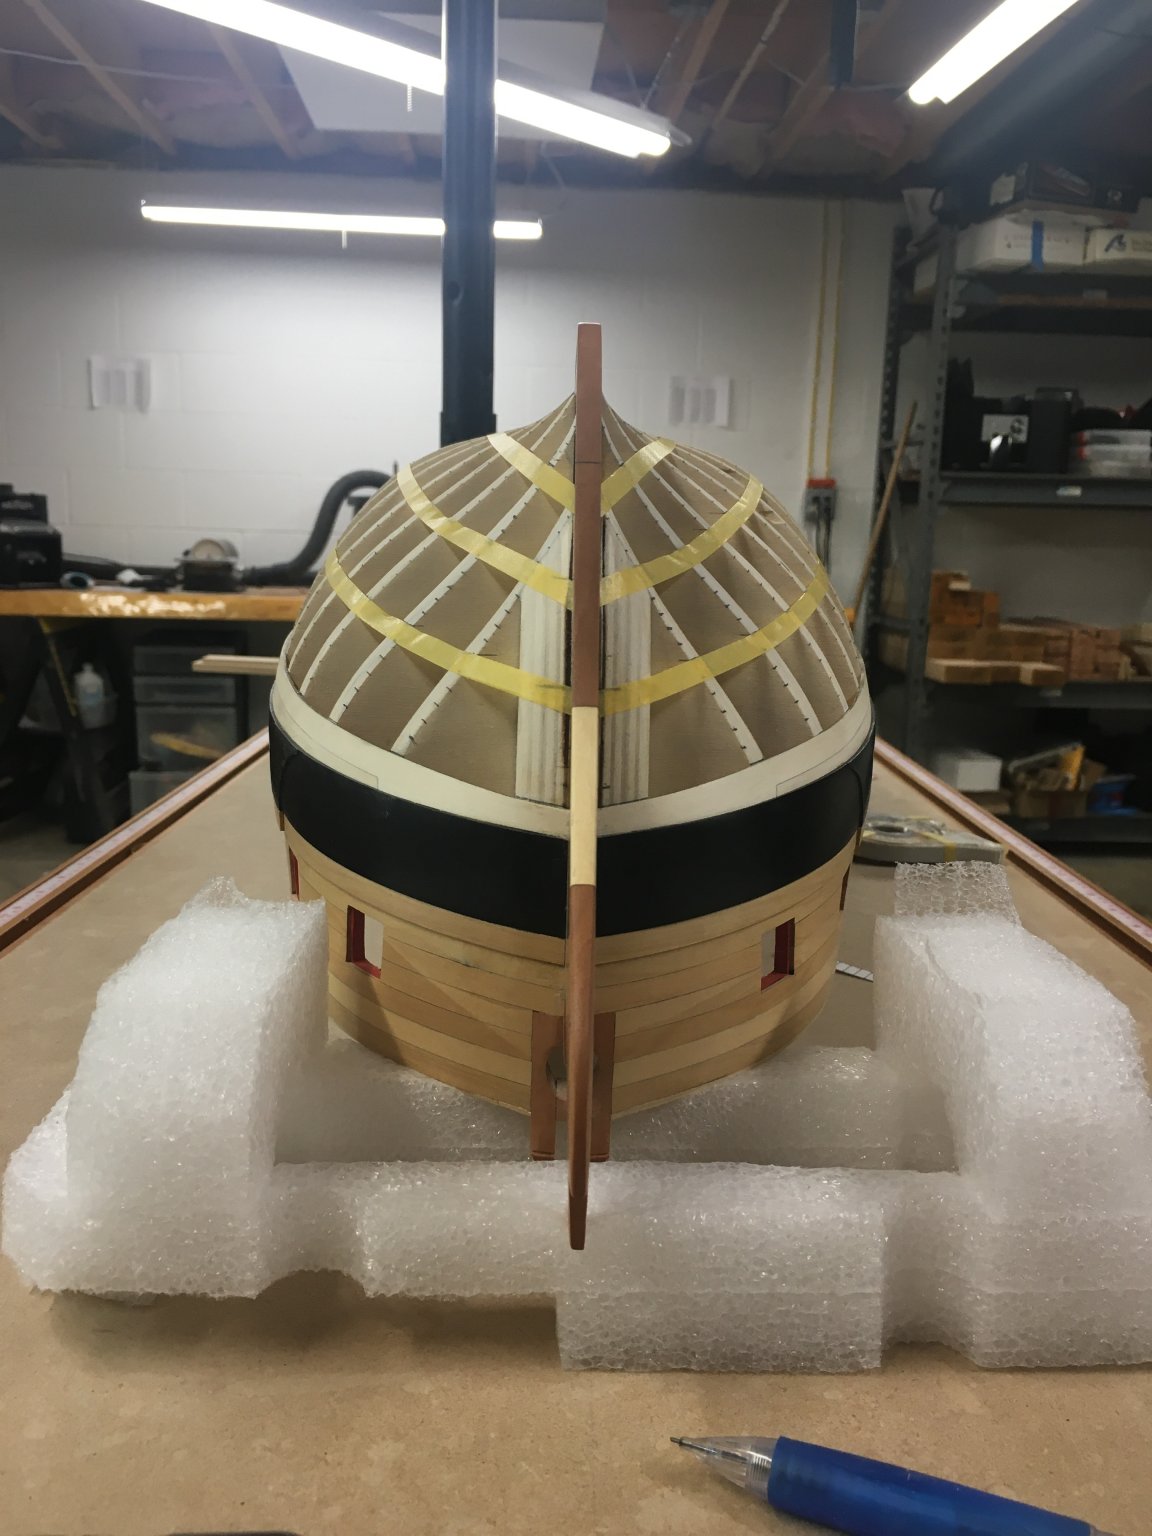
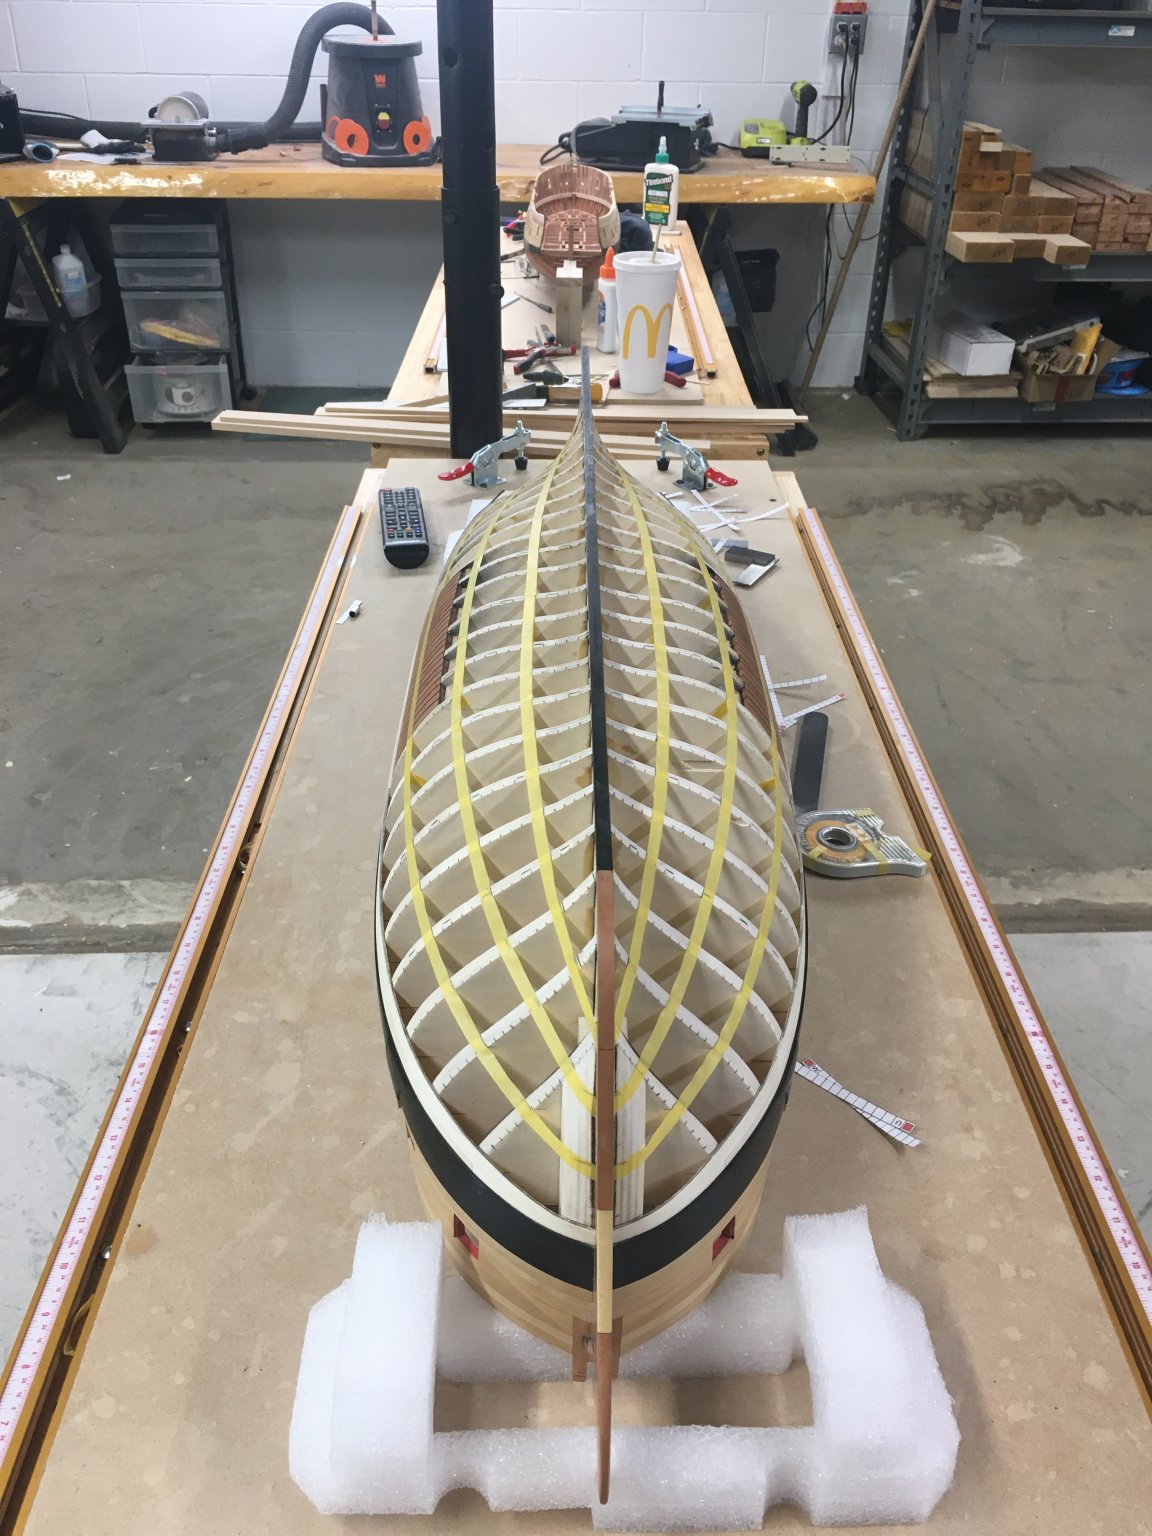
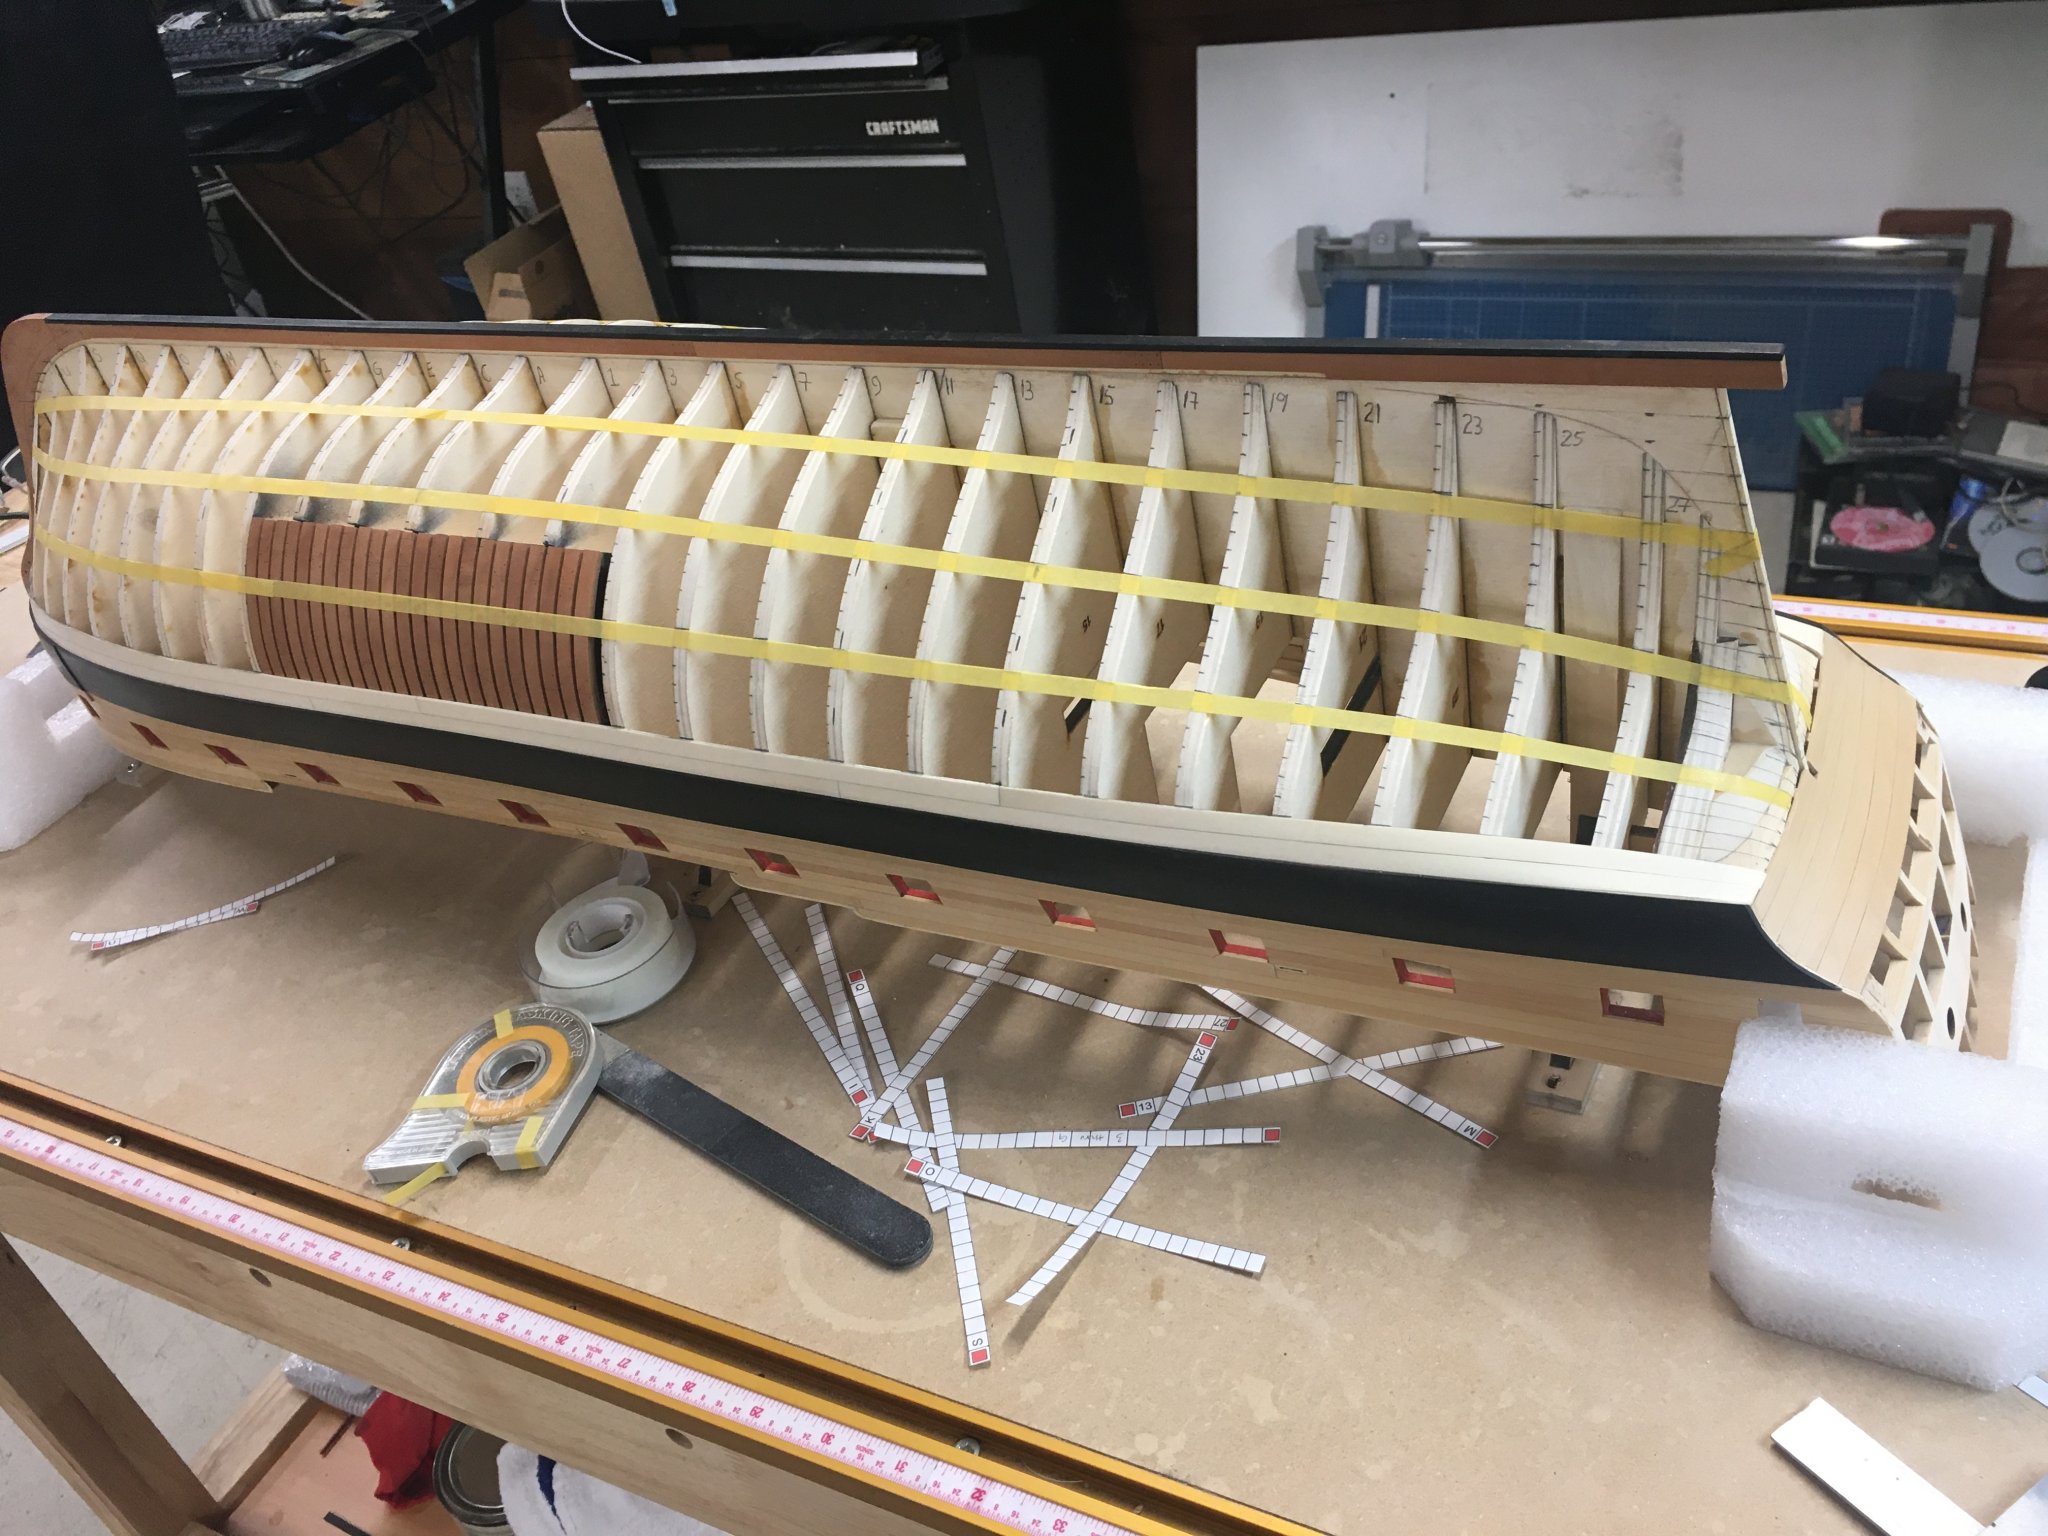
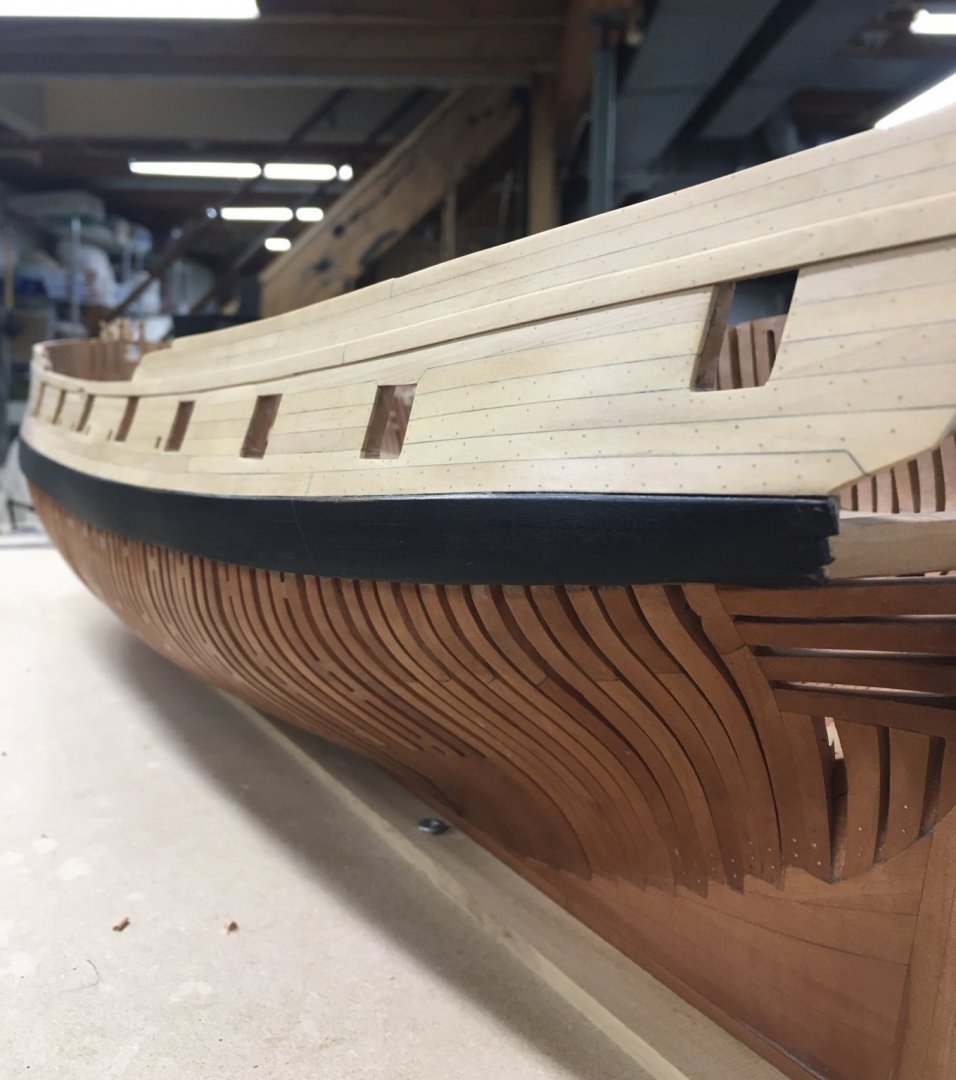
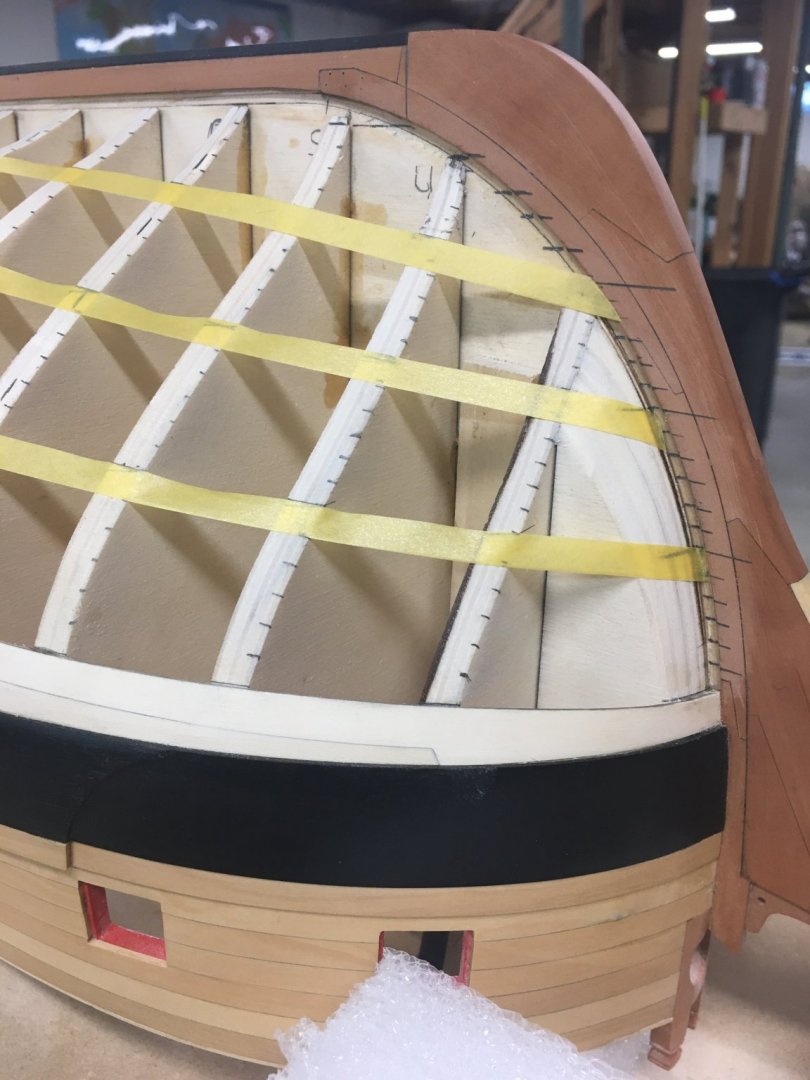
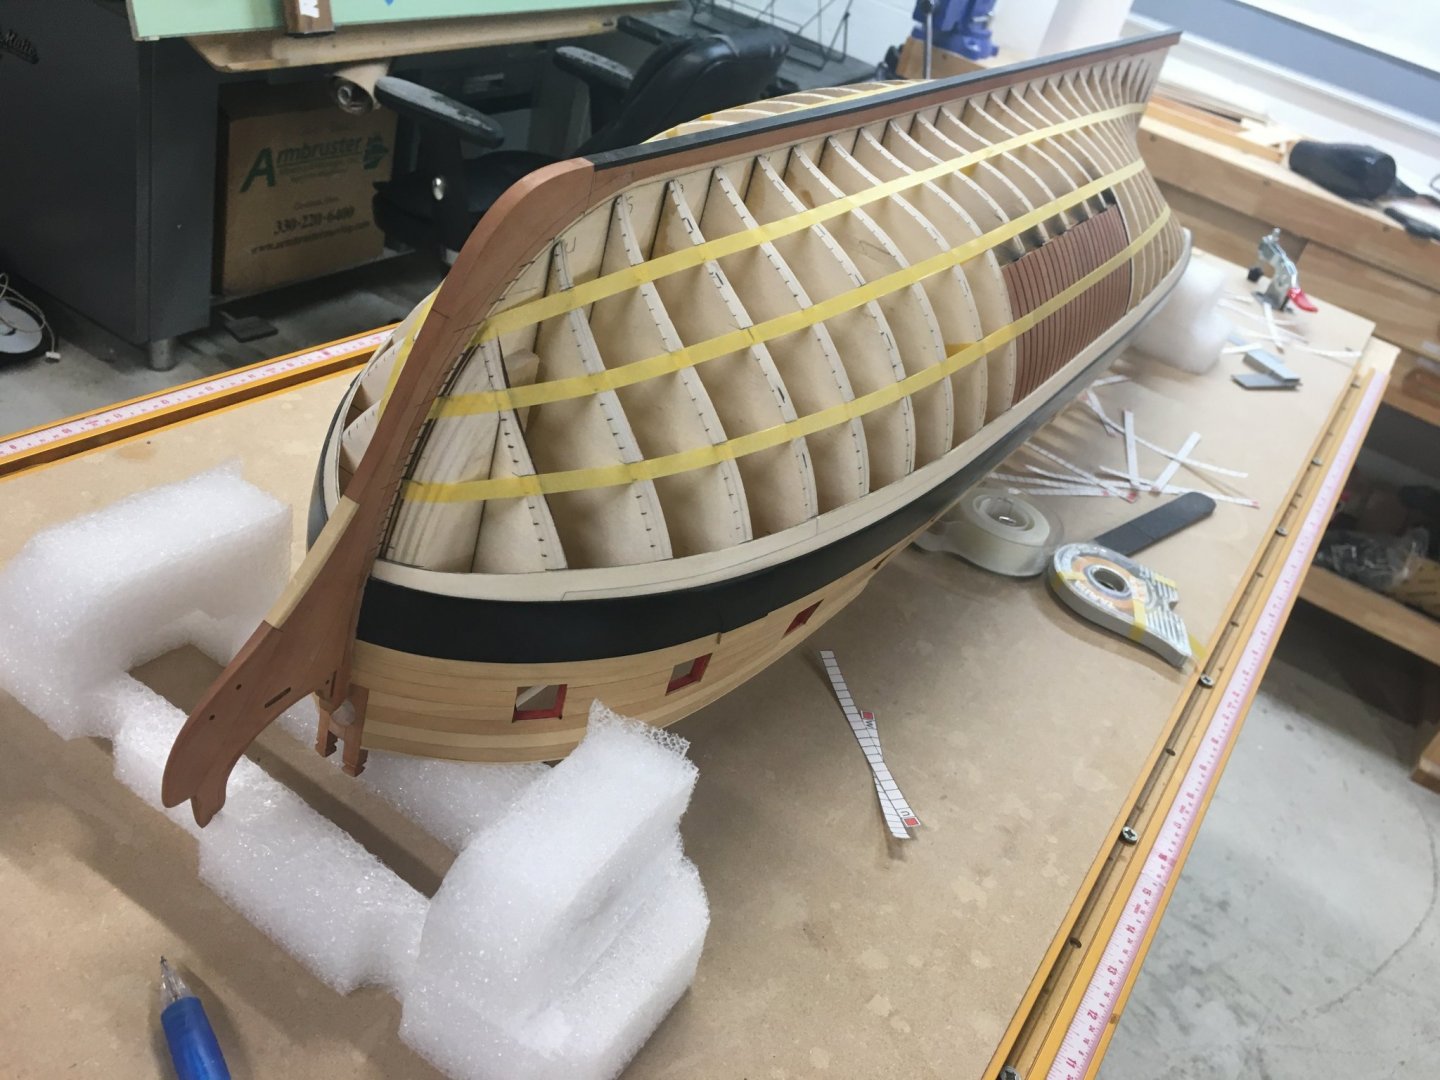
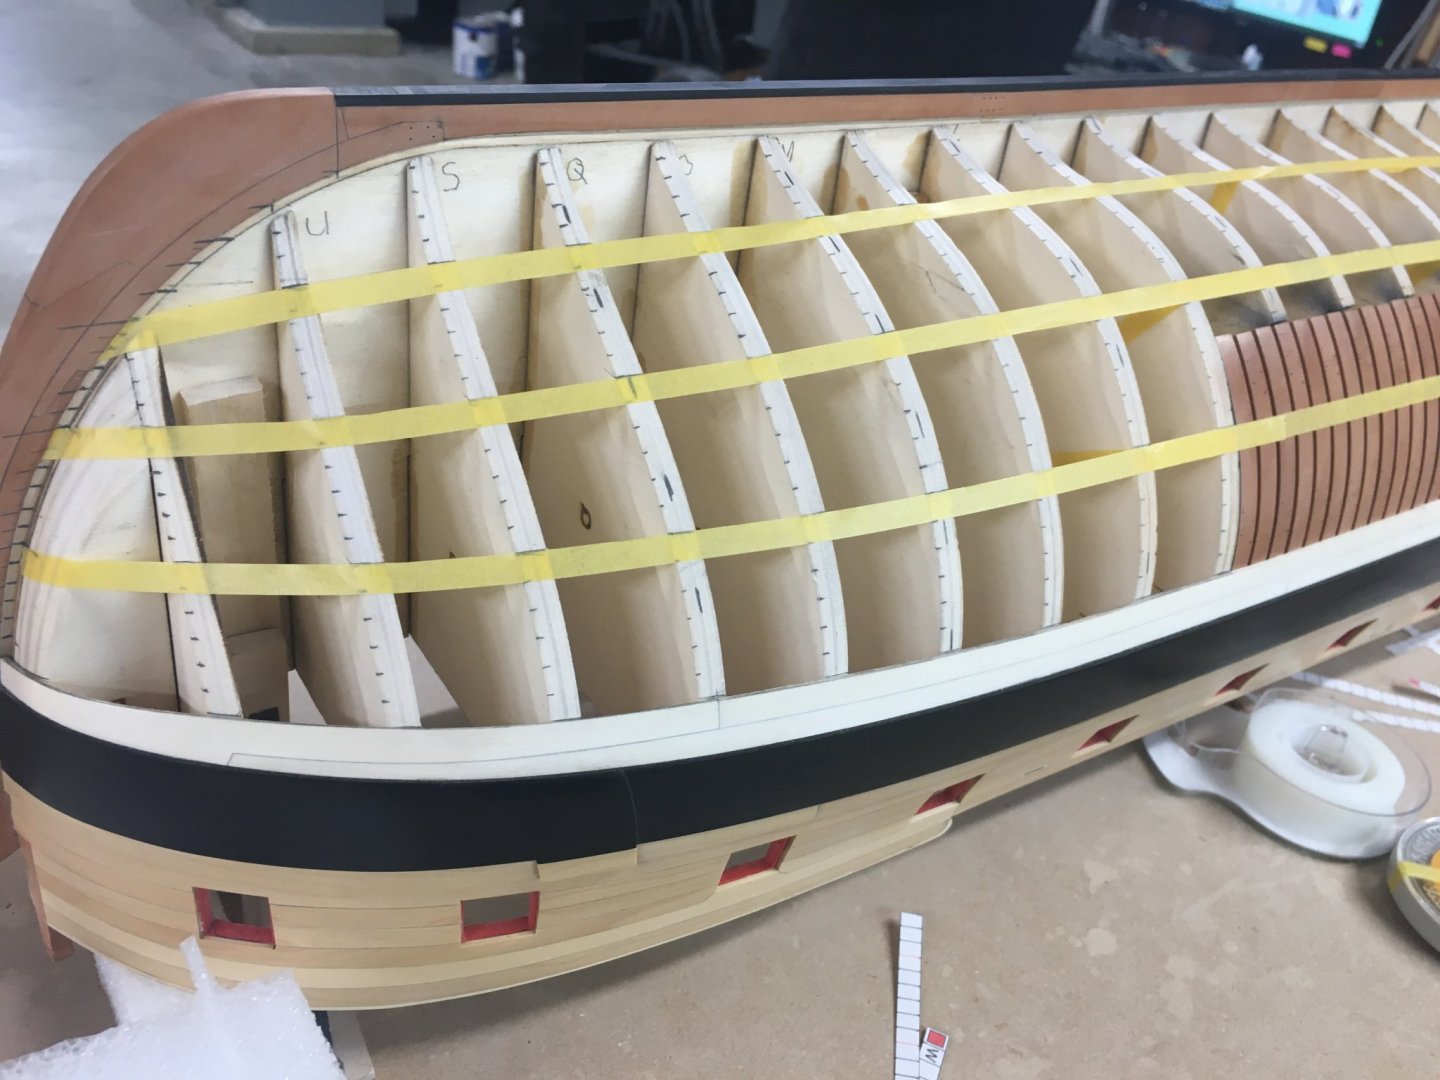
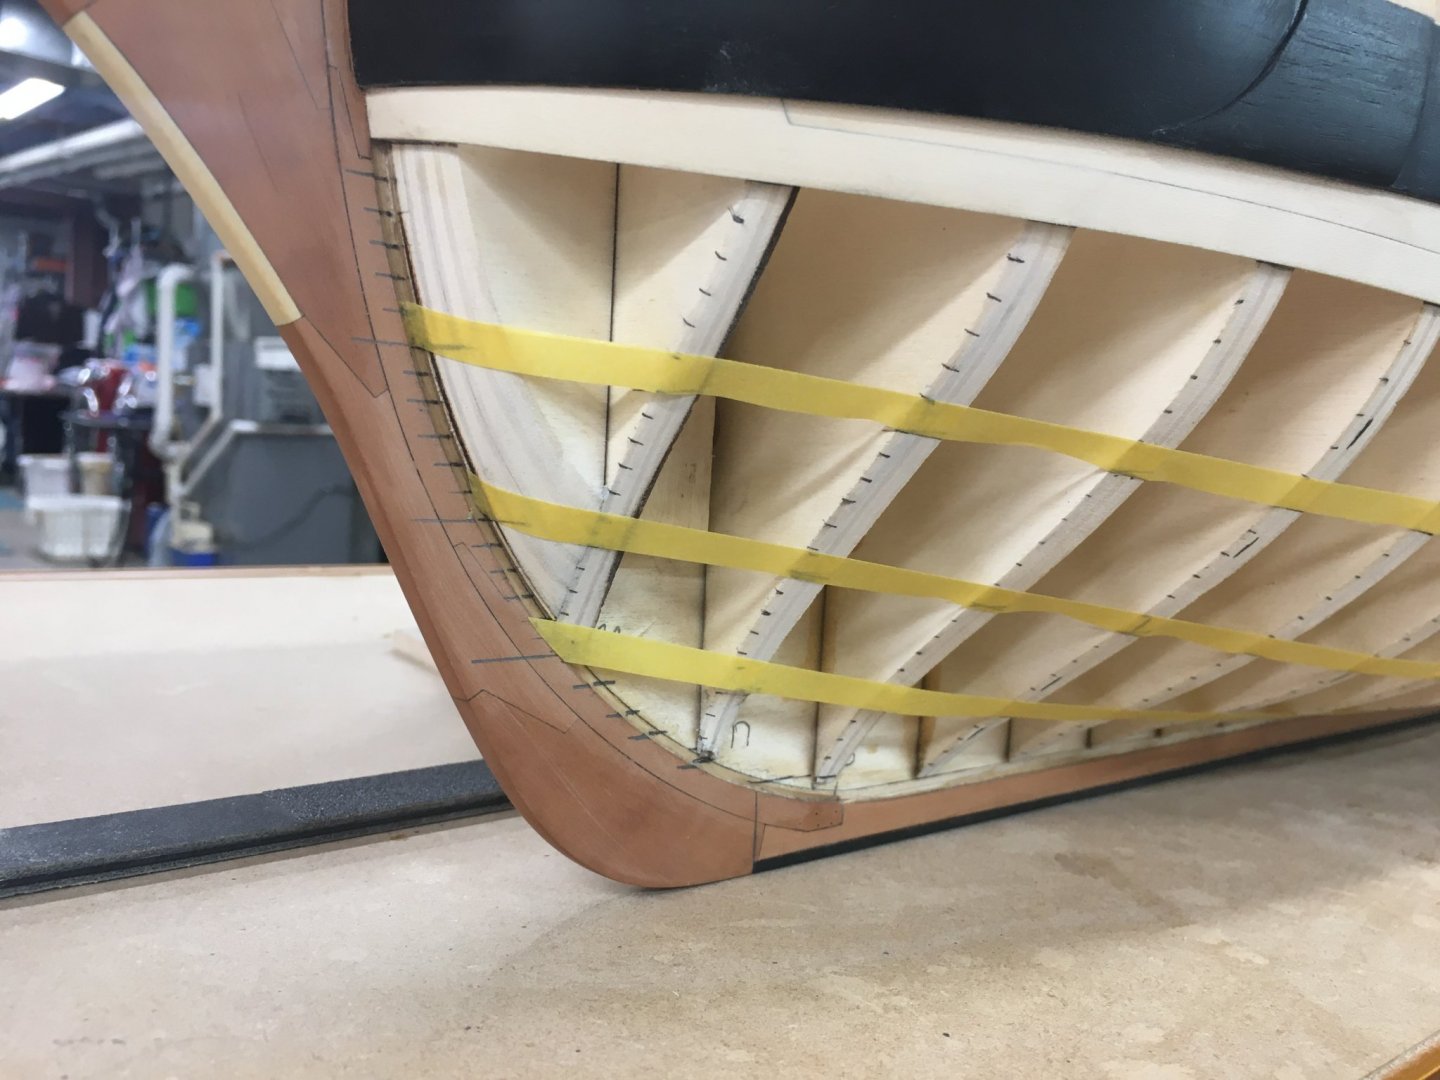
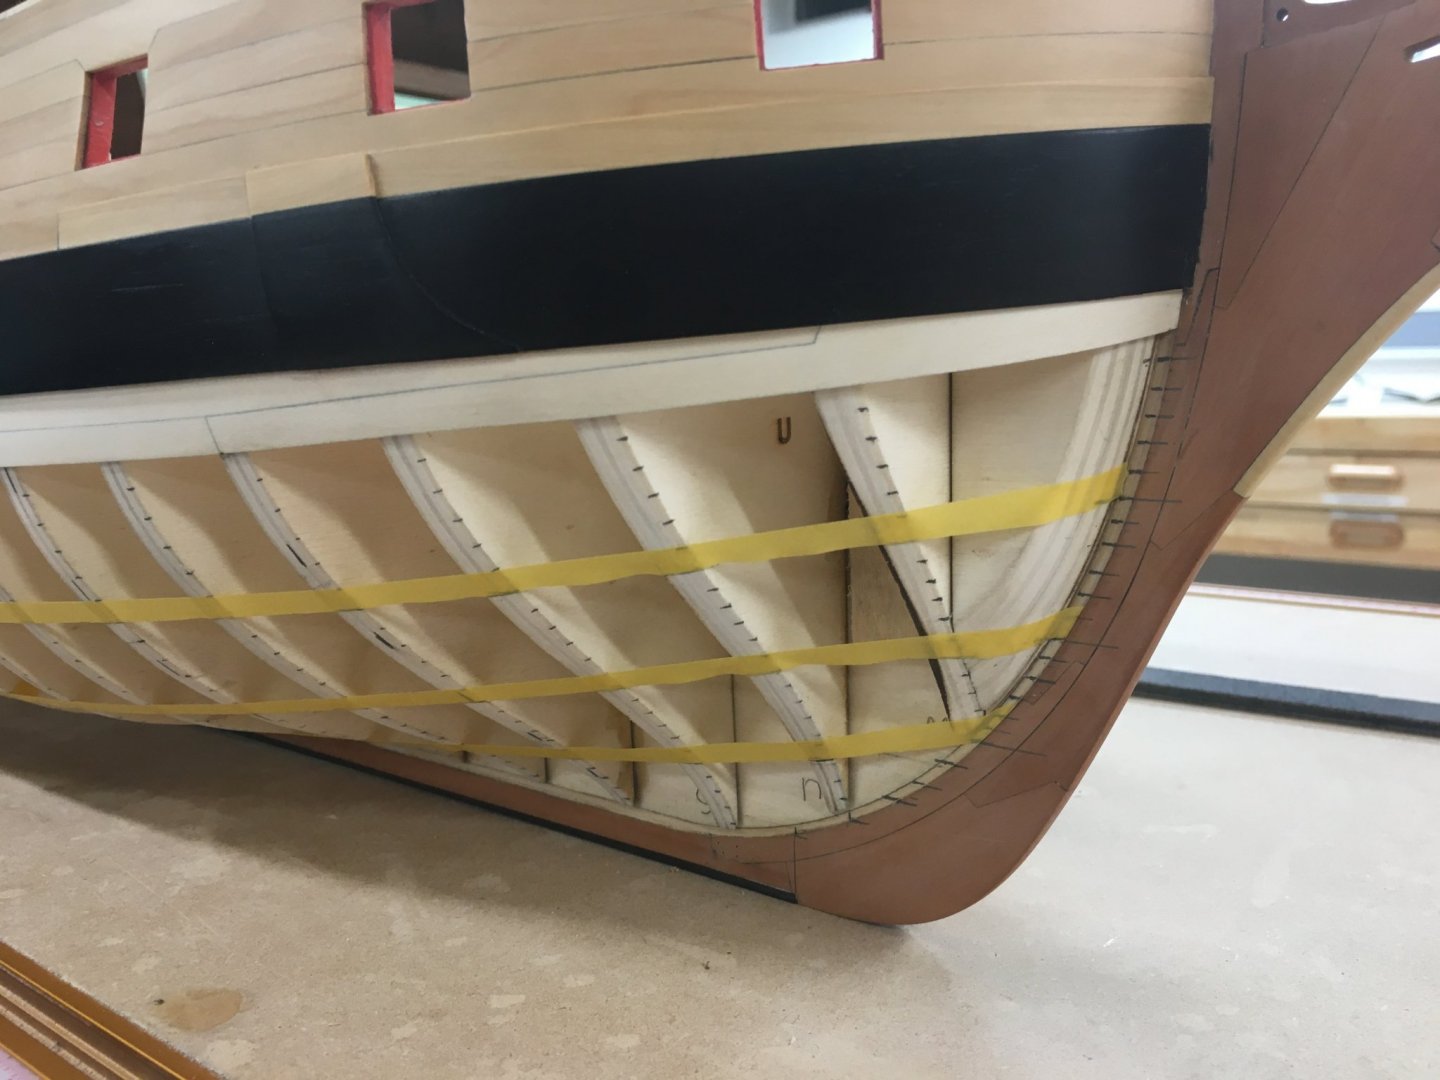
Working on lining off the lower hull planking underway, my hull is somewhat different than Chucks so his supplied tick strips are not quite perfect but pretty close in my case. I keep adjusting the belt lines to get the best overall flow to the hull and to make sure that the all important stem planking has a gentle upward slope that is so hard to get just right IMO. I think I will be playing around with this for a few more days before I’m totally happy with it. Ben


- 399 replies
-
- 26
-
-
- winchelsea
- Syren Ship Model Company
- (and 1 more)
-
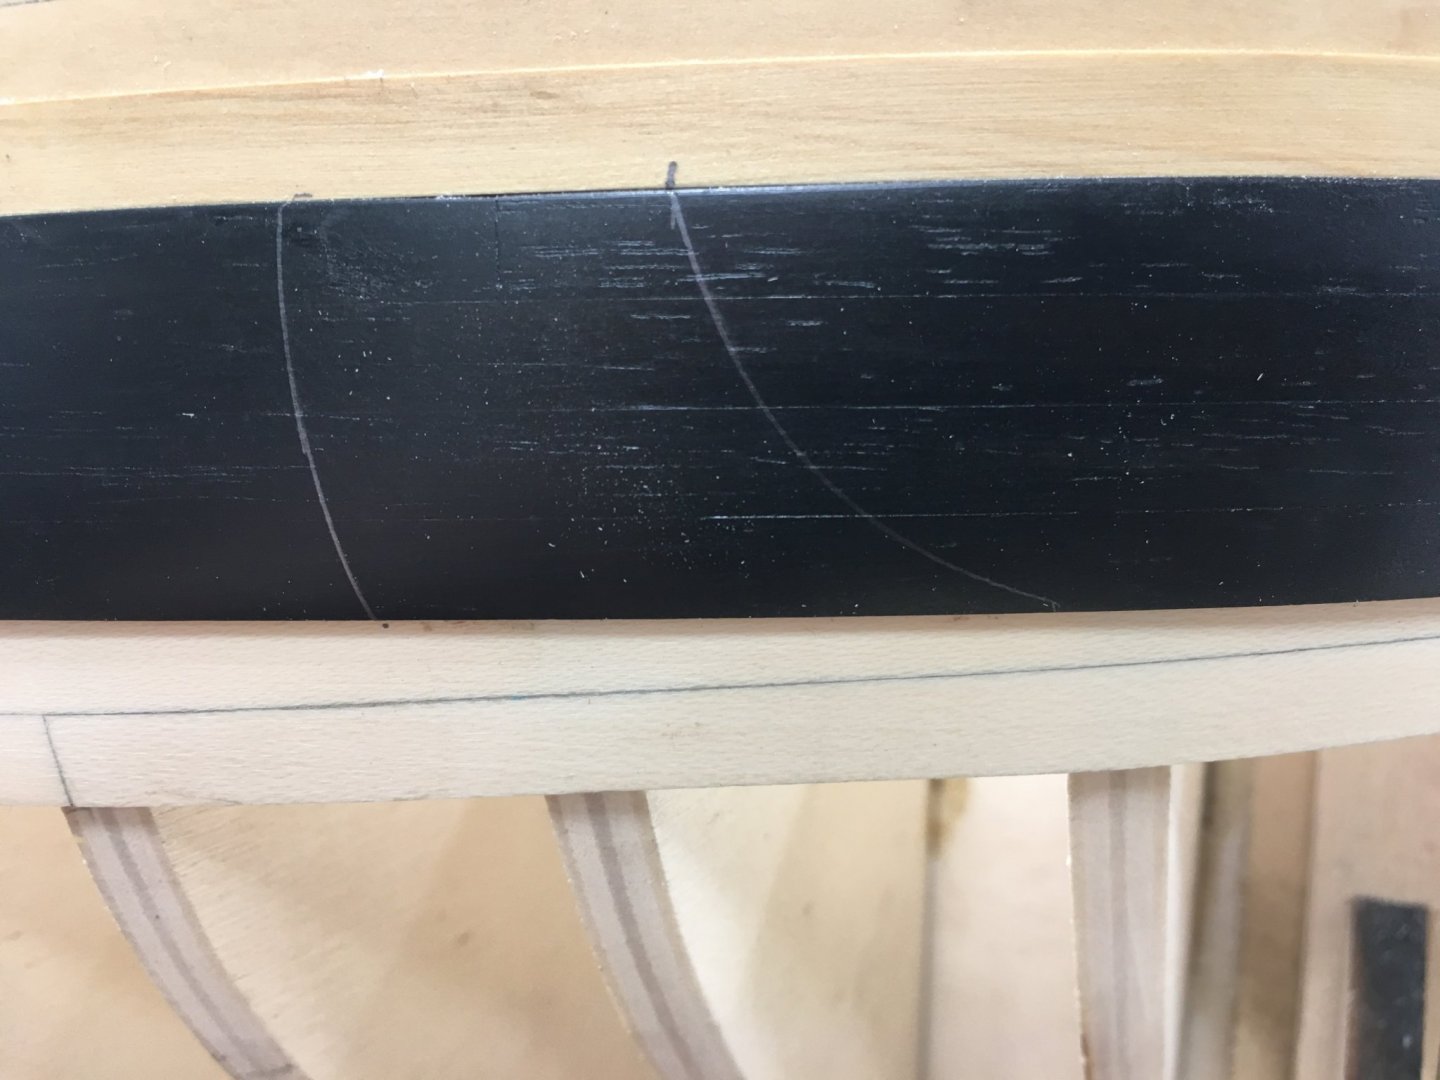
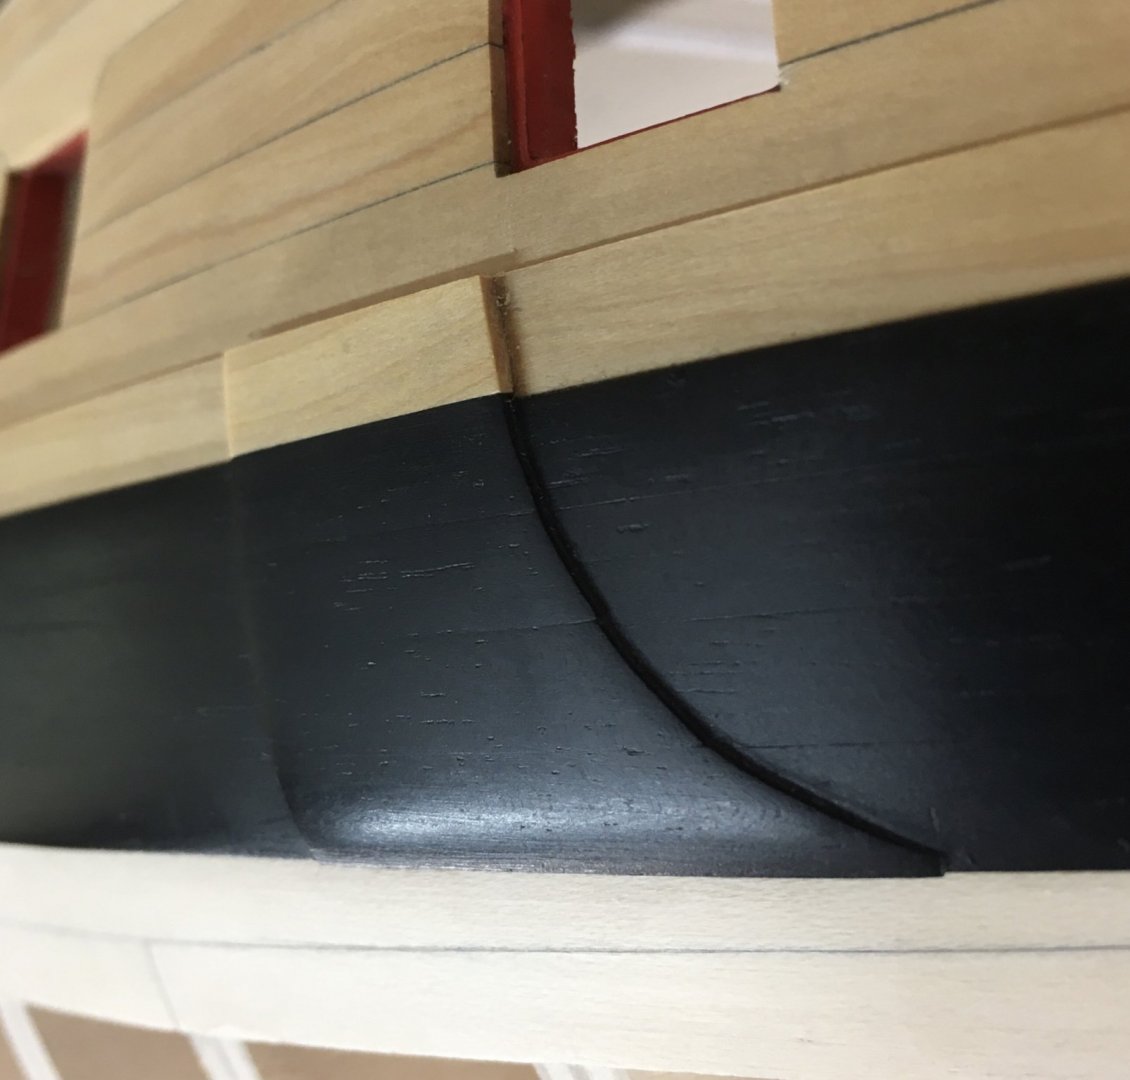
Oops, Just remembered the anchor lining, I copied it’s shape from the plans into position and made up individual planks of ebony/box.
- 399 replies
-
- 21
-
-
- winchelsea
- Syren Ship Model Company
- (and 1 more)
-
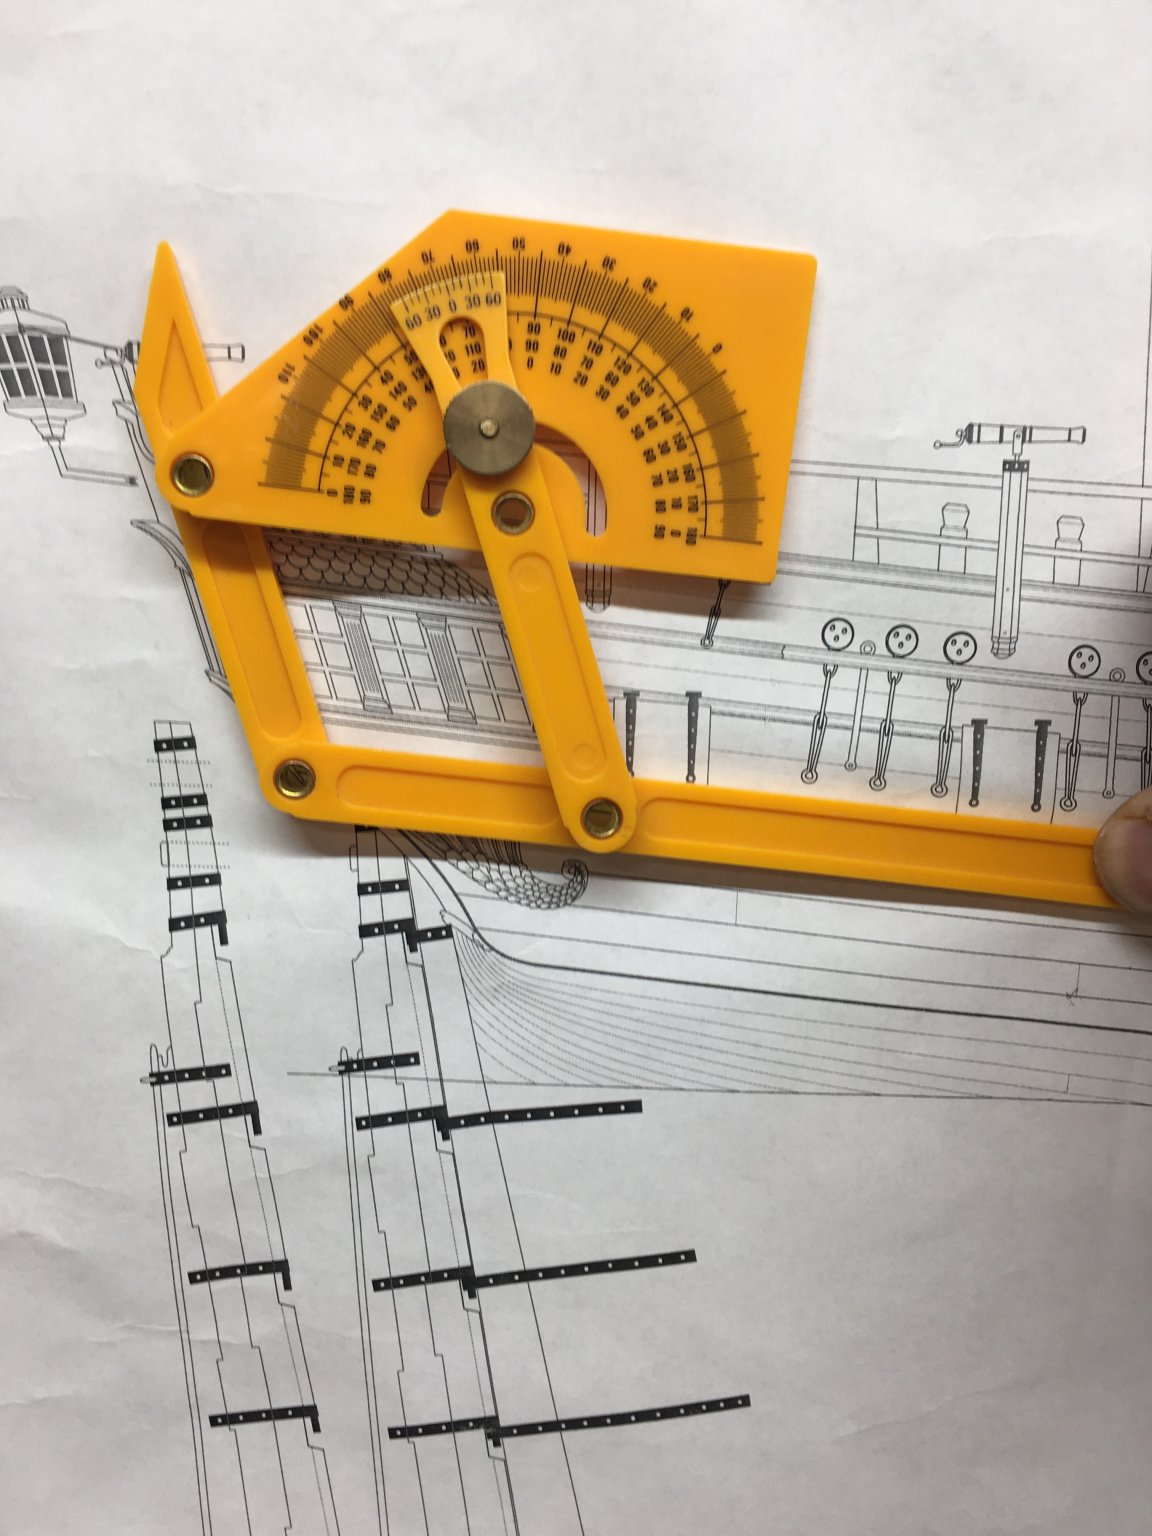
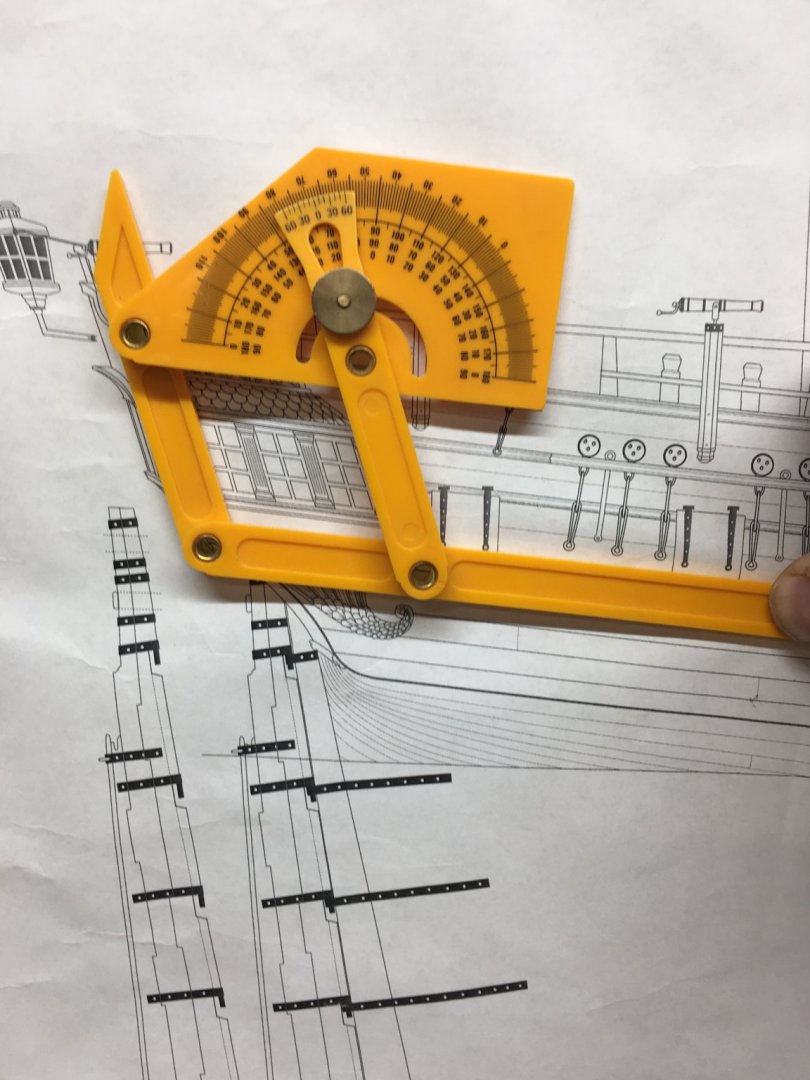
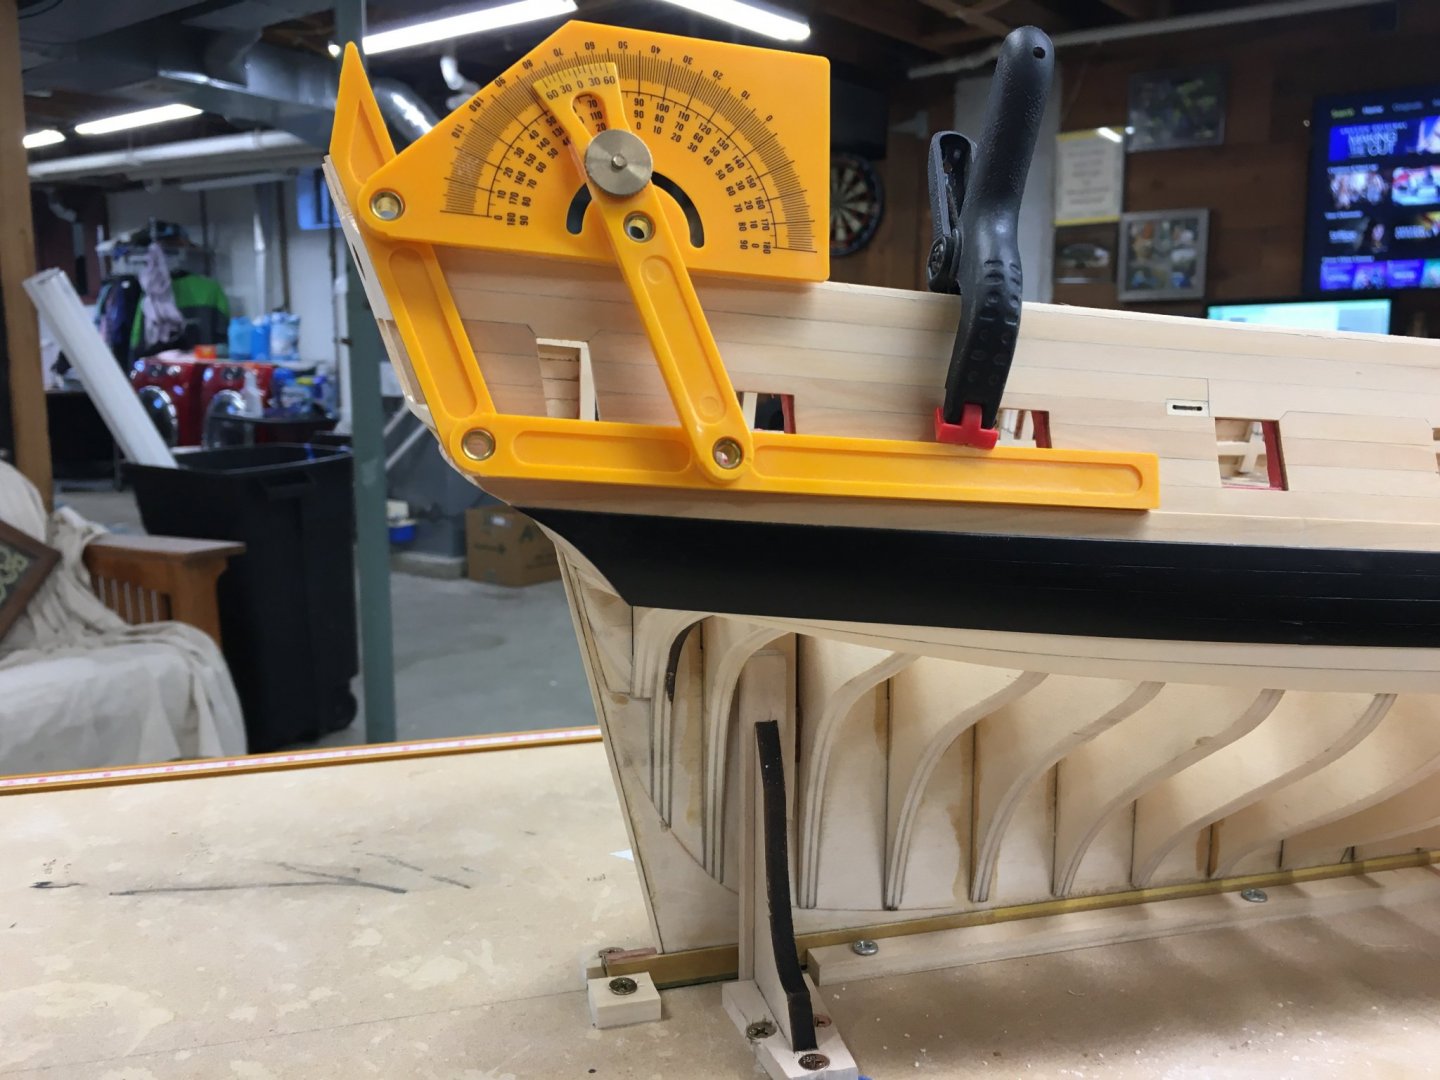
Hey Bob, It just an ordirnary angle finder/protractor used in woodworking, cheap enough at about $7 on amazon. https://www.amazon.com/General-Tools-29-Plastic-Protractor/dp/B00004T7P5/ref=sr_1_18?dchild=1&keywords=angle+gauge&qid=1586714090&sr=8-18 ben
- 399 replies
-
- 4
-
-
- winchelsea
- Syren Ship Model Company
- (and 1 more)
-
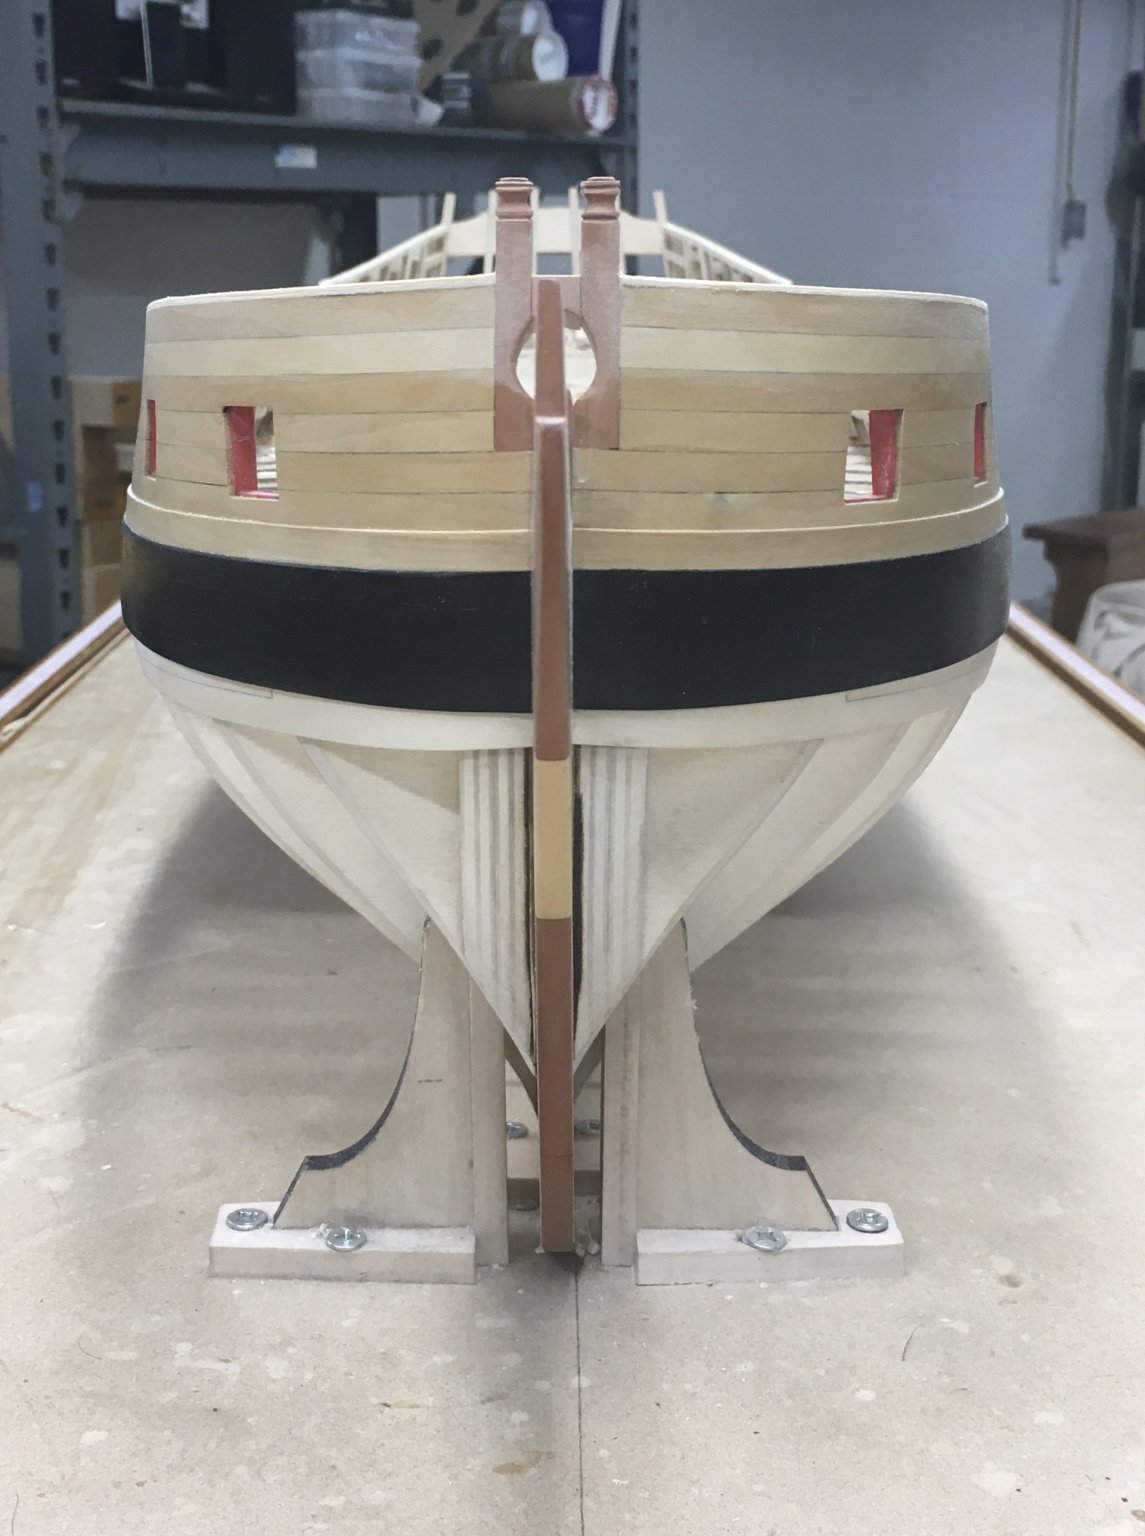
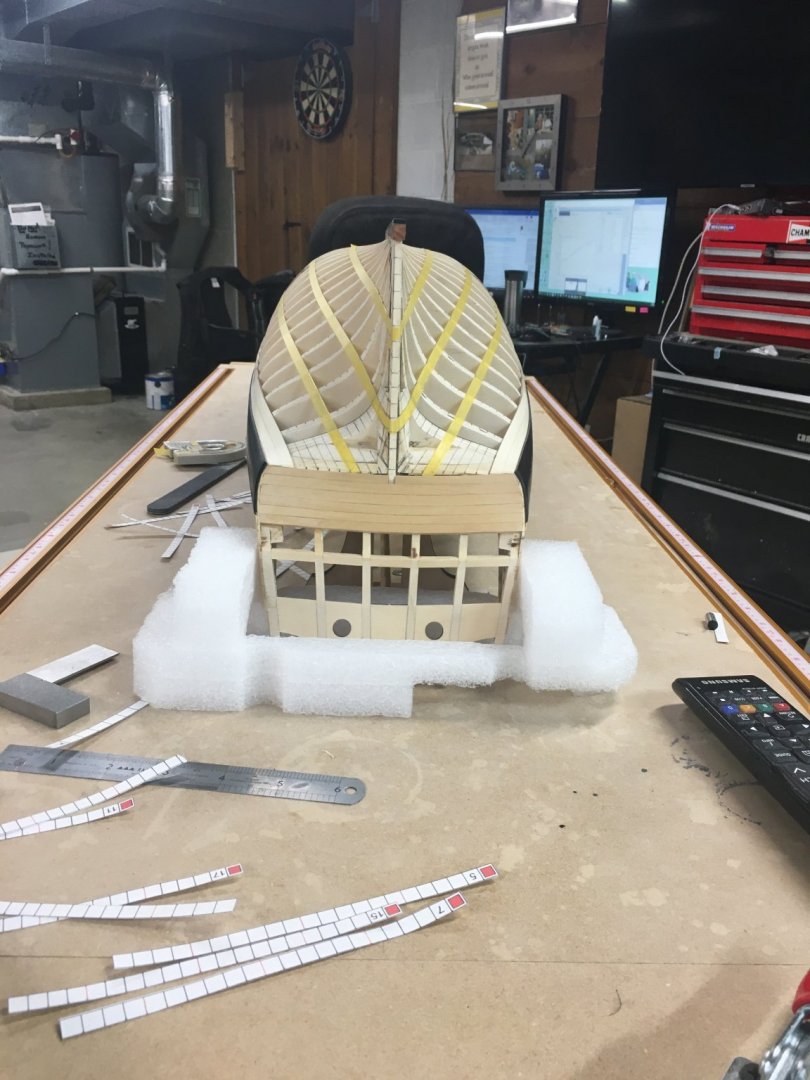
Thanks Chuck, Just a shot of my double checking the angle of the transom, making sure its good compared to the plans, so I hope to have no issues when it comes to the Quarter Gallery installation. ben
- 399 replies
-
- 13
-
-
- winchelsea
- Syren Ship Model Company
- (and 1 more)
-
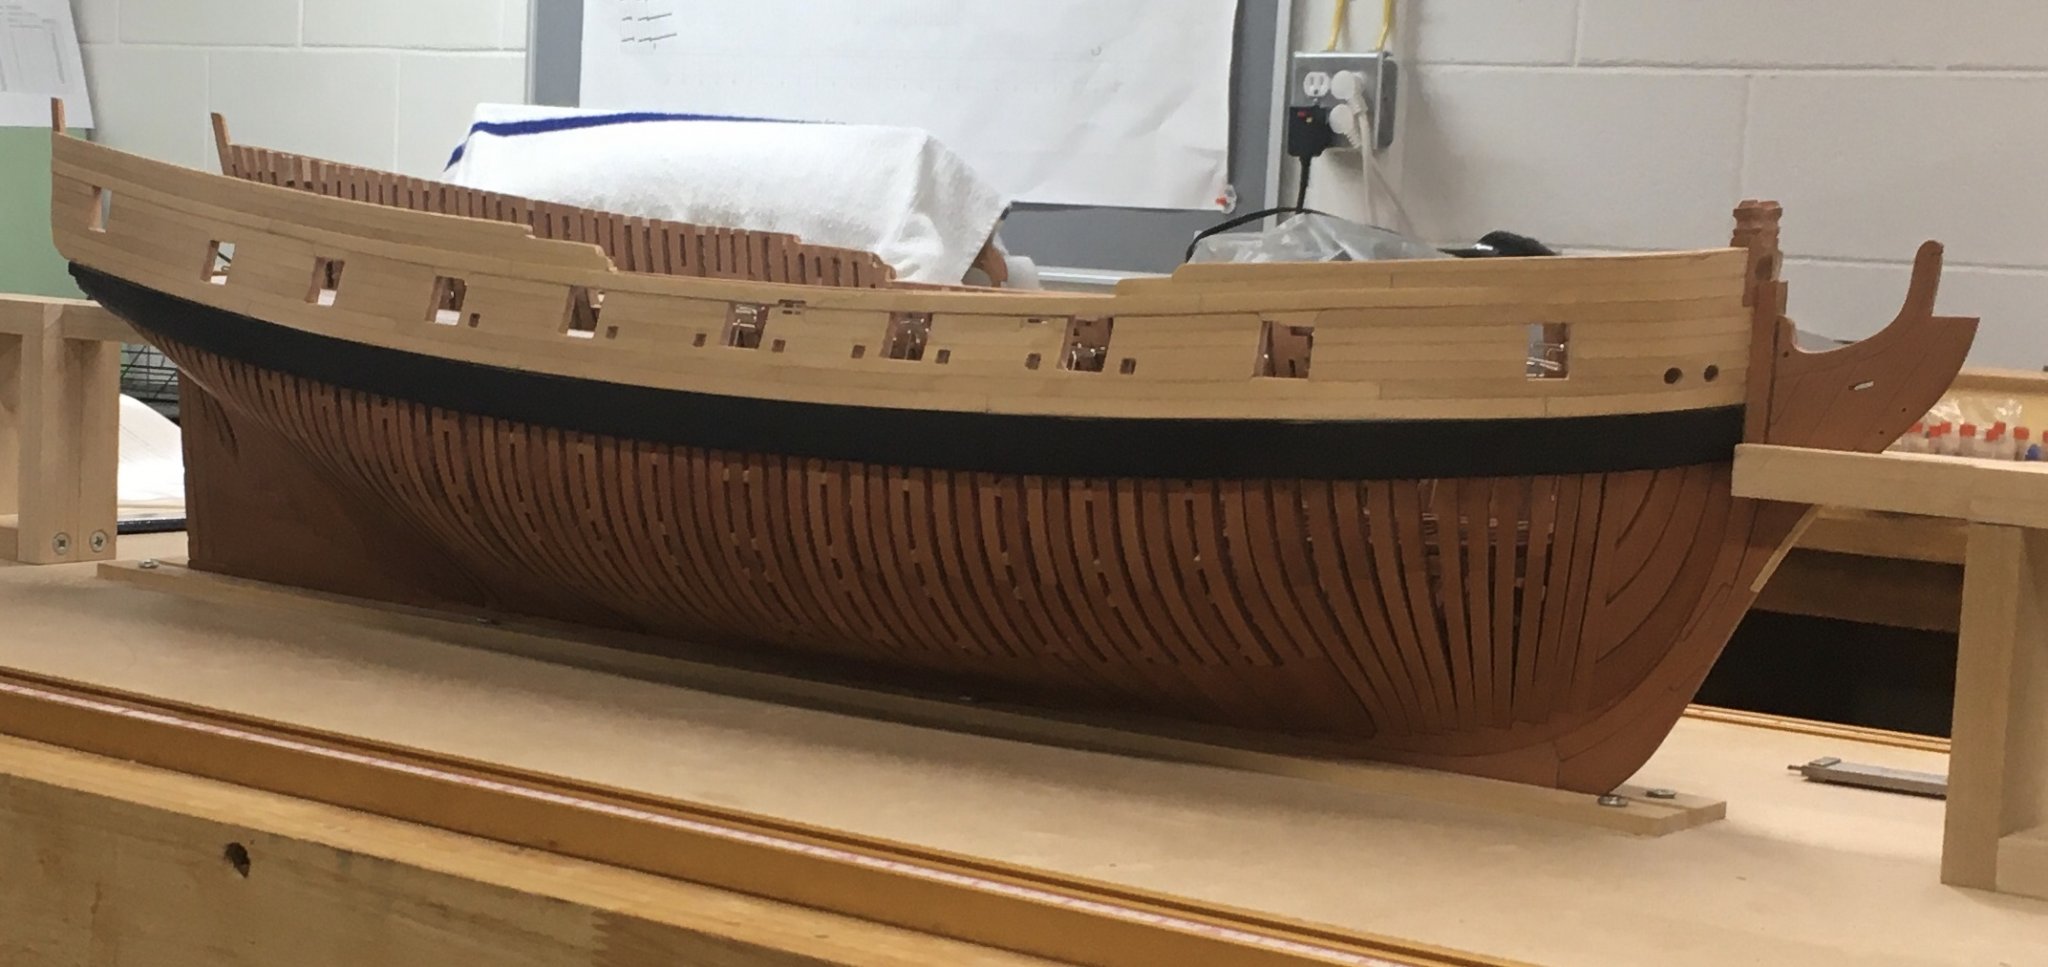
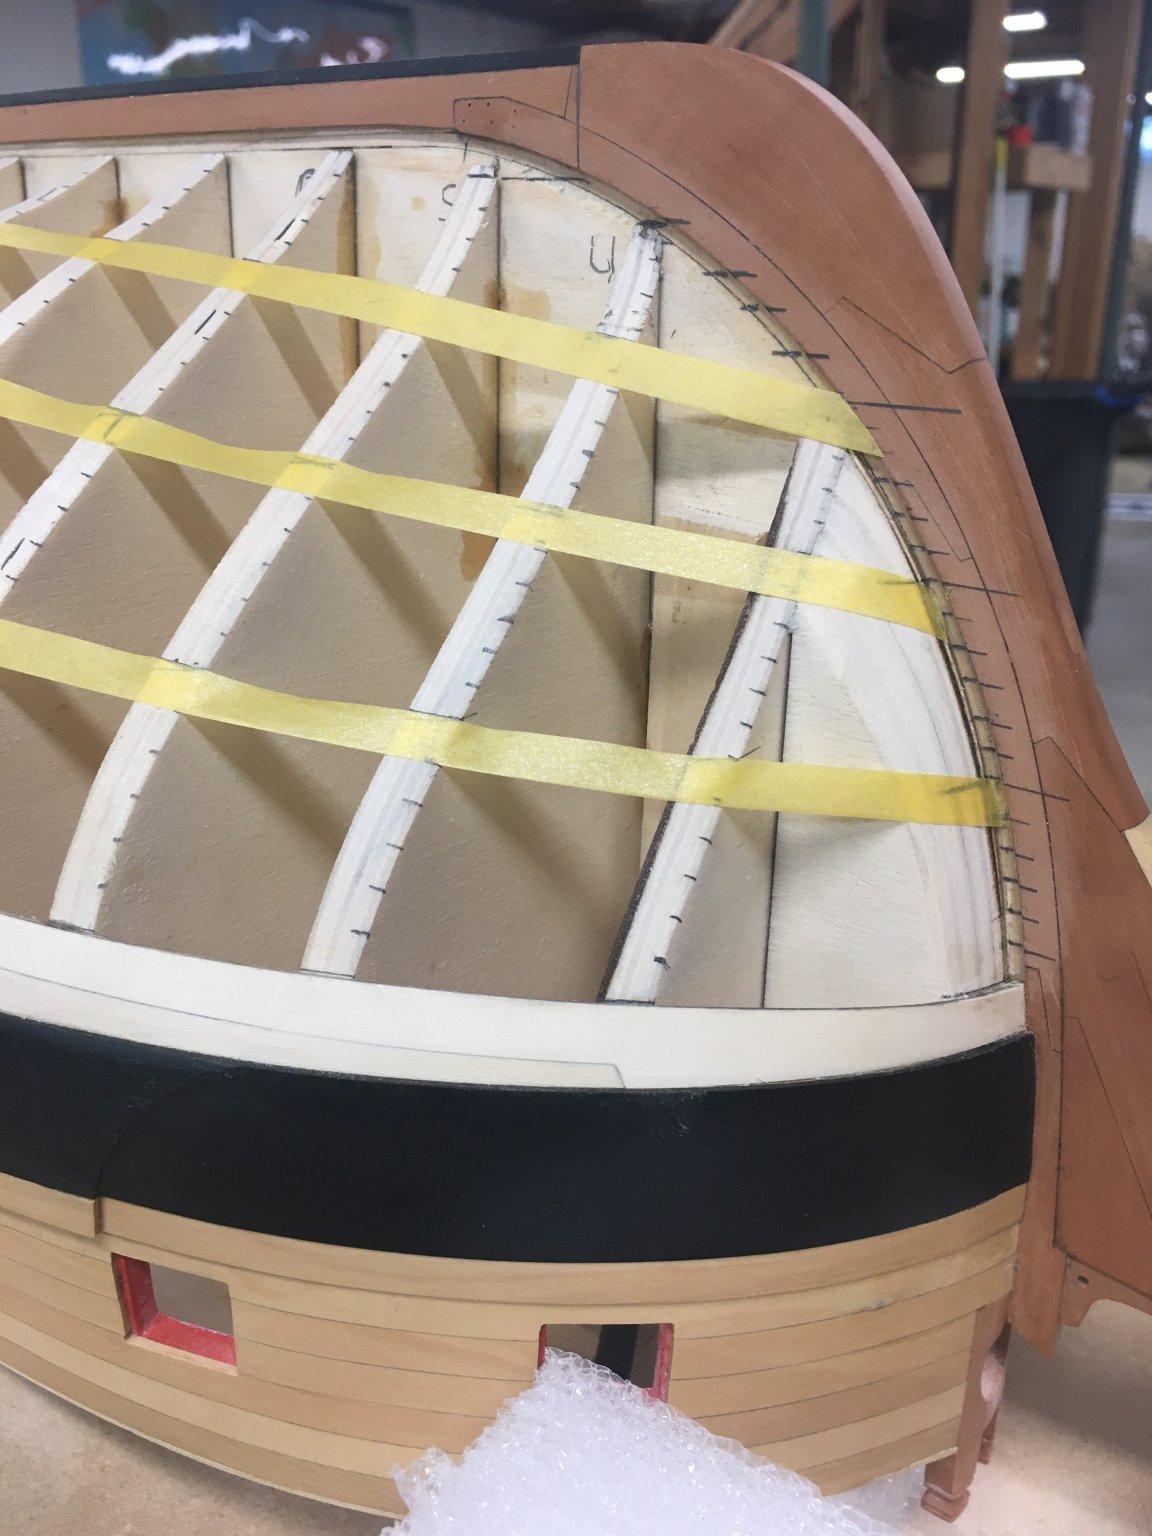
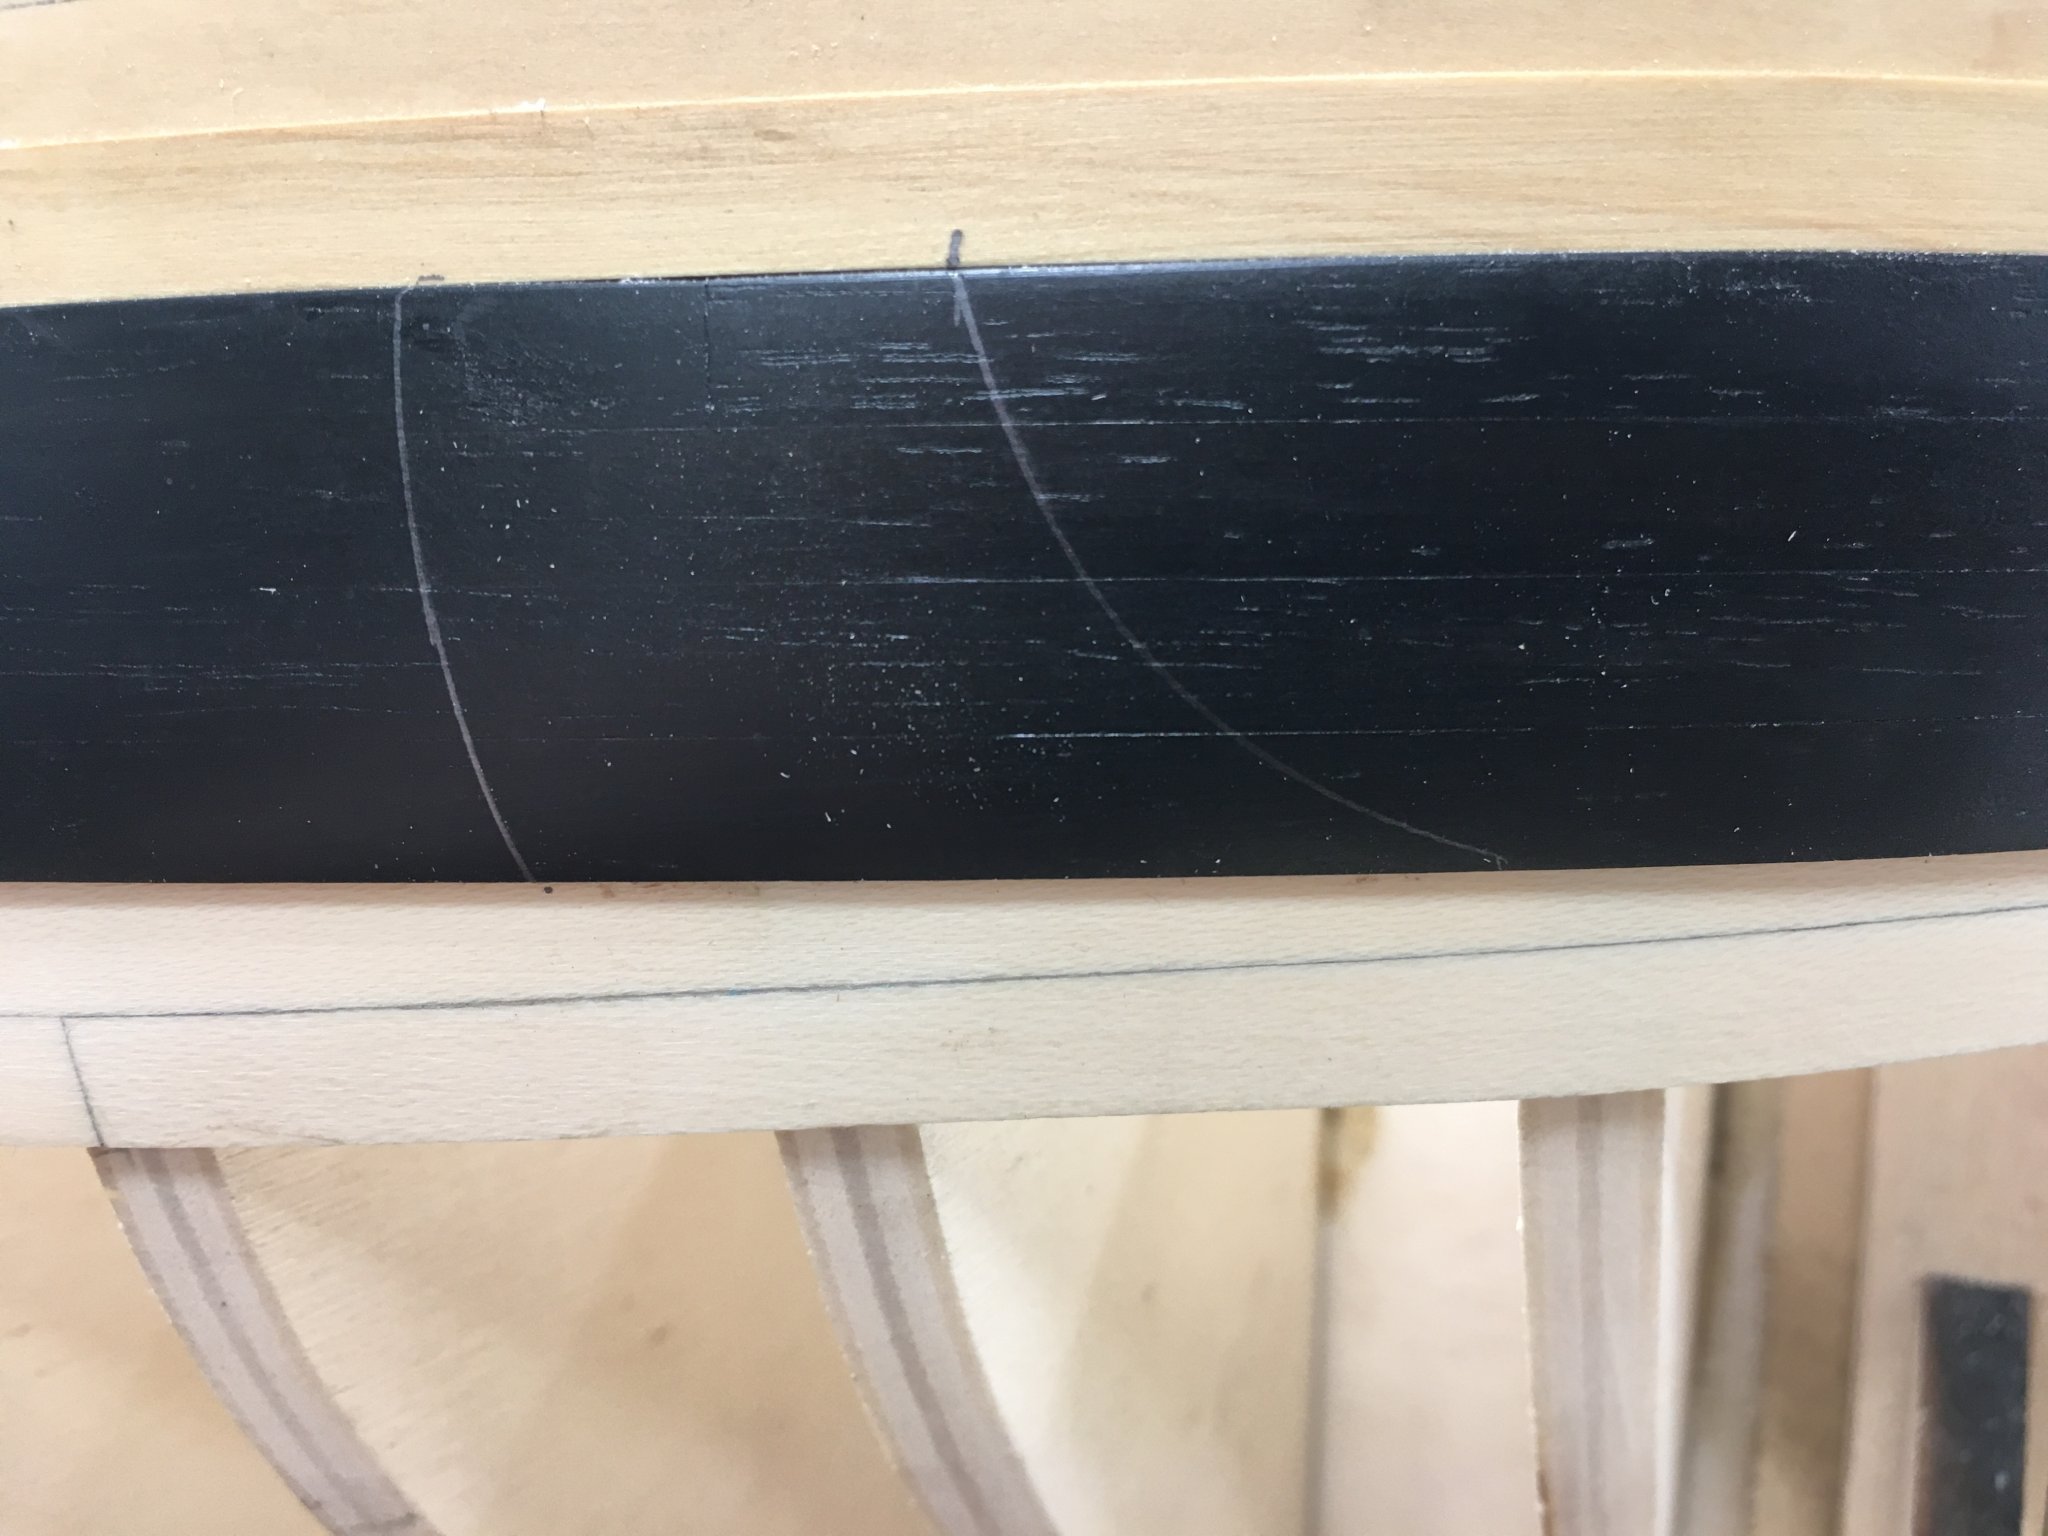
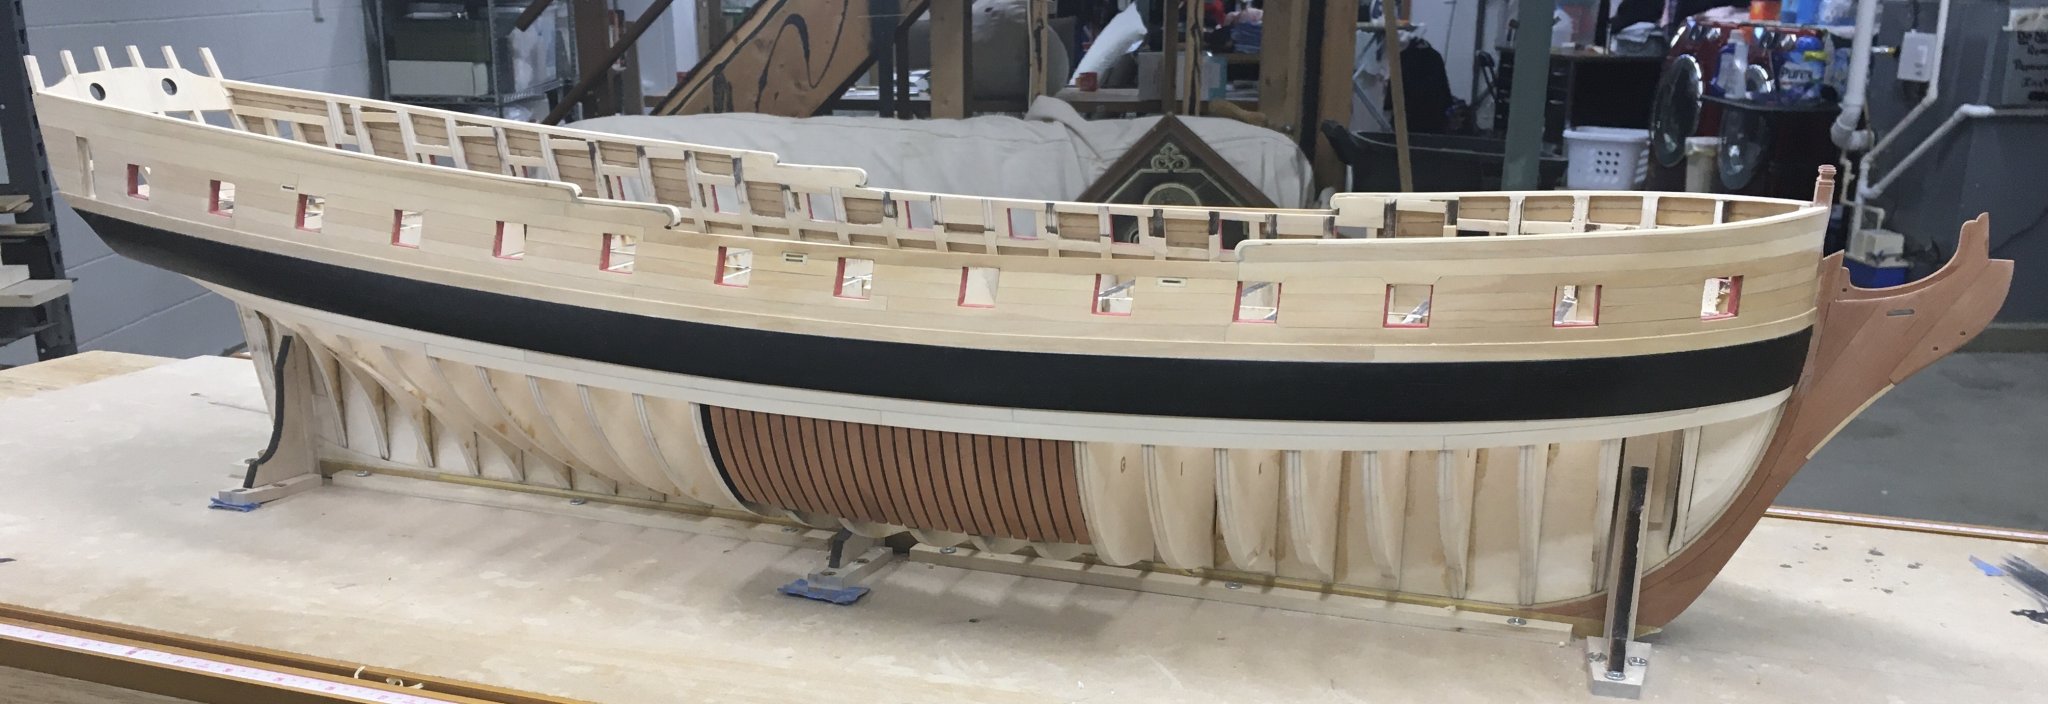
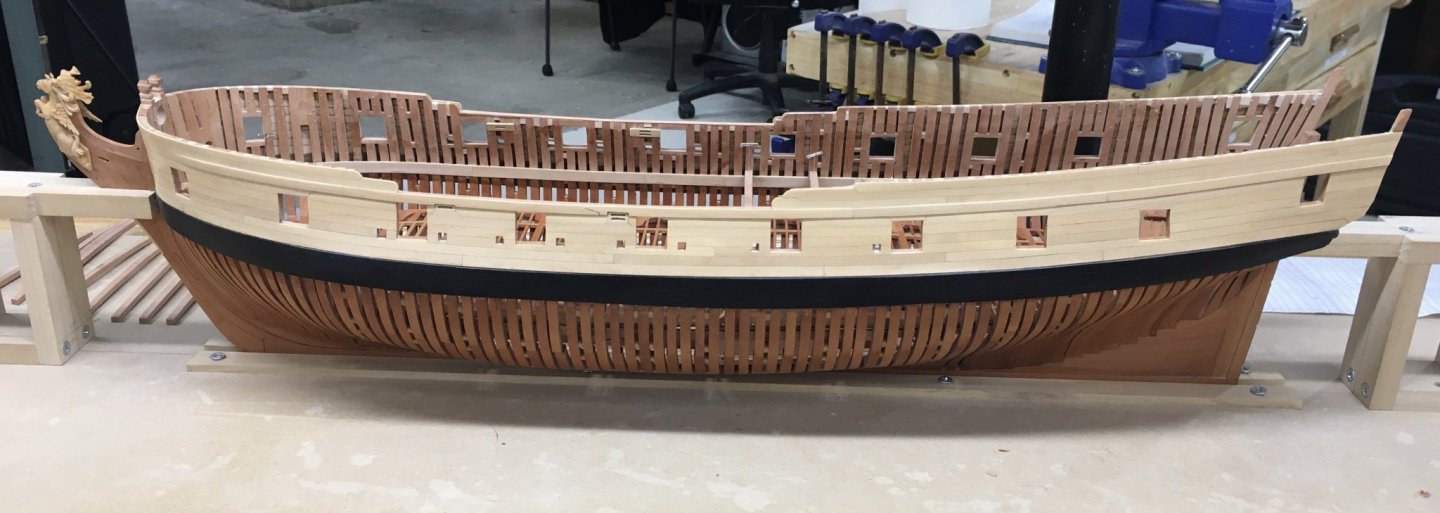
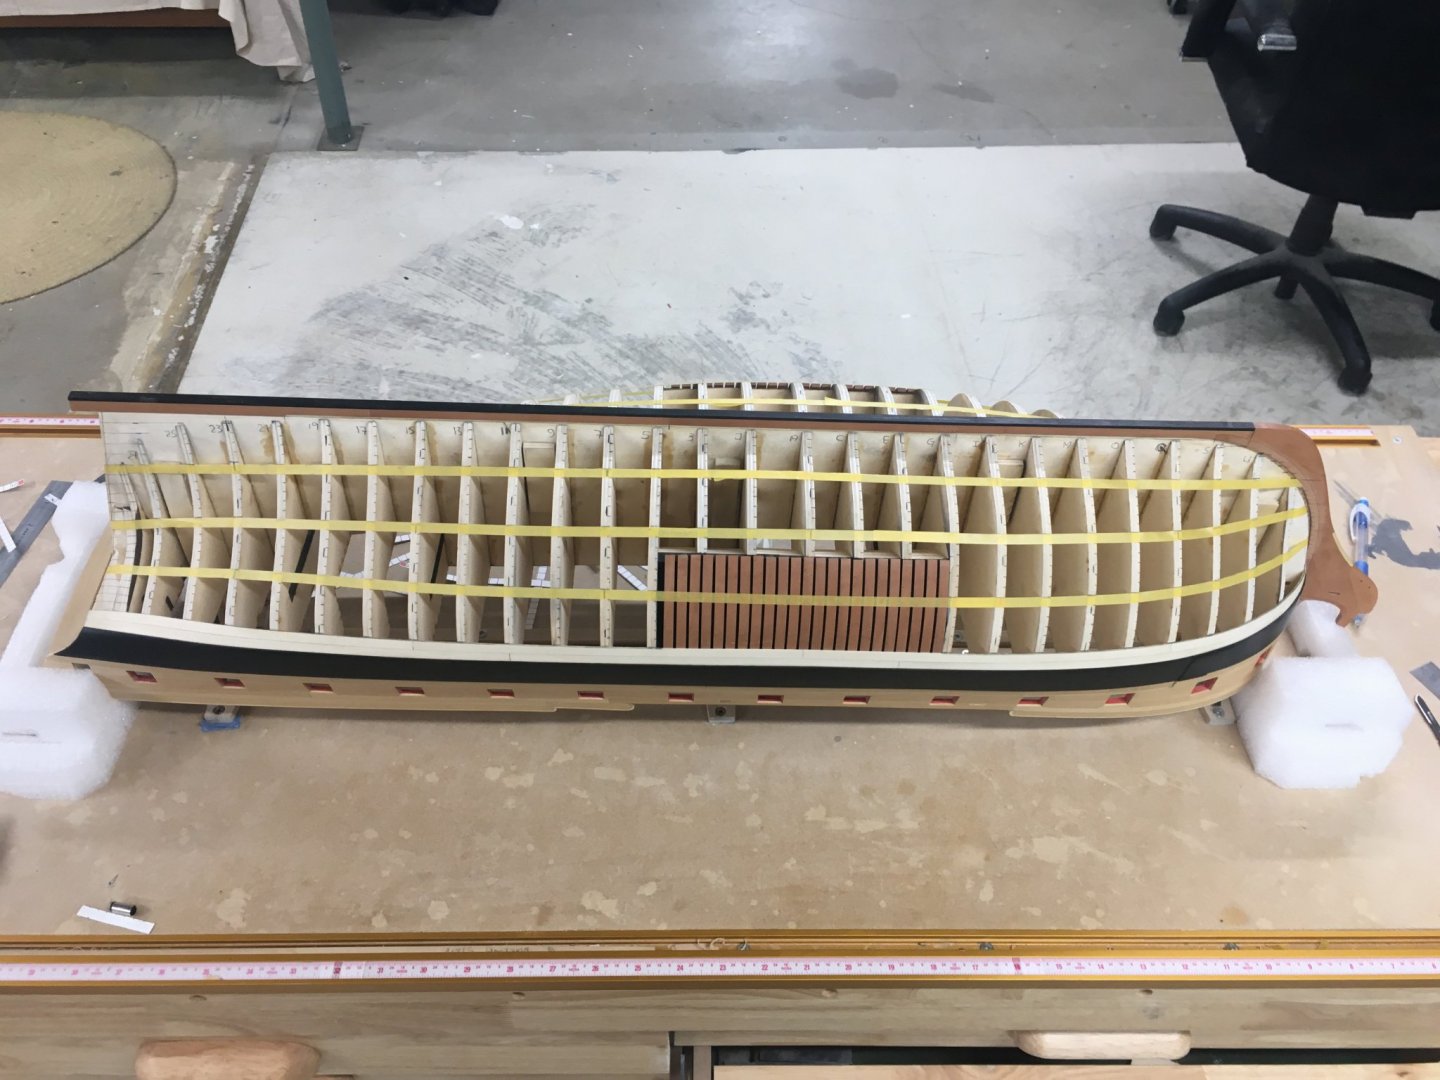
I have completed installation of the Ebony wales, black strake in Boxwood and the sheer cap in AYC. The Two strakes below the wales and the rest of the lower planking will be made from white american Holly as you can see, I like the contrast against the super black of the ebony. I now have to begin fairing the internal bulkheads down to the proper thickness and then start lining off the lower hull - It will be a while until the next update. ben


- 399 replies
-
- 15
-
-
- winchelsea
- Syren Ship Model Company
- (and 1 more)
-
Hi and Thanks, To answer your question Hubac, the Swan class is quite a small ship at 96'7" long, and at 1:48 that equates to a 24" model ( length of main deck as per normal convention ), but if you rig her which I have not quite made my mind to do but I am leaning that way it will be quite a bit bigger, but still in the realms that the display case would not be too massive. ben
-
Superb work by both of you, I cannot wait to see you rig her Greg. A shame about all the meetings being called off - I would maybe of tried to come and see her and you at New London. ben
-
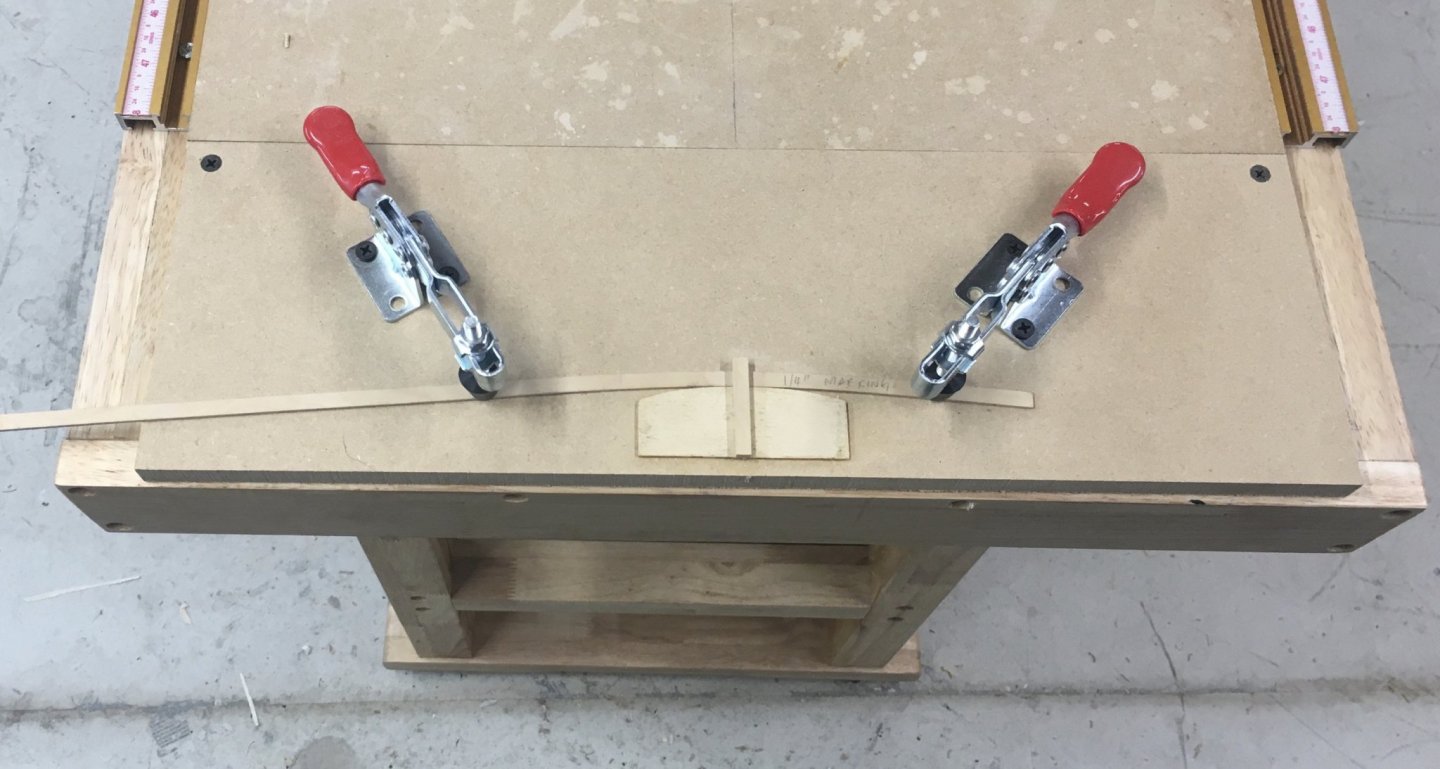
Thought I’d share a picture of the plank bending station that I made, very similar to Chucks with a few refinements of my own, it’s screwed onto the end of the build table of Winchelsea to keep everything close and together ready for when the time comes to add the two strakes below the Wales and when bottom planking really gets started. ben
- 399 replies
-
- 18
-
-
- winchelsea
- Syren Ship Model Company
- (and 1 more)
-
Thanks Druxey, I just wish I could live up to yours and Greg's standards for a build! I am trying my best to get better every time - and this is the best I can do so far! Spectacles are now are part of my life! ben
-
Thanks Everyone - I'm switching back to Pegasus for a bit, see you soon. ben
- 399 replies
-
- 3
-
-
- winchelsea
- Syren Ship Model Company
- (and 1 more)