HOLIDAY DONATION DRIVE - SUPPORT MSW - DO YOUR PART TO KEEP THIS GREAT FORUM GOING! (89 donations so far out of 49,000 members - C'mon guys!)
×


Trussben
-
Posts
2,005 -
Joined
-
Last visited
Content Type
Profiles
Forums
Gallery
Events
Everything posted by Trussben
-
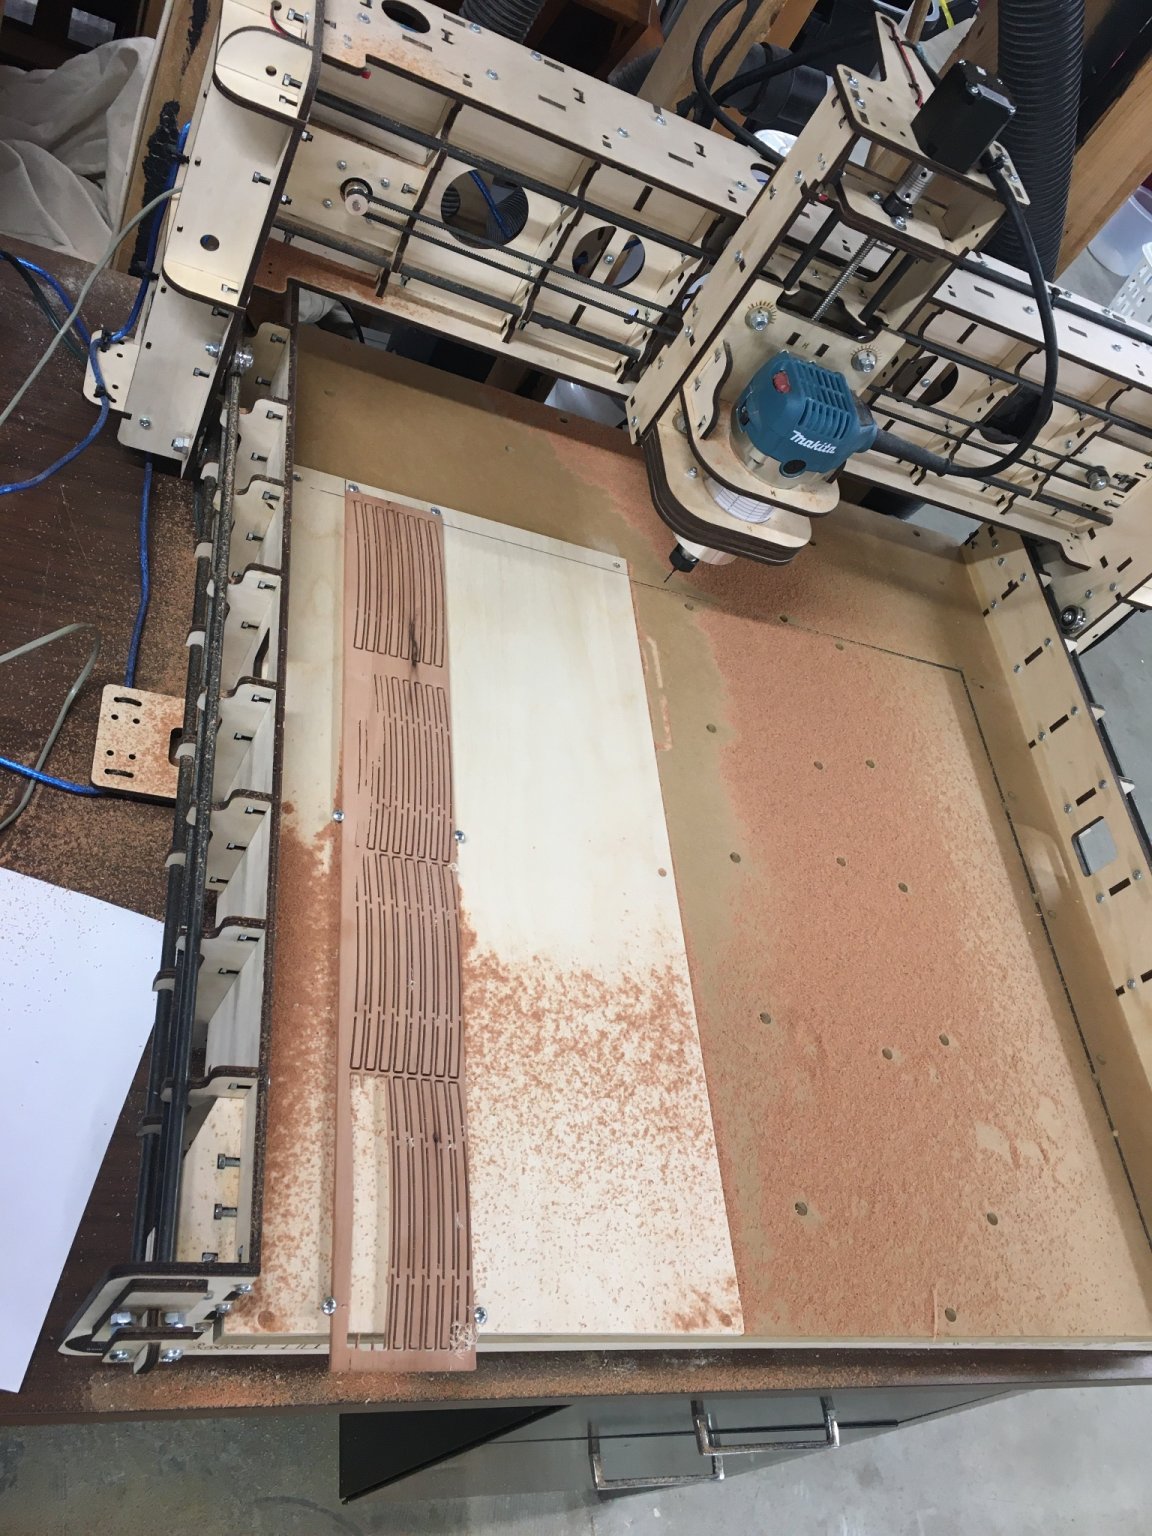
 Thanks J - it’s a BobsCNC EVO4 and yes you have to assemble it which takes a few days to do it right.
 -
I’m still working on the upper deck framing but I need to start thinking about the forecastle and Quarter deck beams and hooks, so using a new tool in the workshop that I have been learning, I cut all the beams out of some pear stock.

- 889 replies
-
- 18
-

-
Import into a CAD program using "insert raster image", trace the lines, splines etc, then delete the image and check if everything looks good before saving as a .dxf file which a CAM software can then open.
-
Thanks All, It always surprises me how that light pink of the good quality Swiss pear I got from Jeff darkens to that beautiful deep reddish hue after a few months, superb quality wood! I wish Jeff or someone of his caliber was still around, we shall miss him for a long time in this hobby! ben
-
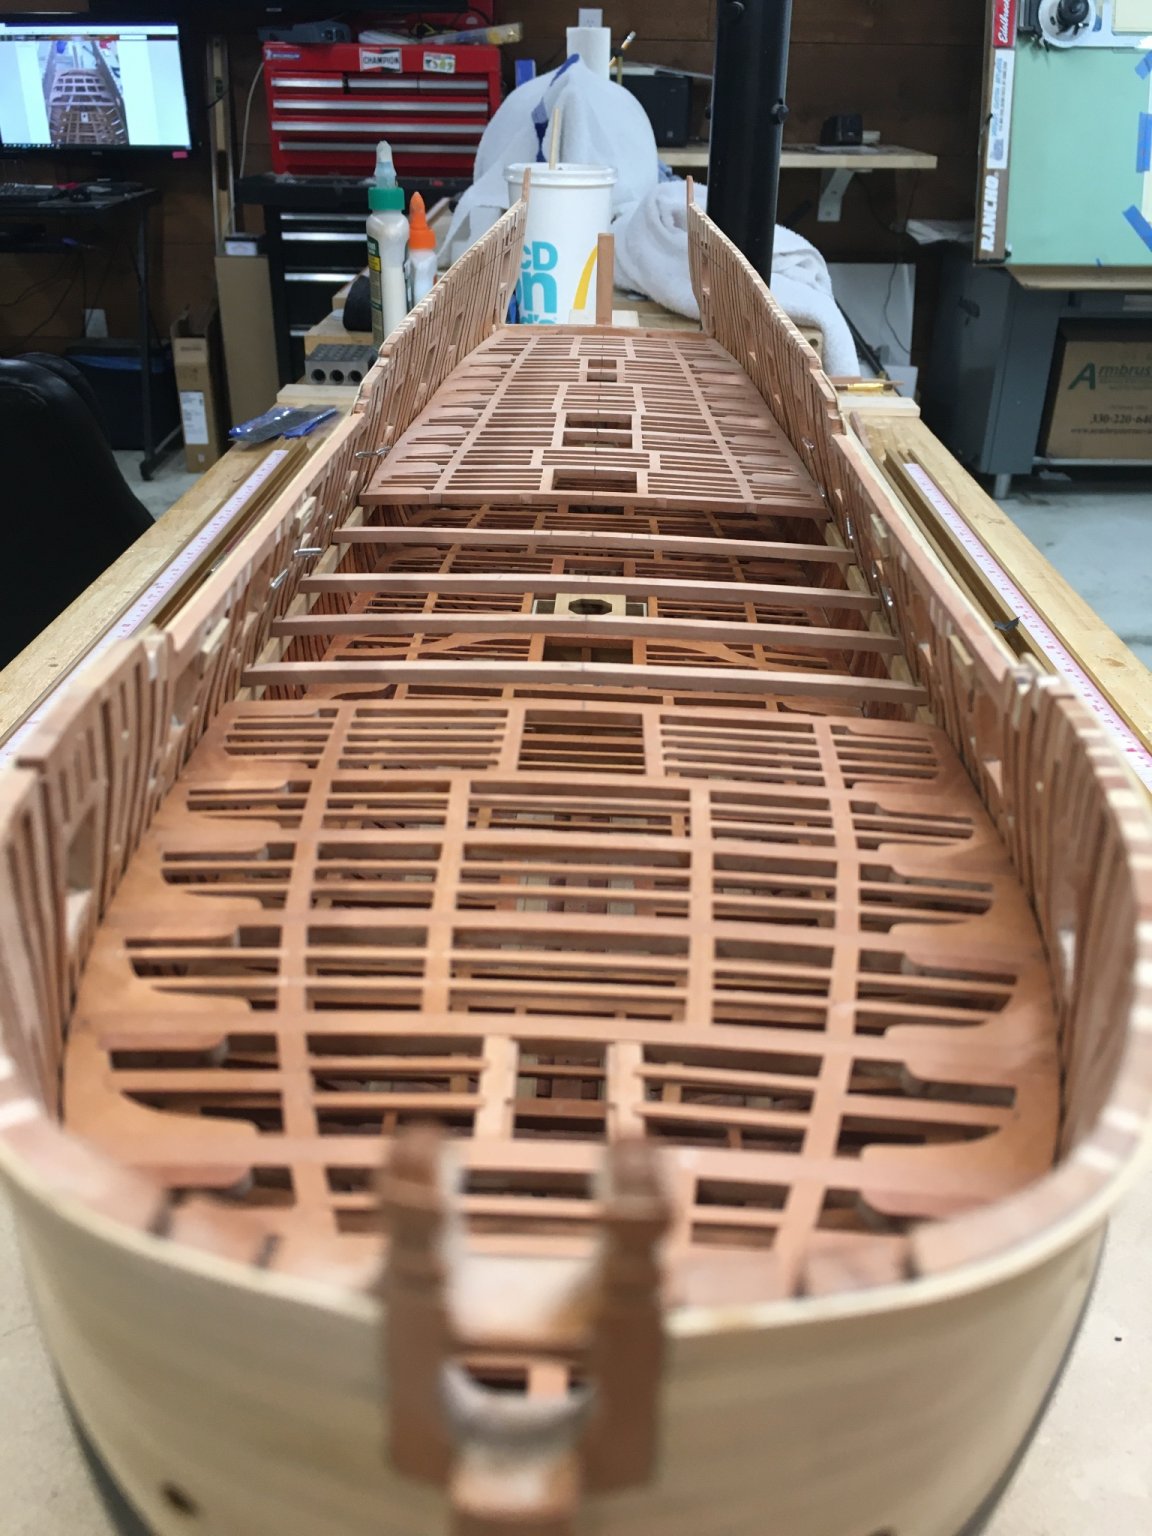
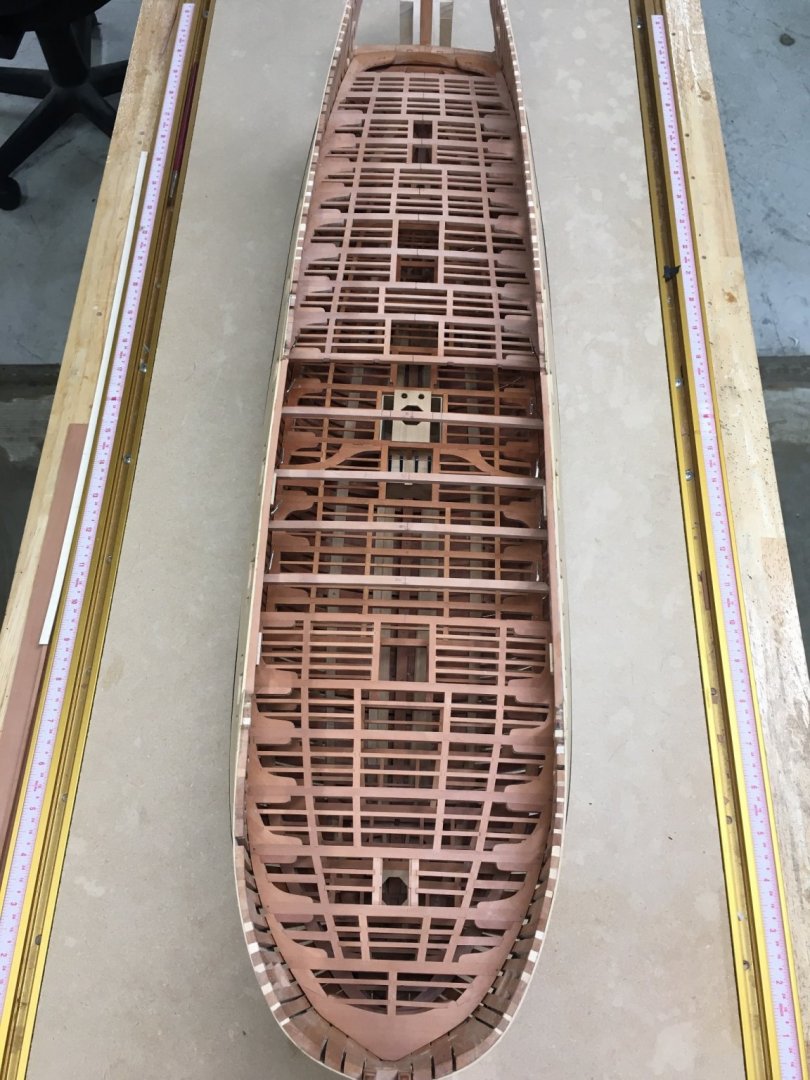
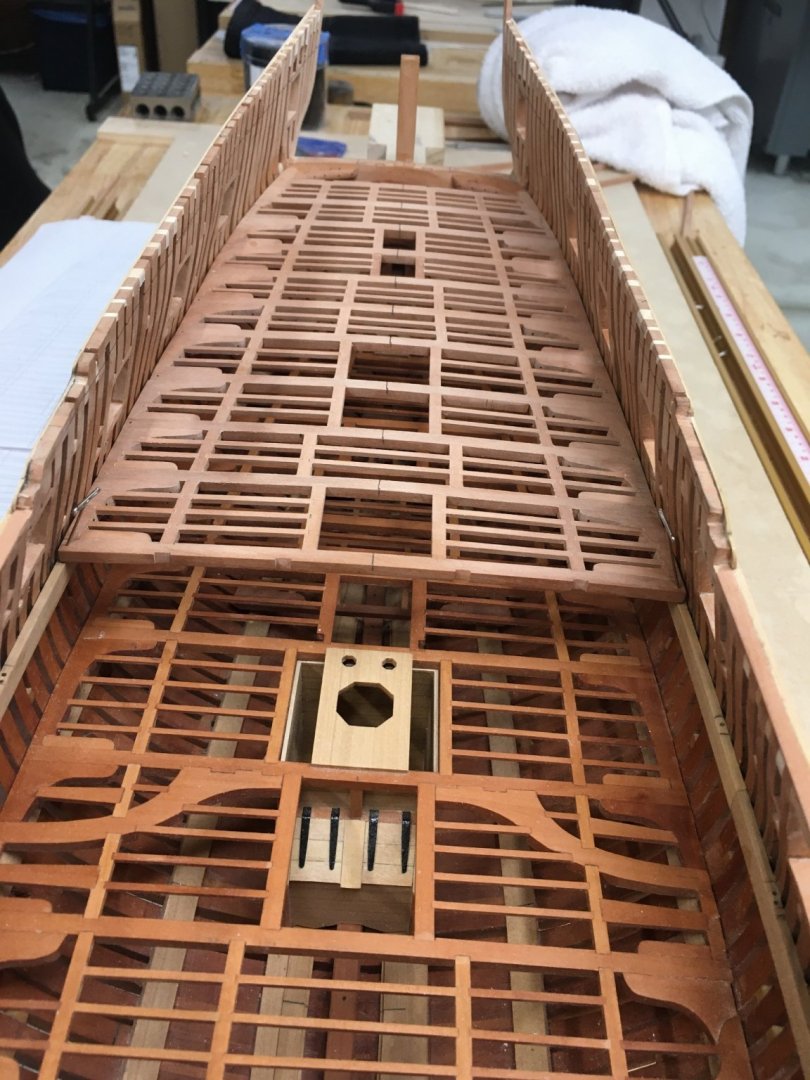
Thanks Everyone, Work on the upper deck aft framing is almost complete and I just have to tie it in with the Wing Transom now. Then there are the five trickier mid sections to complete the upper deck.

- 889 replies
-
- 37
-
-
Very Very Nice Michael, turned out beautifully. You have the same cases that I used then? Look forward to see what you come up with next. ben
- 221 replies
-
- 2
-
-
- queen anne barge
- Syren Ship Model Company
- (and 1 more)
-
I'm in no rush to finish either build and I have limited modelling time, but I find taking a break from one build for a while and working on the other keeps me interested in both, a scratch fully framed model is a long term project especially if you want good results - there are no shortcuts. Keep up the good work. ben
-
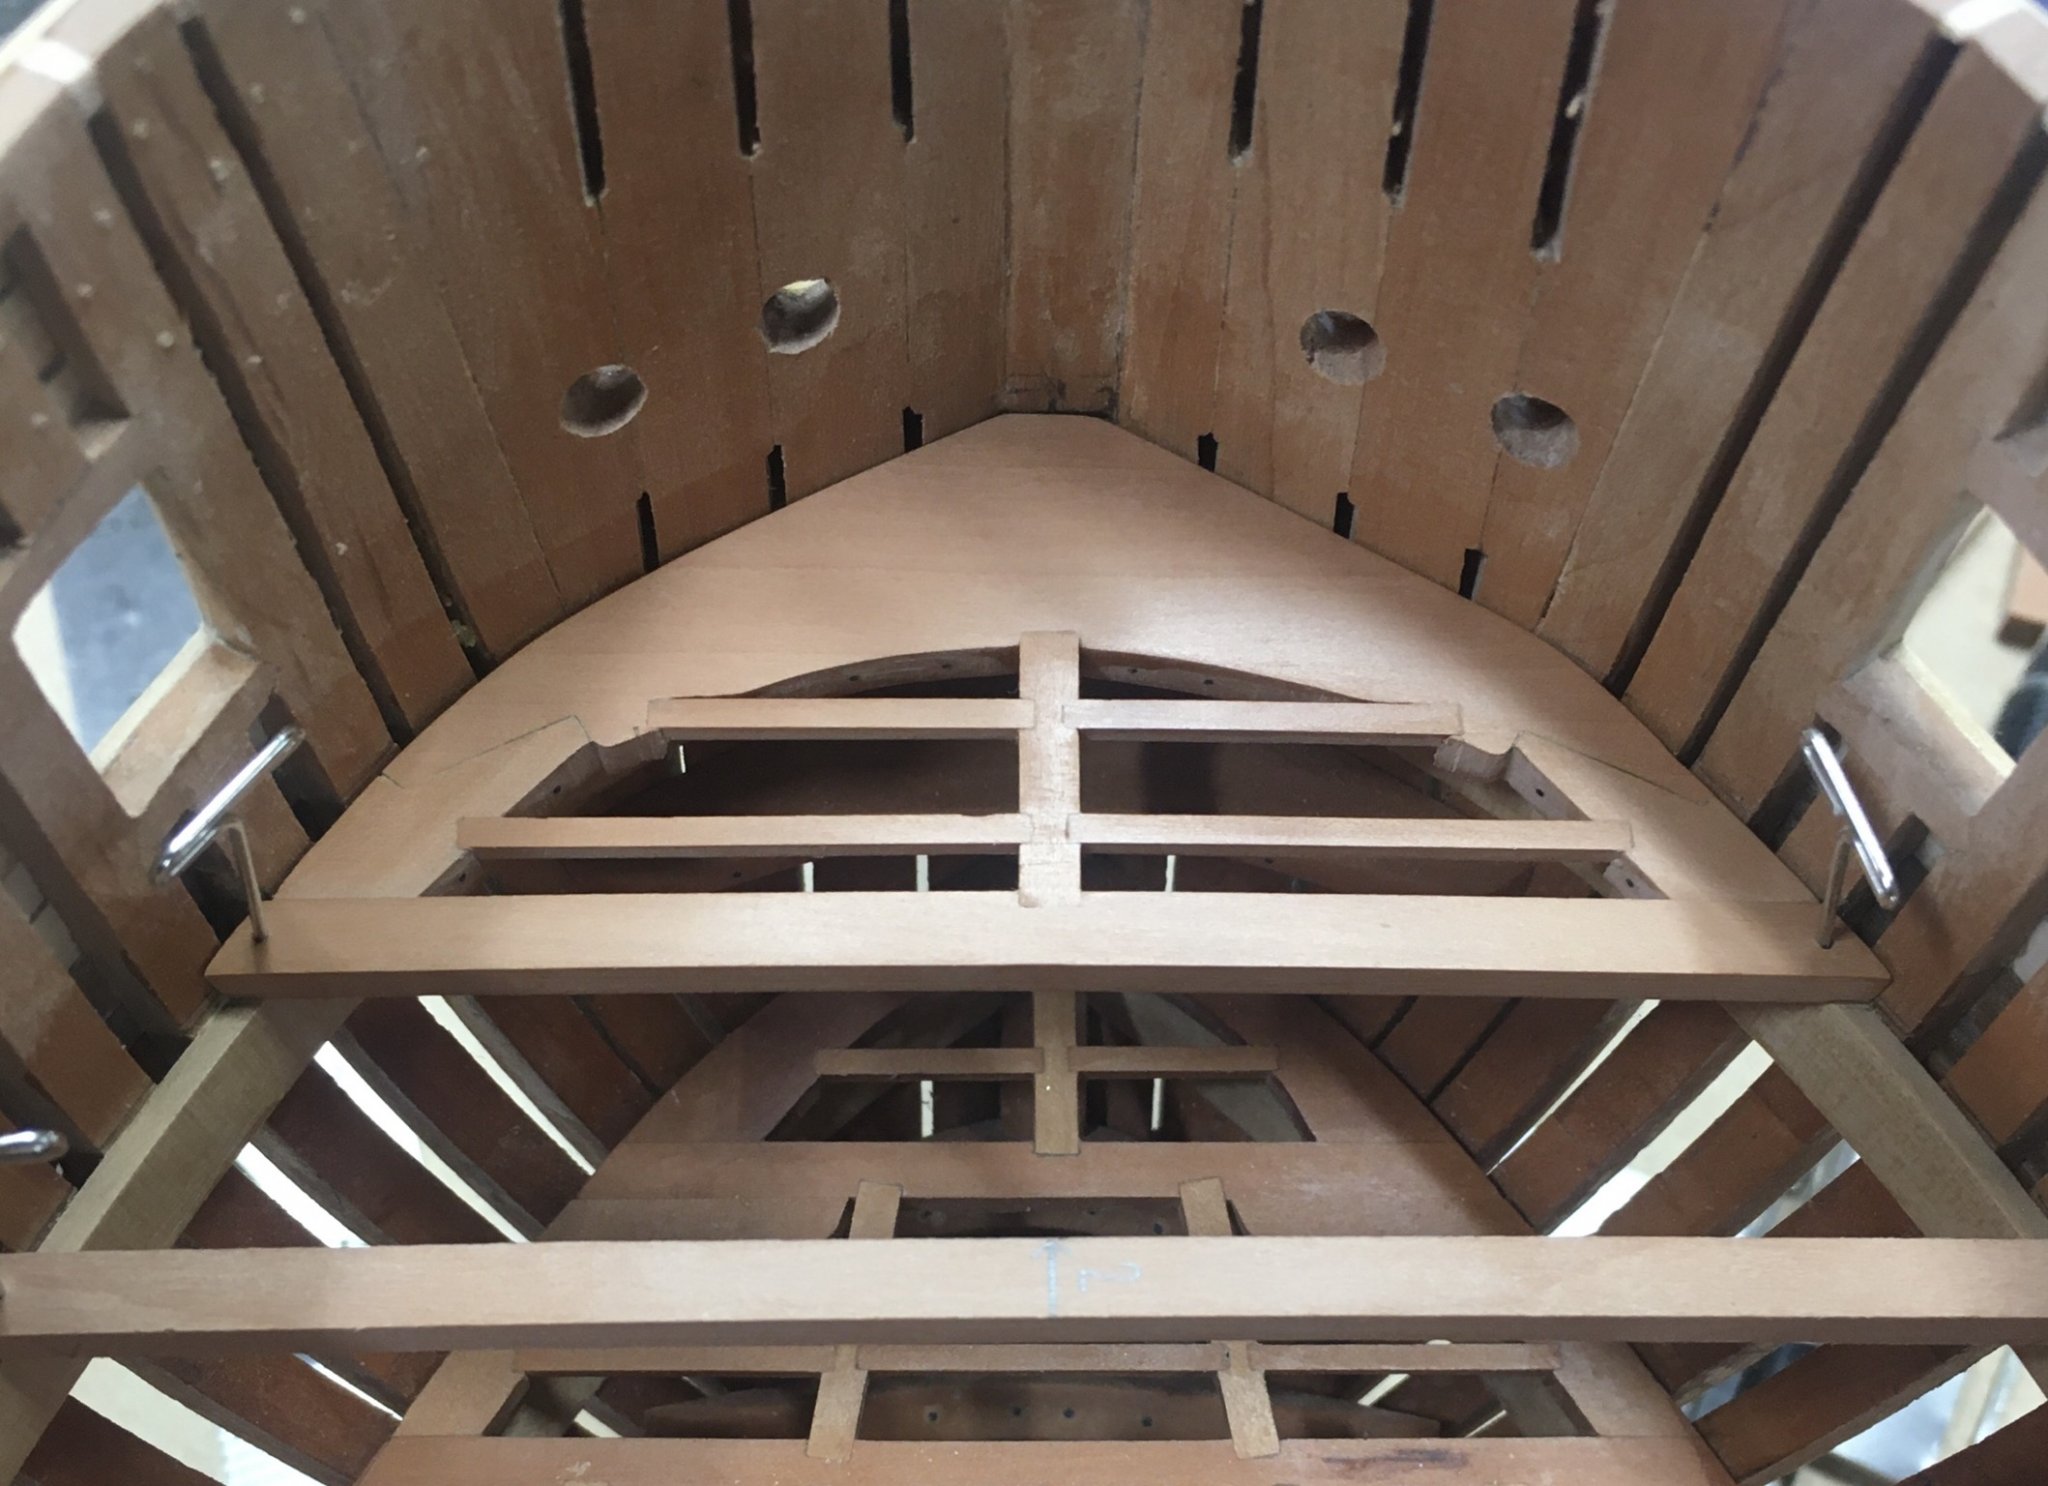
That cross chock sure is a fun piece to make I remember. Looks to me that you have made a fine start. ben
-
The ribbands would be temp while the hull was constructed, normally 4x4" full size timbers and they would run along the line of the floor/futtock joints ( where each of the frames was chock jointed to the next piece ).
- 322 replies
-
- 2
-
-
- enterprise
- caf
- (and 1 more)
-
The stern frames are called "transoms" Is it the pictures or does the cherry really have that much color variation??
- 322 replies
-
- 2
-
-
- enterprise
- caf
- (and 1 more)
-
Patrick, When you added the treenails to the Ebony wales, did you use the same "putty/paste" as you used on the other planking? It looks like quite a light color against the ebony? ben
-
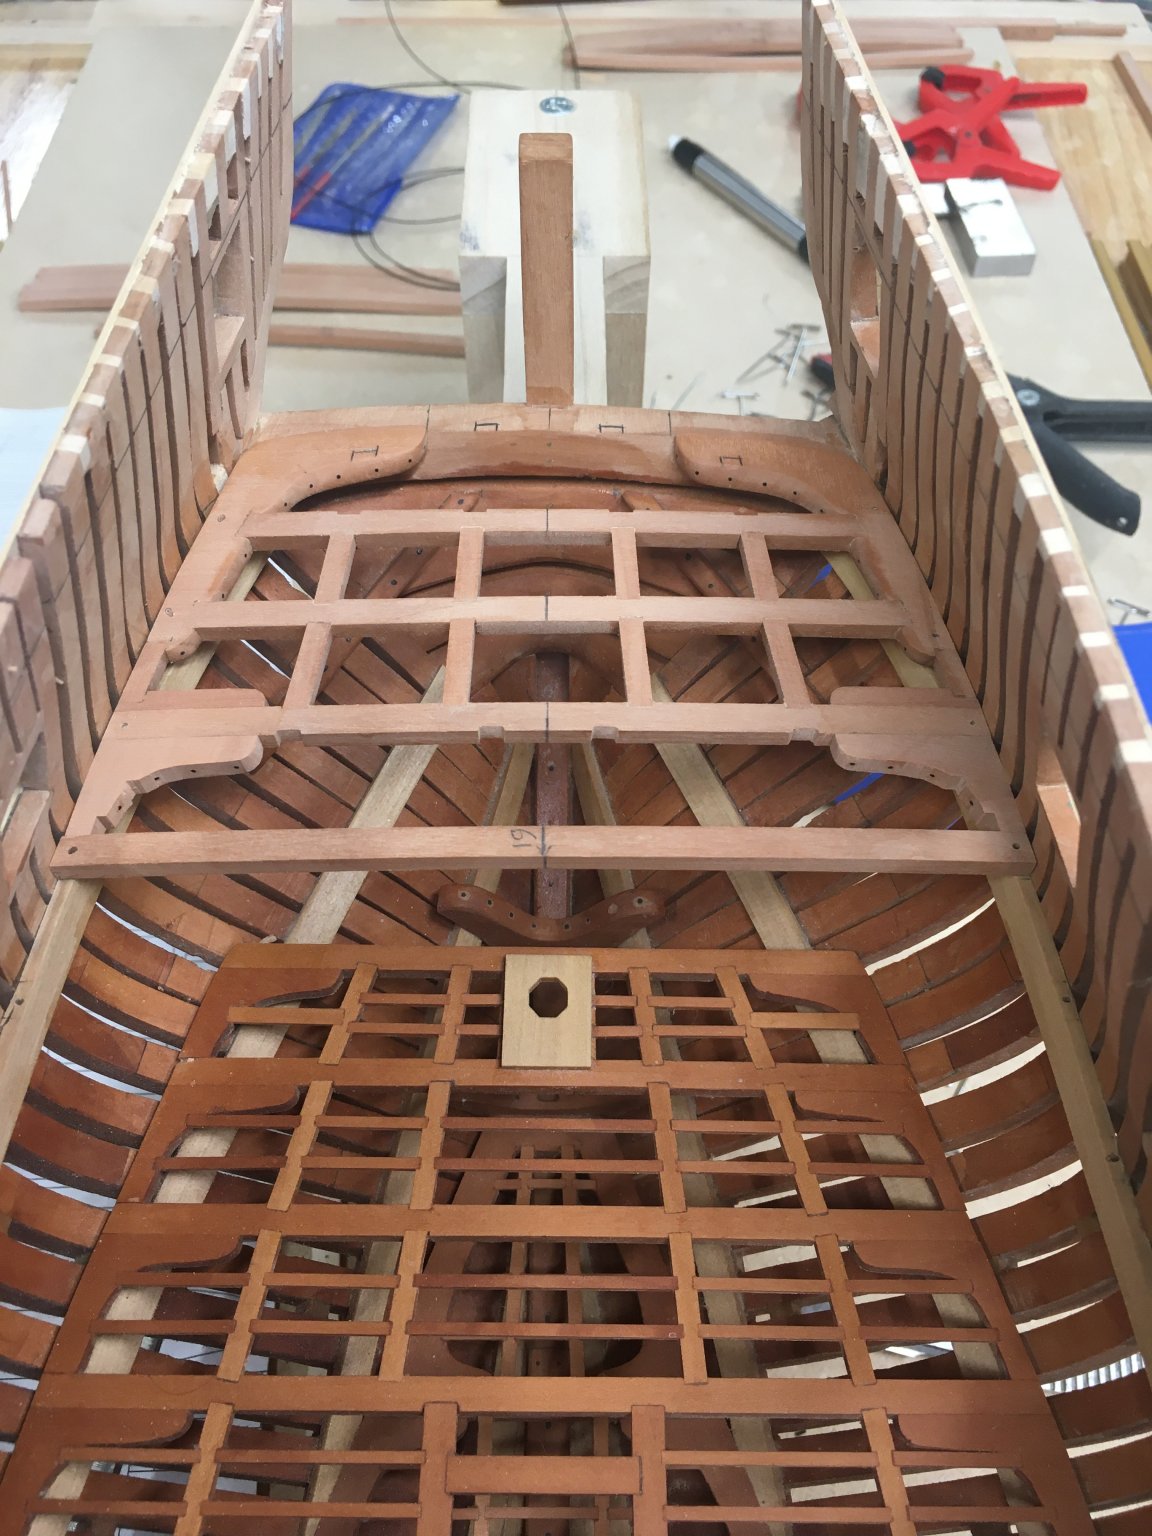
Forward upper deck framing almost complete, need to add the riding bitts and the final ledge piece. ben

- 889 replies
-
- 27
-
-
Very nice, 16 days to get to where you are is soo fast, took me a couple of years to do that on my scratch swan class sloop! These new kit designs from the likes of CAF, Syren and Vanguard are going to transform this hobby.
- 322 replies
-
- 9
-
-
- enterprise
- caf
- (and 1 more)
-
Looking good Bob
-
Wow - really nice job.
-
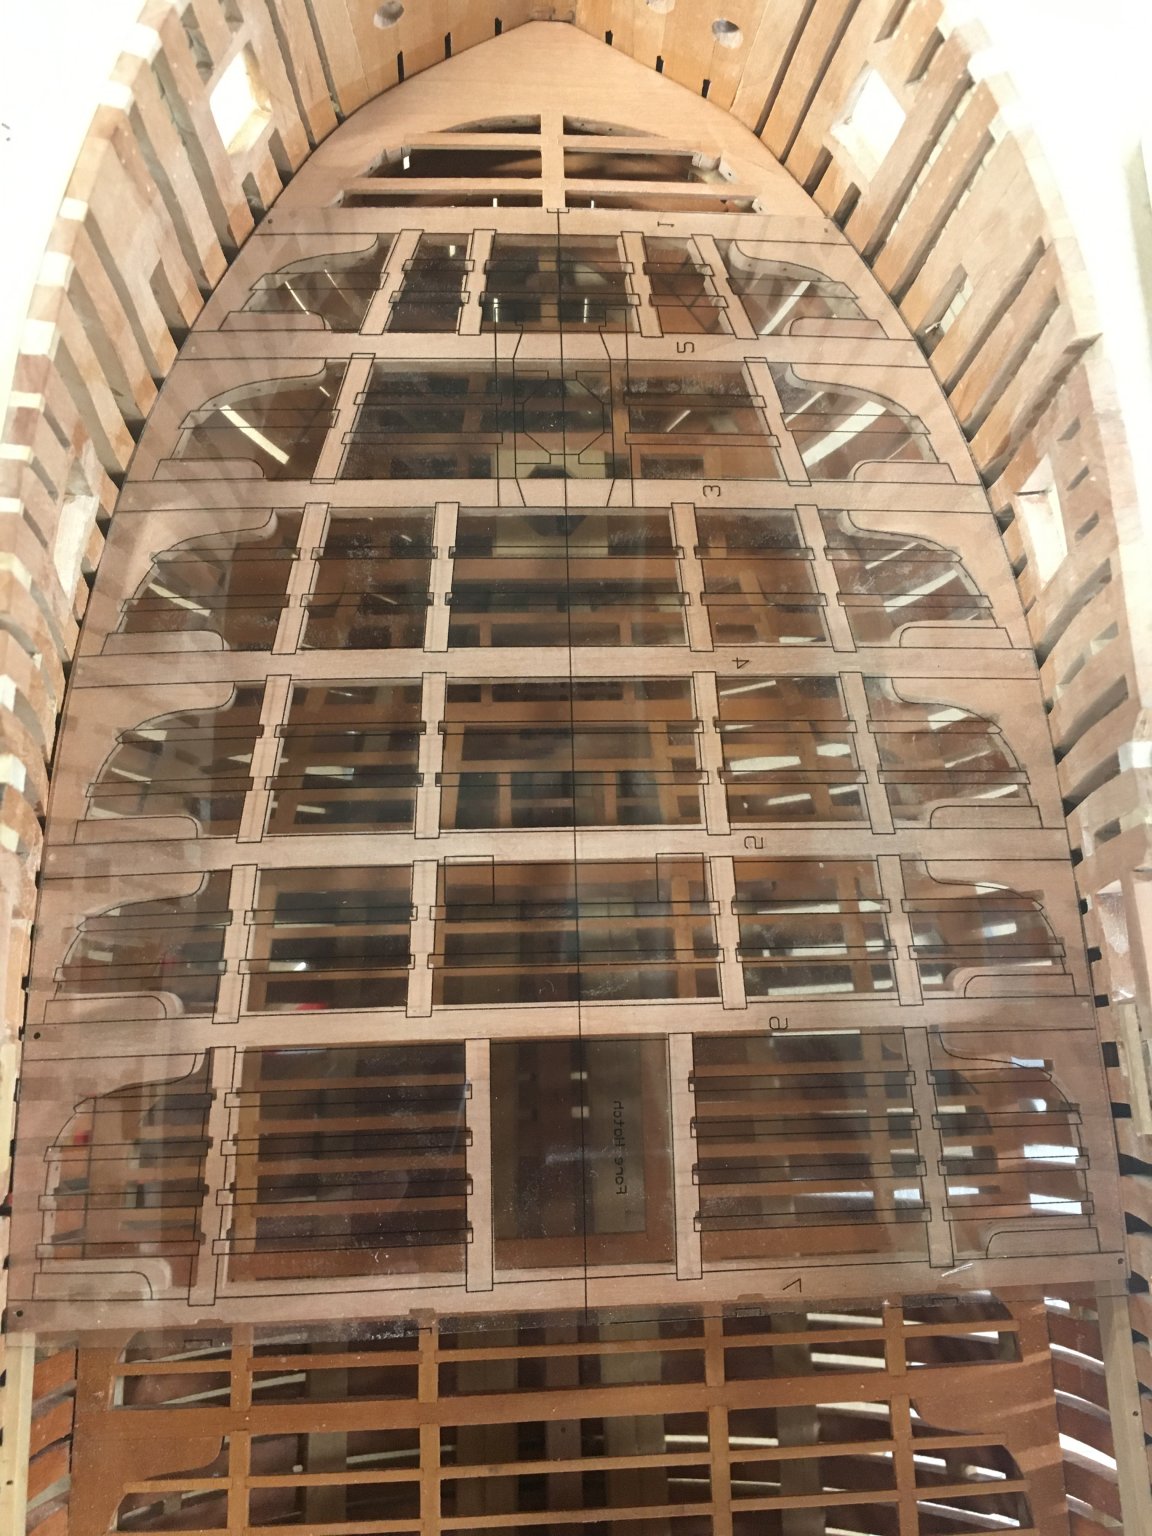
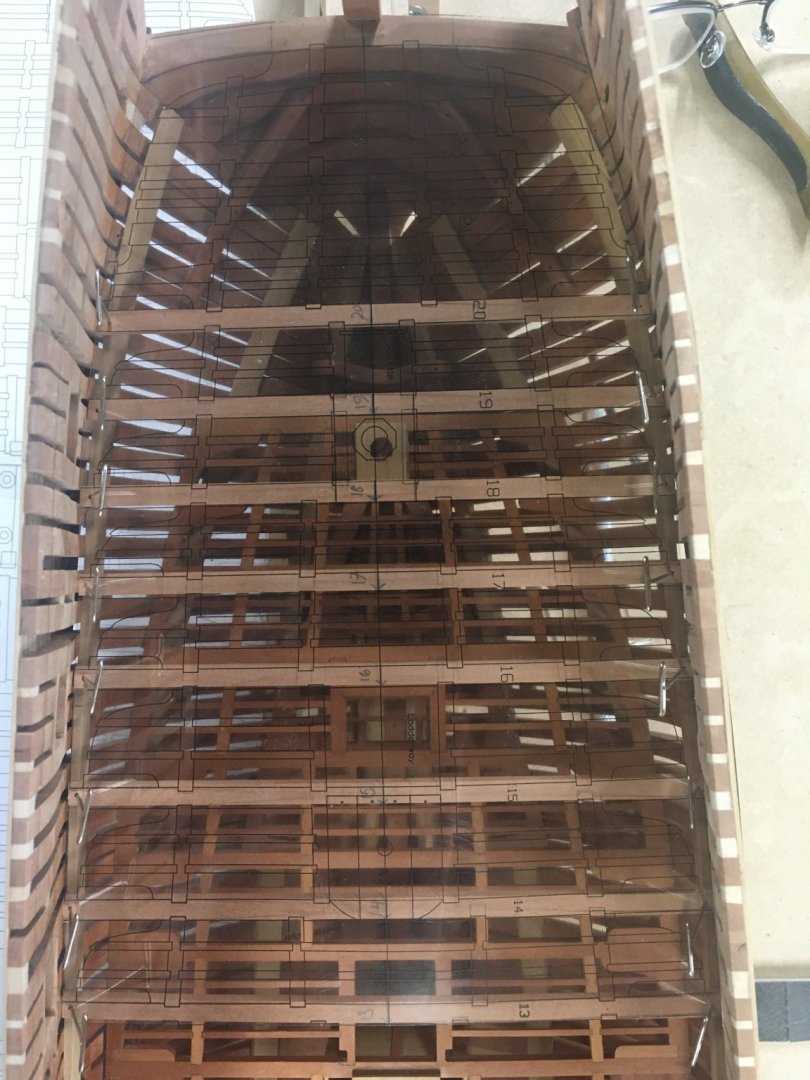
This is what the aft section looks like with its overlay in place if you can see it on the picture.
- 889 replies
-
- 21
-
-
Michael - Mainly just a couple of different size diamond files - nothing too special or secret - just a lot of time, If i screw up (which happens a lot) I have to remake a beam set which sucks but thats the way it is.
-
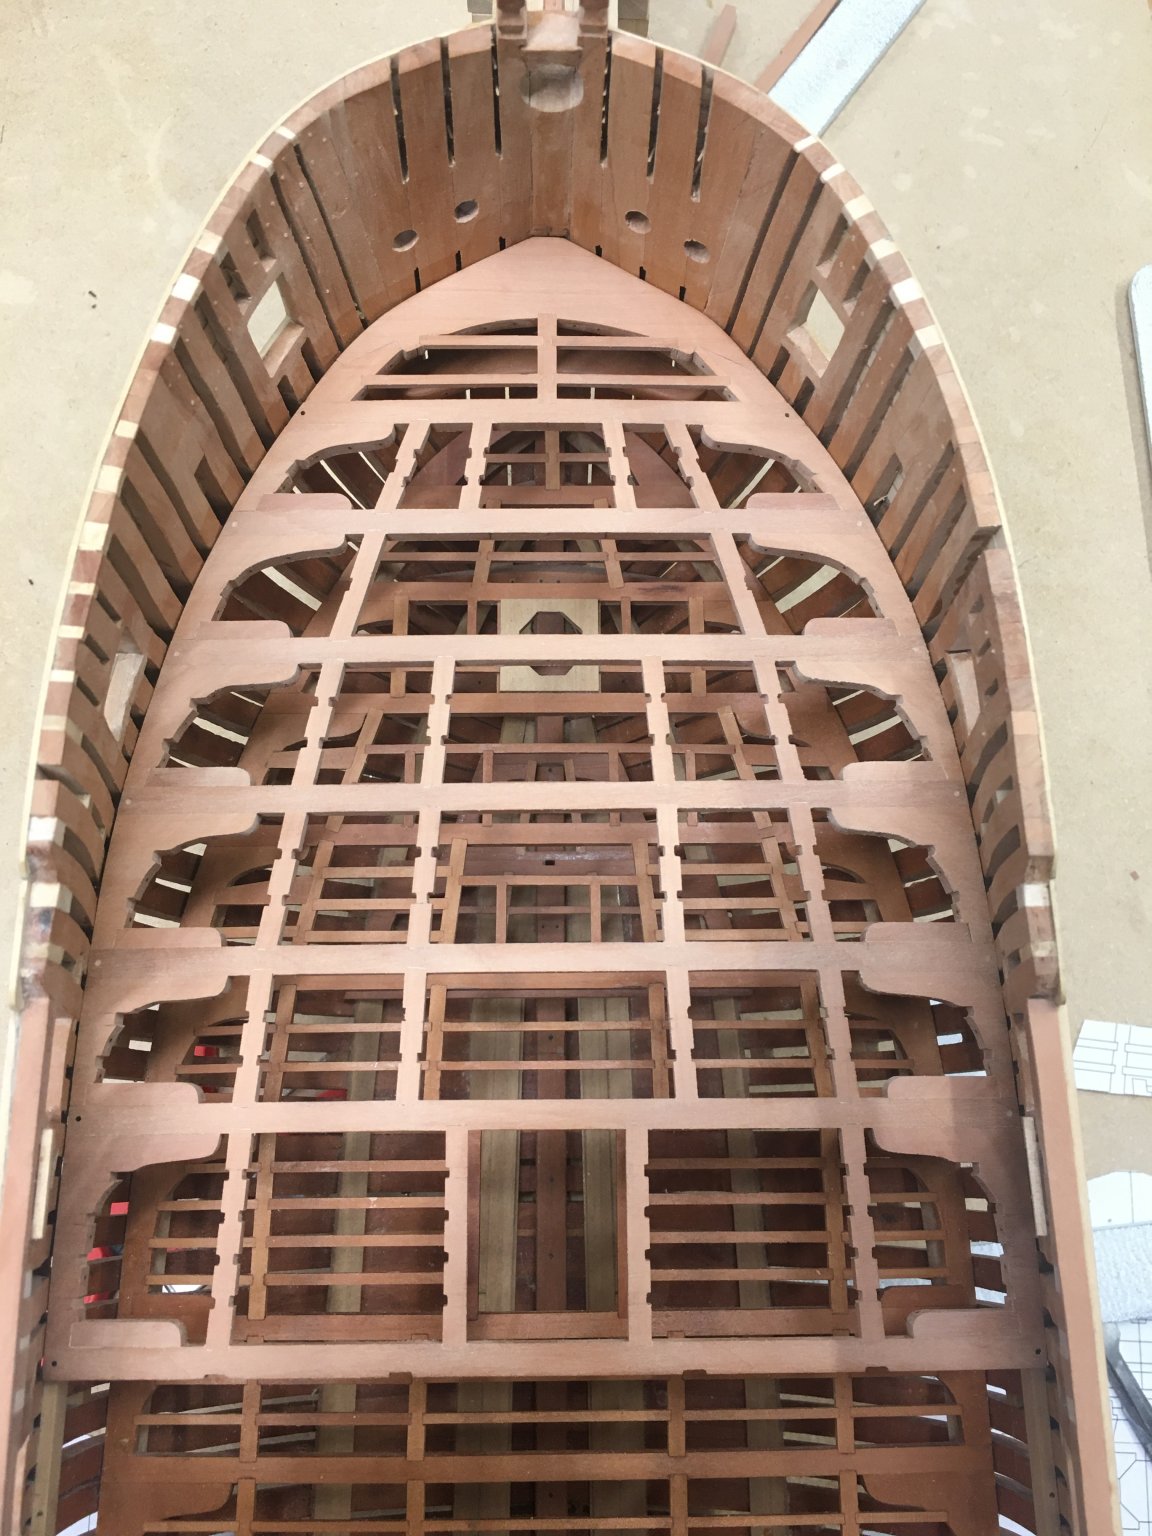
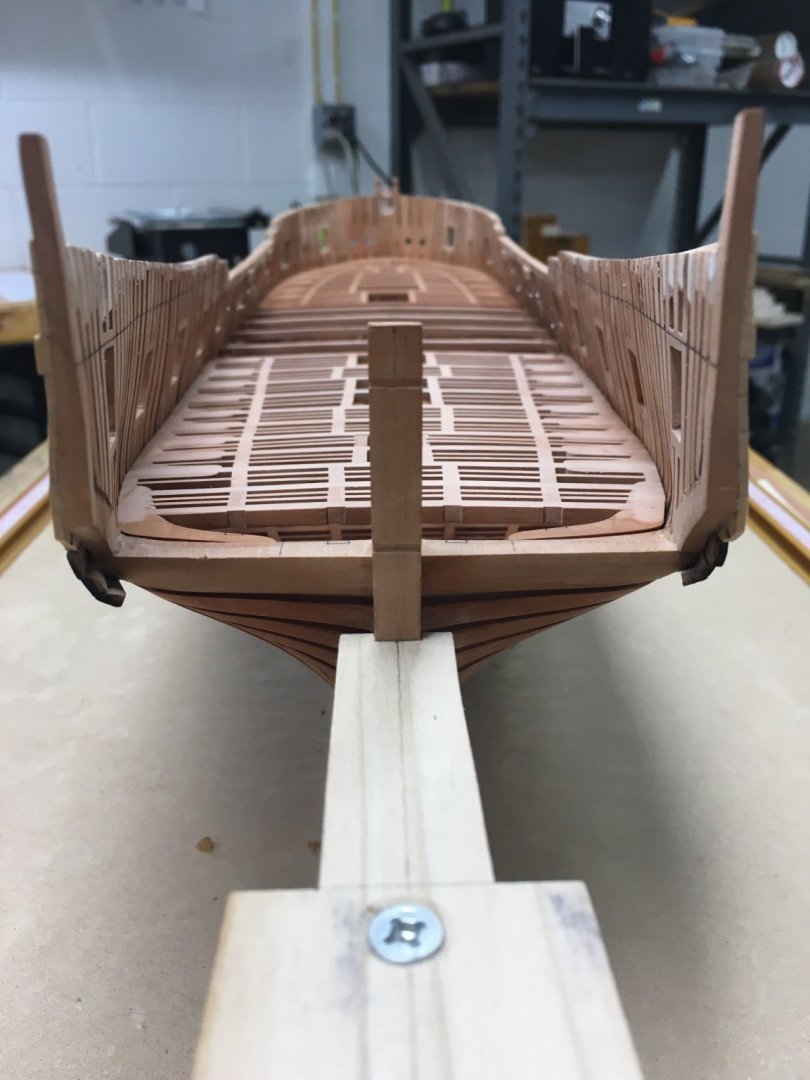
Upper deck framing well underway, always a constant battle against cumulative error but that’s why I am constantly checking against my framing plan to minimize its affects, you can maybe just see the overlay that I print out on transparency film to help me do this. ben


- 889 replies
-
- 28
-
-
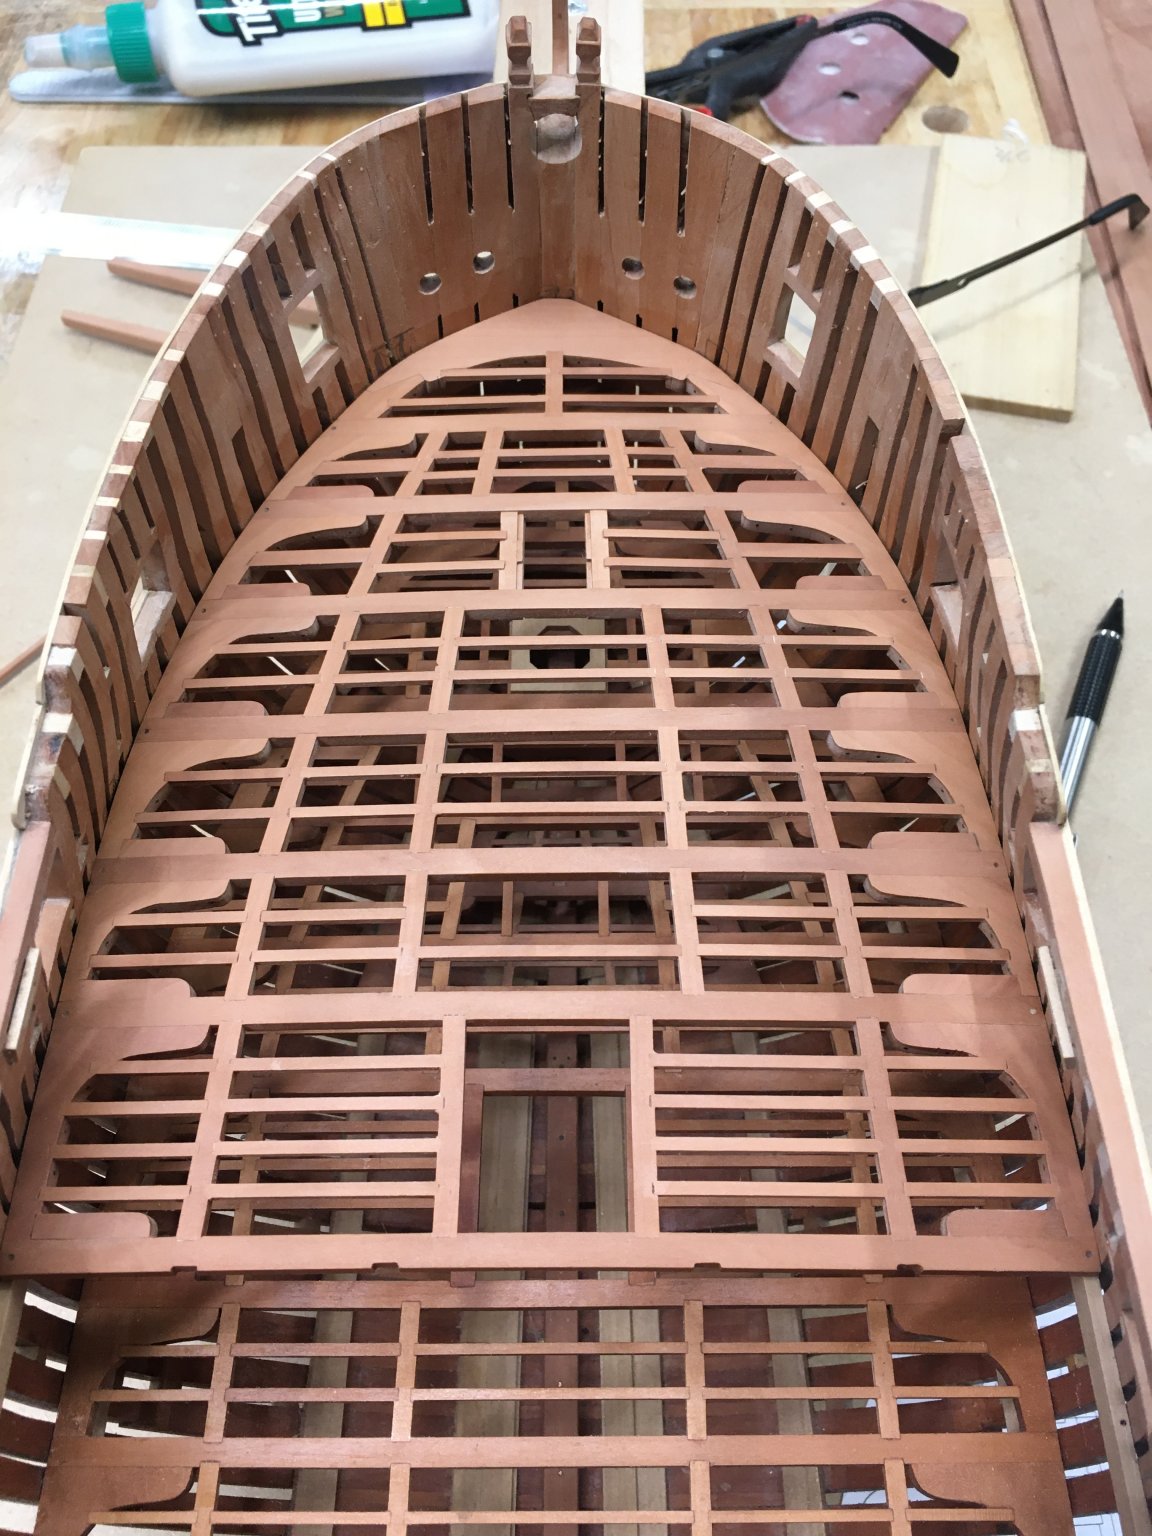
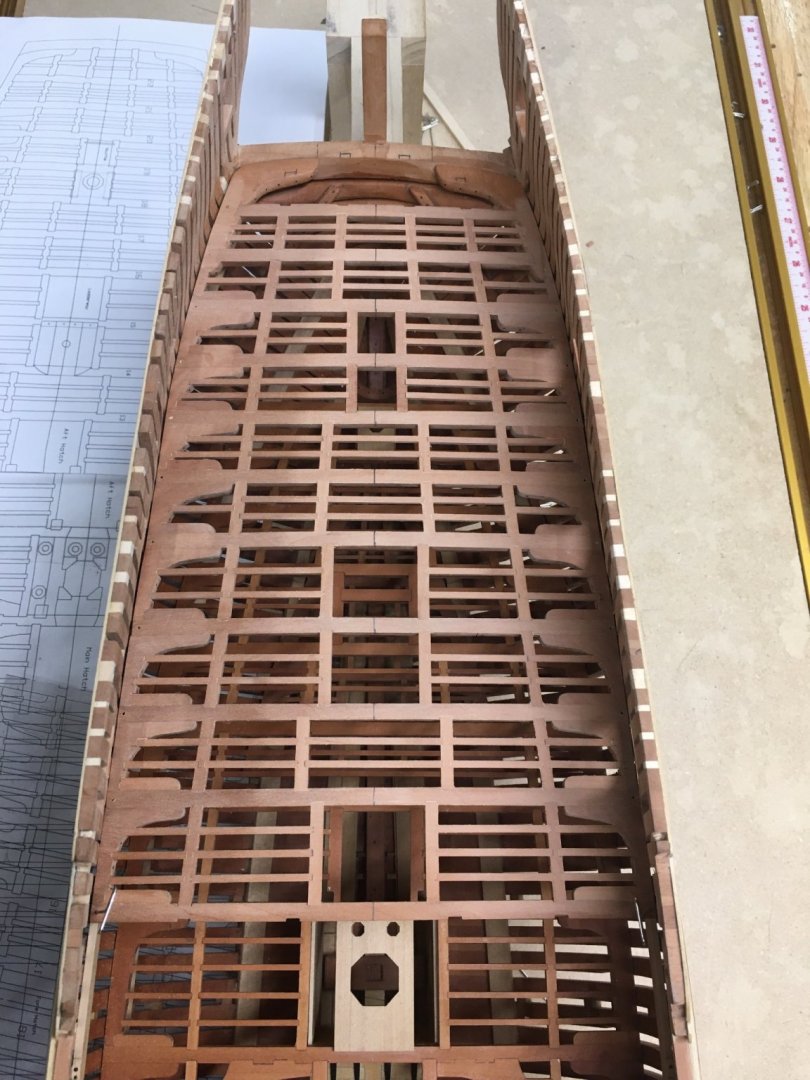
Hi Toni, So I had to make changes to include:- Dual fore/aft beam arms instead of the single fore one shown in TFFM as opposed to Pegasus's NMM plans Larger fore hatch due to my mistake following TFFM instead of NMM deck plans, movement of all ledges etc.... because of this. adjustments to all beam widths and knee positions to suit my hull inside shape adjustments to shape of wing transom knees to suit my hull ben
-
I finally finished up modifying the upper deck plans to suit my hull, now I can actually start building it.

- 889 replies
-
- 20
-