Trussben
-
Posts
1,995 -
Joined
-
Last visited
Content Type
Profiles
Forums
Gallery
Events
Everything posted by Trussben
-
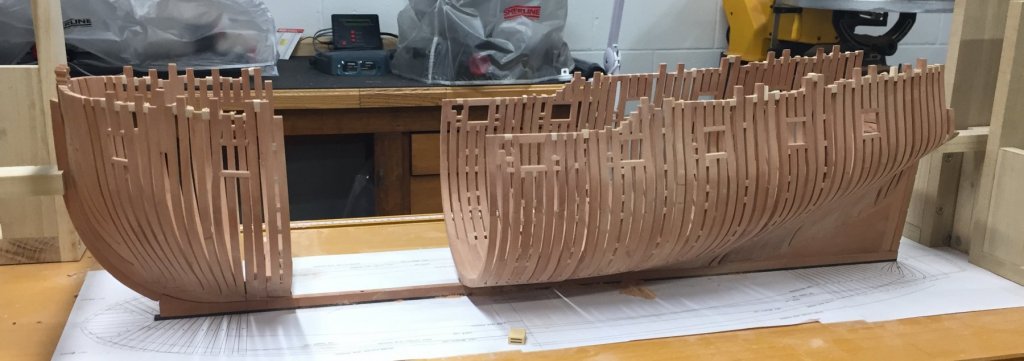
 Hi, it's been a long time since an update due to a very heavy load working away so little modeling time to be had. Another set of eight frames and a spacer frame have been installed up to B Aft, if you look closely you will see the rough cut out in the A-Frames for the fixed double block, and below the hull you can see the block bodies that have been made out of boxwood to match the hull planking when it's done. The frames are just roughly faired and sanded to 100 grit just like the rest of the hull until hull is closed in. So 16 frames are left to go to fill the gap, hopefully it won't be as long until the next update. ben
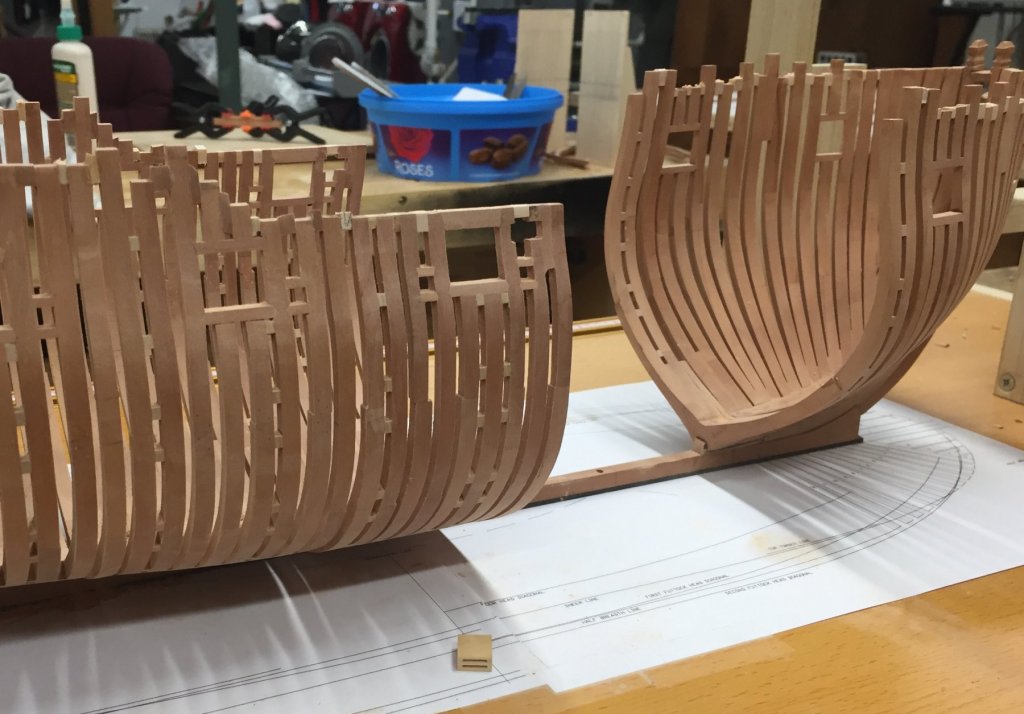

- 889 replies
-
- 27
-

-
Showing your dedication to good results as always Rusty.
- 310 replies
-
- 3
-
-
- cheerful
- Syren Ship Model Company
- (and 1 more)
-
Mike - I have not used any finish YET, I will be using either sanding sealer for a rough hewn effect, or my normal WOP which I have used on other models. Another part of me wants to try using a oil based finish. Anyway, until the hull is complete, all sanding and fairing complete there will be no finish applied. Ben
-
Pat - absolutely they will, all the Swiss pear being used is out of the same master billet of wood I got from Jeff at Hobbymill when he was operating, no finish has touched anything so it is the natural darkening of the wood that is occurring. Ben
-
Swan-Class Sloop by garyb - 1:48
Trussben replied to garyb's topic in - Build logs for subjects built 1751 - 1800
Yeh Gary, I have made some silly mistakes when cutting out frames, only piece of absolute advice I can definitely give is check the scale every time you print a set out plans for the framing - ask me how I know!! Ben -
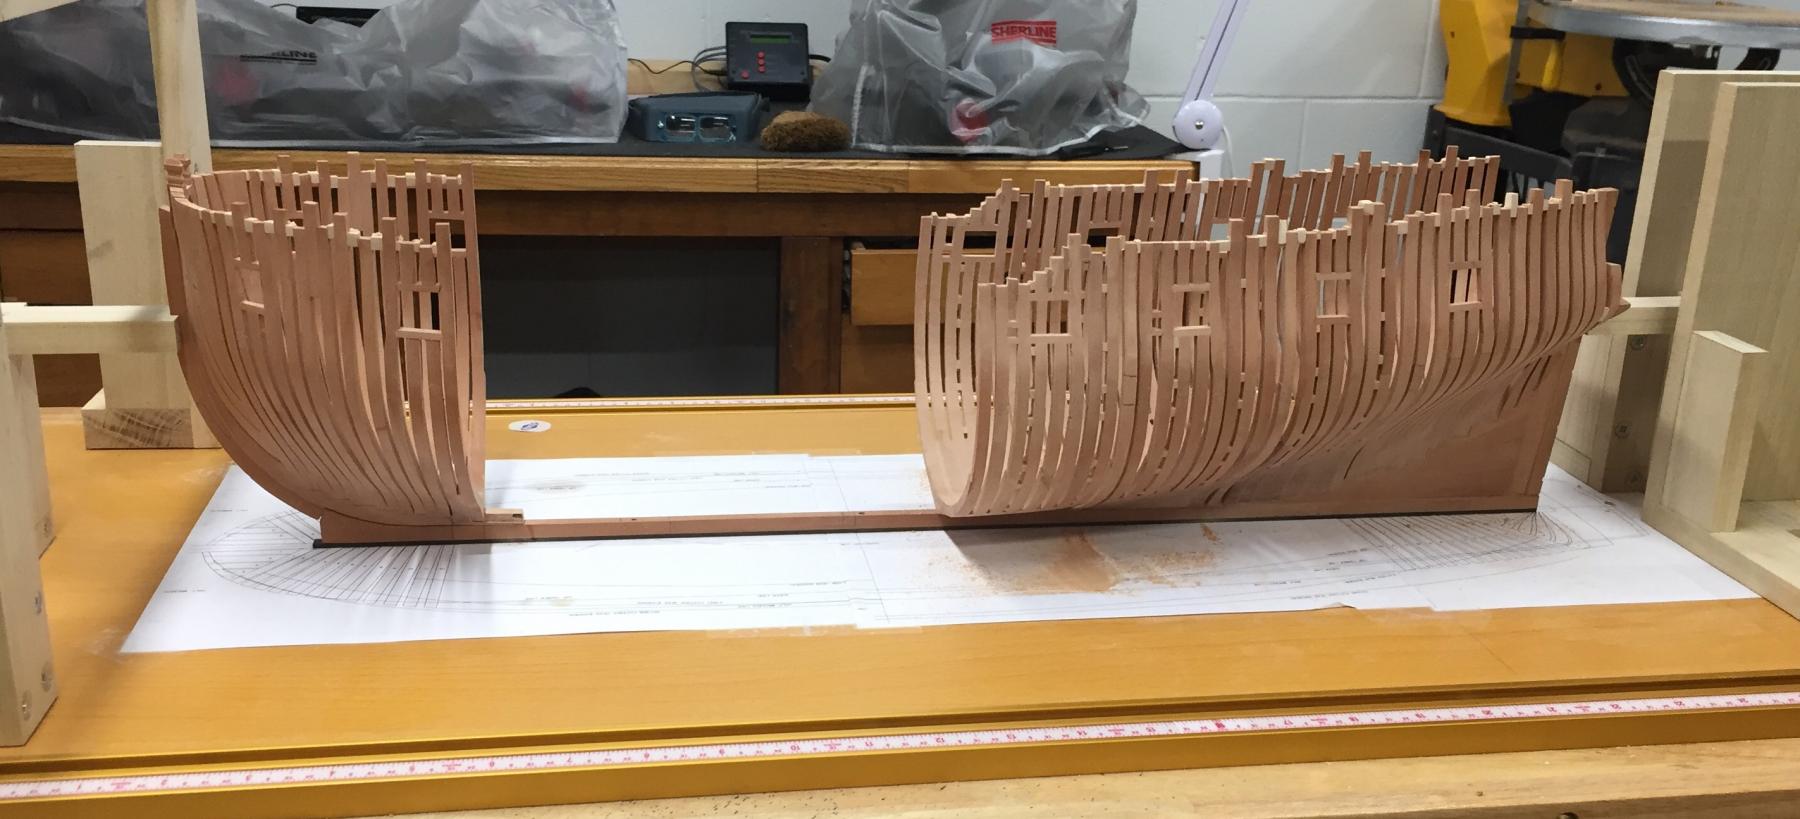
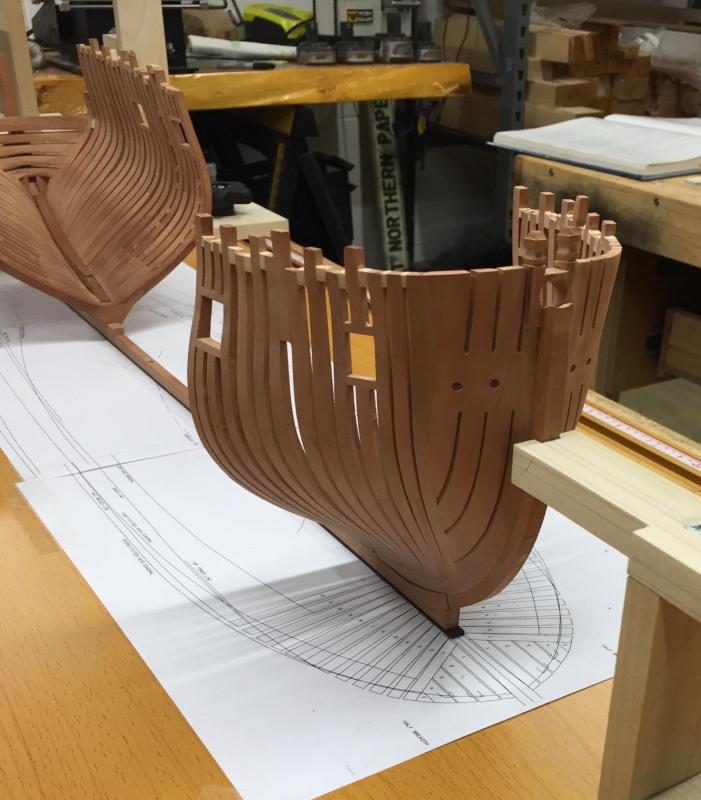
Another set of eight frames has been completed up to 2-fore, you can see how light the new pear framing is in color compared to the recovered old framing, the floor fillers for this section of framing has only been glued to the fore side of each frame so as to be able to "float" as per druxeys advice. I am currently sanding and fairing it to match the after side framing. Ben

- 889 replies
-
- 22
-
-
Swan-Class Sloop by garyb - 1:48
Trussben replied to garyb's topic in - Build logs for subjects built 1751 - 1800
Hi Gary, I scanned the entire Mylar and used autocad to trace the parts accurately and printed them on separate PDFs on normal printer paper Ben -
Just a heads up that the Byrnes website is showing some new upgrades available for our JimSaws, Adjustable miter gauge extension Some new blades are now offered A spares kit of all the screws and miter pins Ben
- 11 replies
-
- 5
-
-
- miniature table saw
- Byrnes model machines
- (and 2 more)
-
Mike, I'm going to follow Druxeys advice and only glue one side of the floor filler, that way if movement does occur it may make a gap but shouldn't cause the twisting that destroyed my original build. Ben
-
Very glad to hear you will be making new progress and showing us your results. Ben
- 1,207 replies
-
- 3
-
-
- sloop
- kingfisher
- (and 1 more)
-
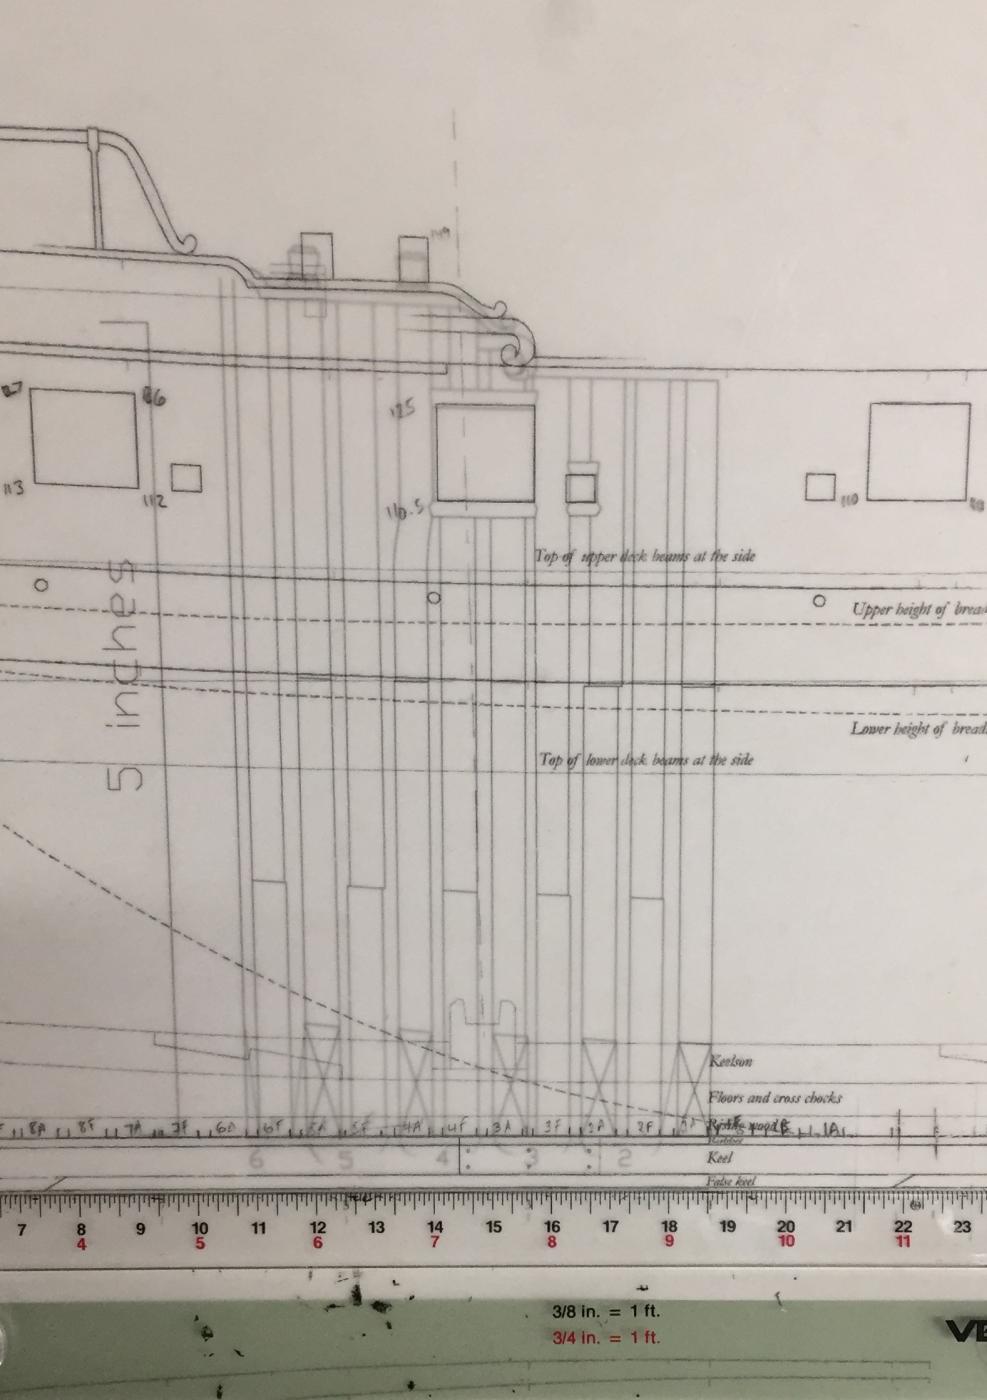
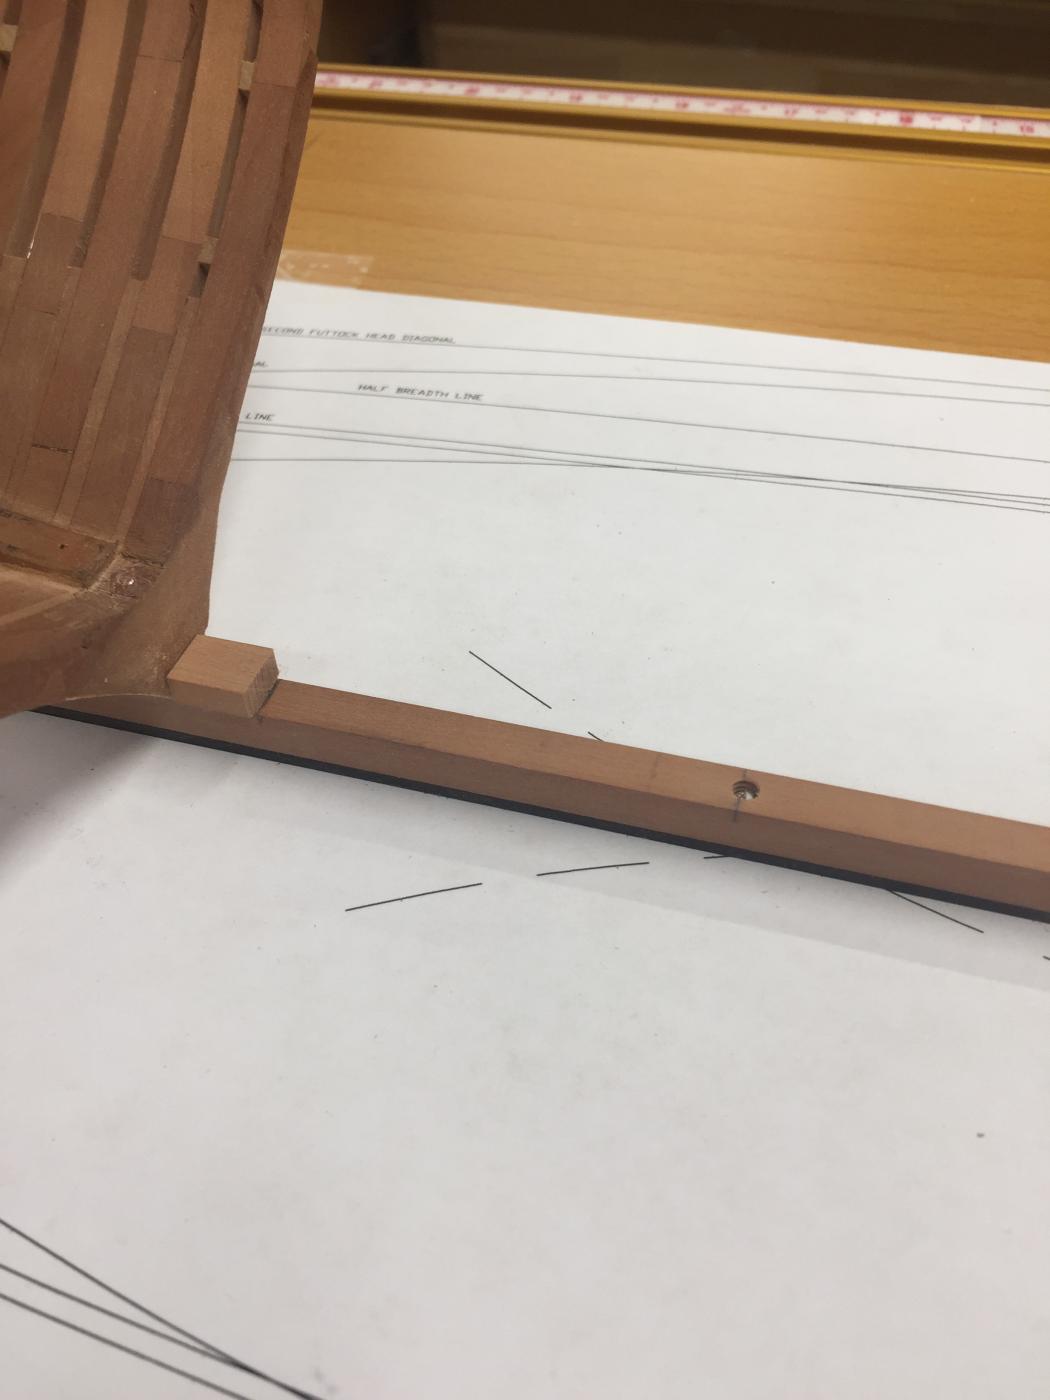
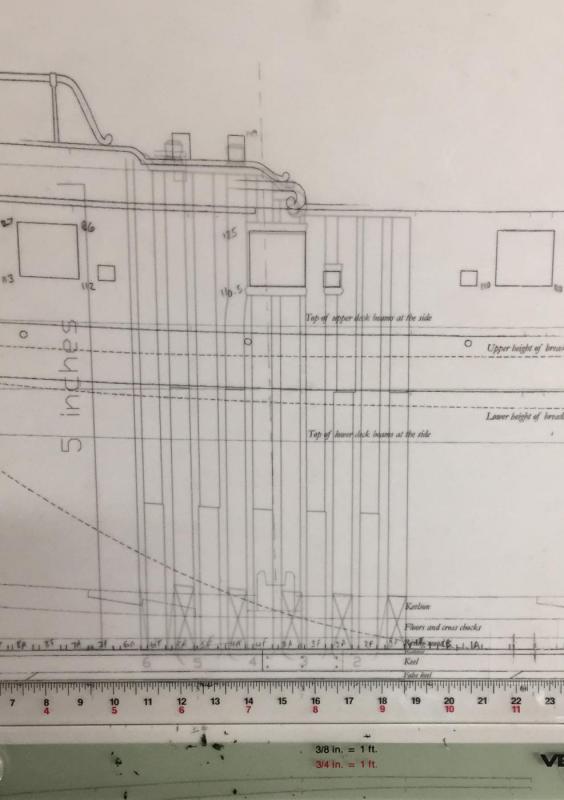
I decided to double check my DOF drawing against the Mylar plan for the next set of frames, everything lines up well except the aftmost timberhead and the top of the rail line is slightly higher on the Mylar. Im also cross checking on the actual NMM Pegasus side draft. Ben
-
Hey Greg, Yeh, the more I think about druxeys idea the more I like it, if only one side of the filler is glued then it allows for some movement, and if a gap appears it could be filled with a very thin sliver of wood maybe. I'm still going to leave a full frame gap every 8 frames as well just in case. Ben
-
Thanks David, Everything that could be saved from the old hull is on now, everything to fill the gap has to be made new going forward. I really don't want to take the chance of using parts of the framing that were subjected to the warping that I encountered. Ben
-
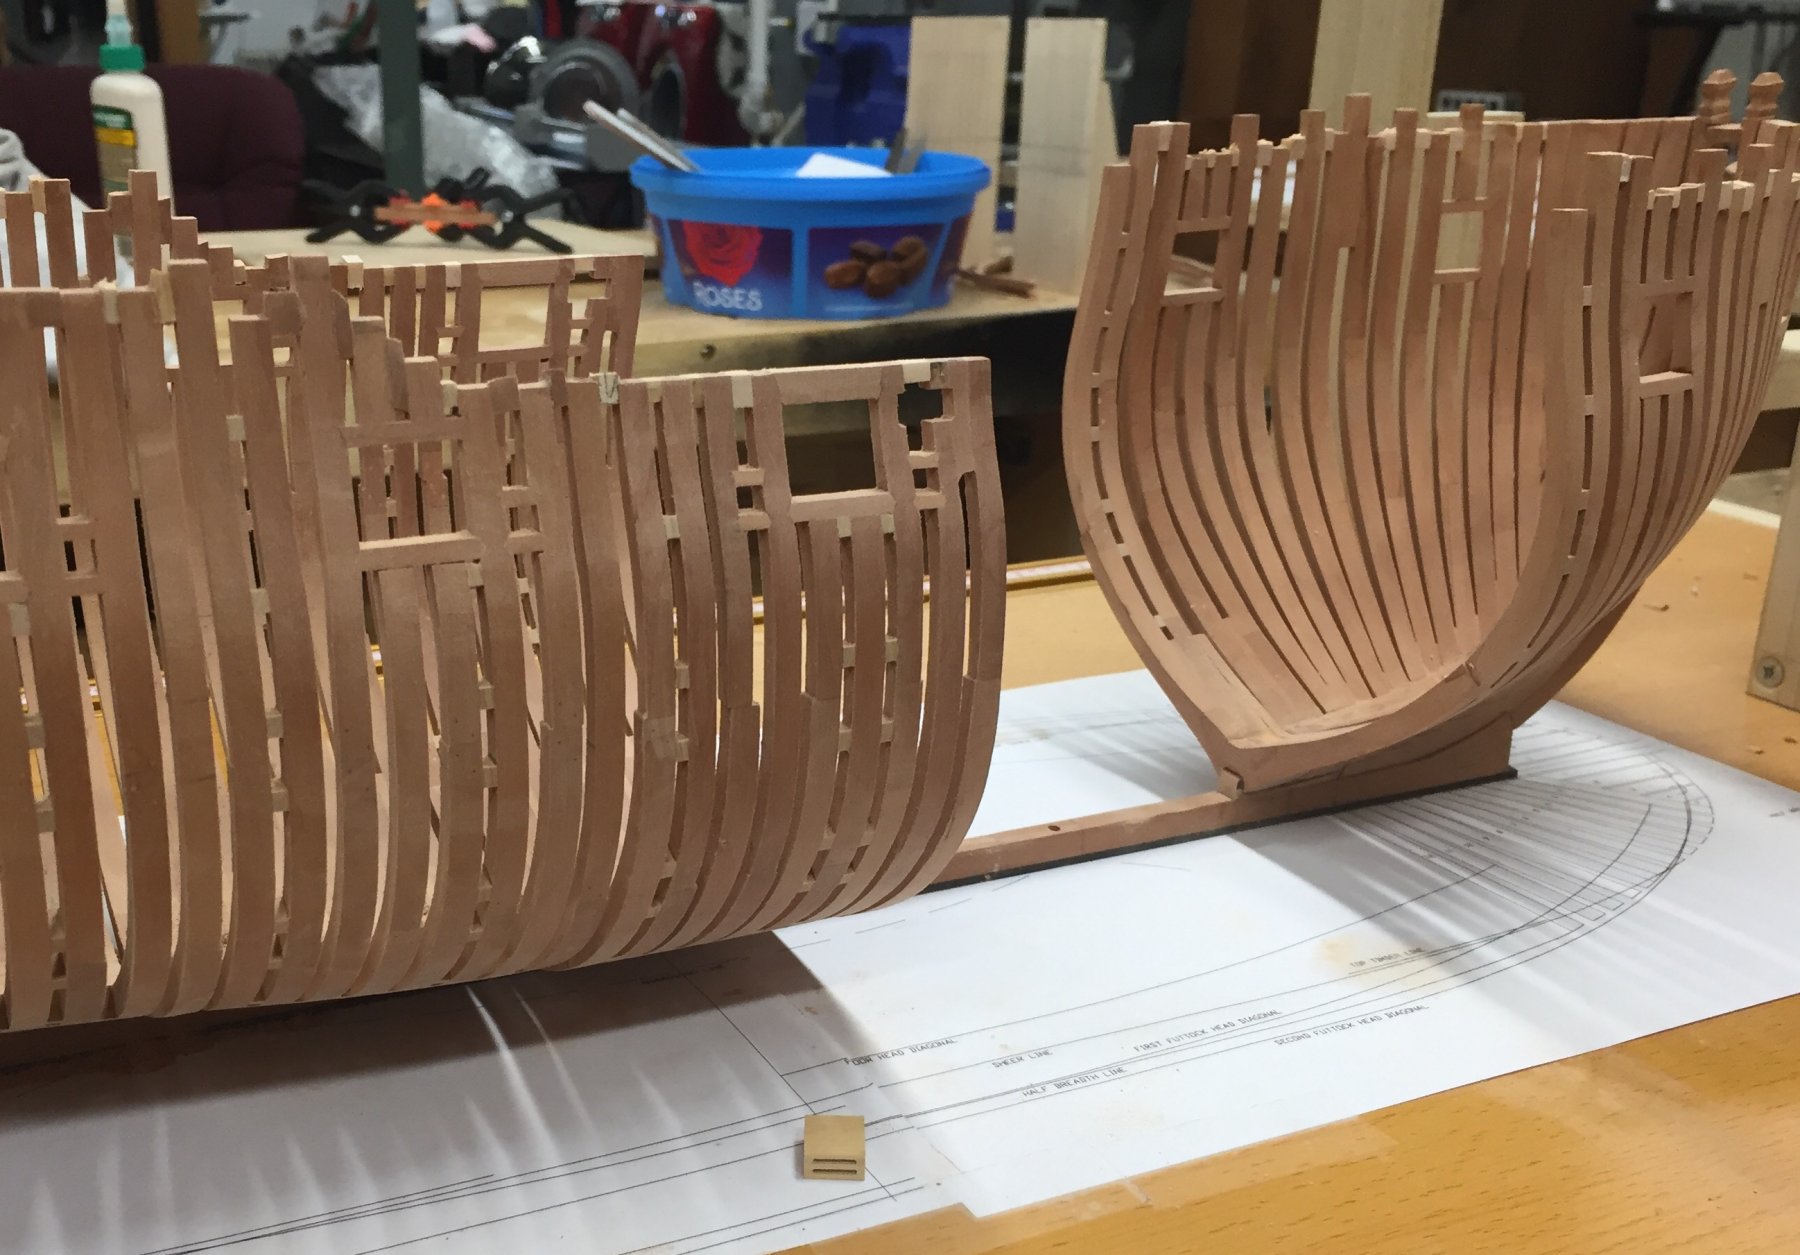
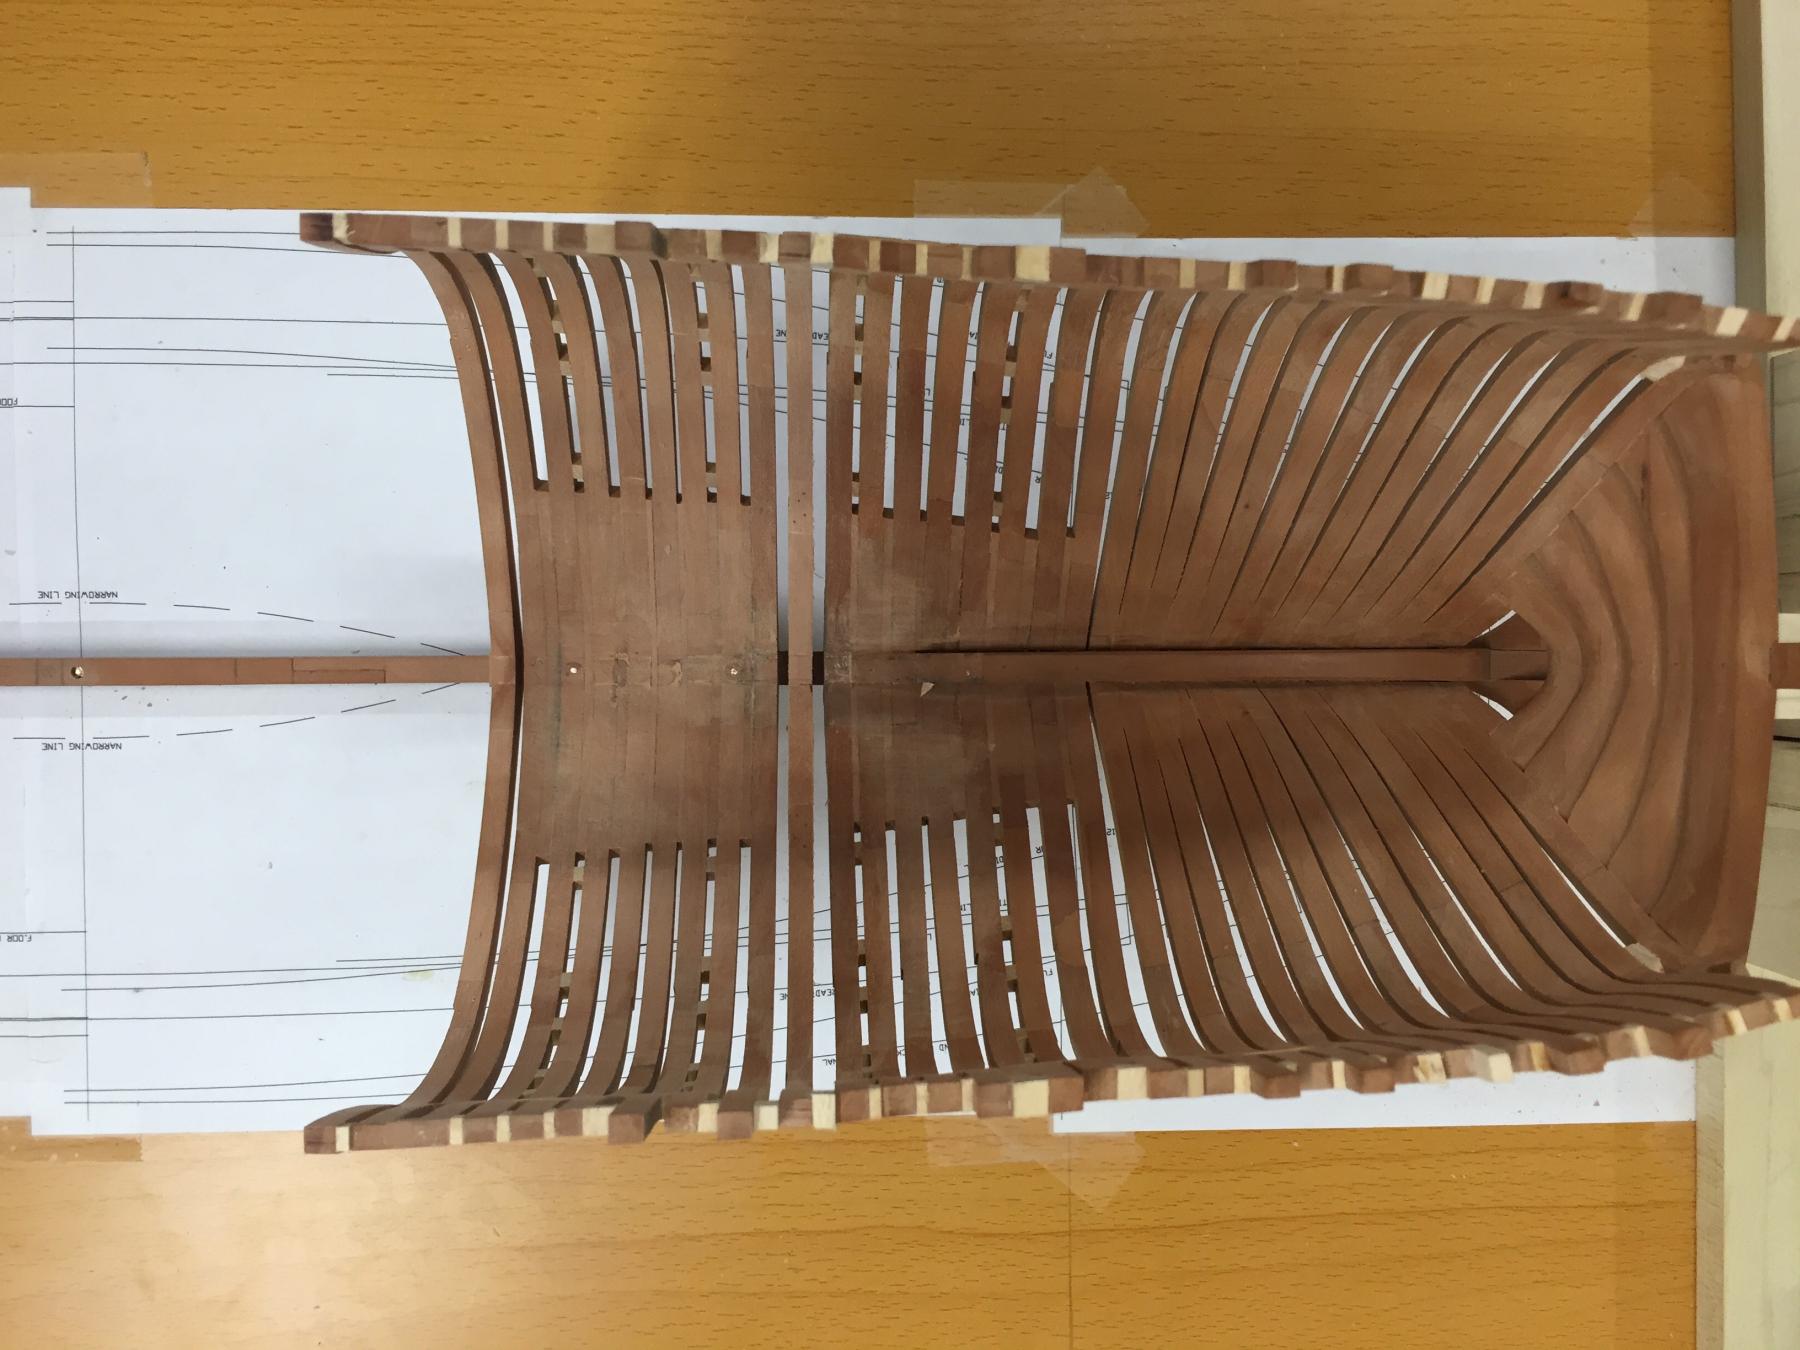
So here is the last remaining saved section from the old hull installed along with a frame fore and aft which have no floor fillers. Ben


- 889 replies
-
- 17
-
-
Very Sweet Chuck, u are a master! Ben
- 1,051 replies
-
- 3
-
-
- cheerful
- Syren Ship Model Company
- (and 1 more)
-
That's another idea David, I guess there are a few ways to skin this cat, I'm just gonna try this way and hope to hell it works as I cannot see myself recovering if it goes bad on me again! Ben
-
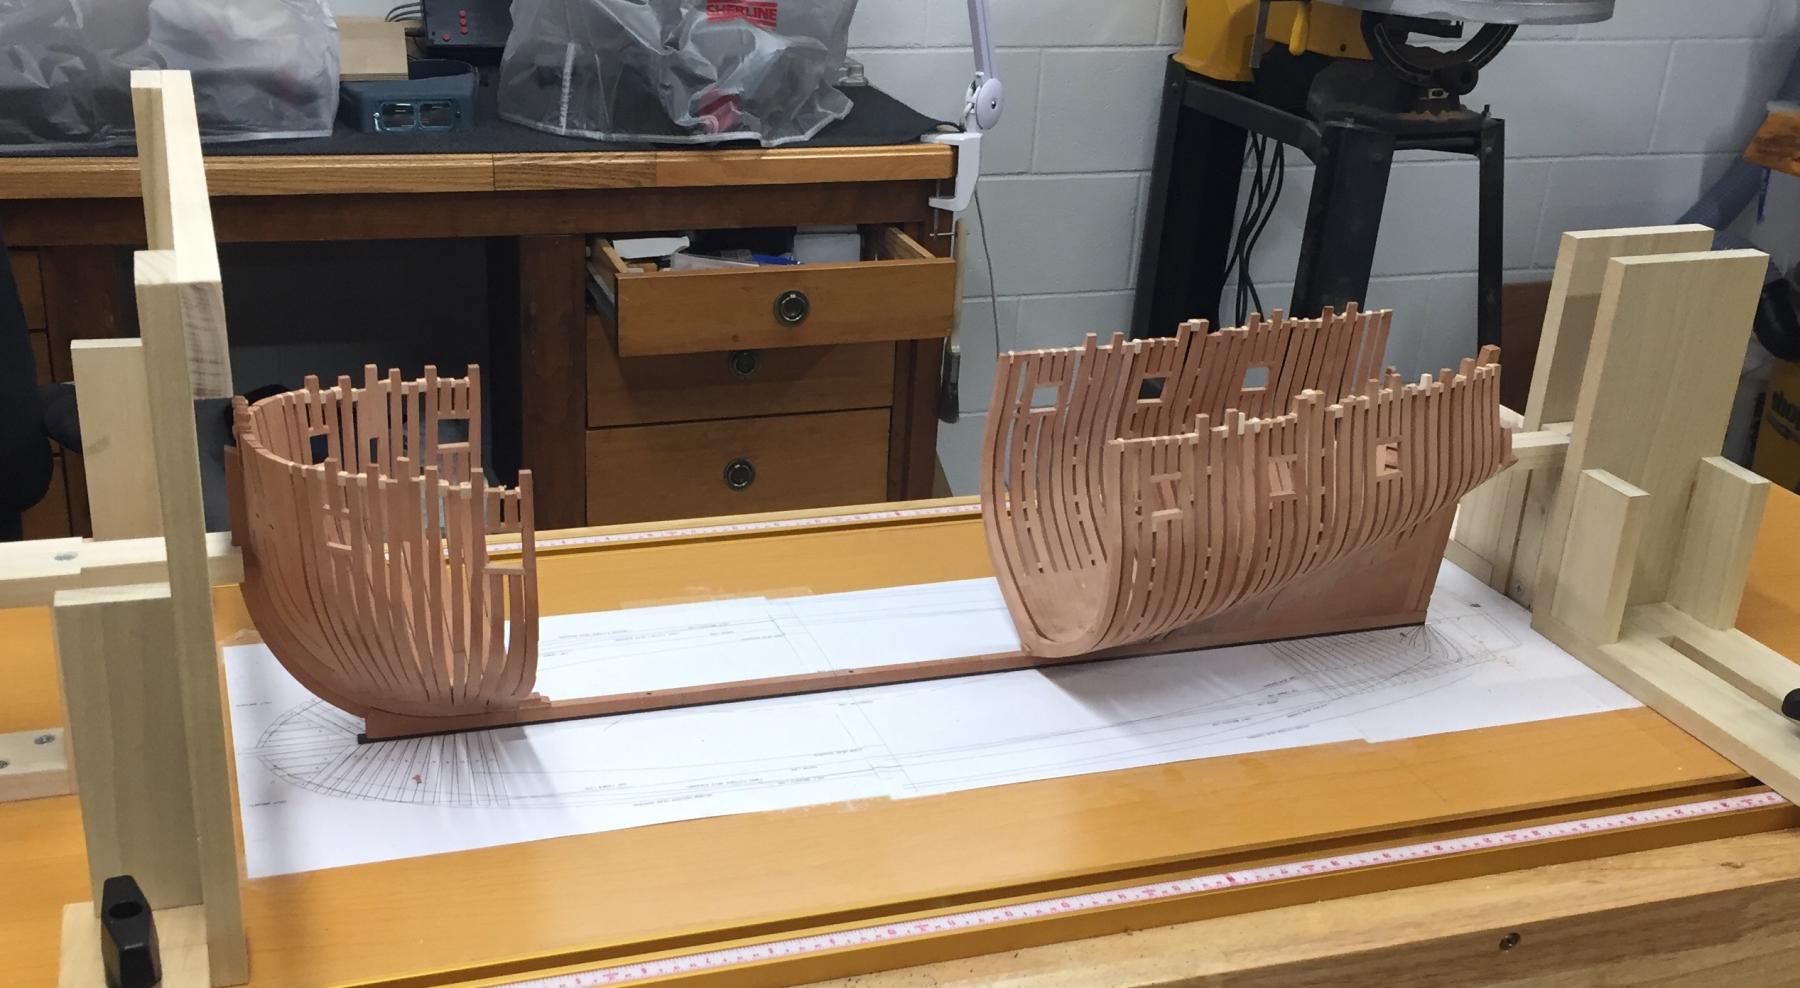
So a small piece of rising wood has been added before the aft section for frame 10 fore to be mounted to, then the next surviving section of 8 frames will be installed. Now I'm thinking of leaving the floor fillers around 10 fore out, this will give room for the wood to move and hopefully help avoid the issues I had on the original build. I shall repeat this every 8 frames so it will look consistent and it works out to be the correct amount for the amount frames left to complete the framing. Ben
- 889 replies
-
- 13
-
-
Thanks Albert and AP, I will reveal how I'm going to continue this build tomorrow after all the saved sections from the old ship are installed. Ben