bartley
-
Posts
424 -
Joined
-
Last visited
Content Type
Profiles
Forums
Gallery
Events
Everything posted by bartley
-
As others have said, it seems questionable on a square rigger. However on Cheerful, which has a huge gaff rigged fore and aft sail, the backstays are served all the way down because as the main is sheeted out to go off the wind there would be considerable chaffing. Mind you, in this situation the leeward backstay would have been slackened anyway. John
-
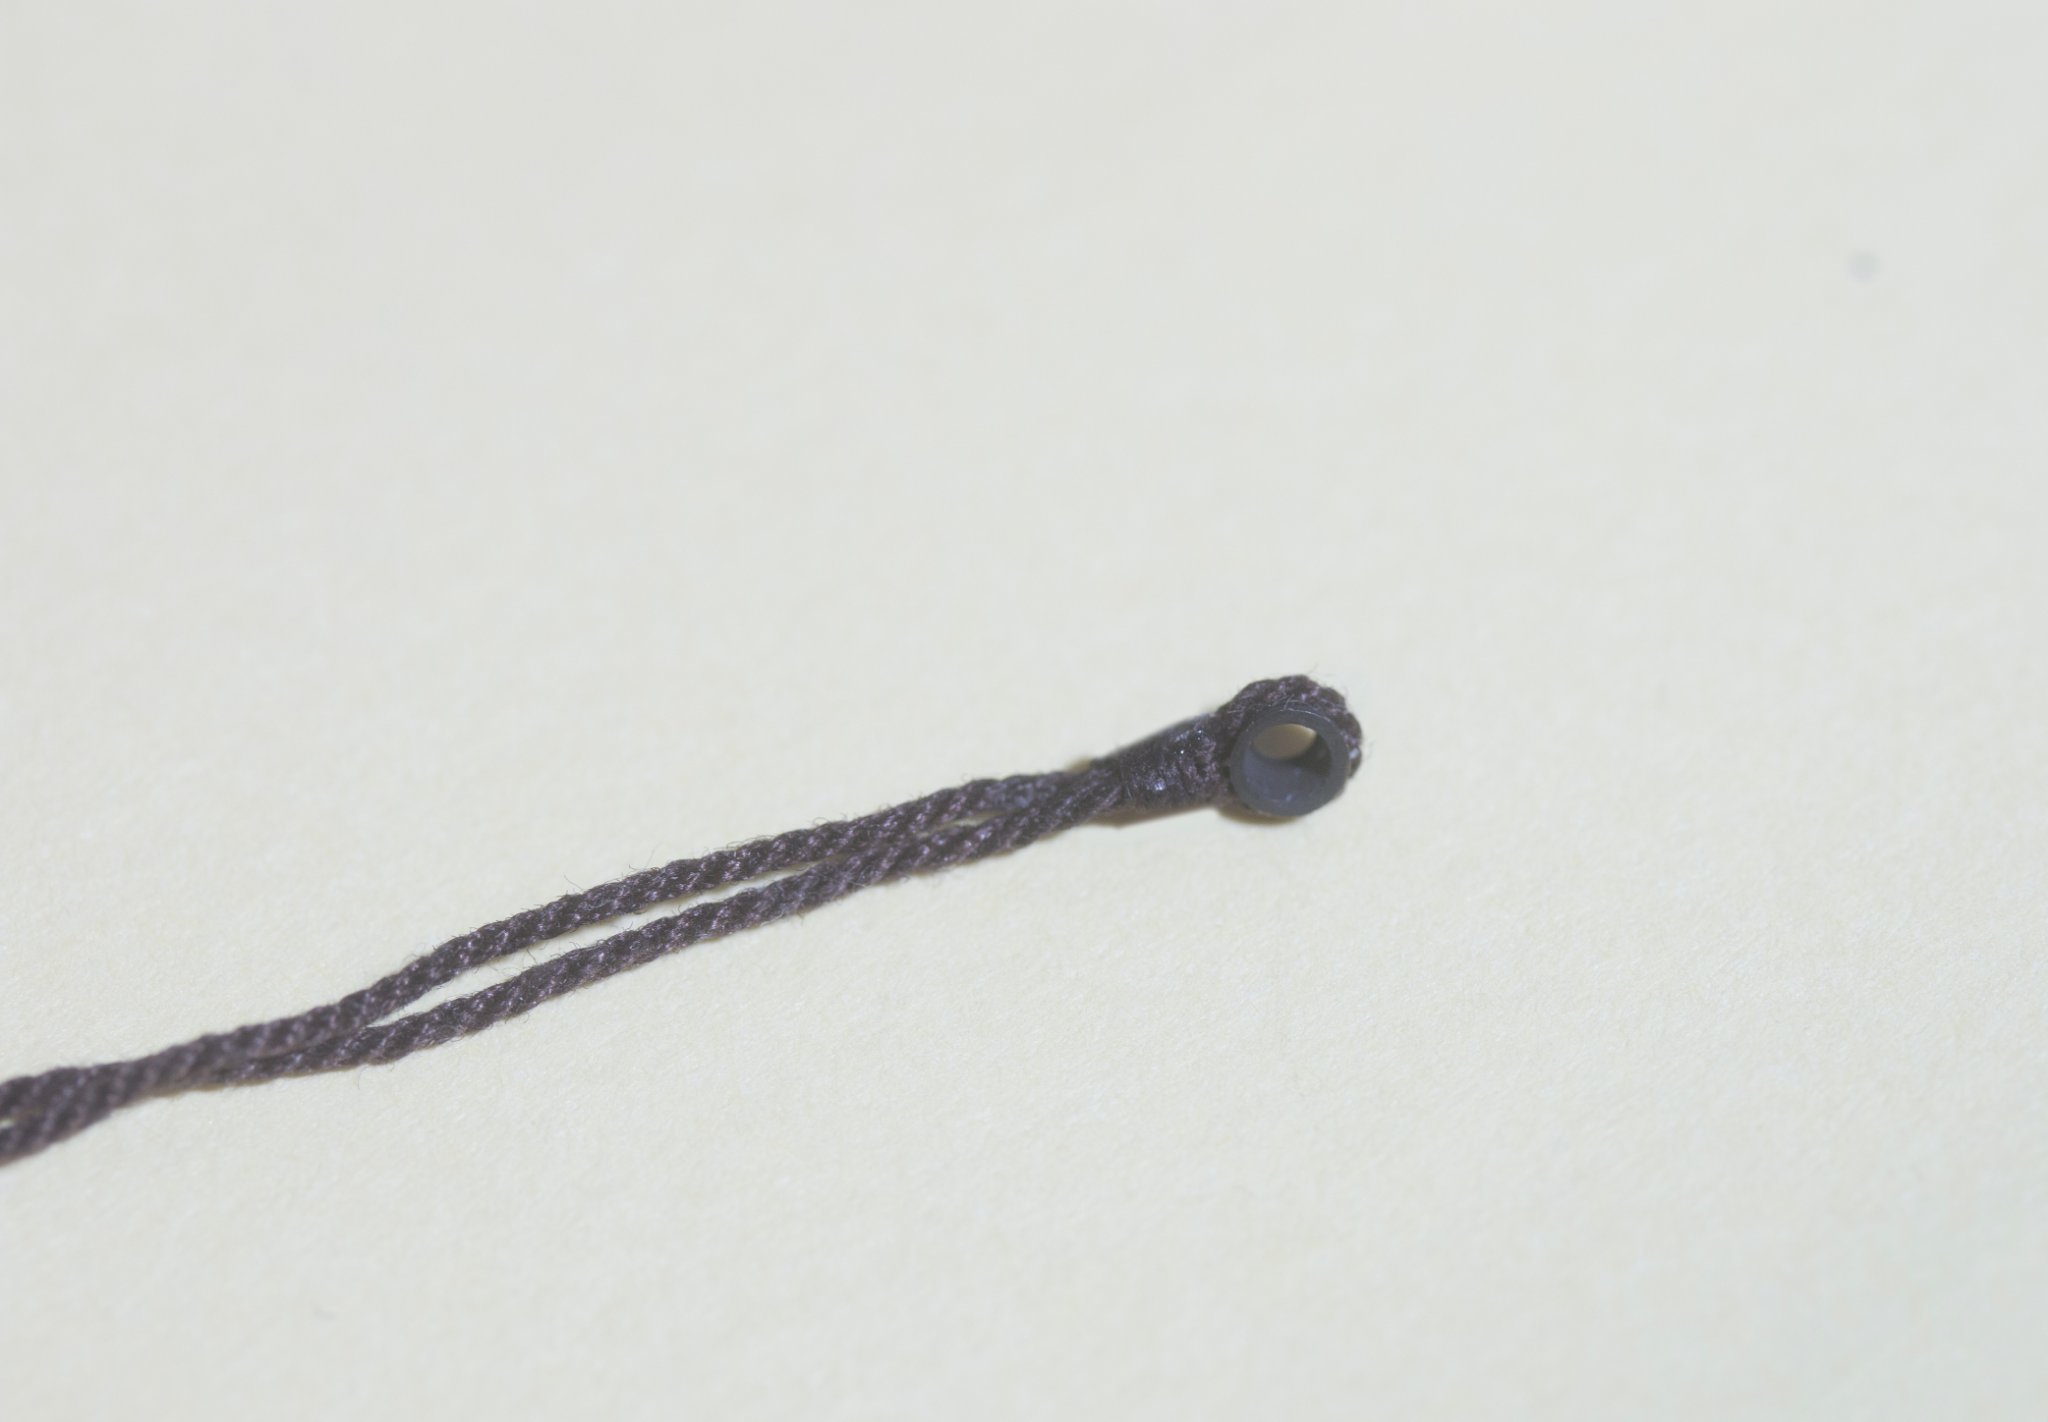
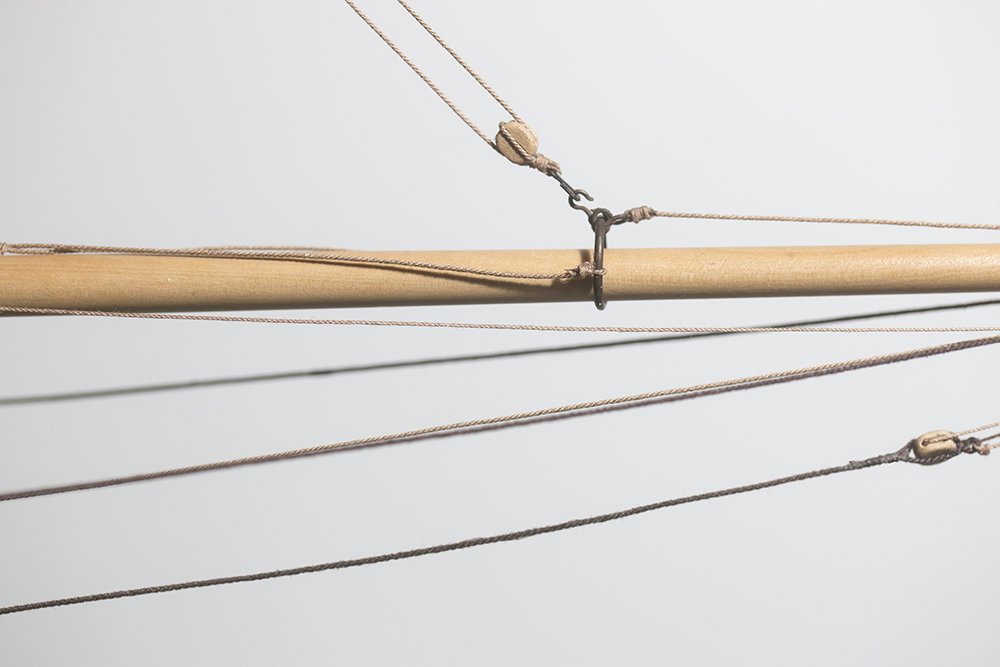
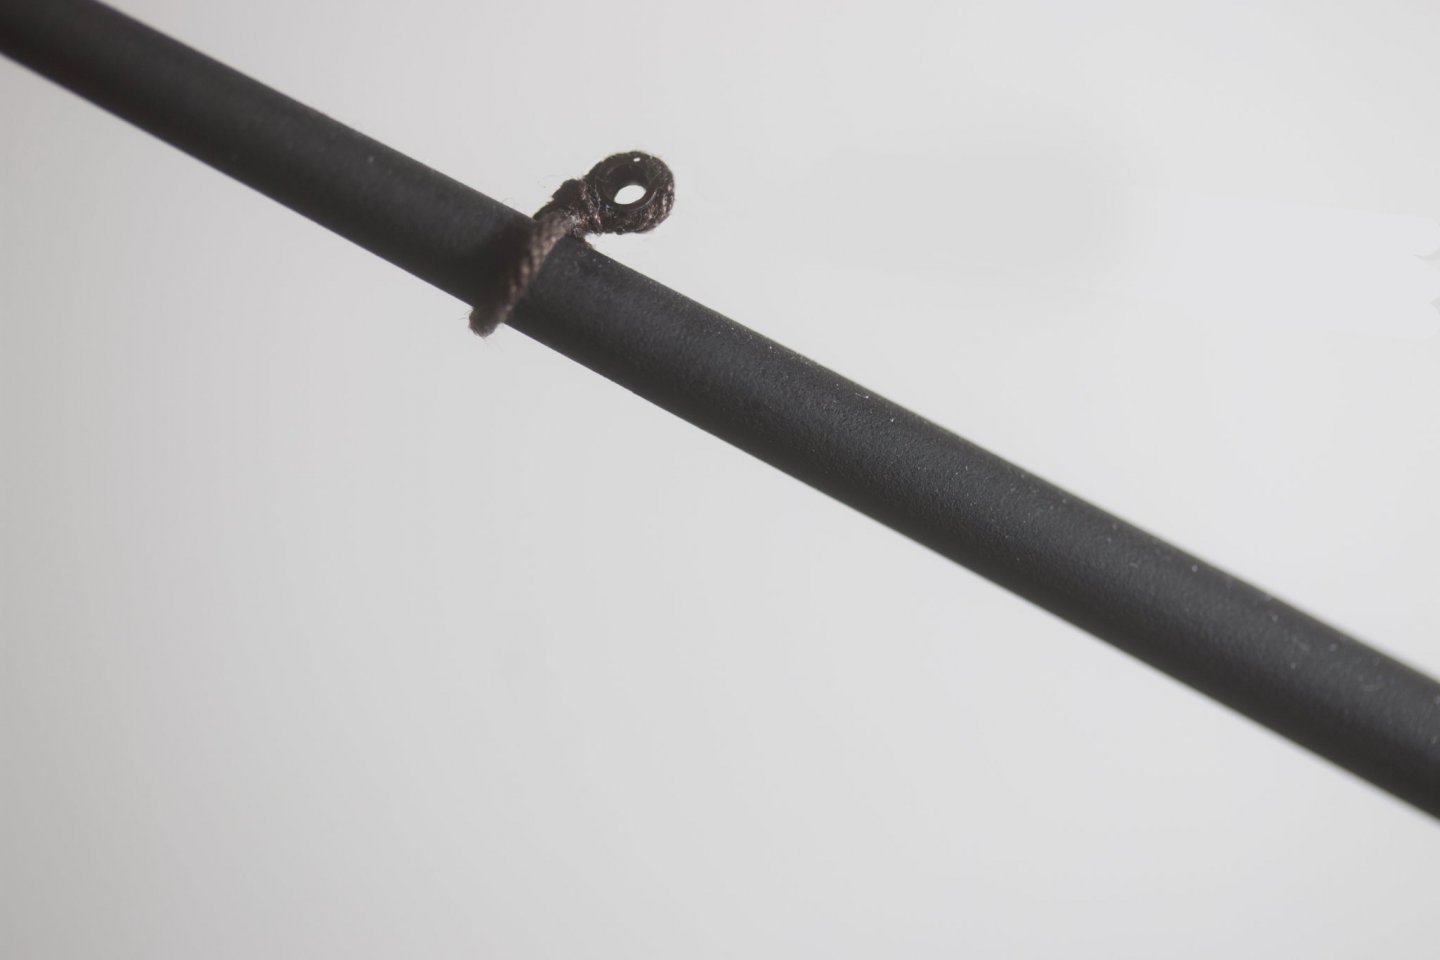
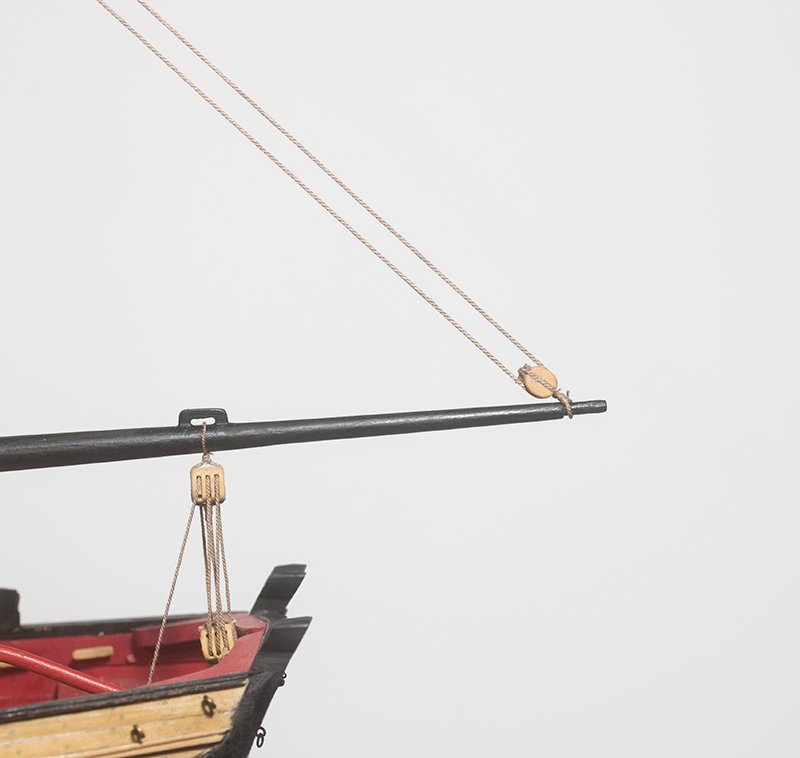
Post 59: Rigging the Jib Halyard Fortunately Chuck supplies a traveler ring. Making one this good from scratch would be a challenge. I decided to stabilize the ring with the out-hall and in-haul before attaching the halyard. Obviously the ring was slid onto the bowsprit before it was installed but I had seized the out-haul onto the ring first. The out-haul travels forward, through the sheave at the tip of the bowsprit and then back aft to belay on the bits at the bow. The in=haul start with a "V" which is seized to the in-haul proper. The V piece is seized to either side of the the traveler ring. This can be seen in this photo with the halyard block rigged The halyard itself passes through a block on the mast cap and is belayed to one of the cleats at the base of the mast. John
- 160 replies
-
- 12
-

-
- cheerful
- Syren Ship Model Company
- (and 1 more)
-
Glenn, You will see that I went with standing rigging gangs first before fitting the. topmast. For me there was no way I could tie them neatly on the ship. I did not tie off the shrouds though as I thought they might grt in the way of running riggging but in retrospect it would have been OK John
- 778 replies
-
- 1
-
-
- cheerful
- Syren Ship Model Company
- (and 1 more)
-
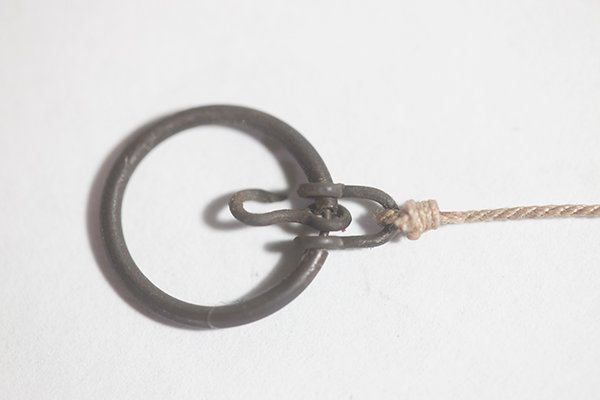
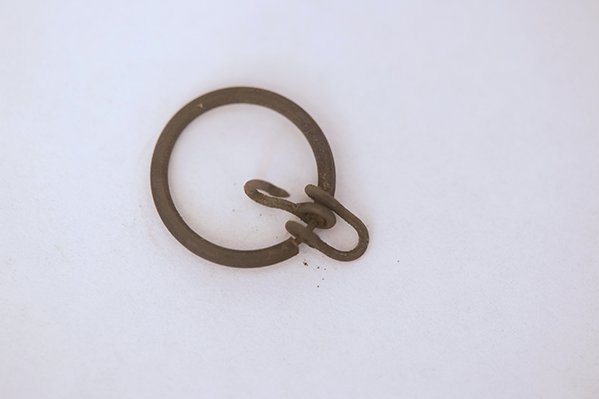
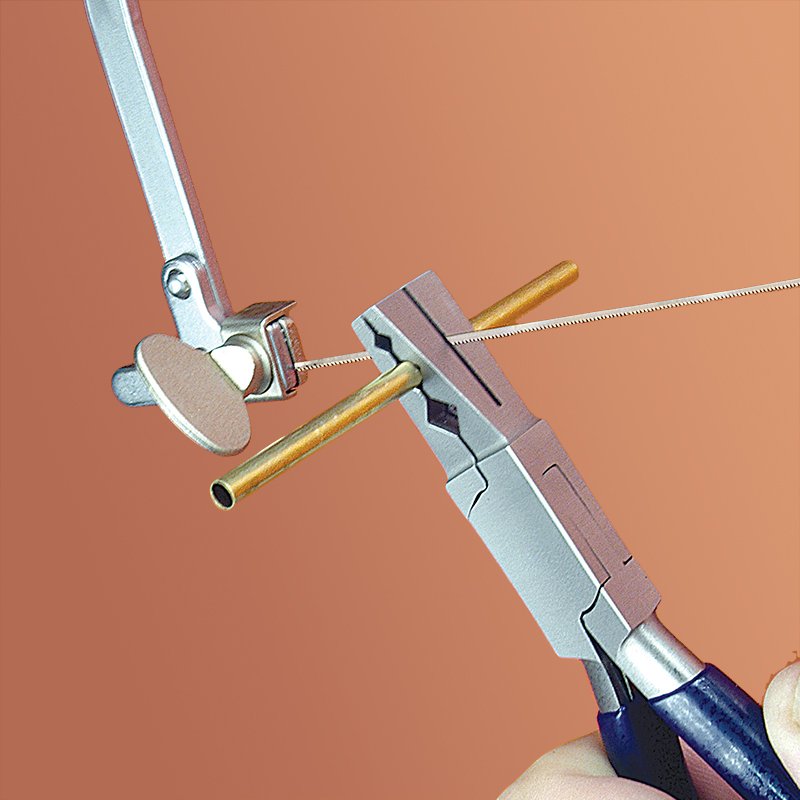
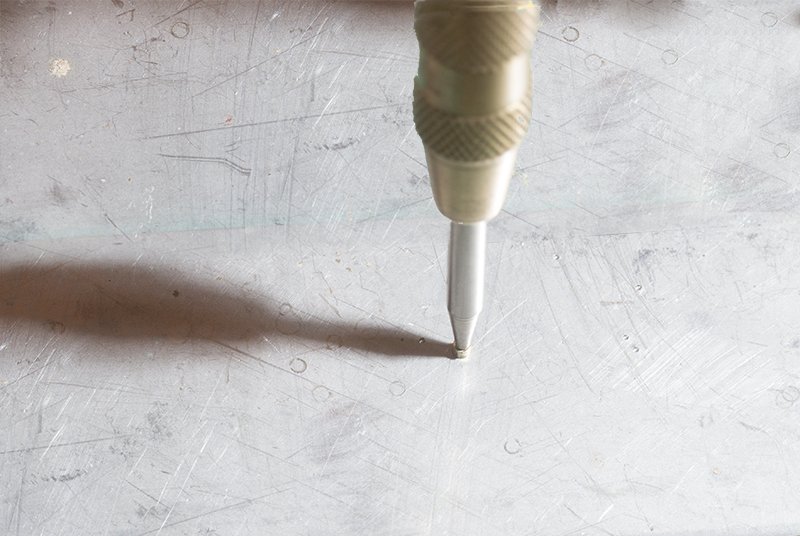
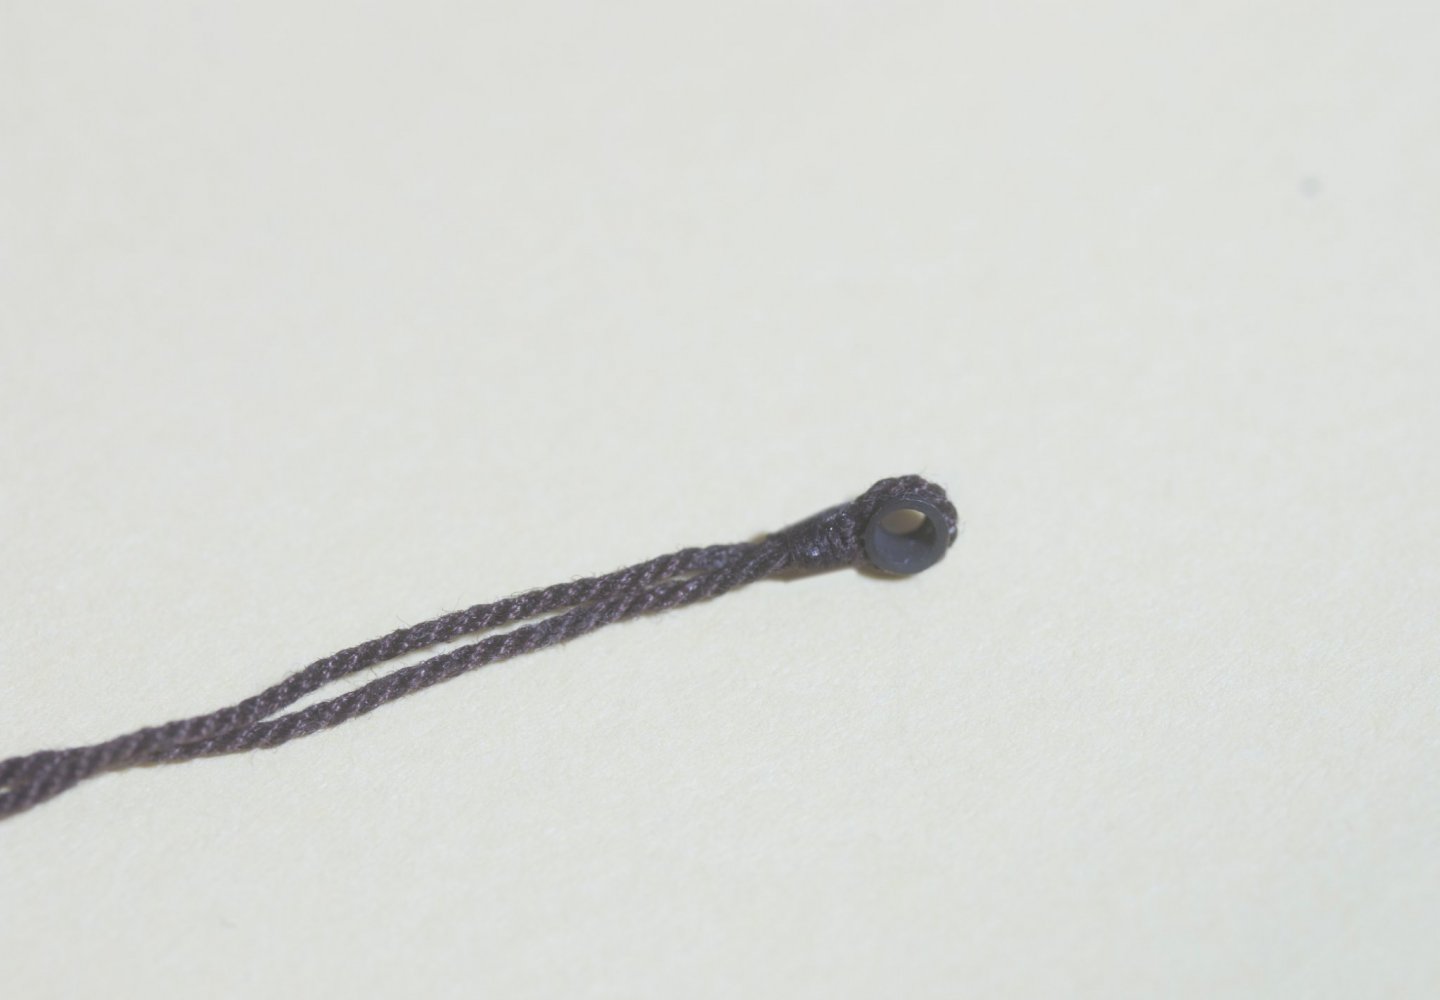
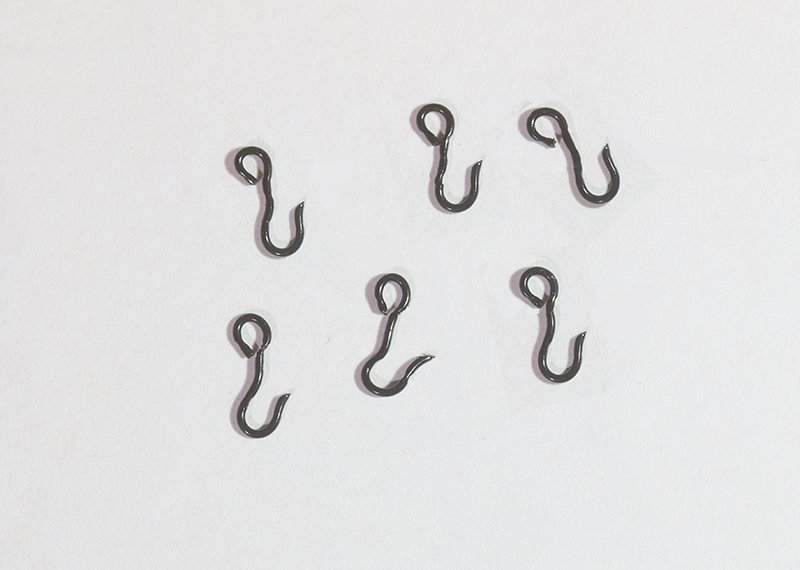
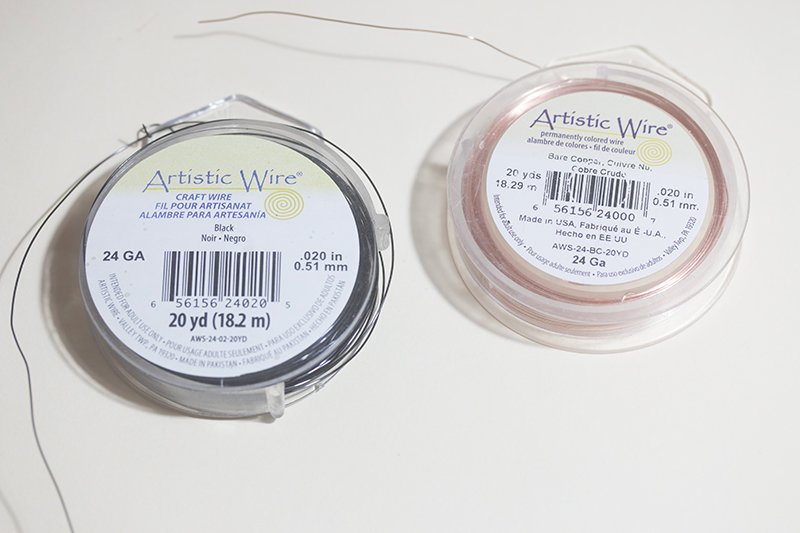
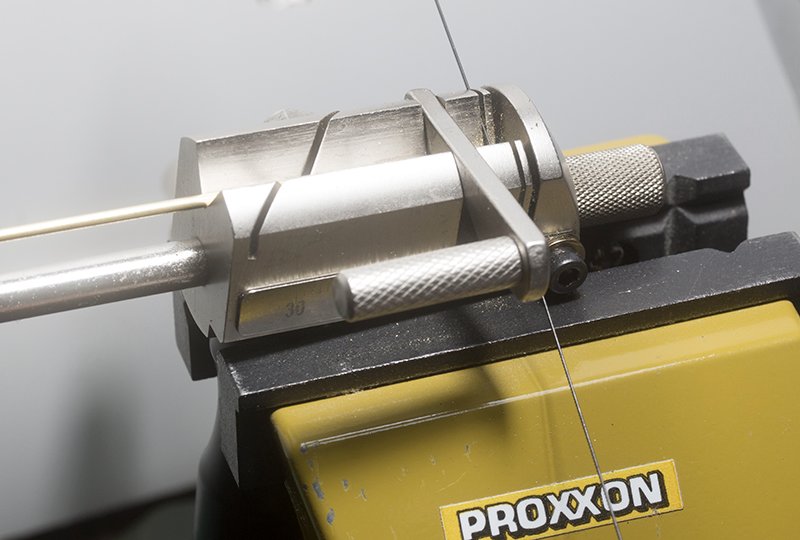
Post 58: Rigging the Gaff. Before I commenced this job I needed to make some more thimbles. To do this I cut 2mm lengths of 1.6 mm tubing using a Jewelers Tube Cutting jig . I also have a pliers type jig. The advantage of these is that they capture the cutoff piece. However they do not have a small slot to hold this narrow tubing so I used the more complex jig although care need to be exercised so as to not loose the cut off piece. For those living in Australia, Australian Jewelers Supply have useful range of tools suitable for our hobby. They have stores in all capital cities. Their stores are more like a warehouse and browsing turns up all sorts of interesting finds. I have written about this here. These need to be flared out to form a thimble. I have tried using both a hand punch and a spring-loaded punch the problem with the spring-loaded punch is that often one click is not enough and two clicks is too much. I can exercise more control by tapping with a hammer. Here is the result after blackening: These are then seized with 0.66 mm rope and then lashed to the spar in the appropriate place: Hooks were made from 24-gauge wire: I found the installation of the gaff tricky. Unlike the main boom, there is nothing to hold the tip from drooping down and it also tends to slide down the mast. I eventually tied it up temporally to the top of the mast but it was still awkward until the throat seizing is rigged. Eventually, a satisfactory result was achieved. John

- 160 replies
-
- 8
-
-
- cheerful
- Syren Ship Model Company
- (and 1 more)
-
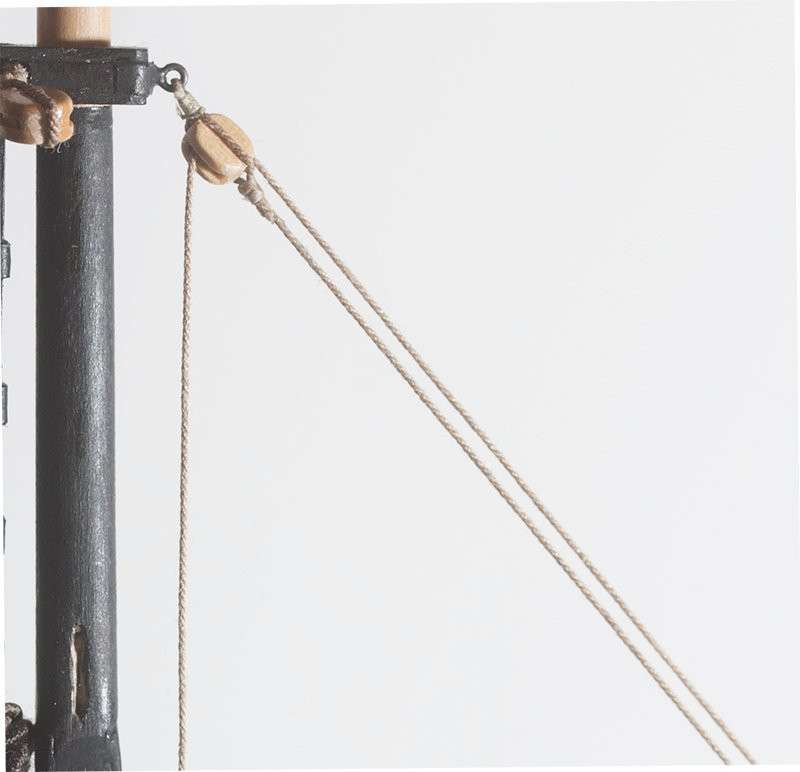
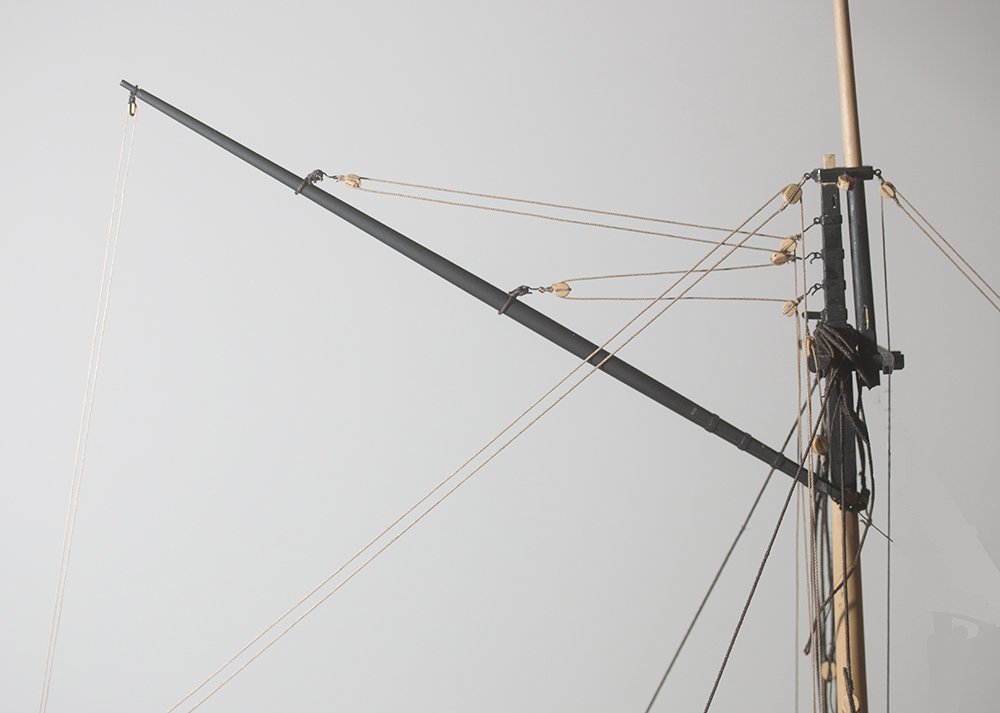
Post 56a. Mast Cap and Topmast: This Post is out of order and should have come before the last one (Post 57). The topmast was made art the same time as the mainmast and dry fitted as shown here The topmast was removed so that the lower the gangs for the standing rigging could be slipped over the masthead. Now that this is complete the topmast can be installed. The dimensions for the mast cap are given in the plans and two holes were drilled in the appropriate places - the forward one to take the topmast and the aft one was squared up to take the mainmast tenon. There are four blocks located on eyepins on the cap. I elected to install these prior installation of the cap rather than do it on the ship. The for and aft blocks have al length of rope attached for the Jib halyard and the main boom topping lift and the respectively. The ropes associated with these were installed and coiled in readiness for installation at a latter date. Of course the topping lift was installed in Post 57. John


- 160 replies
-
- 6
-
-
- cheerful
- Syren Ship Model Company
- (and 1 more)
-
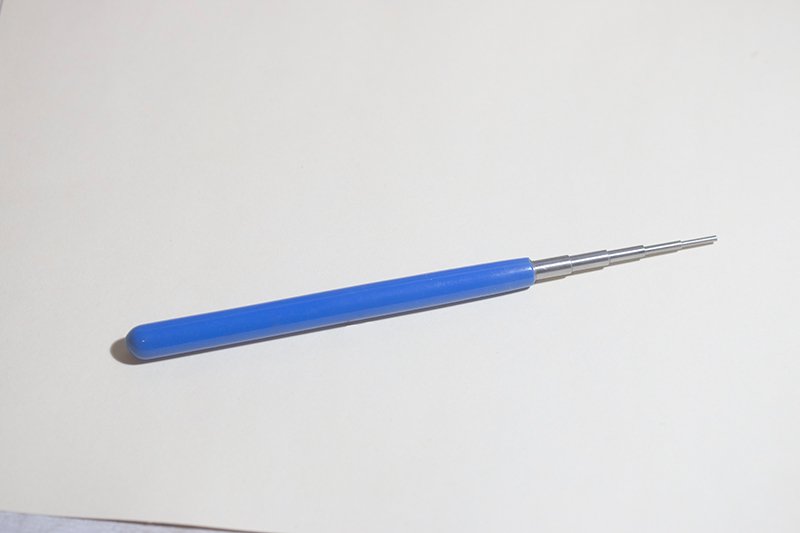
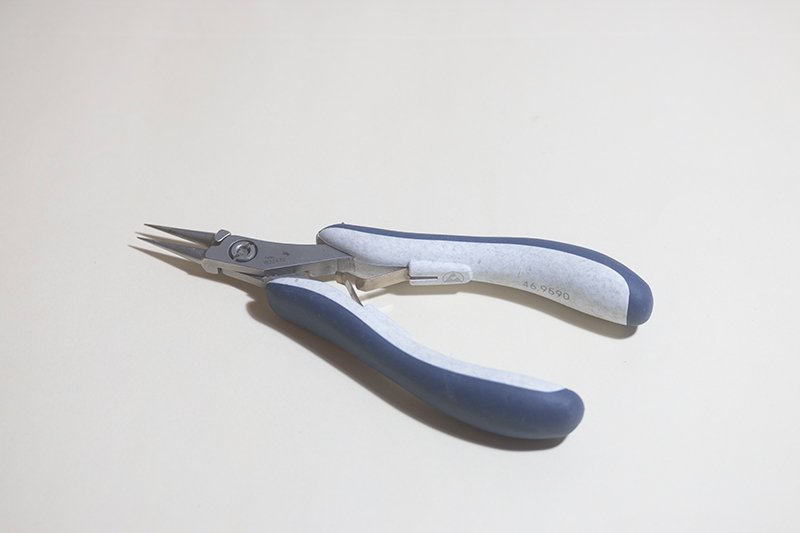
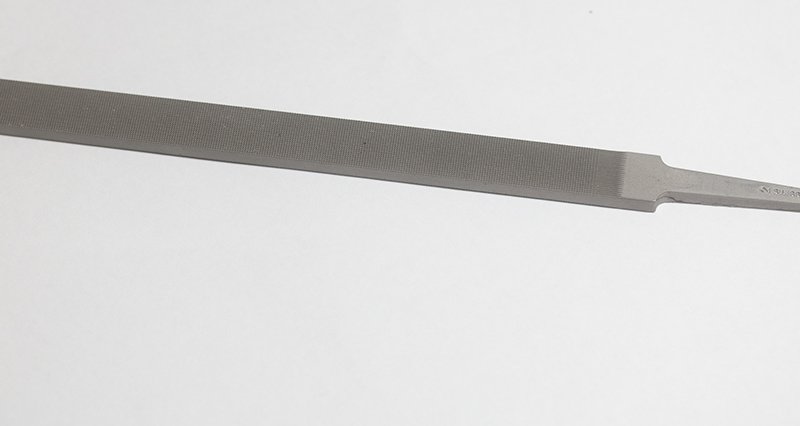
Some great tools for our hobby are available from Jewellery supply stores. Amongst the tools I have bought from such outlets over the years include: Swiss quality needle nosed pliers: bending mandrels: These cone shaped sanding tools (5mm tip on this one): Vallorbe files: Particularly this Barrett style file which you will notice has no teeth on the sides: Tube cutting jig: Knew Concept Saw Copper wire: As well as silver soldering equipment and small ultrasonic cleaners (great for cleaning files and small brass parts). If you live in Australia, Australian Jeweller's Supply has a store in every capital city and they have an online outlet as well John


- 1 reply
-
- 8
-
-
Just an additional comment, Bob, the best place for the small ones is a jewellery supplier. I find they have lots of good stuff. Or try searching "small bending mandrel" because there are industrial scale ones. John
- 778 replies
-
- 1
-
-
- cheerful
- Syren Ship Model Company
- (and 1 more)
-
John, In Australia I bought mine a while ago in my local pharmacy ( I think you call them "drug stores". Cheers, John
-
This tool ( at least in Australia) is called a "Bending Mandrel". Cheers, John
- 778 replies
-
- 1
-
-
- cheerful
- Syren Ship Model Company
- (and 1 more)
-
Yes Glenn, I got this Idea from @bigcreekdad. I have been using these as well for a while and they are great. I bought them at my local Pharmacy (I think you call them Drug Stores) so they are easy to replace if the edge goes dull. No problem so far. John
-
Thanks Chuck and Glenn for your kind comments. There are some faults of course but I am enjoying the build. It will be hard to go back to kits from here. John
-
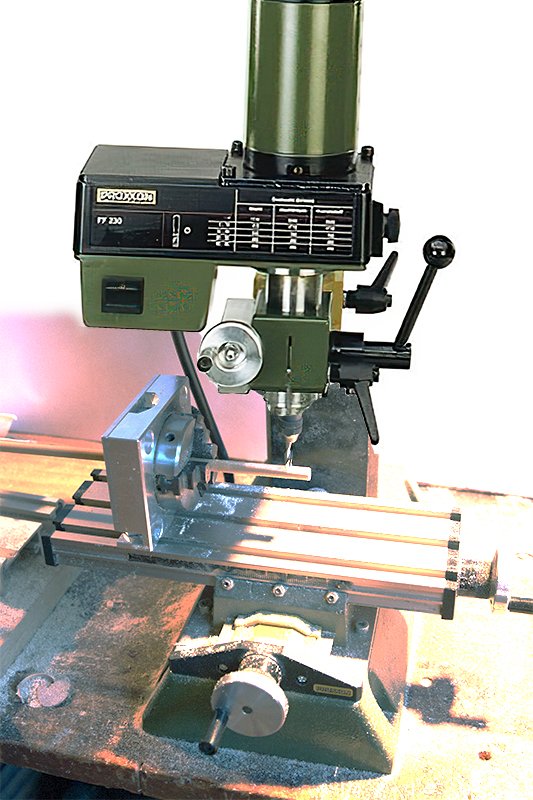
One of the disadvantages of the MF 70 is that there is no head-stock rotation. This may not be a limitation for your work. The FF 230 offers this facility but at a more expensive price point. As a small group of builders we purchased this machine as we could spread the cost. It is certainly more versatile and I think all the Sheerline models offer this facility as well. John
-
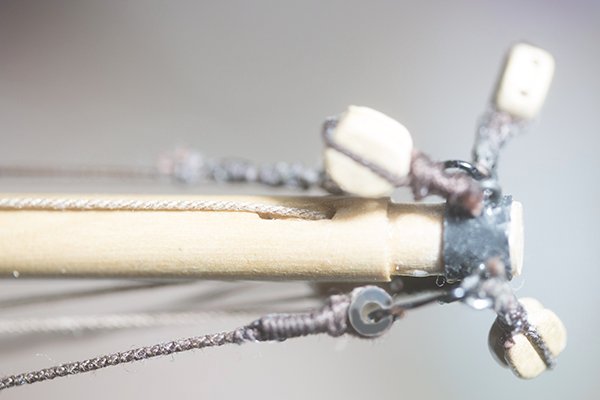
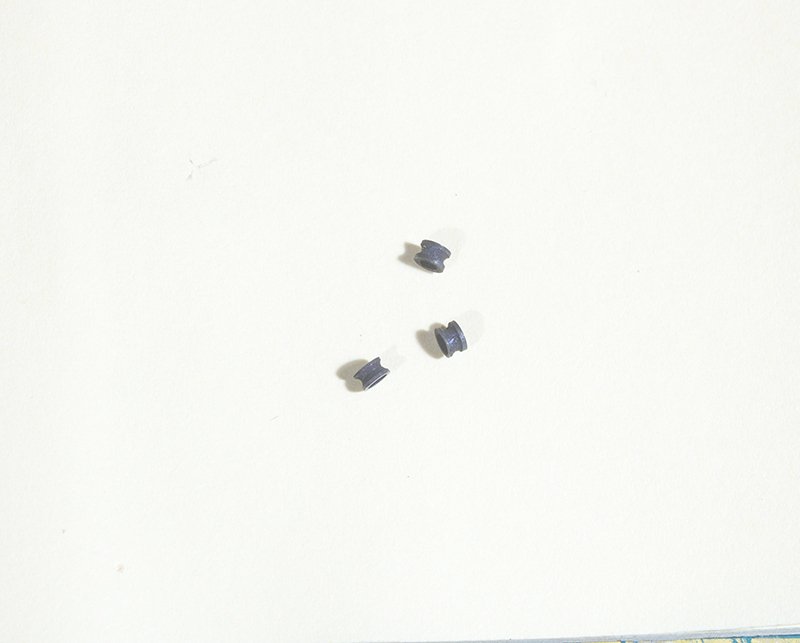
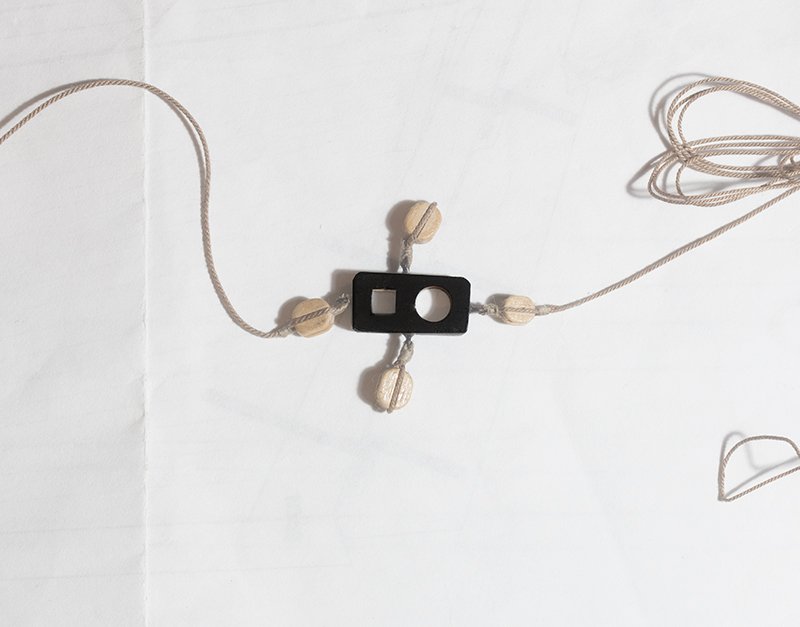
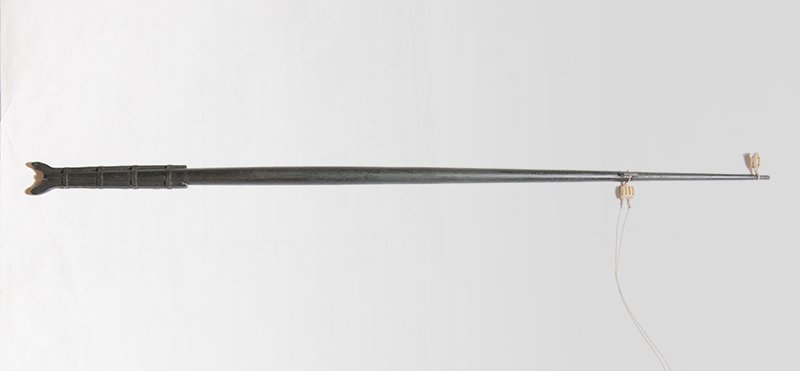
Post 57: The Main Boom The main boom was constructed in post 54. It is now rigged and installed on the model. There was nothing special about this process but no ropes are tied off permanently yet. I used black Parrel beads as that is what I had in stock.

- 160 replies
-
- 11
-
-
- cheerful
- Syren Ship Model Company
- (and 1 more)
-
Yes Indeed, part of the standing rigging. There is no pressure on the leeward backstay, so it can be loosened. This is actually vital as the ship moves off the wind ( wind from the side) because the boom then has to be moved outward and a tight leeward stay would foul the boom. In fact the capsize of the American yacht in the Americas cup was caused by just this fact. fo some reason the leeward stay did not release and over she went! John
-
Allan, I certainly don't think its a good idea on rigging. The ropes are very thin and the glue will penetrate a way as well. Interesting point with regard to timber though. The layer of glue is usually quite thin compared to the bulk of the timber so maybe its OK. There is a guy on this site who is a conservator. Maybe he will give an opinion. John
-
Yes, Christos, I think that is probably correct. Asmall variation from 7 still leads to a small excess of acid and slowly over time damage can occur. another example of this is in PVA. Tightbond for example has a pH of about 2.5! we should not be using this on rigging. Craft PVA or bookbinders PVA is said to be "neutral" but is it pH 7? Probably not but better than Tightbond! John
-
When the reference says "compounds and their ratios vary from species to species", this does not mean that the pH varies. The compound present are called "esters". These are common components of many naturally occuring vegetable oils and animal fats. It is difficult to explain to a non chemist what these compounds are but I will try. They consist of two long chains consisting of only carbon and hydrogen - hydrocarbons. These are separated by an oxygen containing group. Each species actually contains a mixture of these esters in which the length of the carbon chains varies. Now in different species The way this variation occurs is different if this makes sense. For example a common chain length in vegetable oils is 18 carbons (called C-18 for short). So one species may have 80% C-18 and 20% C-16 another species might have 50% C-18, 40% C-16 and 10% C-14. So its a kind of variation of a variation! But the pH could be the same for both species. John These ester
-
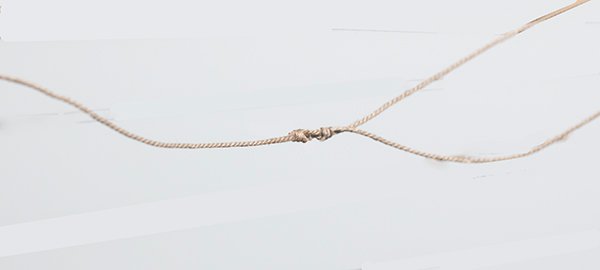
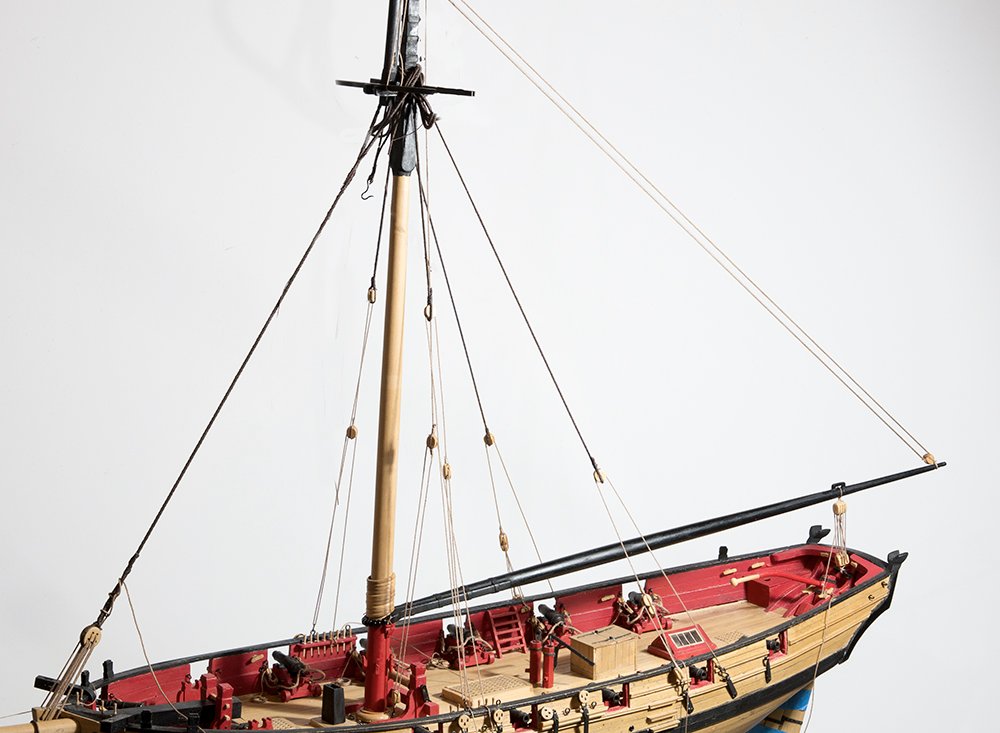
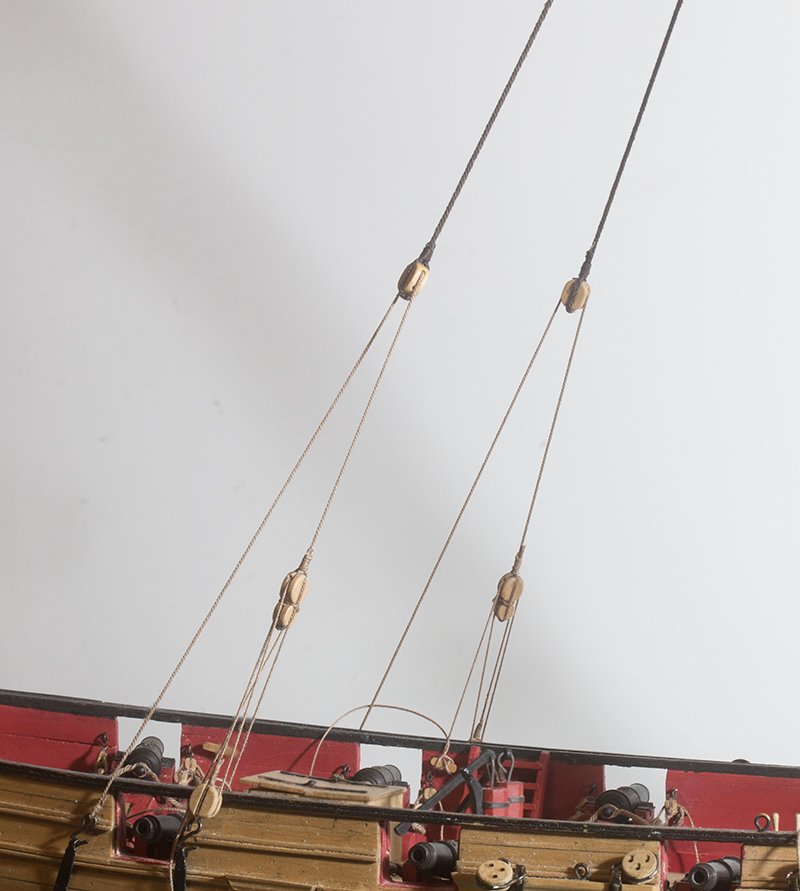
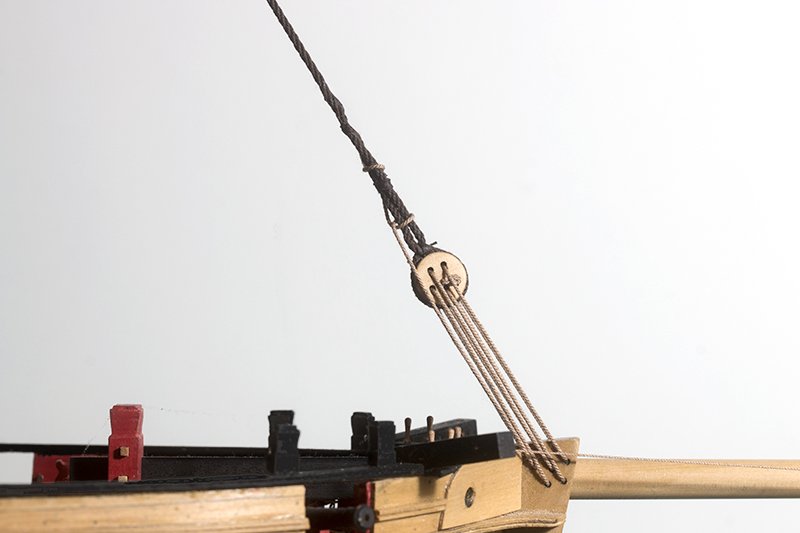
Post 56: Standing Rigging As mentioned above, I am not sure that old hands can cope with seizing shrouds etc around the mast-head on the ship. So, I have elected to install most of the standing rigging for the lower mast first so that I can slip the gangs over the mast. Most of this is pretty standard stuff - seizing blocks to line using the method described above, making a few hooks, and installing the gangs in the correct order. So here are the running back stays: And also the mainstay which is secured to the stem via a five hole deadeye: Cheerful will largely be on hold for a while as the autumn sailing competition starts at my club next week and the community orchestra in which I play is also in full swing now. So it may be a few weeks before there is another update. John

- 160 replies
-
- 9
-
-
- cheerful
- Syren Ship Model Company
- (and 1 more)
-
Yes Glenn, The wood in the best clarinets is grenidilla. Only the heartwood of this increasingly rare tree is black and the surrounding wood is pale yellow but here are other things like the machining and shape of the holes the silver alloy in the keys etc etc. The best ones are hand made of course. The worst thing is that hey do not improve with age like violins. I am not sure why that is. Cheers, John
-
Looks good Glenn. You are catching up to me fast! My Cheerful is almost on hold at the moment. This is the beginning of the autumn sailing series on Moreton Bay so that uses up Wednesdays . The community Orchestra in which I play is also in full swing. I bought a new A$4000 clarinet last year so I need to make it worthwhile. No wonder I can't afford power tools for modelling! I shall keep following your excellent work. John
- 778 replies
-
- 2
-
-
- cheerful
- Syren Ship Model Company
- (and 1 more)
-
Thanks for your response. Sounds like it works pretty well, Glenn. Yes, I always finish off with a lengthwise sanding to take out any fine marks left by the radial sanding. Of course the center support doesn't have to be there and I didn't use it for my mast. It is only necessary for thin spars and it normally slides anyway so i just have apiece of sand paper on either side and push it pack and forth. John
- 778 replies
-
- 1
-
-
- cheerful
- Syren Ship Model Company
- (and 1 more)
-
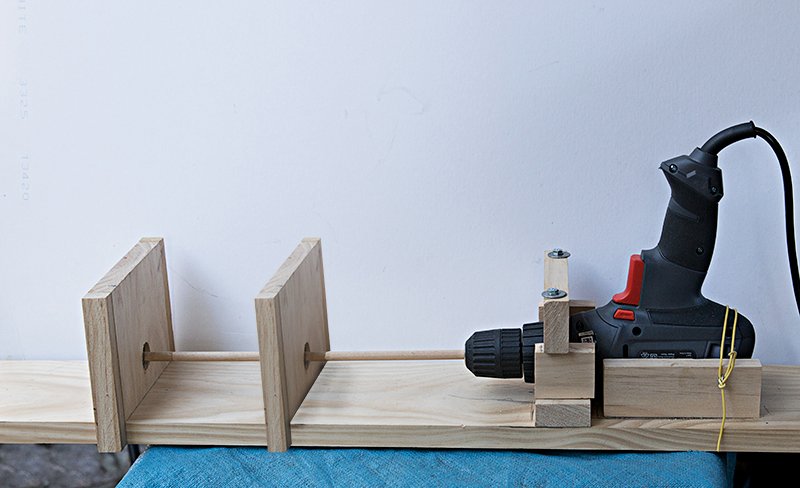
Hi Glenn, Great work once again. On the subject of lathes I would be interested to know how you go about turning thin spars on the Proxxon when you do not have any central support and no tail stock. I did consider buying this but it seems to have limitations. You will have seen my home built job before. Before I installed the central bearing , I experienced considerable wobble on thin spars. They were in danger of shattering but also it produced a strange shape which is hard to describe where the center diameter is kind of offset from the ends. I know on the Proxxon you can run the spar through the chuck but does this not produce a whipping motion? It certainly does on mine. I only pass my spar through the left hand board (the opposite side from the drill) when I need to turn a rebate in the end of the spar and then it only protrudes about half an inch past the bearing so that I can use a small chisel to reduce the diameter of end which is supported by the bearing. John
- 778 replies
-
- 1
-
-
- cheerful
- Syren Ship Model Company
- (and 1 more)
-
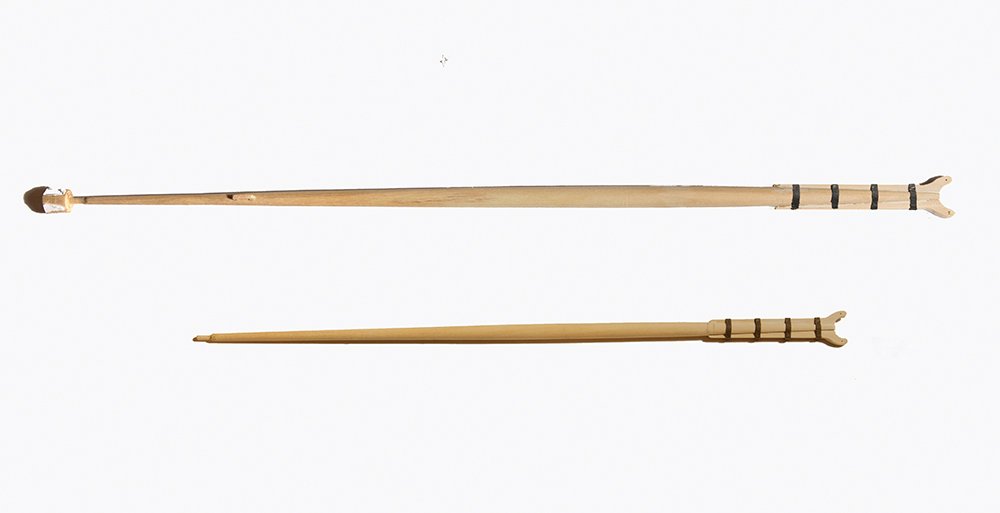
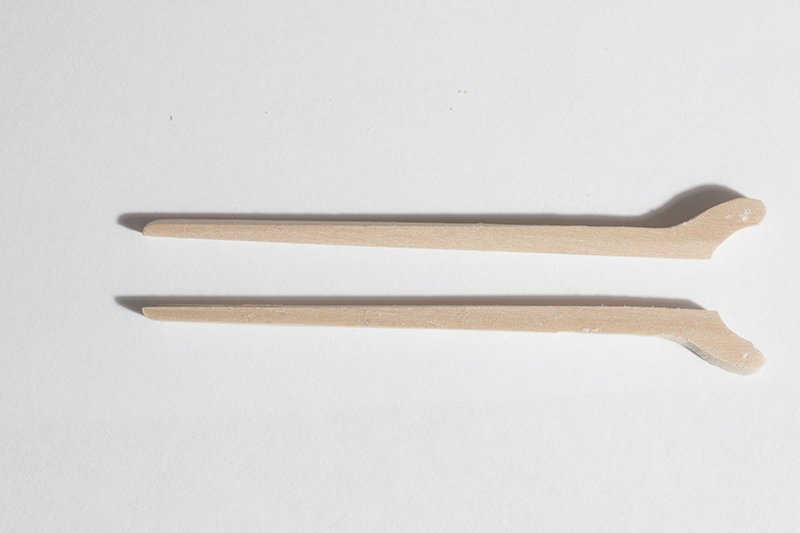
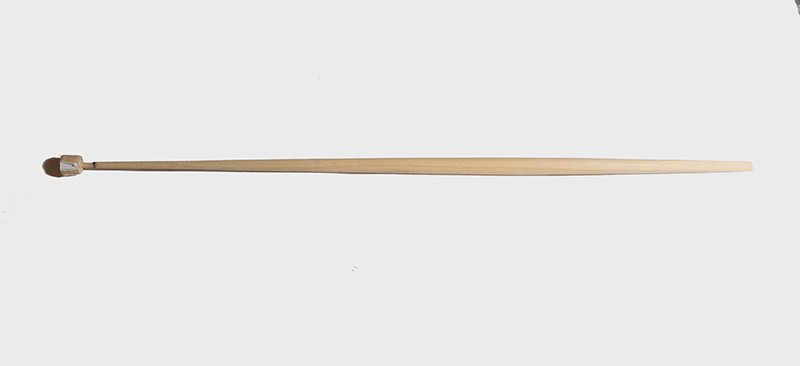
Post 55: the Main Gaff This was made in exactly the same manner as the main Boom above. The only thing I would add is that in order to ensure that both jaws were identical I used the "spot of glue" technique which I thank Dan Vagas. Here are the two spars completed John
- 160 replies
-
- 7
-
-
- cheerful
- Syren Ship Model Company
- (and 1 more)
-
Photoetch brass black problems
bartley replied to Seems ok to me's topic in Metal Work, Soldering and Metal Fittings
See my comments ion this thread here and elsewhere on this site. Wefalck is correct prolonged exposure or too strong a solution is the culprit. If you dilute the reagent 1:1 good blackening should occur in 30 seconds If it takes longer than this then the surface is not clean enough. You need to use acetone to remove laquer coating and pickling to remove oxide from the surface. See this example. John -
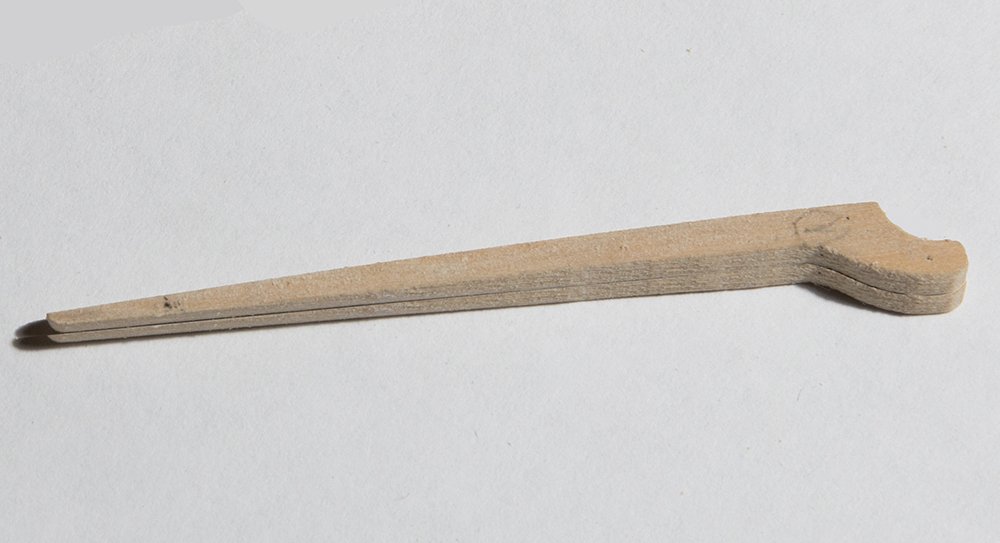
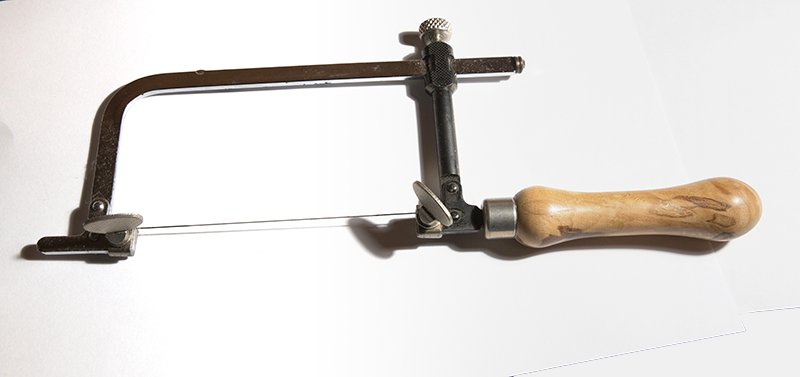
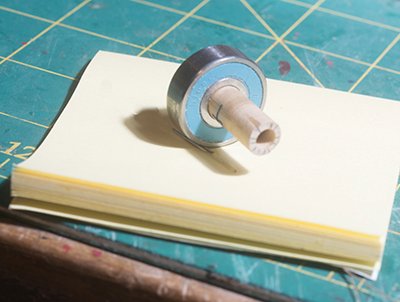
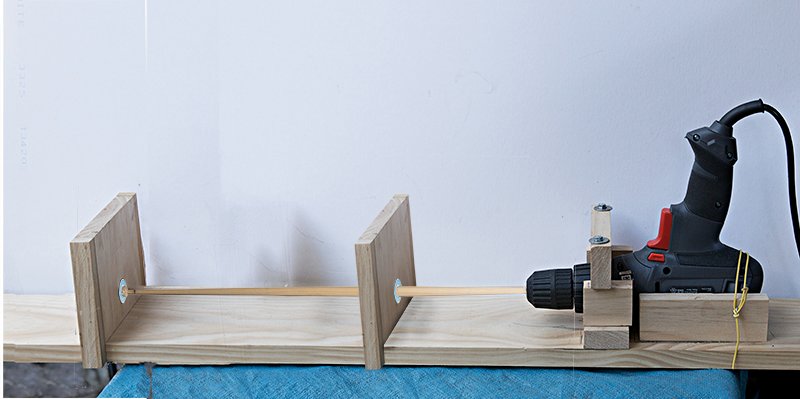
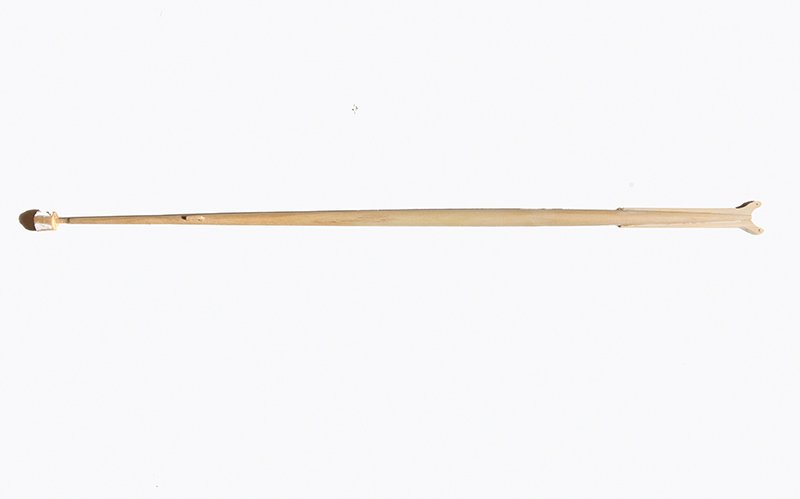
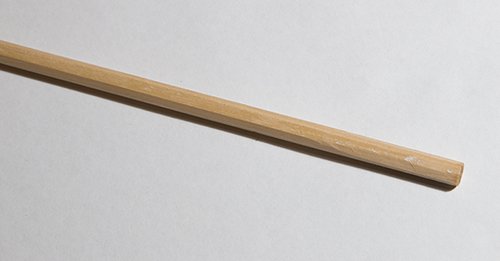
Post 54: the Main Boom This was trickier than it looks as the outboard end tapers to a diameter of only 2.5 mm. I first make the boom octagonal using the 7:10 :7 rule and then plane of the corners with my Veritas block plane. Then I turned the inboard end first down to a diameter of 5.3 mm. On my home made lathe the central board is usually a moveable support but this time I clamped it in place at the widest point and then tapered to the outboard end. I use decreasing grades of sand paper from 130 down to 400 but like any rotational method it does leave slight radial grooves so I finish of with 400 and 600 grade paper in the longitudinal direction The bearings on this device are roller blade bearings and I have a number with wooden inserts to reduce the diameter: These ensure that the mast (or boom) in this case fits firmly so that there is no scoring since it is the bearing which rotates. Here is the completed boom after turning to the shape indicated in the plans: The next task is flatten the inboard end to take the crutches which connect the boom to the mast. I used the mill for this with the head set to an angle of 2 degrees : Next the boom crutches themselves. I used my Knew Concepts Jeweler's saw for this, and then finally shaped with files and sand paper. On the subject of Jeweler’s saws: I originally owned one like this I had a problem finding the correct tension and kept breaking blades. This was probably down to my poor technique and perhaps I should have persisted. However, recently I have acquired a Knew Concepts saw and for me this is a much superior tool. The lever system ensures the blade is always at the correct tension. It is beautifully balanced so I can cut really close to the line and I have not broken a blade in nearly 12 months. I would recommend these to anybody about to purchase a jewelers saw. They are not cheap but like most things quality cost money. Some would use a scroll saw for this task. I did own one of these but it was a cheap model – I paid A$80. I was disappointed. Even though I bolted it to the bench over a rubber pad it still exhibited lots of vibration. The foot designed to hold the work down constantly came loose and for thin timber, say 1/16 inch, I could not install fine enough blades to meet the “three teeth rule” so there was lots of tearing. So, in the end I sold it and made more space in my workshop.. I have written about this elsewhere on this site. My local woodwork shop does weekend workshops and demonstration and I have trialed out there a parallel arm scroll saw. These are a very different story. Virtually vibration free and they will take finer blades so quite fine work is possible . A fine tool. They do however cost about A$1000 and are out of the question for me. A nice tool though. I digress! So, here is the boom with crutches installed And finally with the blocks added and ready for installation John


- 160 replies
-
- 8
-
-
- cheerful
- Syren Ship Model Company
- (and 1 more)