


heksanol
-
Posts
105 -
Joined
-
Last visited
Content Type
Profiles
Forums
Gallery
Events
Posts posted by heksanol
-
-
Thanks guys!

That first picture is Beautiful. Thanks for sharing the picture. Looks to be a nice build, best of luck with the build.
You should thank Cathead for that, he had it in his build log
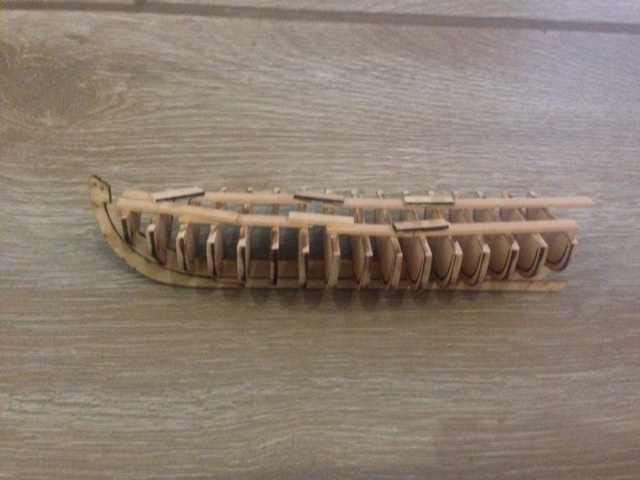
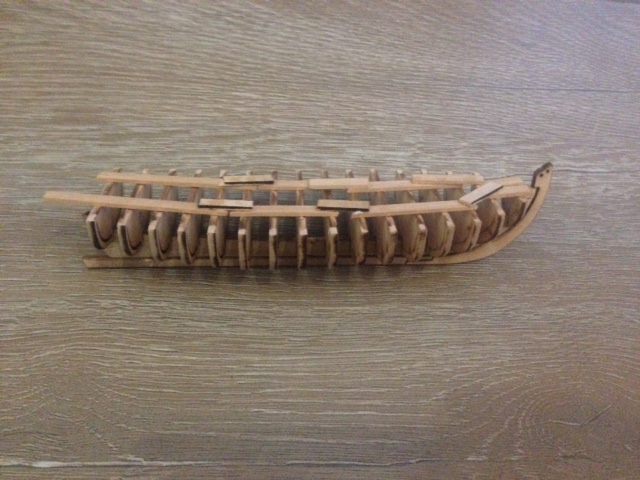
Progress has actually been fairly quick, keel and false keel assembled, with rabbet line etc.
Bulkheads were added and reinforcements added.
I have started fairing the bulkheads as well as the bow fillers and transom.
One thing I noticed was with my kit, is that it seems that the laser cutting cut down on an angle down on the false keel. I had to file down the angle in order for the bulkheads to align properly.
-
Welcome to Gif_Hasie's18th Century Longboat Build log, or known by an alternative name: "Another damn 18th Century Longboat Buil log!"

I bought this kit from Modelexpo's ebay site when it went on sail. Processing was fast and I was actually surprised that the package arrived before the stated due date, since orders from USA takes forever to clear our customs.
One great benefit of this kit, is that there is a plethora of other build logs on here to see how people constructed there's and to ask for help, plus the designer of the kit is also present on this site - if this was only true for all kits, life would be easier.
Right, so first off, I going to construct this kit as a thank you gift to my senior manager at work, since he helped save my job in the beginning of the year when I was in a pickle. So this model is going to get the whole treatment, i.e. display base and glass casing.
Also, I am going to deviate from the colour (yes, that is the correct spelling
 ) scheme and apply a modified colour scheme. I like the one colour scheme Cathead posted in his build log, which is shown below. However, I said before, I will modify it as I go along.

Looking at the contents of the box, nothing seems missing, and the false keel is not bended - hooray!
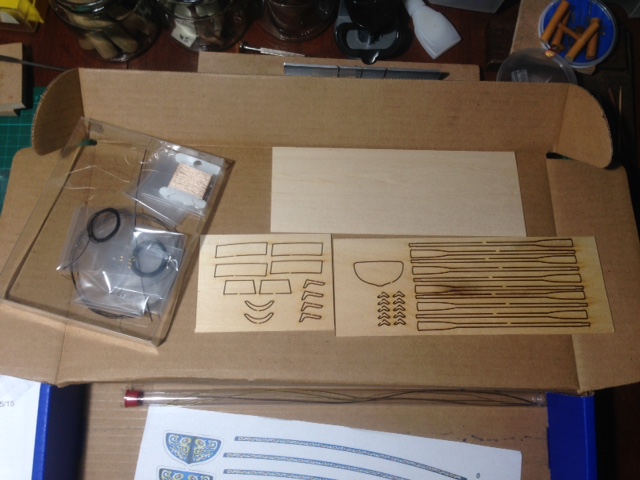
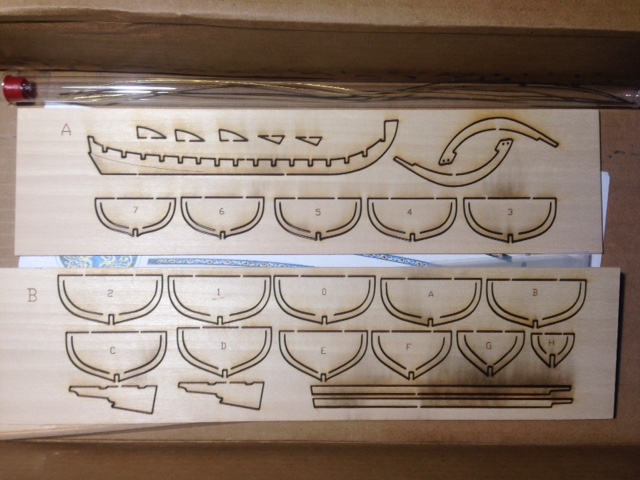
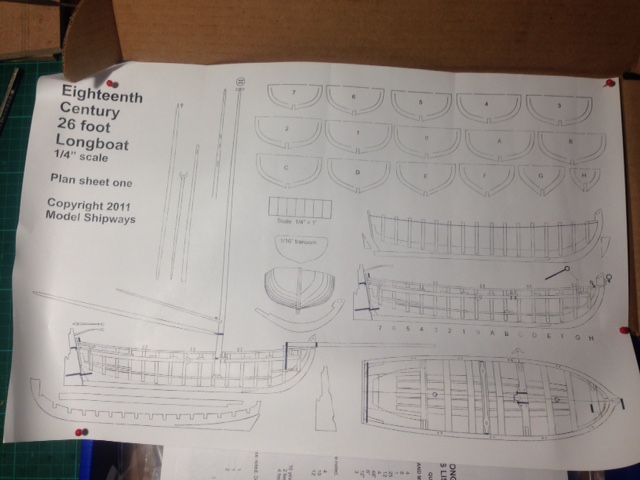
The plans and manuals.
Wait, what sorcery is this!? Where is the multiple language manual for all those central European languages I can't speak or read(except Dutch), I demand a refund!


- Ryland Craze, fatih79, Mirabell61 and 2 others
-
 5
5
-
Chuck,
I agree with you on this point. Back on MSW 1.0, there was a "division" but by materials. Plastics had their own build logs and many of the builders felt like second class citizens.
But, they are...

Just kidding!
Now imagine someone without that background who admires a model of (say) HMS Victory, and then sees a kit in a shop, or on an online website, for building that very same ship.
It's a kit, isn't it? Like those Lego kits for building lorries (trucks) or cranes or whatever? Ah, maybe it says 'glue not included'. But is that enough of a warning that a LOT of knowhow and skill (or maybe just plain commonsense) is going to be needed if that kit's going to turn into a displayable model?
And tools.
That sound like me. Wanted to build one of those type of ships, so I started to search for books on how to build wooden kits.
I had background in metal, resin and plastic models, so I thought wooden kits shouldn't be that different. Boy, was I wrong, and glad that I bought a book or two on how to build wood boat kits. Reading through them I realized there was a lot more to it than plastic models, epically tools and a lot of DIY elbow grease at the end of the day (take into account, I have had zero woodworking skills).
So, I decided to pick up a small boat kit, and glad I did. Just wished that I knew of this site, could have saved me a lot of frustration and time by making a log and getting input from others (as well as the articles on the site etc.).
If I started with something like the HMS Victory kit, I probably would have paused it, and started with something easier smaller.
- CaptainSteve, src, Elijah and 3 others
-
6
-
-
-
Thanks CaptainSteve and AntonyUK. Already have the wheel to simulate the rivets.
Question was more how to simulate the individual bricks on a strip.
Thanks usedtosail, will try it see what the results are.
- mtaylor, Canute and CaptainSteve
-
3
-
-
Hello
If you use copper tape, and planning on using strips rather than individual bricks, what is the best way to make indention on the strips to show the 'individual plates?
I have tried a blunt hobby knife, by pressing directly down on the tape. It seems ok, but I am not sure if there is a better way.
-
Update! Tweede laag bijna afgewerkt.
 20160616_122505.jpg20160616_122510.jpg
Oh, iemand van kaasland? ;p
Looks very nice!
-
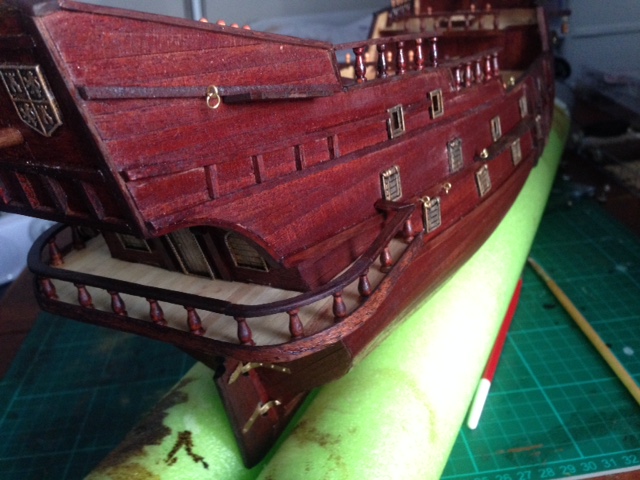
Thanks for the replies, appreciate it.
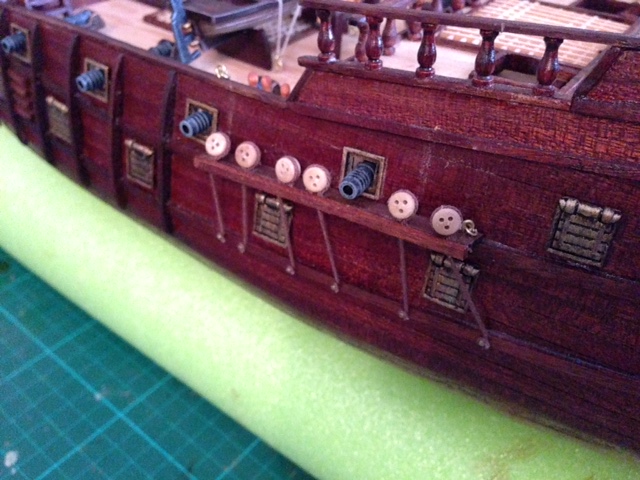
Just to avoid some confusion, the first photo is of the bowsprit, thats why all the bolts are on it
Ok, I will use the info given above
Another question, I assume when you tie the blocks to the yards, you must sure about the direction/angle of the block after tying down the block, for when you want to do the rigging later?
-
Hello
I need some help/advice please with regards to tying blocks to yards, bolts etc.
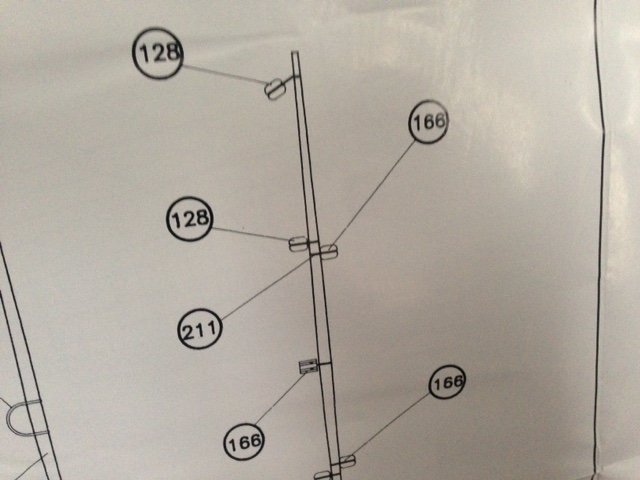
I have shown a picture below of where I want to tie my block to a bolt - how should it look? Must I reeve the block line when it is around the bolt (same for yards) or can I just make a knot?
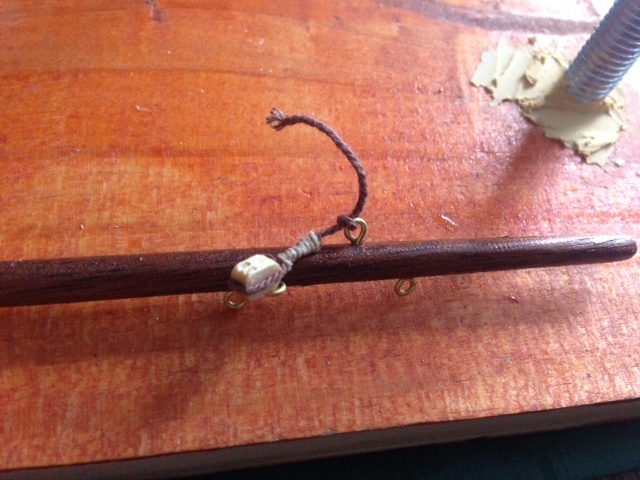
Also, if you look at the picture below, what is the correct why to tie blocks nr 128 and 166 to the yard?
Thanks
-
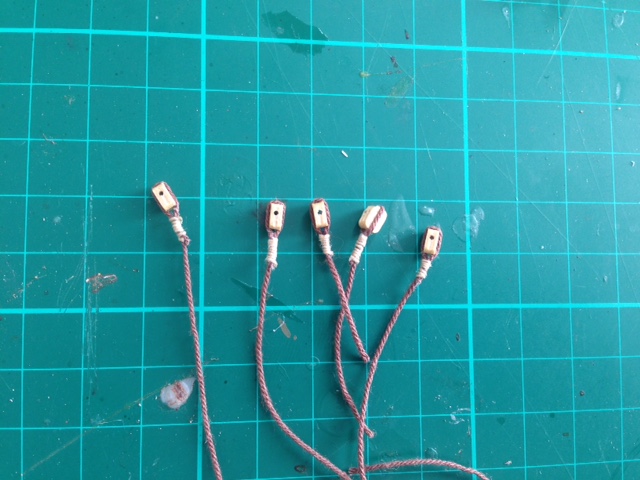
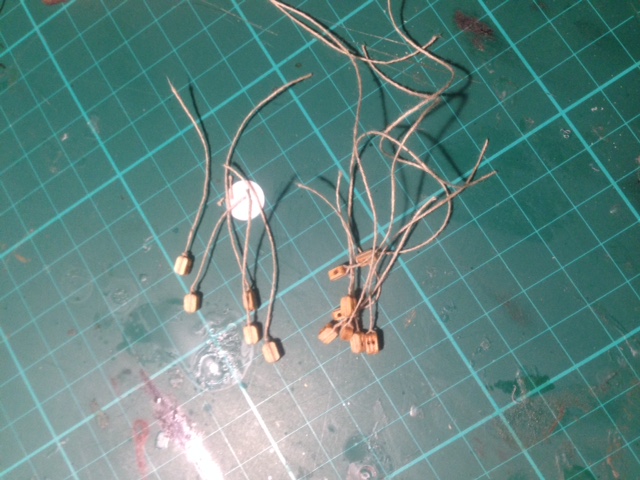
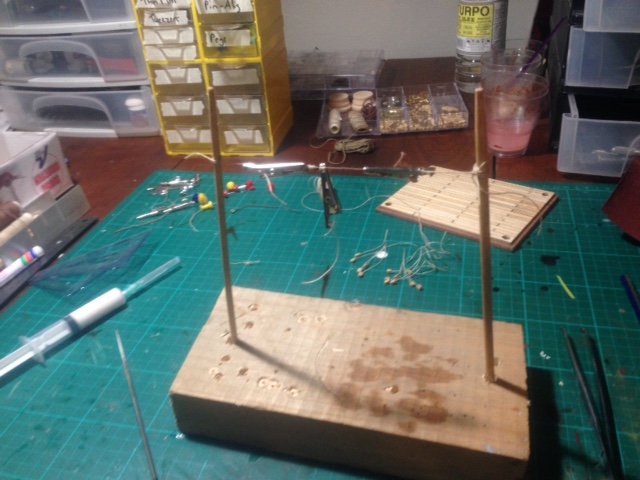
Got my jig semi set up, ran out of the rod, so will add extra later on. Can rig three blocks at the moment (four after completing it).

Made some on the jig for the bowsprit
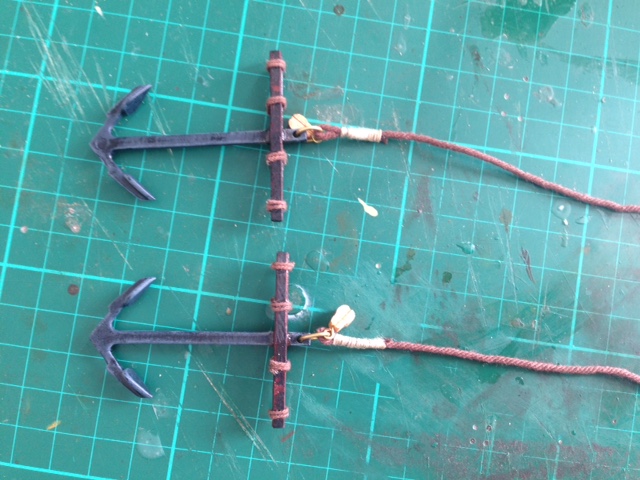
Also, finished my anchors, used the jig to serve the anchor rope.
All in all, not too bad, with some practice will be able to get better at it.
-
-
Ok, so I didn't get time to do what I wanted to do. However, I started looking at the rigging and making the masts and yards so long.
Going to be honest, but I am actually intimidated to make the masts etc., as well as the rigging, since this will be the first time going more complex than what I am used to.
However, after looking and deciphering the rigging diagram supplied by AL, I feel a bit better on what sequence and where to do what.
With that in mind, I decided to start with the spritsail (will take photo later). This is what I first came up with:
Was feeling chuffed with myself until I looked at The Scottish Maid log my Mr. Angus, and realized looking at his rigging that mine was totally wrong

So, after a few sailor words about the time wasted, I decided to do it over.
However, then I saw also on his build that the rope around blocks was suppose to be ... err... reeved I think? With that in mind, I had a look up on reeving, and tried with hand using some real-life technique. I got one done, but sufficient to say, it took a awhile to do it, plus some heavy sailor words from my side.
After that, I seriously started looking at other possible solutions, and saw the reeving machines available. Looking at the principle, I decided to quickly make a jig to help reeve my blocks.
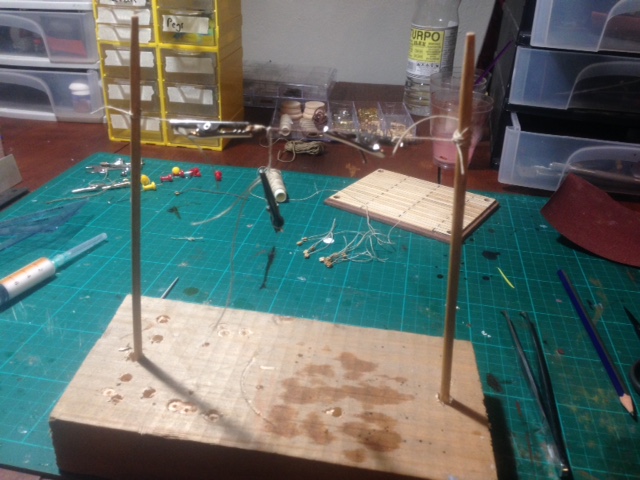
Yip, those are two chopsticks stuck in holes (hey, I had to quickly scrounge around the house, took less than 5 mins to build this
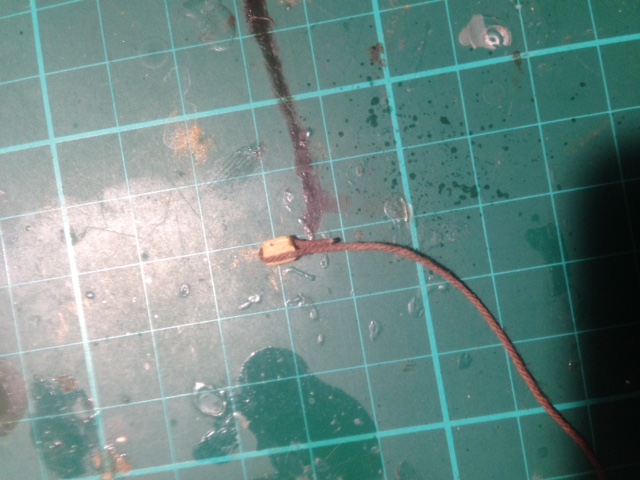
)However, I was happy with the results. Much easier and quicker to do. Here is a picture of my second block that I reeved. Feeling more better about reeving blocks, however, still need to get something to reeve lines.

I am going to make a better jig, with two stations, in order to speed up reeving of my blocks.
Also, I want to see if I can make my own line reever, or maybe just buy one.
-
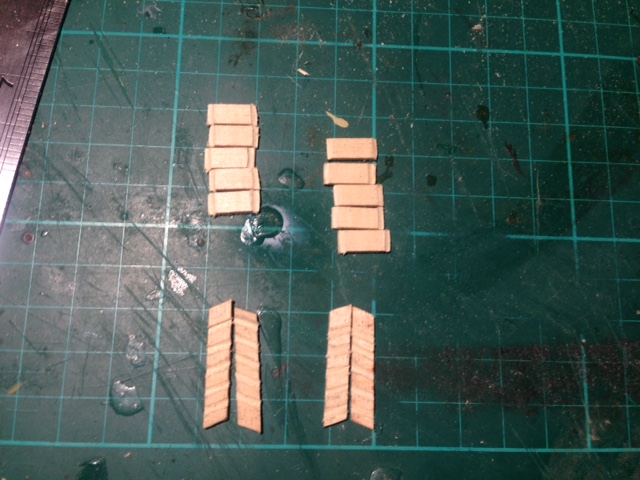
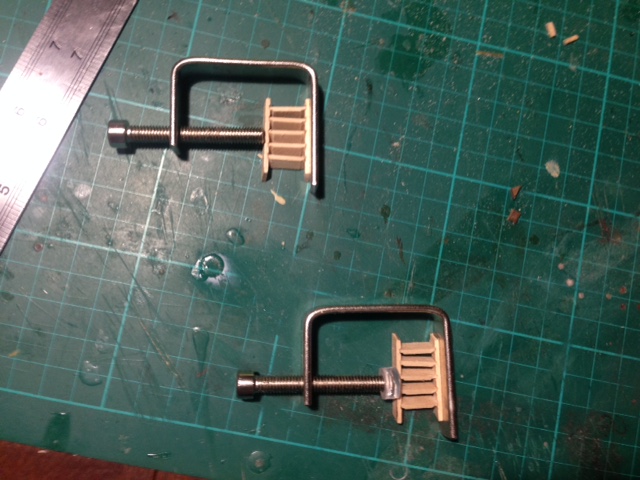
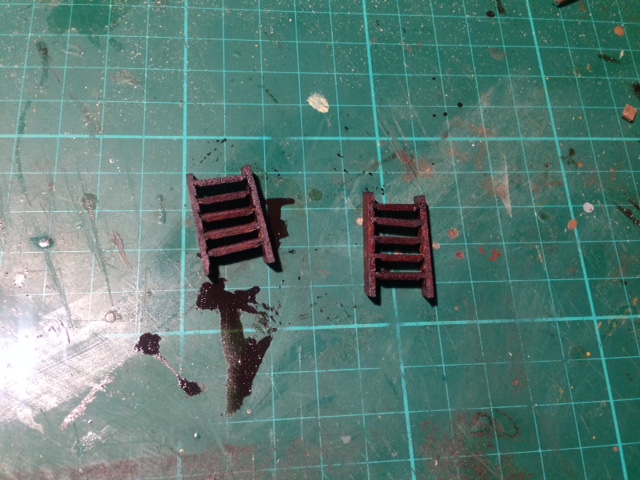
Made some scratch build ladders, when I had some time again.
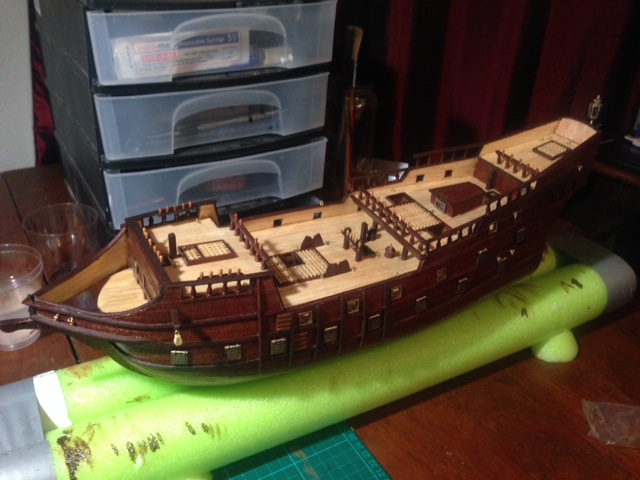
Will try and get the cannons finished this week. I did a dry fitting, and ran into problems with the ones on the lower deck - the port holes were too low. Going to use my dremel to grind off some of the porthole topping, as well as a bit of the cannon wheels. So hopefully it will fit.
-
-
-
I just use all purpose poly filler (the one you use to fill cracks in brick walls).
After applying and drying, I file the hull till excess is off.
Works like a charm, first layer planking hull is nice and smooth to the touch.
For the second layer planking, I am going to use Mastini's method, apply carpenter glue to cracks, and then file the hull, so filing fills cracks.
-
-
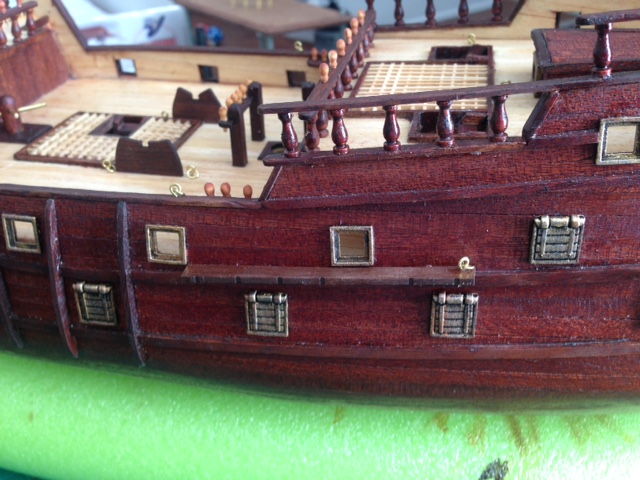
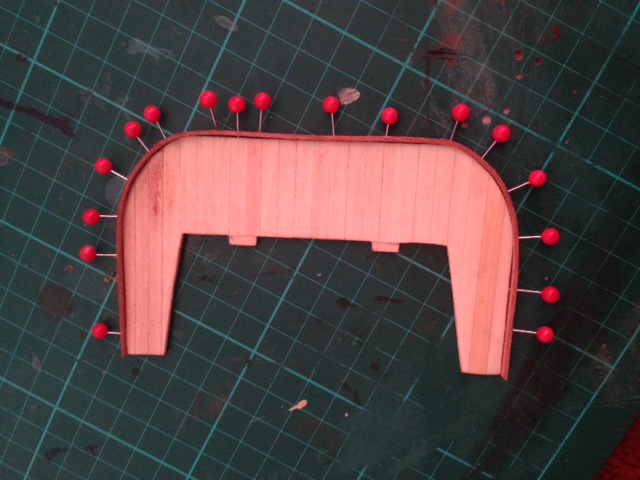
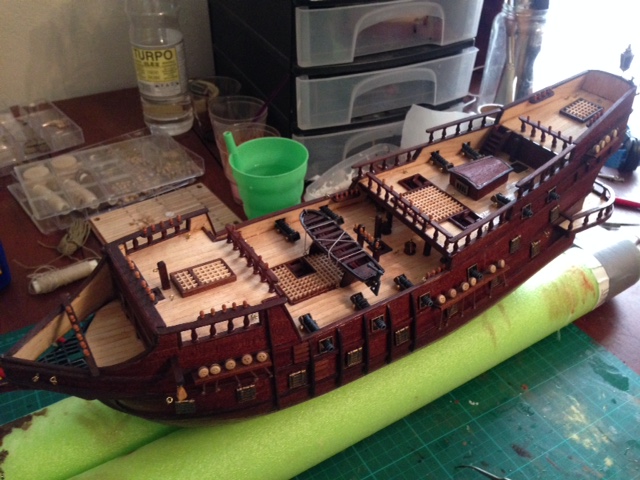
Update time!
With a hectic weekend behind me, I got some time to take a few pictures.
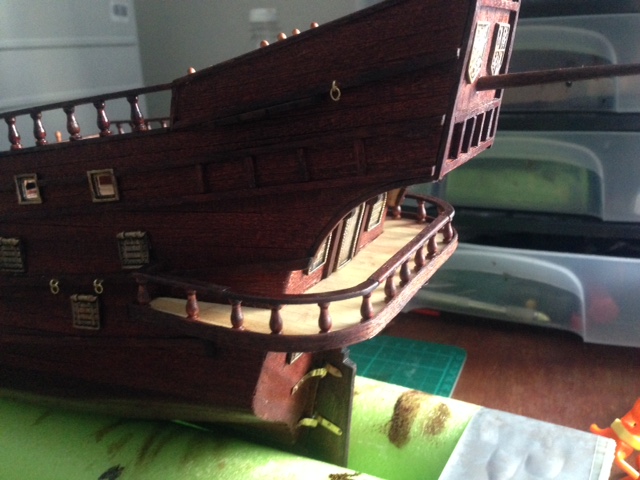
I added some extra things to the hull, such as the balcony door, railings etc.


I started working again on the balcony, added the bottom rail as can be seen with all the pins. This time I actually tried the soaking in warmn water method ( I always just soaked in room temperature water). Worked very well.
This week I am going to focus on finishing the balcony, so that I can add it to the hull, as well as try to fit the cannons.
- BLACK VIKING, Jolley Roger, Elijah and 1 other
-
4
-
Sjoe Kees, je werk is erg mooi!
Kan niet wachten om het hele model te zien!
- kees de mol, mtaylor and Piet
-
3
-
-
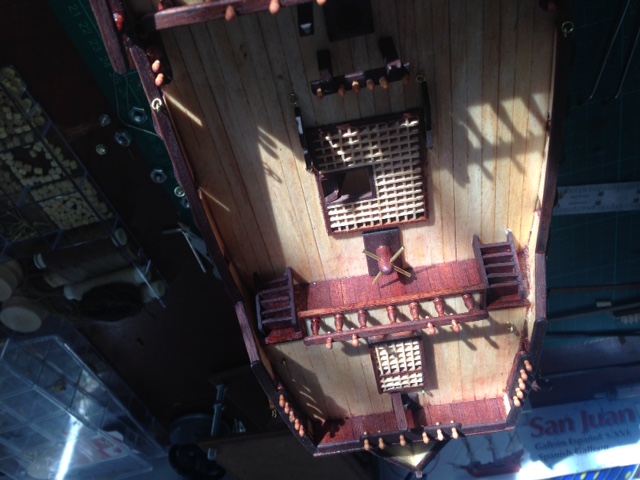
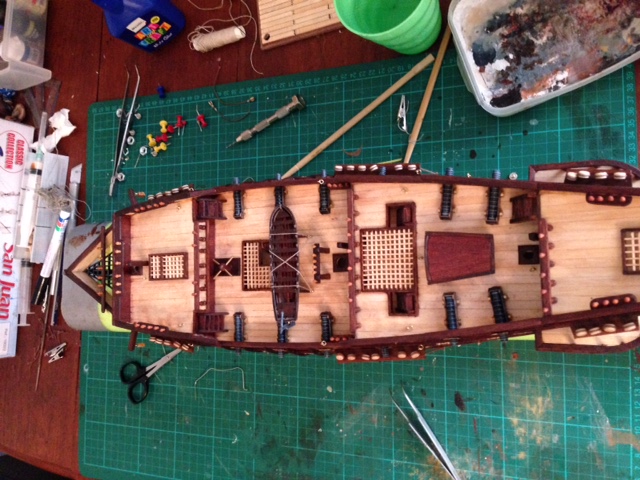
Ok, so I said I would take pictures, but I am going to wait towards the weekend in order to take photos in some sunlight. However, did take an overhead shot.
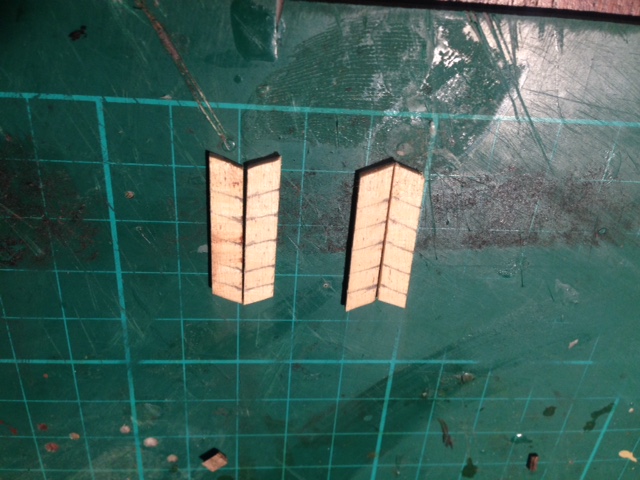
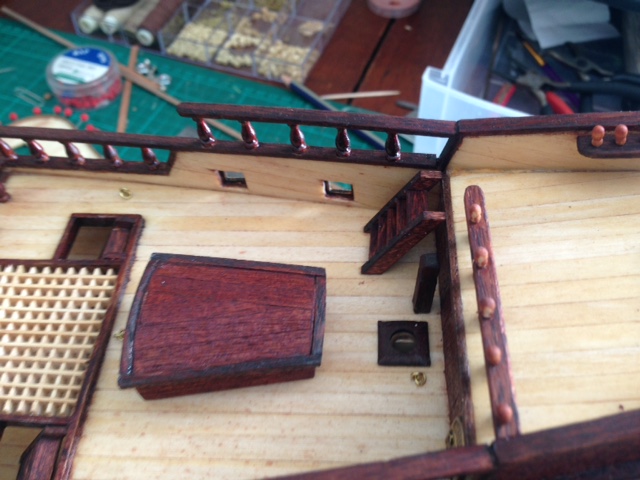
I started working on the rest of the stairs. Had lots of trouble getting things to fit, however, finally found a way that worked for me.
After cutting the steps and making sure that each one was more or less the same length, I used my round filing needle to file the edges of each step.
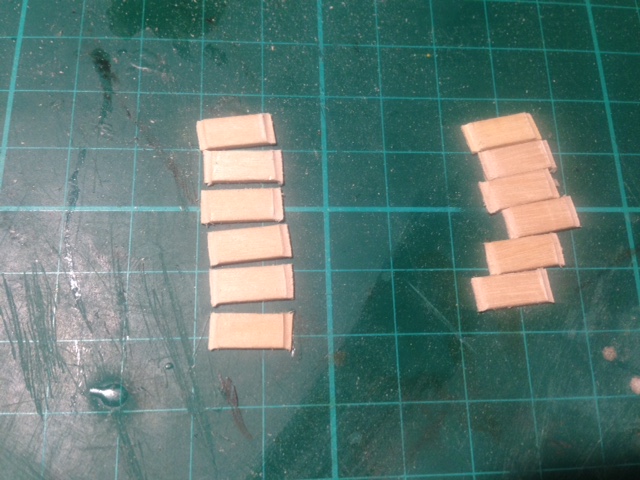
This made it much easier to glue to the pre-cut strips, and was quick and easy.
Next is to smooth everything down, and then stain them before gluing them onto the hull.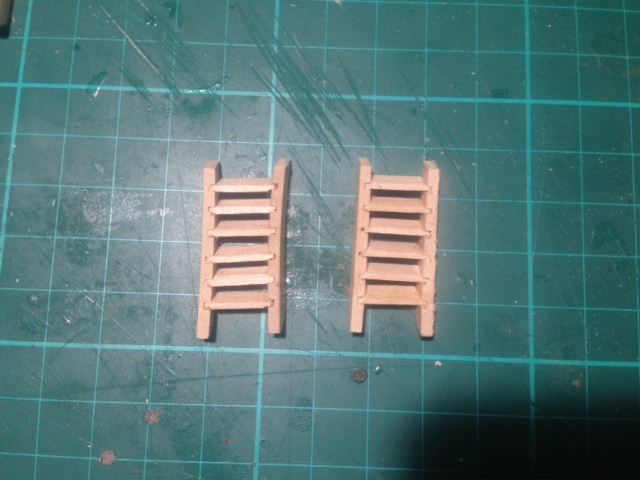
However, in experimenting, I have used up all my strips, so for the last to stairs, I am going to have to scratch build.
Will keep updated on that.
-


18th Century Longboat by heksanol - FINISHED - Model Shipways - 1:48
in - Kit build logs for subjects built from 1751 - 1800
Posted
Started with the planking of the hull. Not very clean operation compared to some other builds, but with sanding it will become better
I am using pins to stimulate some pinning holes, however, it will be filled and smoothed out once all the planks have been laid, and the hull is been smoothed.
I must say, this is the first time I am using a rabbet line, and it is very useful in getting an anchorage point, as well as making the ends of the planks join the keel more smoothly. Will definitely use a rabbet with my future products!
Going to focus now on working from the bottom upwards with the planking.