HOLIDAY DONATION DRIVE - SUPPORT MSW - DO YOUR PART TO KEEP THIS GREAT FORUM GOING! (Only 13 donations so far - C'mon guys!)
×


Baker
-
Posts
4,234 -
Joined
-
Last visited
Content Type
Profiles
Forums
Gallery
Events
Everything posted by Baker
-
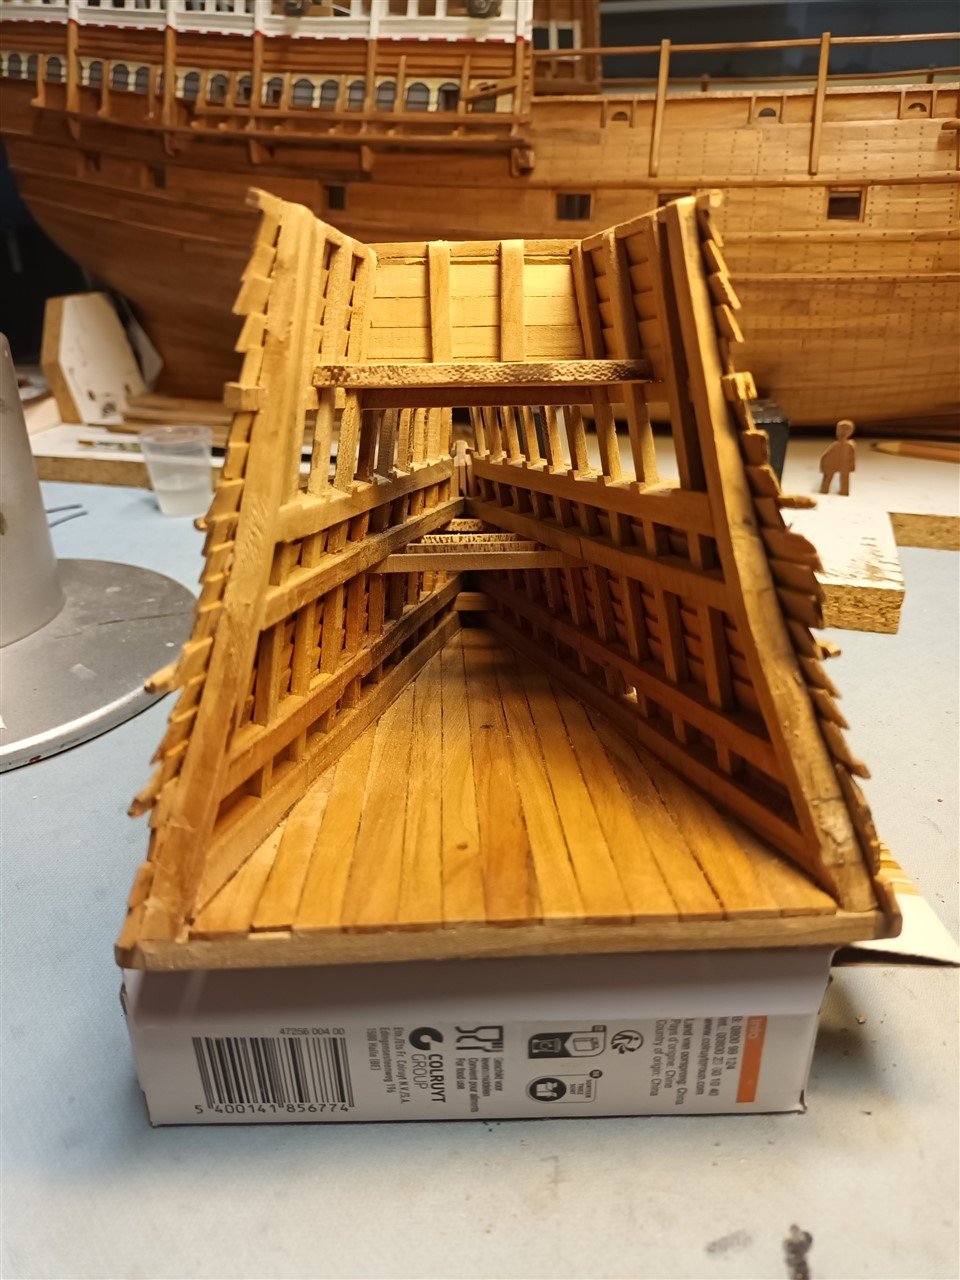
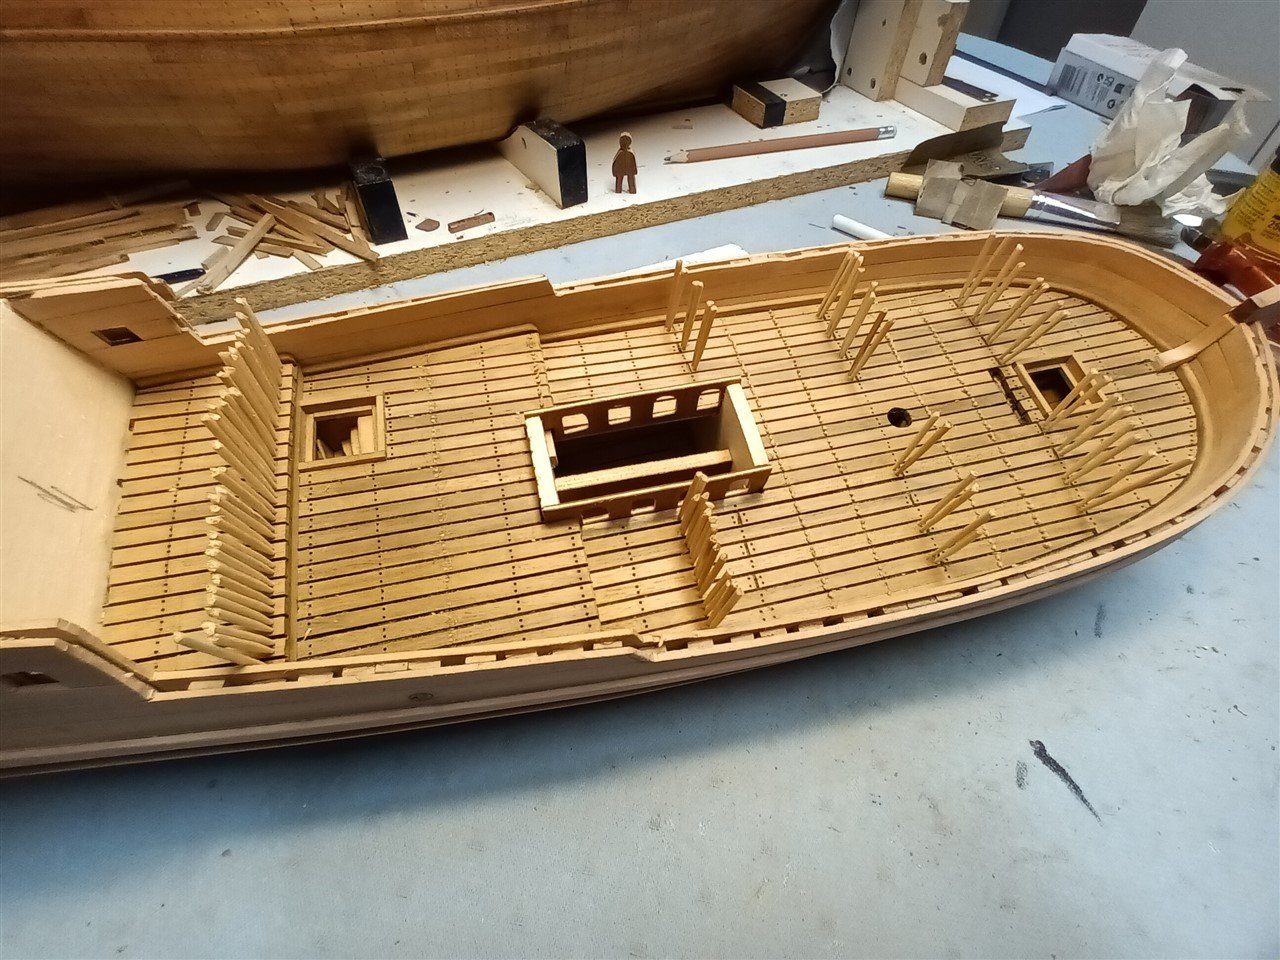
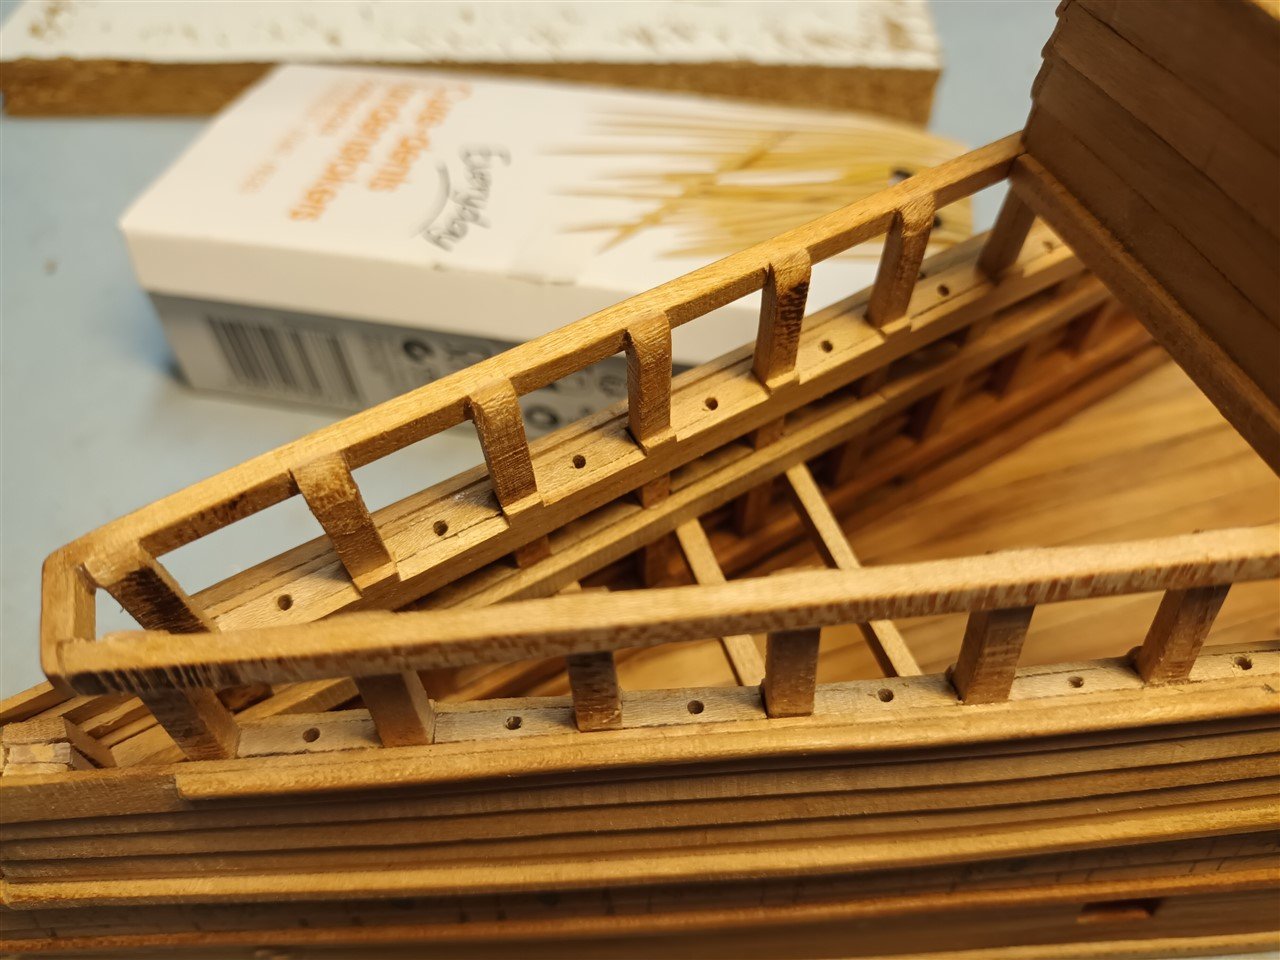
 Deck planking is done Holes are drilled an toothpicks for treenailing
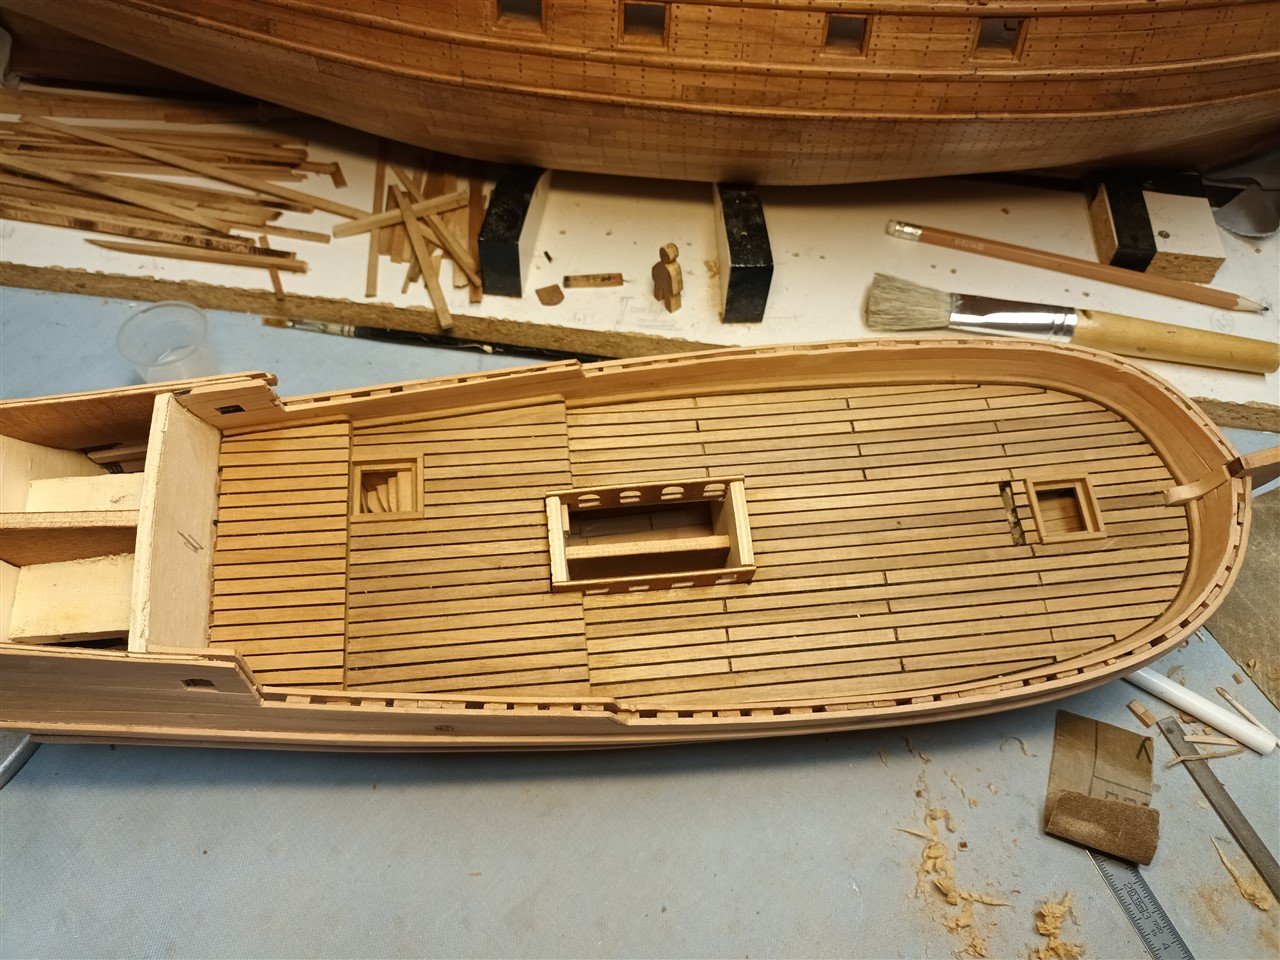

- 68 replies
-
- 4
-

-
- Corel
- Große Jacht
- (and 1 more)
-
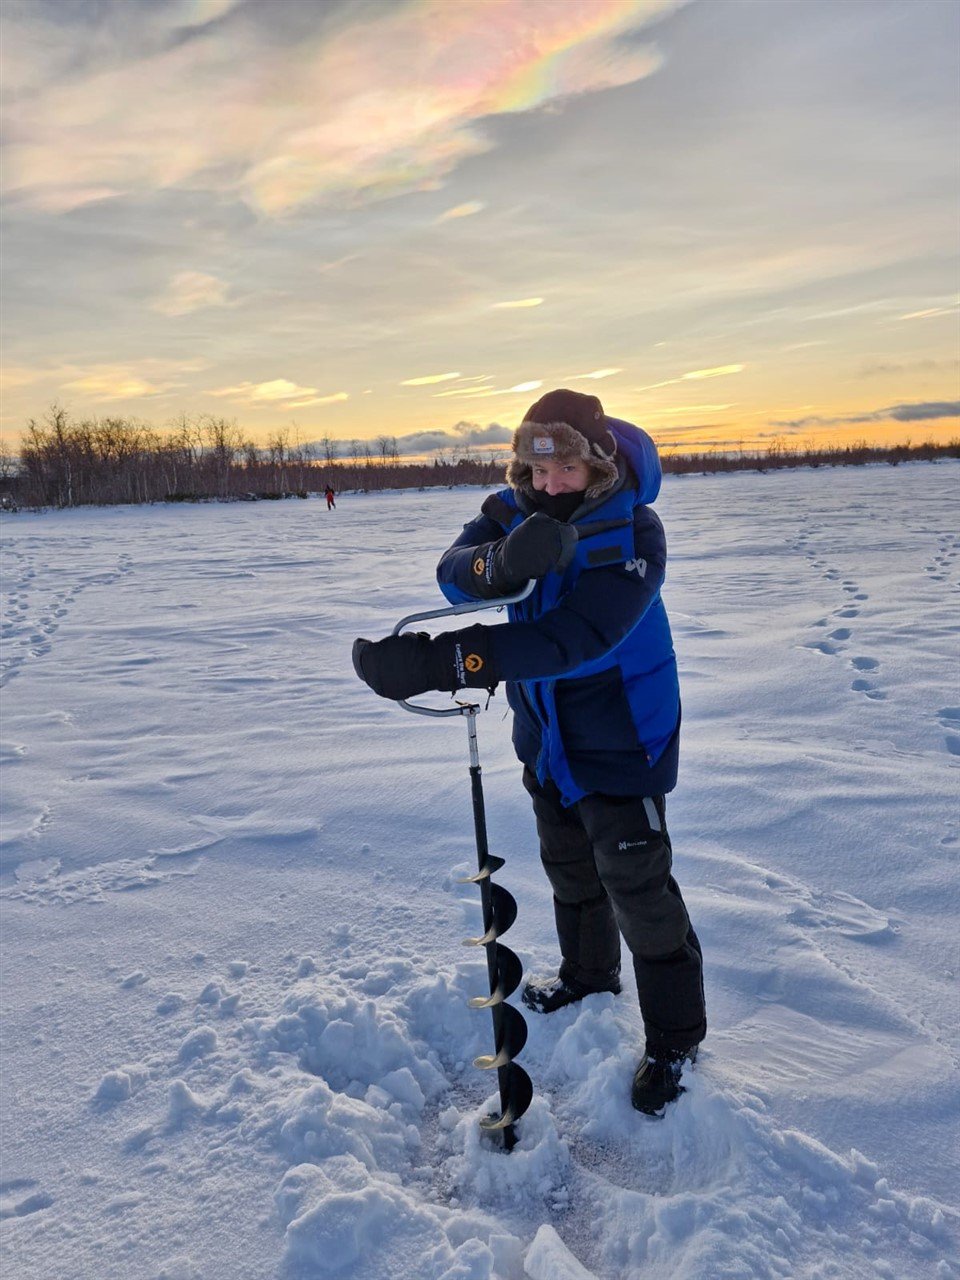
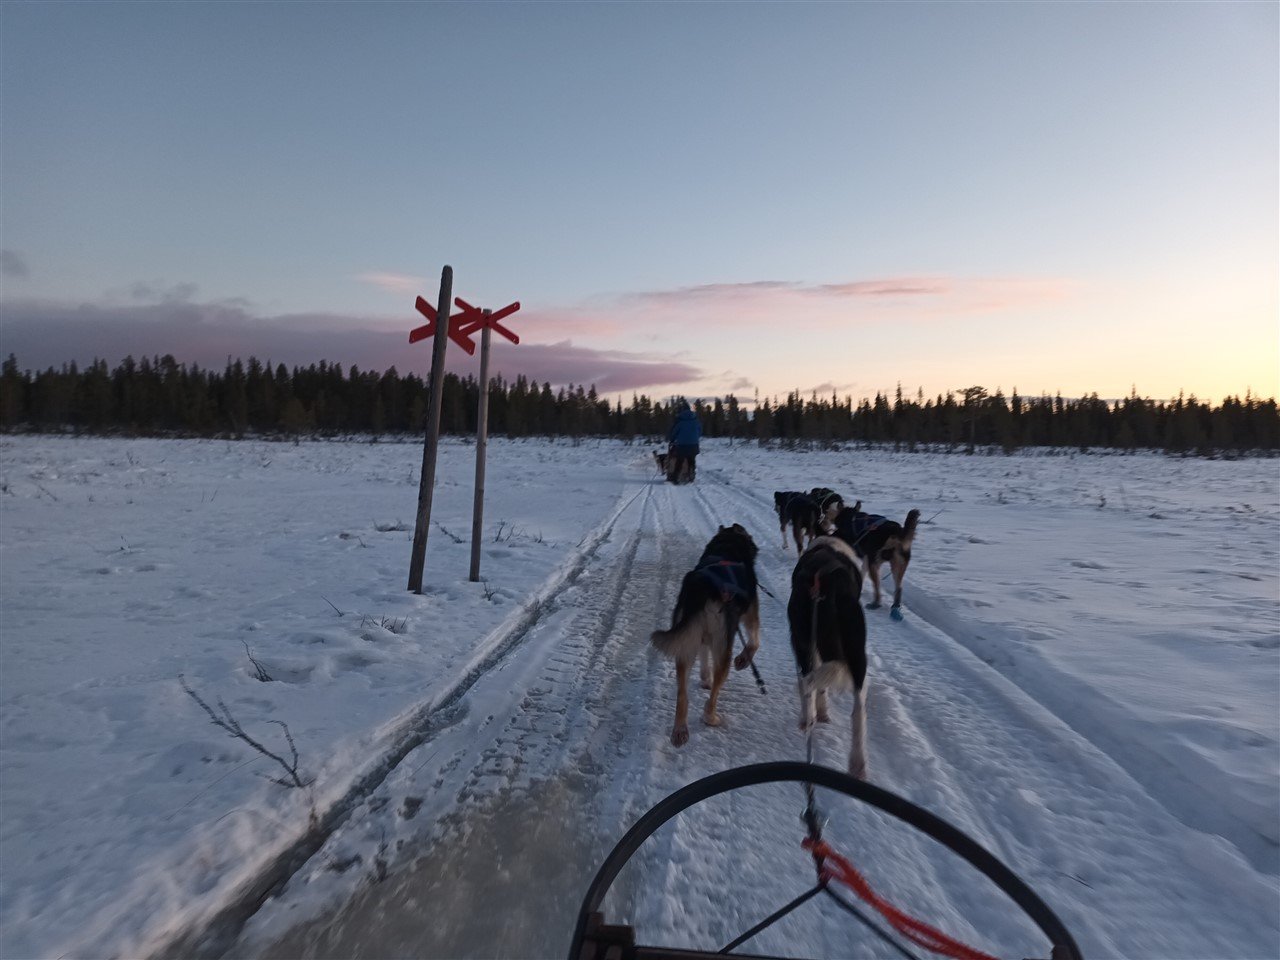
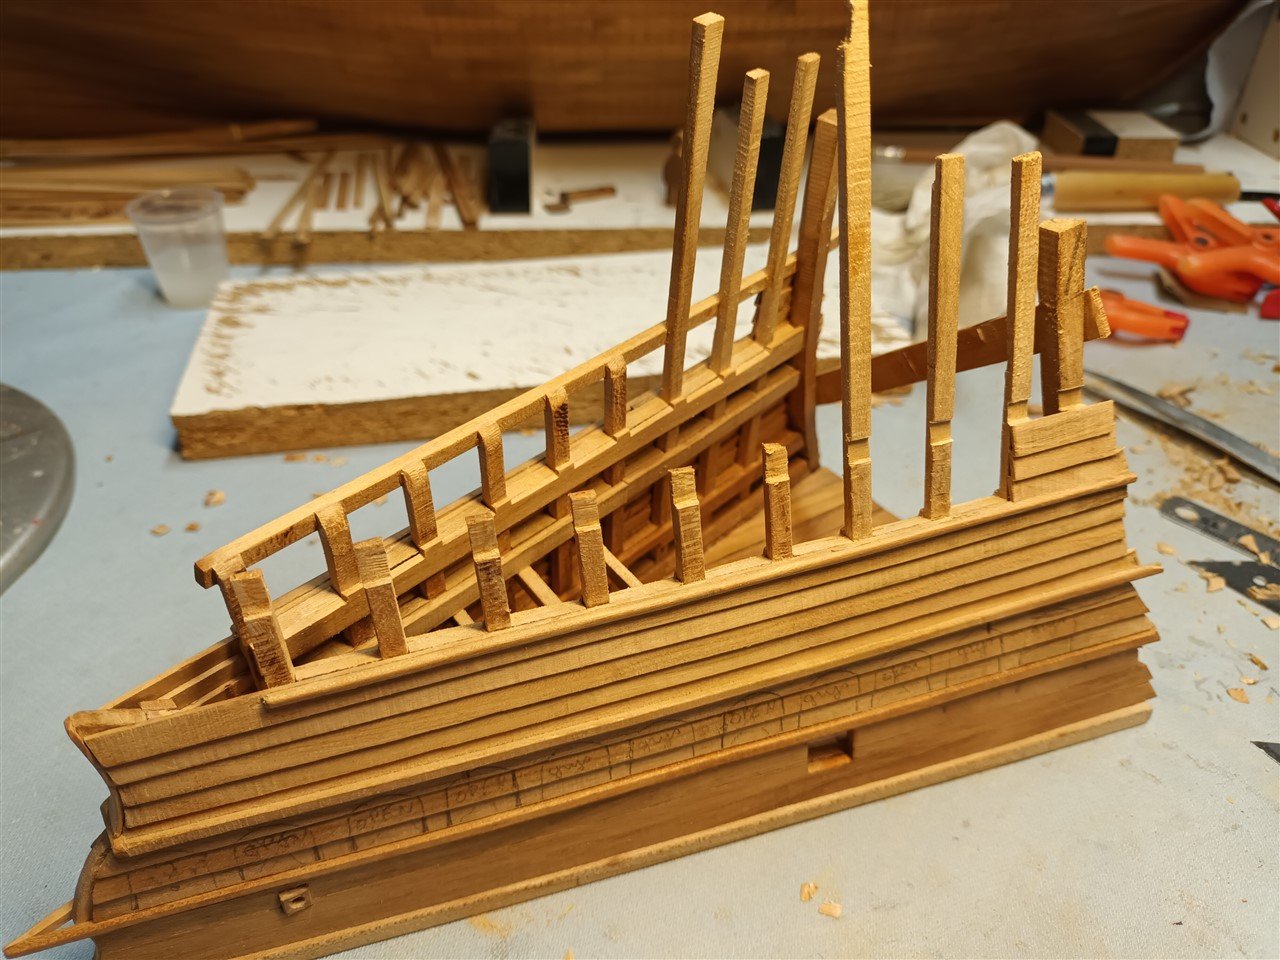
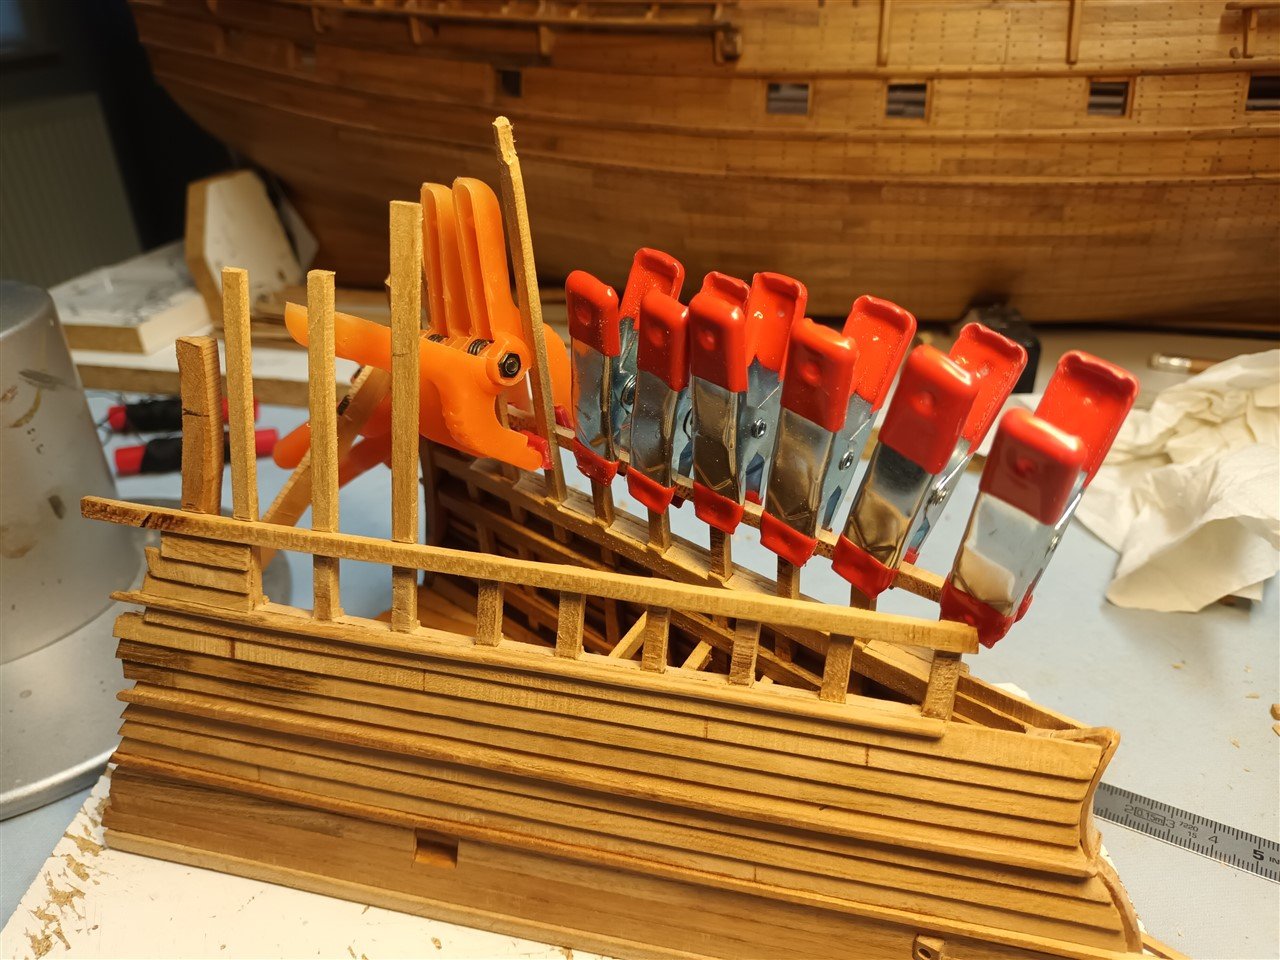
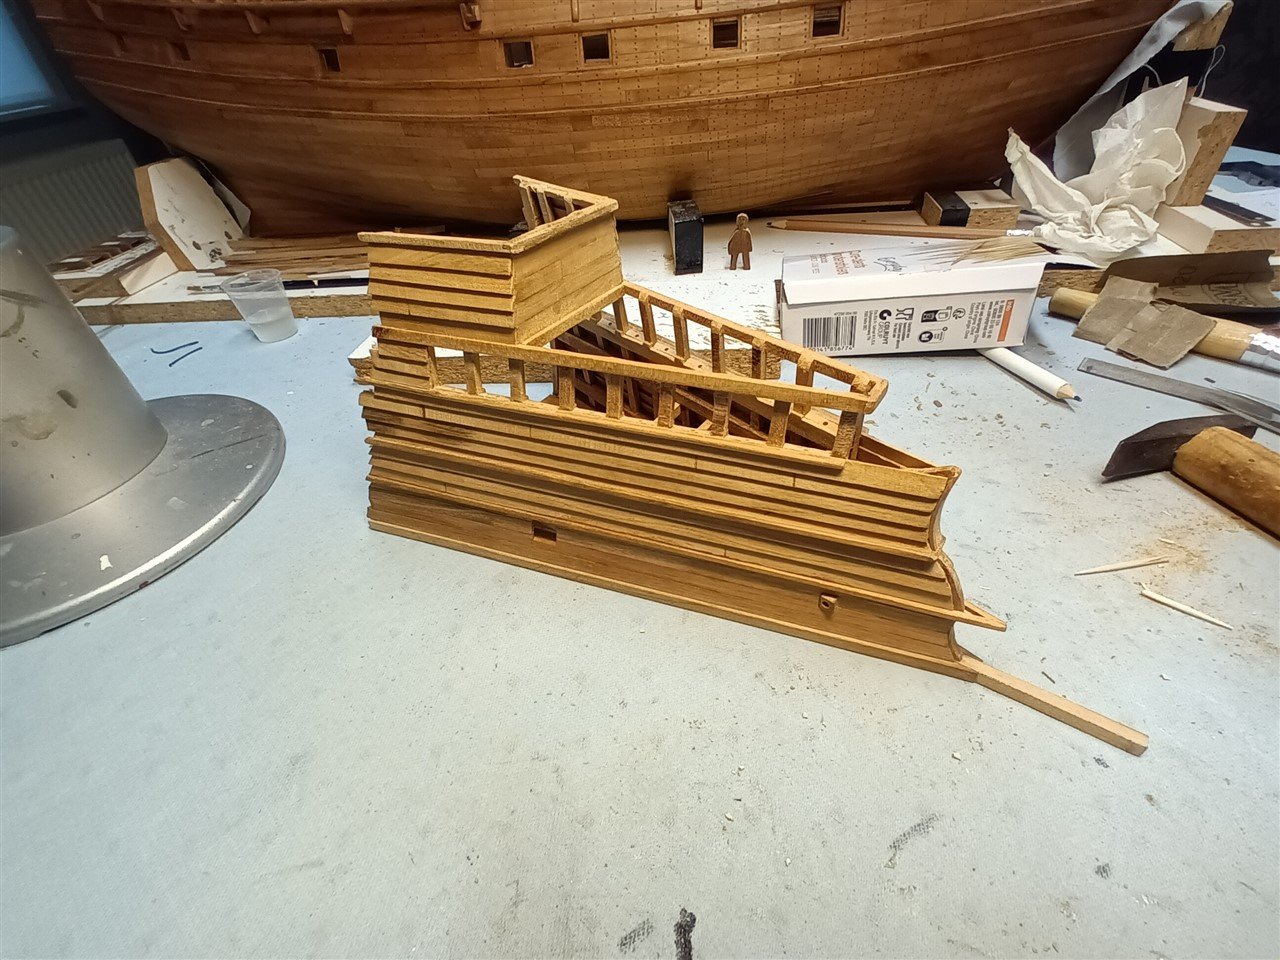
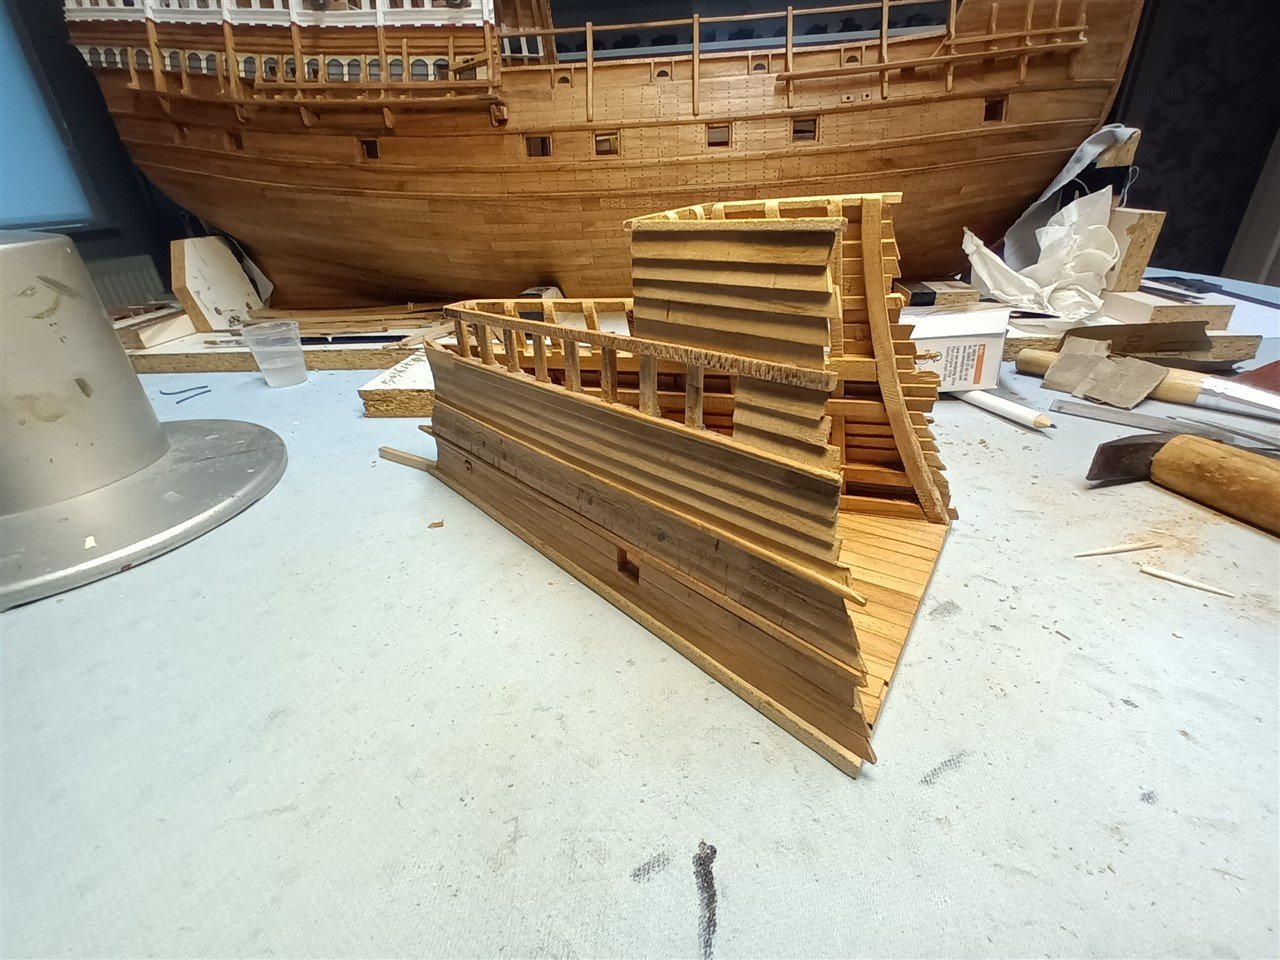
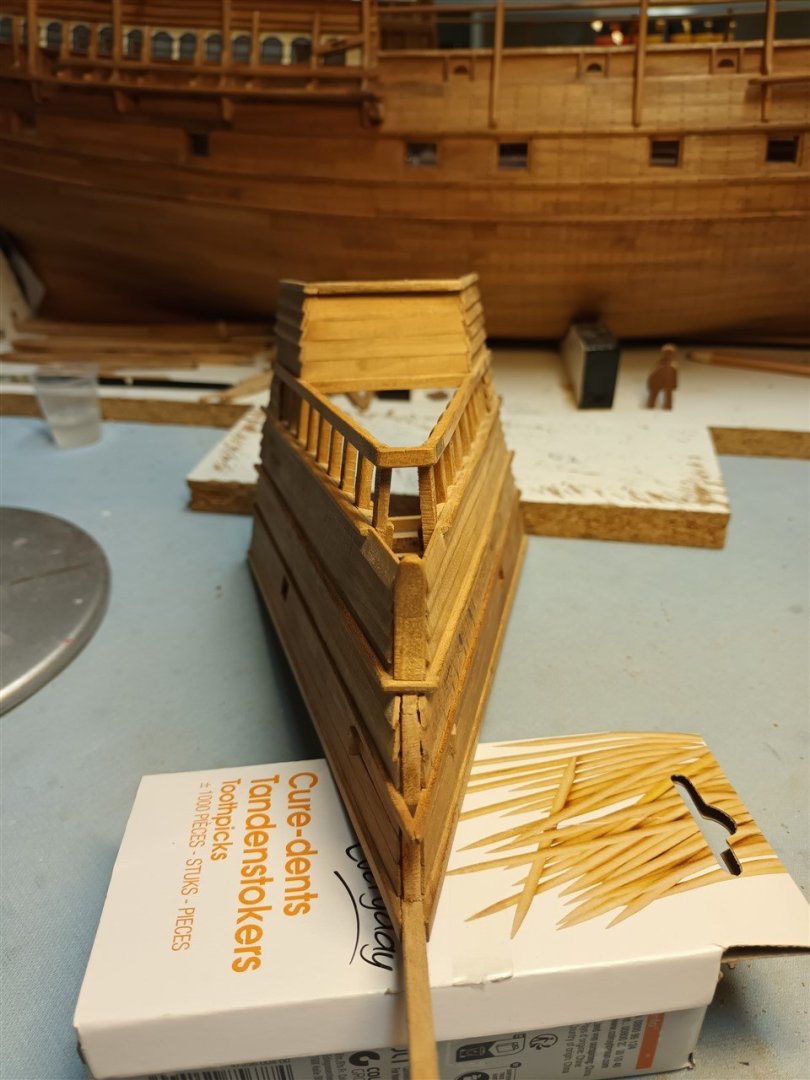
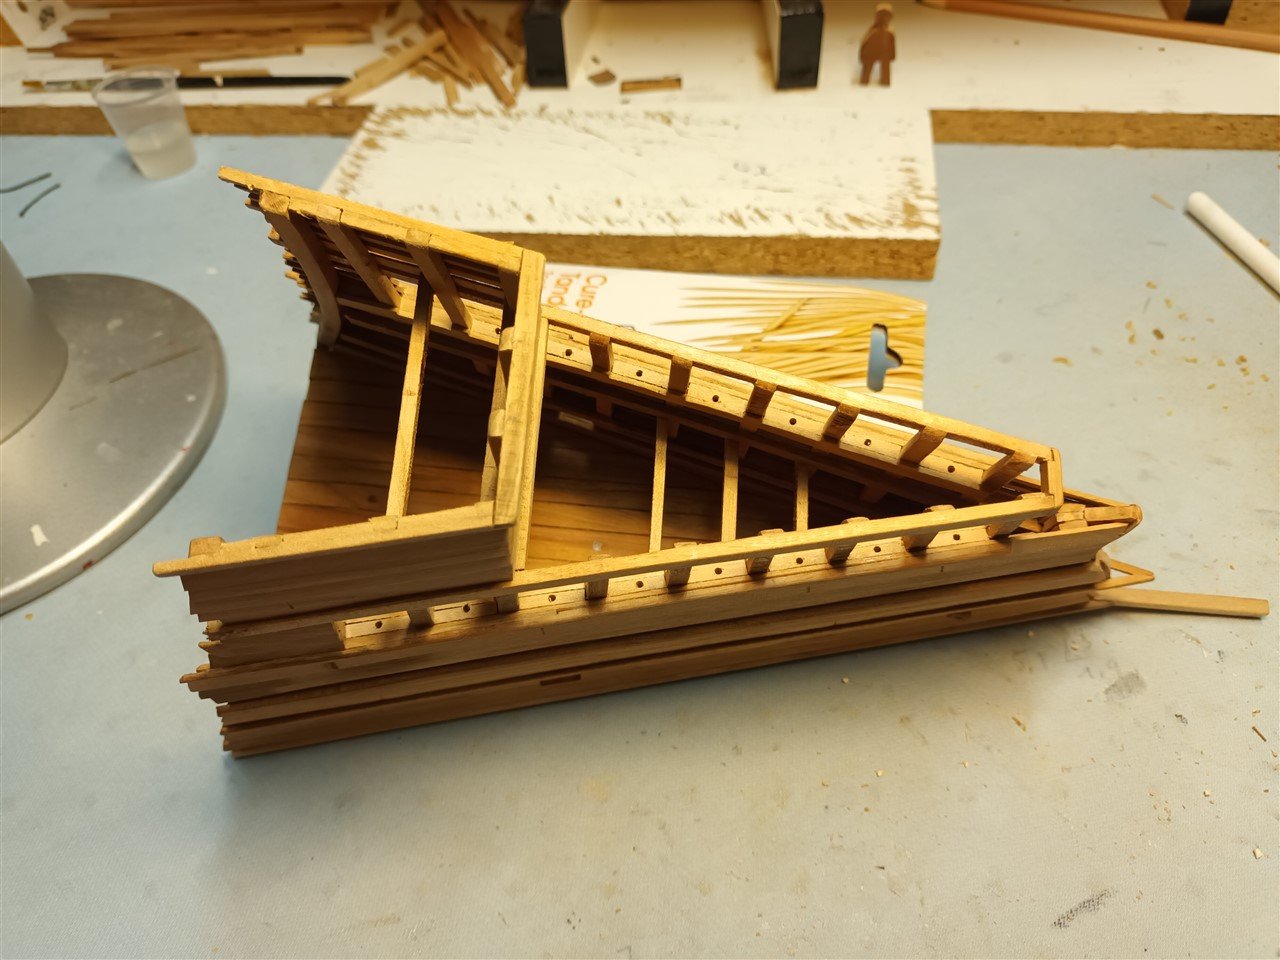
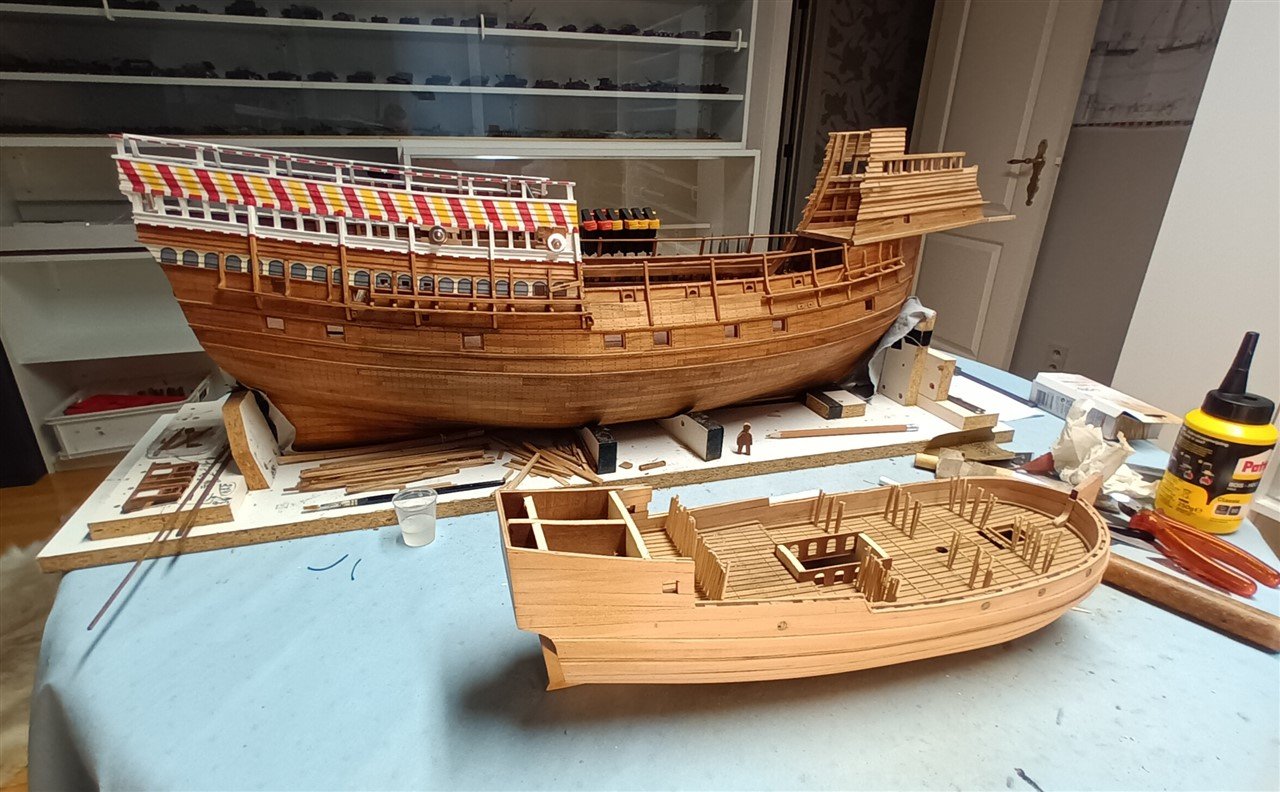
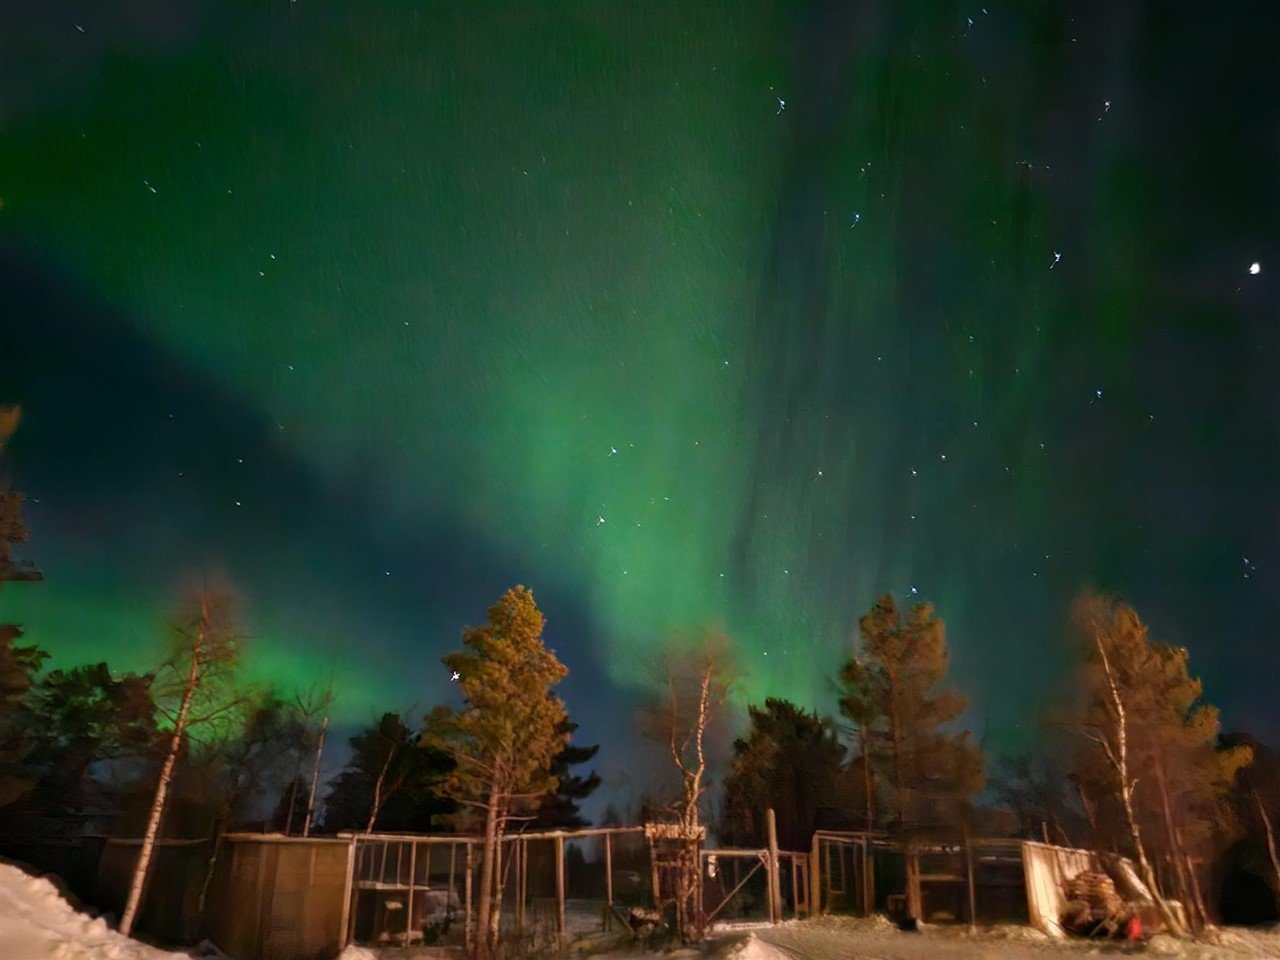
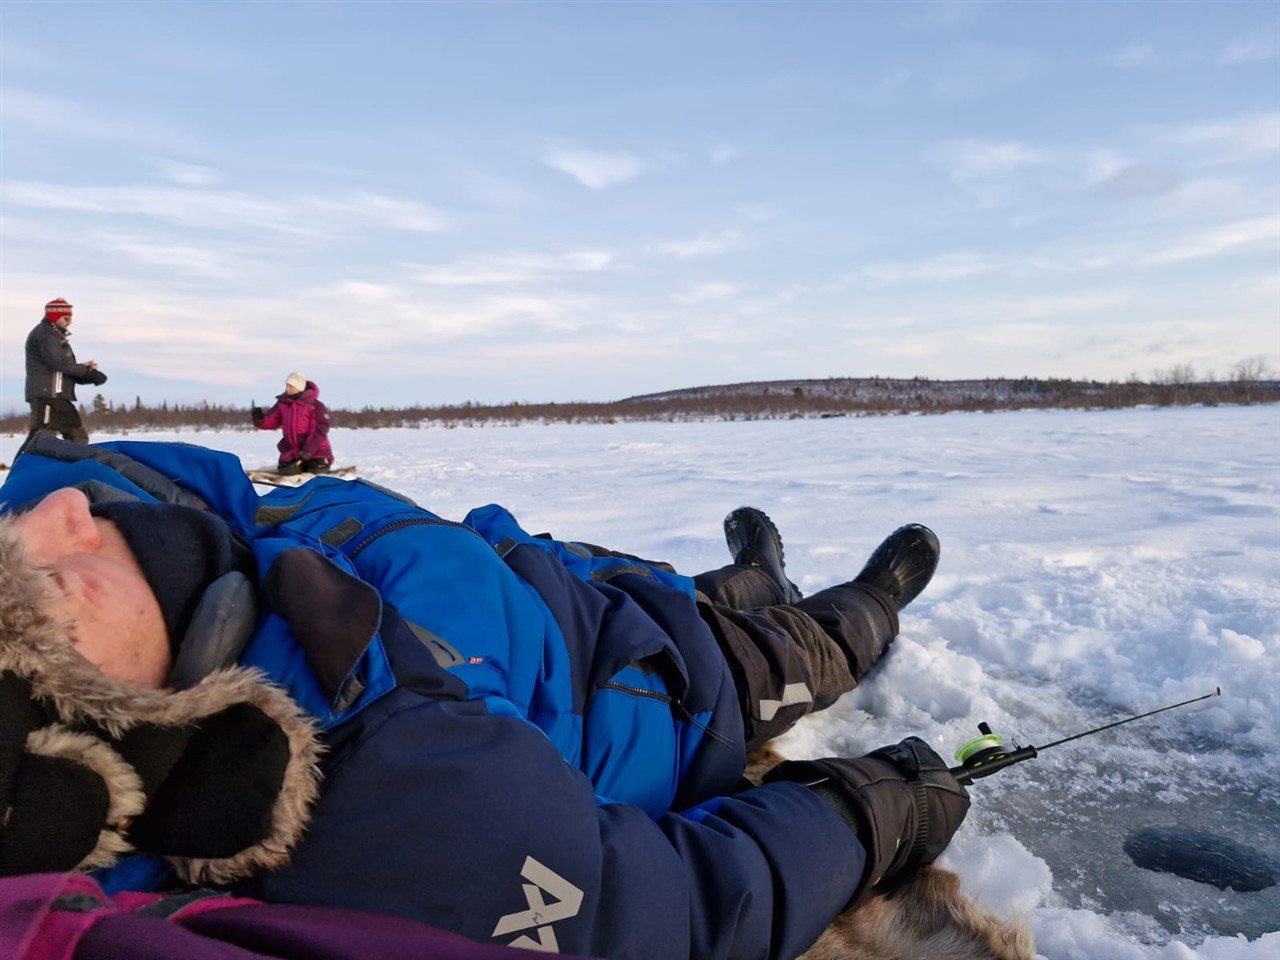
Fore castle update The general shape is ready, my own free interpretation. In the open parts on the middle deck shields still have to come Current status Progress was slow in decamber. because... Went ice fishing in Lapland Dreamed about a big (fish) catch... 😇 Actually I like cats more then dogs, but this was fun And the aurora borealis was fantastic And in between a new small project Thanks for following


-
Fancy and nice 😉
-
Wood from fruit trees (cherry, apple, pear, walnut) is very pleasant to work with. And it is also easy to bend (walnut a little less) I have no experience with plum wood. I was curious about your experience with oak wood, personally I don't like using it
-
Looks great, Make the top of your plywood frames as sturdy as possible sorry about your band saw belt 😓

-
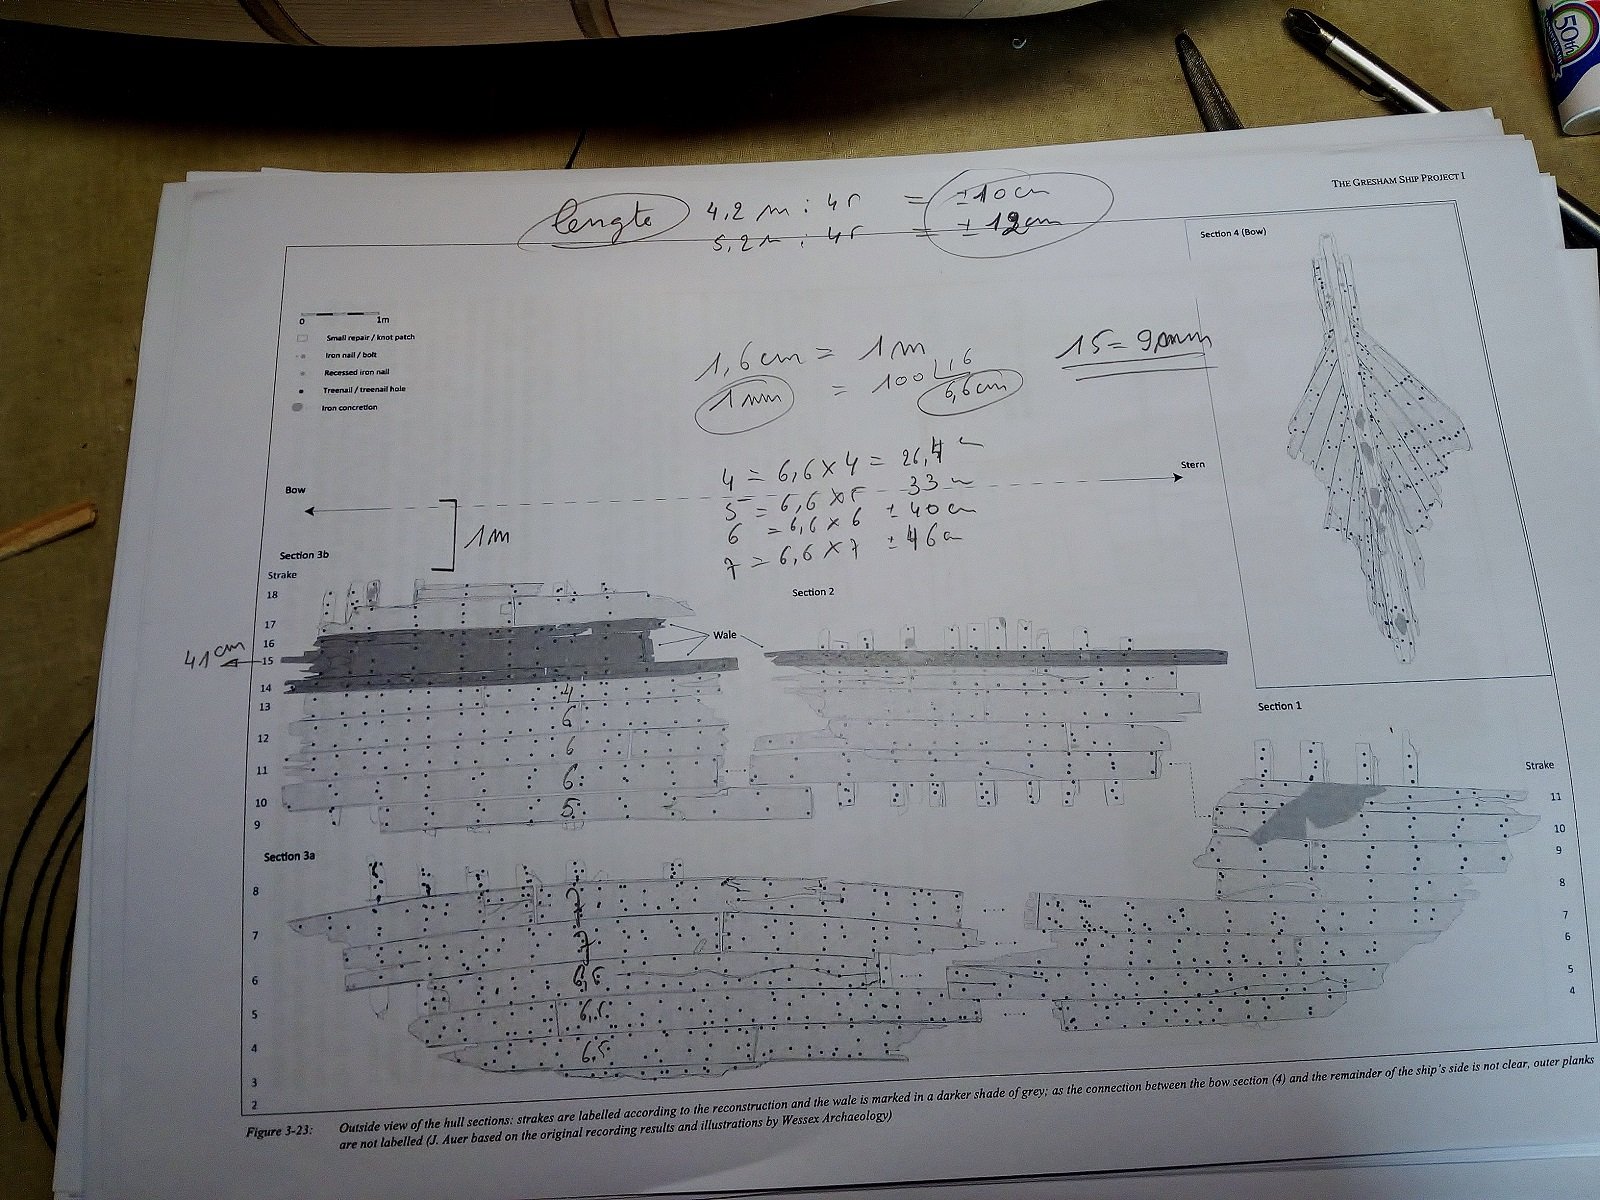
You have mail PLANKING scale 1:1 The planks are of sawn oak; their lengths vary between 2m and 6m. The average plank width is 300–460mm; thickness varies between 50 and 70mm. I used this data from an English wreck for the dimensions of the planks.

-
My brother-in-law fishes in his spare time. I told him I caught a really big fat fish. But the hole in the ice was too small to pull it up... He didn't believe me. Home now, today or tomorrow i will look fore info and answer on your Questions.
-
Indeed, a very intriguing view of the upper part of the fore castle 🤔
-
Most drawings of that era show the fore mast in front of the fore castle
-
If I were to redo mine GH it would be without. because historically more accurate
-
Nice Is the scale 1/100 (signature) or 1/300 (titel) ?
- 12 replies
-
- 1
-

-
- Queen Annes Revenge
- Blackbeard
- (and 2 more)
-
Nice find on the coins and nice military models in the background. I did a Nato manoeuvre in 1983. Cardboard frames are looking great.
-
Indeed. For this, solid wood is always better than plywood.
-
Swedish Lapland. go fishing, snowscooter, husky sled.

-
Done 👍
-
During the construction of my GH I downloaded quite a few pdf's. currently on vacation, just wait until next week then I will send via pm. in case i forget, remind me
-
Nice start. I follow. My first scratch model was an attempt to make a copy of the GH. good luck with yours
-
-
I can send you more info and drawings via pm about these shields. But then you have to wait a bit, Baker is on vacation