Baker
-
Posts
4,286 -
Joined
-
Last visited
Content Type
Profiles
Forums
Gallery
Events
Everything posted by Baker
-
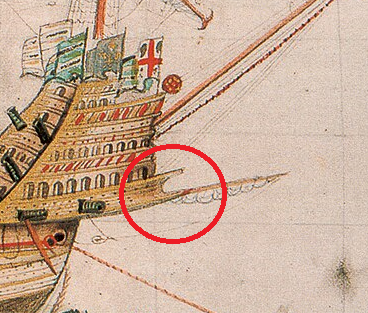
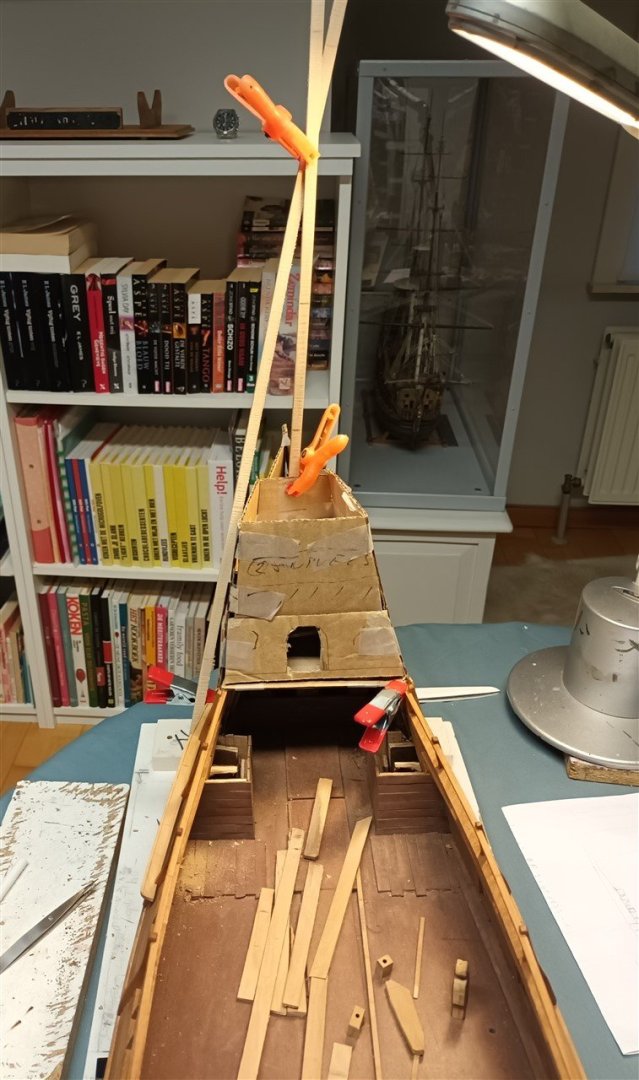
 Small update The construction of the fore castle has only just begun and i already doing it wrong. There simply cannot be a beam in the middle because then there is no place for the fore mast... So new plan is needed without a beam in the middle. On all of Anthony's sketches of the large ships there is no "figurehead". Only on the contemporary drawings. So I am now starting with a regular triangle as a base.
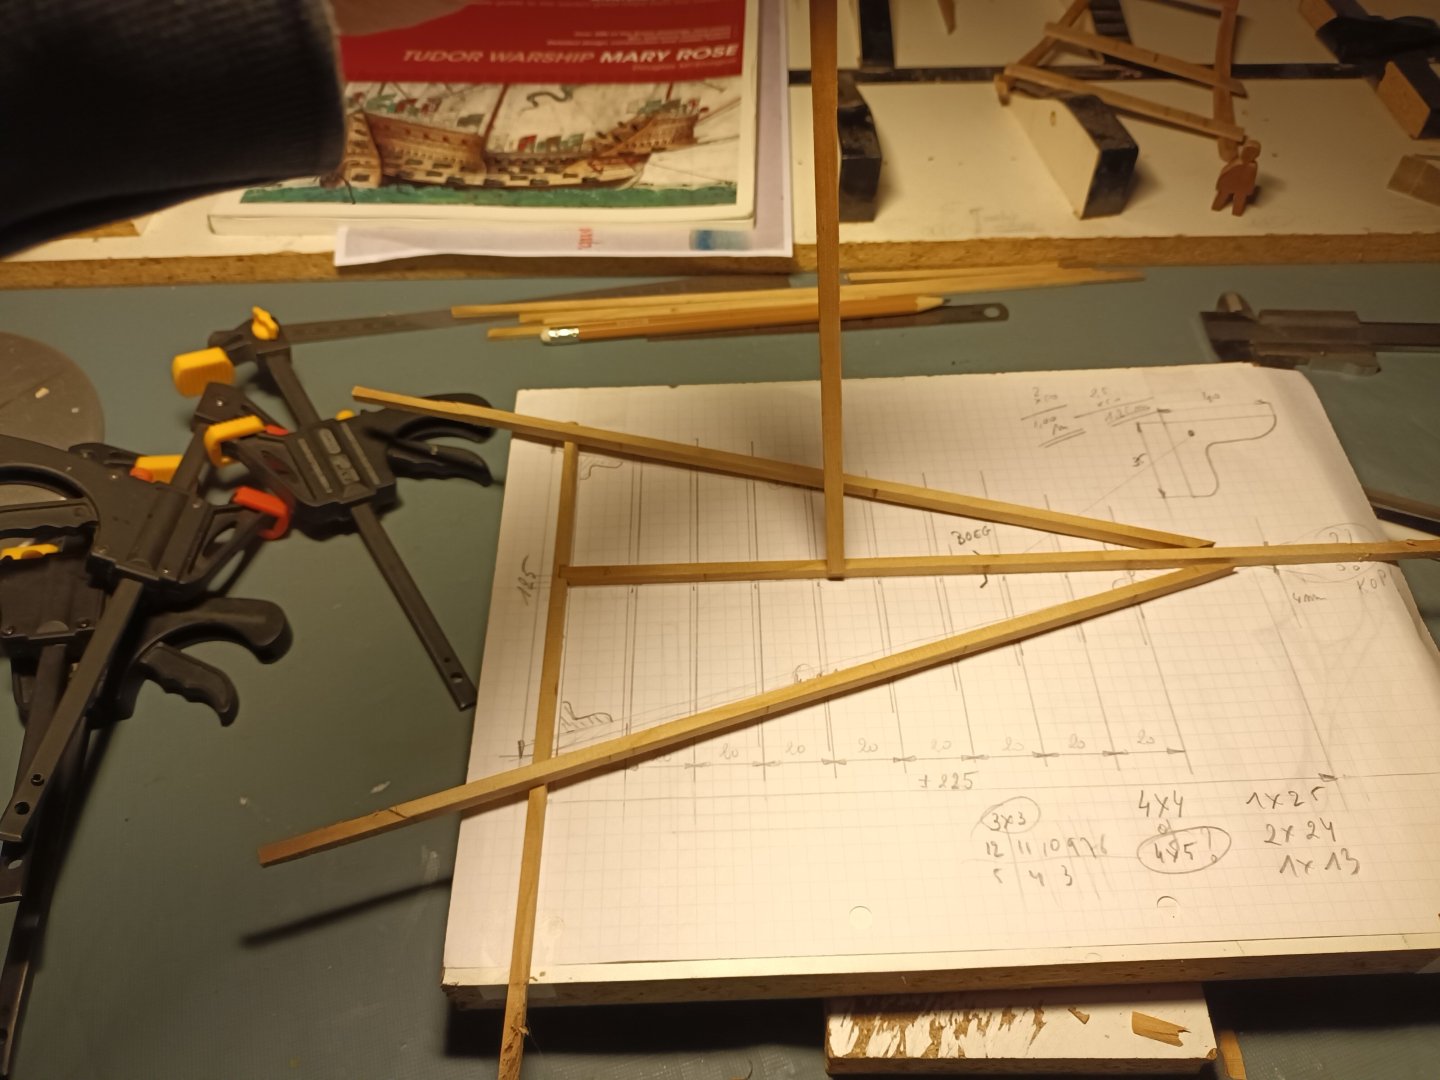
-
Greetings from a clueless Patrick O'Brian fan
Baker replied to Galkar's topic in New member Introductions
-
-
Scarf joint https://en.wikipedia.org/wiki/Scarf_joint
-
Revell has chrome paint in a spray can (expensive) but also in a regular jar for the brush. https://revell.de/en/shop/product/chrome-spray-150ml?srsltid=AfmBOoogGk3qsx-Qh53CITe_fct7Ysy0_VkL5CZVw2KTfprmXiImrFtn
- 110 replies
-
- 3
-

-
- Paddlewheeler
- Ballarat
- (and 3 more)
-
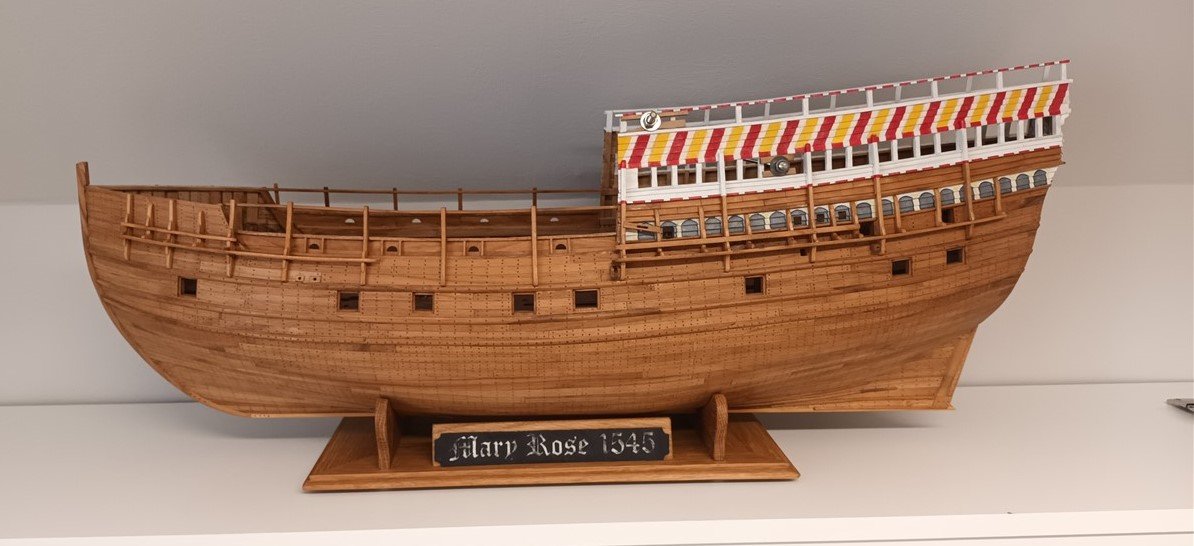
A bonaventura mast, yes or no. Your ship seems to be about the same length as Mary Rose. So it is possible. Maybe it is best to decide when the hull building is in an advanced stage. Then it will be much clearer whether the bonaventura belongs on the model or not.
-
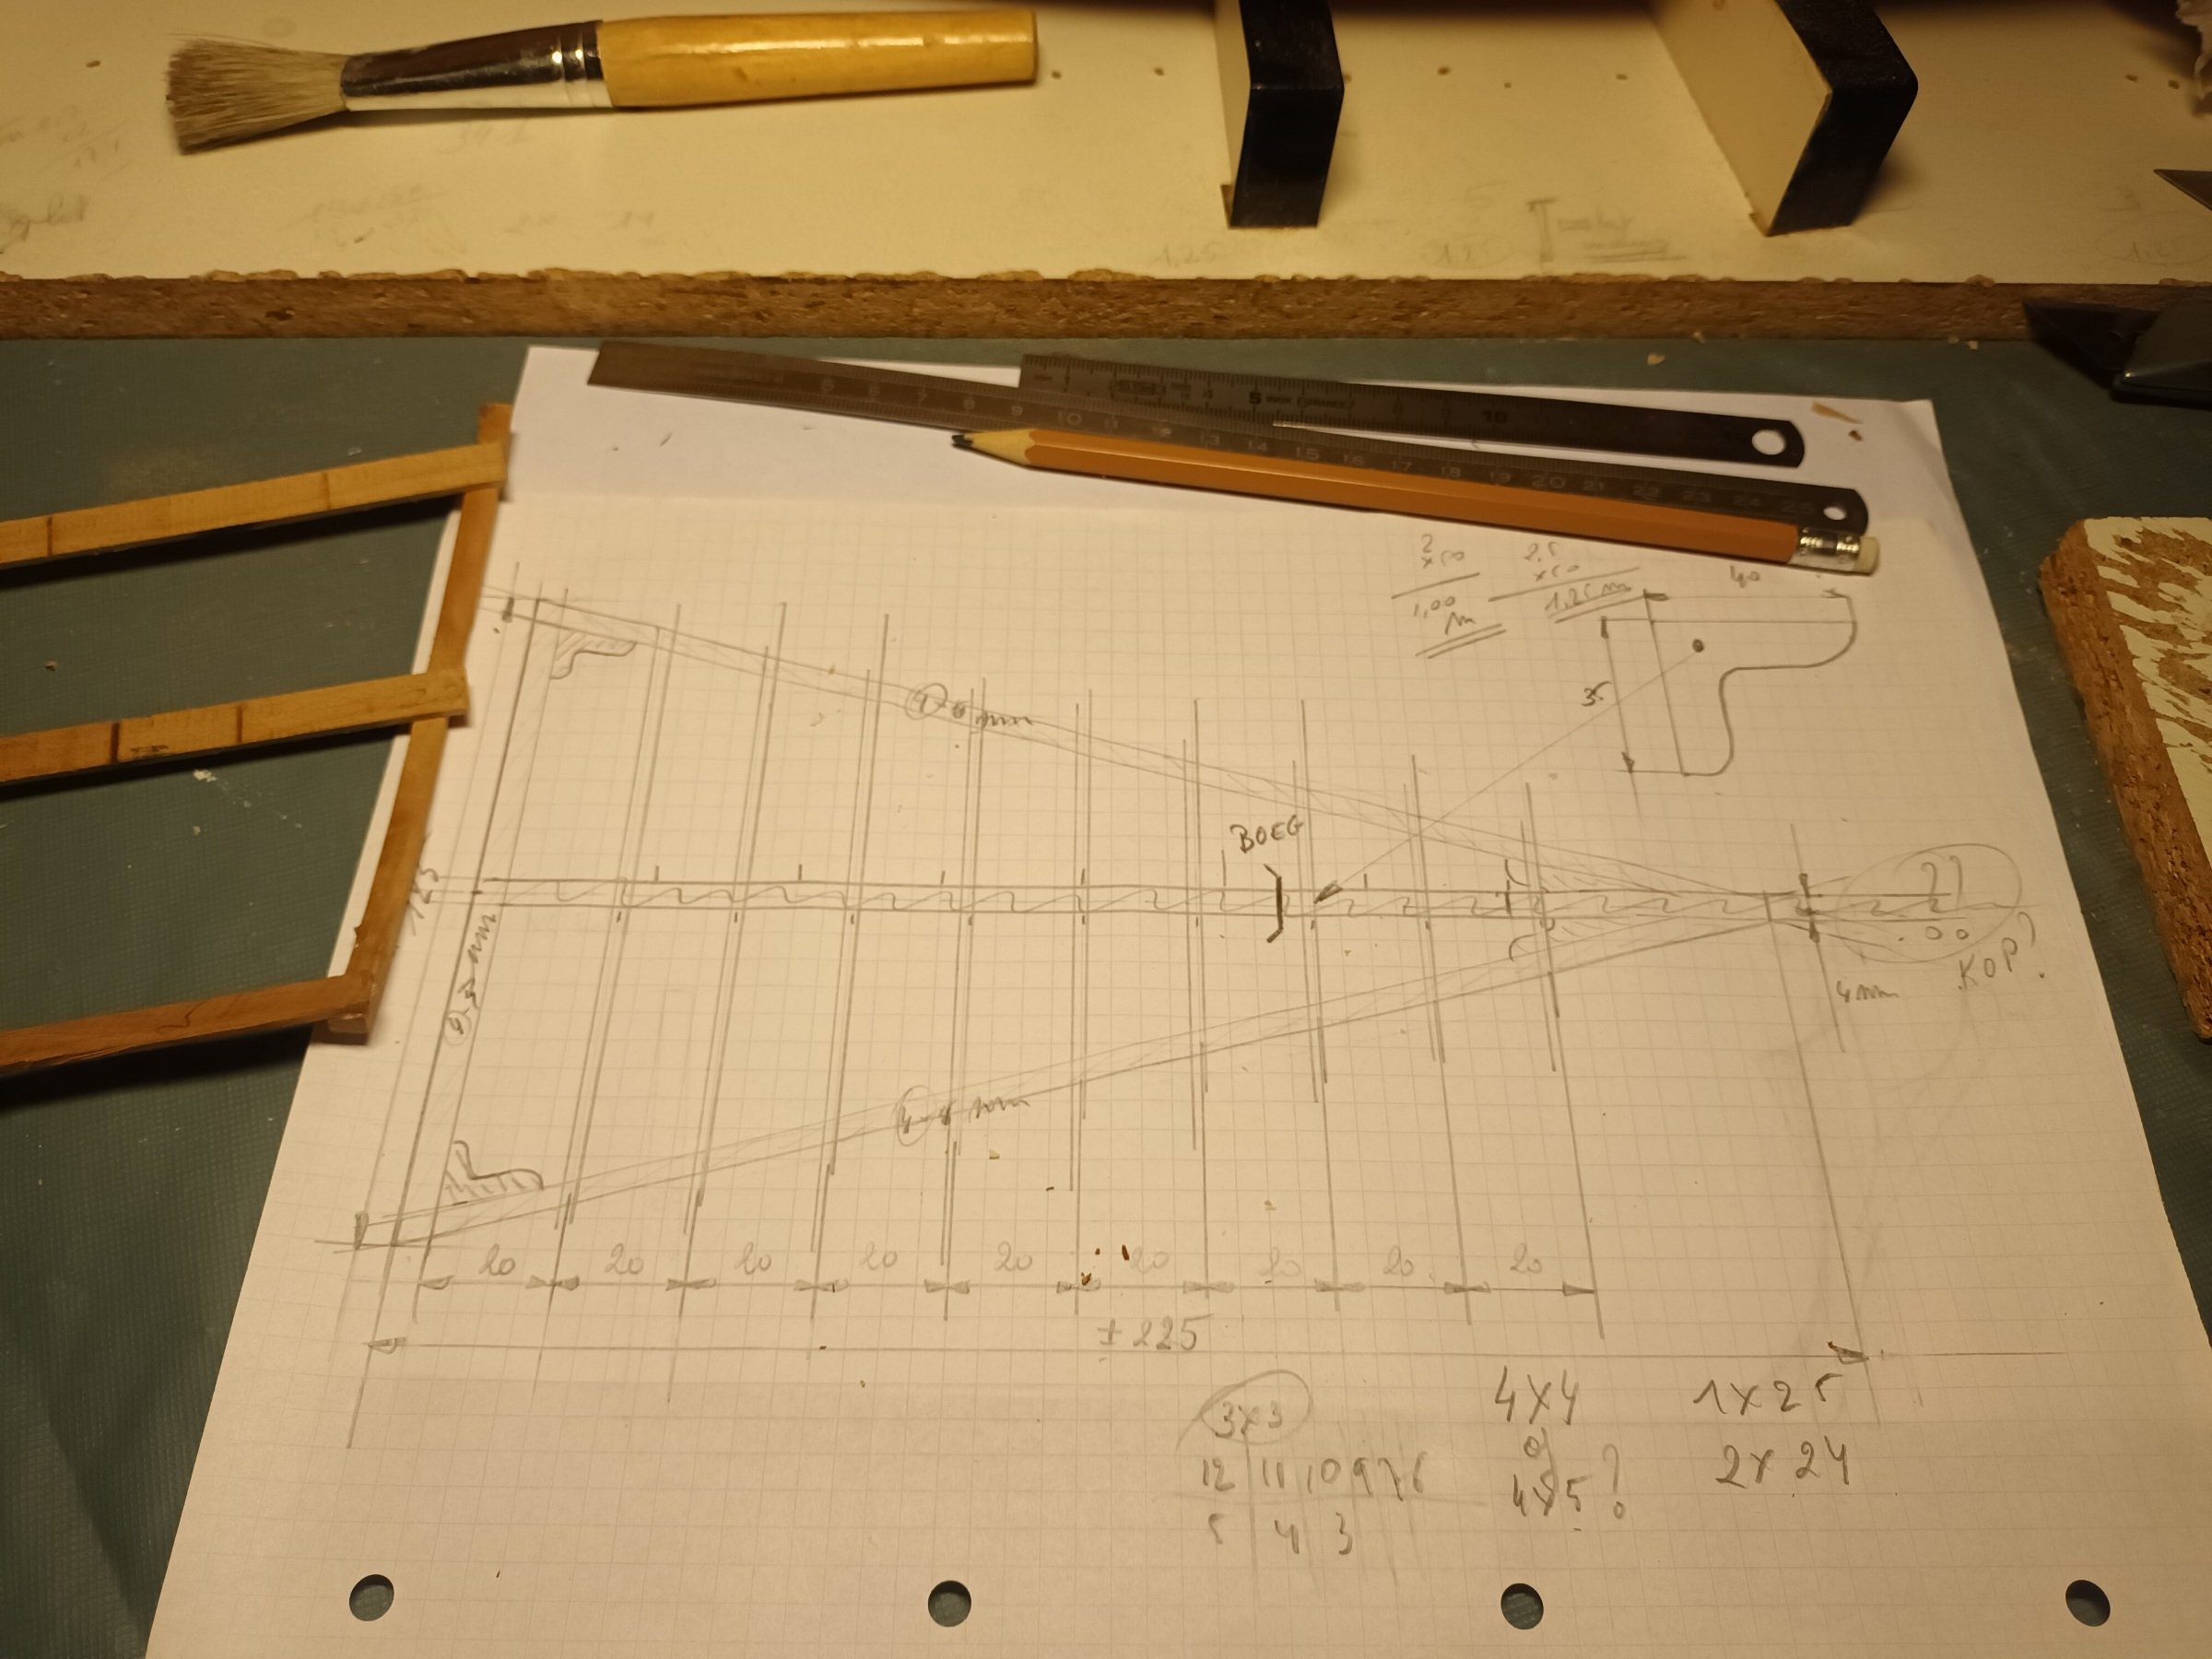
Thanks I have never felt so important in my entire life 😇. I am starting to blush The first sketch of how the base (the lowest deck) should be.

-
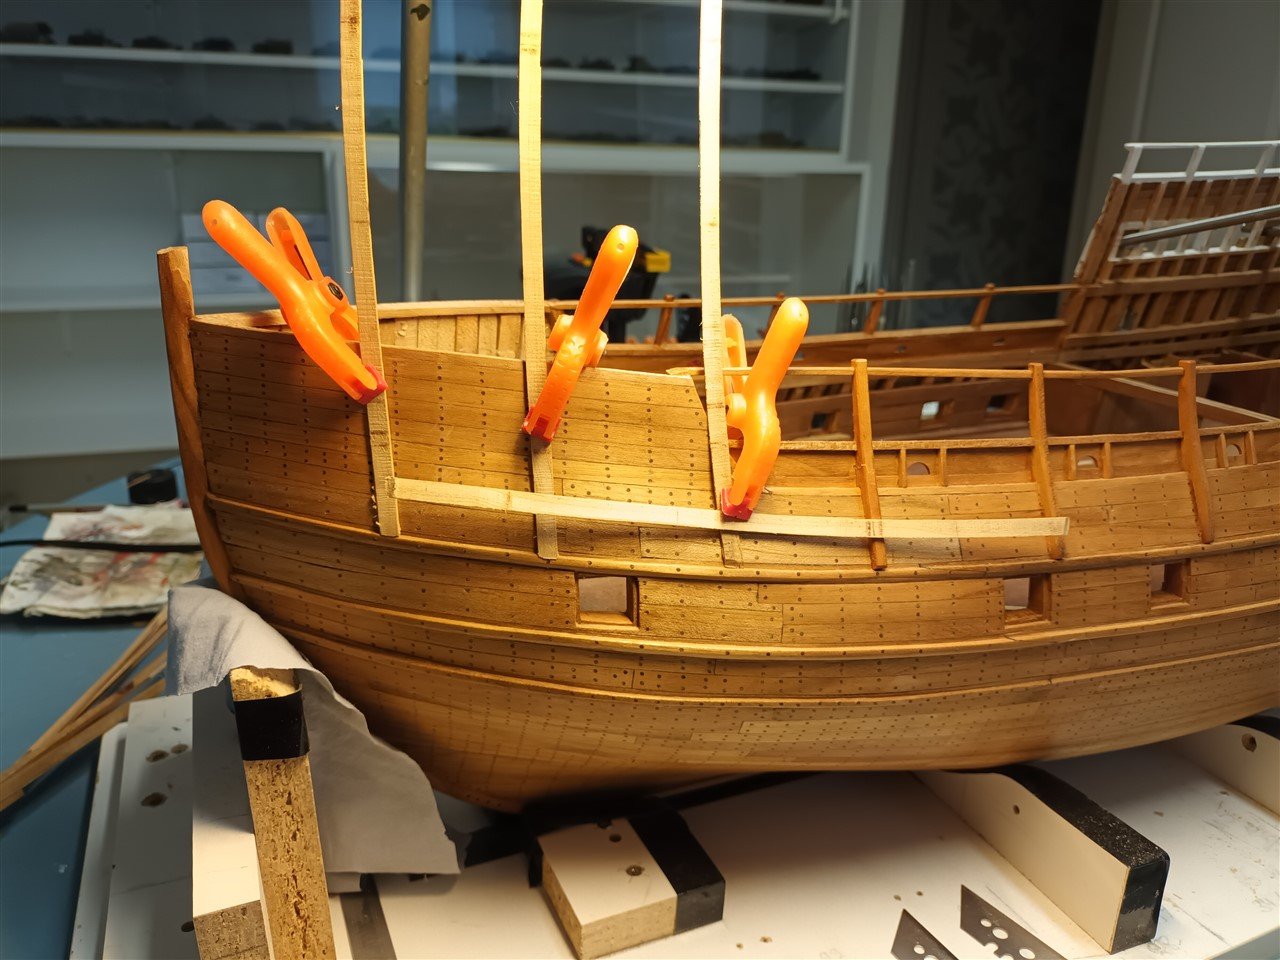
The channels on the bow are ready. Correct or not?? who knows ... Current status Next, the fore castle, an attempt to...
-
Very nice work. I would go for the 1 gallon bottle. preferably red
- 185 replies
-
- 10
-

-
-
- Flying Dutchman
- Black pearl
- (and 2 more)
-
Off topic, but. As a former 3M employee (retired). Up until 25 years ago, the resin that "glues" the "sanding grains" to the paper was made from phenol and formaldehyde. Not environmentally and health friendly, but of great quality. Now a different, healthier resin is used. Less unhealthy, certainly. Better...? Search the 3M website. You might find the sandpaper you are looking for there.
- 2,699 replies
-
- 2
-
-
- heller
- soleil royal
- (and 9 more)
-
looks promising. facehugger... had to do a google search 👽🤔
-
Great planking work 👍
-
Thanks Not scuppers These are holes for the sheets and taks of the main and fore sail But, scuppers scuppers?? There are scuppers in the hull and i forgot them. Oops
-
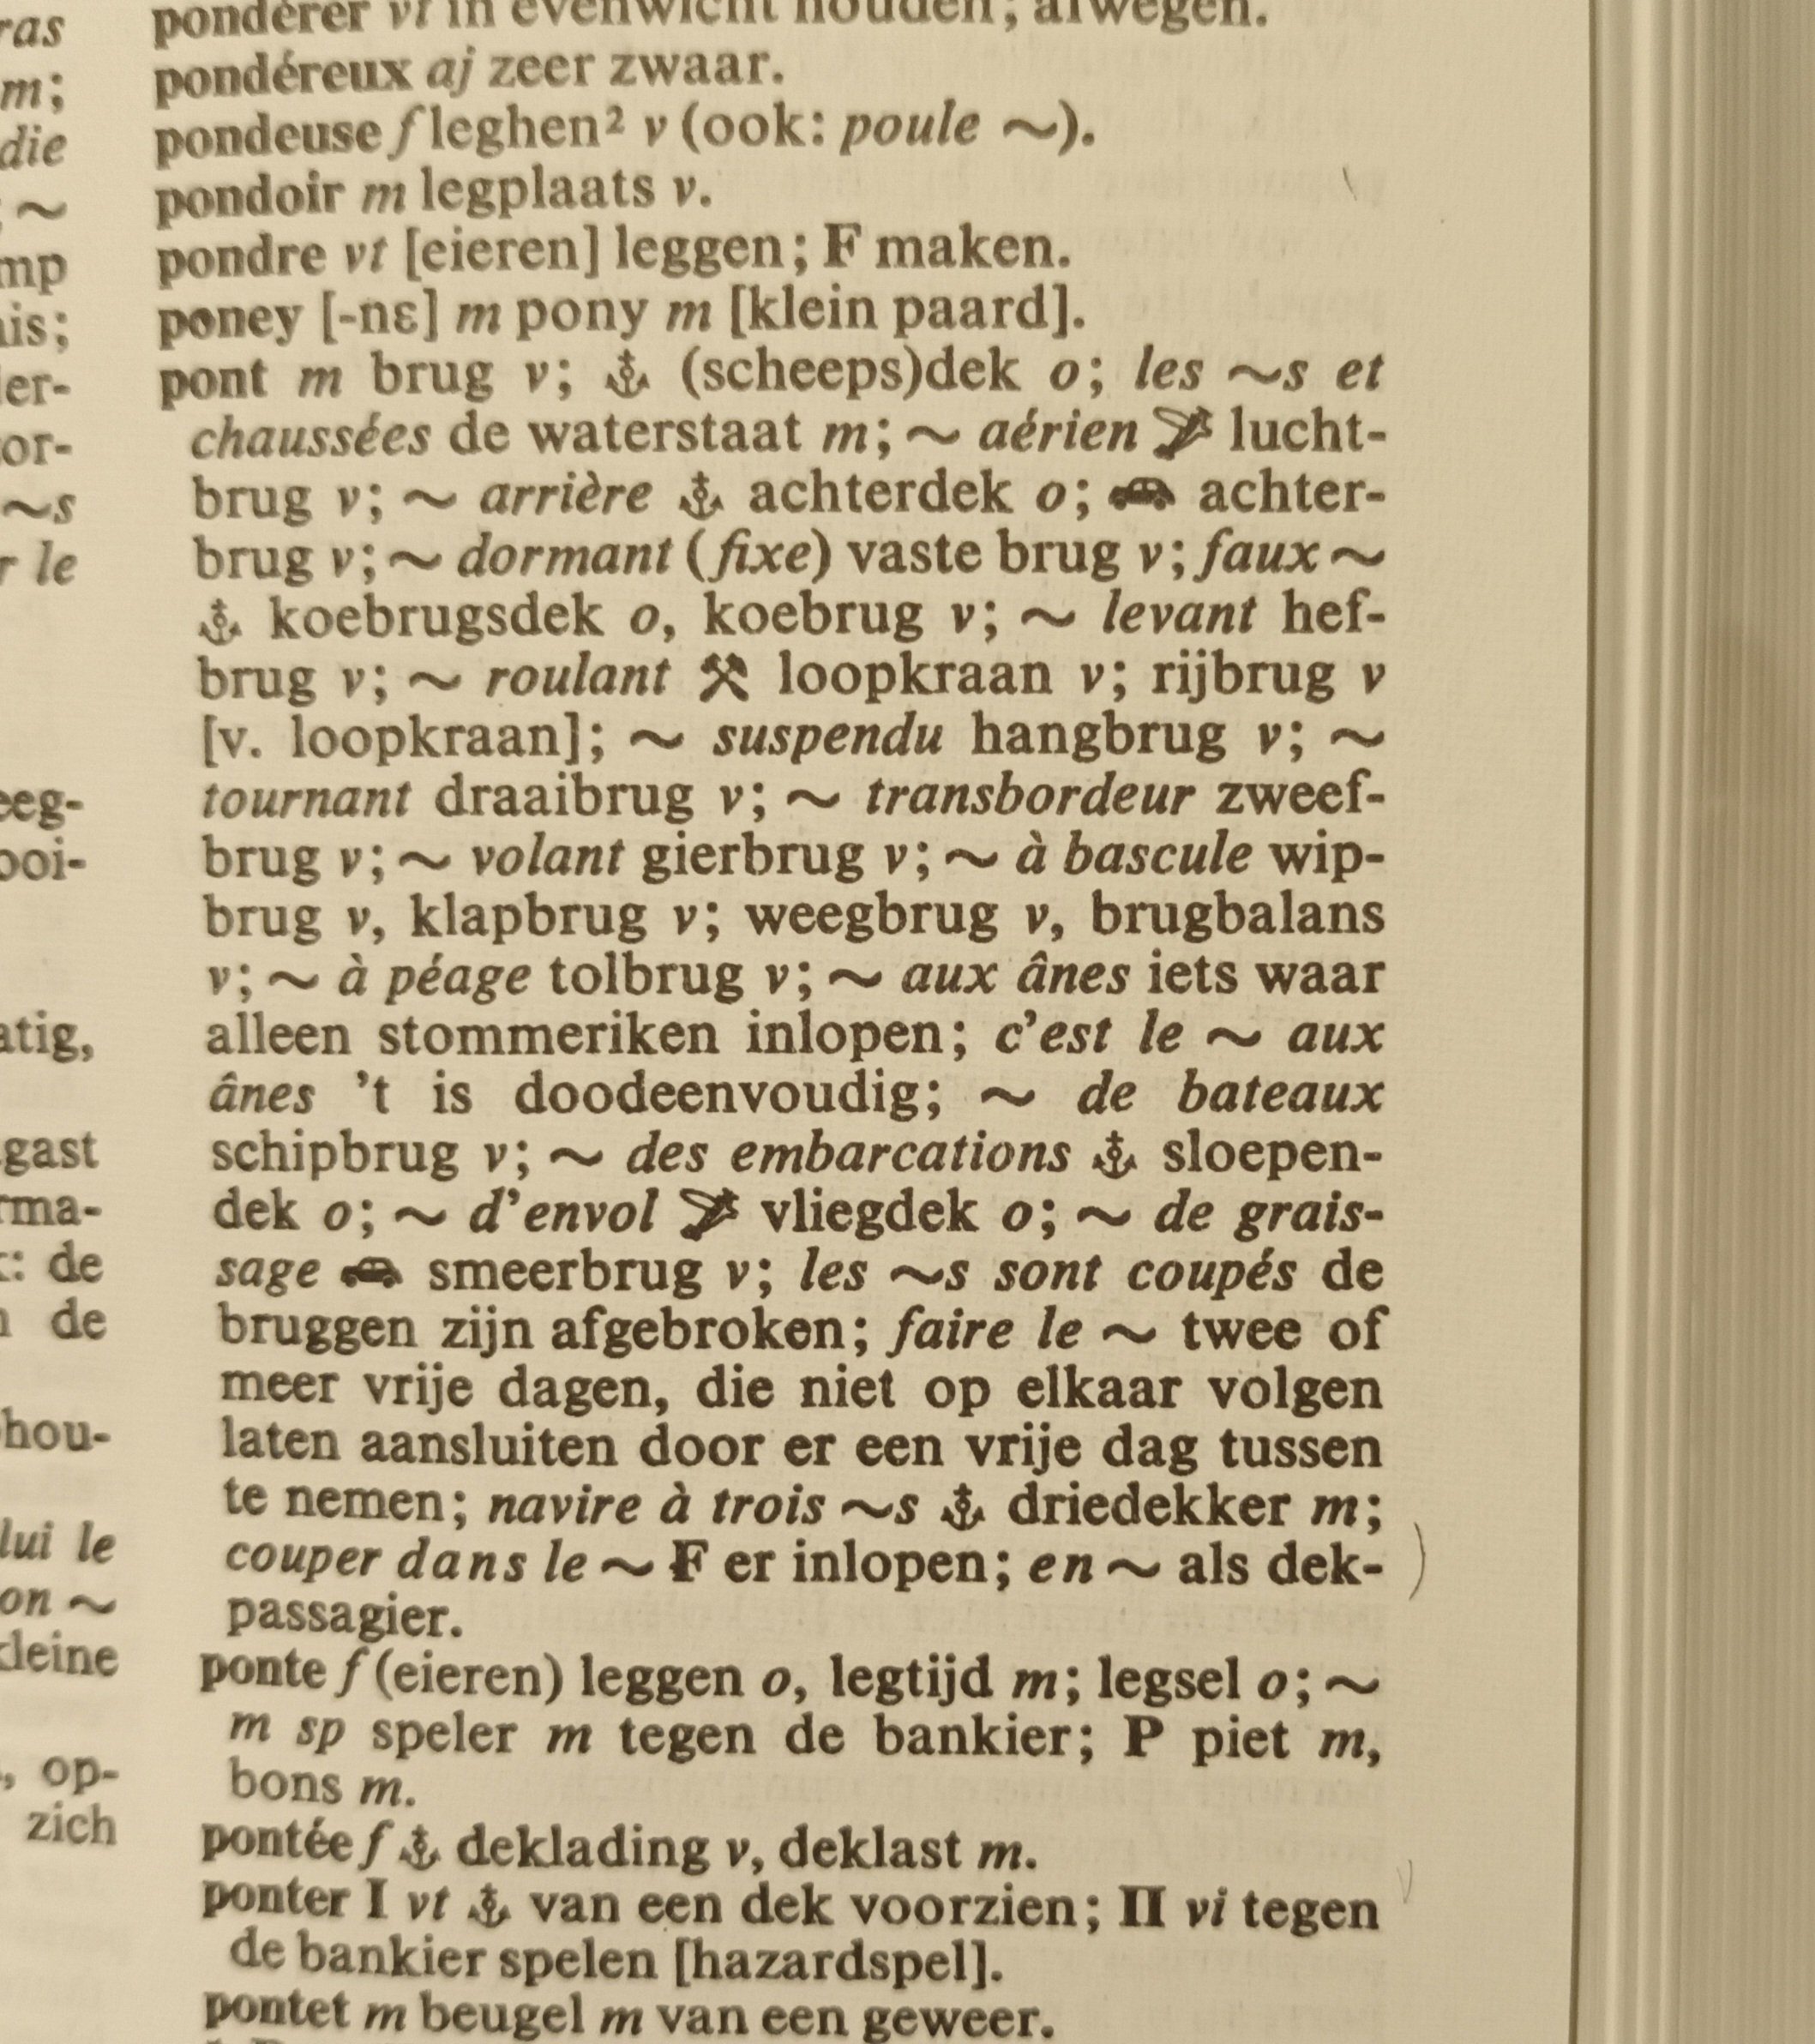
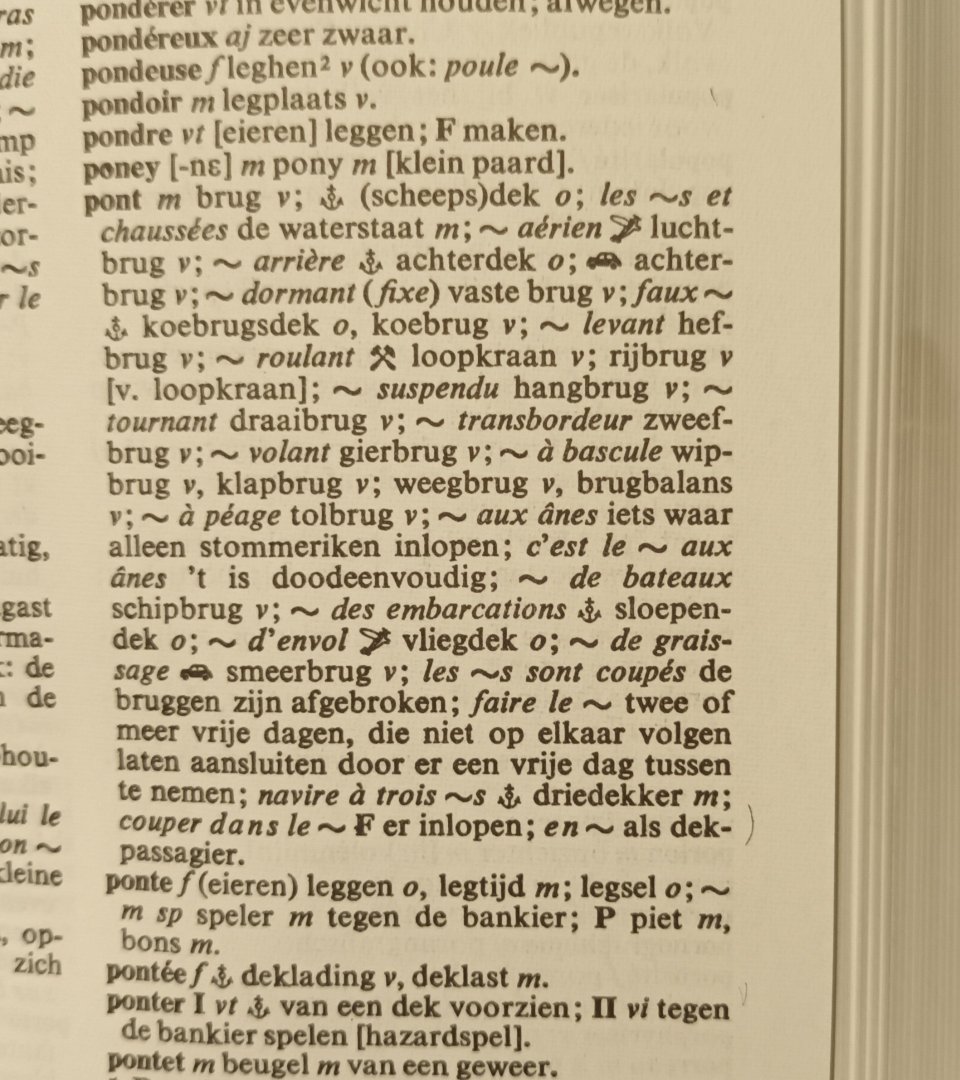
The words written before or after "pont" say a lot about what exactly is meant by "pont". From a French Dutch dictionary from 50 years ago at school. I'm curious to see what your bow will look like. Mary Rose's turned out surprisingly to be very pointed
-
I am number 8th in line to follow 😉
-
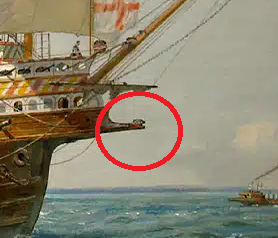
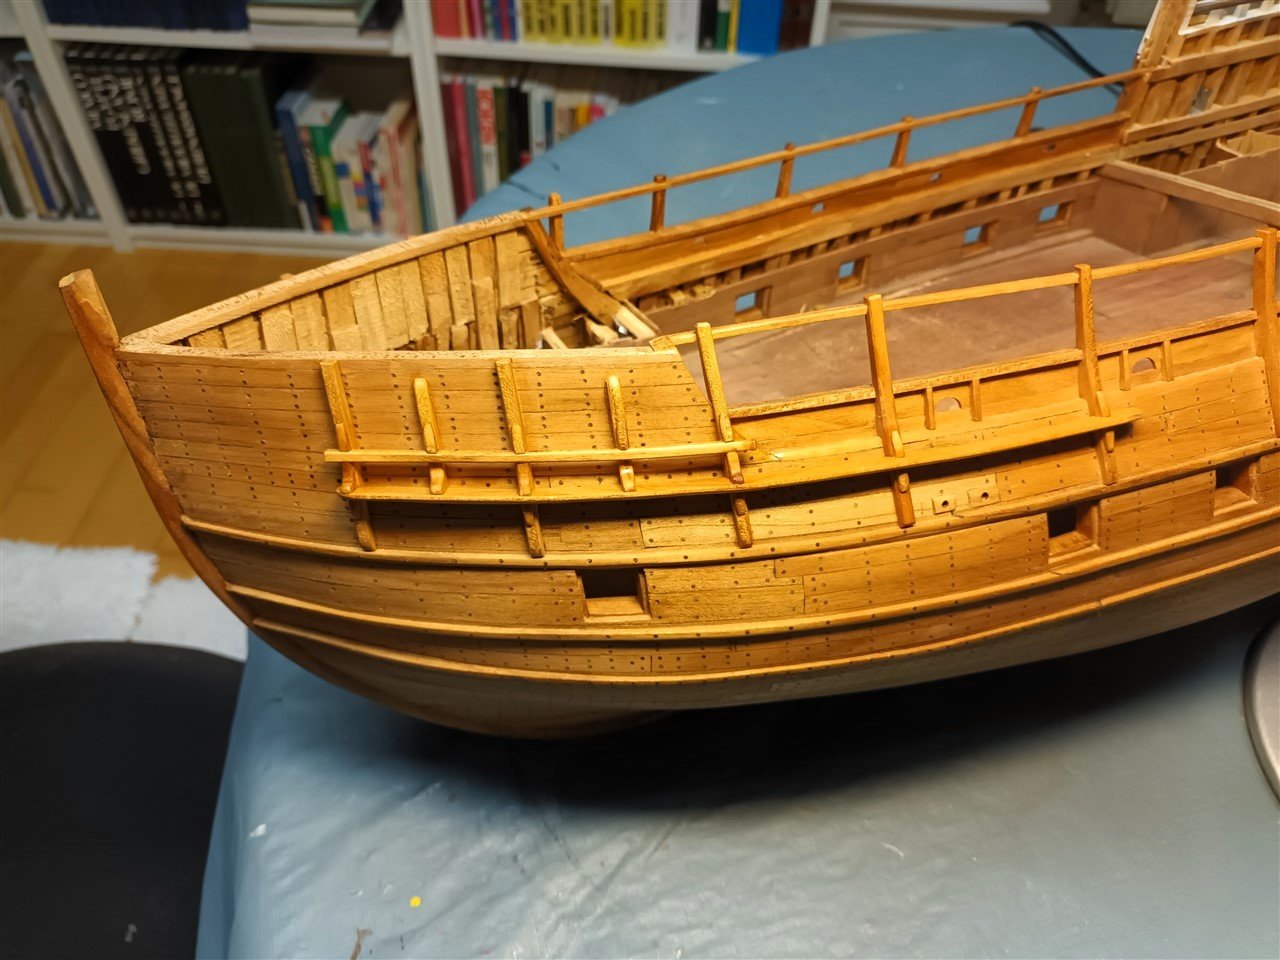
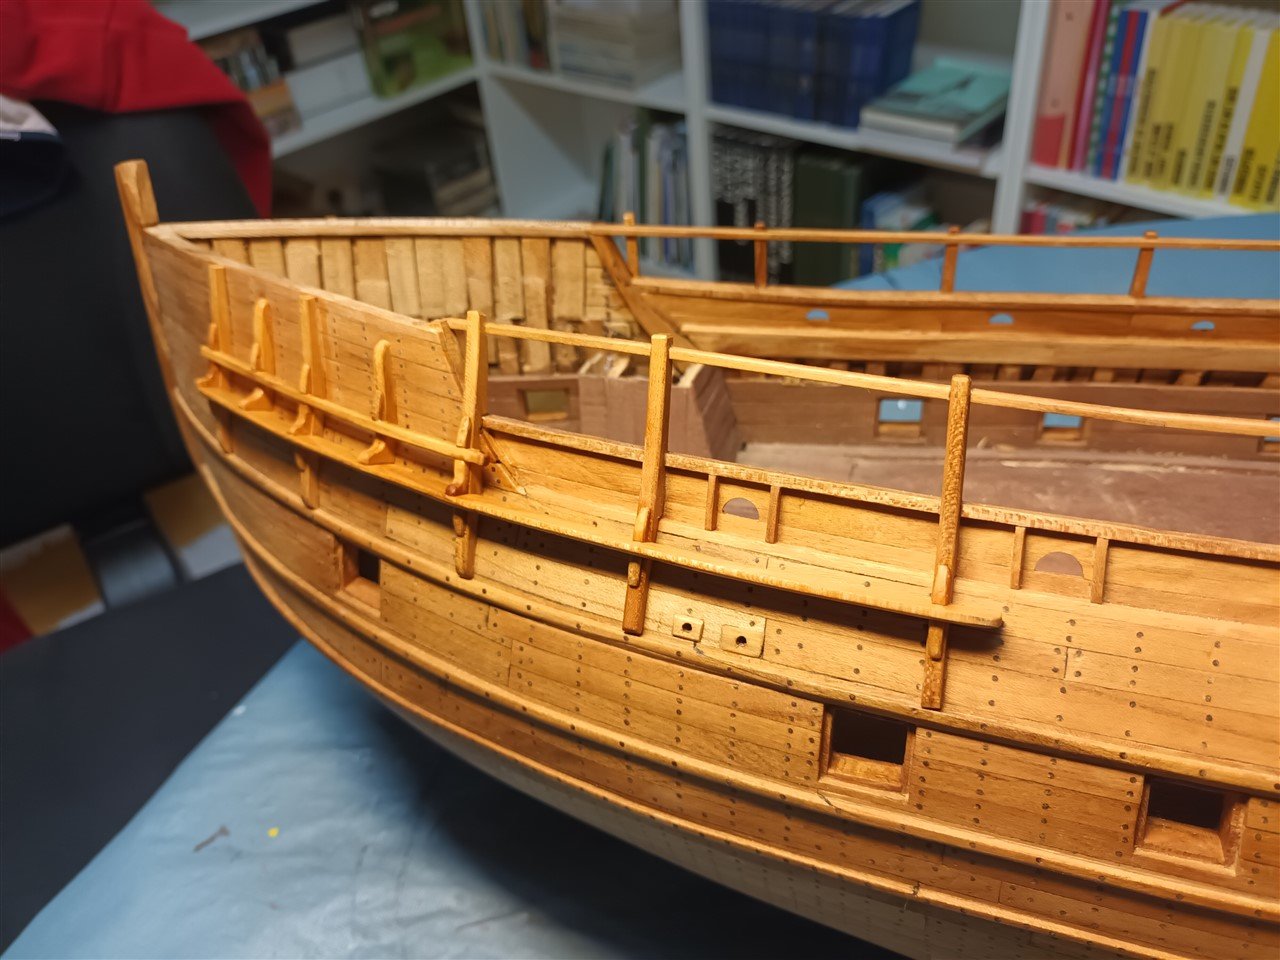
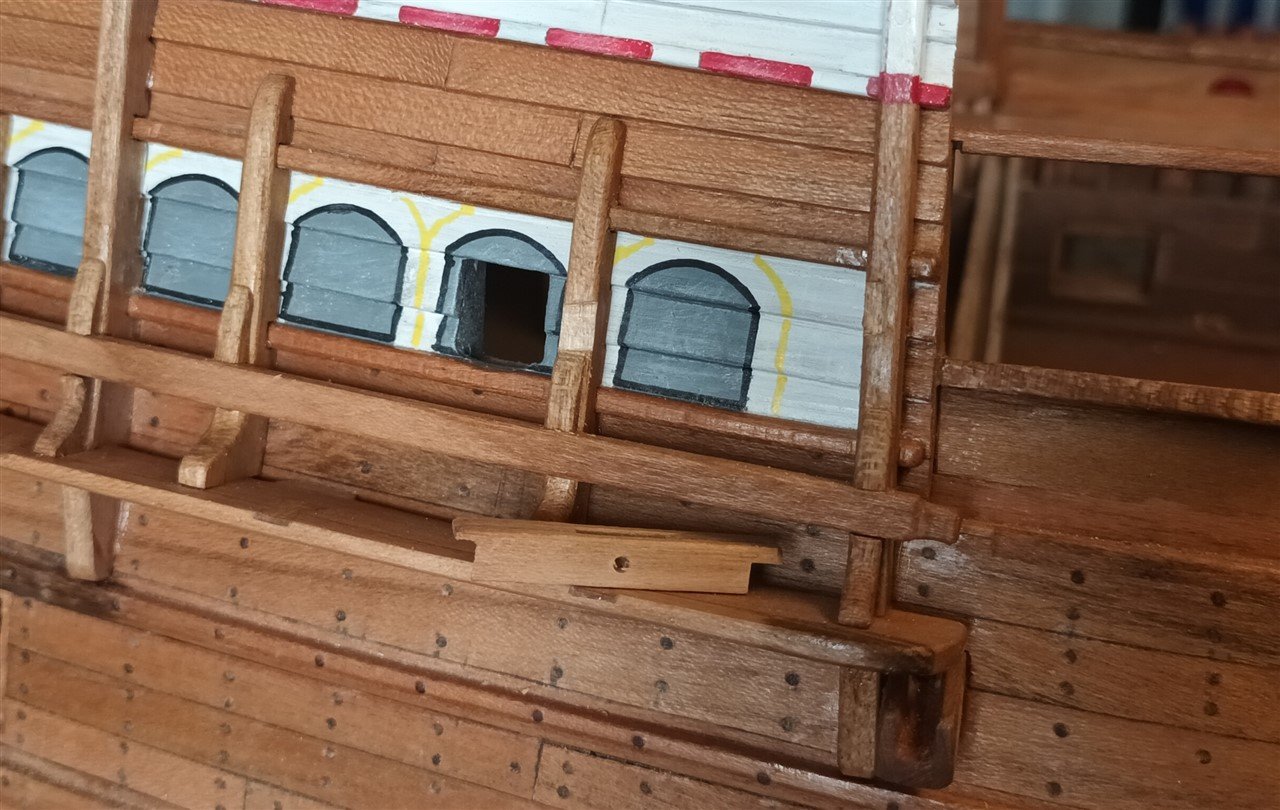
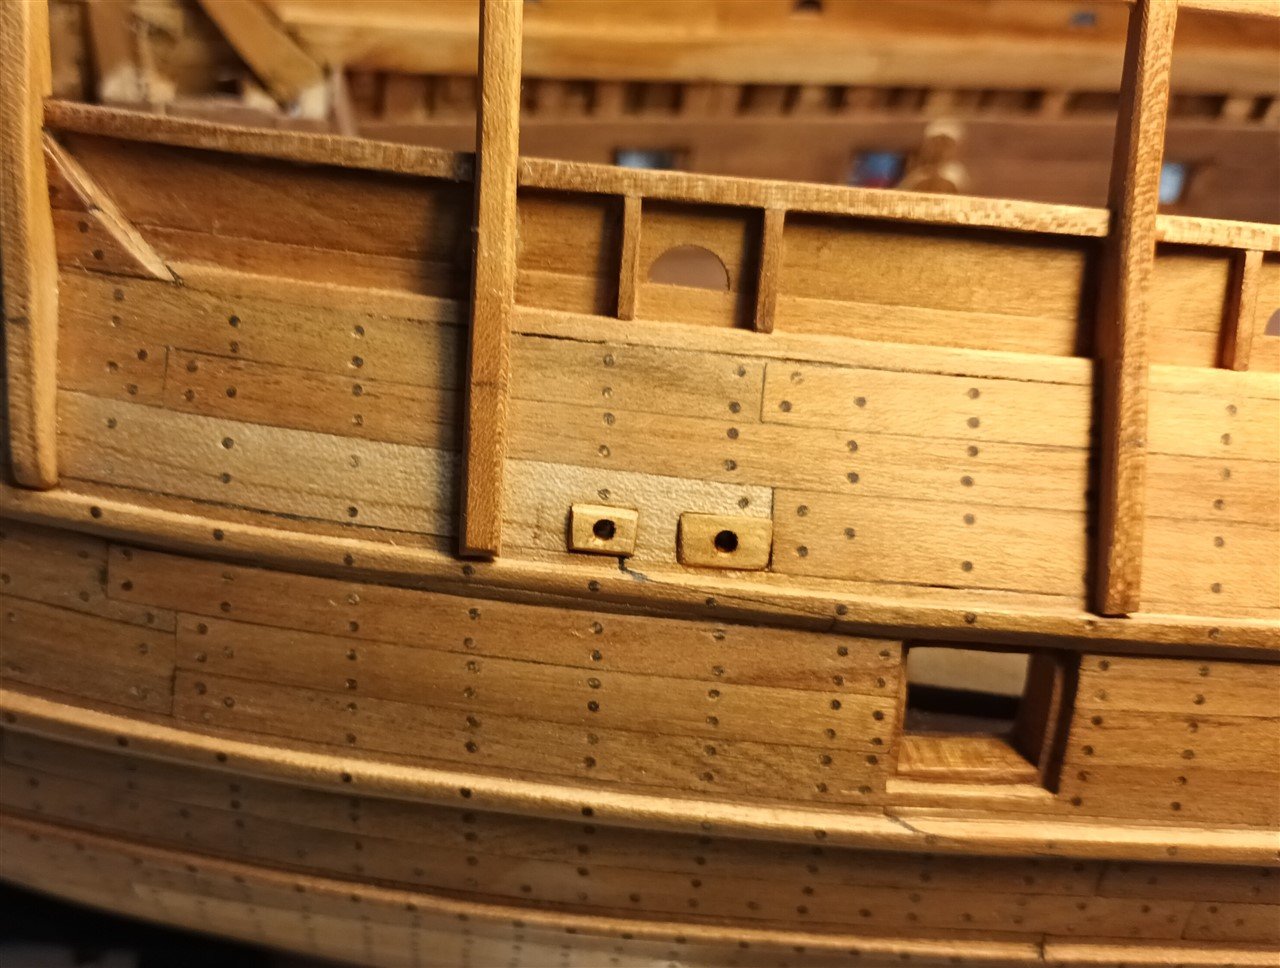
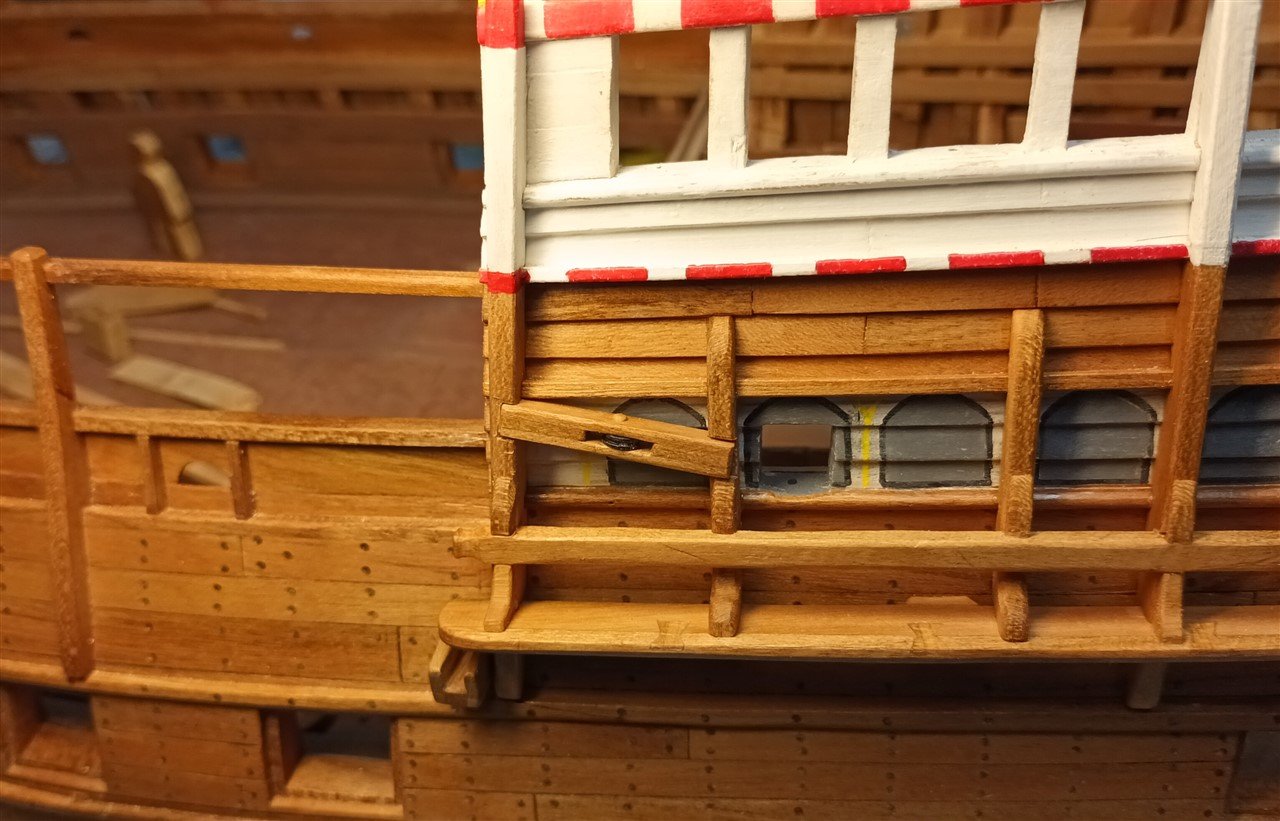
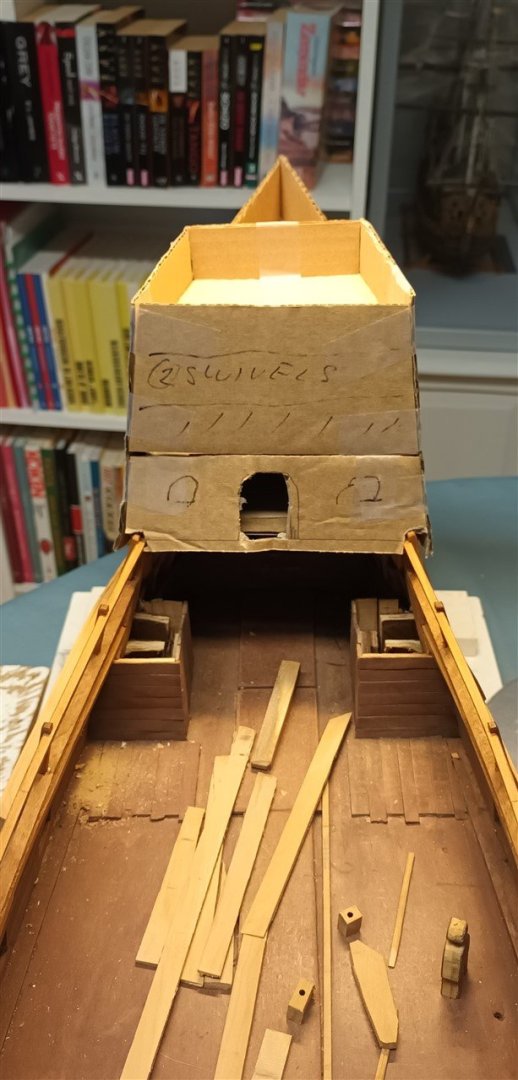
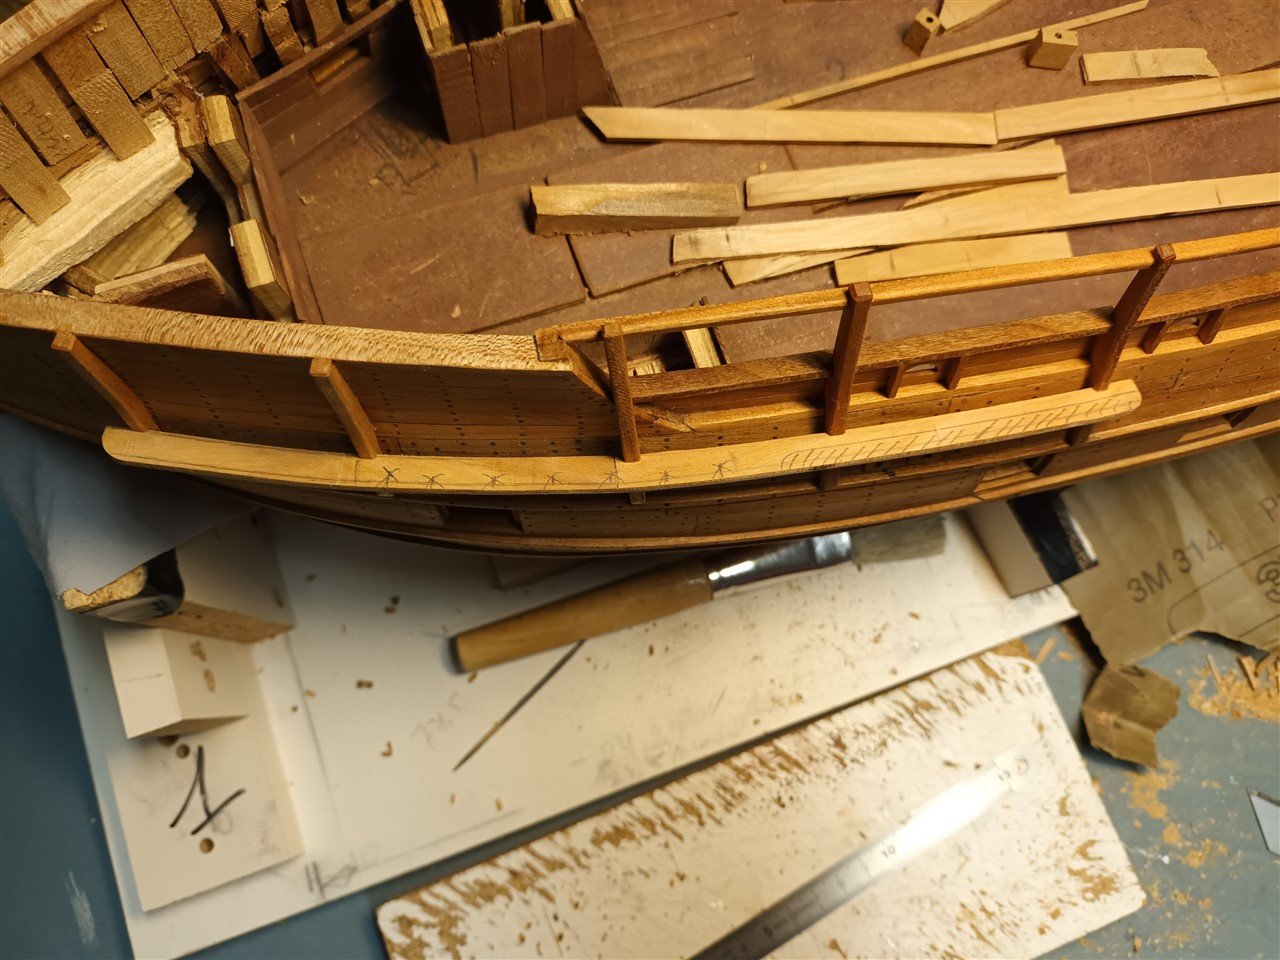
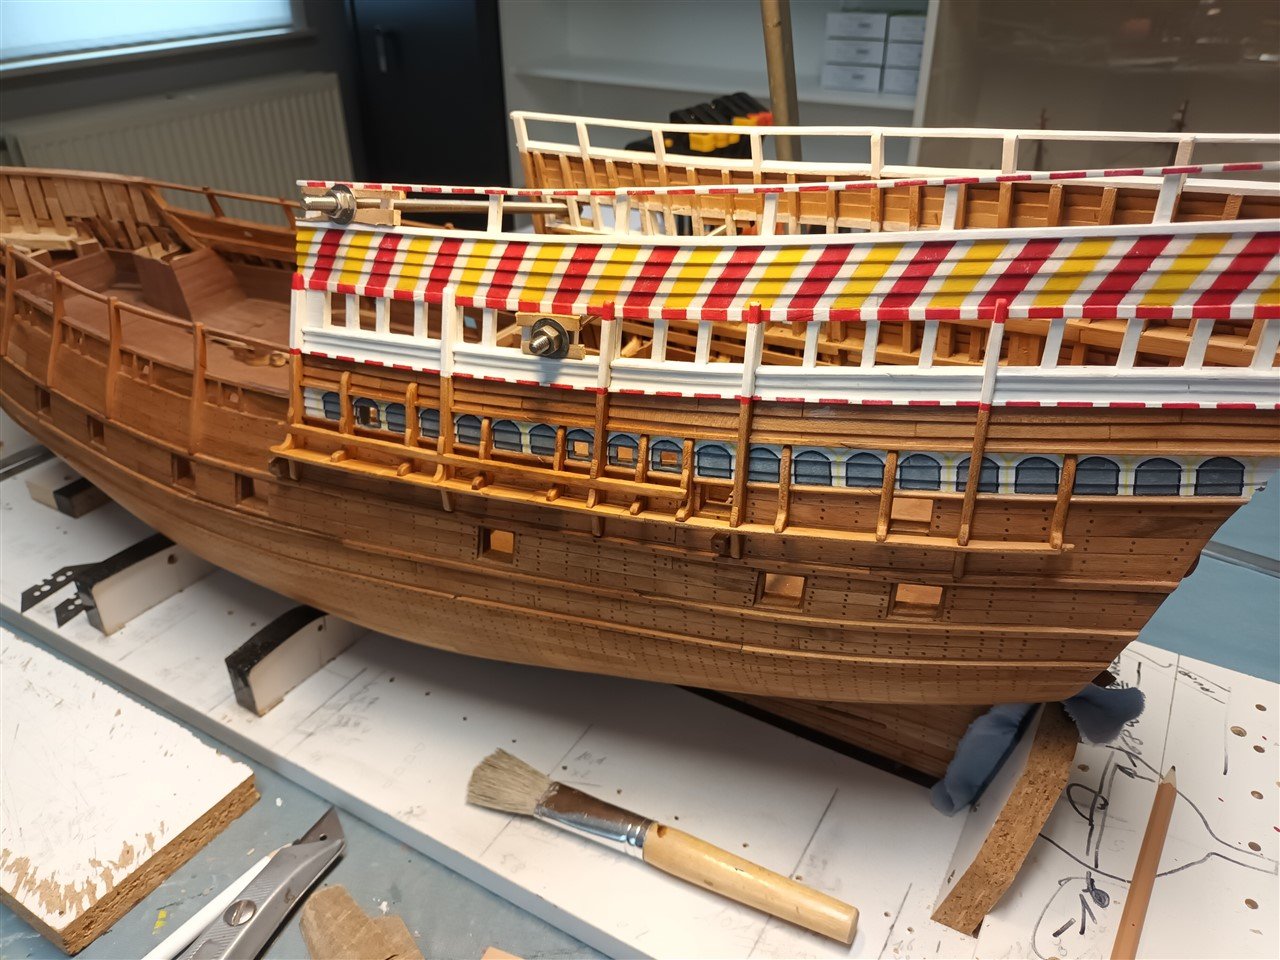
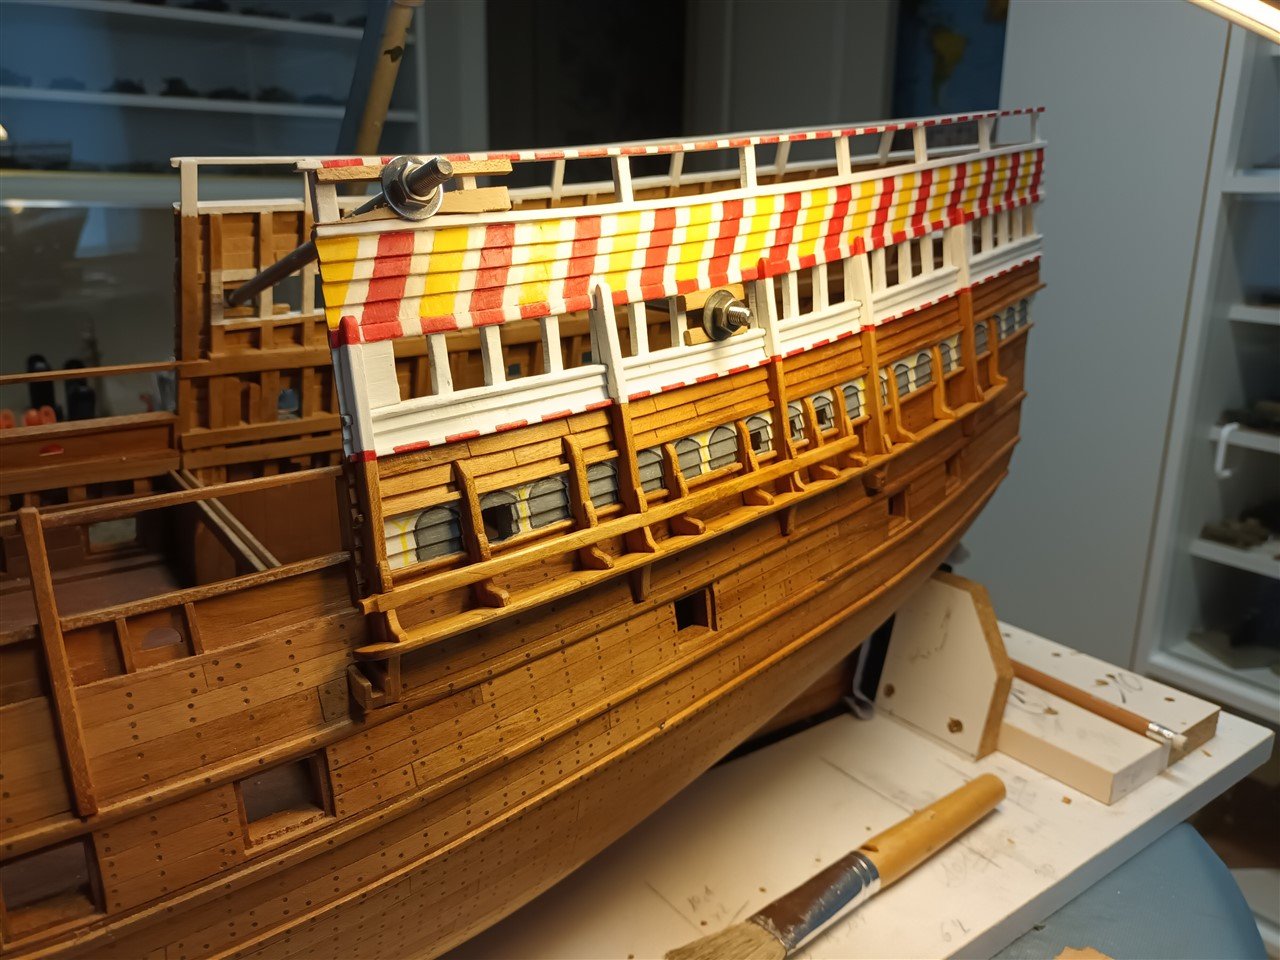
Before continuing with the forecastle, a few smaller items were added first. And yes, a hole was also drilled through the planking In this cabin on the starboard side, a hole was made through the hull here. so there is also one provided on the port side On each side, 3 standards were placed as a basis for the channel and rigging rail Next some extra parts (exact name?) And the basis for the port side channel, made from 3 parts Now first check whether the standing rigging of the fore mast has space in relation to the forecastle. No, so version 2 of the cardboard forecastle (right) My first impression of this channel. The right side should be narrower and would function as a rigging rail The schrouds (6) will be placed in the middle And the left side should also be narrower so that one of the two anchors can be attached there. Ideas, comments on this are always welcome


-
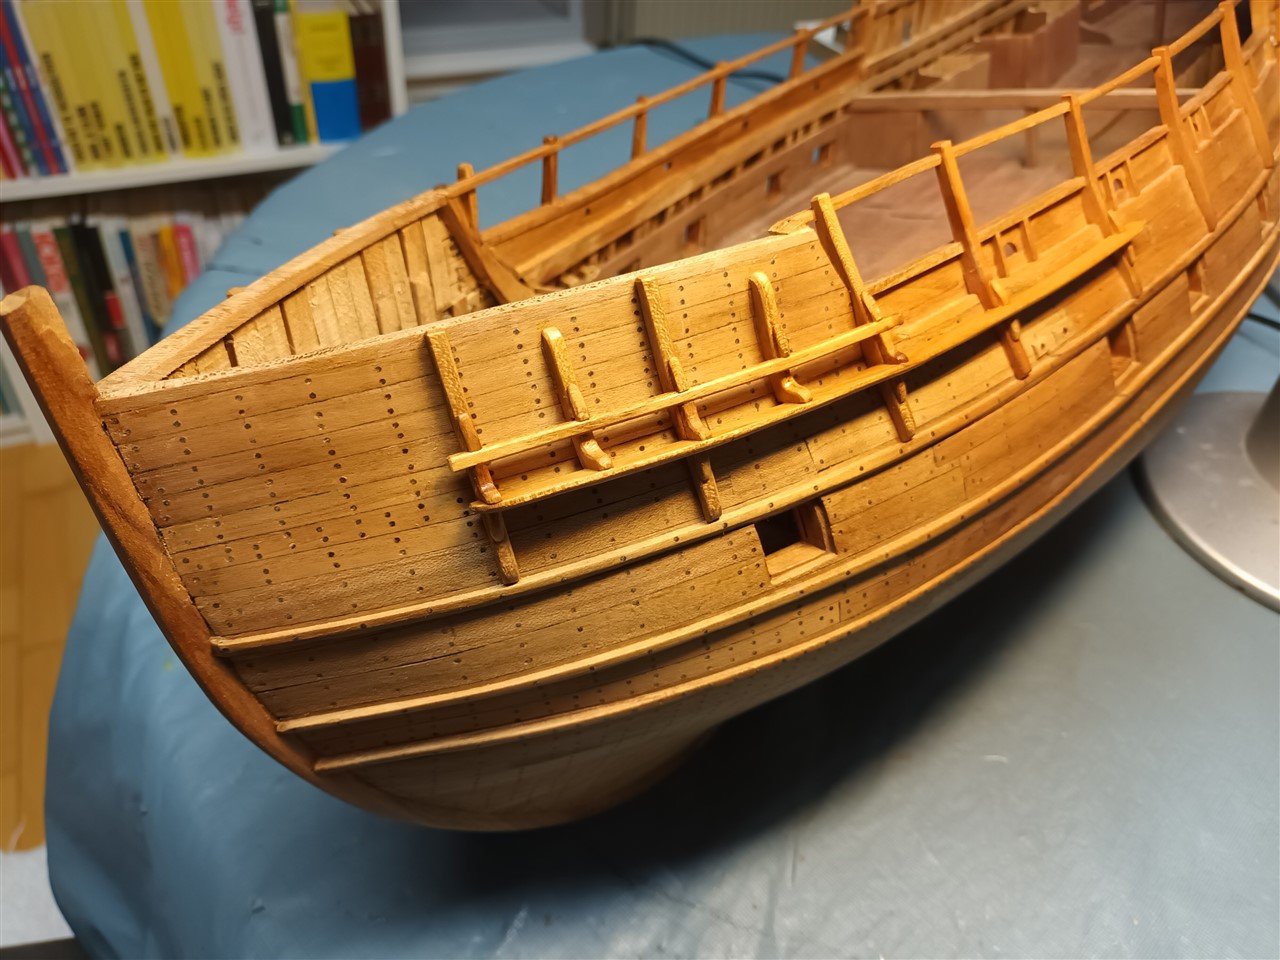
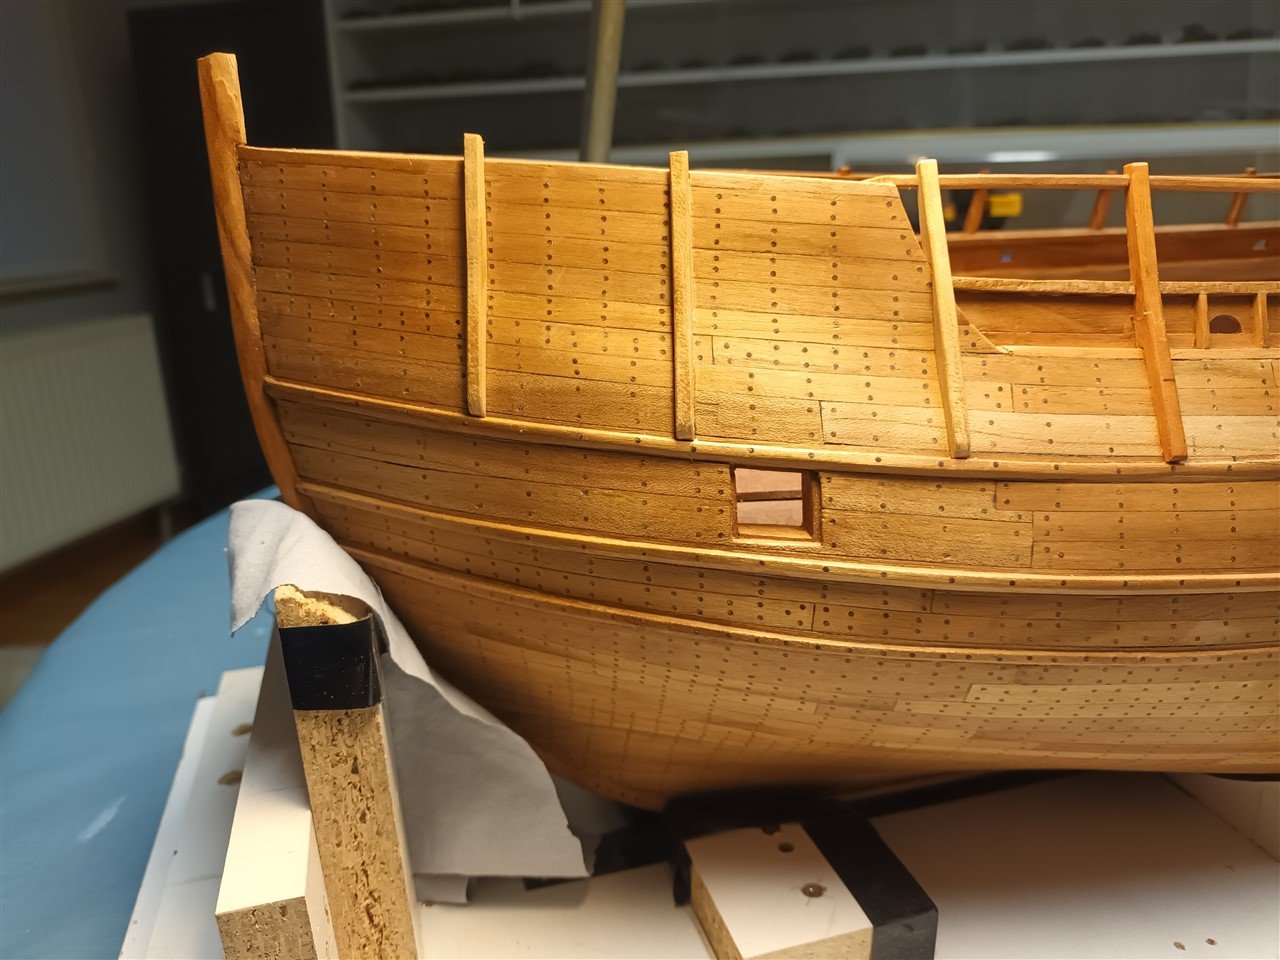
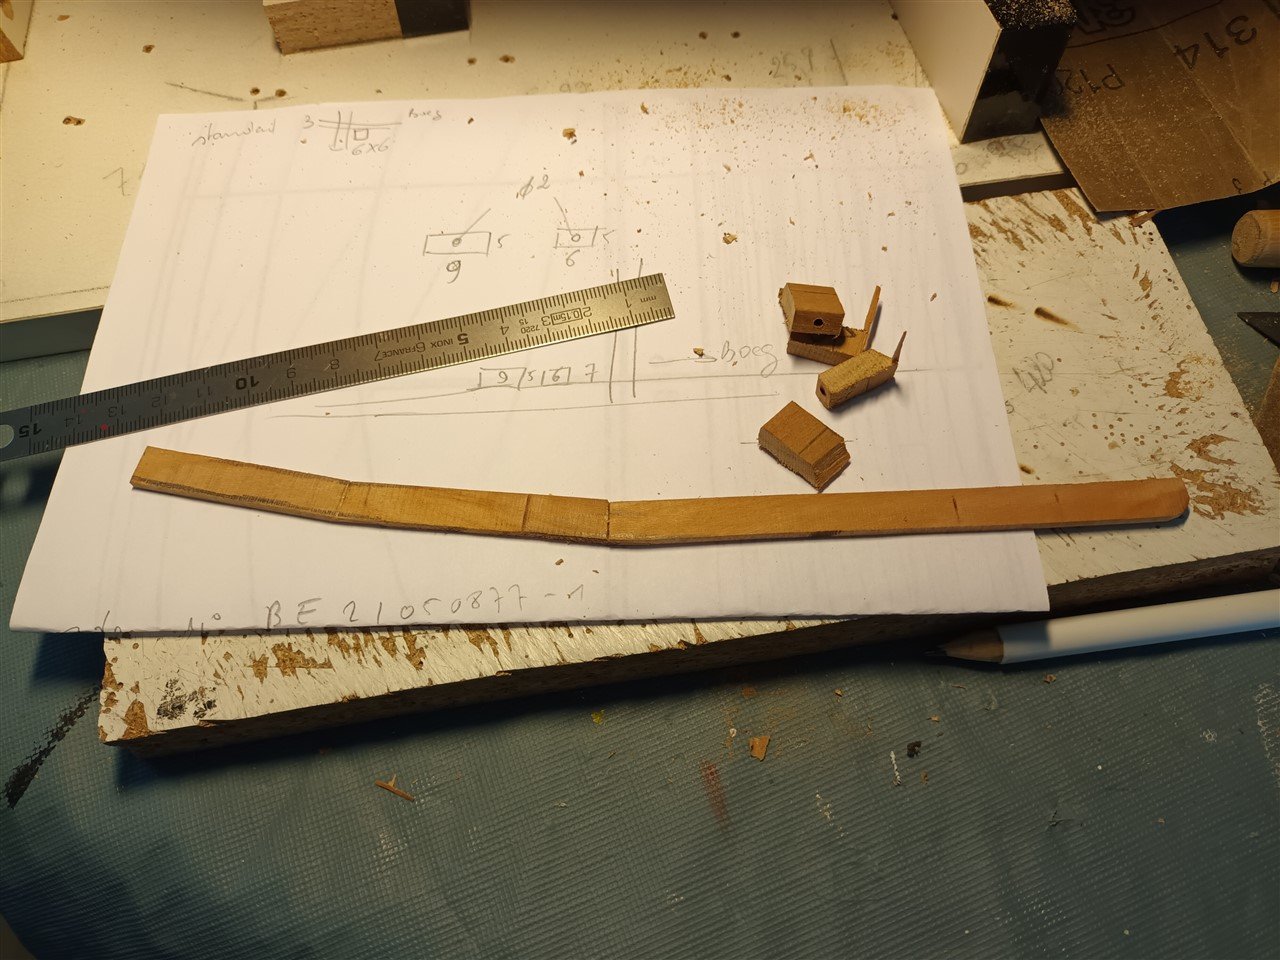
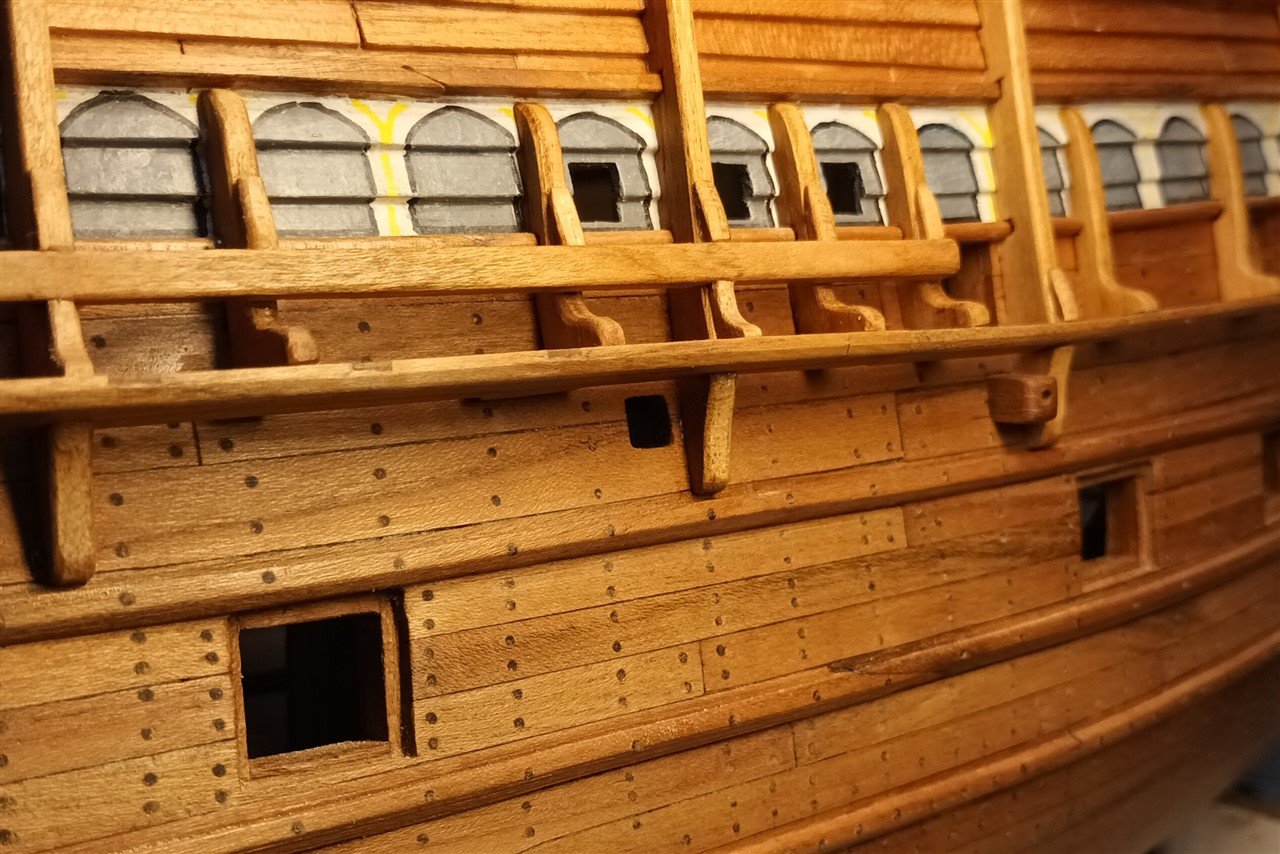
The standards, channel en extra supports on the port side are ready Next, standards,channels, etc. at the bow area. Almost nothing remains of the original. So, first i do test setups before building. step one, 3 extra standards and a wale
-
-
San Felipe by Roy812 - OcCre - 1/86
Baker replied to Roy812's topic in - Kit build logs for subjects built from 1501 - 1750
Good luck -
Do no, patience 😇 most definitely yes