Baker
-
Posts
4,304 -
Joined
-
Last visited
Content Type
Profiles
Forums
Gallery
Events
Everything posted by Baker
-
Greetings Patrick
-
And greetings from Belgium
-

Roter Löwe 1597 by Ondras71
Baker replied to Ondras71's topic in - Build logs for subjects built 1501 - 1750
Great work Ondras. Enjoy the beer -
Very educational and interesting. I can only like this, i would not know what to dislike on your drawings
- 263 replies
-
- 2
-

-
- nave tonda
- round ship
- (and 2 more)
-
Thanks Carl and Steven for the positive comments and everyone for the likes. Meanwhile, the production of the carriages is well underway.
- 756 replies
-
- 1
-
-
- galleon
- golden hind
- (and 2 more)
-
Great work! Very nice detailed. Congratulations Greetings, Patrick
- 2,699 replies
-
- 3
-
-
- heller
- soleil royal
- (and 9 more)
-
Greetings from Belgium
-
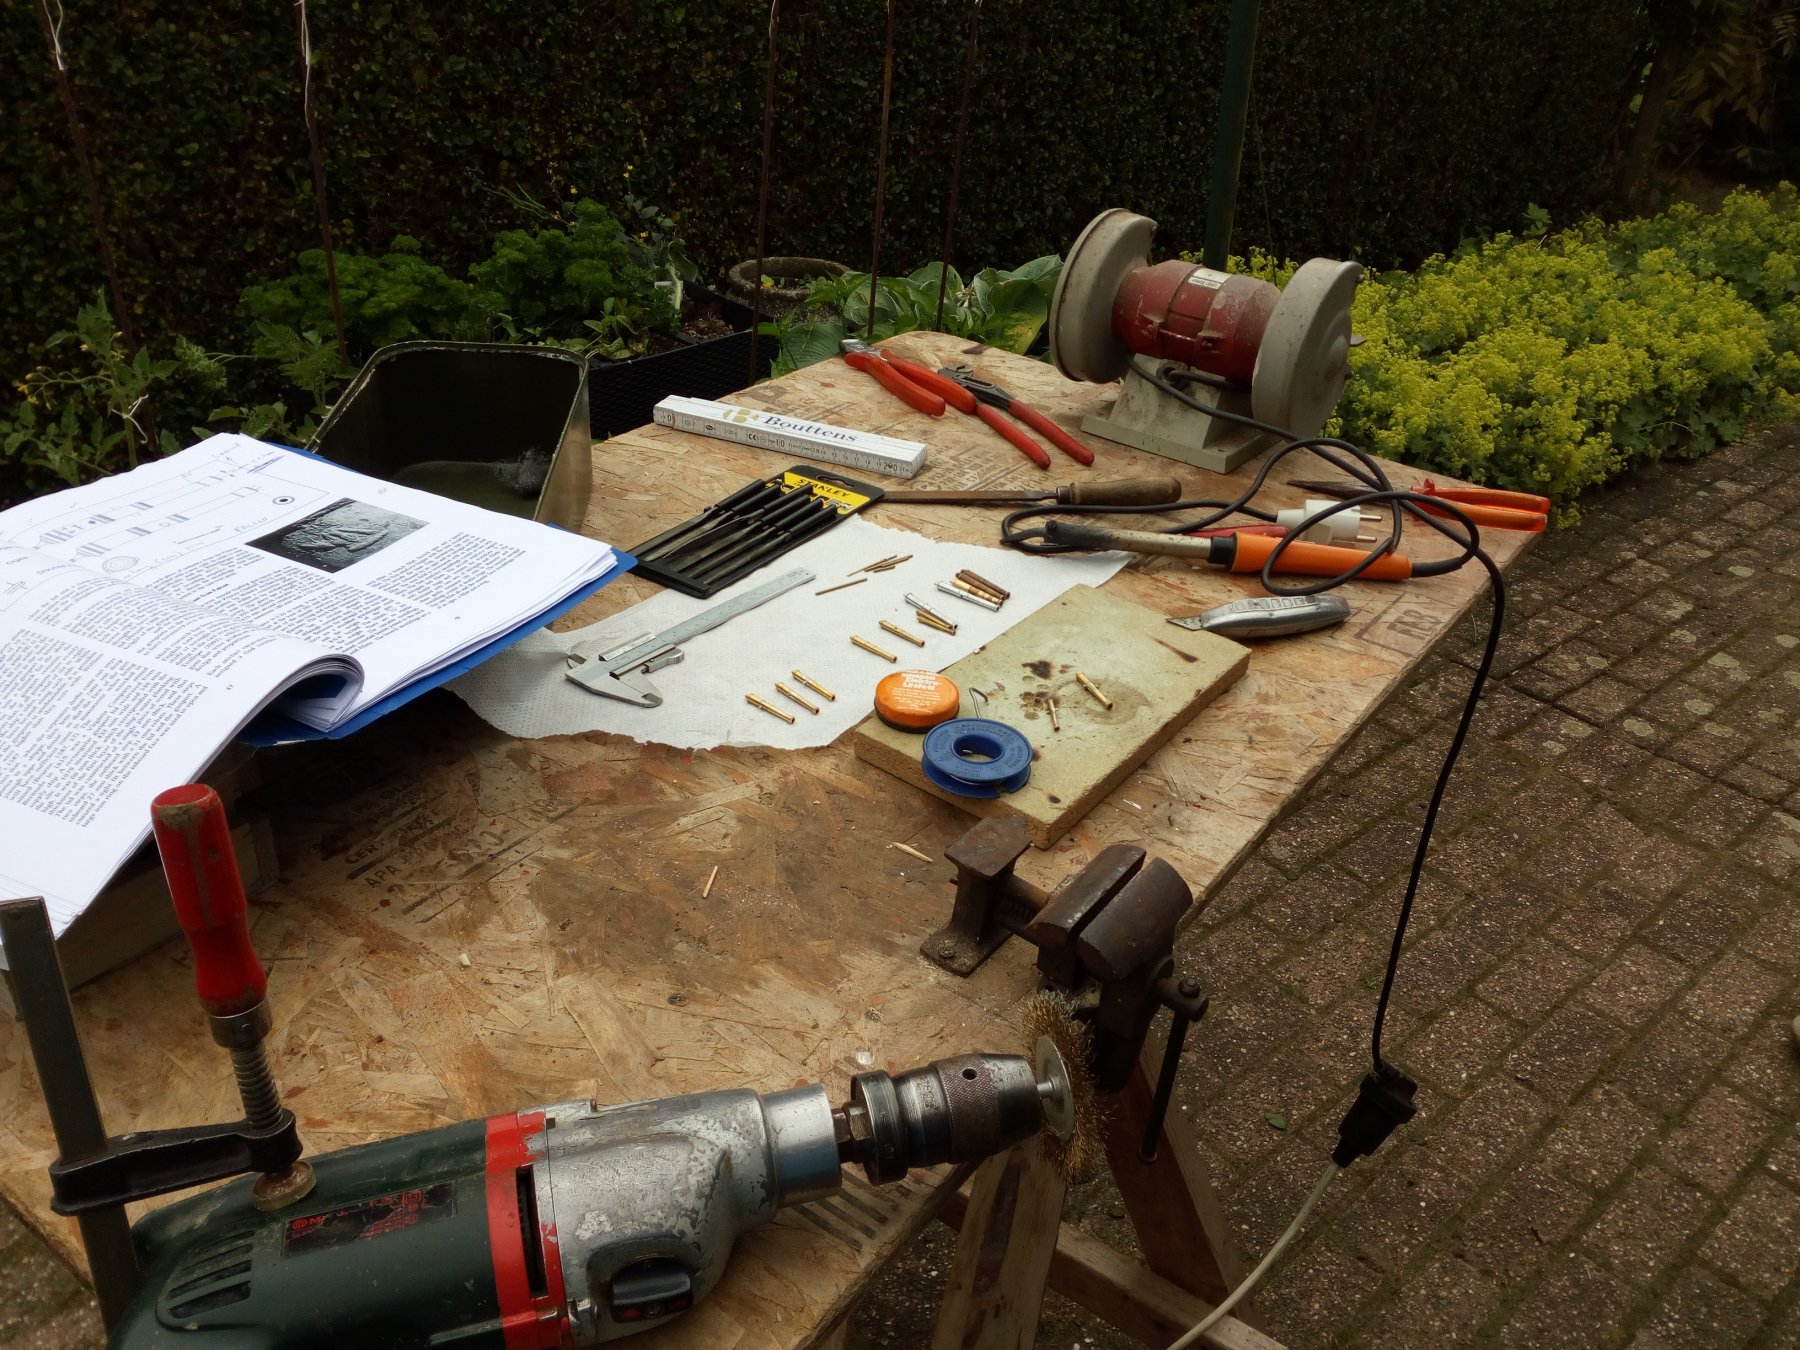
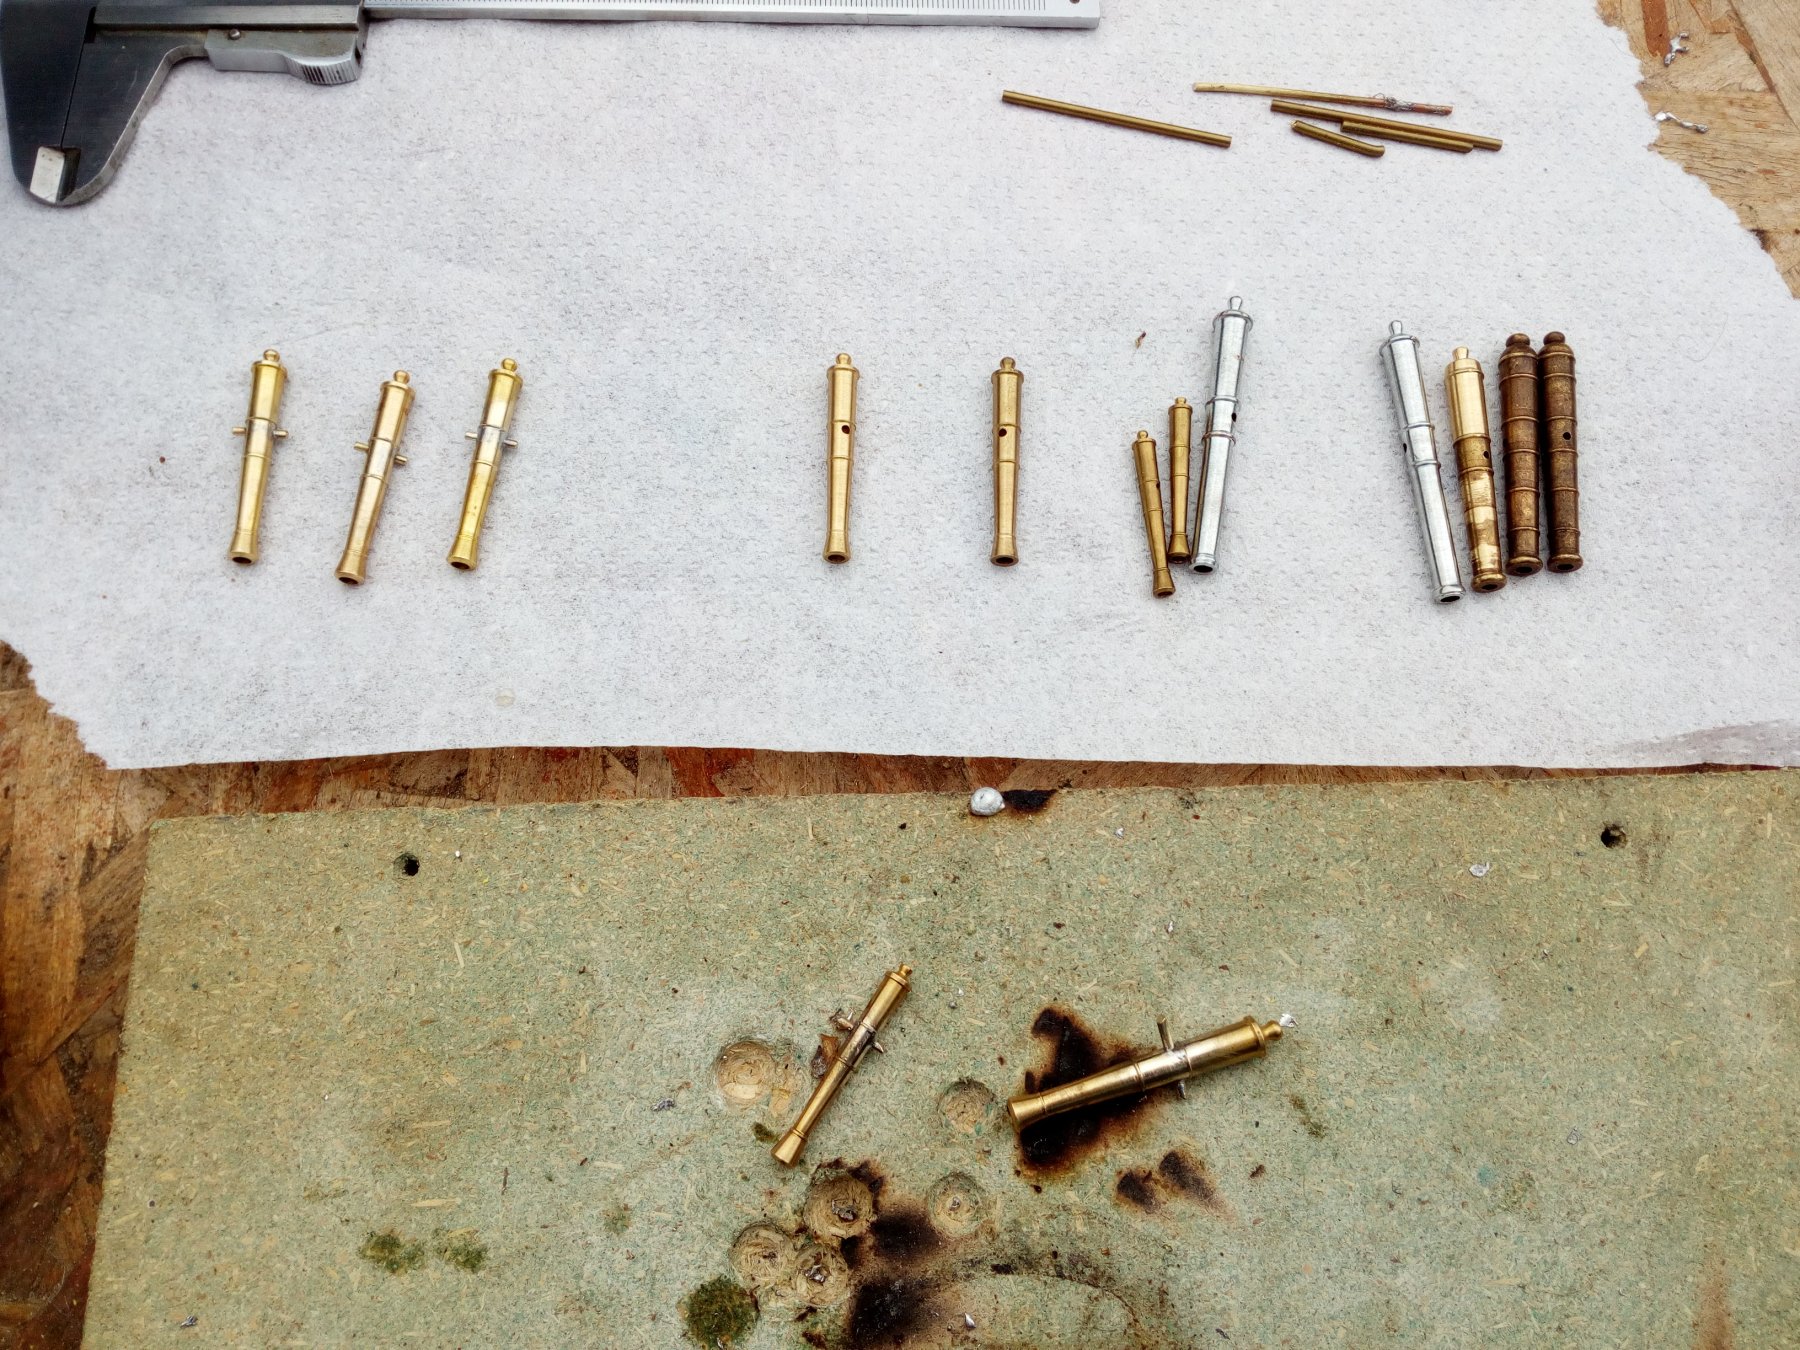
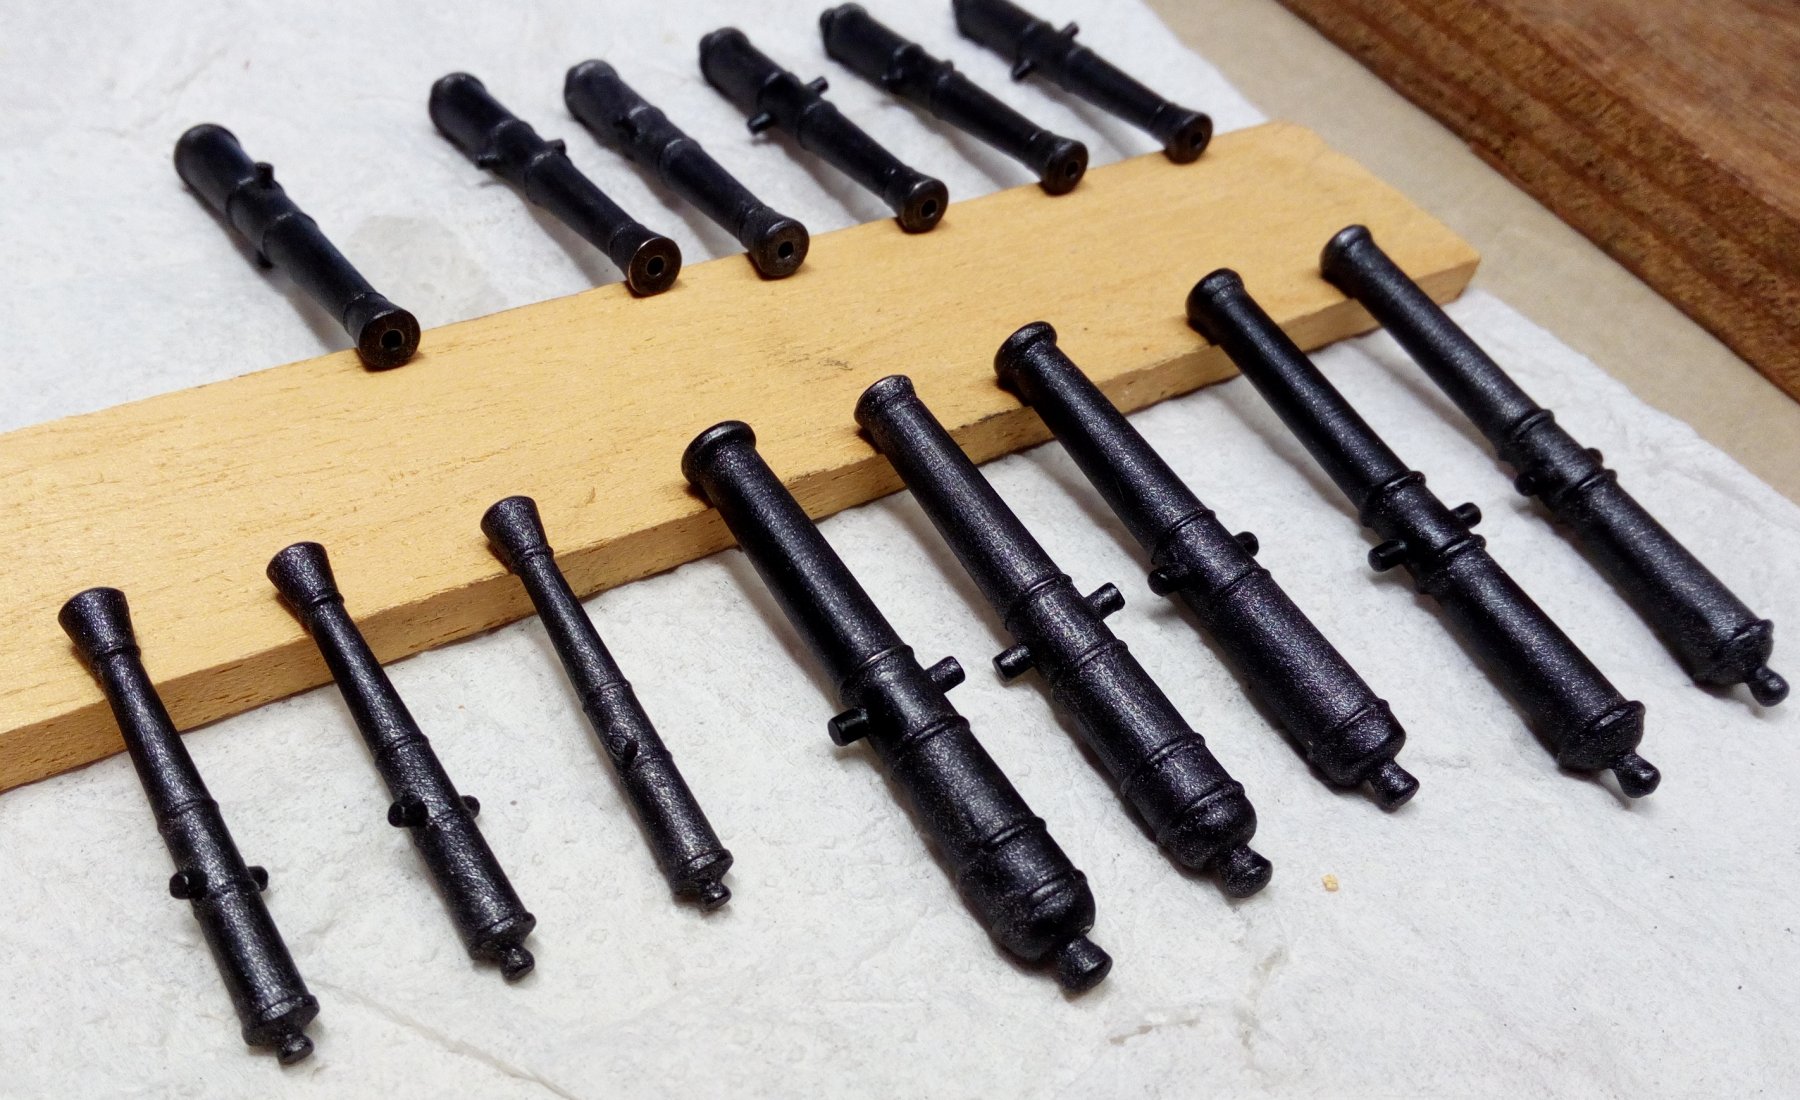
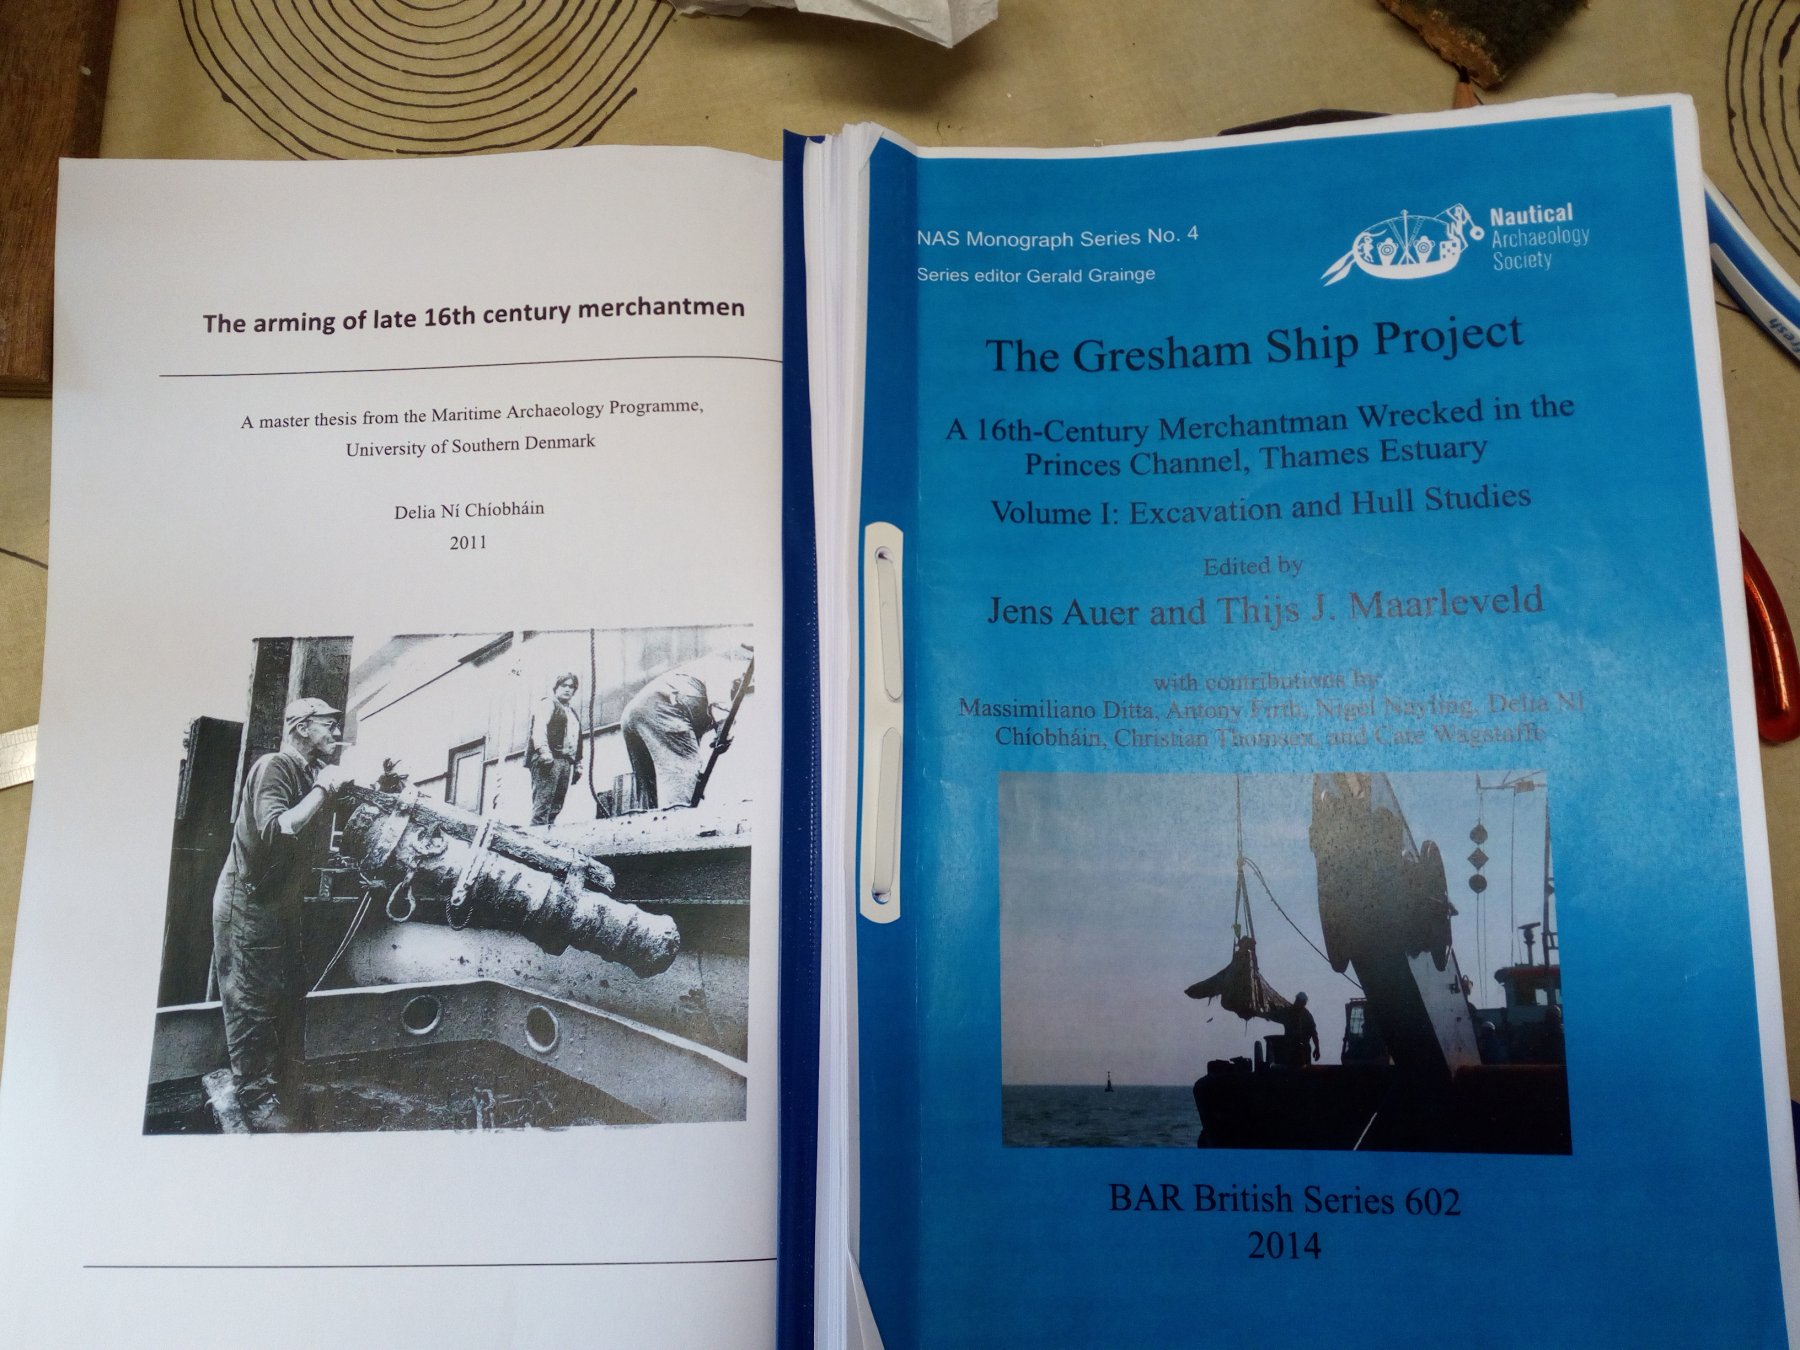
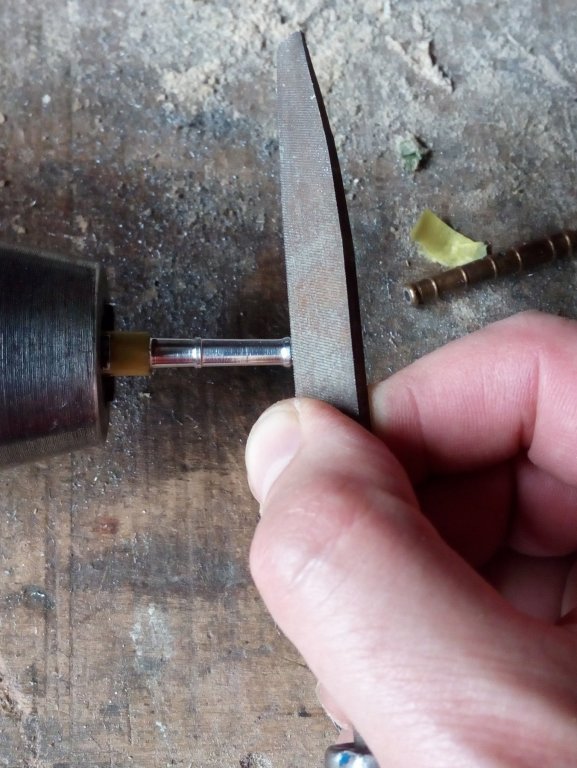
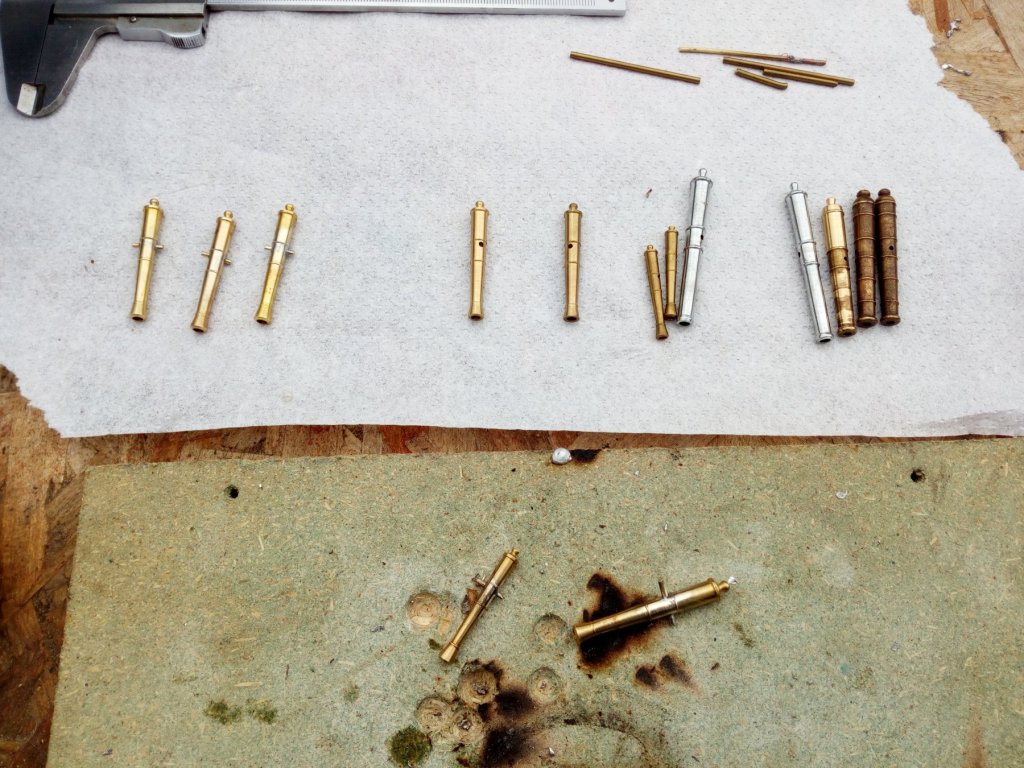
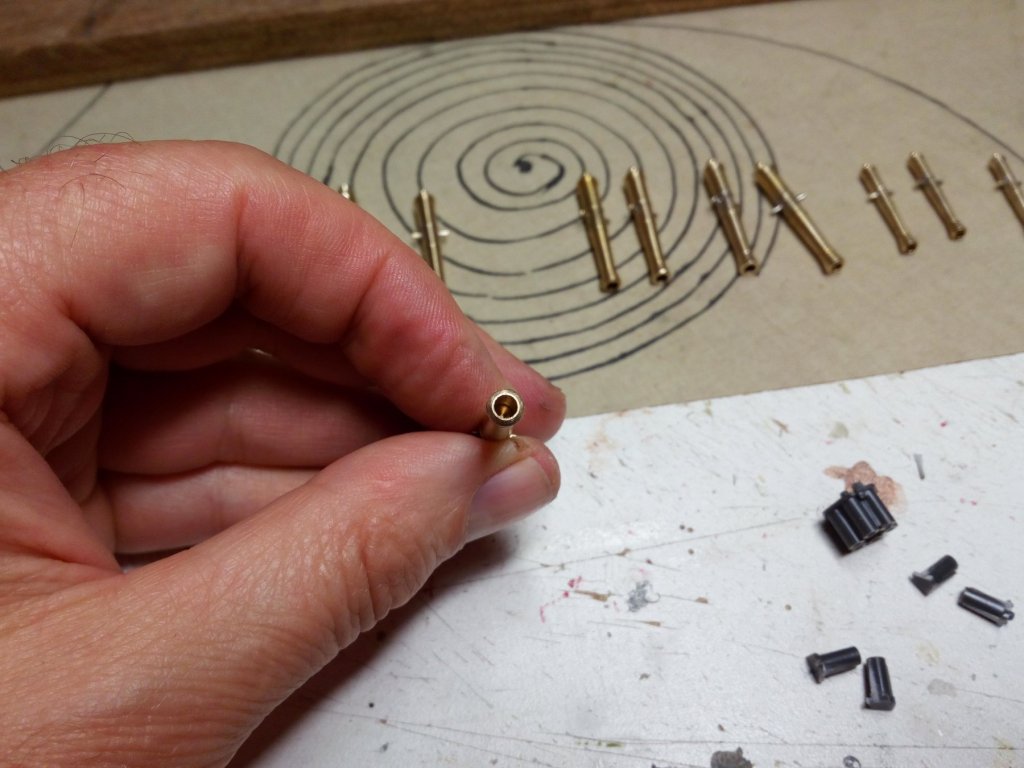
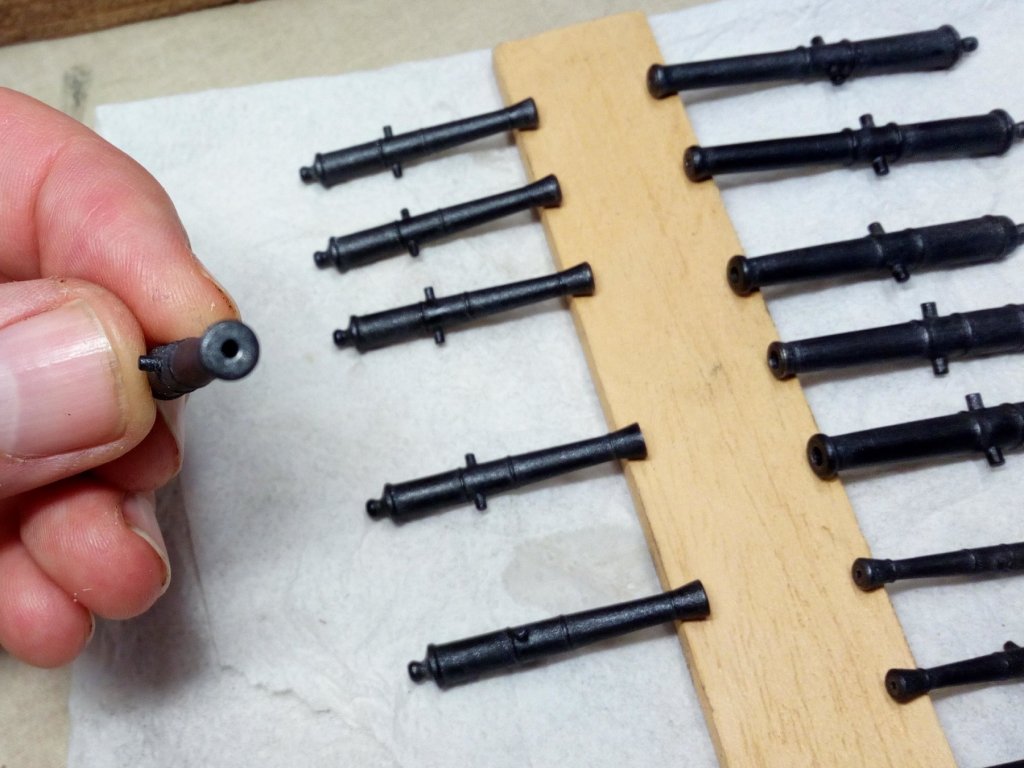
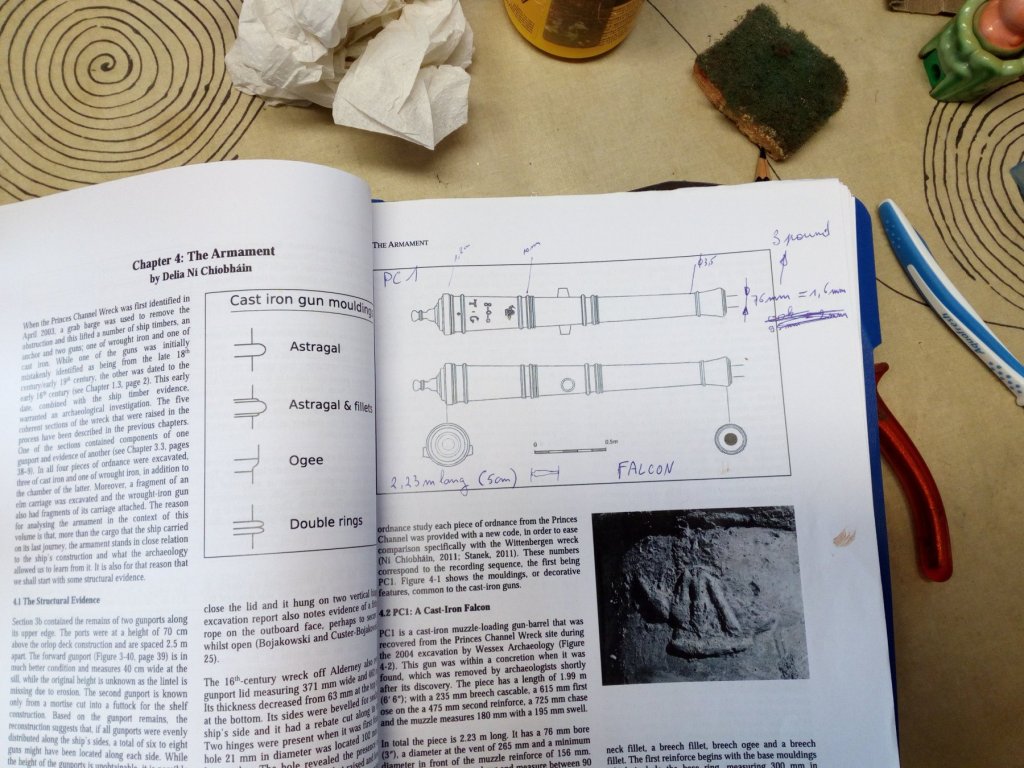
Hello everyone Cannons, main armament. A lot of information about 16th century armament can be found in the following master theses (They were free to download). http://www.academia.edu/20120786/The_Arming_of_Late_16th_century_Merchantmen._A_Masters_Thesis_from_the_Maritime_Archaeology_Programme_University_of_Southern_Denmark These smaller "private" ships and merchantmen usually had armament of 3 and 4 pounders. Mainly iron guns, bronze was too expensive. Only the navy could afford this. It was not usually the intention to sink a hostile ship. Boarding another ship was the most "profitable". Then the cargo could be captured. Step 1: Determine the locations of the guns Billing Boats and Amati guns are used as the basis (I do not have a lathe, so improvising) Adjust the shape with the drill and files. The "cannon factory" The bore is too big. These are filled with plastic and fitted with the correct bore diameter. We make 1 pounders, 3 pounders and 4 pounders. Painted in Tamiya matte black Then a wash with diluted and extra matte gun metal. The bore opening is a little accentuated with pencil Ready Thanks for following and the likes


- 756 replies
-
- 20
-
-
- galleon
- golden hind
- (and 2 more)
-
Good luck with your first wooden shipmodel
-
The sea and the firing guns with the smoke are beautifully done (The ship also of course). Great work Piet, very realistic. Respect
- 378 replies
-
- 8
-
-
- java
- pacific crossroads
- (and 2 more)
-
HMS ROYAL KATHERINE 1664 by Doris - 1/55 - CARD
Baker replied to DORIS's topic in - Build logs for subjects built 1501 - 1750
Magnificent Very nicely done Greetings, Patrick- 1,035 replies
-
- 5
-
-
- royal katherine
- ship of the line
- (and 1 more)
-
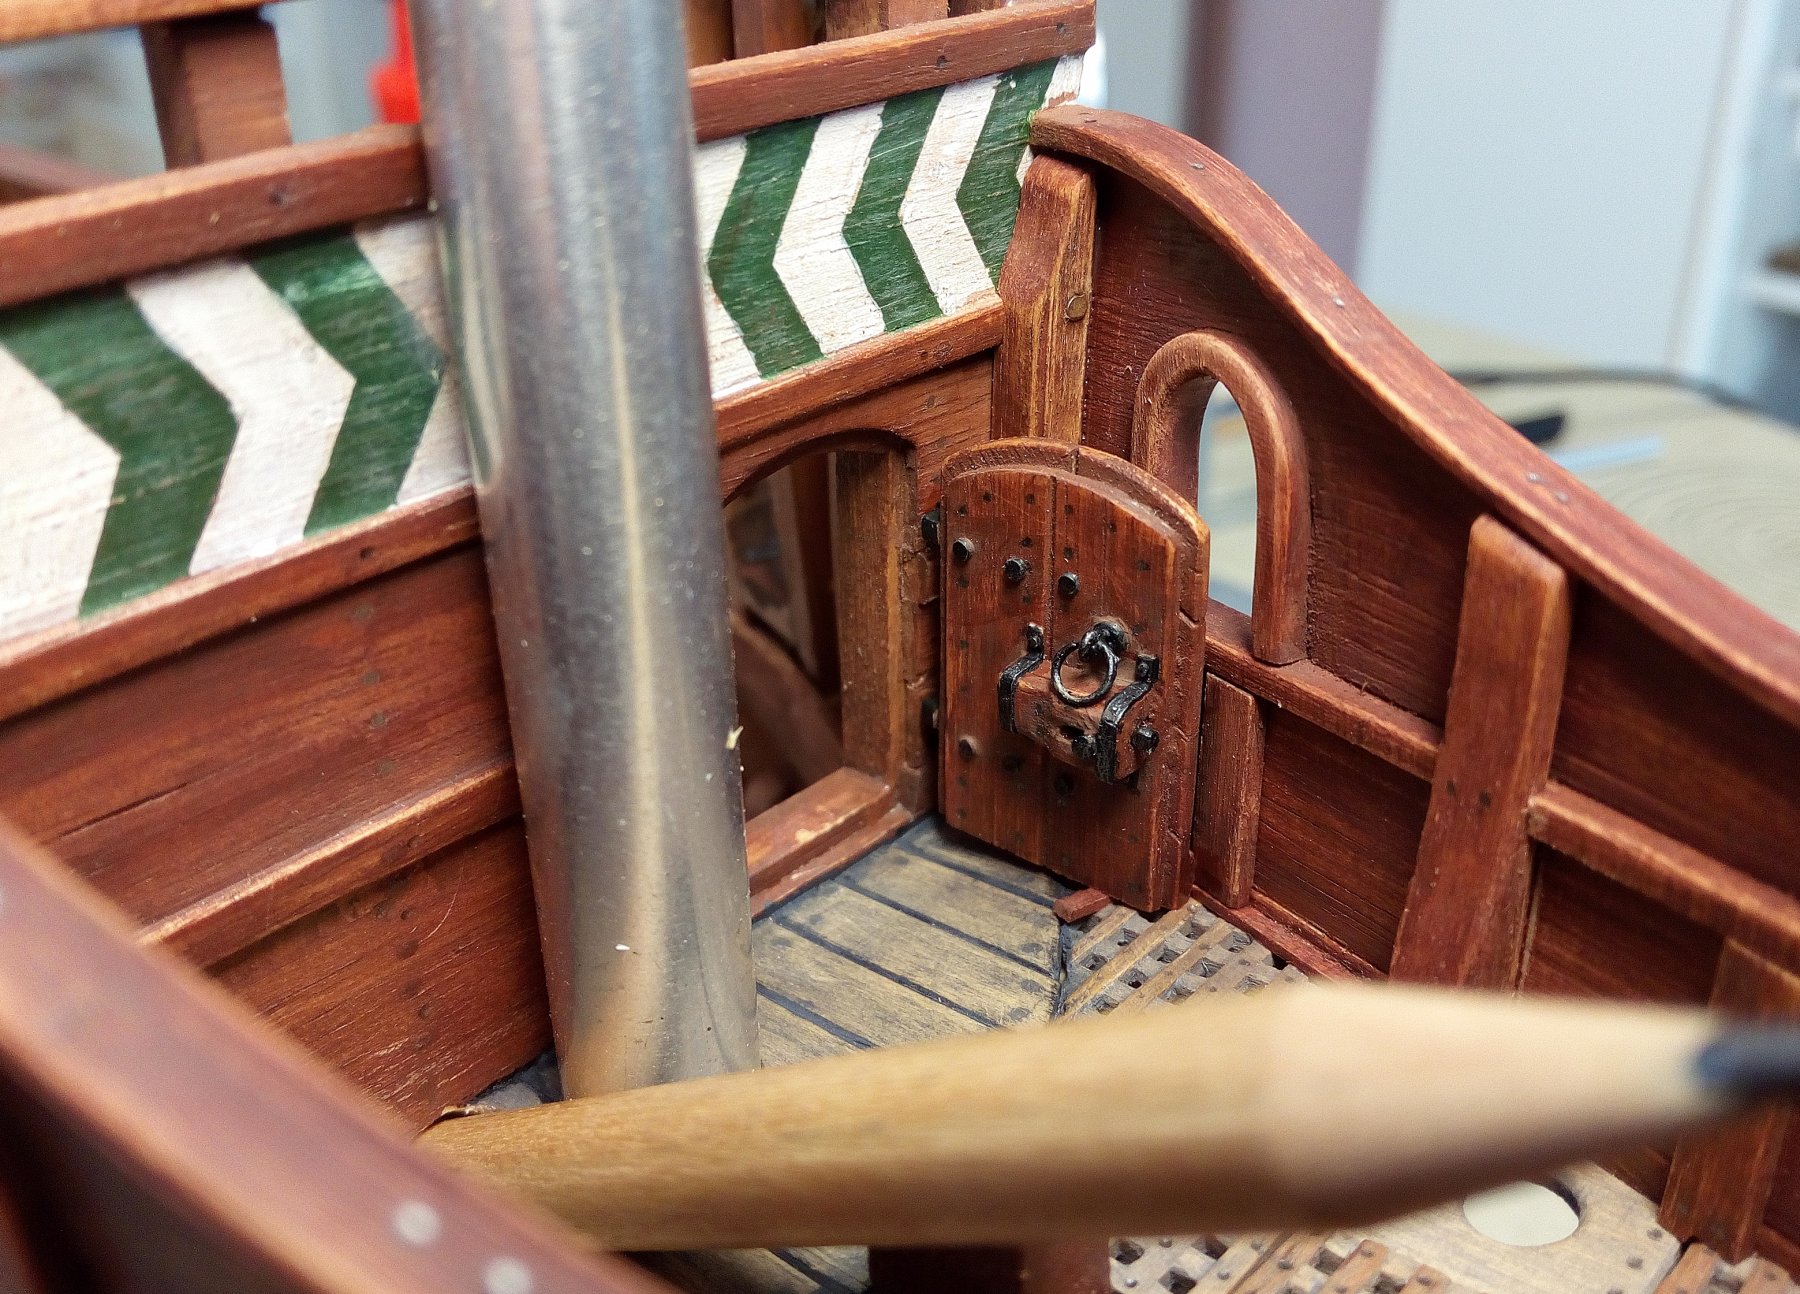
Thanks, The idea is actually Finnish. Last year seen on holiday in Northern Finland at a very old wooden church. A church, Built in the middle of nowhere. Only to be reached after a walk of 3 hours along a lake and then a walk back 3 hours (Swampy and a lot of mosquitoes...) I found this model of lock so robust and special that I wanted to use it on this model
- 756 replies
-
- 2
-
-
- galleon
- golden hind
- (and 2 more)
-
Greetings
-
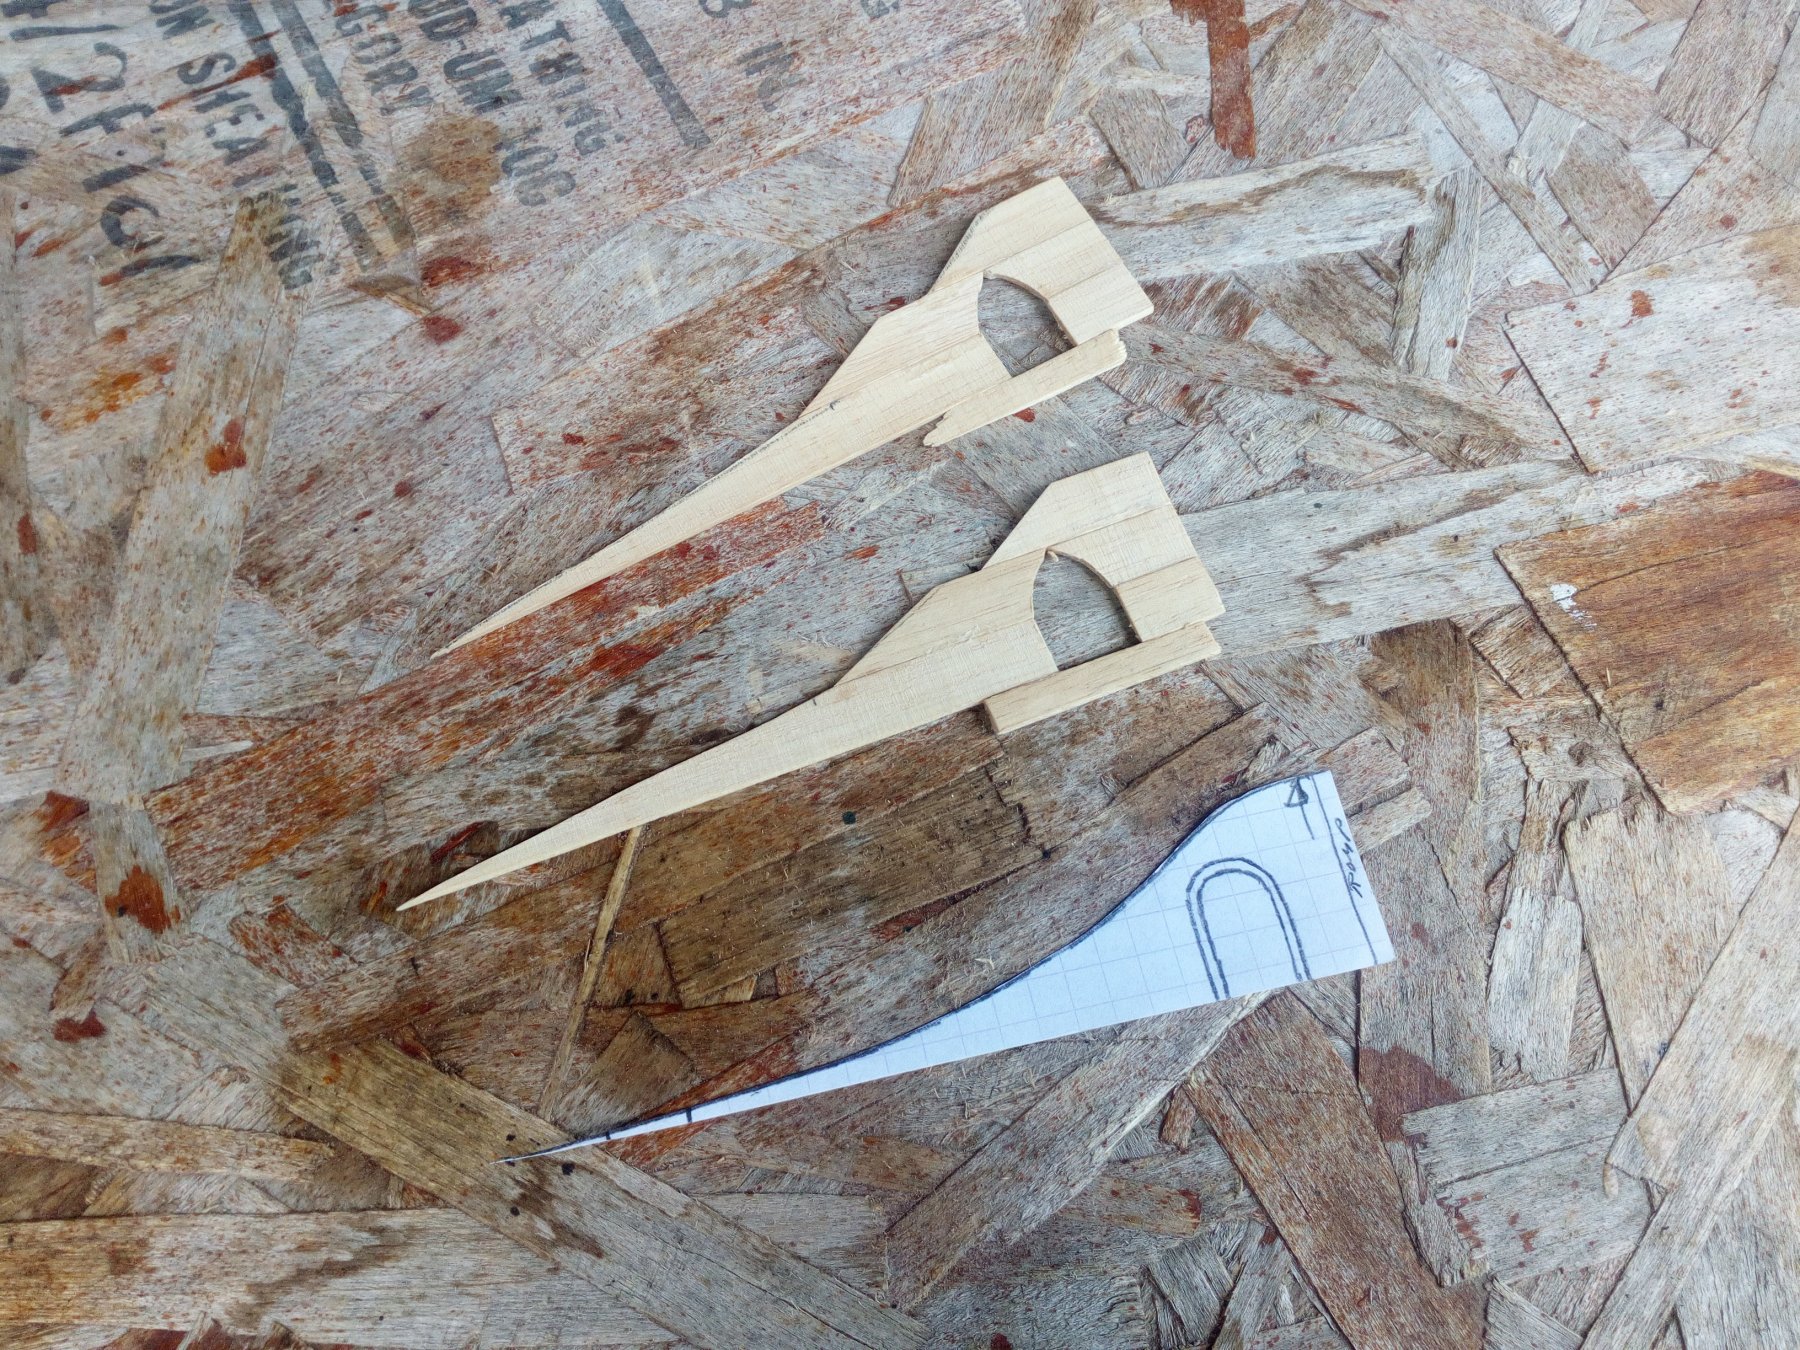
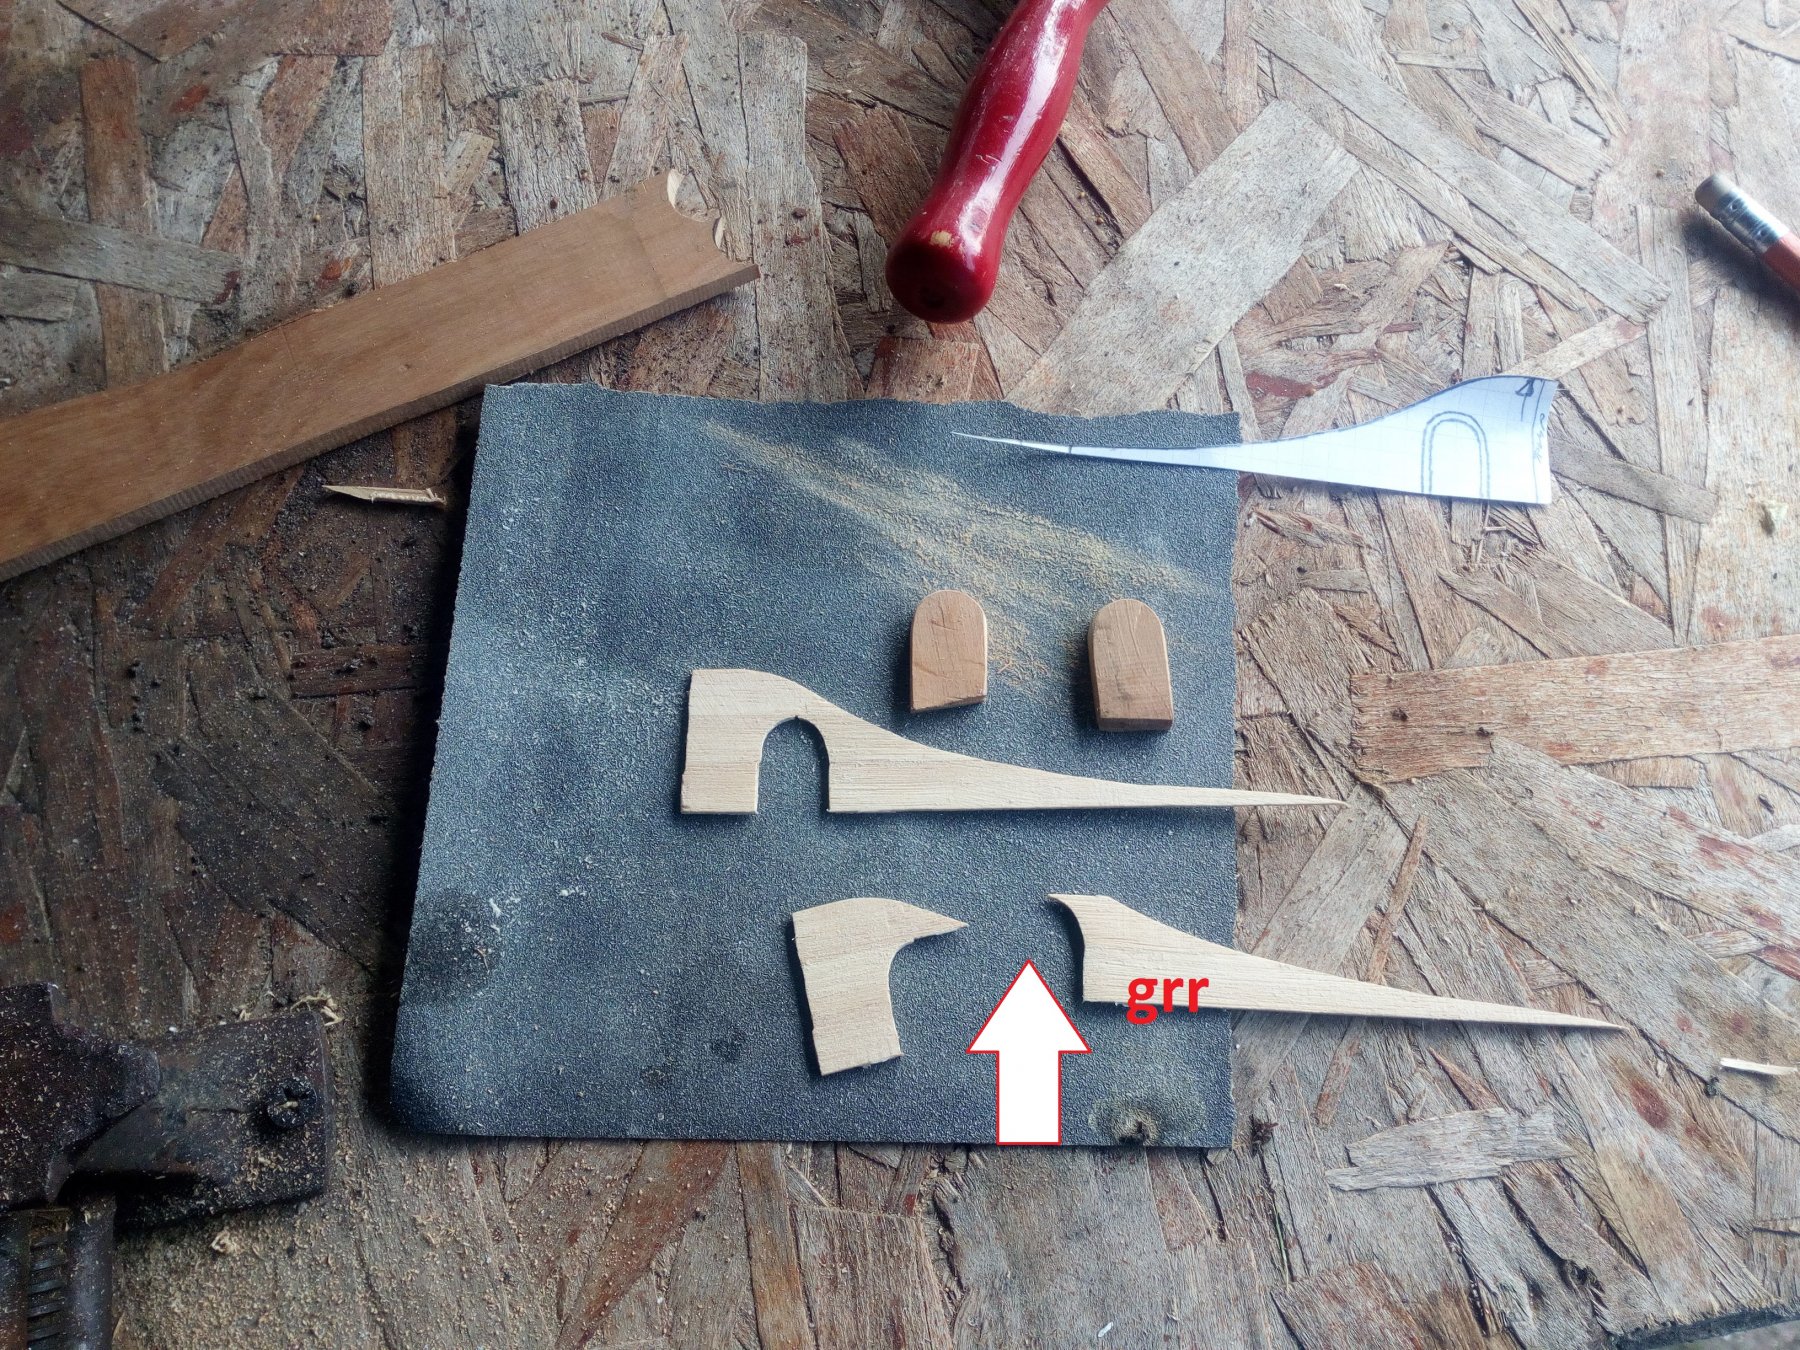
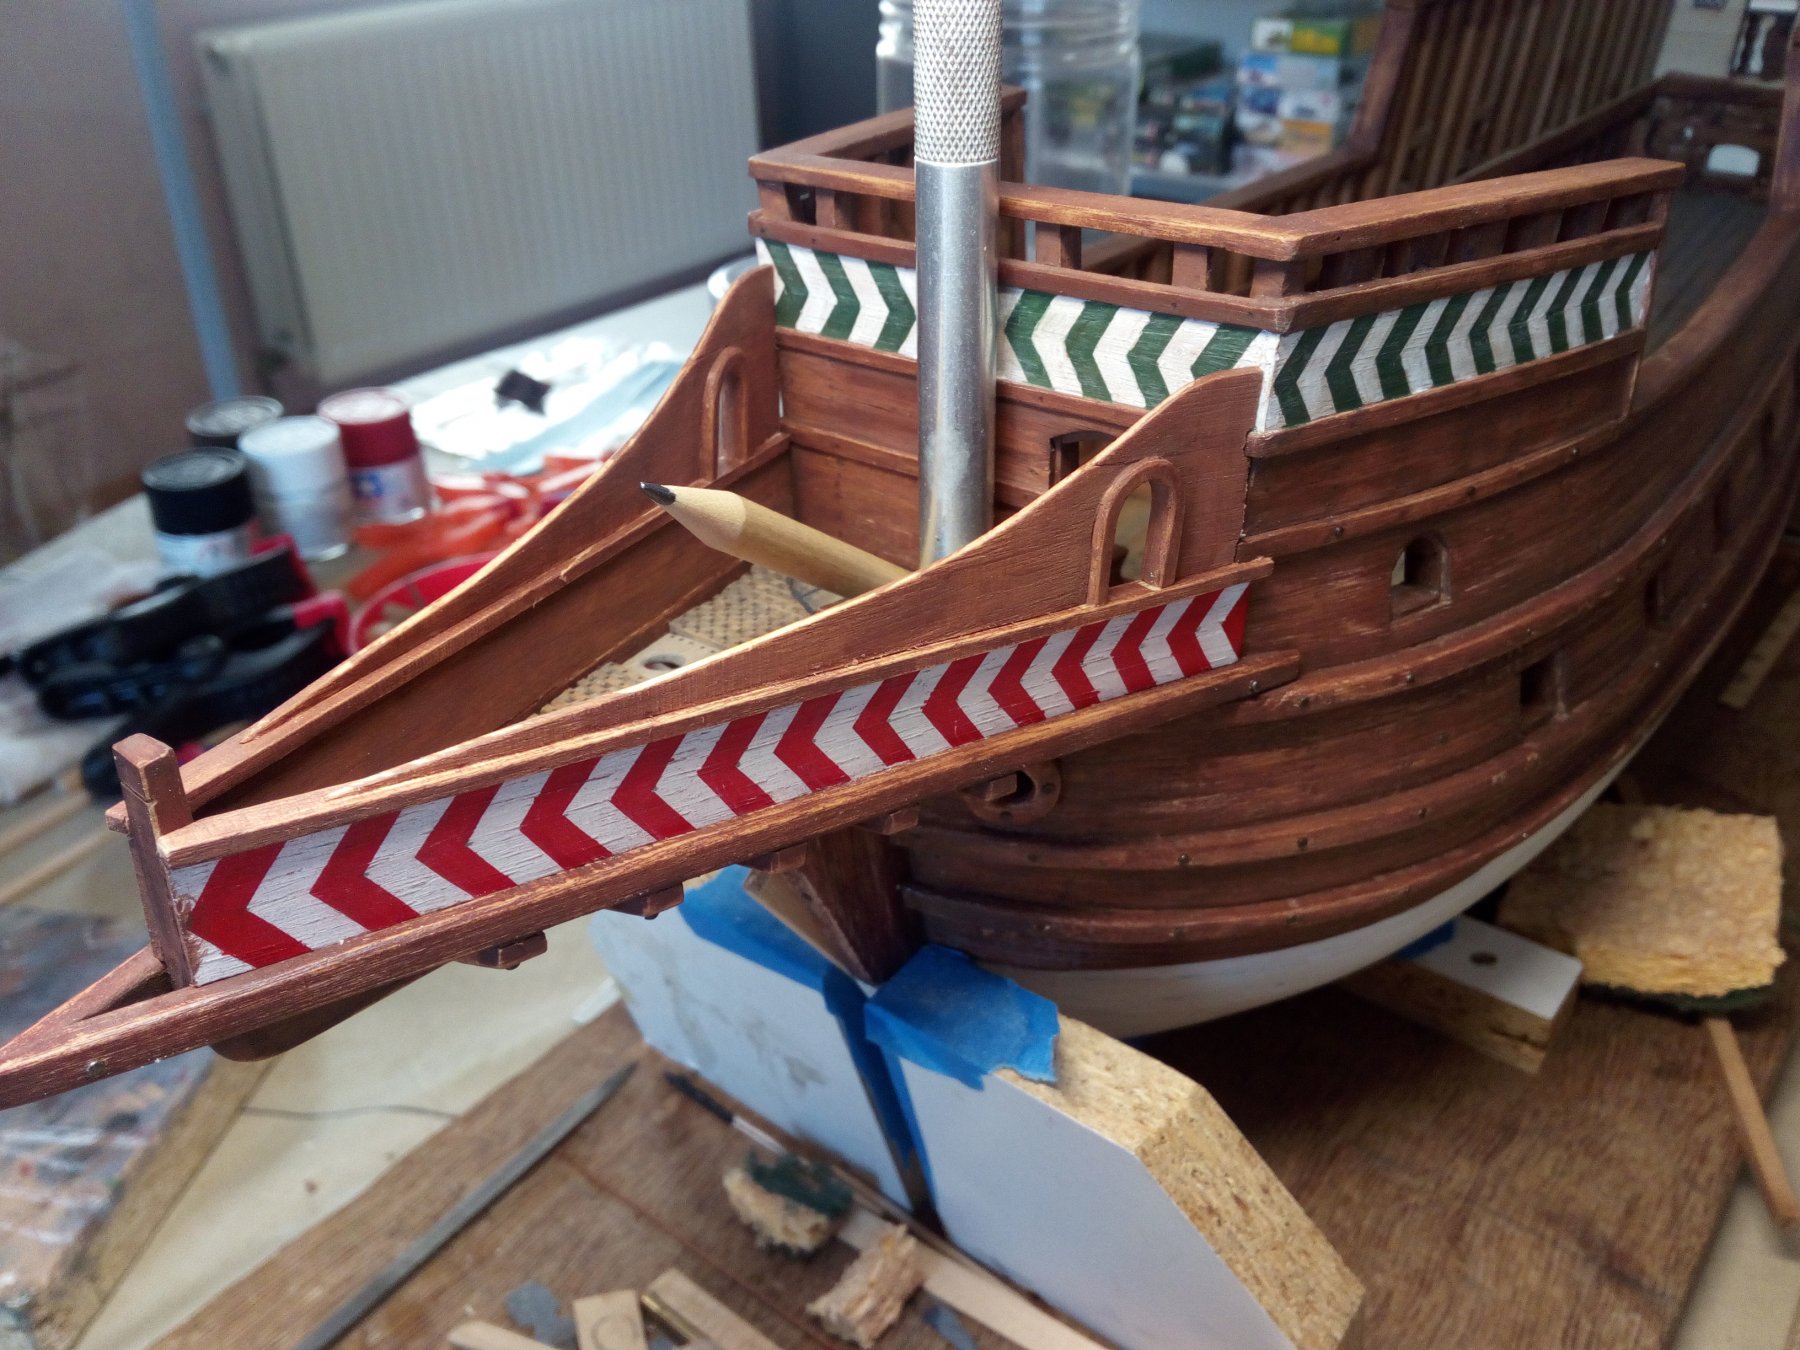
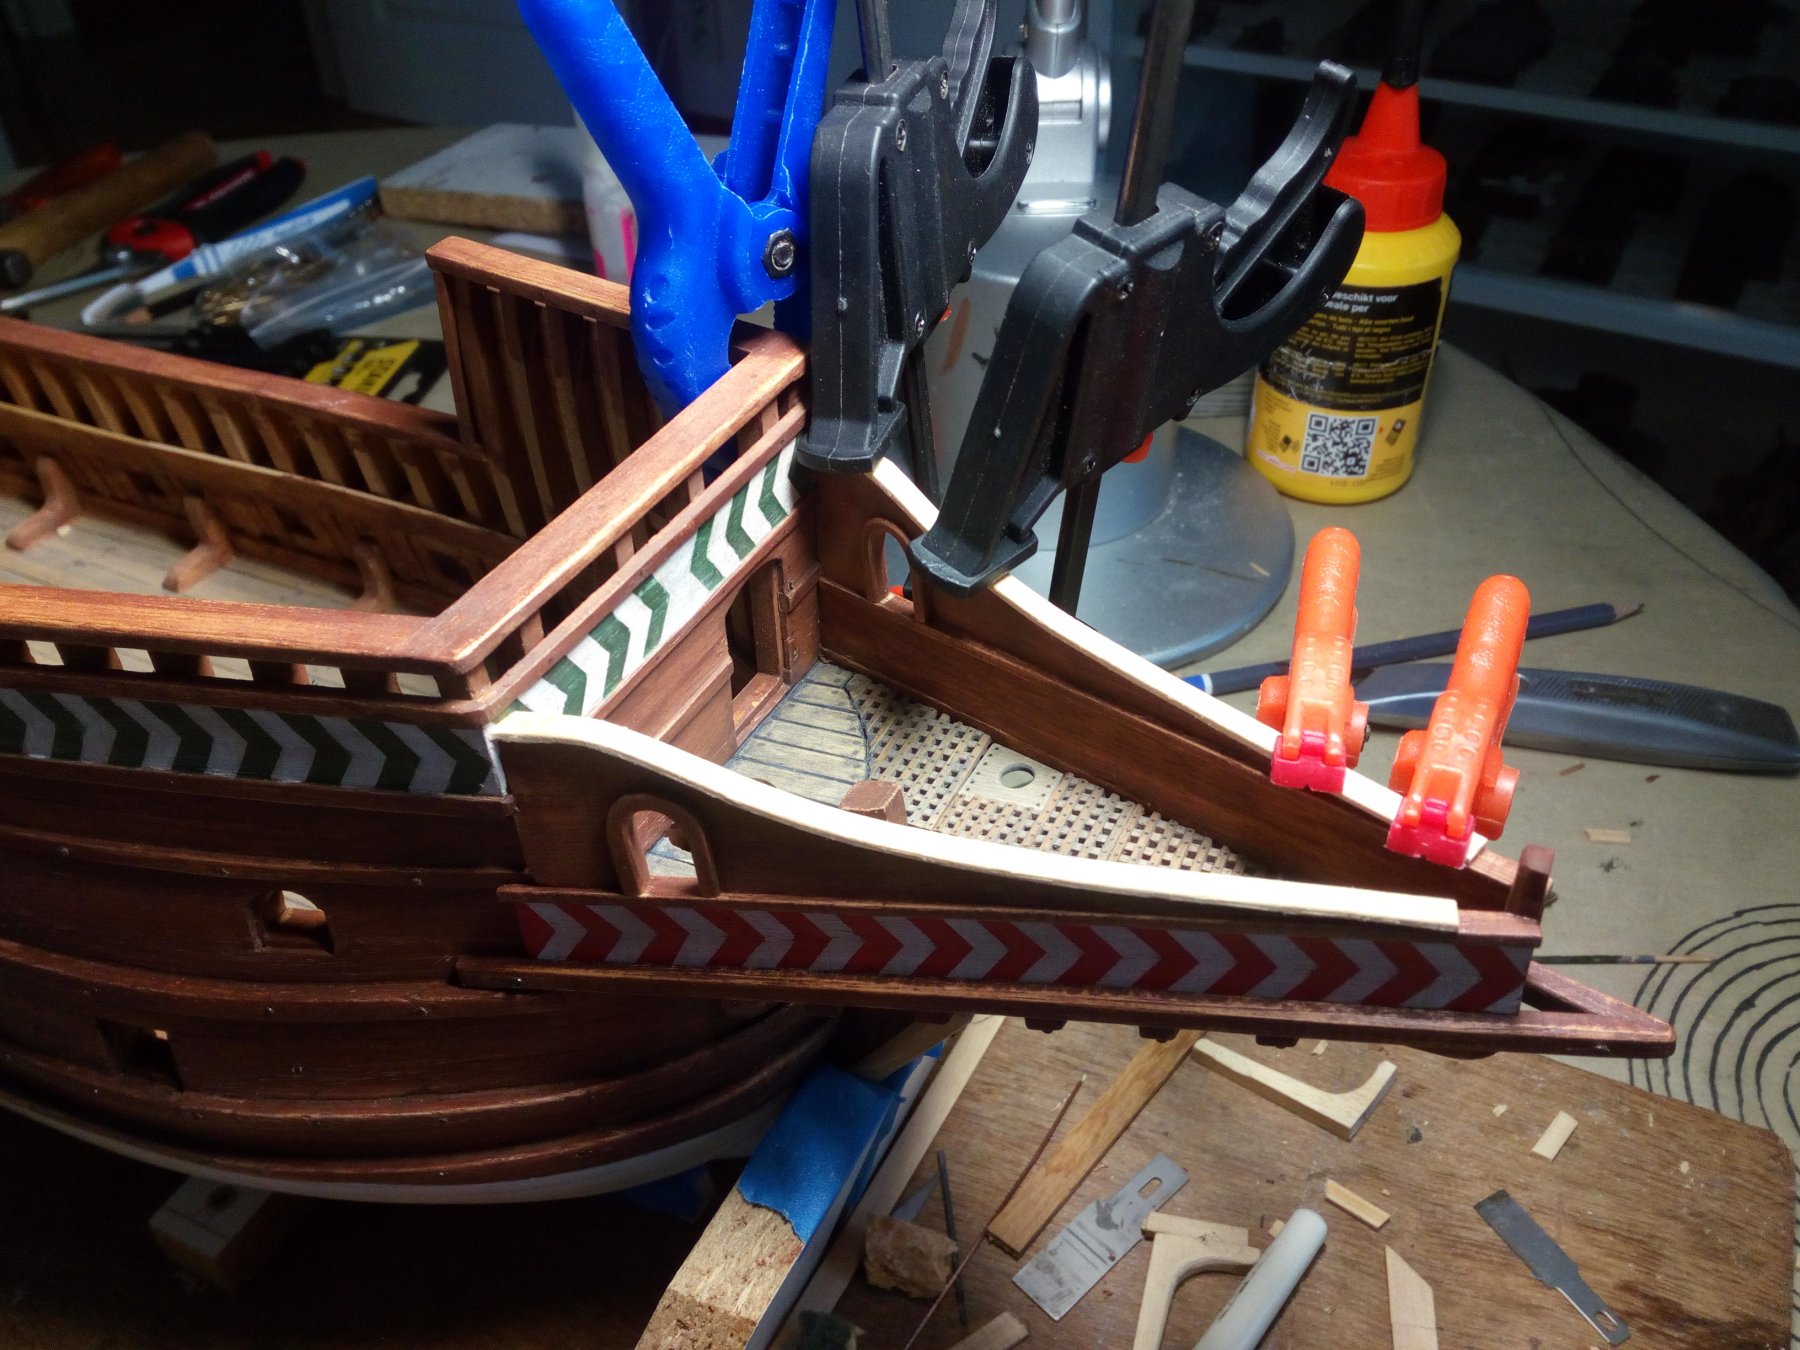
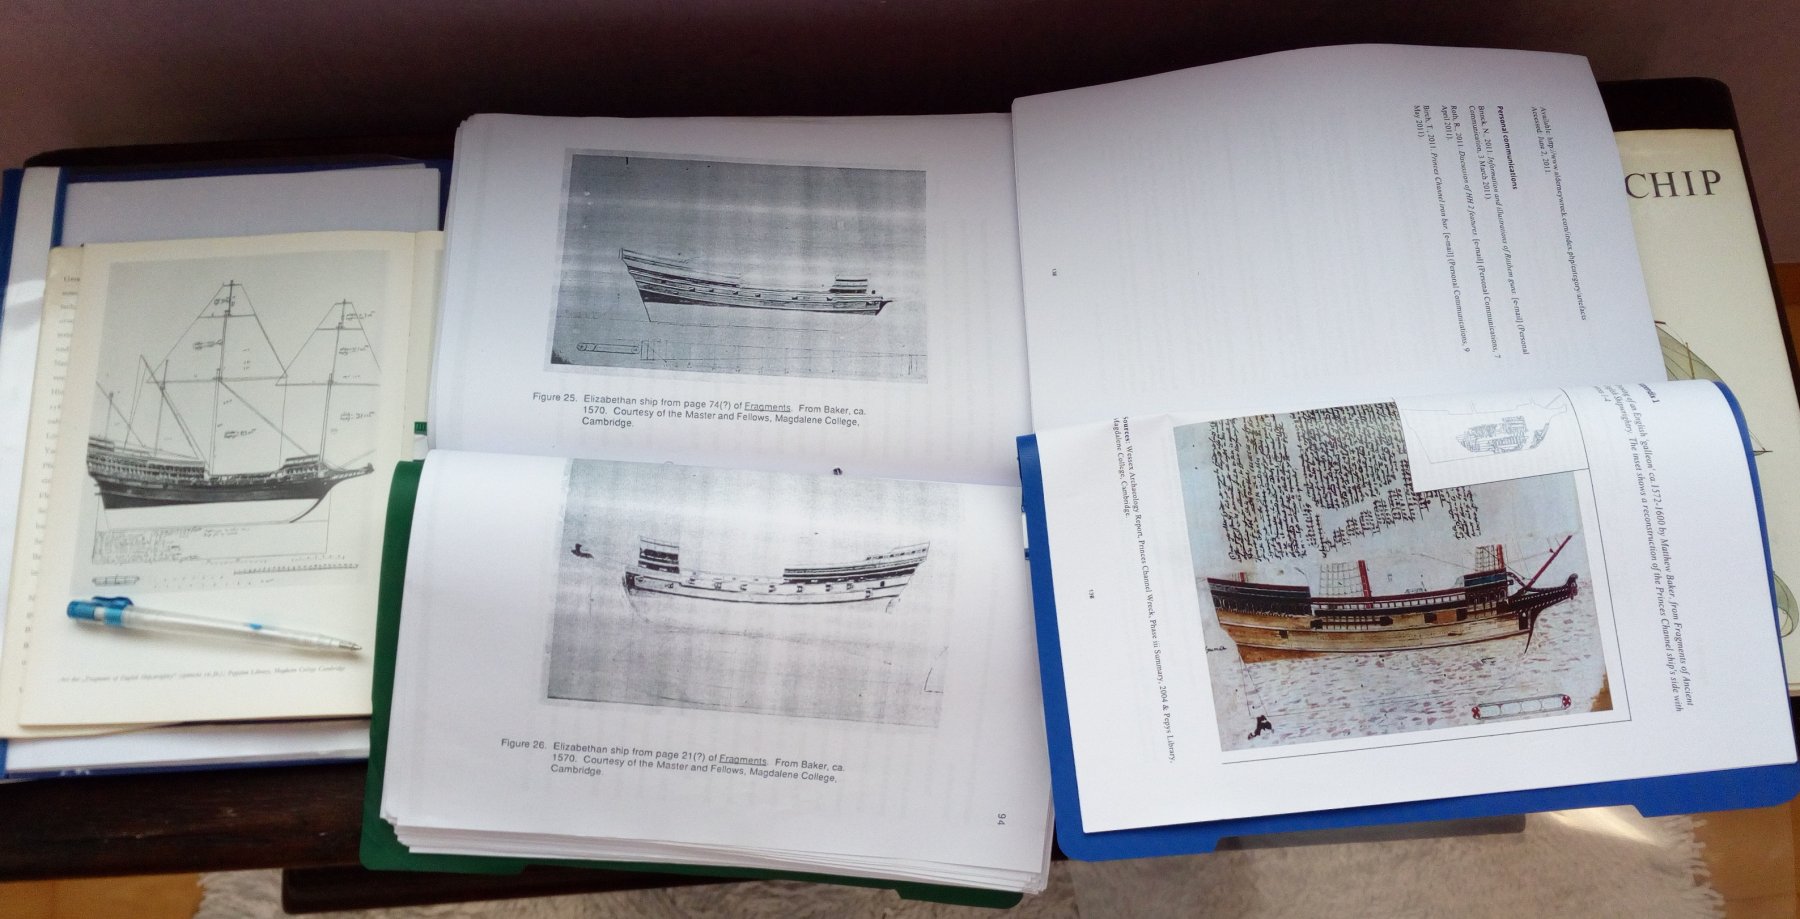
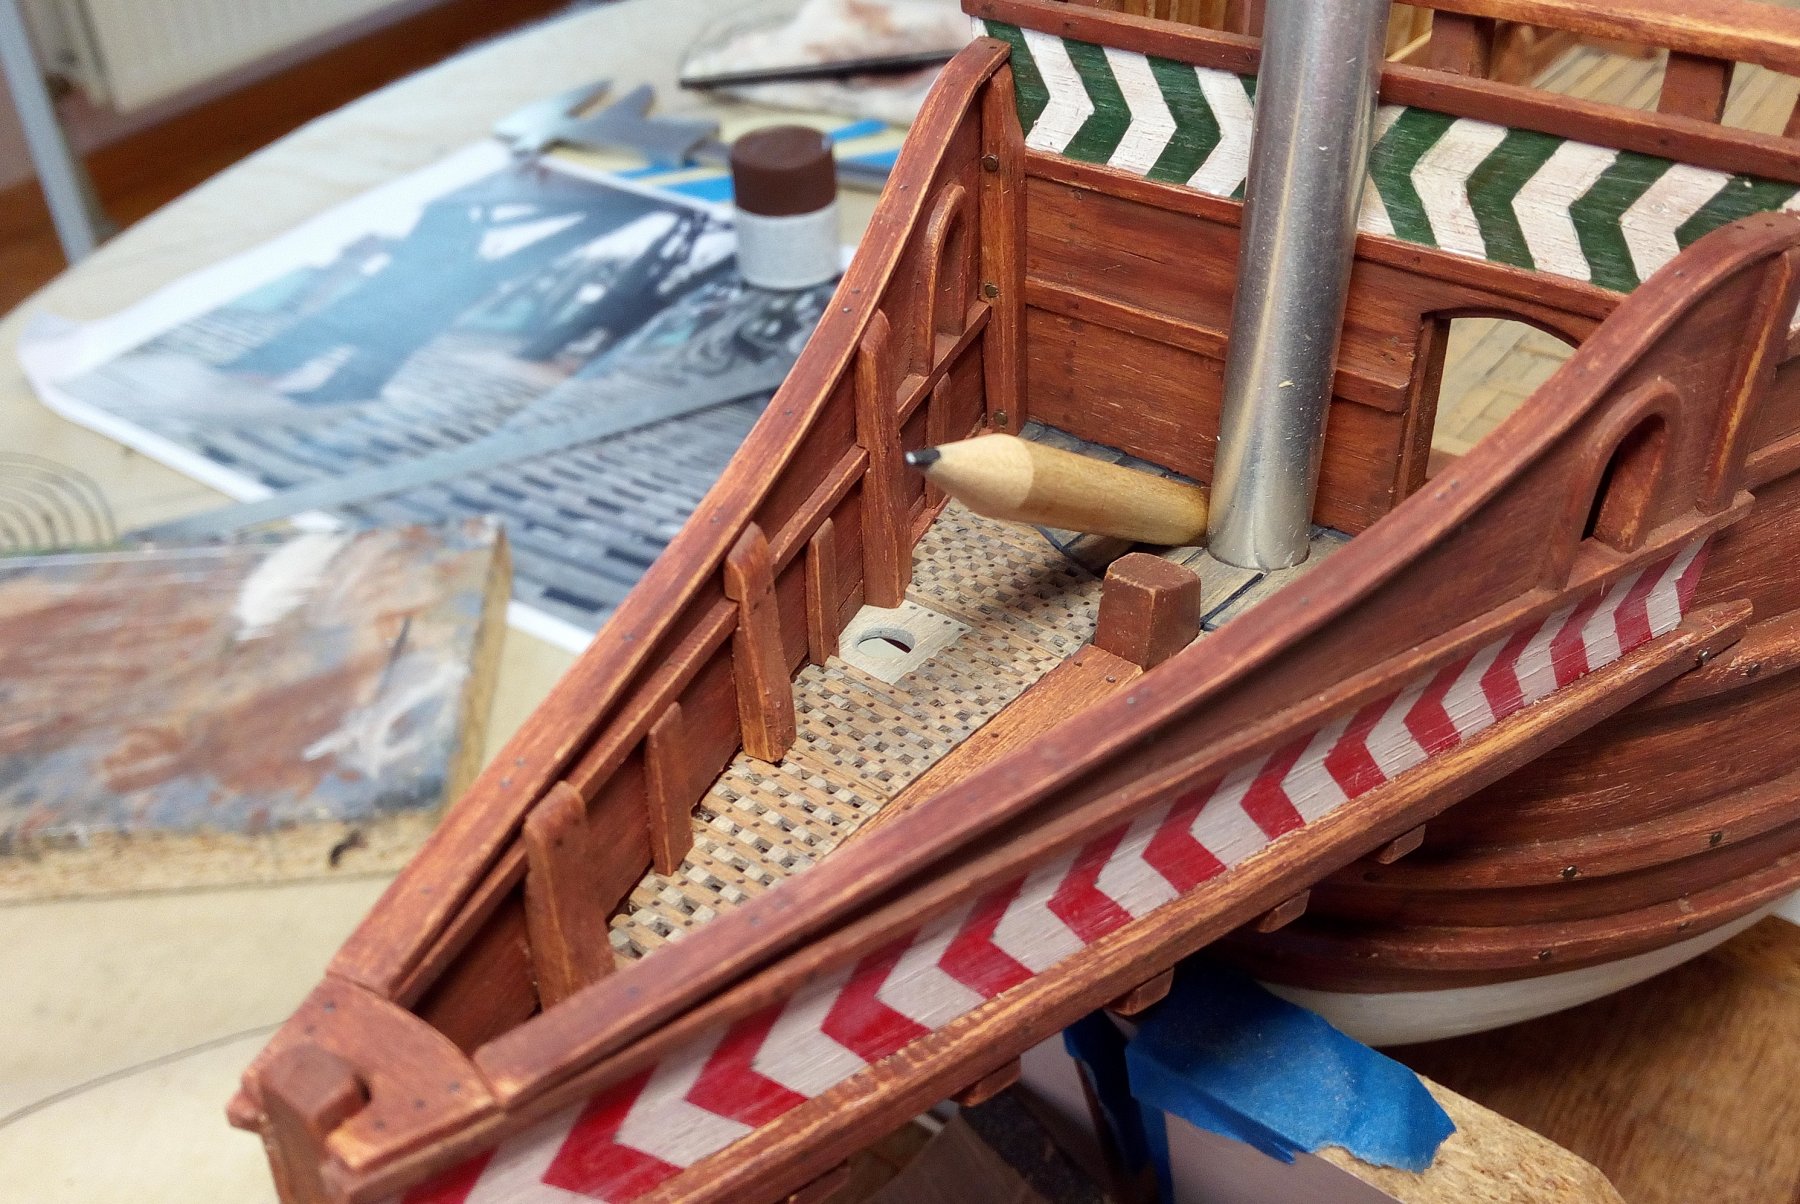
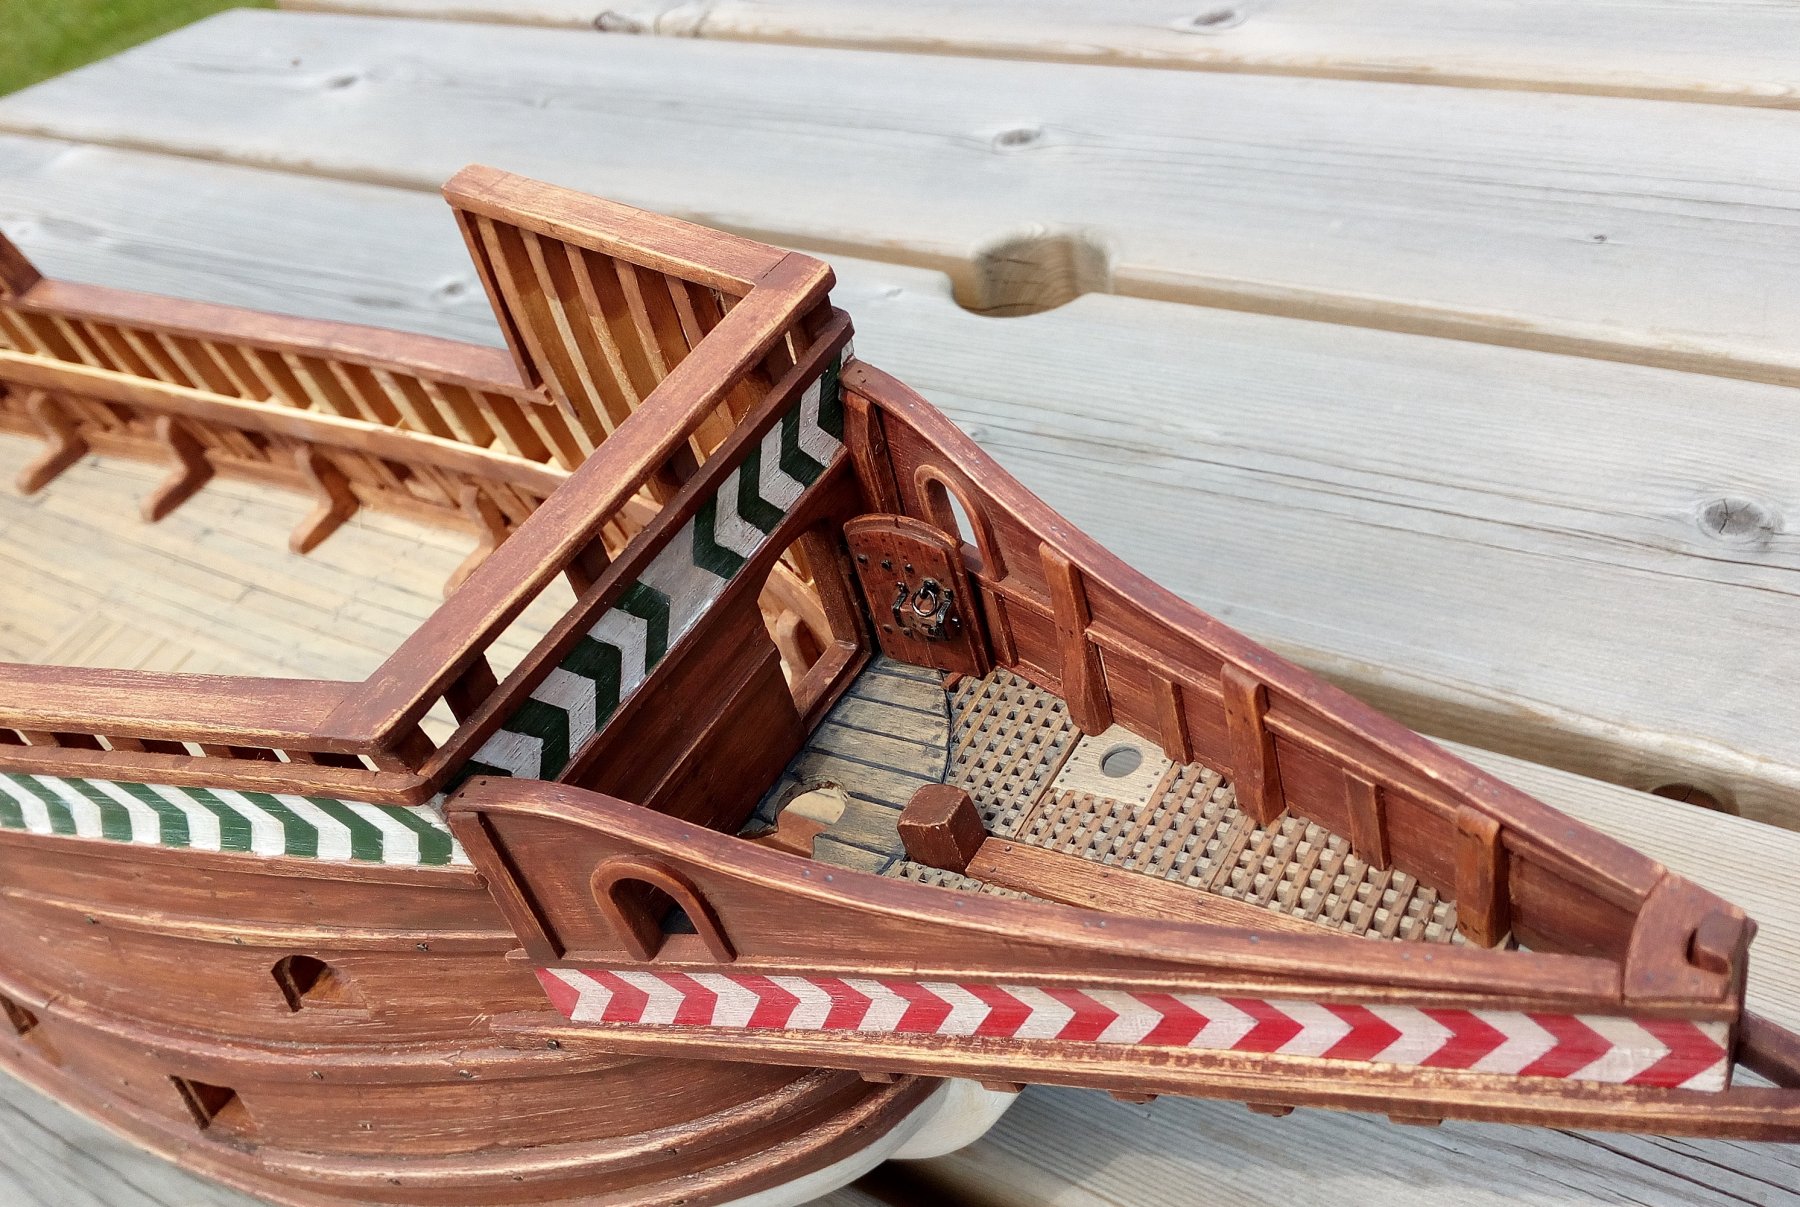
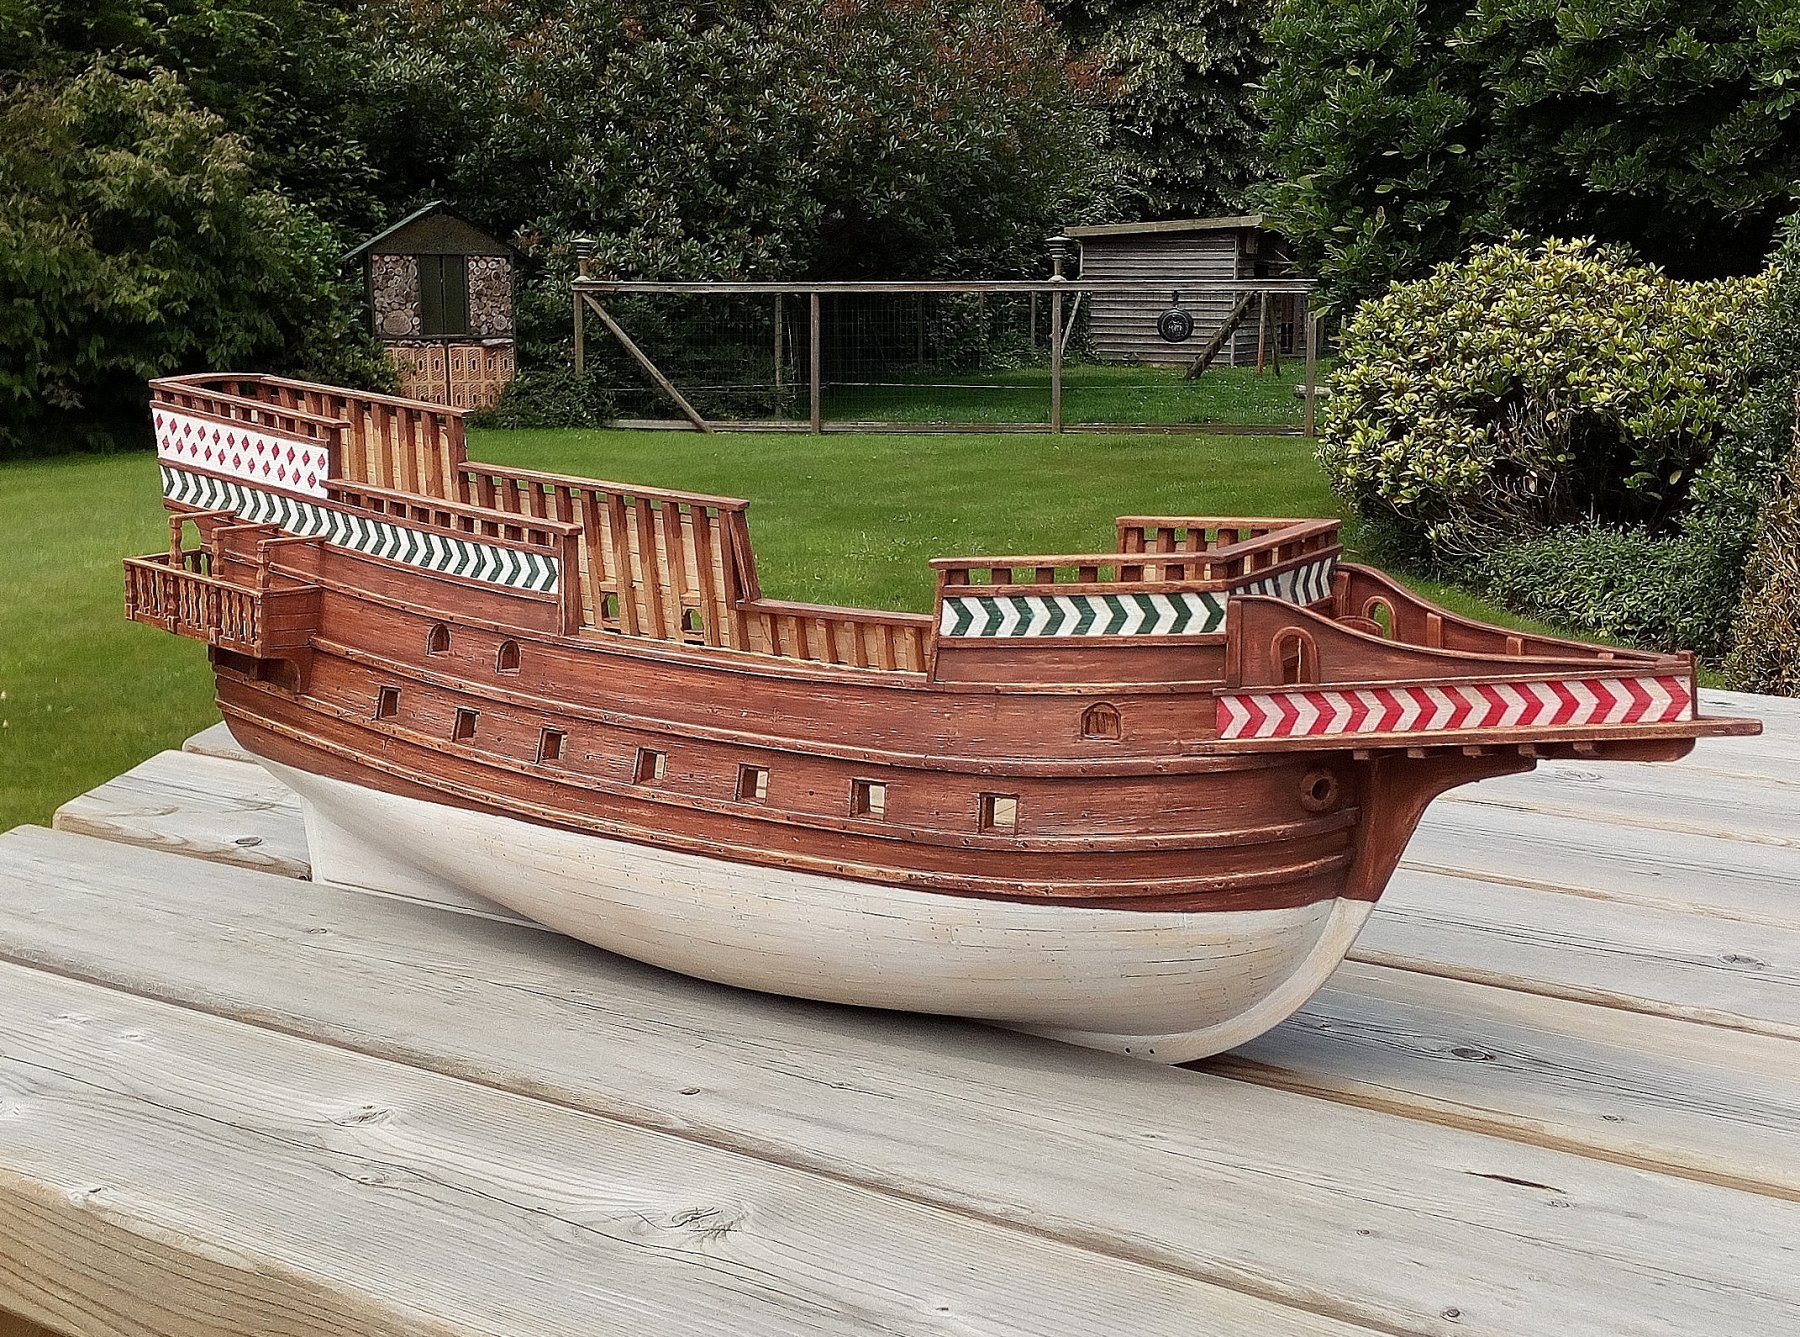
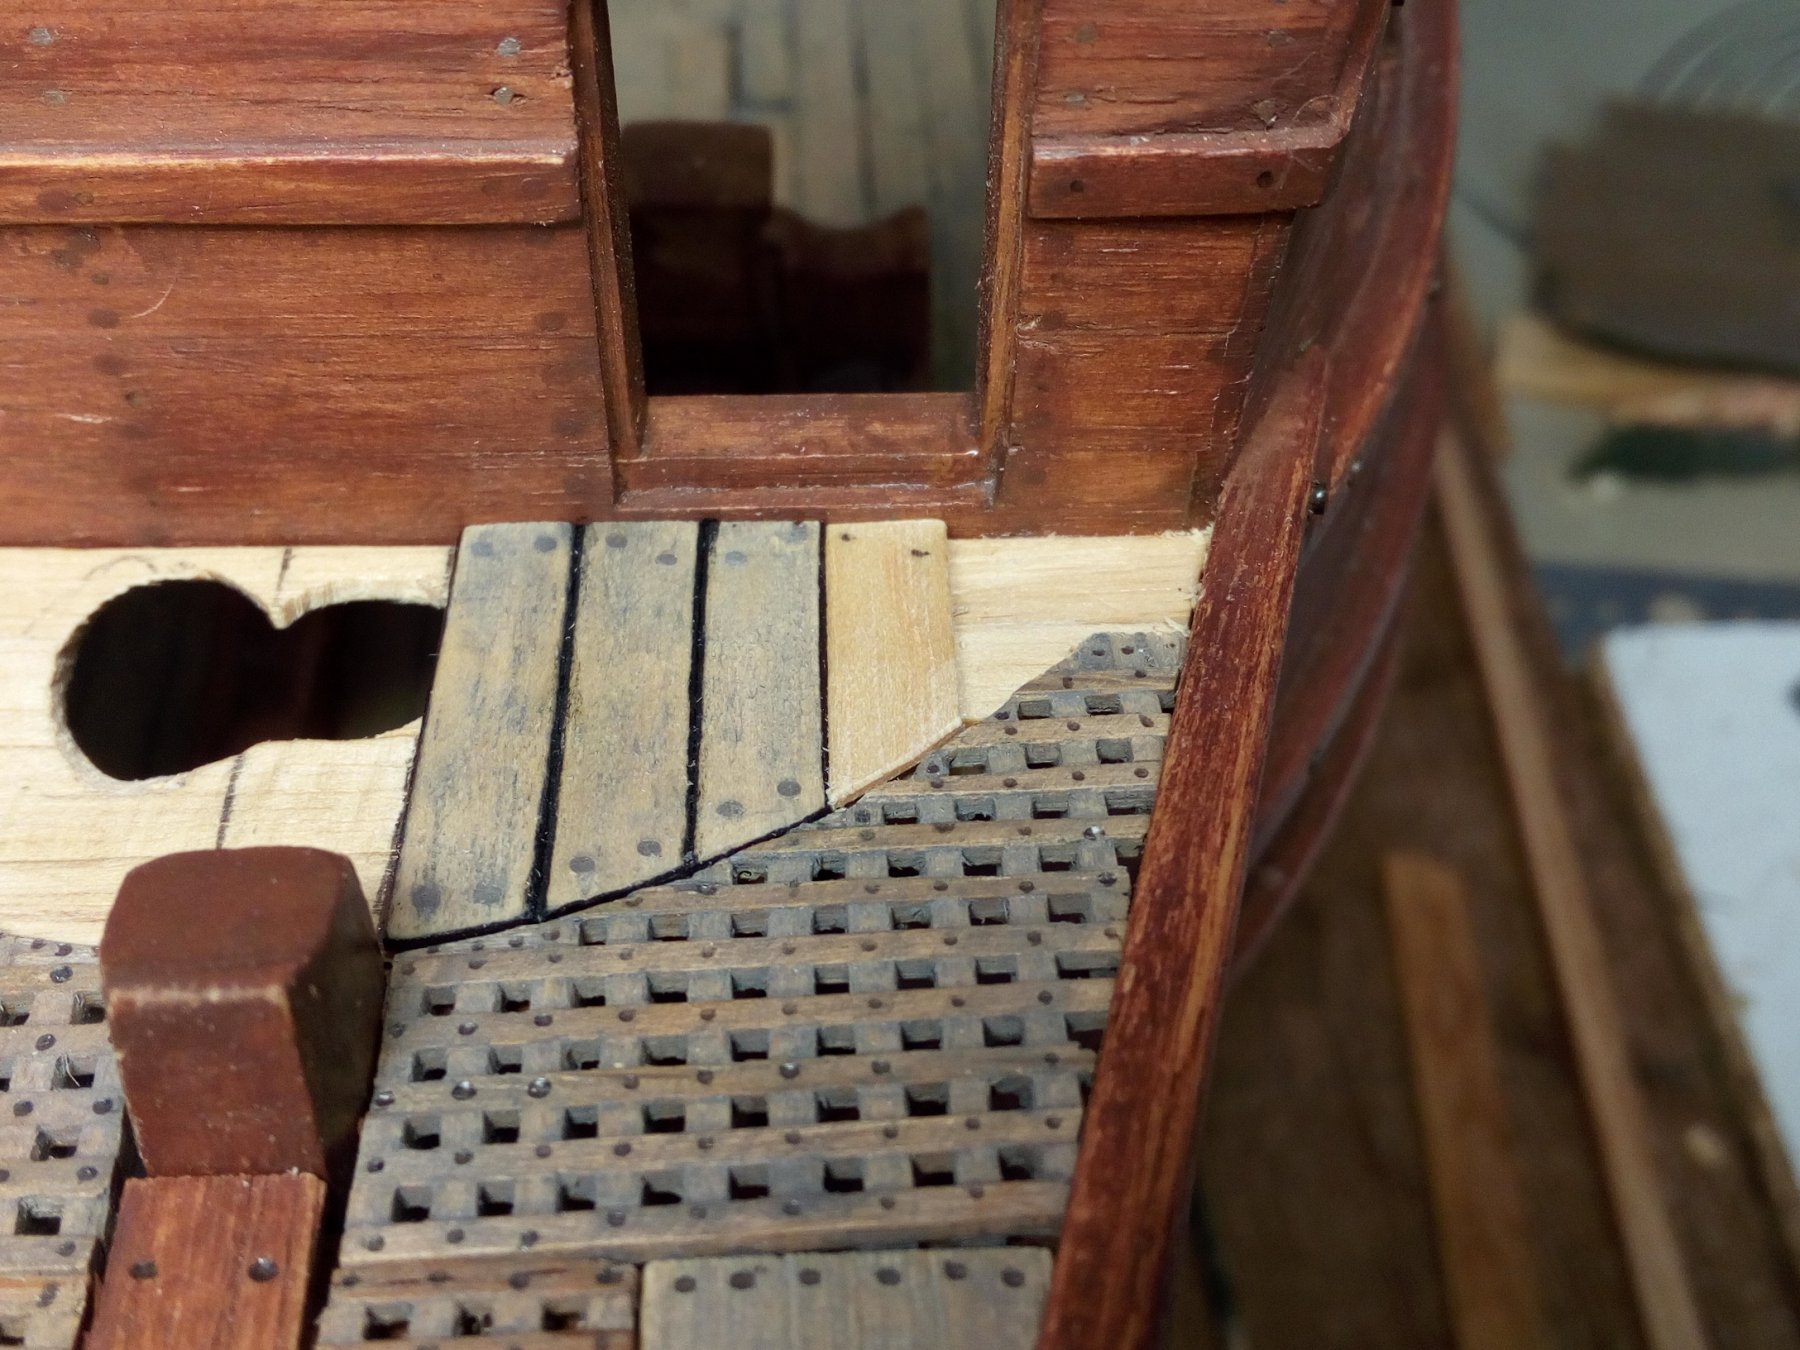
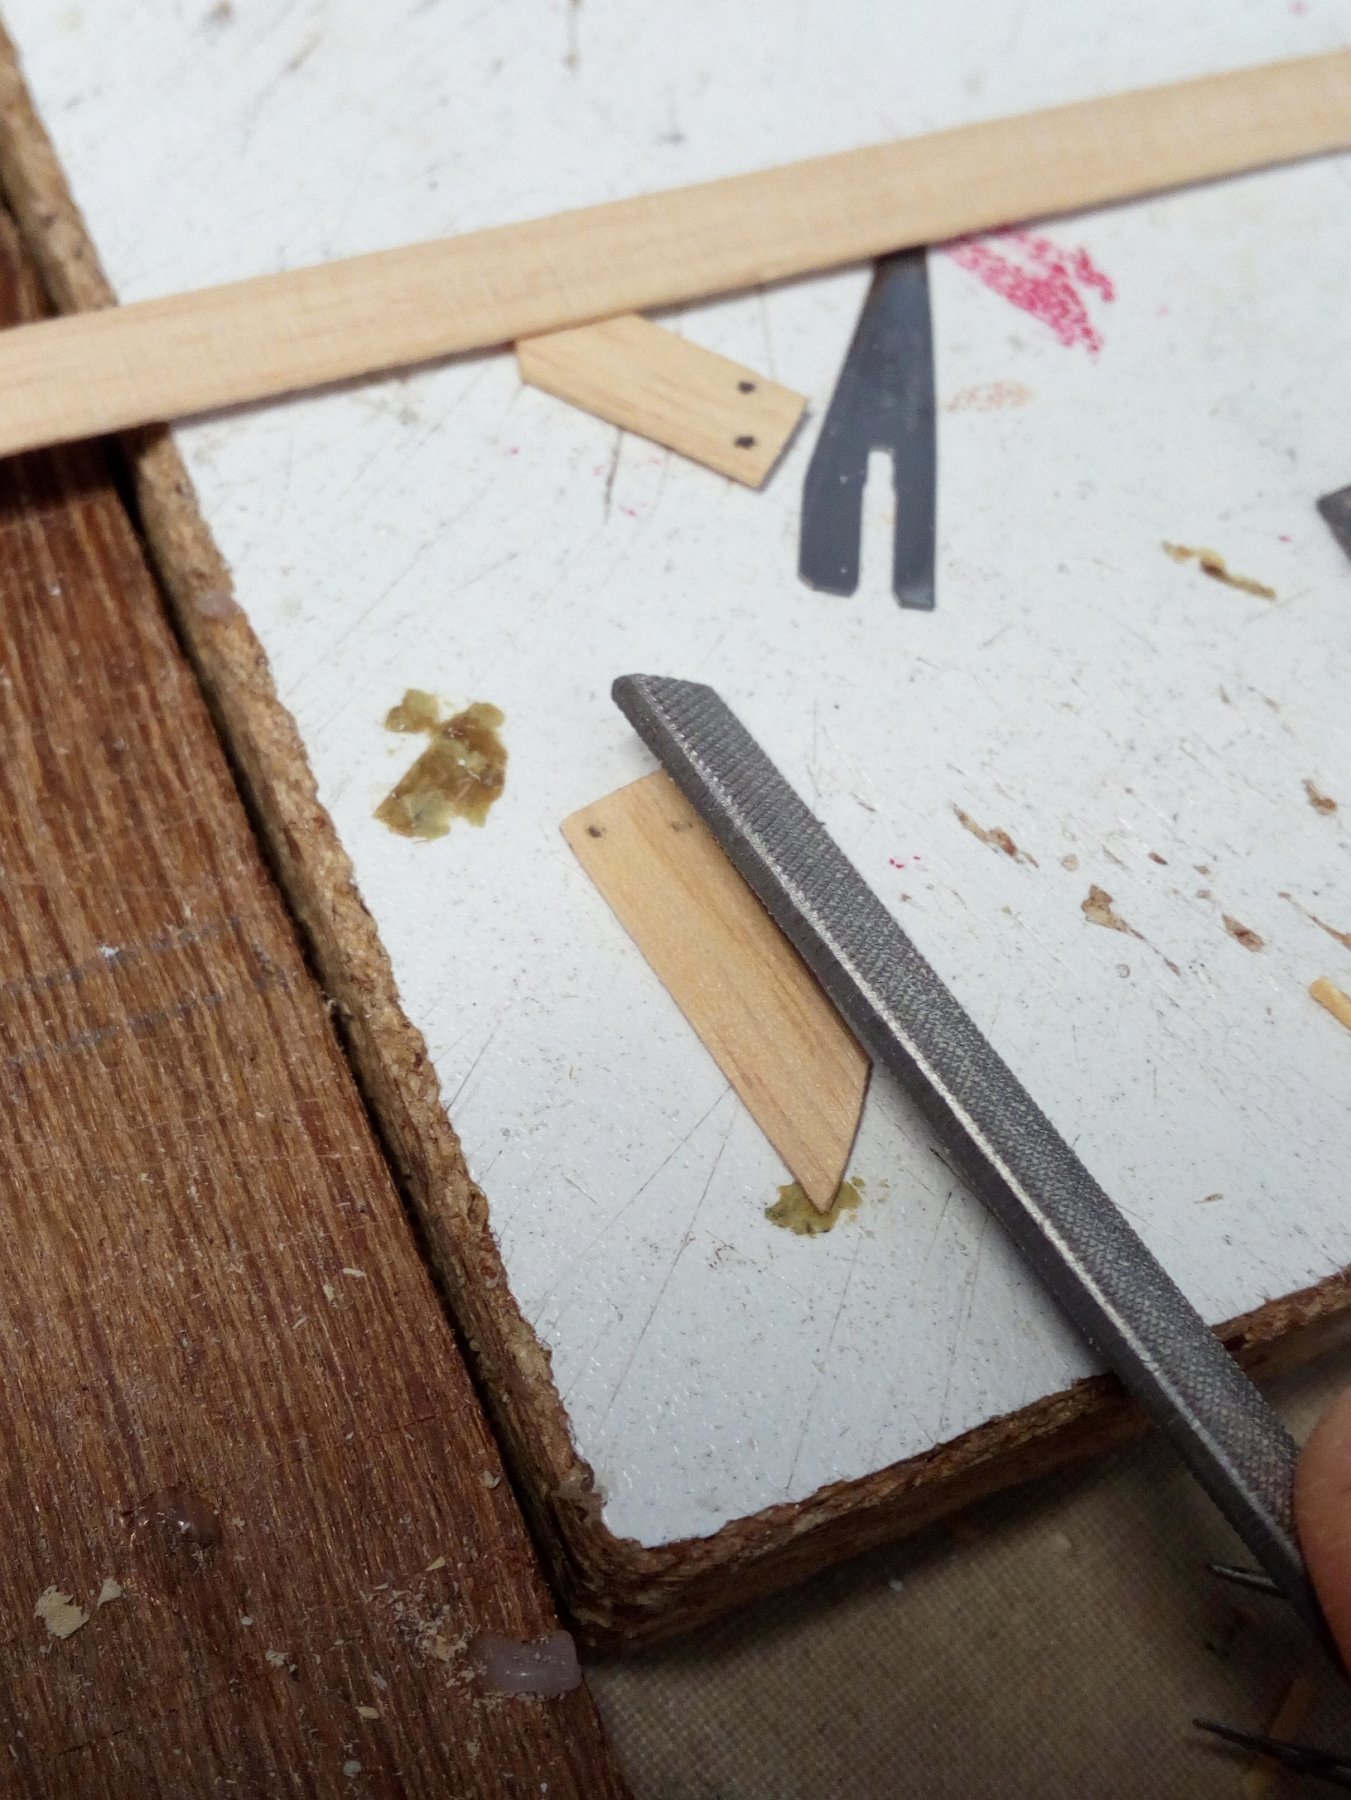
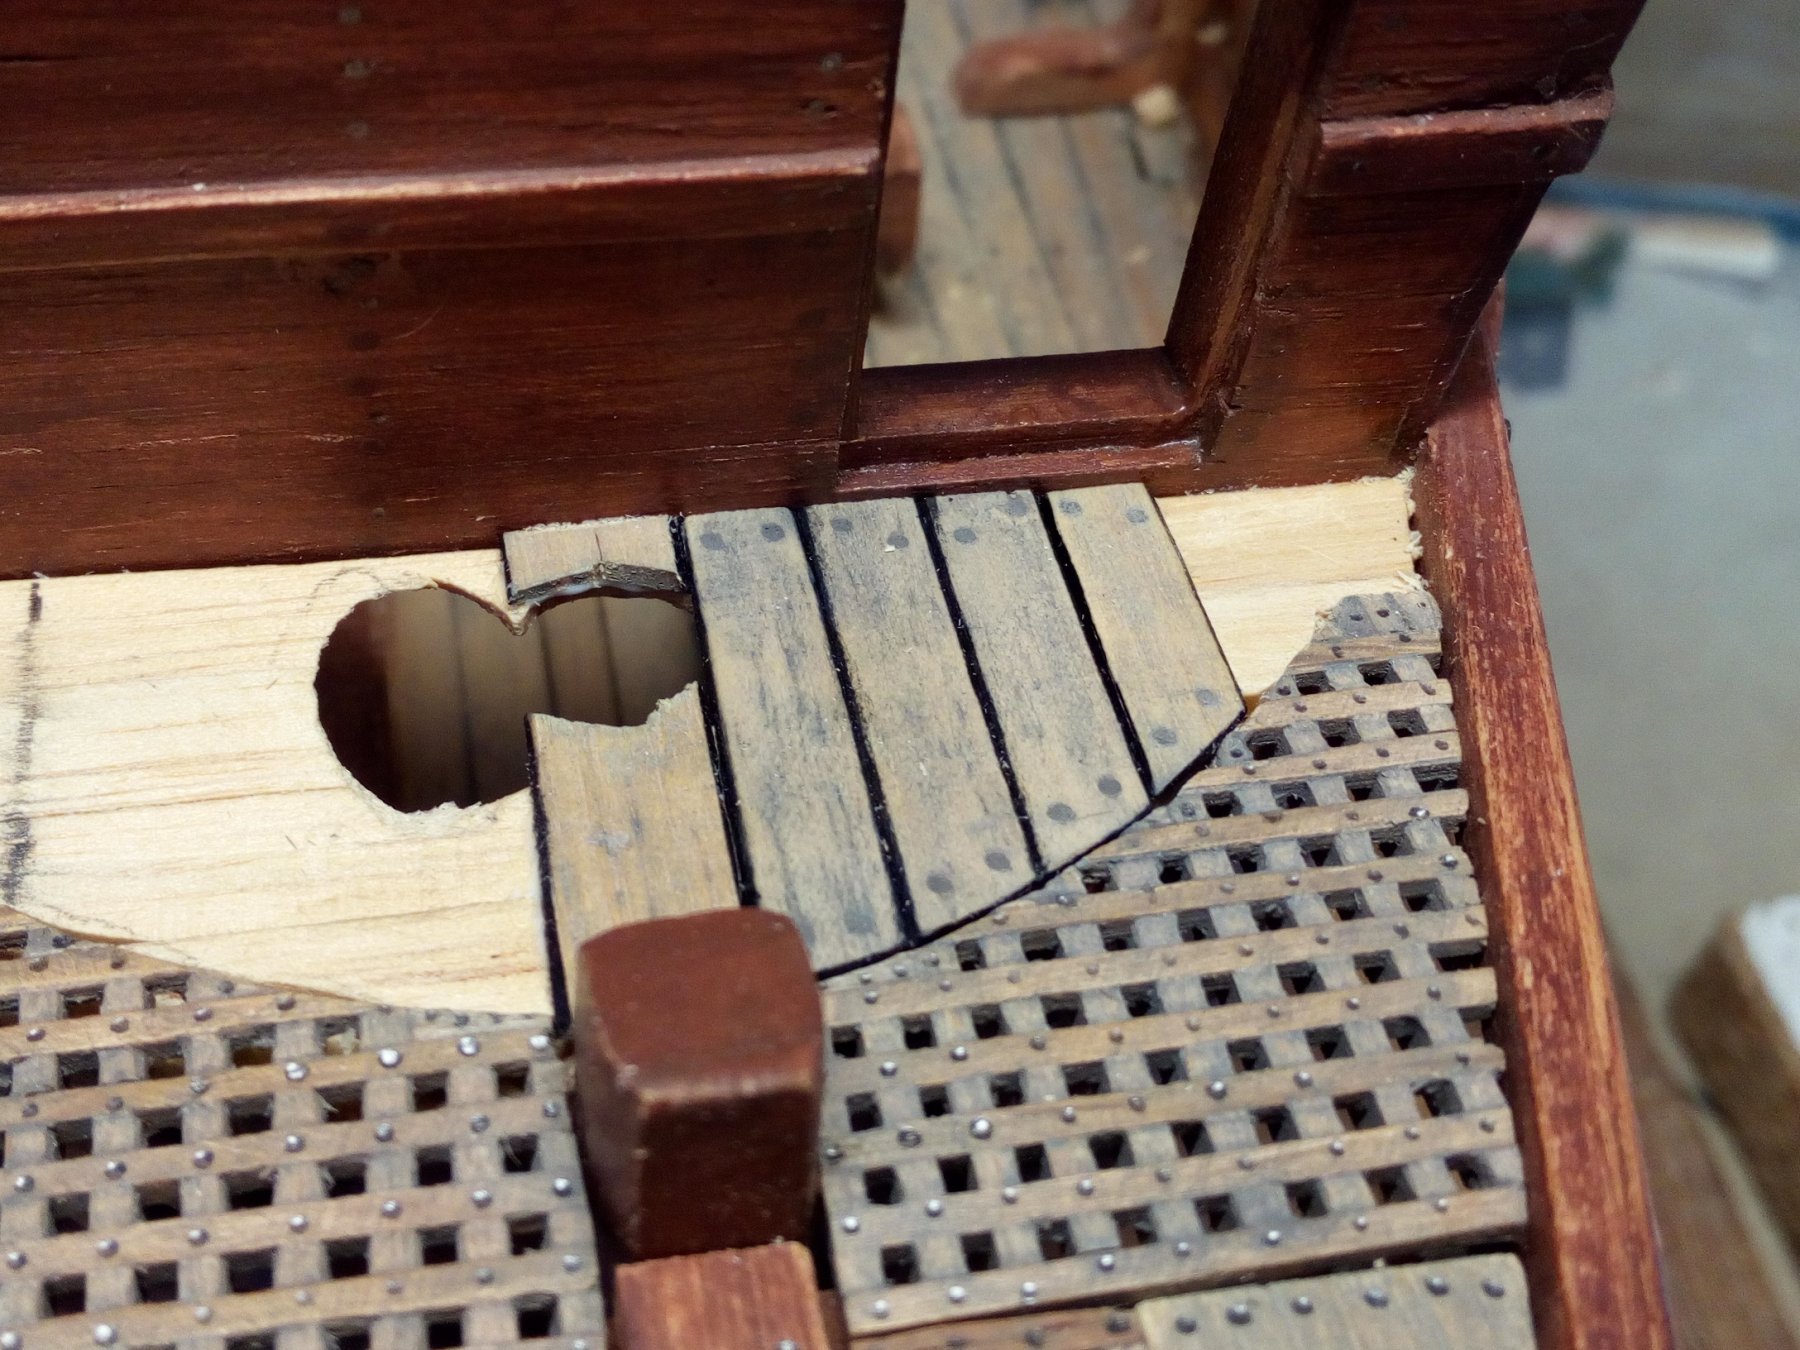
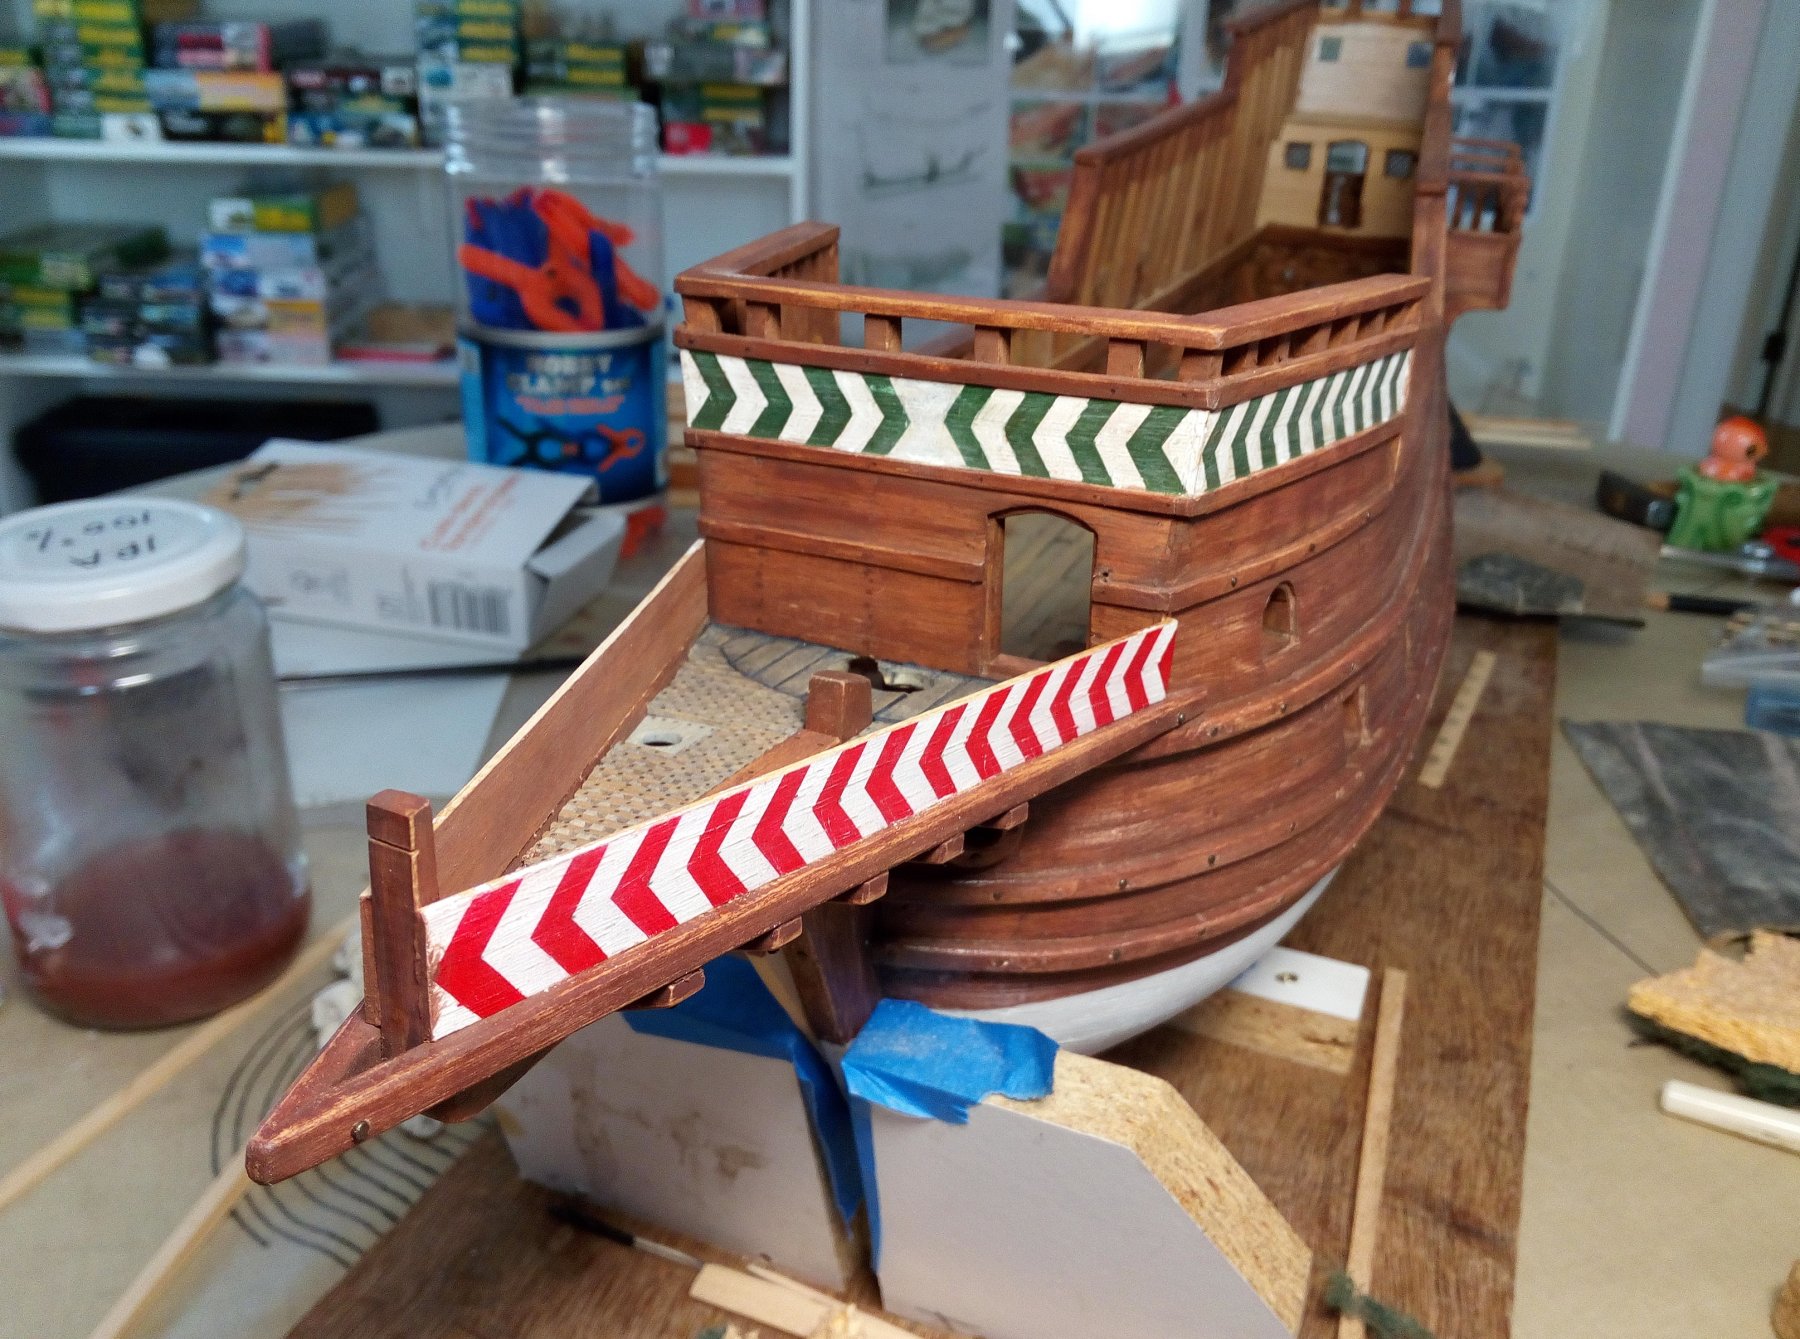
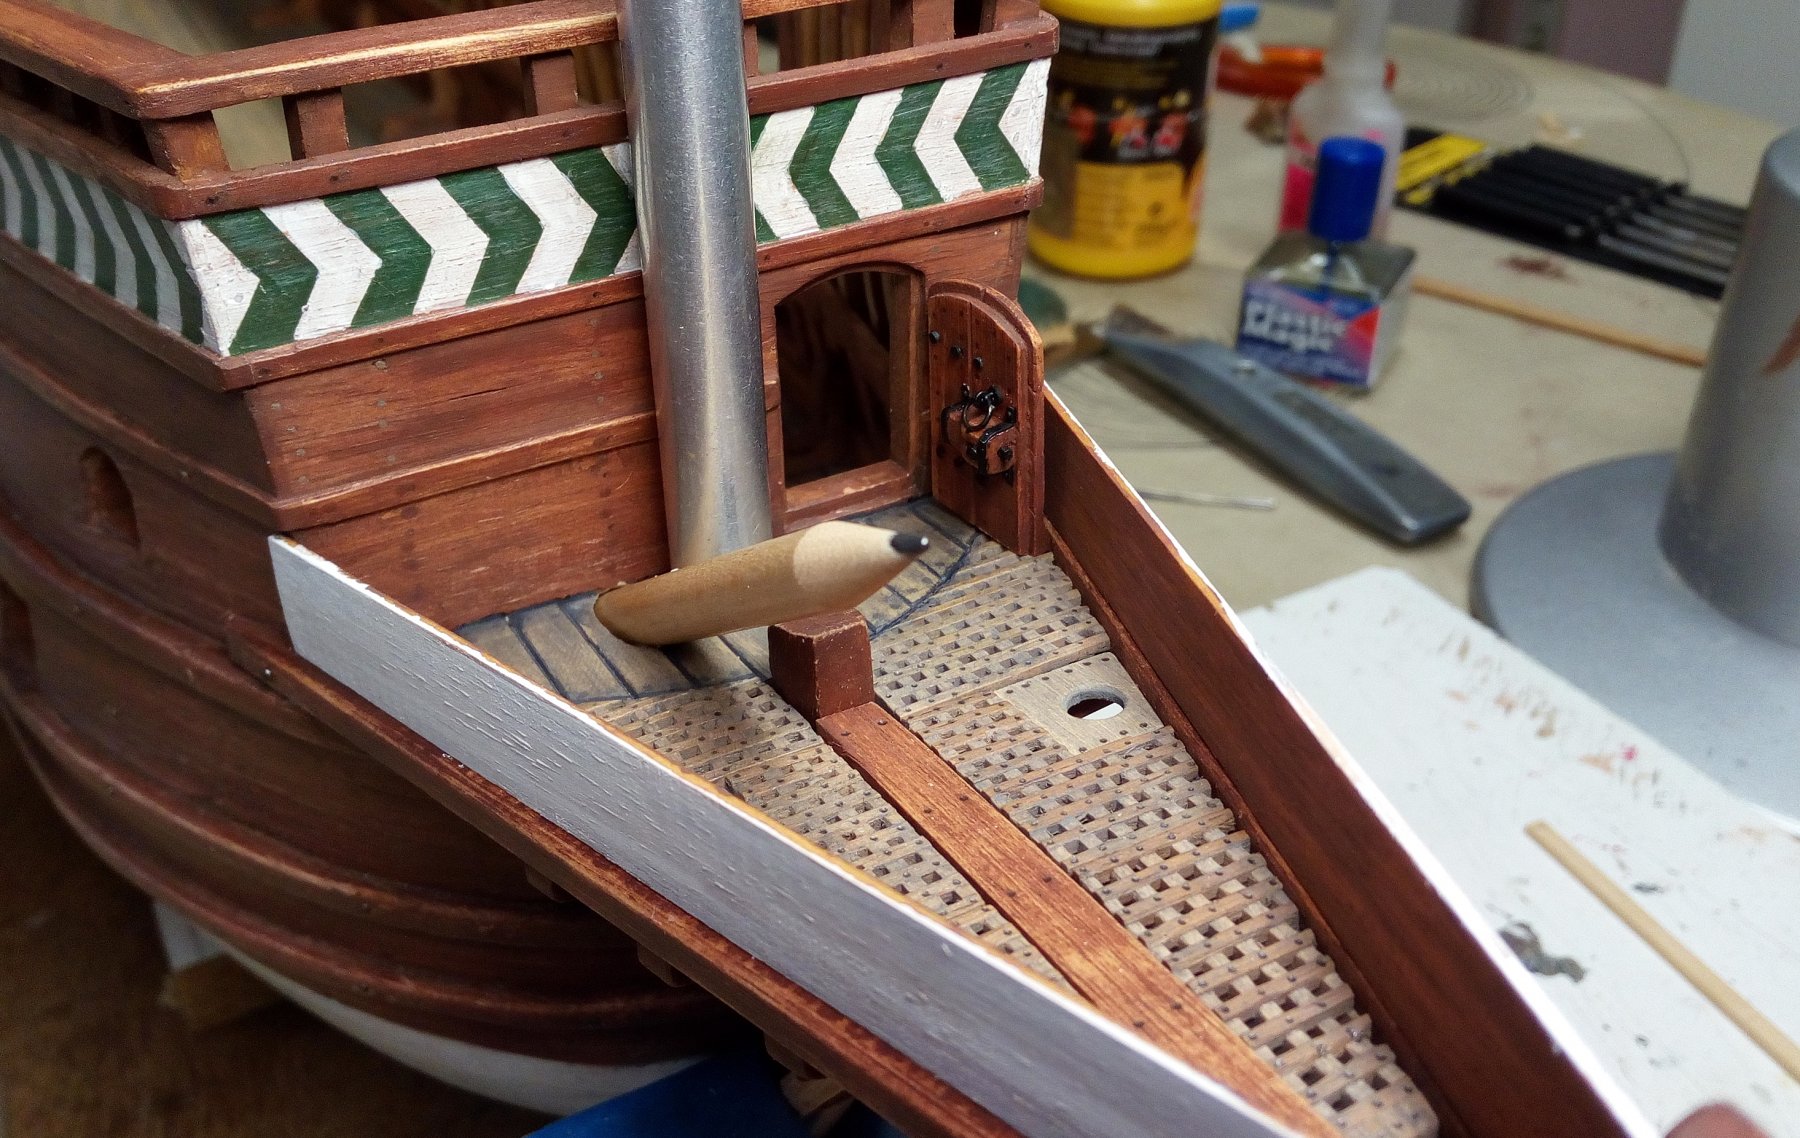
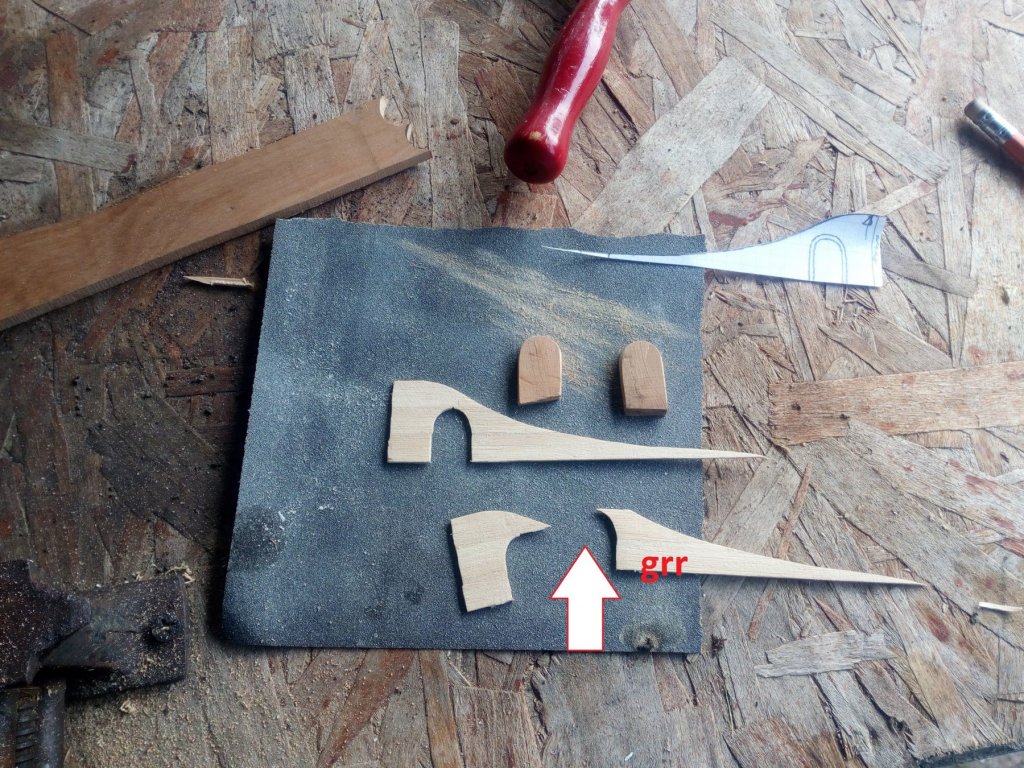
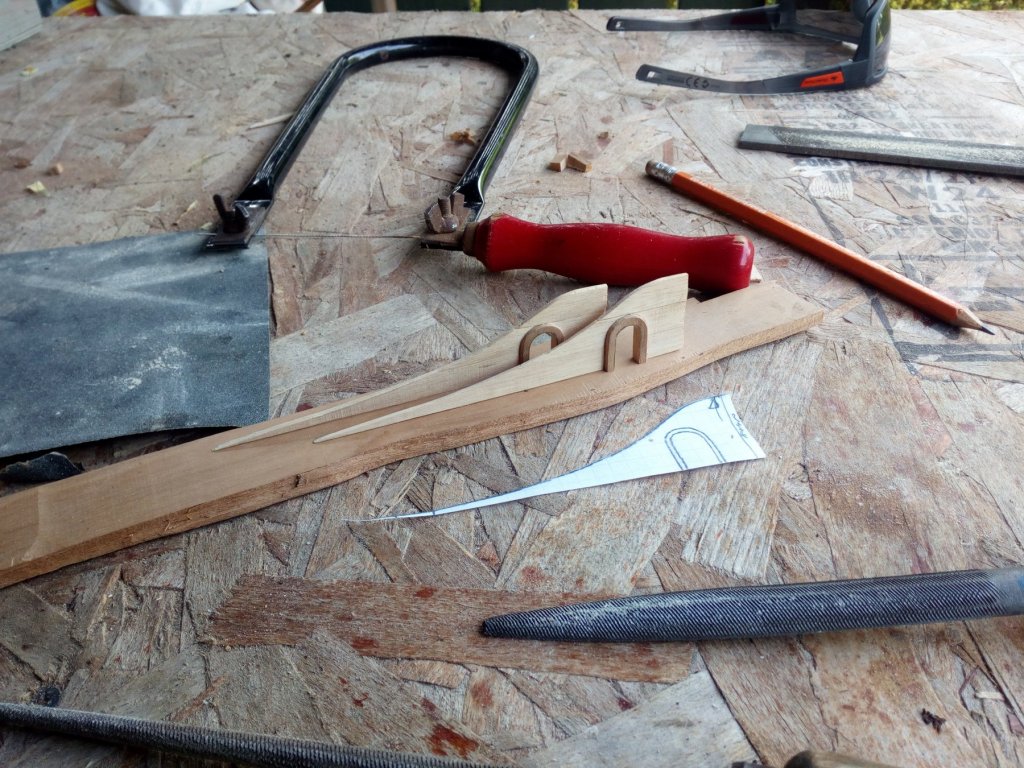
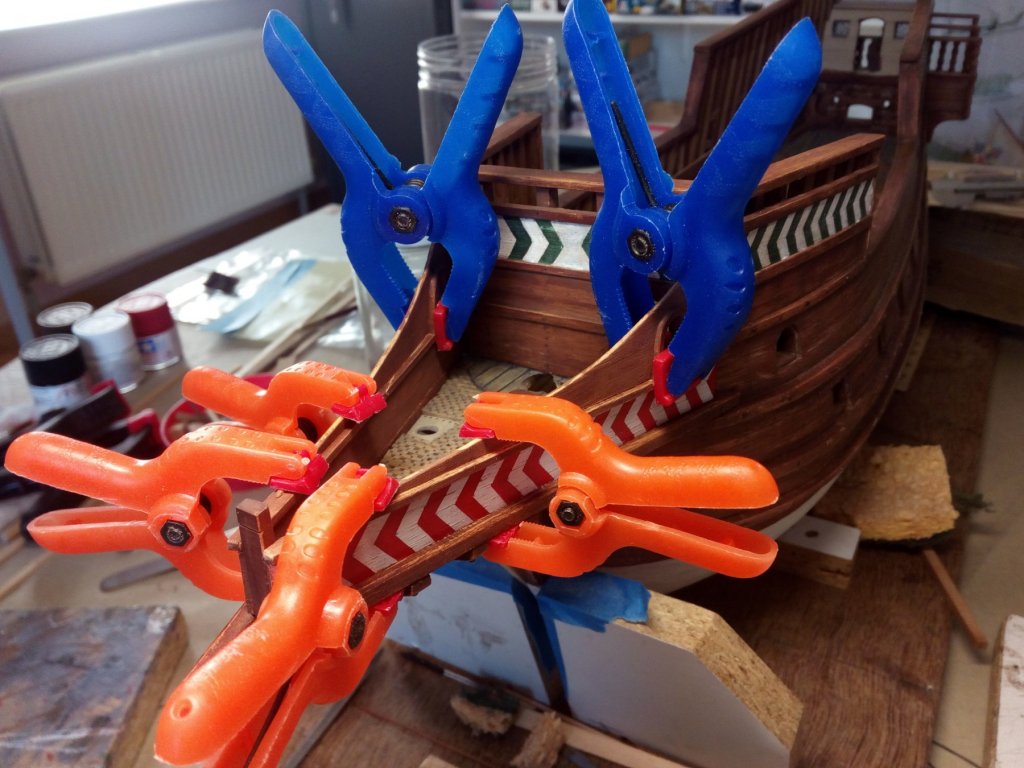
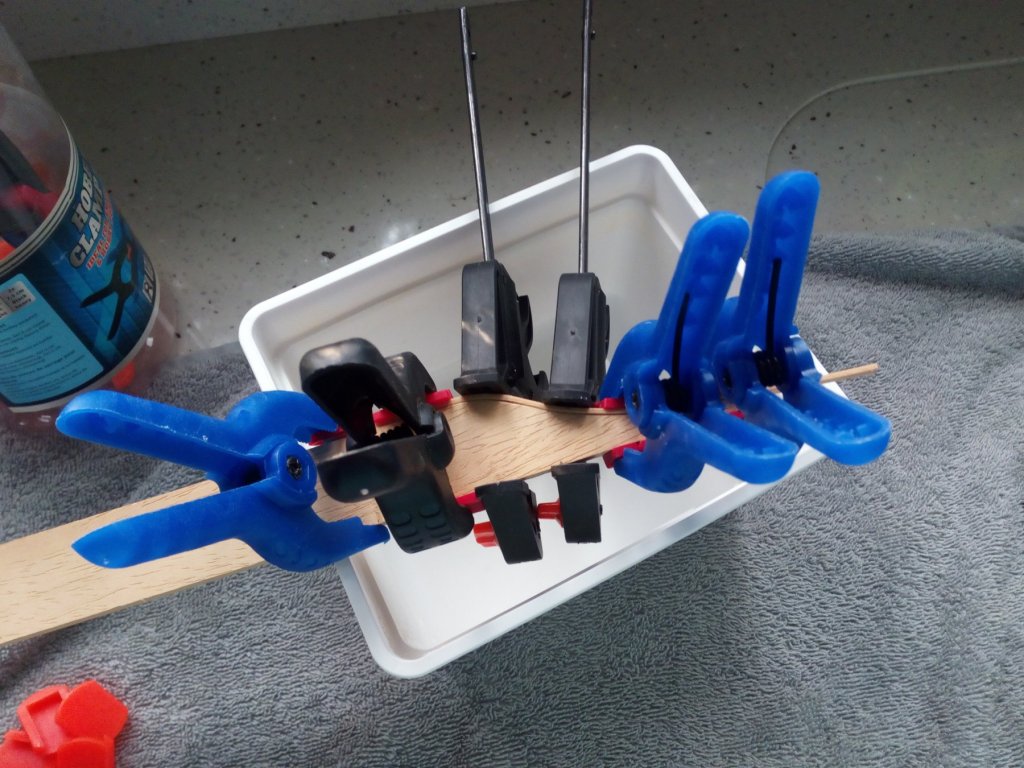
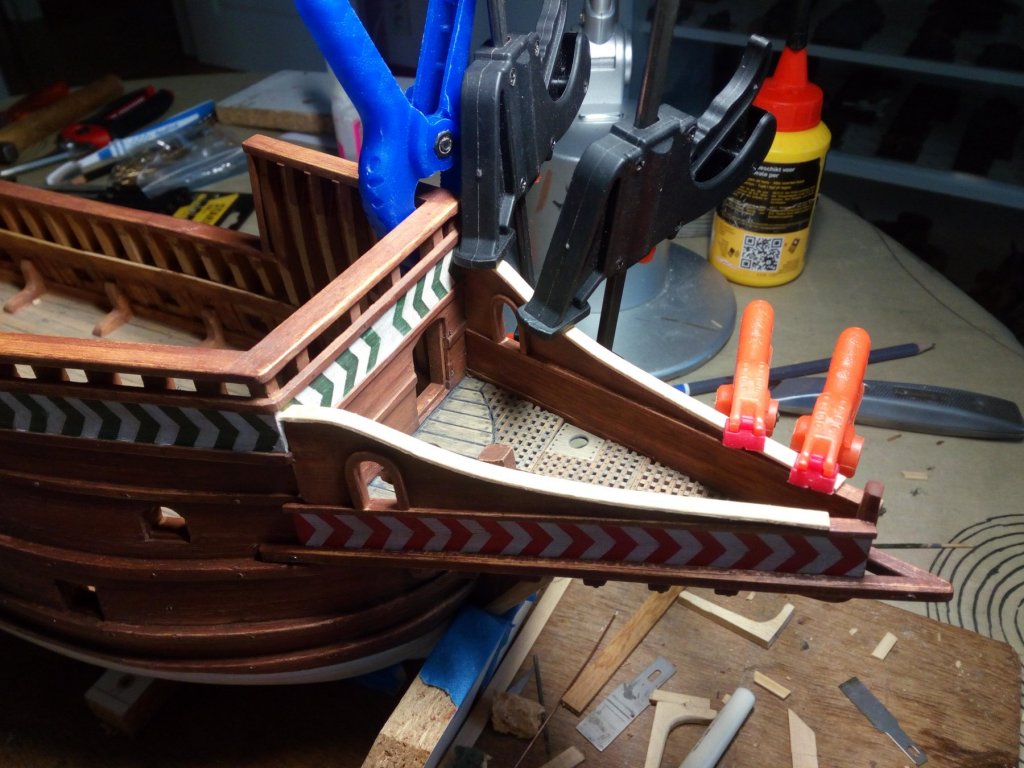
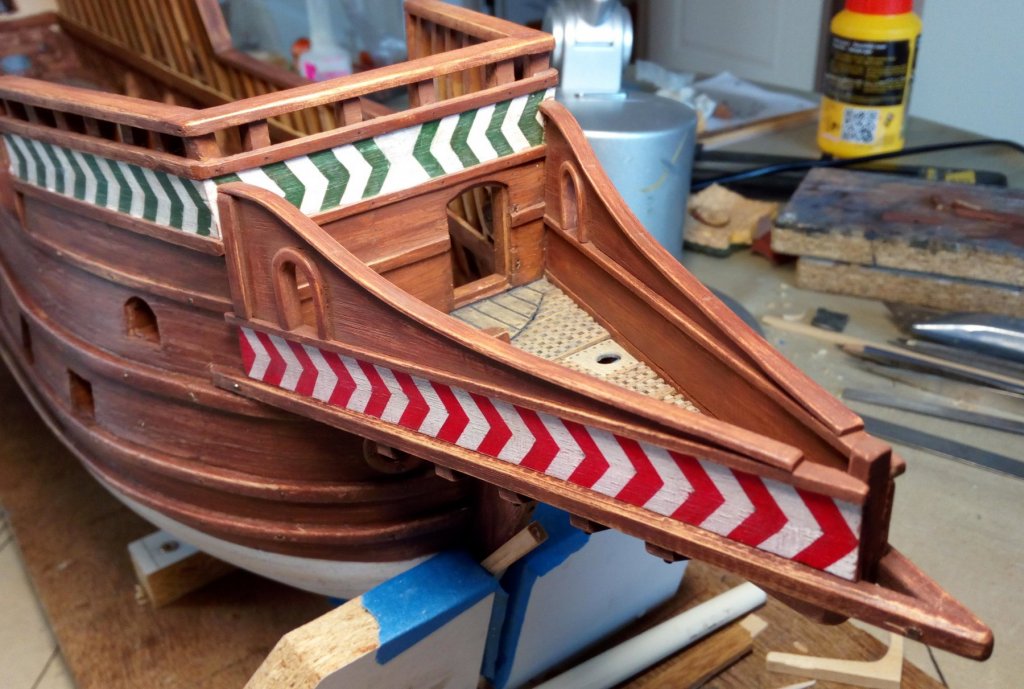
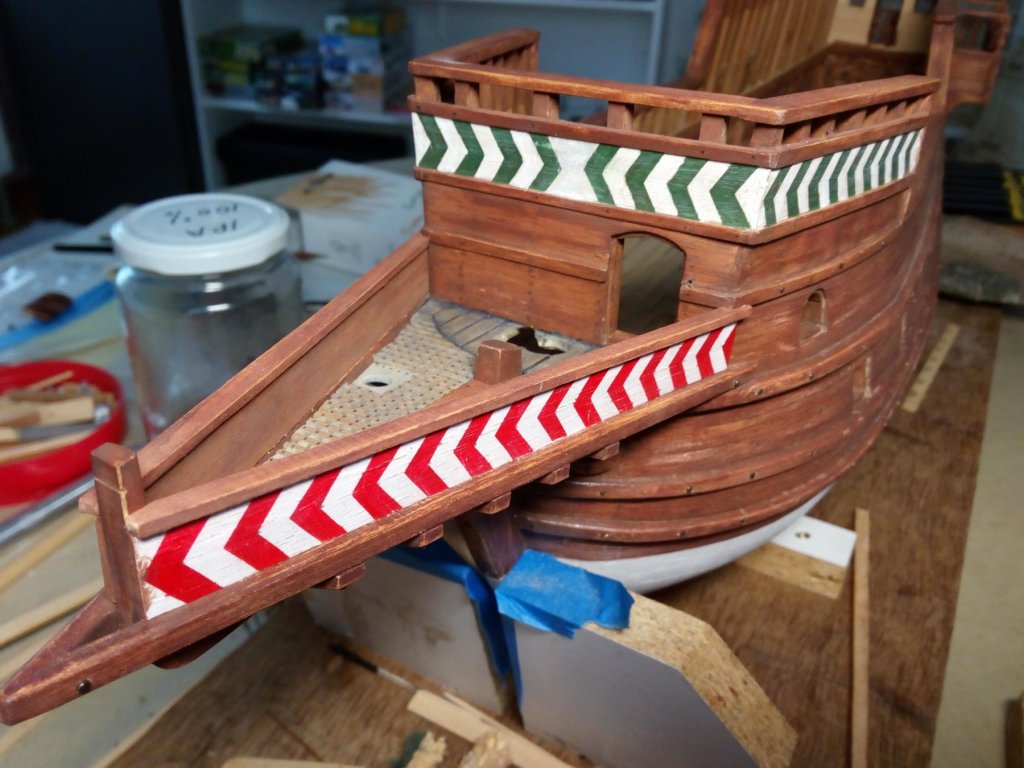
Hello, Further finishing the beakhead. Drawings of ships from around 1570 served as an example The photos speak for themselves. Bad luck Pre bending on a mold Strips soaked in water and boiling water just before bending The door is kept open with a wedge. ready. I think I'm starting on the canon deck now. Thanks for following and likes Build index in post 1


- 756 replies
-
- 18
-
-
- galleon
- golden hind
- (and 2 more)
-
Amalio, Very nice work. Unbelievable !!
-
Greetings from Belgium
-
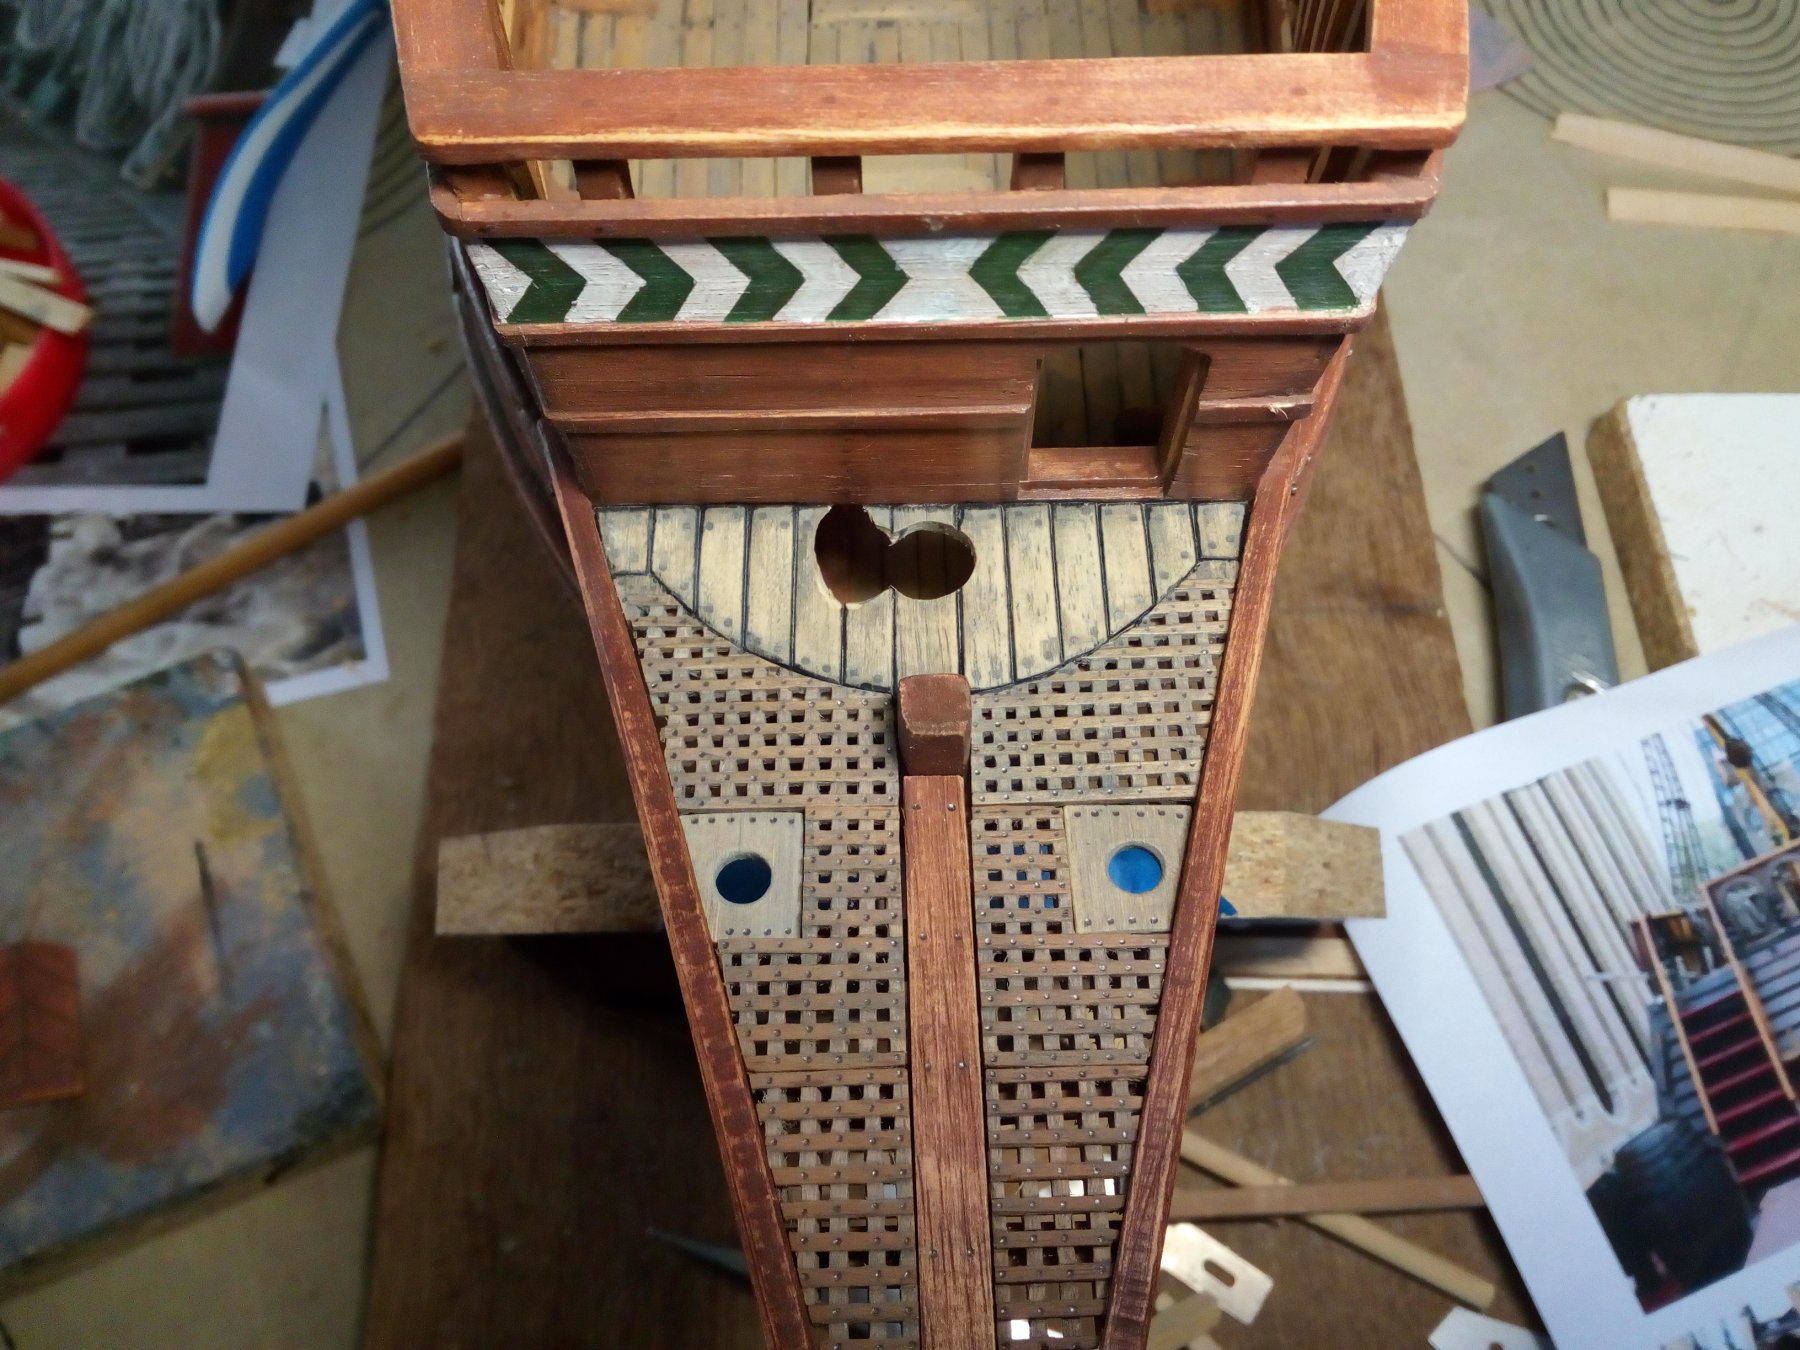
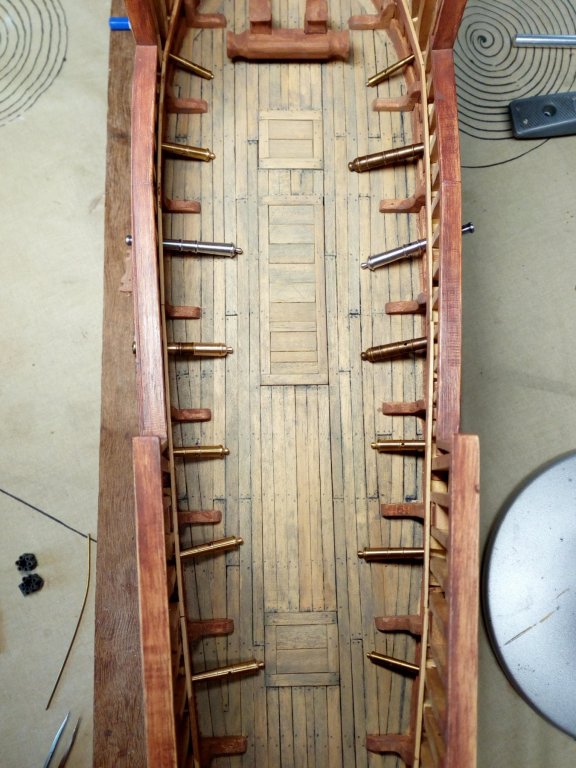
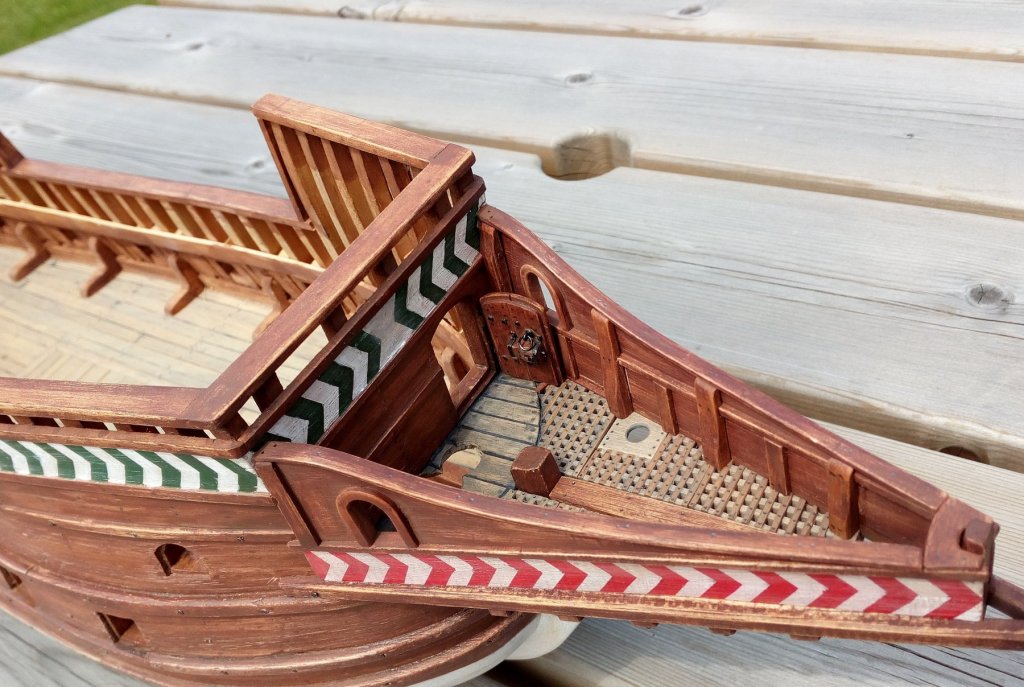
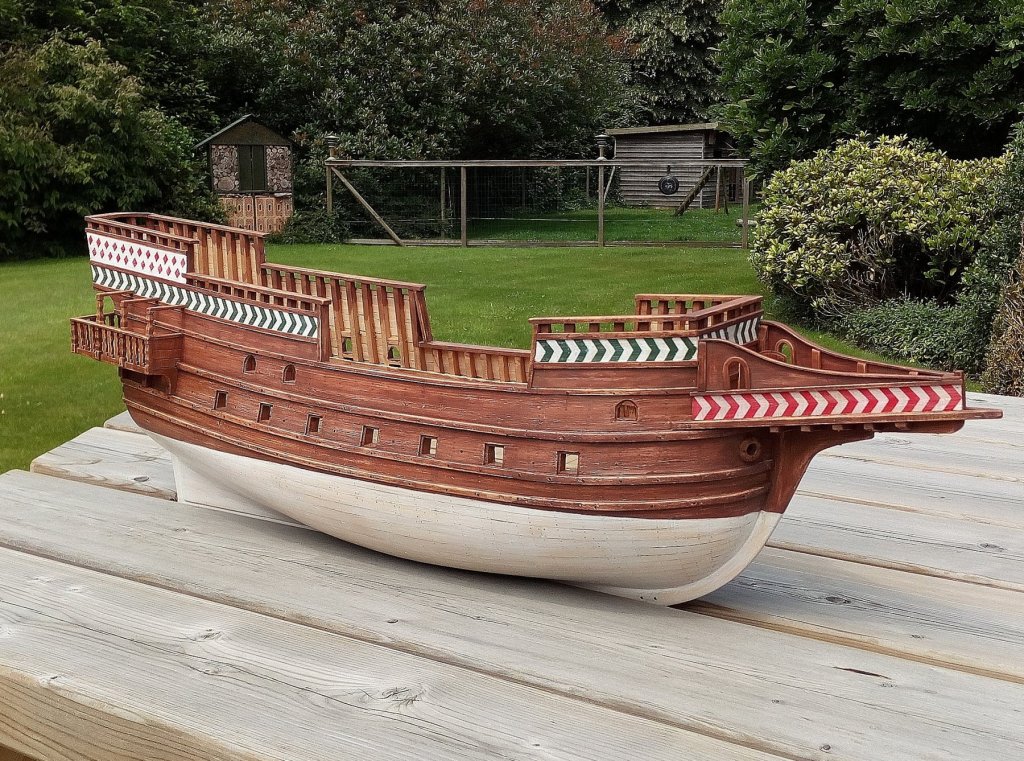
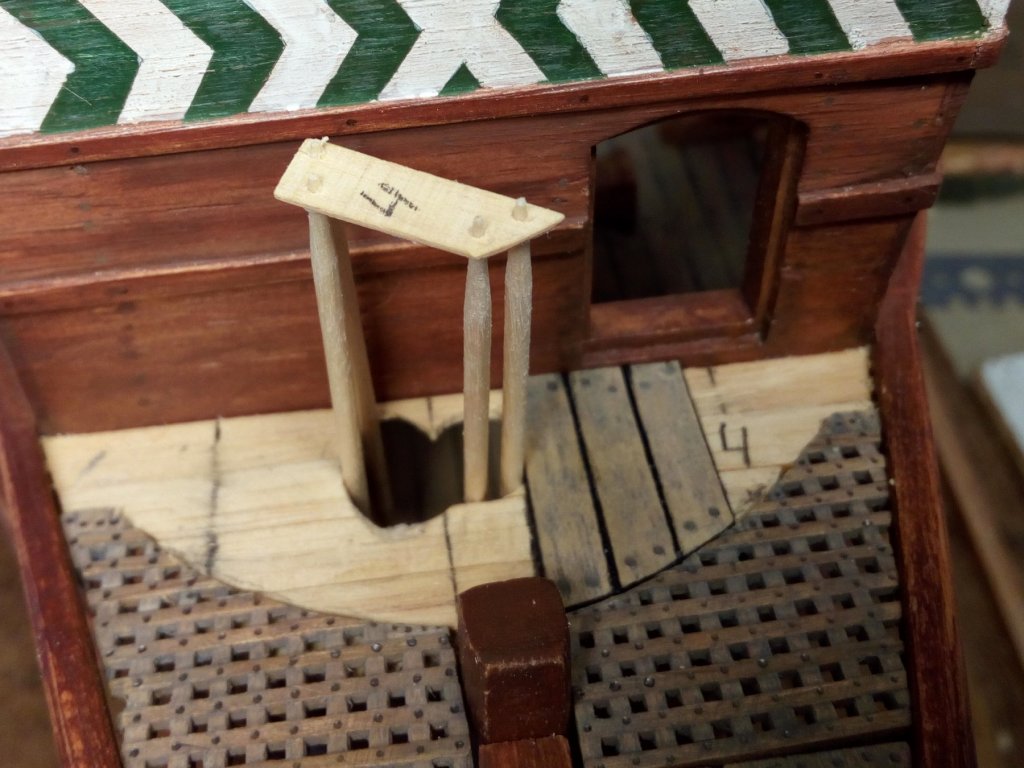
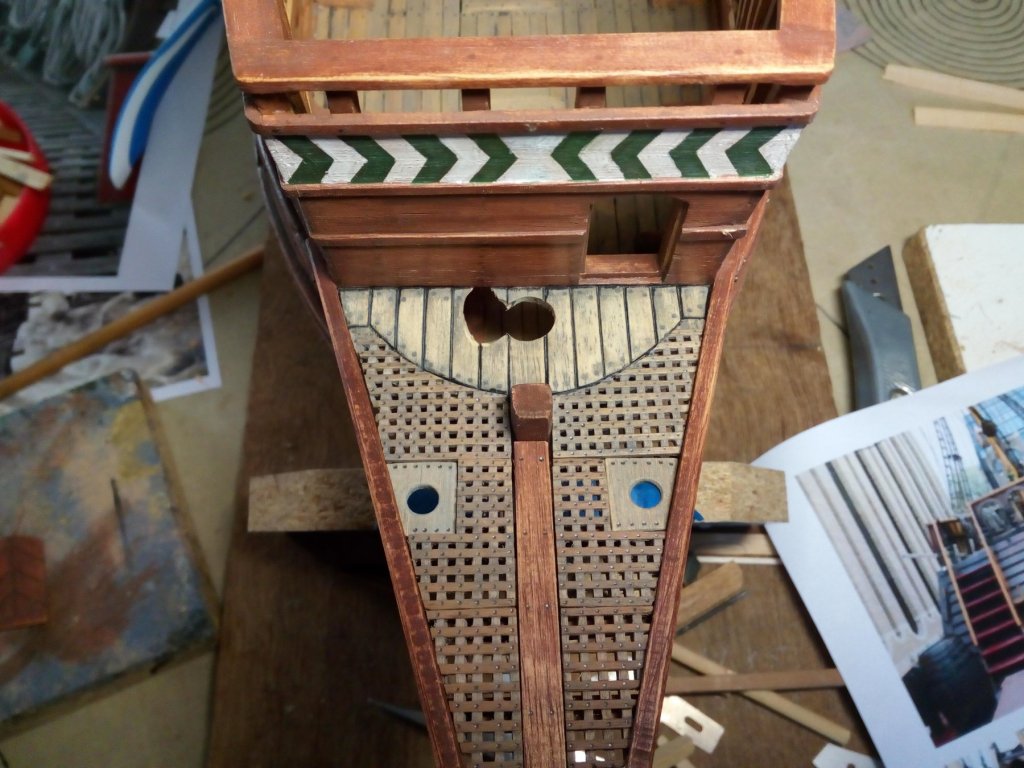
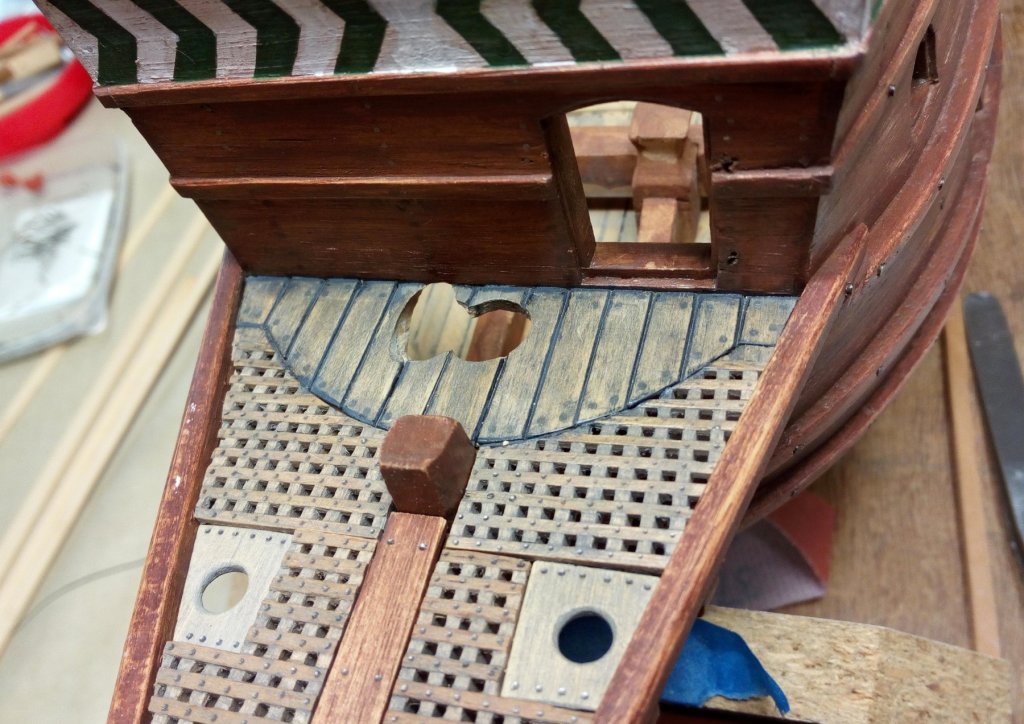
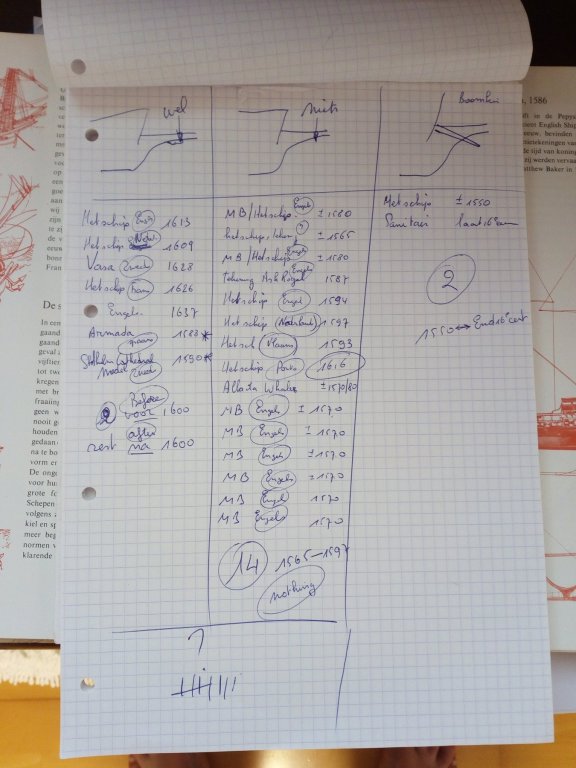
Did some homework / search in all my books and printed info and the gardening is done for the time being. Result Boomkins: found only 2 times (Portuguese and Spanish) The "Vasa / Revenge solution": occurs only twice, very late in the 16th century. But is quite common from the beginning of the 17th century. "Nothing" is fairly common in the second half of the 16th century. So we are going for the "nothing" solution. How it goes further here with the rigging, those are worries for later. As long as I can turn the model upside down, i can still make an adjustment if necessary. This piece of deck had already been planked Treenails and kaulking has been done before the planks are glued. Dry test But I felt that the black gave too much contrast to the light gray planks. The kaulking has been redone with dark gray paint ( German Panzergrey...) After this the deck has been polished with scotch brite. Meanwhile, the work continues Still a lot of work to do on the beakhead. Thanks for following


- 756 replies
-
- 12
-
-
- galleon
- golden hind
- (and 2 more)
-
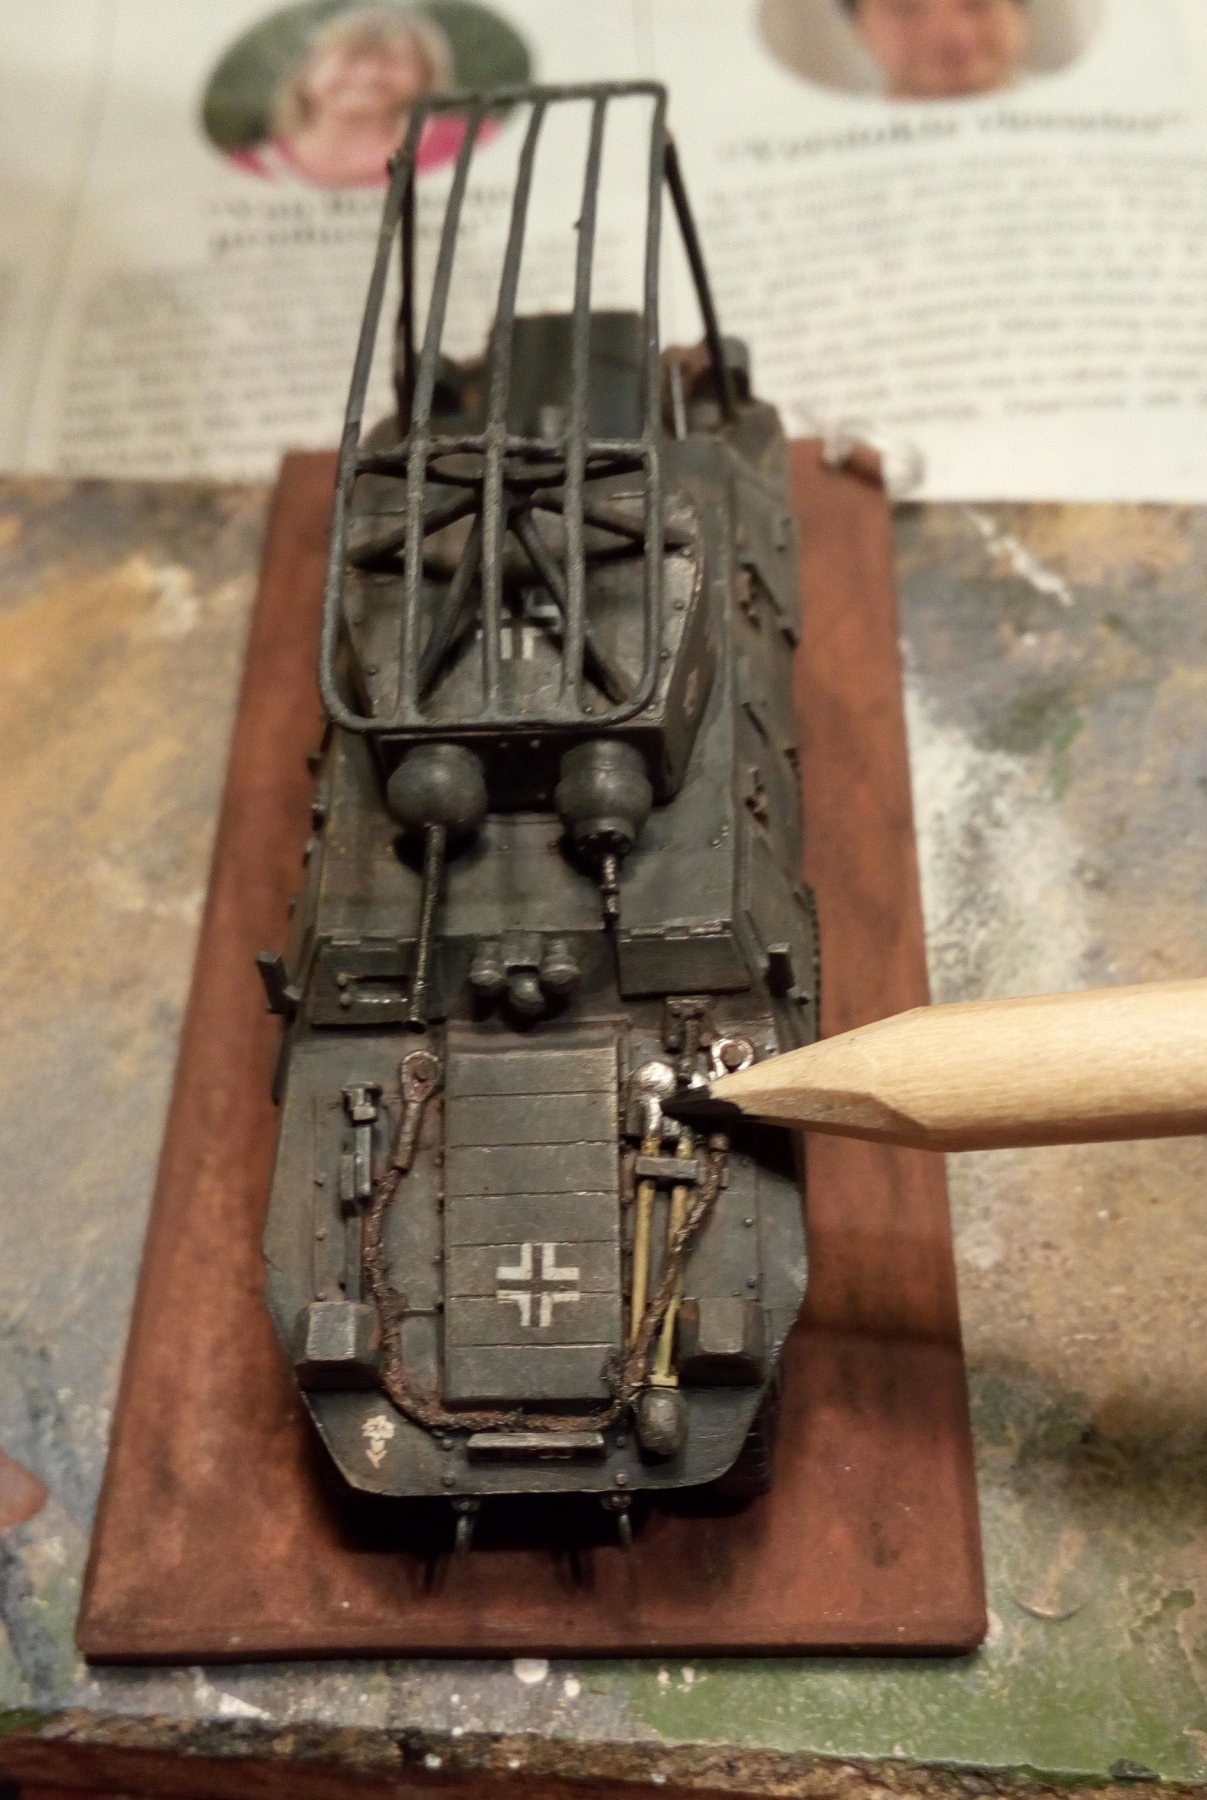
Thanks Lawrence, After painting and sanding. Take the pencil and place it where you want a nail. Press the tip of the pencil slightly into the wood. Turn the pencil slightly between the fingers. ready. A pencil with a harder point gives a better result. The point is "splintered" less quickly. And it gives a better metal look. Best first do some practice on some scrap wood I have been using a pencil for years in my military modeling (Shore leave : ADGZ M35 funkwagen)

- 756 replies
-
- 5
-
-
- galleon
- golden hind
- (and 2 more)
-
Greetings, And
-
Beautiful model of the Victory
-
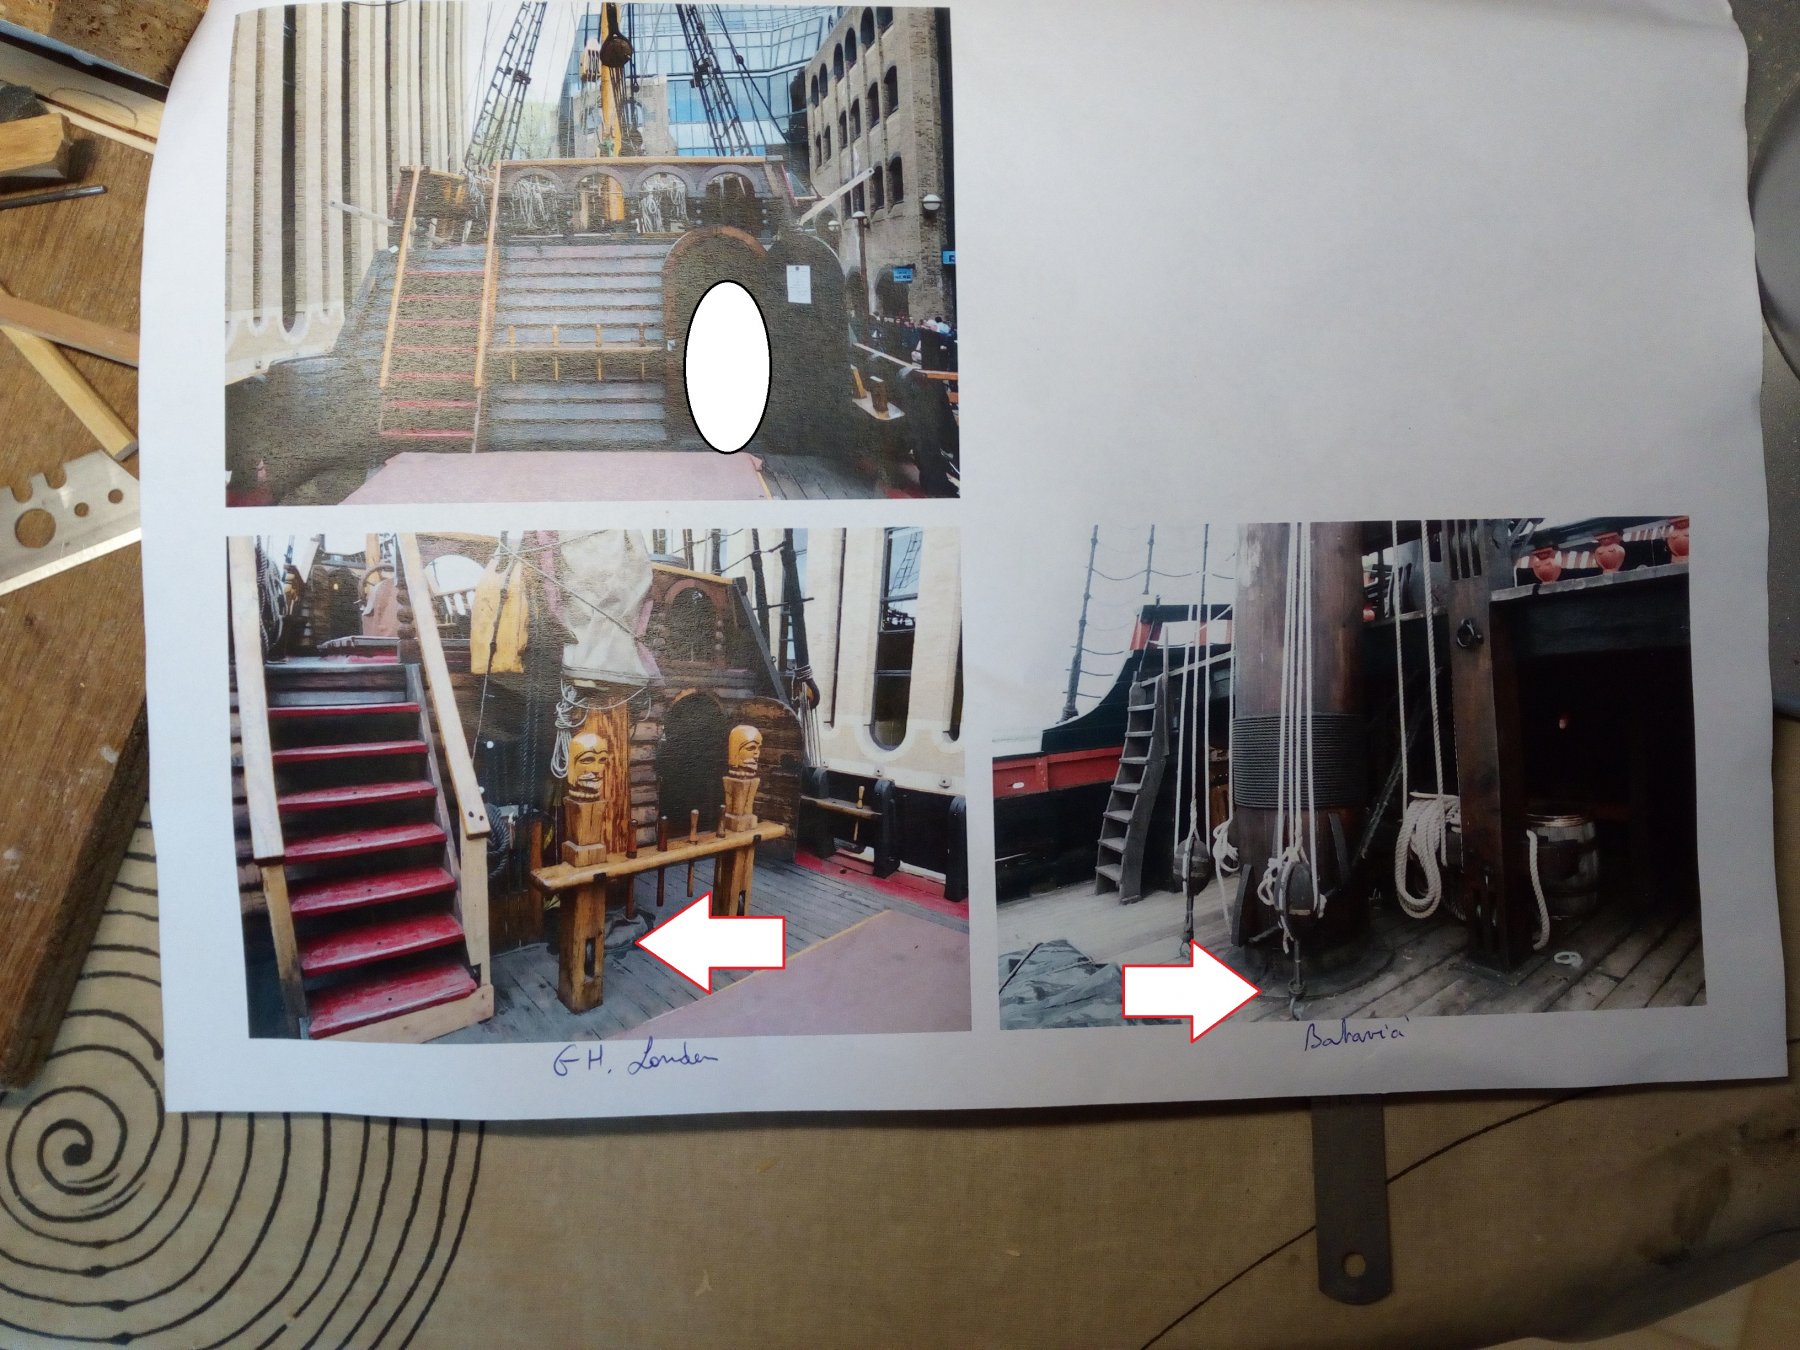
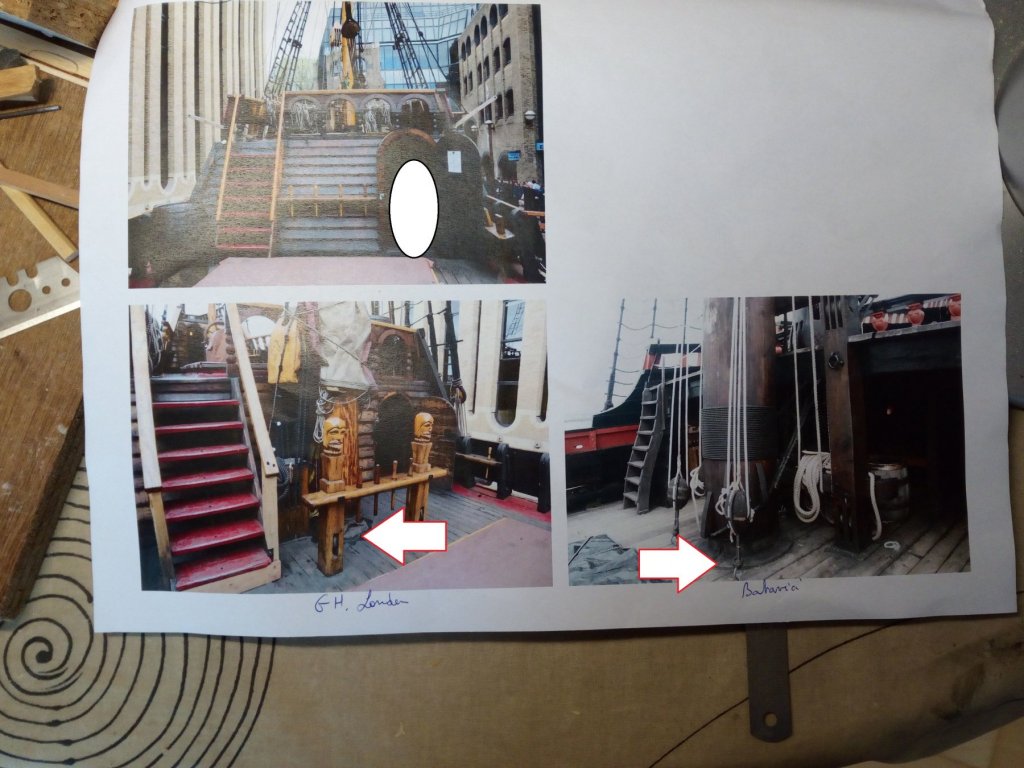
I have been looking for an explanation for this for months : What is the cover between the deck and the mast on this pictures?? And then comes G. L. and explains this with text and photos Thanks !!
-
I never thought that my question would become so complicated This week there is a lot of work to do in the garden. In the meantime I will first look at all my info. Because it seems very much that before and after 1600 much changed. The manner like the Vasa is usually only seen after 1600 So first study and gardening Thanks everyone for the info
- 756 replies
-
- 4
-
-
- galleon
- golden hind
- (and 2 more)
-
Then I follow the advice of you and Christian There will be no boomkins on the Golden Hind. I shall make holes in the stem like on the picture. Thanks
- 756 replies
-
- 2
-
-
- galleon
- golden hind
- (and 2 more)
-
Yep, Did a search for "Boomkin ship" on google . Thanks!! https://en.wikipedia.org/wiki/Boomkin https://www.google.be/search?rlz=1C1SFXN_enBE500BE526&biw=1600&bih=720&tbm=isch&sa=1&ei=6VIIW4b4D5LdwAKMnrX4Aw&q=boomkin+ship&oq=boomkin+ship&gs_l=img.12...6678.8926.0.11325.5.5.0.0.0.0.102.403.4j1.5.0....0...1c.1.64.img..0.2.175...0i19k1j0i10i19k1j0i8i30i19k1.0.DsiLfpP92wA#imgrc=EEUbI7GpVvHtPM:
- 756 replies
-
- 1
-
-
- galleon
- golden hind
- (and 2 more)