Baker
-
Posts
4,295 -
Joined
-
Last visited
Content Type
Profiles
Forums
Gallery
Events
Everything posted by Baker
-

kit review 1/72 Cannon Jolle - Master Korabel - Baltic Sea Gunboat
Baker replied to ccoyle's topic in REVIEWS: Model kits
Does indeed look like a simple model to build and with clear assembly instructions. Also with enough extra detail. Maybe a good model as a first build ? A pleasant awakening for me when I read this. At half past six in the morning (in this part of world) 😪💤 -
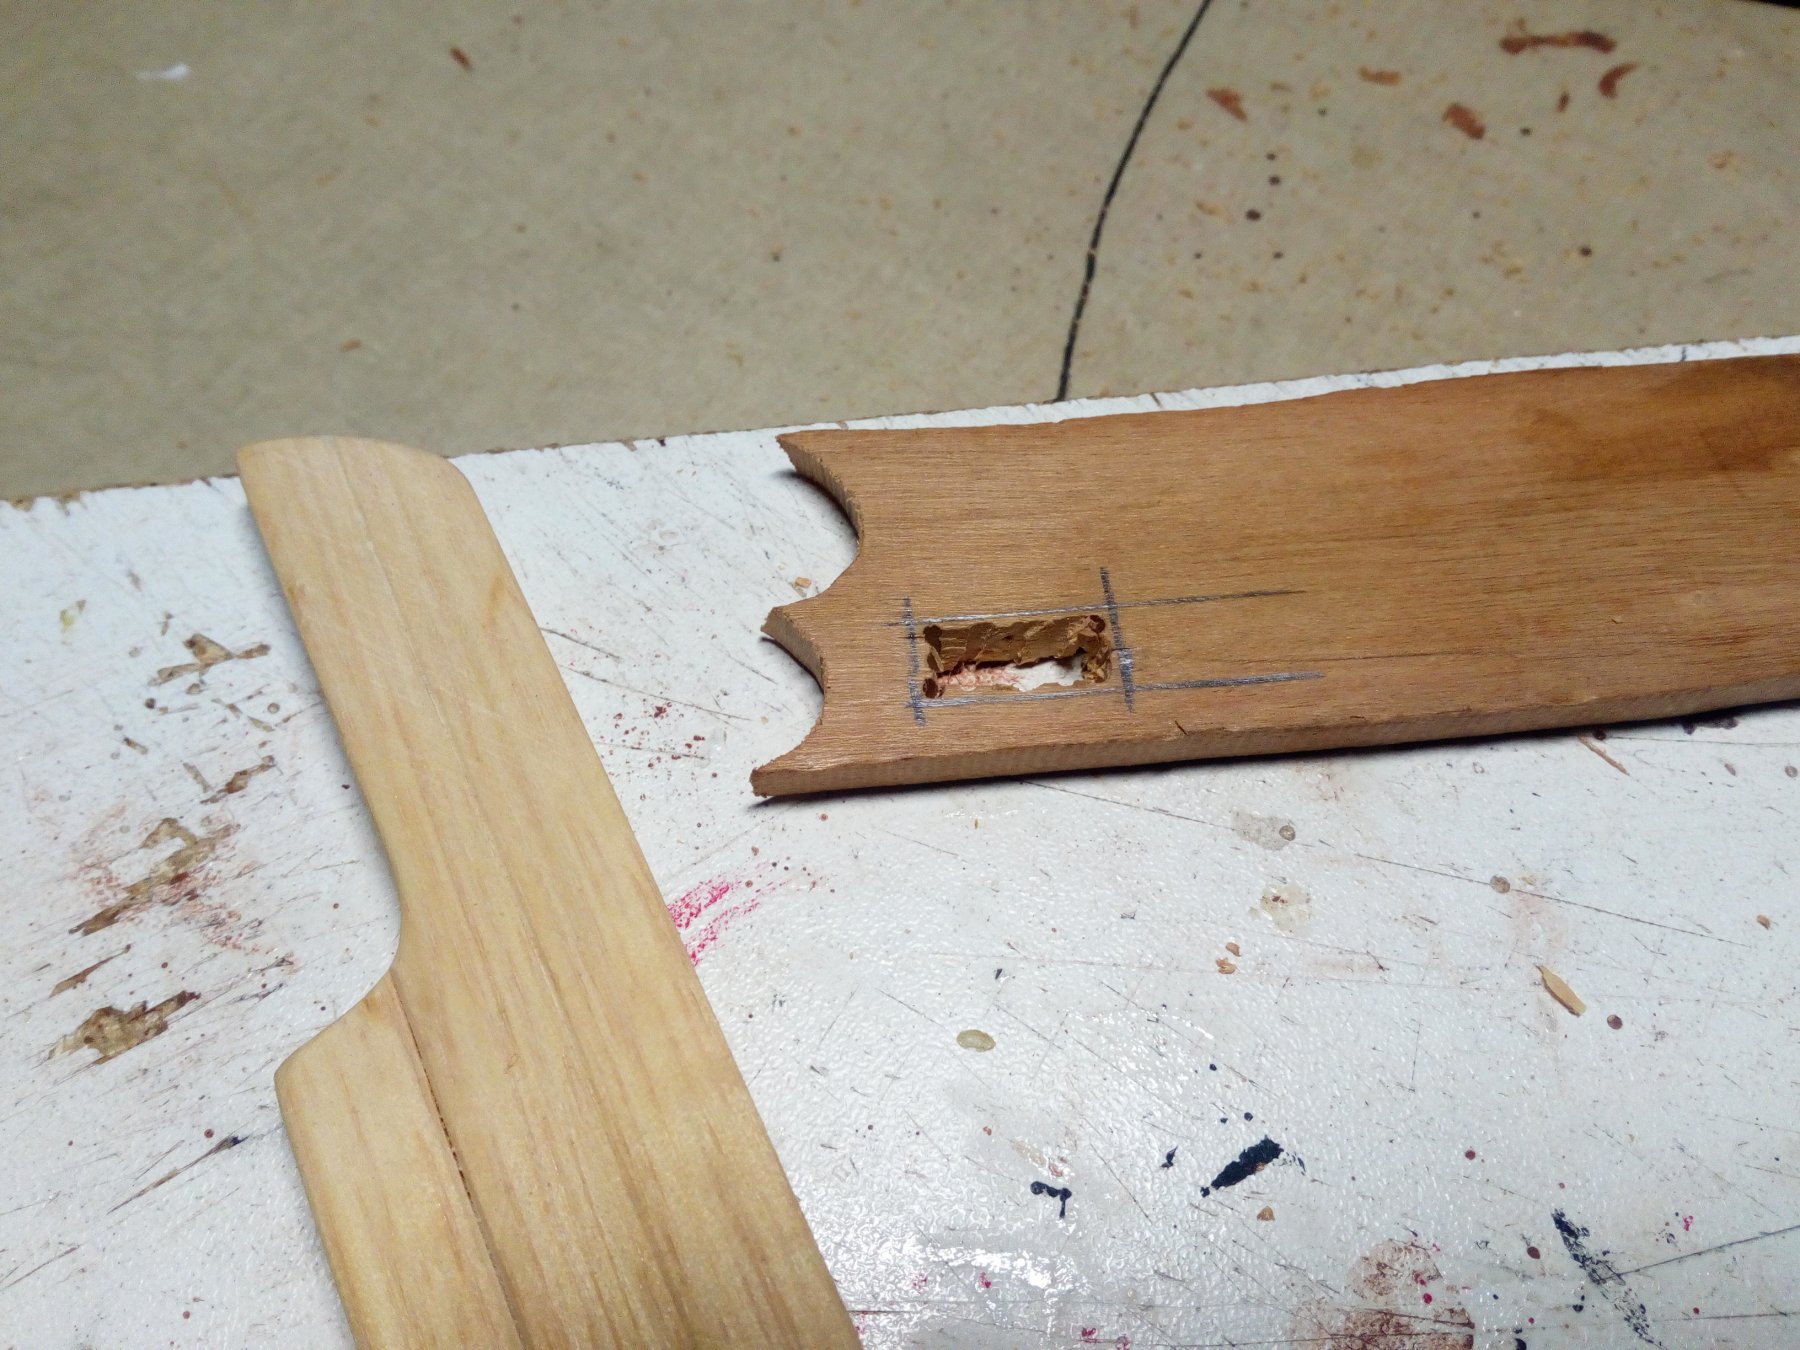
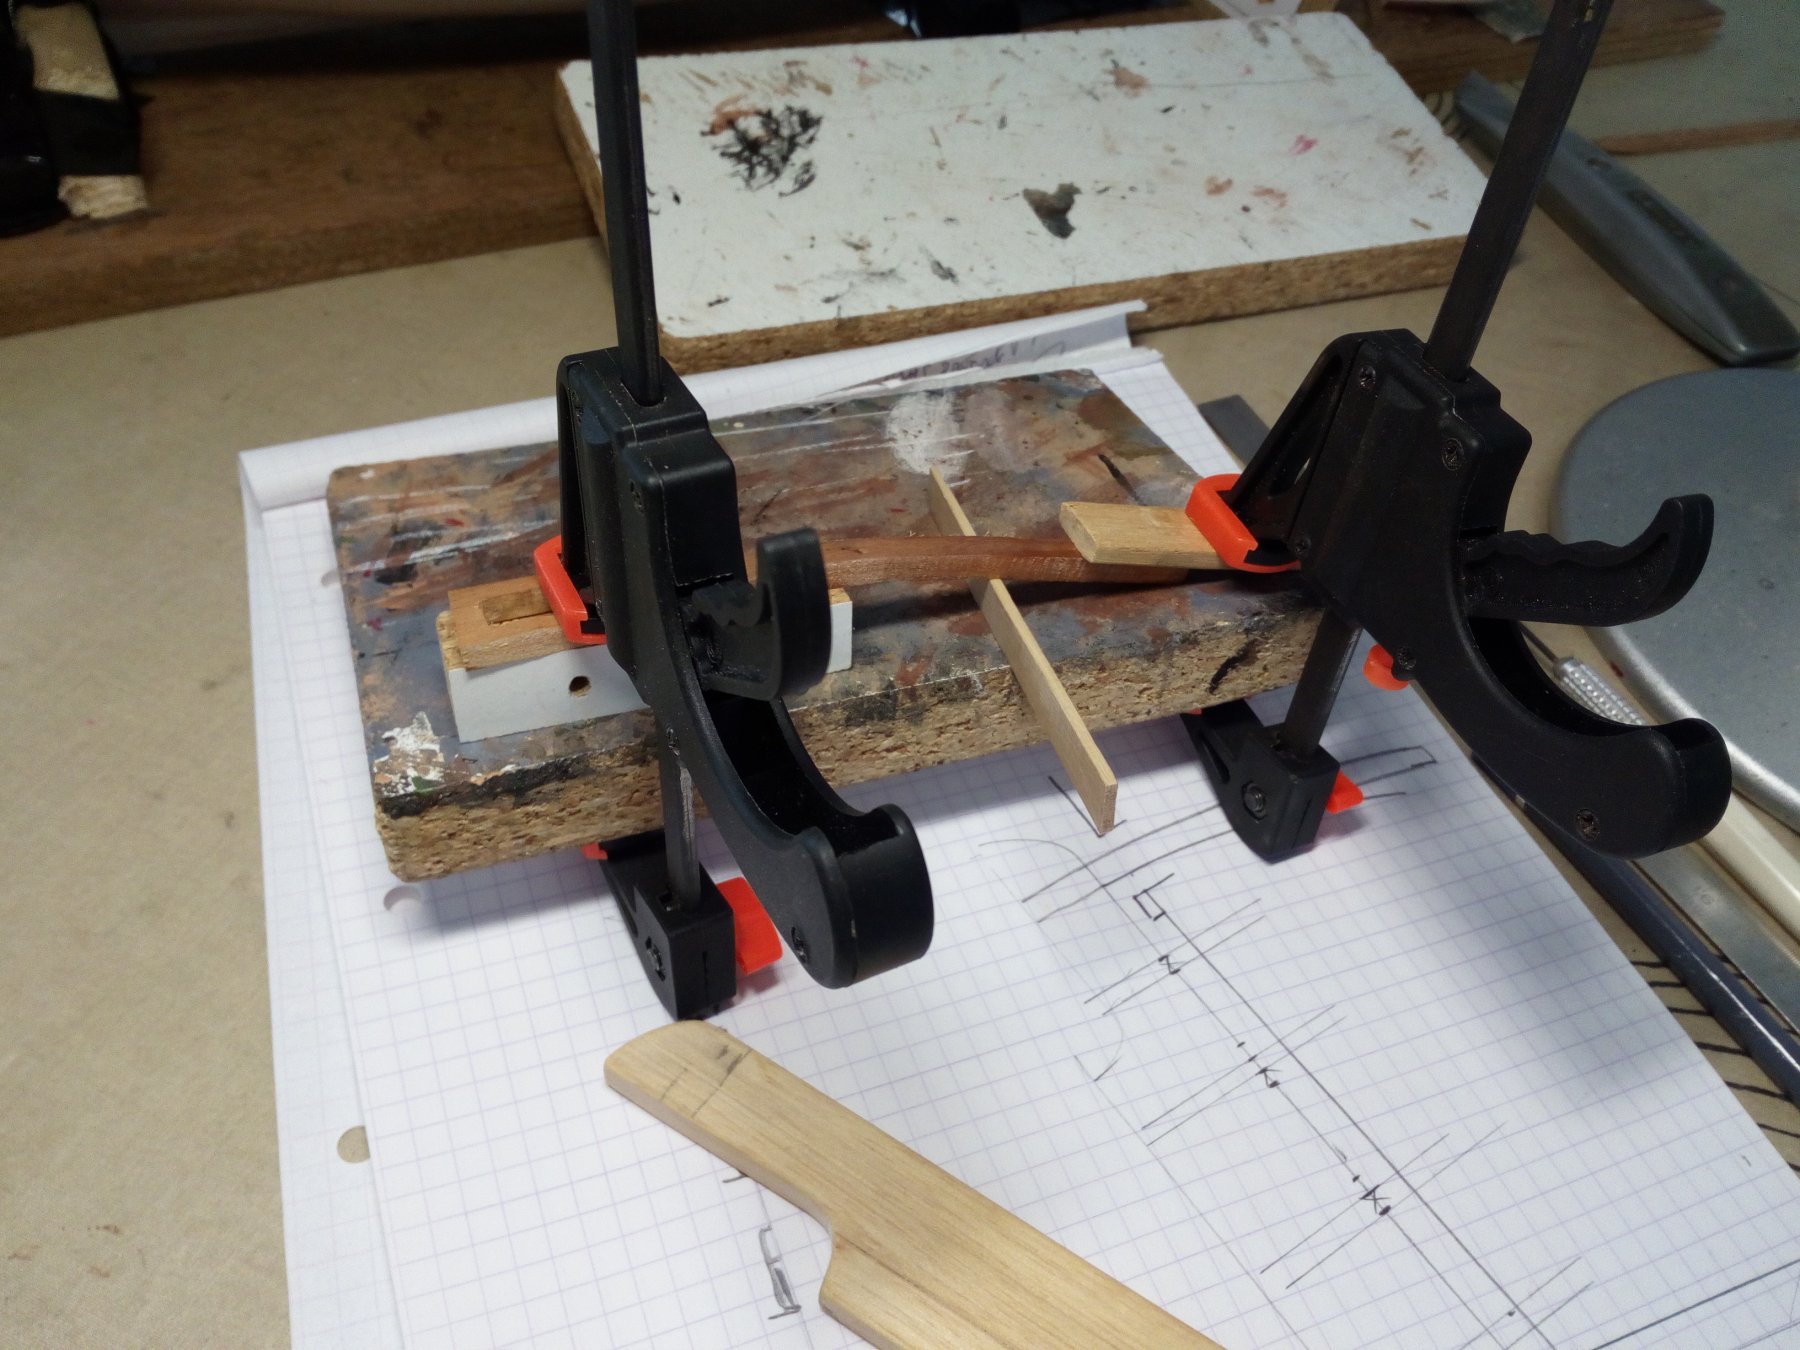
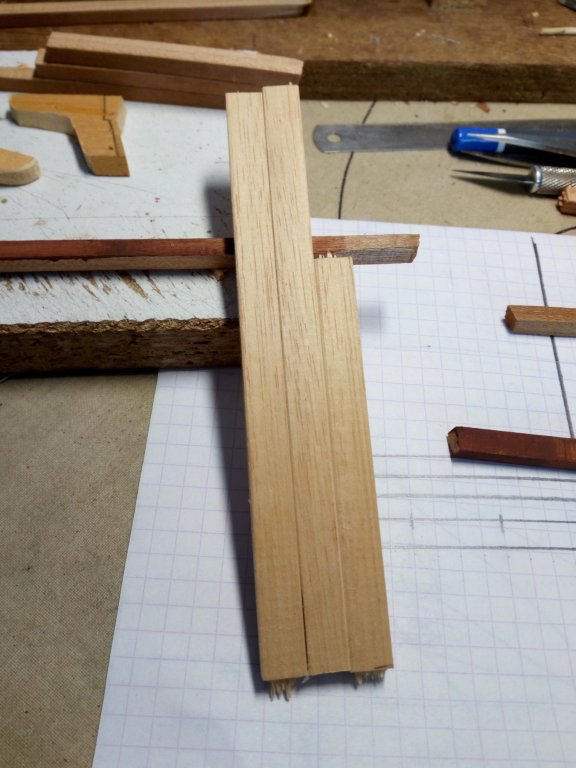
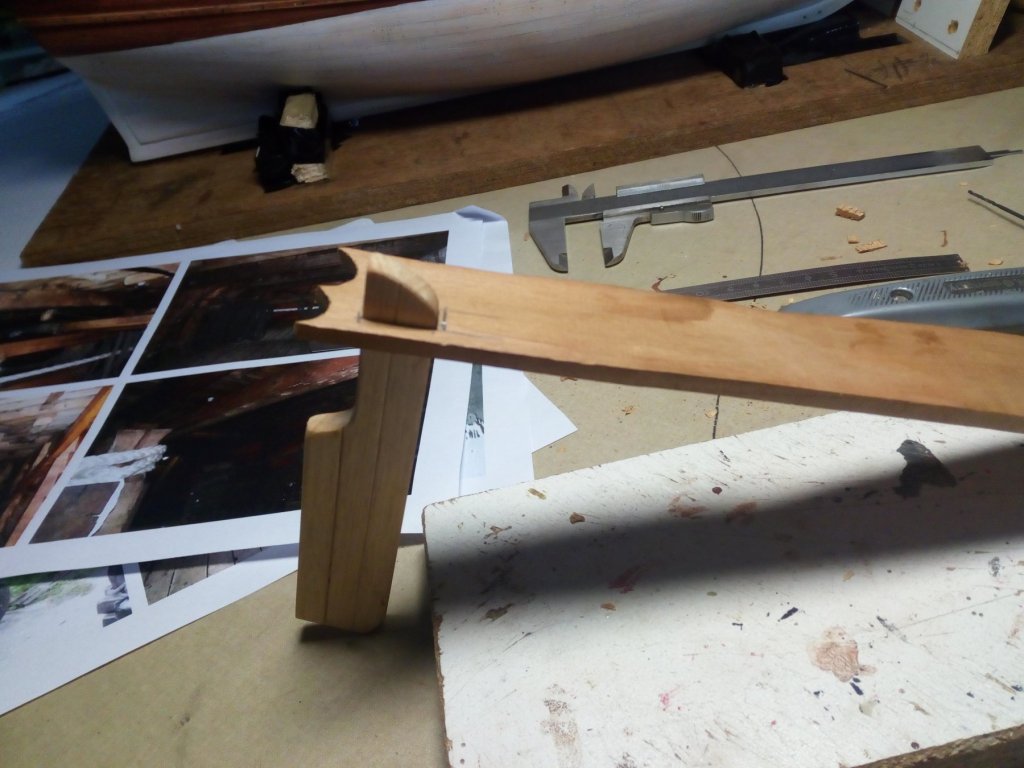
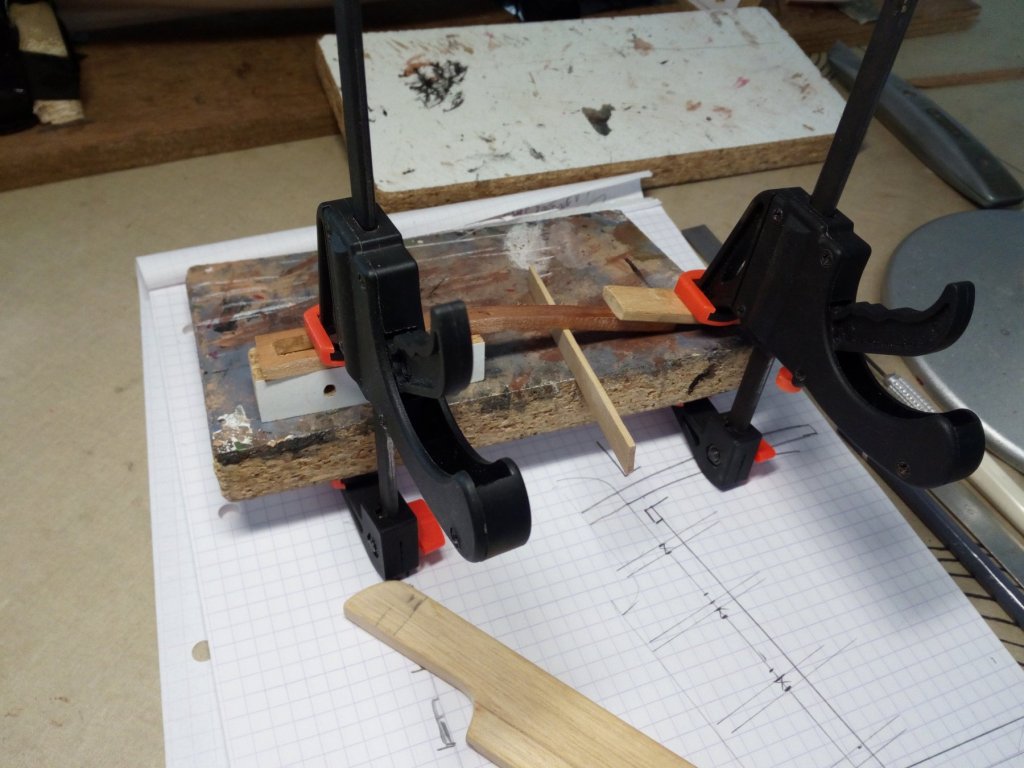
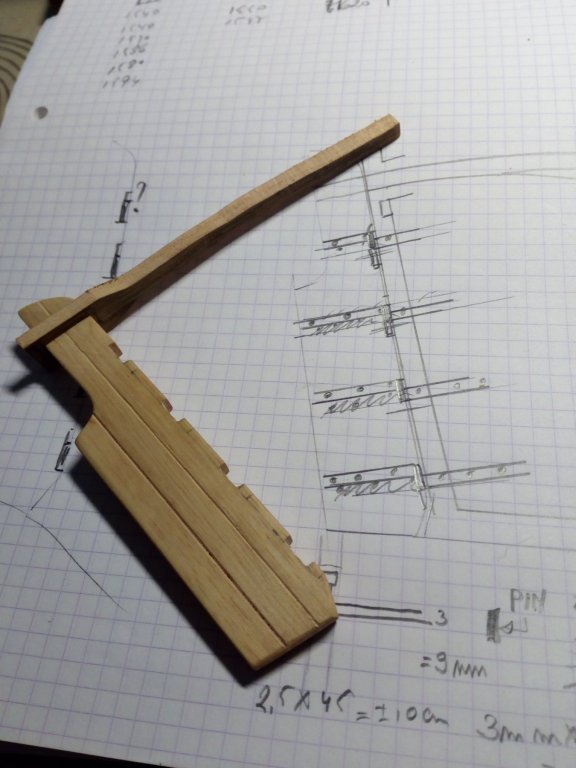
Thanks Lawrence I started with the rudder. Nobody knows if the Golden Hind had a whipstaff or not. They came into use somewhere in the second half of the 16th century. so adding one is not completely incorrect. The rudder is made of 3 pieces of wood. The helm. I find 2 ways to attach the helm to the rudder. The helm passes through the rudder. Or the helm goes around the rudder Possibilily 1 is apparently from a later period, from the beginning of the 17th century. Possibility 2 seems to be the most common during this period. So this it will be. about in the right shape and bent. My roughly made rudder with the helm. Still a lot of sanding and detailing to do. Thanks for following

- 756 replies
-
- 13
-

-
- galleon
- golden hind
- (and 2 more)
-
Thanks; Maybe I should install a mine juke box... Party 🎤🎸💿🎺
- 756 replies
-
- 2
-
-
- galleon
- golden hind
- (and 2 more)
-
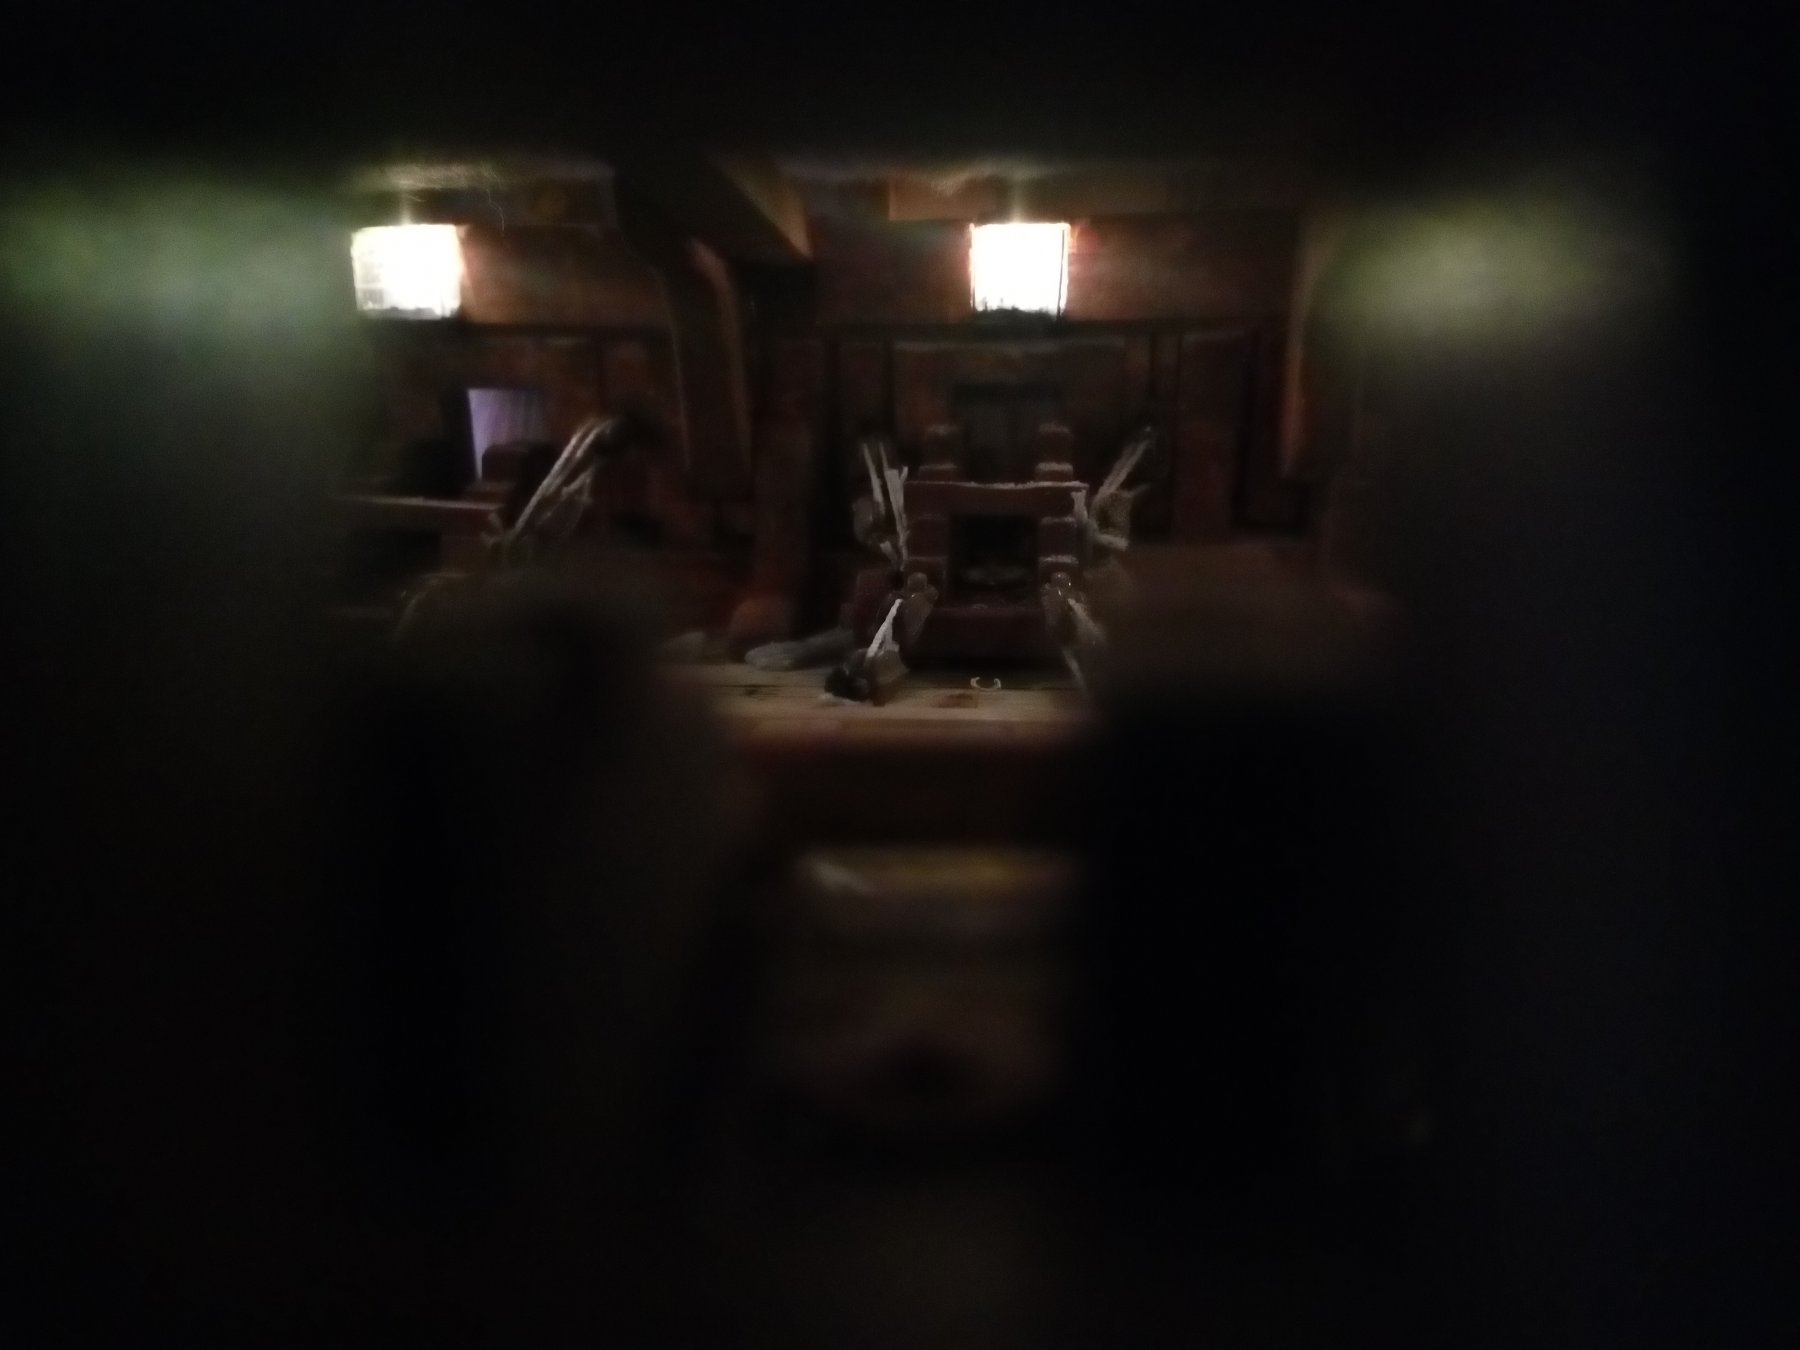
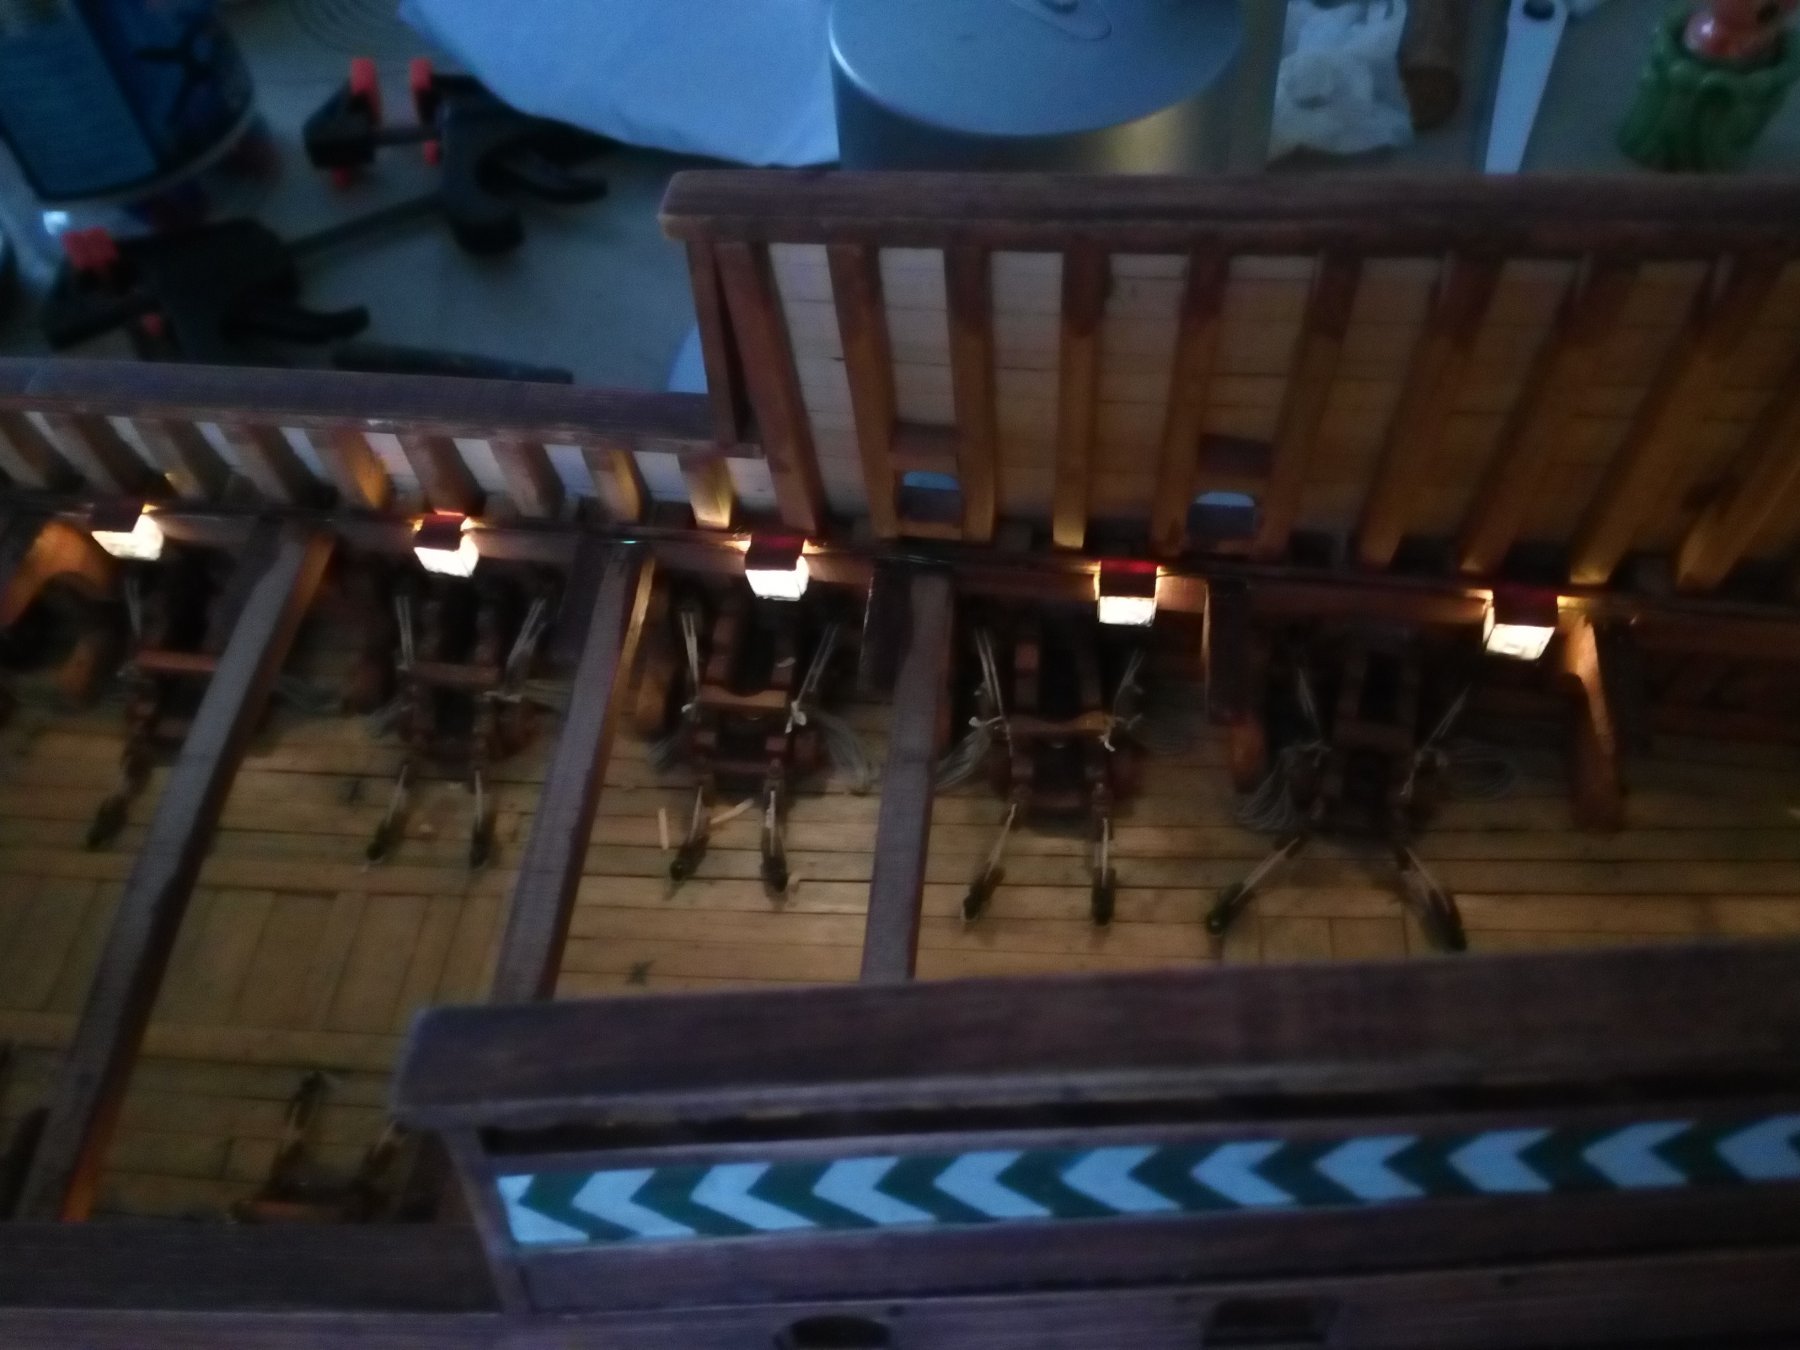
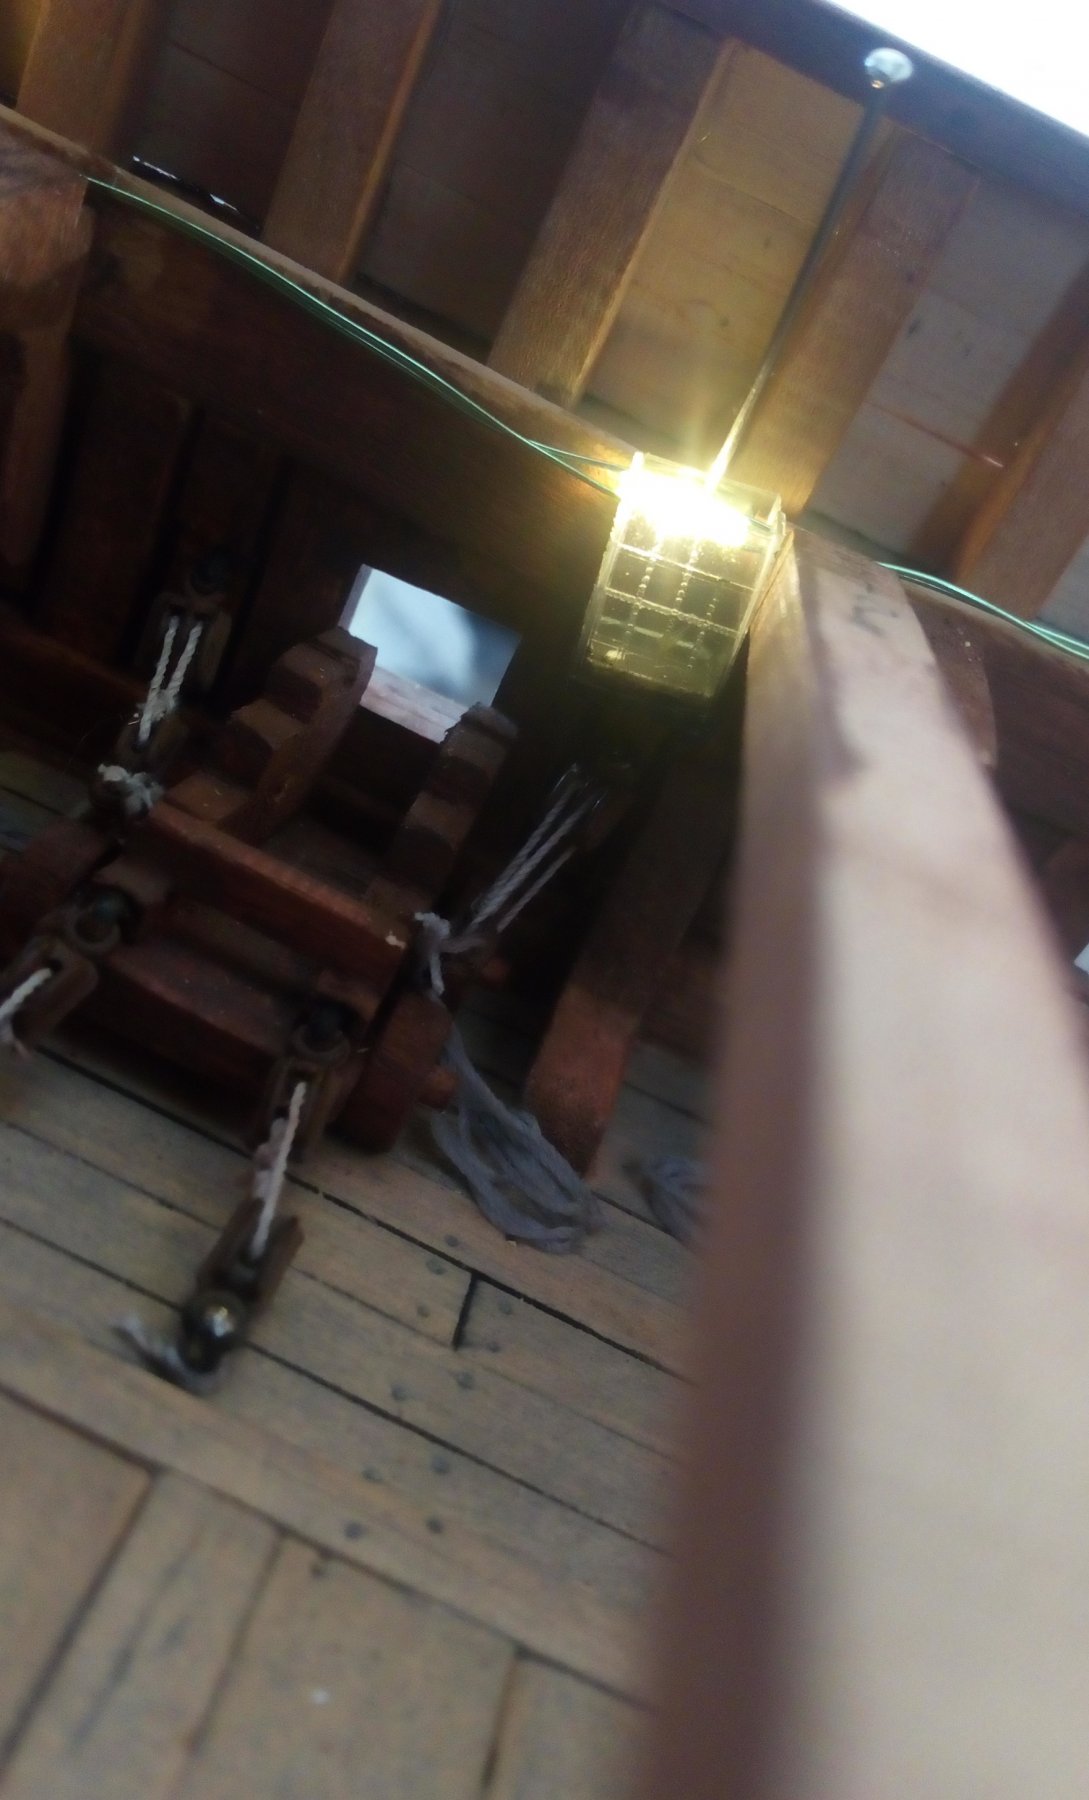
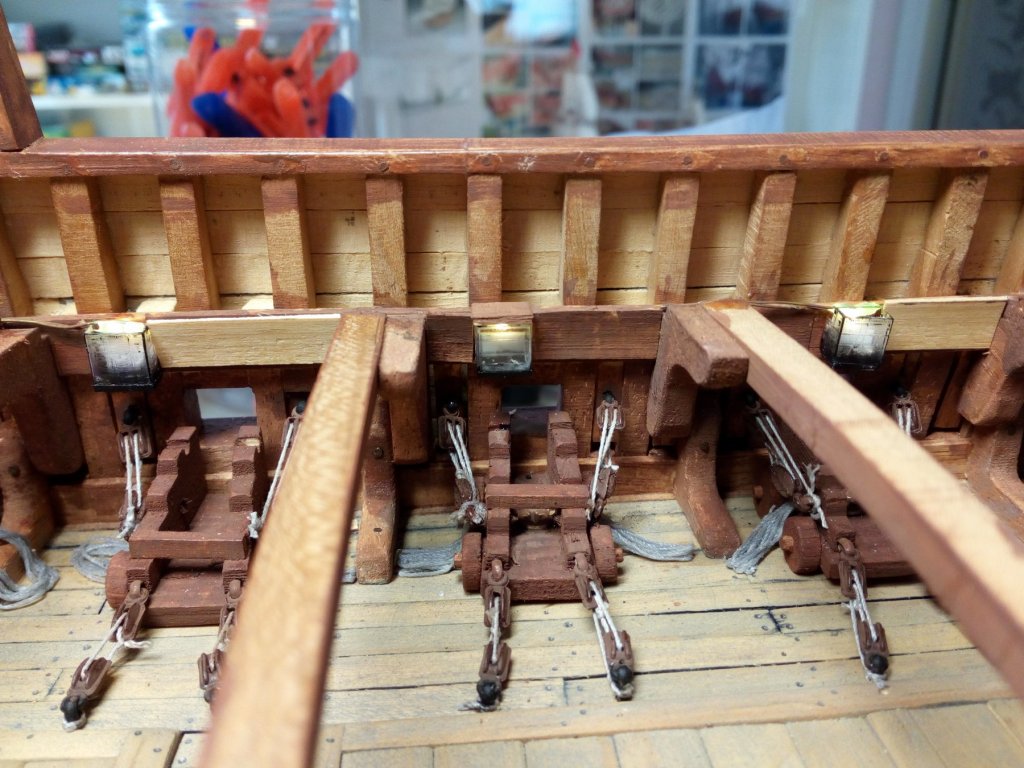
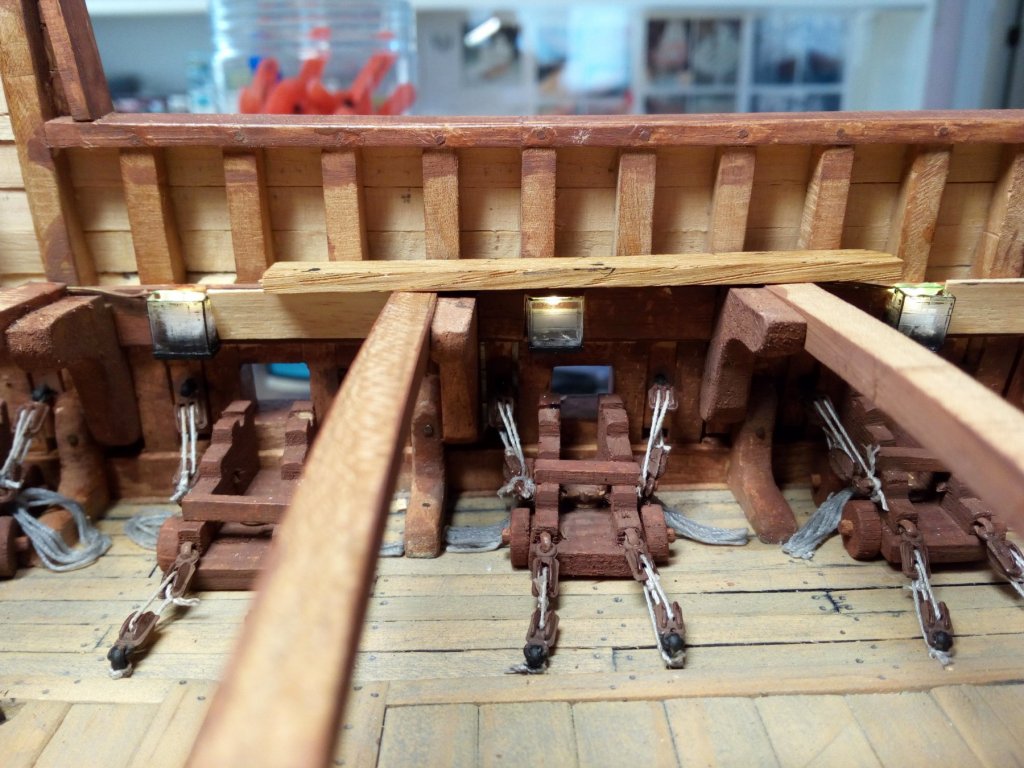
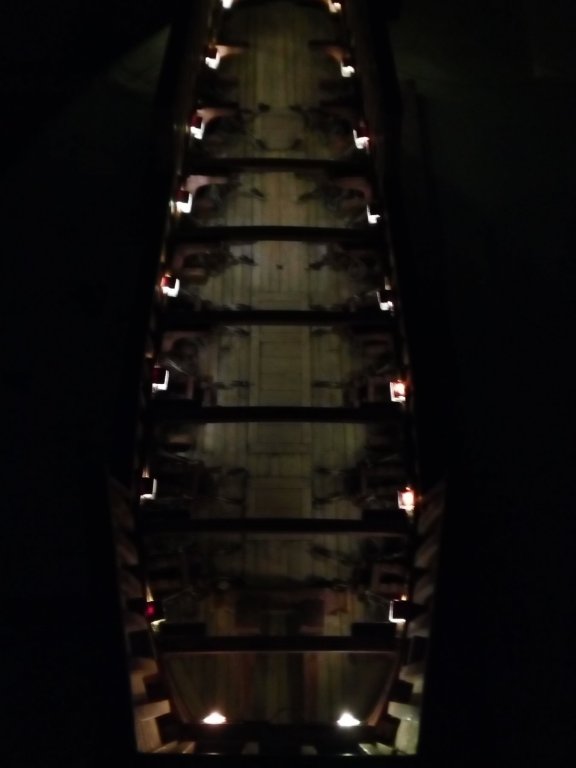
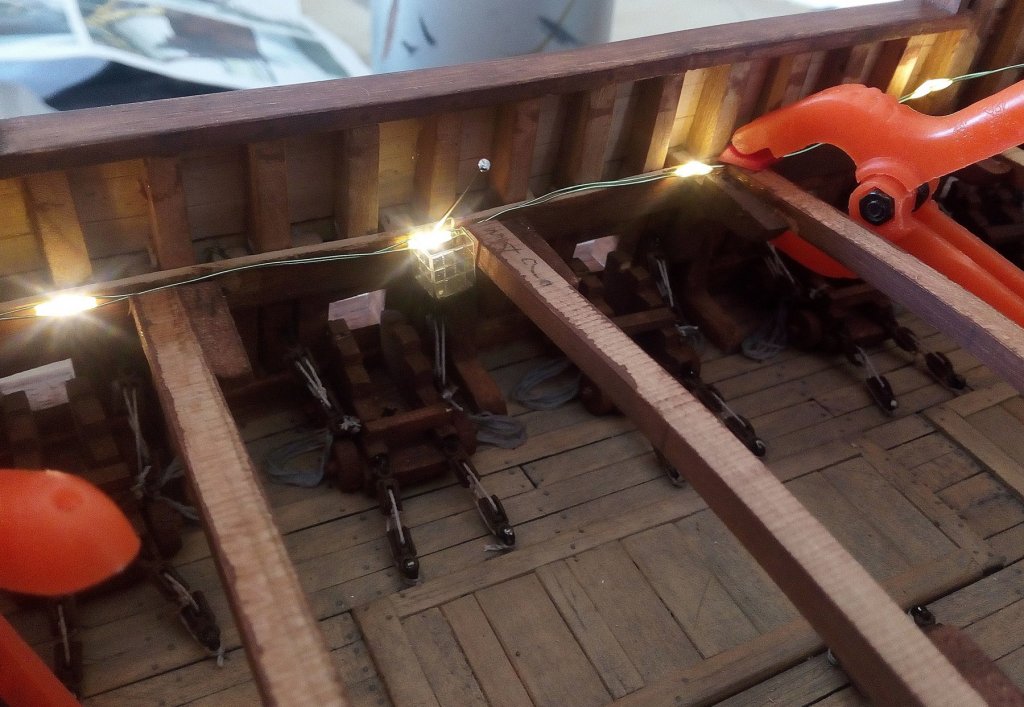
Hello, Because of the exceptional warm weather in this part of the world and other urgent matters that came first, there is little progress to report. But in the meantime I have succeeded in placing the LED lighting. The quality of this work can be much better. But, once the deck is fully placed above it, little of this will be visible. The LED lighting is purchased just after Christmas and New Year. Then there is sale, 40 LED lights with battery holder for about 2 euros ($ 3?) The lanterns are made of plastic sheet. Where the lighting remains visible, lanterns have been placed. Not at other places. a first "prototype" There is still room enough to place the deckplanks above the lantern visibility through the cannon ports I do not think that in the 16th century there was one ship with so much lanters below deck as on my model .... Thanks for following and reacting (the like button is now a reacting button, i noticed 👍😉).

- 756 replies
-
- 12
-
-
- galleon
- golden hind
- (and 2 more)
-
Greetings from Belgium
-
Cool old sail ship request for info please
Baker replied to Muskies's topic in New member Introductions
Your children can sell very well And -
Hello from therealangrysailor
Baker replied to Therealangrysailor's topic in New member Introductions
Greetings from Belgium -
HMS ROYAL KATHERINE 1664 by Doris - 1/55 - CARD
Baker replied to DORIS's topic in - Build logs for subjects built 1501 - 1750
Congratulations to you. And your assistant- 1,035 replies
-
- 6
-
-
- royal katherine
- ship of the line
- (and 1 more)
-
Interesting build to follow. I had no idea how such a ship was built at that time. Until now. Great work Steven
-
Greetings from Belgium
-
Greetings from Belgium
-
A nice model of a Hanze ship (in German or English) http://www.modelships.de/Verkaufte_Schiffe/Hanse_Schiff_1/Hansa_ship.htm And on this site (in dutch) http://www.zuiderzeehoorn.nl/pg-27093-7-105505/pagina/15e_eeuw__-_kopie.html Also a model
-
-
-
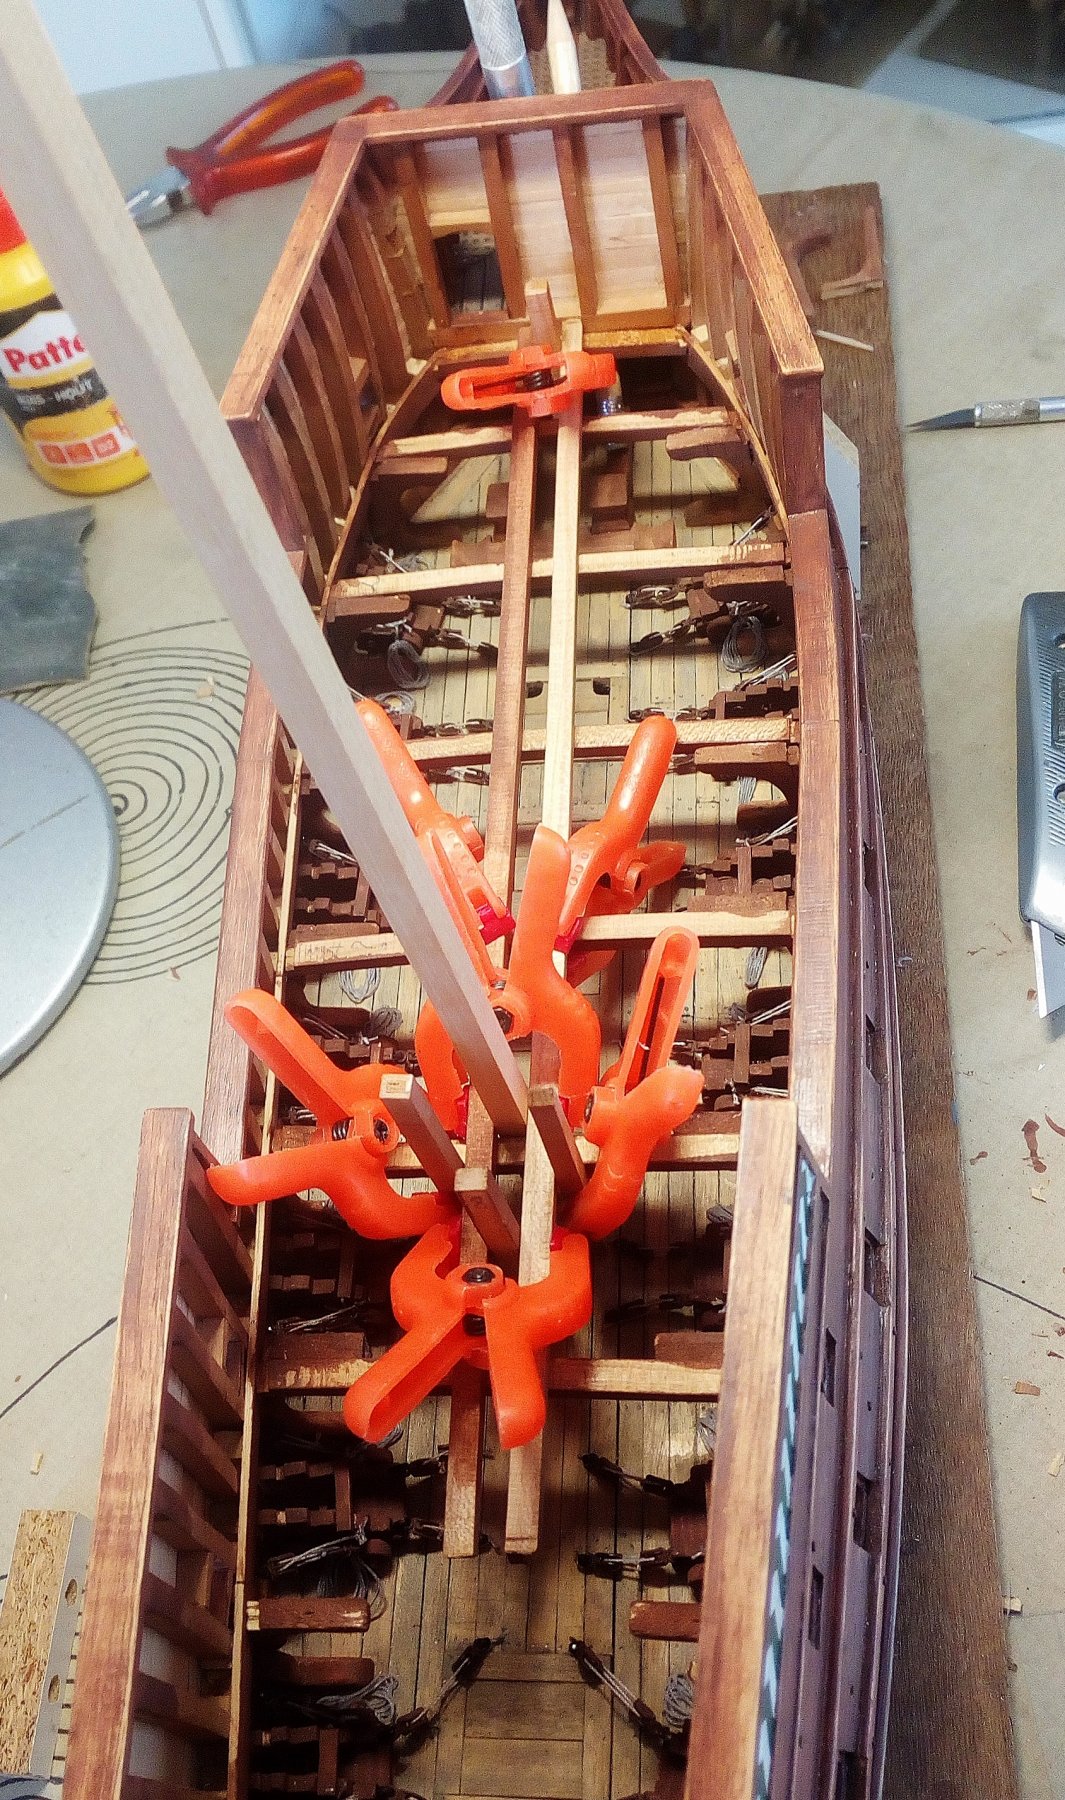
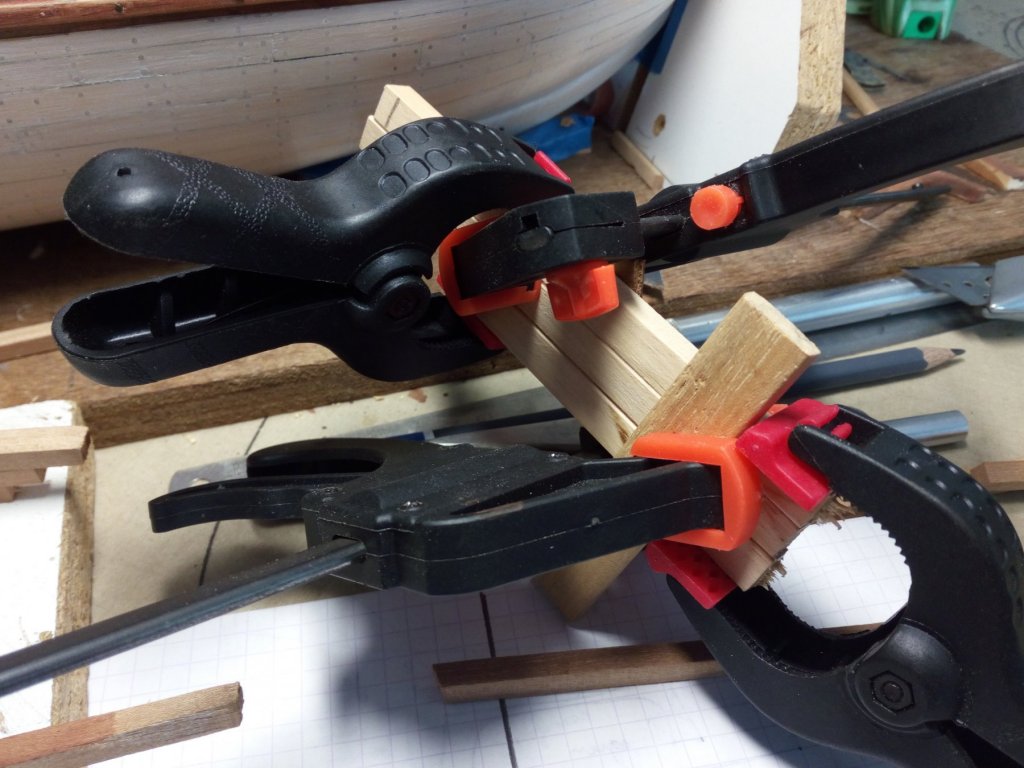
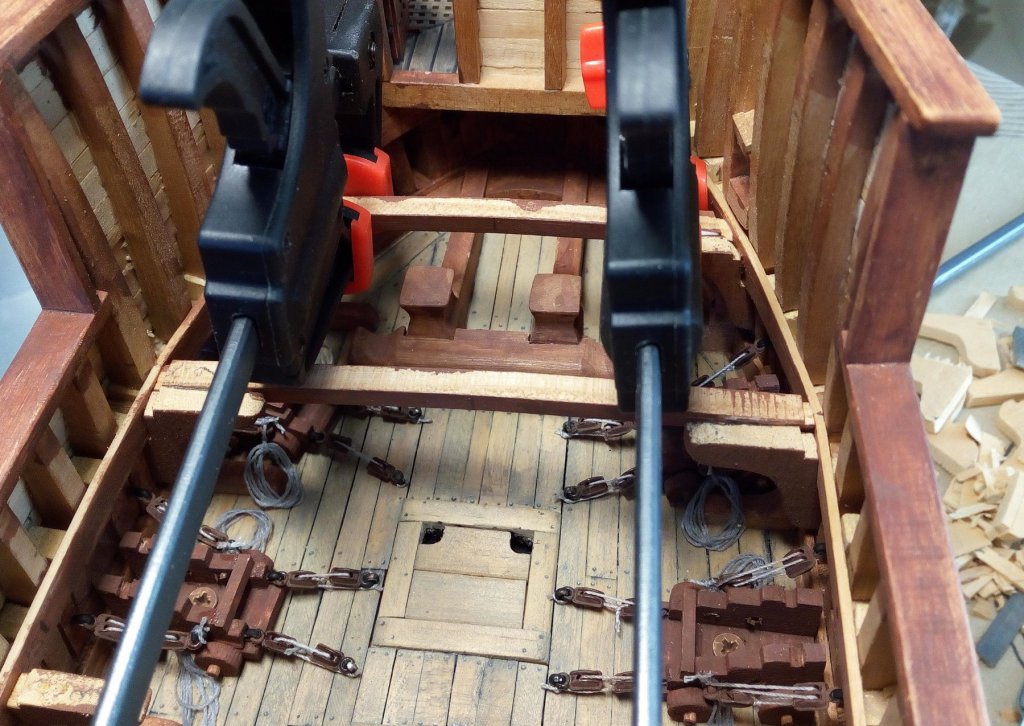
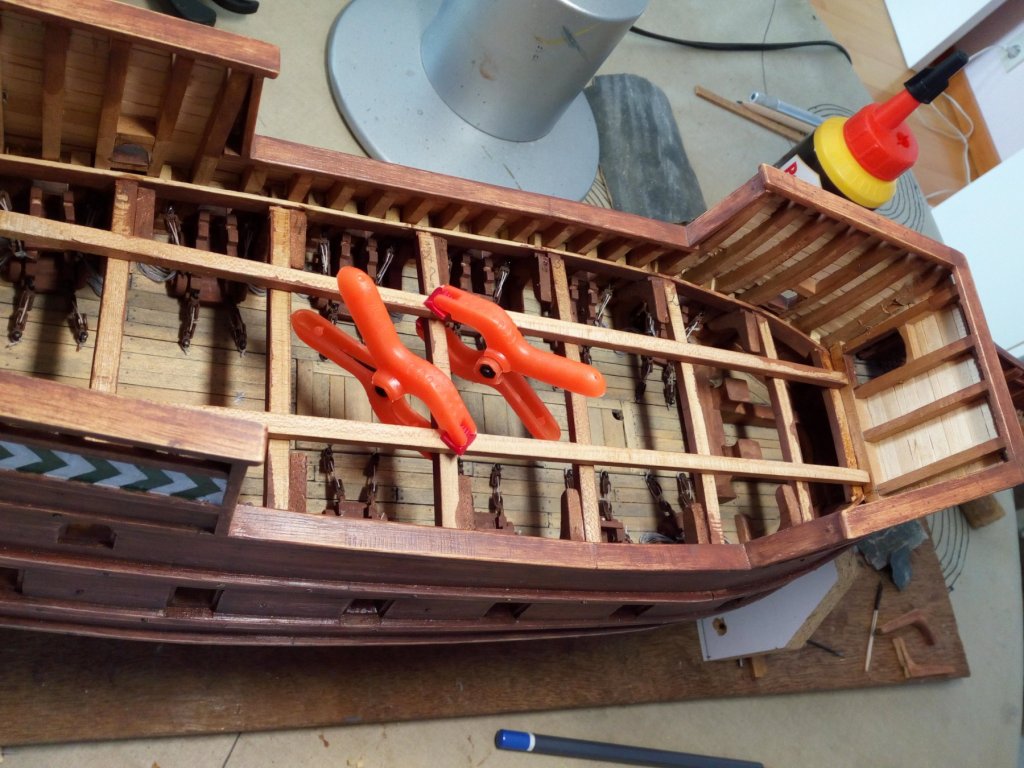
come and get it Thanks Michael, But beer at room temperature. No no, in Belgium we drink cooled beer Thanks, Kriek, also tasty. It is still too hot here in Belgium (it is from 1976 ago that it has been so hot and dry here) So building is slow. I started with the deck beams and the hanging knees. The deck beams are made of cherry. They are 24 hours soaked in water and 24 hours clamped. I made this a month ago to see if they kept the correct curved shape. Most remained correctly curved. Most deck beams are placed. The rear beams are not yet installed, first I have to put the helm in place Still much to do. Did a test set-up of the deck with the main mast. Have to place LED lights and make lanterns (one prototype as a test, and for now not yet satisfied with the result). etc, etc. Thanks for following and likes


- 756 replies
-
- 11
-
-
- galleon
- golden hind
- (and 2 more)
-
Hello I found this old topic
-
Greetings, Patrick
-
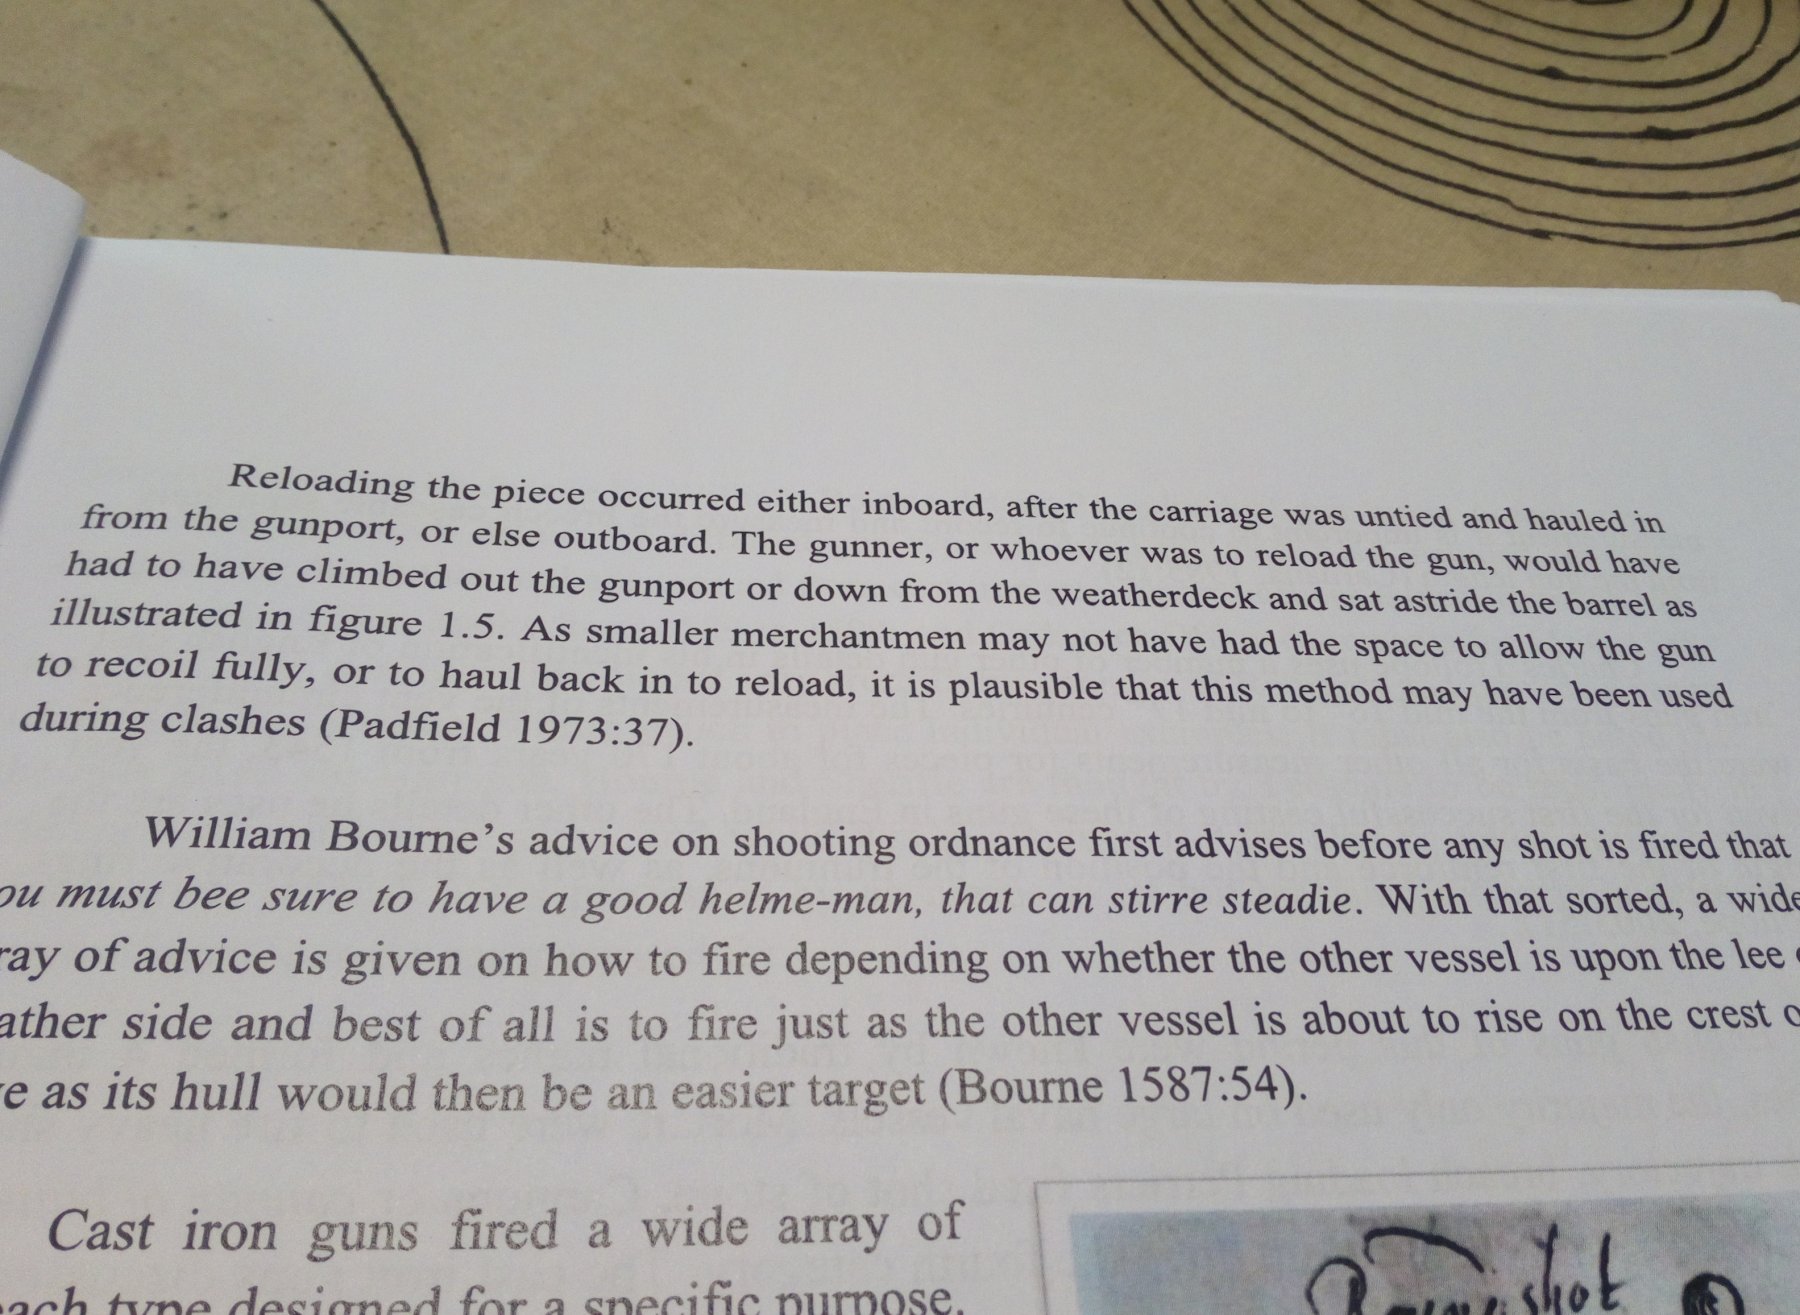
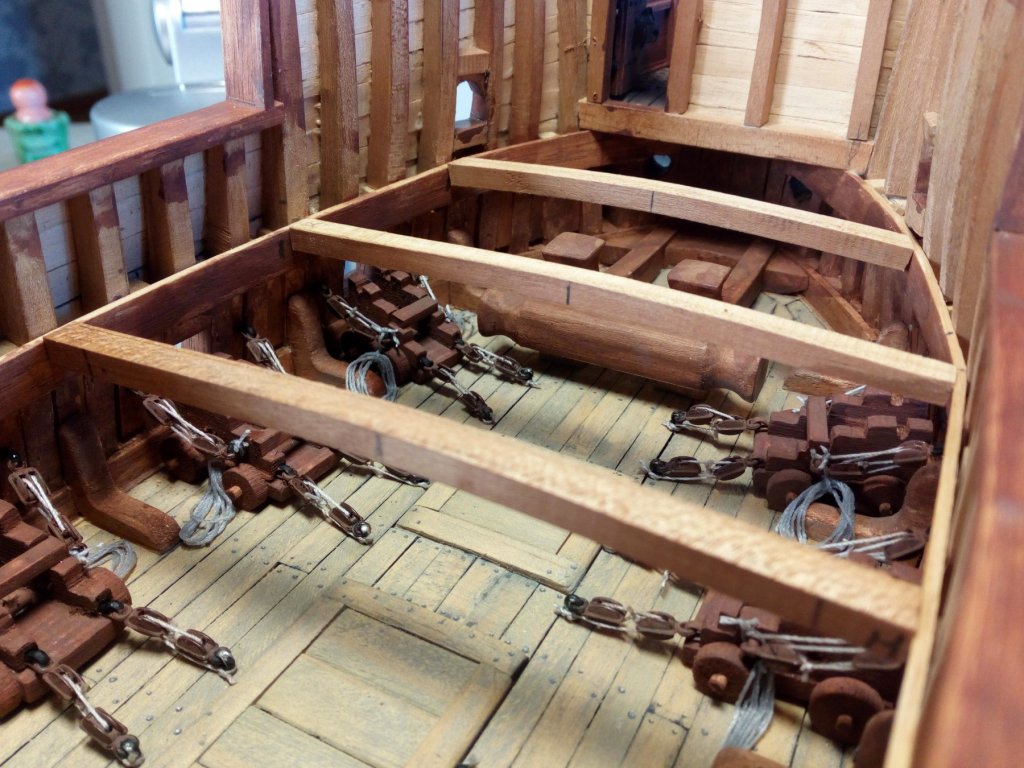
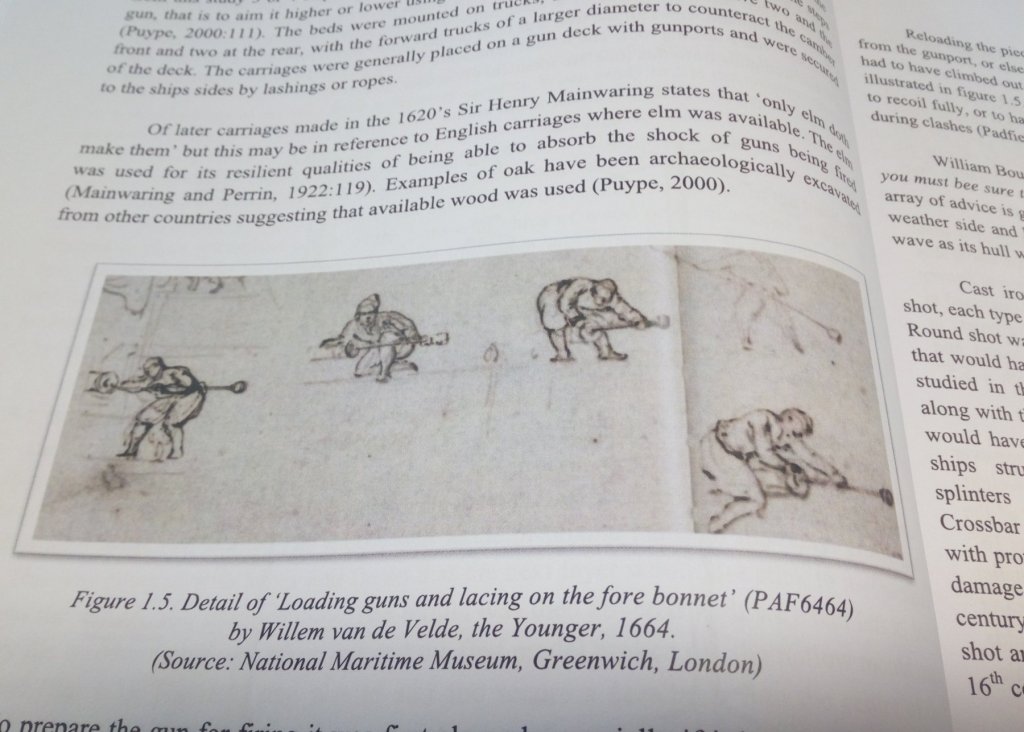
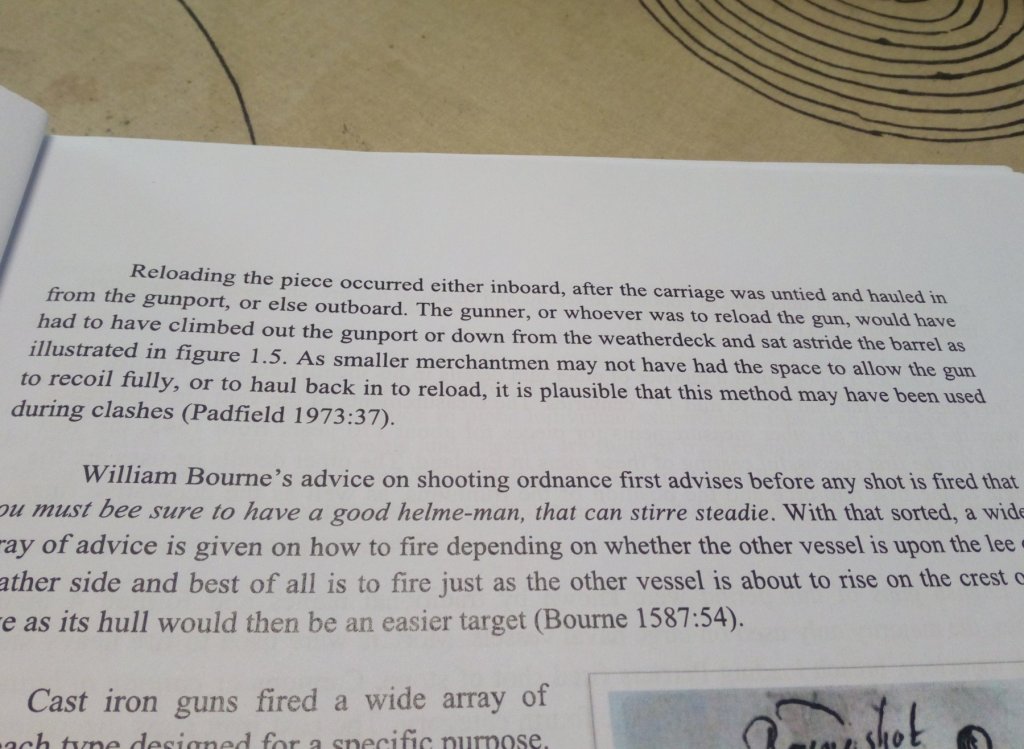
Carl Believe it or not. Outboard loading was, at that time, more a necessity than an exception Thanks, Do you remember the discussion we had? How to load the 2 small cannons on the deck on your Vasa. Maybe the text and images below show the solution. Climbing overboard... on y Meanwhile, here in Belgium it is to hot to build modelships. a drink a day keeps the doctor away
- 756 replies
-
- 12
-
-
- galleon
- golden hind
- (and 2 more)
-
Tłumaczenia językowe są okropne!!! = Language translations are terrible !!! Yep, Google translate is useful. But indeed, it sometimes makes strange misspellings You Colleagues are both right !!! Thanks (dziękuję) I'm doing a model for the Polish edition of the De Agostini collection. I undertook to do it exactly according to the instructions contained in the notebooks. In my case, the case is based on the proof that this model can be built based on De Agostini notebooks. Bad research from De Agostini I build according to instructions, but on the Polish blog I suggest modelers how correctly these elements should actually be valorized. Great work !!
- 146 replies
-
- 3
-
-
- deagostini
- vasa
- (and 1 more)
-
Then the instructions are totally wrong about this point. Hubac's Historian is right. It is indeed advisable to correct this error. Ps Otherwise very nicely done.
- 146 replies
-
- 3
-
-
- deagostini
- vasa
- (and 1 more)