Baker
-
Posts
4,280 -
Joined
-
Last visited
Content Type
Profiles
Forums
Gallery
Events
Everything posted by Baker
-
-
 Thanks. No, I first draw pencil lines and then start drilling
 -
Nice work. Indeed 👍 (page 5) https://www.modelbouwforum.nl/threads/peters-dwarsdoorsnede-van-de-17de-eeuwse-pinas.288003/page-5
- 76 replies
-
- 2
-

-

-
- Pinas
- kolderstok
- (and 2 more)
-
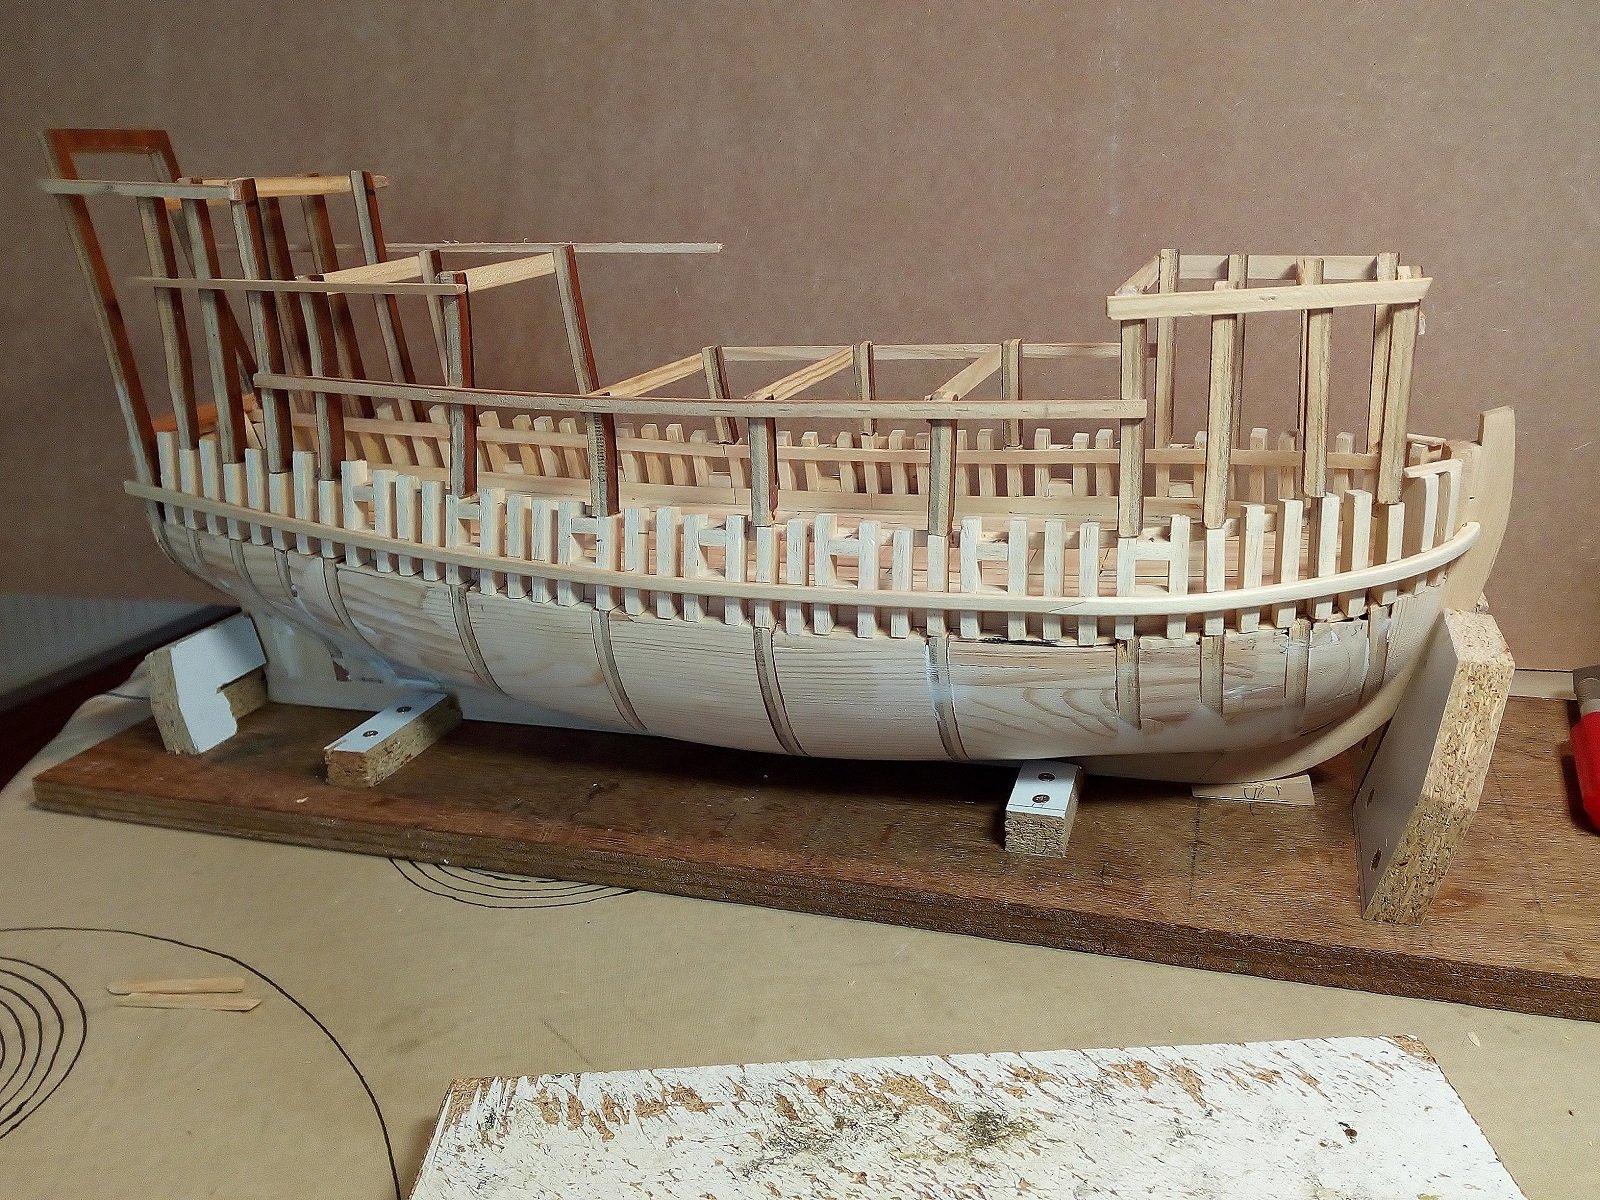
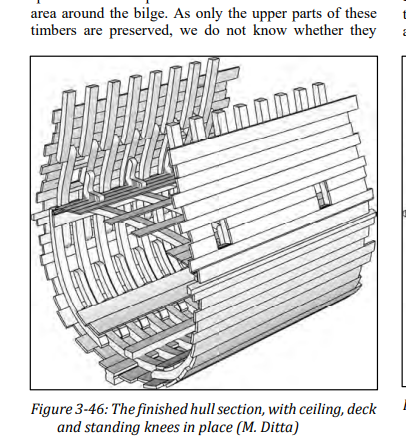
Baker fragments ( from the real Baker ) Pricess channel Spanish (Red bay) Starting with a wale. And then using this wale as a base, planking up and down was the most logical method in my opinion. More about this planking see link in signature

-
So they're basically big check valves. I used to think they were dummy cannon ports when i was younger.. . Thanks, mistery solved ...
-
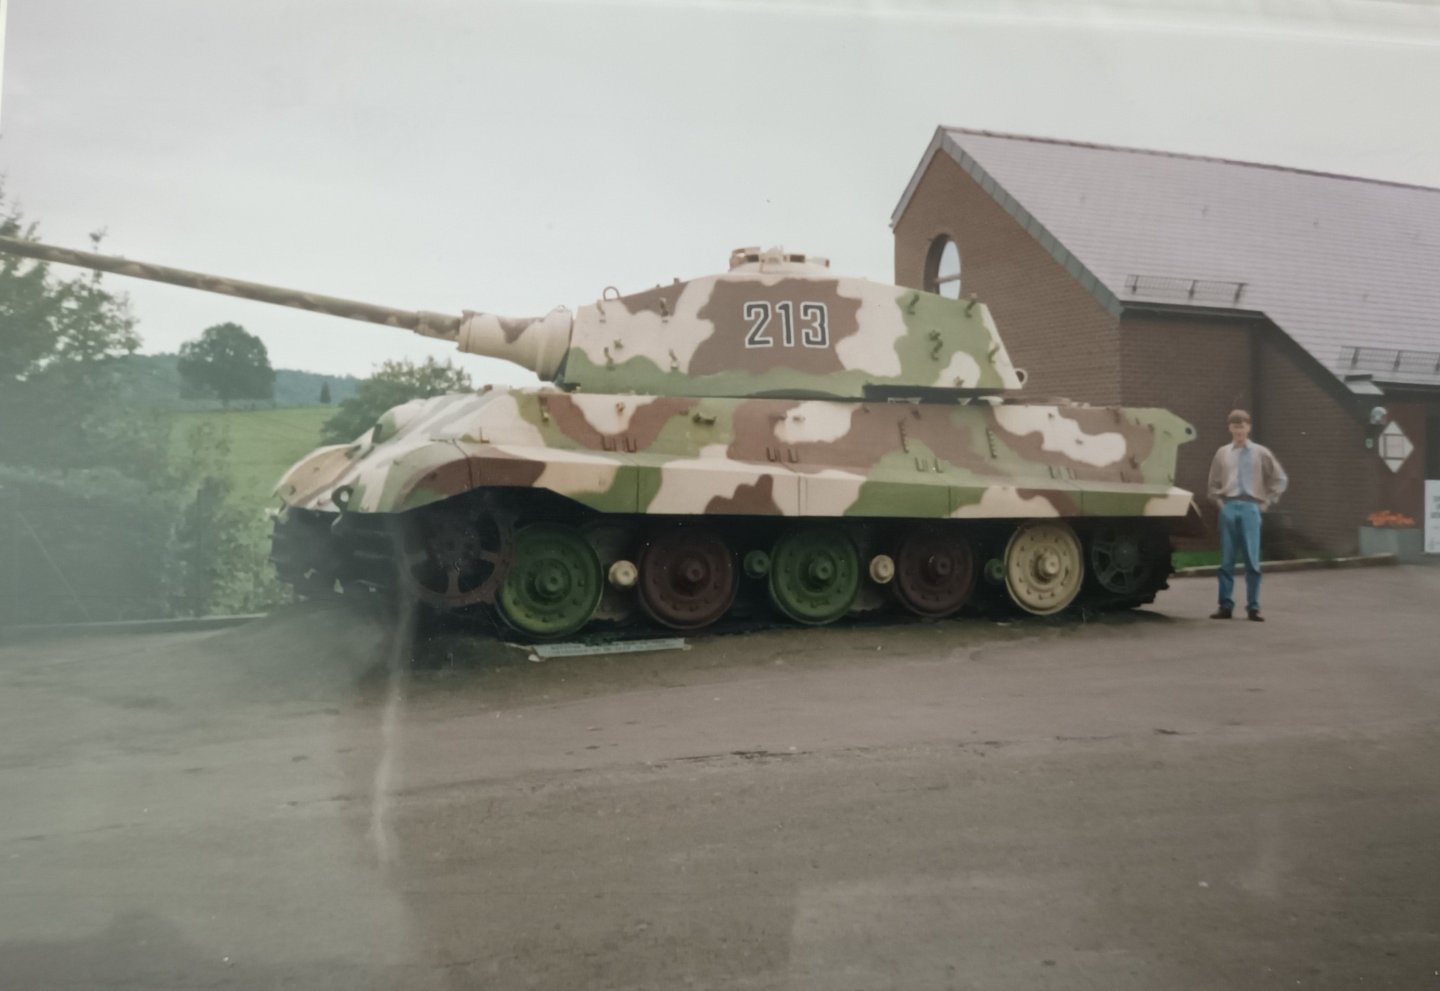
BTW. This Patrick is 32 years younger in the photo than he is now. To my knowledge the only Tiger you can visit for free http://www.december44.com/en/history_battle_of_the_bulgela_gleize.htm Back to Mary, Painting the transom, chapter 4... After adding some small wales. A rough sketch. And the result. This is better I think

-
Congratulations Very beautiful models
-
Concrete... No problem, an 88mm round from my Tiger II will do the trick. A little humor now and then can't hurt 😇
-
San Martin by MikkiC - Dusek - 1:72
Baker replied to MikkiC's topic in - Kit build logs for subjects built from 1501 - 1750
This option is the most logical. I will send you a pm with a drawing
-
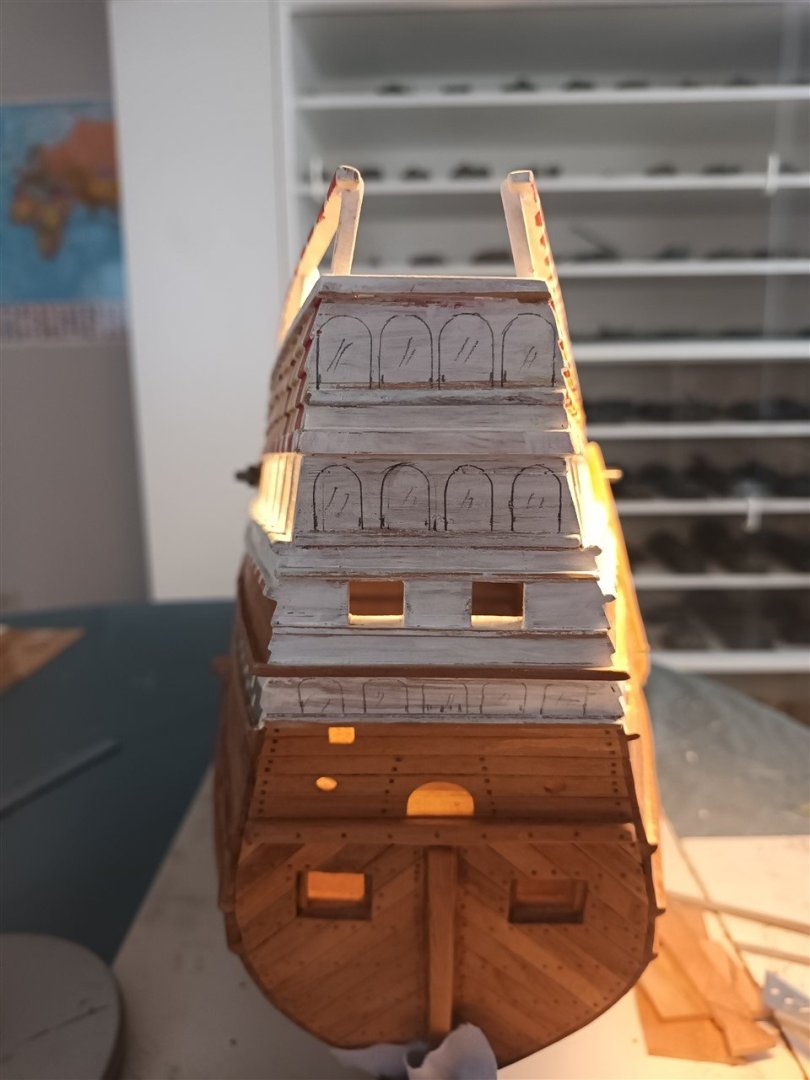
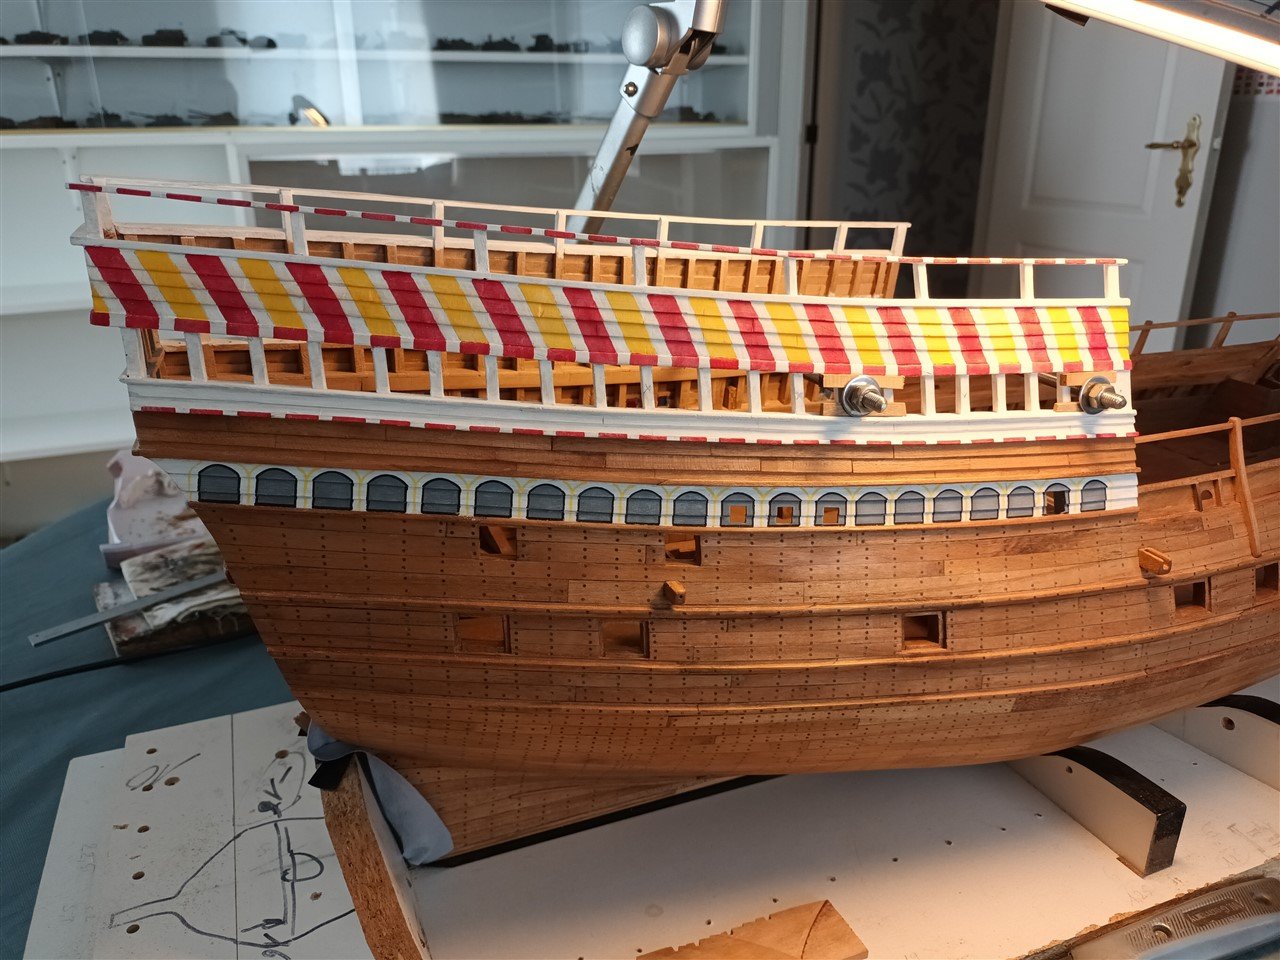
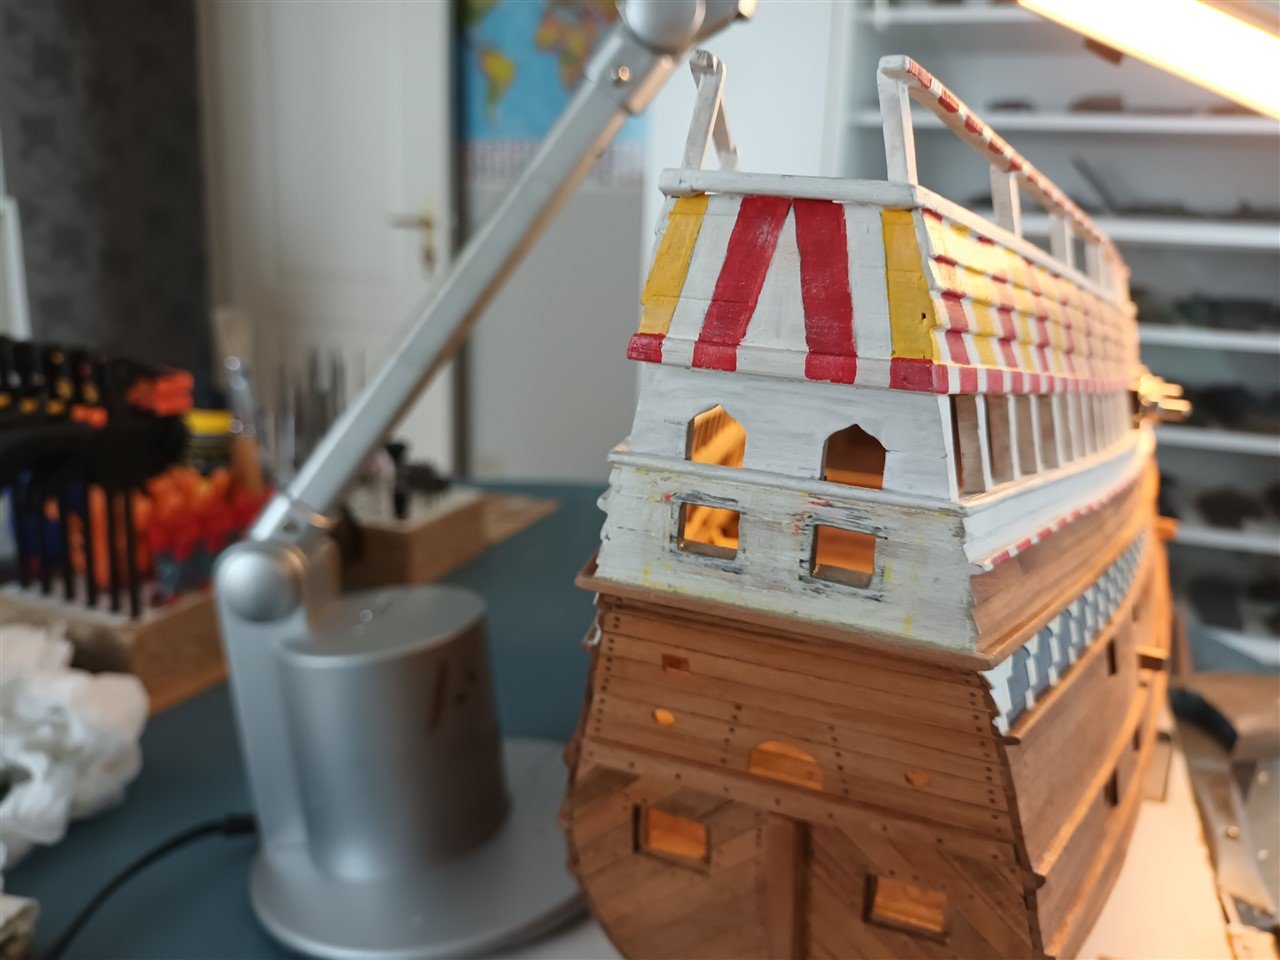
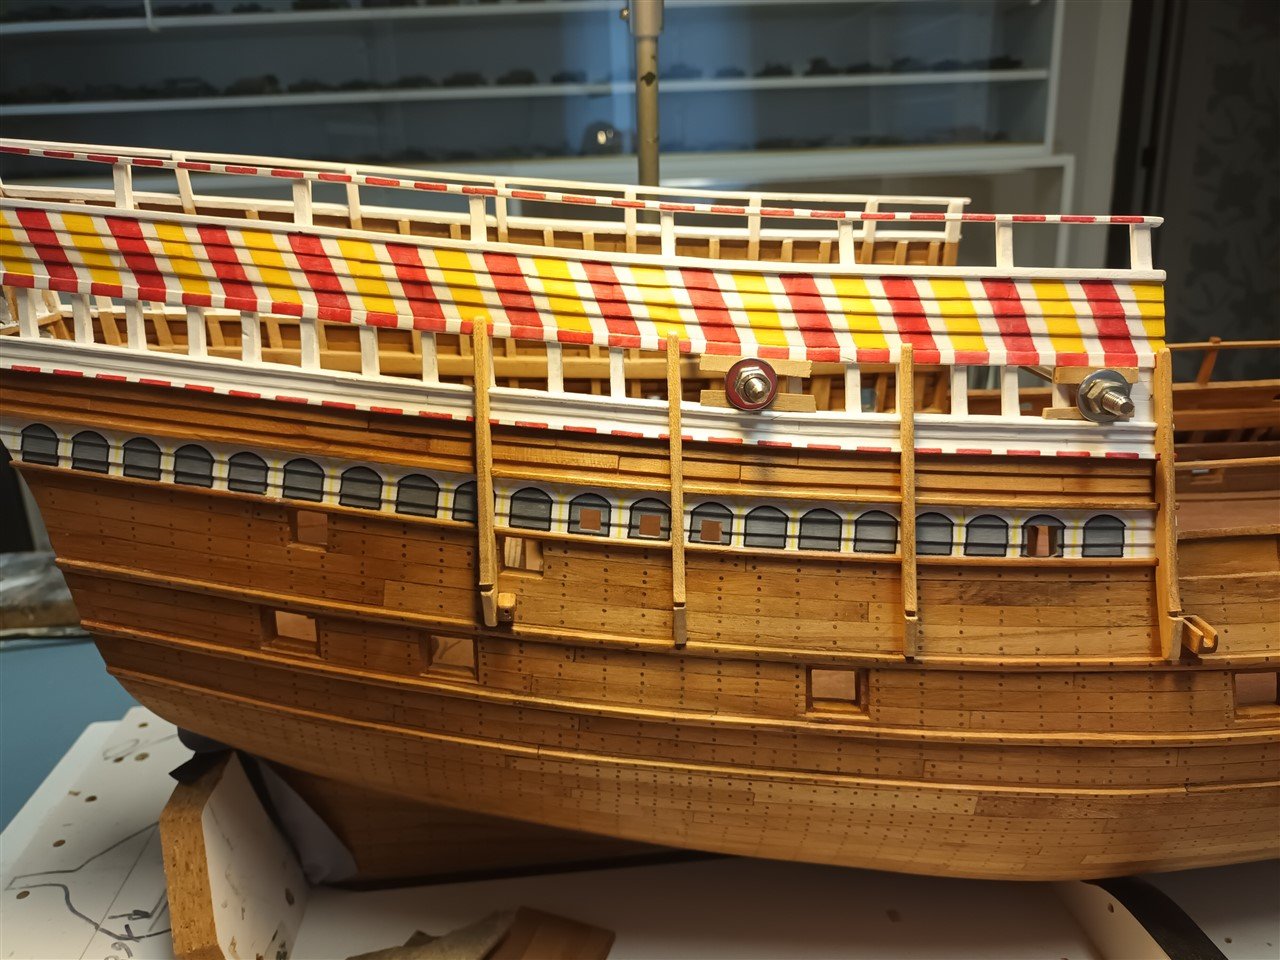
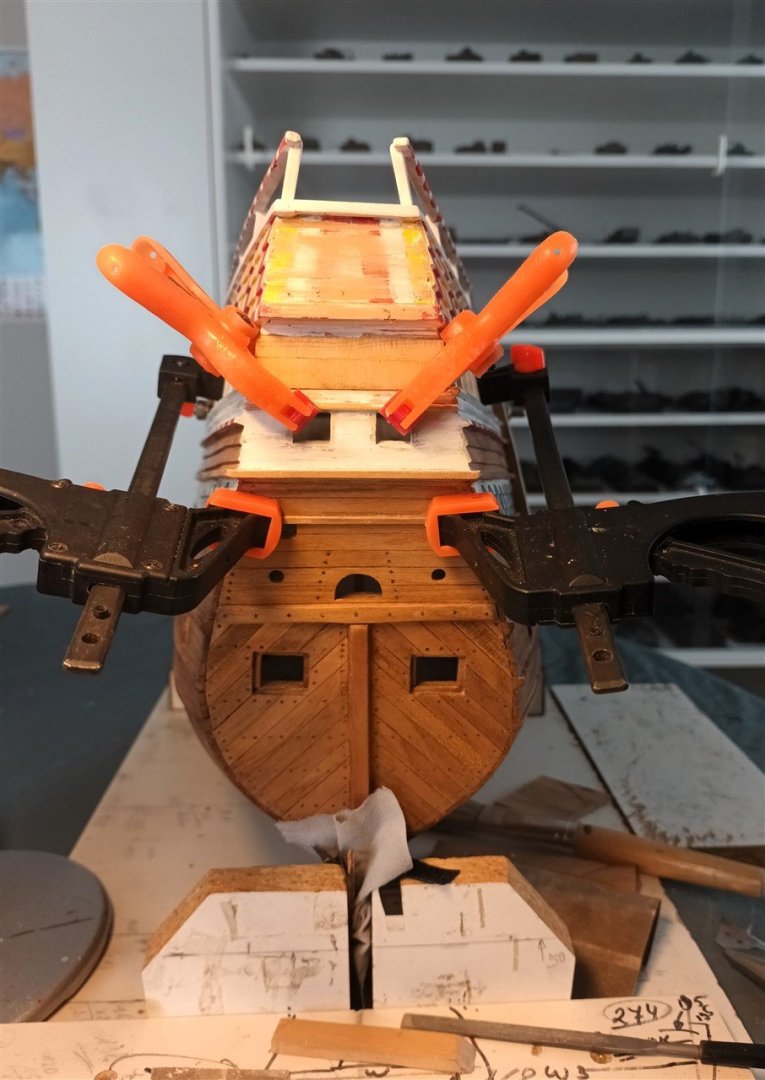
The starboard side is painted And the threaded rods that make the rear castle narrower at the top are back in their place (I am too wide at the top and otherwise I will have problems with the standing rigging) Now the outer standards, with a lot of fitting and measuring and cutting... dry fit The colours on the transom do not want to work 🤢 After 3 different schemes, which did not work. the "short pain" was chosen. A new start, with a scheme that will look more like the Anthony roll Hopefully the fourth time will look better
-
A bit late to start following this interesting build with apparently ups and downs. great work Steven
- 110 replies
-
- 3
-
-
- Paddlewheeler
- Ballarat
- (and 3 more)
-
"Whew" 🙈
-
Don't now. There is no time table for this build. Sorry
-
thanks for the comments and likes. Maybe a bit harshly said 😇, but. Actually, they can leave those bow parts on the bottom of the sea for me. Imagine if it turns out that the entire bow of my model is wrong. Some more information about the fore castle would indeed be nice.
-
Great work, it was nice to follow.
-
Milk delivery wagon by RGL - FINISHED - Miniart - 1/35
Baker replied to RGL's topic in Non-ship/categorised builds
Great 👍 do you also deliver milk in Verrebroek Belgium? if so, 2 bottles of milk tomorrow please 😇