Baker
-
Posts
4,280 -
Joined
-
Last visited
Content Type
Profiles
Forums
Gallery
Events
Everything posted by Baker
-
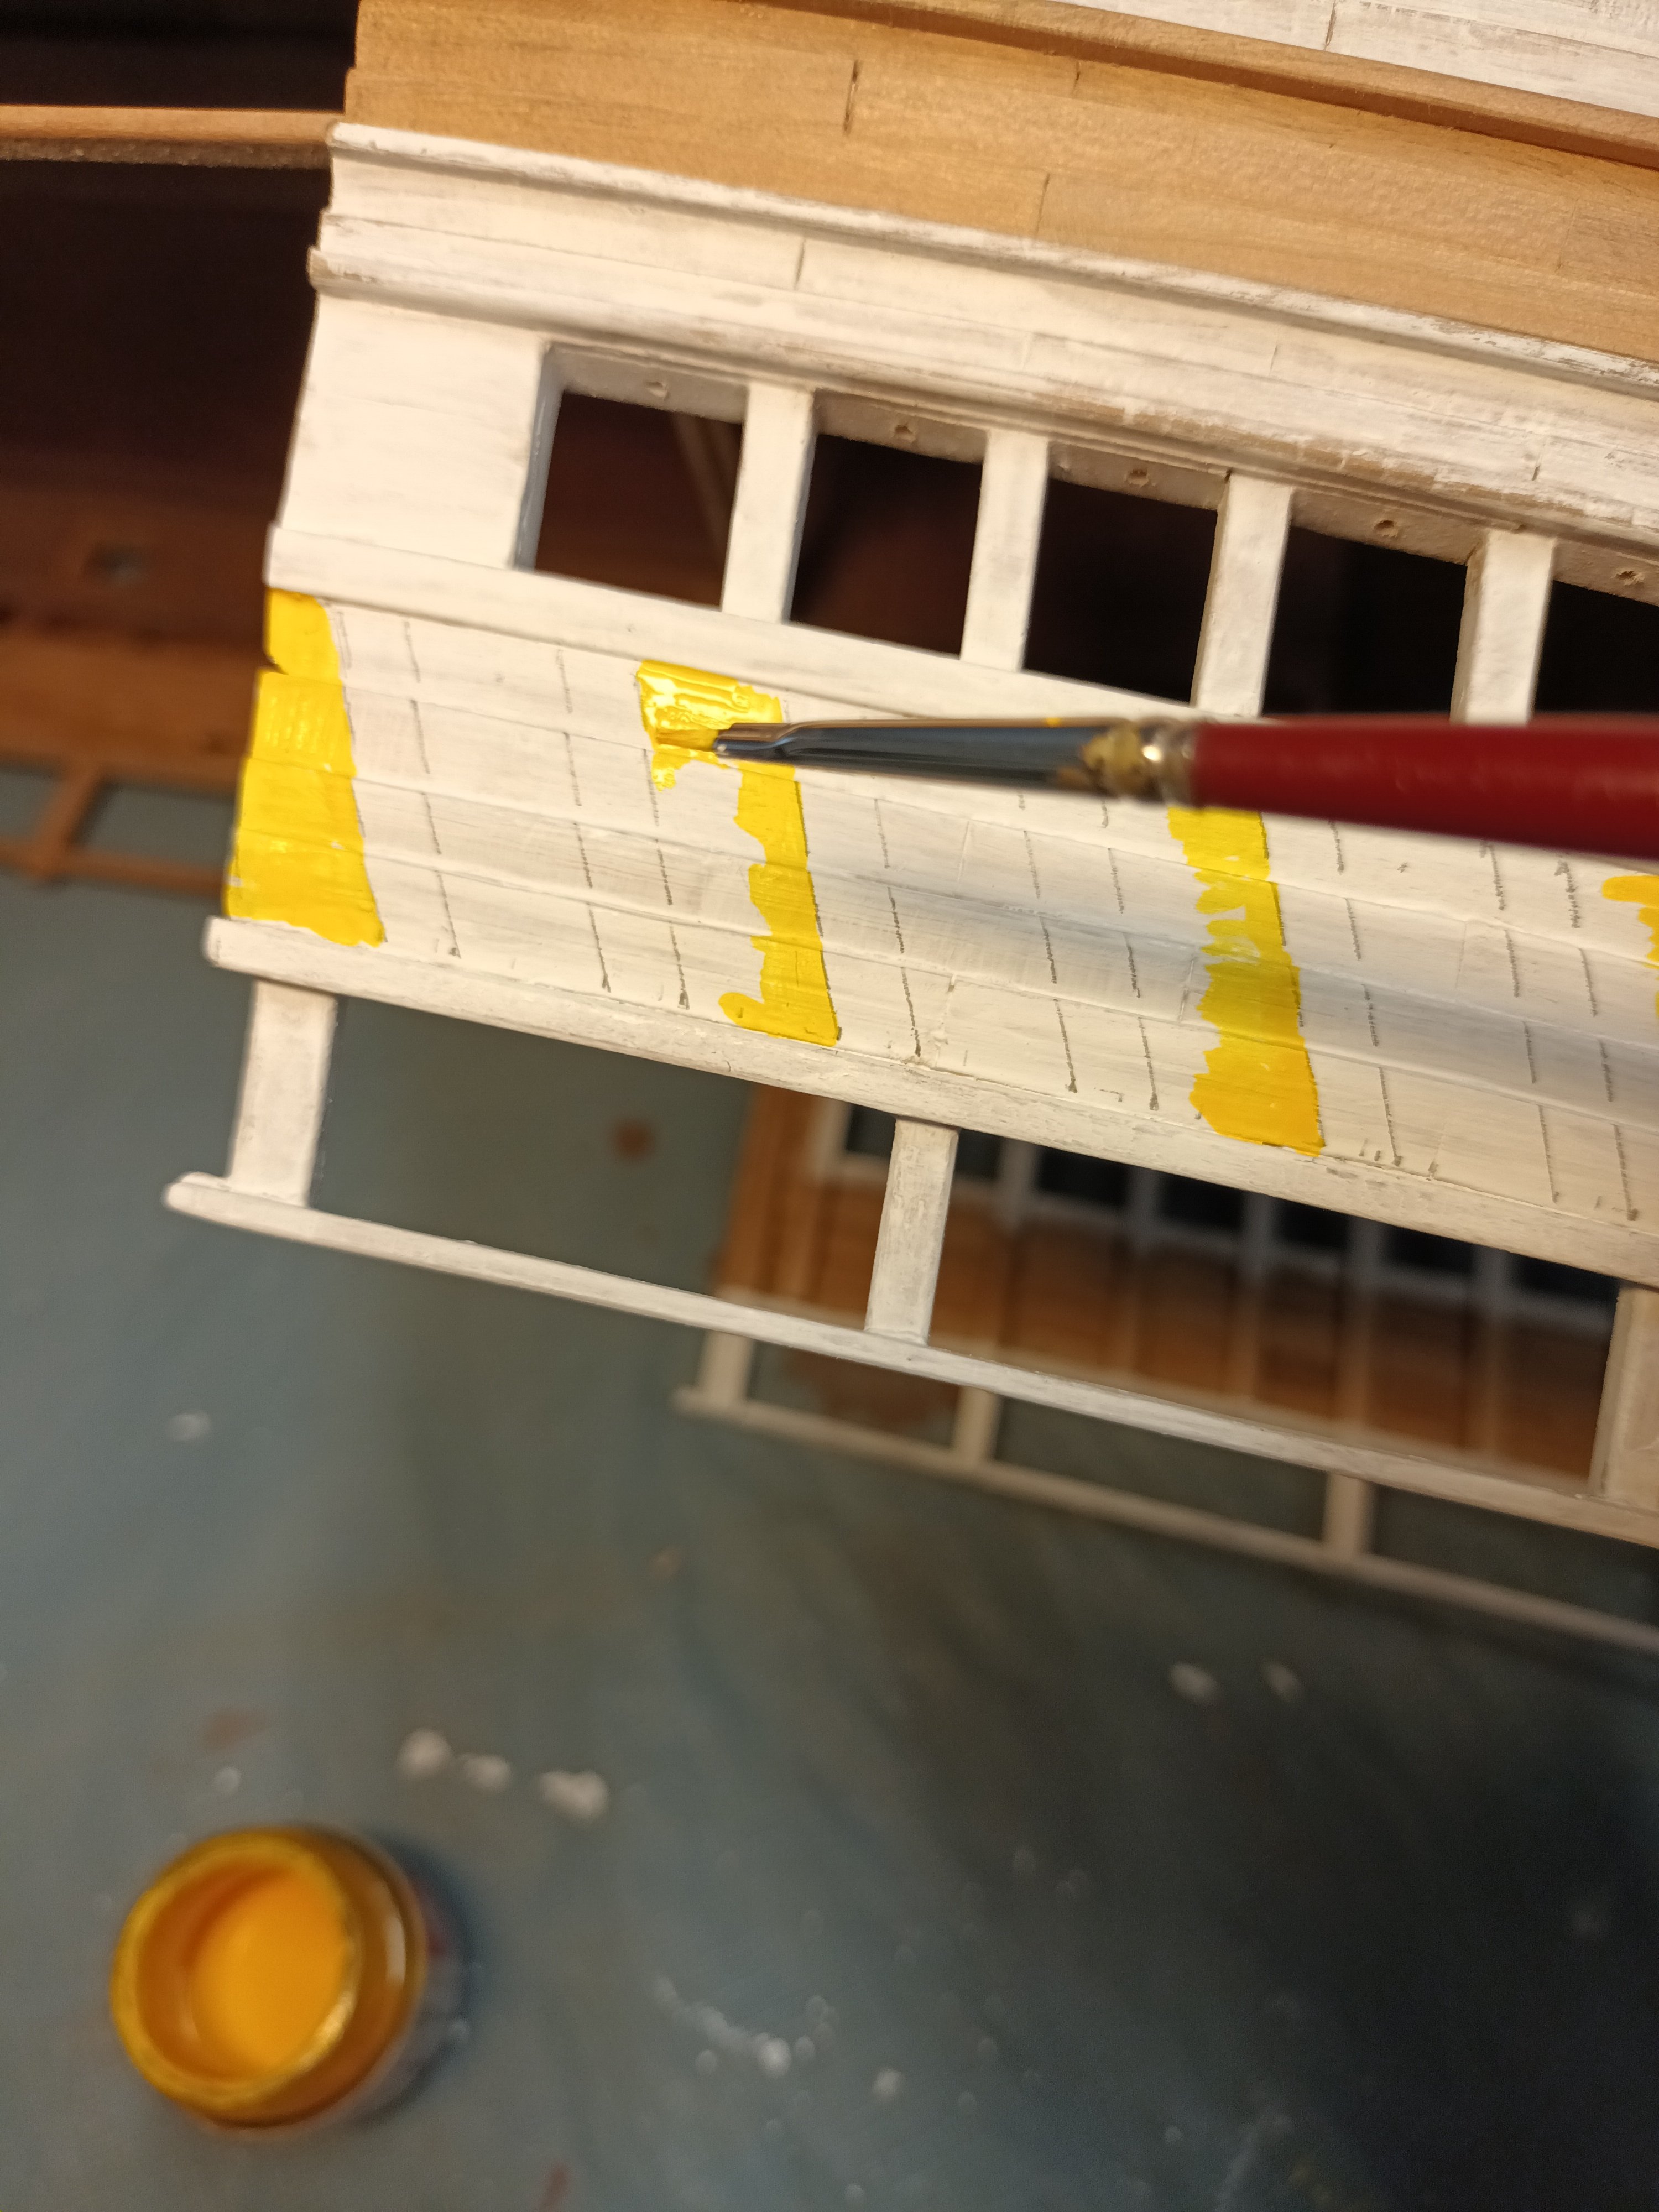
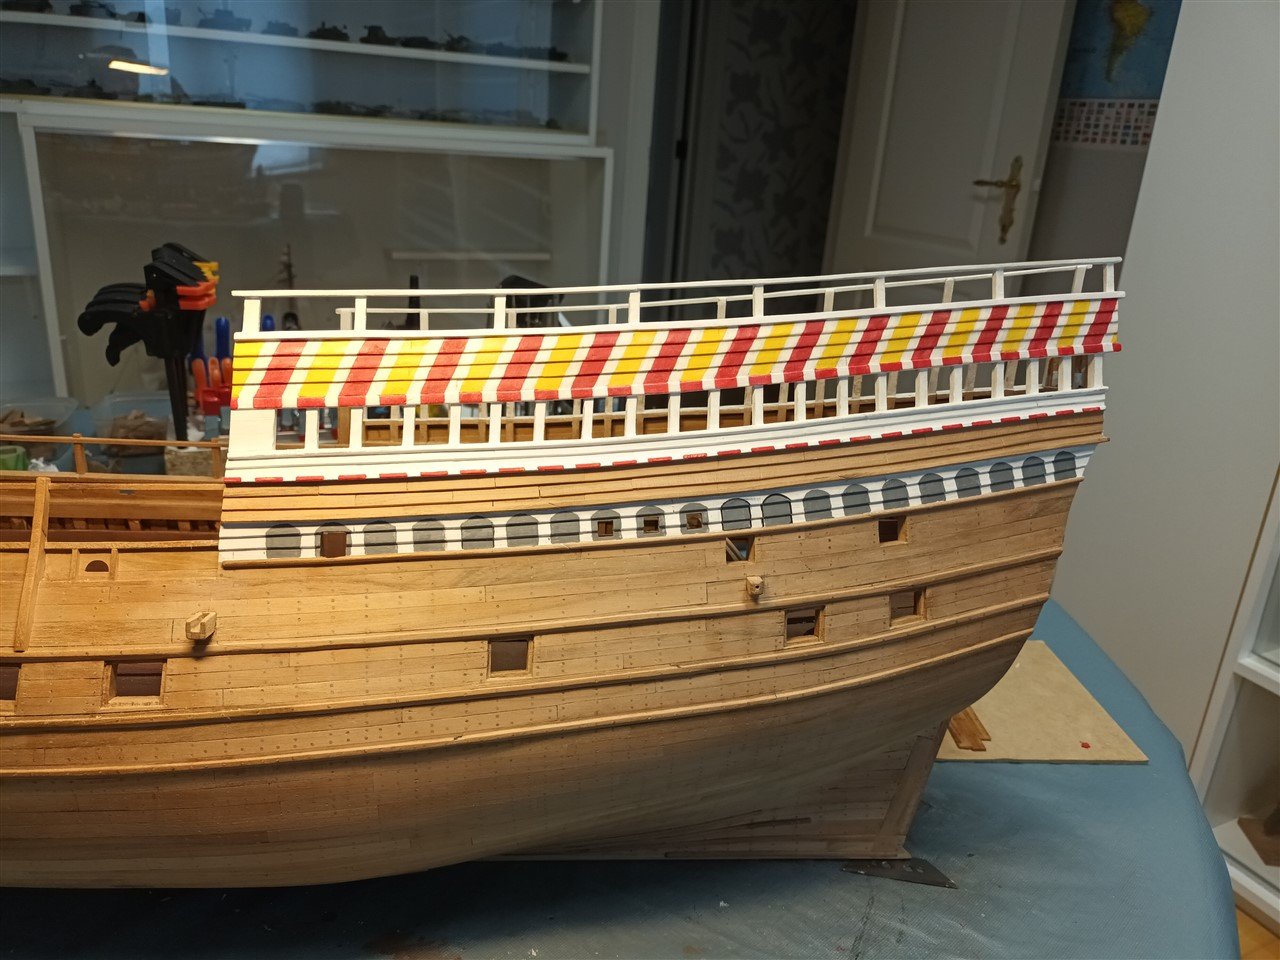
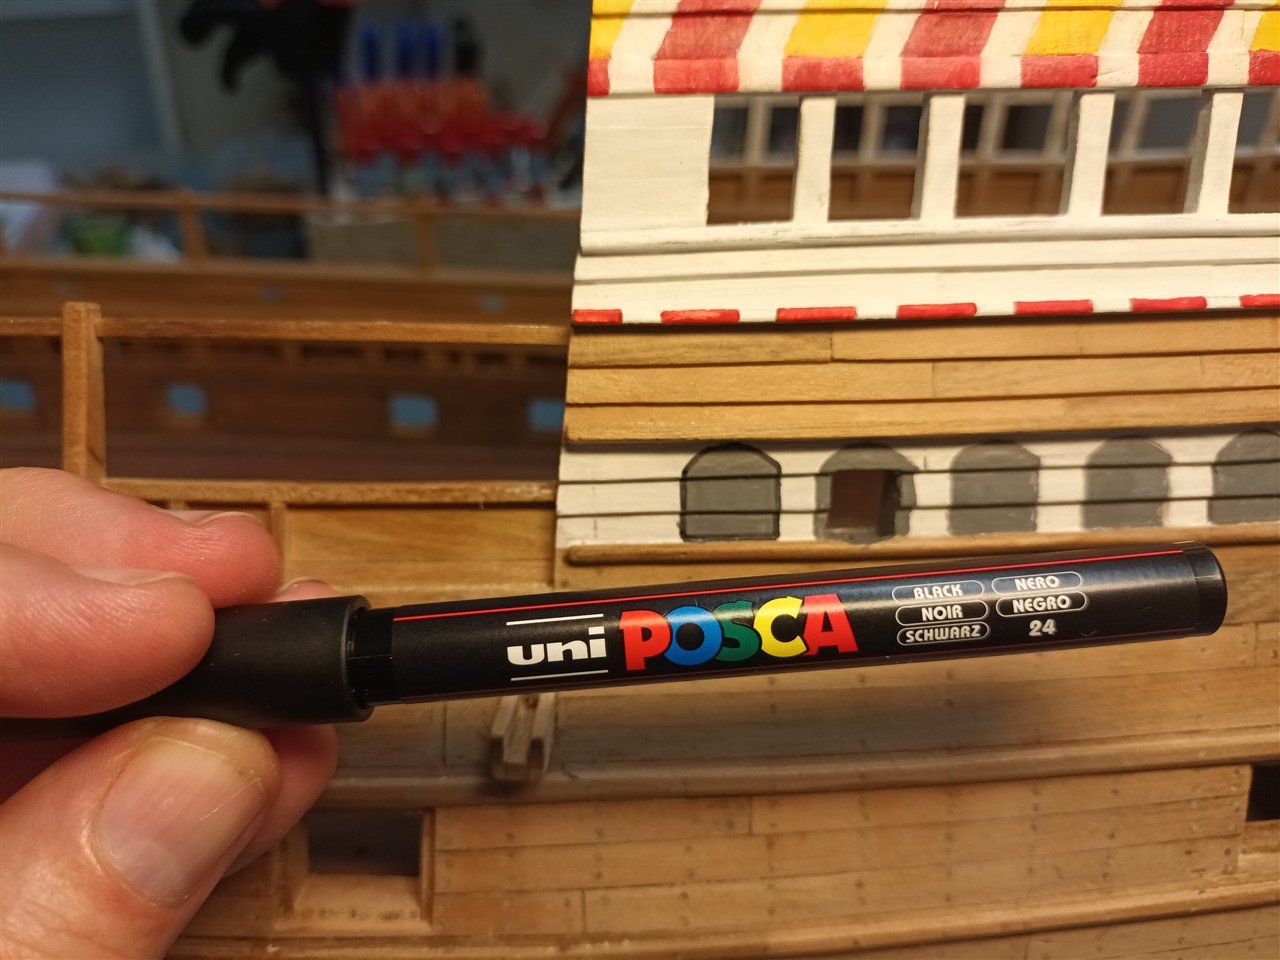
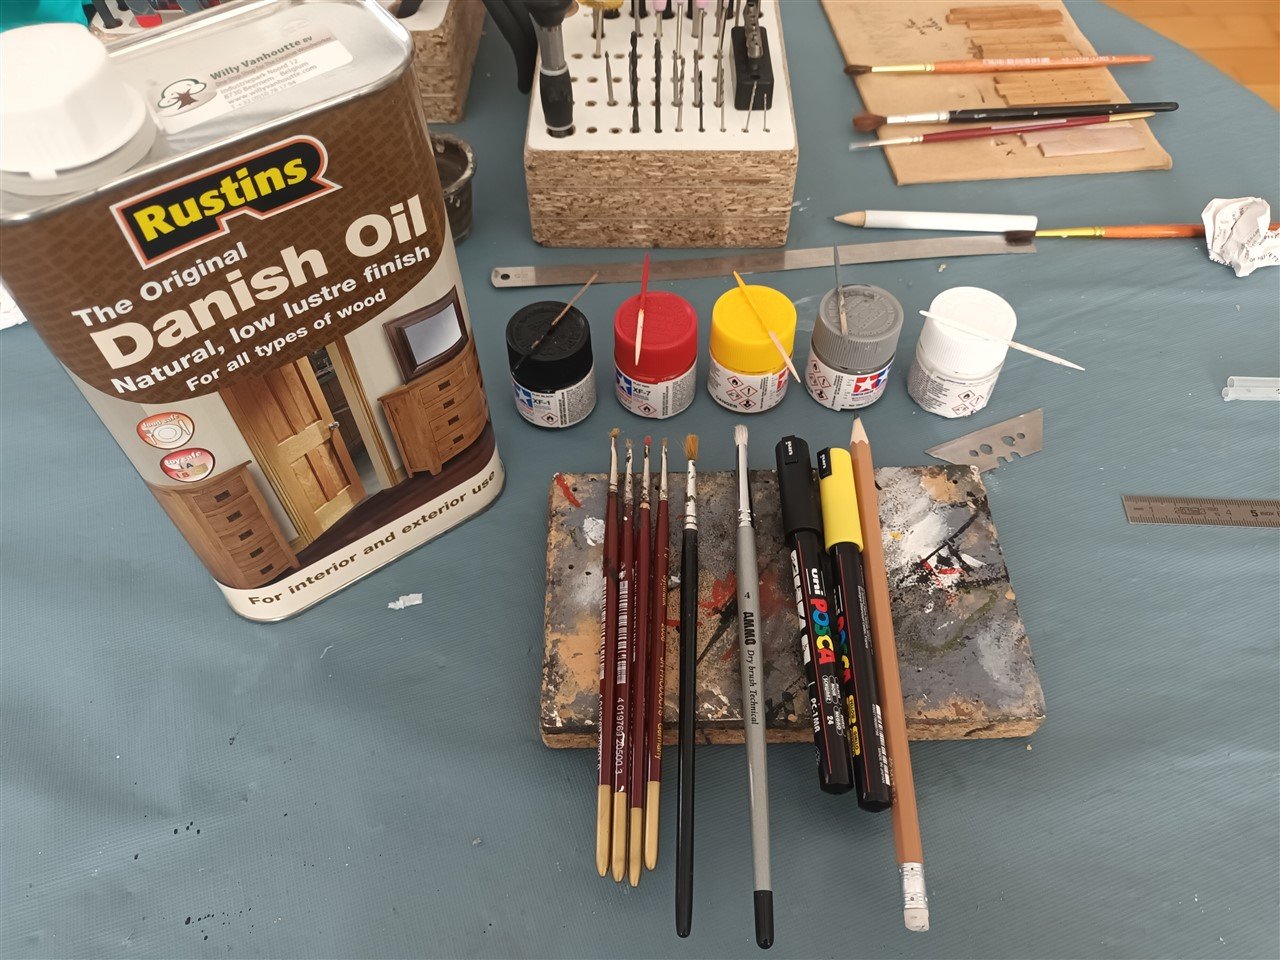
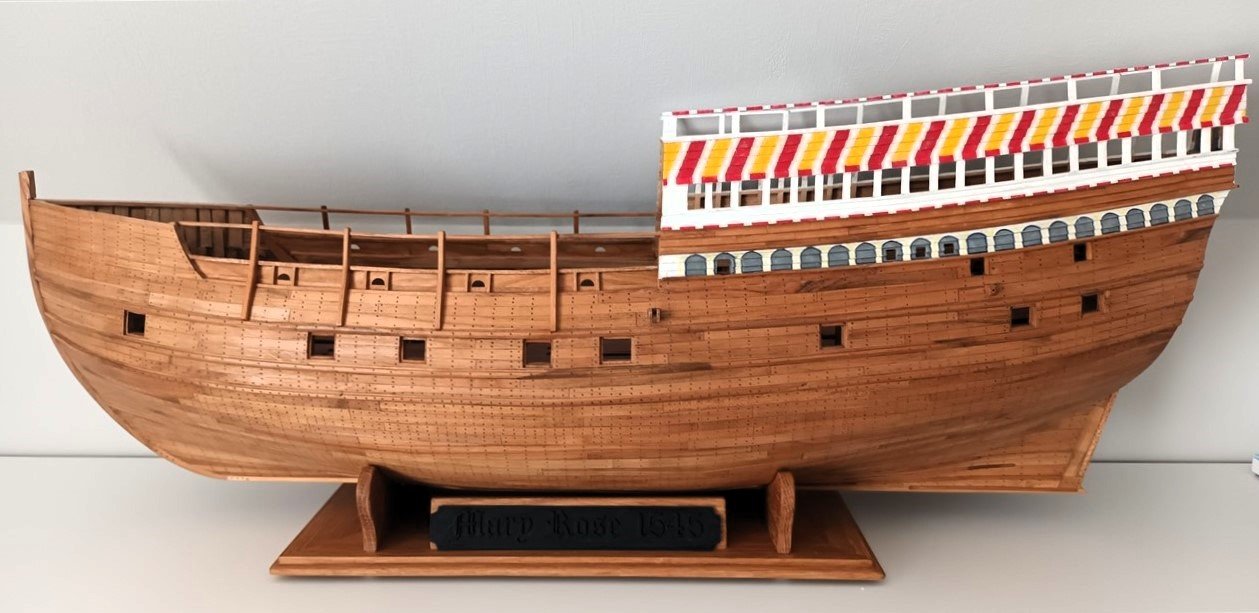
 First of all, thanks for following, likes, and the nice comments. Vacation over, so back to work on Mary (some of us). As mentioned before, applying masking tape to clinker planking is not convenient. And as rightly noted, they didn't have masking tape back then either. So everything is drawn and painted freehand. Materials used: Tamiya paint, paint markers and Danish oil. If you are right-handed, it is easiest to always paint the left line. The colors are applied step by step. The cover of the book serves as a guide, but was not followed completely. Port side serves as a test side. So starboard still needs to be done. That's where we are now All "untreated" wooden parts are provided with a layer of Danish oil. No white below the waterline. The original may or may not have been painted white. None of the ships on the Antony roll have a white underside. This is how the tree nails are most visible.
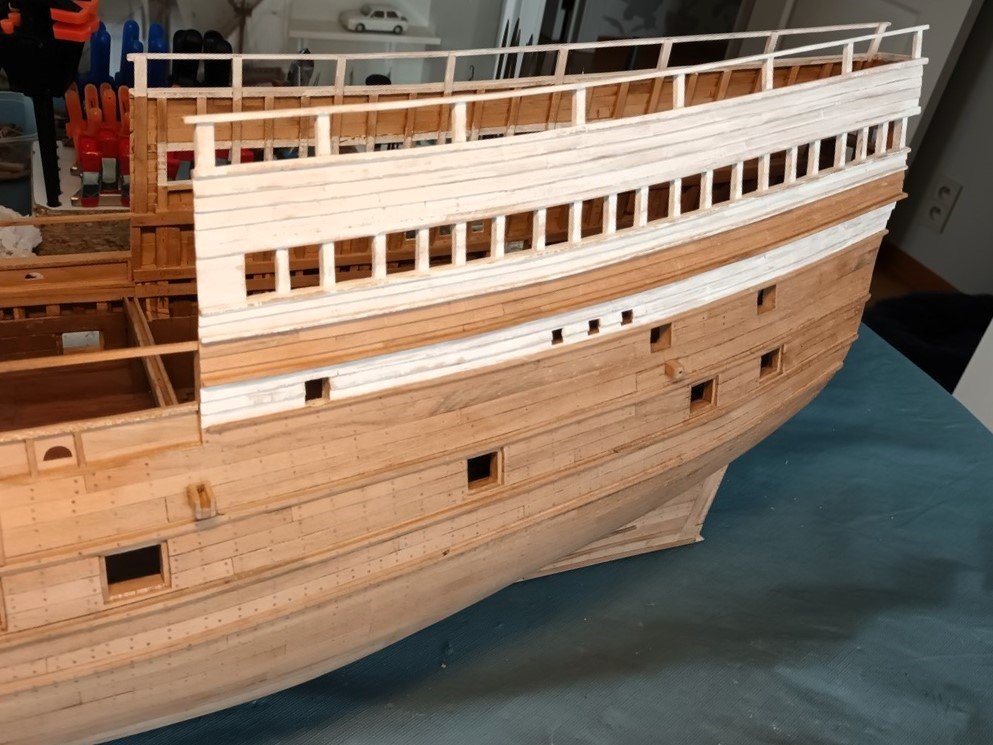


-
thank you all Meanwhile painting has started. And we just got back from vacation. First mowing the lawn, weeding, cleaning the car, refilling the fridge... Applying masking tape to the clinker planking is a hopeless task. so everything will be "free hand" painting. more later

-
Our wives... and we must go with them 😇 Great work.
- 55 replies
-
- 2
-

-
- miniature
- Brandenburg State Yacht
- (and 1 more)
-
The hull is planked. A milestone reached 👍 7 work days in a row. In my younger days, I had a system like that too. 7 days from 14 to 22. 2 days rest 7 days from 6 to 14 2 days rest 7 days from 22 to 6 3 days rest. tiring, but it paid well.
-
Halò from the Highlands of Scotland.
Baker replied to Highlander's topic in New member Introductions
-
These are " zwaarden" swords. Not for stabbing 😉 https://nl.wikipedia.org/wiki/Zwaard_(zeilboot)#:~:text=Een zwaard is een onderdeel,zeiljacht wel het geval is.
- 55 replies
-
- 1
-

-
- miniature
- Brandenburg State Yacht
- (and 1 more)
-
Revenge 1577 by Loracs - Amati - 1:64
Baker replied to Loracs's topic in - Kit build logs for subjects built from 1501 - 1750
Nice work -
My condolences for your loss 😓. but good luck with your new project 👍
-
mosquitoes in the air....??? ☹️
-
i visited Finland a few times. and a car with a Belgian license plate once drove through Vespoo. beautiful country Finland. Welcome to MSW Parola 2014 👍
-
👍 Got more at home. But, on vacation now 🏖️
- 55 replies
-
- 2
-
-

-
- miniature
- Brandenburg State Yacht
- (and 1 more)
-
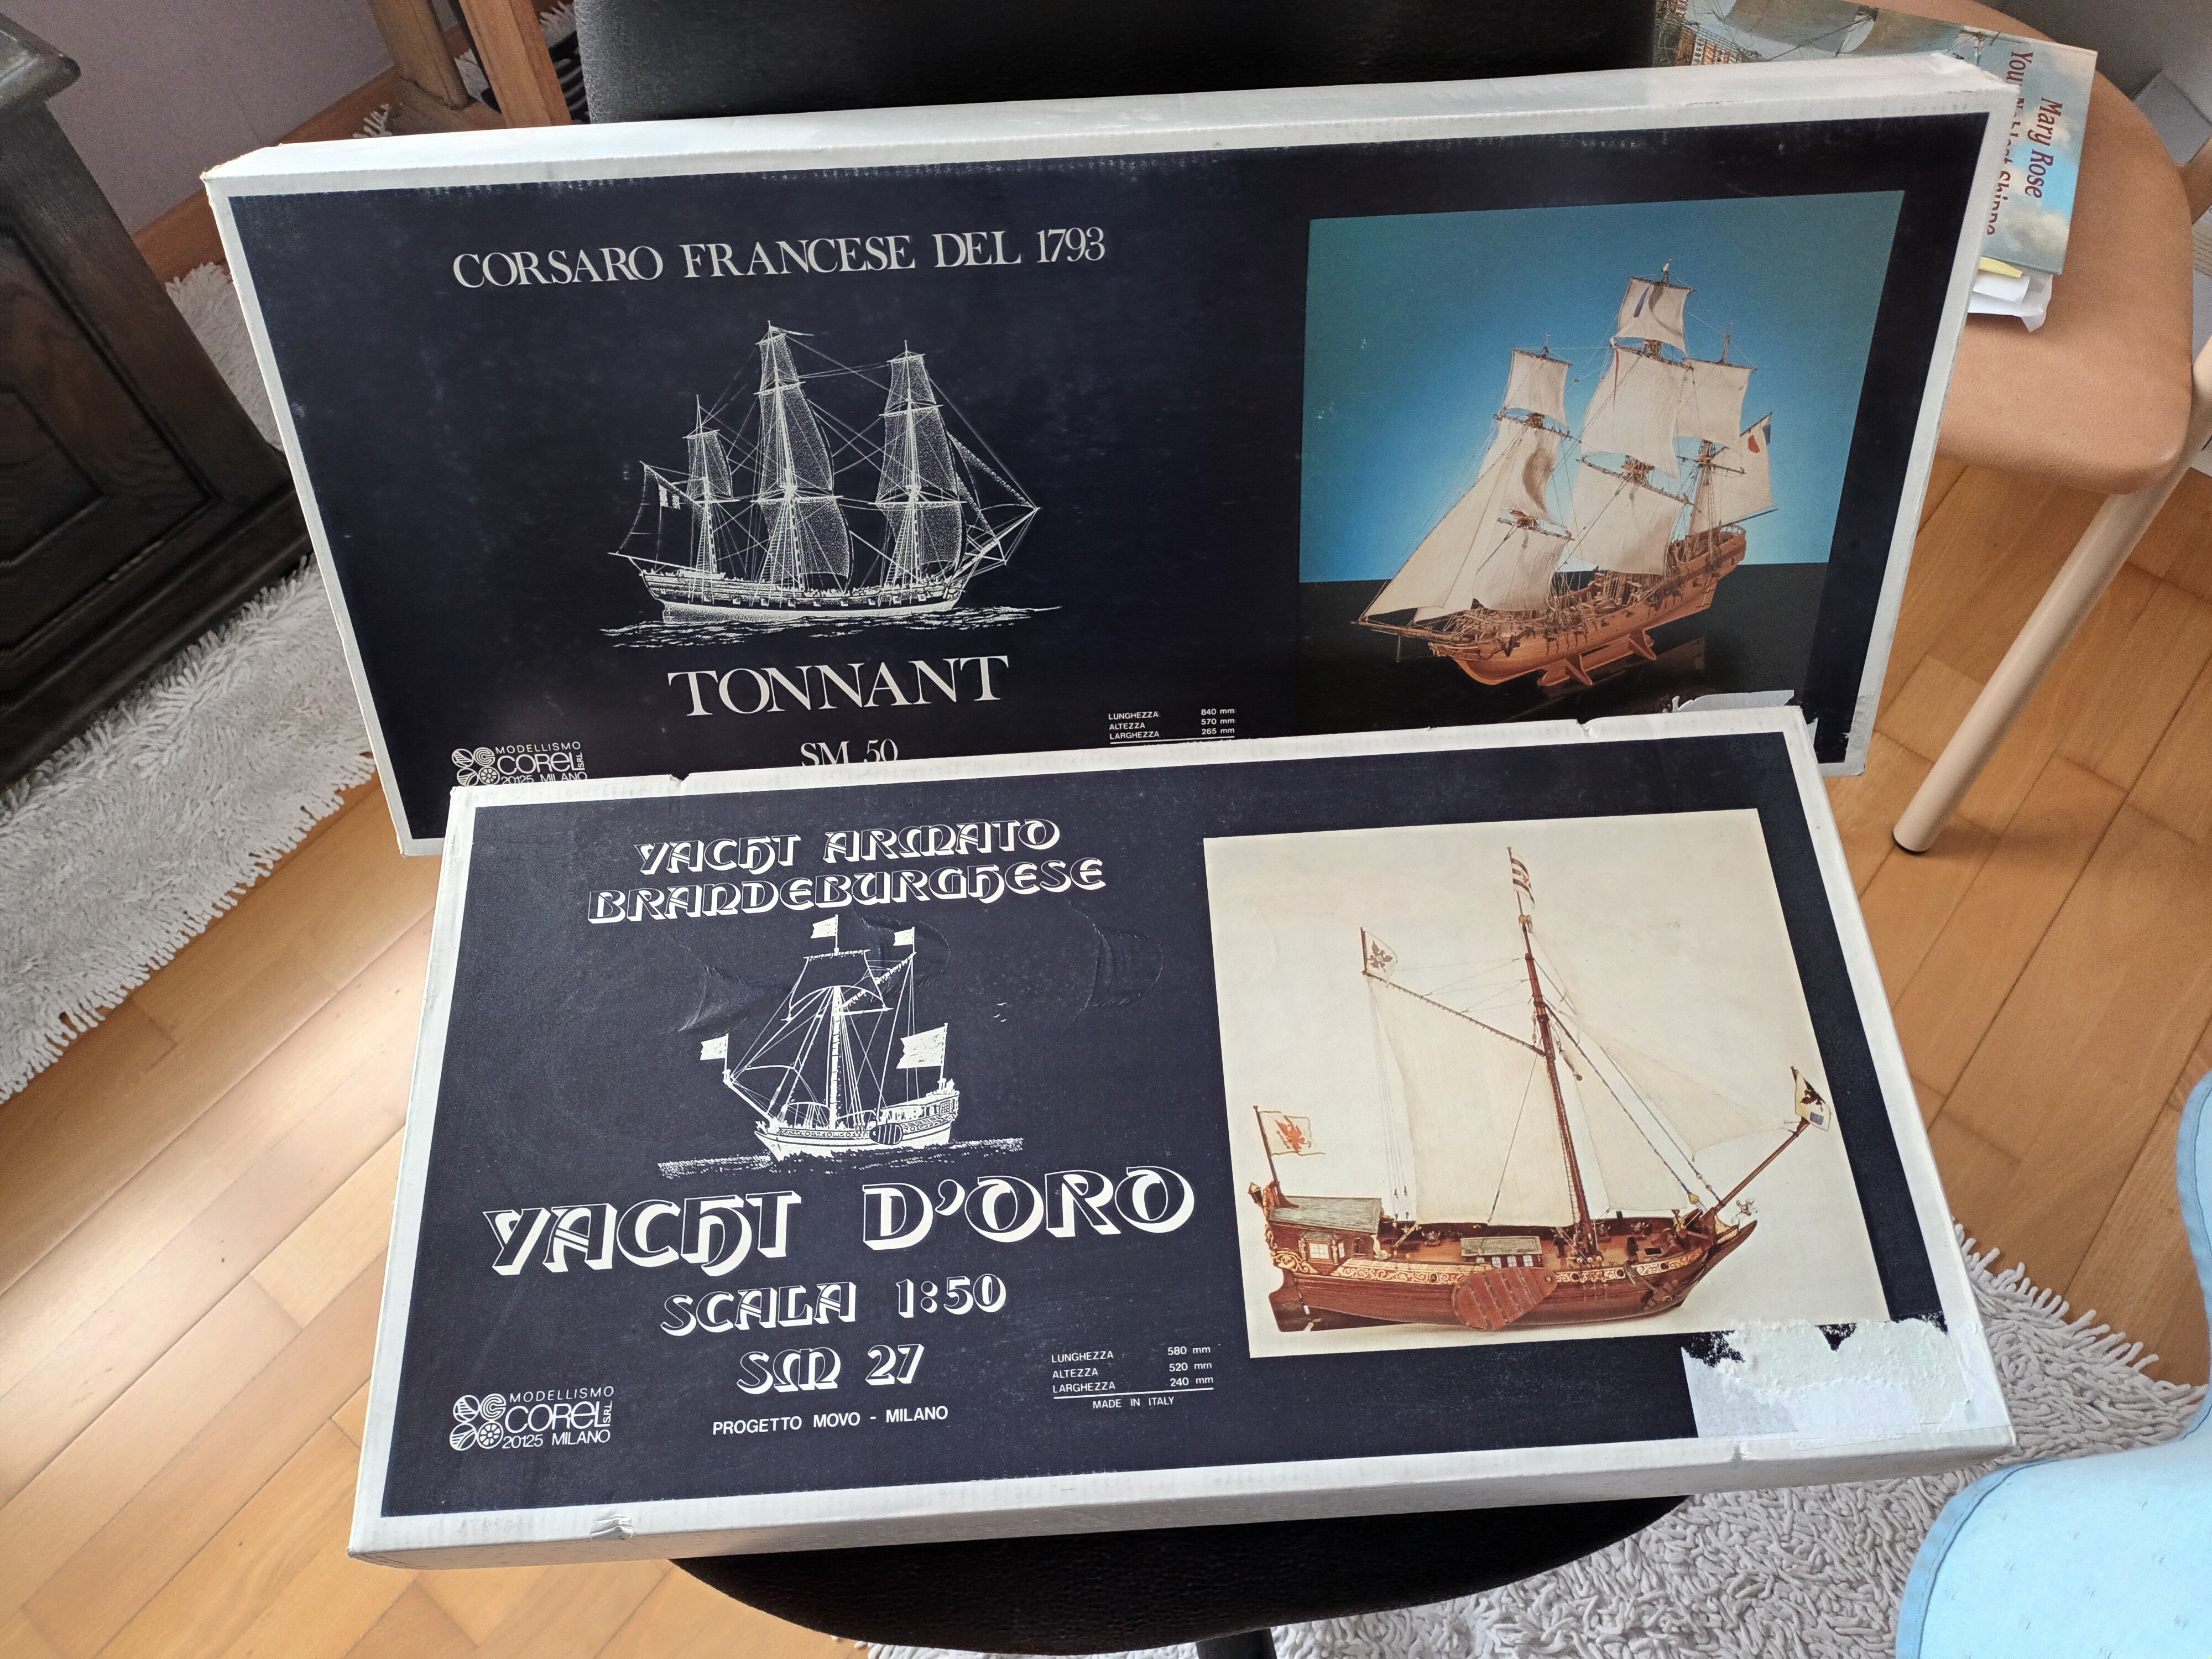
Nice start . I have the corel version (bought for a very low price) To do,later...😉 Great model for info https://www.historische-schiffsmodelle.net/übersicht-der-modelle/große-jacht/

- 55 replies
-
- 3
-

-
-
- miniature
- Brandenburg State Yacht
- (and 1 more)
-
A nice little boat
-
Great work, it was nice to follow.
-
The floor of the cooking area is usually made of bricks.
- 176 replies
-
- 2
-
-
-
- la reale de france
- heller
- (and 2 more)
-
Nice models And
-
In german https://www.lexikon-der-wehrmacht.de/Waffen/Fw200.htm Nice project
-