Baker
-
Posts
4,302 -
Joined
-
Last visited
Content Type
Profiles
Forums
Gallery
Events
Everything posted by Baker
-
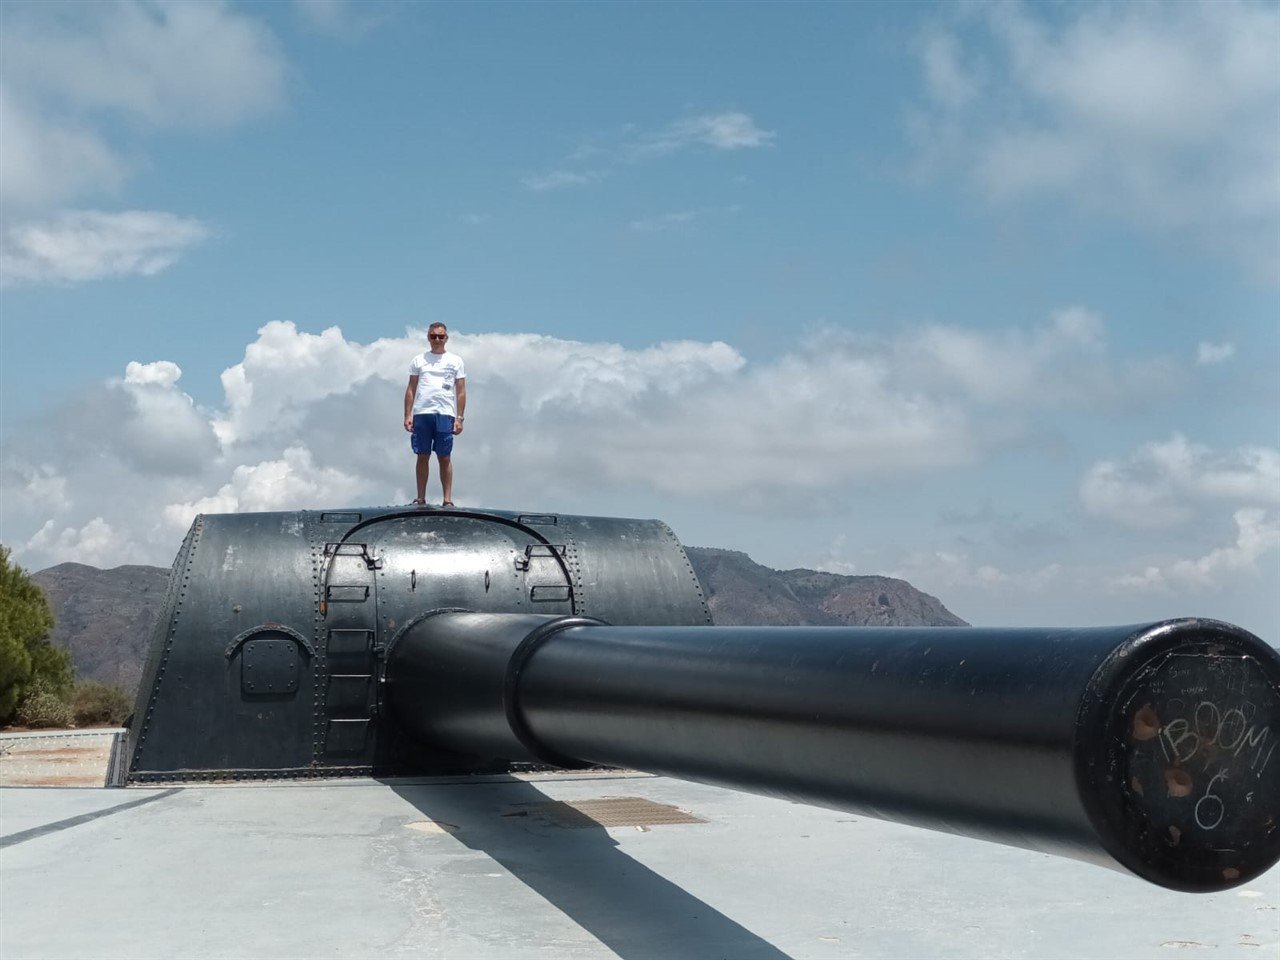
 Thanks, Climbing up the turret was quite an adventure. Fortunately there is no photo of this event...
 -
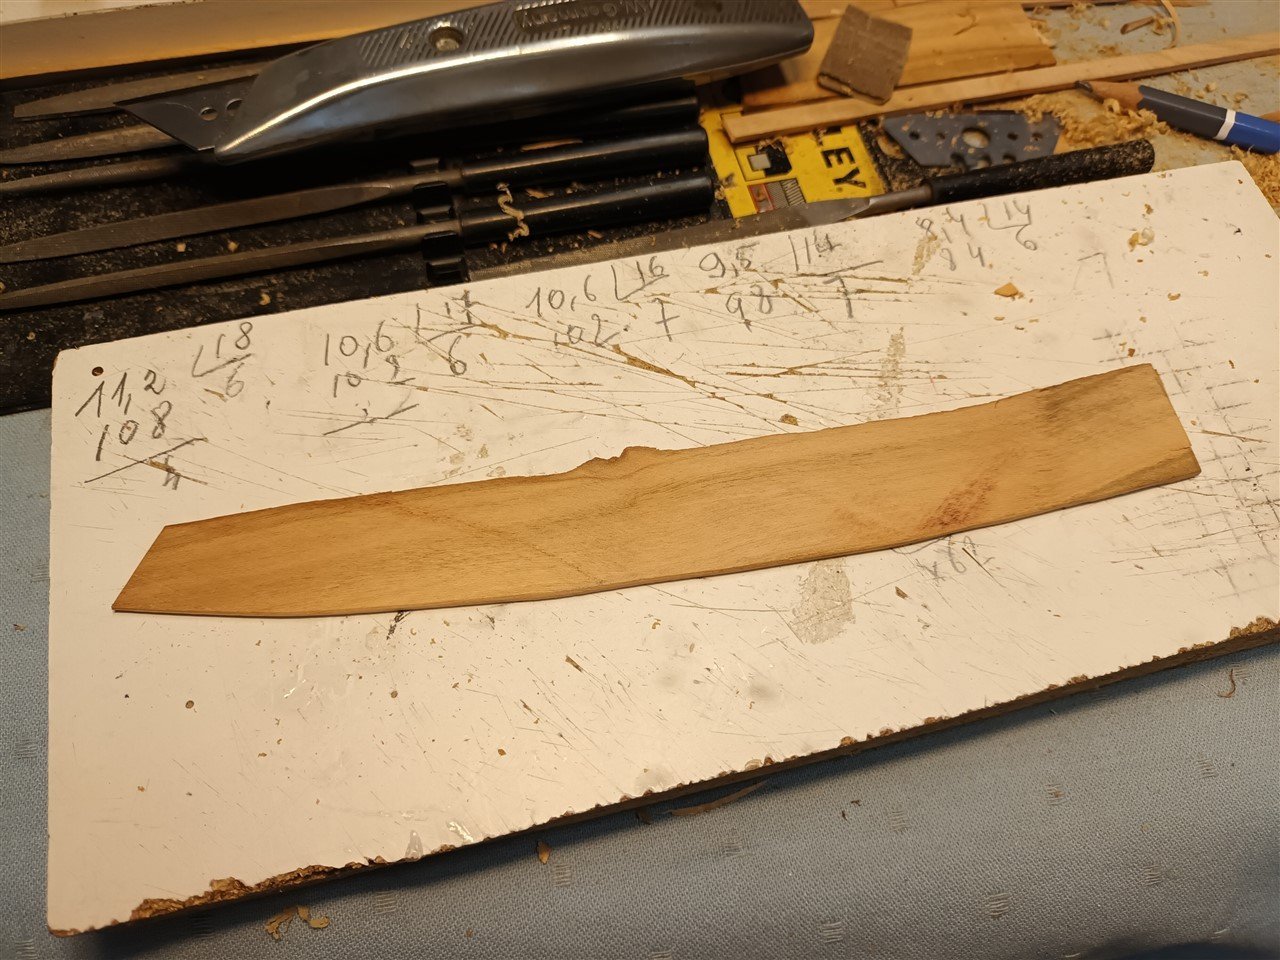
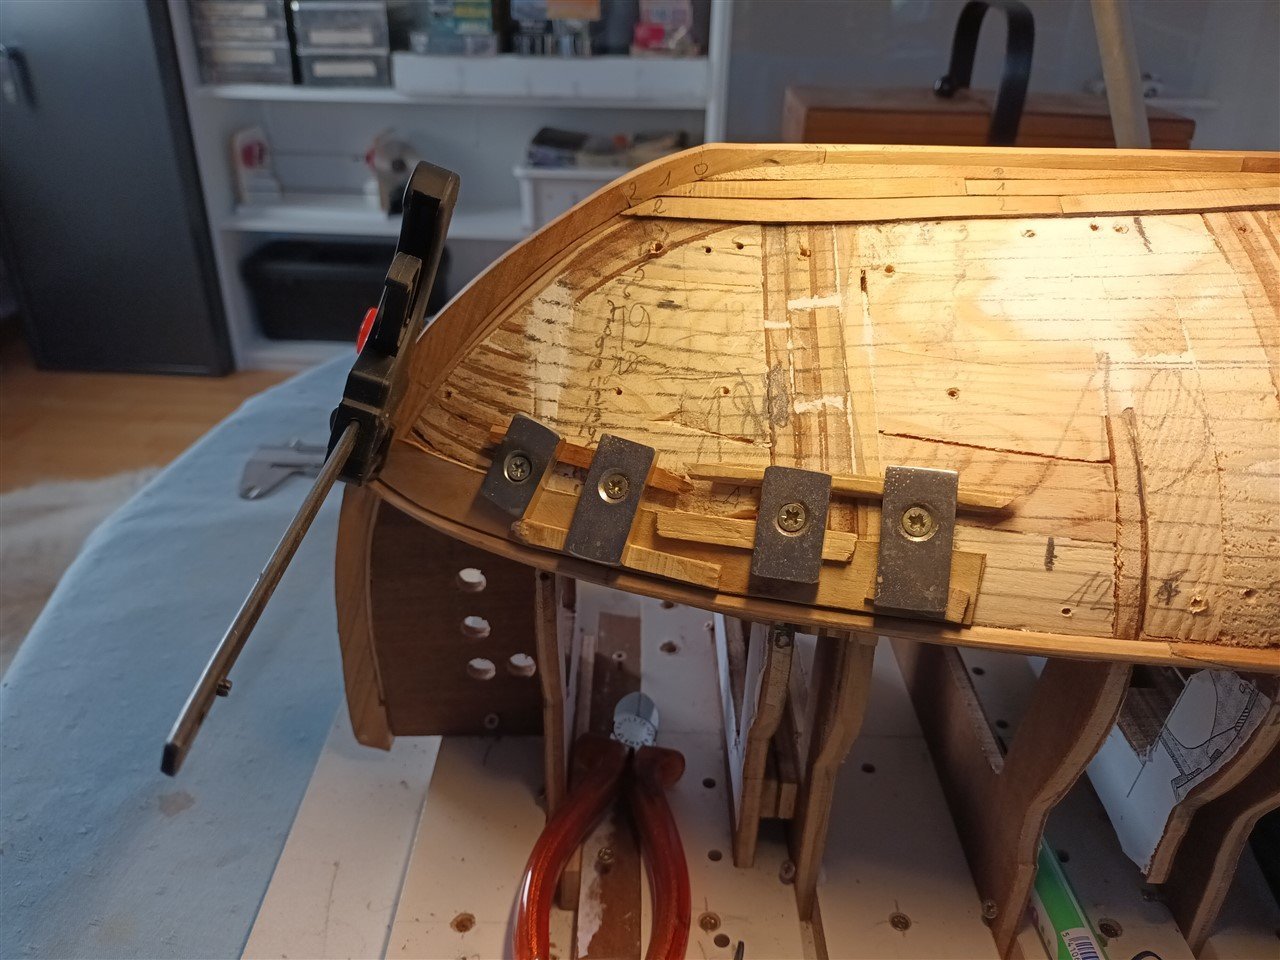
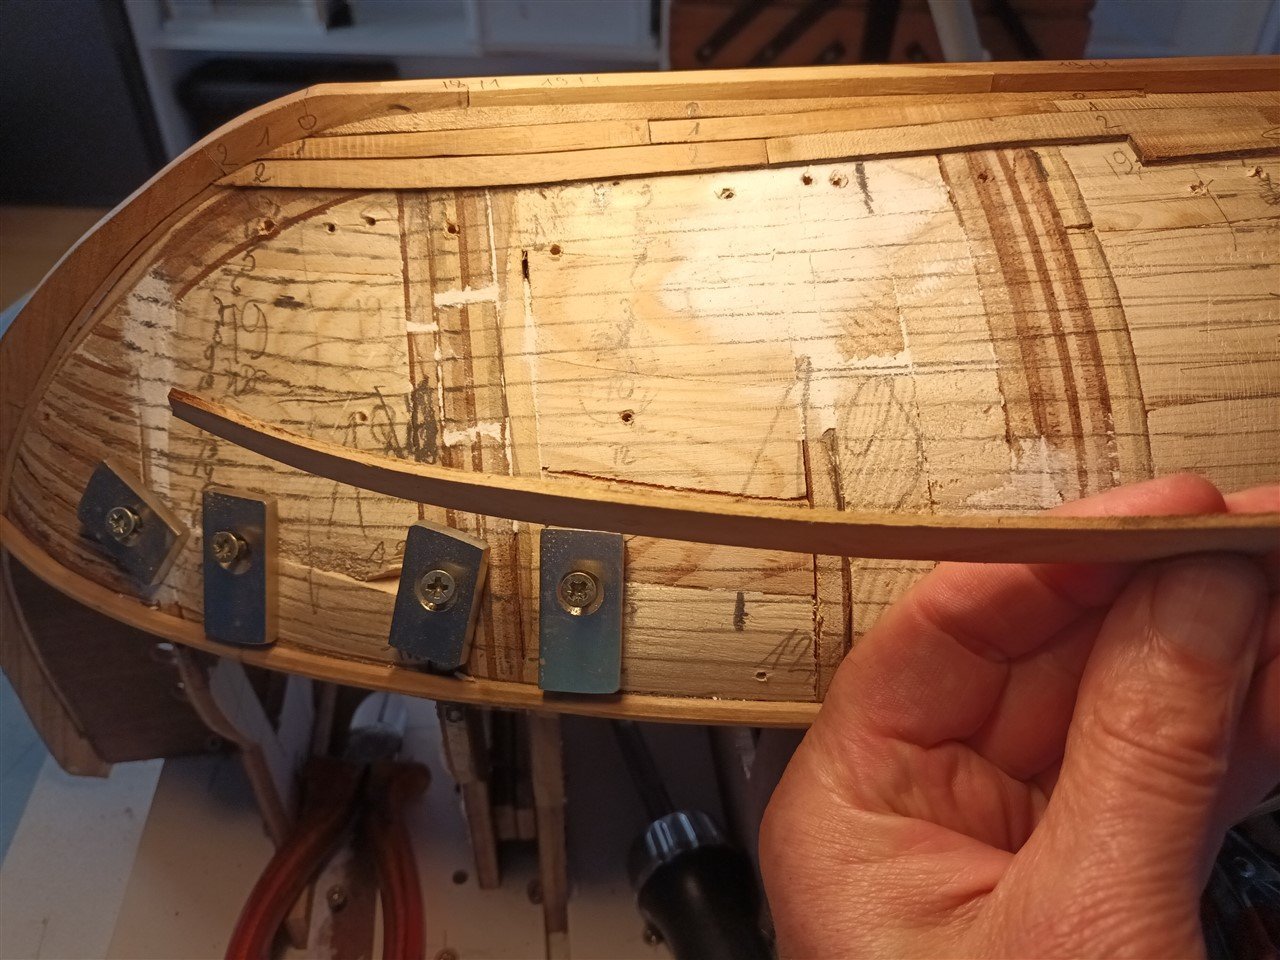
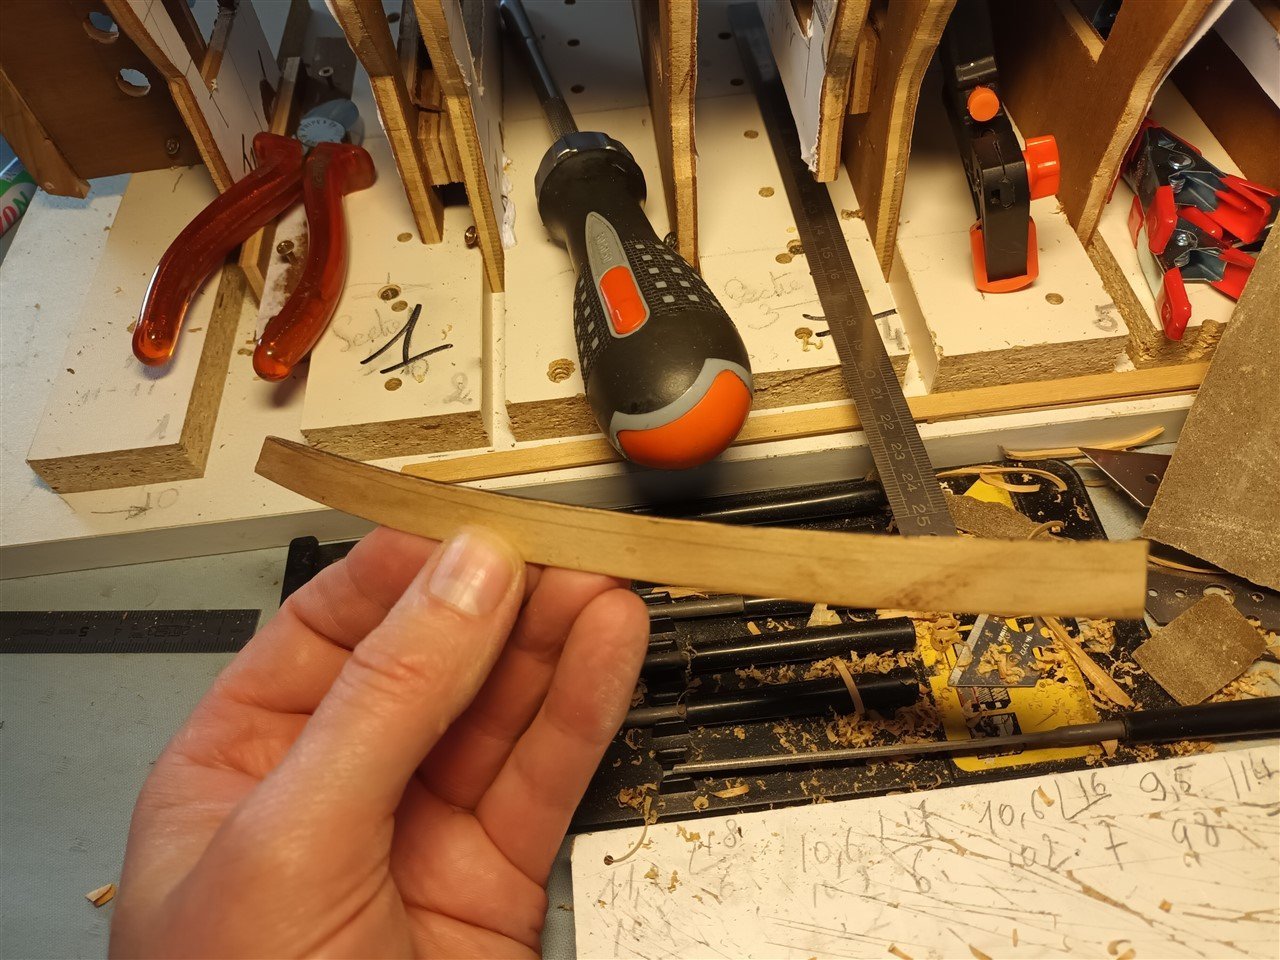
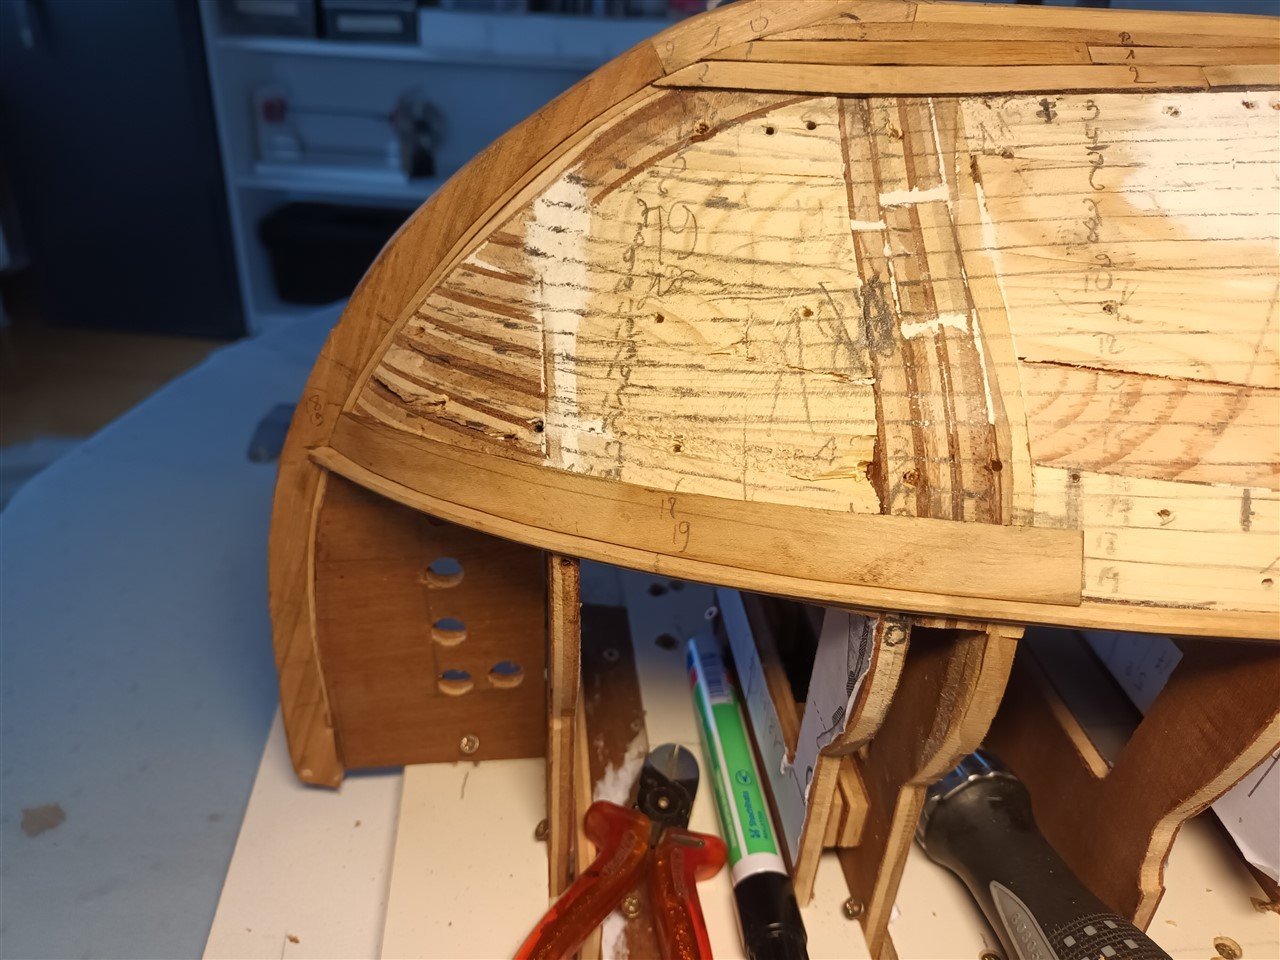
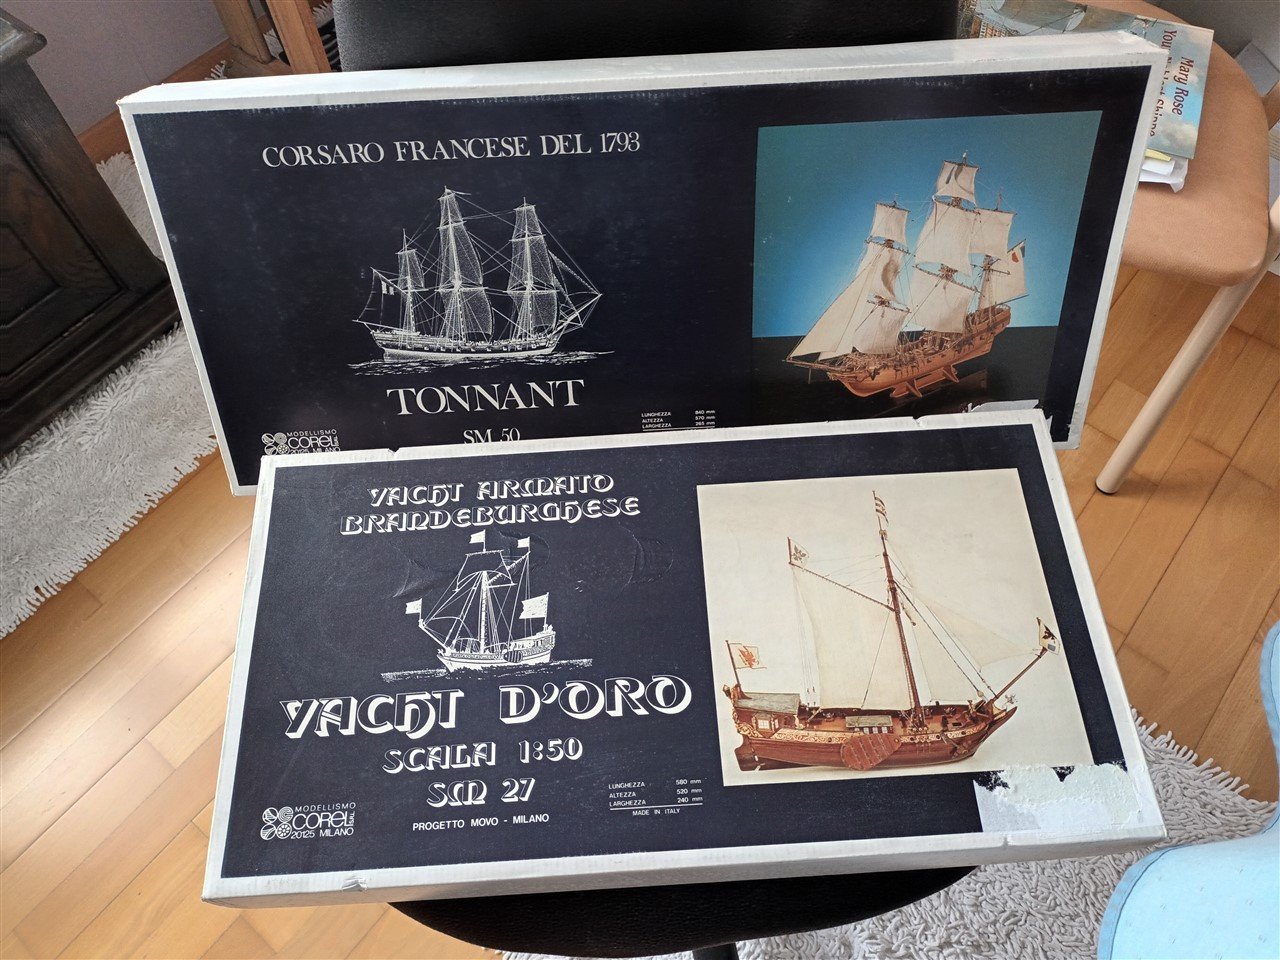
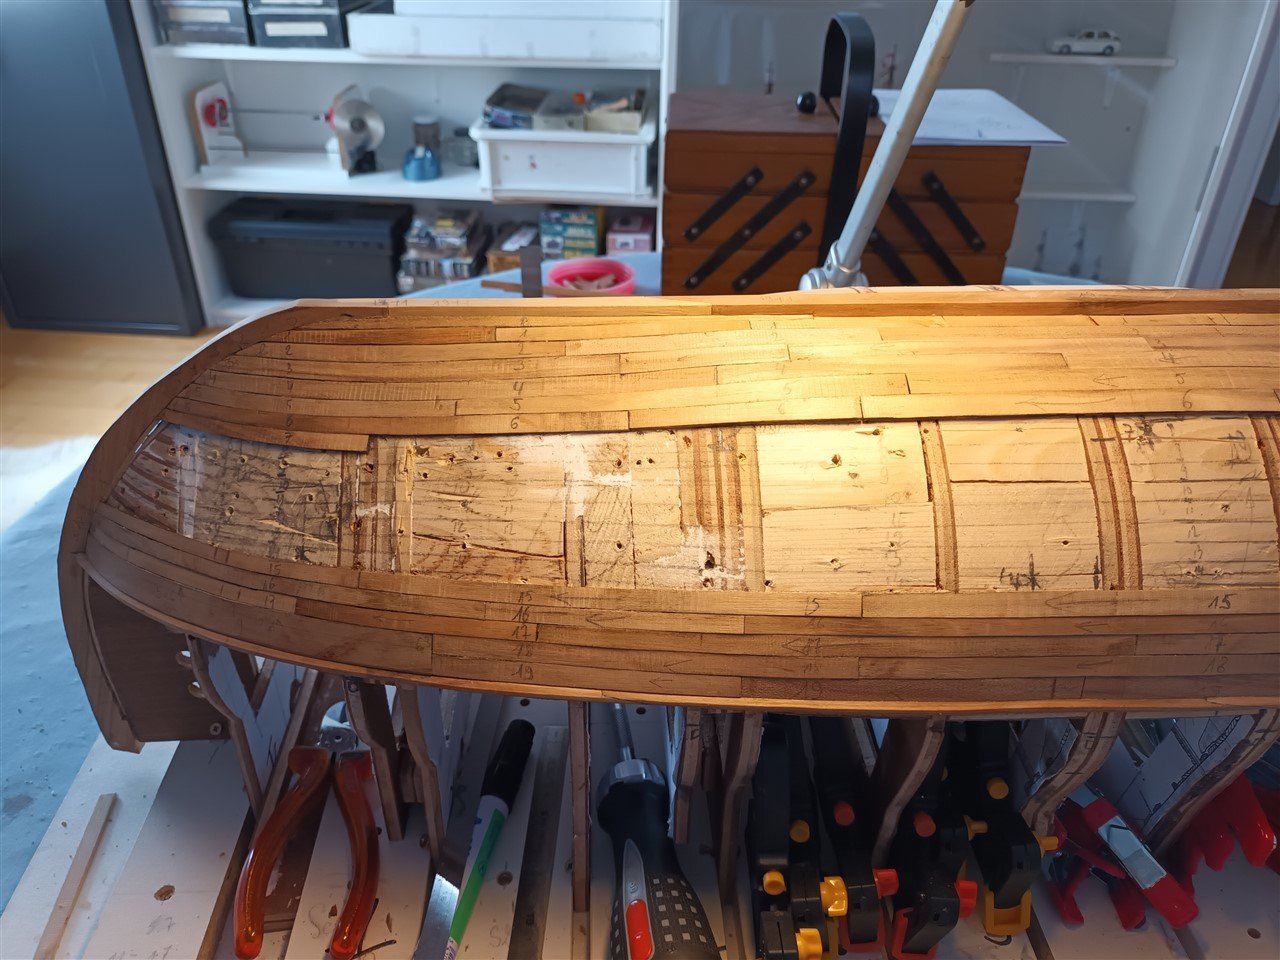
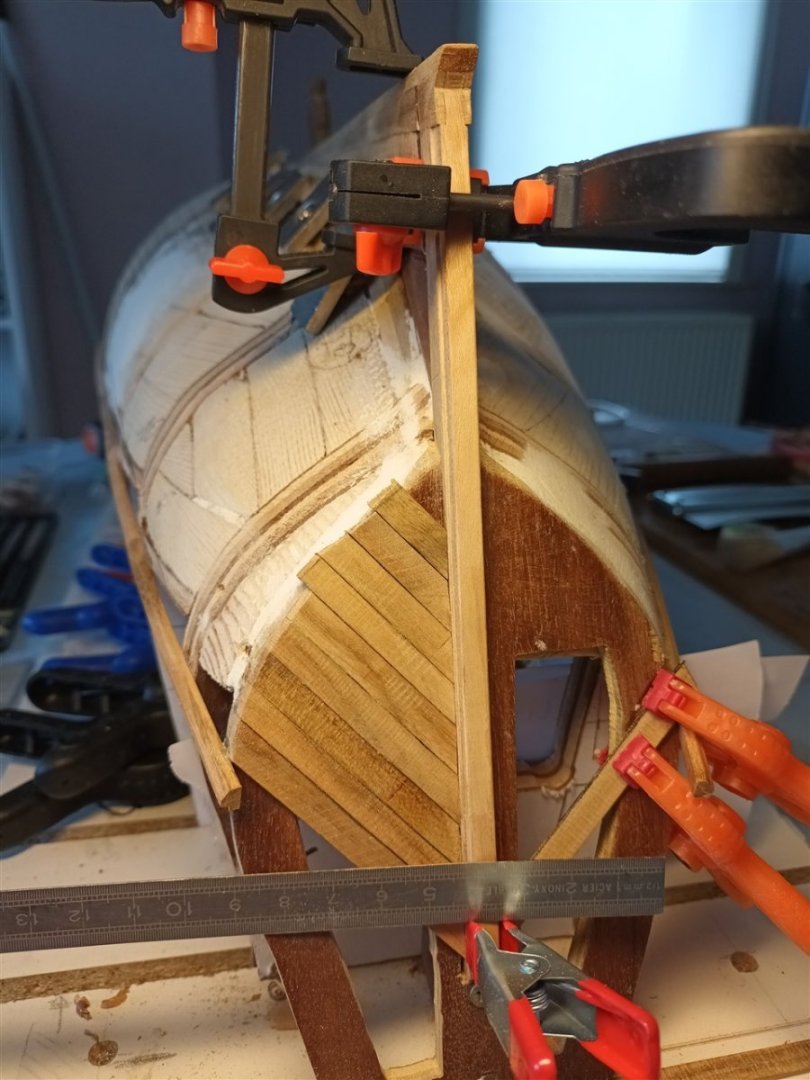
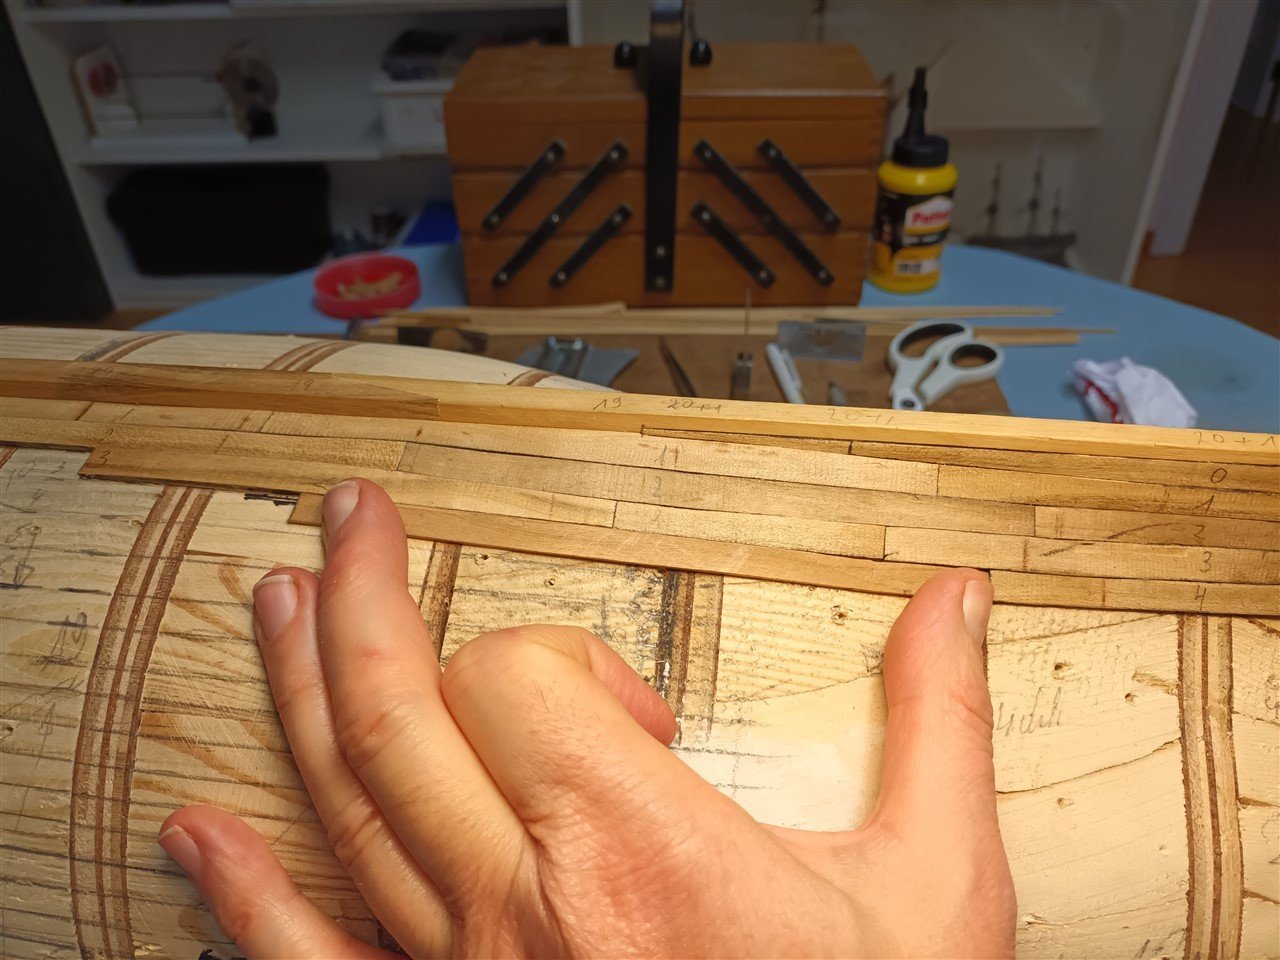
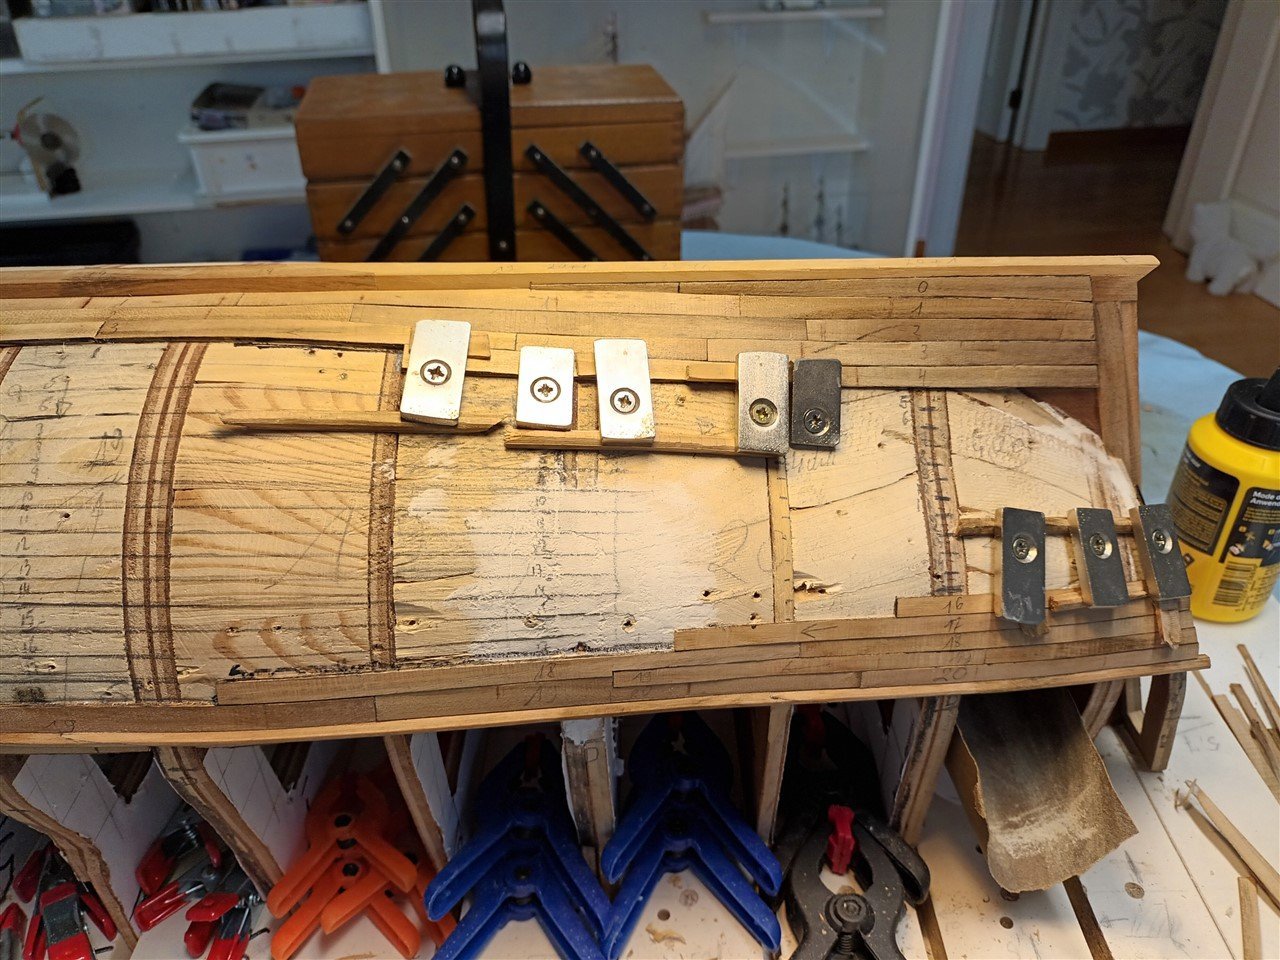
Planking update At the bow there is a very wide plank. Why??. An extra wide plank The plank is first made approximately on the correct arc Made wet and bent ready to glue done work in progress current status: Looks good, so far. There will be a lot of sanding to do... Made an investment for my retirement. Went on holliday, and found a new toy in southern Spain https://en.wikipedia.org/wiki/38.1_cm_/45_Model_1926_naval_gun Thanks for following
-
Very interesting and a very impressive start.
- 45 replies
-
- 1
-

-
- Great Henry
- Henry Grace a Dieu
- (and 1 more)
-
US 6” gun by RGL - FINISHED - Panzer Concepts
Baker replied to RGL's topic in Non-ship/categorised builds
Fantastic 👍 Great work. -
i was lost.... 😭
-
Thank you. indeed, you are going to have to drill 224 small holes for this method. you can also use copper wire, which is more flexible. it is best to do some testing and practice on scrap pieces first.
-
nice work Michael. And the removable panel is a great idea
-
Yes, drill a pair of holes at the top of the hatch. Baker is on holiday with only his clumsy smartphone...if the link is not correct (Post 458).
-
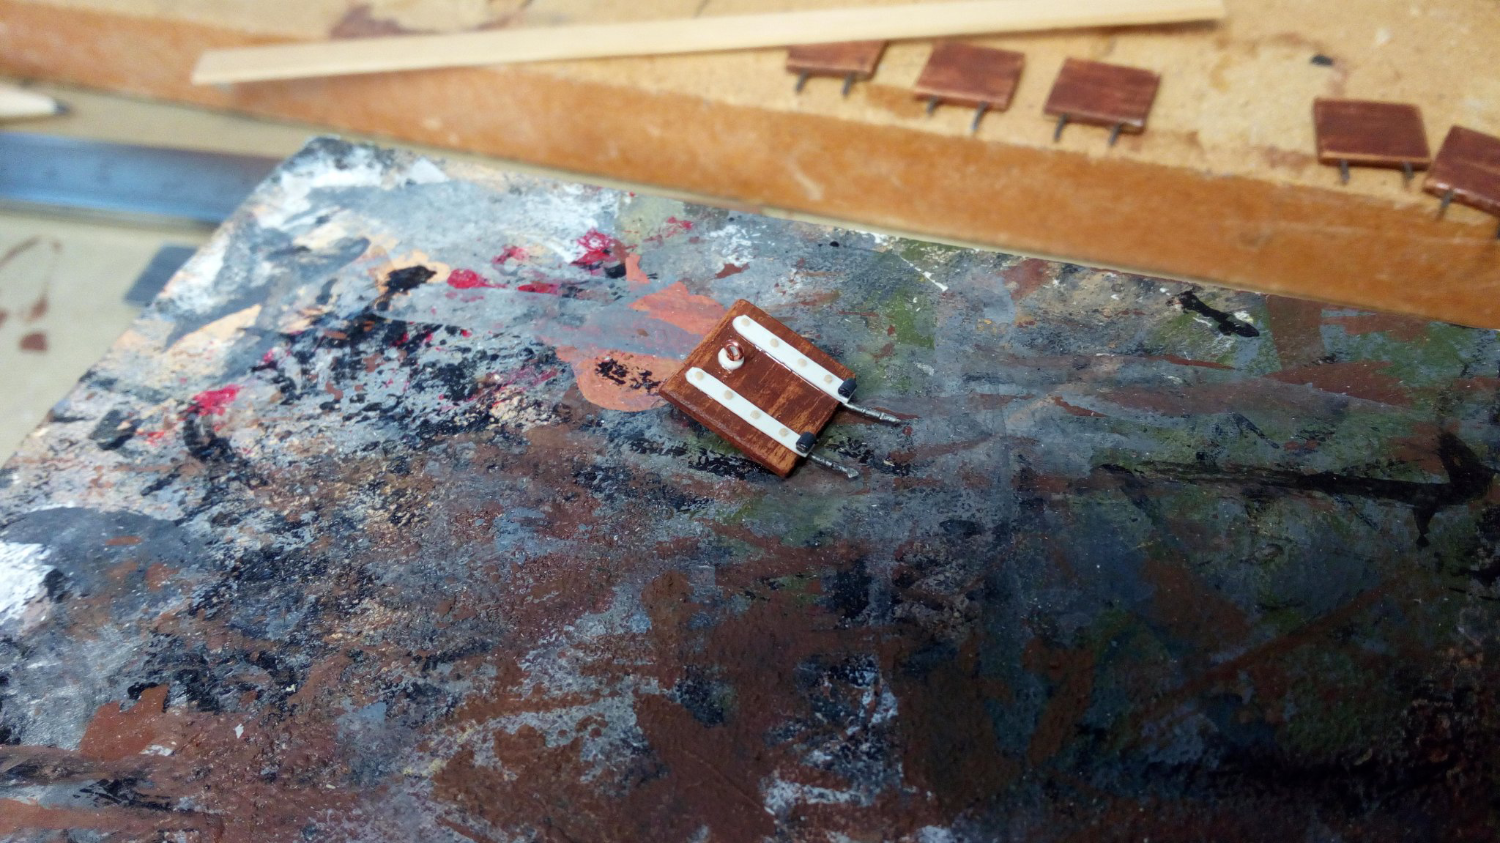
I used 2 metal pins to keep the canon port in place actually a quite sturdy solution 😉

- 1,508 replies
-
- 1
-

-
- Le Soleil Royal
- Heller
- (and 1 more)
-
Thanks. if there is no traffic jam.then you are there in an hour and a half. and no speed cameras....☹️ PS. we have been to the usa a few times, much nicer than here
-
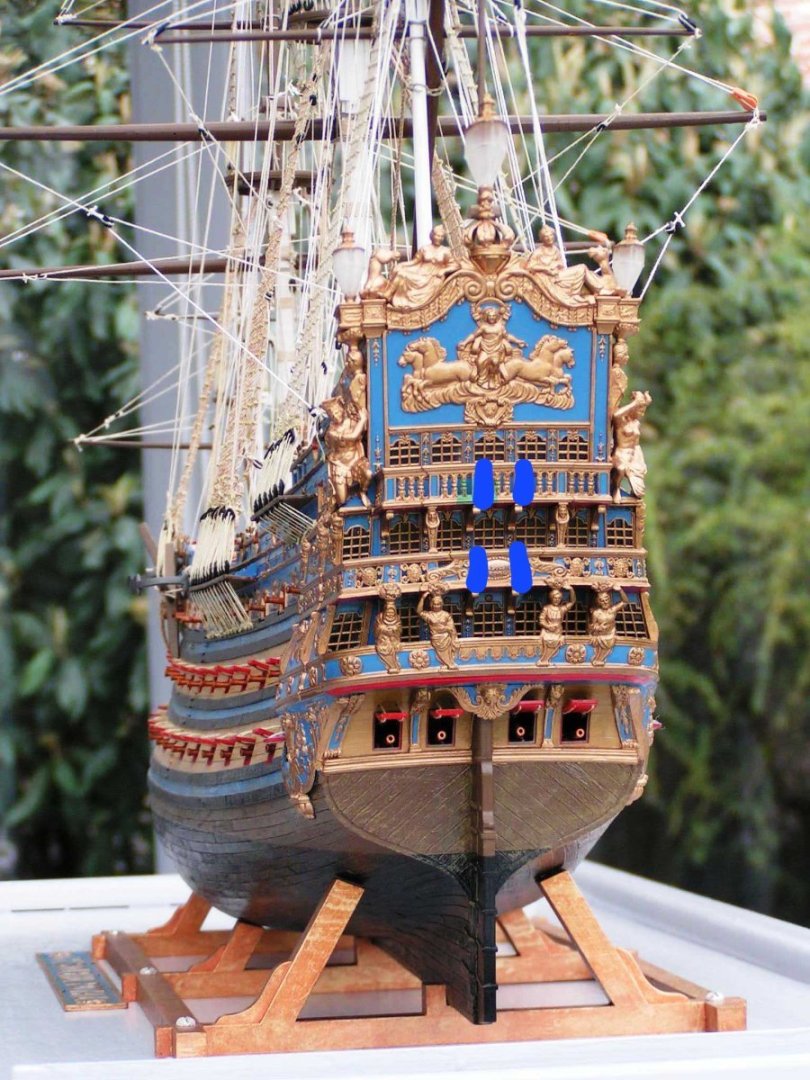
i think the 4 long ones come in the middle (blue) the shorter ones in the other places. I'm not sure, this build happened a very long time ago.
- 1,508 replies
-
- 1
-
-
- Le Soleil Royal
- Heller
- (and 1 more)
-
it was a free offer. (Designed and printed at work 😇...)
- 740 replies
-
- 6
-

-
-
- Tudor
- restoration
- (and 4 more)
-
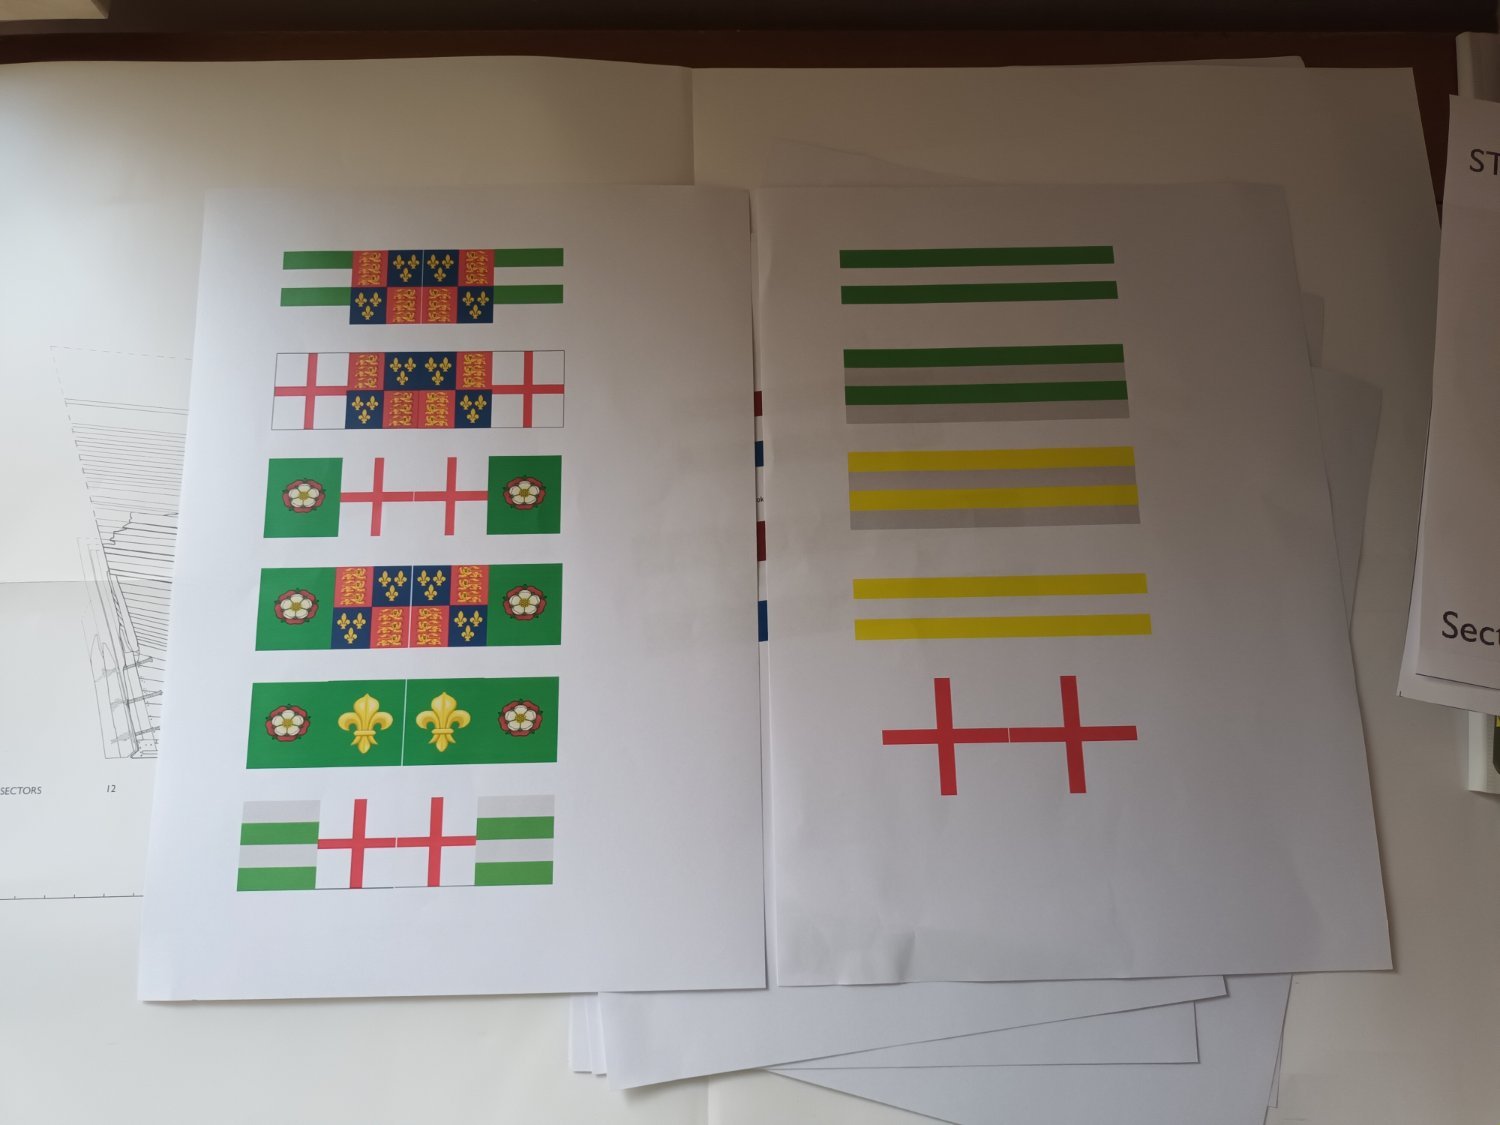
I had just started designing flags for the Mary Rose. if you are interested

- 740 replies
-
- 8
-
-
-
- Tudor
- restoration
- (and 4 more)
-
Small, but impressive. Nice work
-
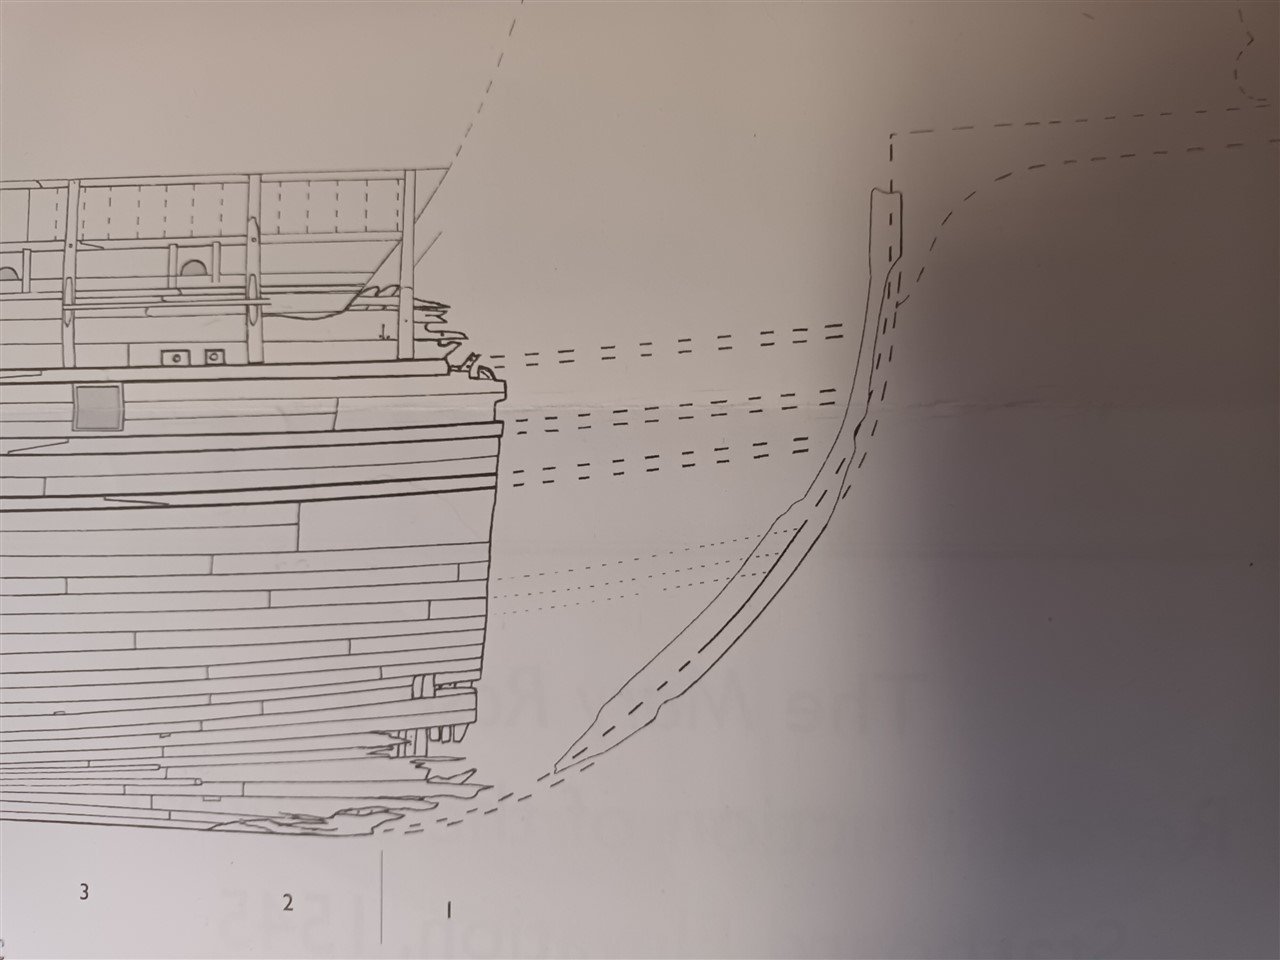
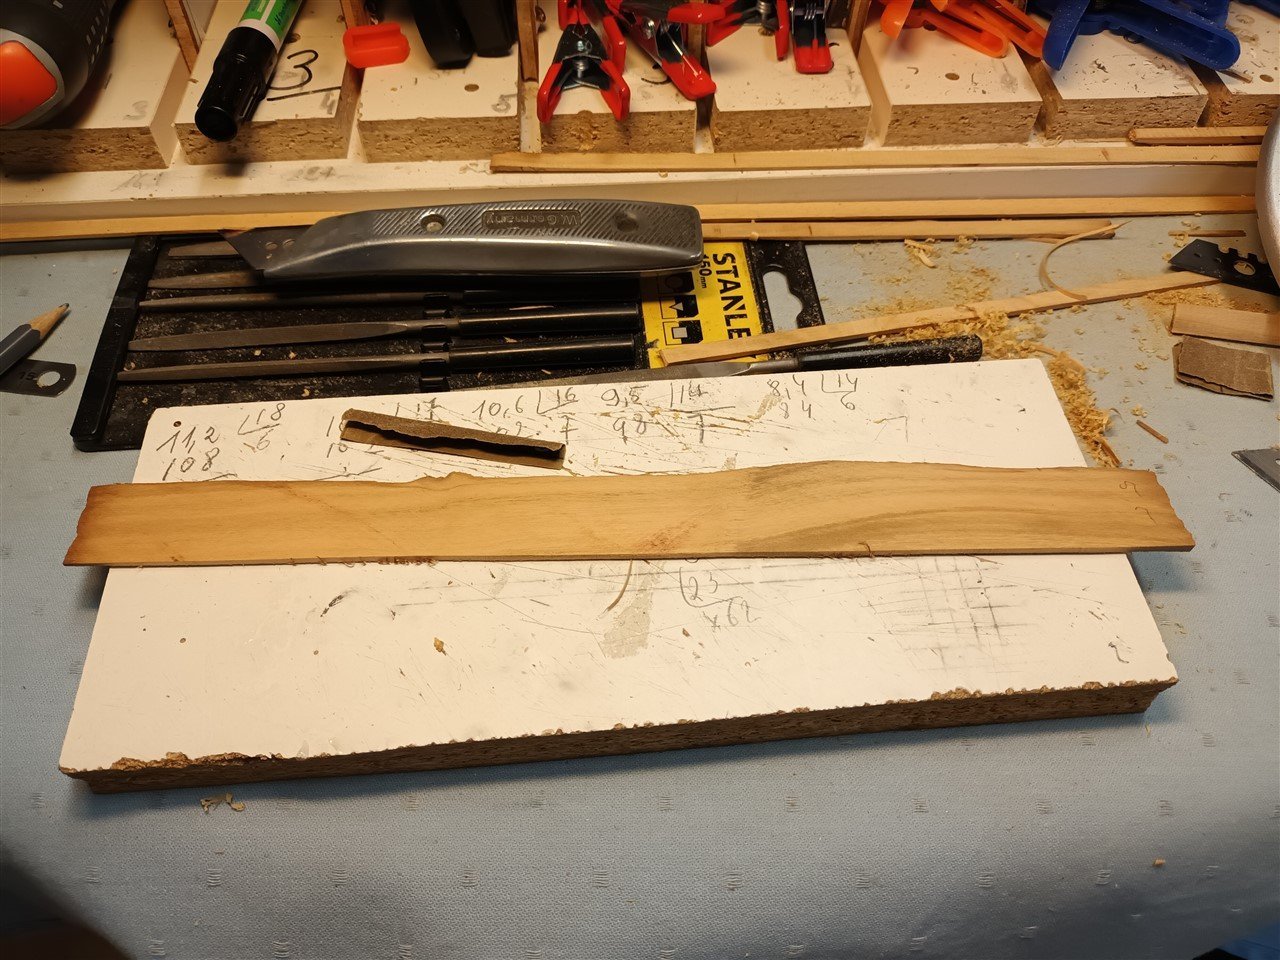
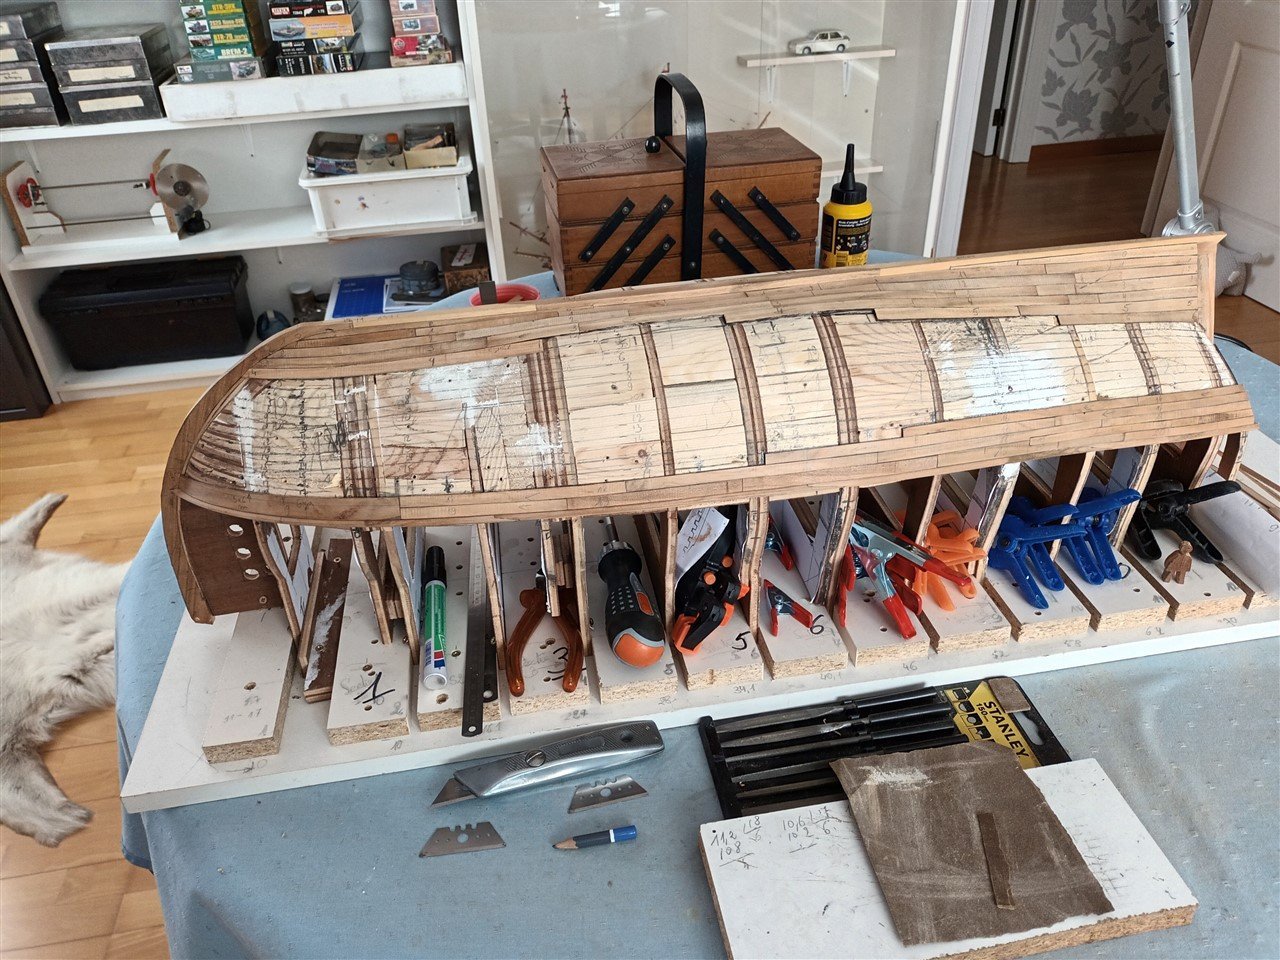
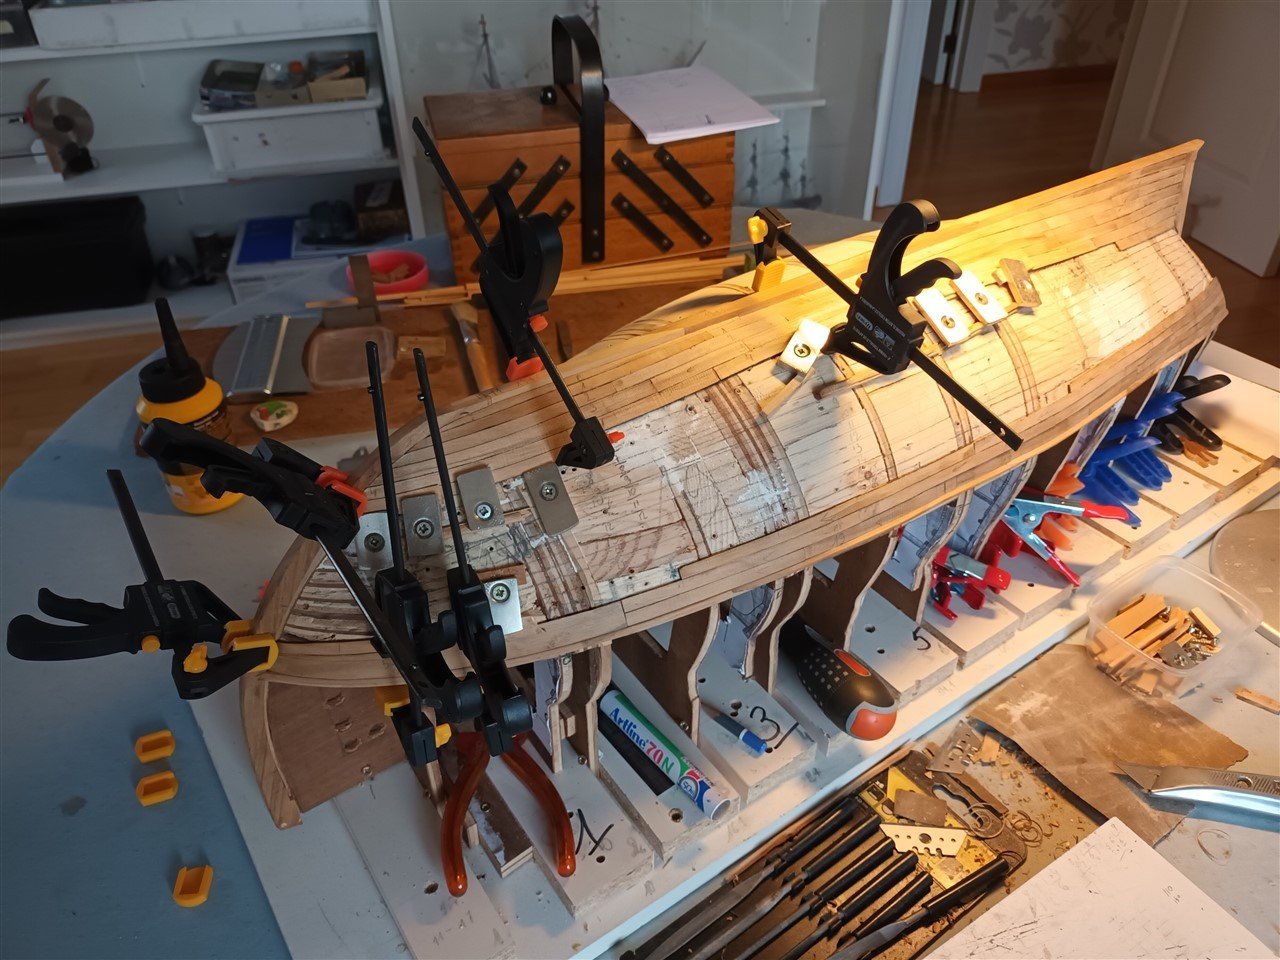
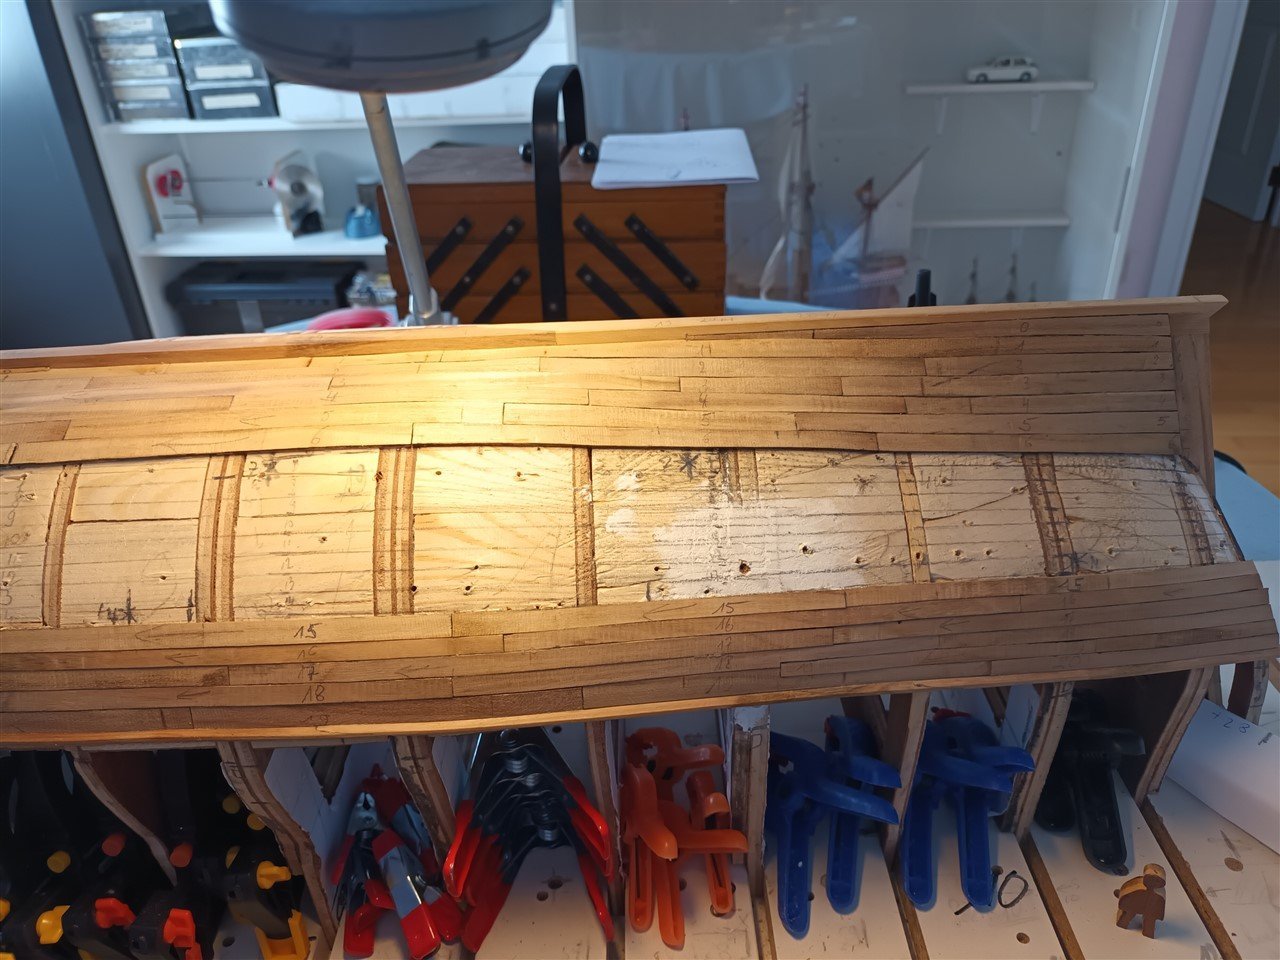
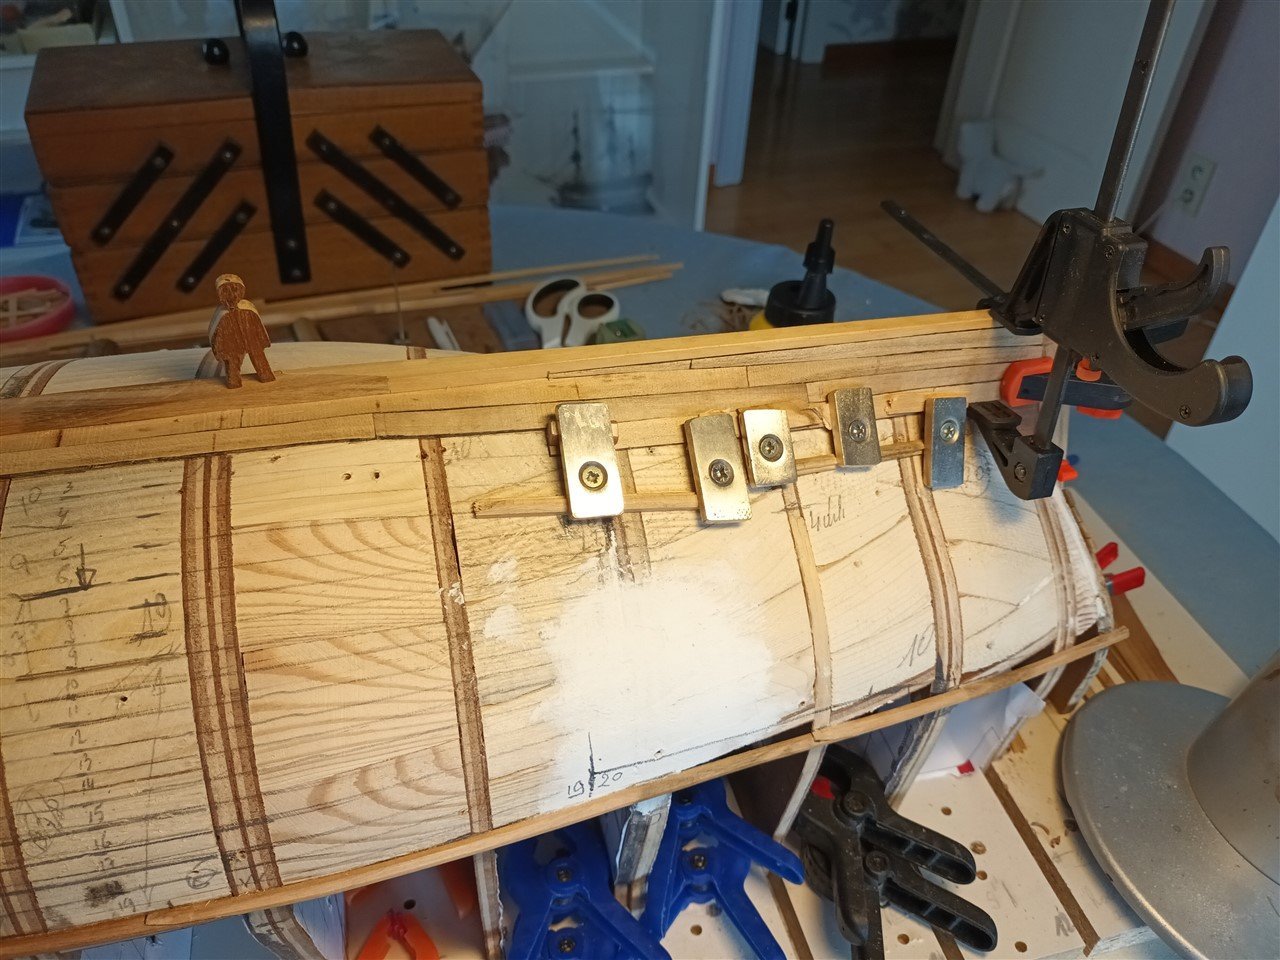
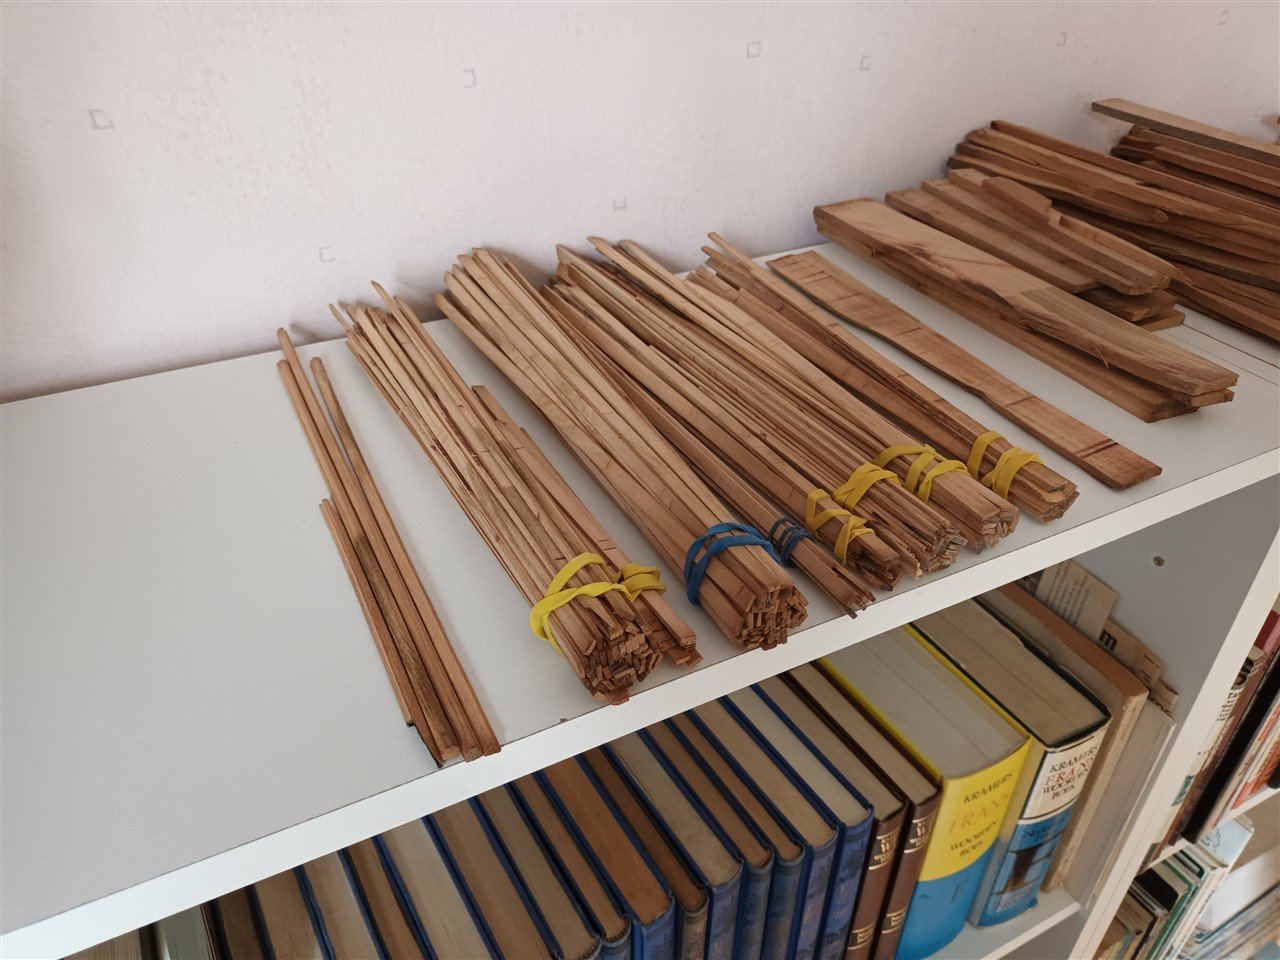
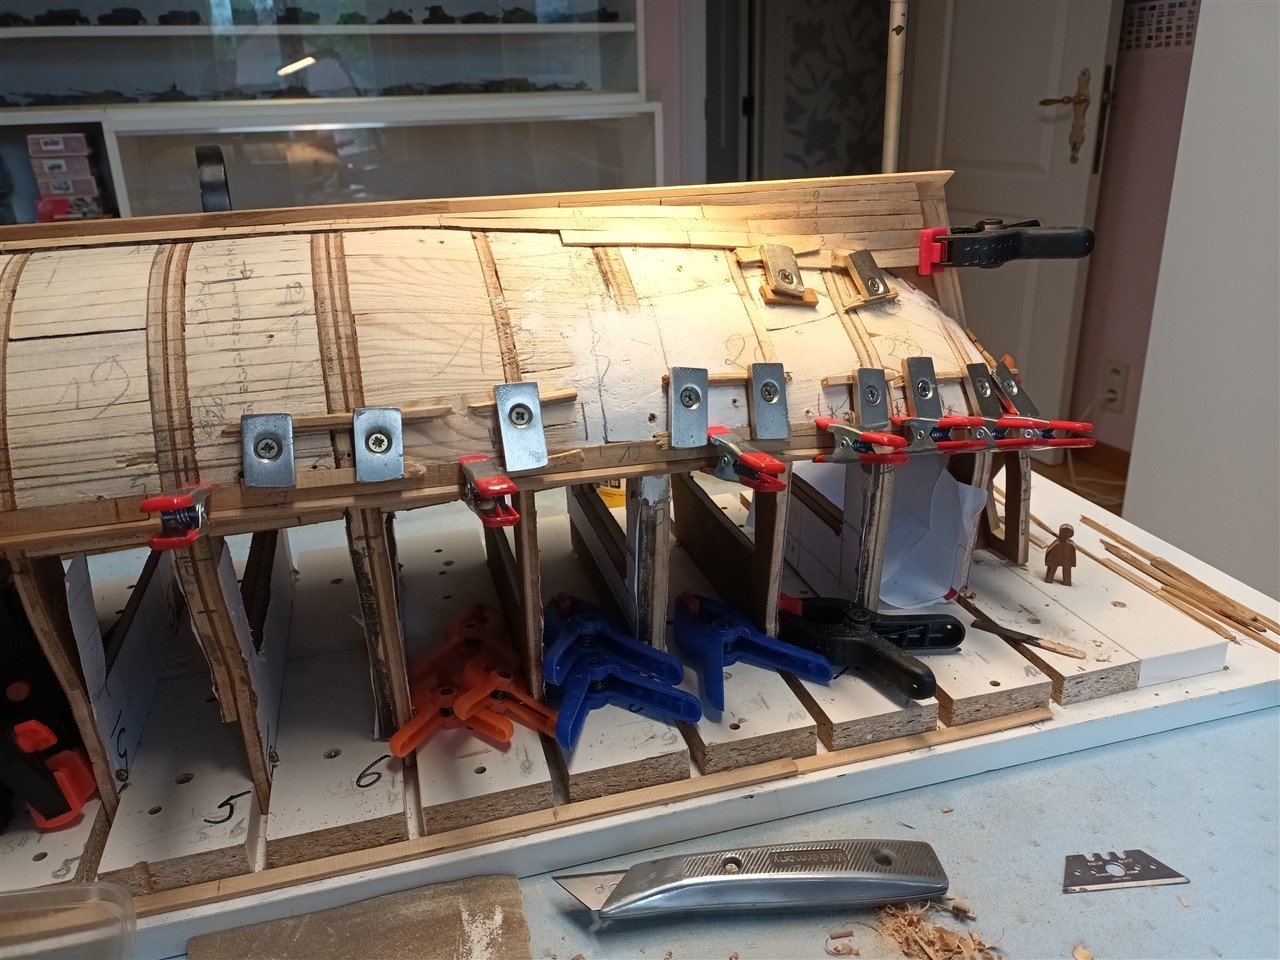
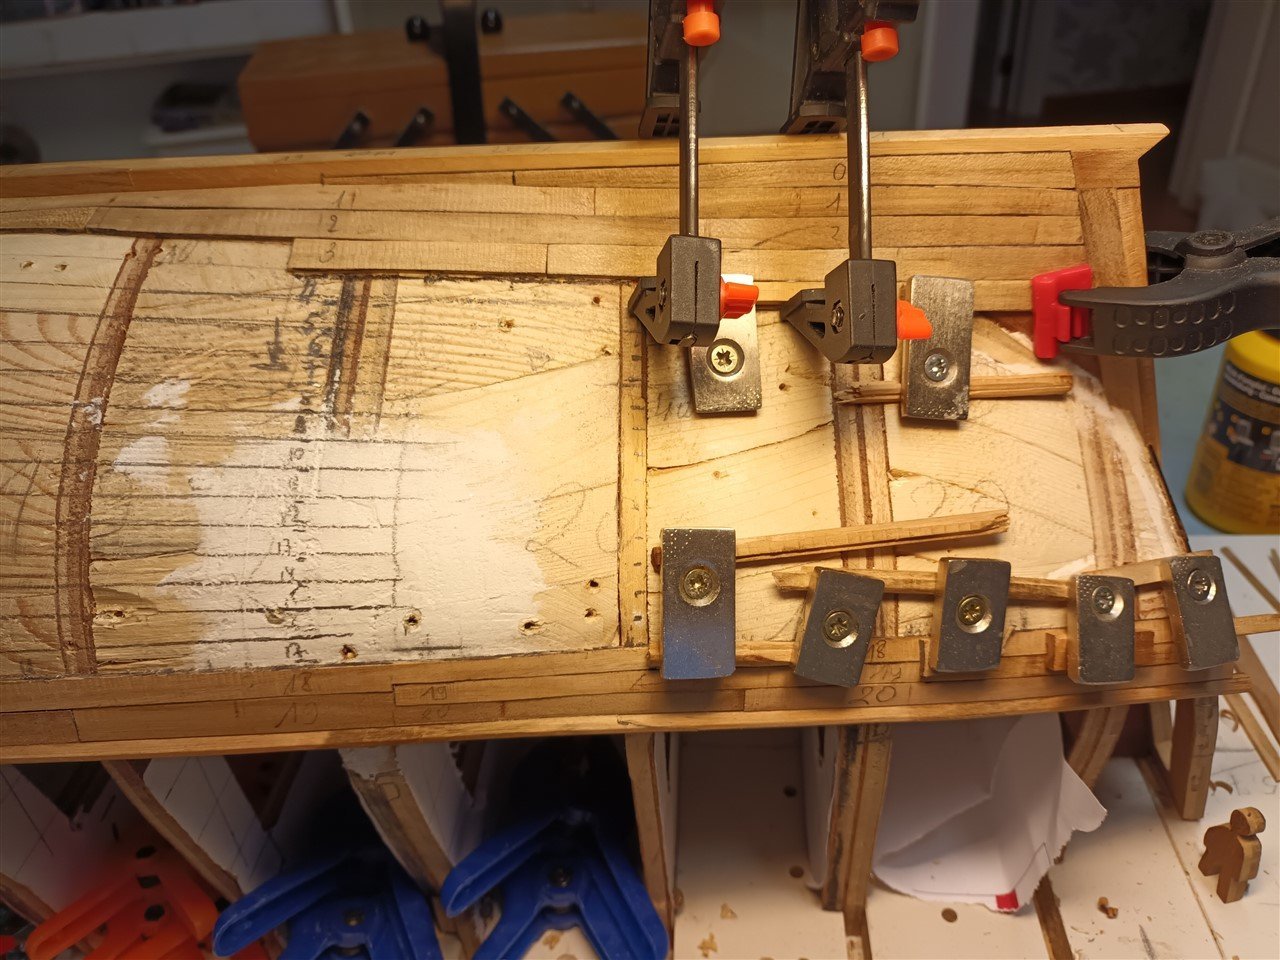
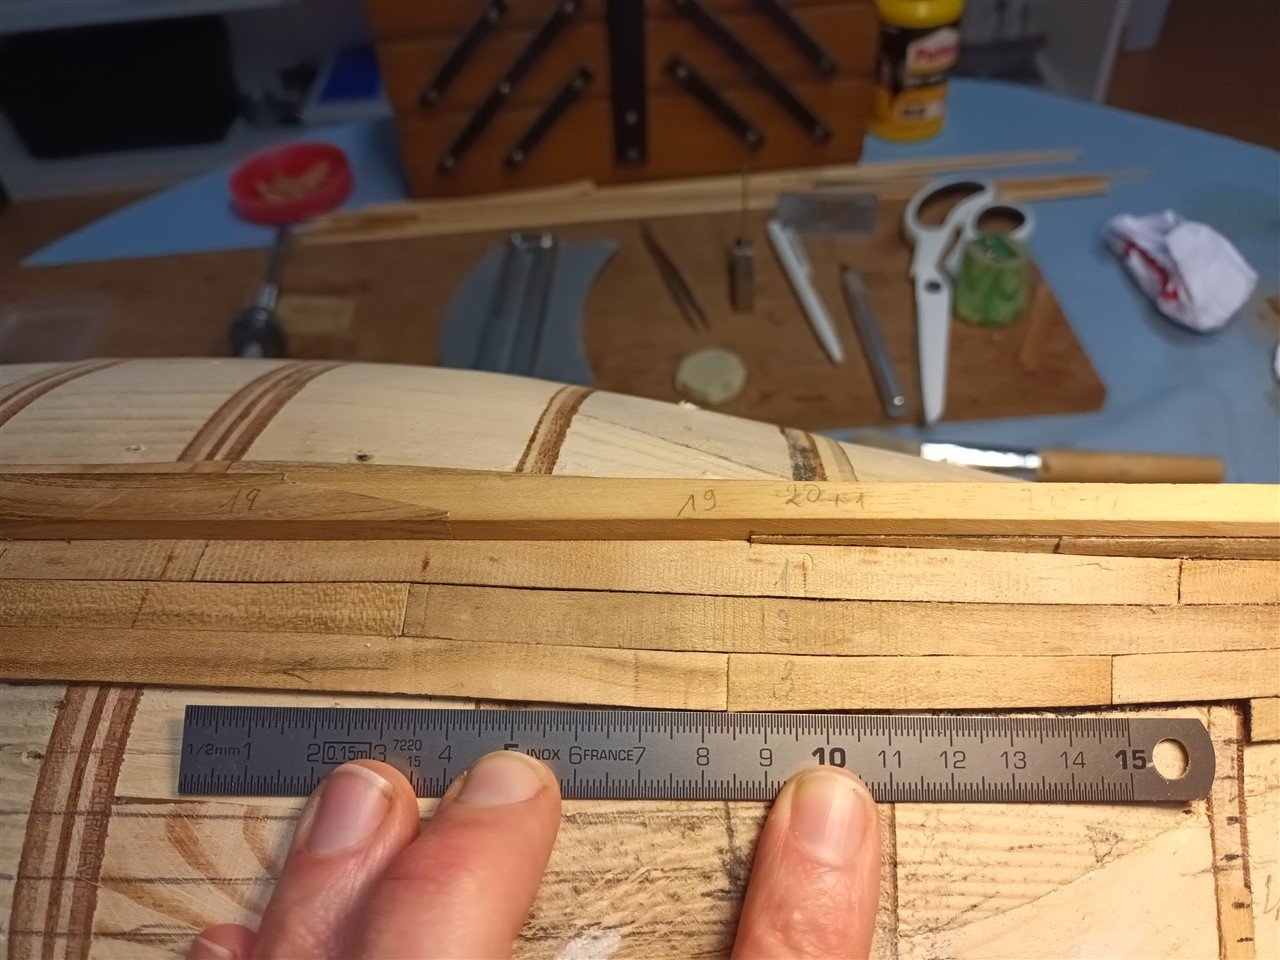
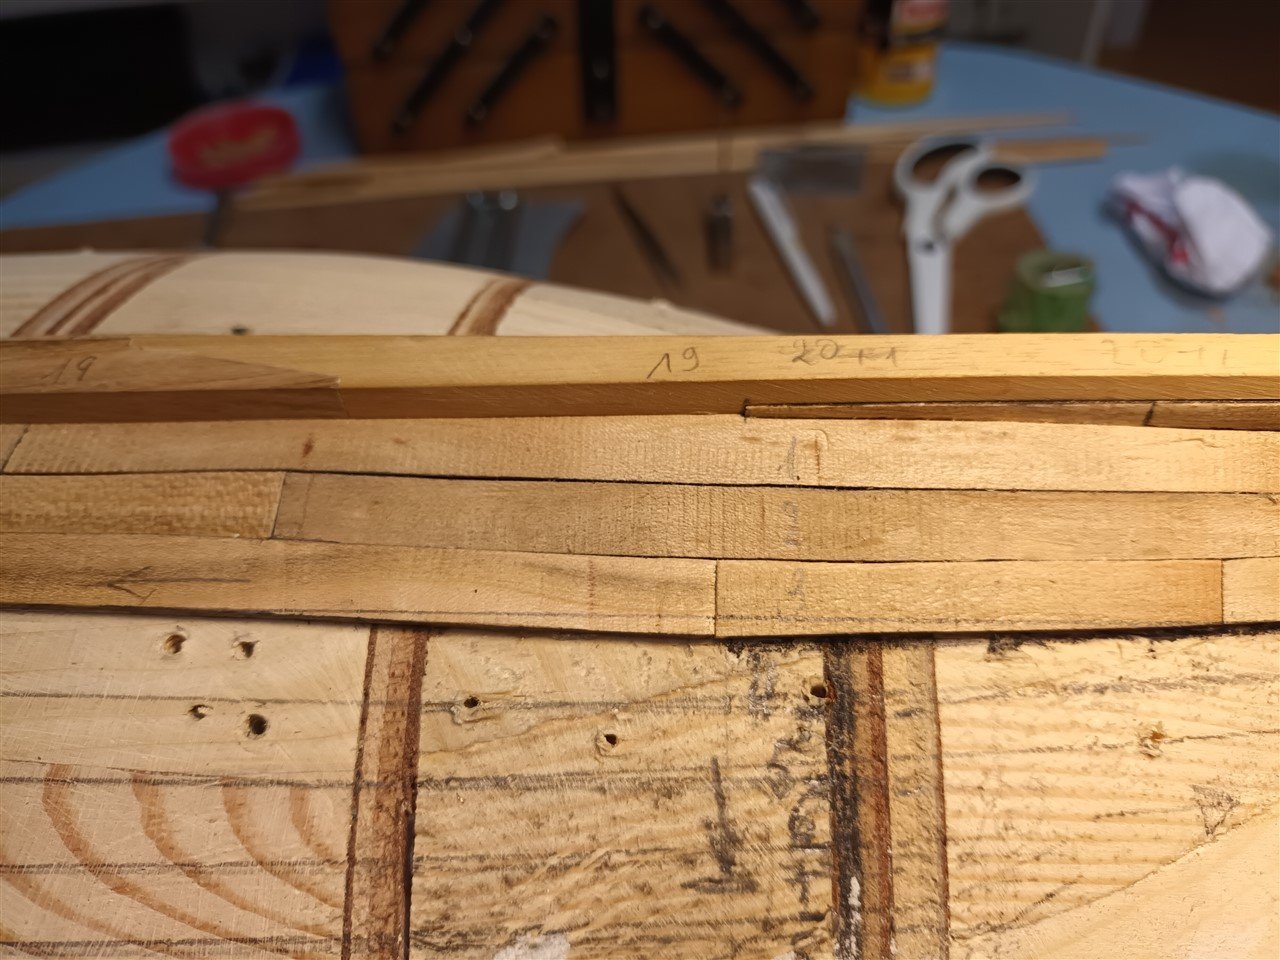
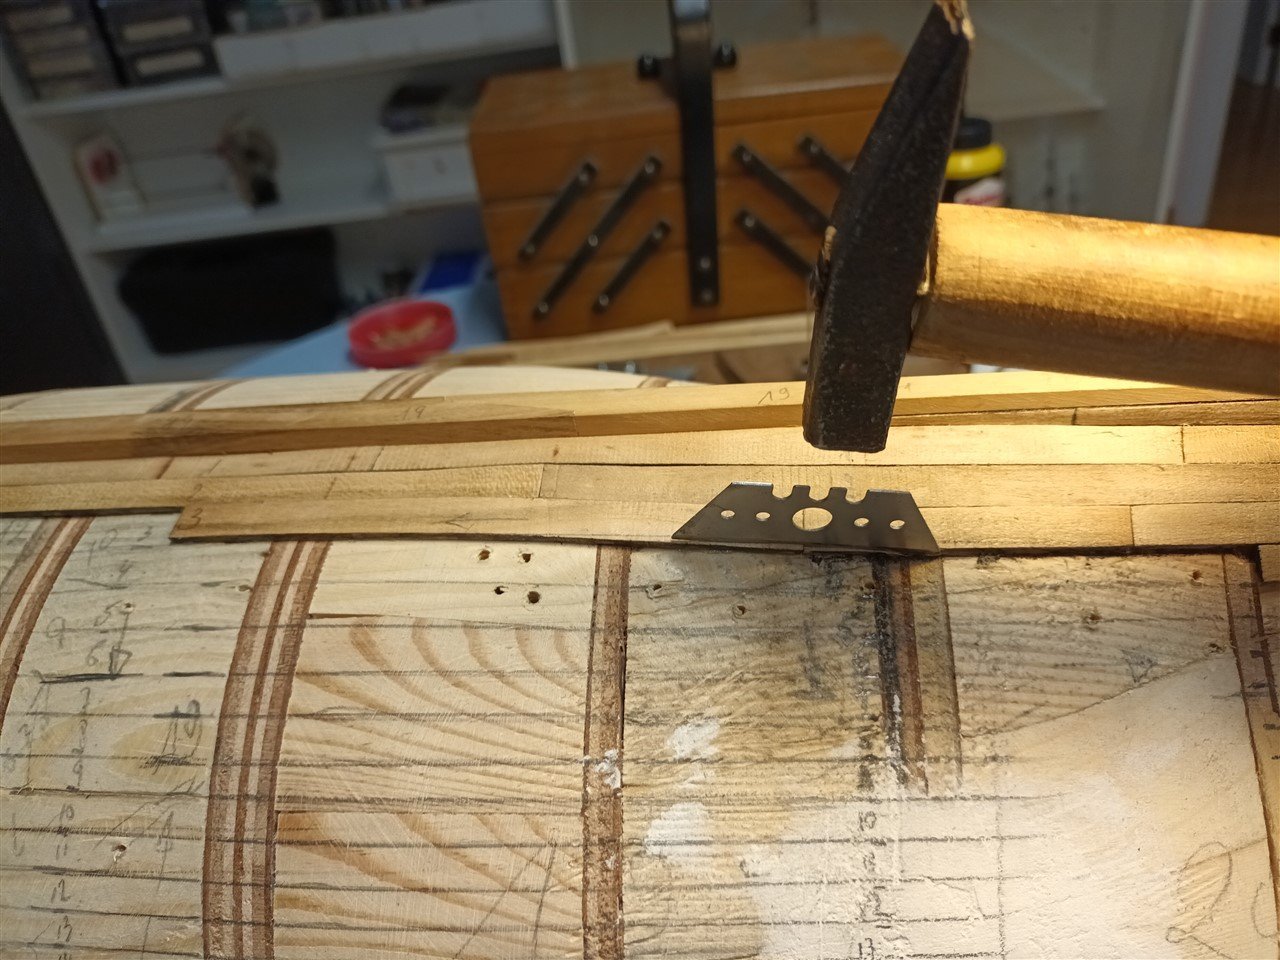
Planking the lower hull, progress. I'm kind of slow in planking, the idea is to do an update on this about every 2 weeks. made an extra batch of planks. Planking transom 16th century planking is something like ordered chaos (my idea). that's why there are pencil lines and notes all over the hull and sometimes things go wrong a pencil line is drawn a simple but effective solution problem solved, the next plank will fit Current status ( ps, the wale is not as bent and bad looking as in the picture) And building this way gives a nice space under the model to organize all the tools Thanks for following
-
Thank you for reviewing this kit. Looking forward to your build log. There will be much to discuss 😉
-
it is always nice to follow the progress of this impressive model. Great work 👍
- 208 replies
-
- 1
-
-
- kitbashing
- Woodcarving
- (and 4 more)