Baker
-
Posts
4,284 -
Joined
-
Last visited
Content Type
Profiles
Forums
Gallery
Events
Everything posted by Baker
-
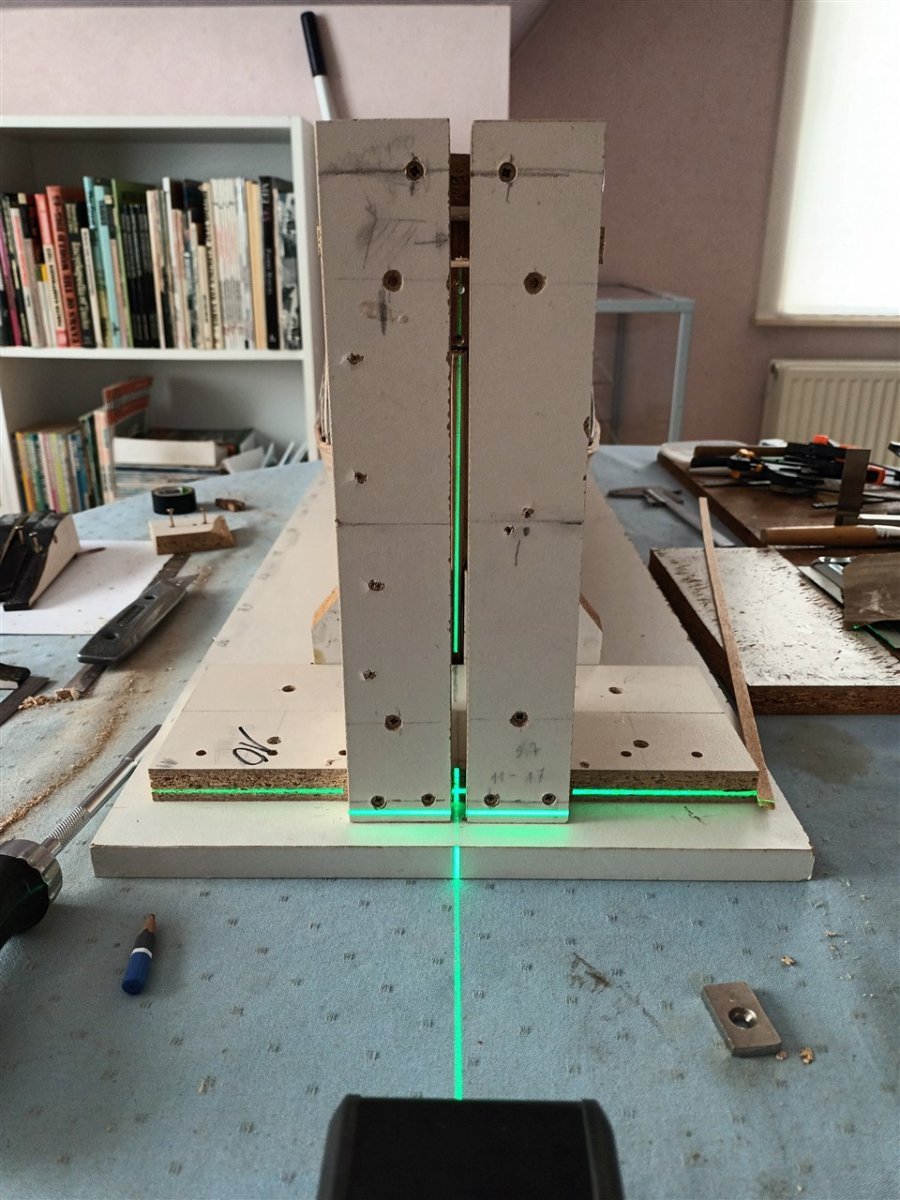
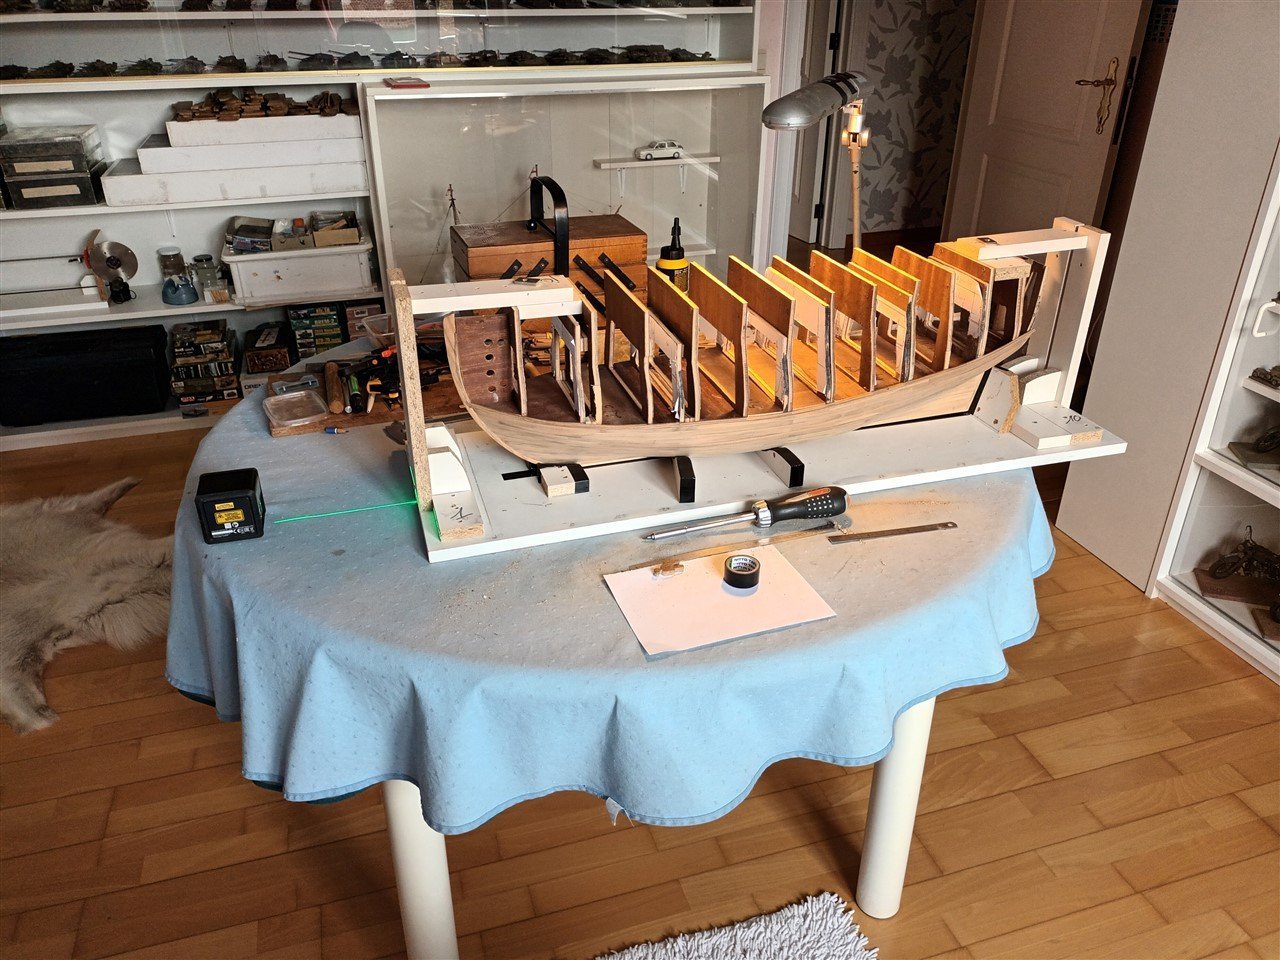
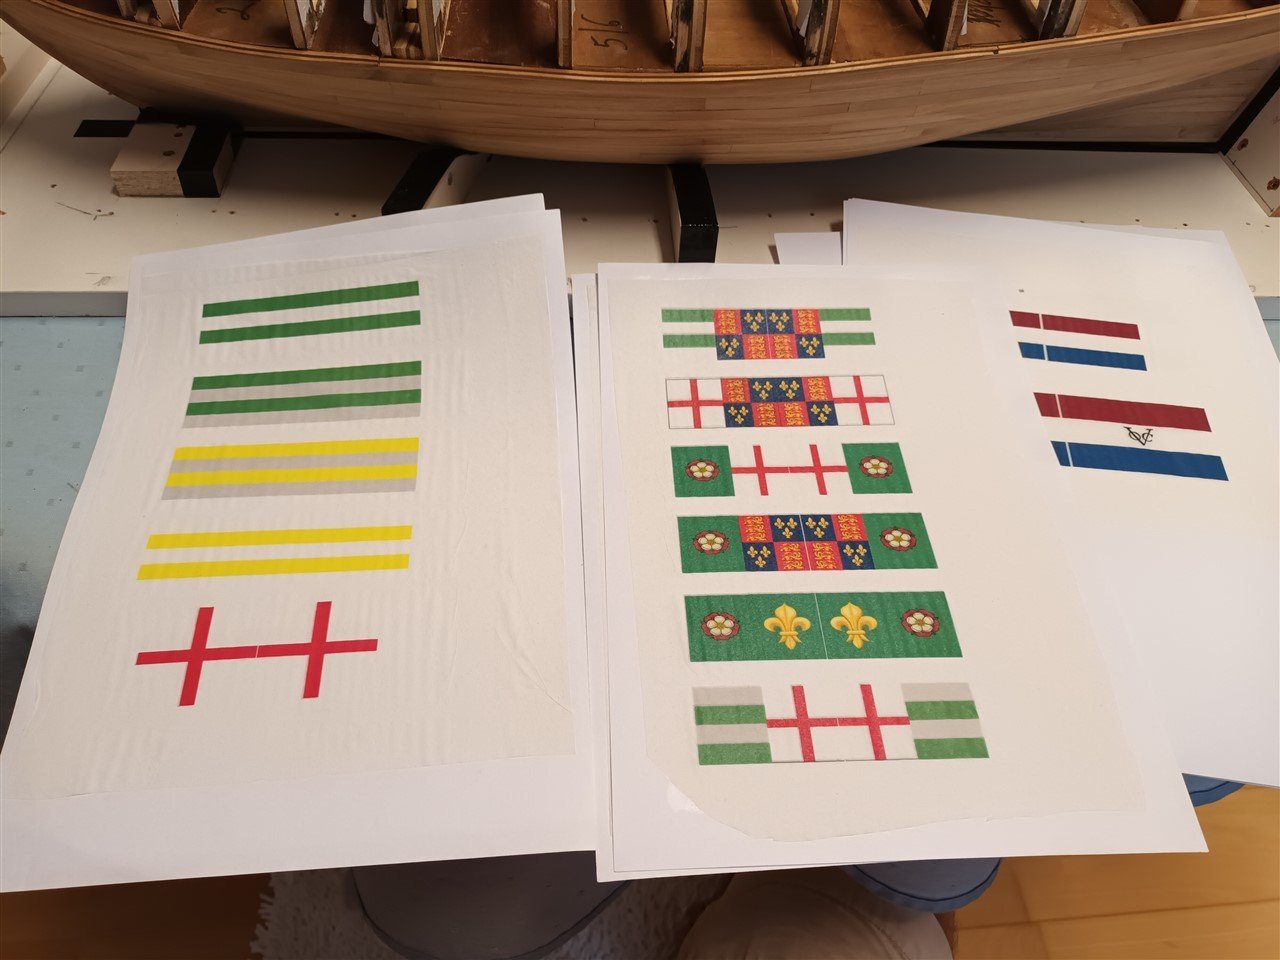
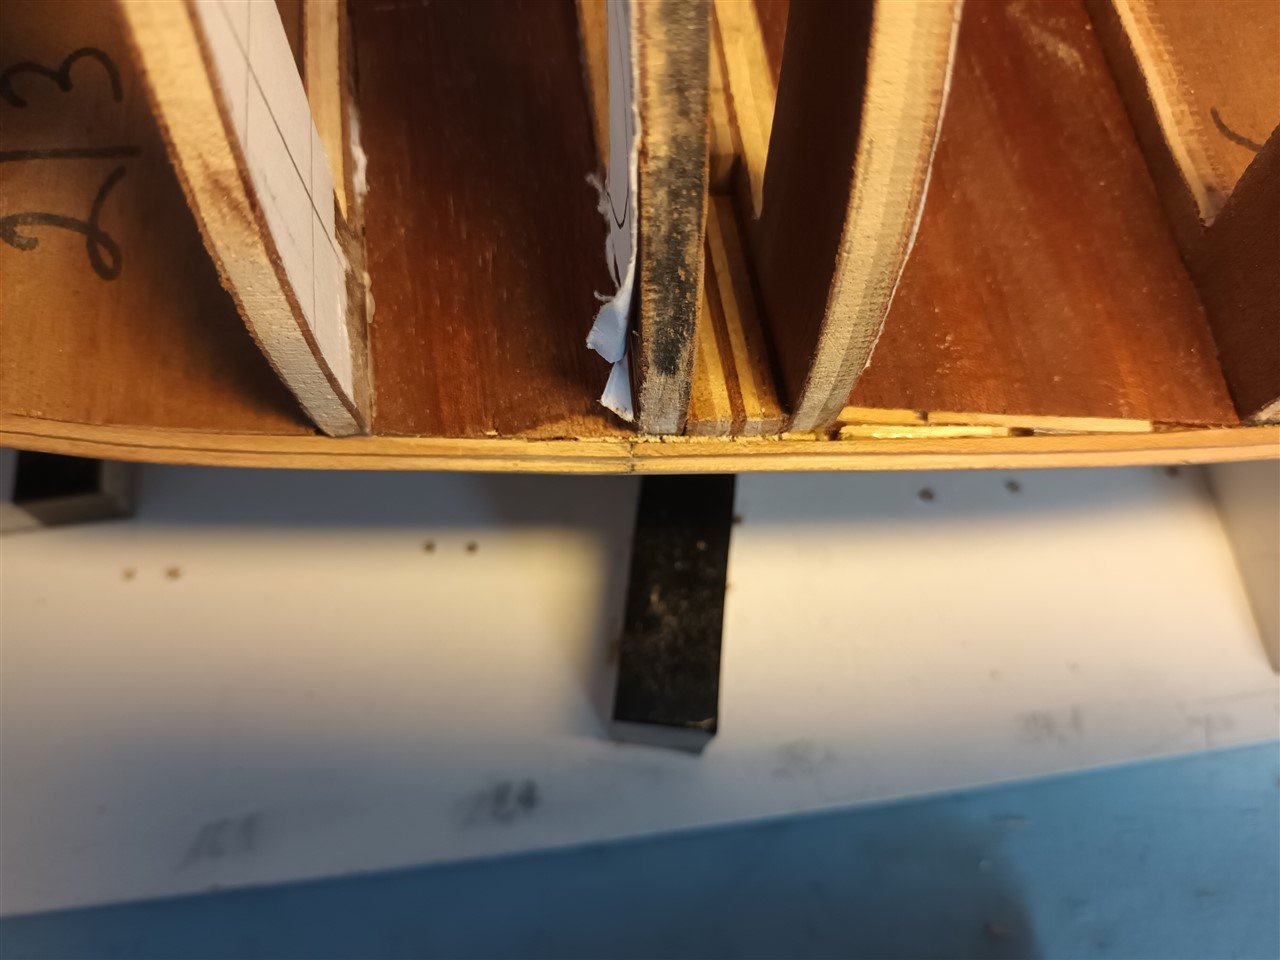
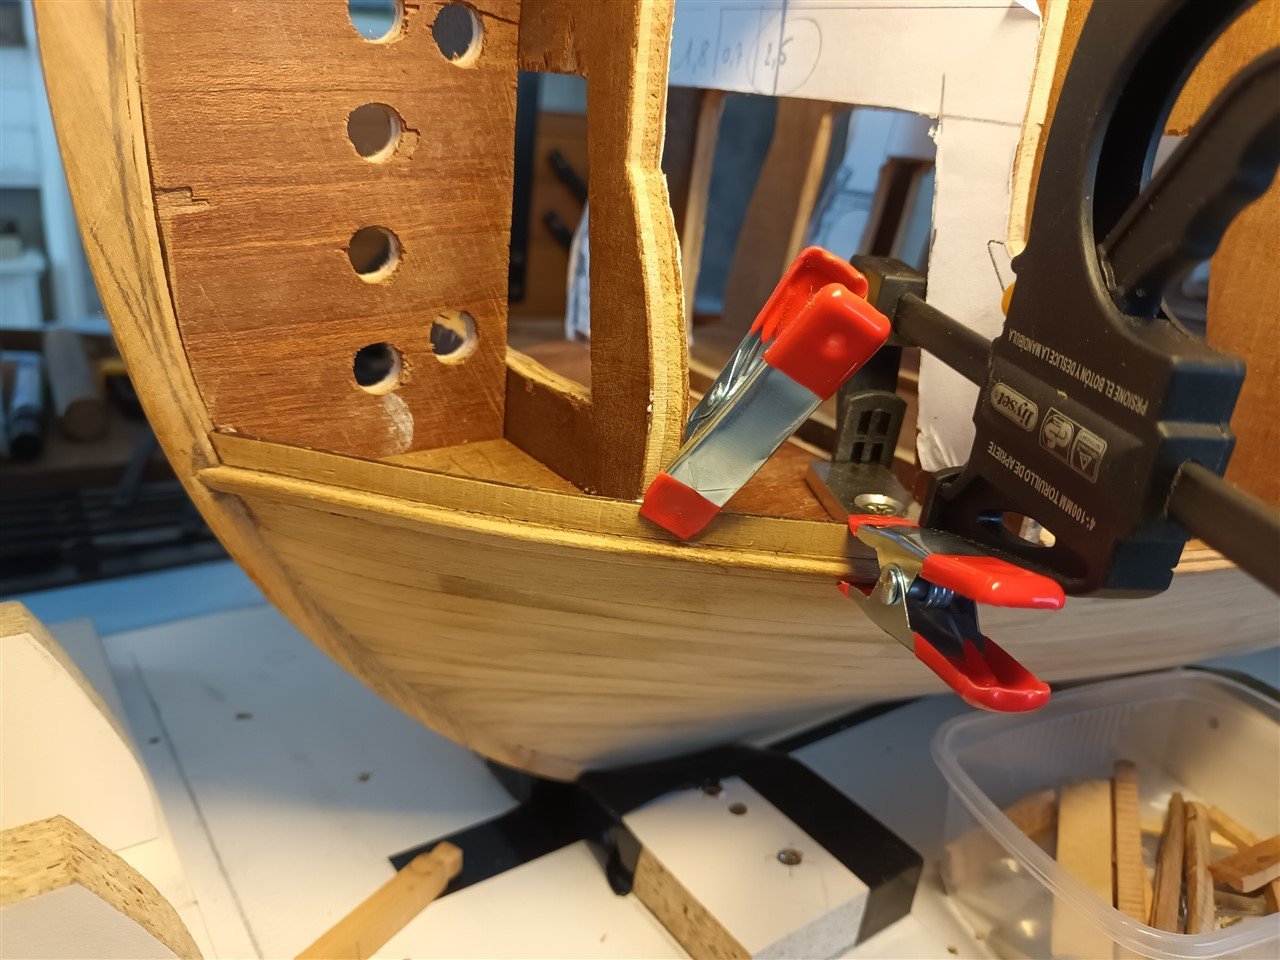
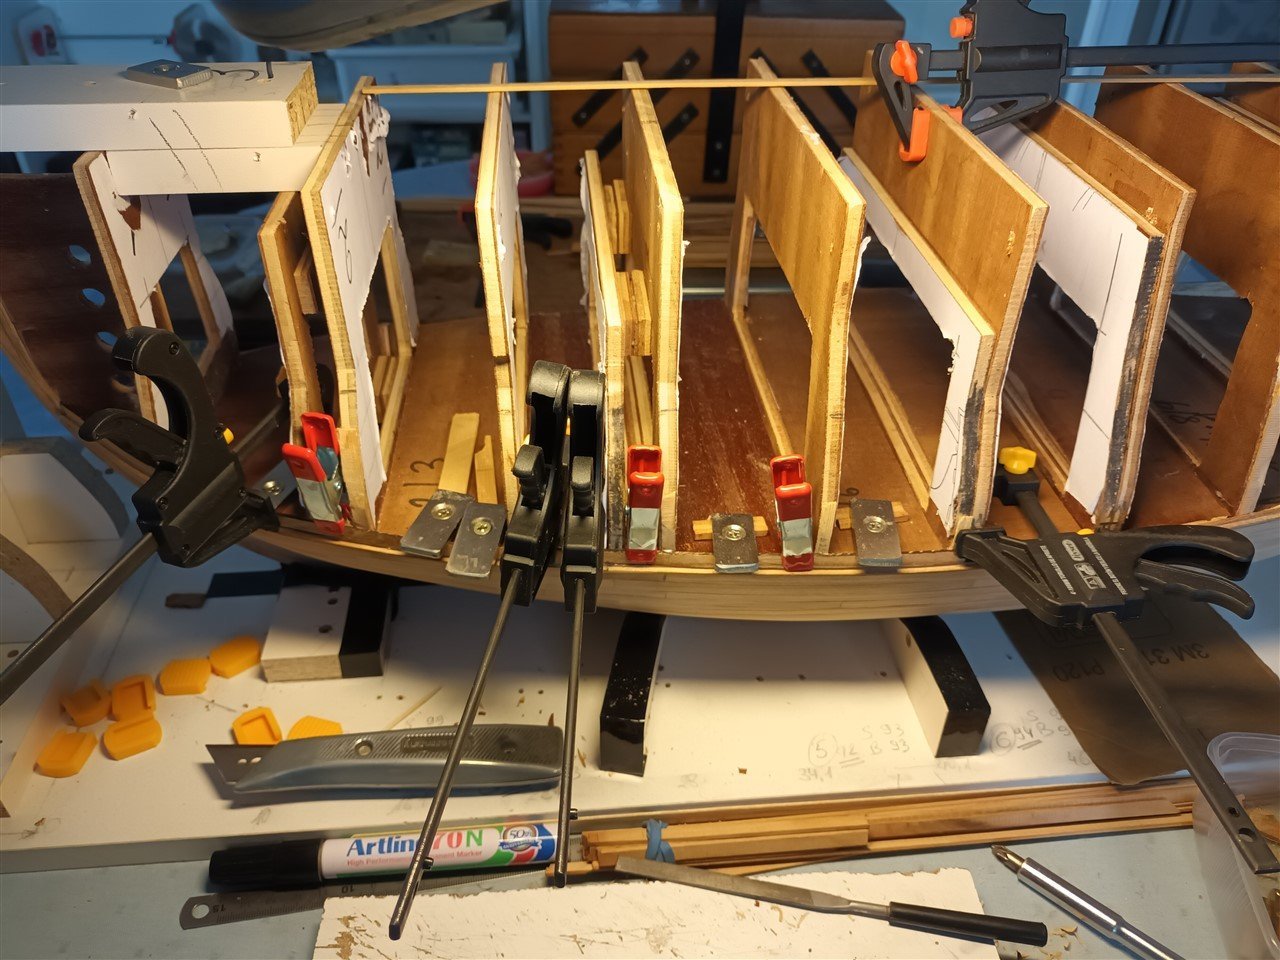
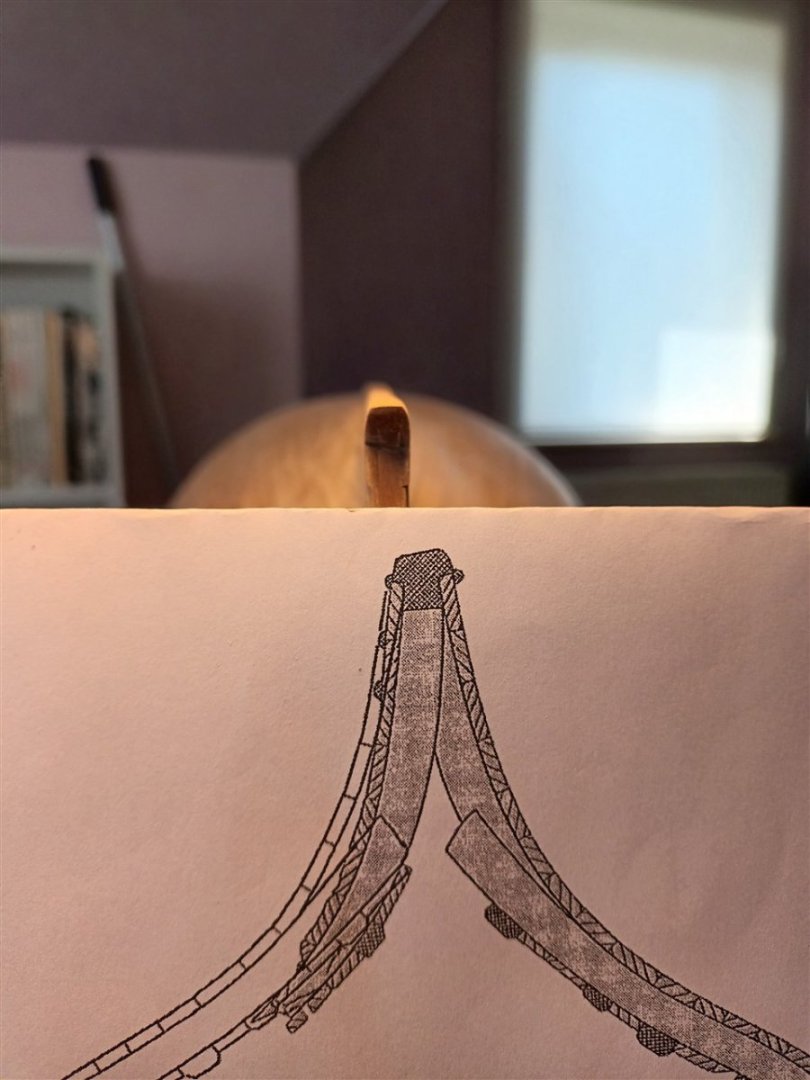
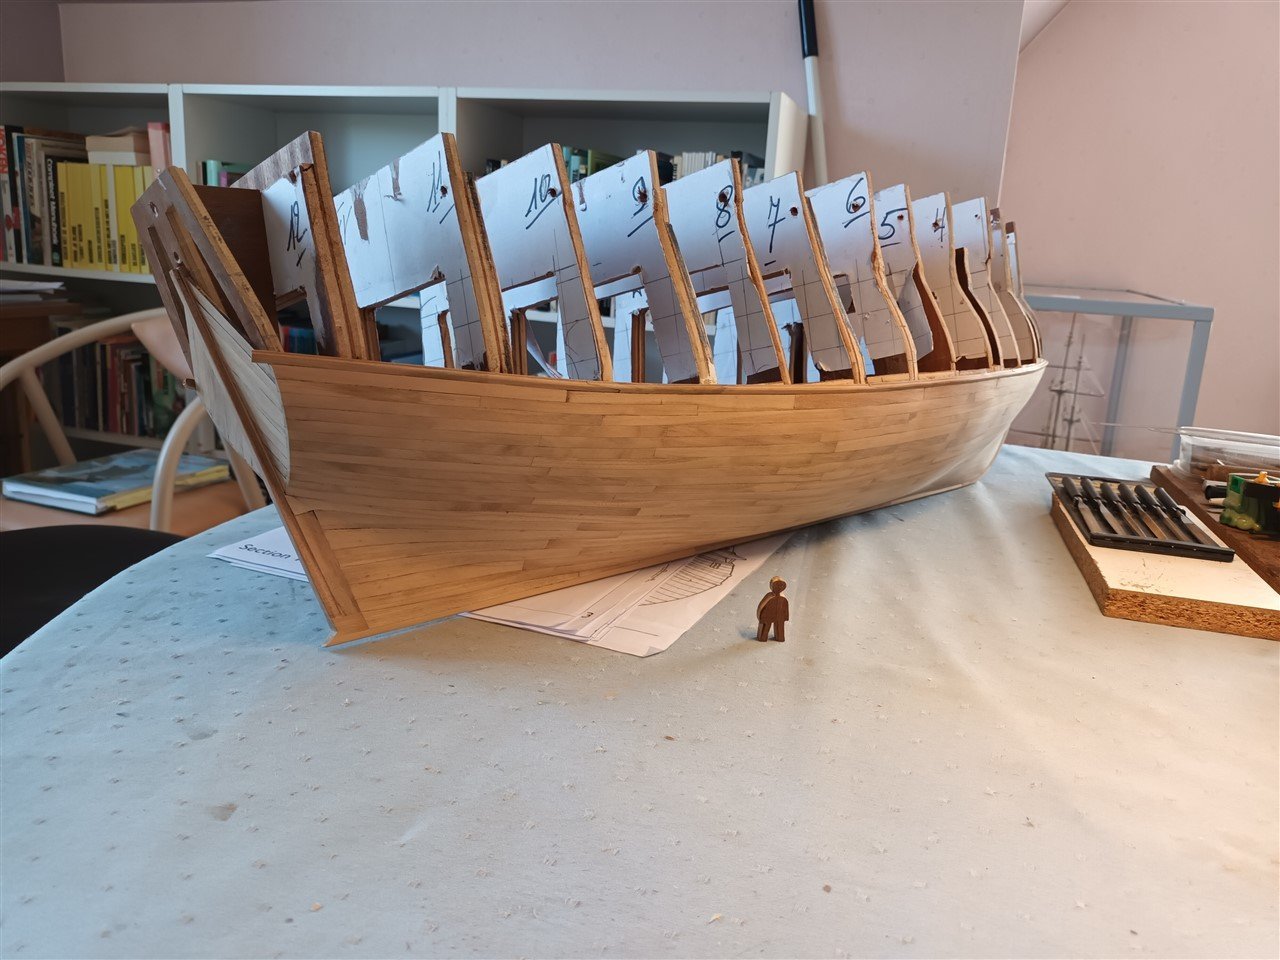
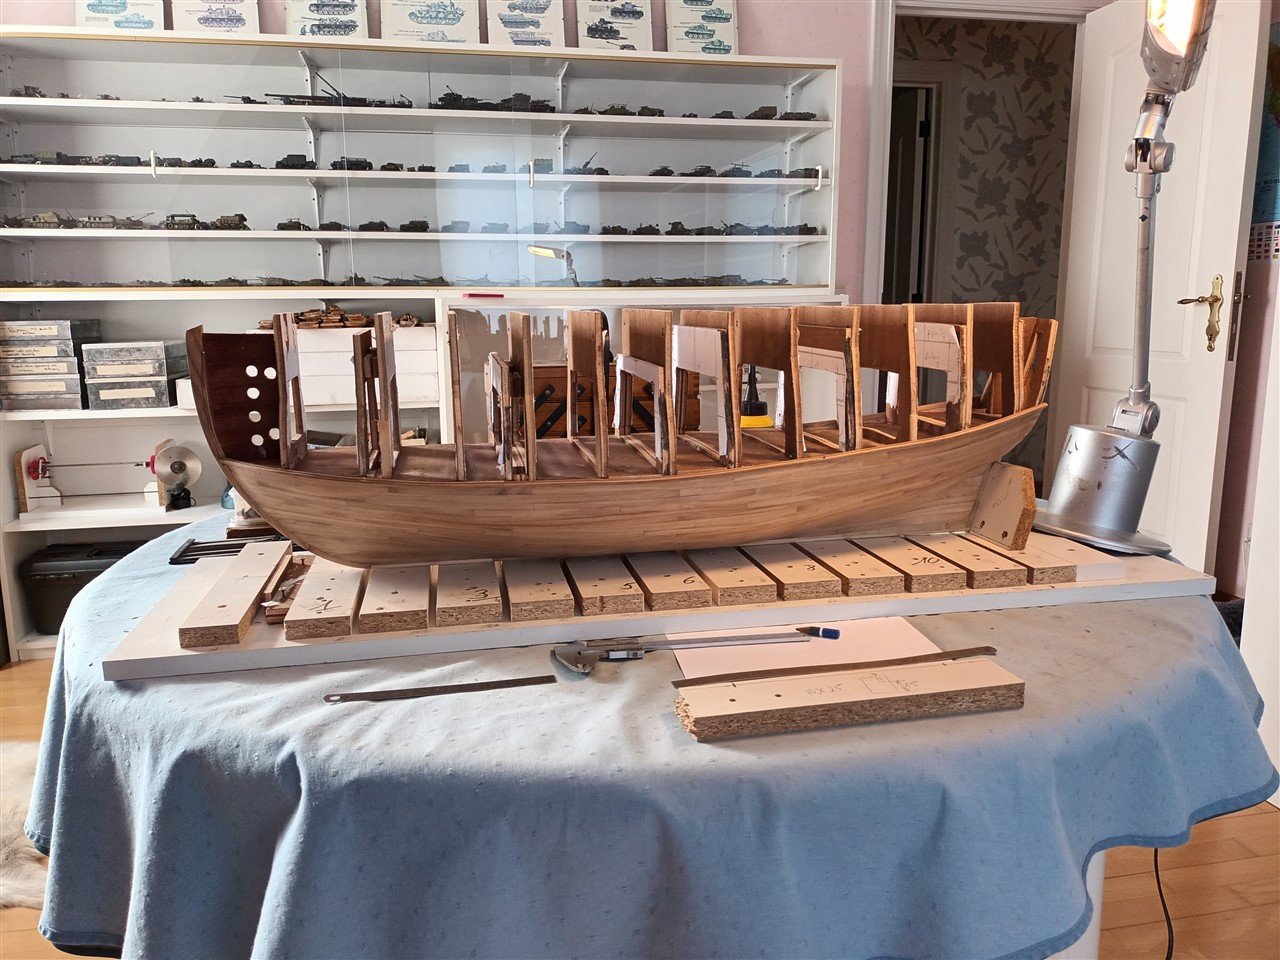
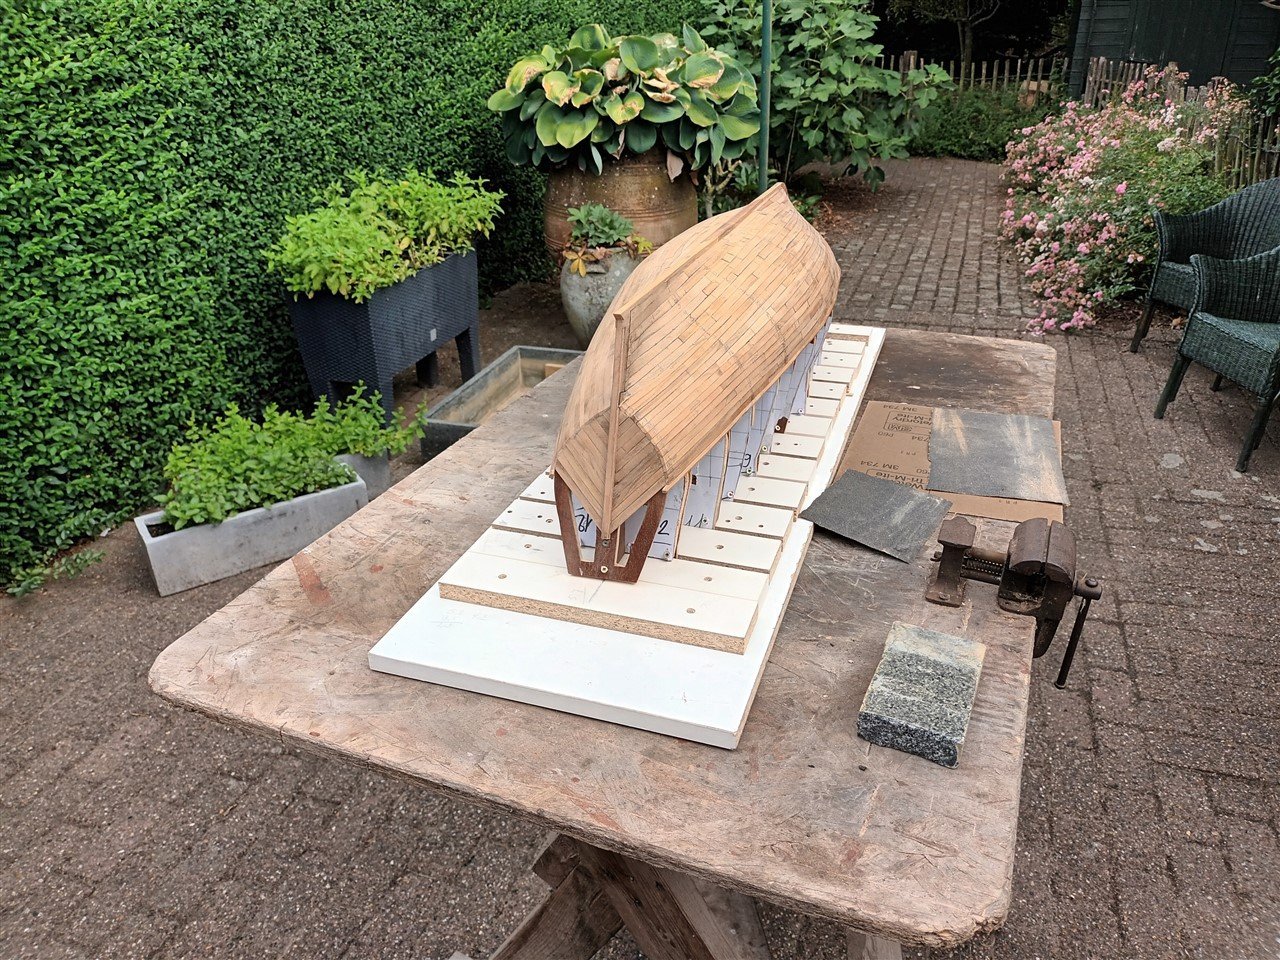
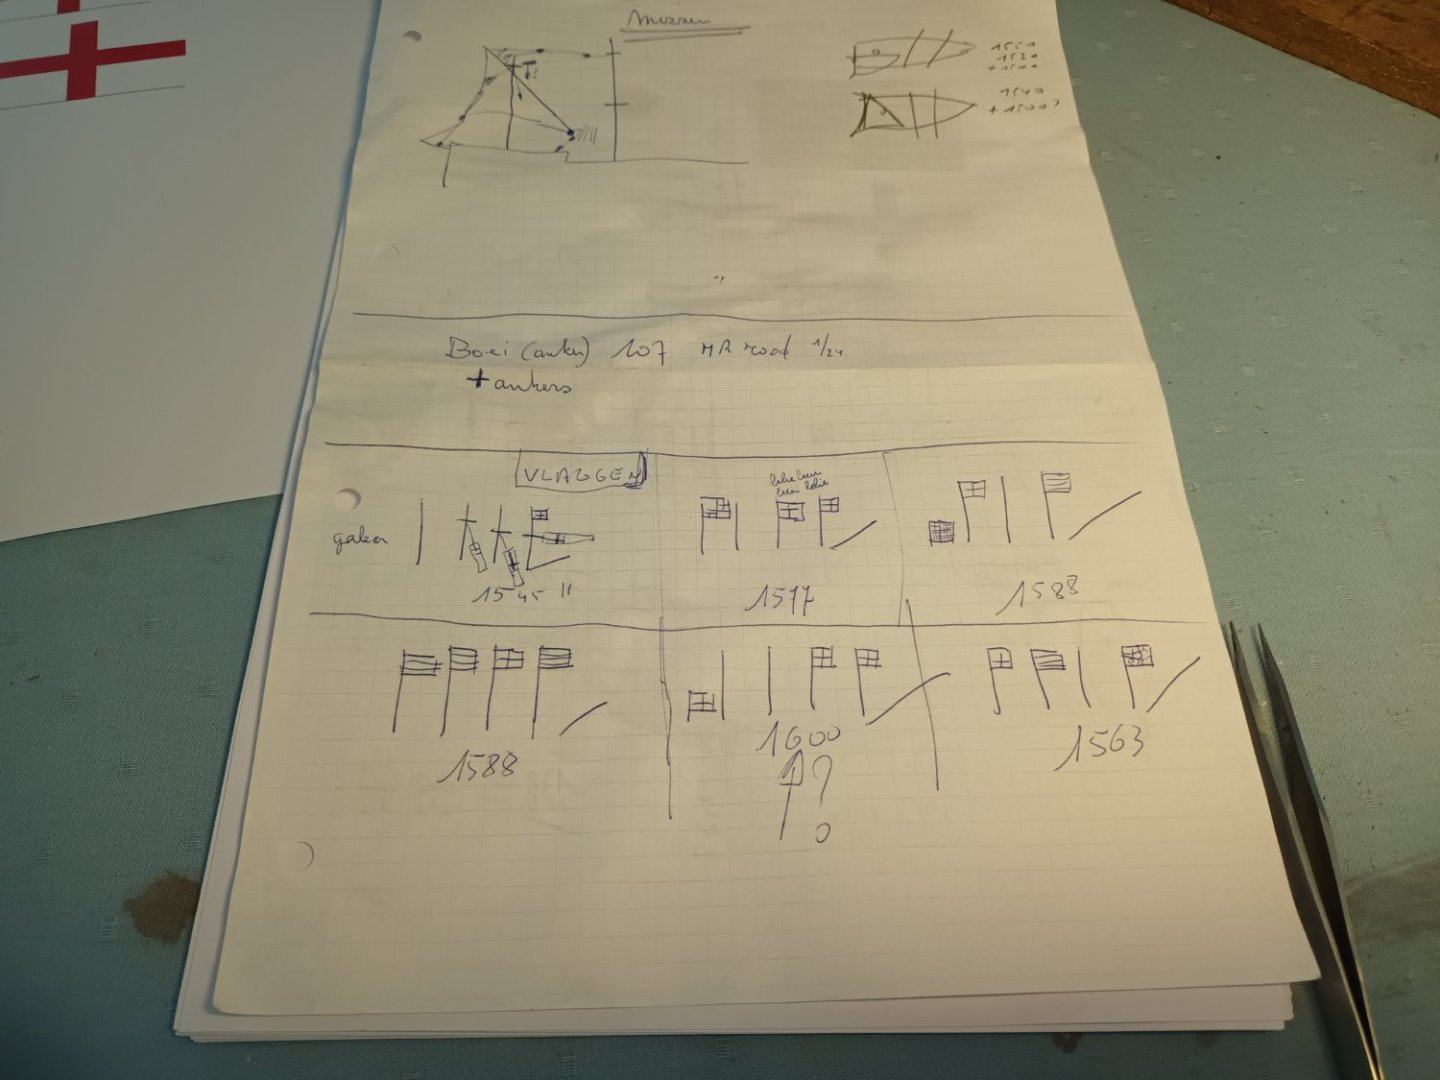
 A new building slip and start planking between wale 1 and 2. The aim of the new building slip is to give the model good support and to keep it fully accessible. The result is a bit big and unwieldy. But solid Align the front and back with the laser. The 1st wale did not have a smooth line here and there. In these places the glue has been loosened with isopropyl alcohol and adjusted Measure whether the dimensions match the cross-sections. Only 1mm difference here and there Start further planking. The intention is to do 2 strakes and maybe the 2nd wale. This will then serve as a basis to replace all the plywood with wooden frames. The first plank lots of clamping... Flags, did a first testprint on tissue paper. And no, the Dutch VOC flag is not for the Mary Rose Thanks for following


-
ratlines. getting started is always an exciting experience. But after a while it can get boring. I would start already, then you can do something else in between if you get tired of it 😉
-
Welcome back
-
Revenge 1577 by Loracs - Amati - 1:64
Baker replied to Loracs's topic in - Kit build logs for subjects built from 1501 - 1750
Nicely done -
-
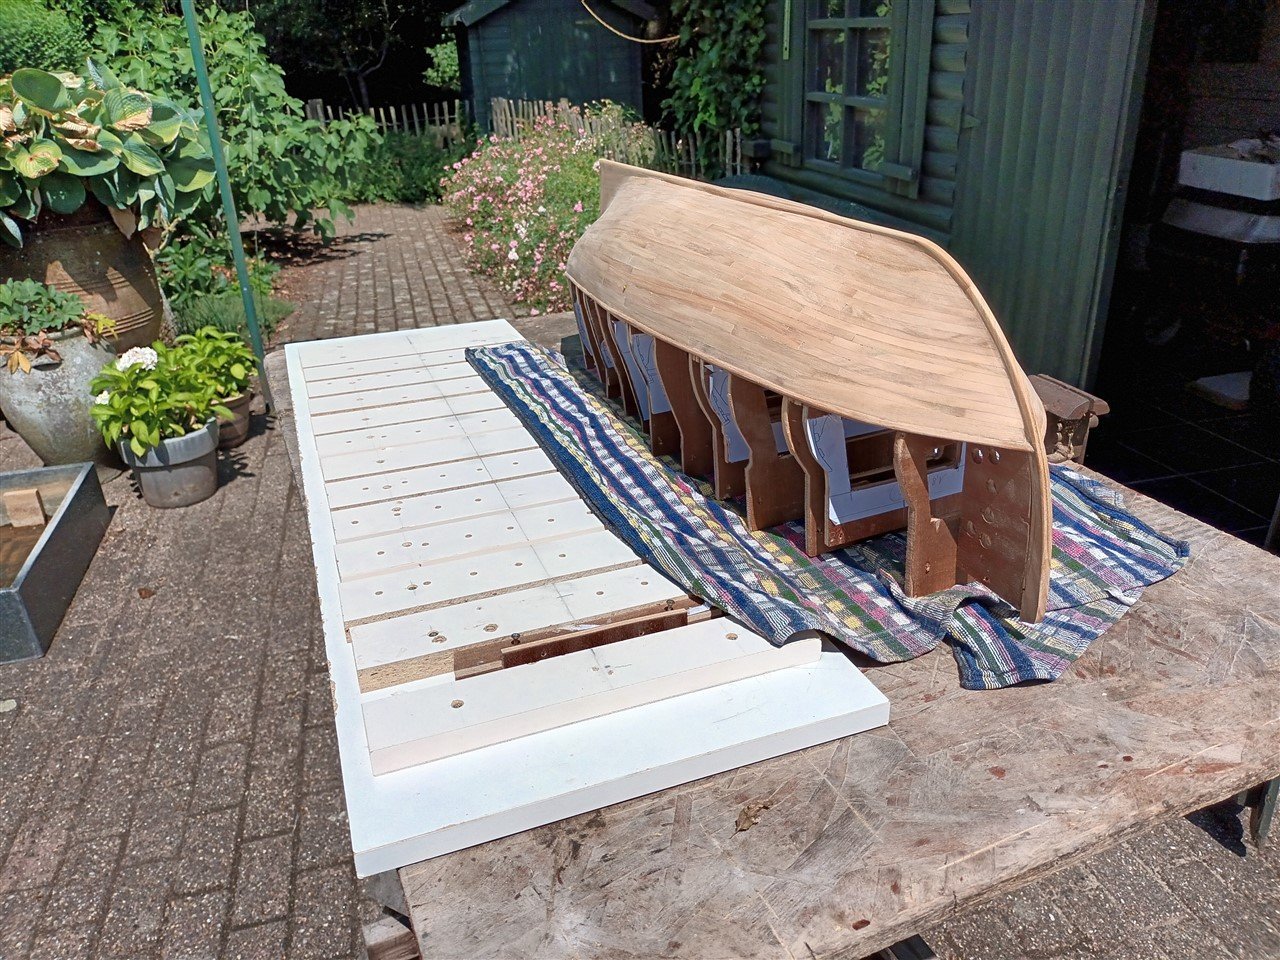
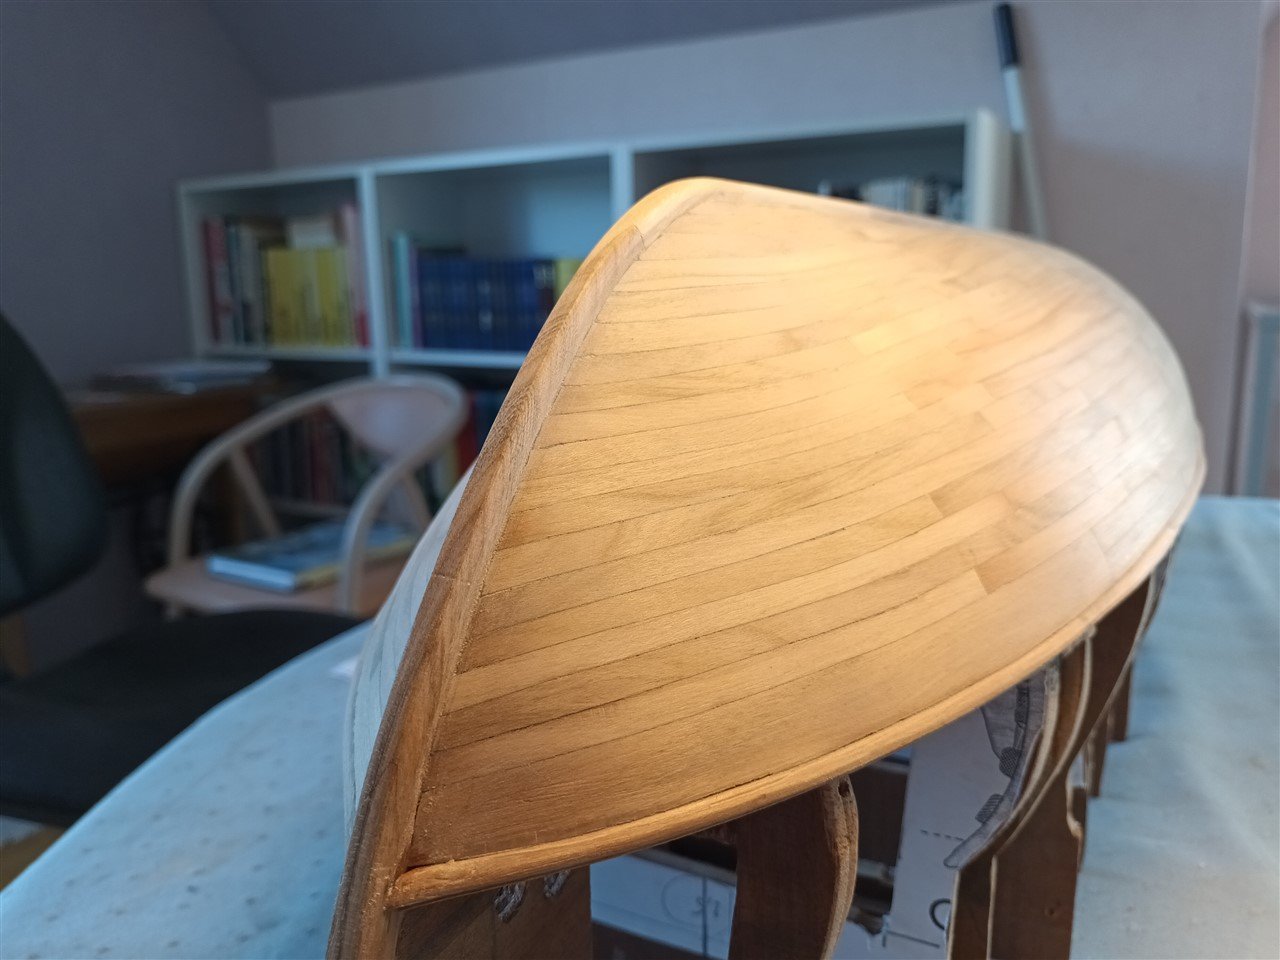
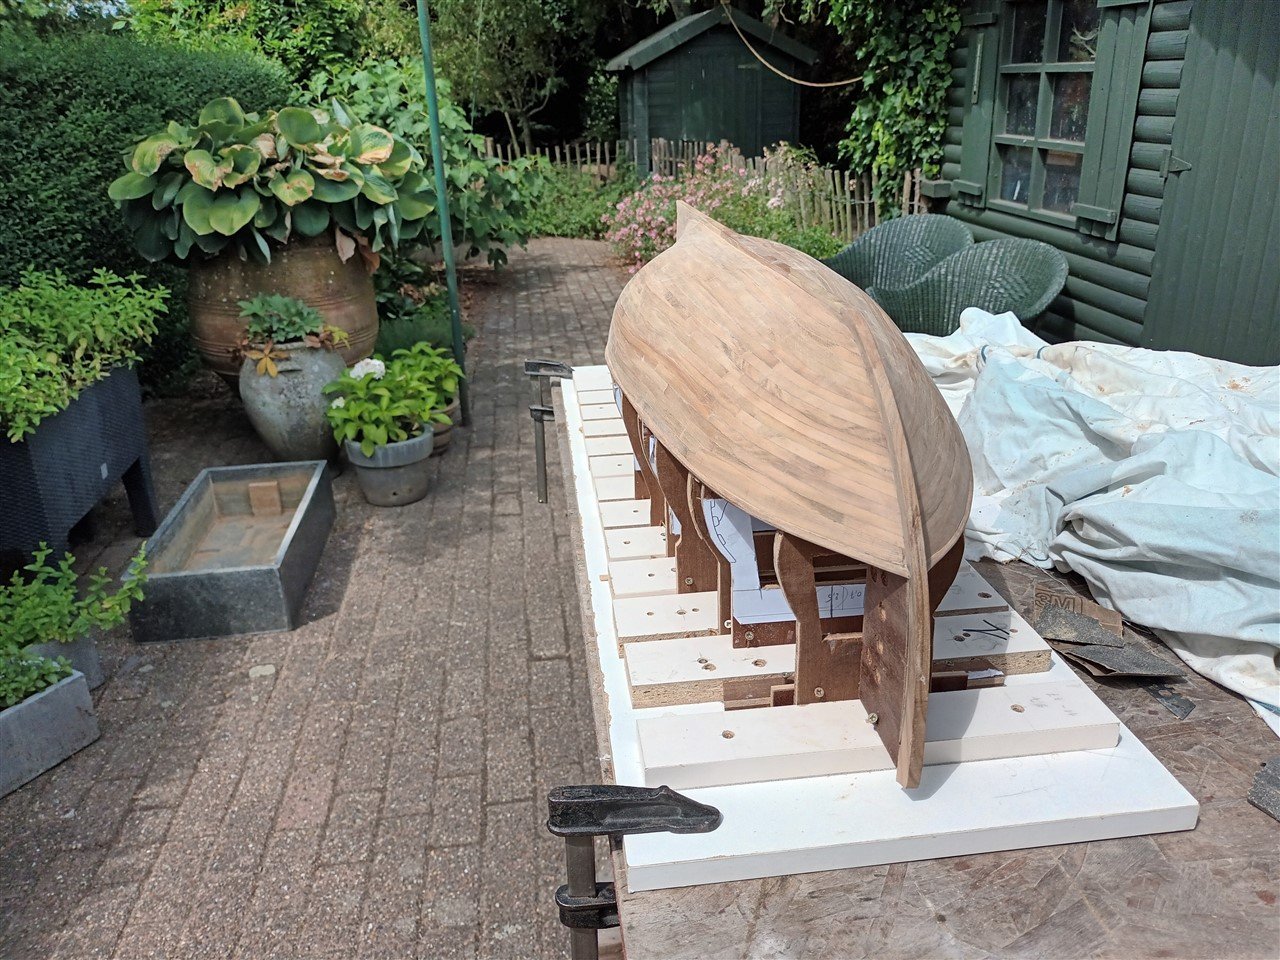
After a day of sanding in the sun, the lower part of the hull is sanded. Also the keel and stem are tapered. All the screws holding Mary Rose upside down have been removed. And i gave her a cleaning with compressed air. The keel is tapered using the cross-sectional drawings. A bit straighter than the original... Since there is little left of the stem. it was a bit of free interpretation. And Mary Rose landed on her feet (oops, keel). Now the build slip needs to be adjusted before continuing Thanks for following, likes and comments.
-
once more, thanks everyone for the comments, likes and visiting 👍
-
Indeed. Same story here. Great work.
-
Roter Löwe 1597 by Ondras71
Baker replied to Ondras71's topic in - Build logs for subjects built 1501 - 1750
craftsmanship. beautiful work Ondras. -
Hi, from Balearic Islands, Spain.
Baker replied to Miguel Juan Calvo Fürst's topic in New member Introductions
And good luck with this project -
you can find everything in these databases https://thenrg.org/resource/articles
-
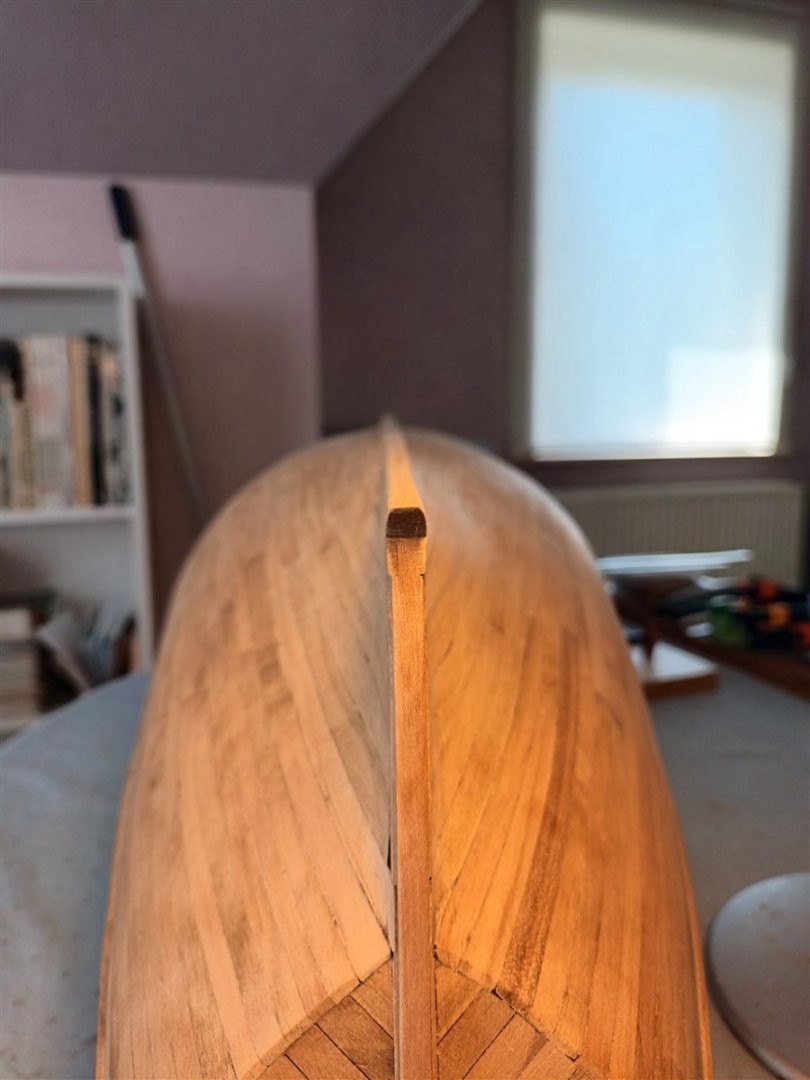
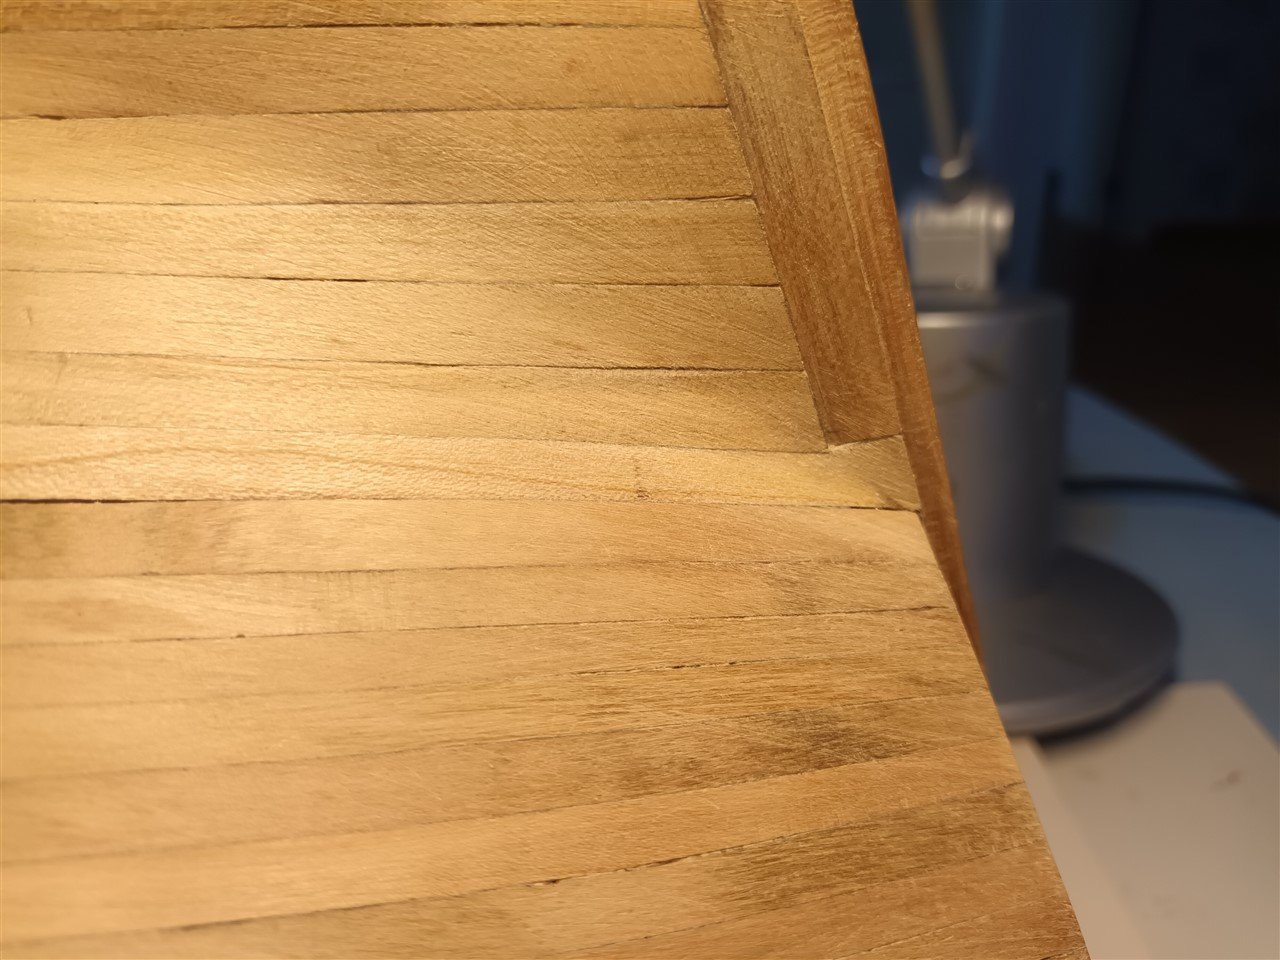
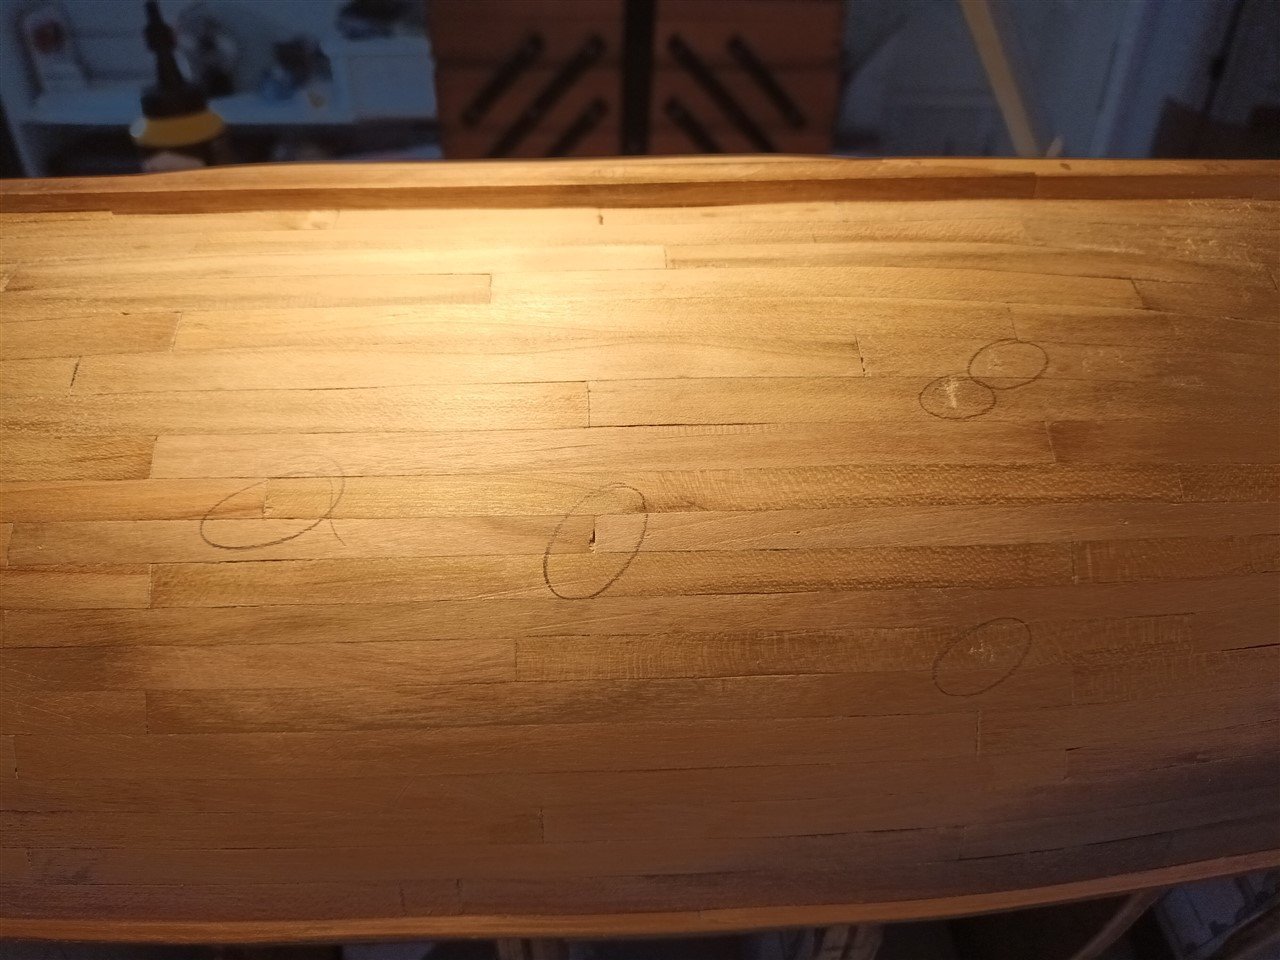
The planking of the lower hull part is ready. This morning everything is made ready for sanding and scraping. In the meantime I did the garden, washed the cars and did other small jobs (the regular Saturday work..) result. am quite happy with this special plank at the stern. Now there is first a "quality check". Then the sanding is continued and the keel will be tapered. Thanks for comments, likes or just visiting this build, this is very much appreciated.
-
Happy birthday Ferrus 🥳 Sad news, your covid infection 👎. Get well soon.
- 279 replies
-
- 2
-

-

-
- Spanish Galleon
- Imai
- (and 1 more)
-
-
welcome back 👍
-
congratulations Charles Very nicely done
-
Great work. And
-
-
Timber-framed outdoor kitchen - Cathead - 1:1 scale
Baker replied to Cathead's topic in Non-ship/categorised builds
Yep 👍 -
freely of your choice. After research I decided not to put a flagpole. Most drawings and especially sketches of ships from this era were made years later and are not really representative. Of course, free choice, if you do put one on it. No one can say you are wrong 😉
- 279 replies
-
- 2
-
-
- Spanish Galleon
- Imai
- (and 1 more)
-
Golden Hind by Rock_From_Korea - 1:48
Baker replied to Rock_From_Korea's topic in - Build logs for subjects built 1501 - 1750
very neat cannons Considering these wrought iron cannons were rear loaded. They sure aren't too long. On the contrary, they seem to be just the right length. And you can also mix shorter versions with this length. At that time there was no standardization whatsoever. The_Arming_of_Late_16th_century_Merchant.pdf