Baker
-
Posts
4,284 -
Joined
-
Last visited
Content Type
Profiles
Forums
Gallery
Events
Everything posted by Baker
-

Hello All - From Santa Barbara, CA
Baker replied to Blu330ciracer's topic in New member Introductions
-
I changed my name once and the links continued to work correctly. Your username in the titles of your post will not change. Then I had to change them all separately, one by one.
-
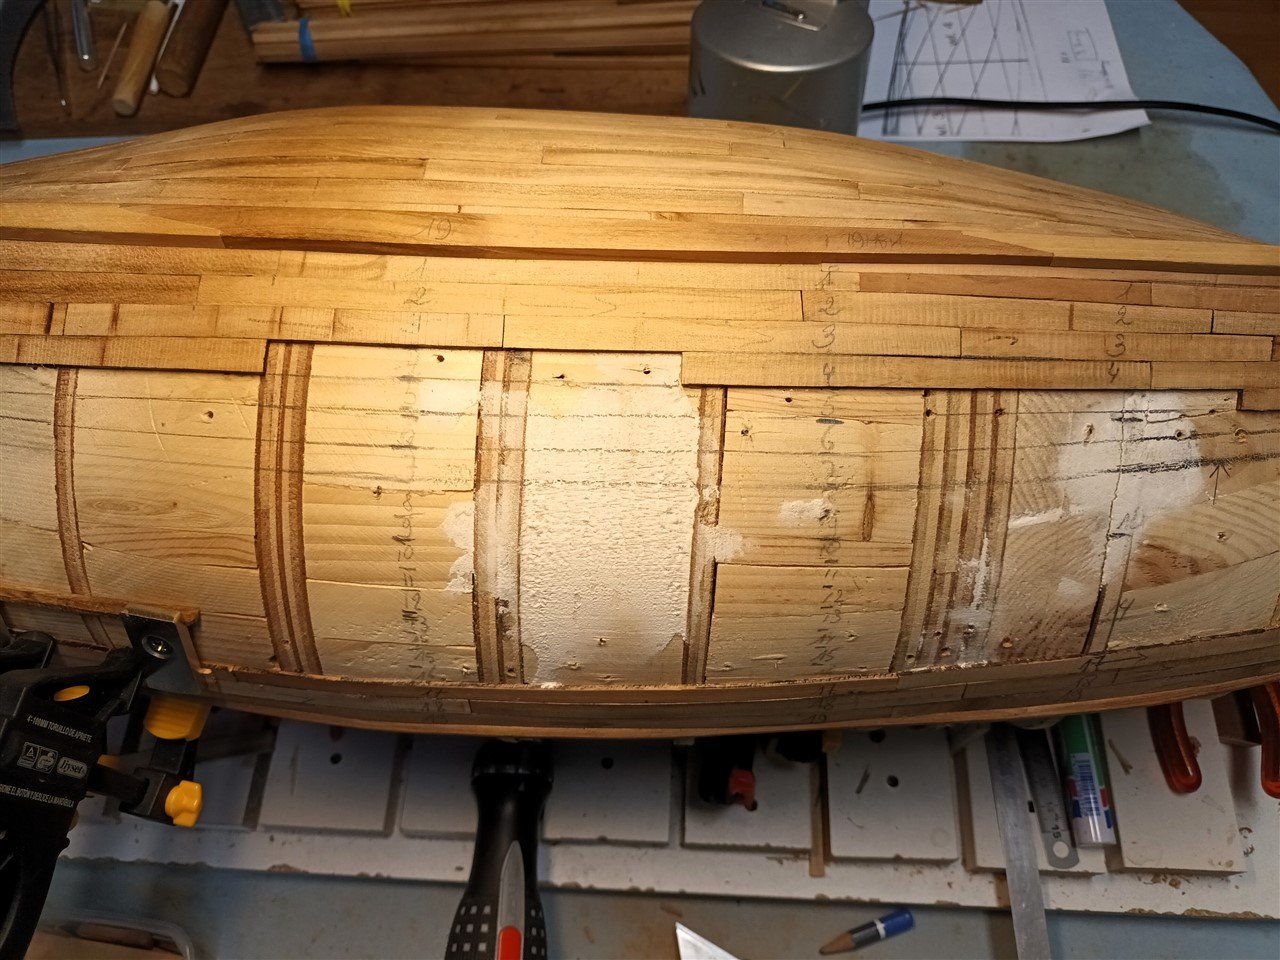
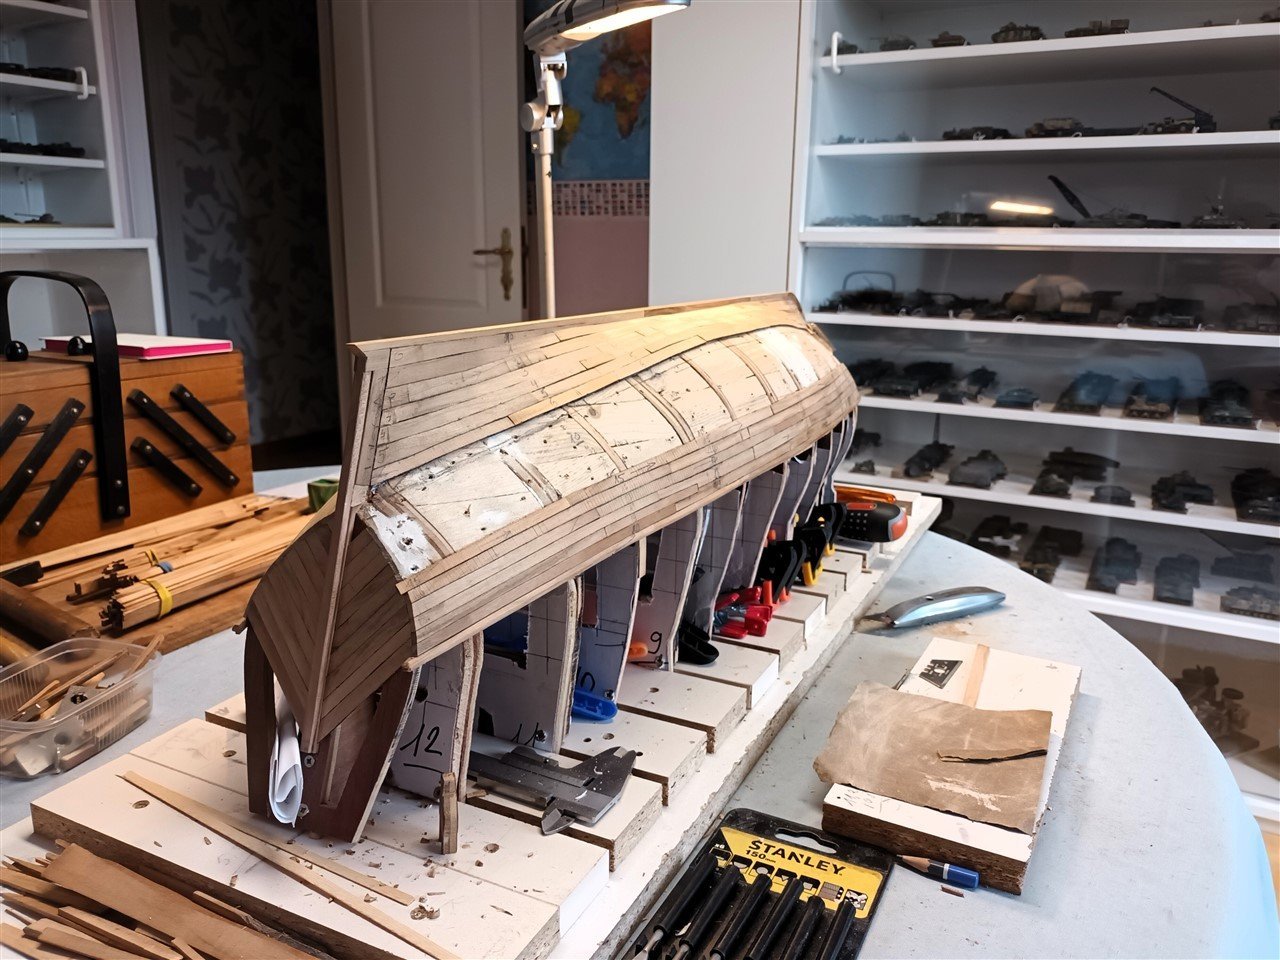
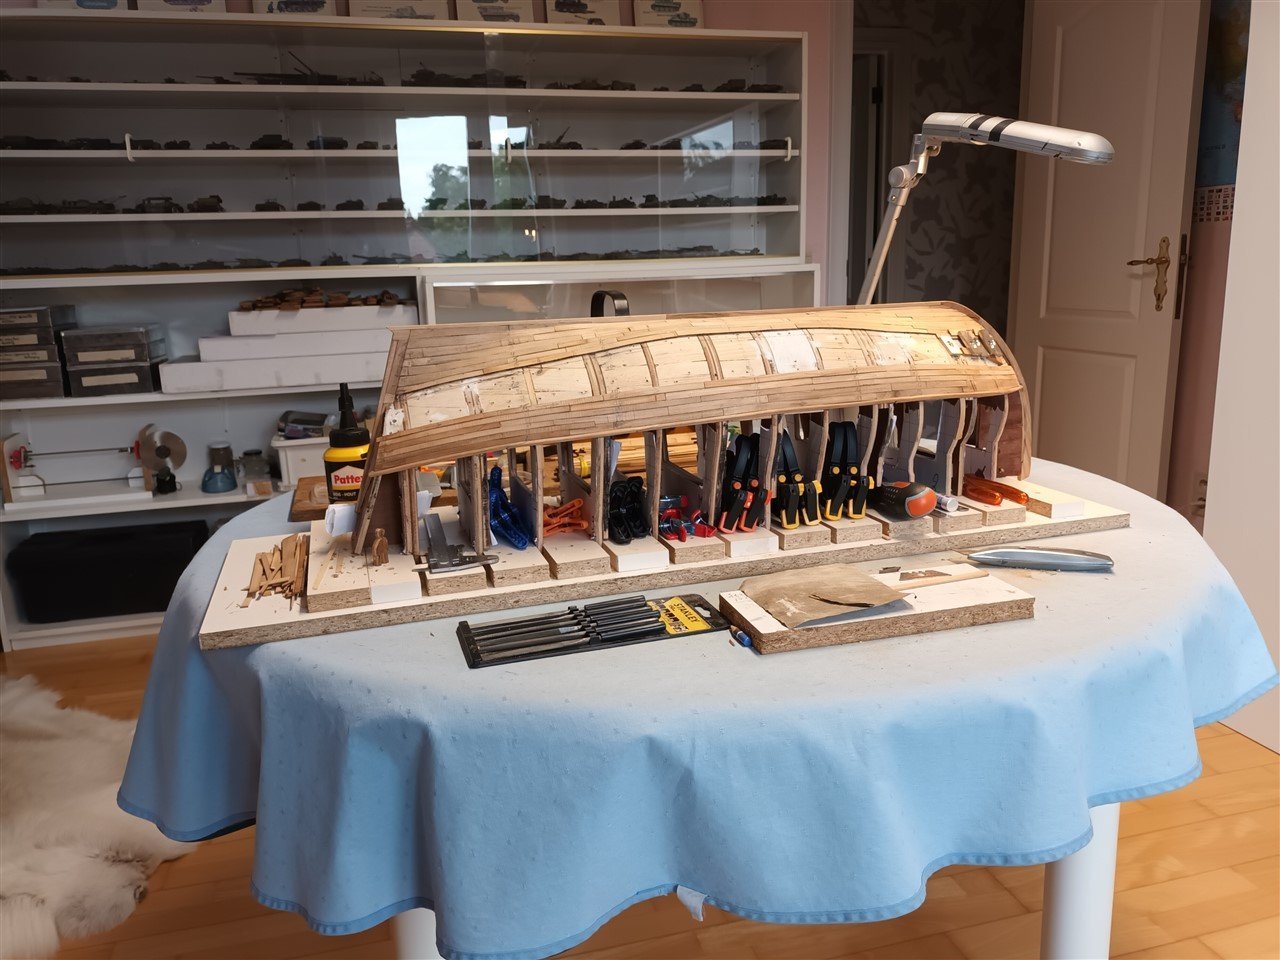
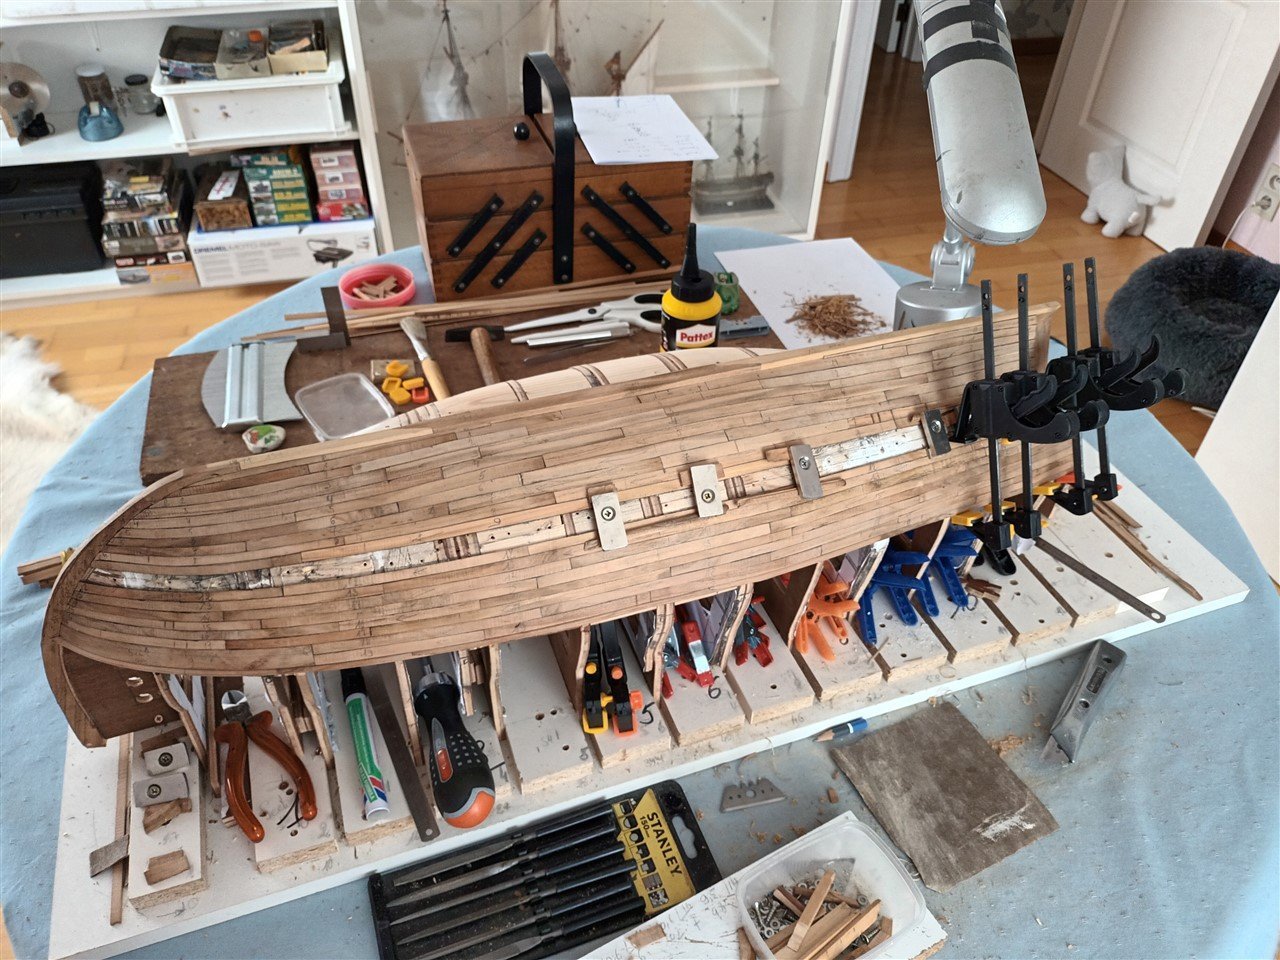
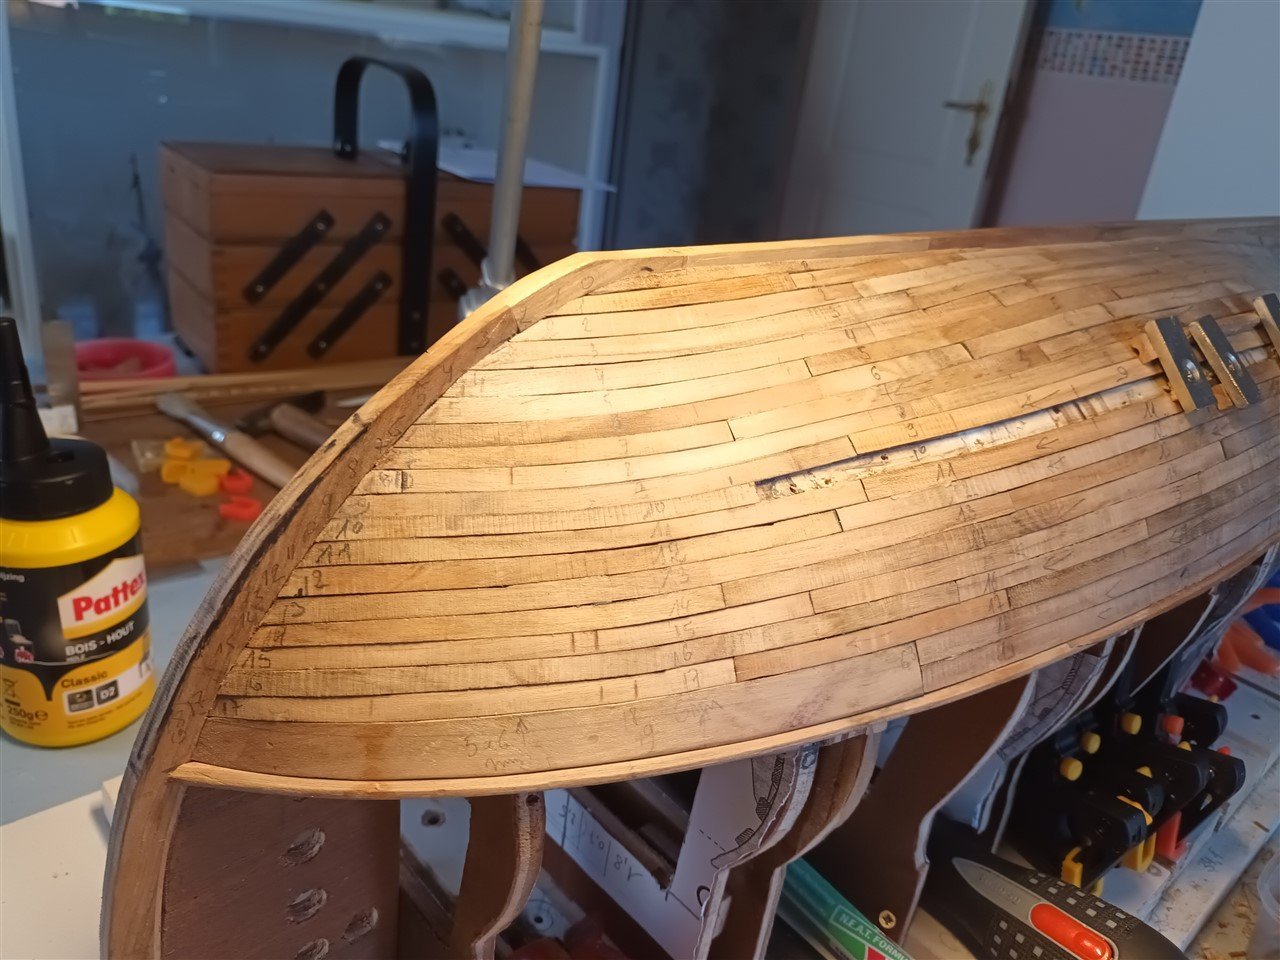
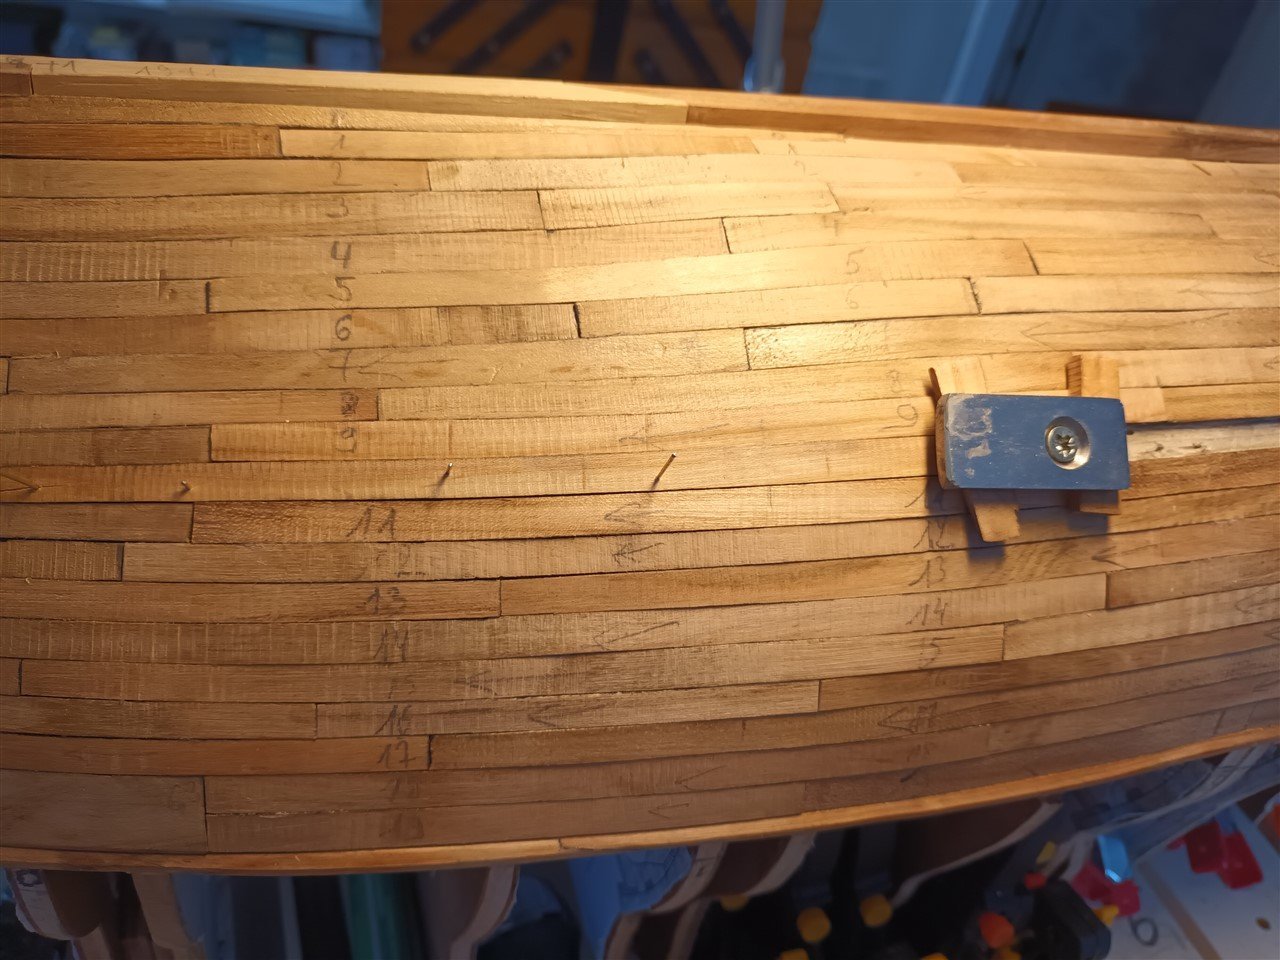
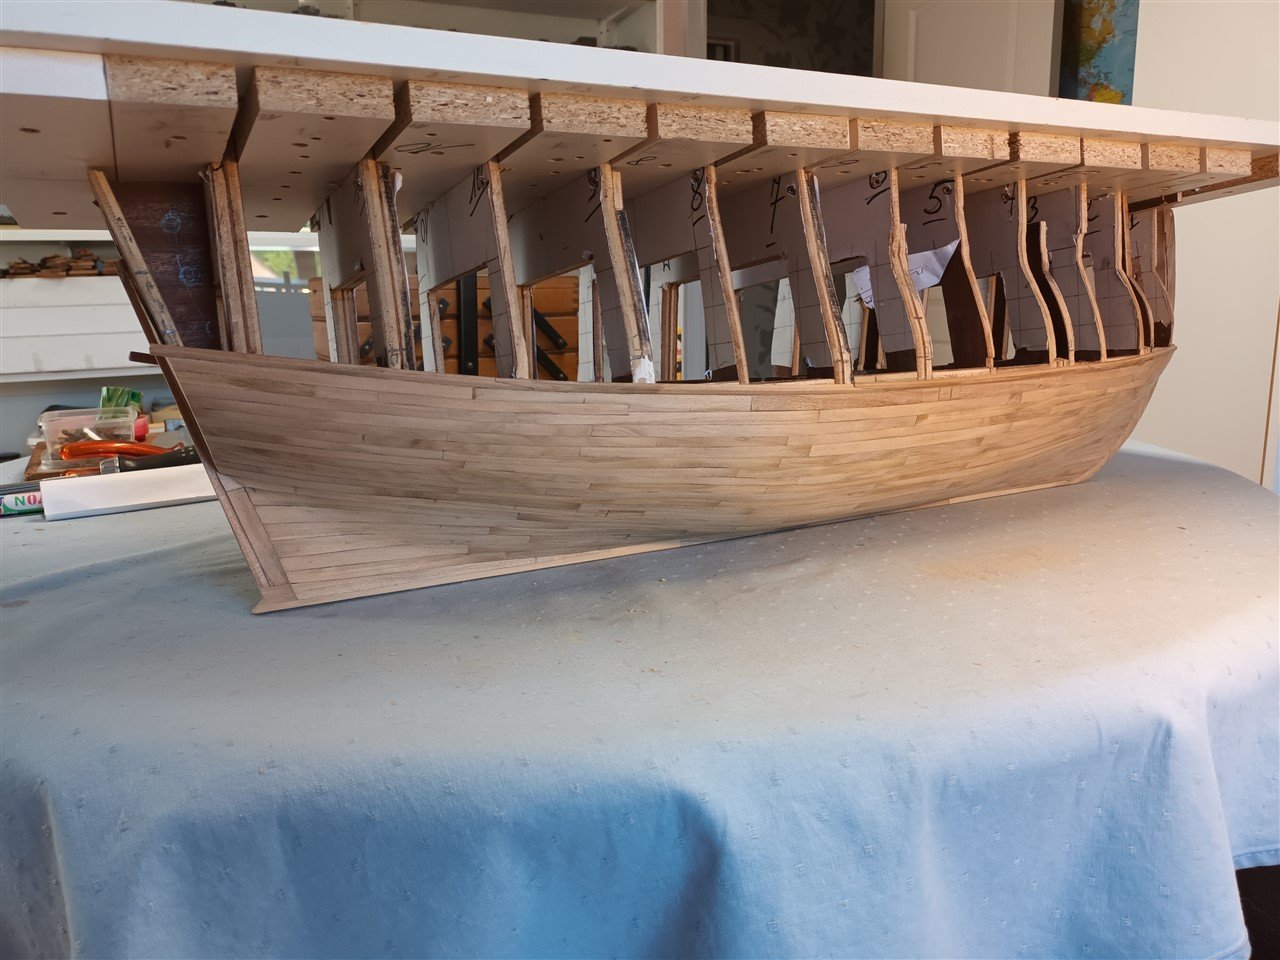
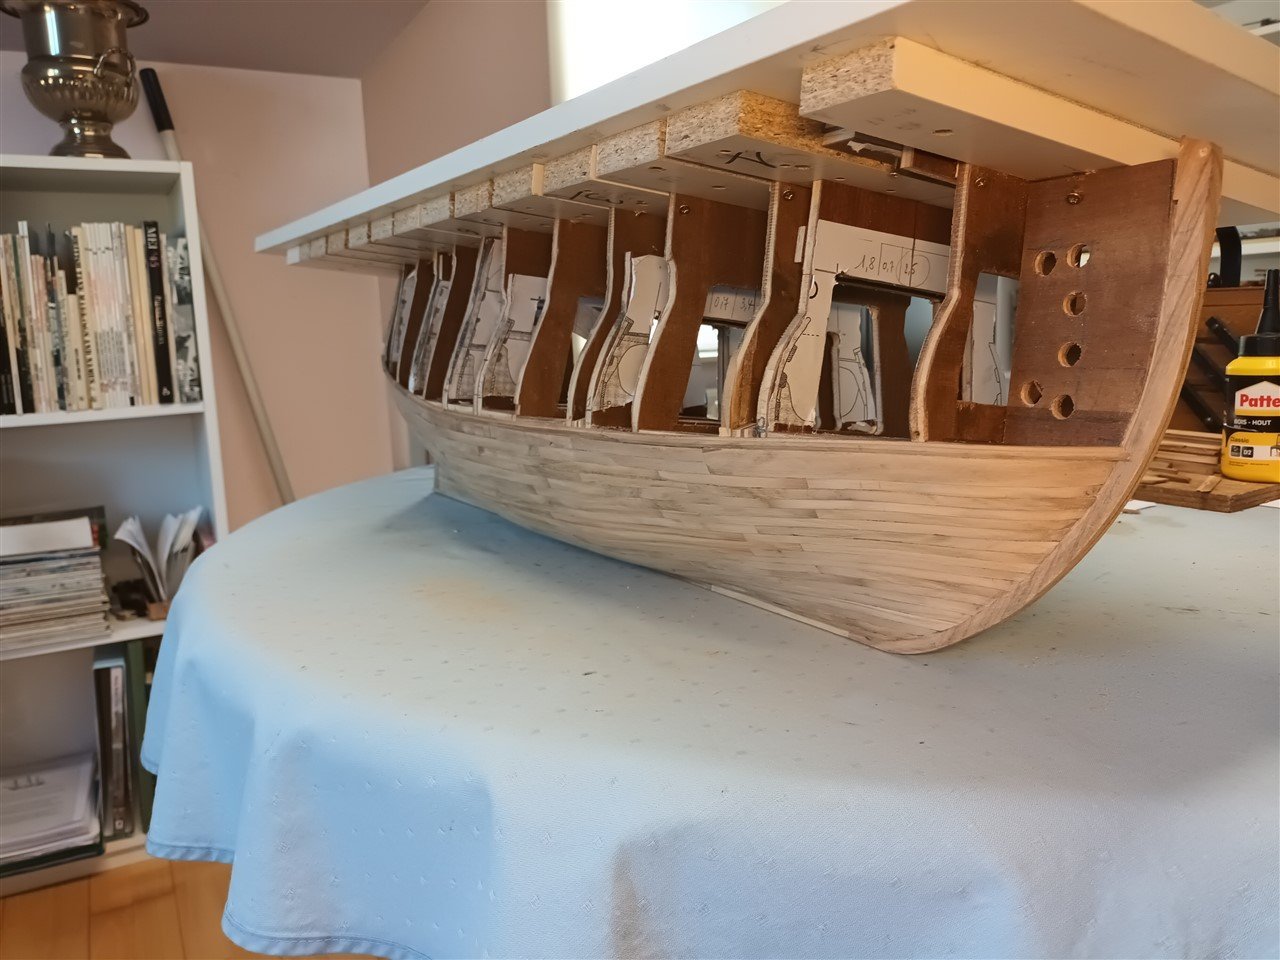
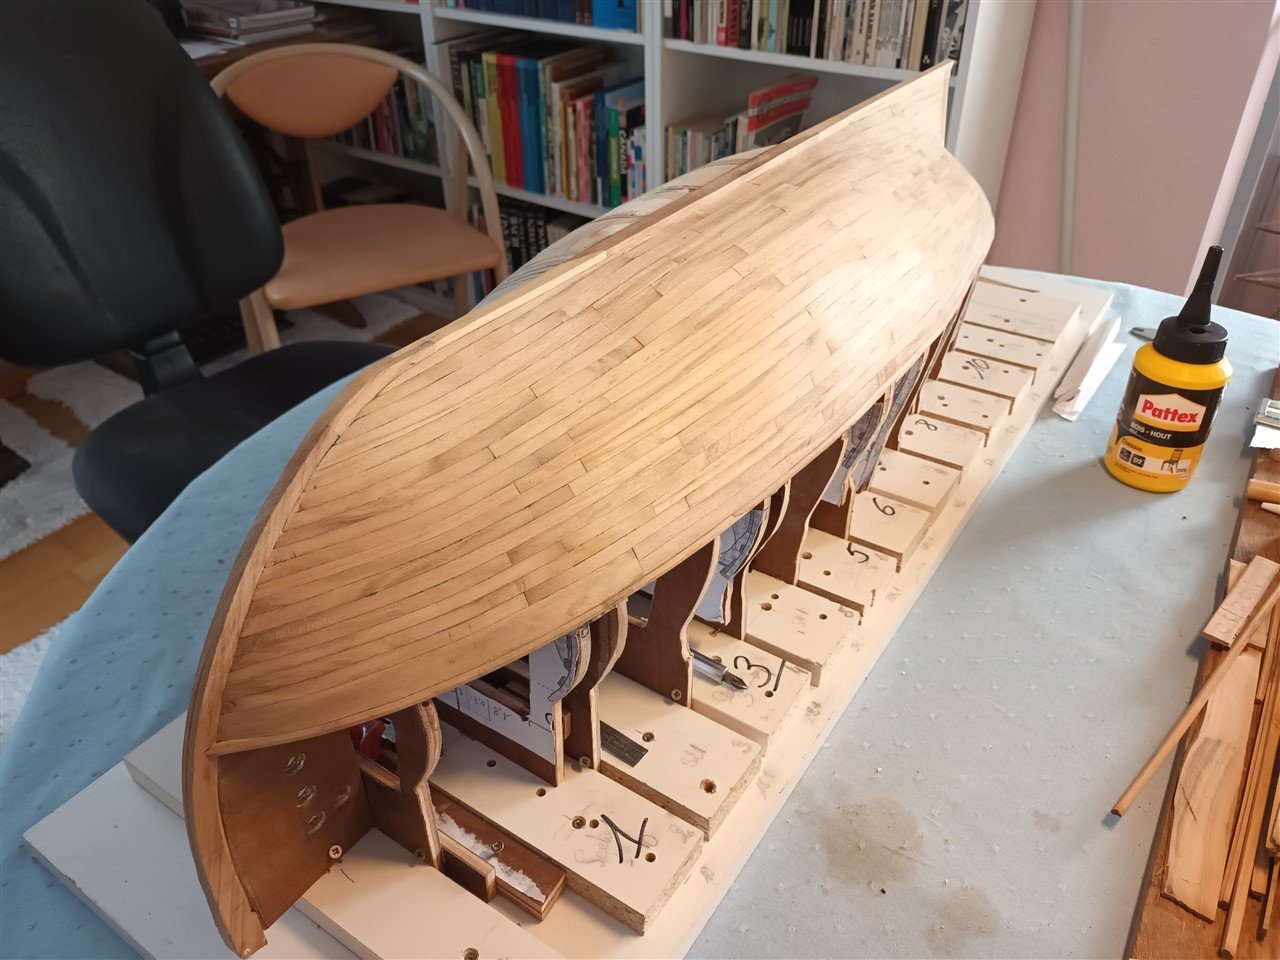
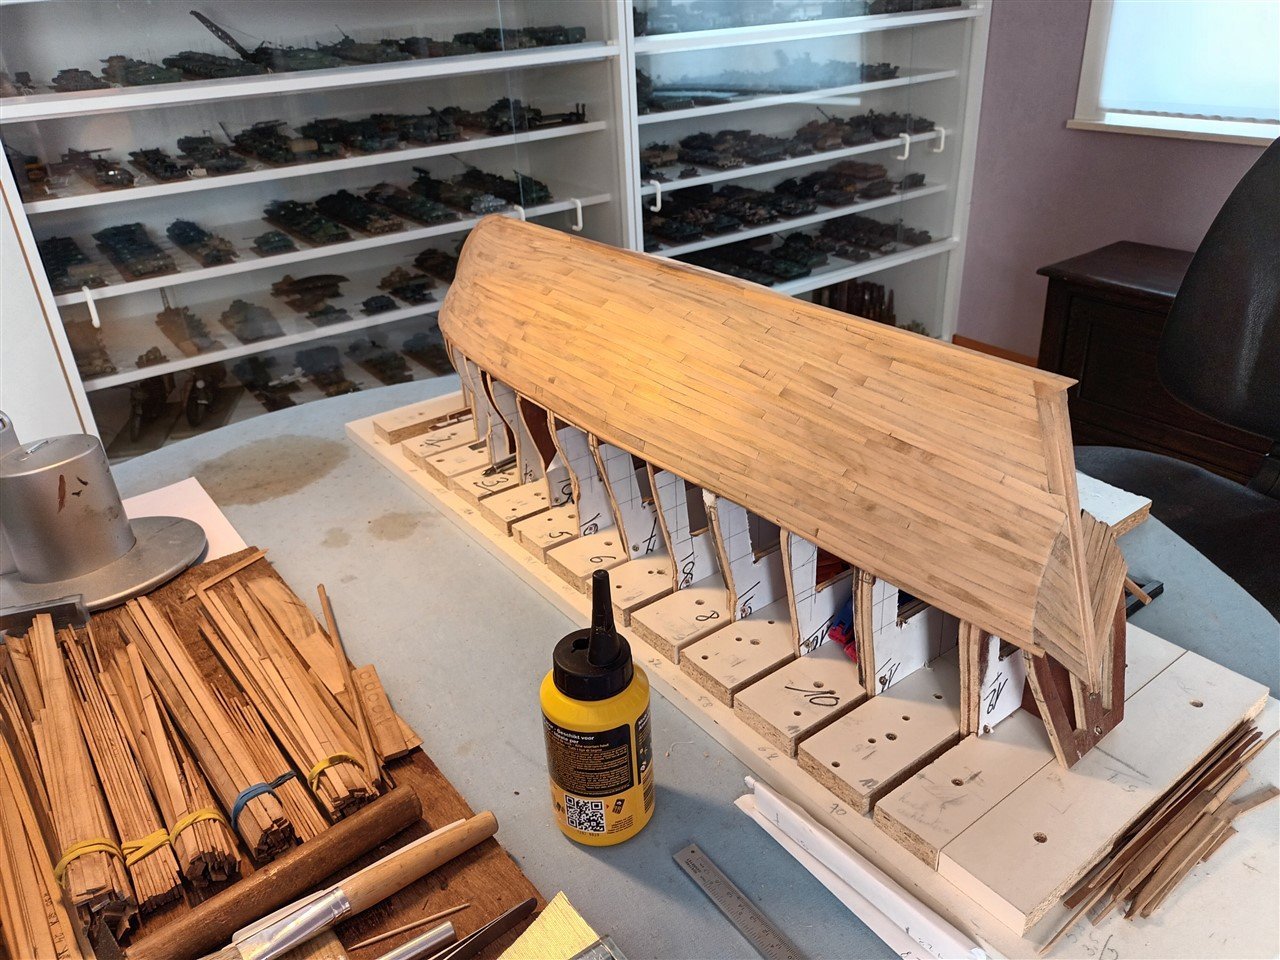
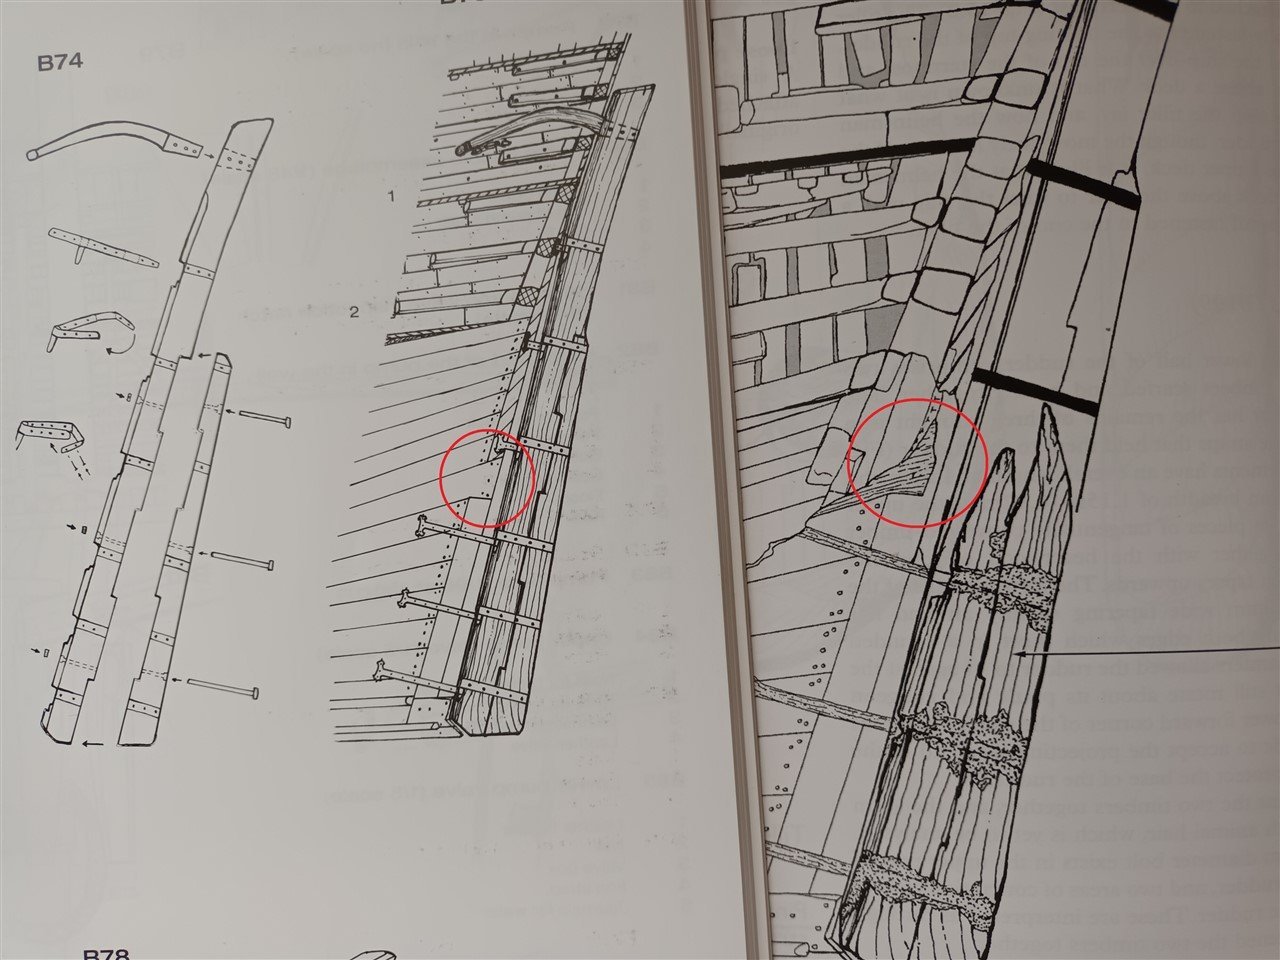
Small planking update. With the experience already gained, much less has to be calculated and noted on the fillerblocks. The dimensions of the other side are simply taken over on this side. about half way
-
Navy guy excited to be here 🏴☠️
Baker replied to GRATEFUL LITTLE PHISH's topic in New member Introductions
-
very beautiful work 👍
-
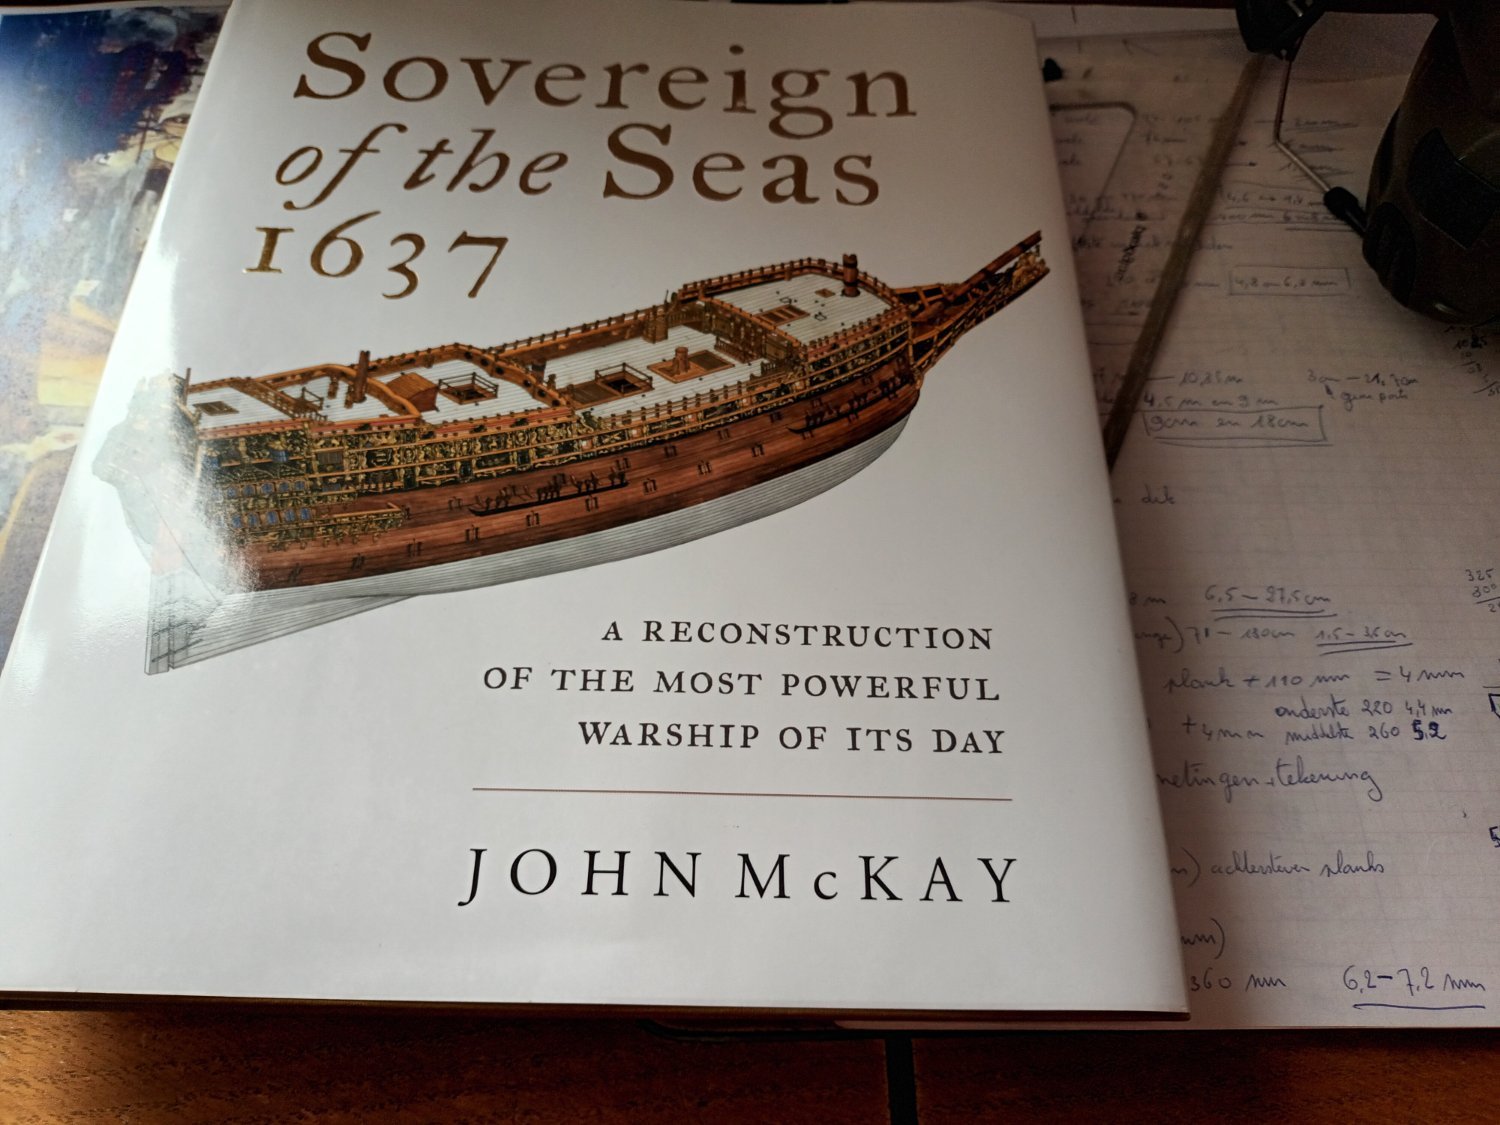
If you stop your galleon now.Then there is a chance that you will not start again. I would finish this first.
- 279 replies
-
- 4
-

-

-
- Spanish Galleon
- Imai
- (and 1 more)
-
-
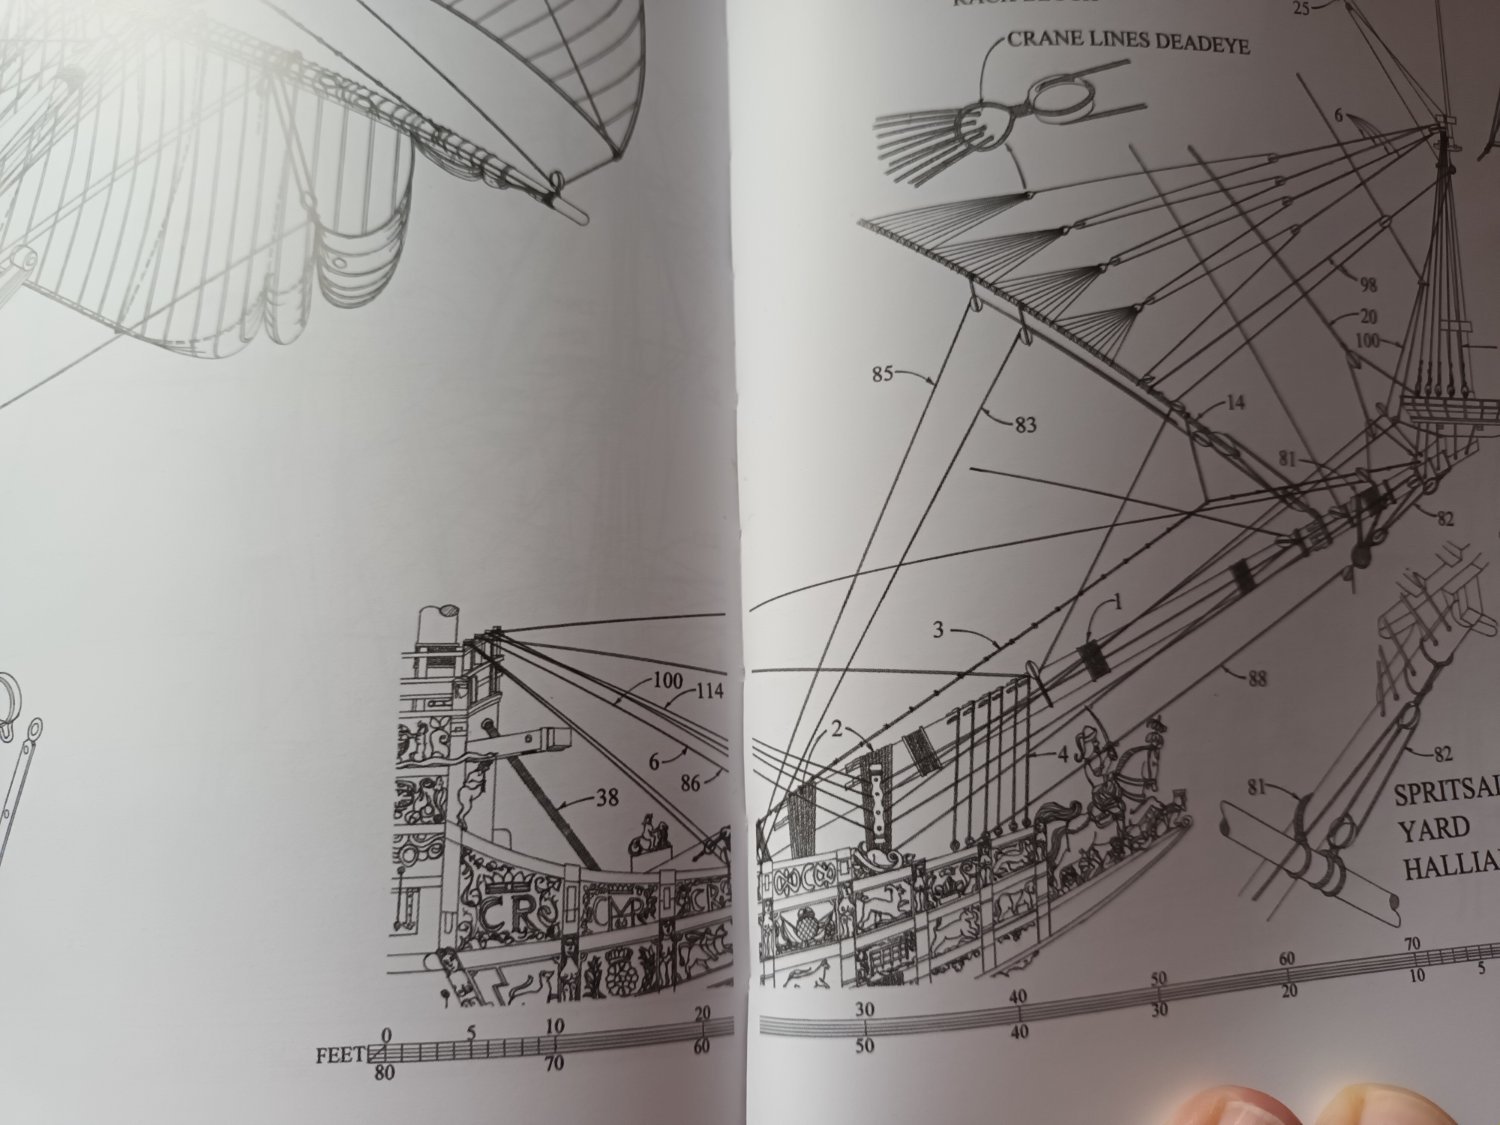
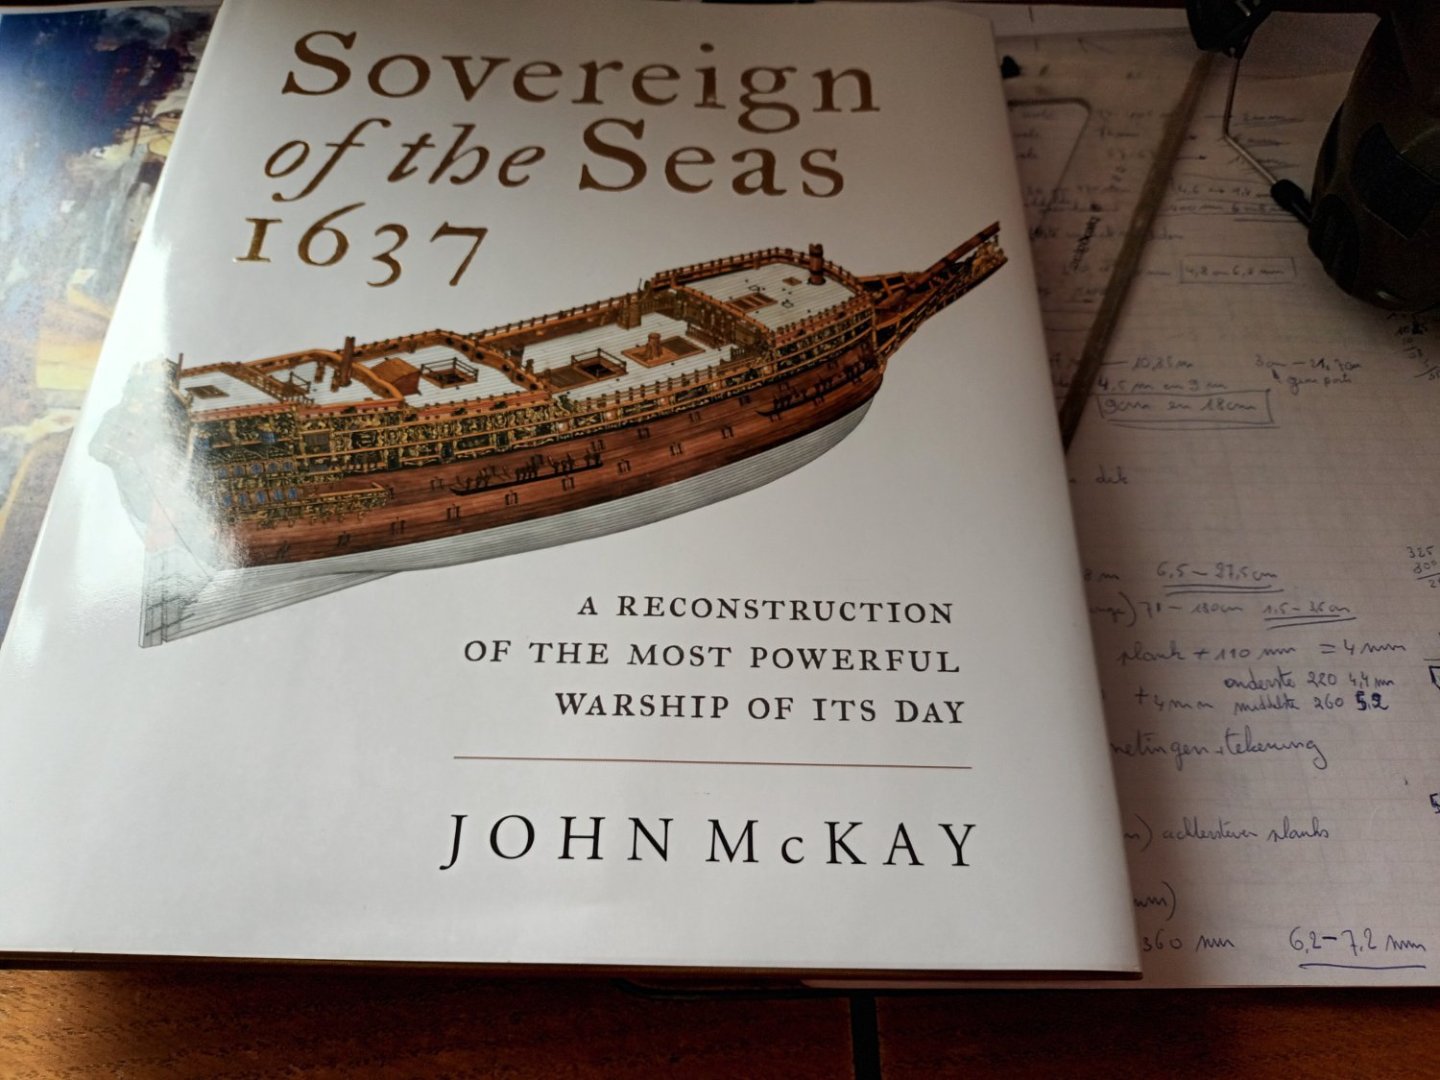
the 70s 80s solution from Heller. the modern solution "a la" John McKay What an "English" method does on a French ship is not clear to me


- 1,508 replies
-
- 1
-
-
- Le Soleil Royal
- Heller
- (and 1 more)
-
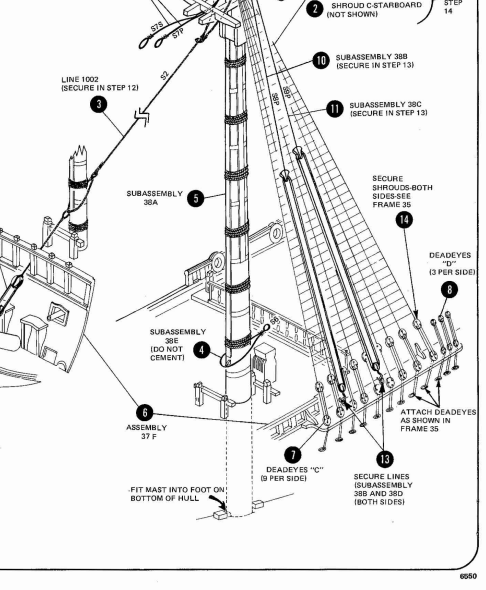
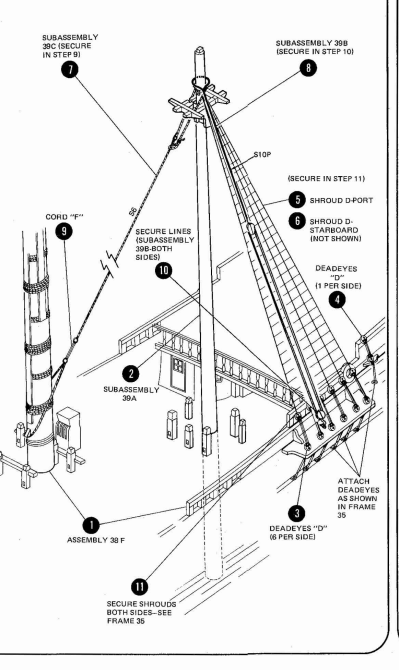
Here you can find a pdf of the 1977 plans https://www.hismodel.com/soleil-royal-12 fore mast main mast mizzen mast

- 1,508 replies
-
- 1
-
-
- Le Soleil Royal
- Heller
- (and 1 more)
-
That's why this build is going so fast. Each morning an early wake up call by supervisor Roland 🤣
-
indeed, it's not a race. Take your time. This will be a great model once finished 👍
- 45 replies
-
- 1
-
-
- Great Henry
- Henry Grace a Dieu
- (and 1 more)
-
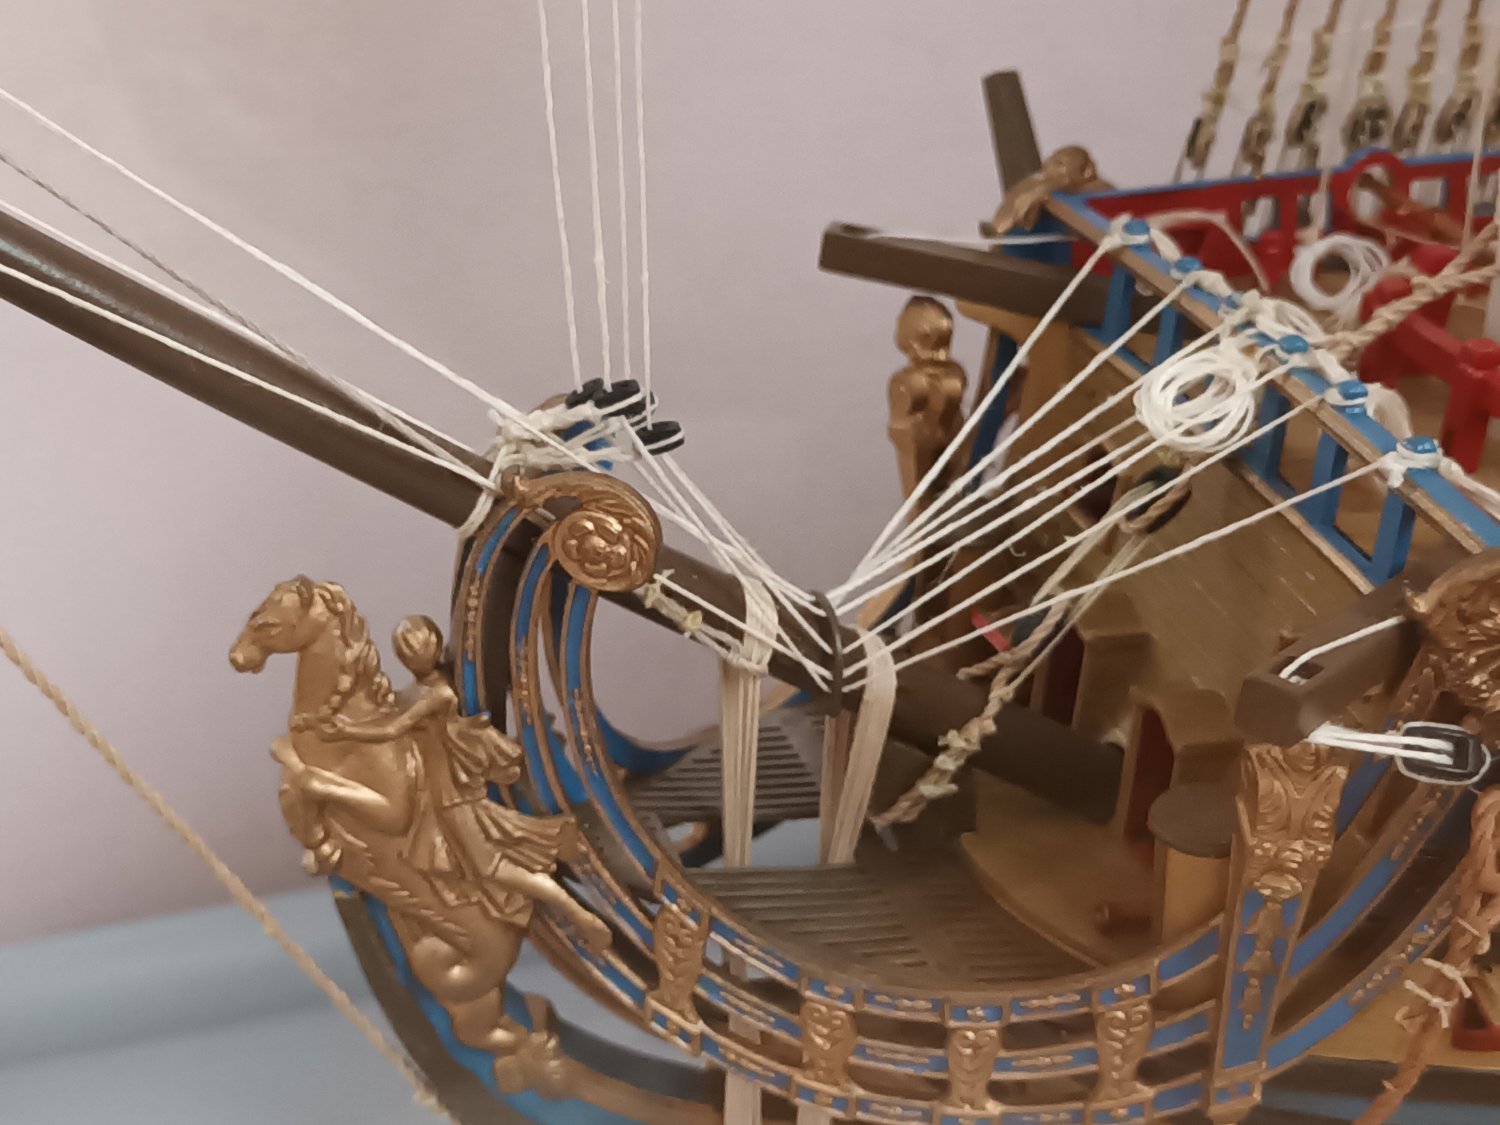
Good idea Druxey But, I can't work with copper and brass. I have new artificial lenses in both my eyes (cataract surgery). One of the side effects are halos and after 9 years I still suffer from them. Small shiny objects shine so hard under a lamp that I can't see what I'm doing. Small blackened iron nails are just about to succeed. All other "metal" objects will be made in painted plastic. It is what it is. There was no turning back after the surgery And, me, a military modeller. A little rust here and there...😉
-
Drill 2 holes and use 2 pieces of cable. nobody will notice this once the model is ready. a hole in the bow where the anchor cable enters the hull. a hole under the windlass where the cable comes "out". I used this trick in my Bounty project (see link in signature)
-
-
Tanks for the comments. This is much appreciated 👍 The idea is to apply the iron nails and the treenails.And not to paint the hull white below the waterline. The original MR may have had white stuff below the waterline.But this has never really been investigated. There will be no whipstaff on the tiller in this era.
-
To everyone who missed the start, welcome. Finishing the planking on this side. One strake has a weird shape to the stern. W.i.p. The last streak One side is done, and received a sanding with 60 grit sandpaper. And not upside down Thanks for following, comments and likes

-
Golden Hind by Rock_From_Korea - 1:48
Baker replied to Rock_From_Korea's topic in - Build logs for subjects built 1501 - 1750
The model is starting to look nice. The deadeyes with chains are great. Congrats -
Of the current artists, Ferrus has skipped little or nothing
- 279 replies
-
- 2
-
-
- Spanish Galleon
- Imai
- (and 1 more)
-
Do not worry. There will be the fore castle of a carrack. In the version as on the cover of the book.
-
Wow, problem solved 👍 thanks