HOLIDAY DONATION DRIVE - SUPPORT MSW - DO YOUR PART TO KEEP THIS GREAT FORUM GOING! (Only 51 donations so far out of 49,000 members - C'mon guys!)
×


reklein
-
Posts
1,285 -
Joined
-
Last visited
Content Type
Profiles
Forums
Gallery
Events
Everything posted by reklein
-
Harbor freight has that saw for $35 item 62136 I think. Called a mini chop saw
-
I thought that the bags contained ropes to slide down to get in the boat once launched.
-
I drove up along the Snake river from Lewiston to the Grande Ronde a couple weeks ago. Always spectacular scenery. Also 'bout once a year I get down to Joseph Oregon for an art gallery fix and great scenery. My cousins live in Whitebird and its fun to go there too.
-
David, was just thinking ,it might be interesting if you took some pics of interesting boats in the harbors there and posted them up in the Things Nautical section. If you please of course.
-
Well Eric.good eye. Did a little whittling and some paint and got em a little closer. hopefully won't be too noticeable..I both hate it when that happens but am glad it was caught early enough to fix.
-
Thanks for pointing that out. Now I'll have to go look and see if its not just the angle. Sometimes one gets too close to the work or works too long.
-
Hamilton, sorry to hear about your injury. Can't say enough about knife safety. I you can I would advise cutting those stern frames for the Syren from basswood . You can orient the grain to get the most strength and its much easier to work than the plywood. The stern will be very flimsy until you get some planking on it.
-
Doug, I'd recommend just sanding the exterior first. Then plank the exterior before sanding the interior. After planking the structure is very strong. Specially on the stern where it is really flimsy until you've got planking on it.
-
Just noticed how close in construction methods this build is to Maturins Modelshipways Constitution.
-
If you buy a copy at that price,there's always the danger of them printing a new run and lowering the price dramatically.
-
Good tip . Now your gonna need a jig to accurately cut some 40 pieces of 15/32 for the gunport sides,and forty more 1/8 pieces for the sweep ports. Lots and lots of parts in this model. Meditative.
-
Not too many ships but tons of airplanes and whimsical stuff fiddlersgreen.net OH not free though. Has free models once a month for subscribers.
-
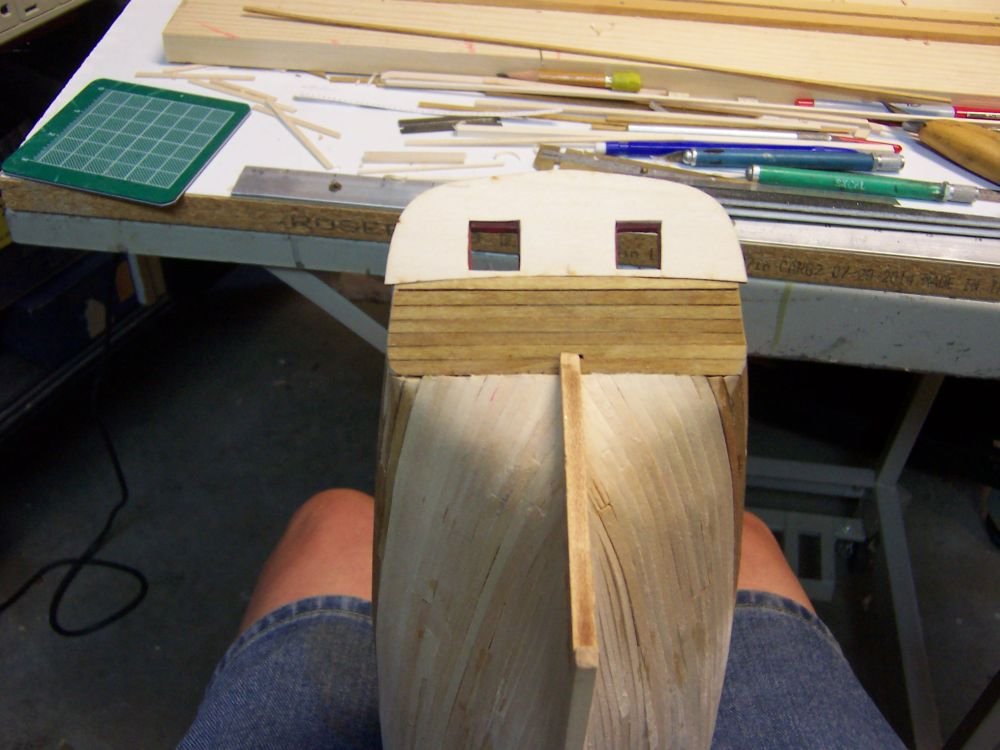
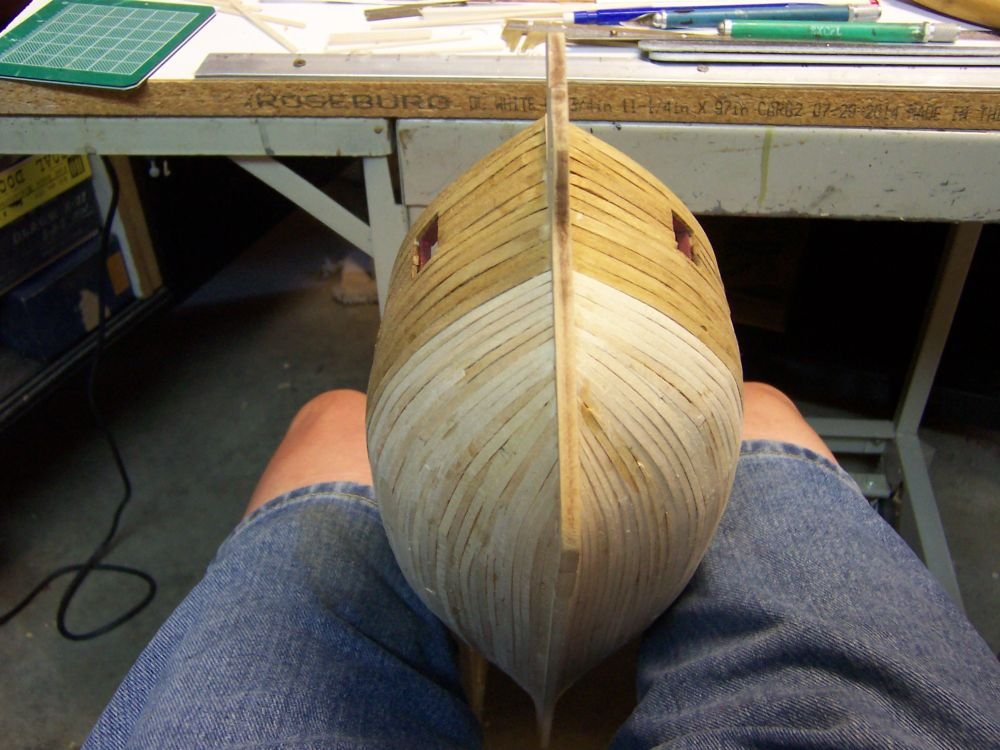
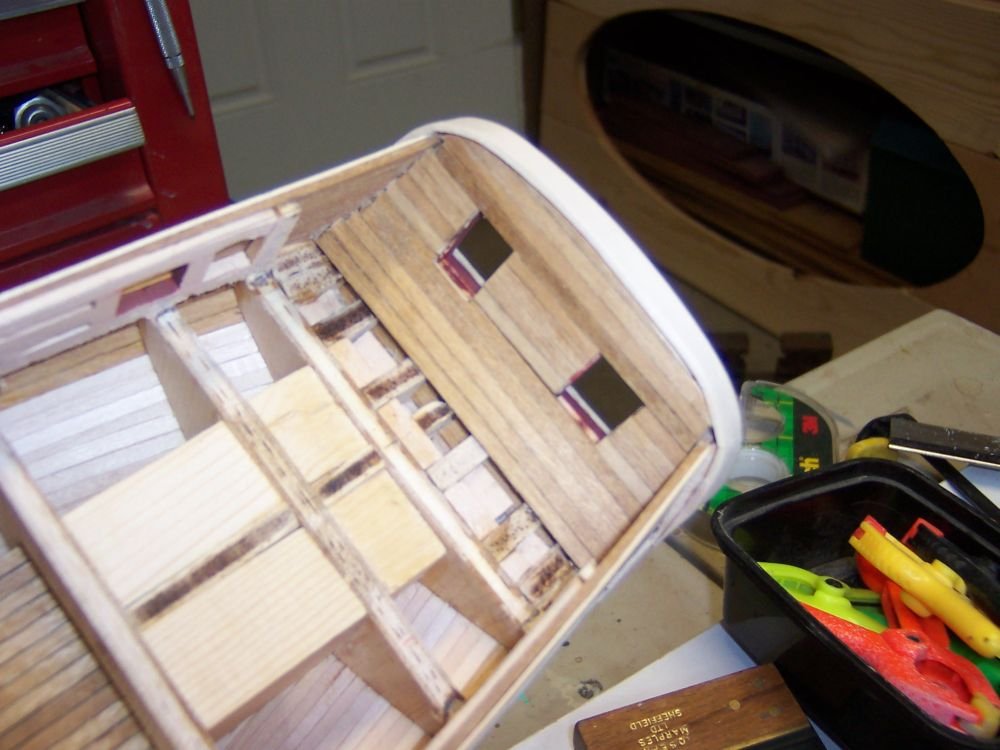
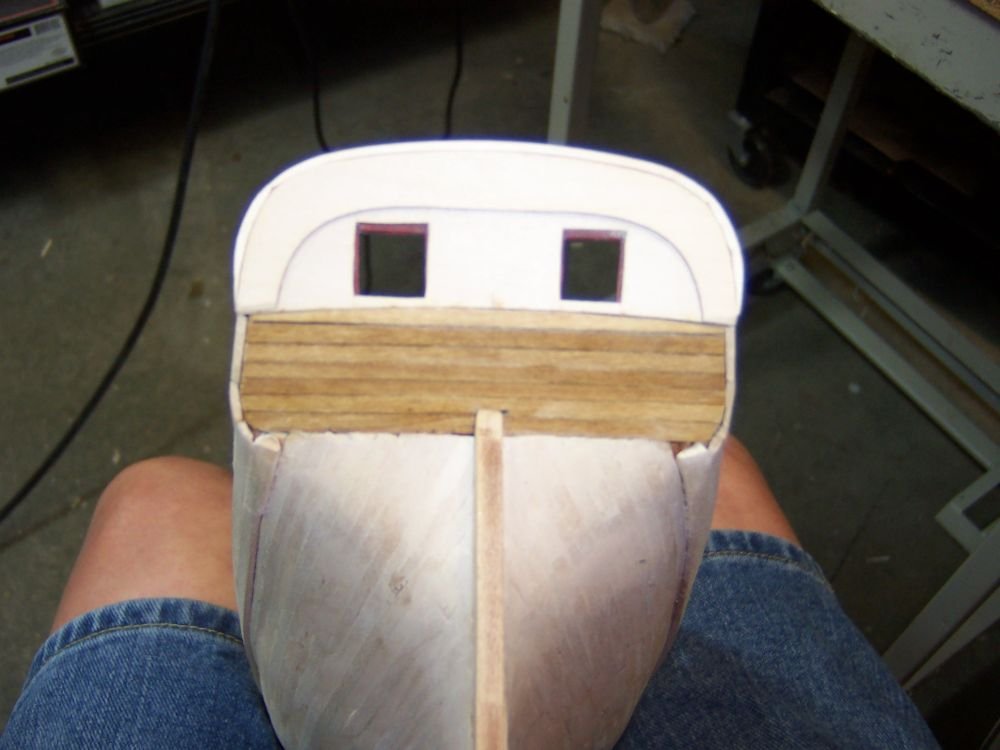
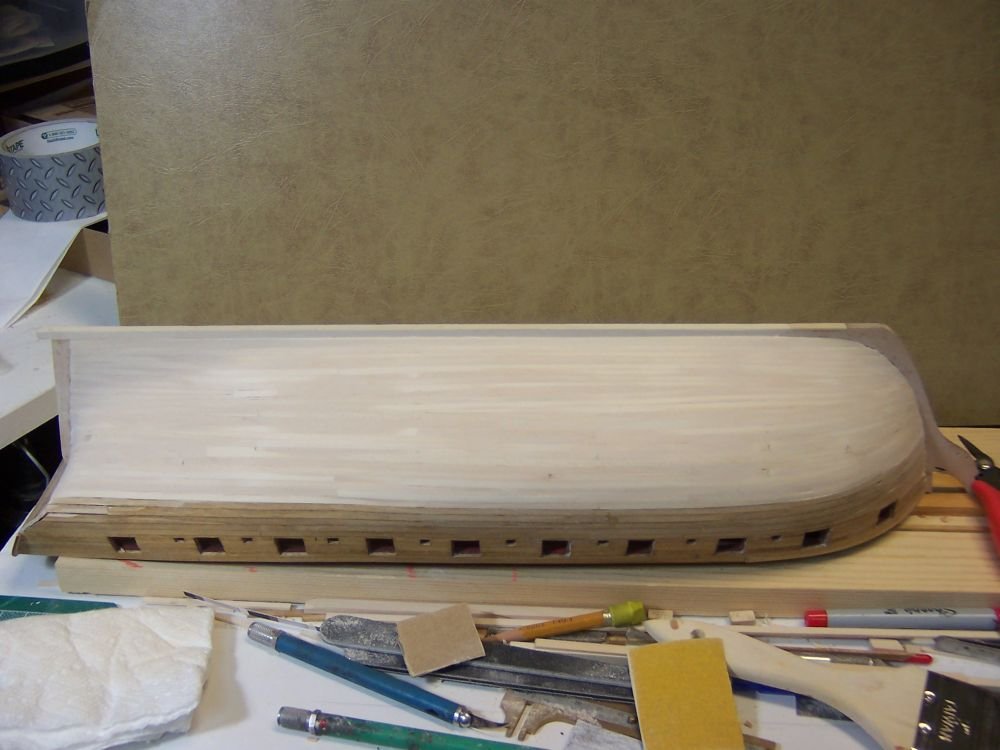
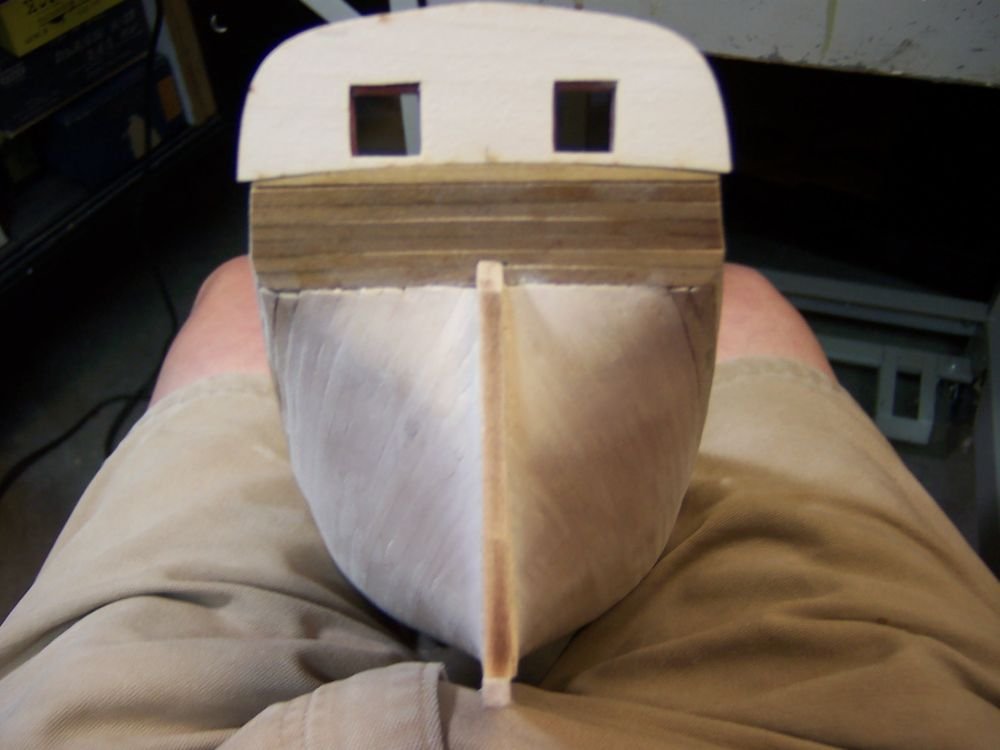
OK ,got the stern closed in but not quite detailed on the stern side of it. The interior framing has been sanded thin and ready for the interior planking. I'll need to put the filler piece in first. I used a dremel and sanding drum and or a coarse wood bit to thin out . Had to take about a sixteenth over all. Check it out.
-
I'm with Doug on this. I also carved off most of the excess wood. The reason Chuck uses such heavy material is to get enough "meat" to create the shapes needed in the finished project. Also you could do a little carving now and break up the type of work you are doing to break the tedium.You gotta admit that not every second of model ship building is full of creative wonderment.I used 100 grit to start sanding after carving back the wood. Just don't get too aggressive with the carving. Be careful of the grain.
-
I would have posted sooner but I had that posting problem going around. I wanted to warn you that you need to have the stern post in place with the stern Rabbet in place before you begin planking.
-
Sopwith F.1 Camel by jablackwell - Model Airways - WOOD
reklein replied to jablackwell's topic in Non-ship/categorised builds
Those aren't easy kits . I built the Jenny a few years ago and scratch built a Curtis 12-E One step up from the wright bros. anad the first plane to fly in Idaho' Fun projects but ya gotta be patient. -
Sopwith F.1 Camel by jablackwell - Model Airways - WOOD
reklein replied to jablackwell's topic in Non-ship/categorised builds
Cutting free ailerons ,would be nice to have a hand operated laser burner so one could cut without pressure on the material. Probably also be a dandy way to set ones shop on fire. Nice work BTW. -
WOW ! No Fooling around! I support this action but still sorry to lose a member.
-
OK , now I gotta run and see if I set my gunports too low. (sheepish Grin)........ No I'm good. Been awhile since I looked at the inside of the model.
-
I didn't see where you marked your sheer with a batten down the side. Are you setting the lower lintels to the laser marks?
-
Doug, I coppered a BJ Constitution but haven't finished it after 12 years. I think somewhere on here is a log of how I did it unless it was before the crash. Dr.Per you might benefit most by seeing what not to do. I was looking in the book and I see that the sheer strake and wales are next. I'm trying to figure out how best to get a nice clean paint job. I was thinking about pre painting them but it would be tough to bend unless I bent them first. Hmm. The other way is paint them after but the hull will have to be sealed as paint tends to run in unsealed wood even under masking.
-
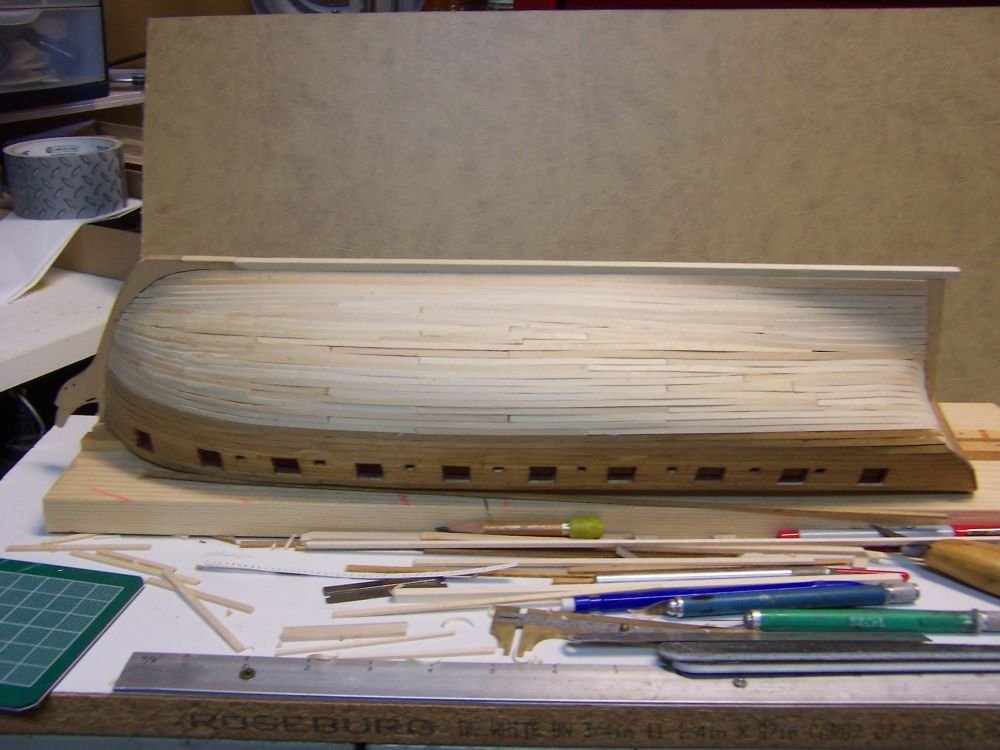
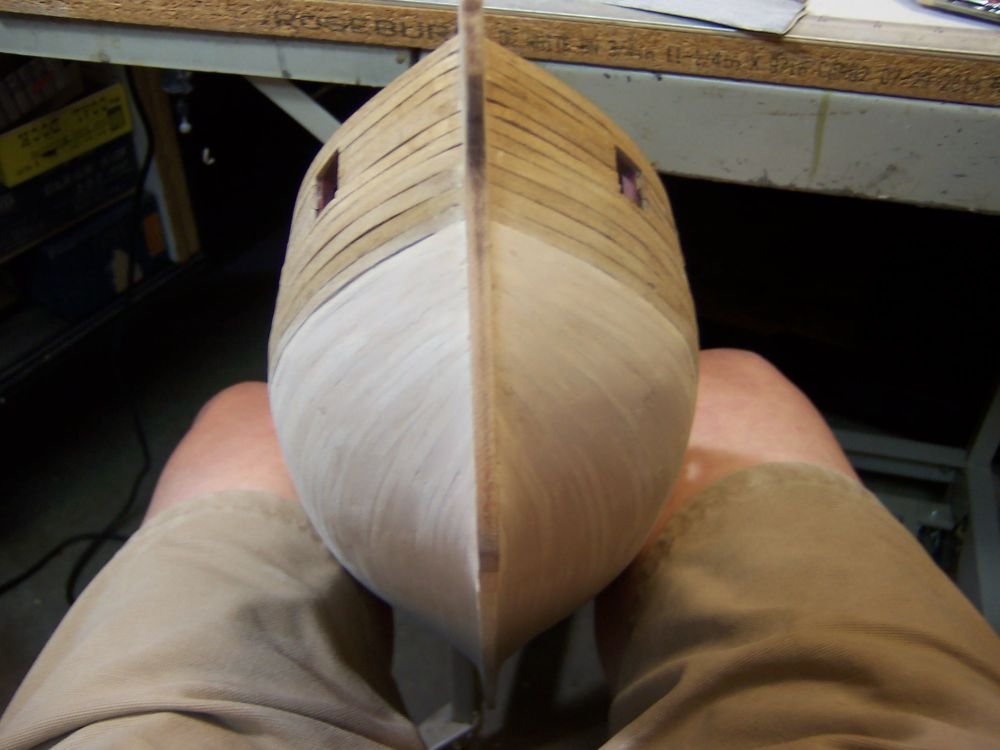
OK after three different applications of filler. That is fill,sand,fill again, fill again and sand again I think I'm ready to put a coat of sanding sealer on before the coppering. I have to look ahead in the book to see when the interior planking and decking go in.Its sanded to 150 which is where I'll stay since copper goes on.
-
Might just work. I used a lot of CA to strengthen mine. Also the bulkhead extensions kept breaking till I got planking on them. They were all crooked and stuff but I realized they are all covered with planking .
-
I don't have so much speed as I do time. I got lots of time in my shop and really enjoy it. That's about two weeks of 2-4 hours a day. These little ships with their narrow planking are sorta tough. The challenge is what its about though. one of these days I will get the planking right and not have to cover it.
-
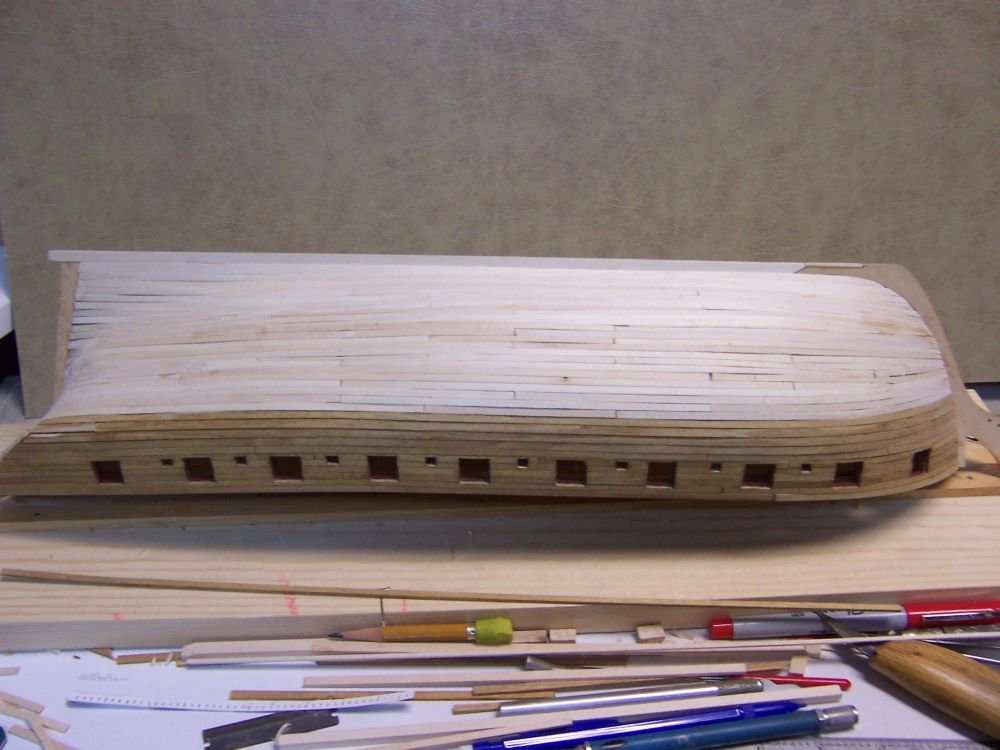
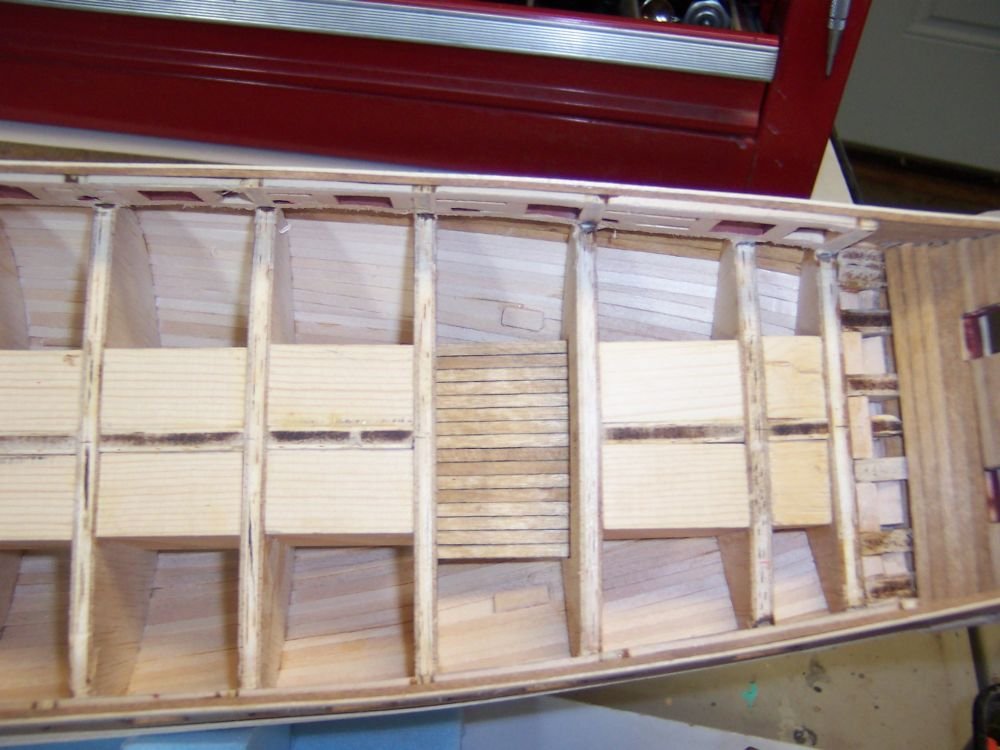
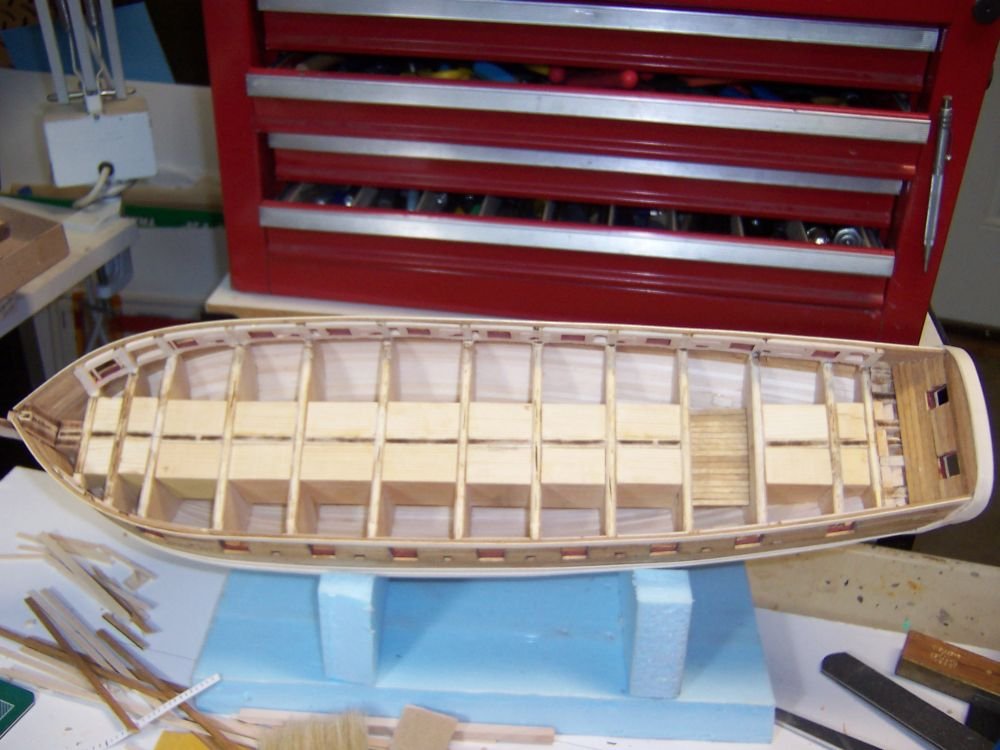
Well, I've closed up the hull for what its worth. Haven't done much sanding yet. Will have to get it smooth enough to put on copper. I suspect some filler will be needed.