RGL
-
Posts
5,539 -
Joined
-
Last visited
Content Type
Profiles
Forums
Gallery
Events
Everything posted by RGL
-
 Thanks all, the problem with these pre chewed wooden decks is they don’t like anything done to them, they’re more paste than wood. Ive tried pastels on offcuts and the details of the planks disappear.
- 405 replies
-
- 5
-

-
- tamiya
- king george v
- (and 2 more)
-
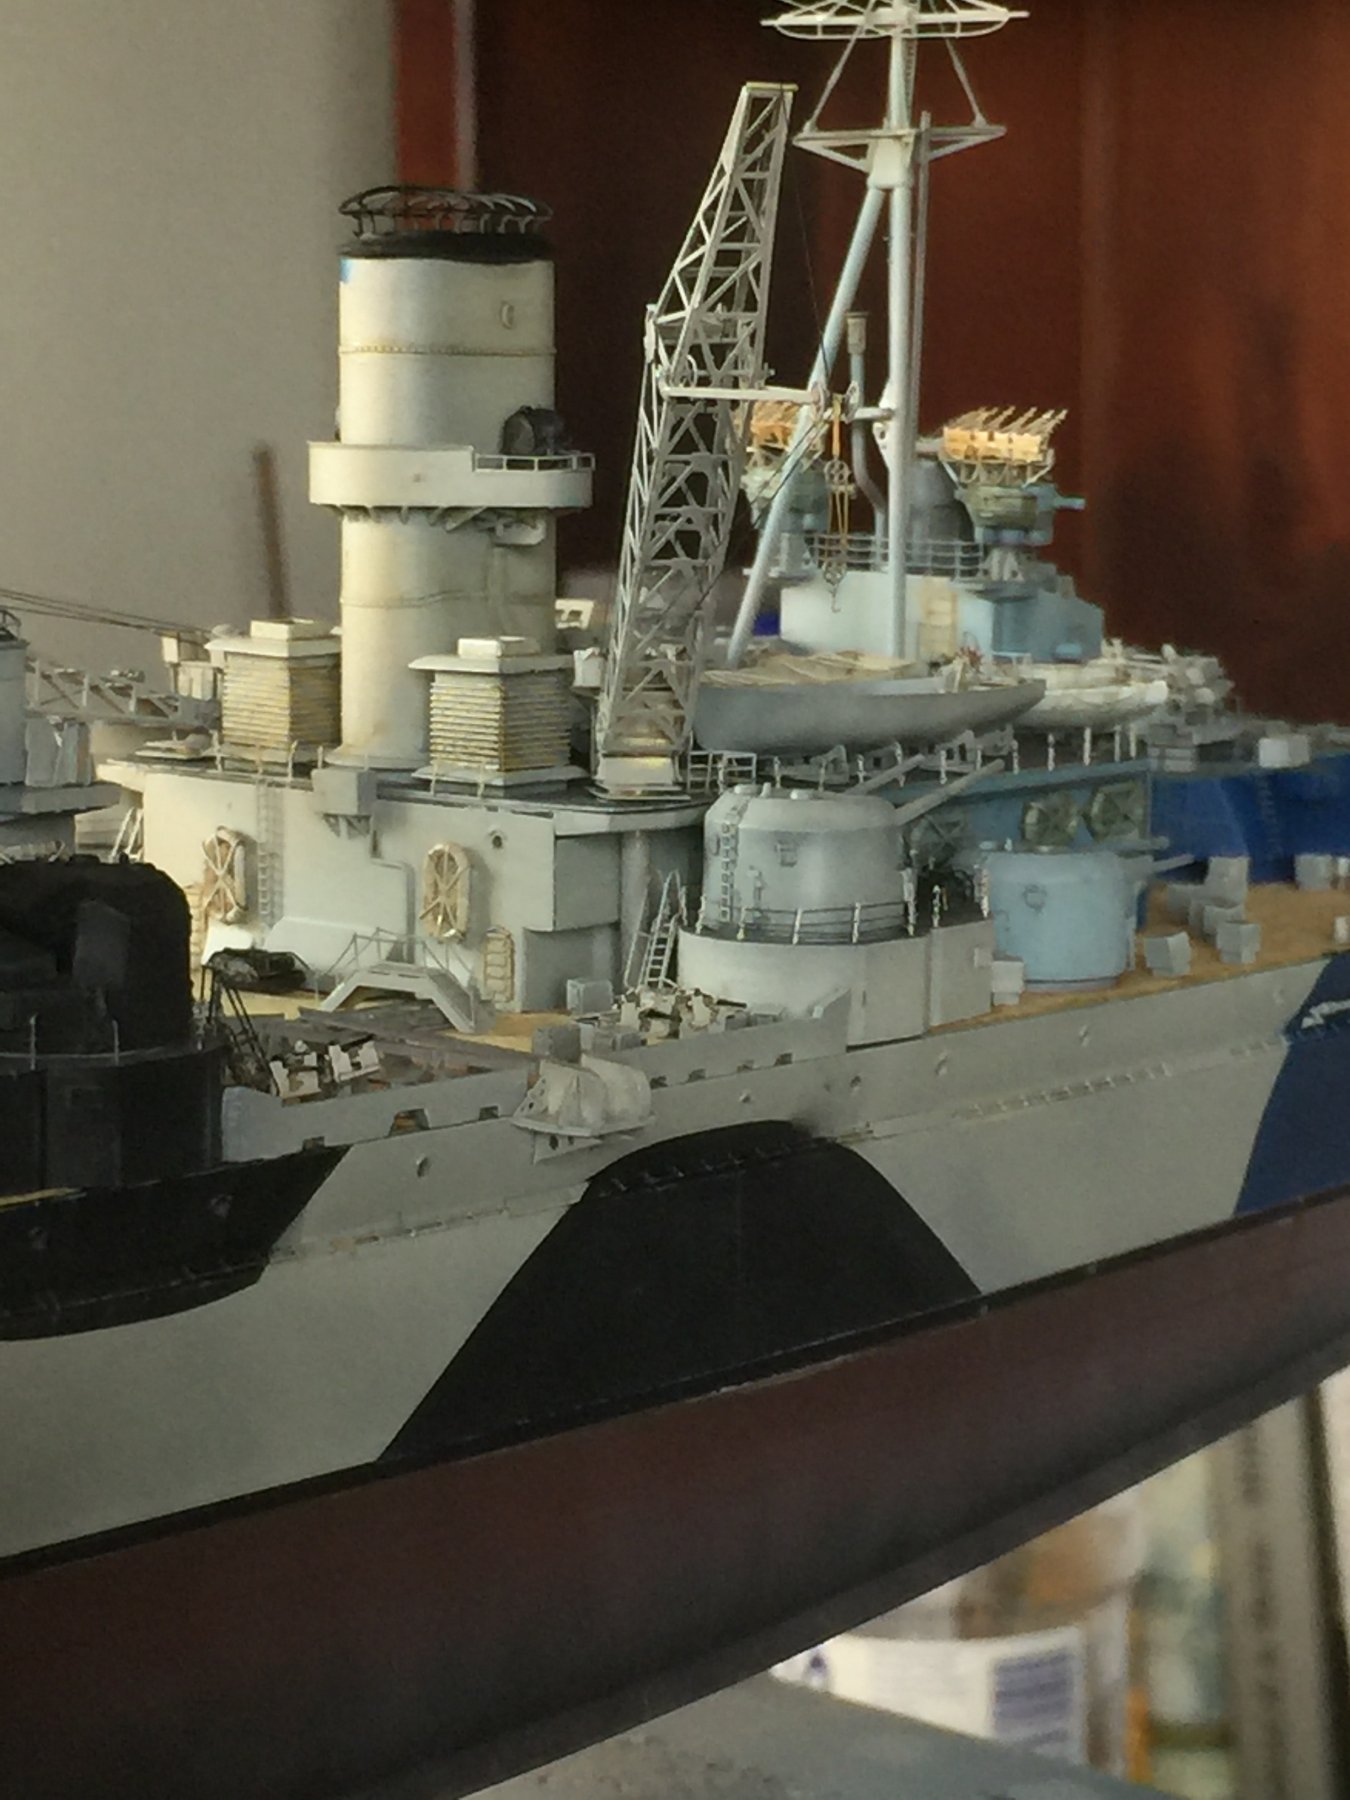
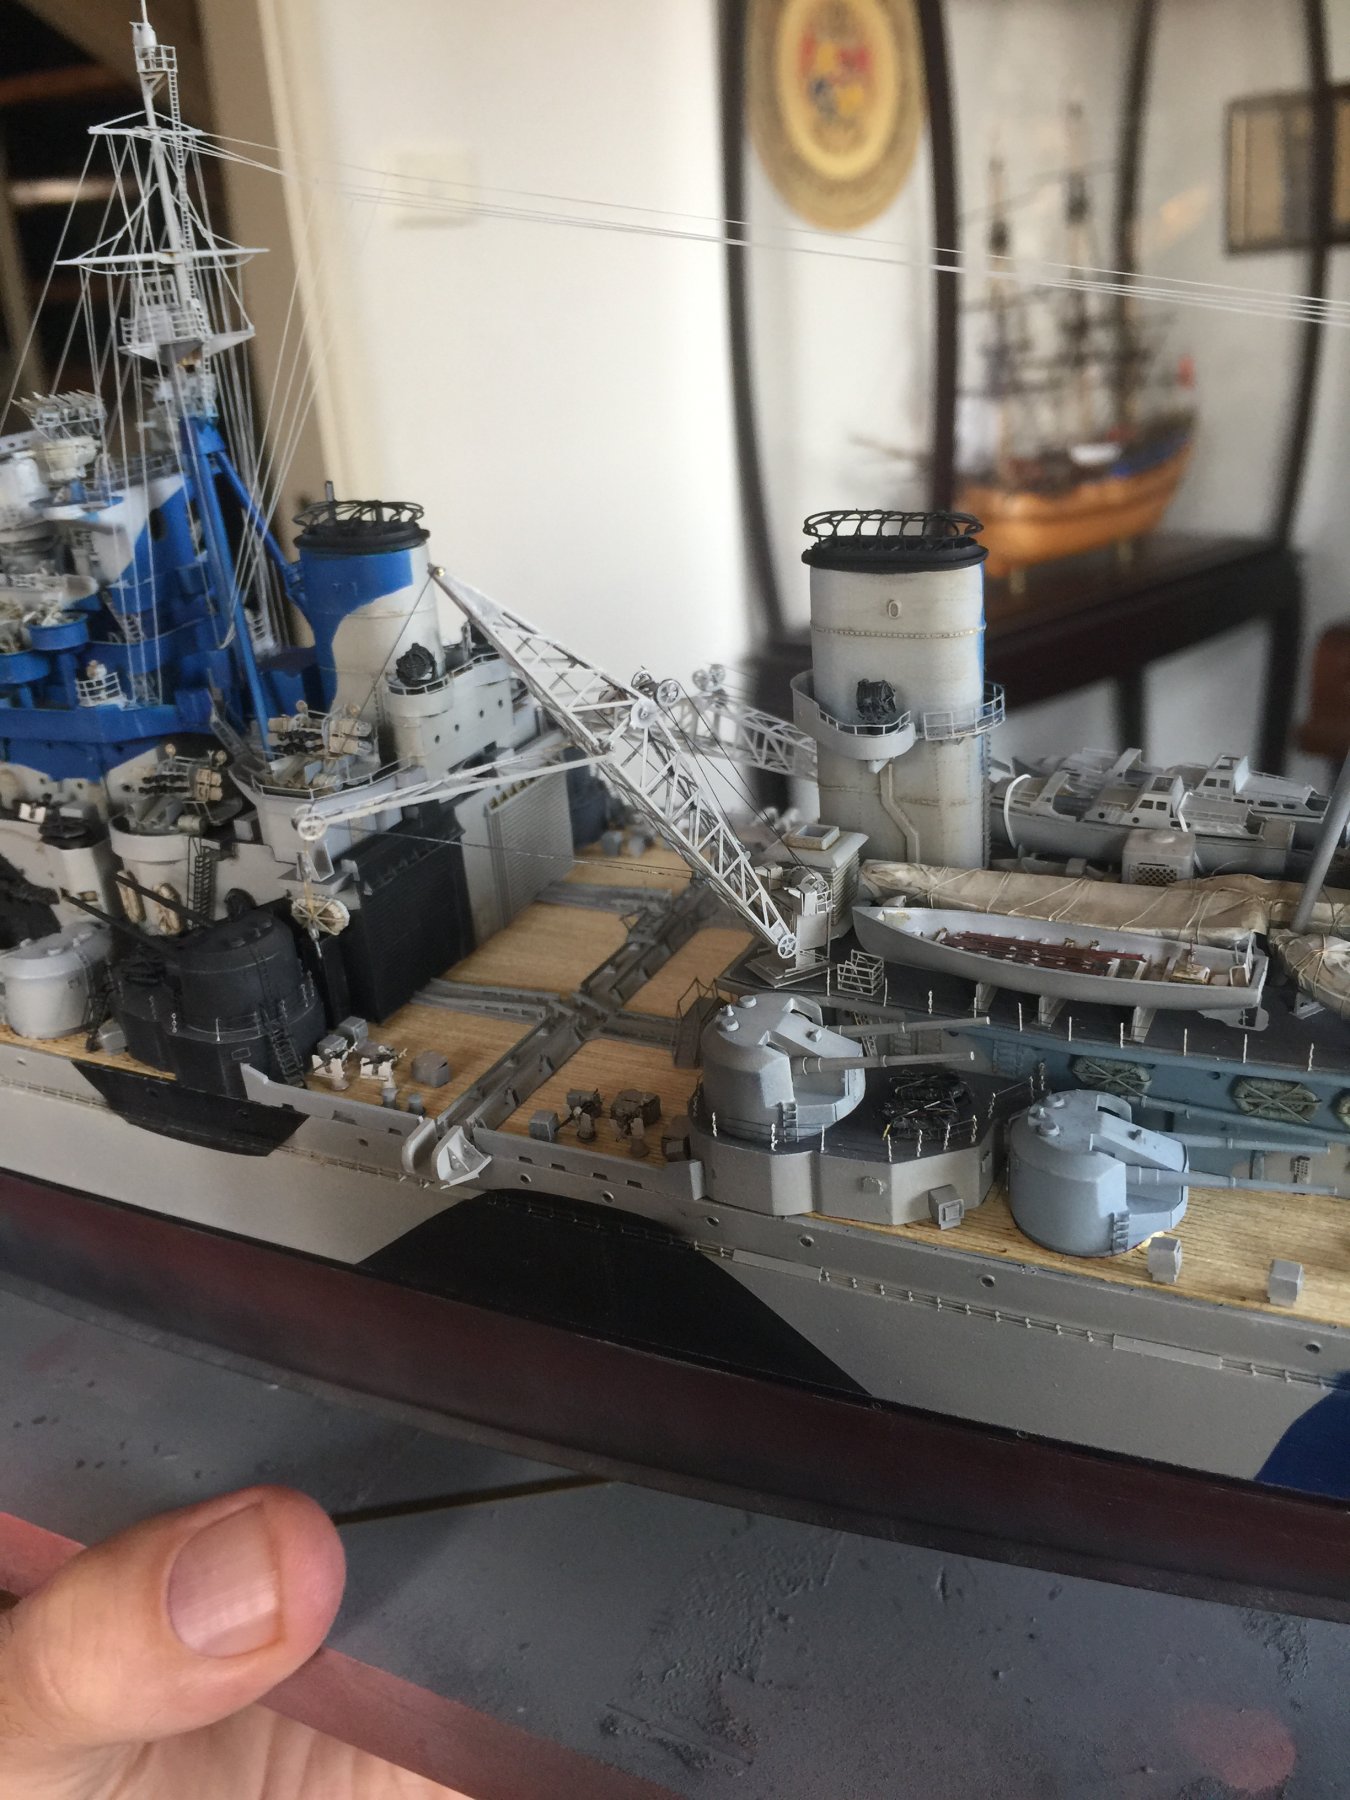
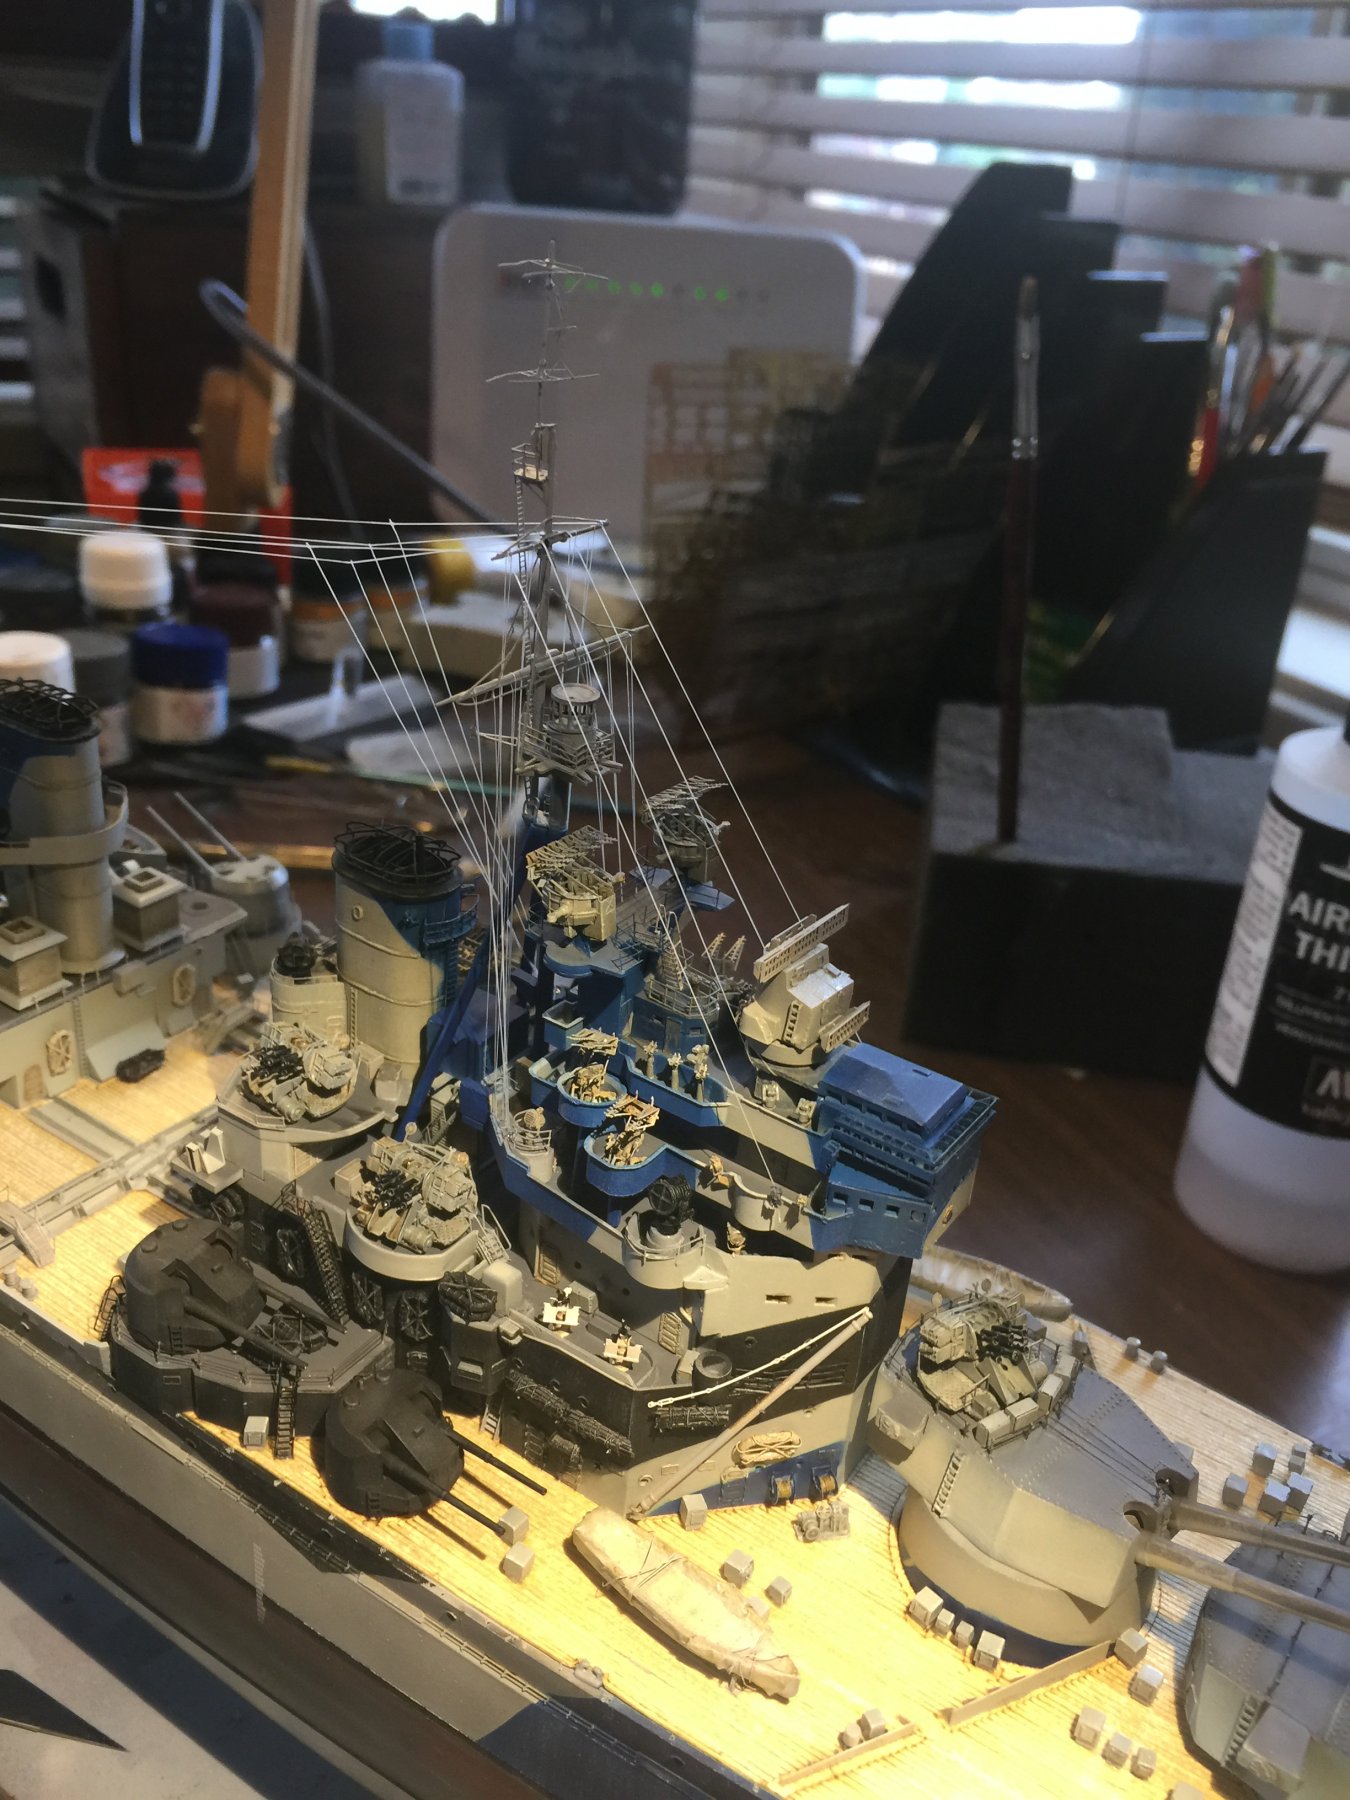
So I tried a new technique today. First, get a mouthful of black coffee. Second sneeze. Third, direct sneeze over the ship. Drench it in coffee. FFS! 20 minutes with a paintbrush and water to clean it up. The deck does not like it but I think I’m on to something here when it comes to dulling down the wooden decks! Who knew! Anyways, the back end of the ship’s railing is now done. I added a little bit of unpainted PE for comparison and I like it better the way I’m doing it. I just don’t think I can go back to PE railing again for this type of ship’s rails.
- 405 replies
-
- 13
-
-
- tamiya
- king george v
- (and 2 more)
-
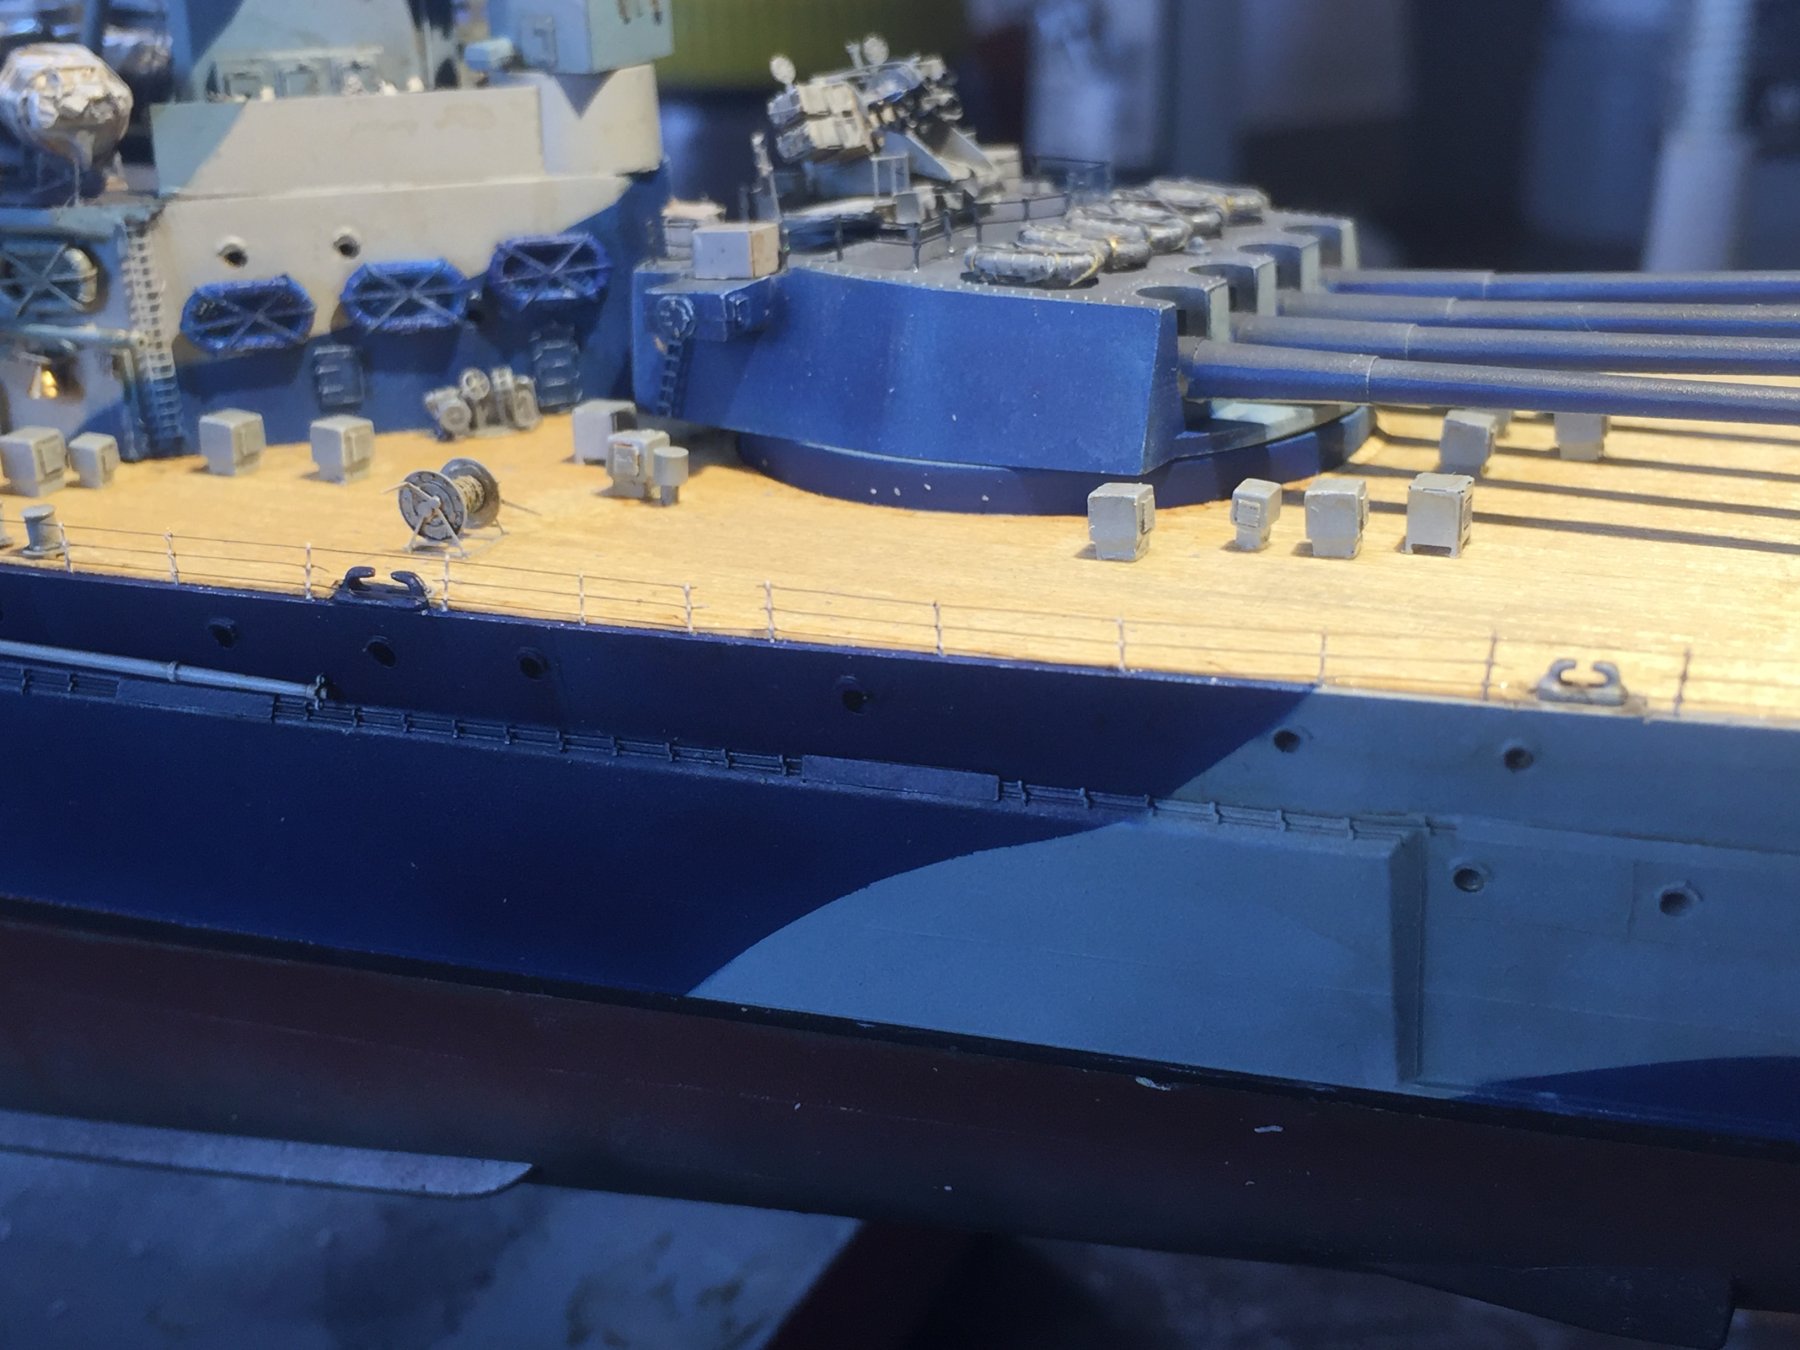
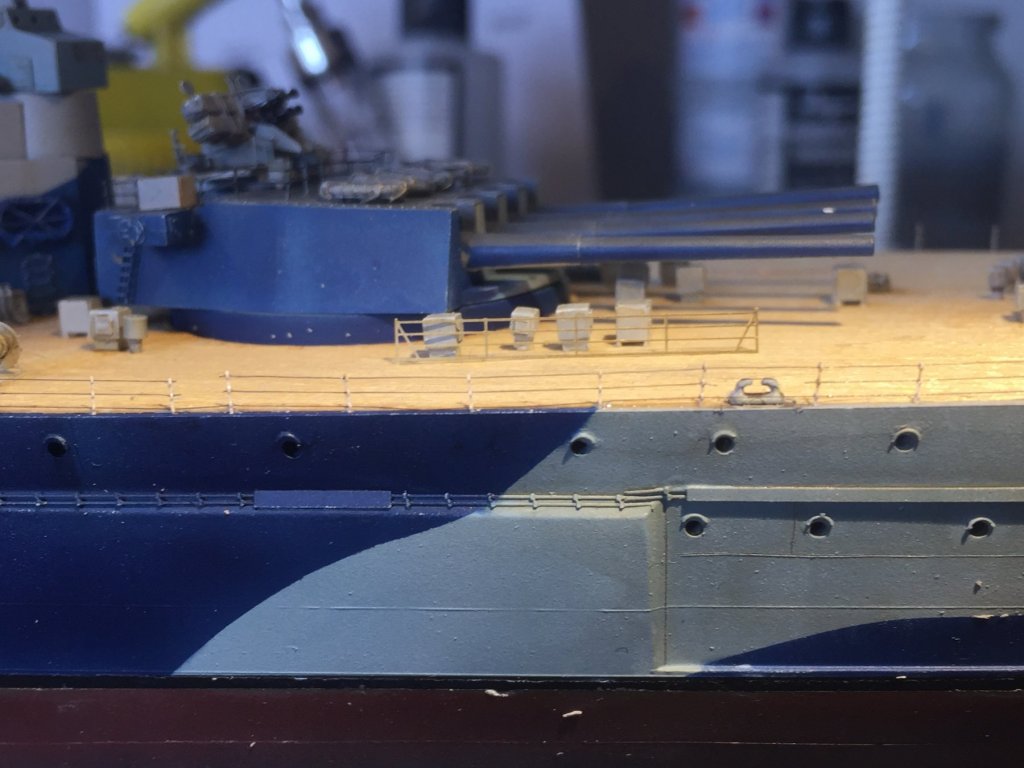
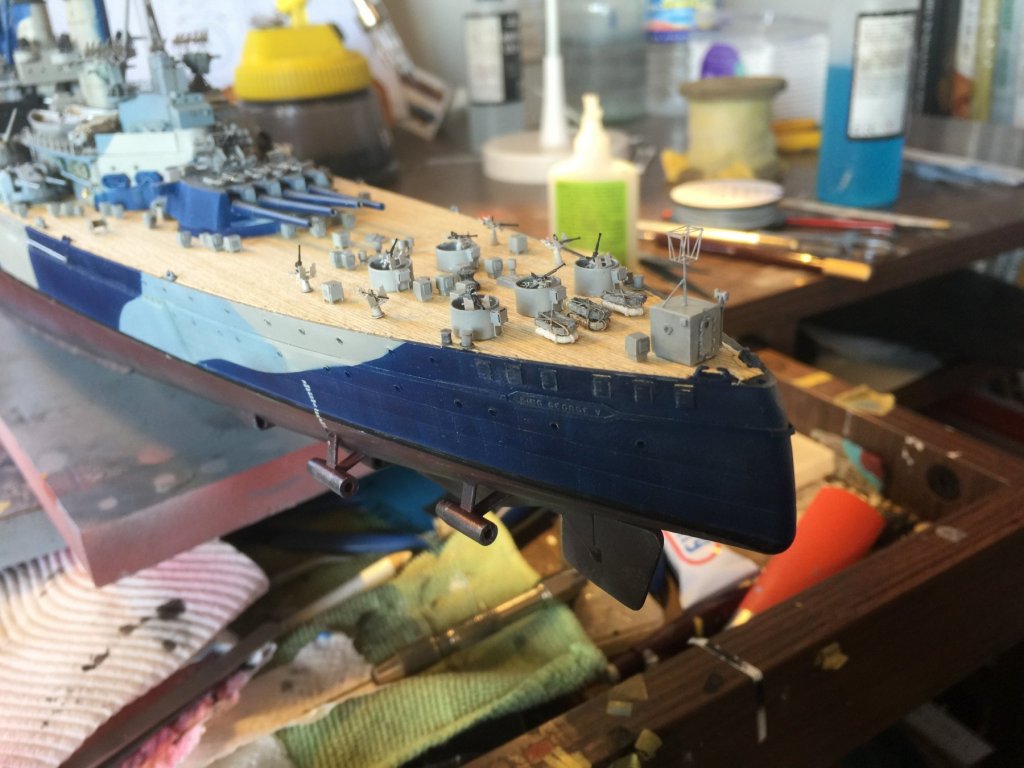
Tamiya masking tape cut vey fine, first a light grey base, a thin strip underneath, then the side colour, cover with tape leaving the top uncovered for the third layer of dark grey.
- 405 replies
-
- 7
-
-
- tamiya
- king george v
- (and 2 more)
-
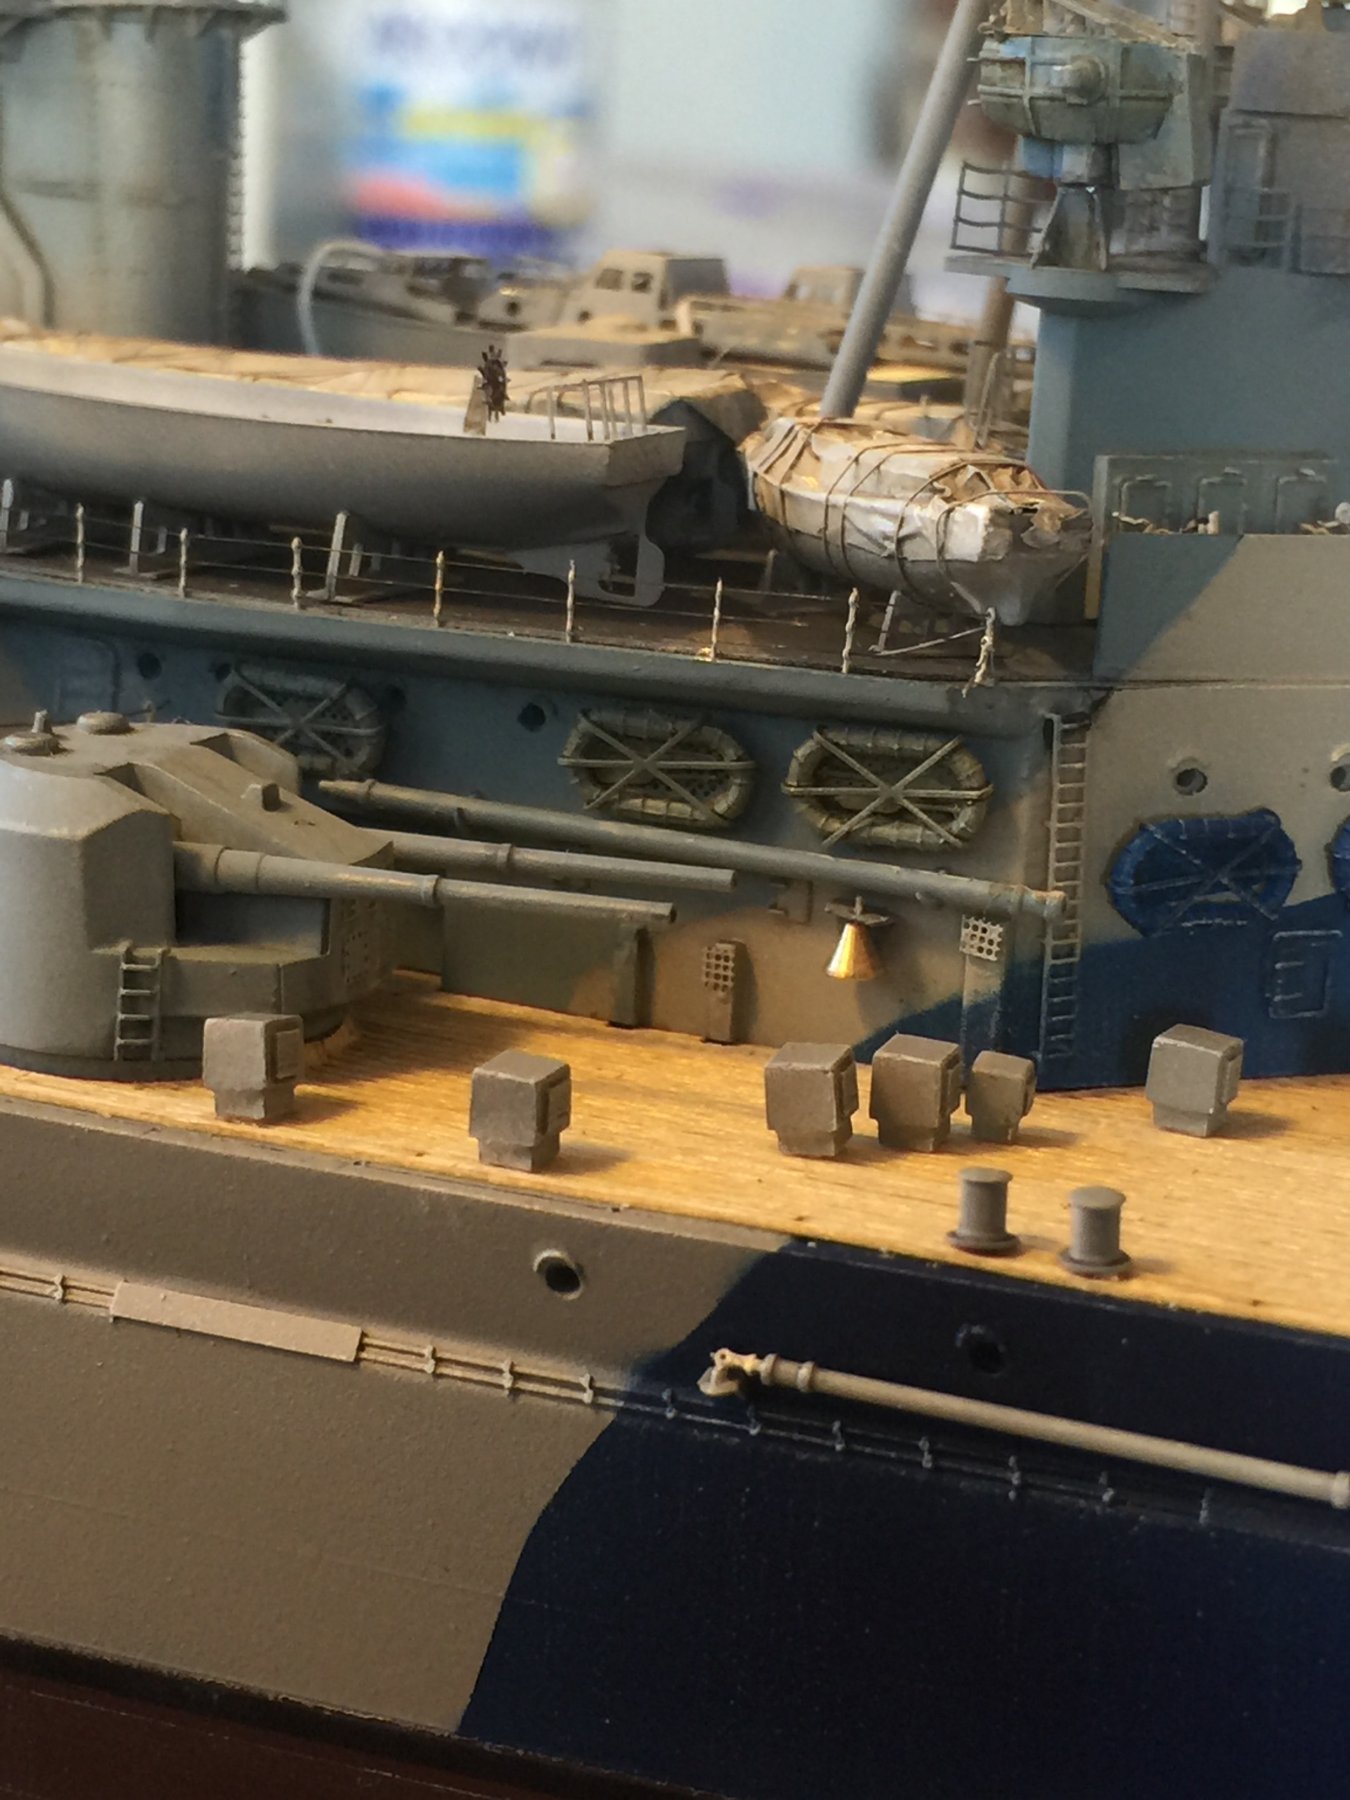
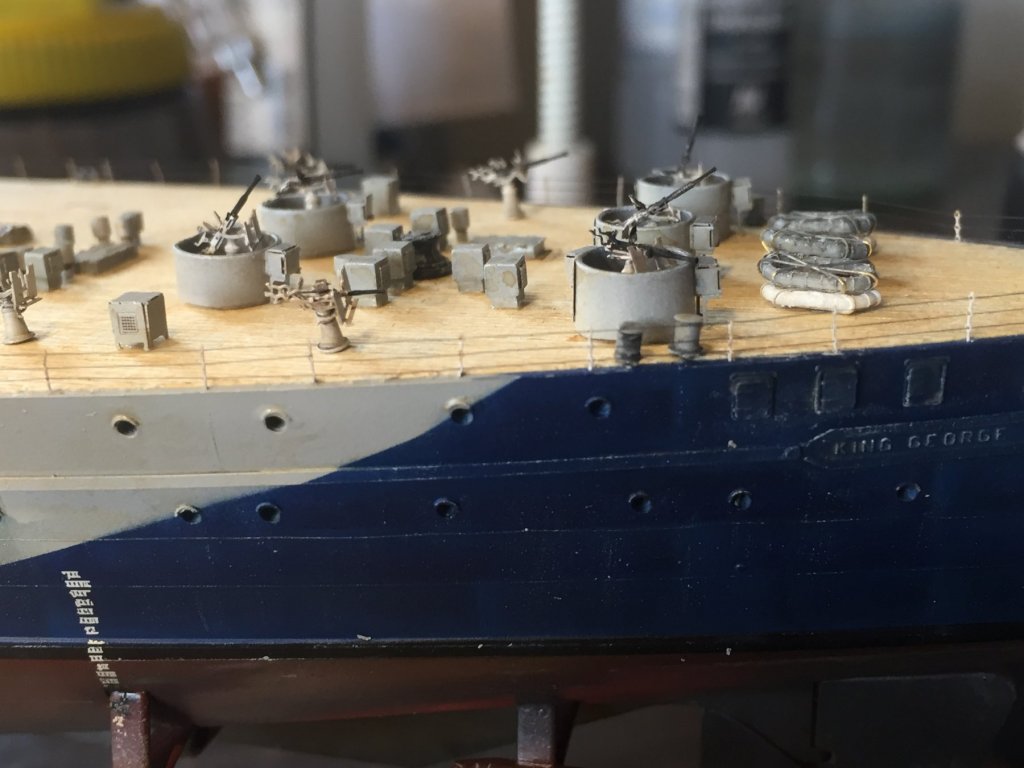
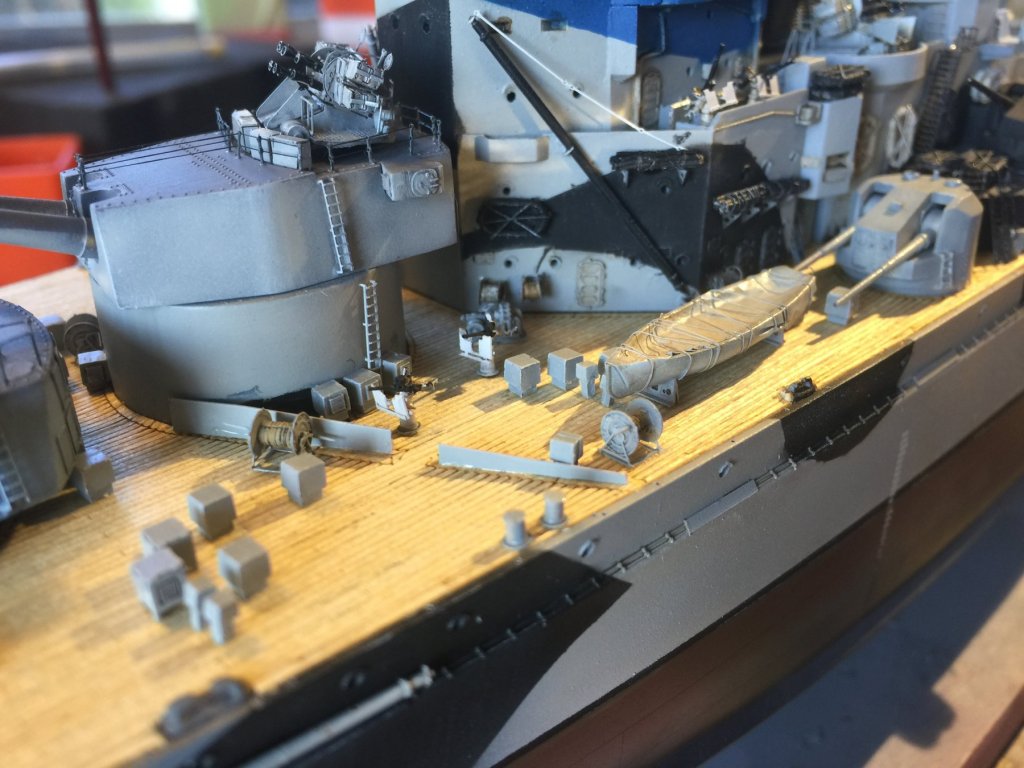
Cog it’s a Flyhawk set of stanchions as the RN has three bar, but they are soft brass unlike the better Tamiya ones that are only 2 bars.
- 405 replies
-
- 5
-
-
- tamiya
- king george v
- (and 2 more)
-
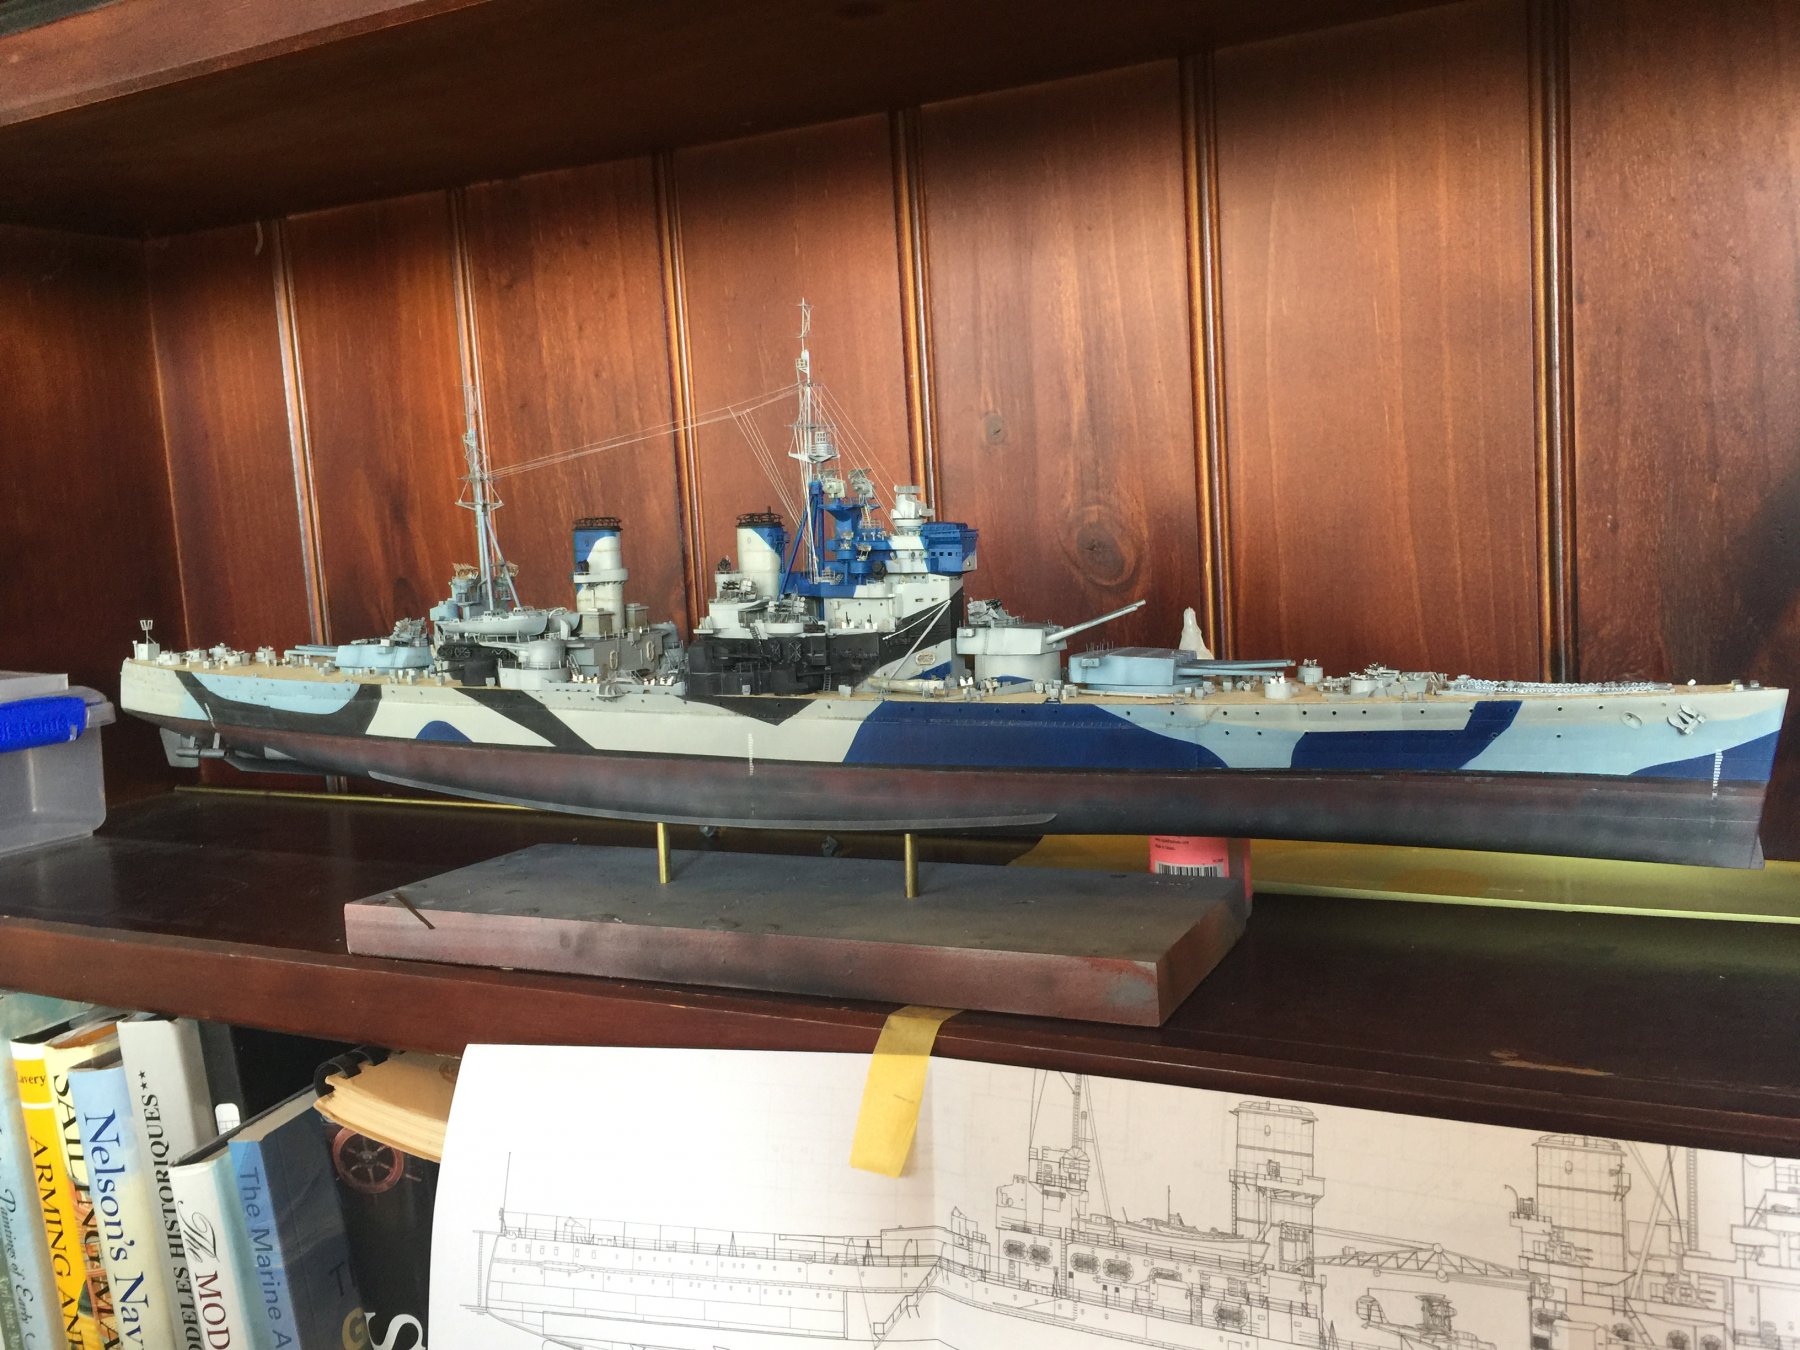
The build is on here; I just don’t want to spend a decade on one.
- 405 replies
-
- 4
-
-
- tamiya
- king george v
- (and 2 more)
-
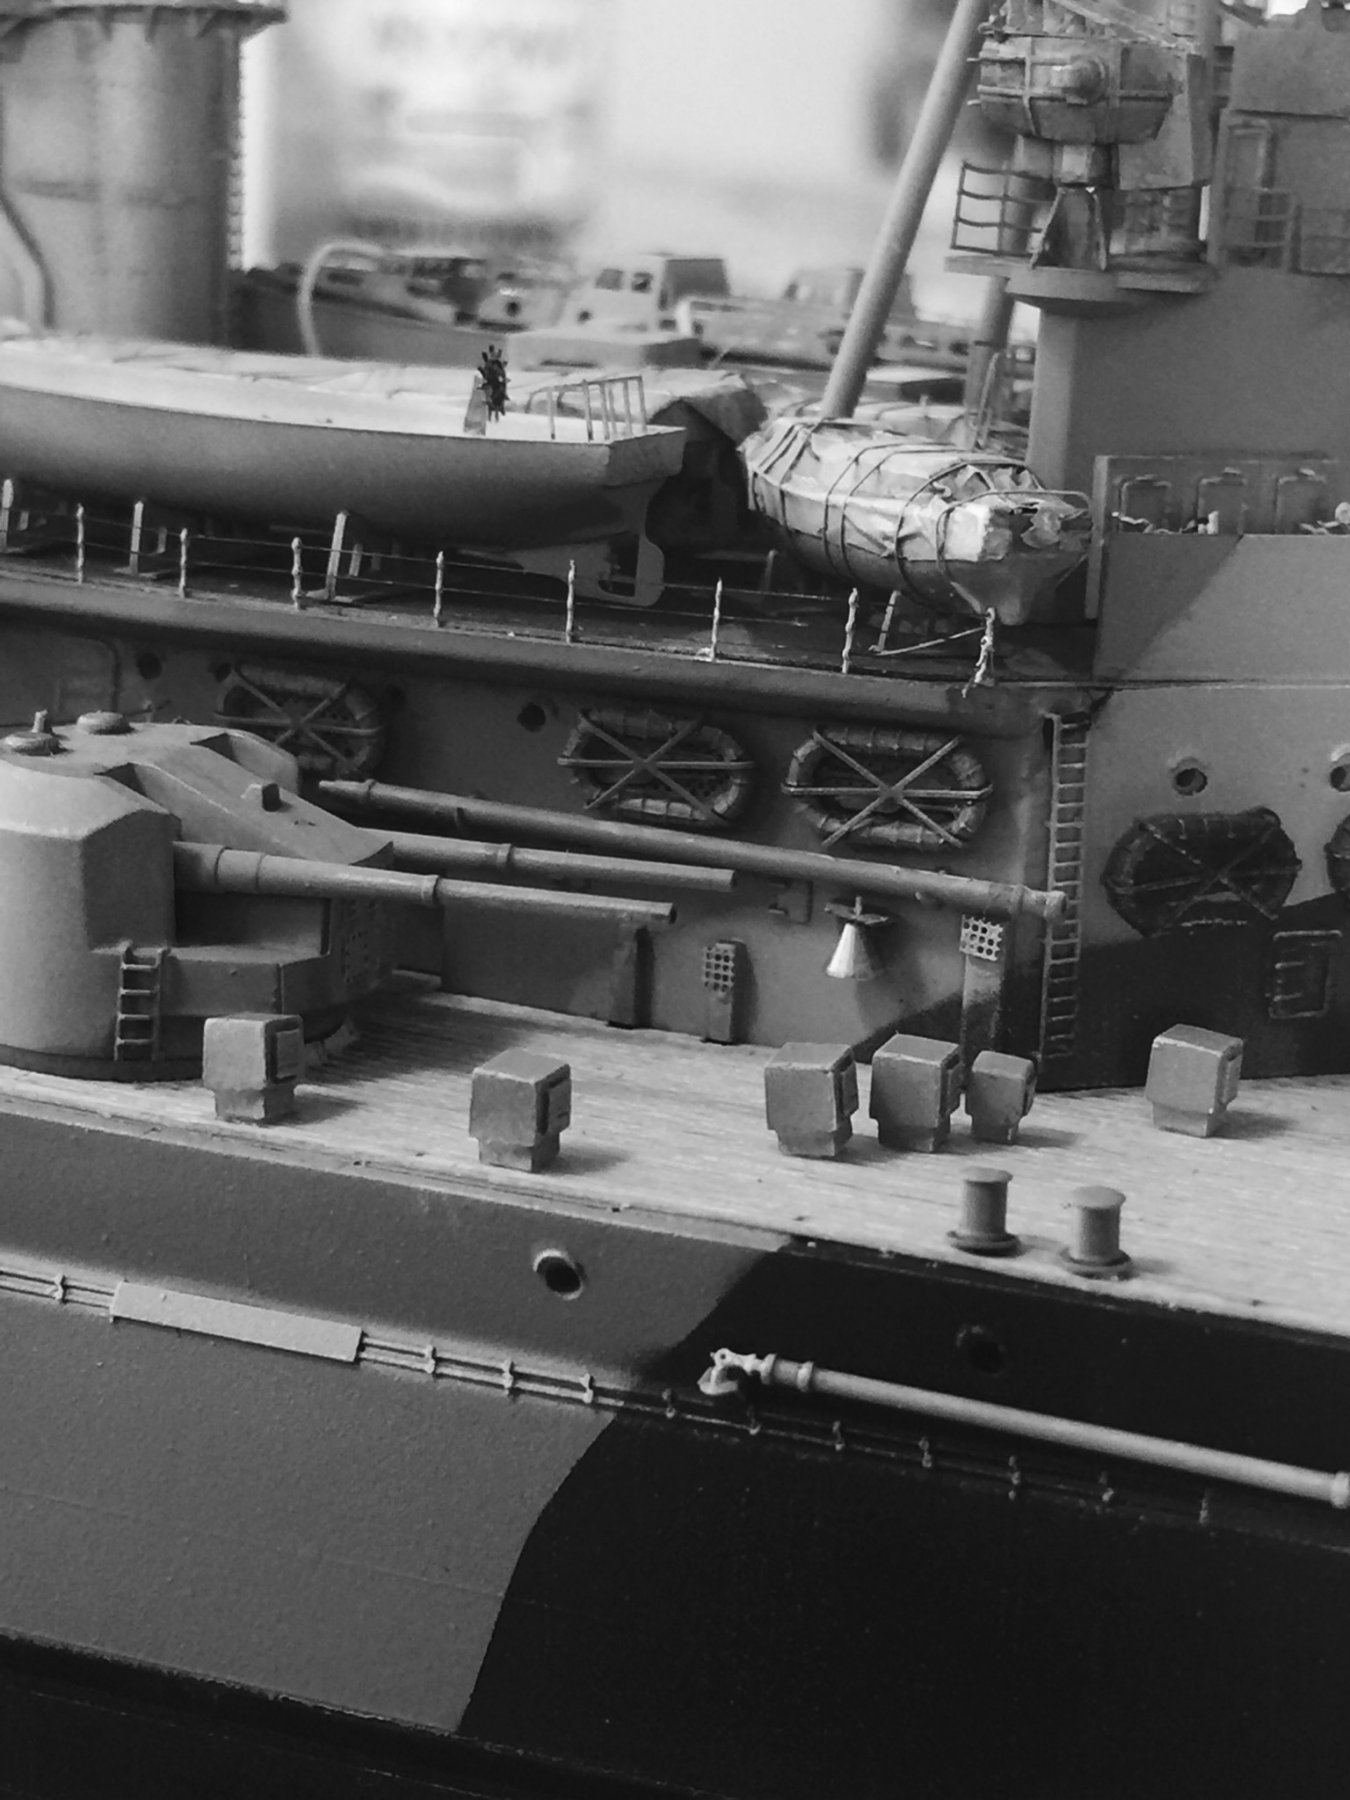
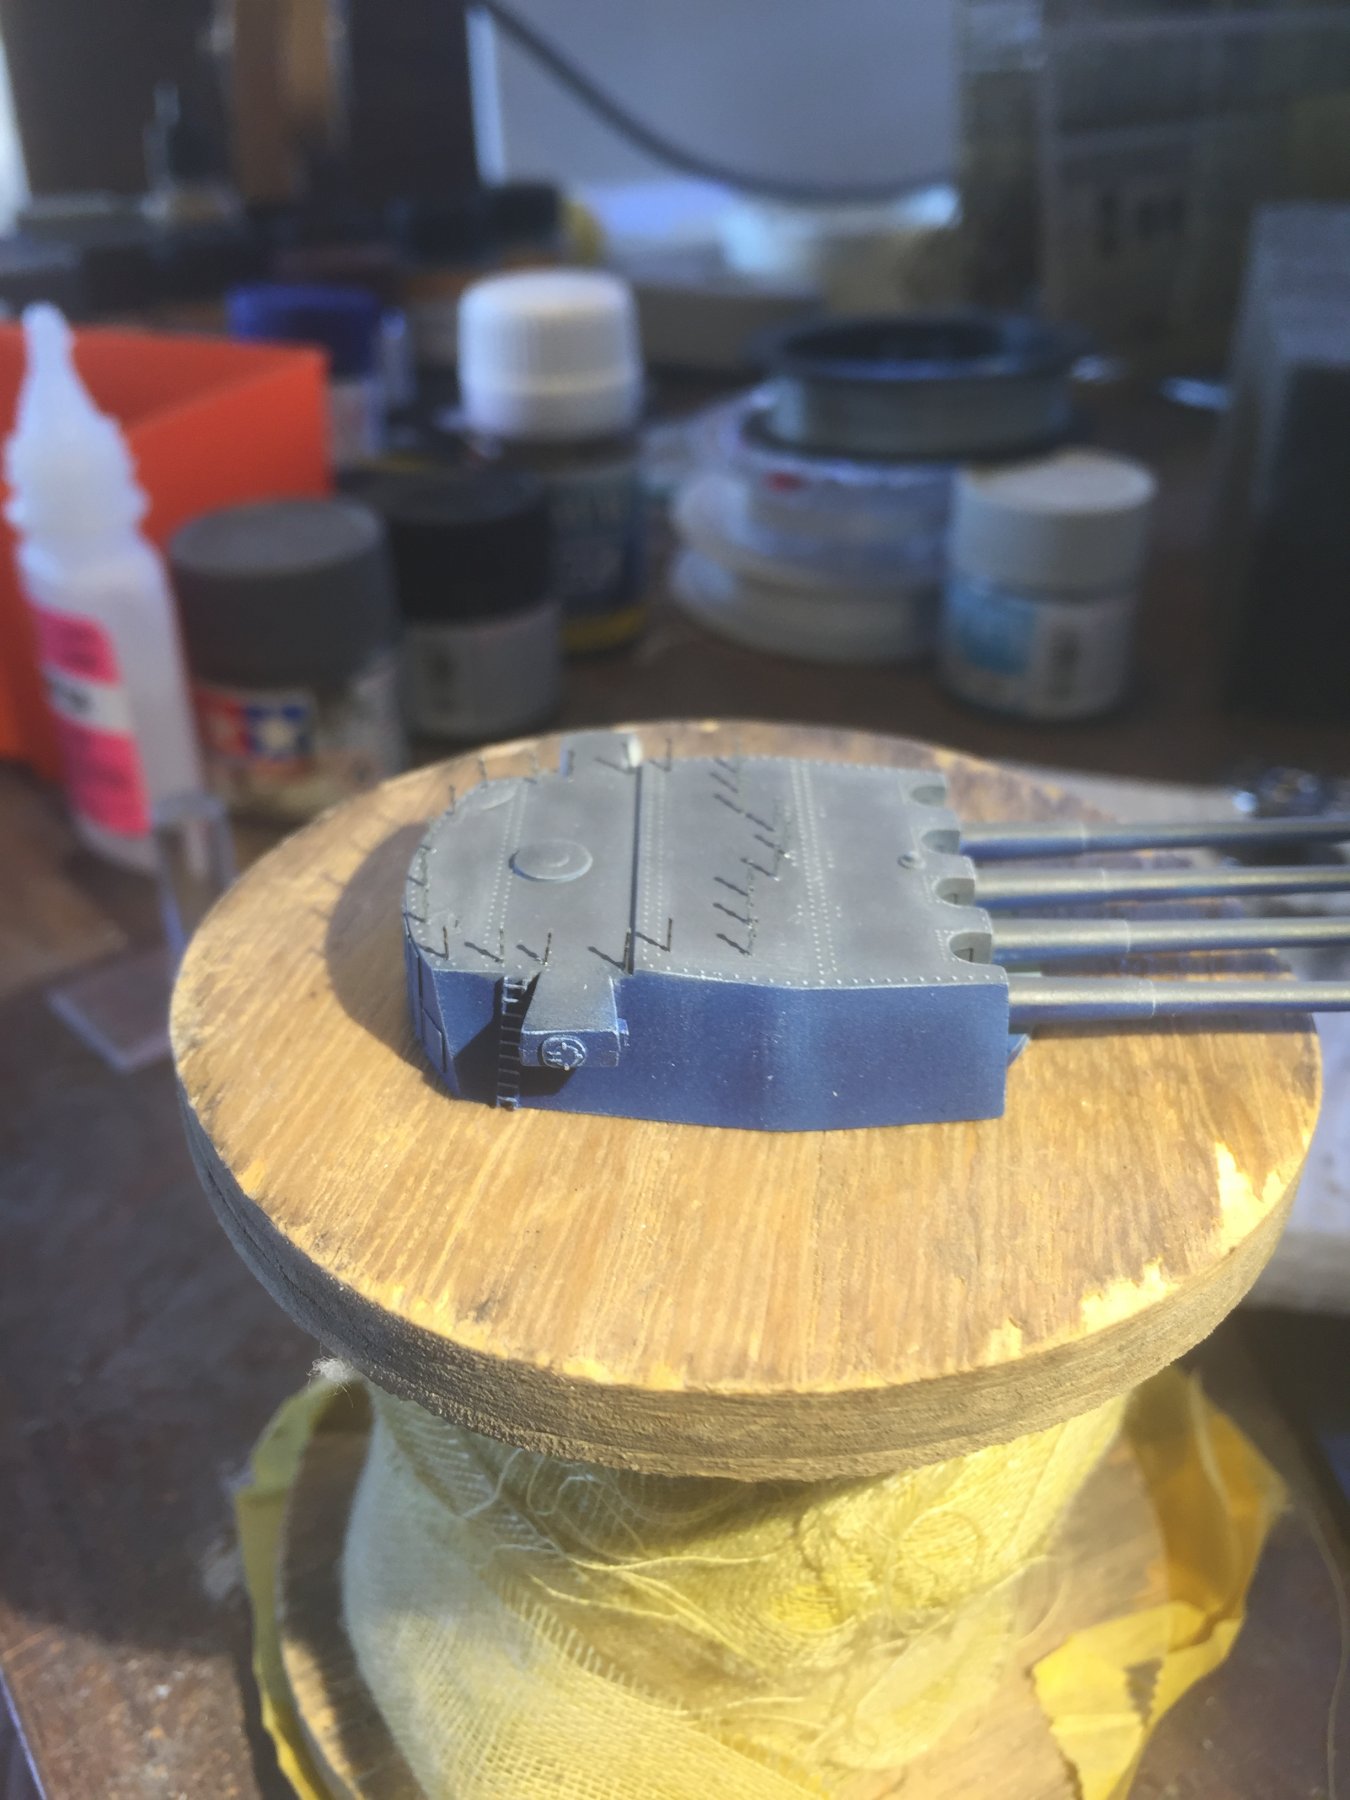
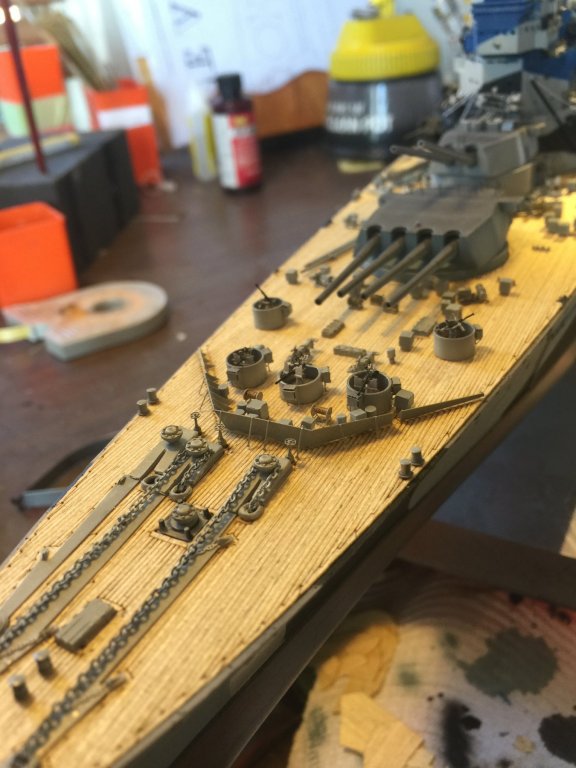
Now the pain, railing stanchions. I put an #11 blade on the deck to give some perspective


- 405 replies
-
- 10
-
-
- tamiya
- king george v
- (and 2 more)
-
It can be an issue of standing too close to the wall at times. Some details are soo tiny as to be invisible to the naked eye, yet alone practical to attach so I don’t bother. Is it visible form arms length? Is it with destroying the piece for that invisible piece of detail?
- 405 replies
-
- 6
-
-
- tamiya
- king george v
- (and 2 more)
-
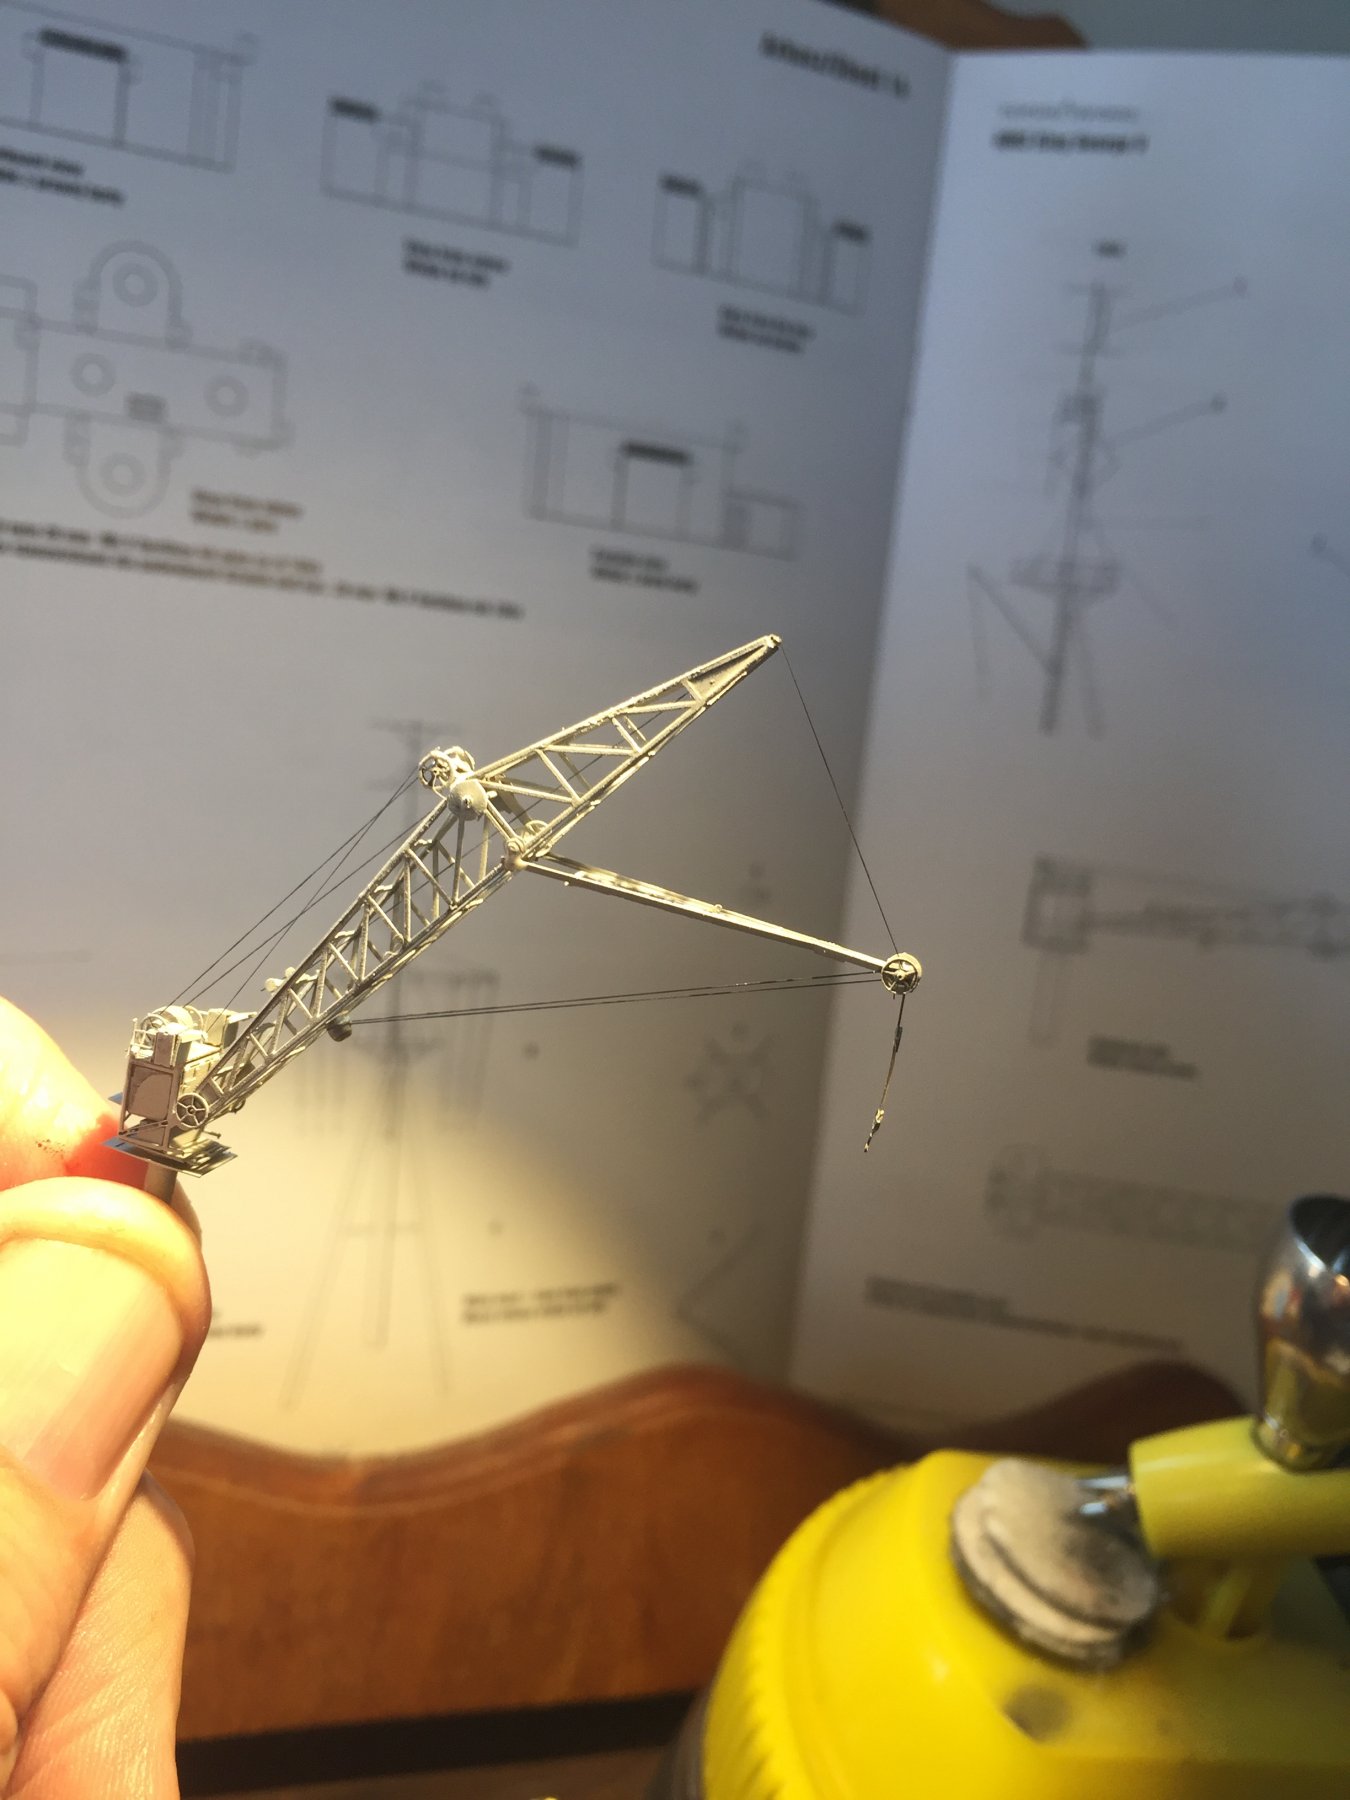
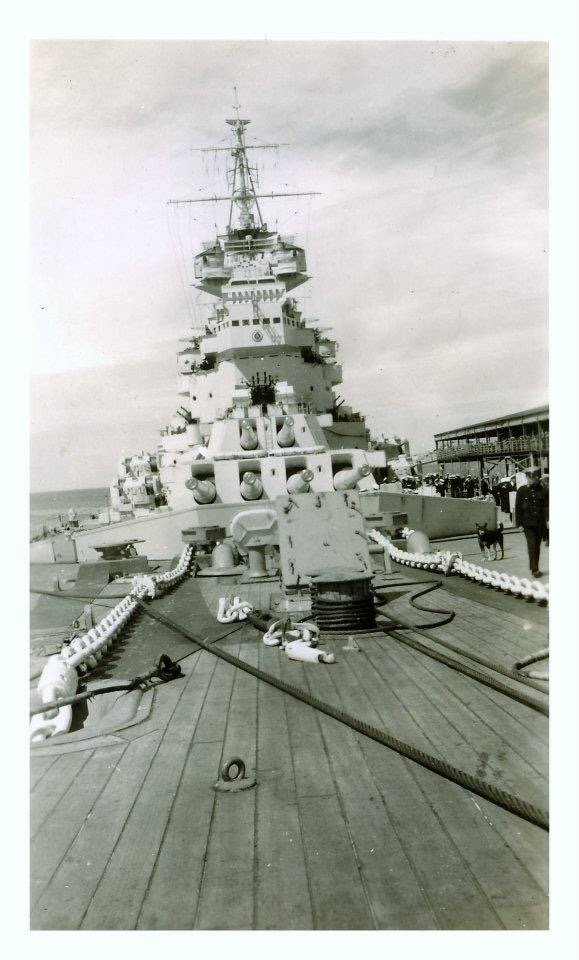
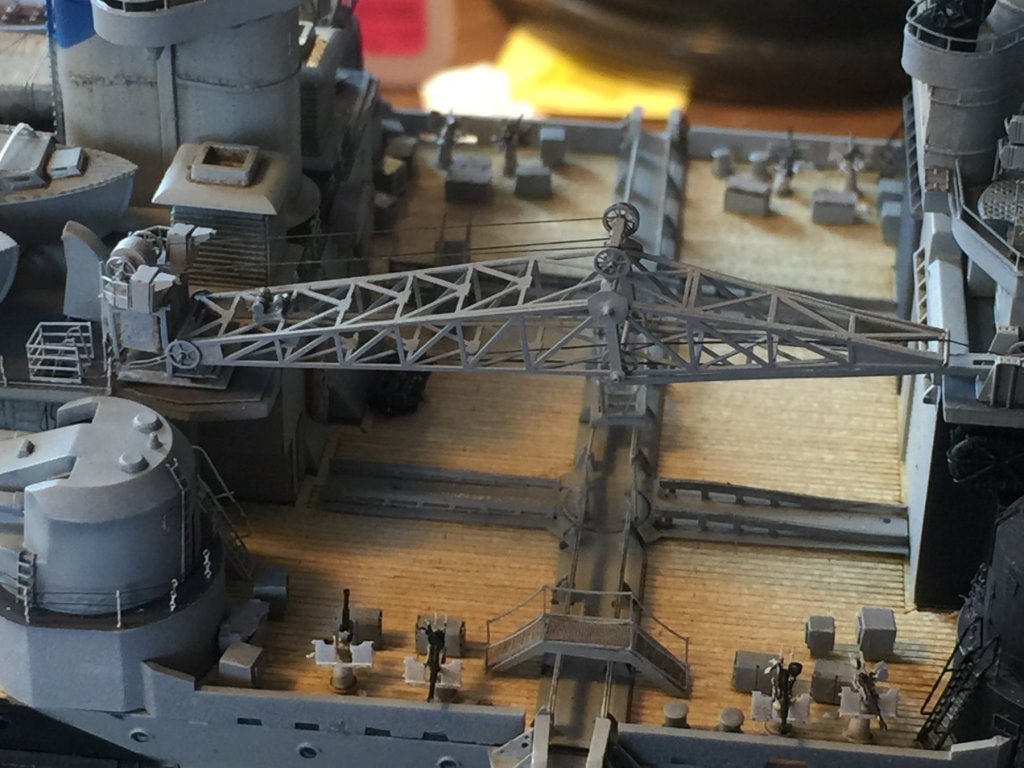
No mate, just patiently plodding along. If you can see the the Endeavour in the back ground it’s an exercise in patience when it comes to rigging, if I can do that I can do up a crane. Once you get your head around how it works, it gets easier.
- 405 replies
-
- 7
-
-
- tamiya
- king george v
- (and 2 more)
-
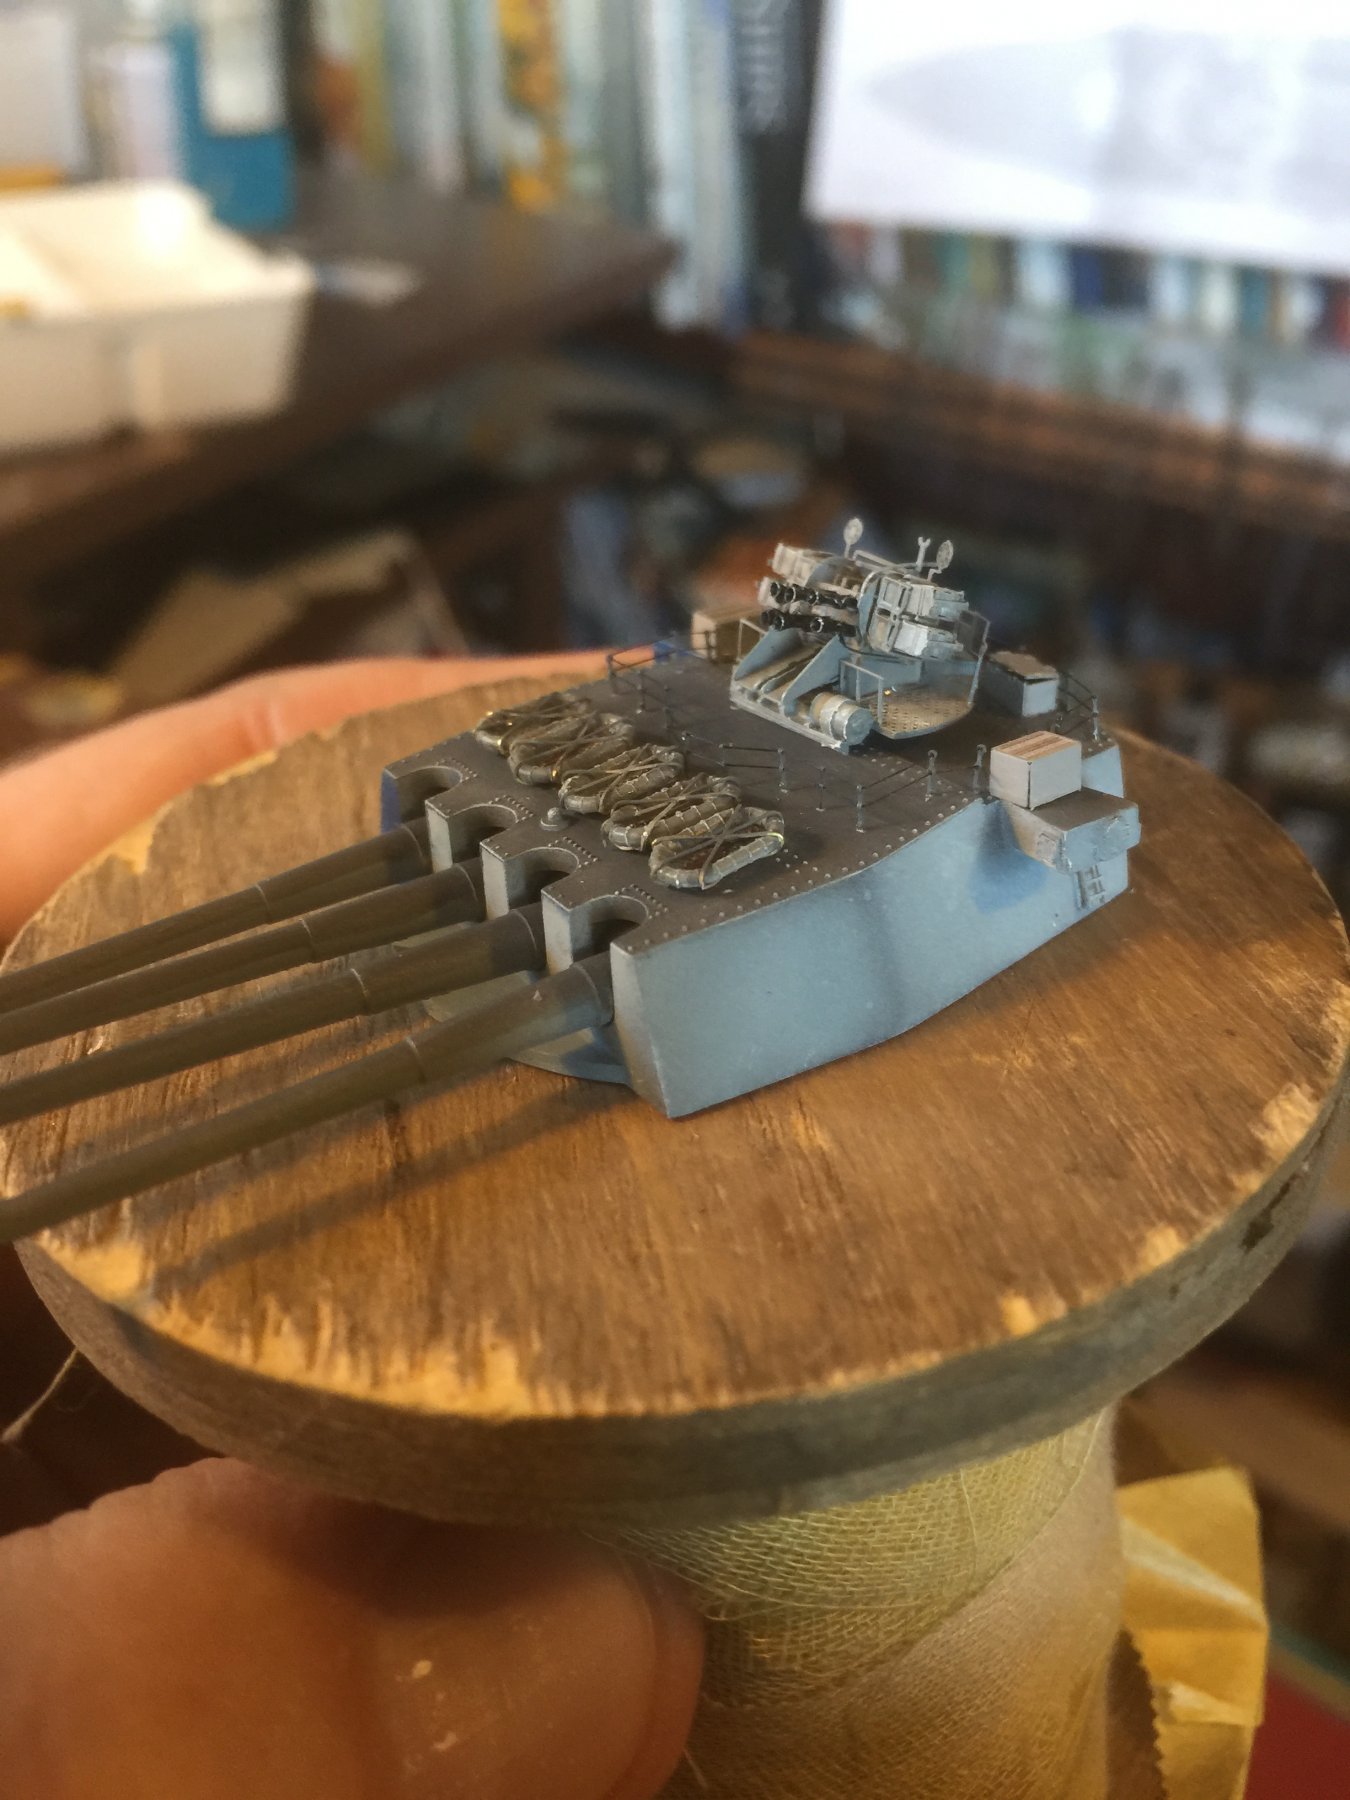
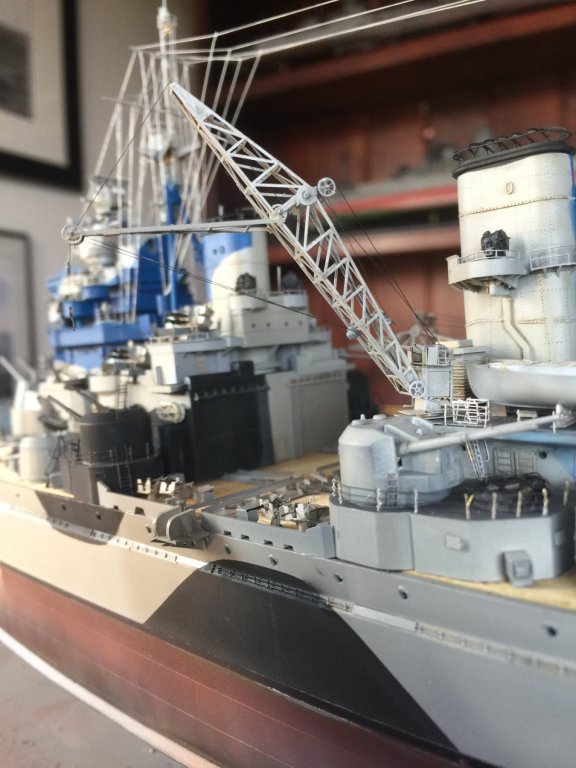
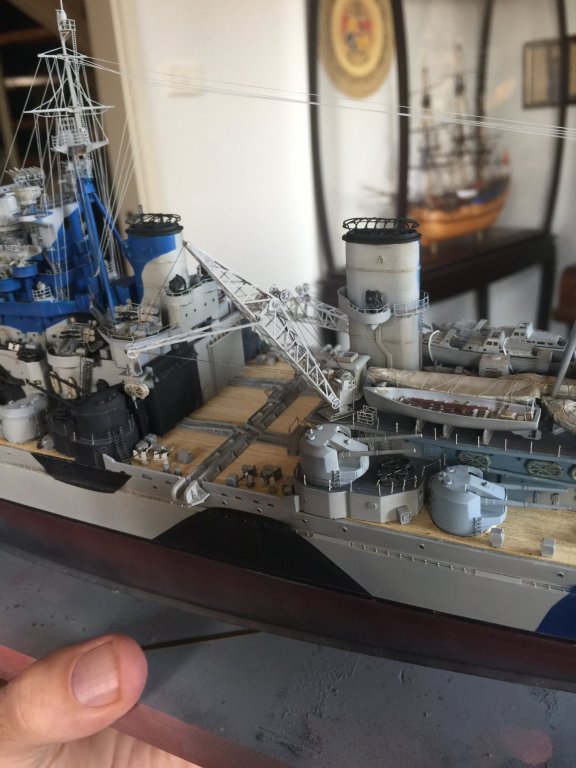
The 2 ships cranes, horrible instructions and I needed to add on a few extras so the rigging is correct but now they’re attached I’m fairly happy. I just have to hang a plane off one.


- 405 replies
-
- 16
-
-
- tamiya
- king george v
- (and 2 more)
-
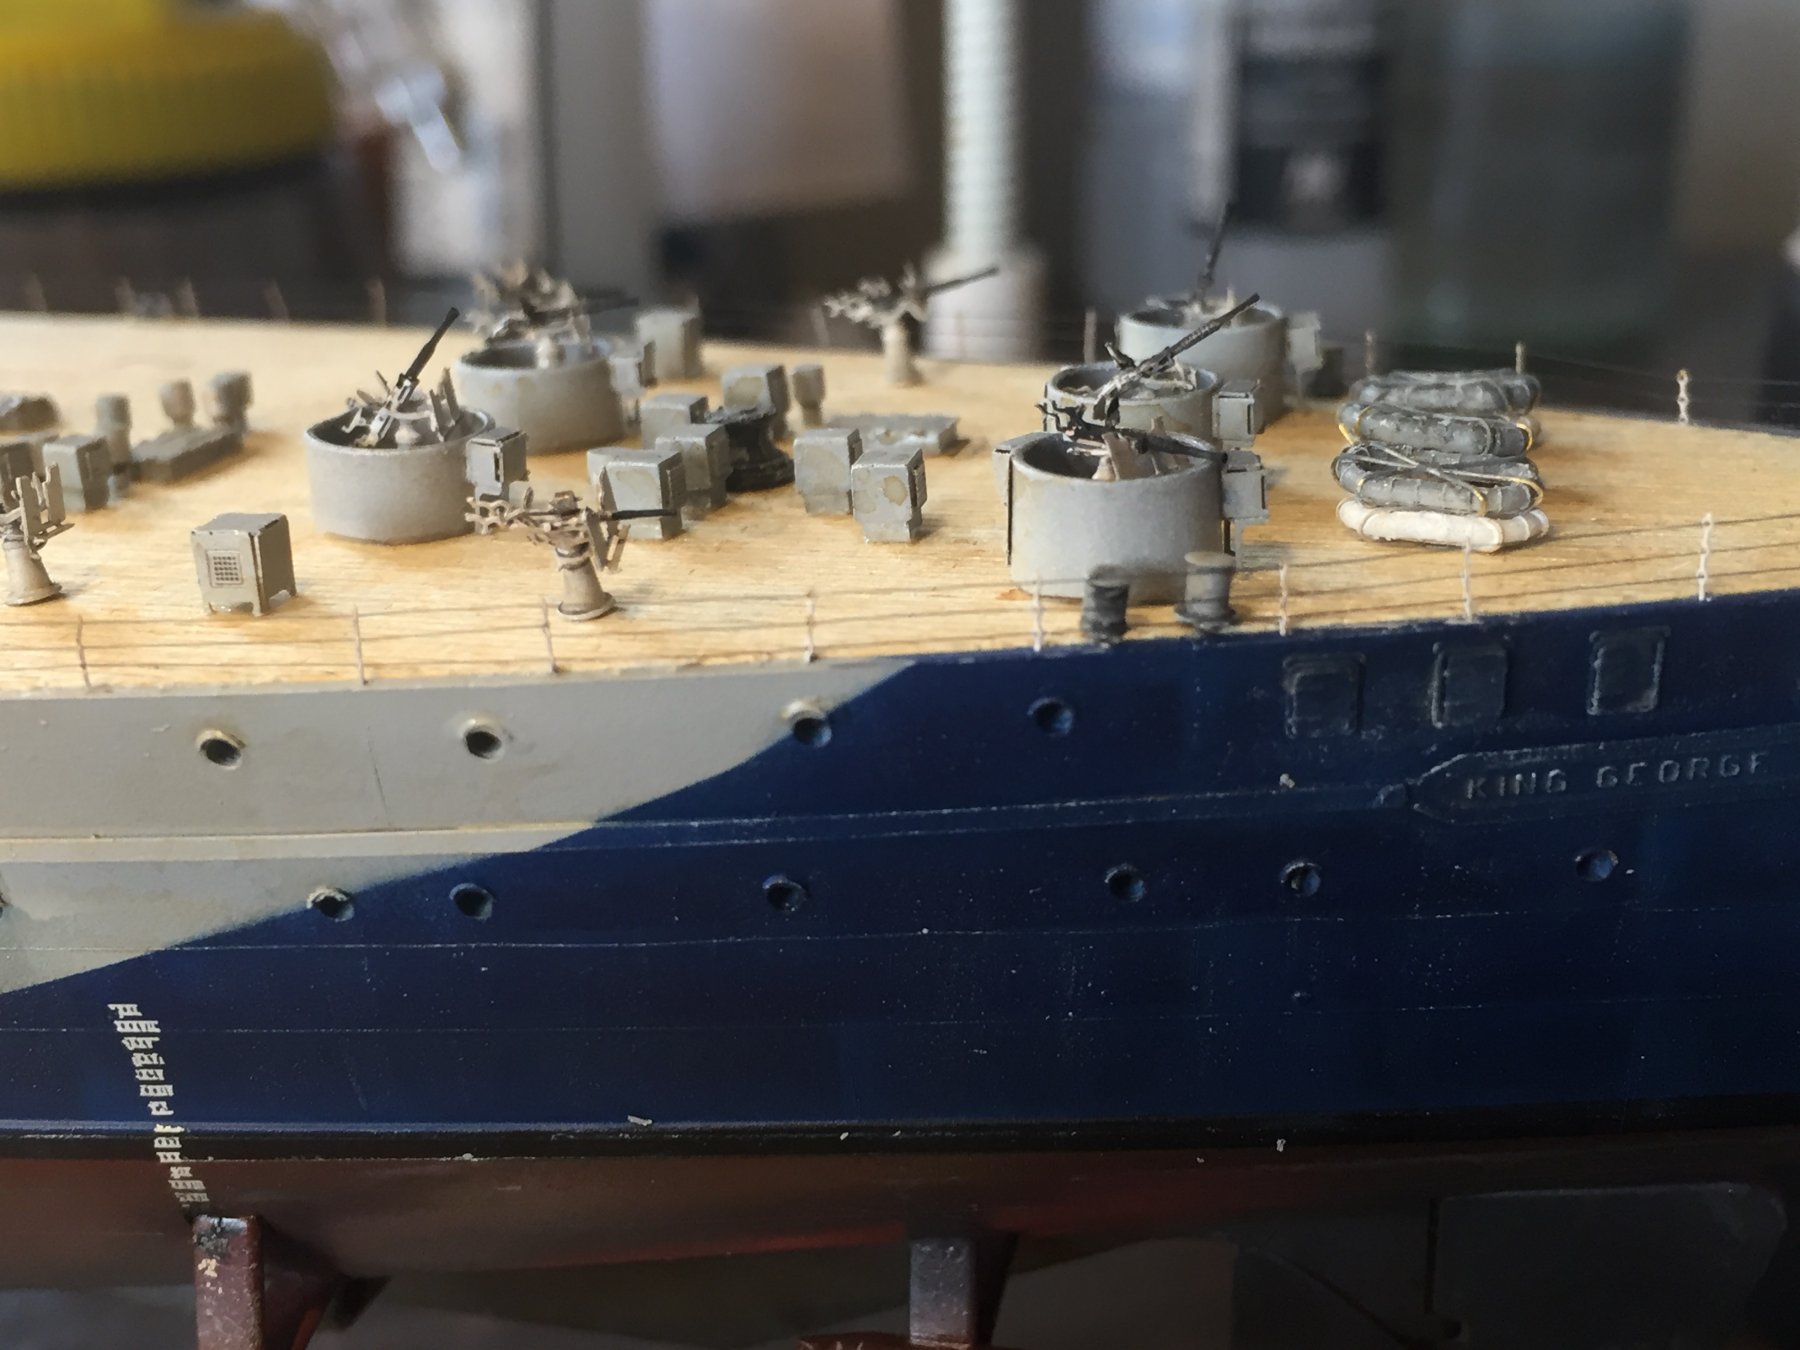
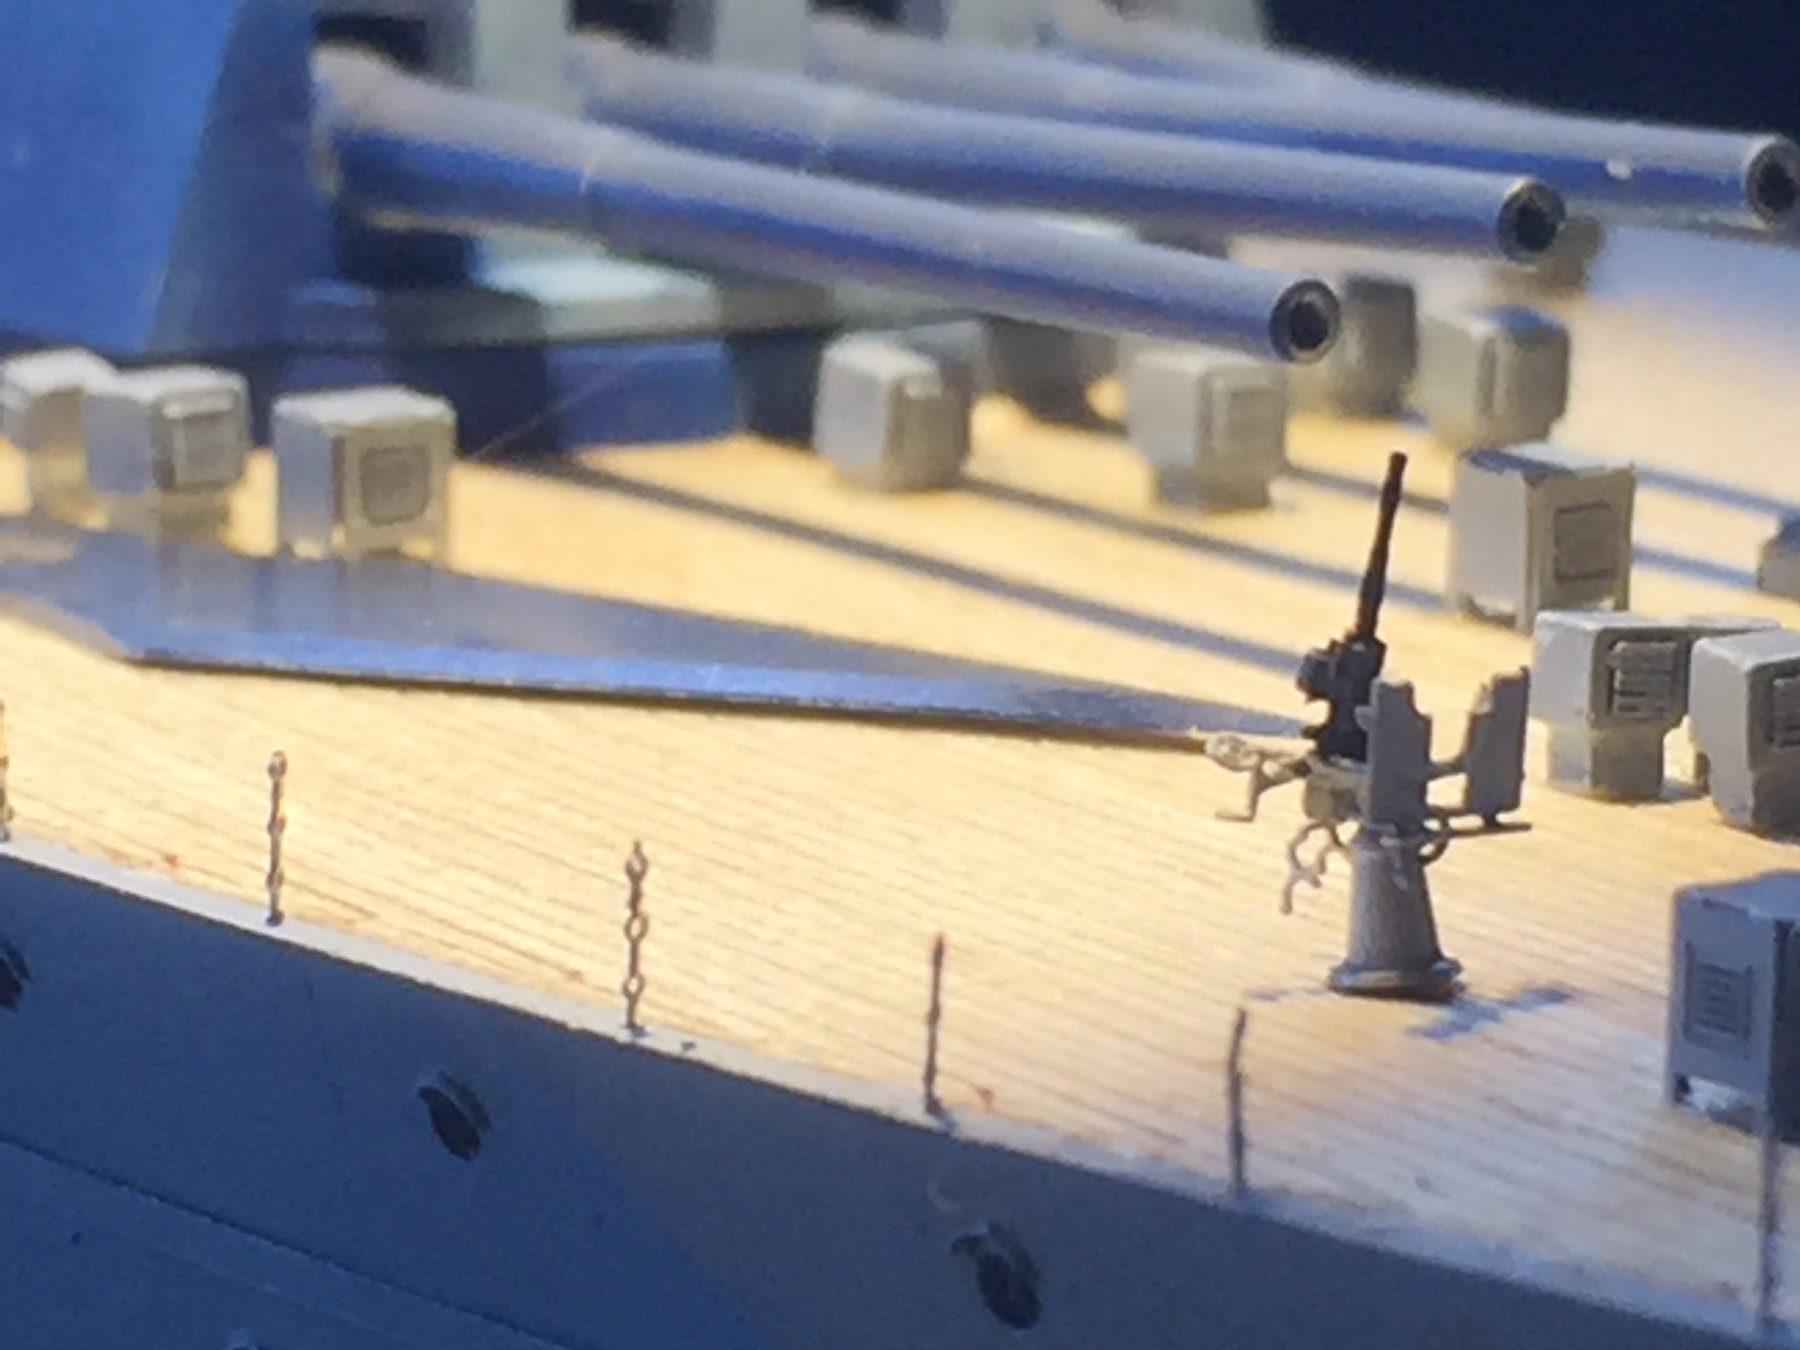
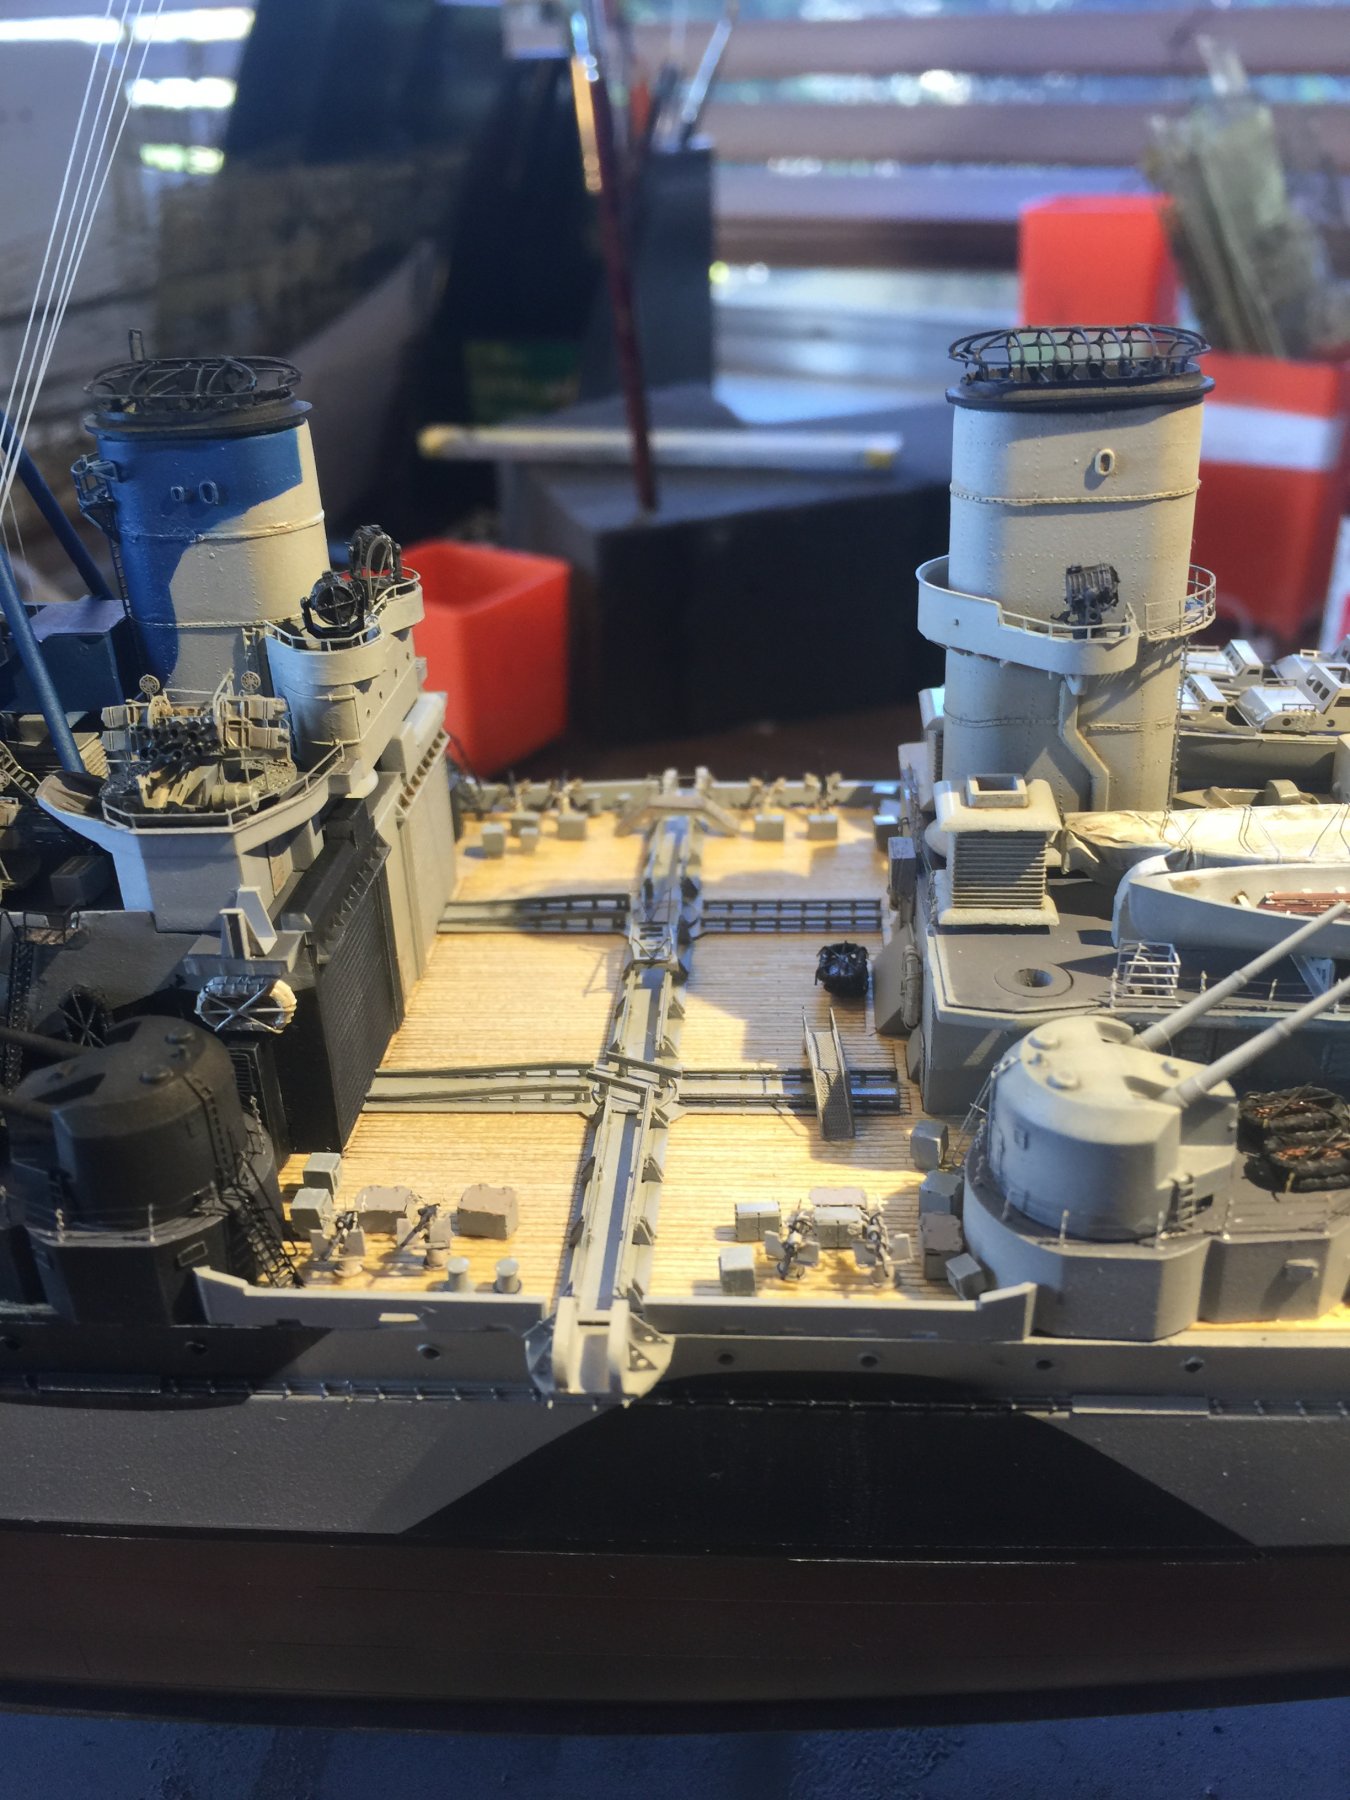
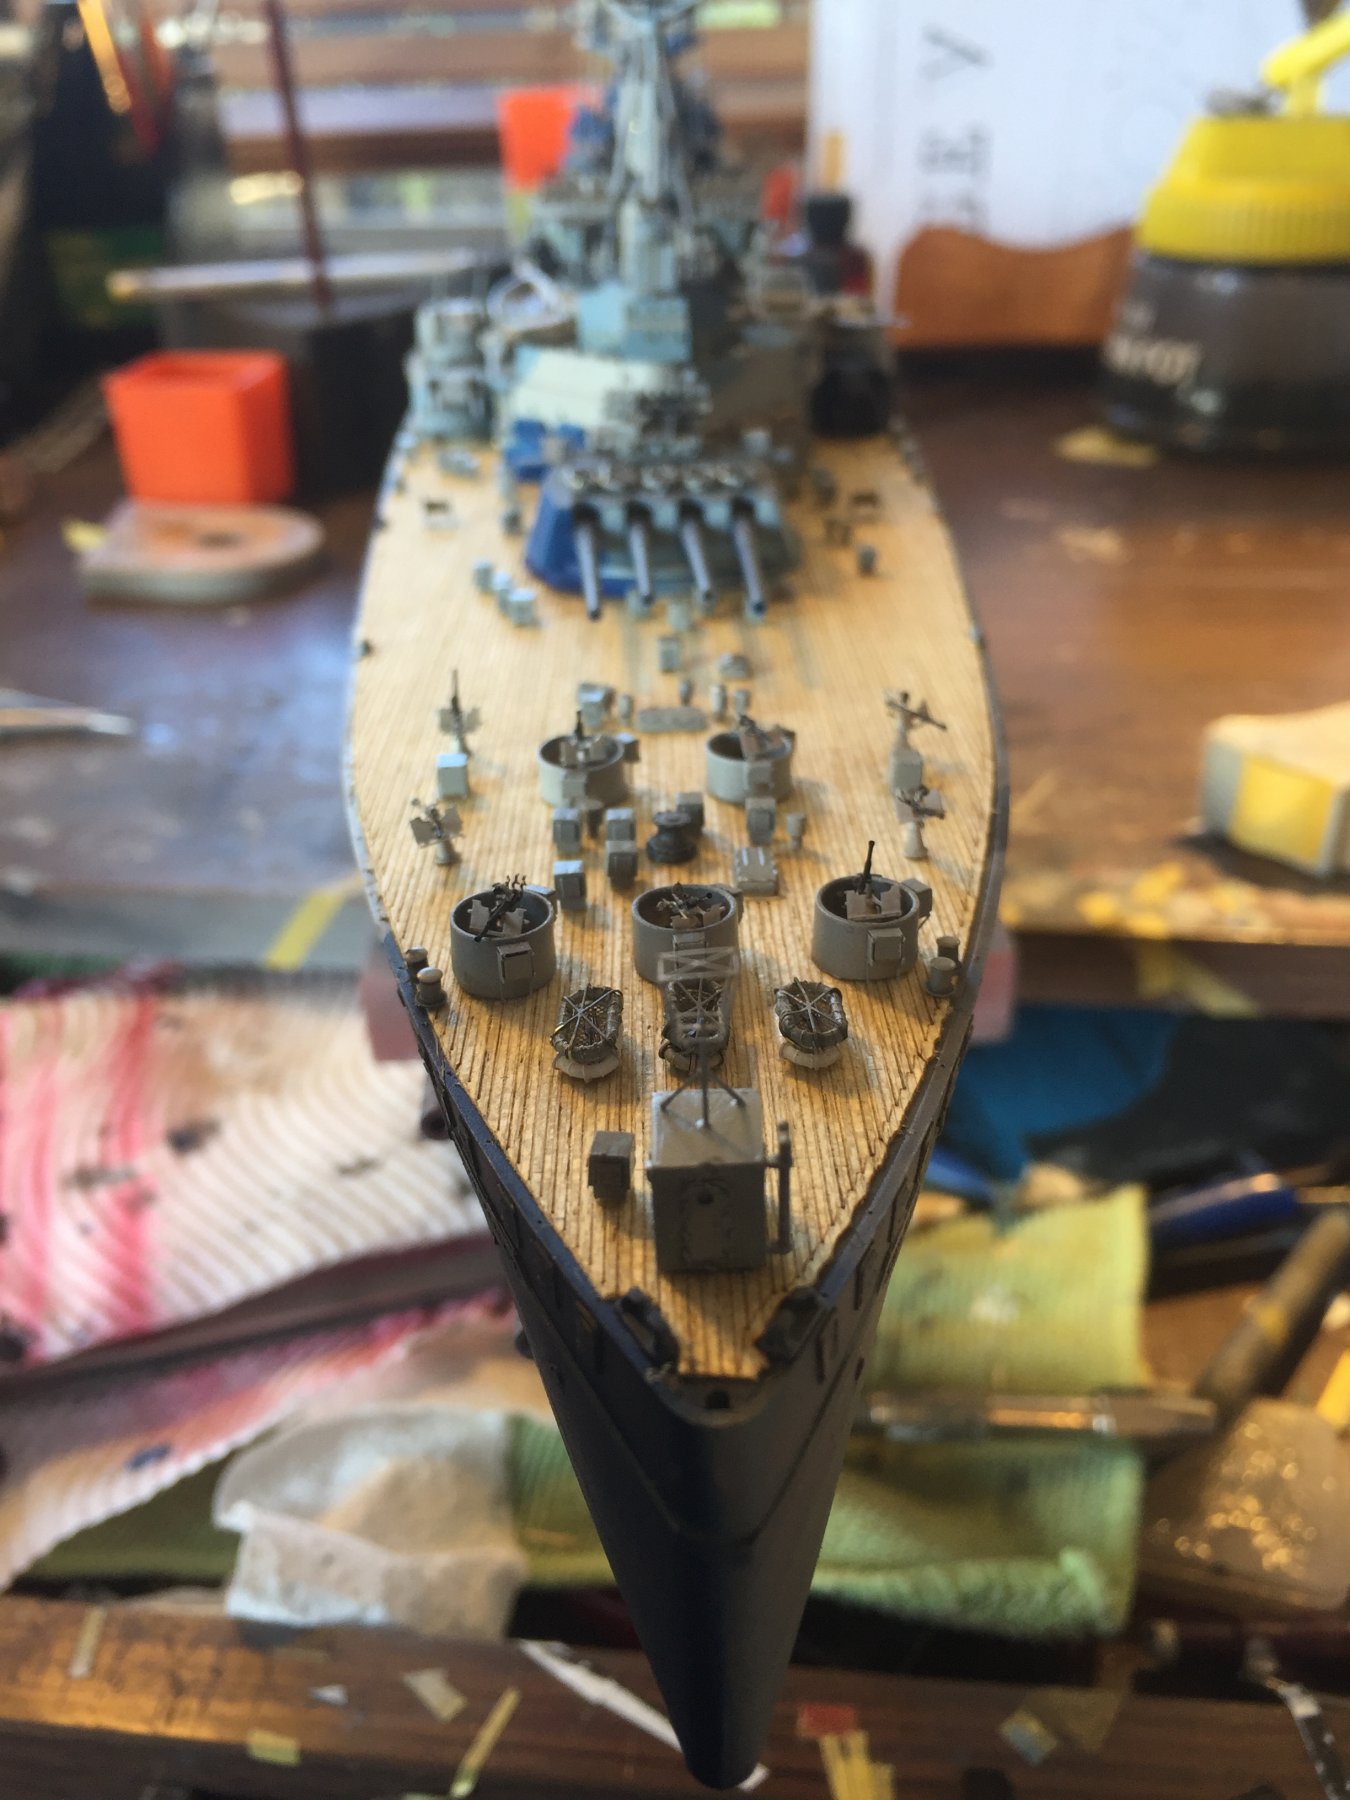
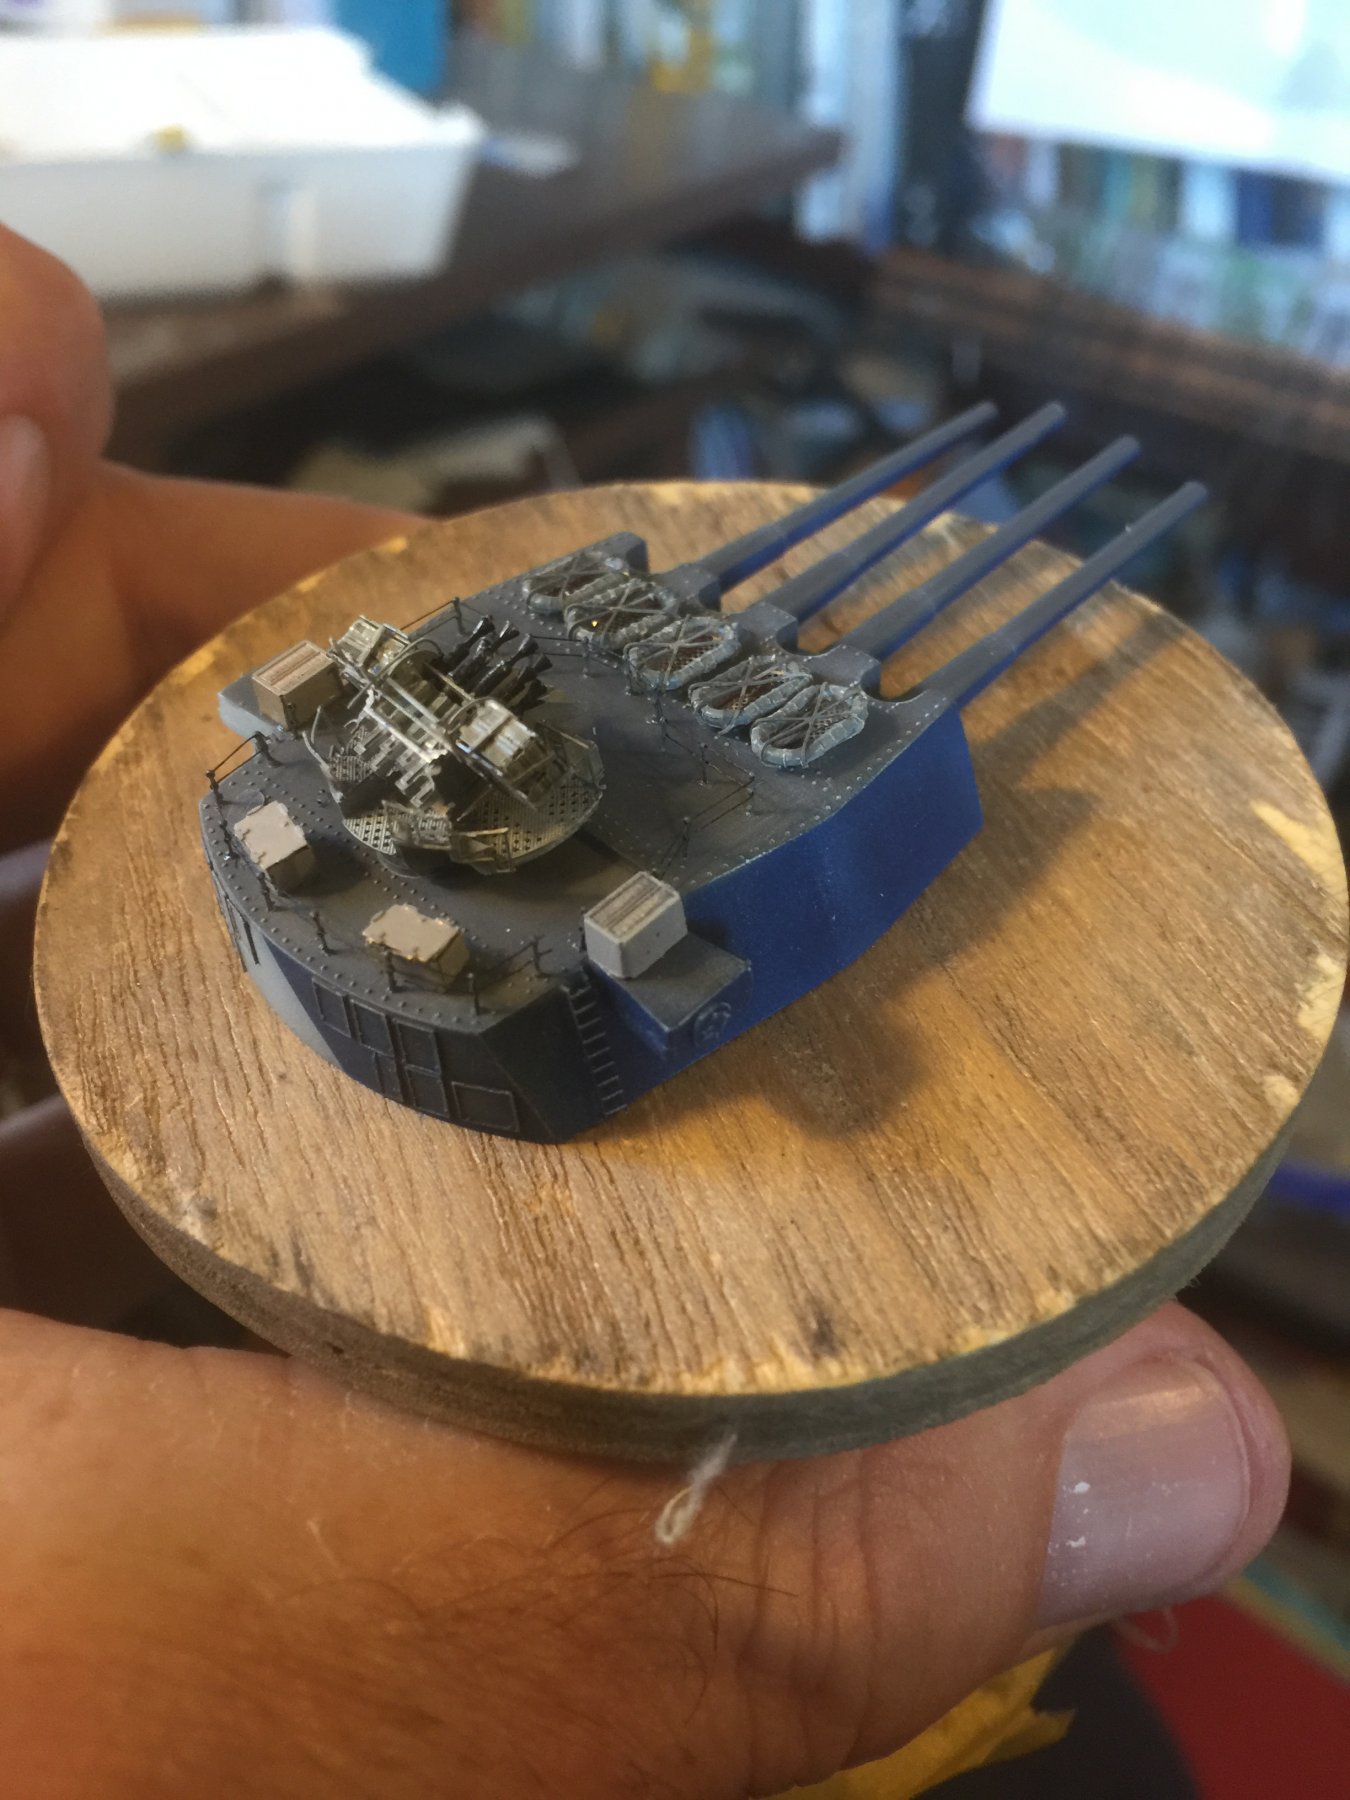
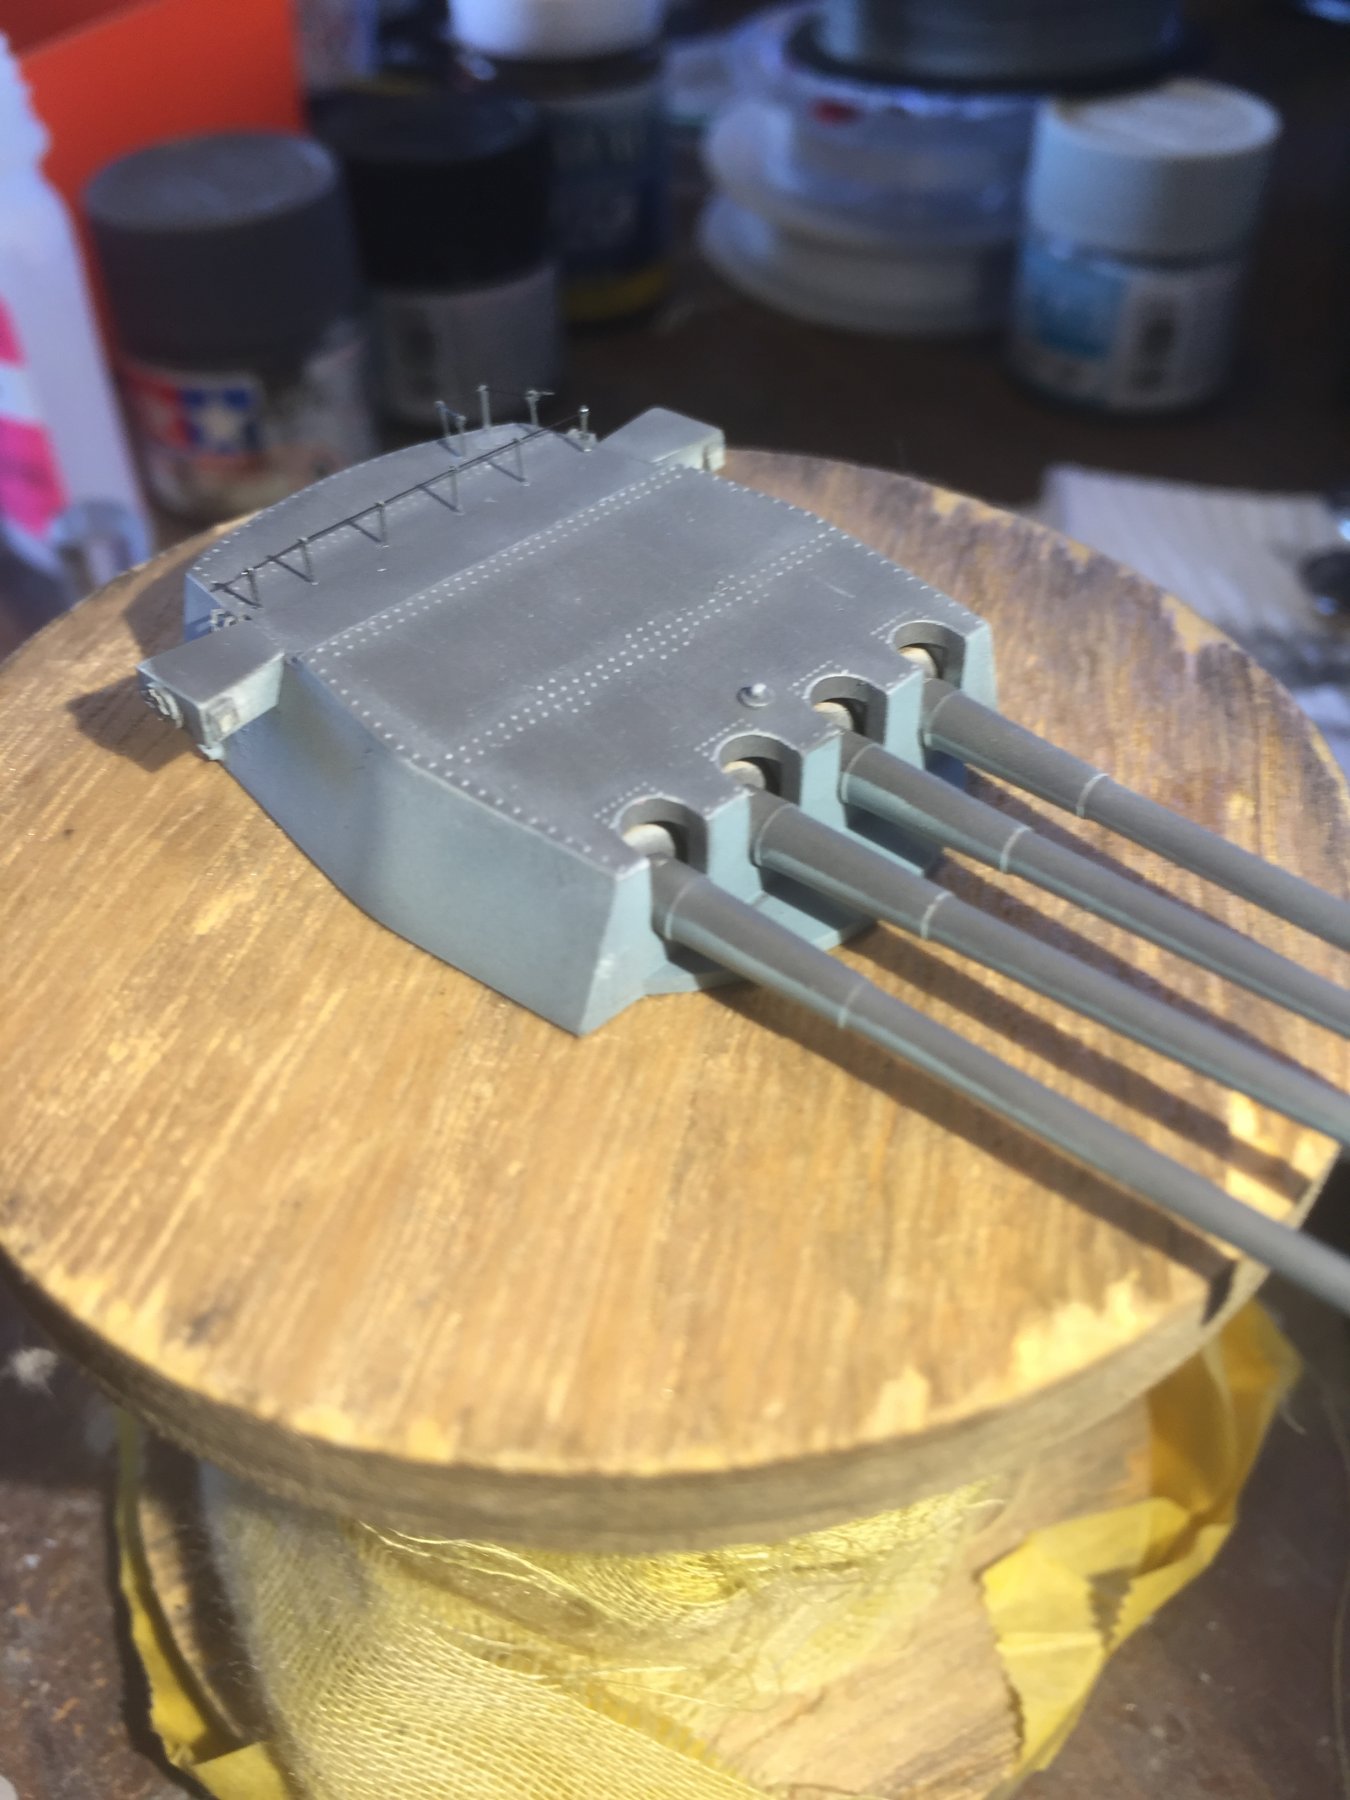
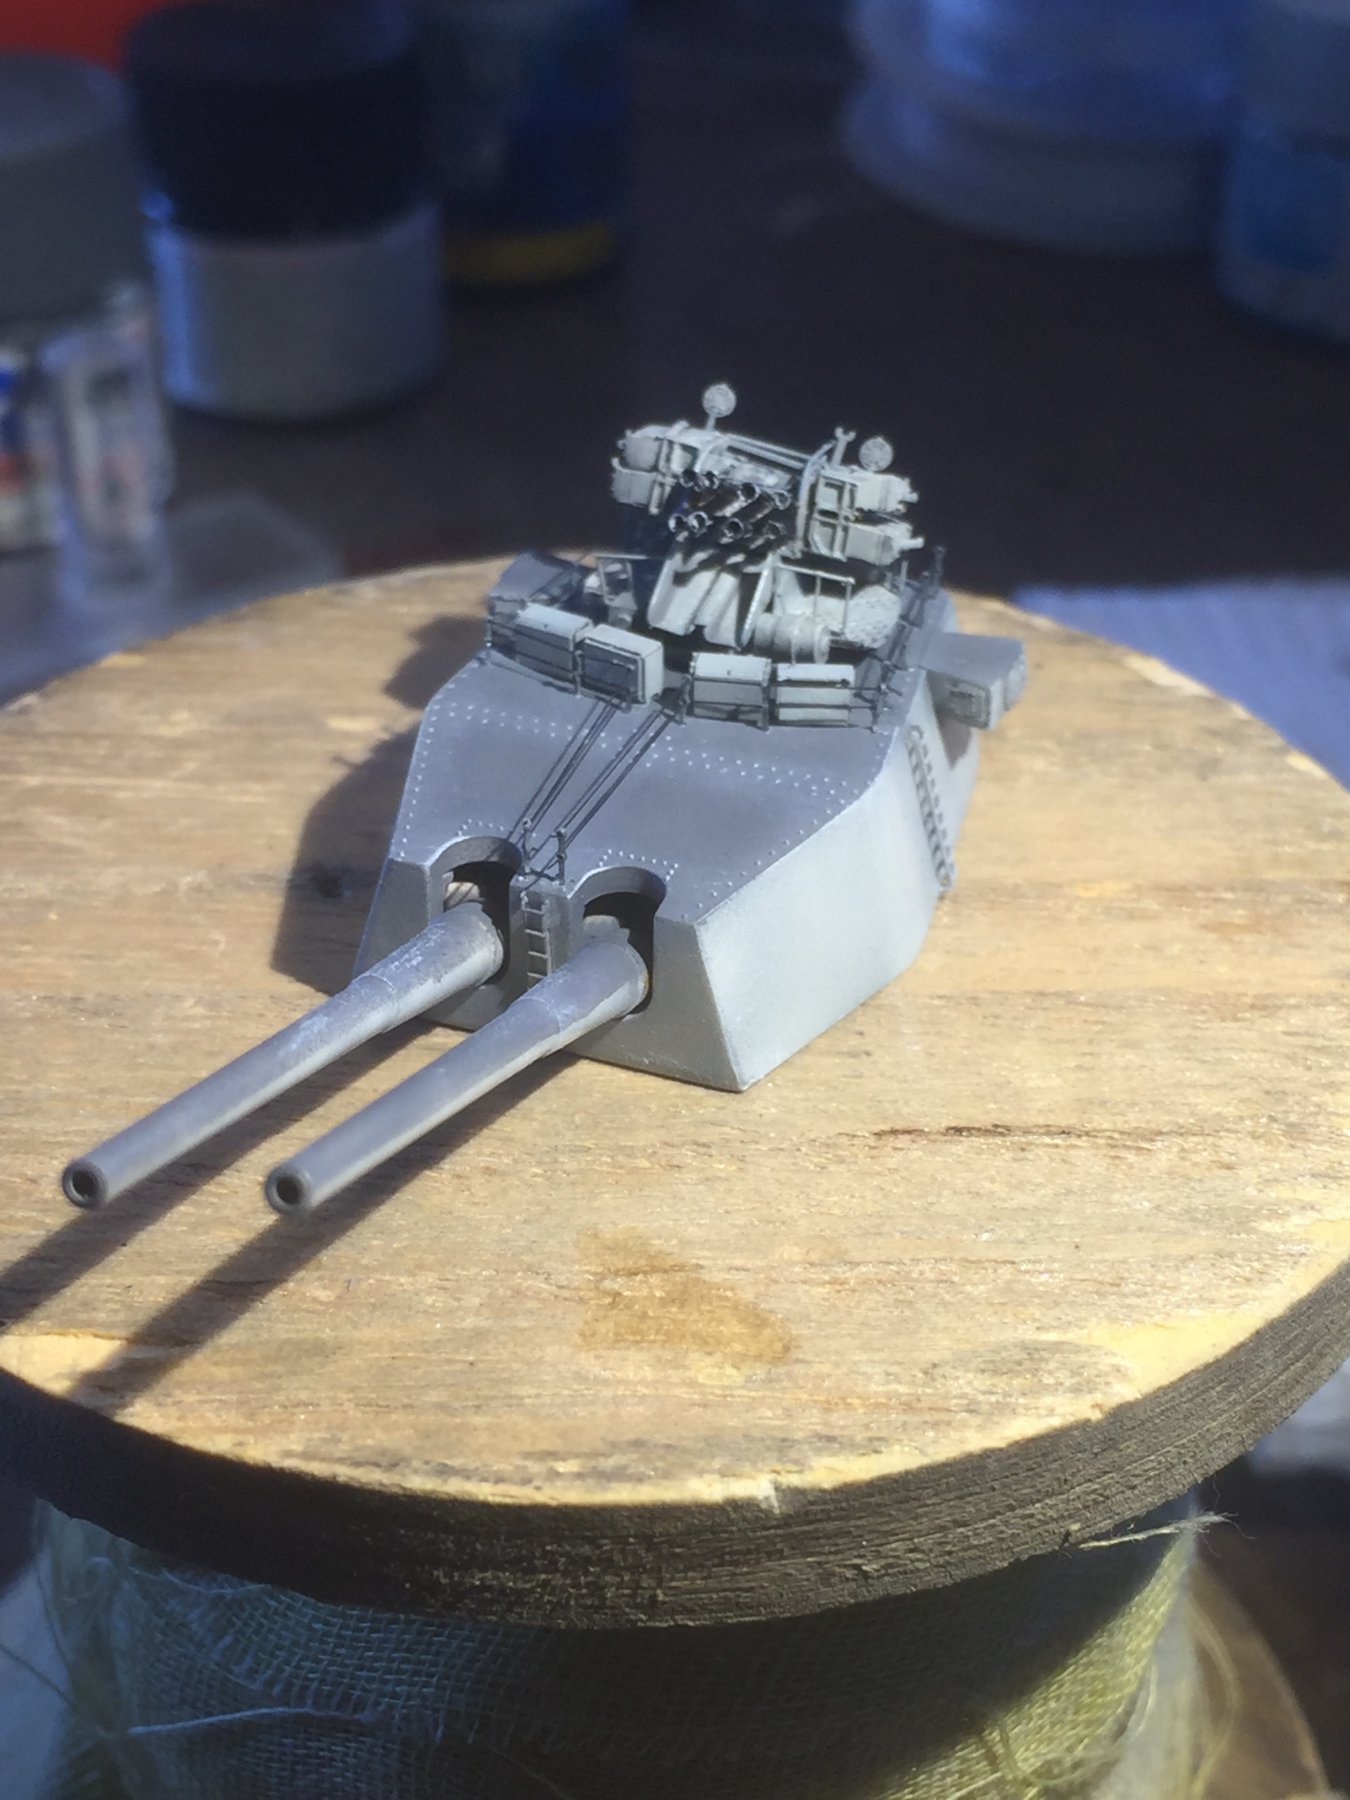
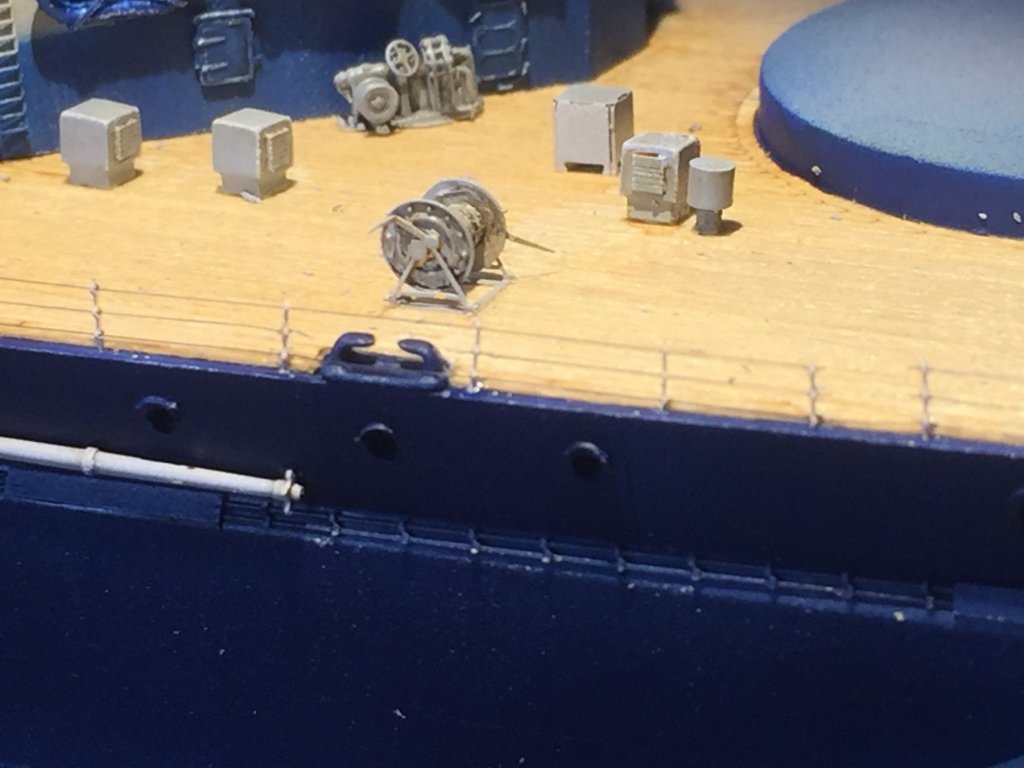
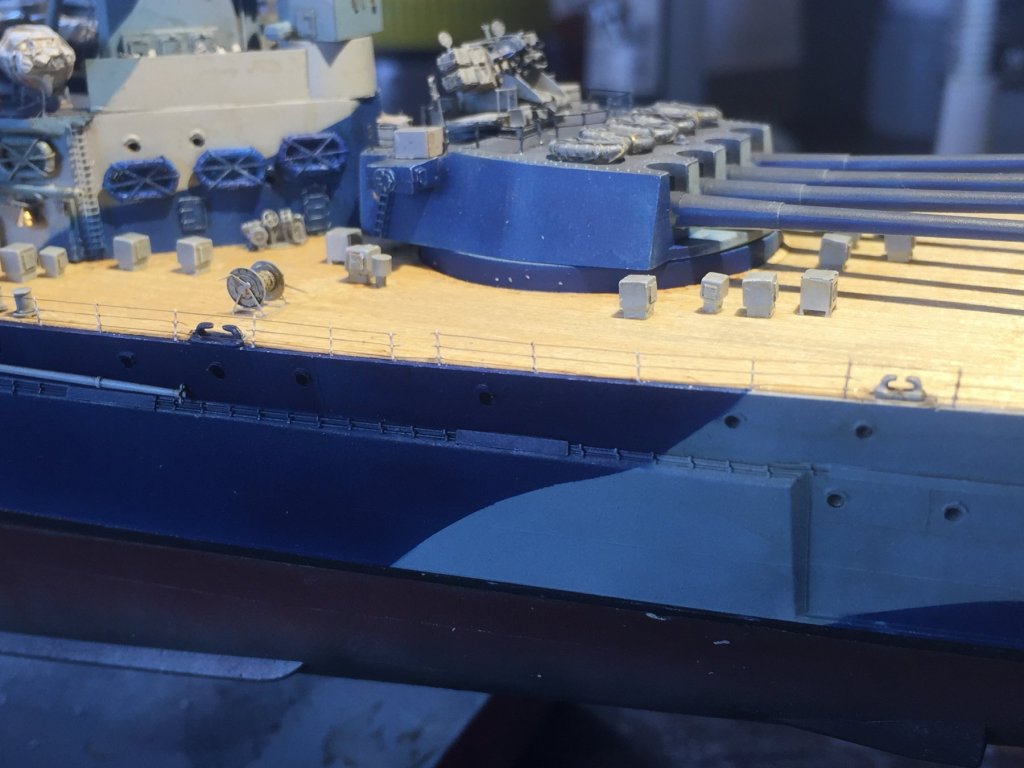
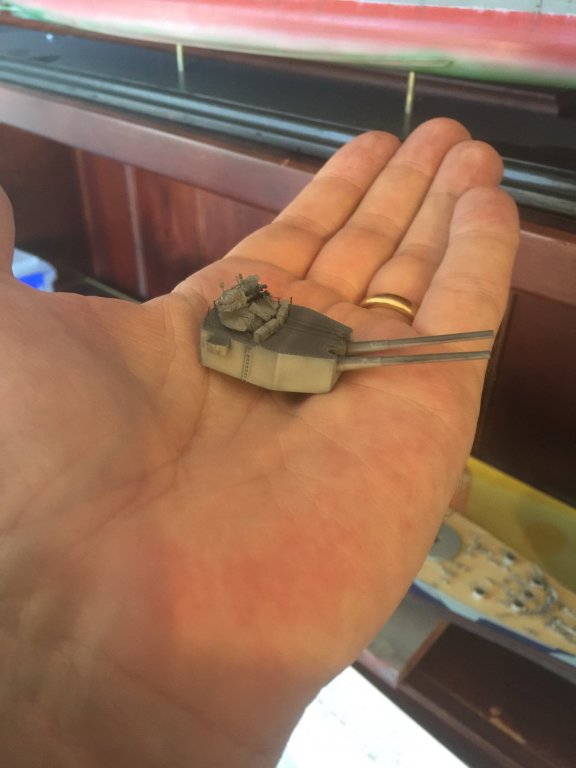
Nearly there! Ammo boxes, deck equipment, new chains to keep @Dubz happy! 34 individual 20mm guns. Plus a ship’s bell. The ships plane, railings (not looking forward to a week of rigging stanchions, davits; light weathering. Oh, and the screws. Starting to look like a warship.


- 405 replies
-
- 11
-
-
- tamiya
- king george v
- (and 2 more)
-
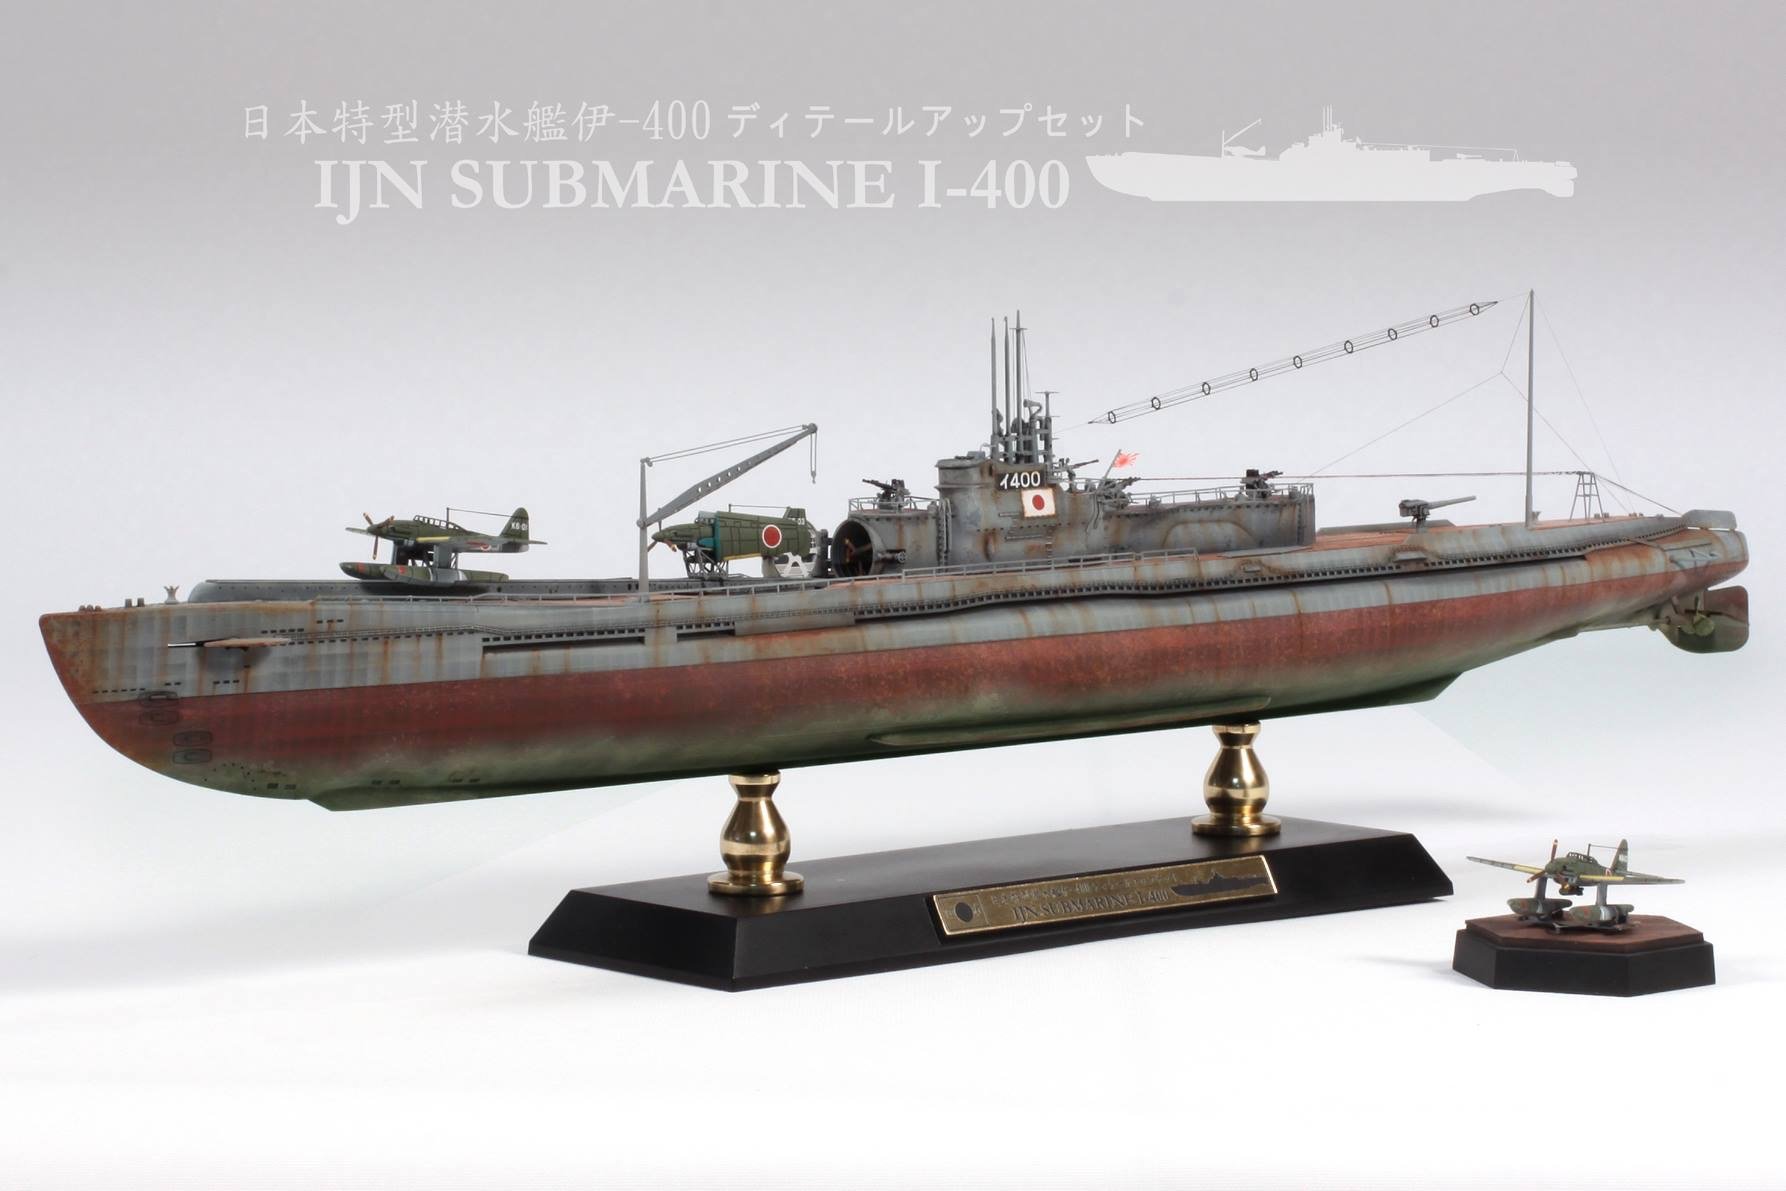
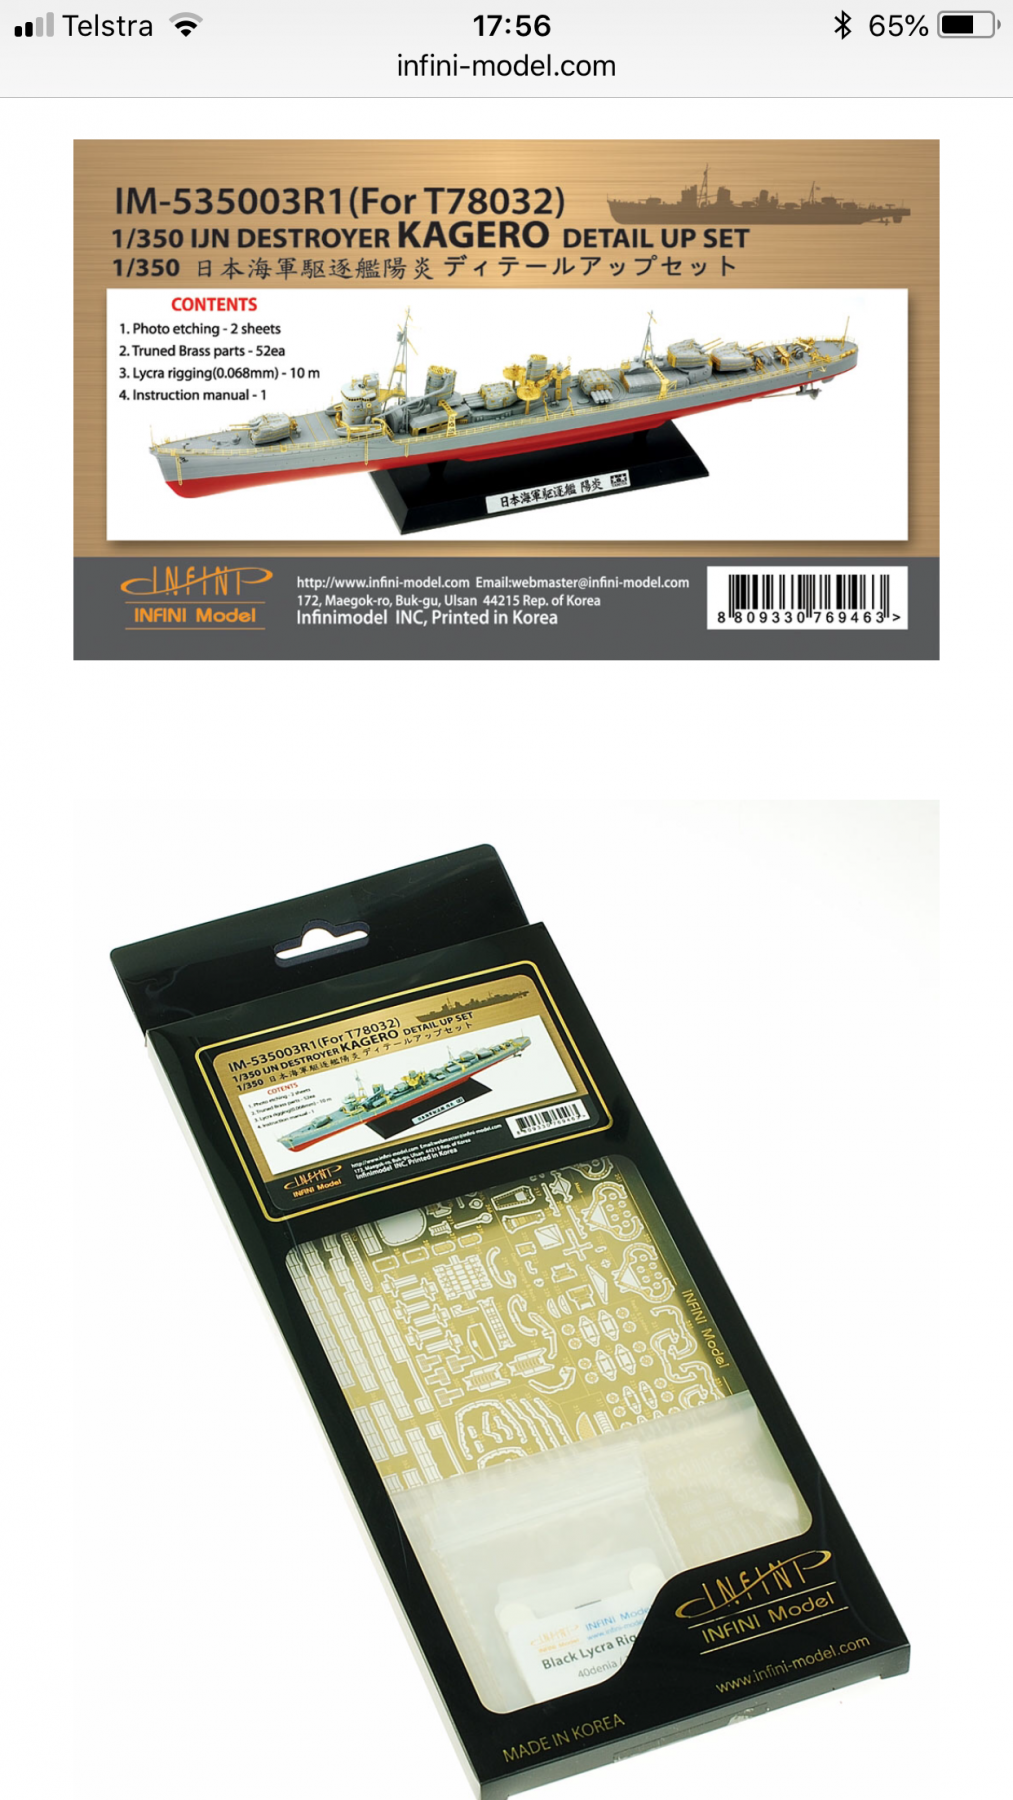
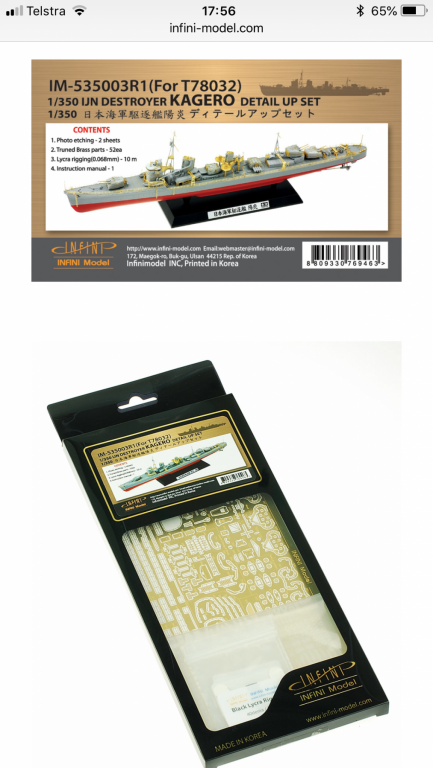
How about a jap destroyer Cog to go with your Yamato? If if I hadn’t done my triple Japanese set I’d probably do this. Now I’ve got a triple RN it means I have 2 more Germans to go after the Emden.
- 1,090 replies
-
- 5
-
-
- showcase models
- vendetta
- (and 2 more)
-
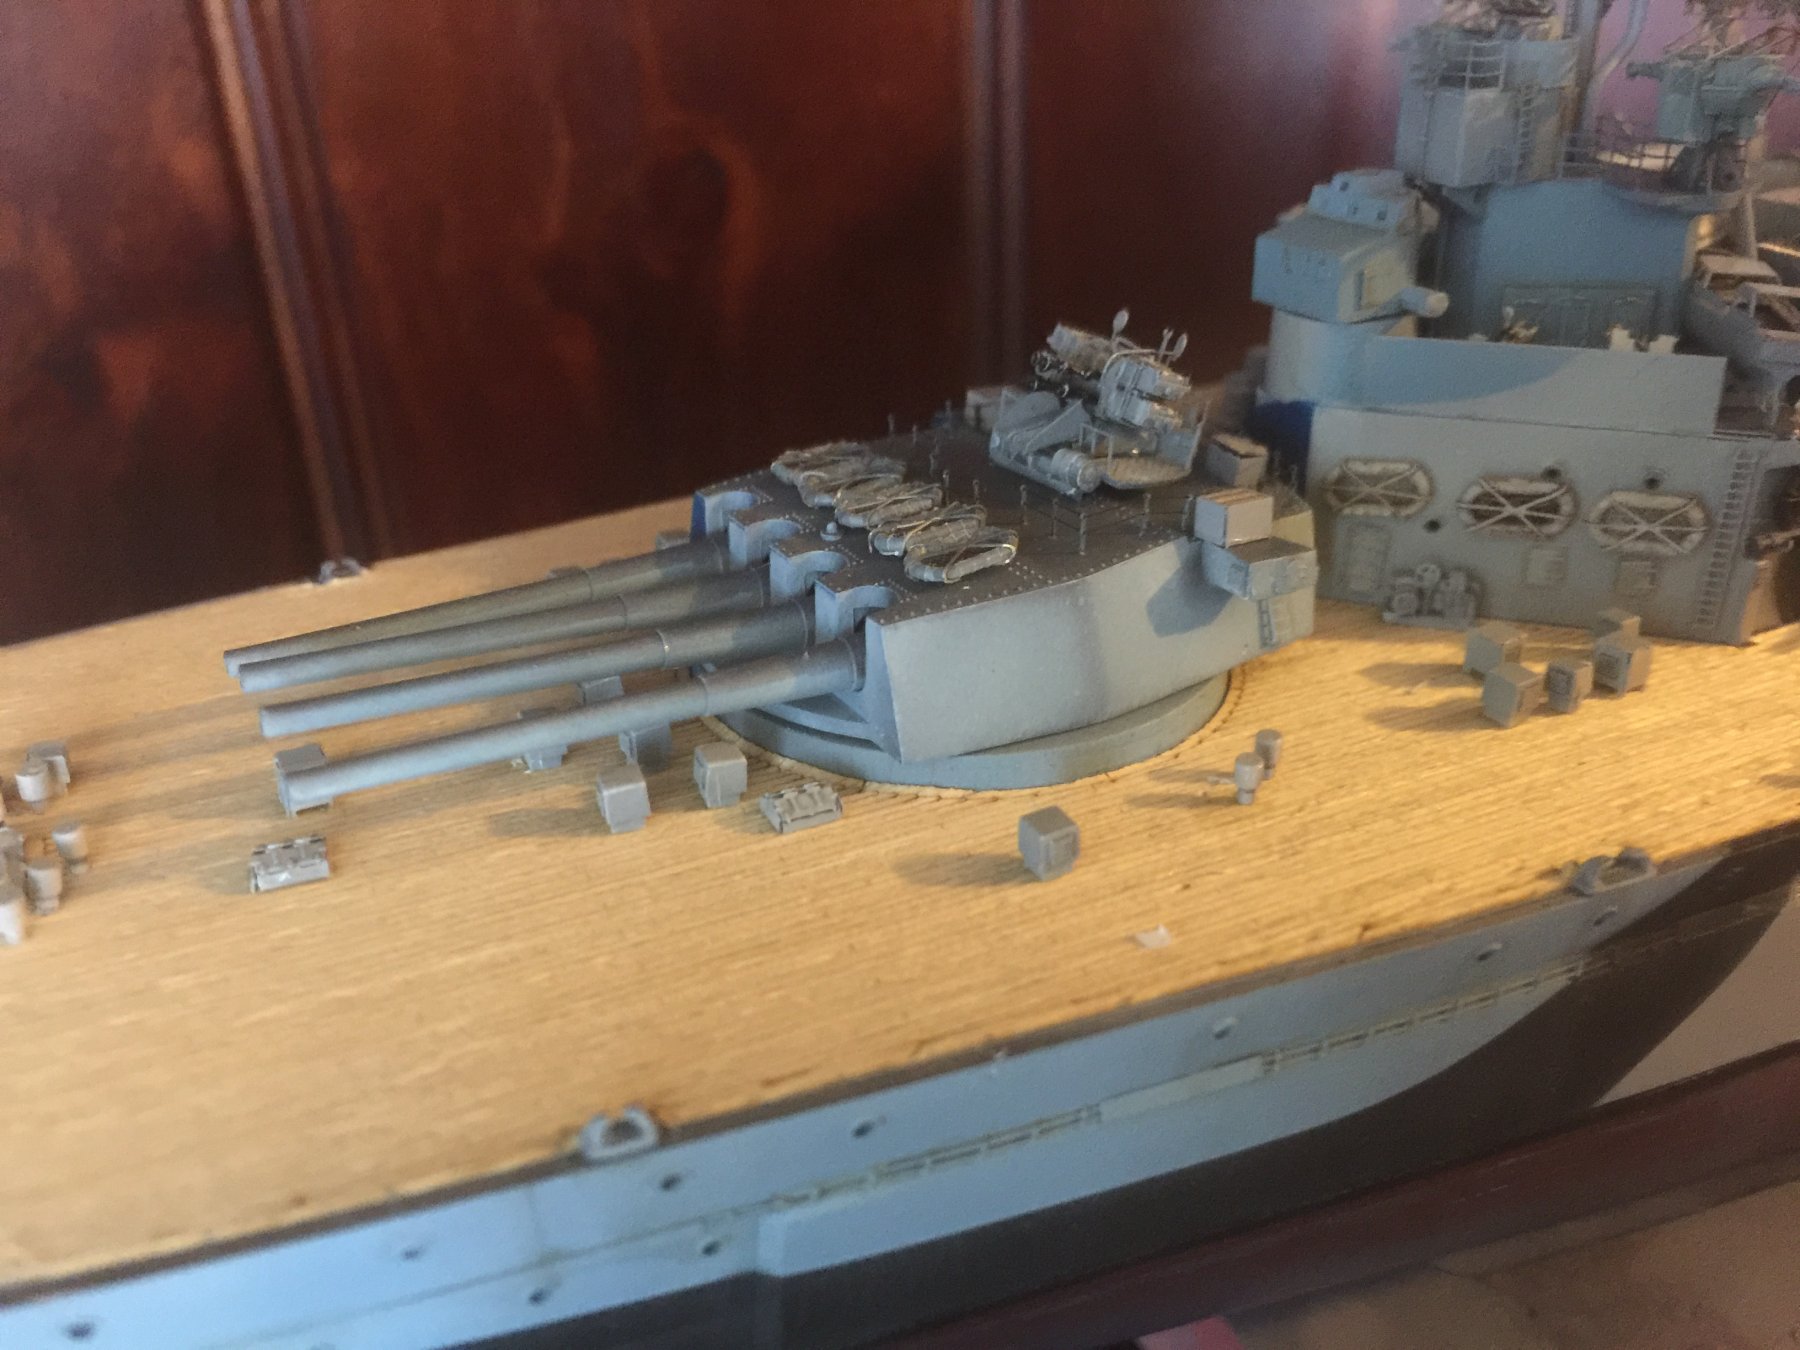
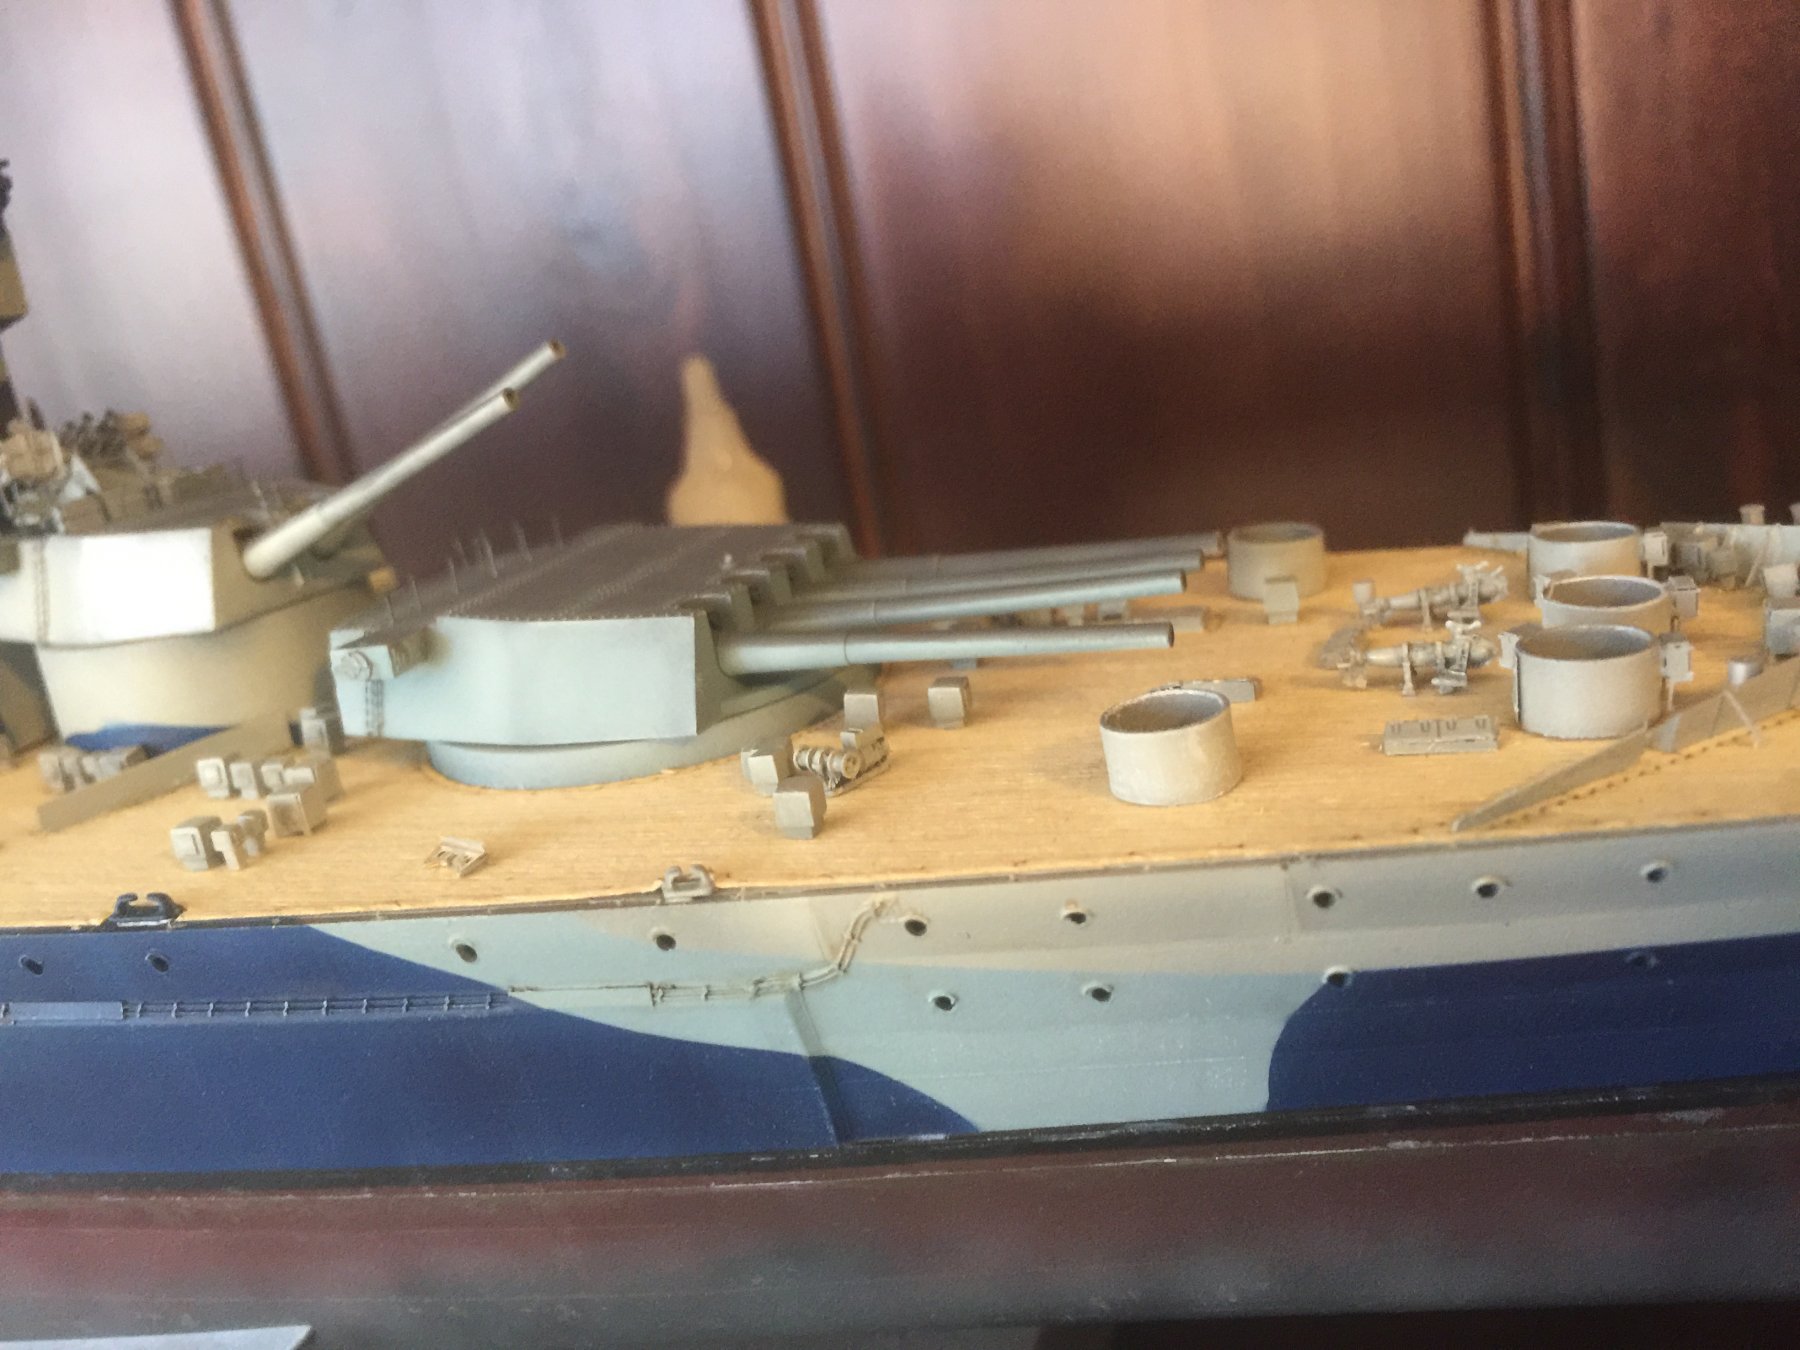
Thanks for the likes. @Dubz I have painted up another chain which I will try before doing up the railings which will be one of the last steps. The main guns, a bit of dry brushing, add handrails and a Pom Pom

- 405 replies
-
- 12
-
-
- tamiya
- king george v
- (and 2 more)
-
Seriously I can hardly see it and I spent 2 days masking.
- 405 replies
-
- 4
-
-
- tamiya
- king george v
- (and 2 more)
-
Dirk, I think it's borderline? I bought the kit dirt cheap, and it came with a Artwox wooden deck and chain (The deck is incorrect so I did not use it) but the chain is far more accurate than what Pontos gave. It may be 1/4 too big but better than getting a North star individual linked chain and taking a full week to make it up. Damn, this is going to nag me now. Jan you can't see it but I did manage a triple layer. Too much like hard work for mine.
- 405 replies
-
- 7
-
-
- tamiya
- king george v
- (and 2 more)