RGL
-
Posts
5,539 -
Joined
-
Last visited
Content Type
Profiles
Forums
Gallery
Events
Everything posted by RGL
-
 Yes, if you mess up just use a cigarette lighter to burn it off and start again
- 77 replies
-
- 3
-

-
- icm models
- Markgraf
- (and 1 more)
-
Heeeee’s Back!!!
-
Nice choice. Barrels are never too small to drill out, just need the right tools.
- 77 replies
-
- 4
-
-
- icm models
- Markgraf
- (and 1 more)
-
The thing I love about the Tamiya rattle can primer is the way it sticks to PE, and I’m yet to find any primer through an airbrush as good. Pontos is an adventure in sanity at times in regards to instructions. It’s like they do section by section but never reason how to put it all together
-
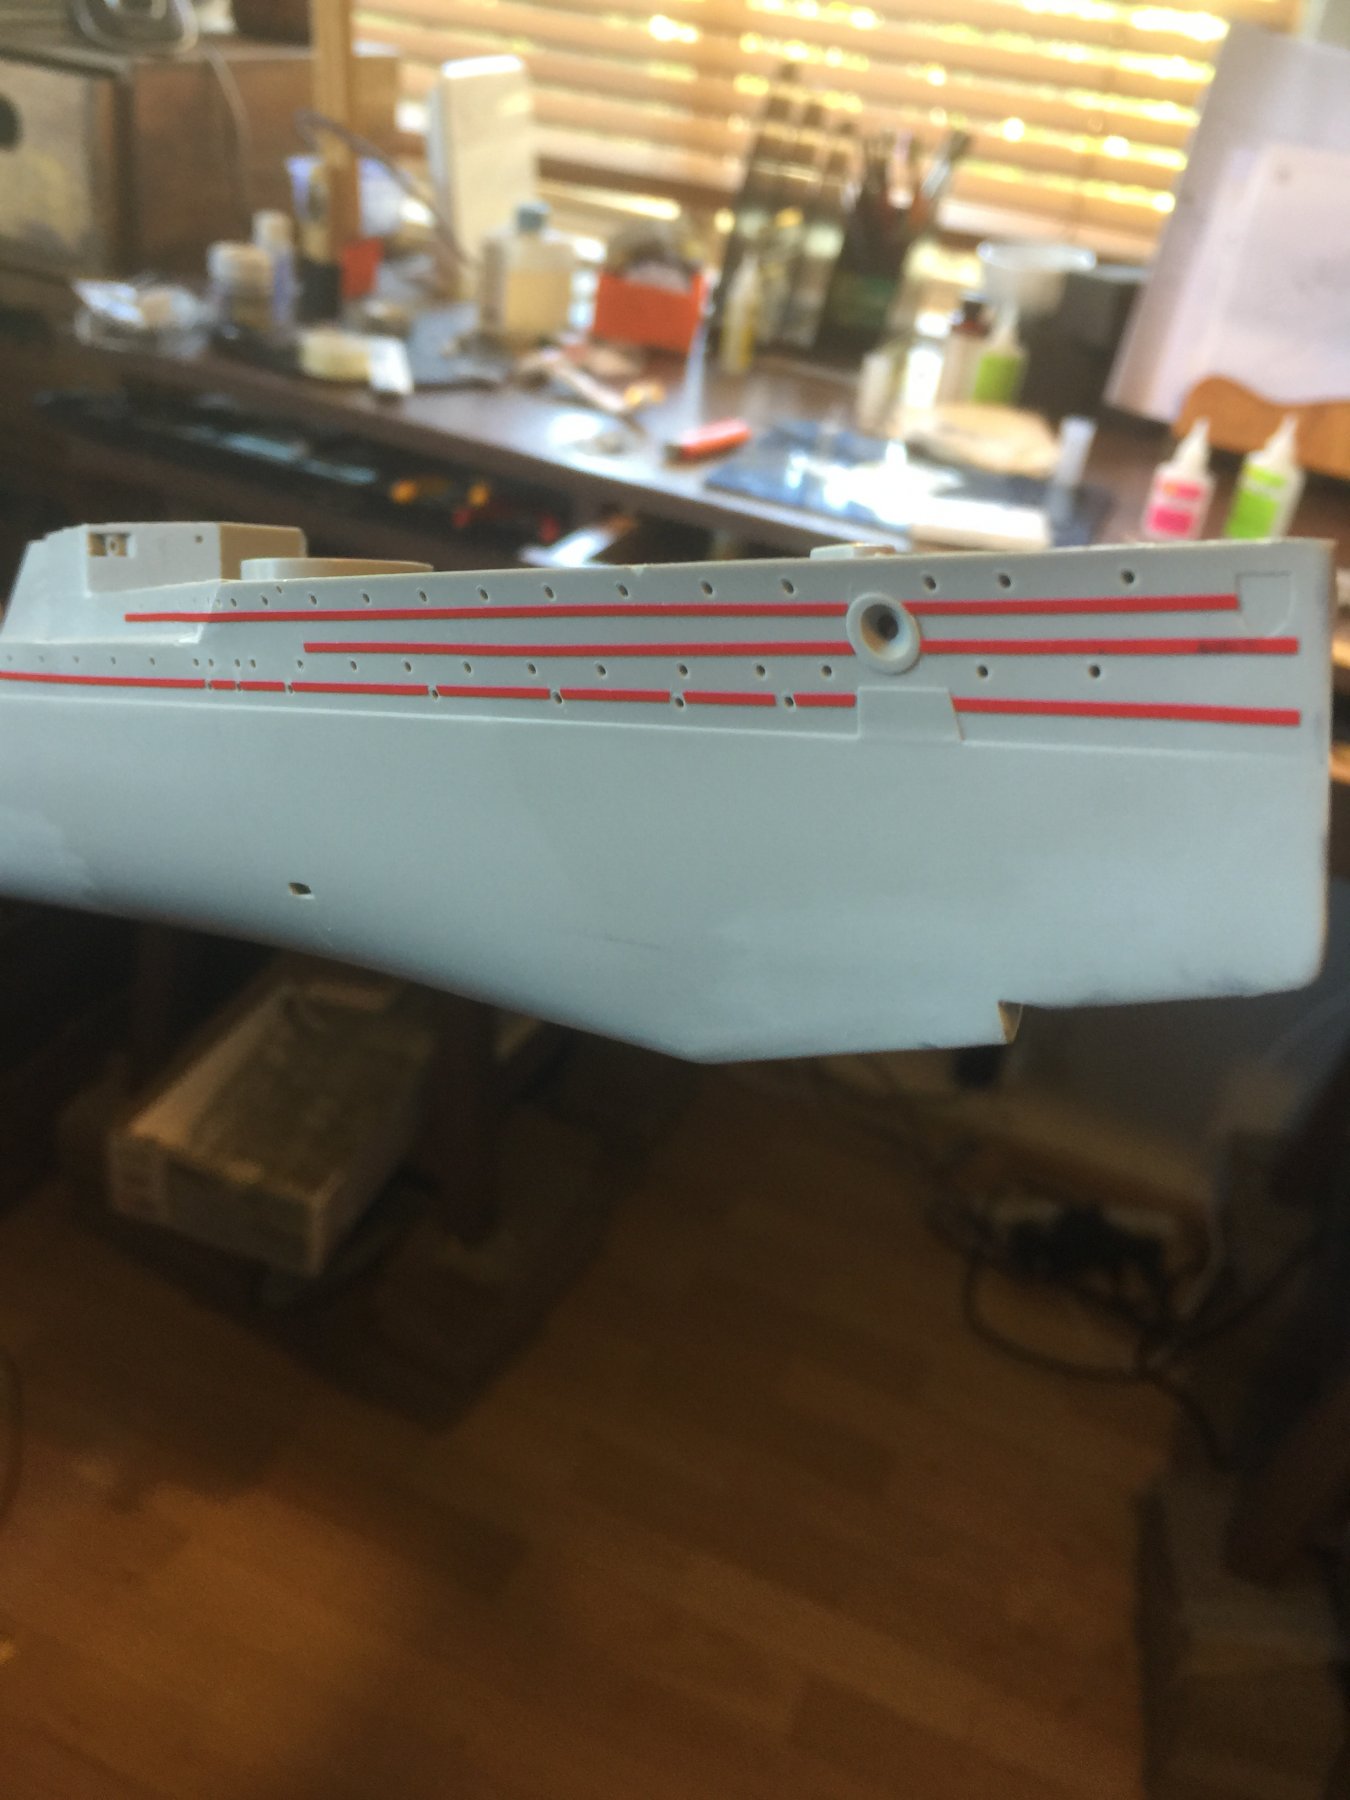
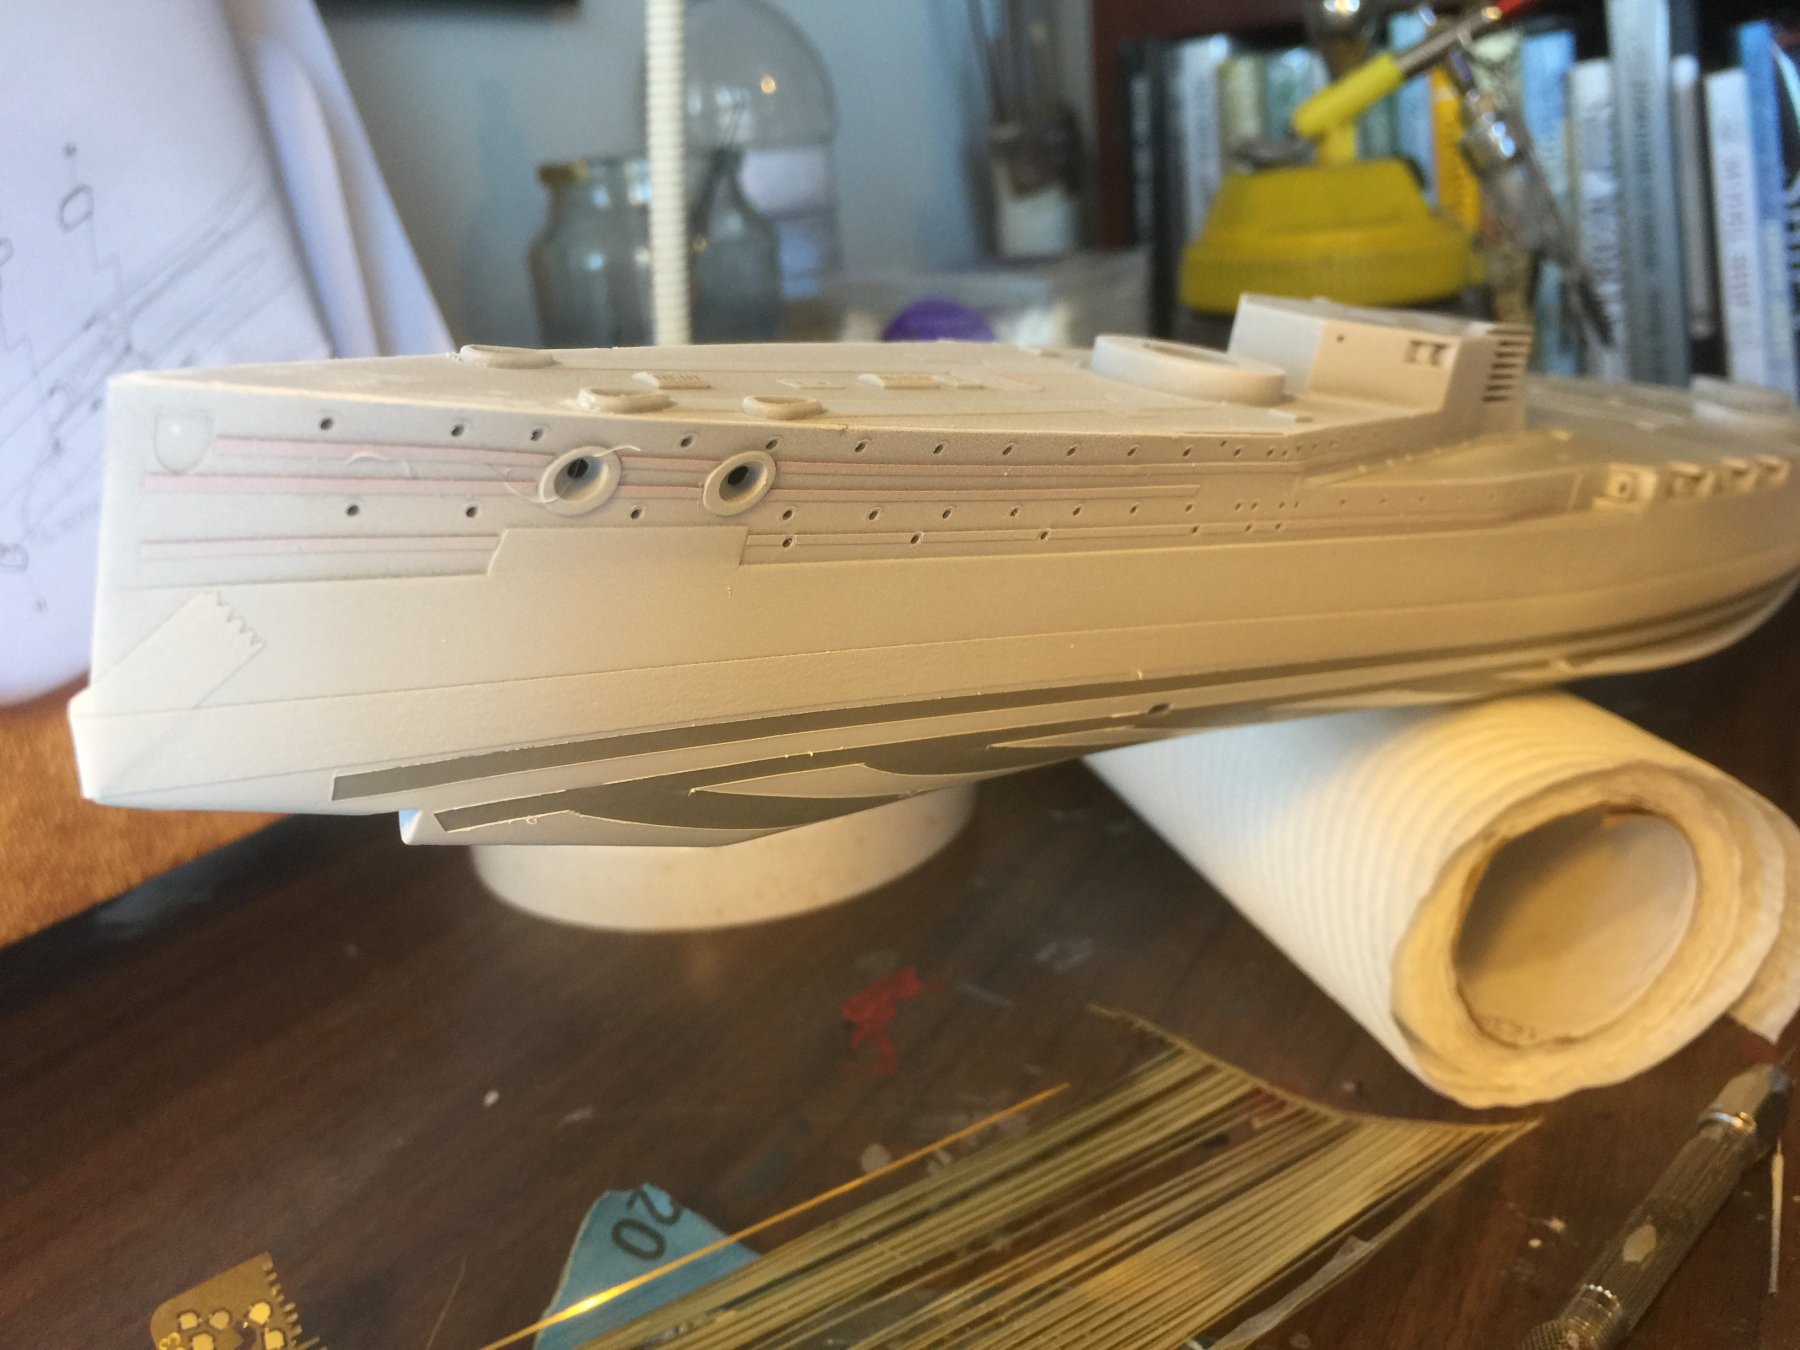
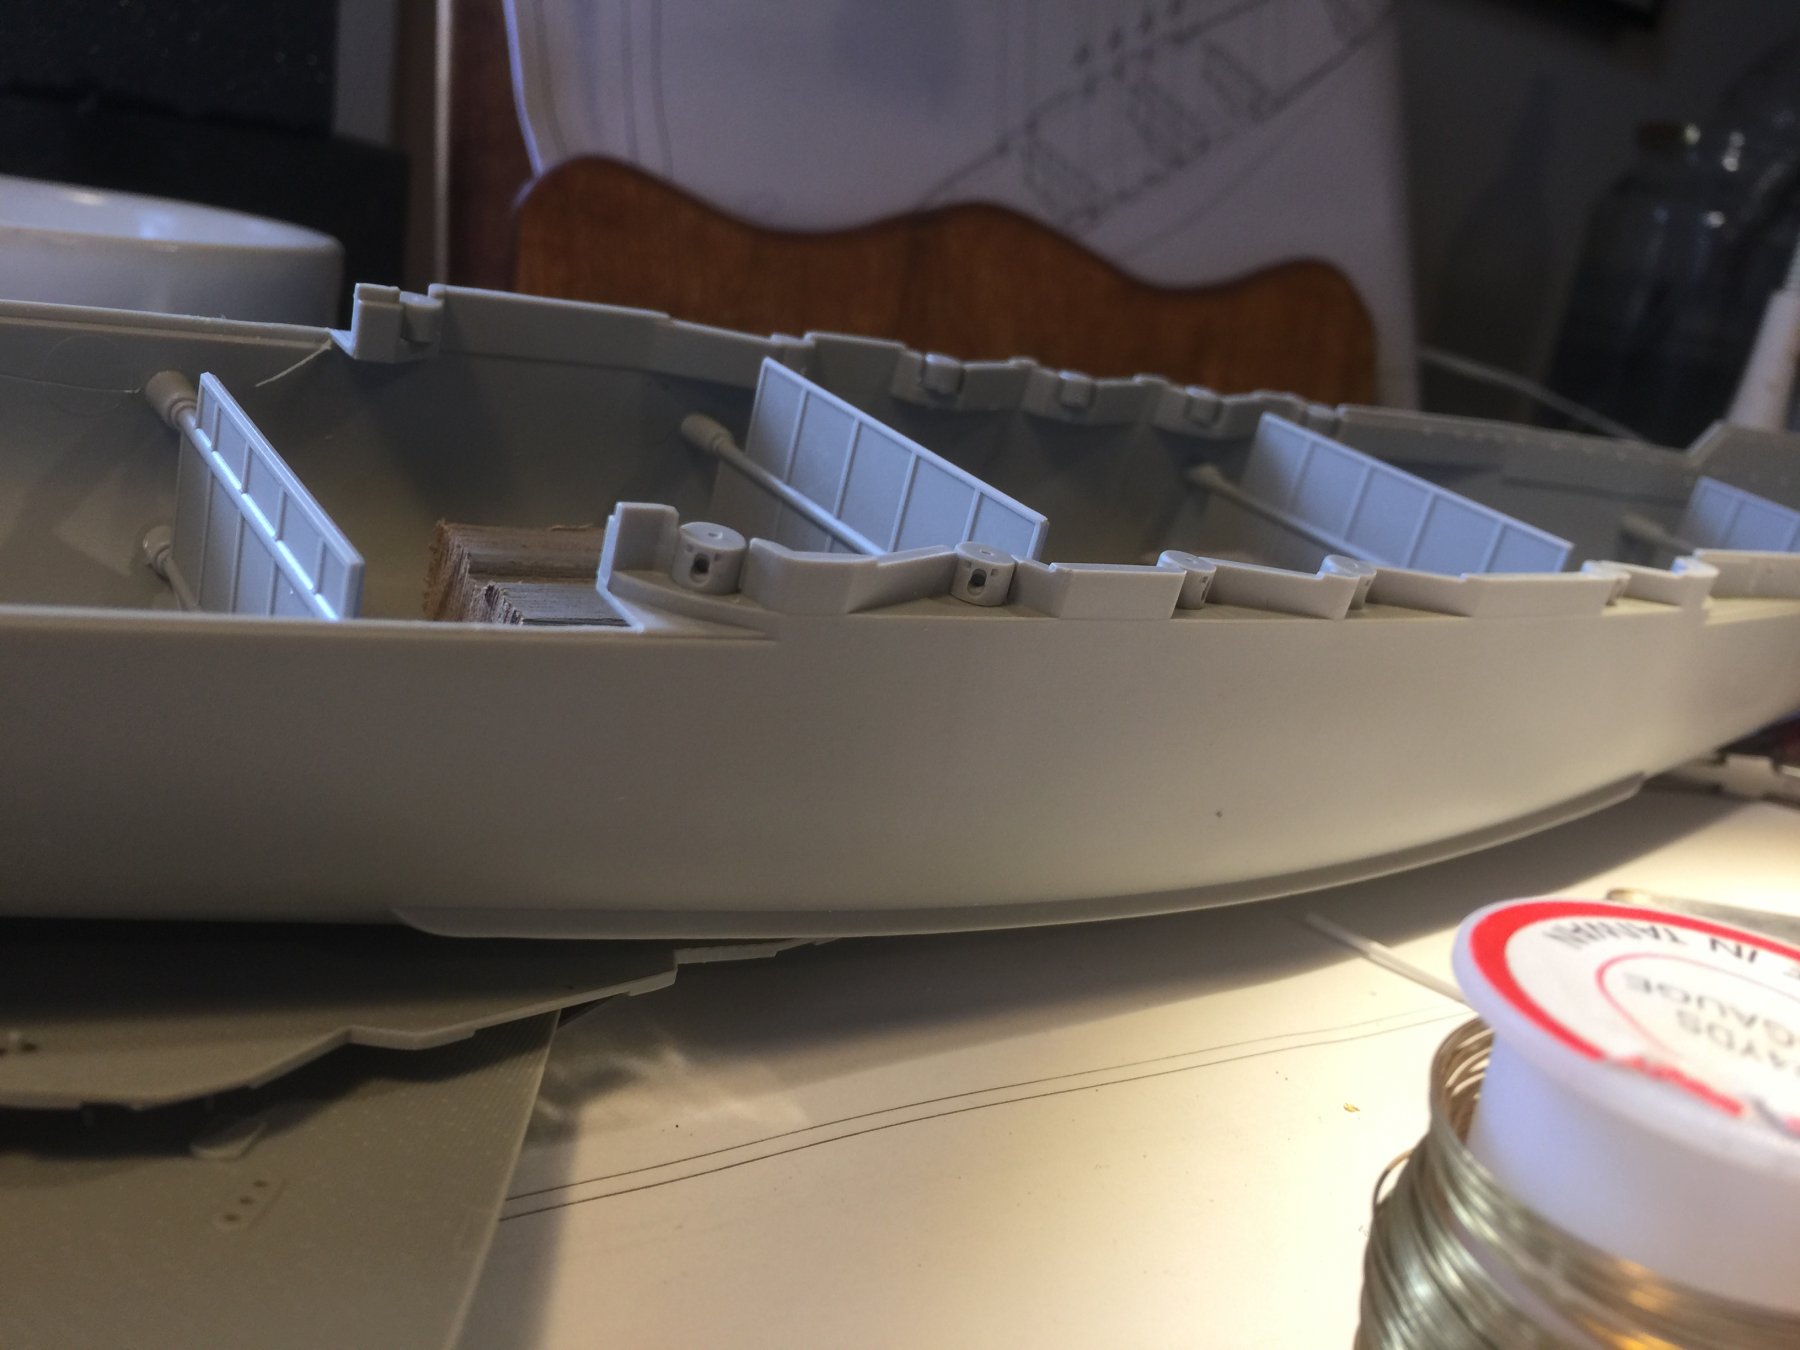
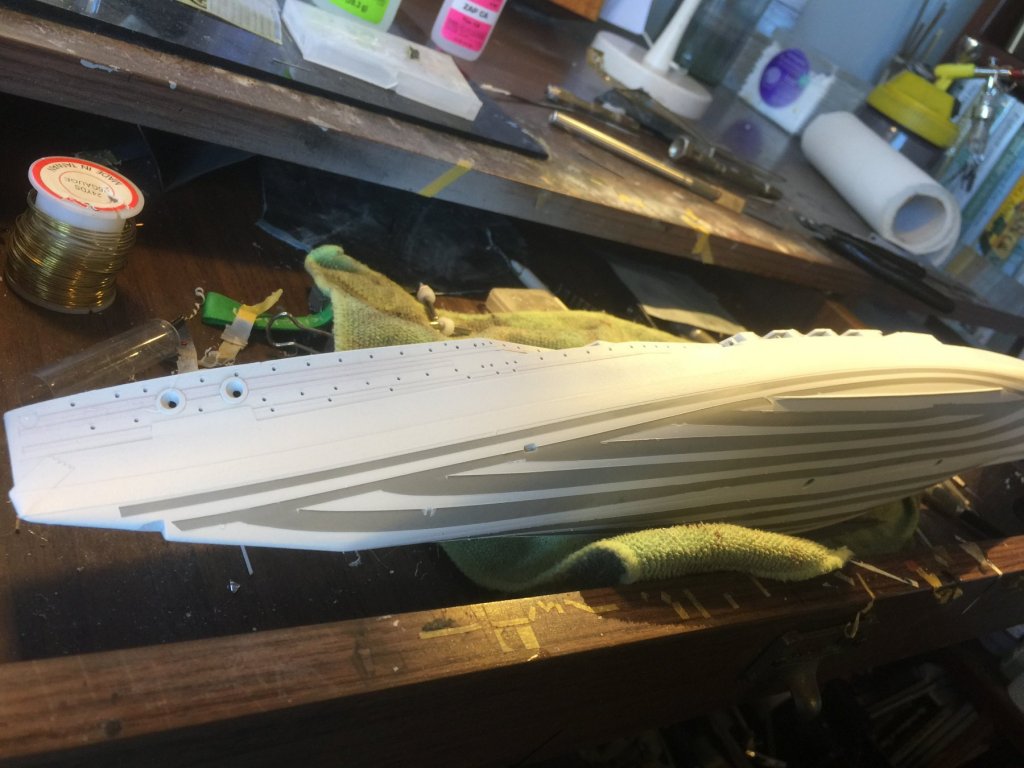
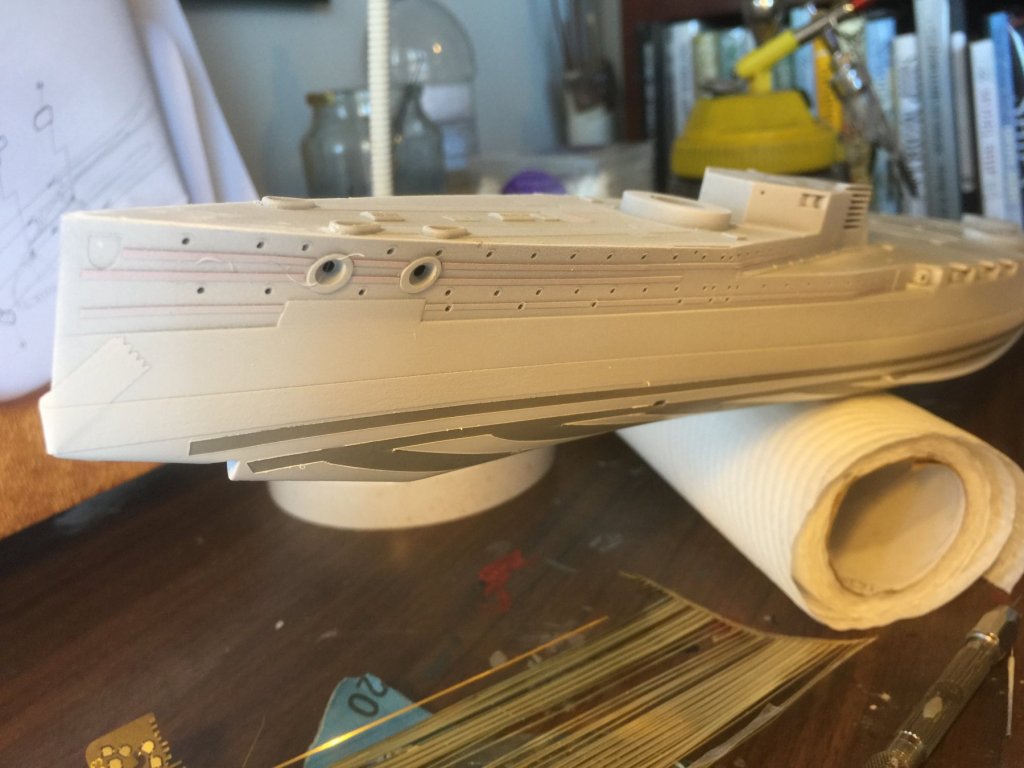
There is nothing below the waterline when it comes to details. There is also no strakes along the bow which are on the real thing. So some marskung and some very thin tape soles that quickly. I need to get some more rattle can spray to finish coverage on the Lower hull, then I can scribe in some panels. I also added some riveted panels to the rudders and above the cannons that run along the edge of the hull.

- 540 replies
-
- 11
-
-
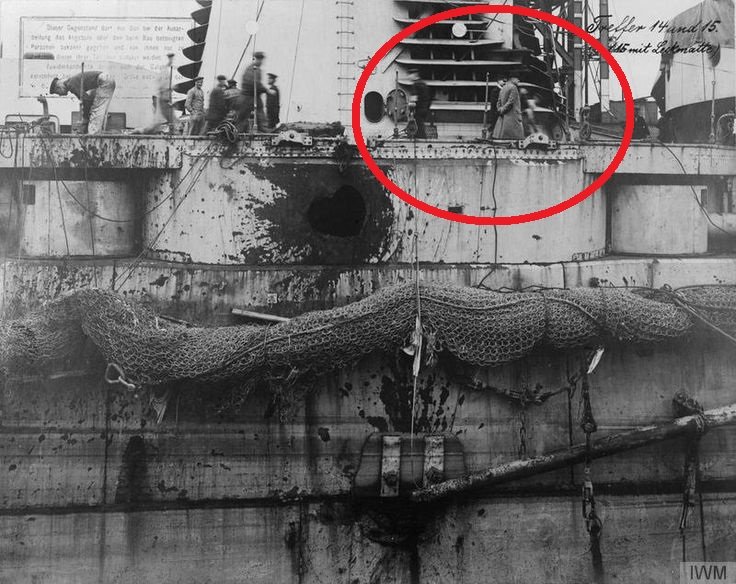
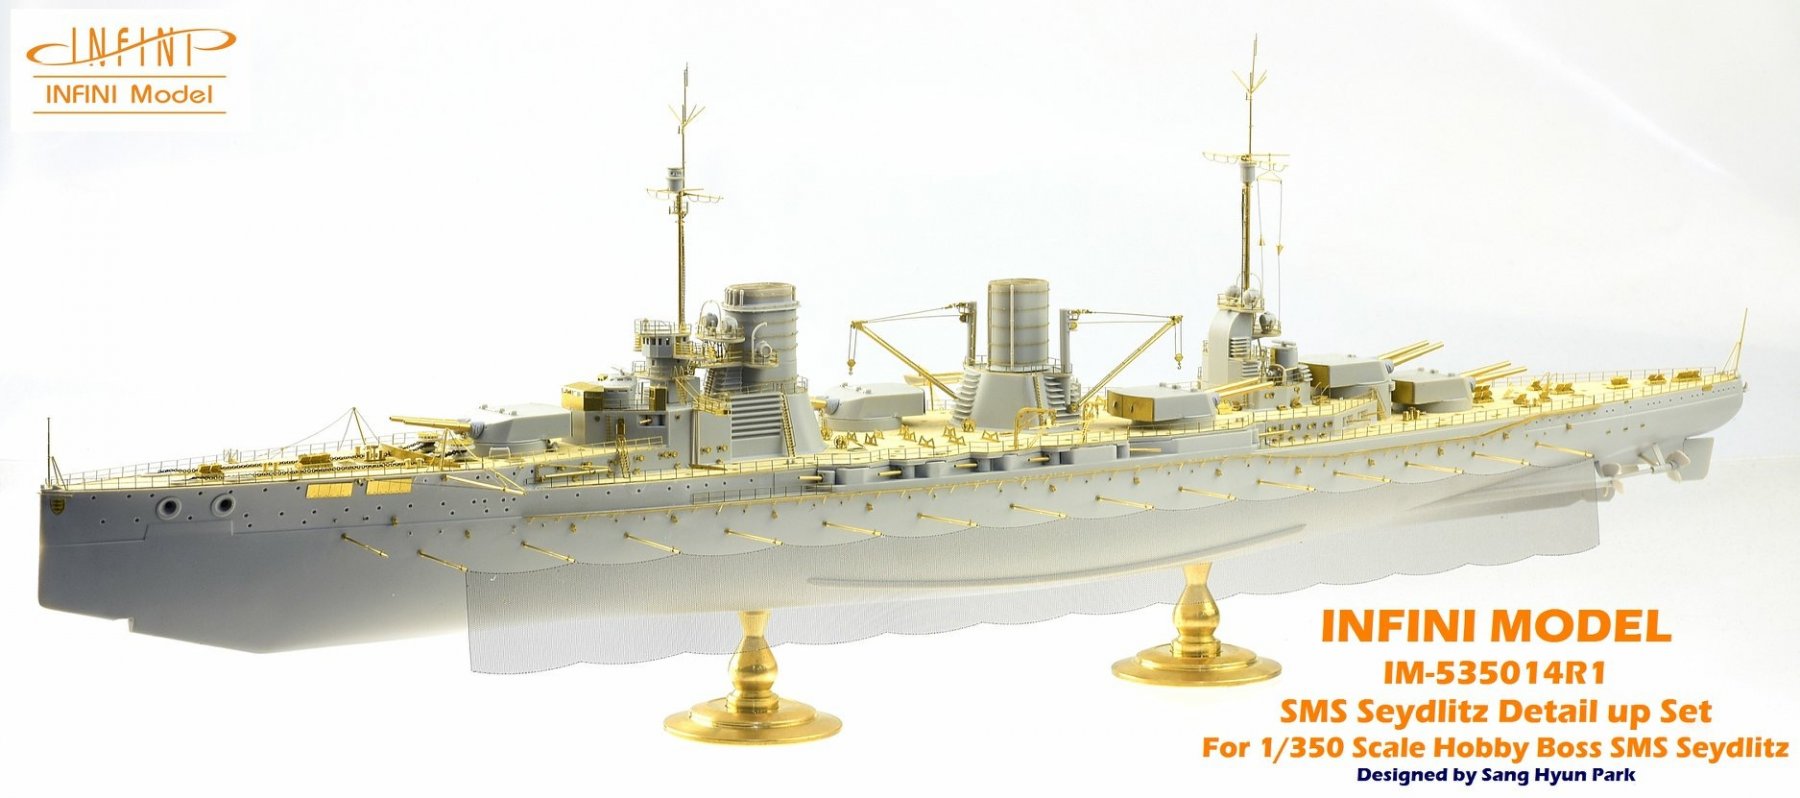
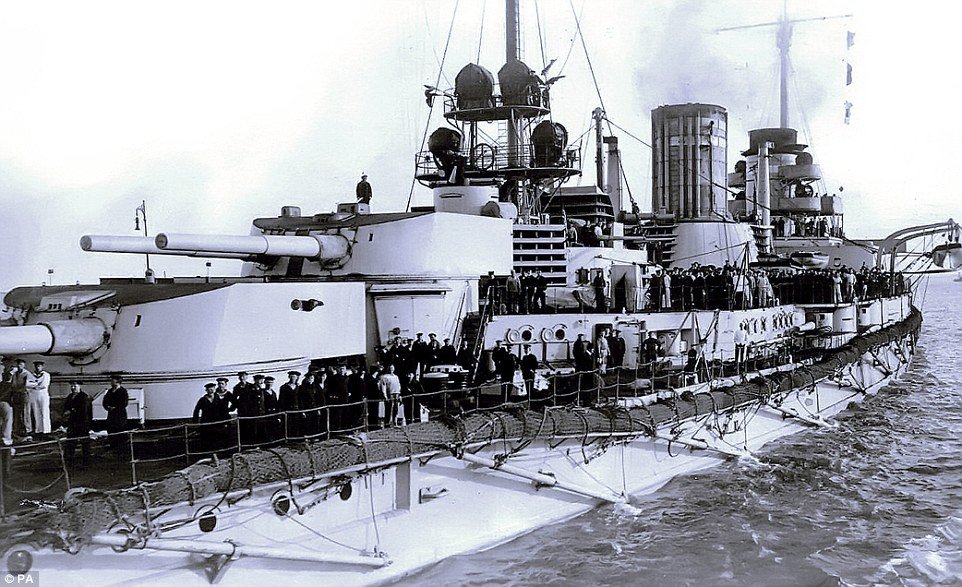
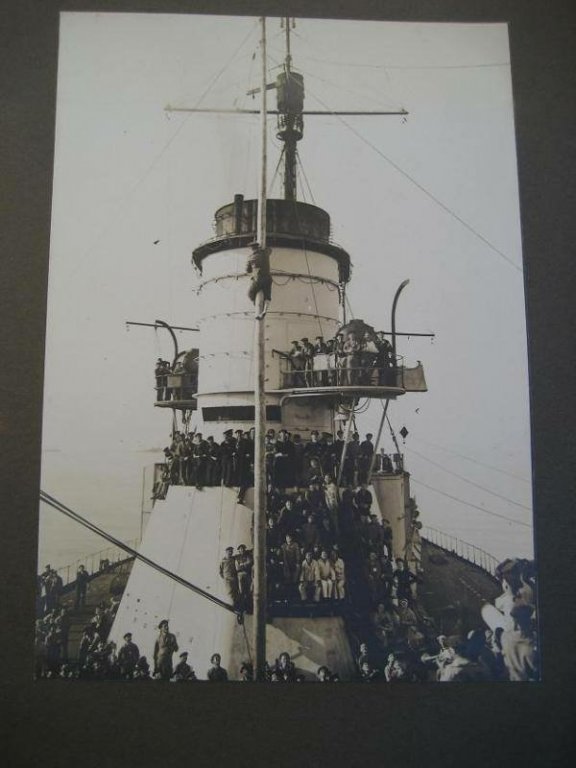
This is a good photo of the fore funnel (facing the bow), in particular you can see the ship’s bell underneath the spotlight, on the port side you can just make out the flybridge that has been folded down.
-
They used to be able to hit each other over 12 kilometres just using optics too! At anchor with the nets deployed they would also drag anchor As the tide was turning. They could operate at about 6kts with the nets down but would use a prodigious amount of coal.
-
I love the Tamiya steel as it just falls off when bent. Luckily the Seydlitz only has 2 rails
-
Only cut the tops, then paint with Tamiya rattle can fine primer as it sticks really well. Then you just push them off the fret and don’t lose paint.
-
Well done mate, it is pure agony doing those holes, and the continuous snapping of drill bits
-
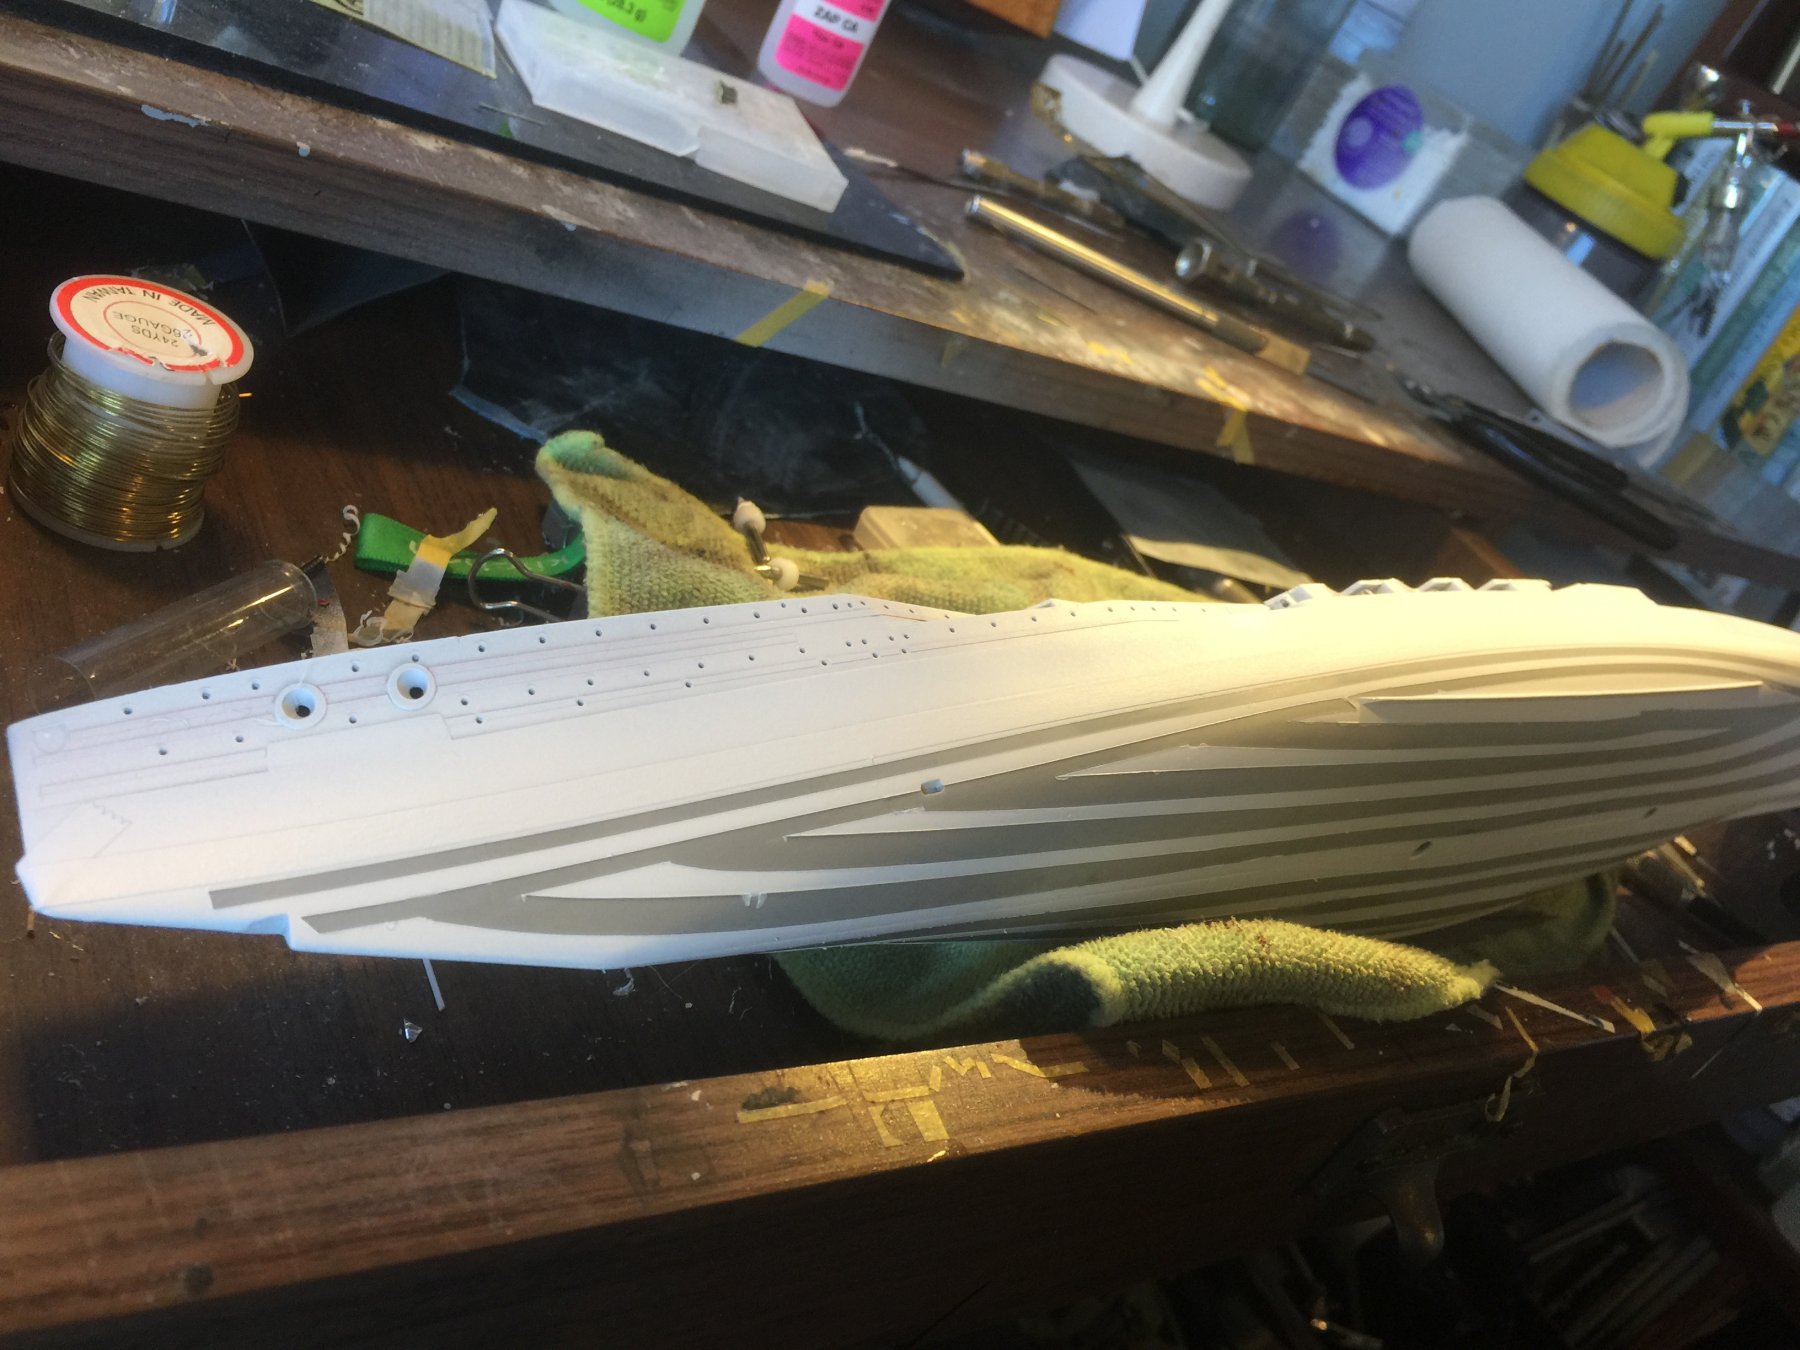
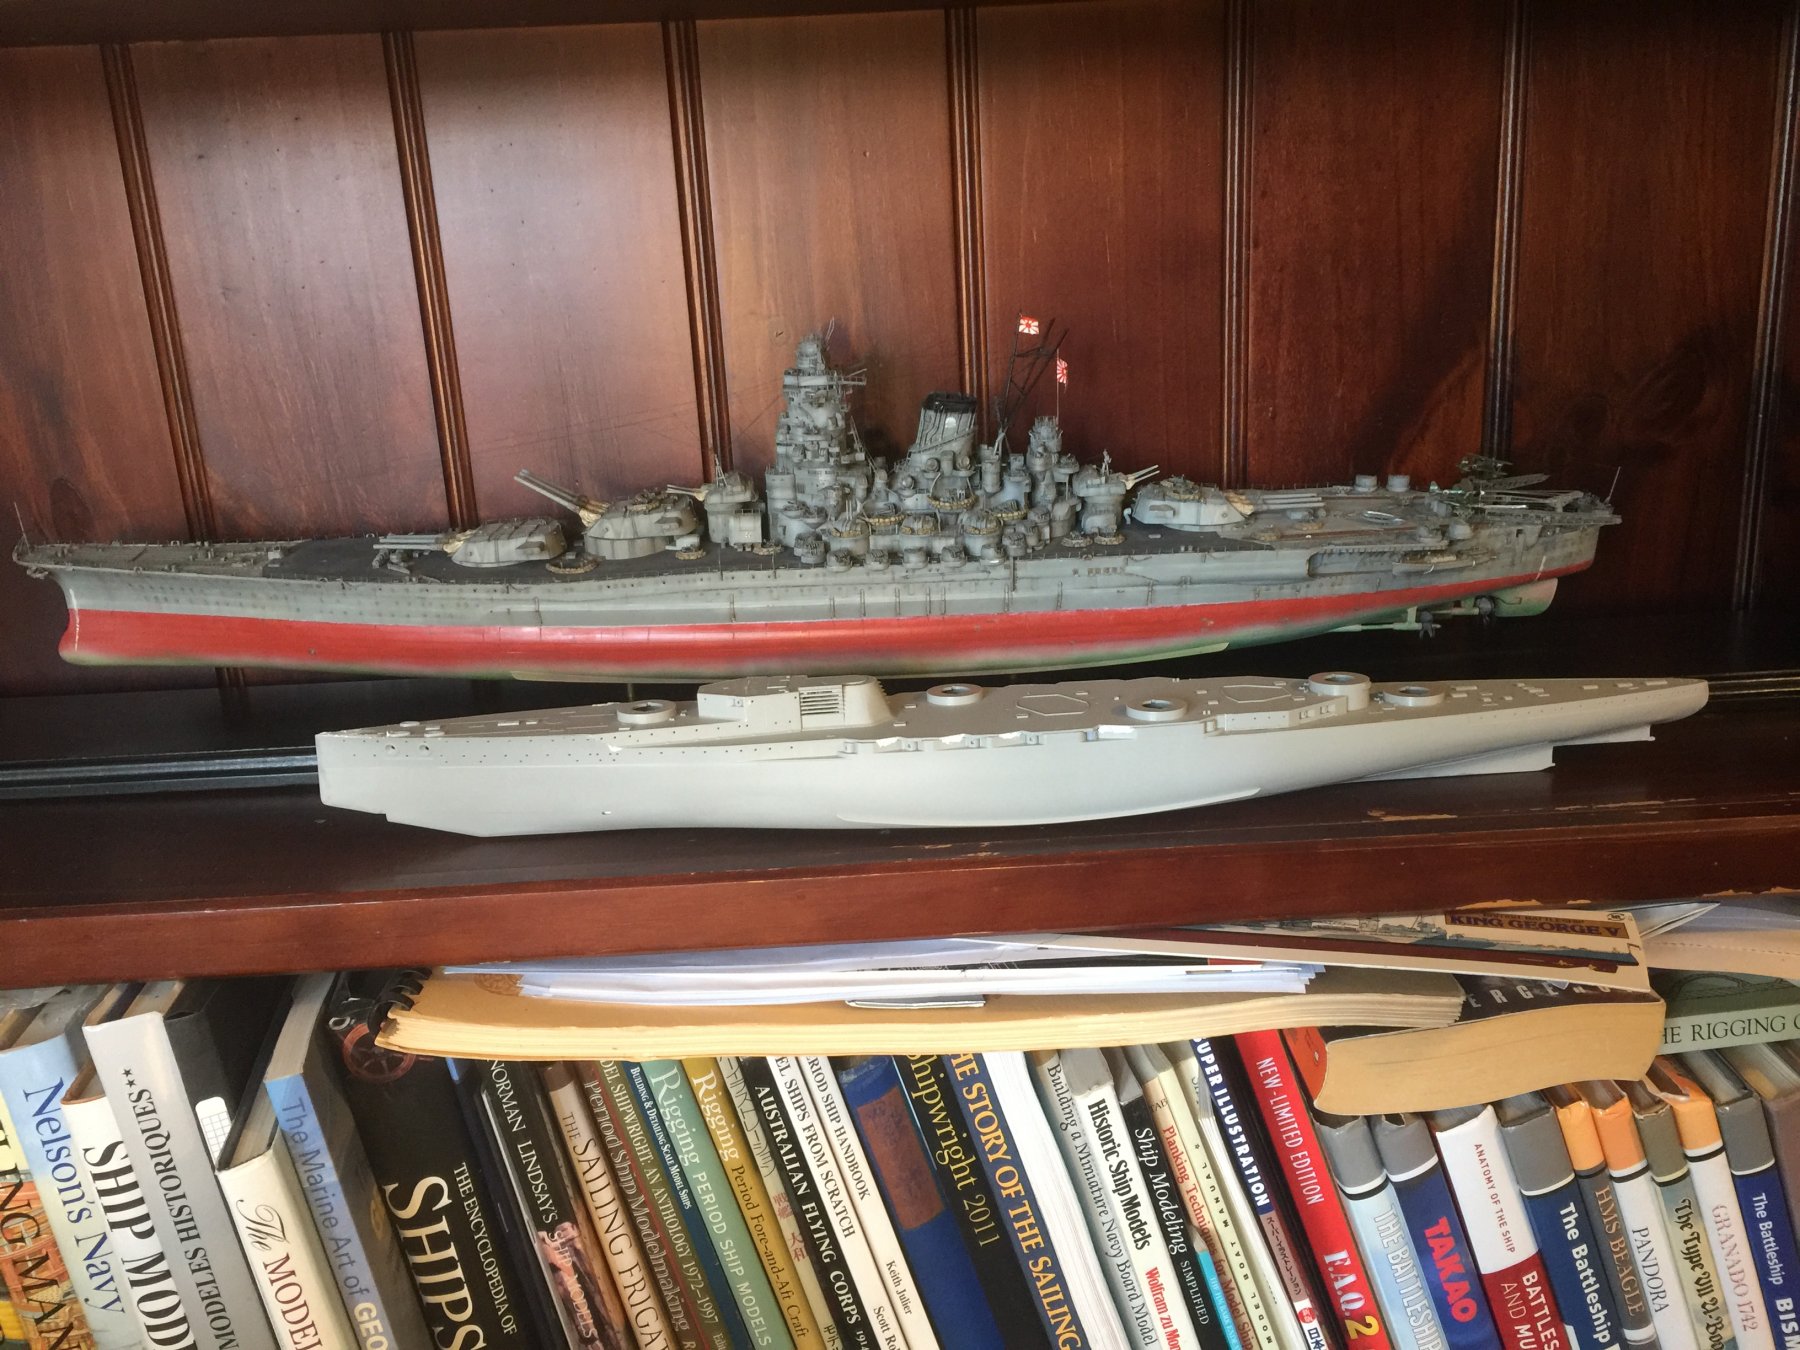
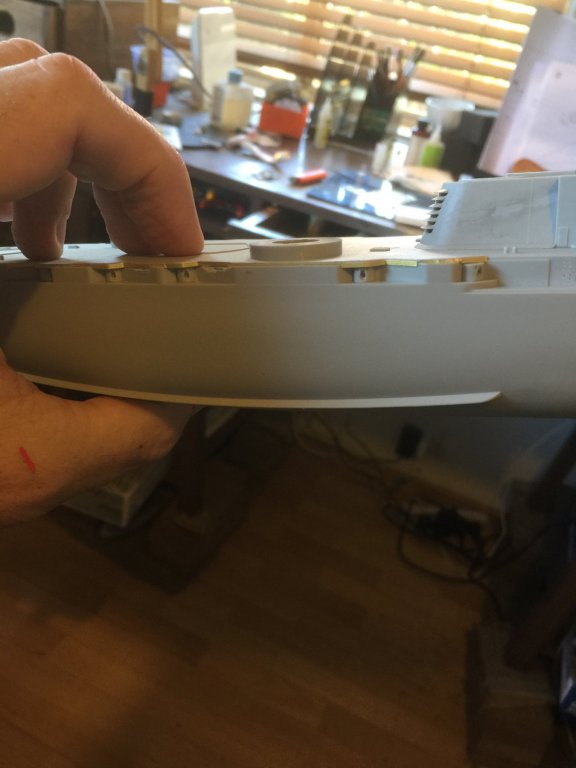
Hull together. It’s quite a big ship, the centre deck piece has a very hard time sitting flush as the side cannons throw off the balance and there are a few gaps which seem unavoidable and will require filling.

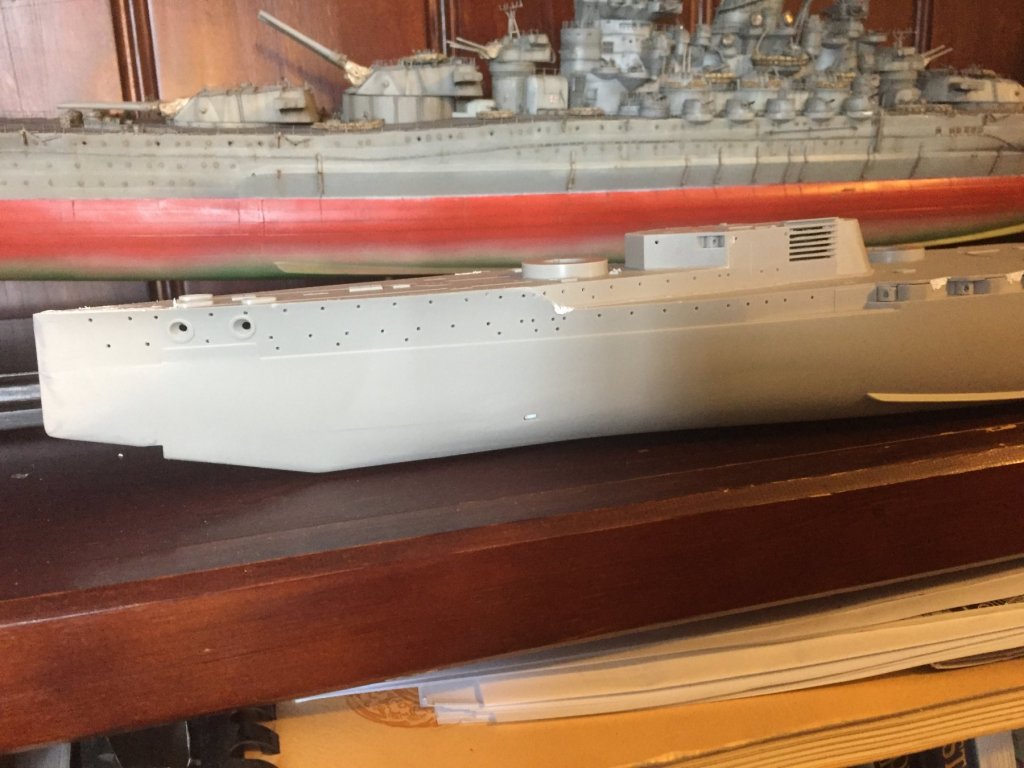
- 540 replies
-
- 11
-
-
As far as I know they were compressed air, and only good for a kilometre or so, thus knife fight range.
-
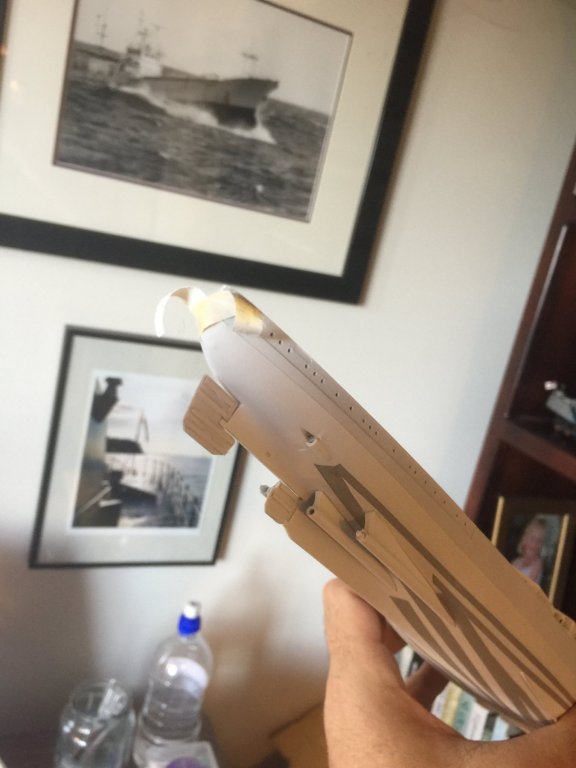
The side turrets have to be added before the deck is stuck on, the barrels can be added after

- 540 replies
-
- 10
-
-
Now, just for @Canute and @cog I now see there is a lot of prep to do. The the rear torpedo tube


-
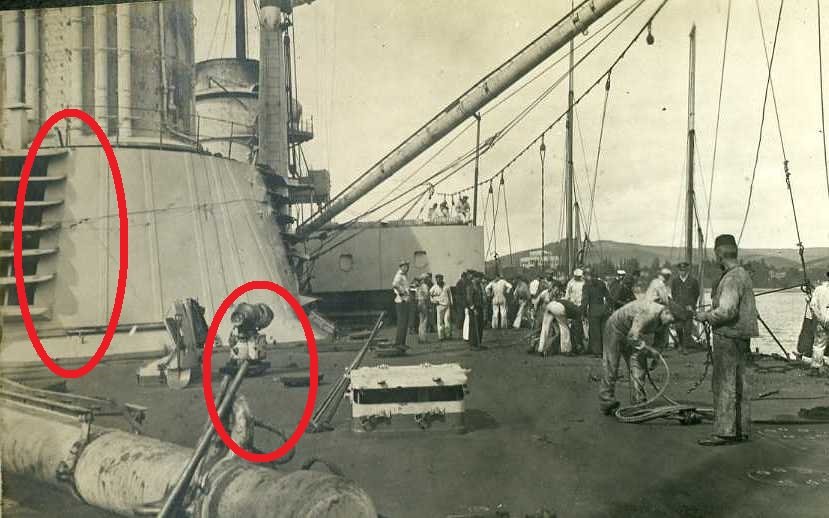
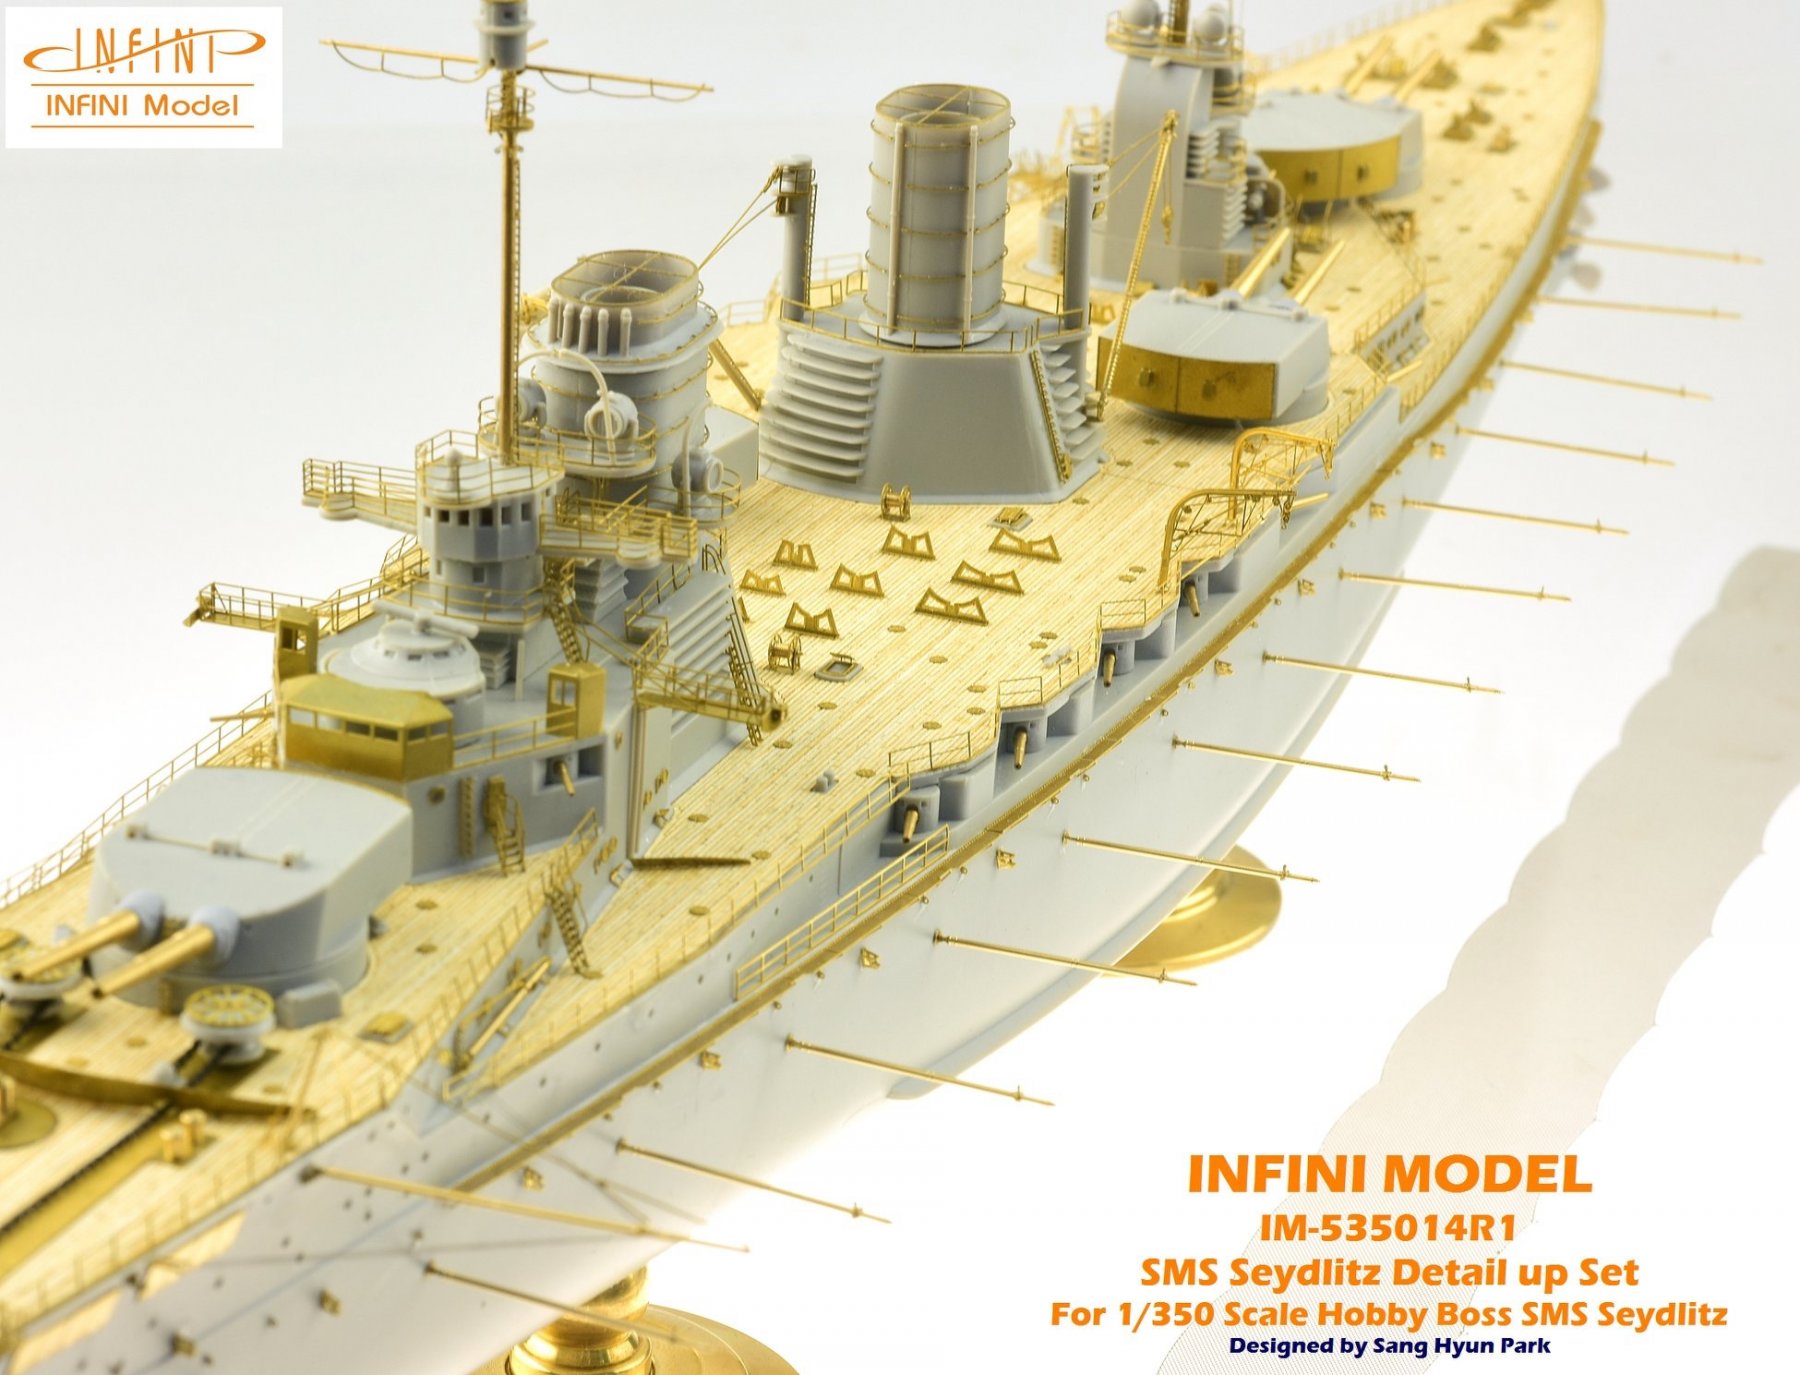
These two show the grilles up a bit better. you can also see a coaling winch. The rope here slung by the cranes are for coaling and appear to always stay on the deck.