RGL
-
Posts
5,539 -
Joined
-
Last visited
Content Type
Profiles
Forums
Gallery
Events
Everything posted by RGL
-
 Glad you’re back. I love the deck, but for some reason my last deck was ever so slightly uneven as well whehich makes it difficult when you drill the stanchion holes. If I can suggest, Eduard 1/350 German railing stanchions are actually 1/200, are perfect for you build AND have real chain (ish). They would be perfect for this build. Trust me on the scale I measured it. Greg
 -
I seriously never want to see one again. For some reason it didn’t like CA (I think it’s gone off), V1 got knocked off the desk by (I suspect) the wife turning off a lamp, smashed to bits, V2 would just not stick and V3 is barely satisfactory. The Pontos set does not include ships habits and the kit ones are horrible. I had some spare from my Dreadnought build but need a lot more, $6 worth of davits hopefully arriving tomorrow to finish this build.
- 405 replies
-
- 5
-

-
- tamiya
- king george v
- (and 2 more)
-
It took me 3 goes, hard clear plastic is horrible to work on.
- 405 replies
-
- 11
-
-
- tamiya
- king george v
- (and 2 more)
-
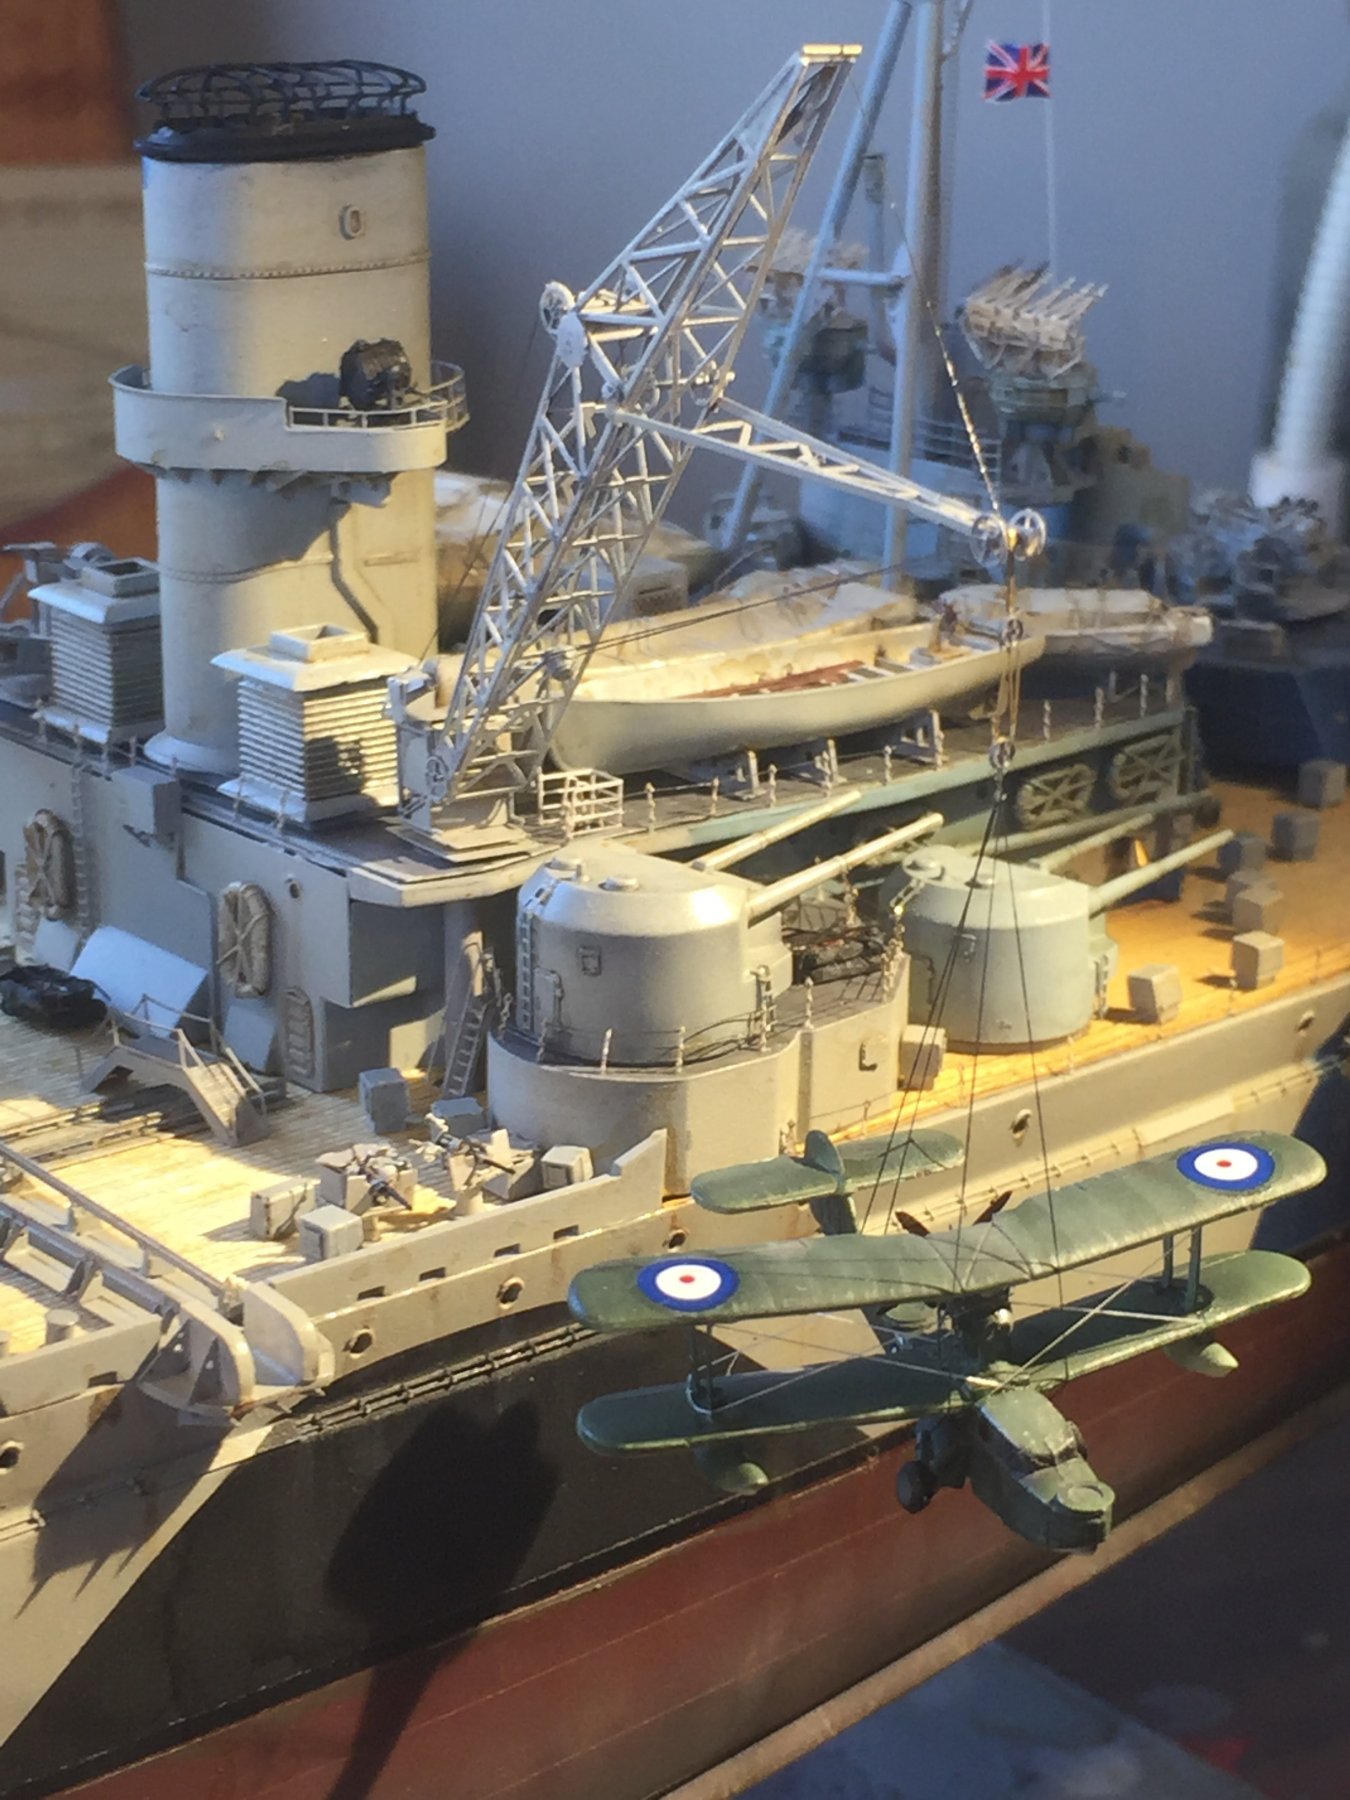
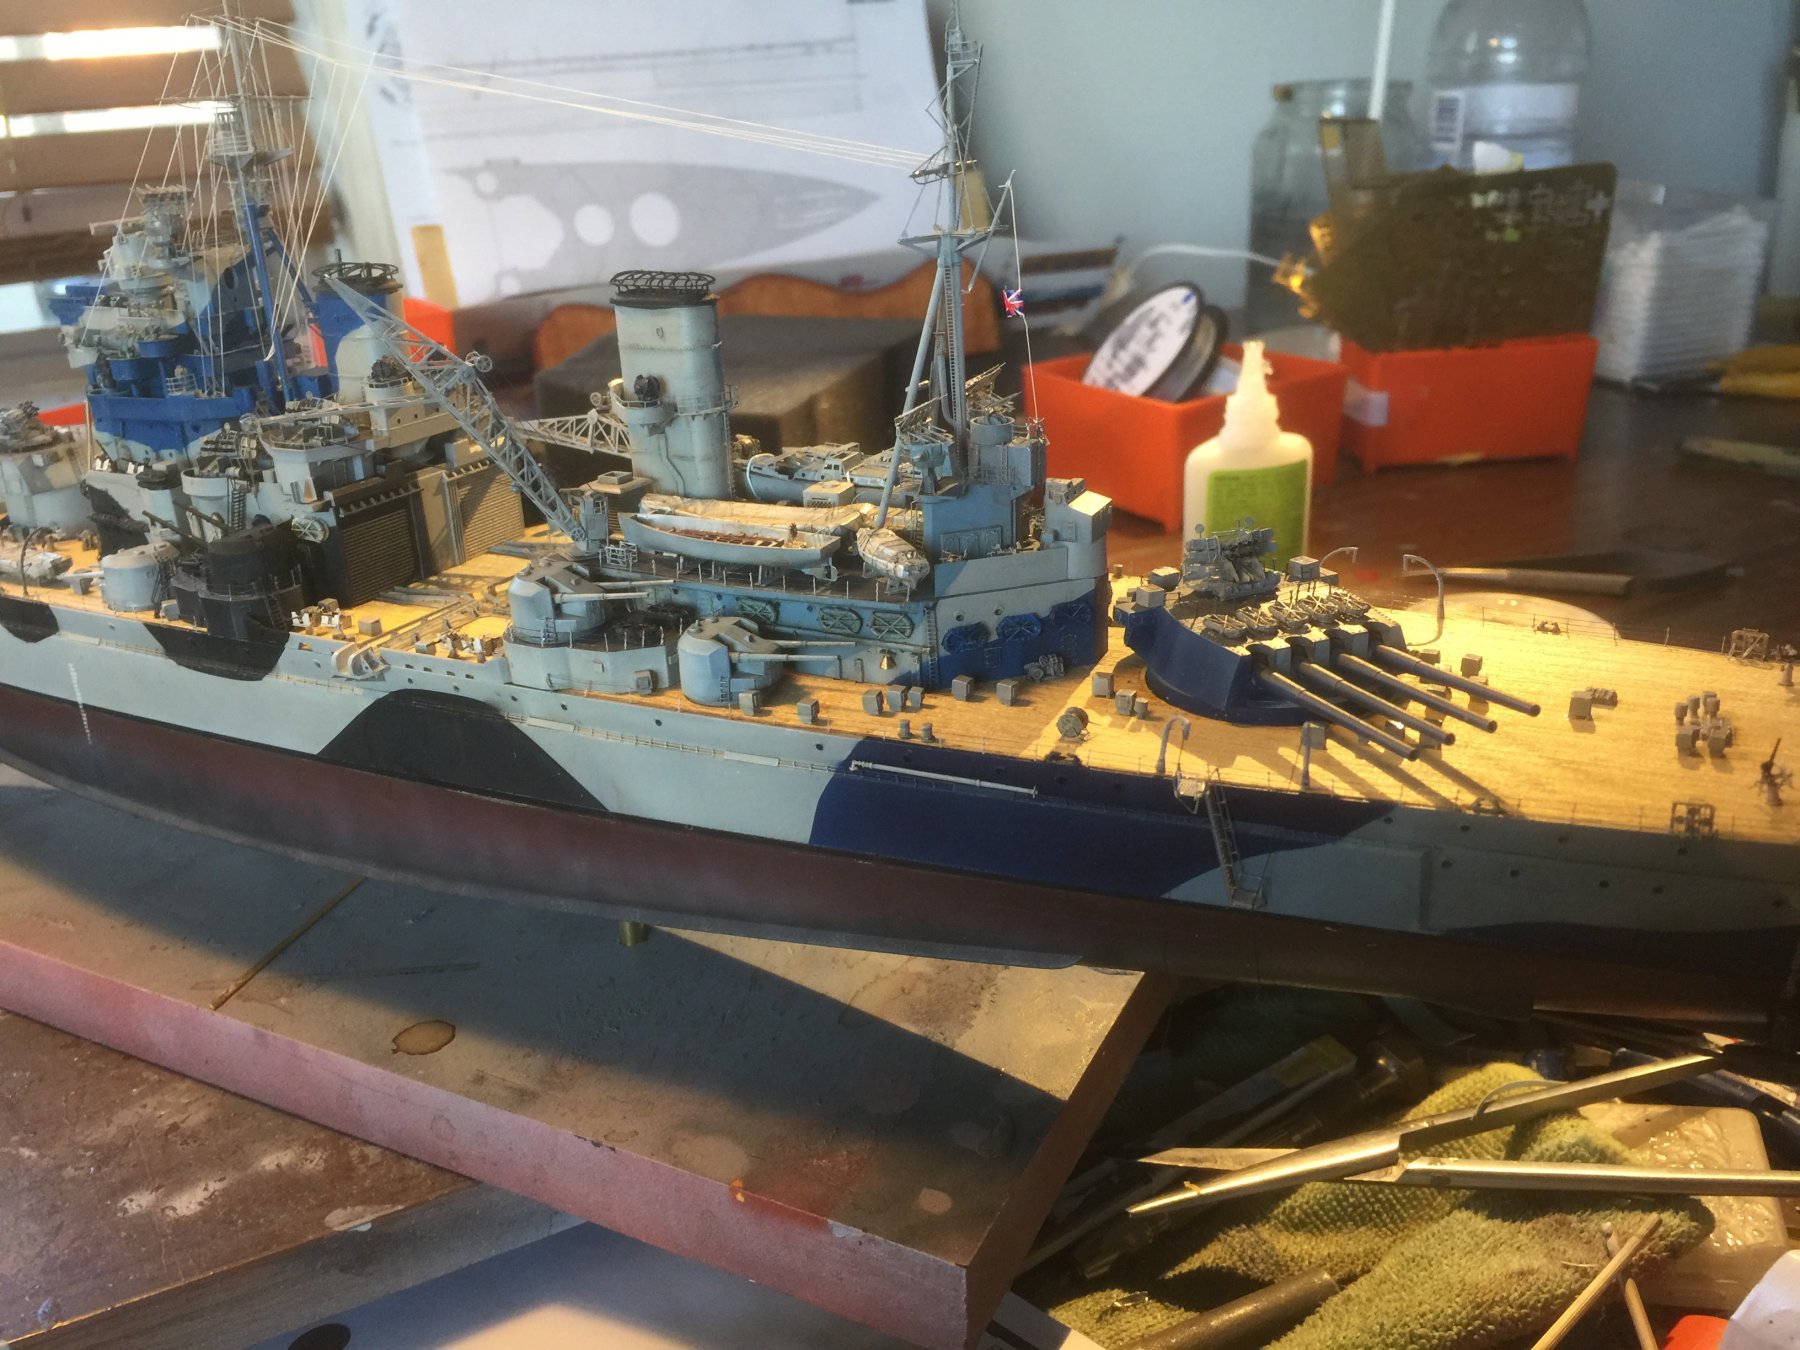
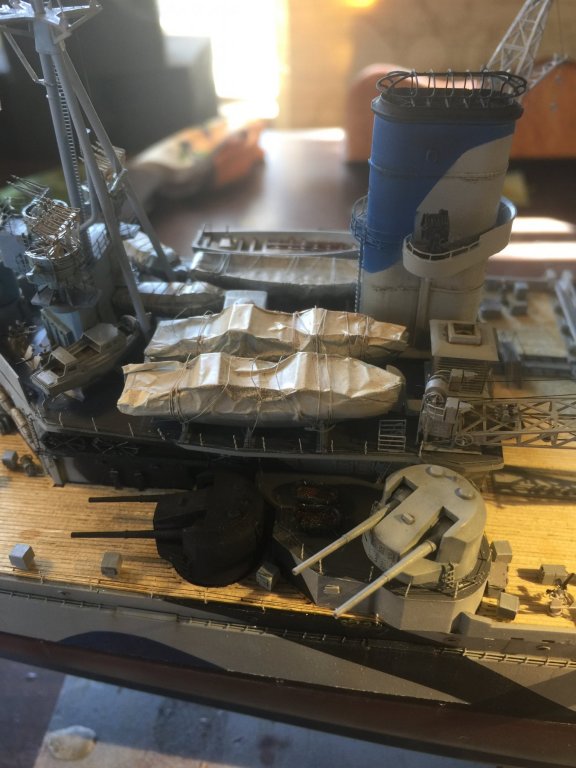
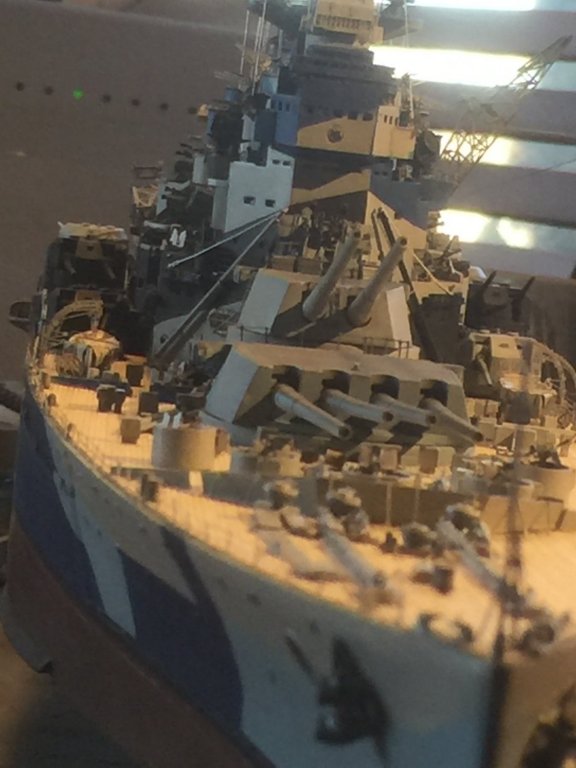
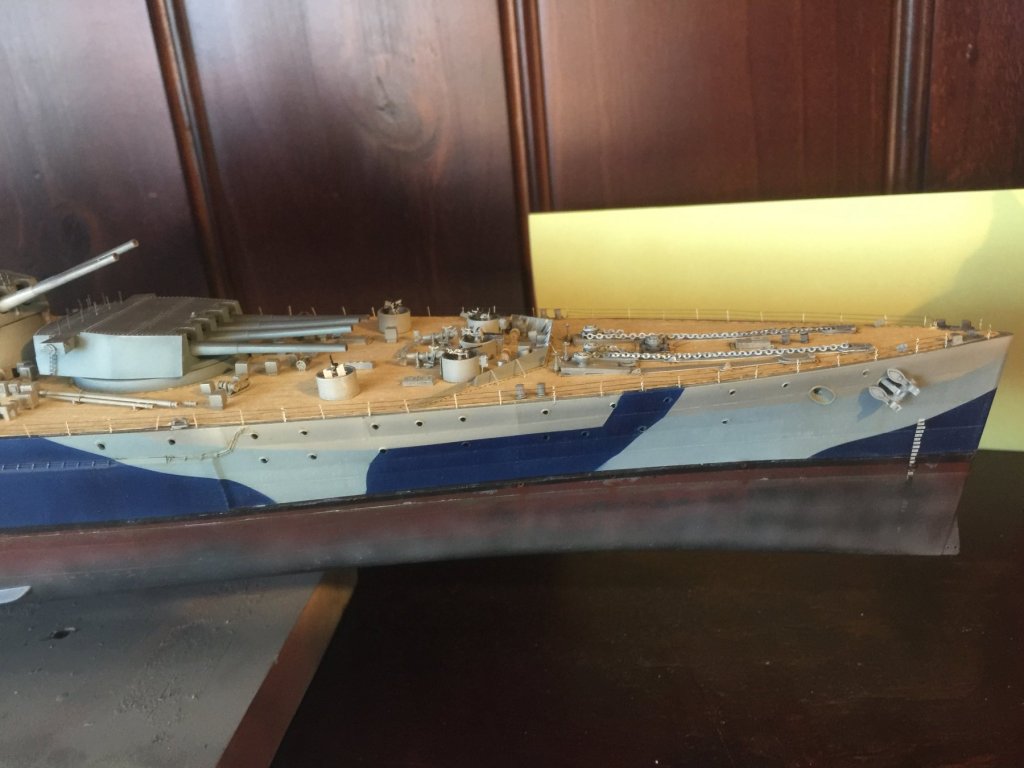
Nearly finished; I decided to put some more tarps on the ships launches
- 405 replies
-
- 13
-
-
- tamiya
- king george v
- (and 2 more)
-
Whatever you said about converting script lost me completely. With you language skills I’m sure you’ll figure it out. Welcome to my world of breaking drill bits. Once you start you will never go back.
-
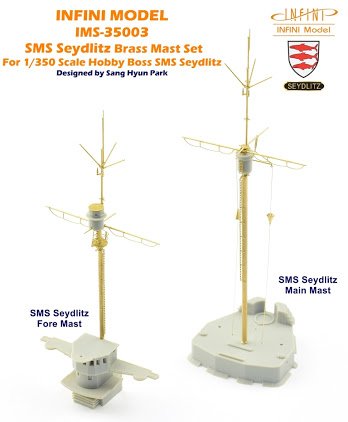
They’re already selling the barrels and mast sets, but I’ll just wait for the full set. Little bit to go on KGV yet.
-
I think there may be some of that class in Resin? But resin is just so expensive (it’s effectively hand made really). Any HMAS post ww2 would have to be modified from a US ship really I suppose as the market is just not there. There is a FB group of HMAS in scale which may help.
-
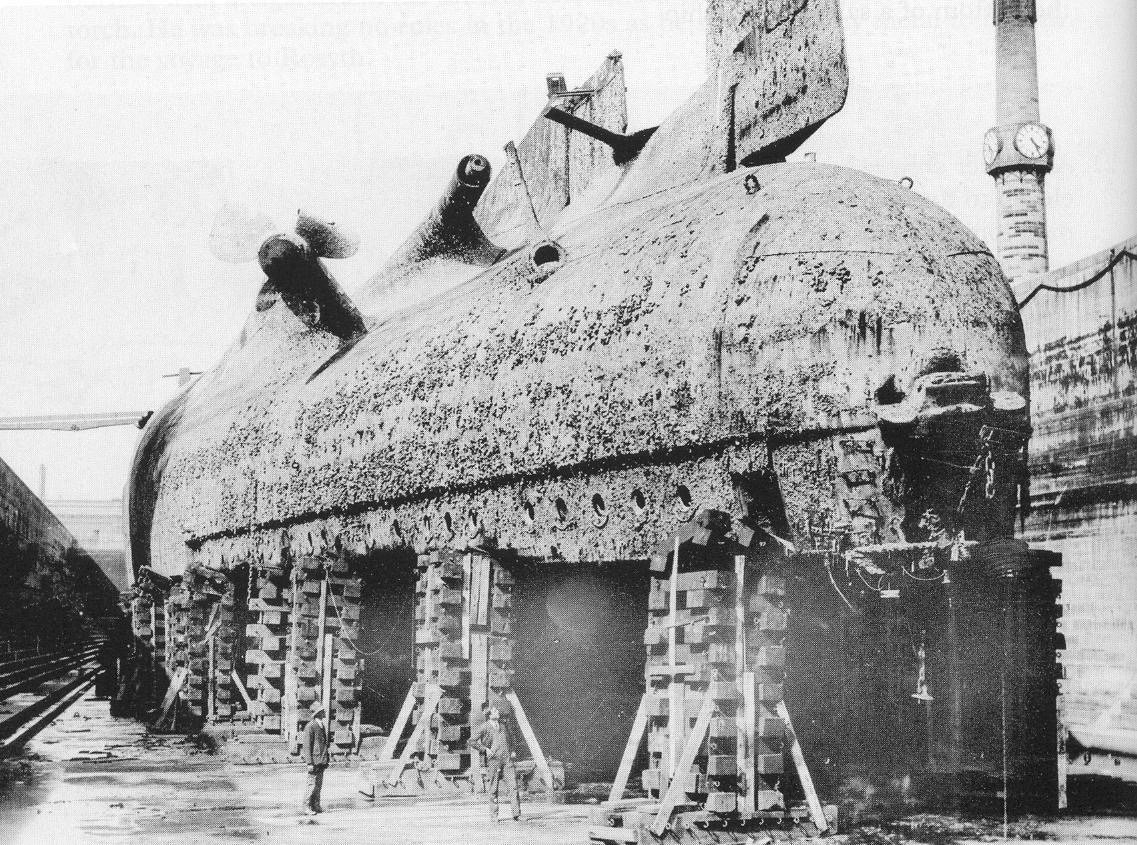
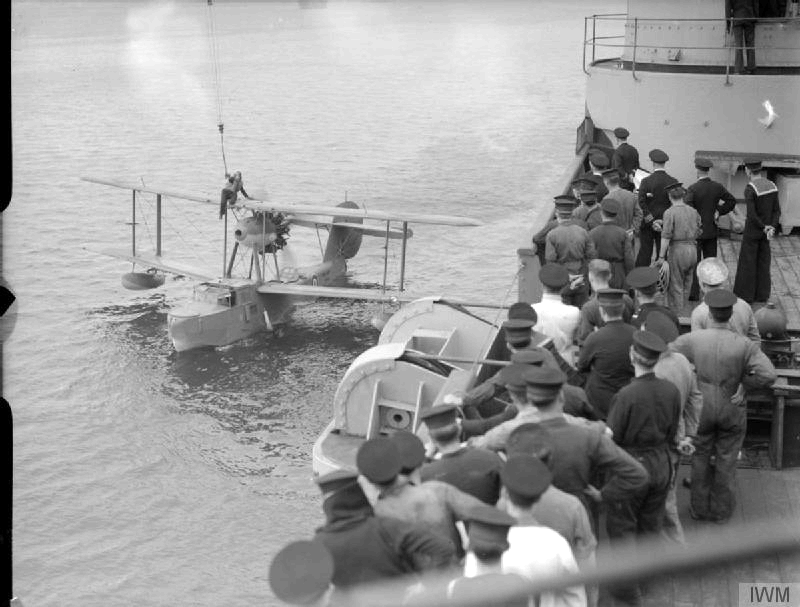
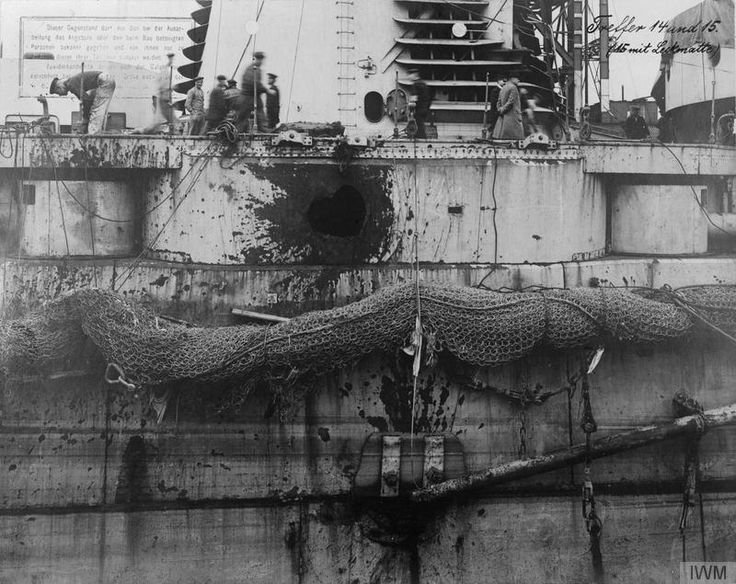
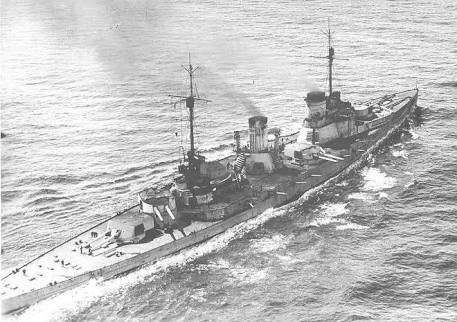
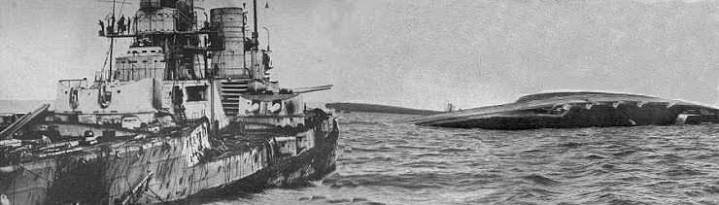
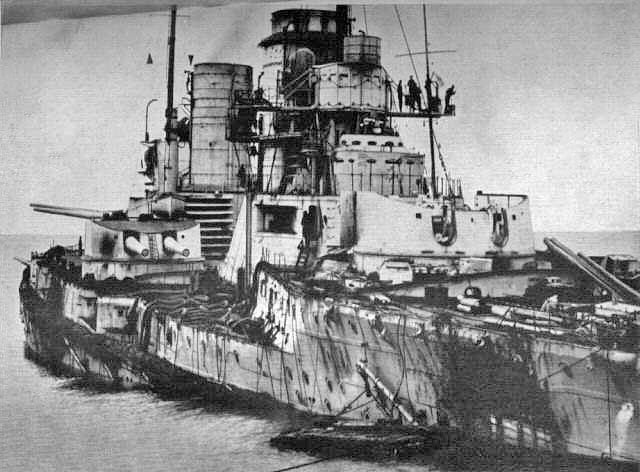
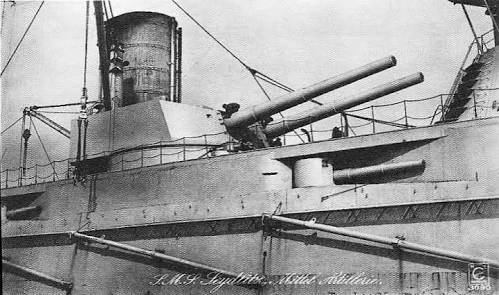
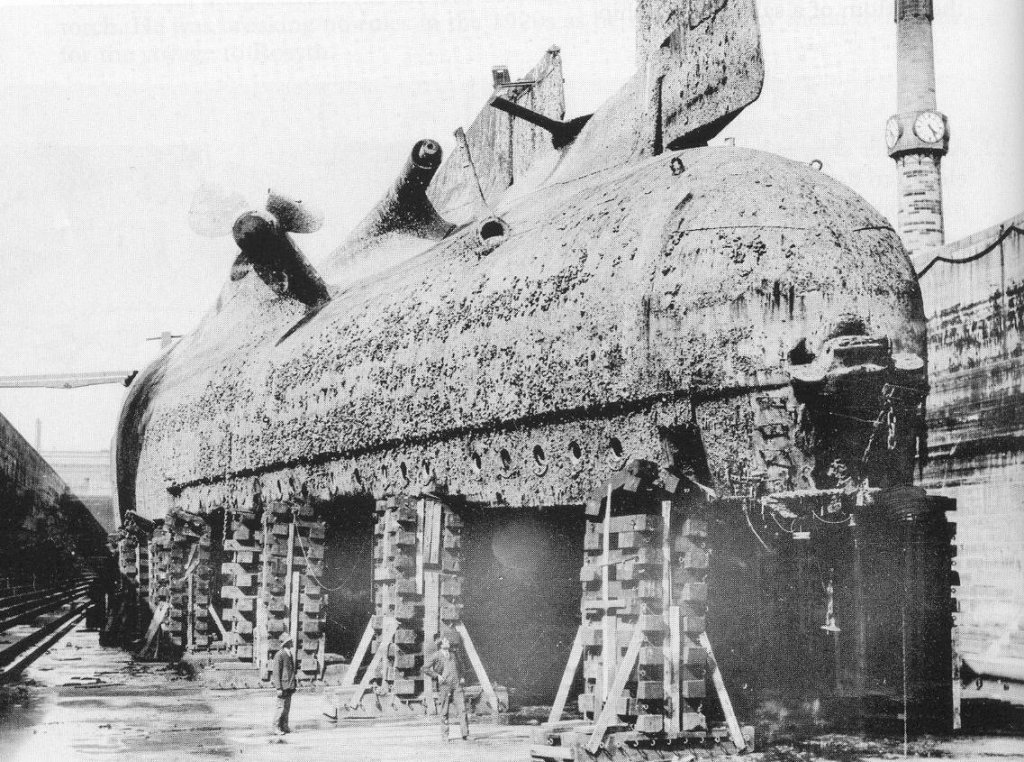
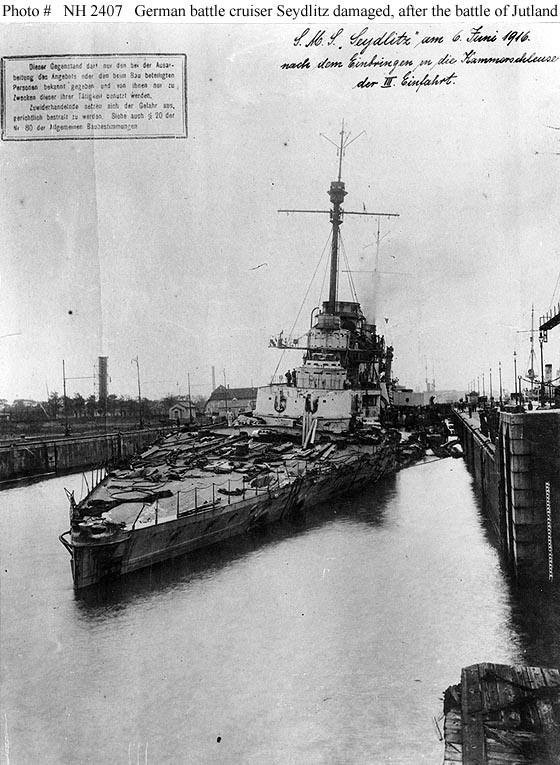
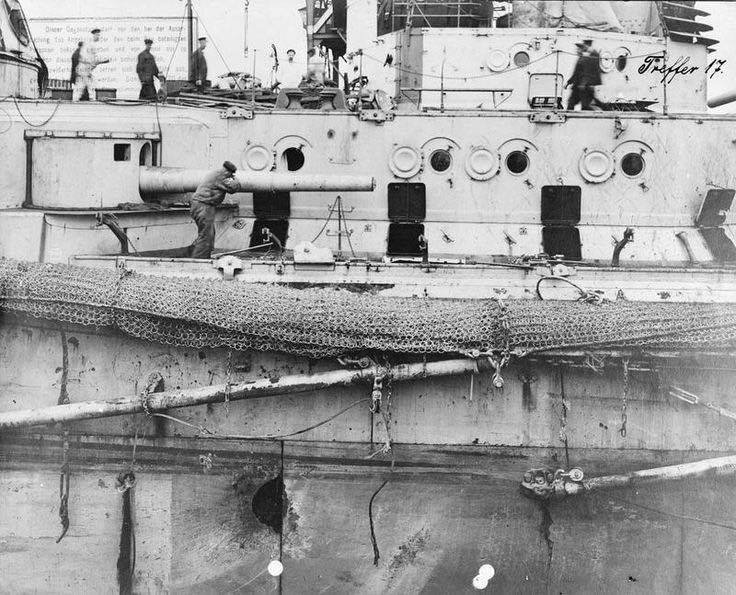
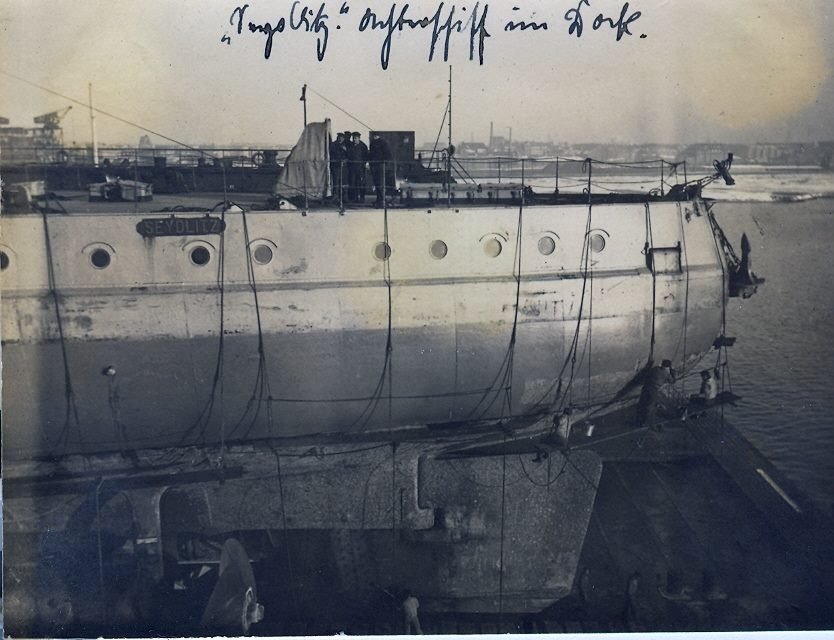
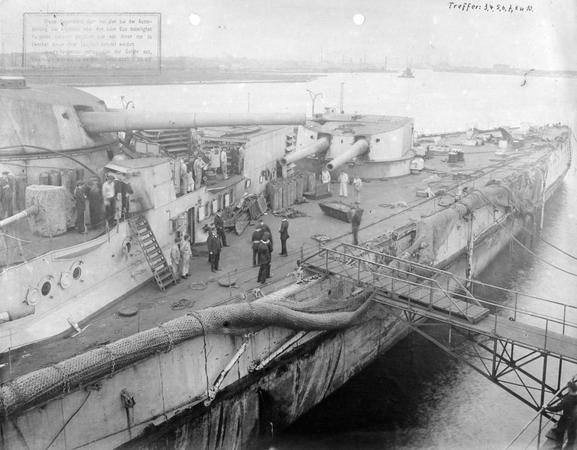
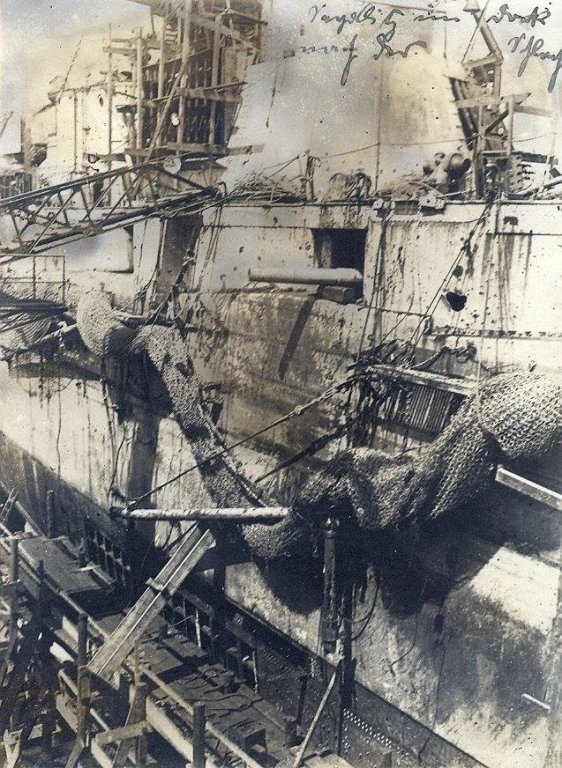
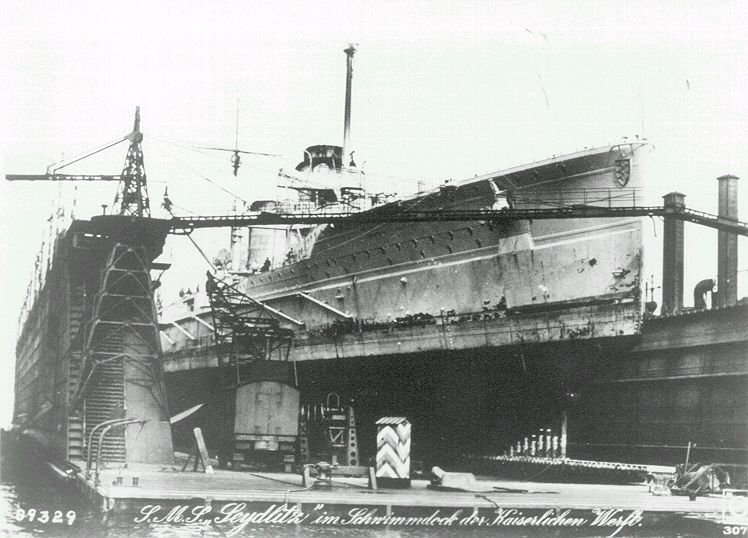
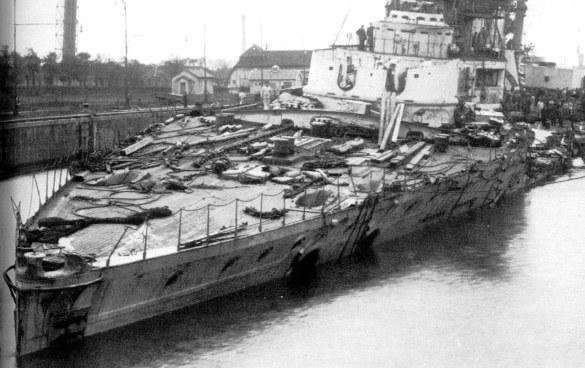
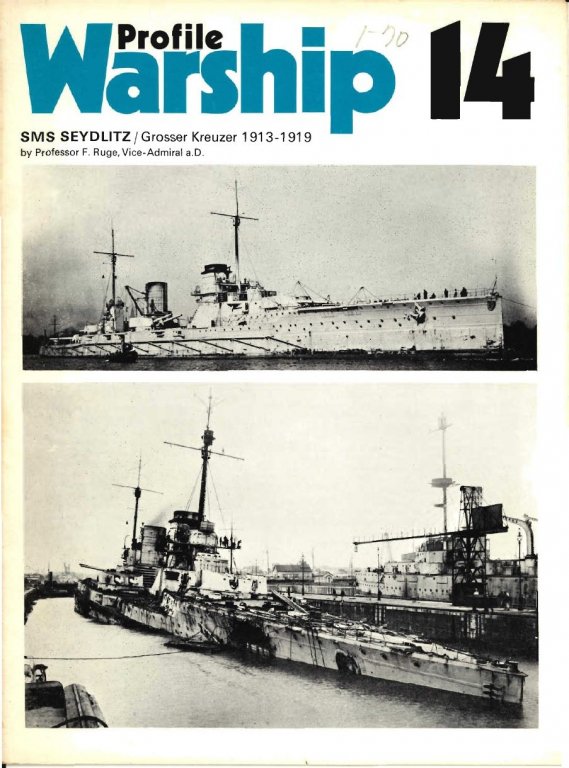
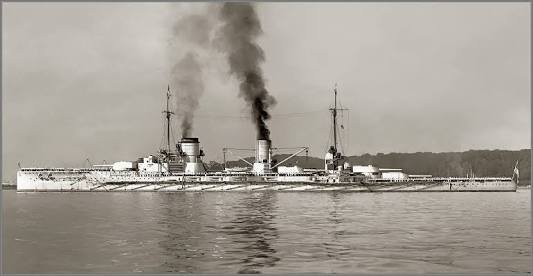
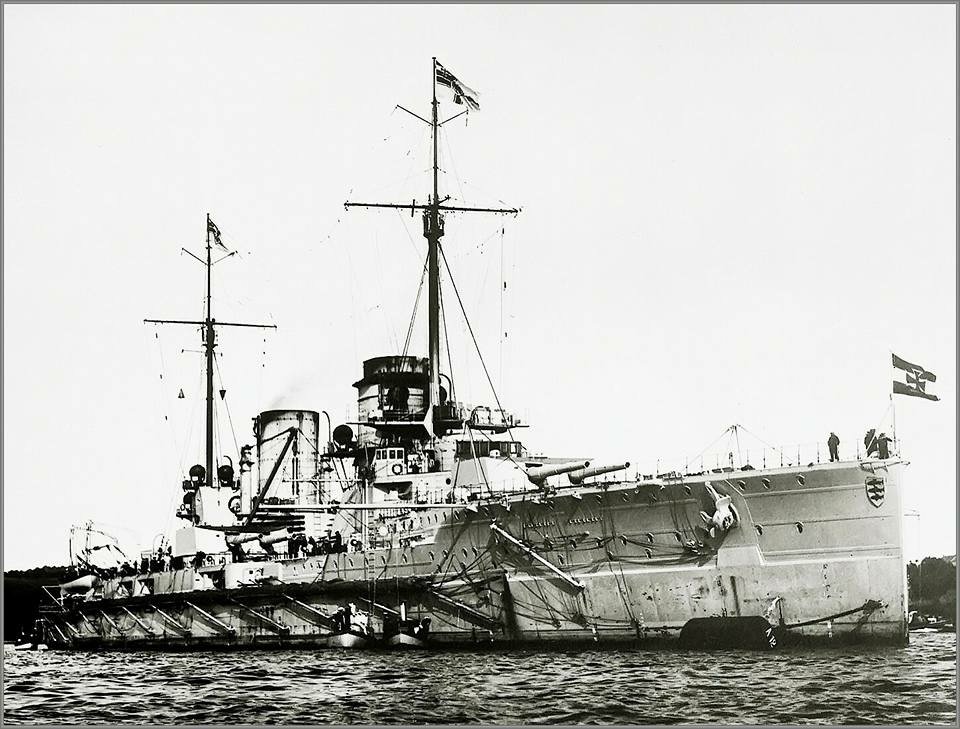
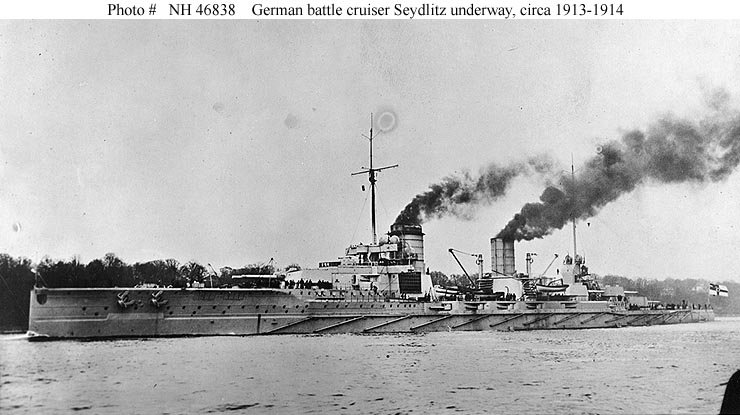
Now every photo I post from here on in is open source and on multiple websites so I just can't give them provenance. Its over 100 years ago. Most show battle damage from 1916, but they do show her construction methods. Warship 14 is available to view on Google Books for free, I just can't publish it. It has her history and other photos.


- 540 replies
-
- 17
-
-
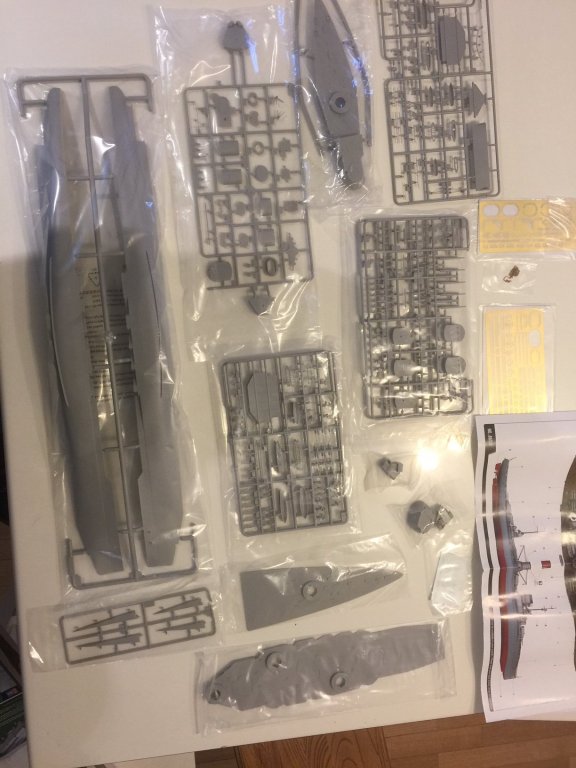
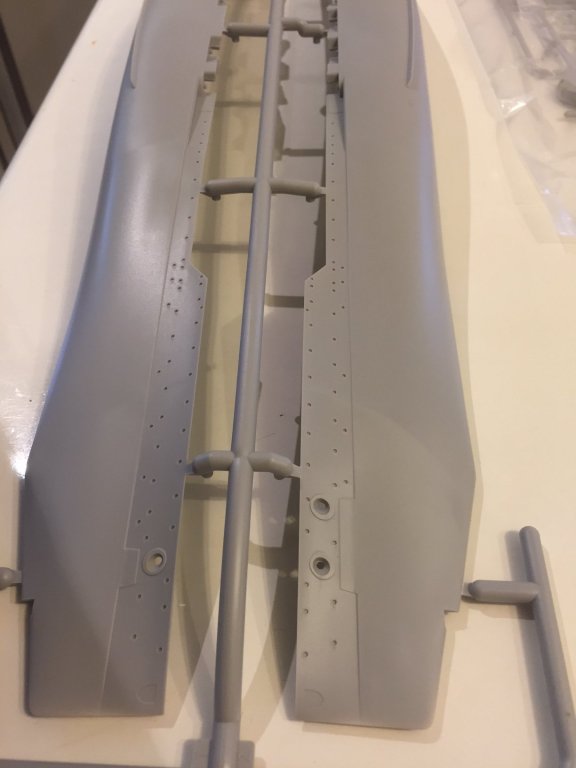
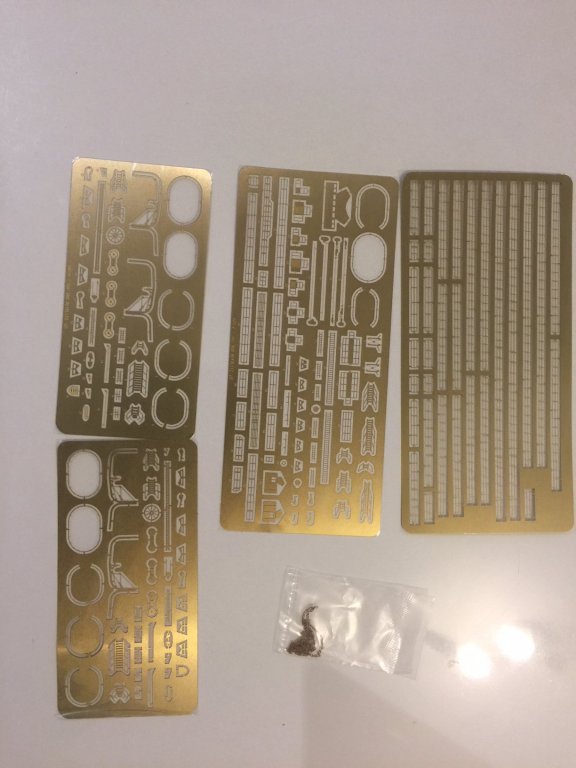
The box contents. the molds are are good as anything Tamiya is making, and there is a fair bit of PE as well, the hull is unfortunately smooth (nothing that can't be fixed easily) and it is missing the side on torpedo tubes as well as a stern one. Meh, that can be remedied.
- 540 replies
-
- 13
-
-
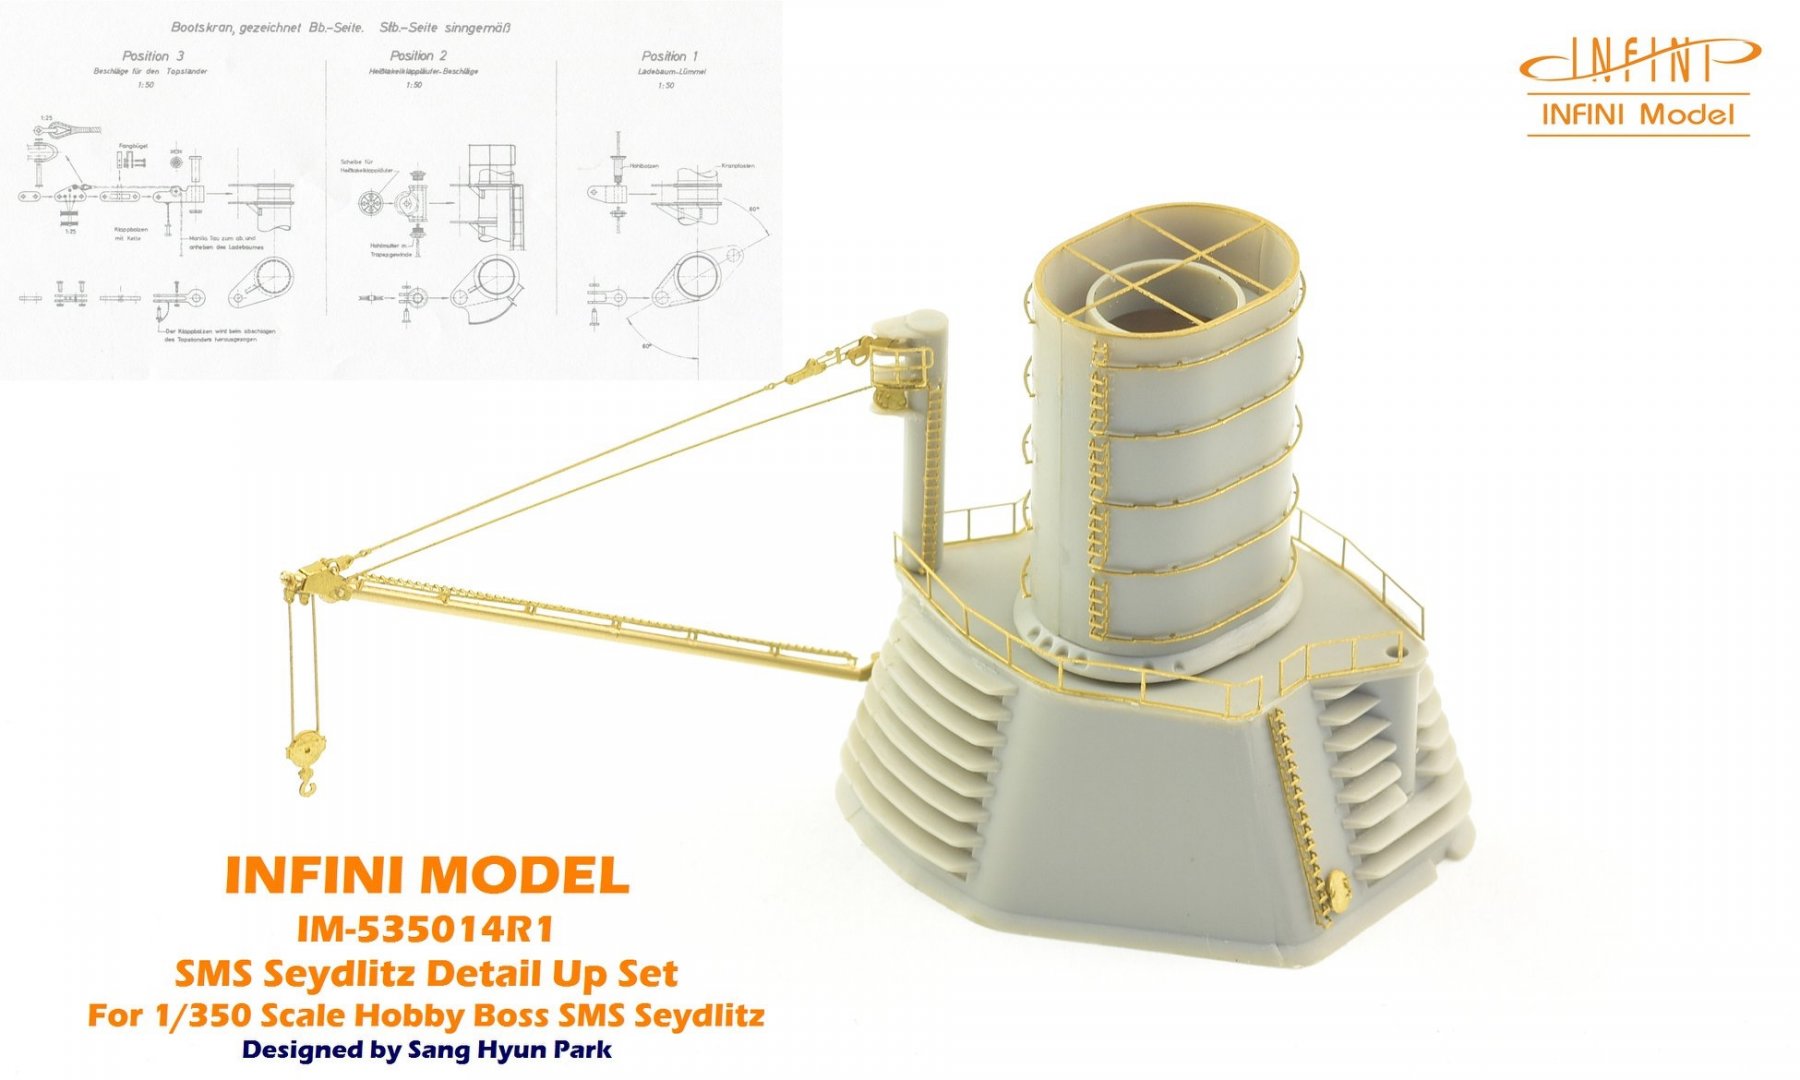
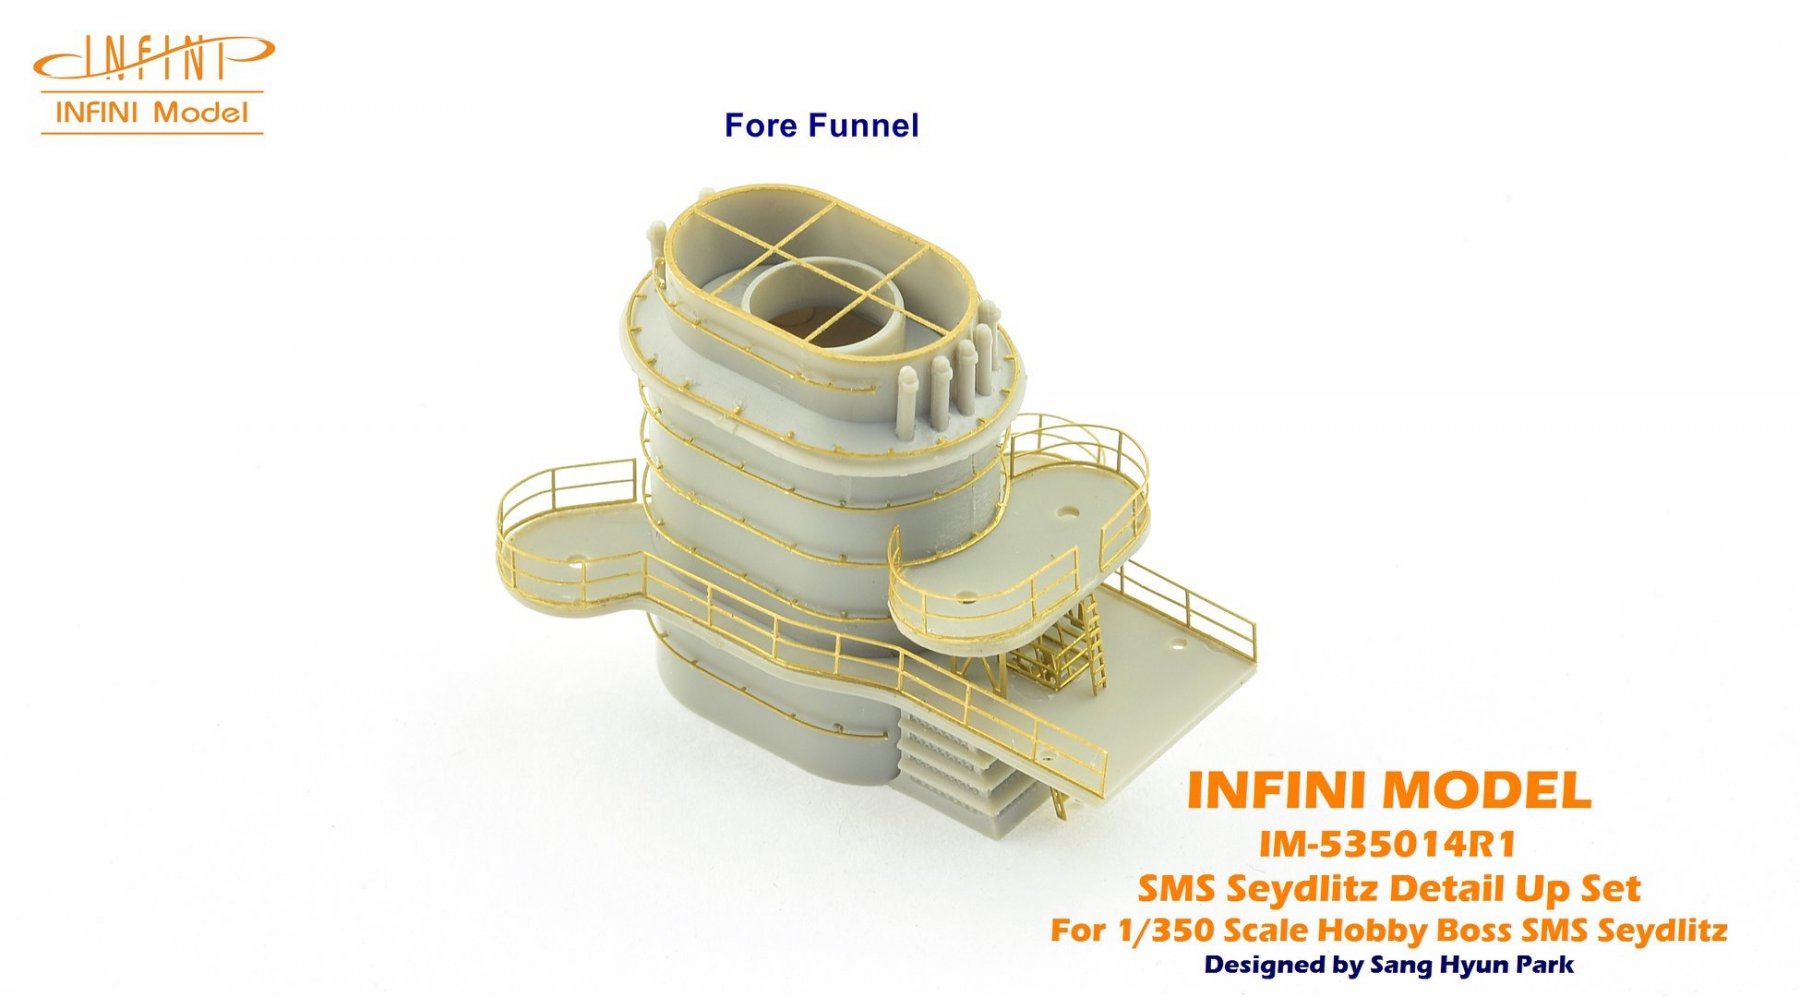
As the upgrade set for this is out next month, we're going to start the log with an open invitation to join. You do not need to purchase PE, and I'll post some photos of the Hobby Boss contents, they are very well molded, not the Airfix blobs of our childhood. This build covers several time zone of the US, Oz and some place in Europe where Cog is from. Mind you he speaks more languages than me.
- 540 replies
-
- 16
-
-
Just look at the photos really, if I lived to be 500 I’d never be that good.
- 405 replies
-
- 6
-
-
- tamiya
- king george v
- (and 2 more)
-
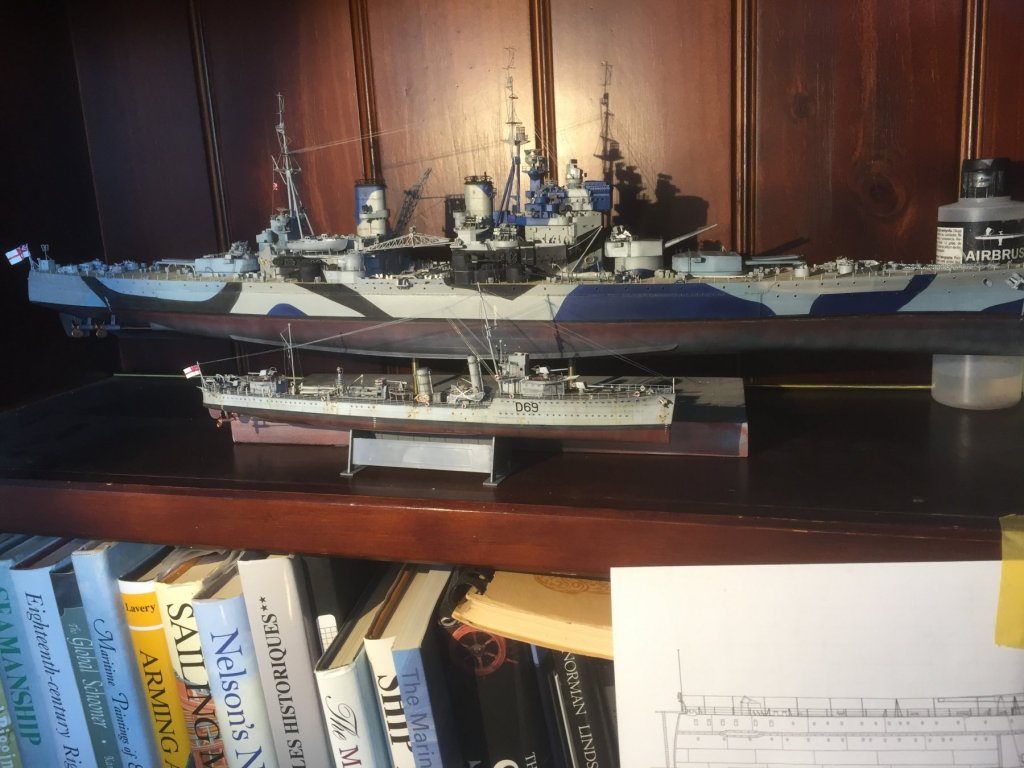
Now to compare Vendetta (1) to a battleship (both in 1/350)
- 405 replies
-
- 16
-
-
- tamiya
- king george v
- (and 2 more)
-
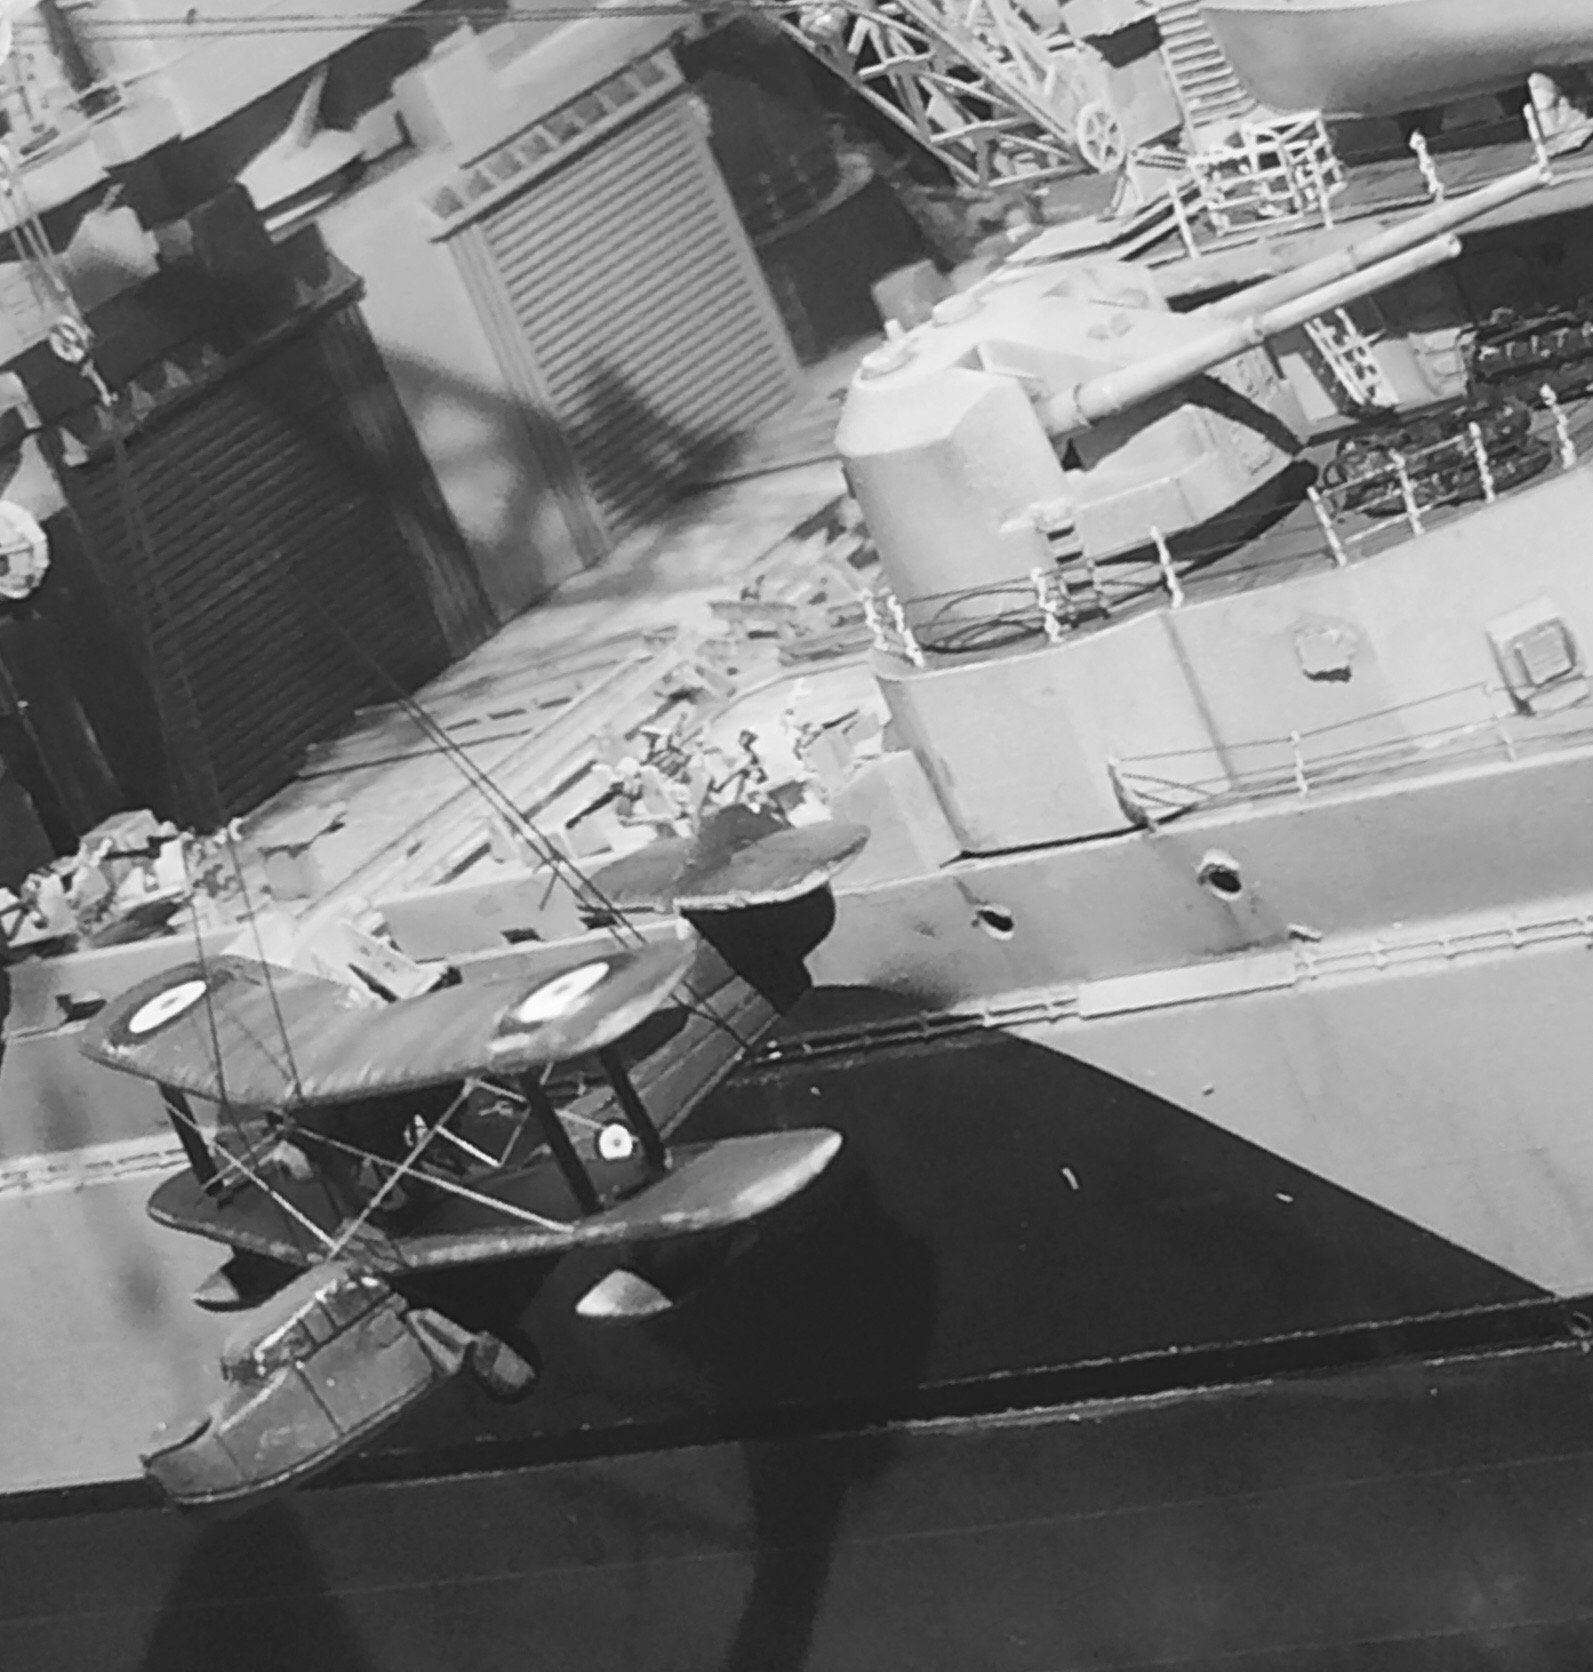
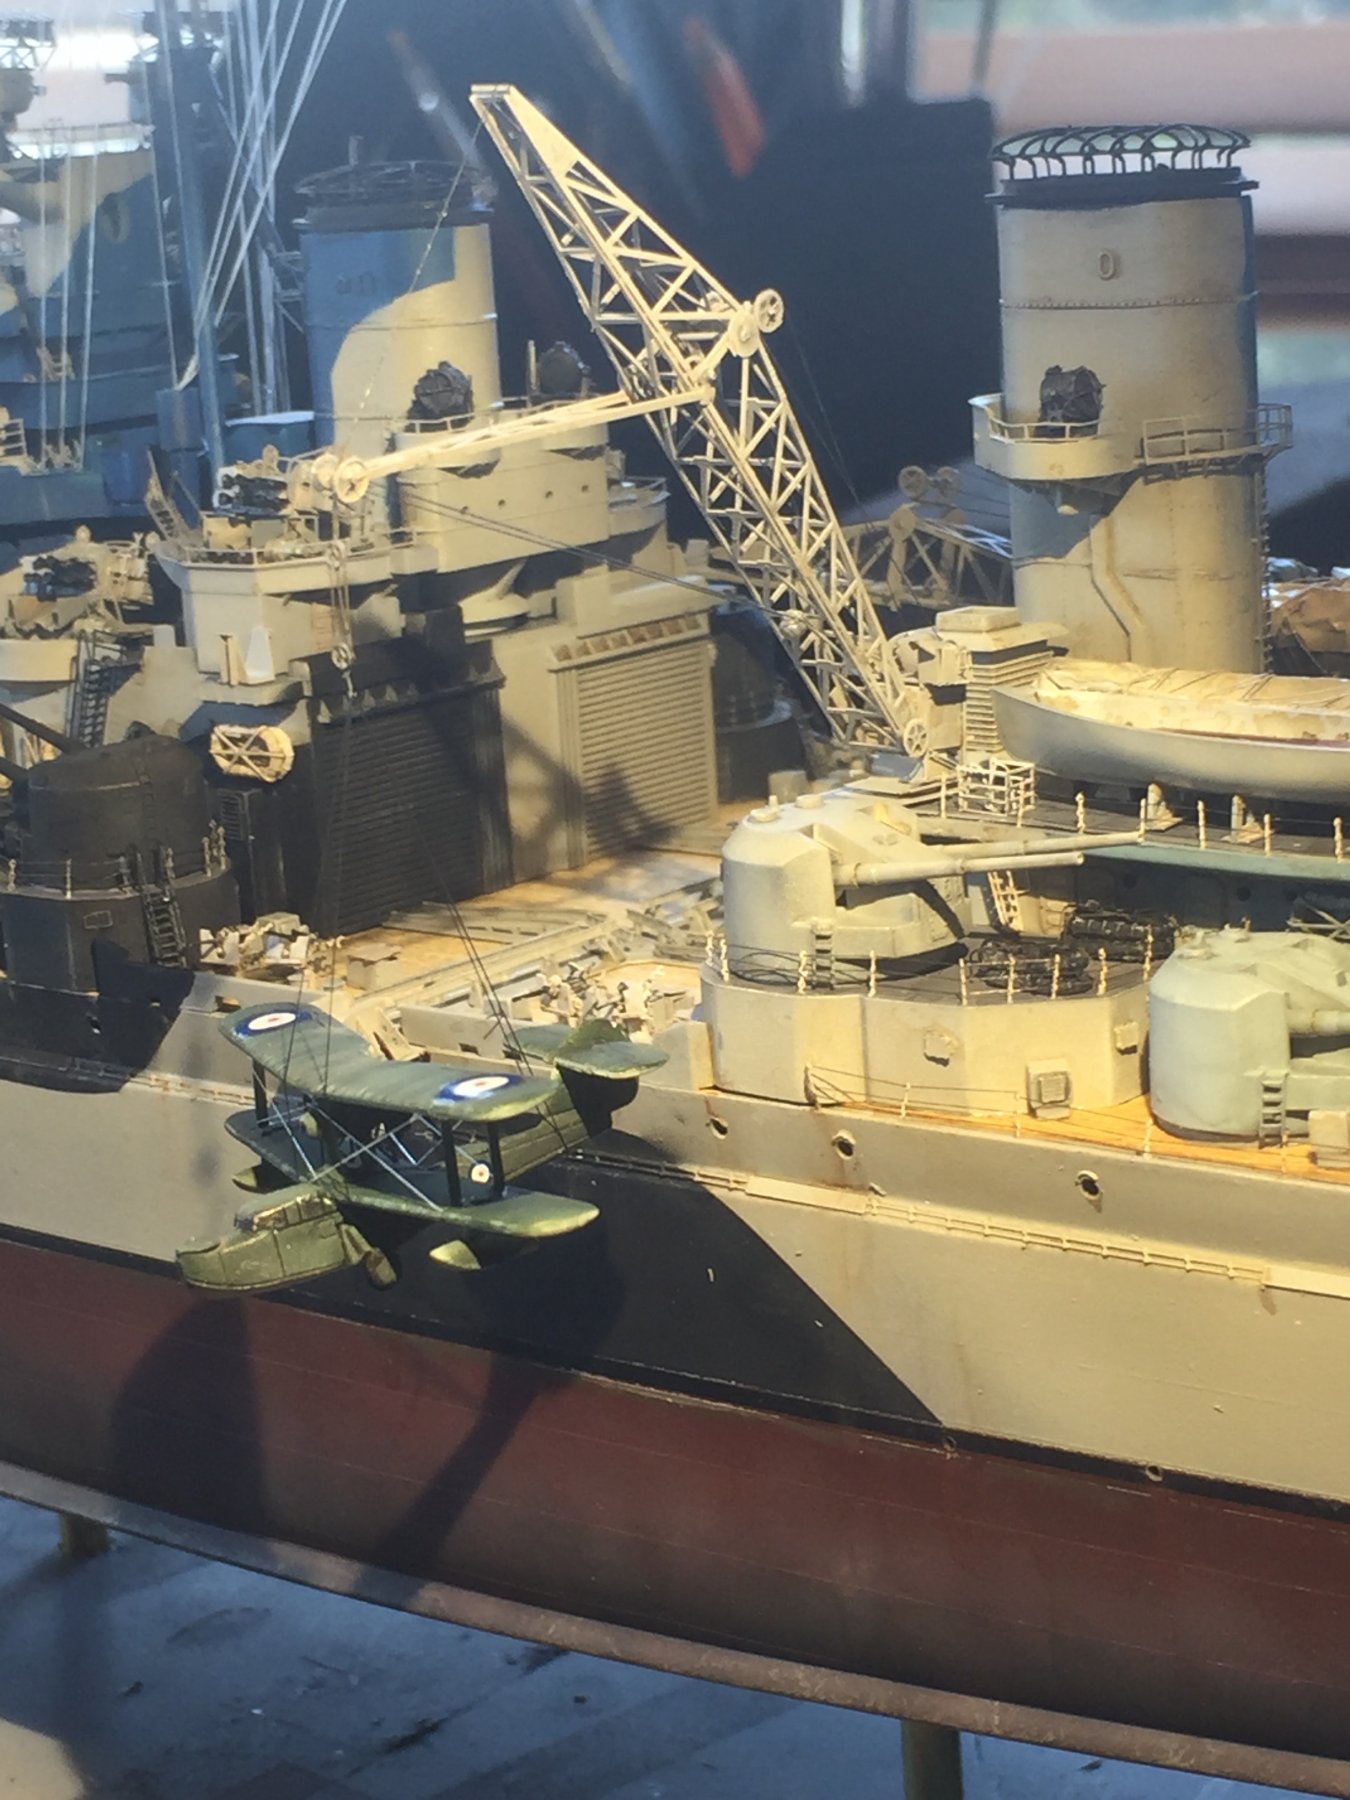
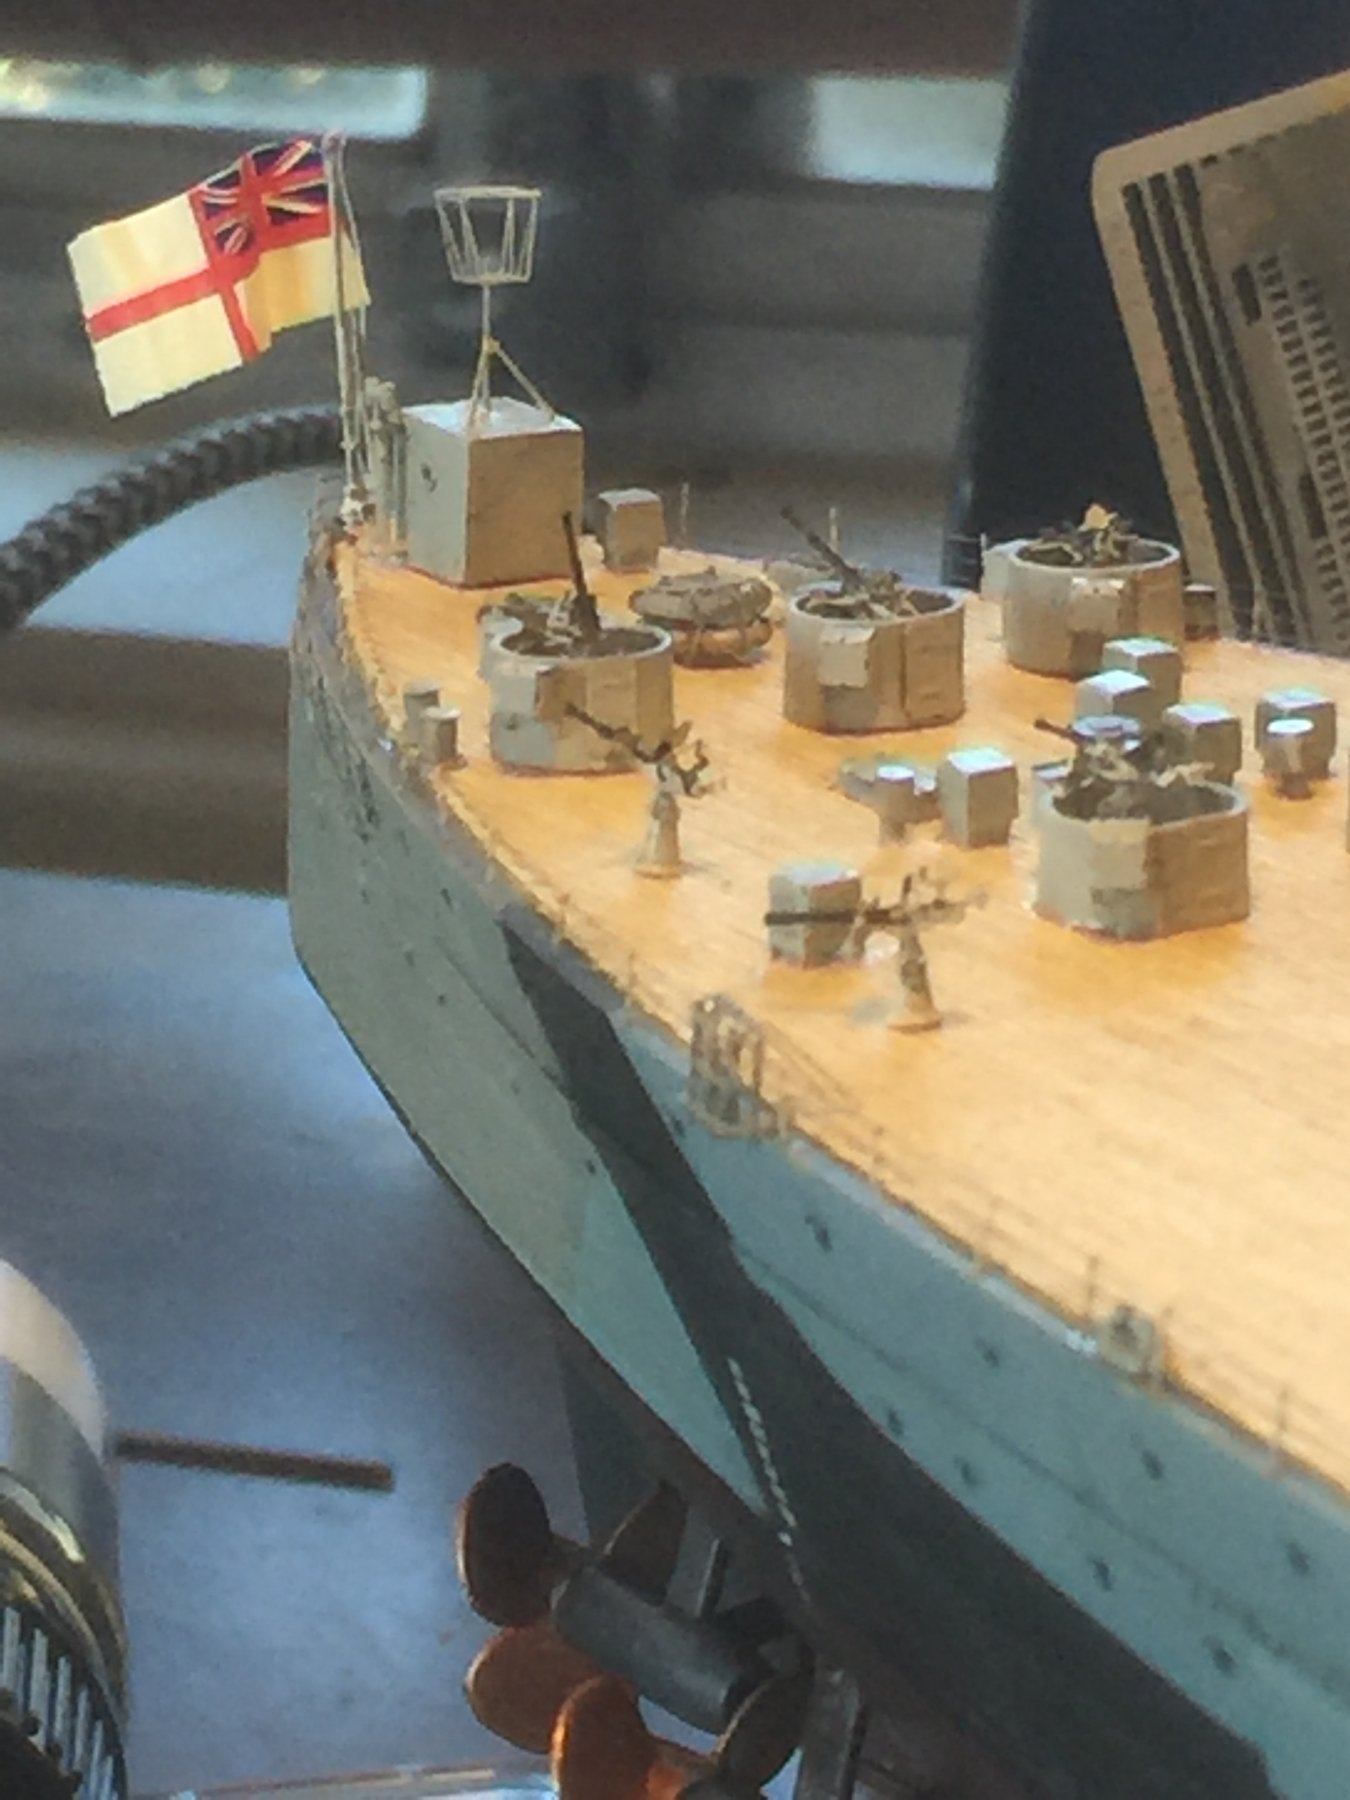
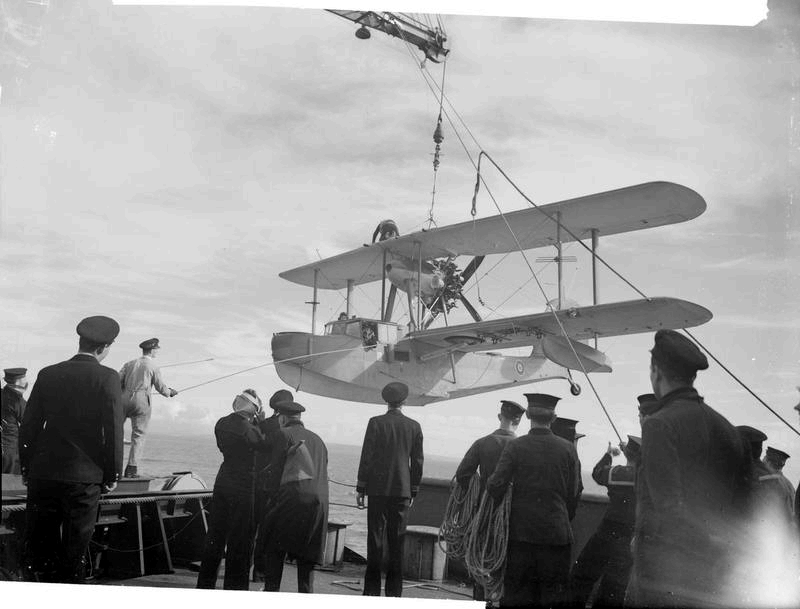
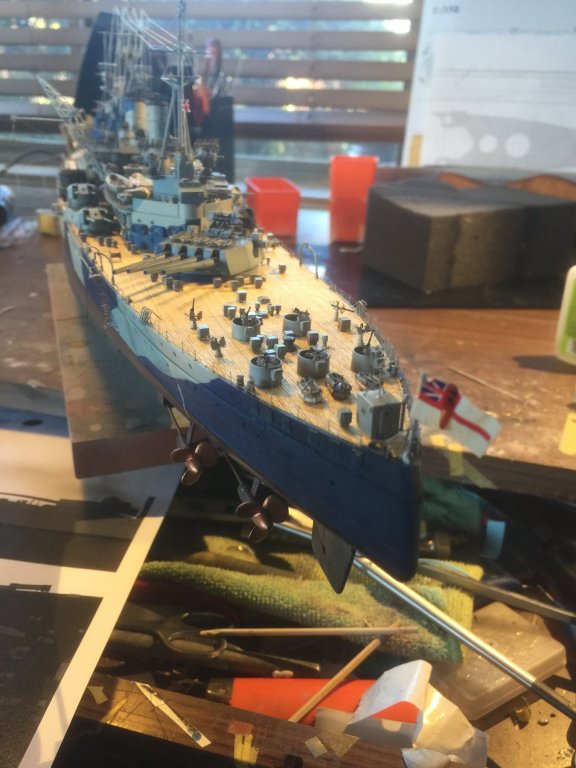
Just about finished, flags, screws and davits done. Unfortunately the Walrus was located on the floor of my study today destroyed. I have plenty of them but no PE for them. I’ll have to order some. Just some hull weathering to do.


- 405 replies
-
- 13
-
-
- tamiya
- king george v
- (and 2 more)
-
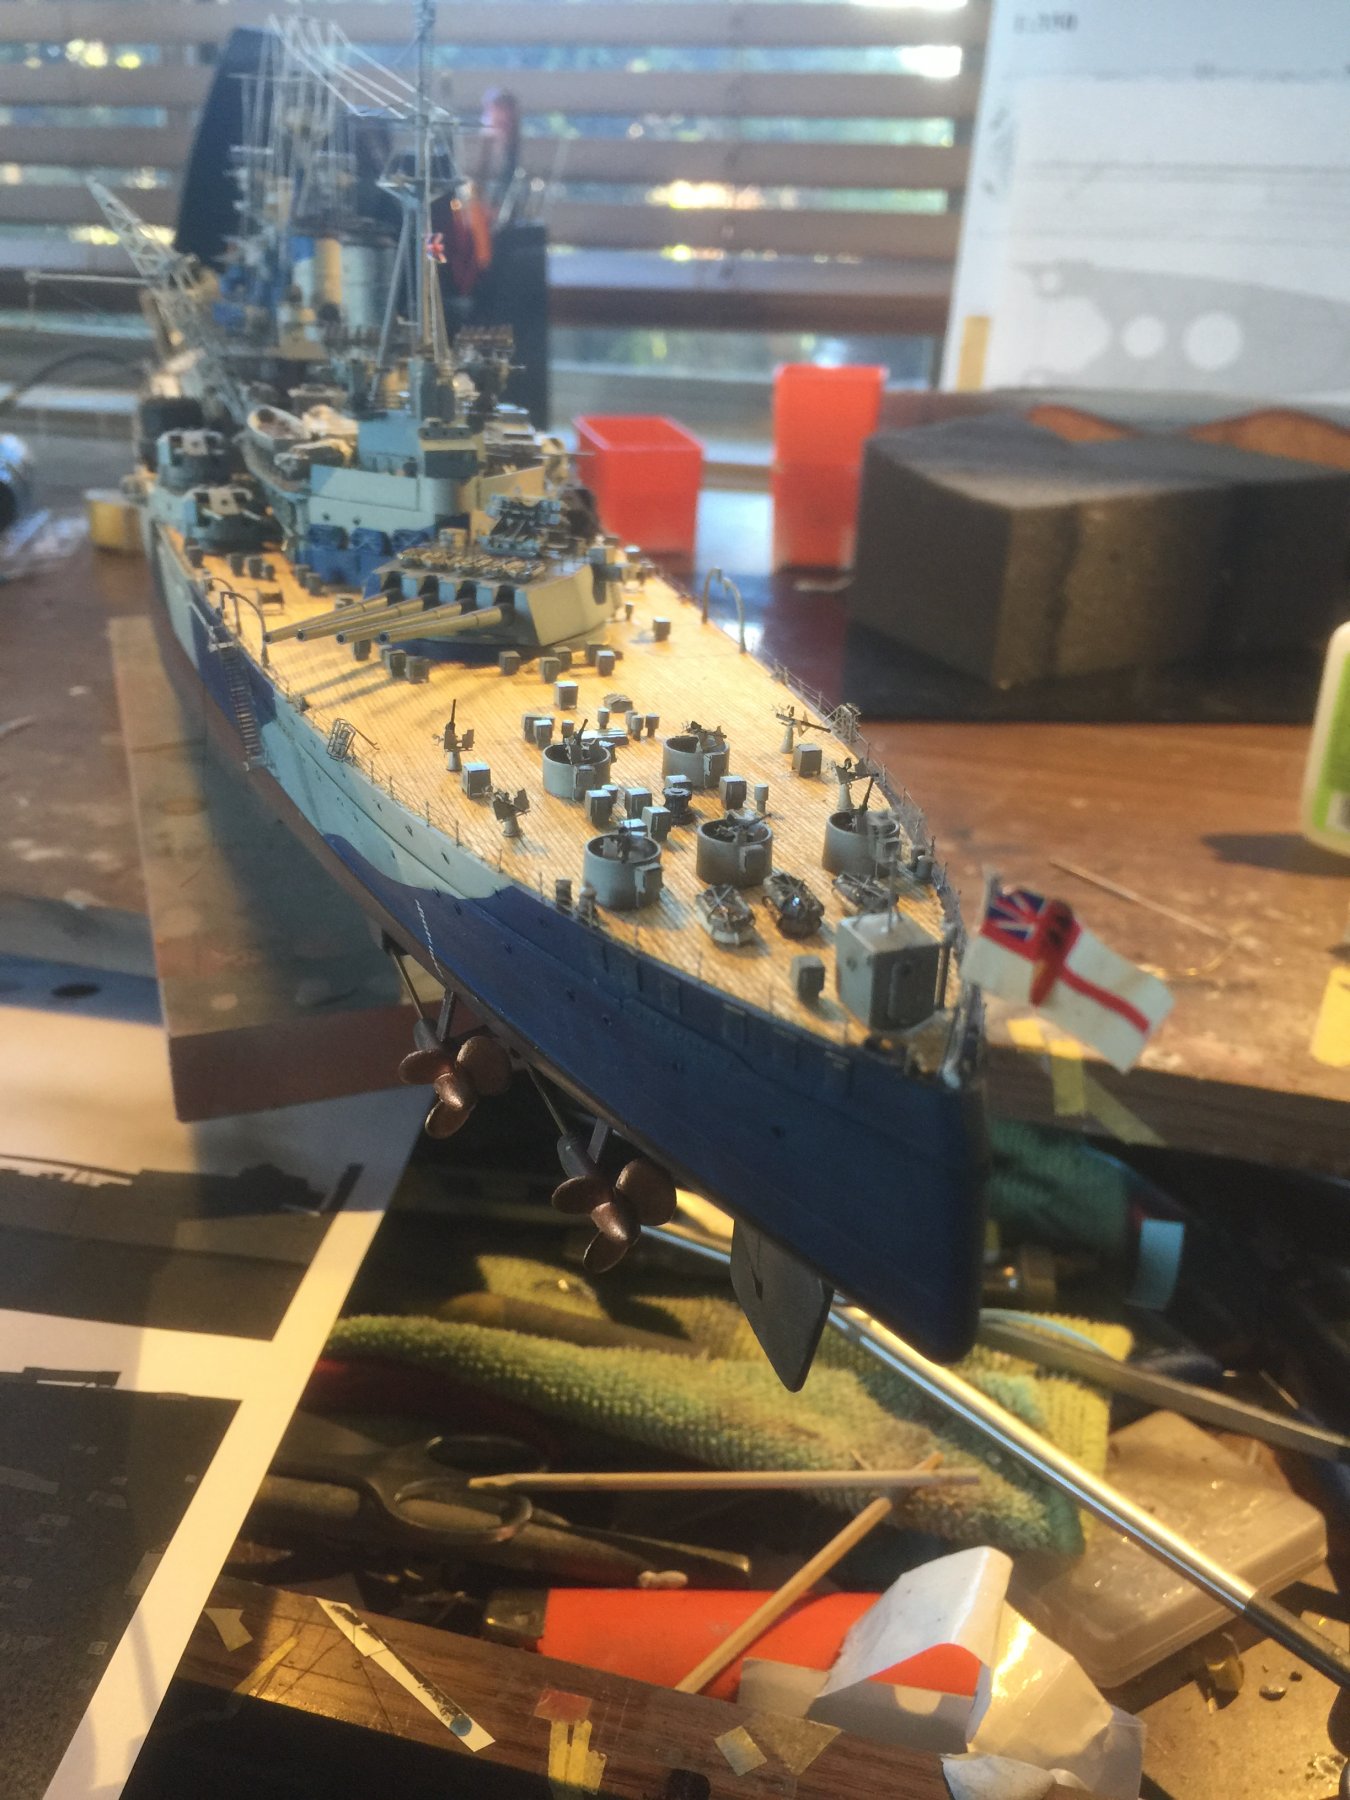
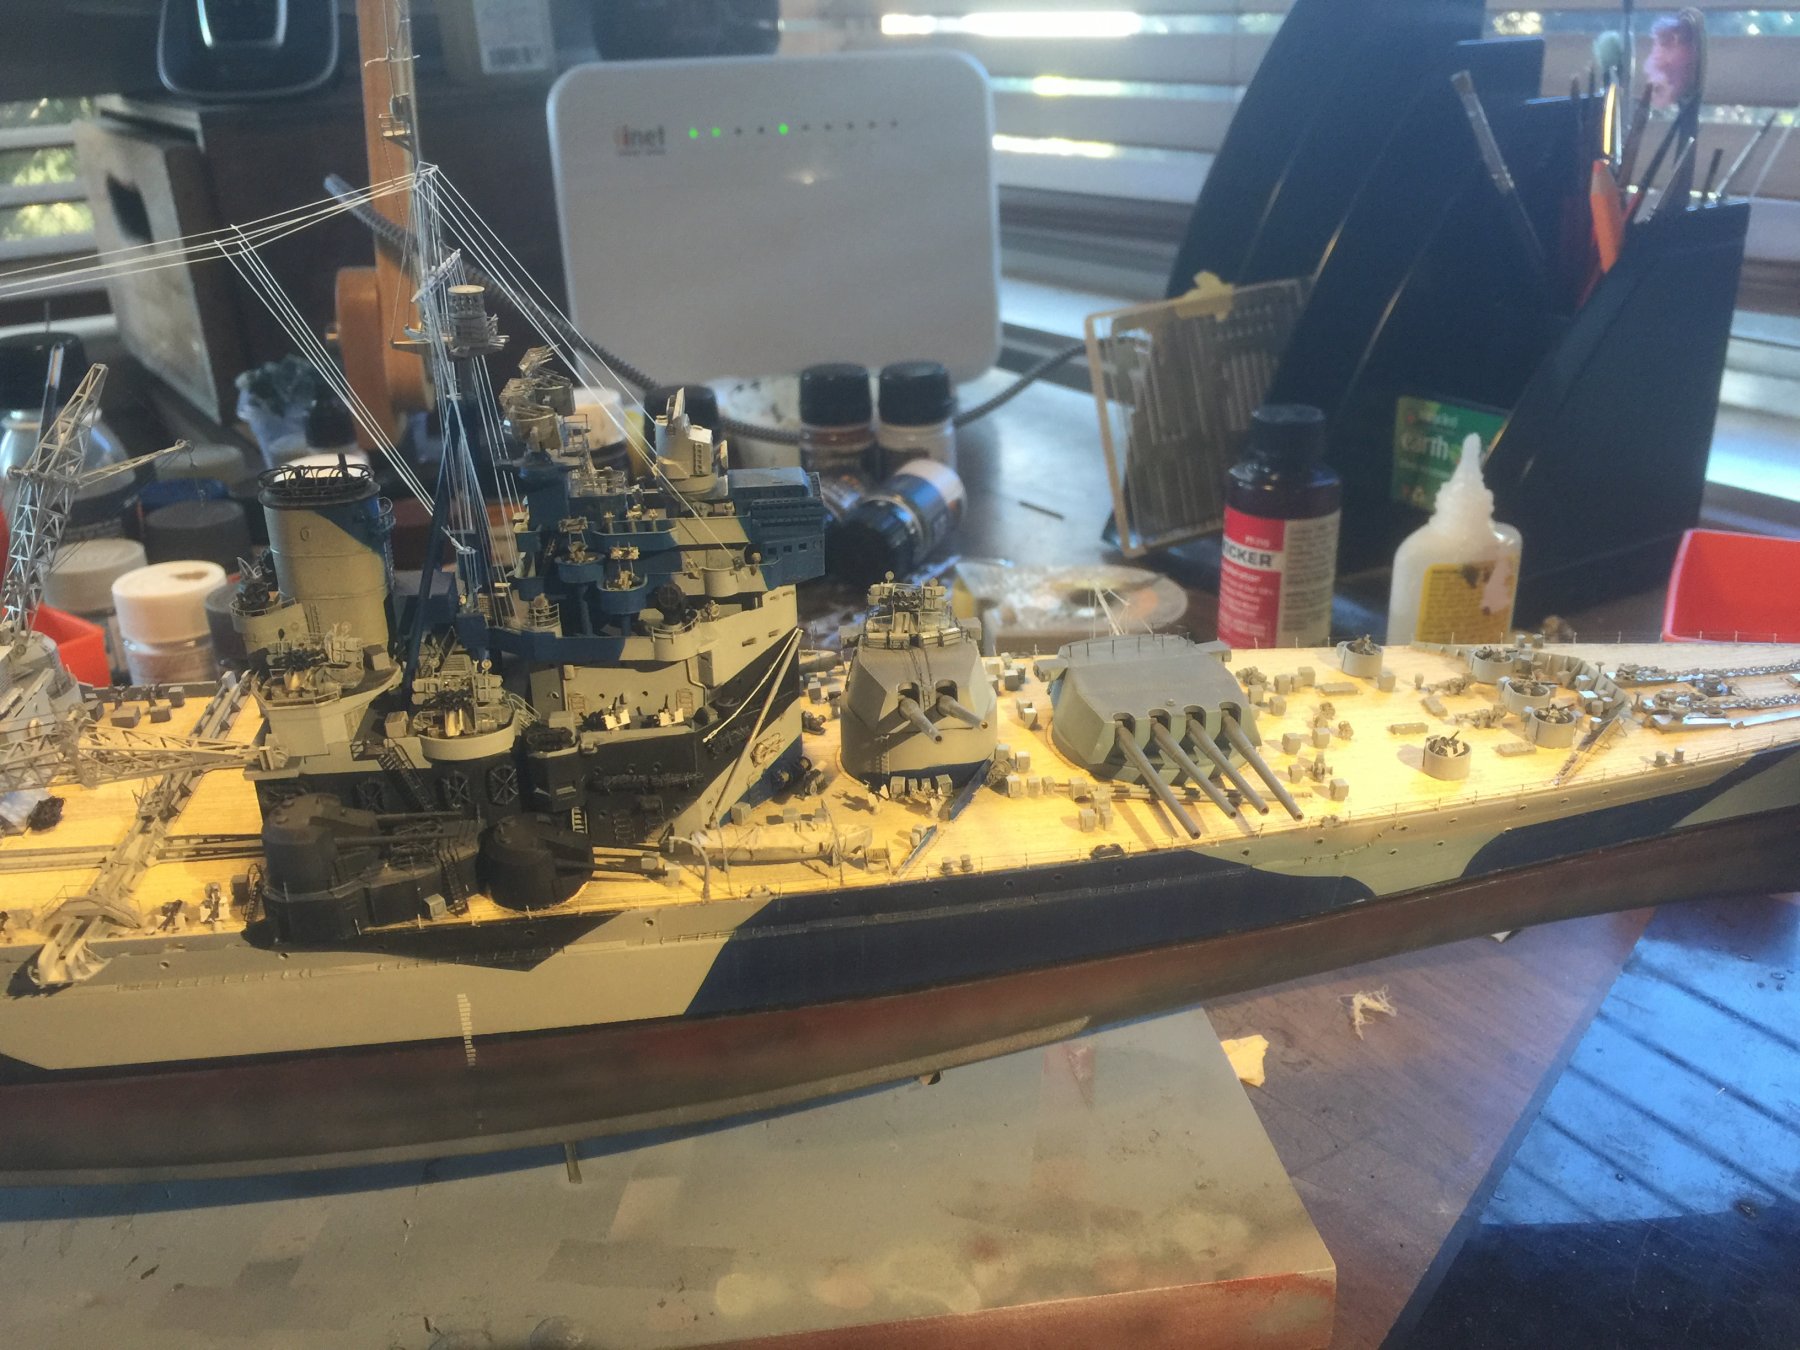
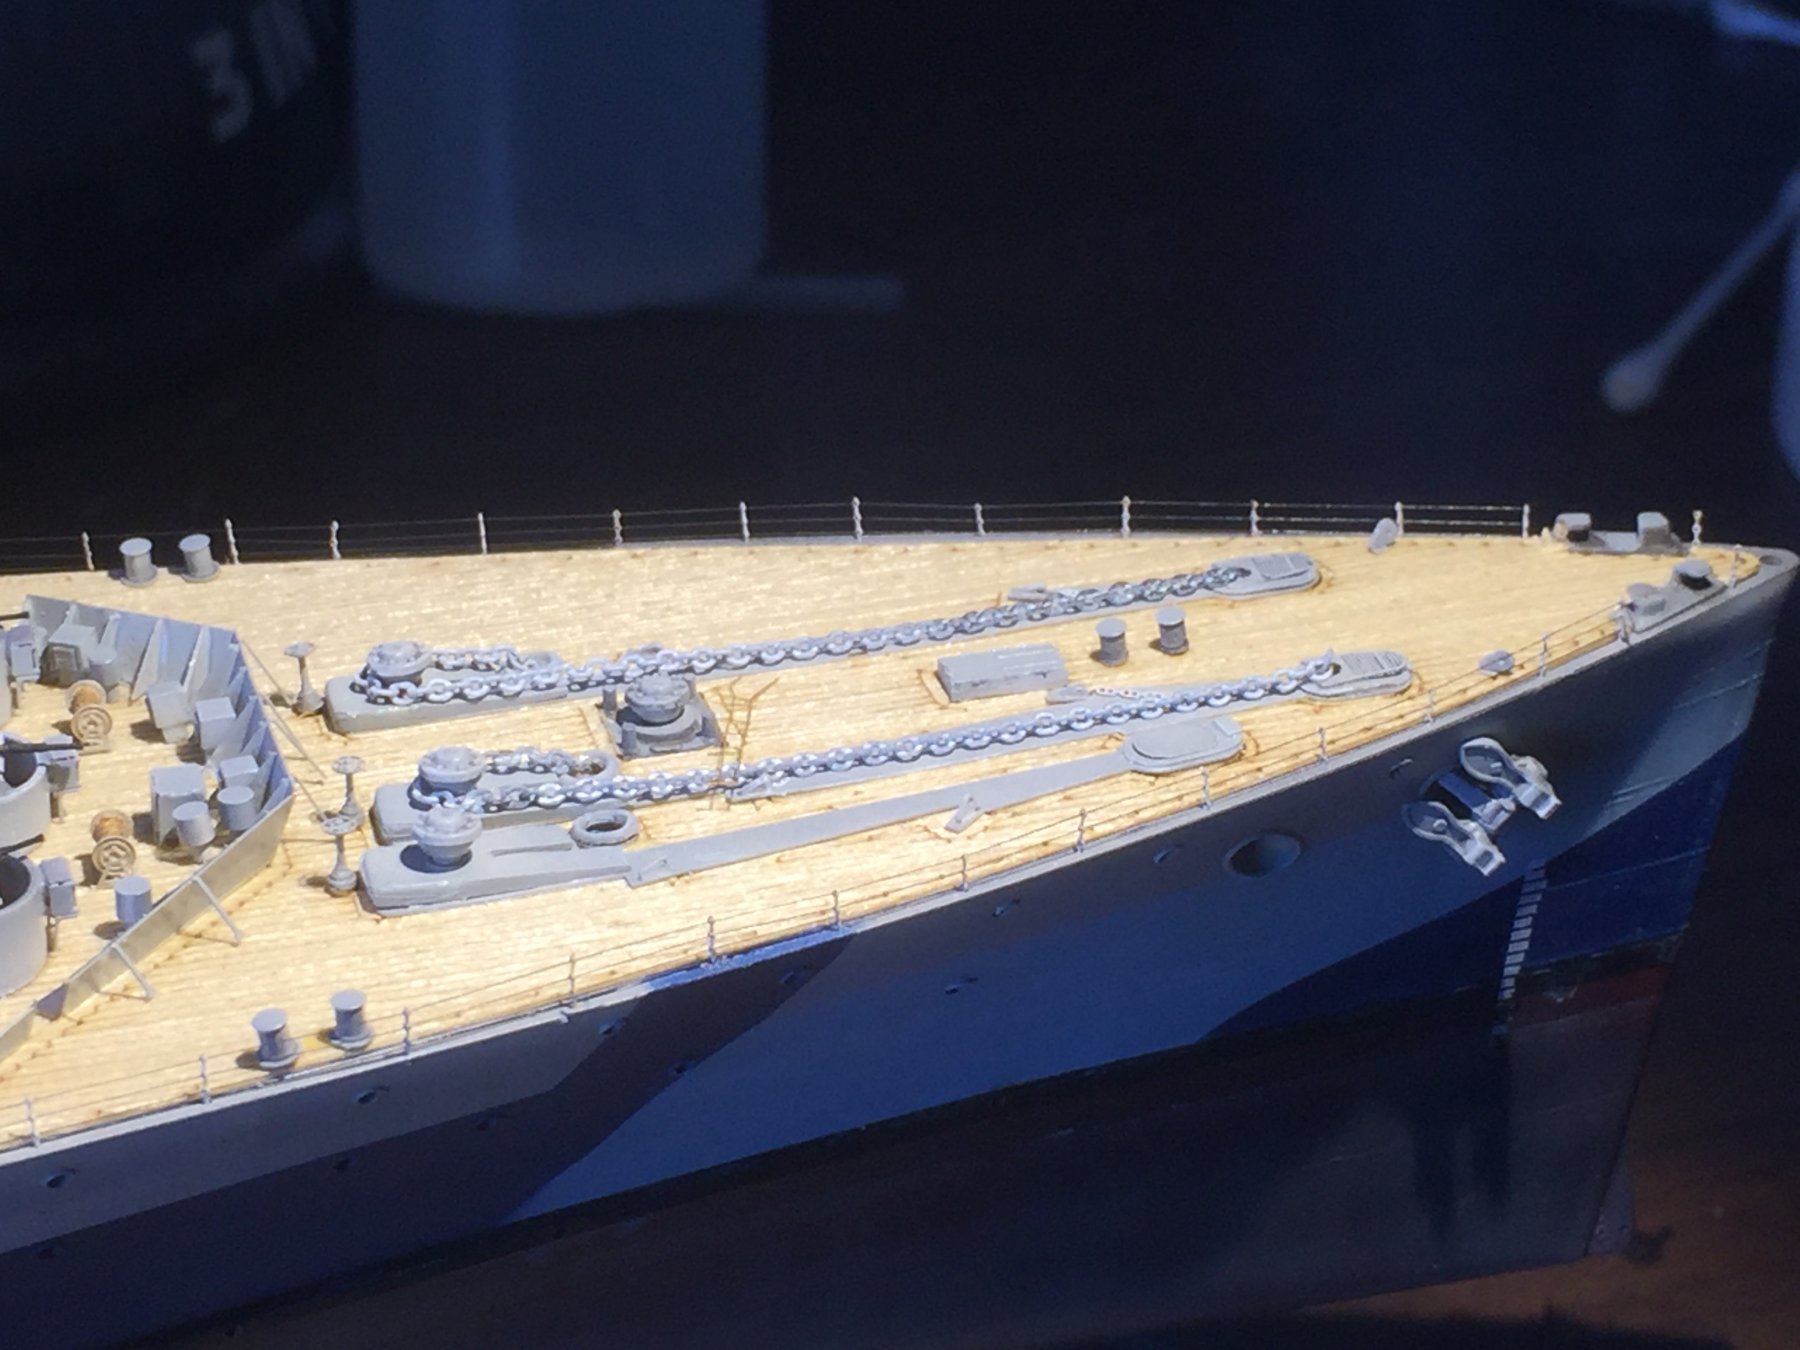
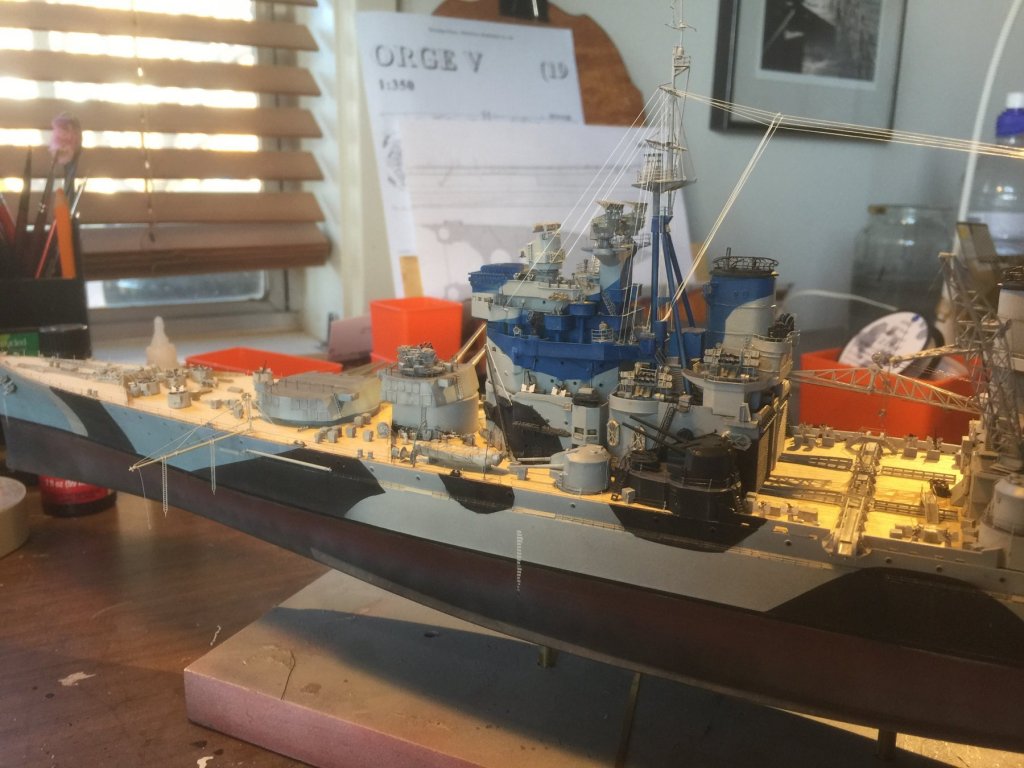
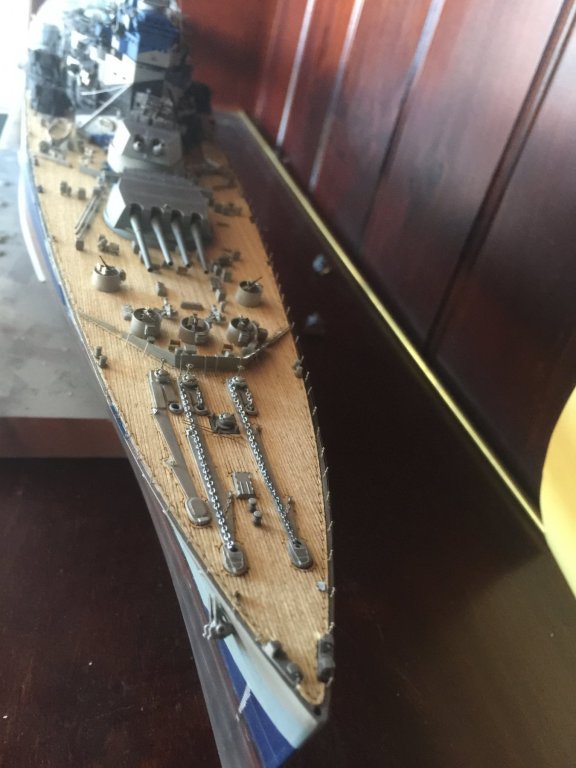
Well that’s the worst part of the build done. The stanchions are white as I gave them a base primer coat from the Tamiya rattle can before putting them on, as another coat would plug up the holes. When I do the touch up phase I will make sure they are all strait and paint them. The Anchors are resin ones from North Star Models as the kit ones are utter rubbish. There are only two as no reference I can see has her with three after 1940.
- 405 replies
-
- 16
-
-
- tamiya
- king george v
- (and 2 more)
-
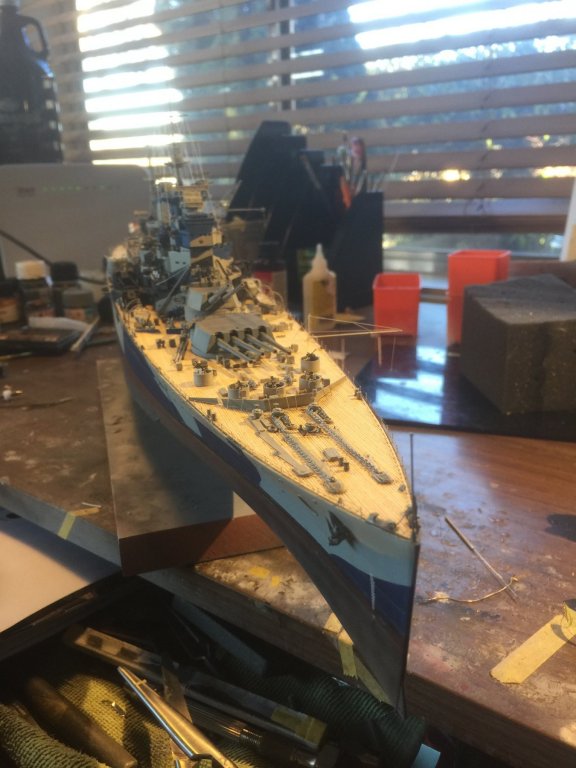
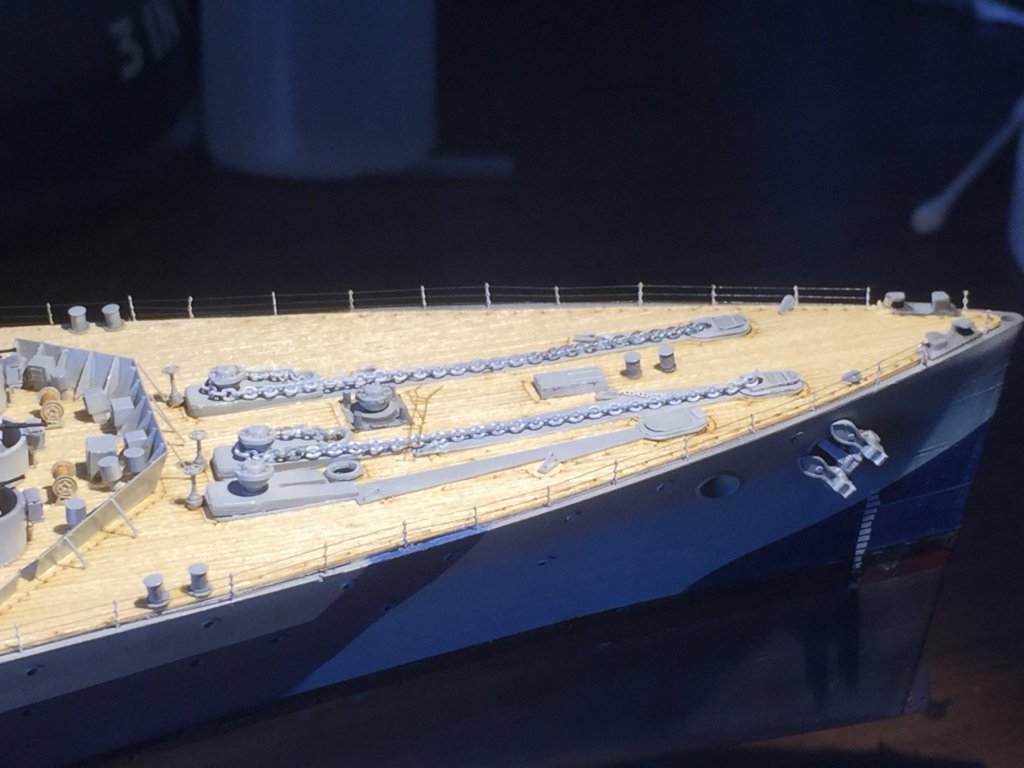
Pastels and pigments work fine on paint, just not the cellulose deck materials as the definition disappears. It is what it is BUT! The coffee sneeze leads me to believe I’m onto something that I’m going to have to work on. I really dont don’t want to weather this deck, asehen you look at the KGV photos from the Med in 1943 it is spotless as would be expected of the Kings ship.
- 405 replies
-
- 5
-
-
- tamiya
- king george v
- (and 2 more)