RGL
-
Posts
5,539 -
Joined
-
Last visited
Content Type
Profiles
Forums
Gallery
Events
Everything posted by RGL
-
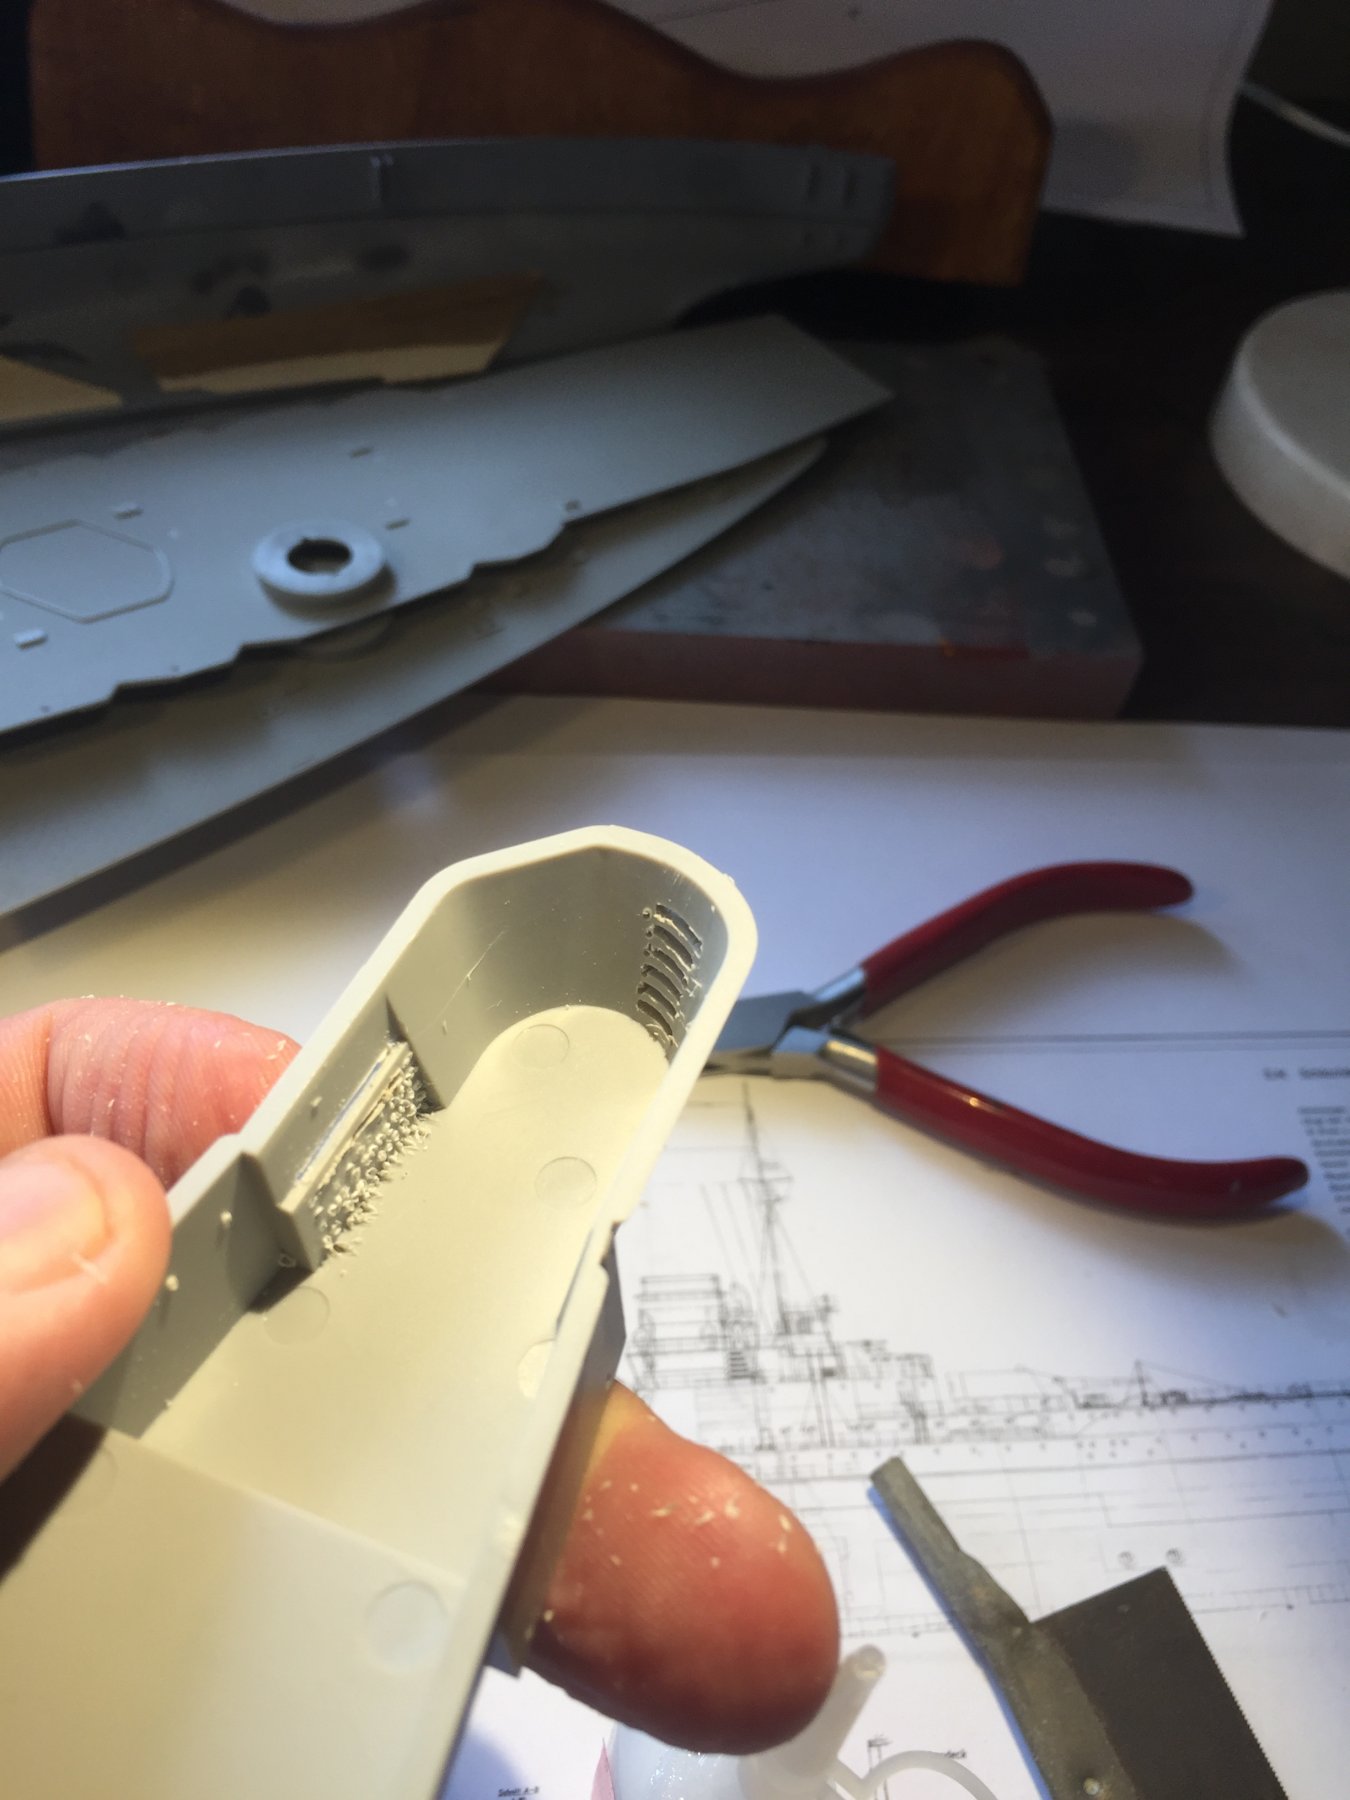
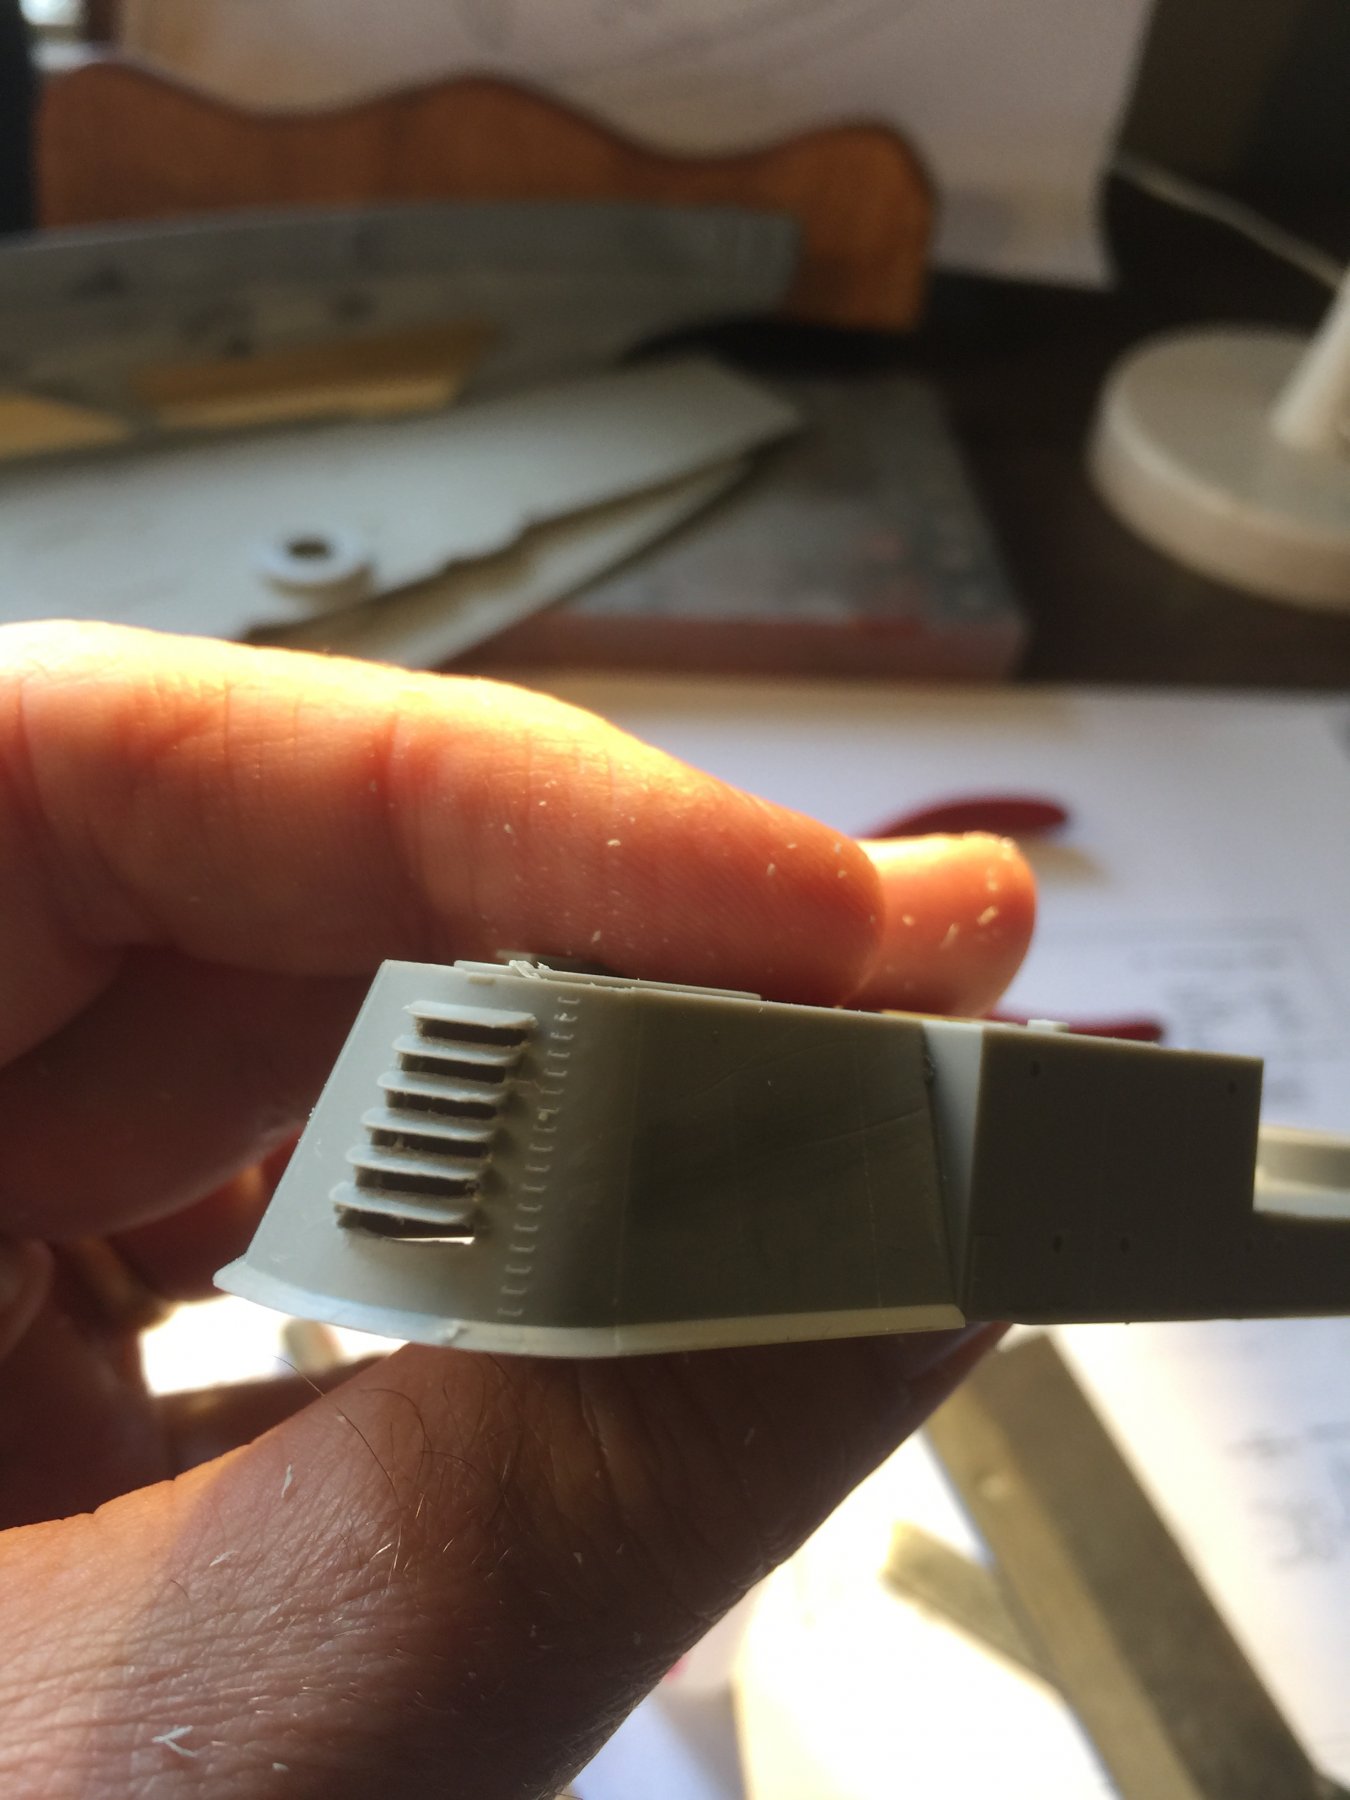
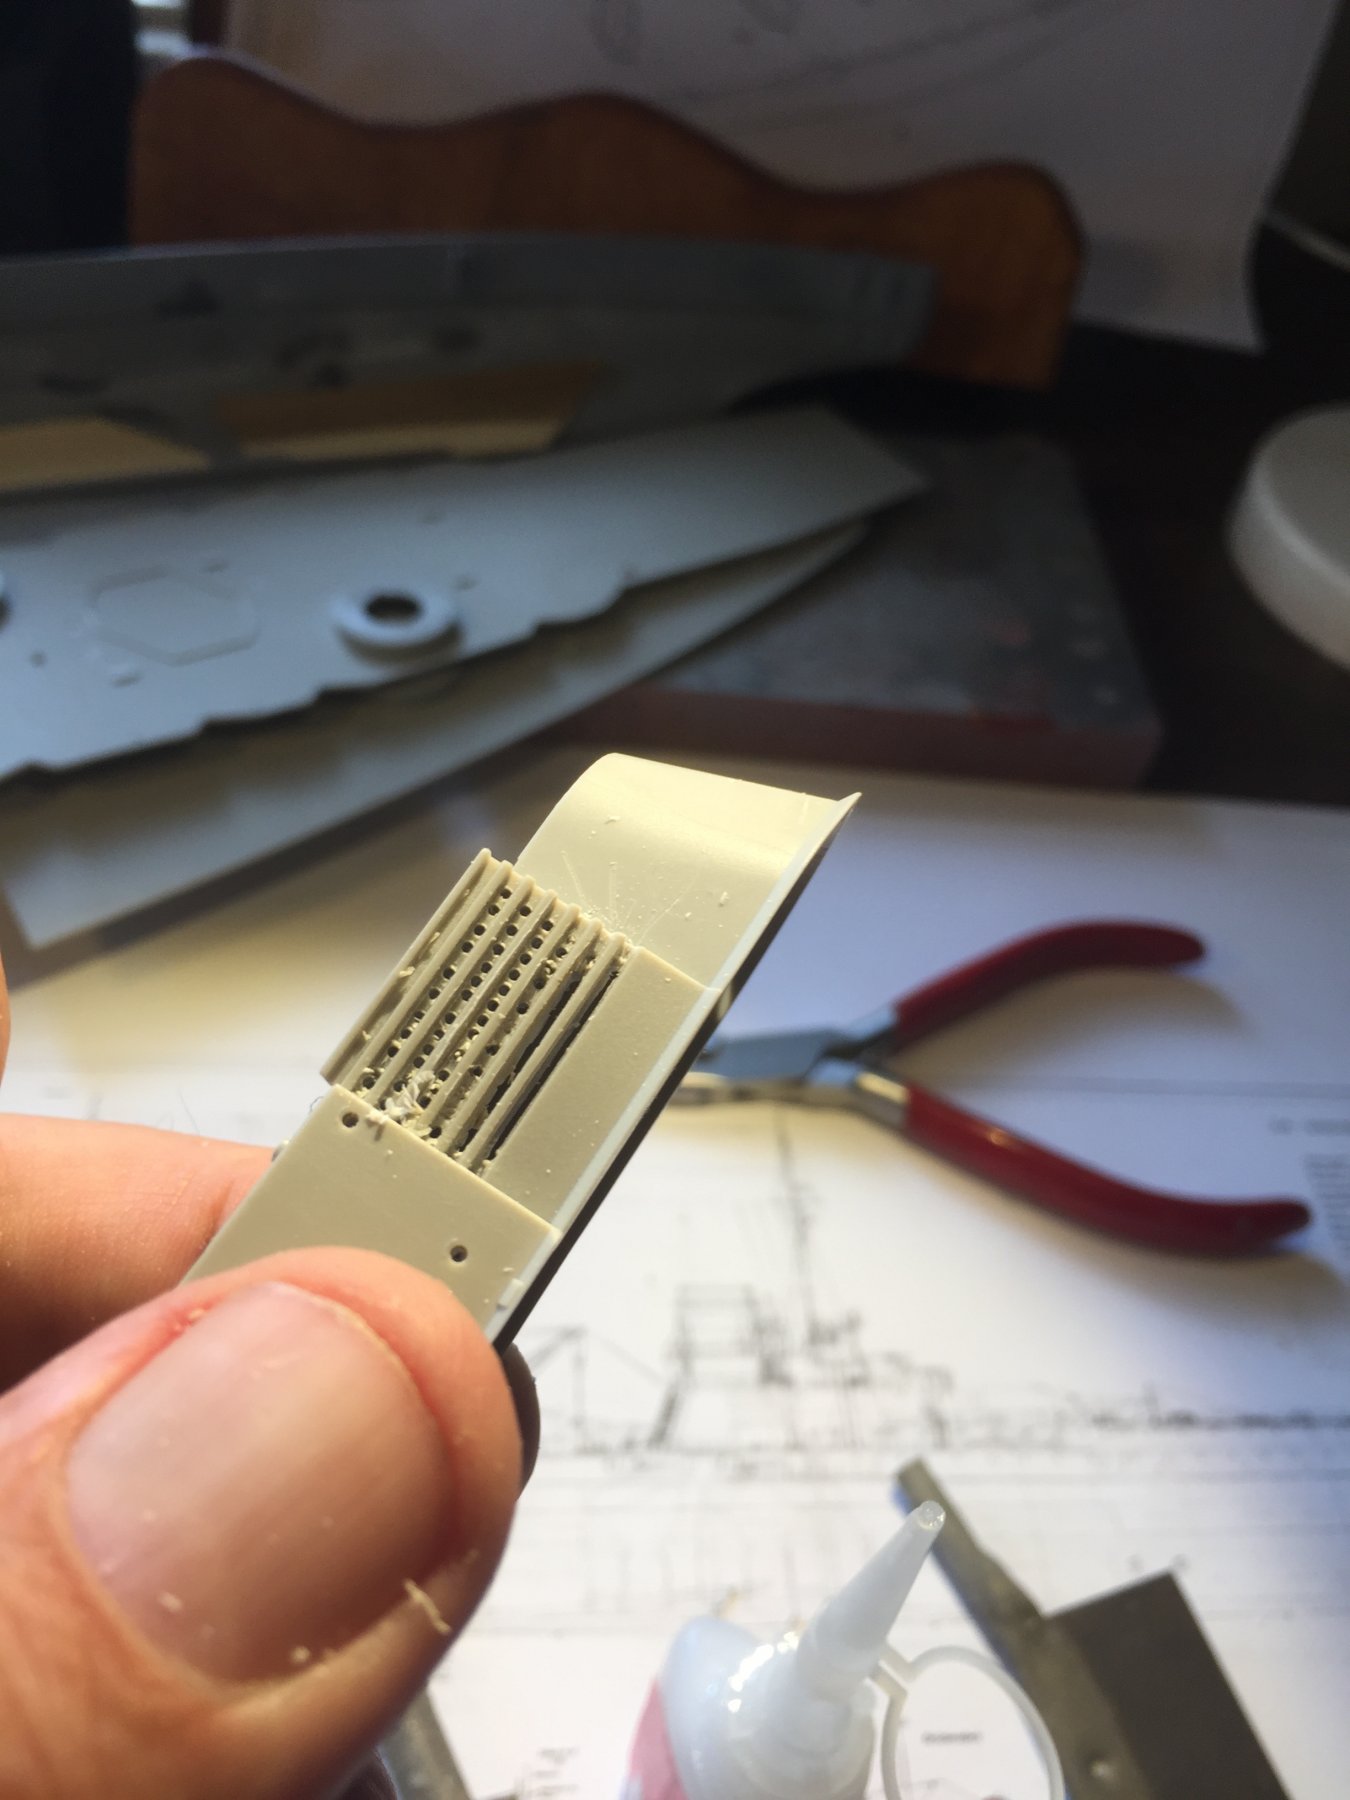
 I thought about that, on quite a few photos there does not appear to be any metal grille behind apart from a few support struts. When you zoom in they are completely black, leading me to believe they are hollow. That being said, because of that it forces you to drill these bits out.

-
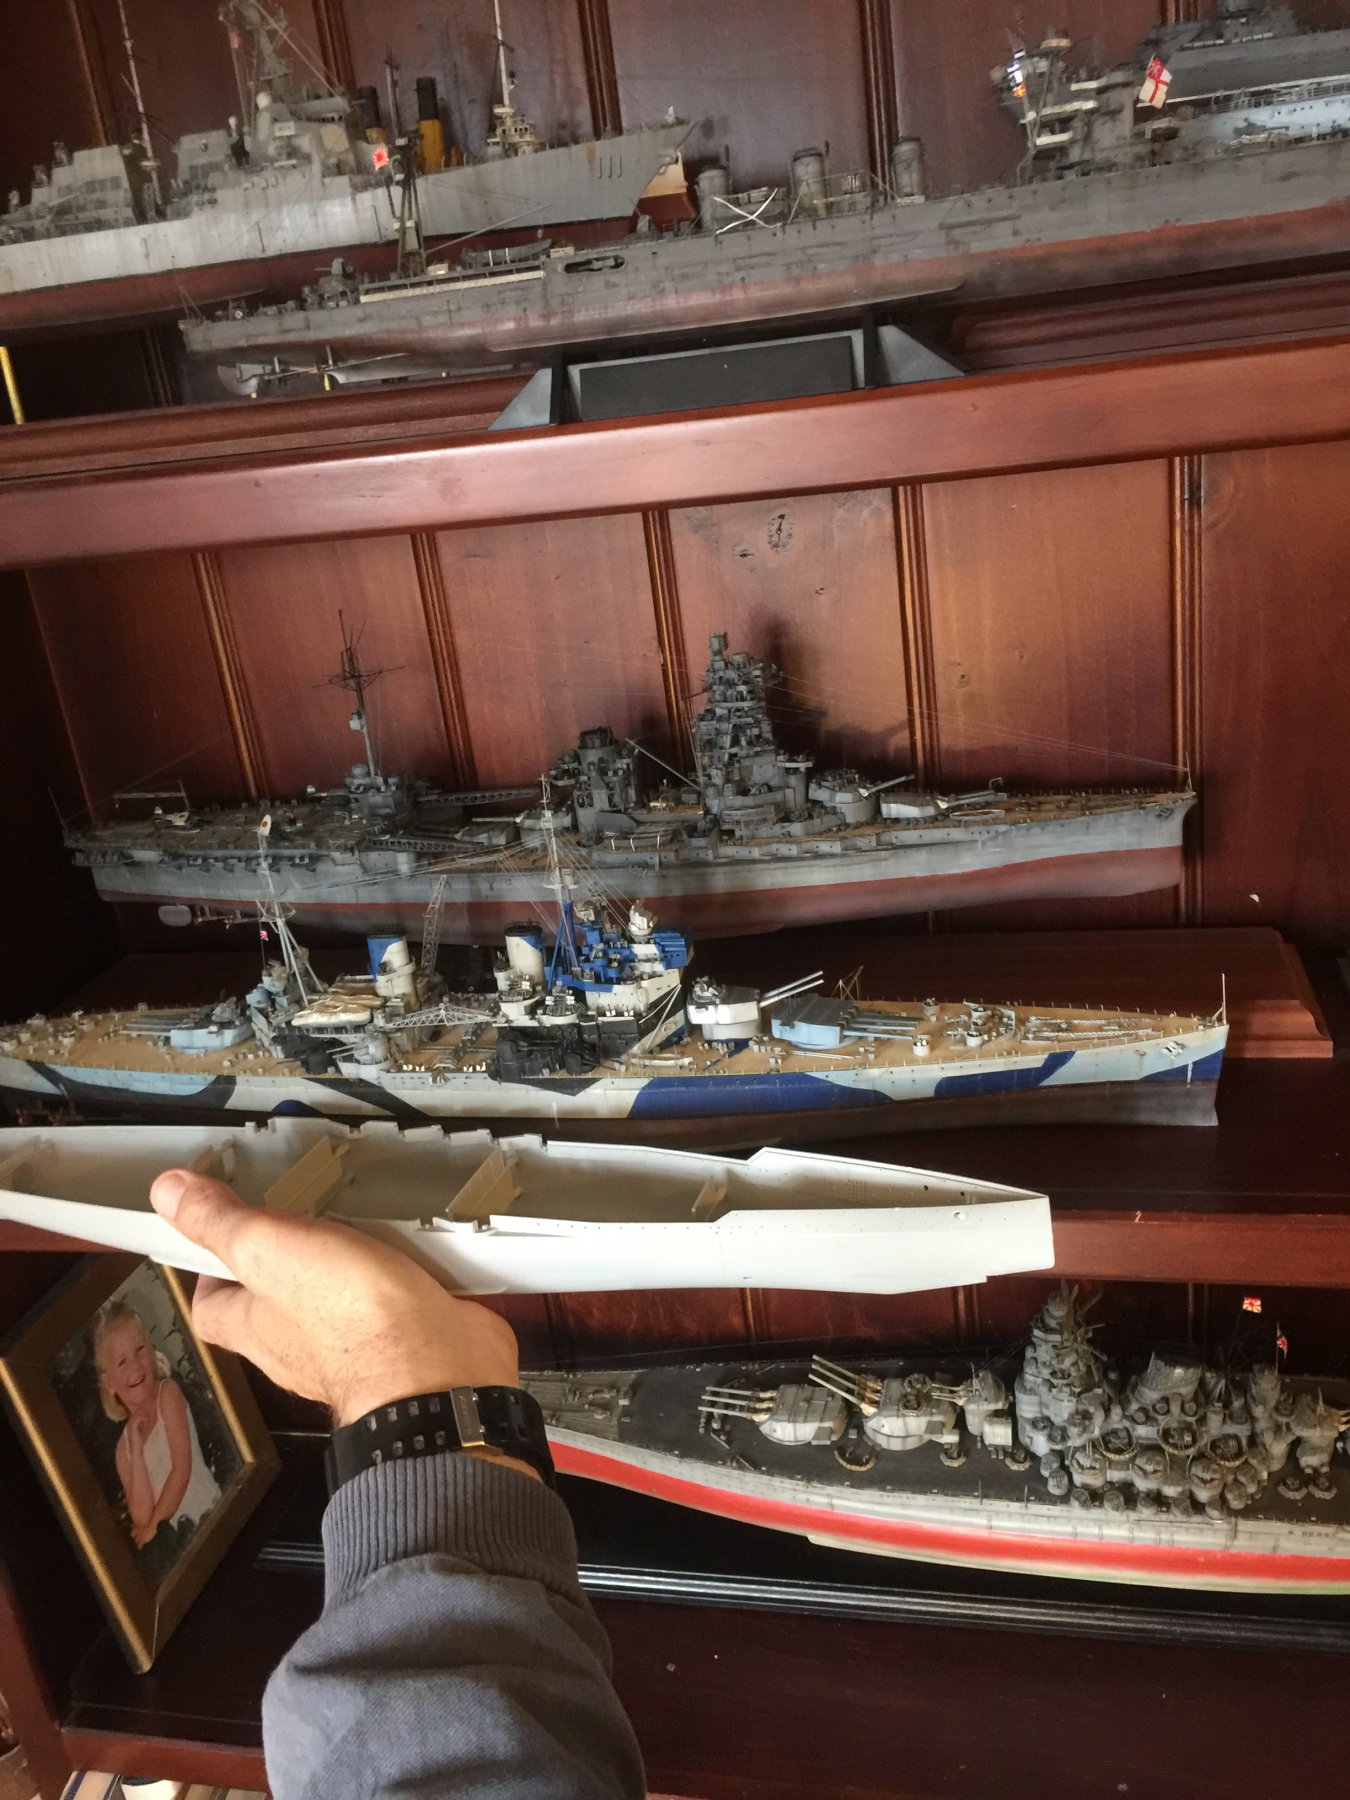
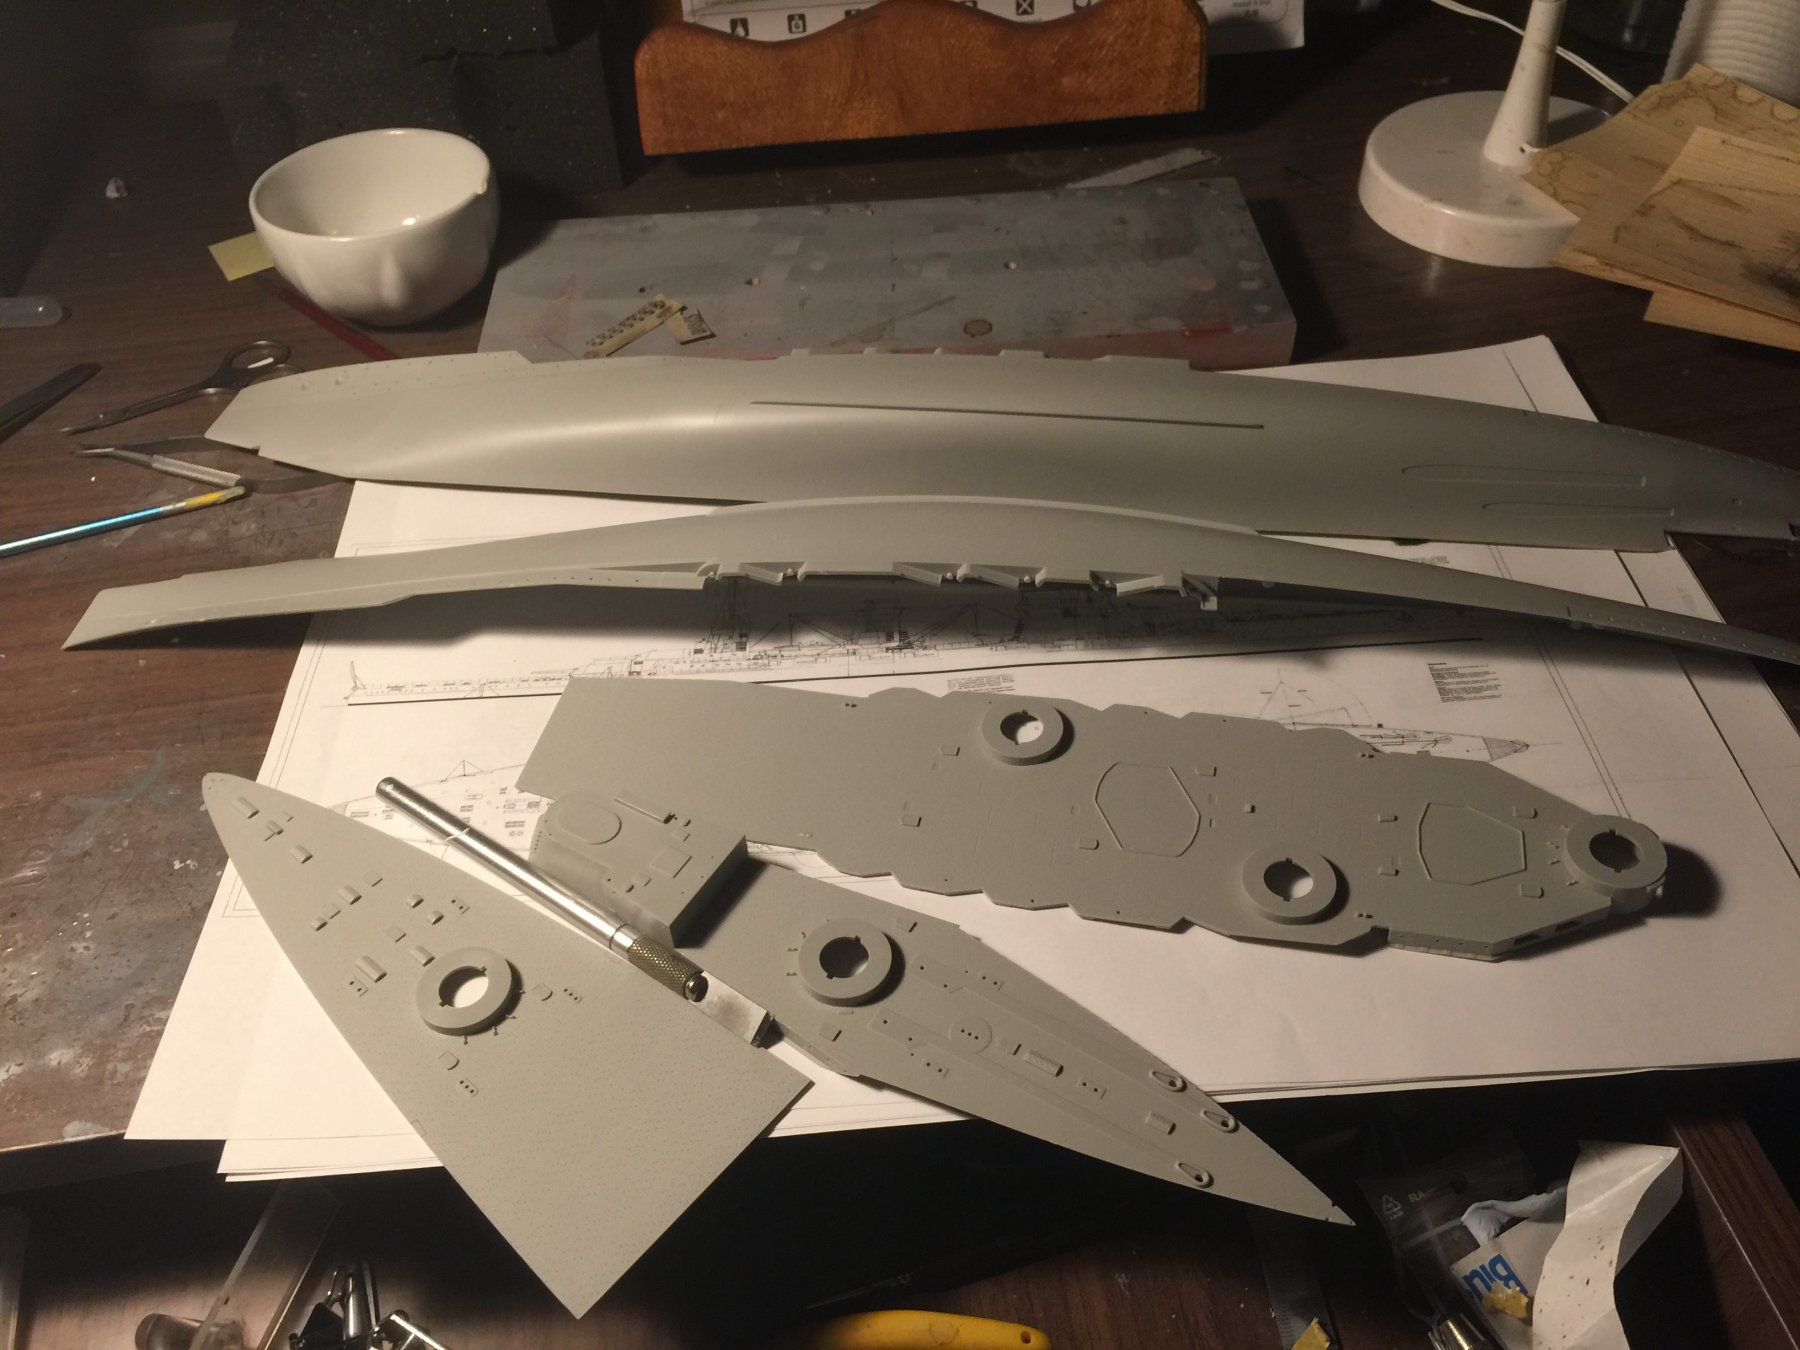
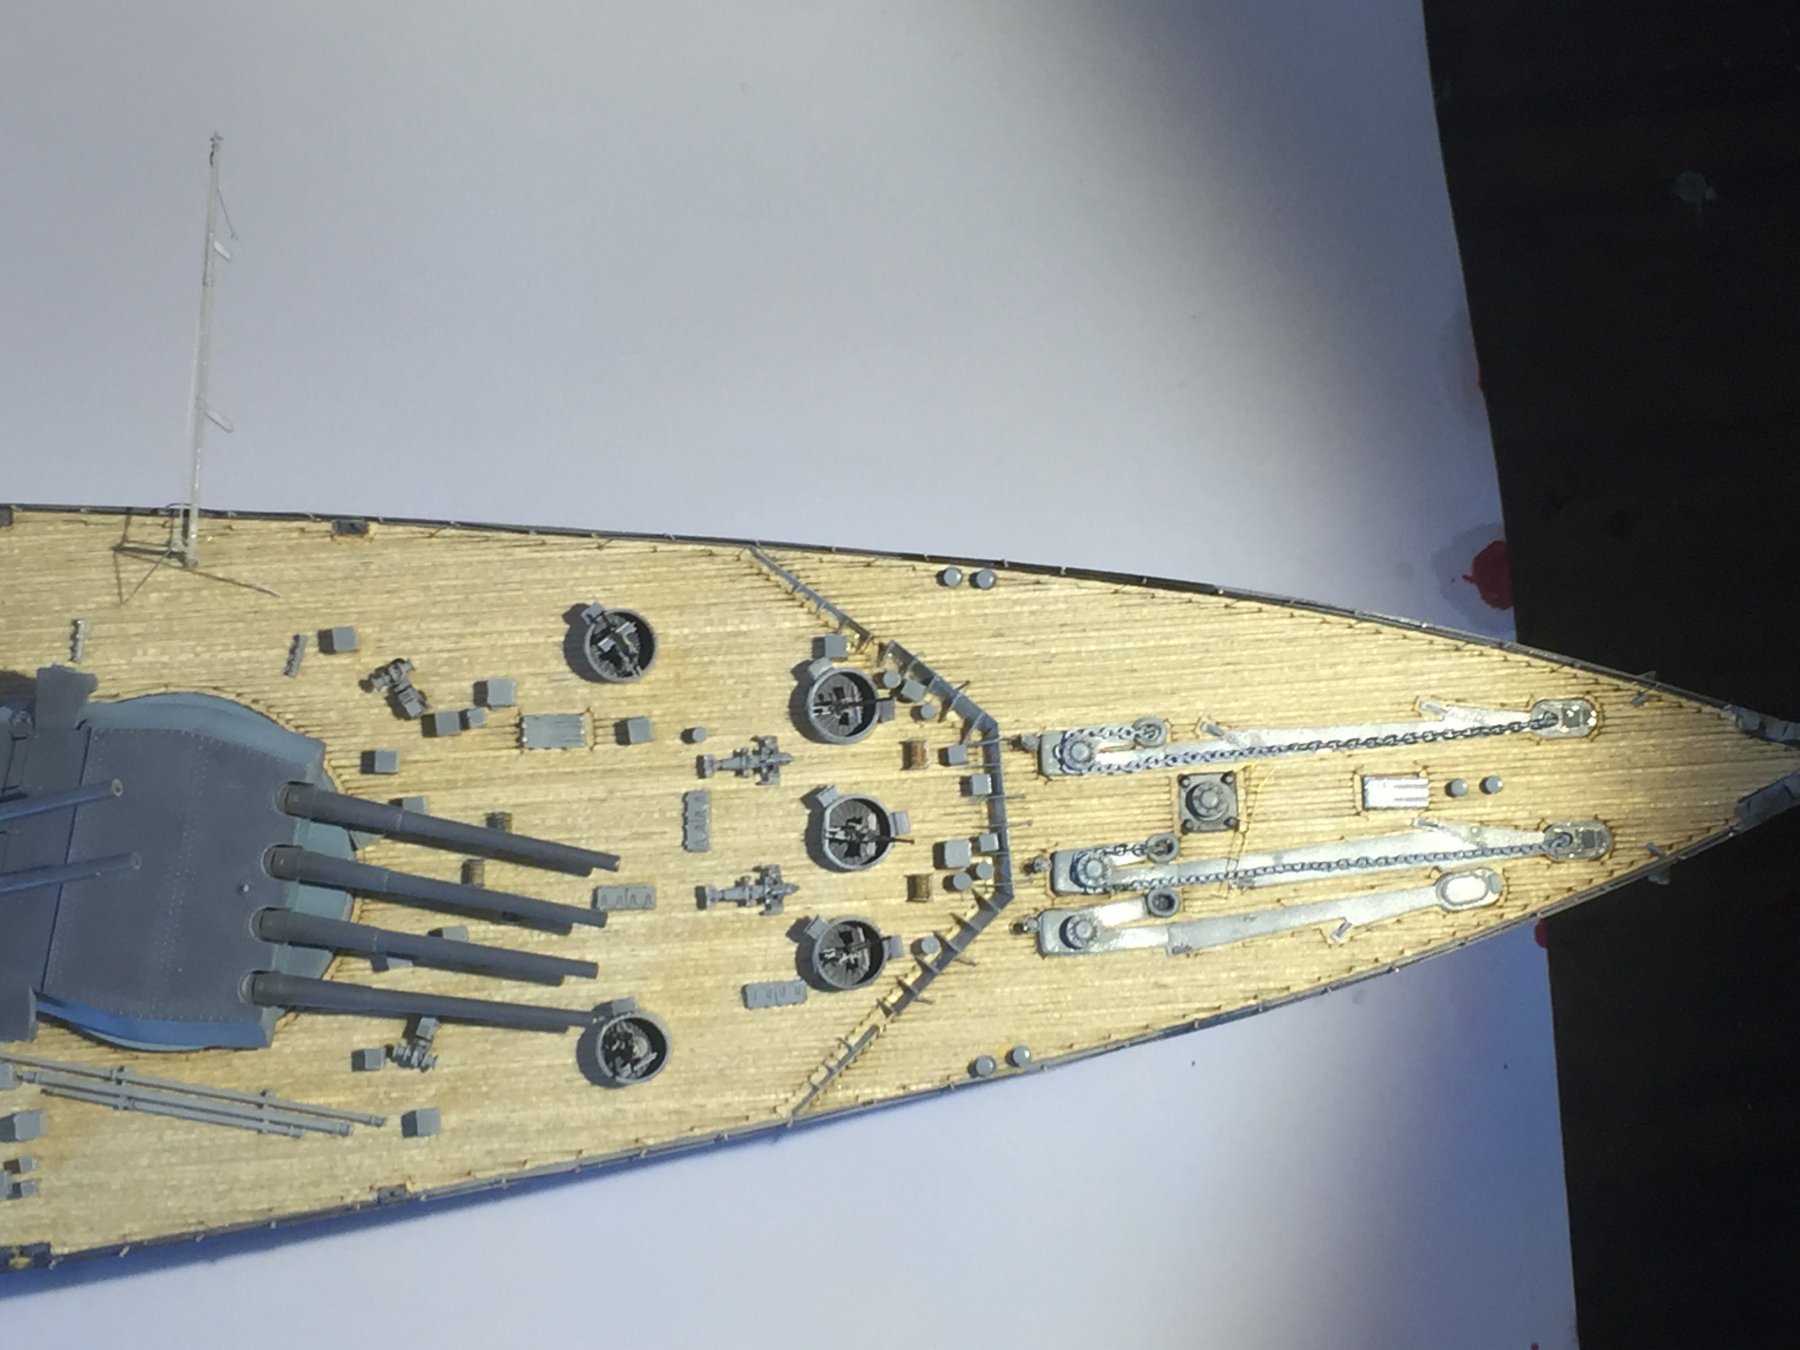
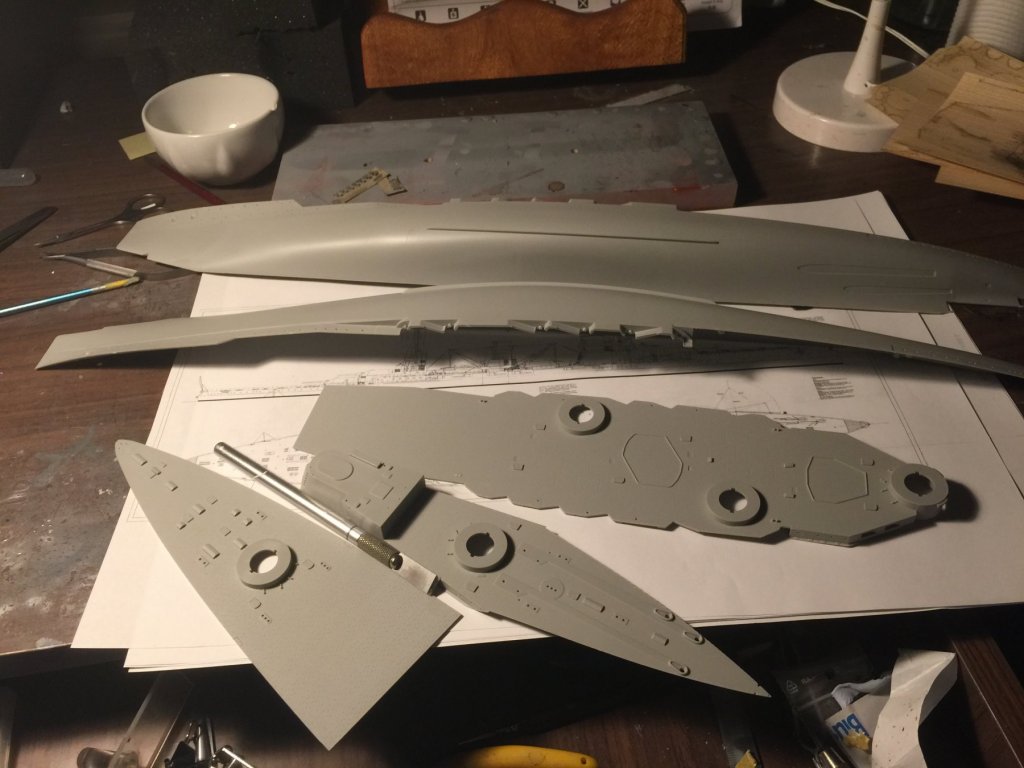
Hull pieces together. You have to place the support struts internally first or it just will not line up properly. Gaps to be filled then drill in the support holds and wooden blocks. Its quite a large large ship compared to KGV
- 540 replies
-
- 12
-

-
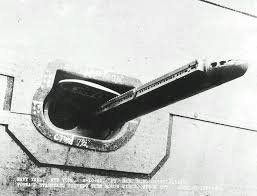
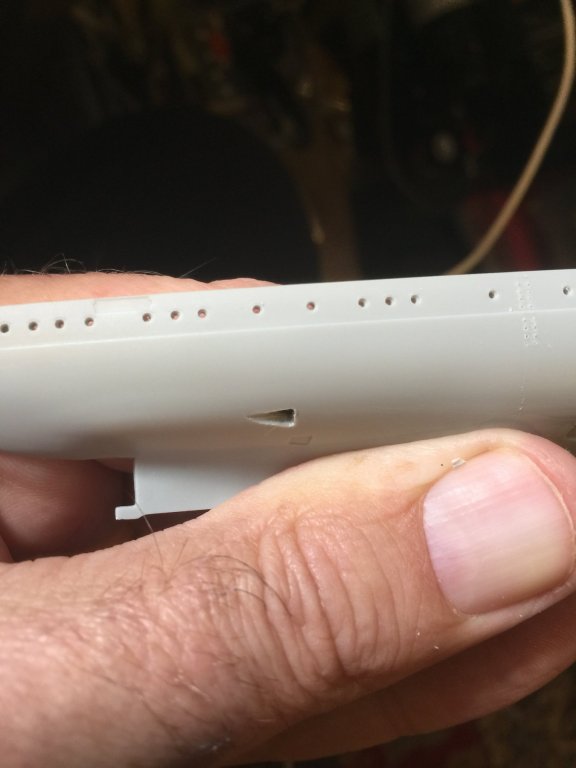
Torpedo tubes cut in. I placed some card behind them and will add hatches after the primer coats are done. I nearly chickened out but there is no excuse for that. There is a port and a starboard side tube. When I did my Emden even Revell had the decency to cut them in.
-
I wasnt aware of it! Thanks. Dont forget the comedy duo who are also joining me on this build! Anyone can join!
-
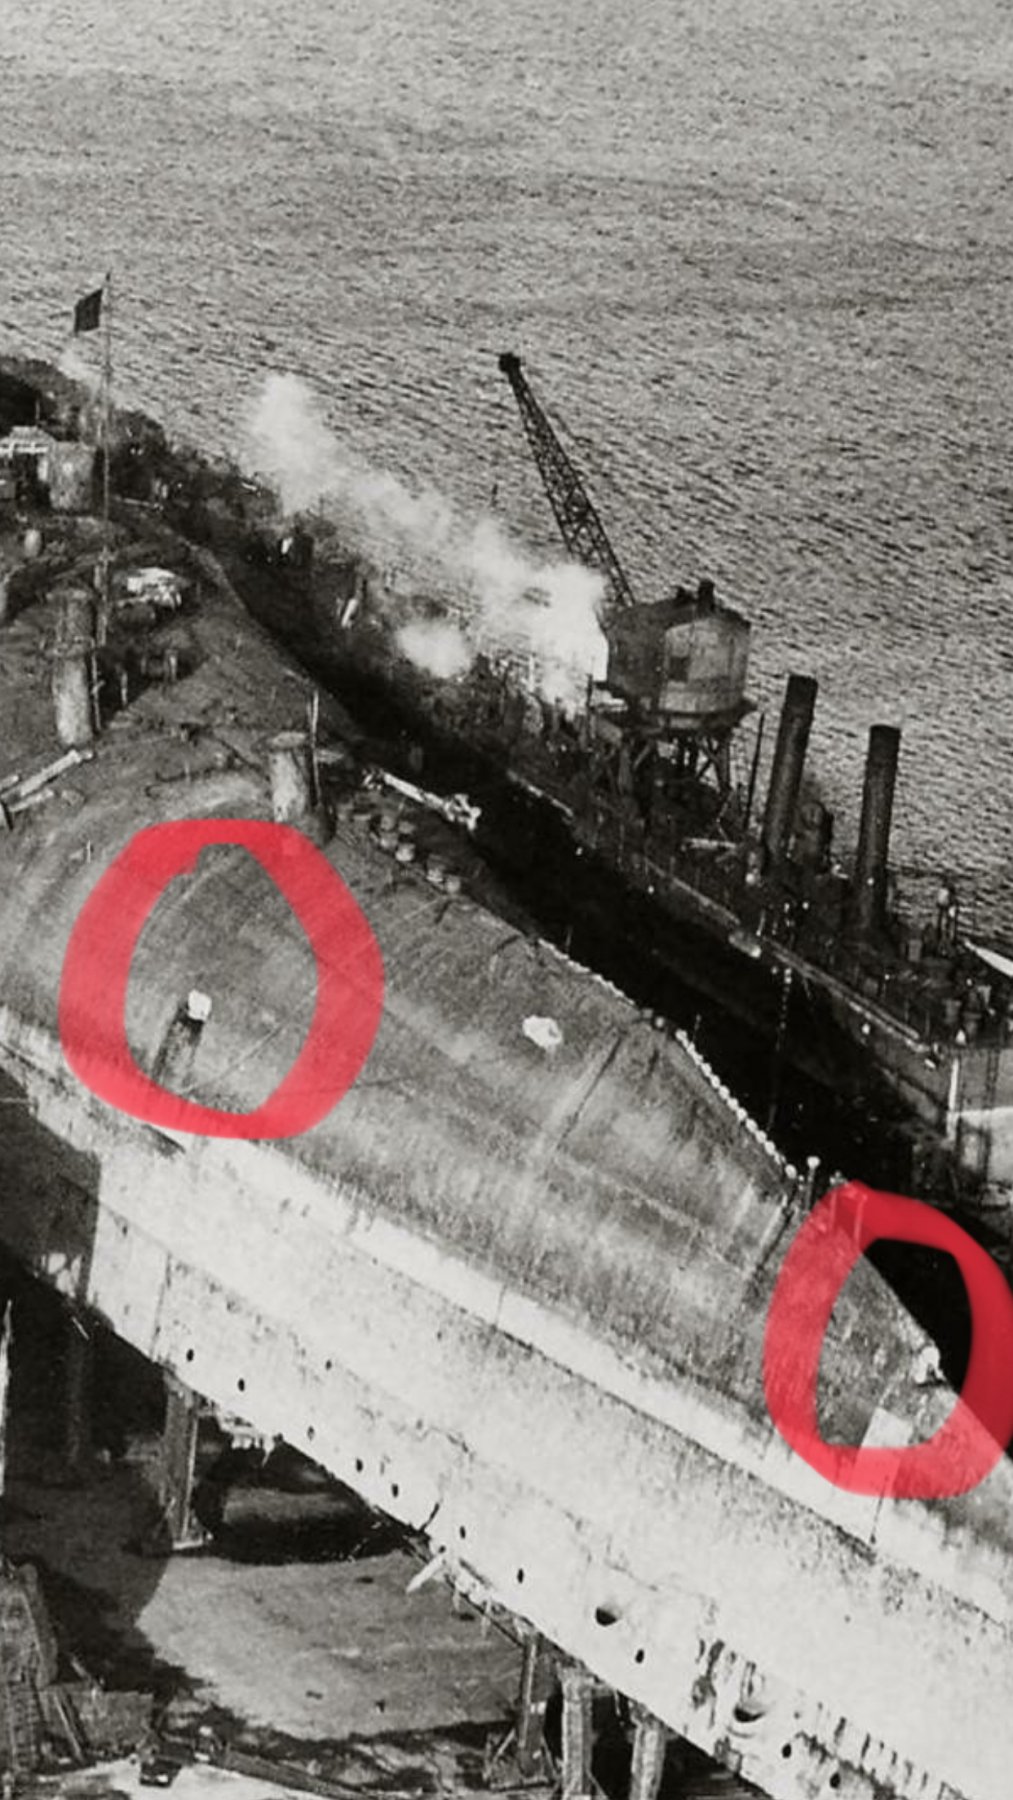
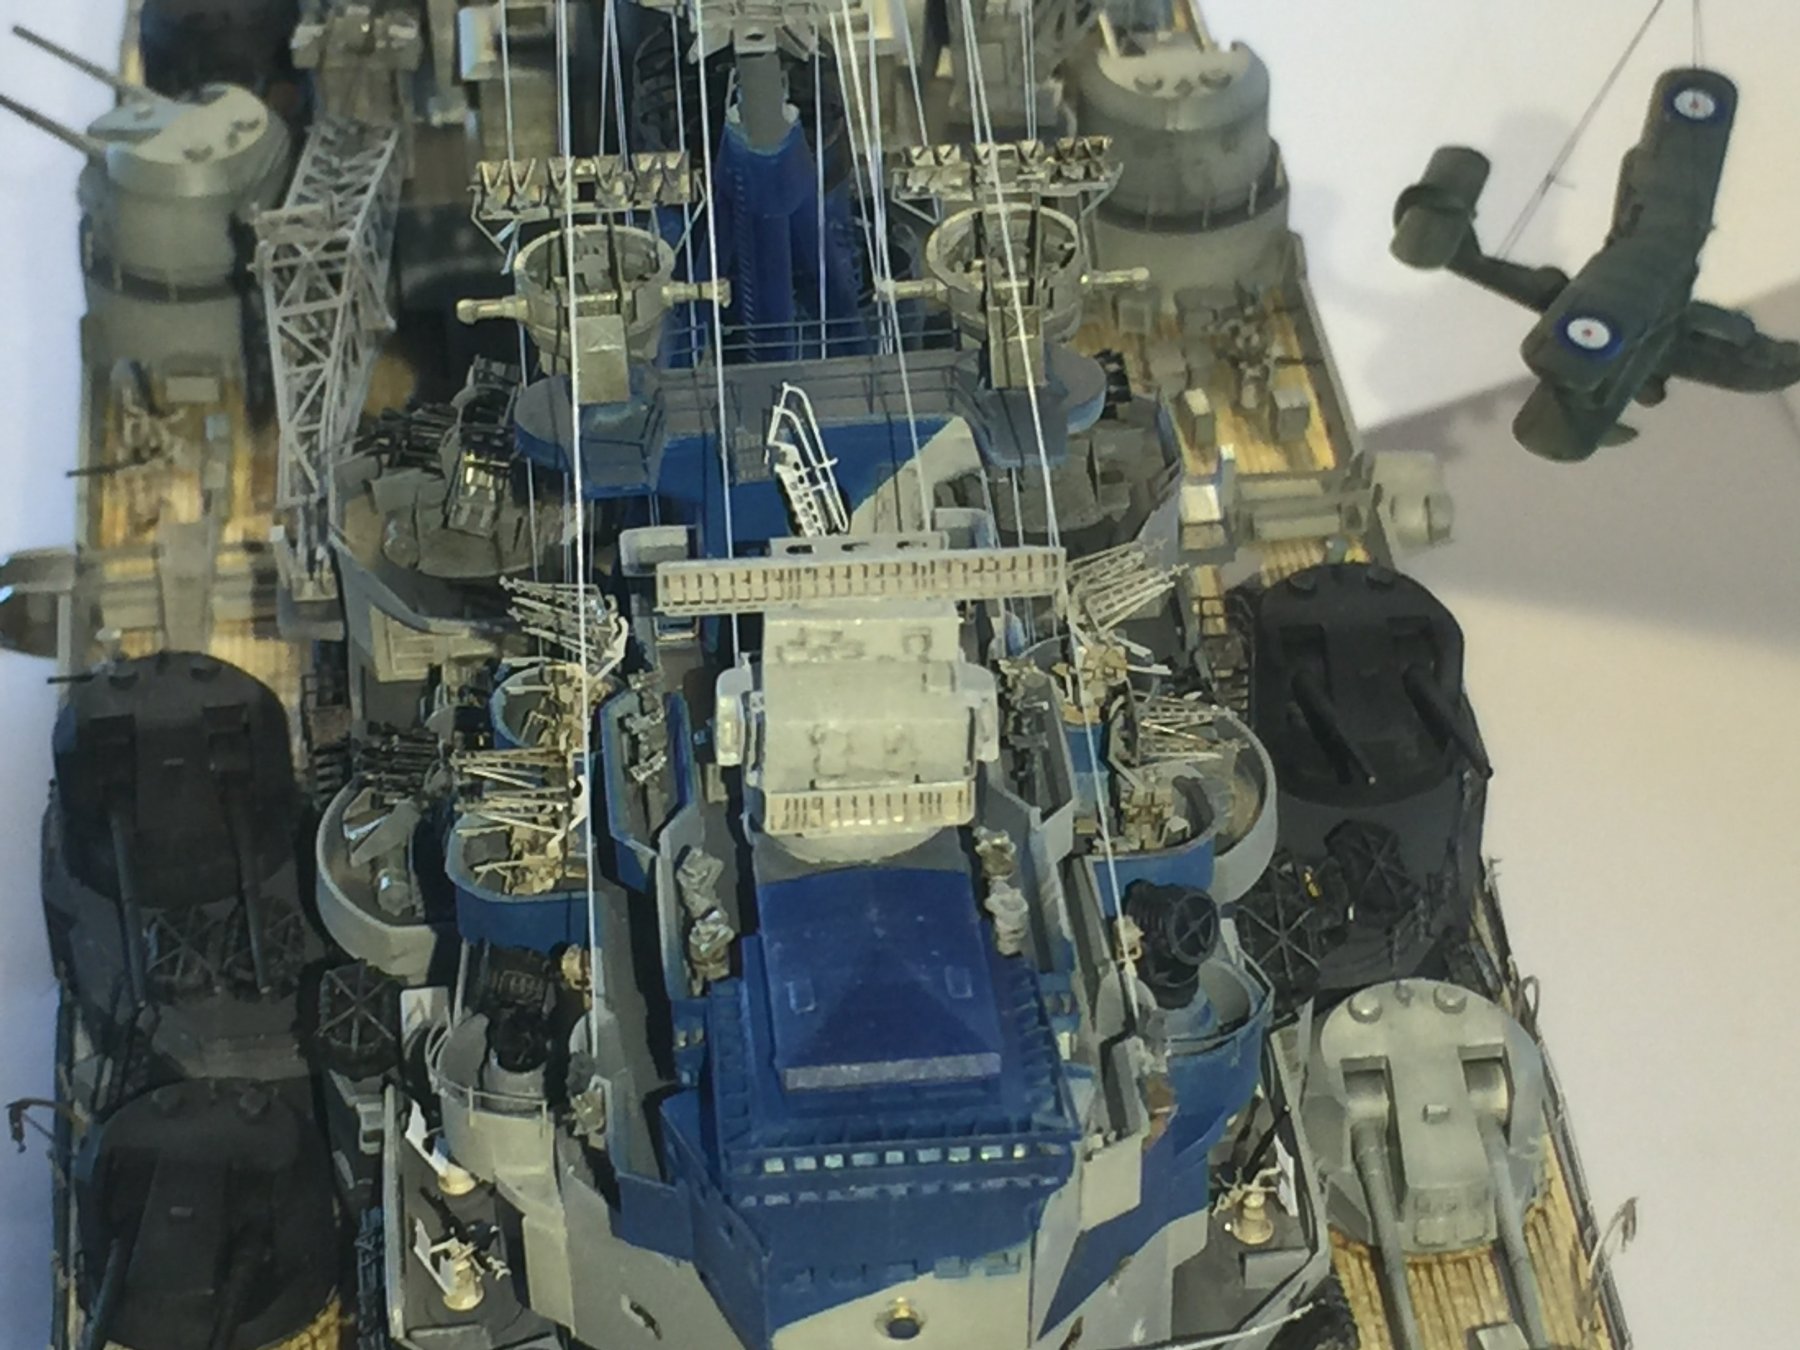
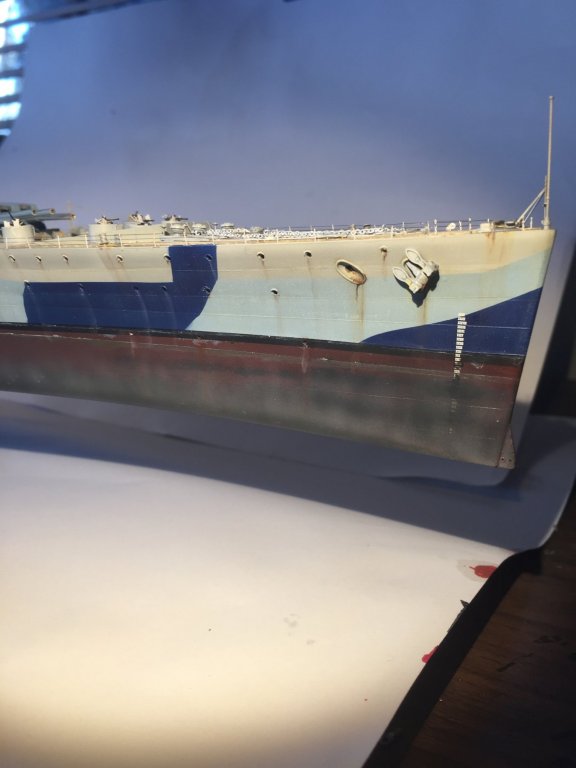
And of course just to prove me wrong there are some steps on the starboard stern. You can also see how the vents can be seen through

-
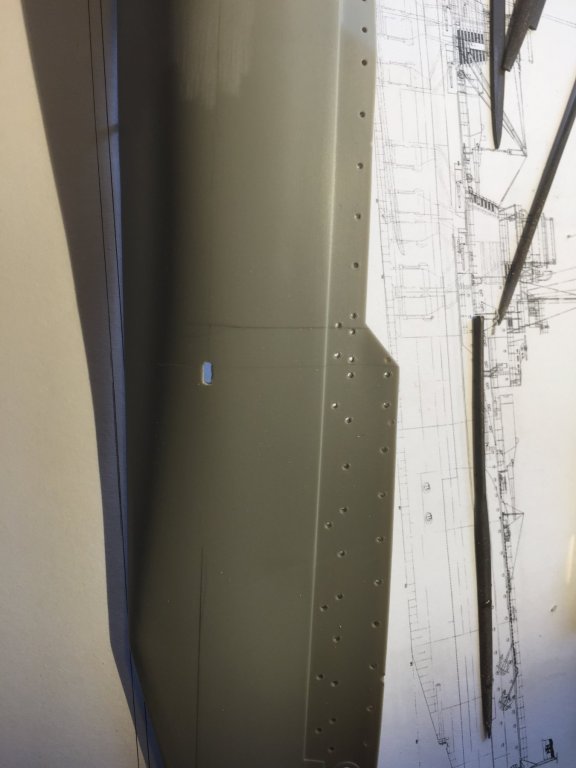
Now another shot portside and forward if this. Notice the ventilatiors? The kit has the vanes but no holes which will need to be drilled out.

-
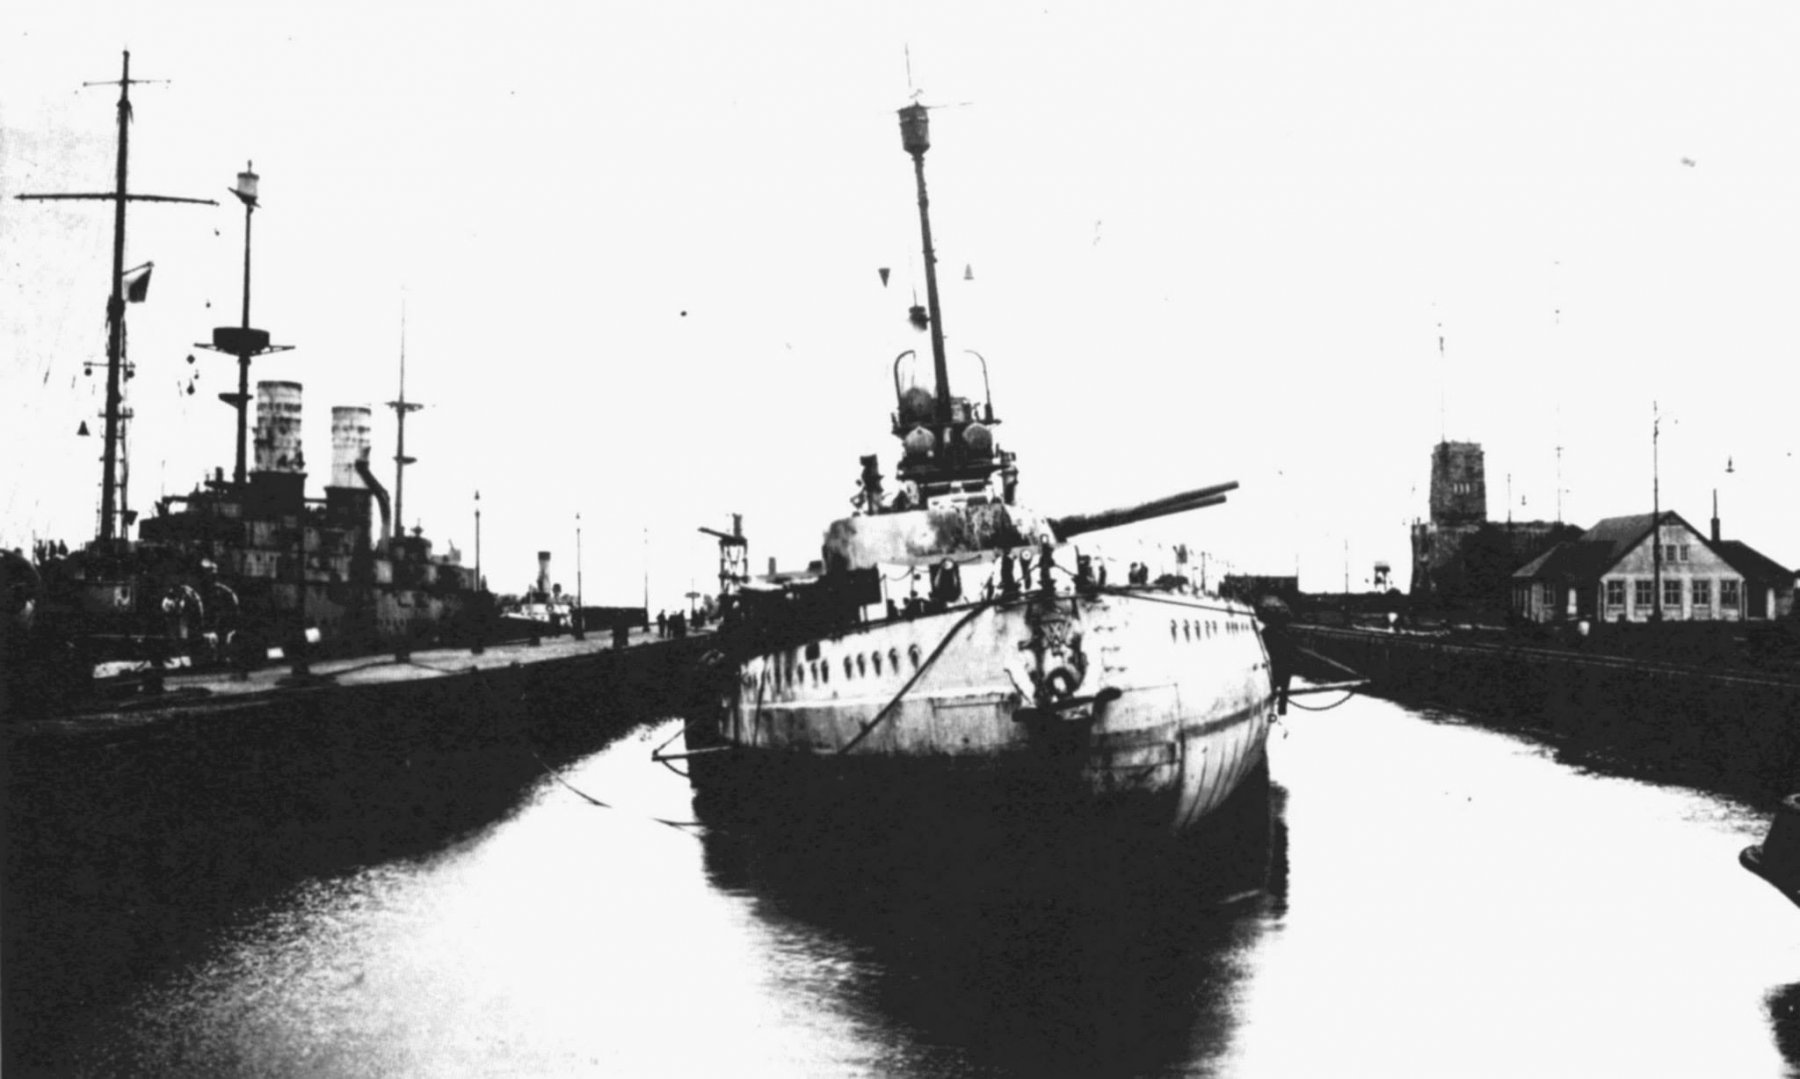
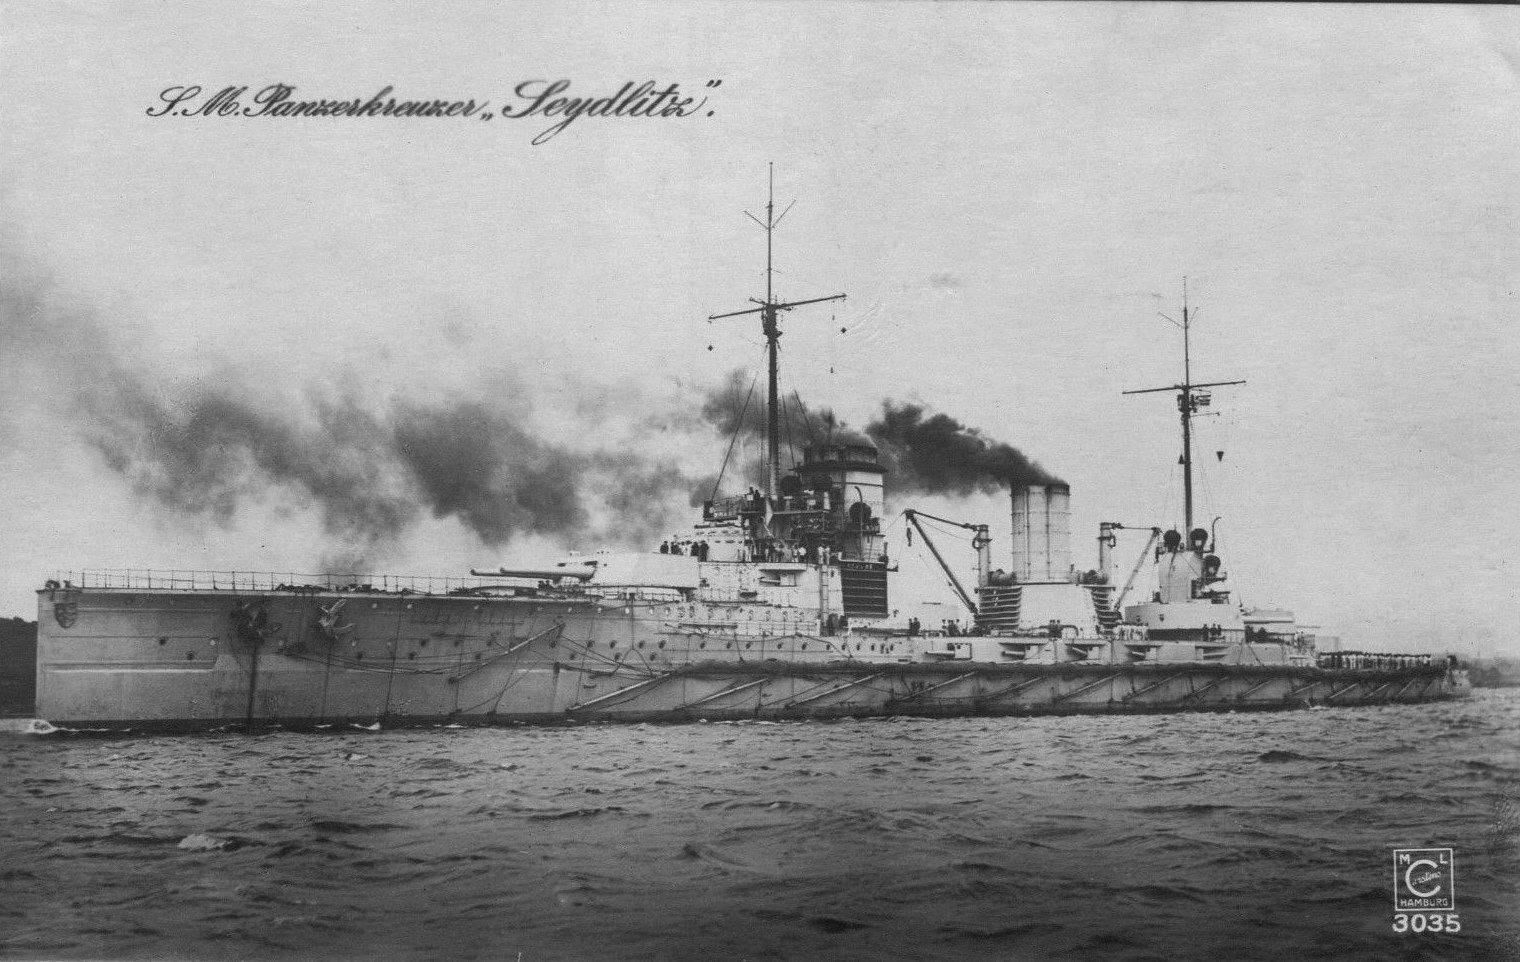
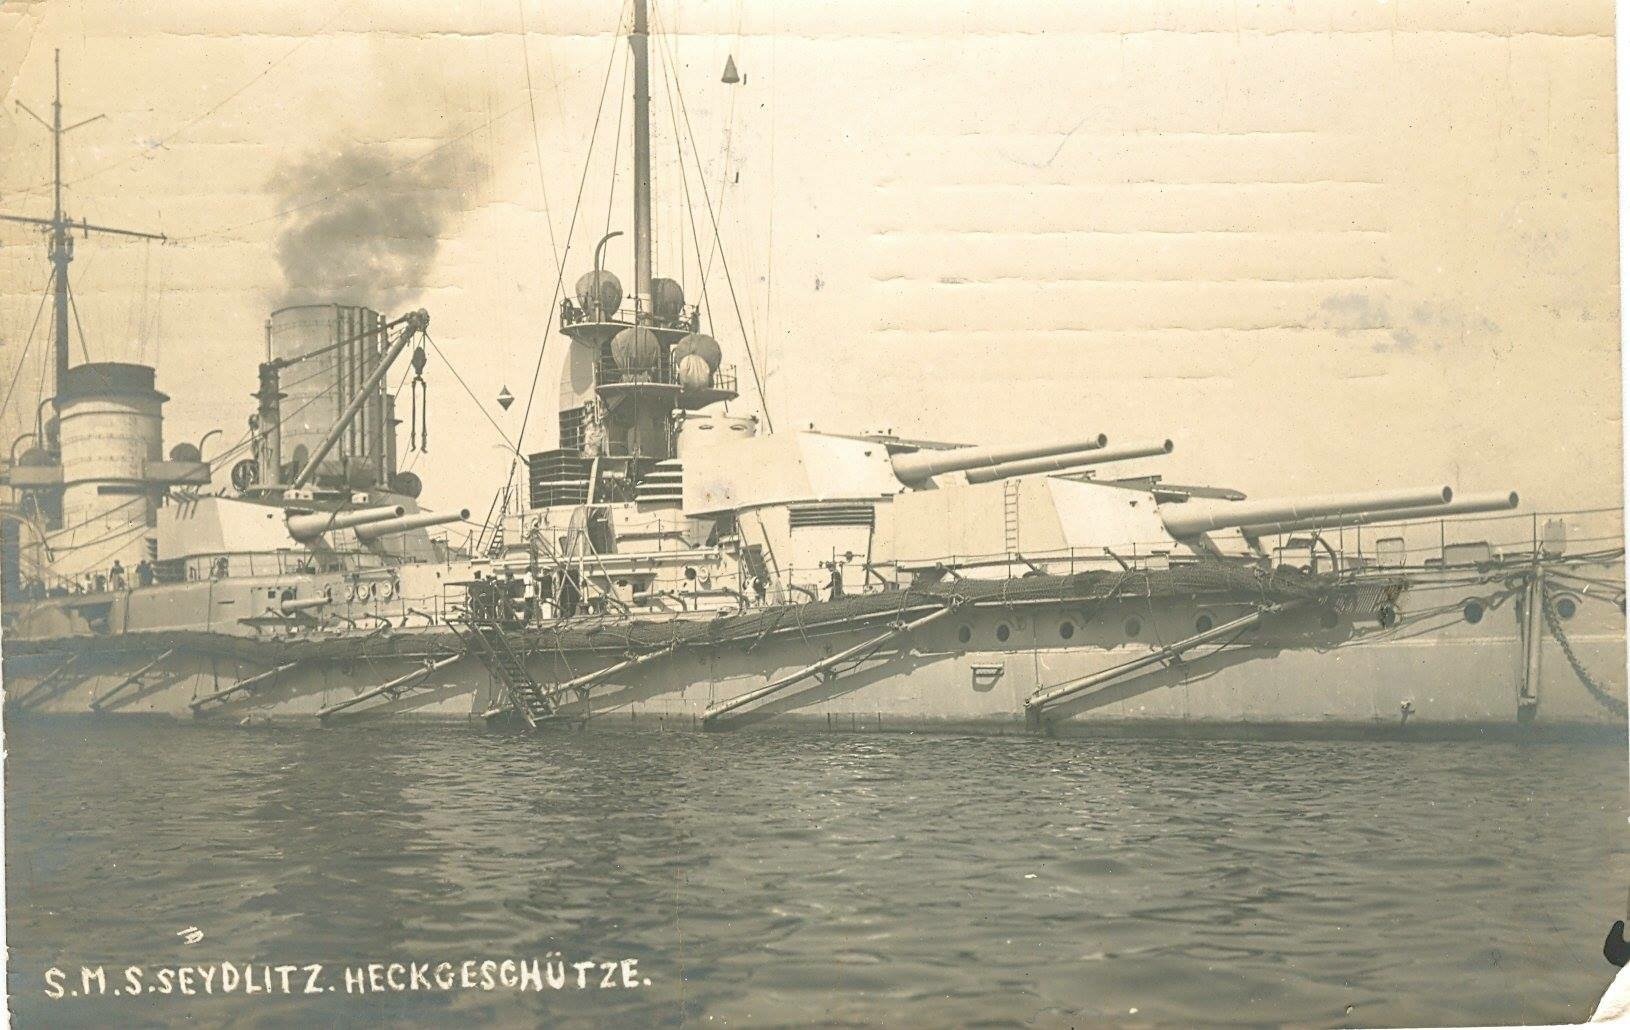
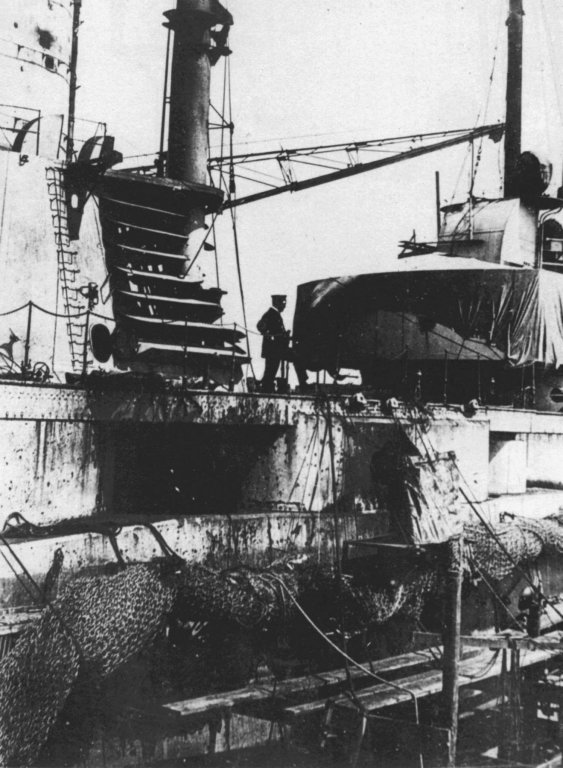
In the process of researching the shop, I have discovered the hull has no ladders regardless of that the plans or kit says. The kit has them near the prop guards and stern but there’s are not on the original photos. There are sheaves all over the hull not on the kit or upgrade kit but required for the torpedo boom rigging. I hate to say it, but there’s far more unpublished photos on FB than on the www. I found this one yesterday I’ve never seen before that actually depicts the red aft funnel, and notice no ladder near the prop guards.

-
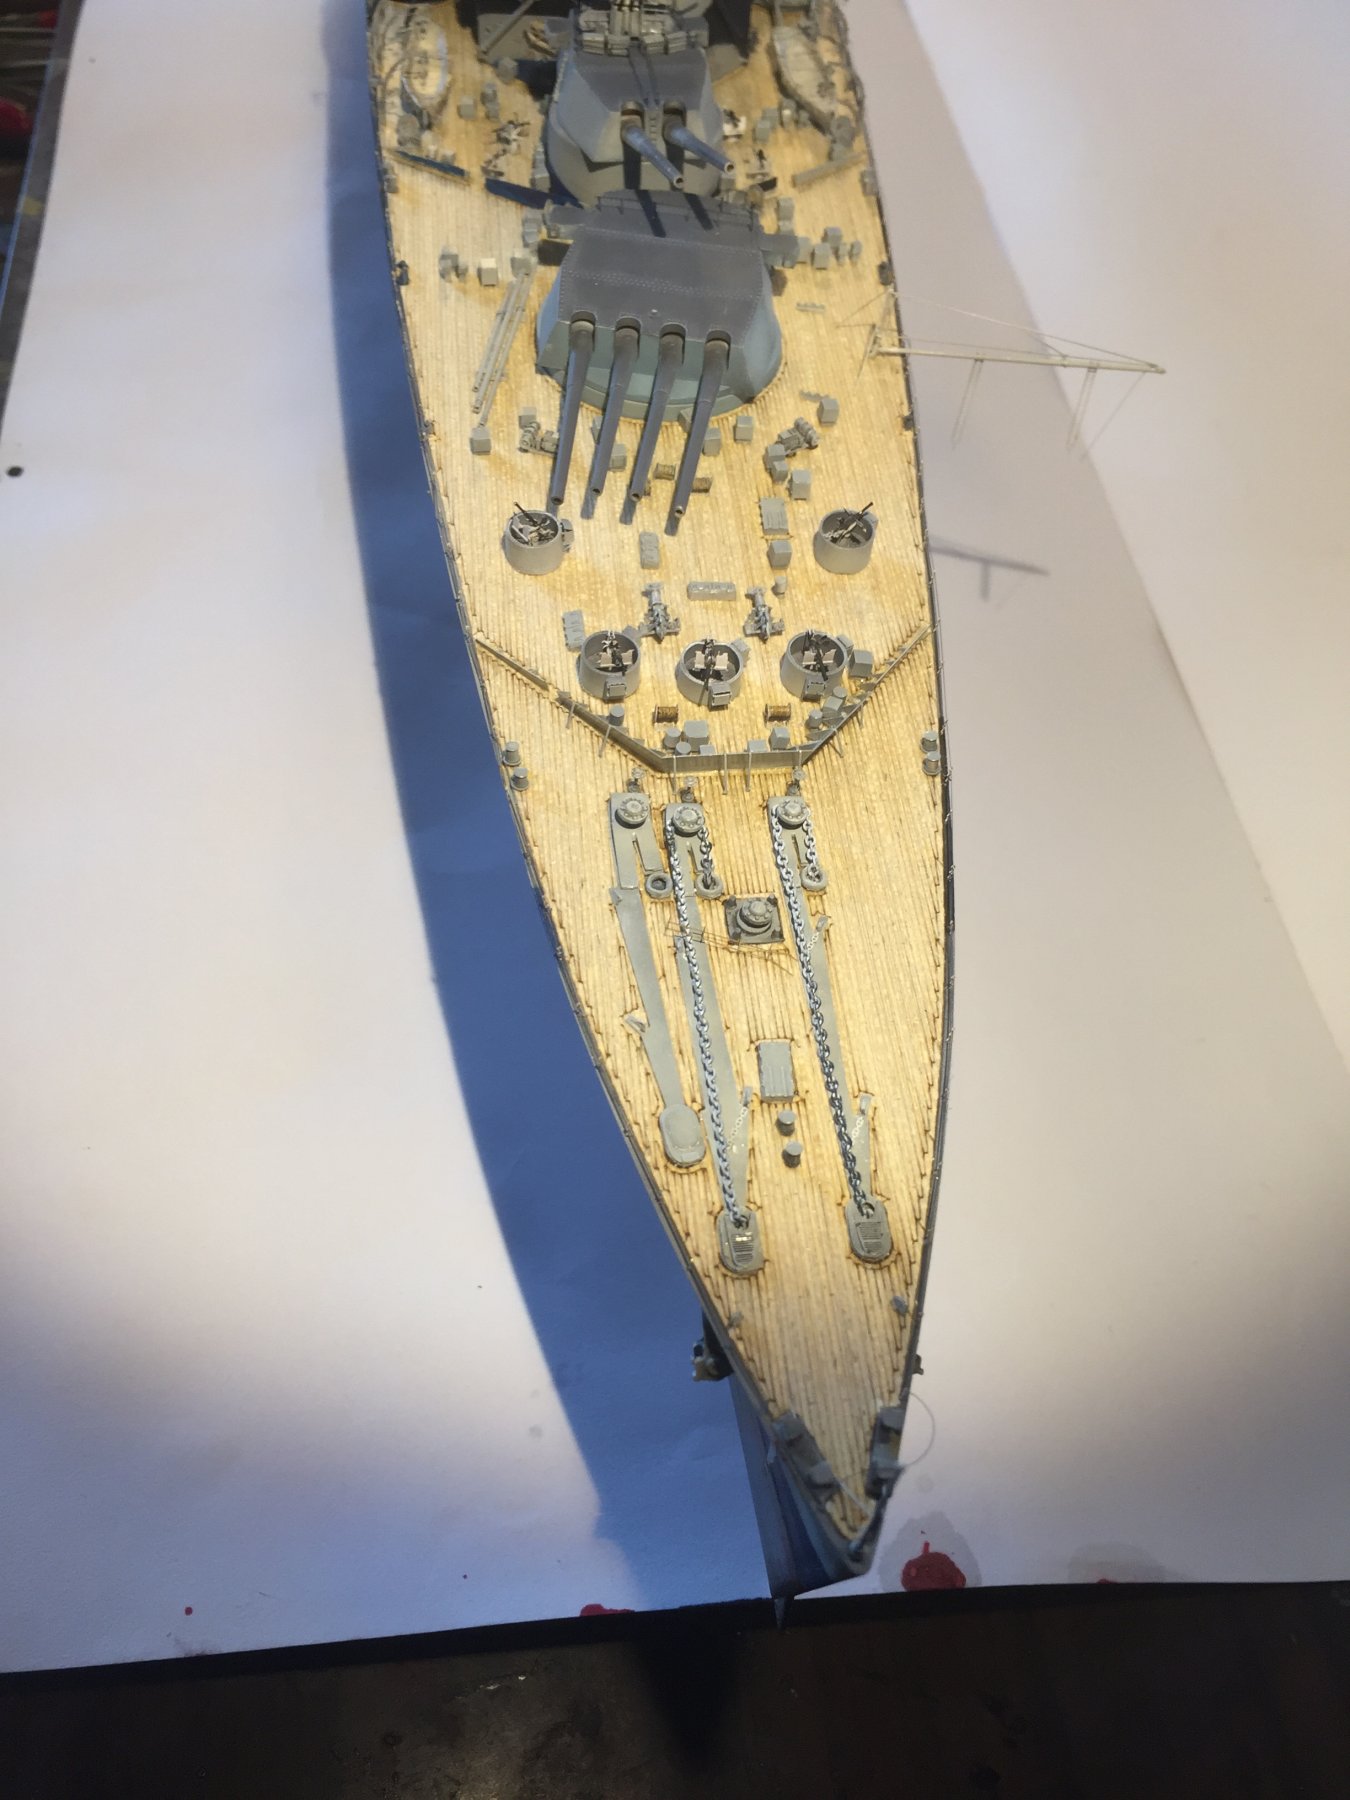
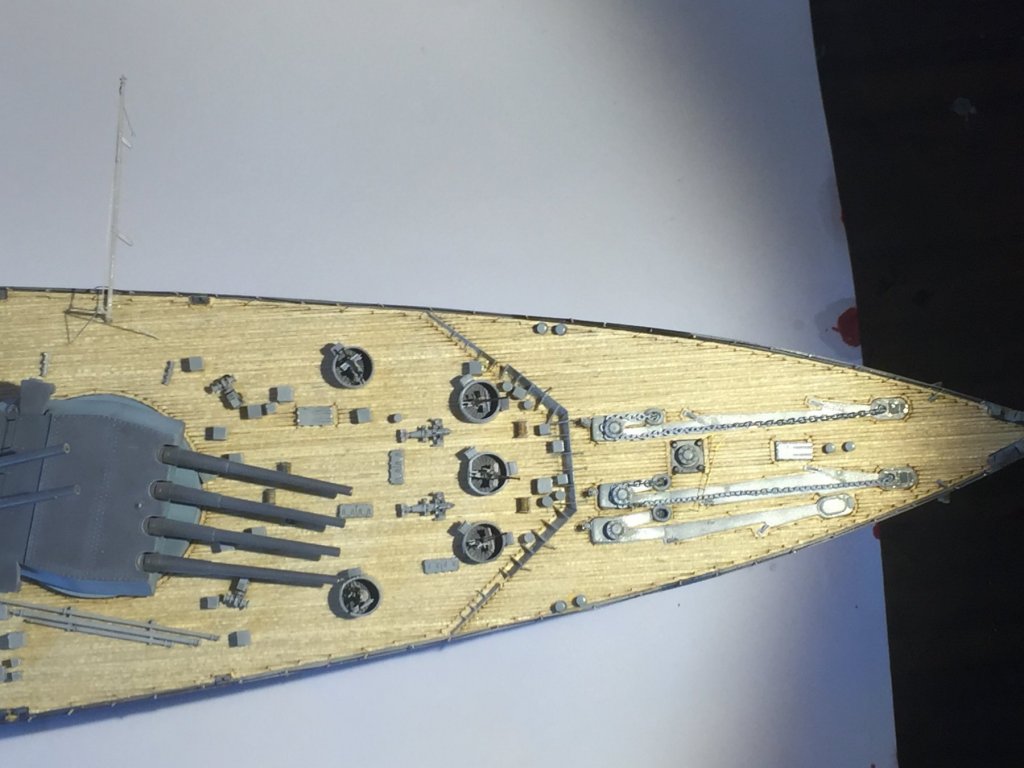
So today I’ve started. Upgrades not out till the end of the month but alignments to be made. port holes drilled. Deck need to be less than flush to allow deck to sit below it. Ladder holes to be drilled, torpedo hatches to be added.
- 540 replies
-
- 15
-
-
It’s amazing how time just evaporates when you try and get the end of rubber rope into a metal hole, like a marshmallow into a coin slot!
-
Fellow Canberran, welcome
-
What’s your next build then? You move at an inhuman pace old boy
- 405 replies
-
- 4
-
-
- tamiya
- king george v
- (and 2 more)
-
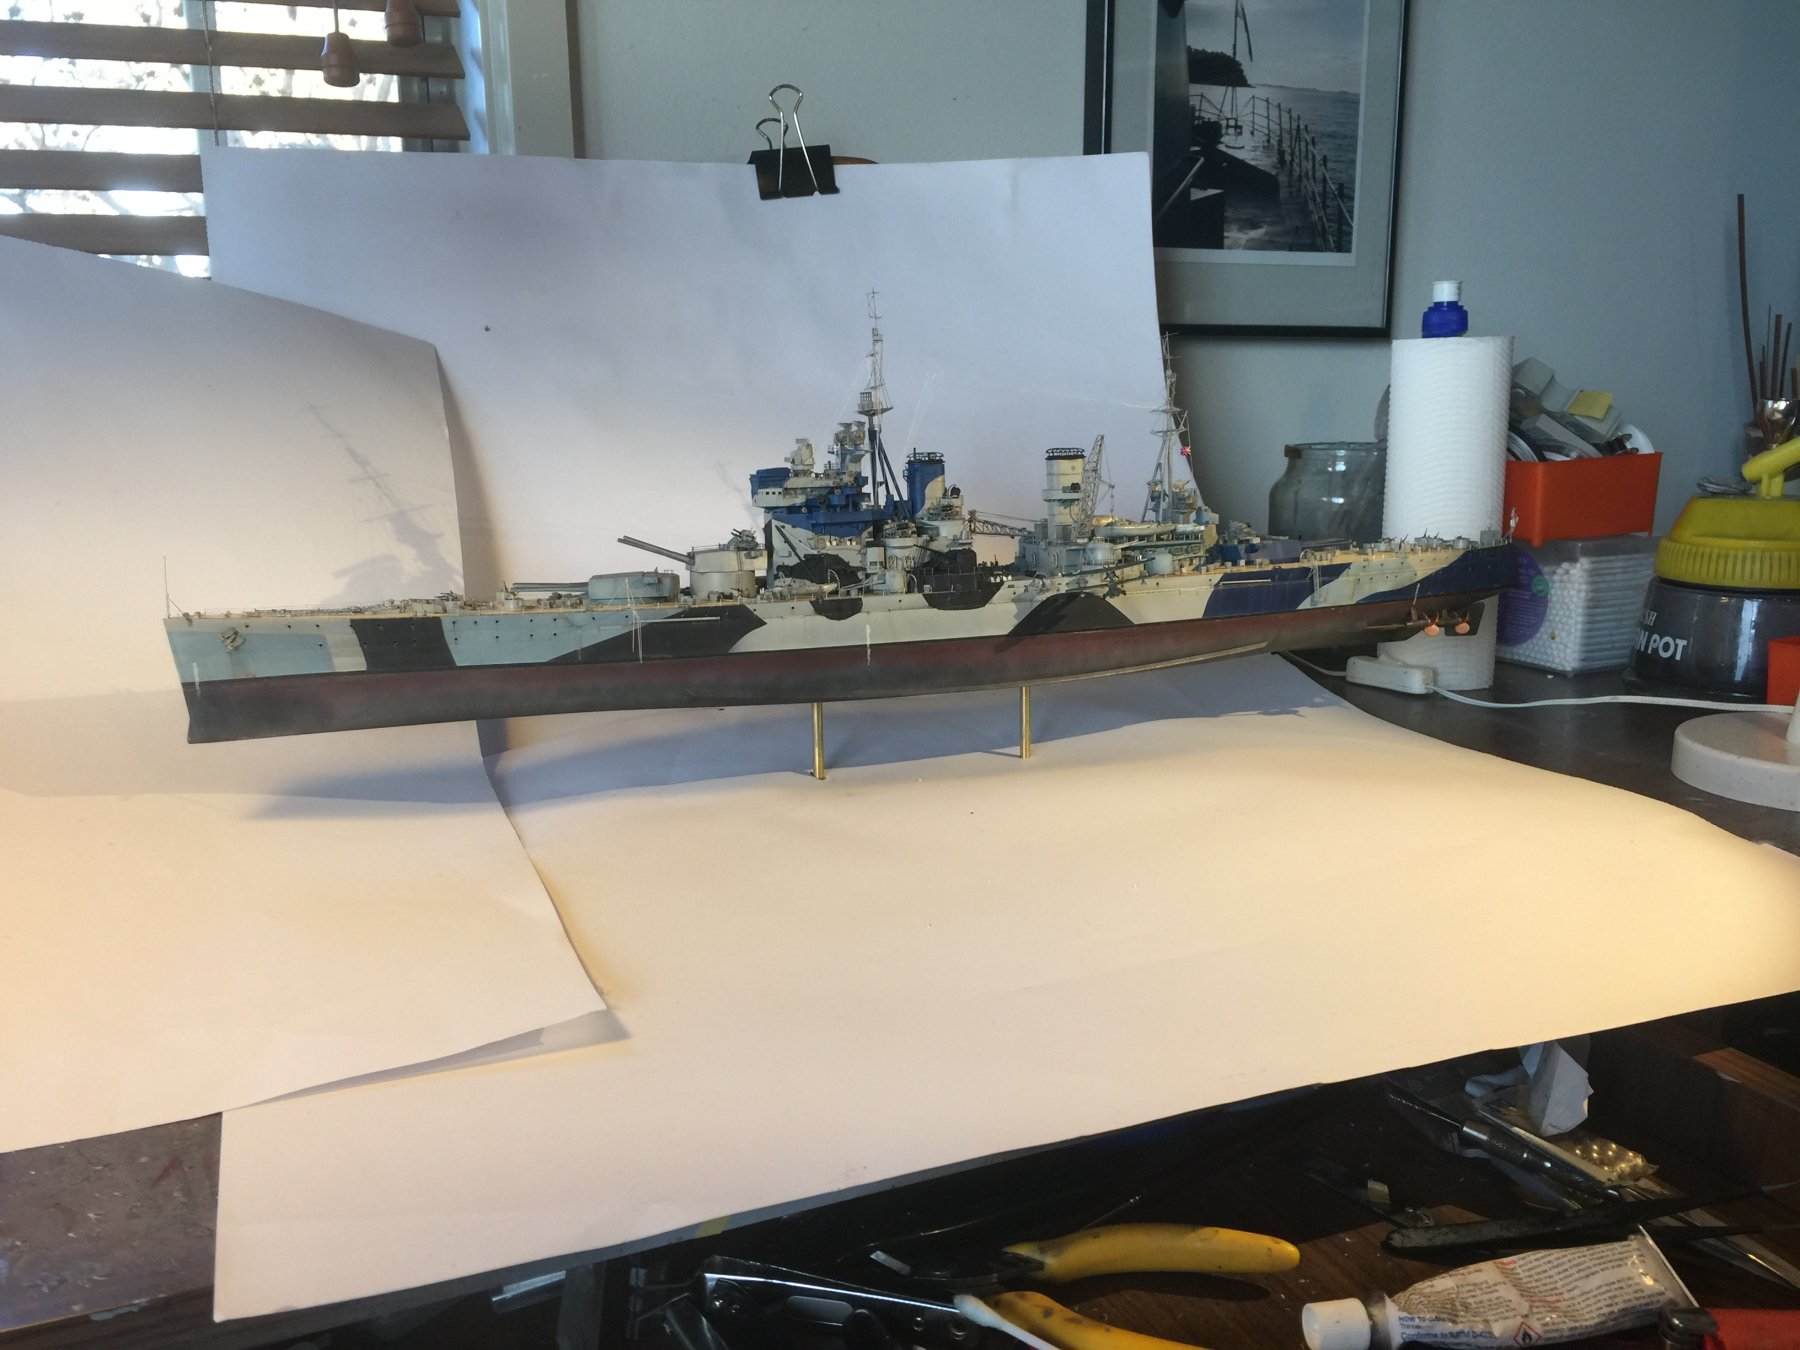
Thanks mate, unfortunately unless I ever invest in a decent camera with a 50mm lens (closest to the human eye), and a decent set up with a light diffuser etc they will only ever be so so. This build was only really an effort to try camouflage. Battleships are just so much work with all the details but I’m still drawn to the old Dreadnought type ships and even the pre Dreadnoughts which are like steam punk cities.
- 405 replies
-
- 7
-
-
- tamiya
- king george v
- (and 2 more)
-
For the next one you’ll be on stage facing the crowd.
- 405 replies
-
- 7
-
-
- tamiya
- king george v
- (and 2 more)
-
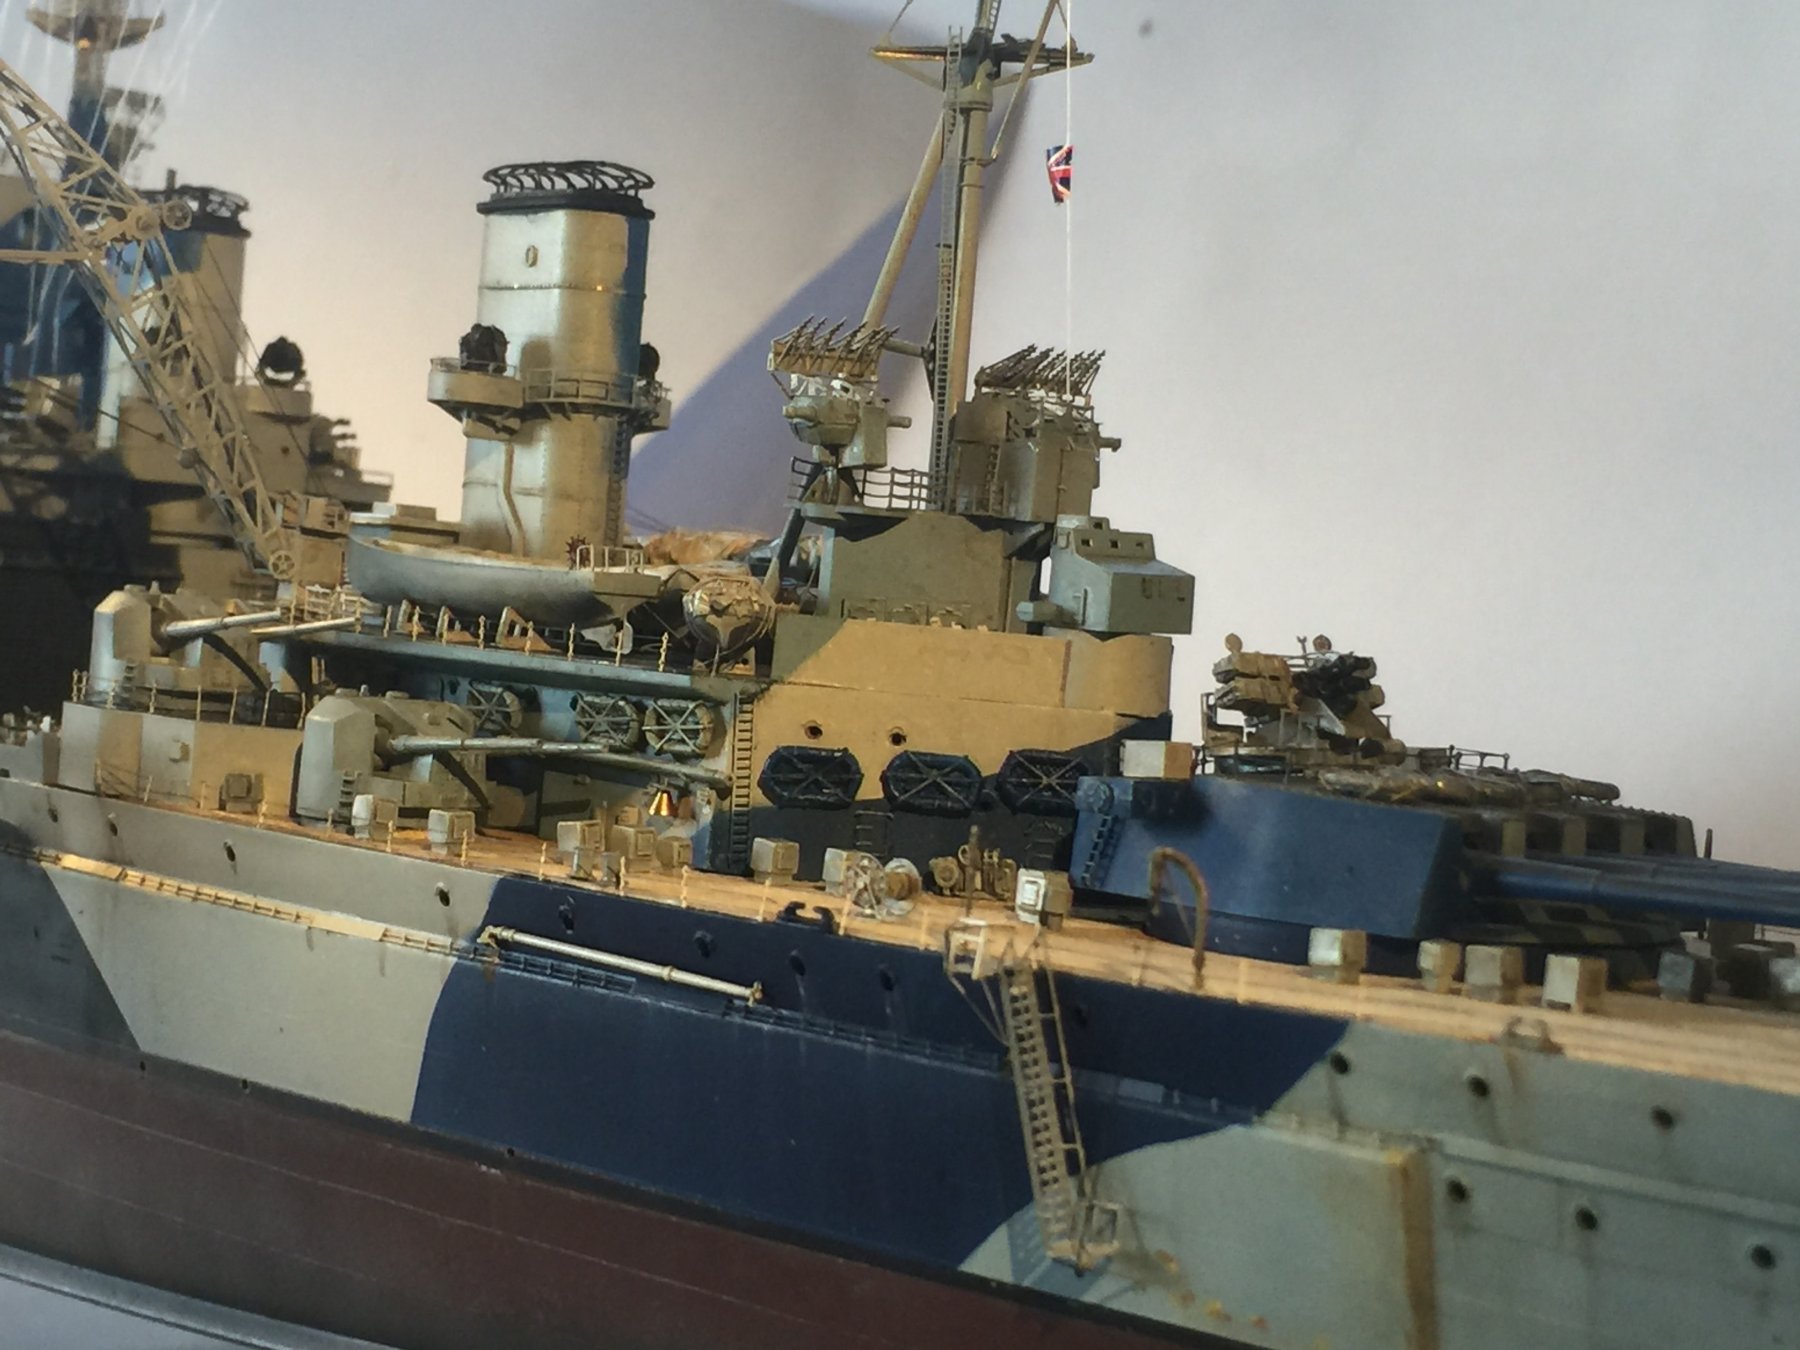
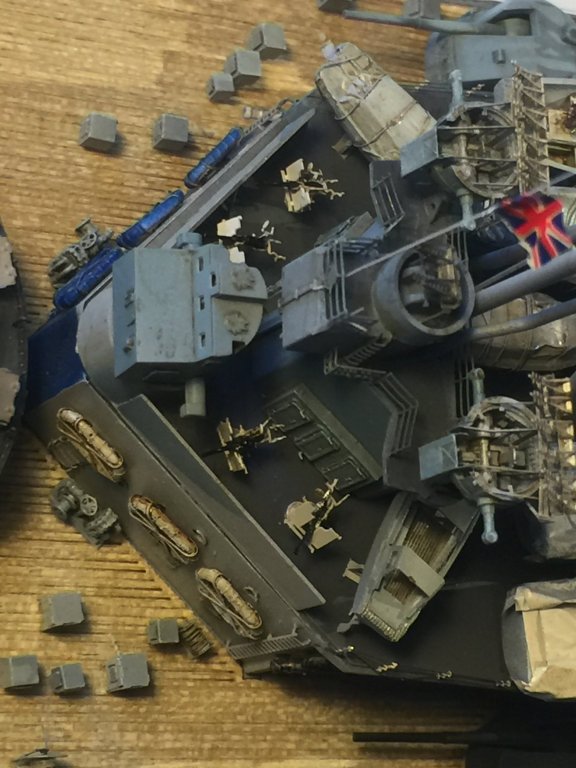
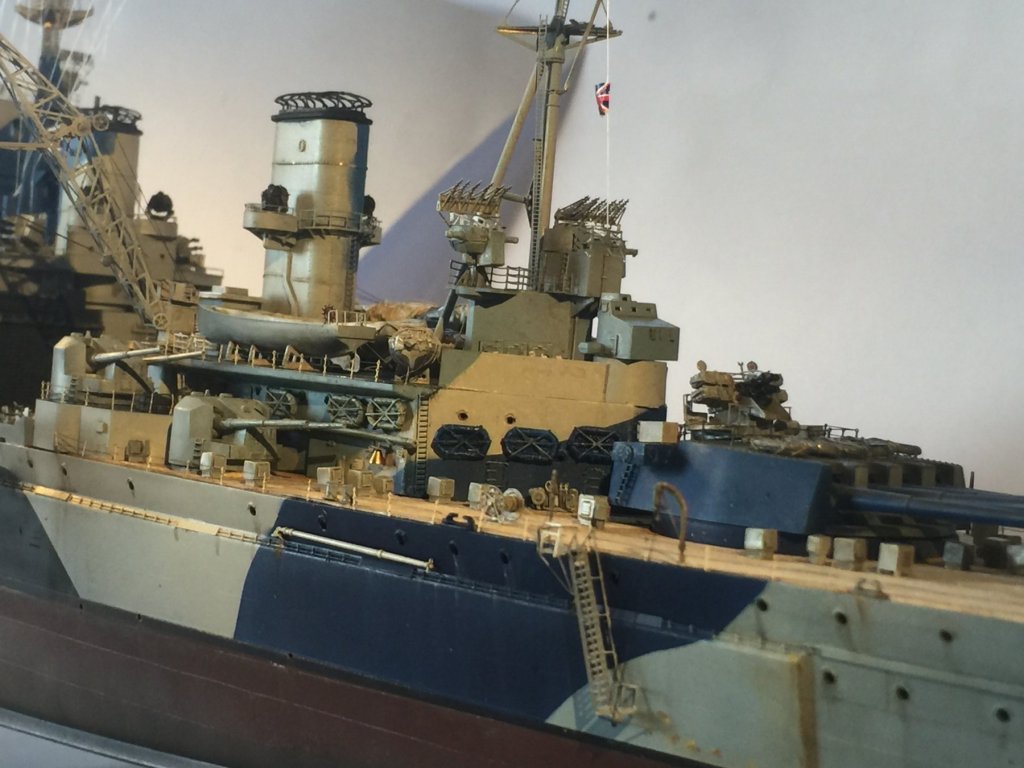
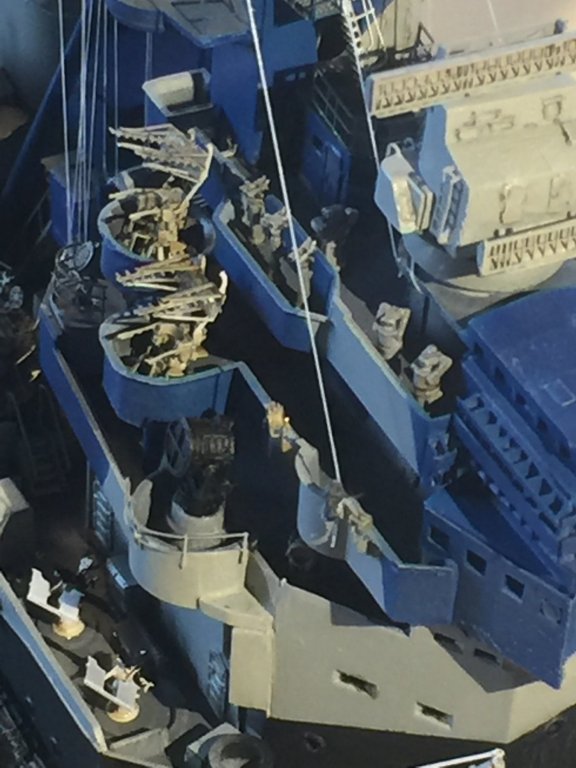
Well done mate, you wouldn’t think those railings are so nerve wracking but they are.
-
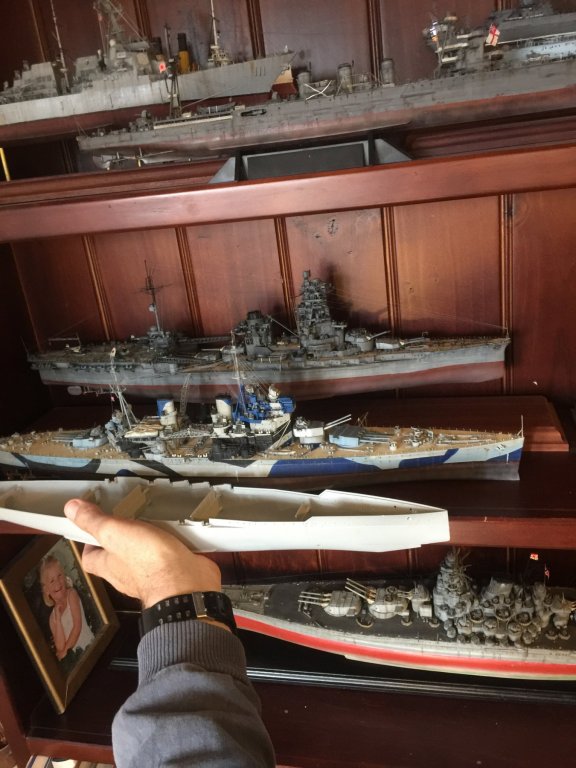
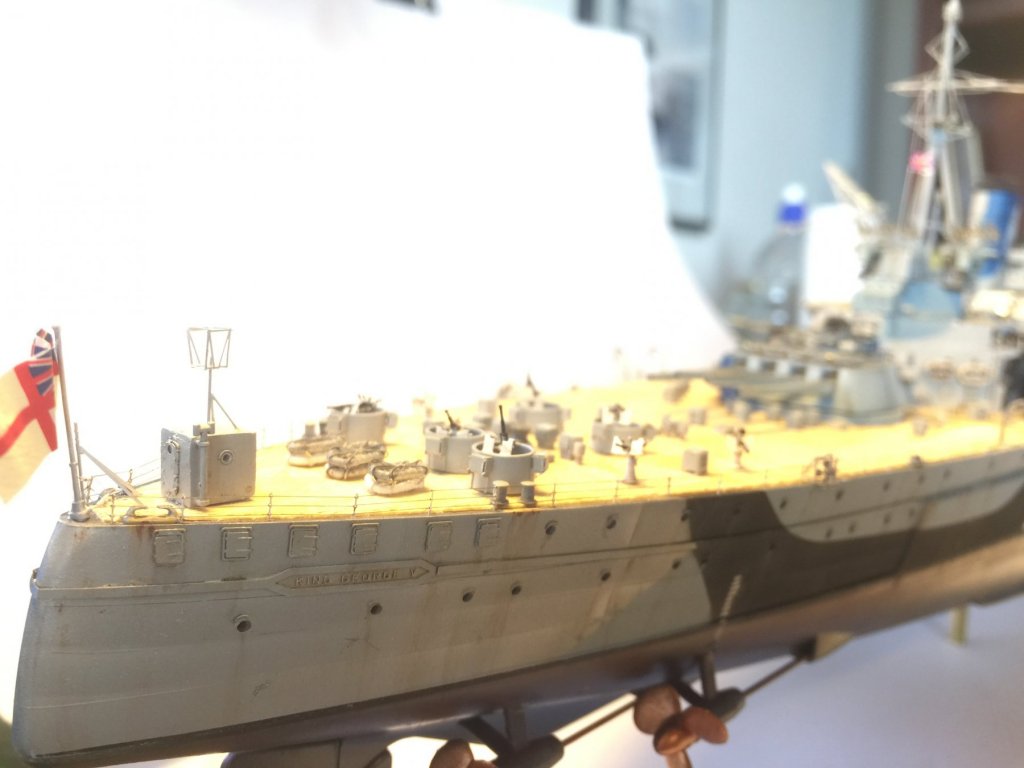
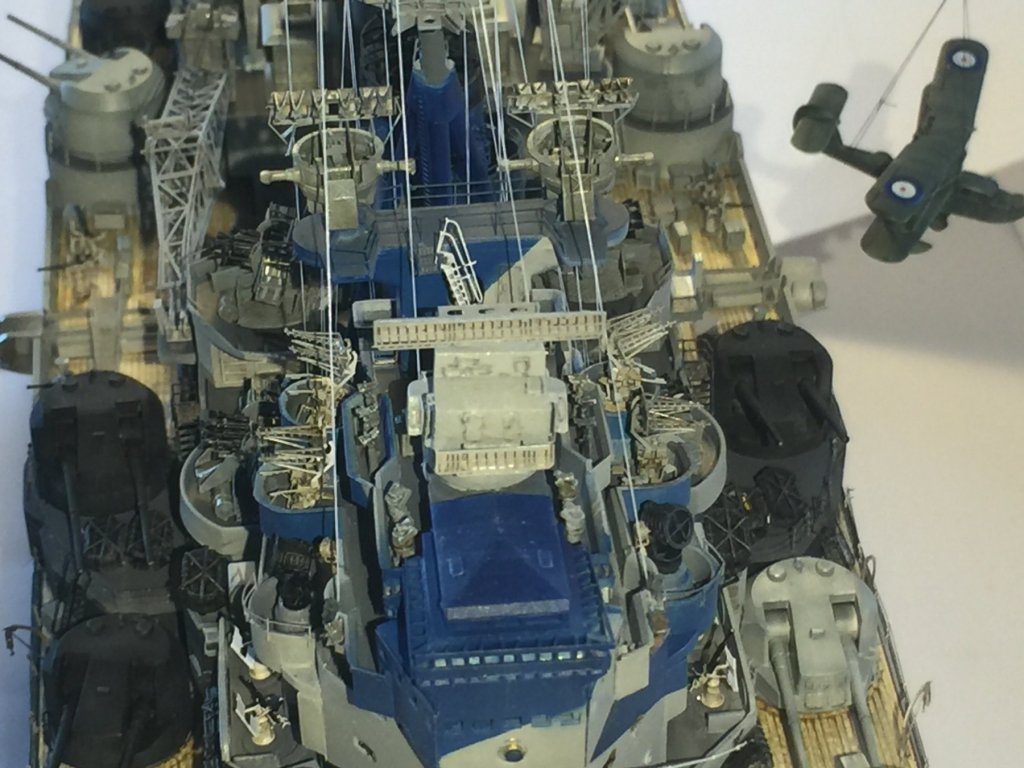
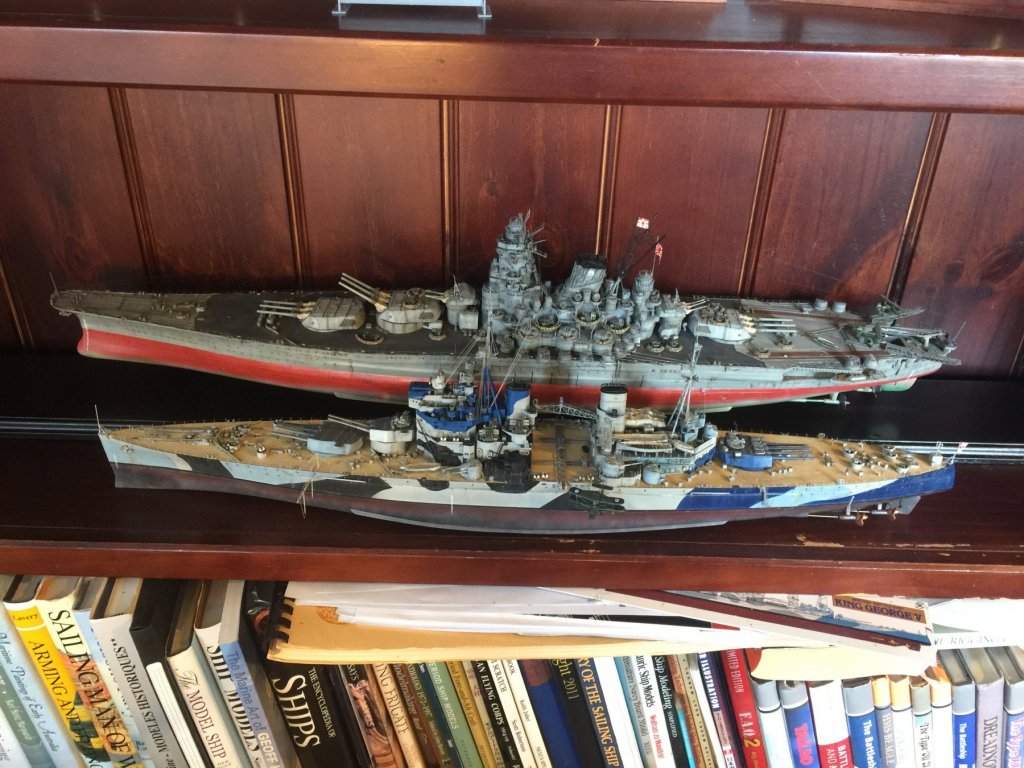
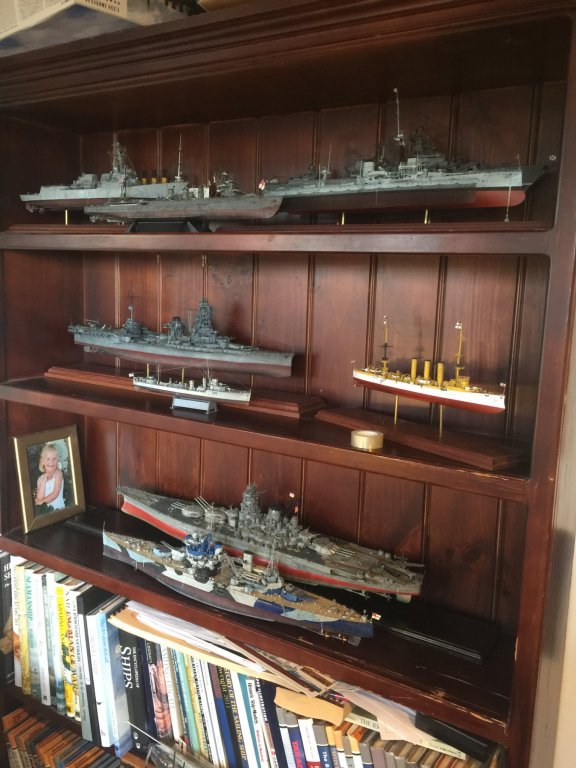
Some light weathering and I’m finished. Parked up beside Yamato. .


- 405 replies
-
- 19
-
-
- tamiya
- king george v
- (and 2 more)
-
Thank you all, Cog, I only use CA and fat fingers, that explains why autocorrect did not pick up Davits and placed habits.
- 405 replies
-
- 5
-
-
- tamiya
- king george v
- (and 2 more)