RGL
-
Posts
5,545 -
Joined
-
Last visited
Content Type
Profiles
Forums
Gallery
Events
Everything posted by RGL
-
 I’ve taken to placing a pin head of glue then using a Zapper fluid on a lot of my PE work noemw as it really causes it to set instantly and hard as a rock. Stops having to make a mess with lots of glue.
 -
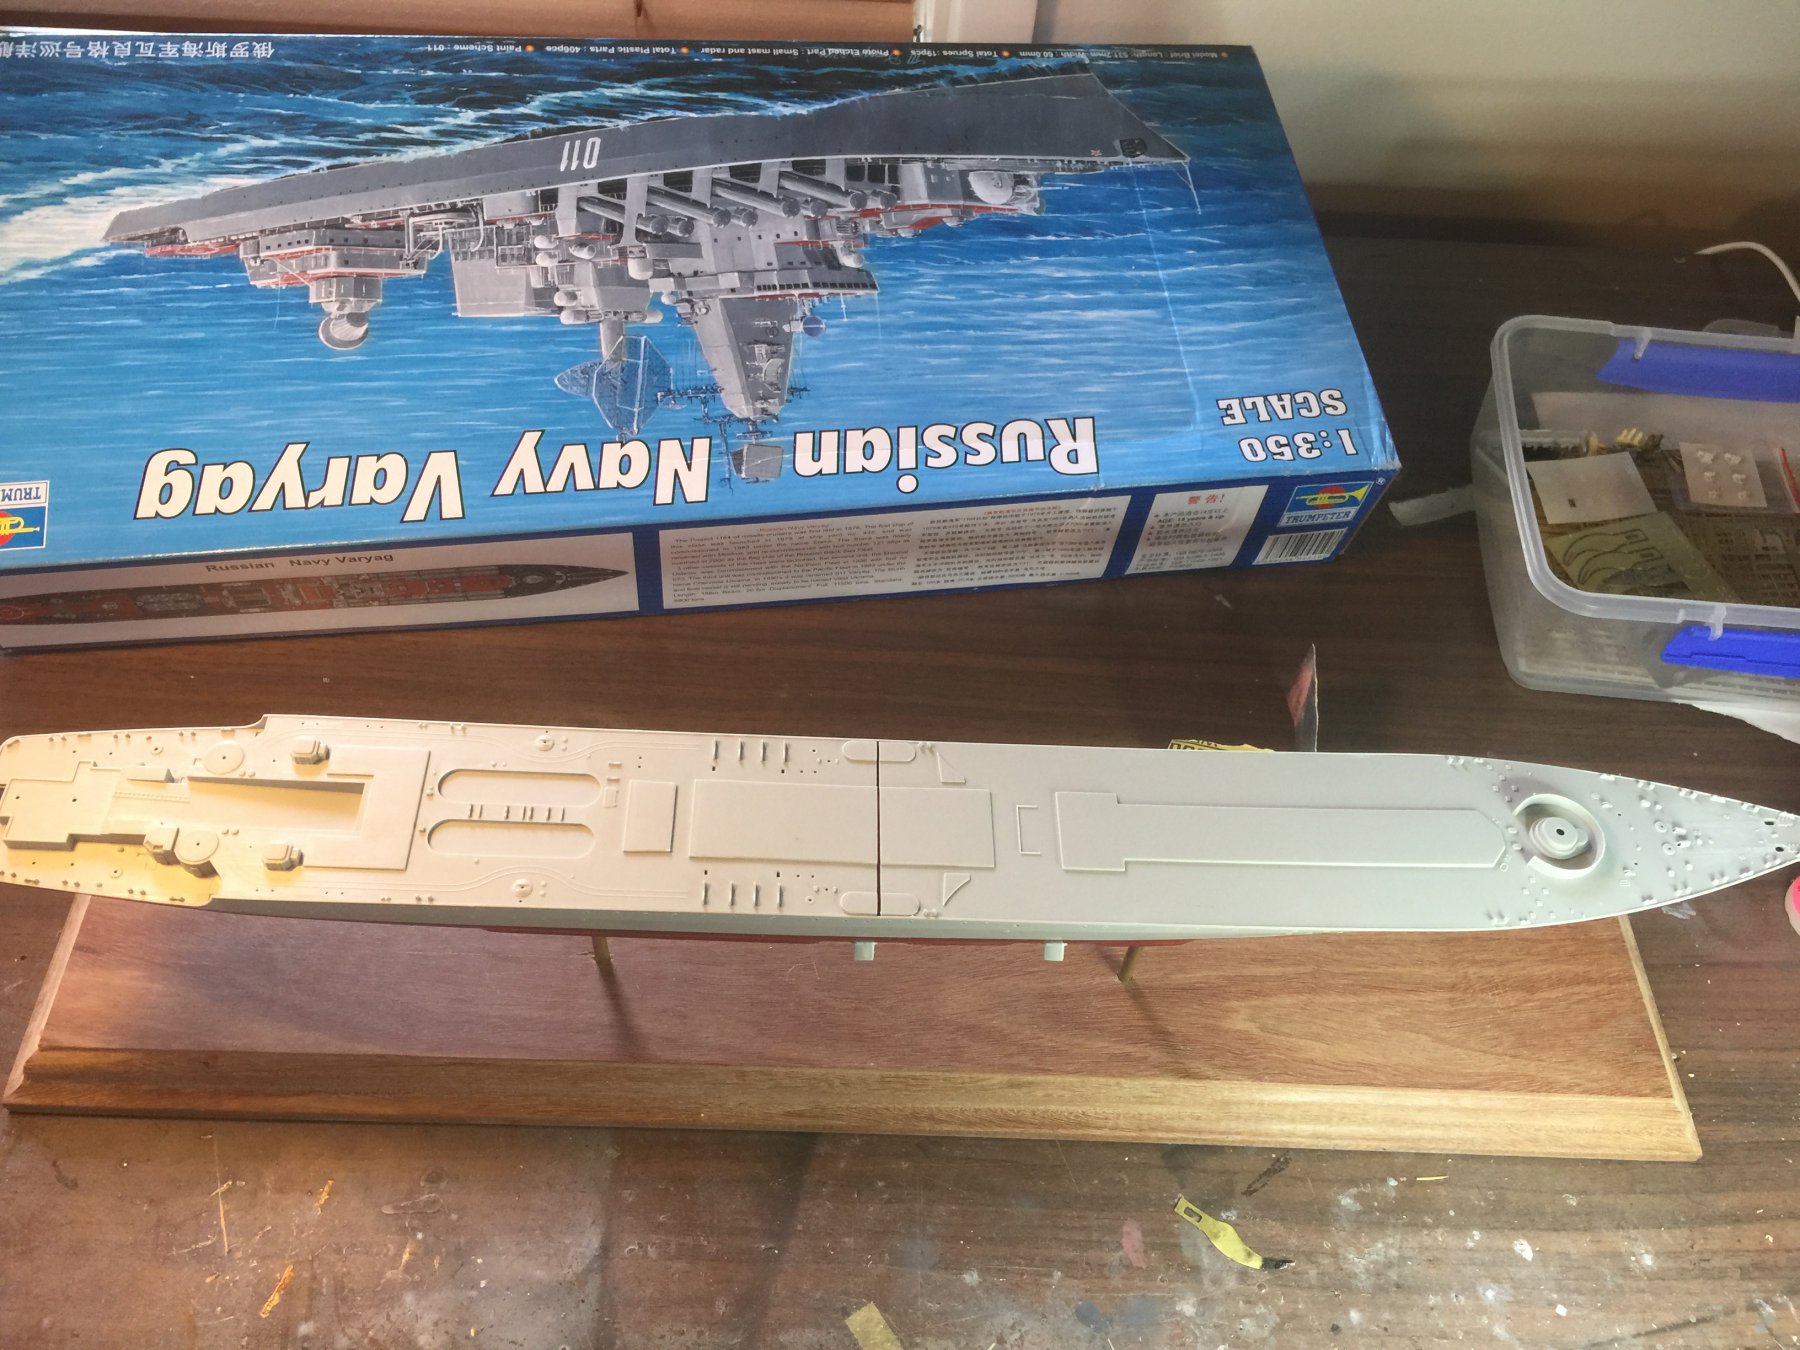
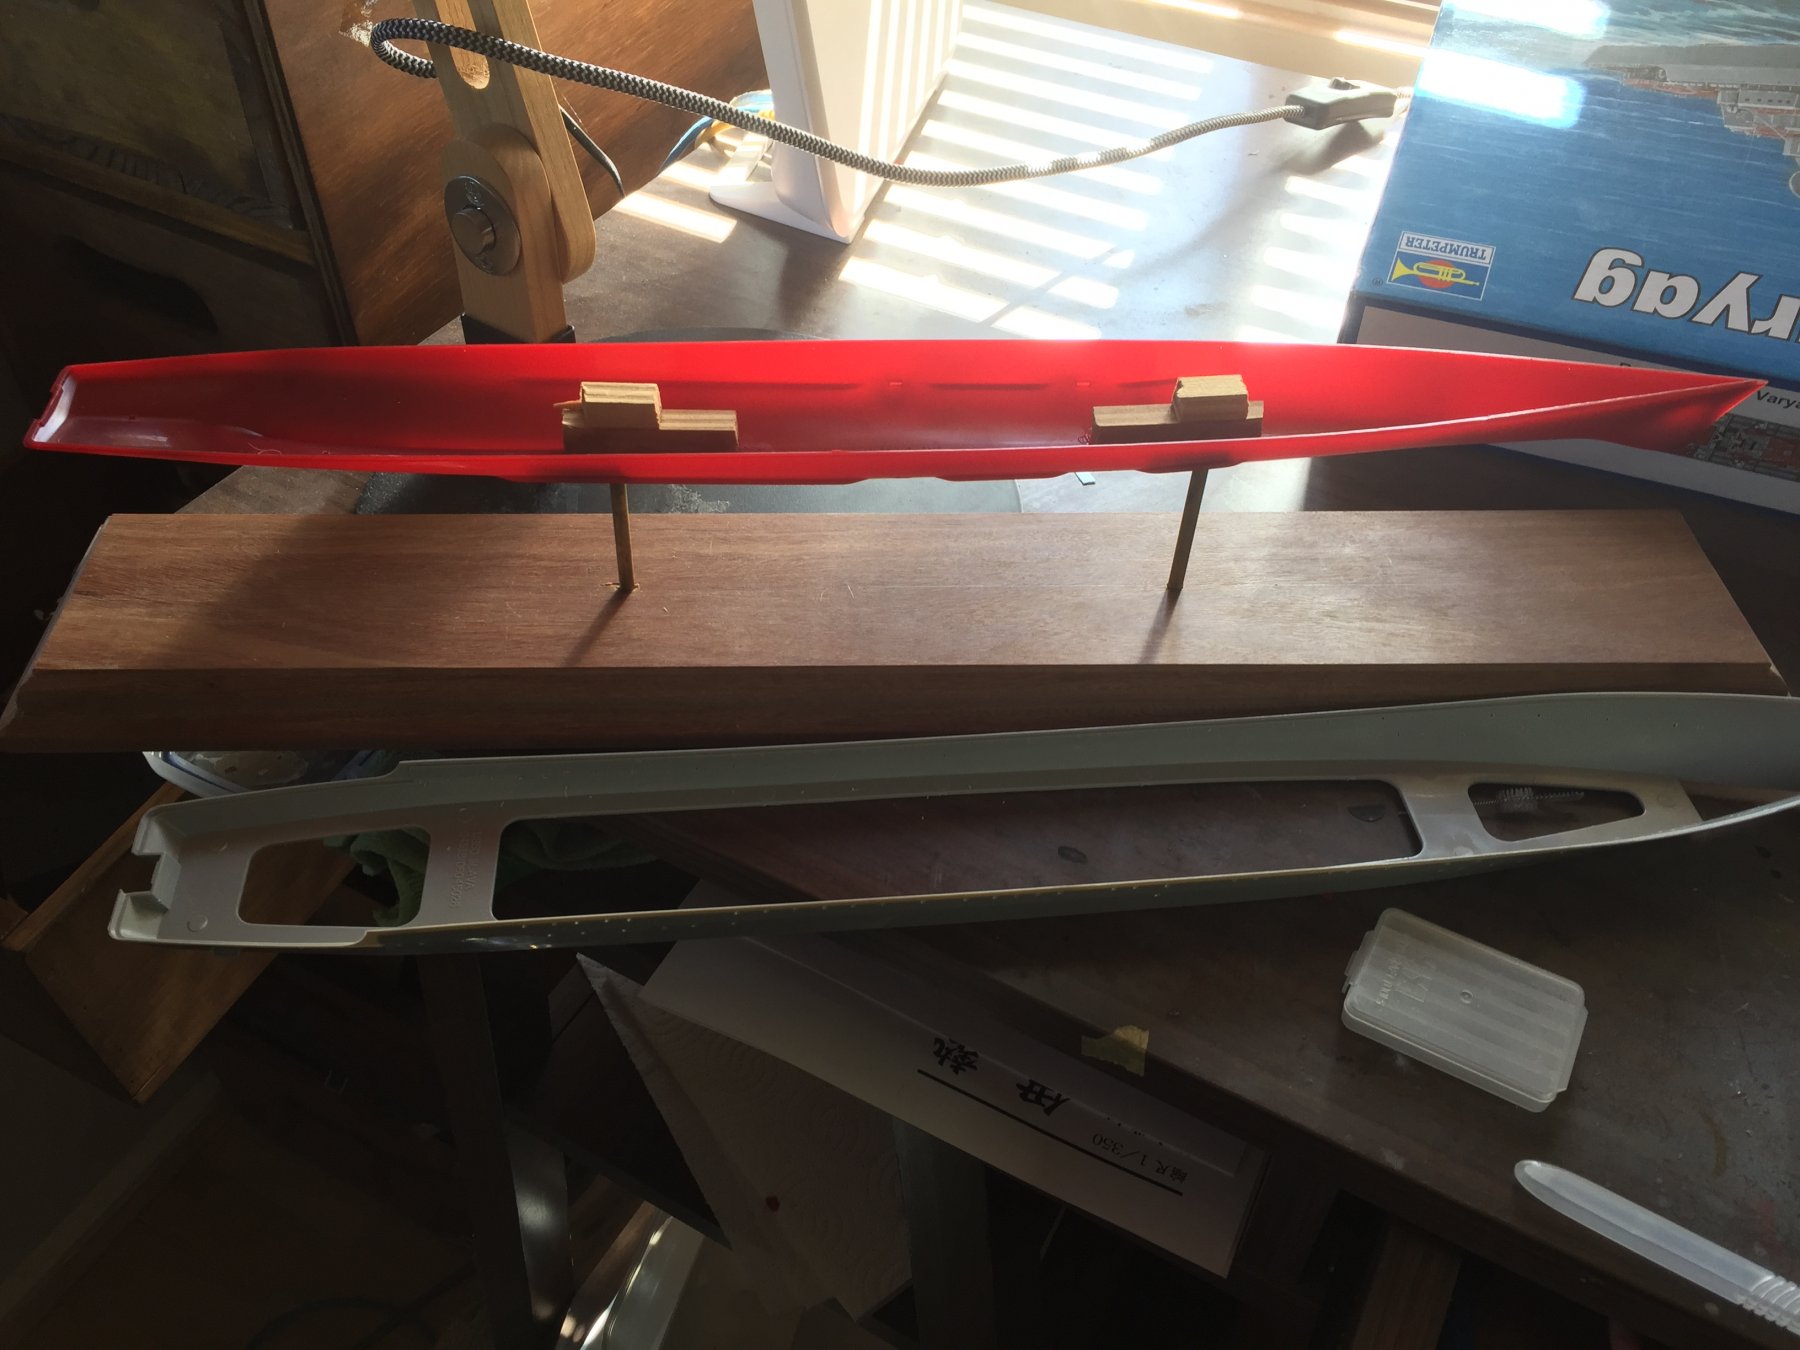
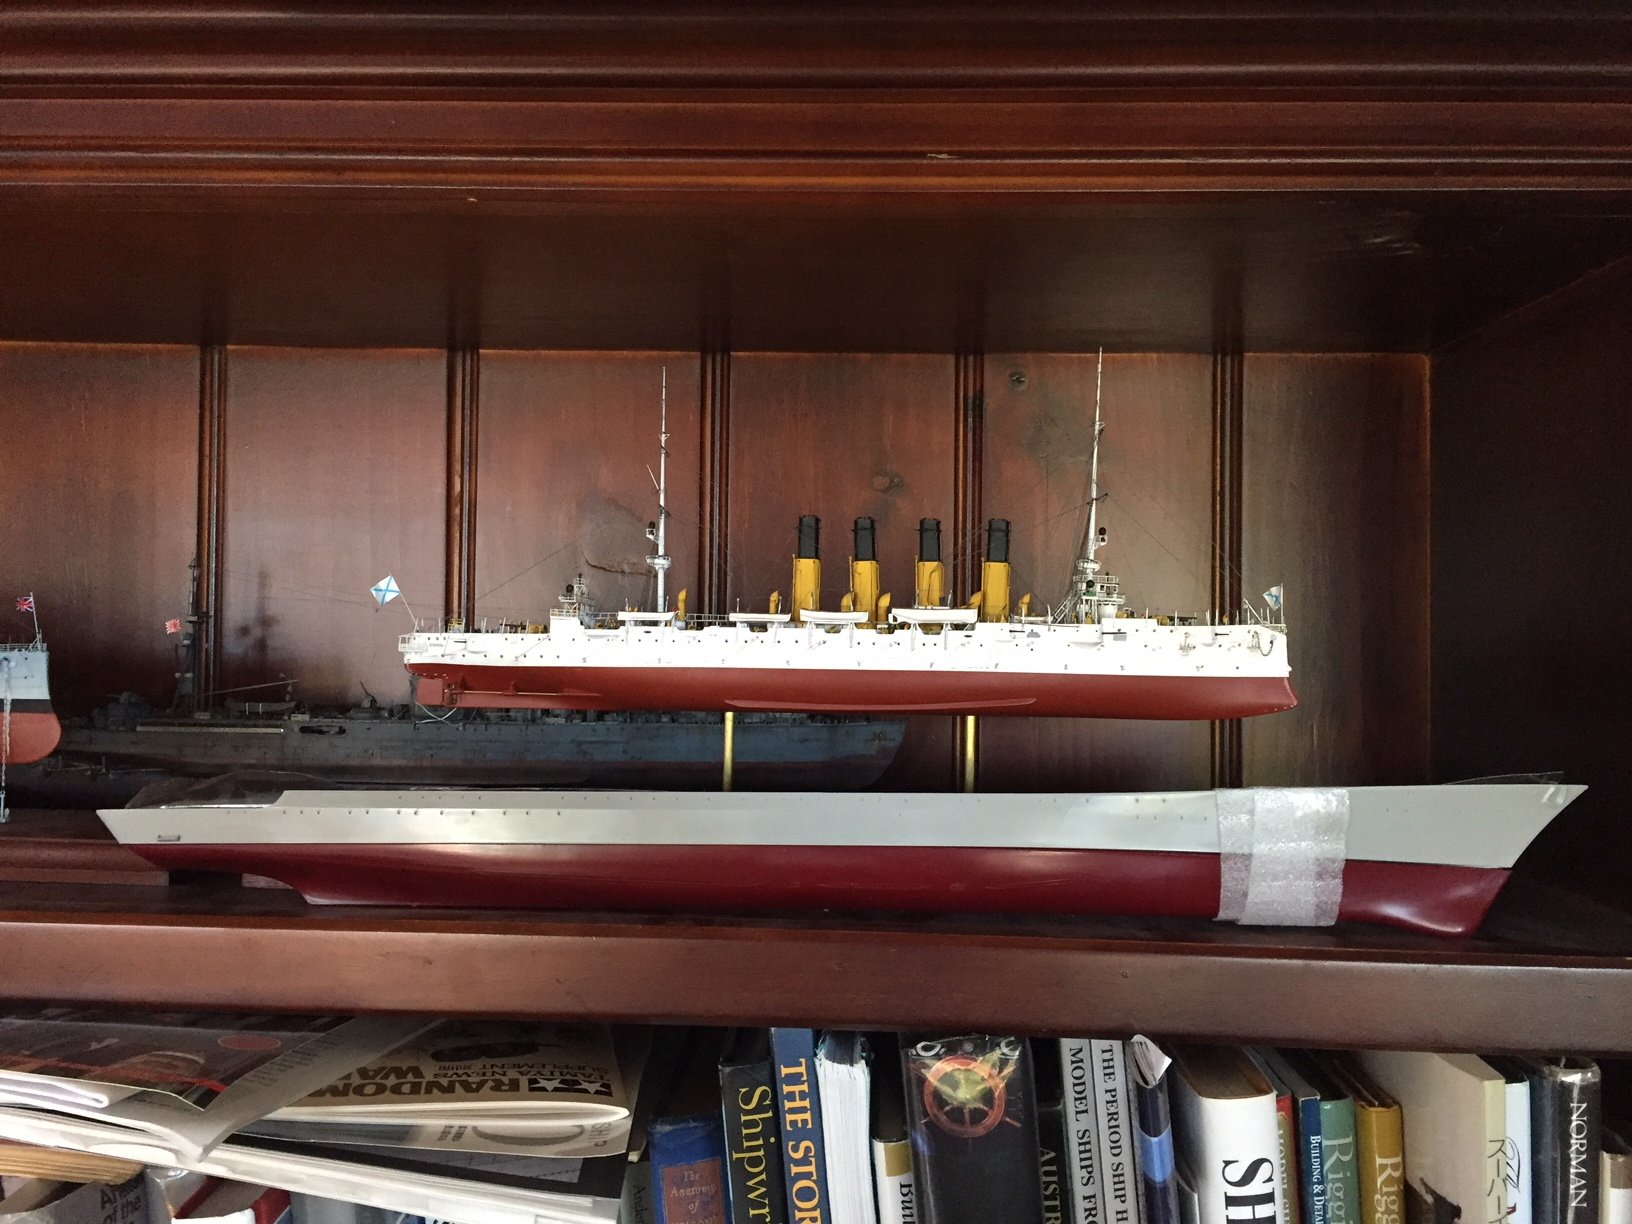
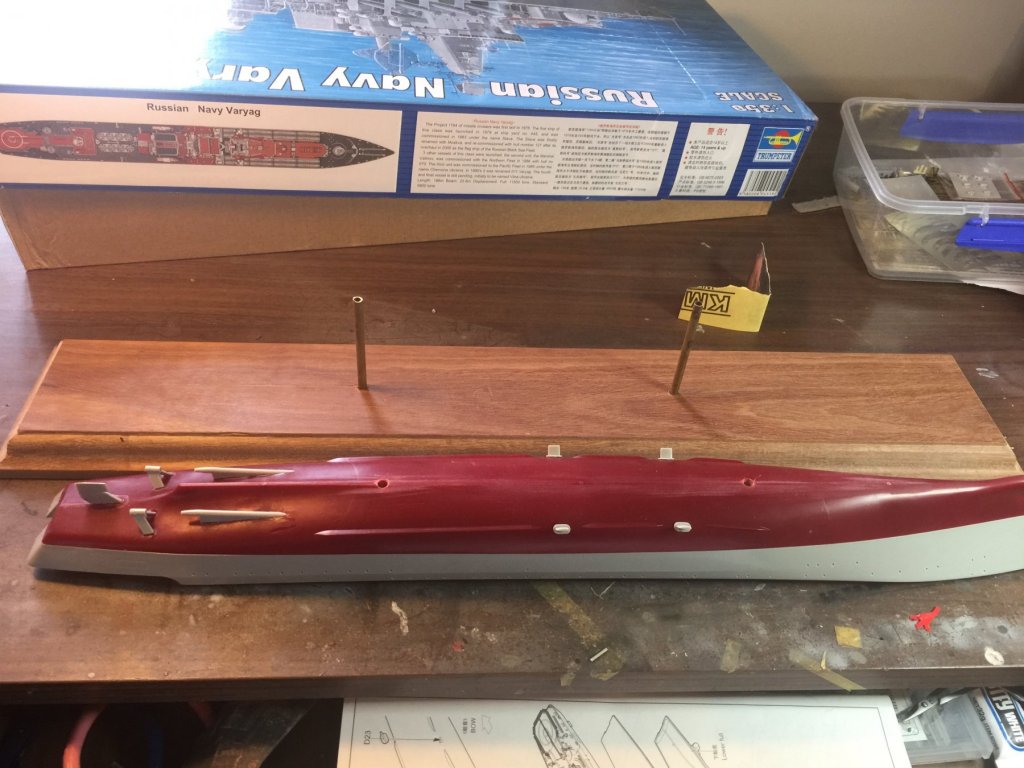
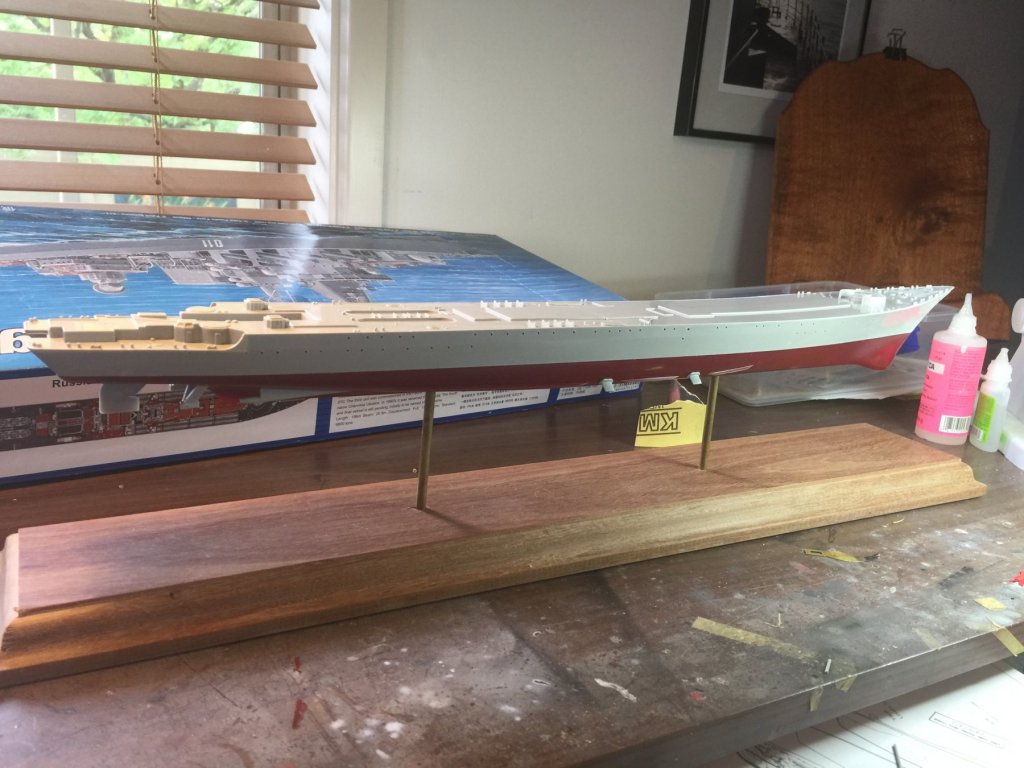
Main hull joined up and rudder/ shafts and stabilisers added. As you can see there is a massive gap in the deck, it has to be amidships or the gap at the bow or stern would just be messy to fix. It won’t matter or be visible when the deck housings go on.i have also filed off the molded anchor chain (really, is this the 1960’s?). I intend to give her multiple layers of primer (after a quick sponge bath with metho to clean her) to I can scribe in hull plates.

- 180 replies
-
- 11
-

-
The chap who made is is perhaps one of the best in the world, I’m yet to find any tutorials on his work.
- 46 replies
-
- 5
-
-
- o16
- pacific crossroads
- (and 2 more)
-
the is utube footage of it this year in Hong Kong looking fairly spiffy but where is the fun in that?
-
There will be weathering and some modulation of colour otherwise it will be very boring.
-
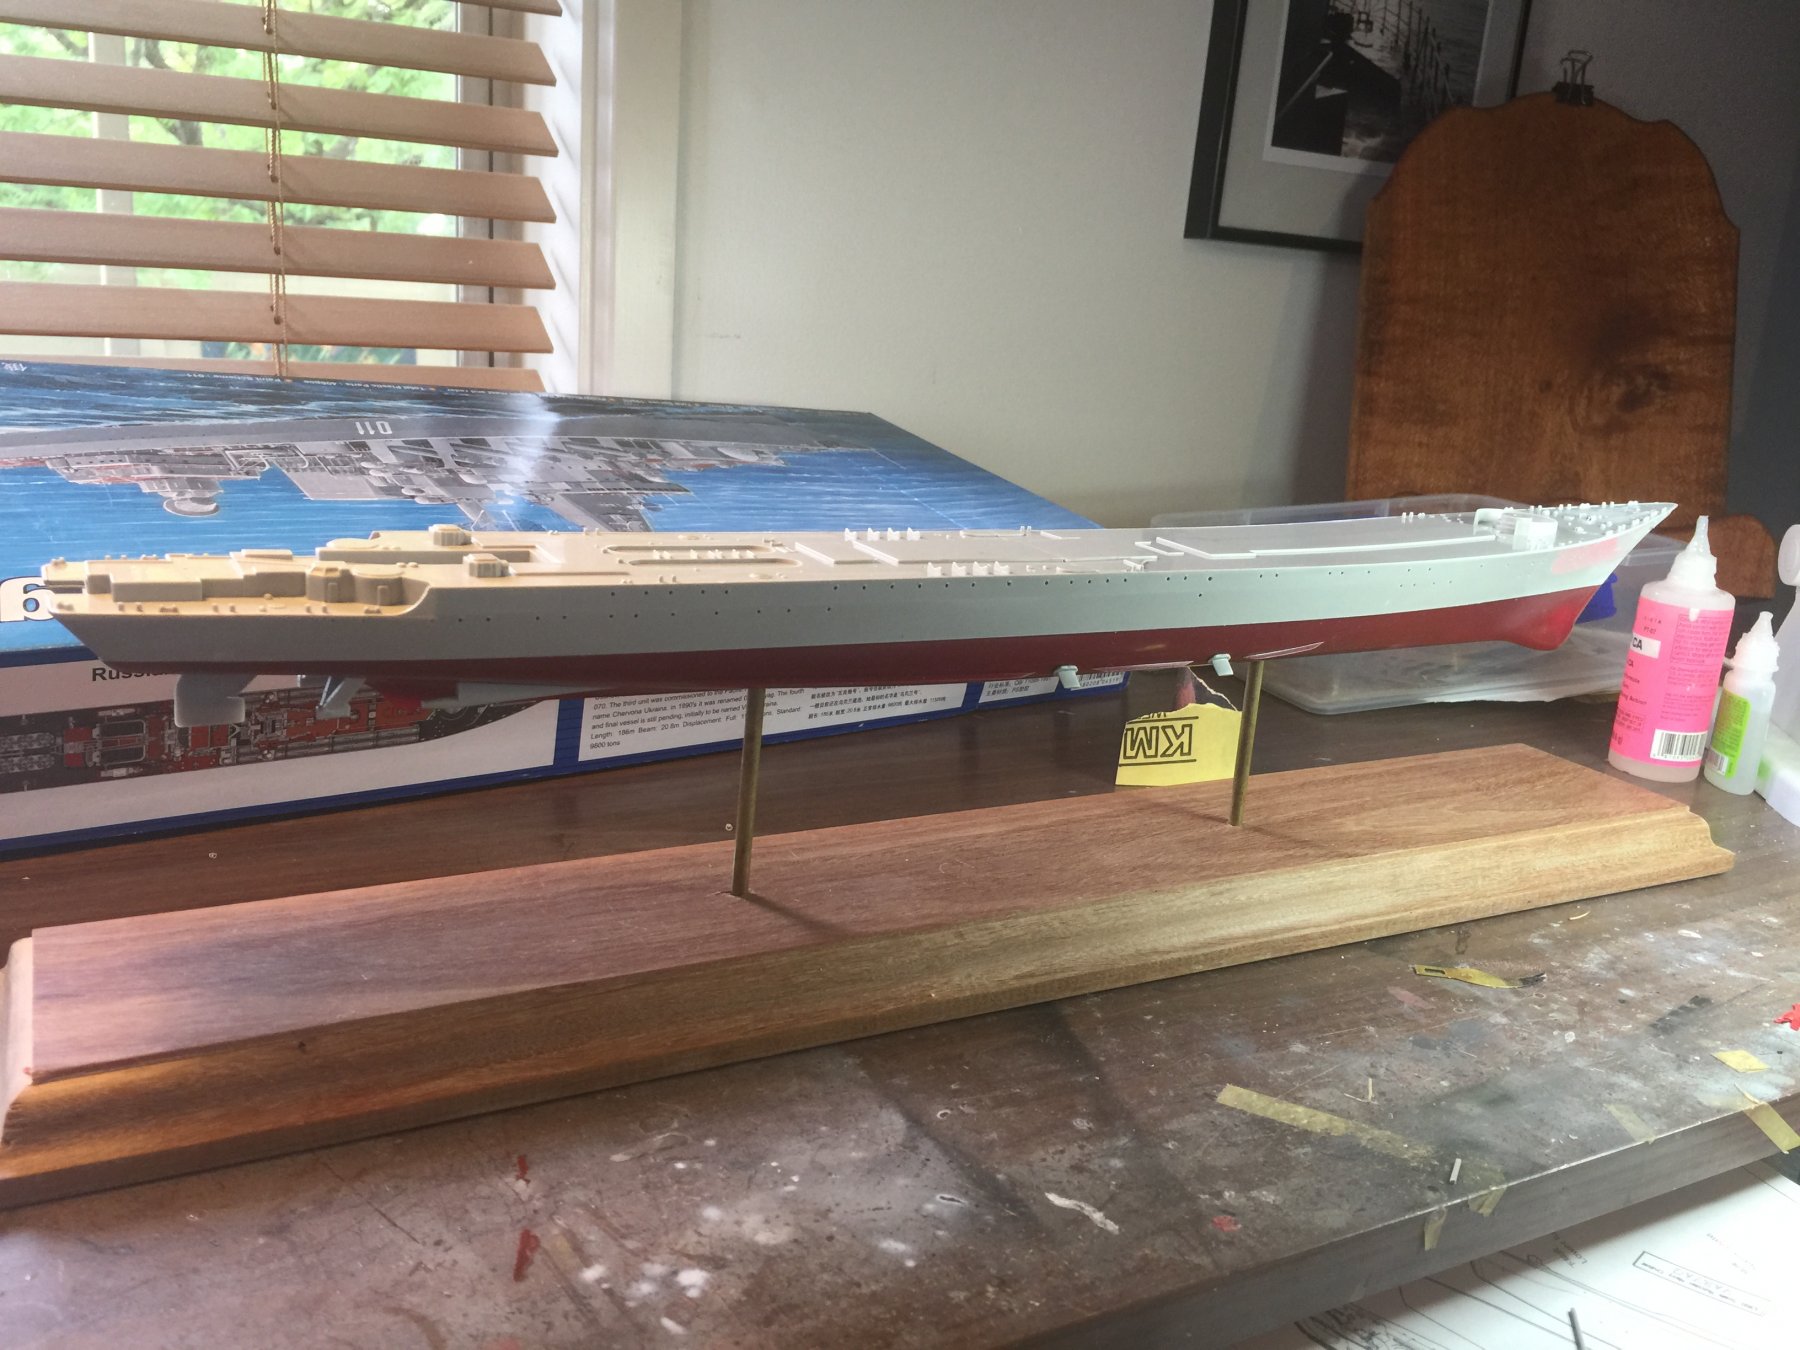
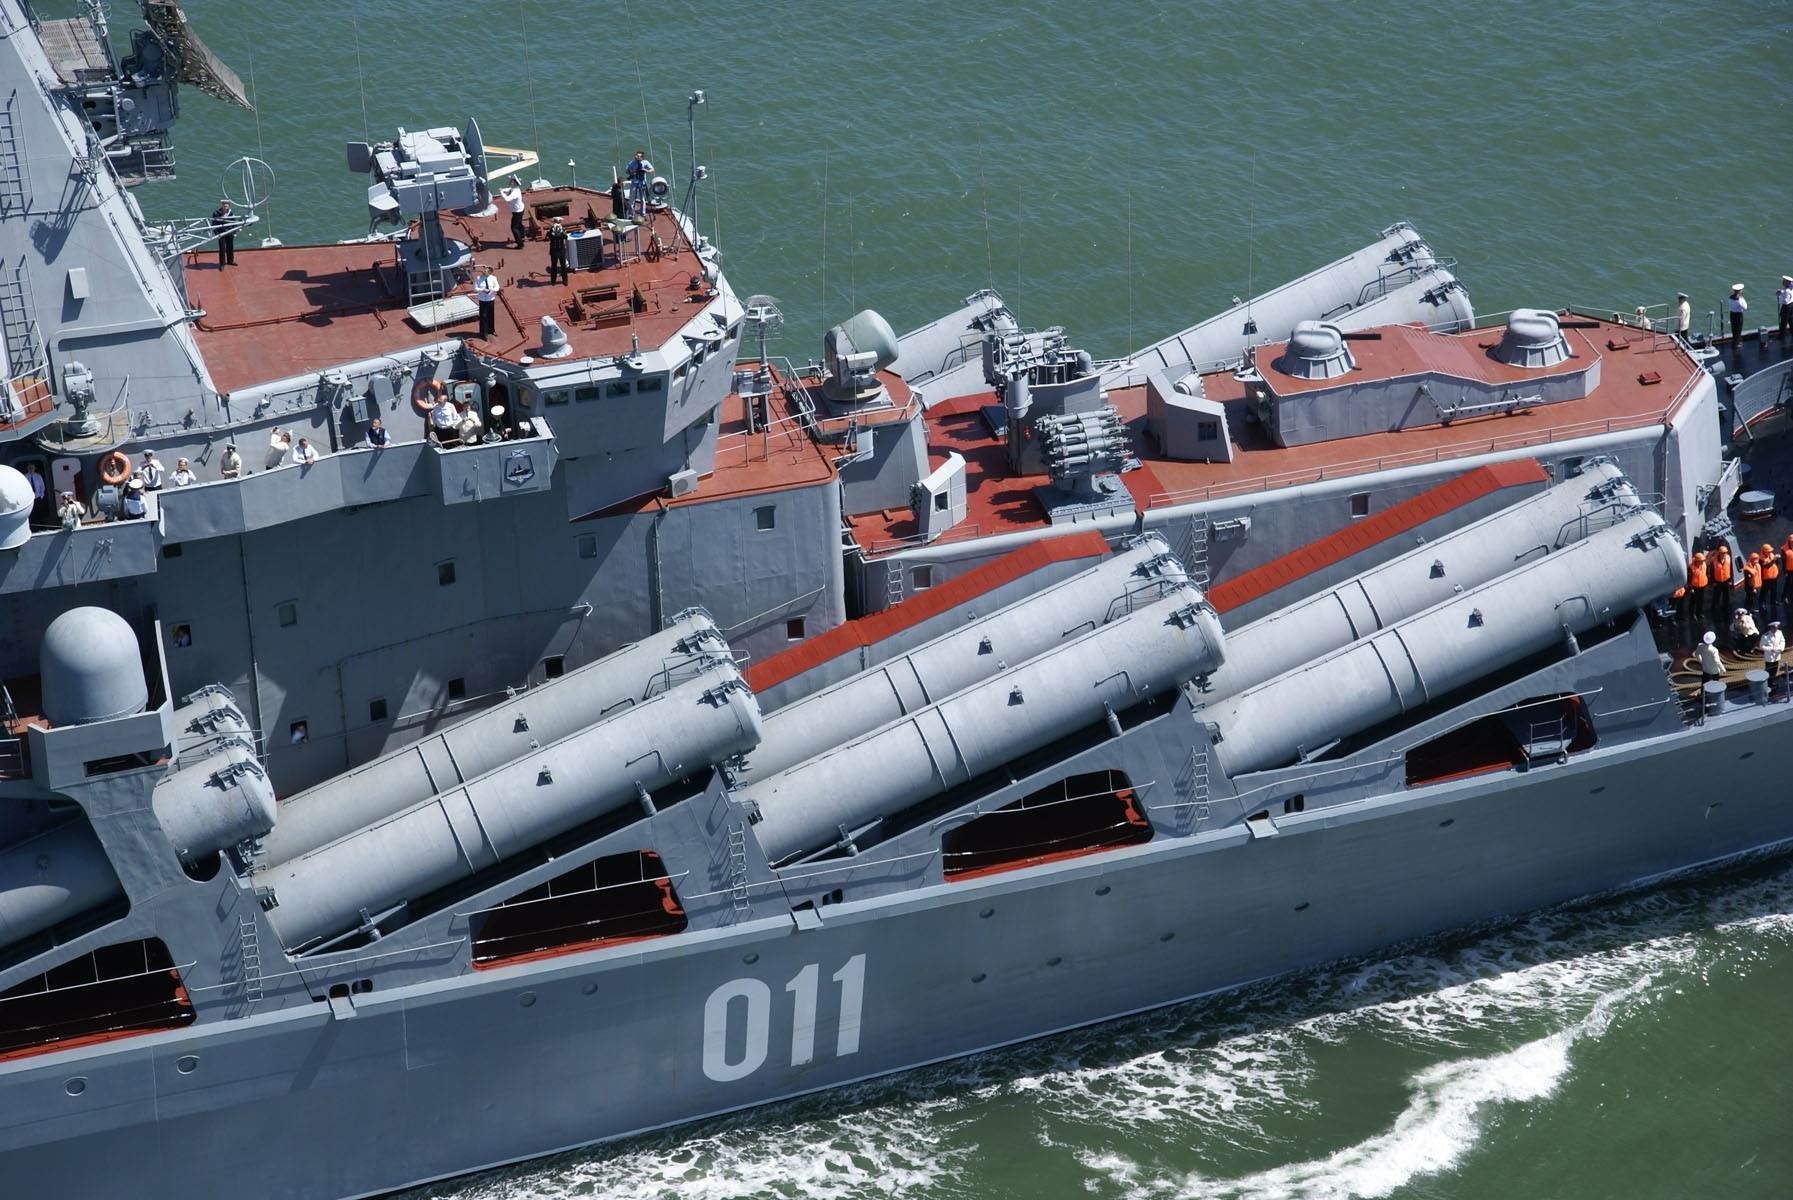
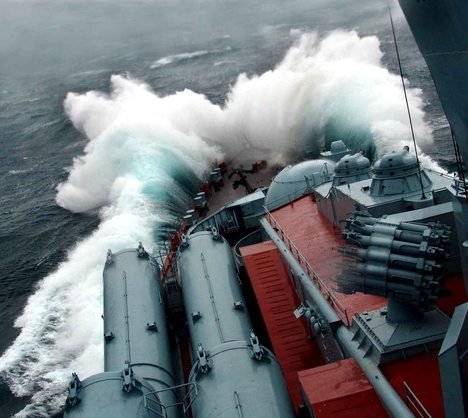
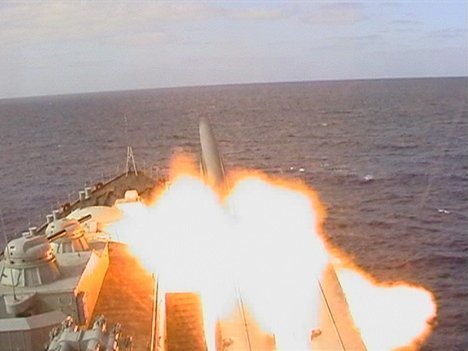
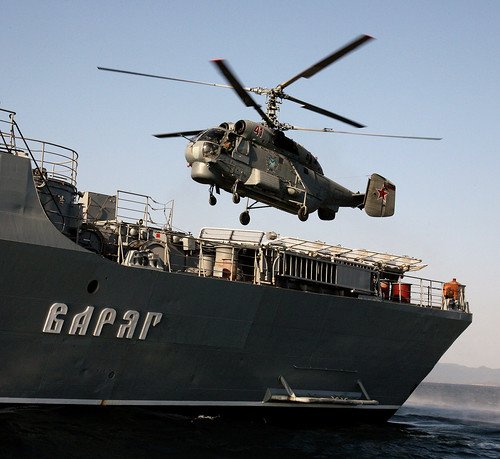
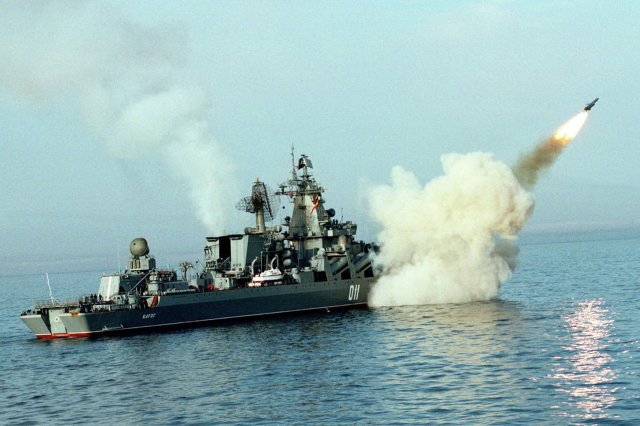
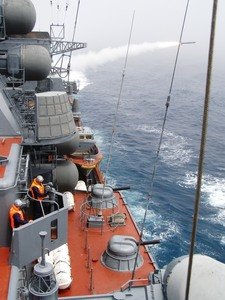
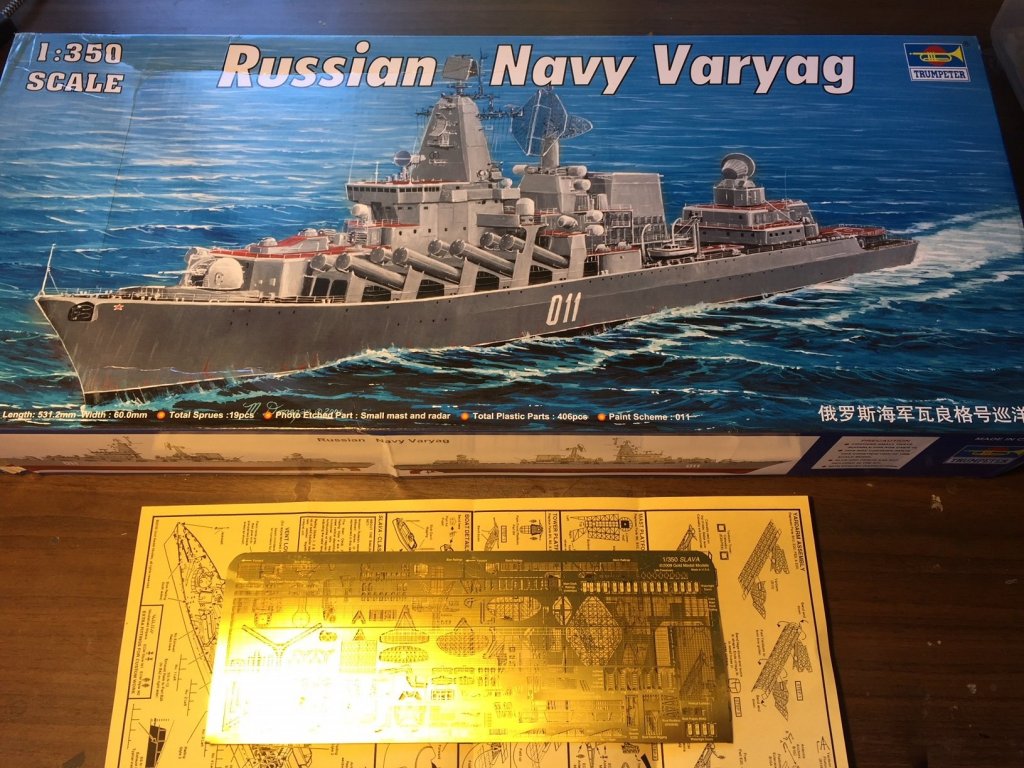
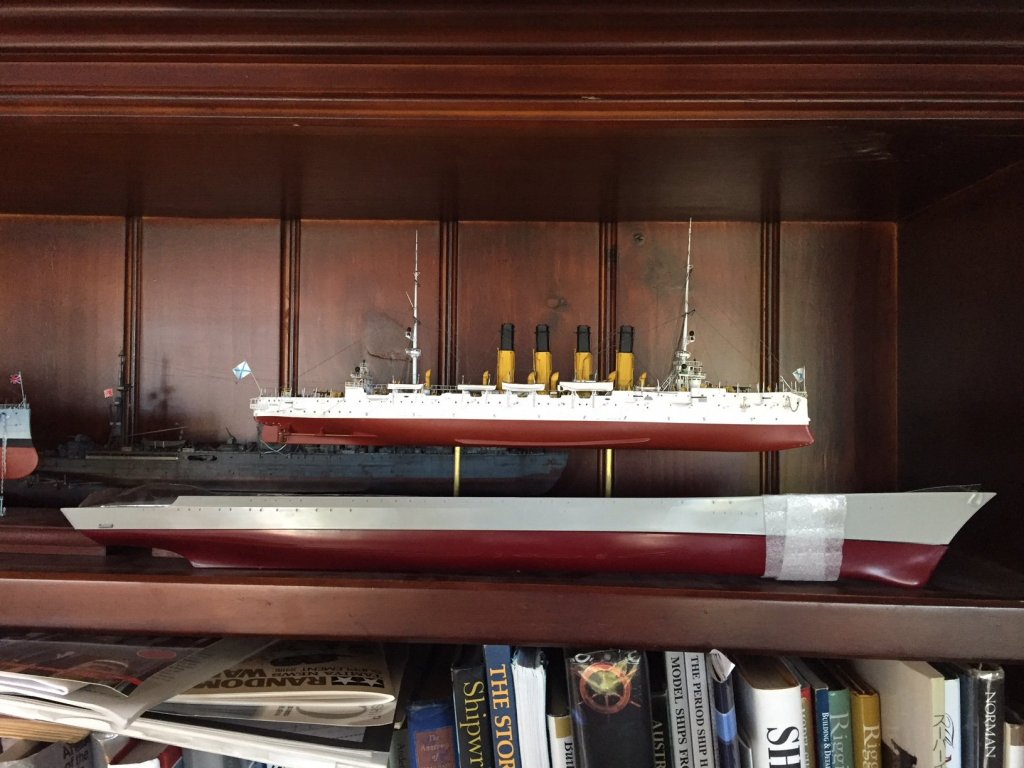
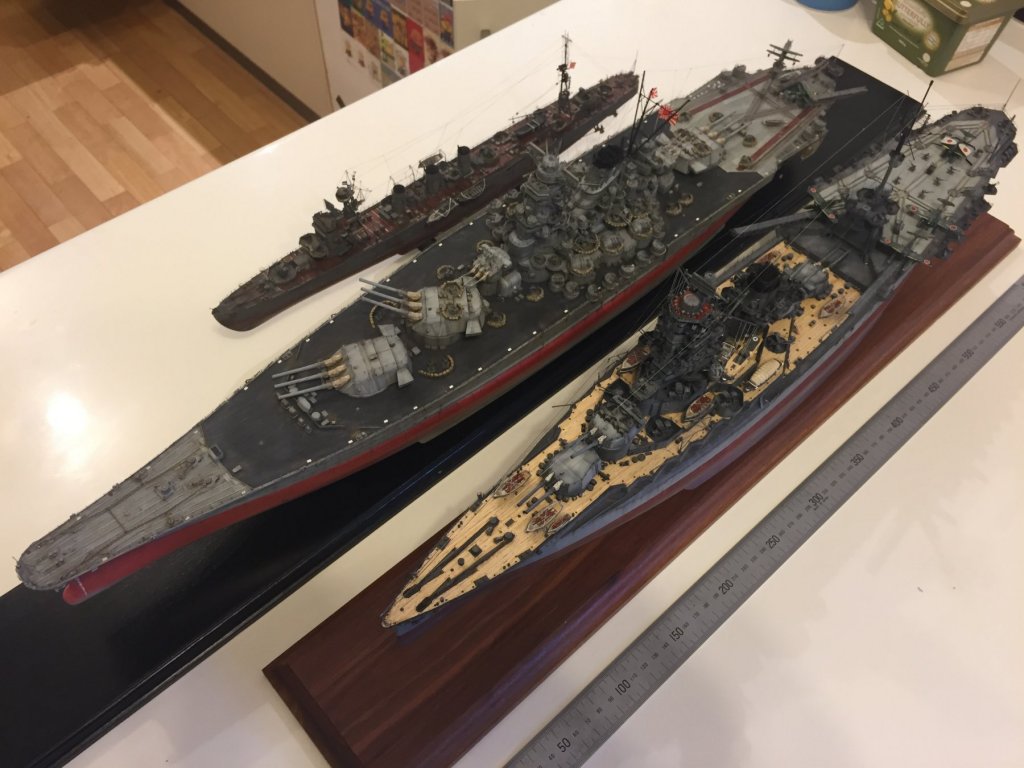
Moving forward in the later 20th century, my next build, the Soviet (now Russian Navy) Varyag. I found this on ebay along with a cruiser and a Chinese set of PE for the Varyag for a hell of a lot cheaper than anywhere in OZ. You can see from the 1904 version, she got a bit bigger and I think was primarily an aircraft carrier killer. There are a LOT of photos online for her him and his brothers (Russian ships are boys apparently), and I have as usual ordered up some more extras. The Gold Medal Models PE is just lovely and incredibly detailed. The hull is very smooth and I will be doing a fair bit of work to etch in some panel lines, scuppers, dents, all to aid in weathering it.
- 180 replies
-
- 13
-
-
Man, I could never bring myself to solder, so much PE, so much work! Ive decided the quick set binding fluid for Ca is now my friend. Its a massive build.
-
and I am looking forward to you value adding to the build log. I have ordered aftermarket from from around the globe and purchased my next kit for a steal off eBay, it actually included a Chinese pirated copy of the PE and a second Chinese build. All for under the RRP of the kit. In keeping with the principles of this site I have re ordered the PE from the company that produced it. I need to to tidy up all the pe I have acquired as it is all 1900-1945, and now we progress to the time when I started walking this earth. When it all comes together I’ll start a new log.
-
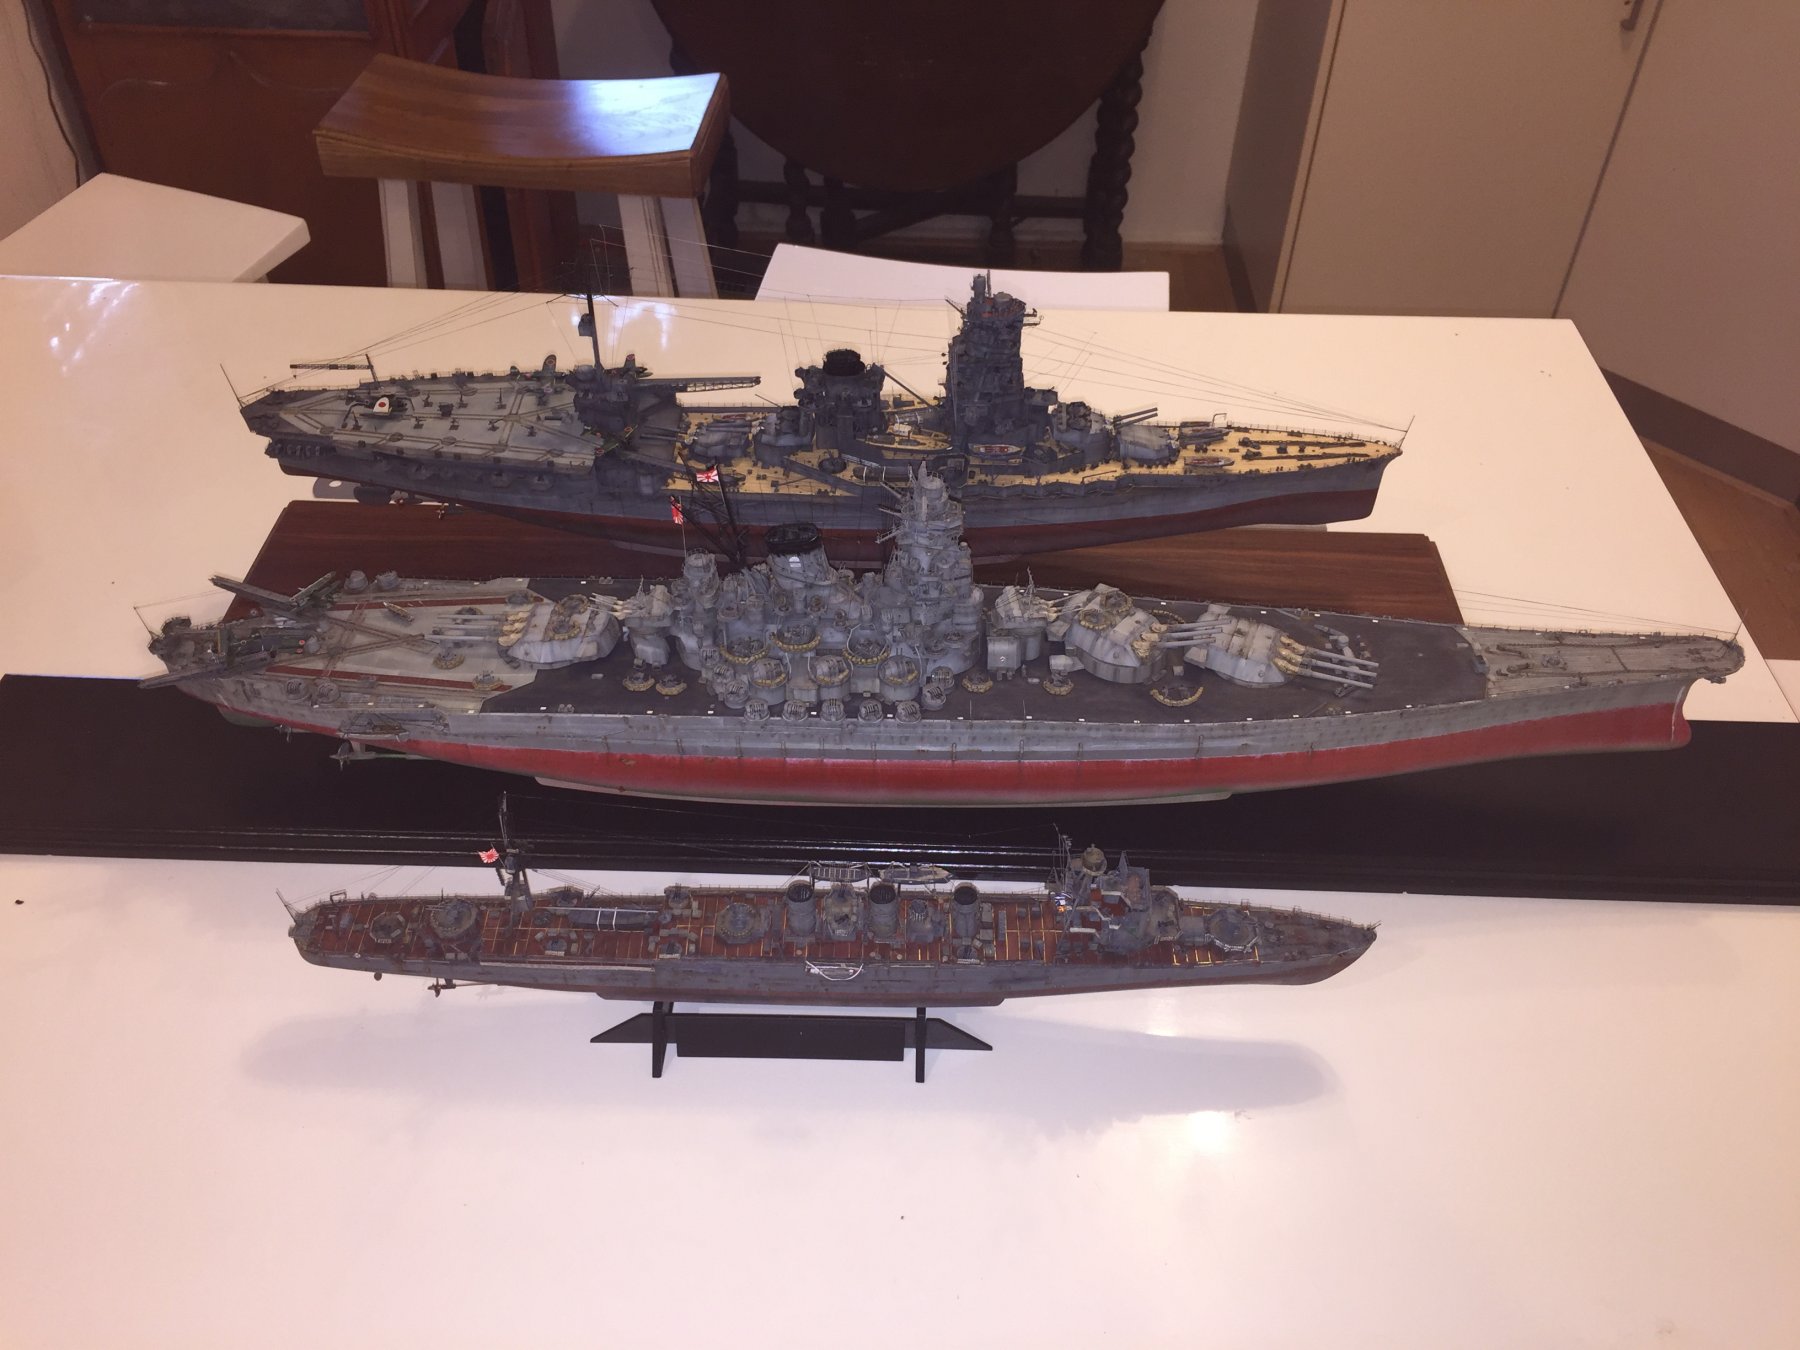
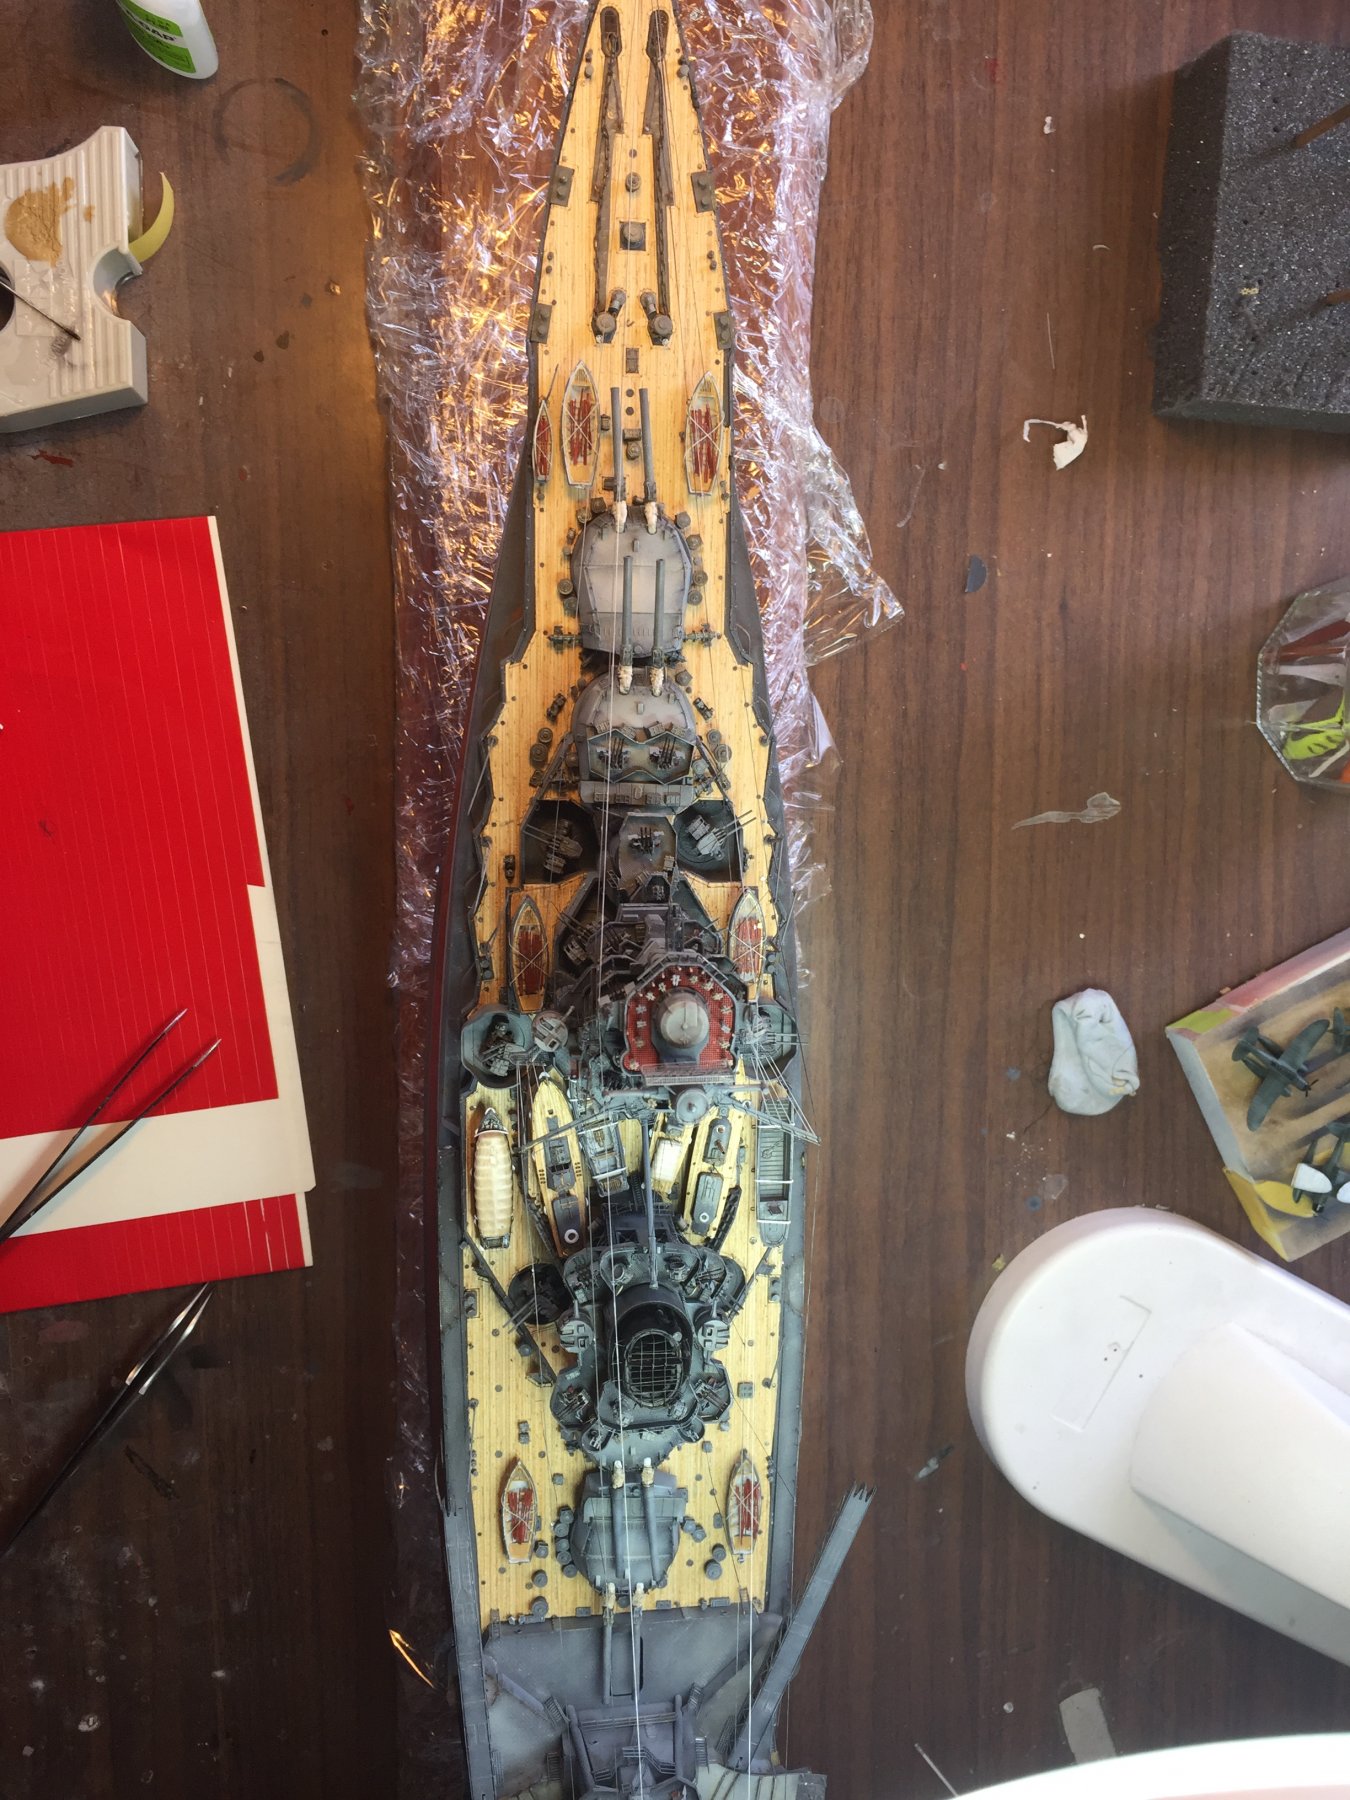
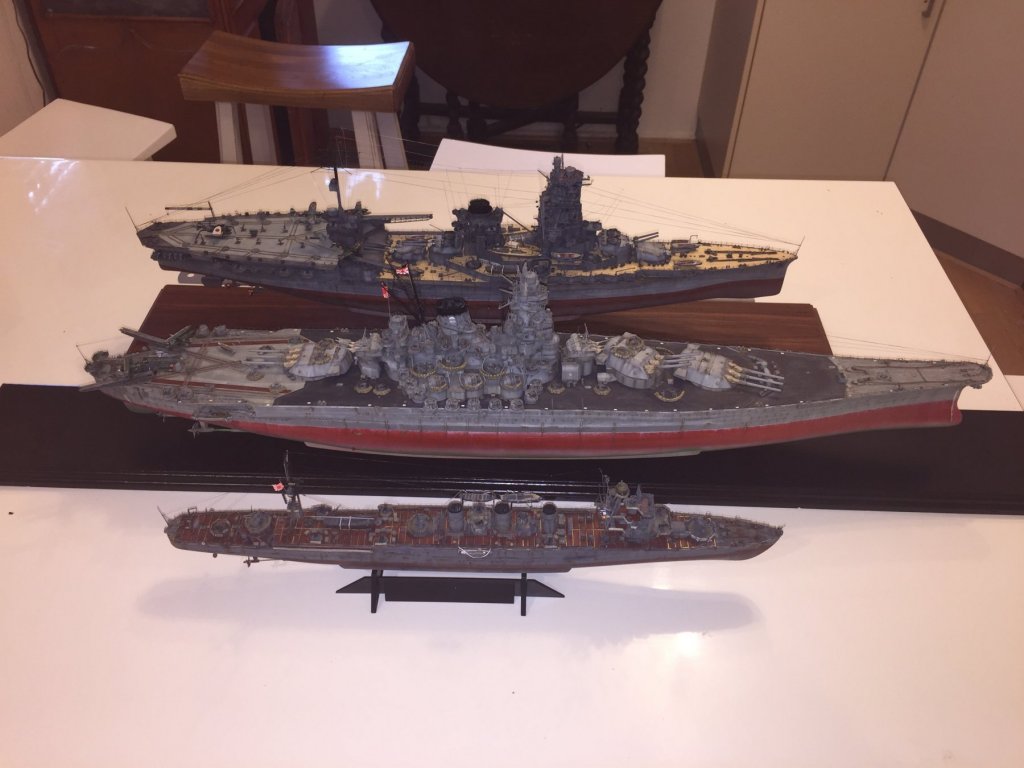
And here ends my IJN phase. I really don’t want to build another for quite a while as it just starts to repeat itself. Hope you enjoyed this one, I’m going forward to the Cold War next. Off to the digital graveyard.
- 224 replies
-
- 22
-
-
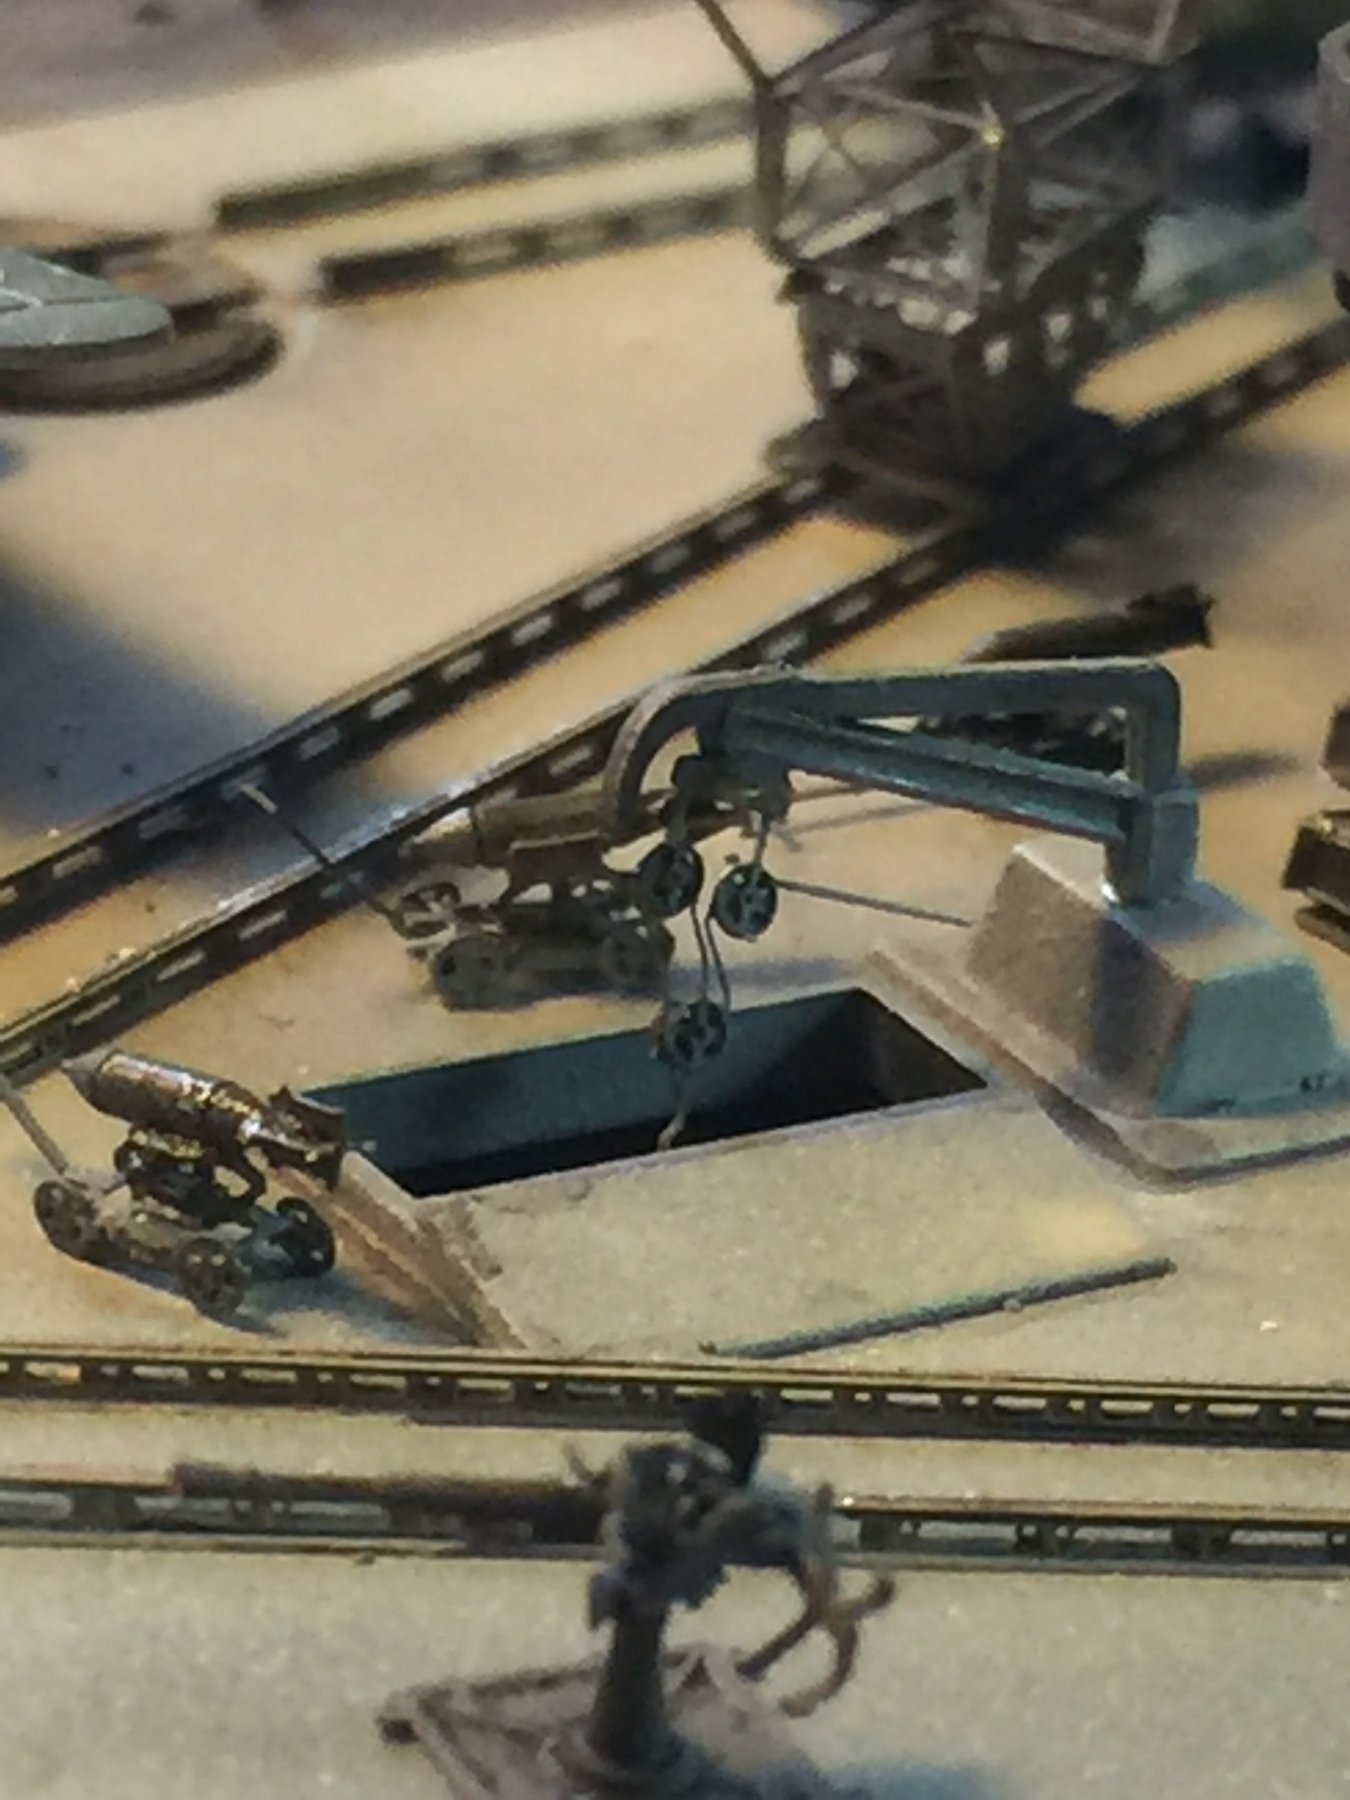
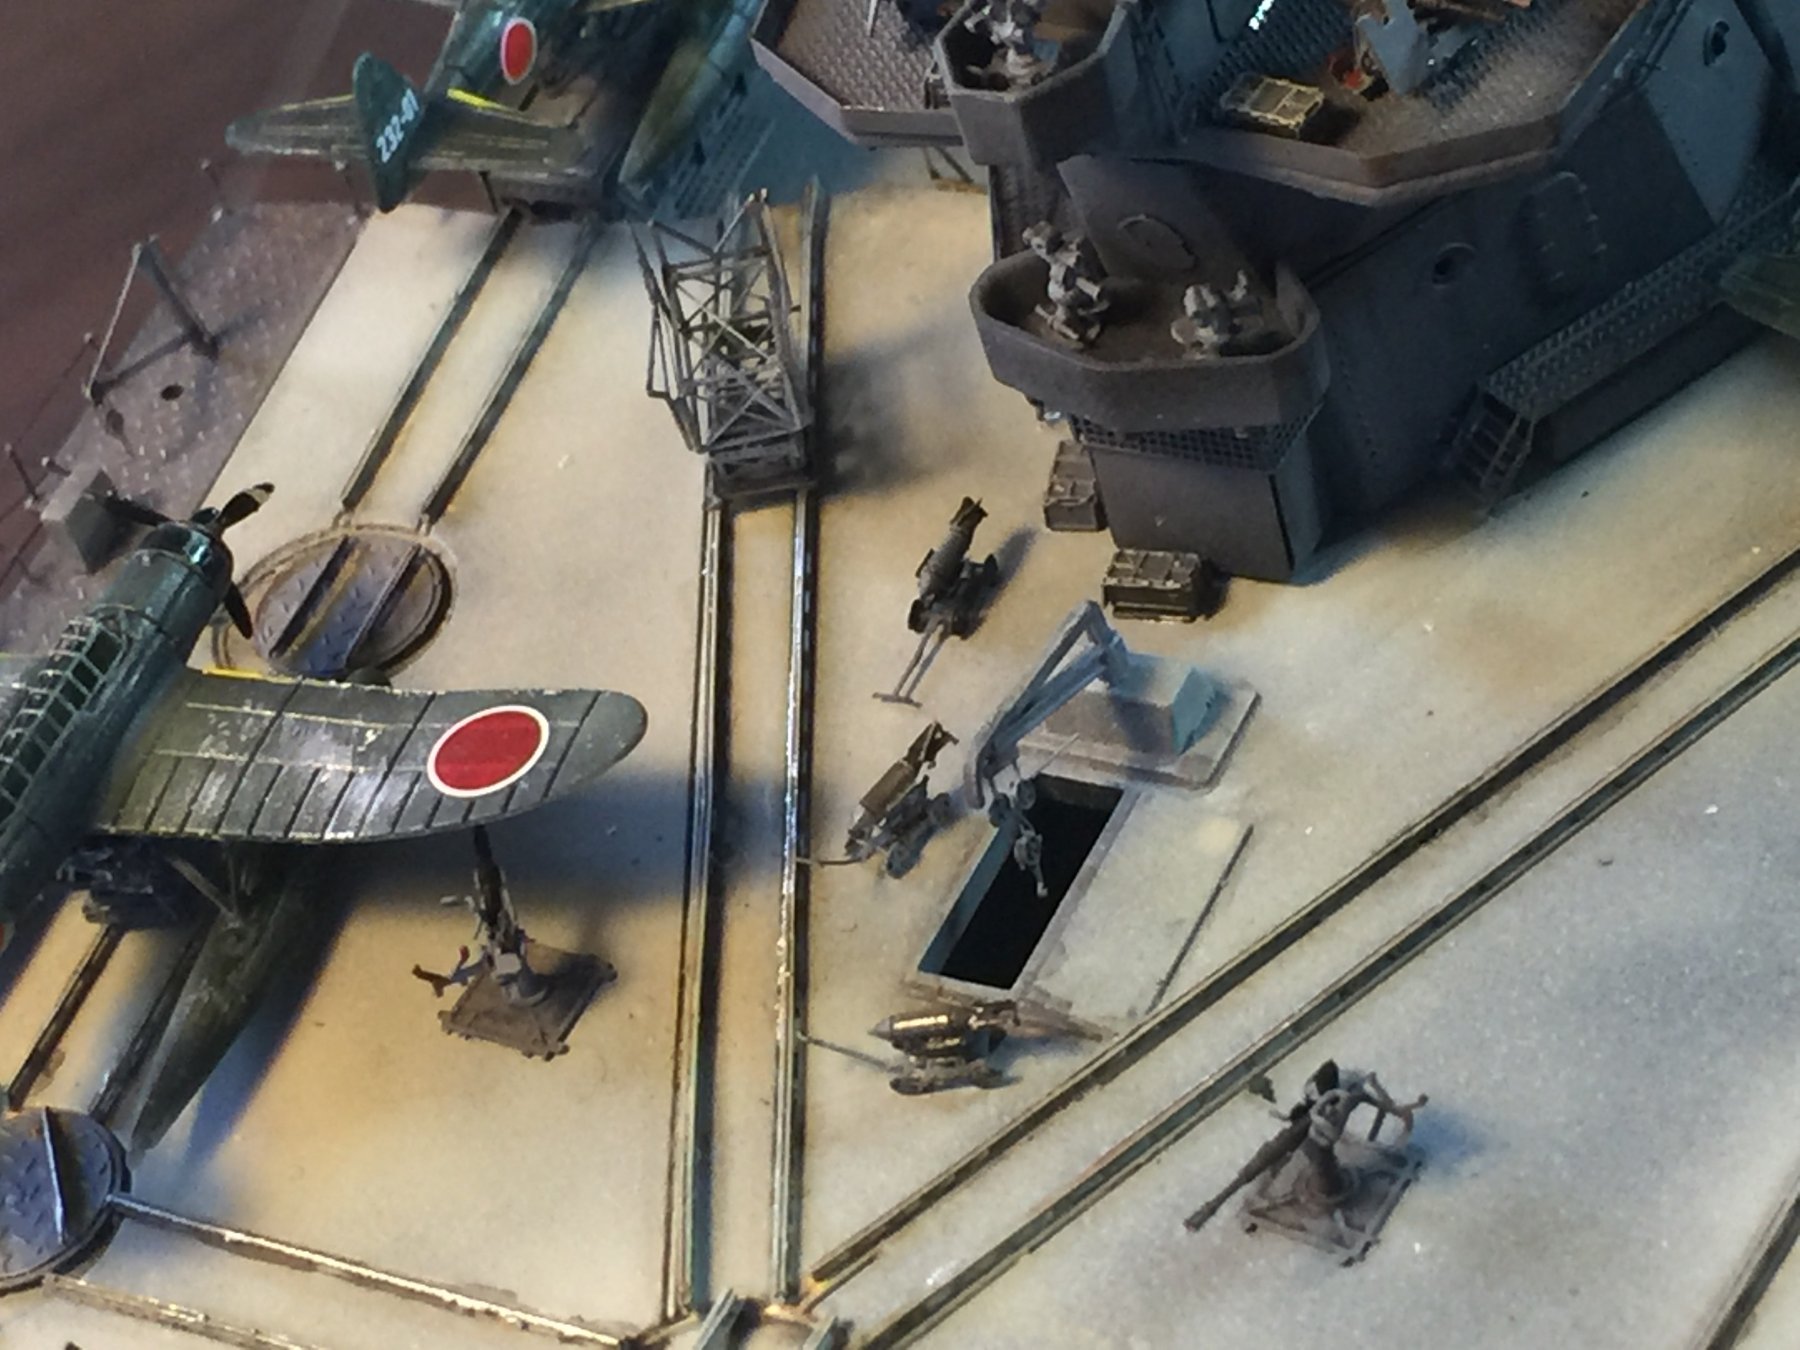
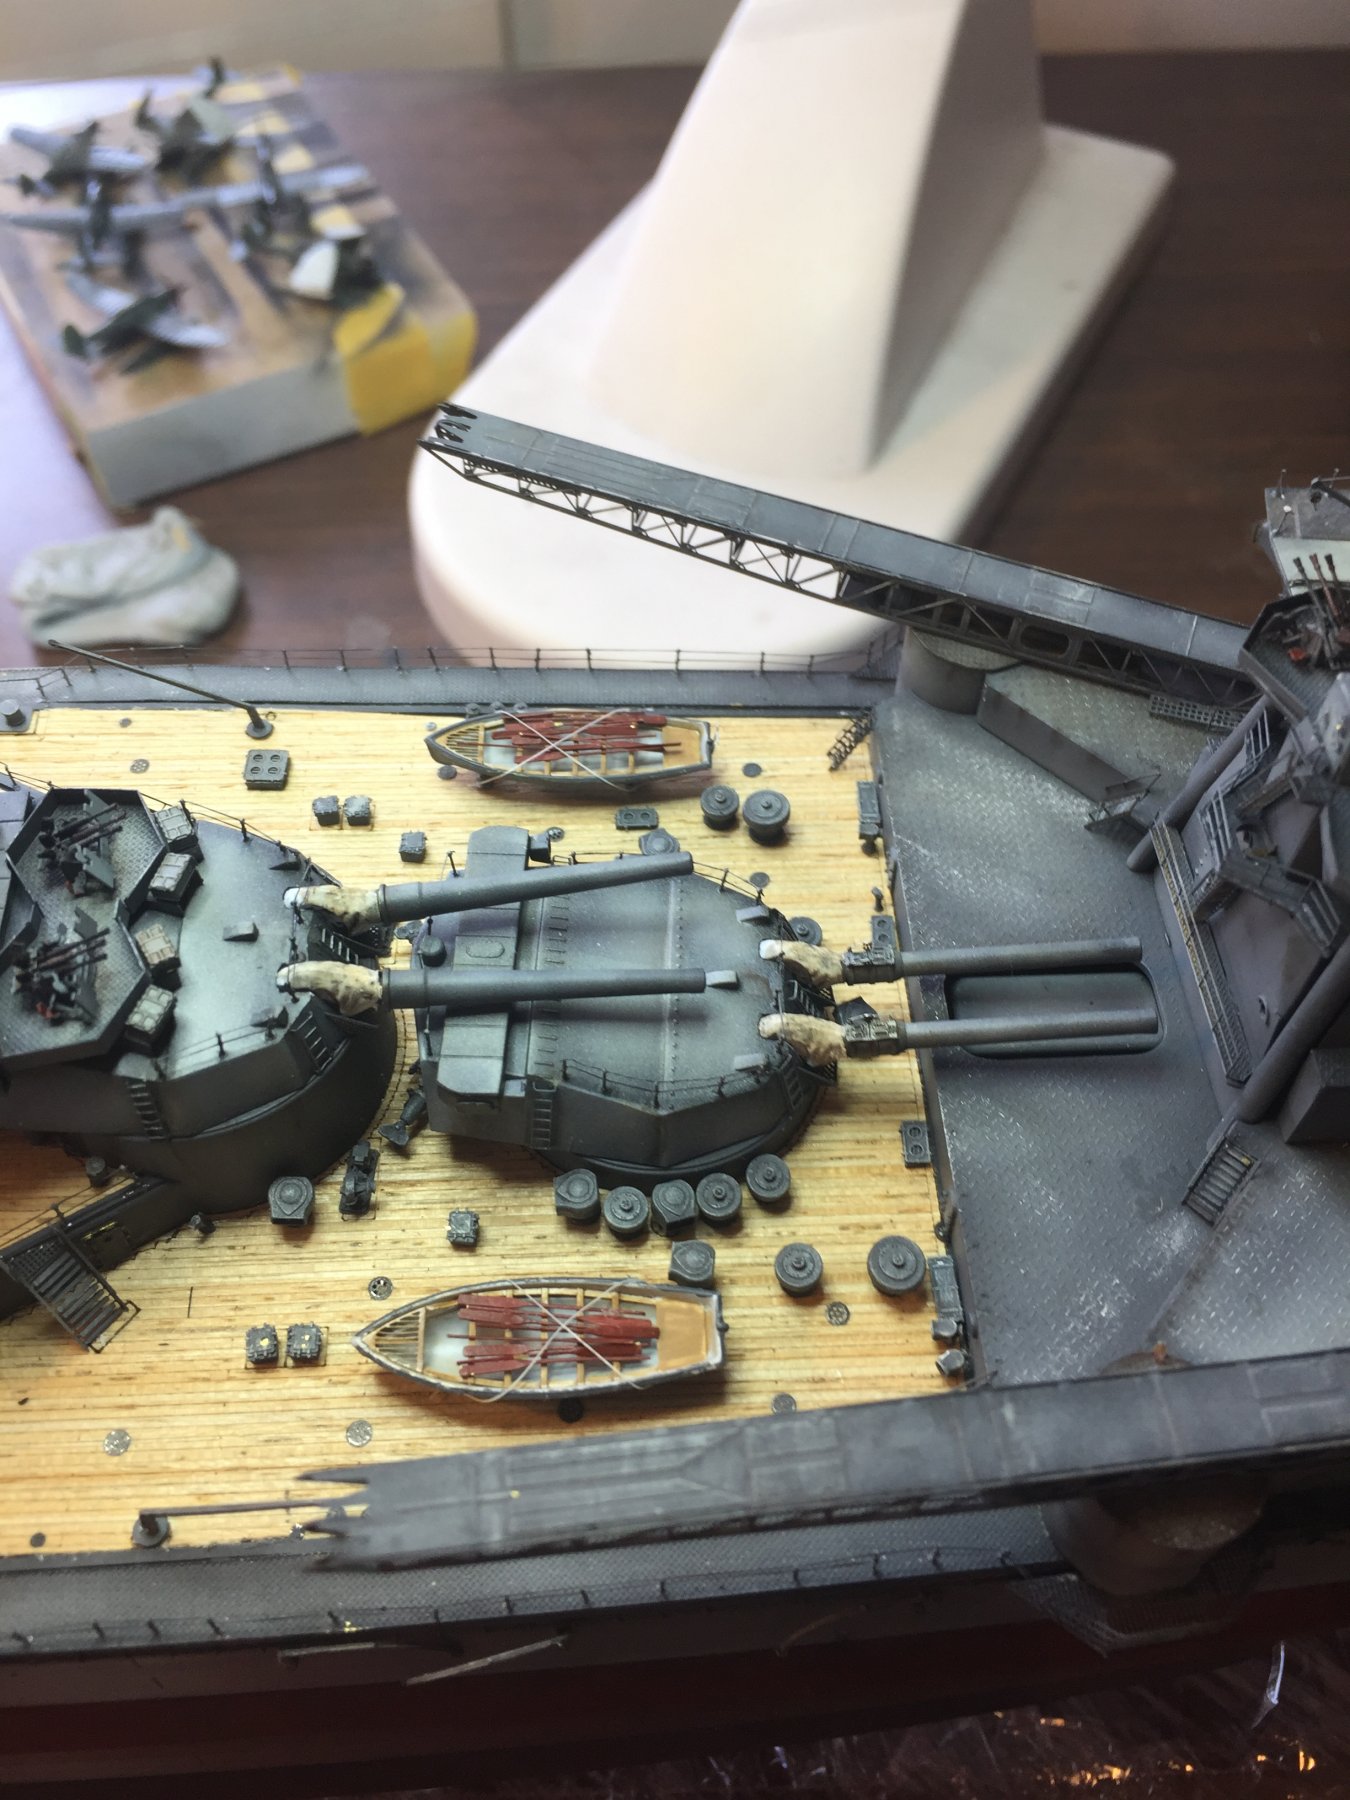
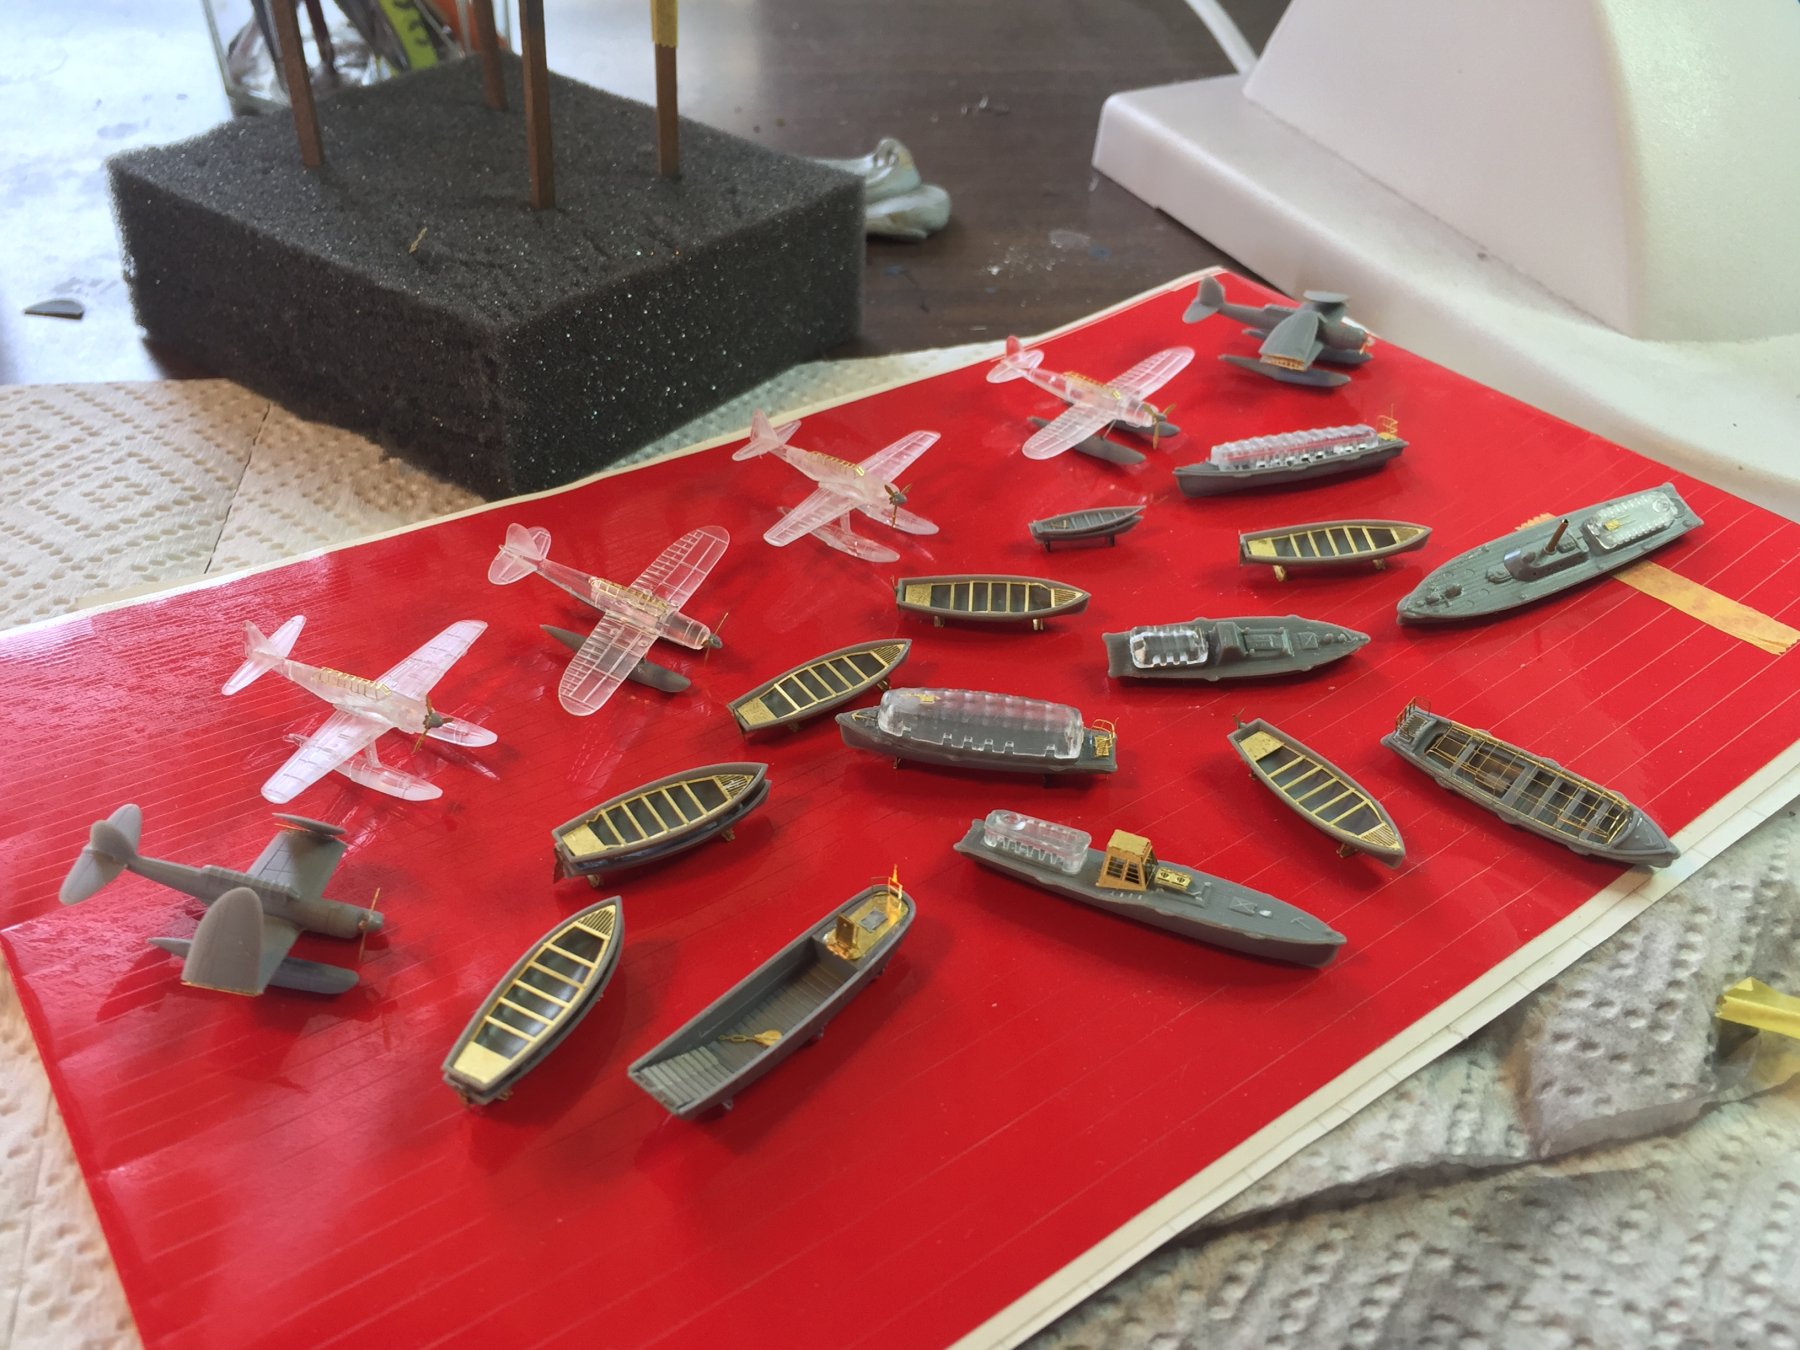
Essentially I’m crap at aircraft. There is a bomb hoist where I have added some little bombs on trolleys and left a few trolleys for aircraft lying around.


- 224 replies
-
- 17
-
-
You could try a heavy black wash for the helicopter windows.
- 133 replies
-
- 3
-
-
- jeanne d arc
- heller
- (and 2 more)
-
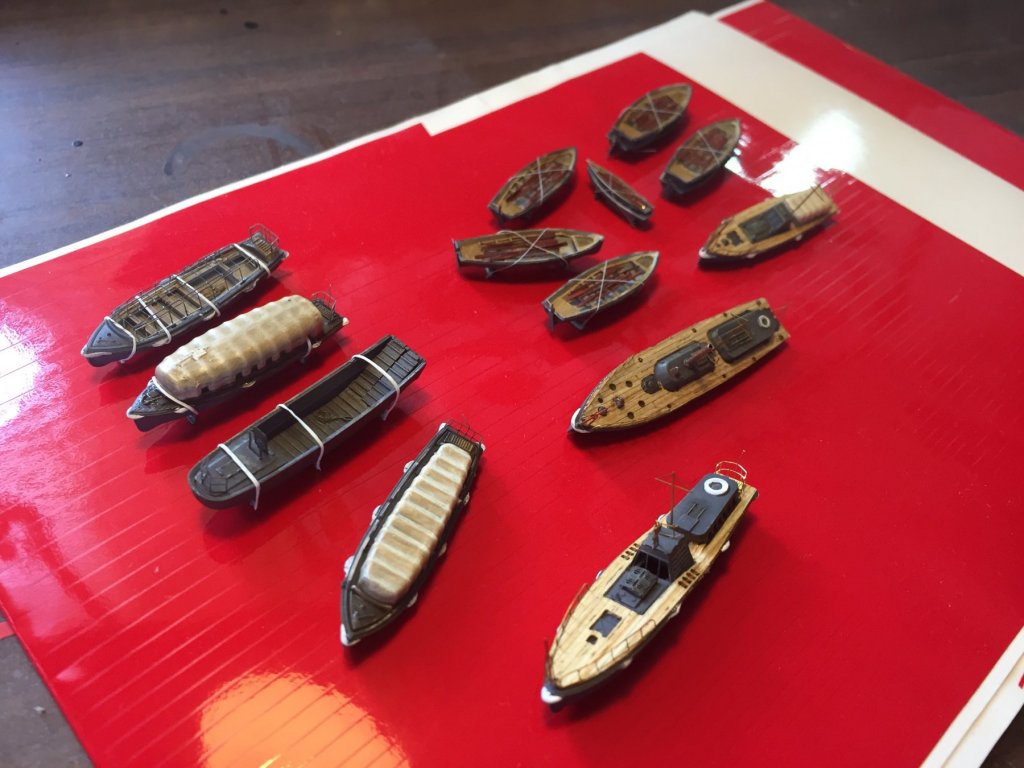
Cog, according to the internet, if you don’t grow up by 50 you do’nt have to, 2 years to fight it.
-
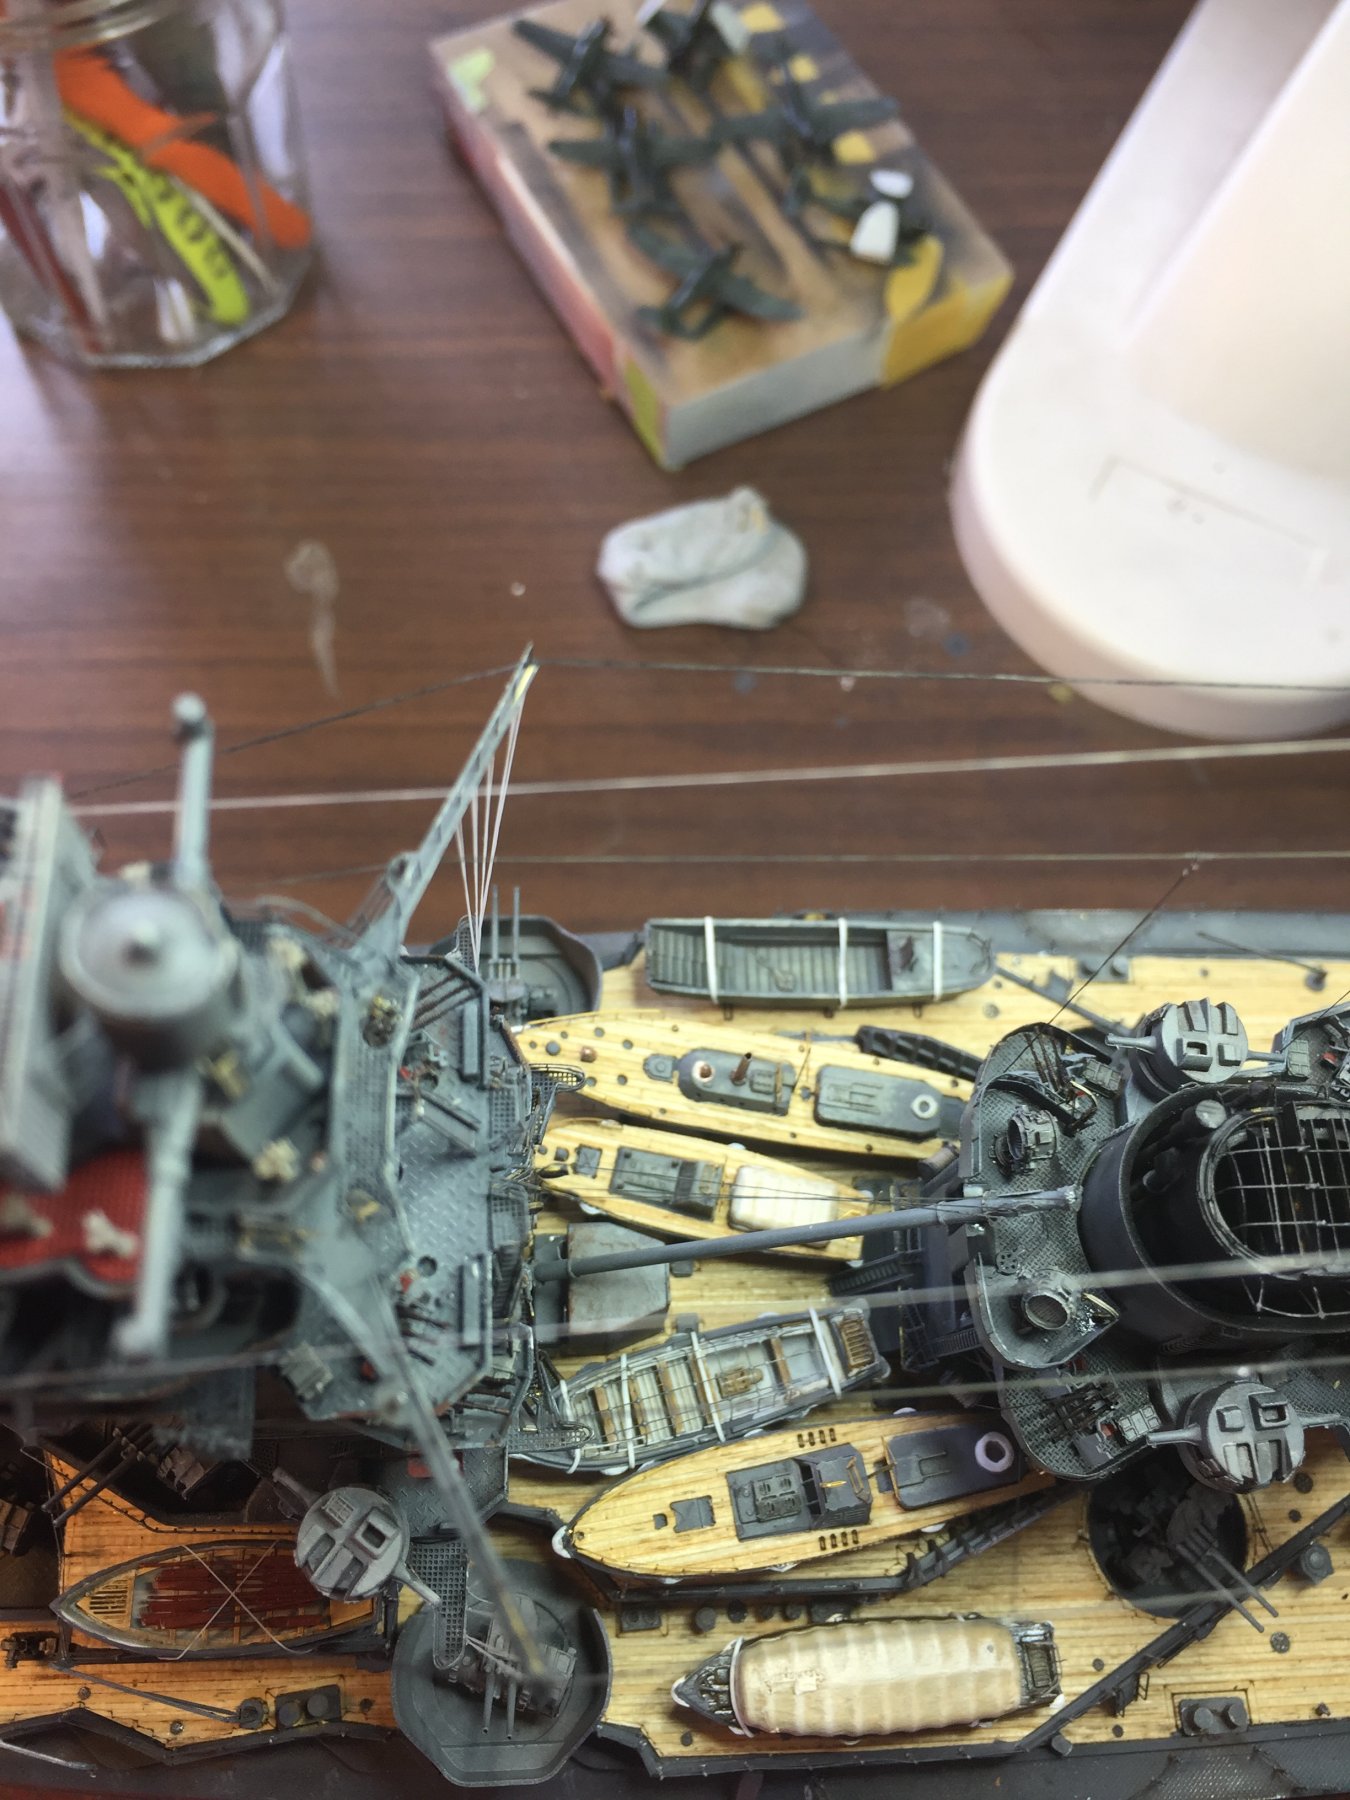
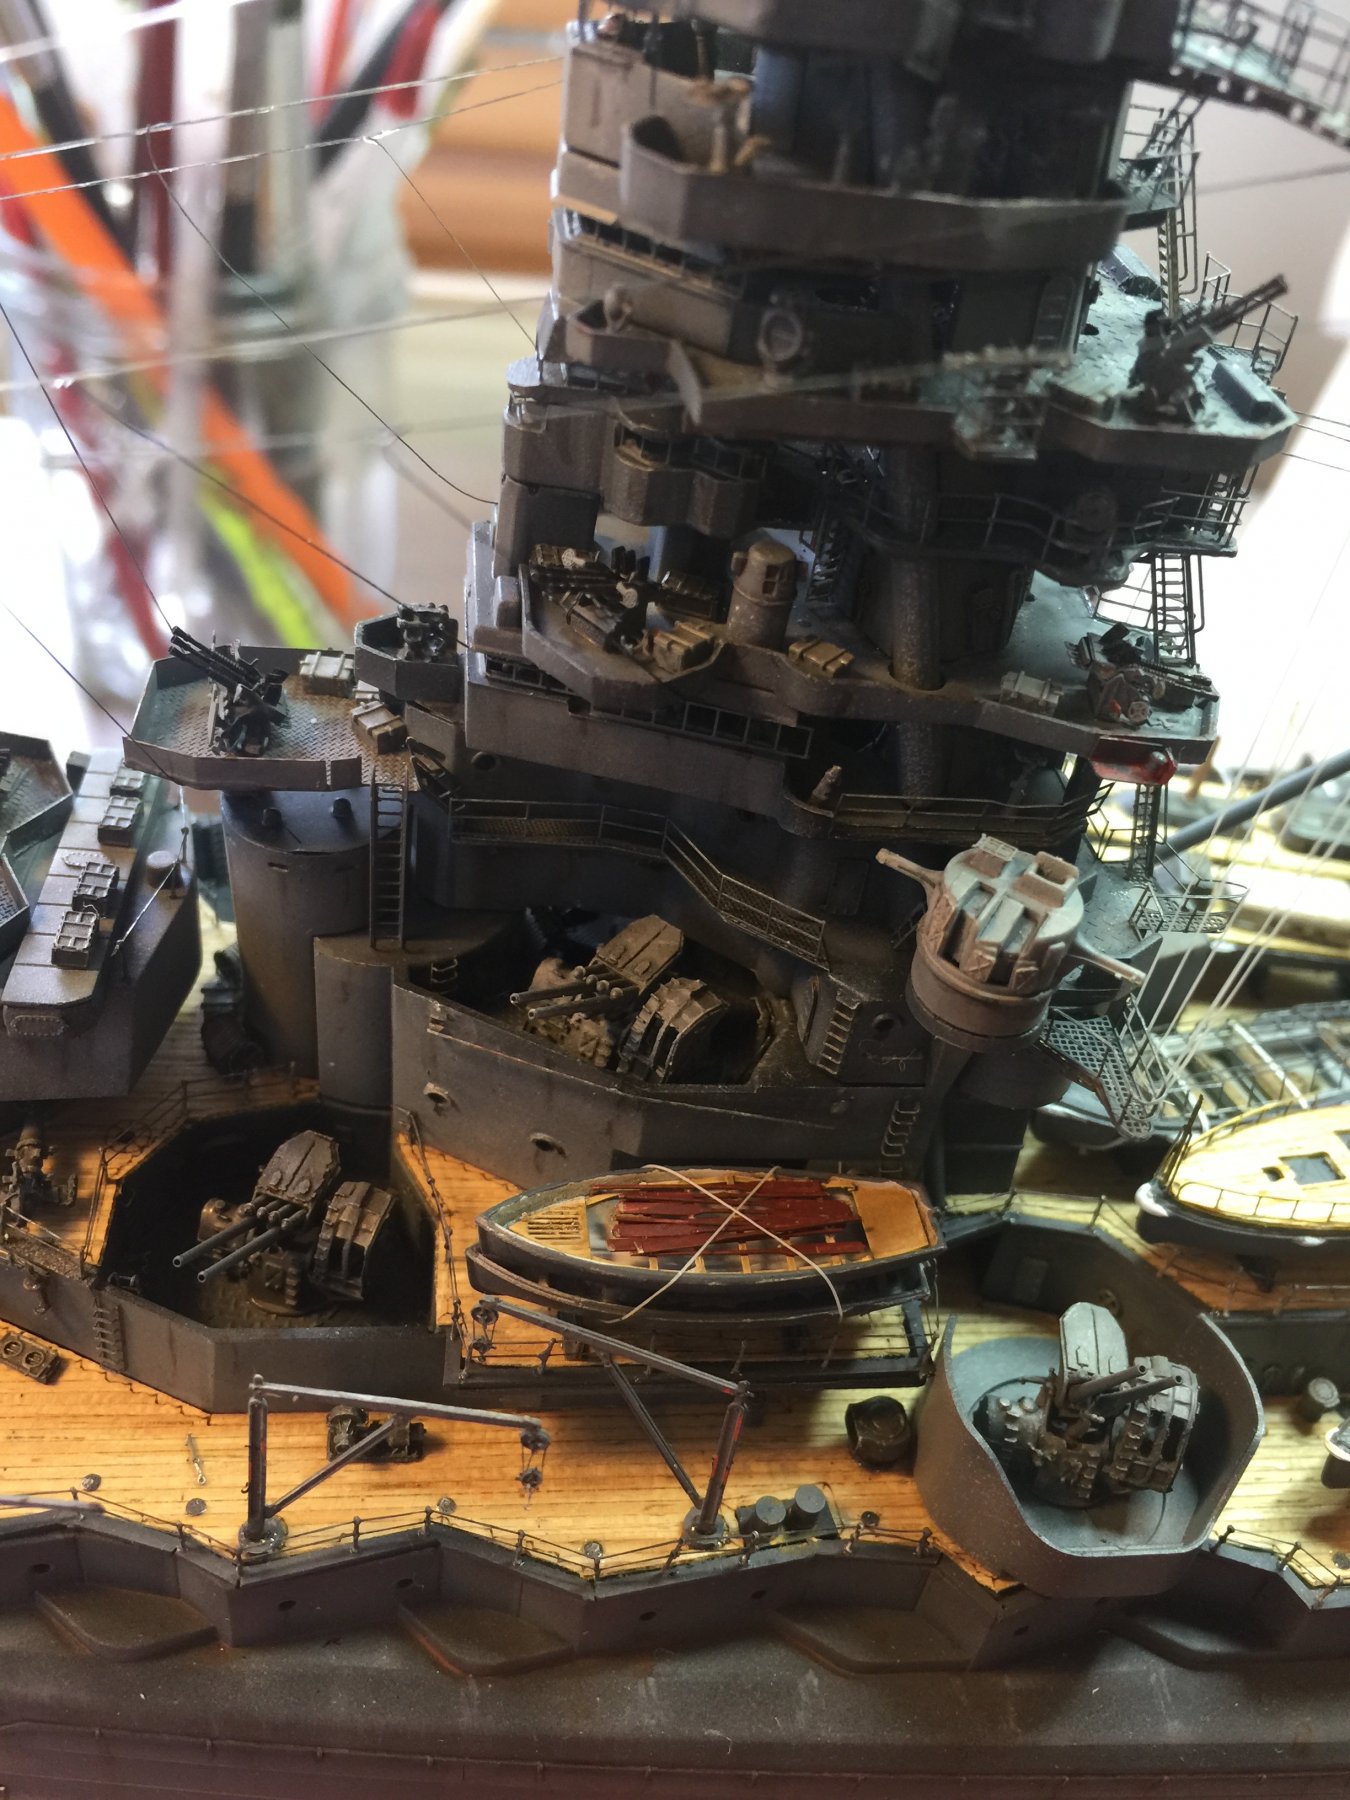
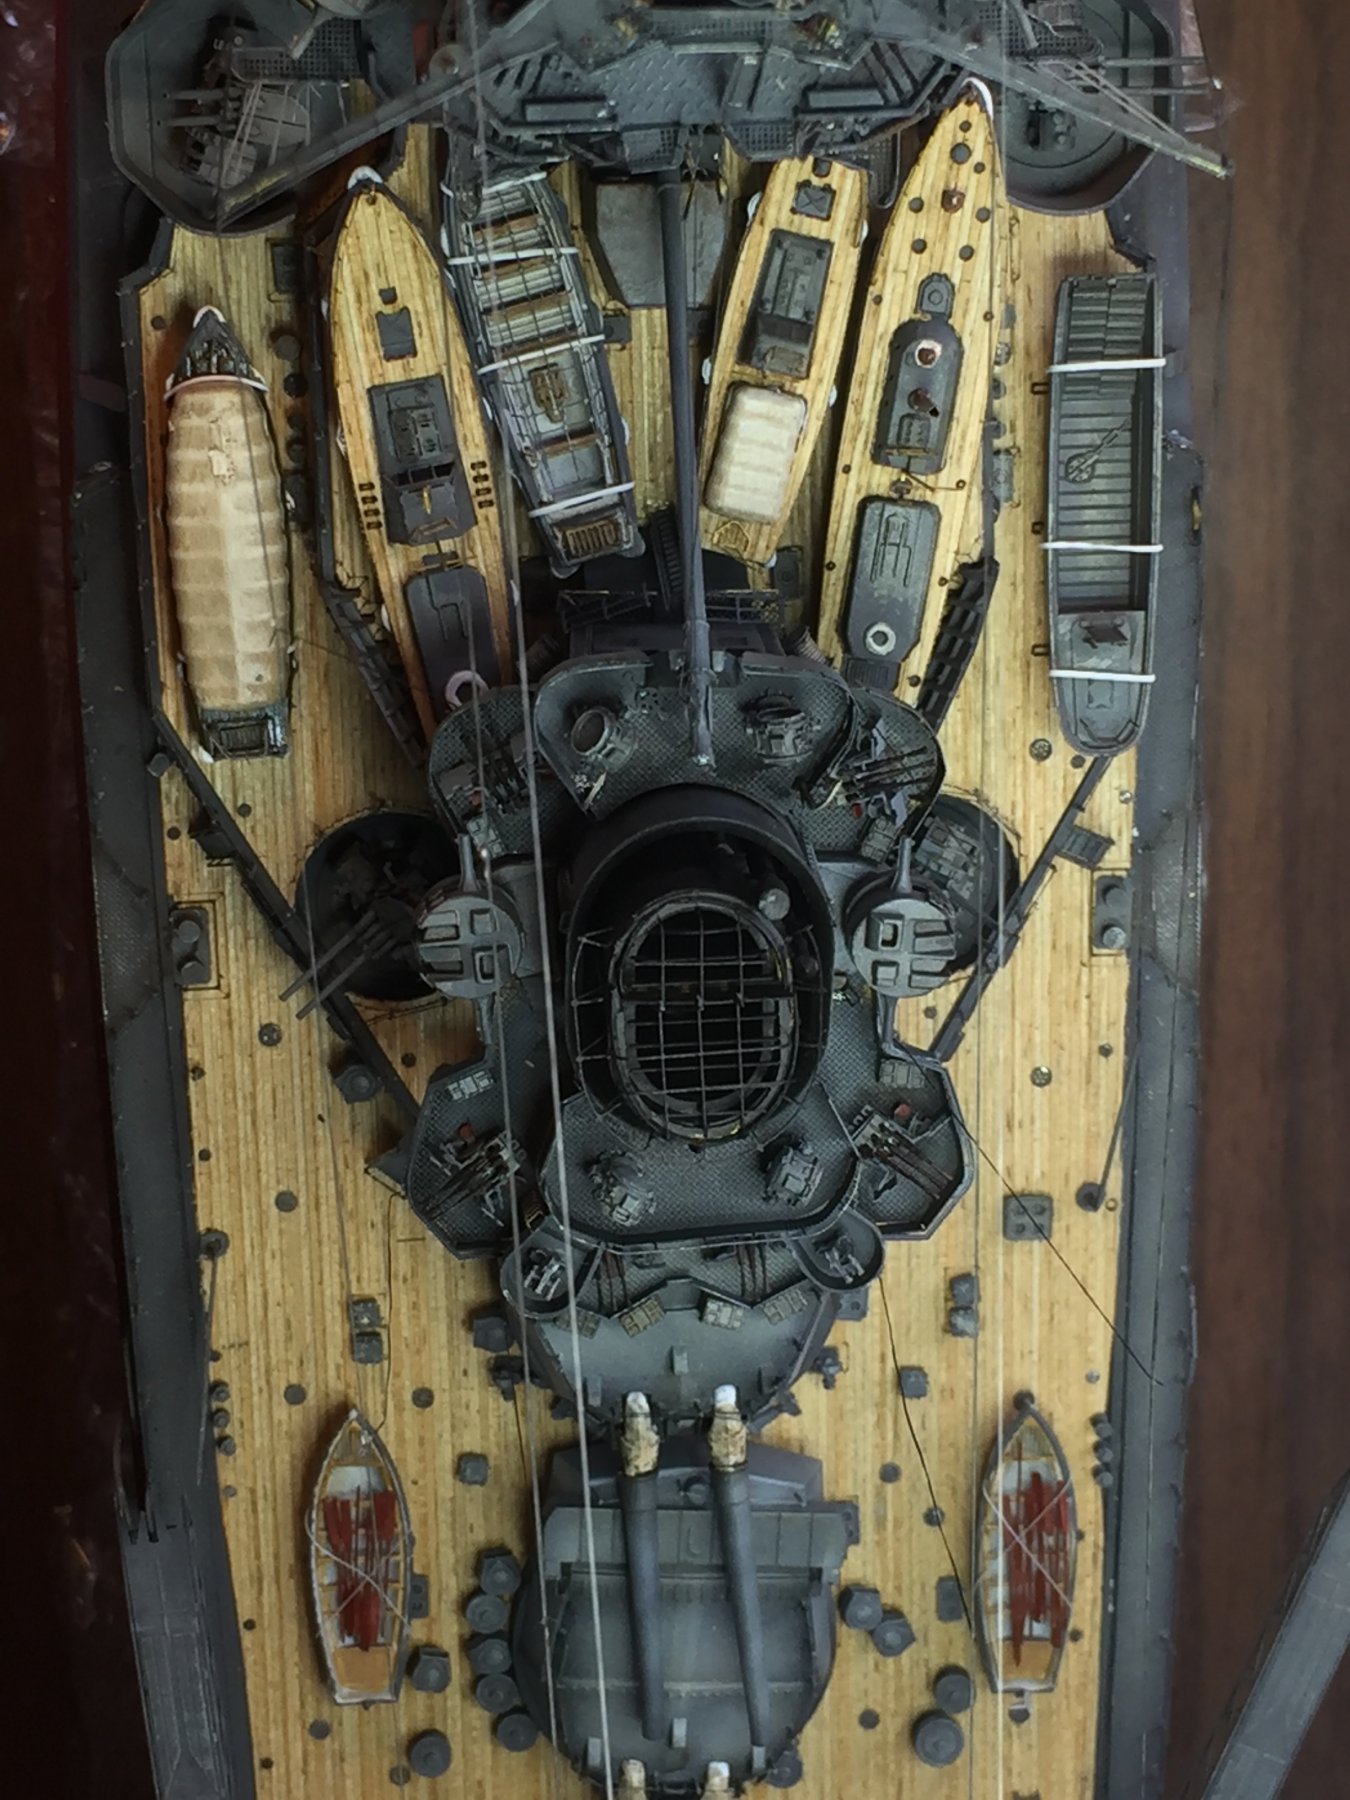
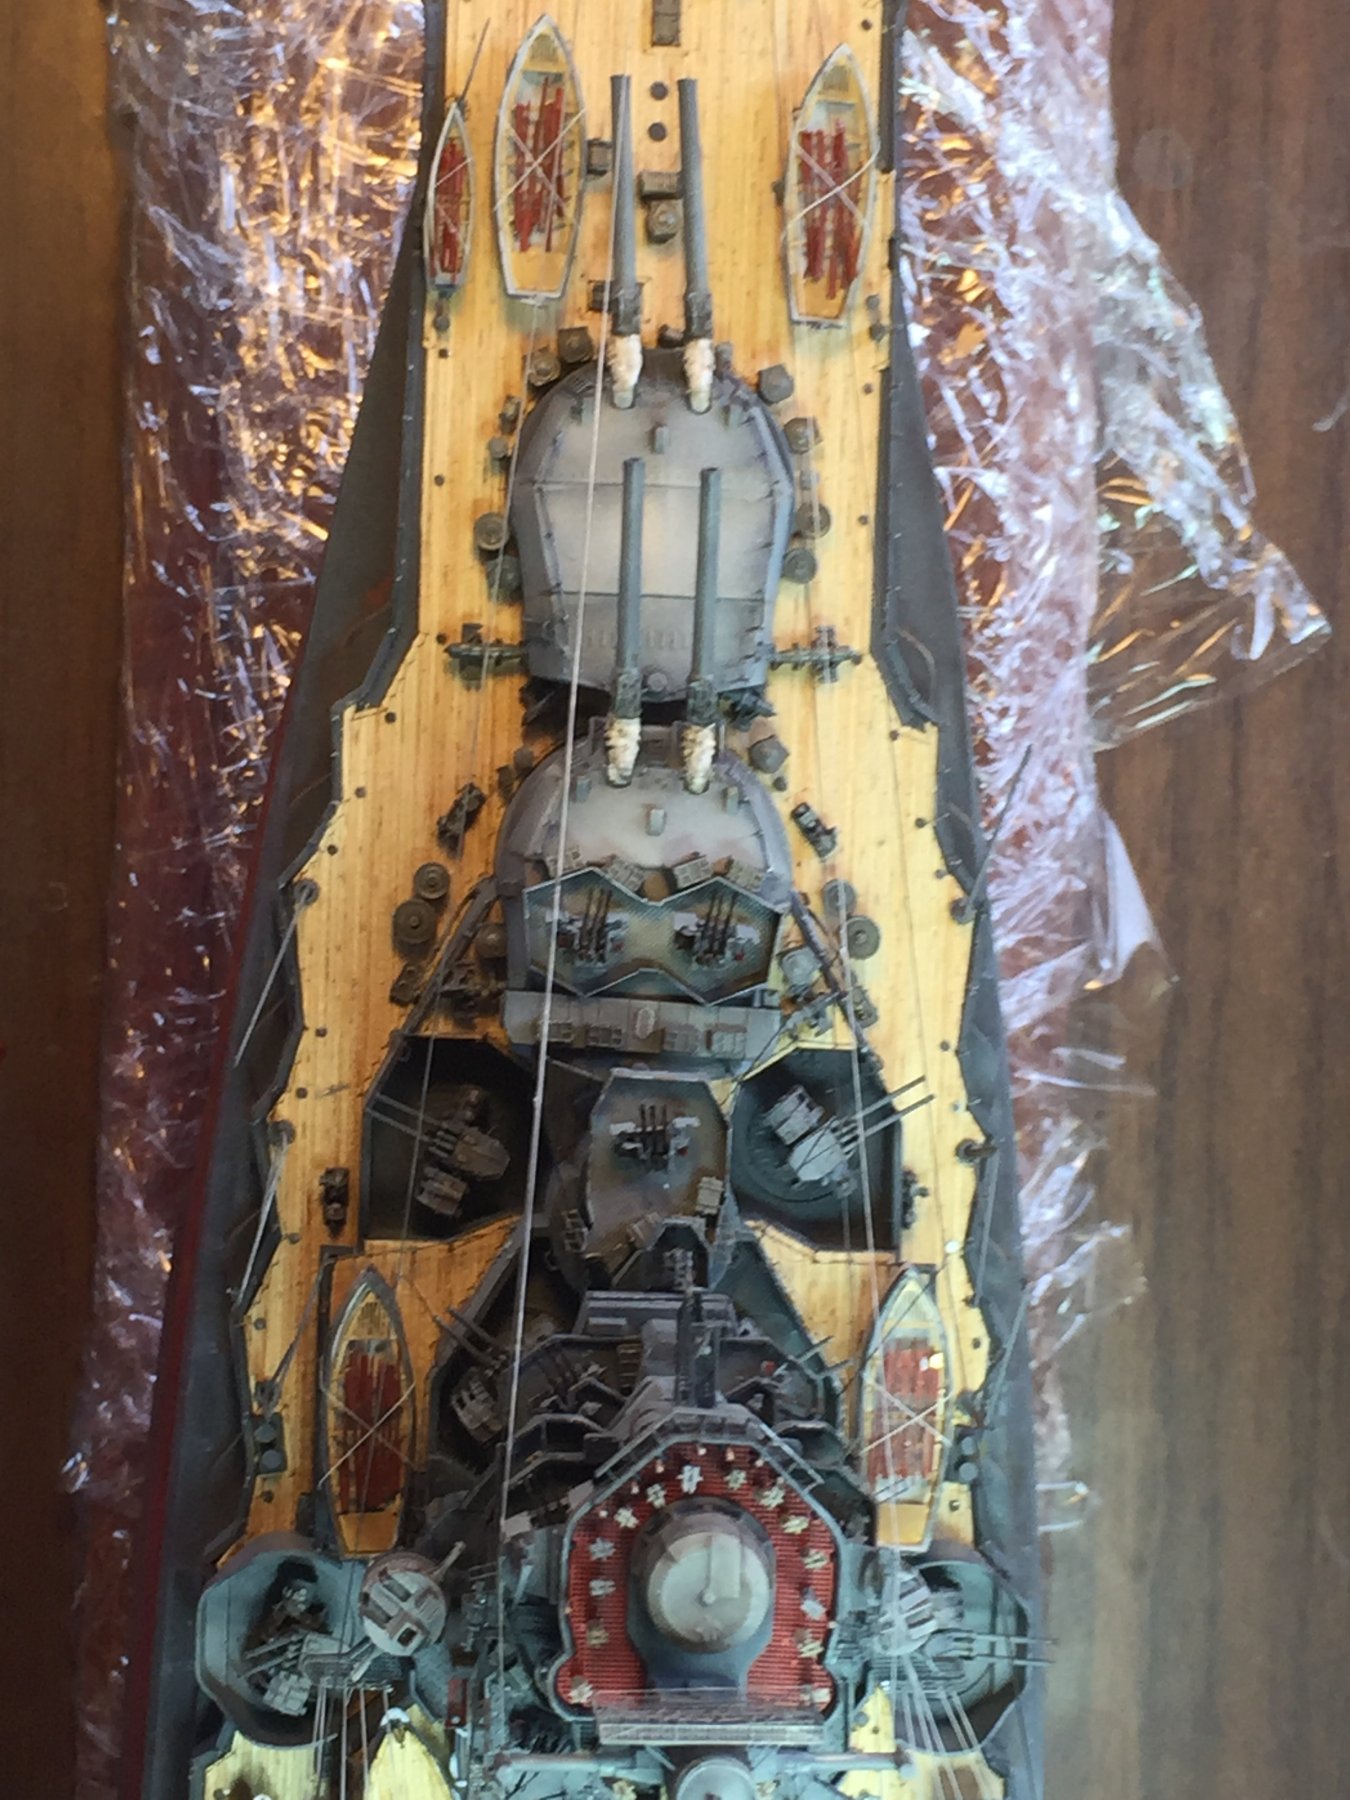
I seem to have achieved very little recently with work, coaching kids sport and tiny details. The ships boats are now complete.


- 224 replies
-
- 15
-
-
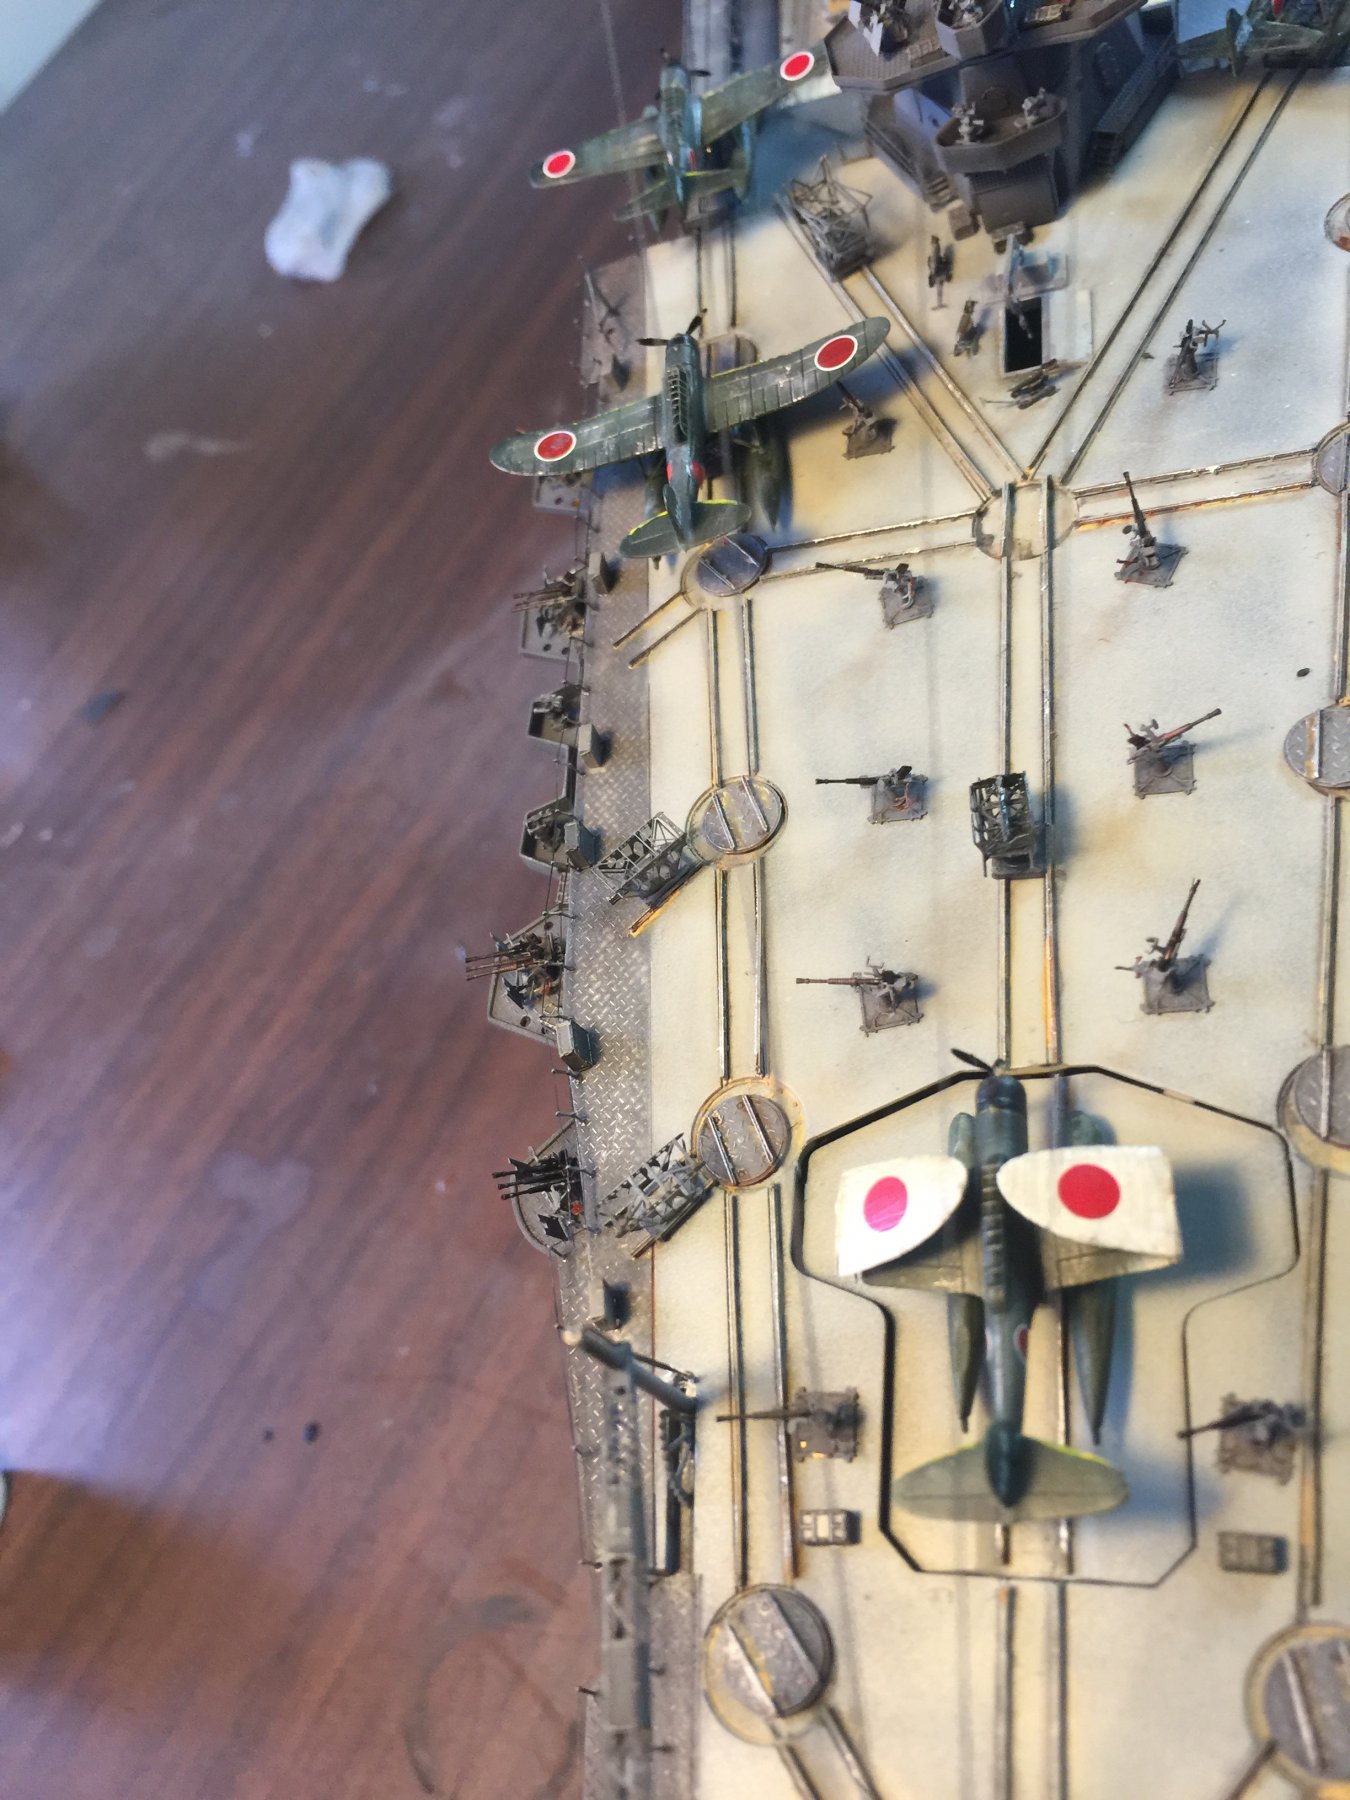
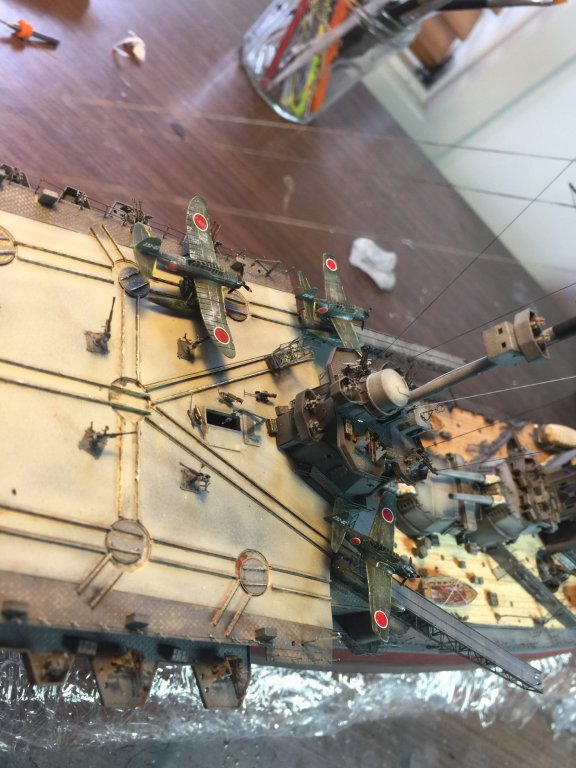
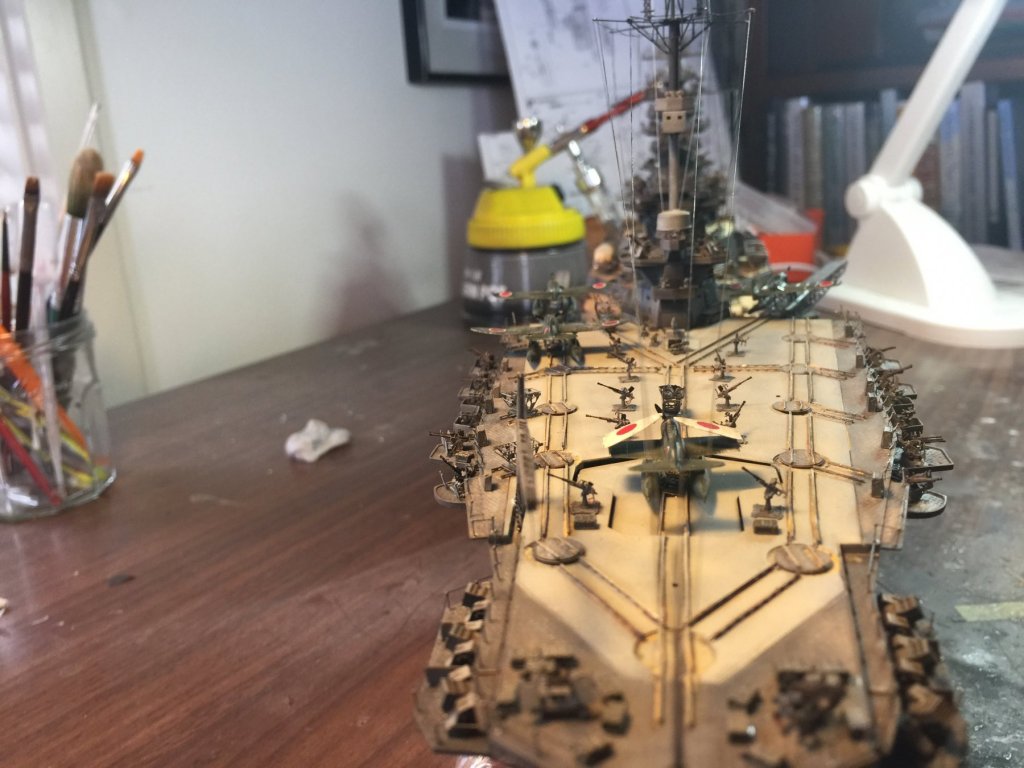
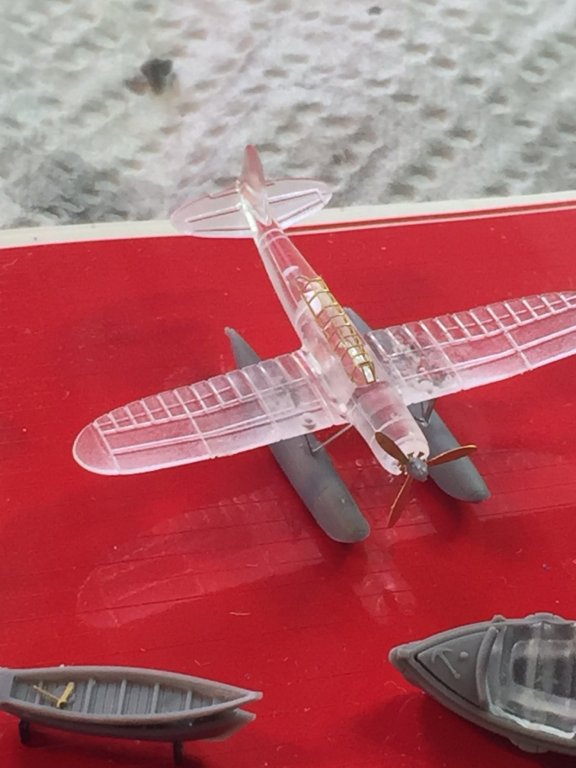
The whole thing was a failure really, the cats were removed and it didn’t achieve much. I will put planes on the cats, just not the ones without the floatplanes.
-
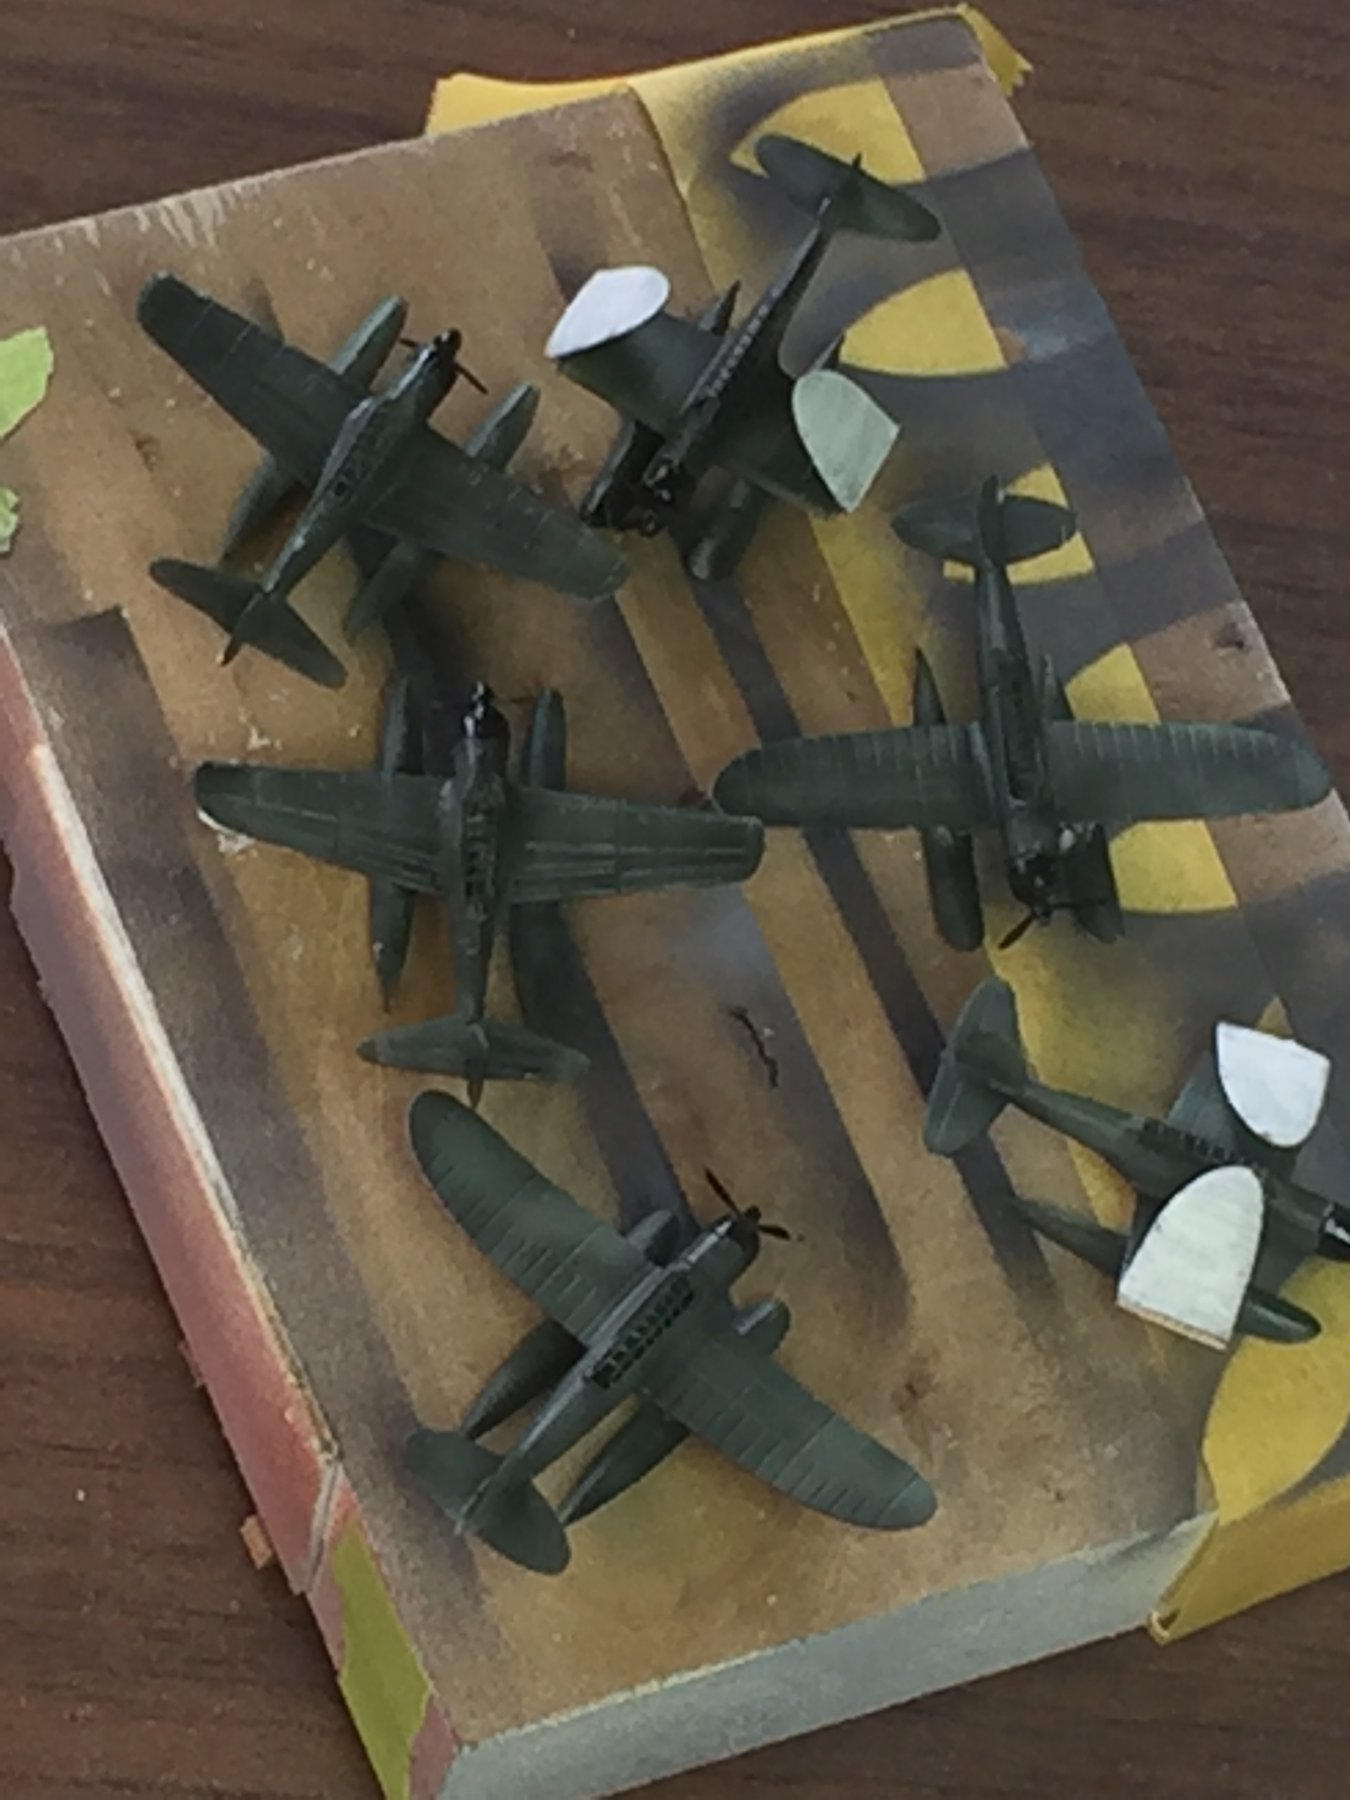
The last bits put together for the ship, the back veranda gets very busy very quickly with the aircraft. There were apparently 2 types of aircraft, one with and one without float planes, the latter could only be recovered on a proper aircraft carrier or airstrip. Whilst the kit does provide teo of these I cannot find any reference on how they went on the catapults so I’m just not going to do them. A fair bit of work to do to paint them yet, which I will not have time for this week or next.

- 224 replies
-
- 17
-