DONATION DRIVE - SUPPORT MSW - DO YOUR PART TO KEEP THIS GREAT FORUM GOING!
×


RGL
-
Posts
5,539 -
Joined
-
Last visited
Content Type
Profiles
Forums
Gallery
Events
Everything posted by RGL
-
 Watch out for cats. They do destroy the back end of boats.
 -
Oh dear, the Vets handshake just came to mind
-
Nothing long enough. I'm looking for something to reach in and snip off the ends of belayed points and then later add the rope coils. There are some fantastic surgical tools but at a fantastically expensive price.
-
Does anyone know where these can be purchased without being a surgeon and not on a similar pay scale?
-
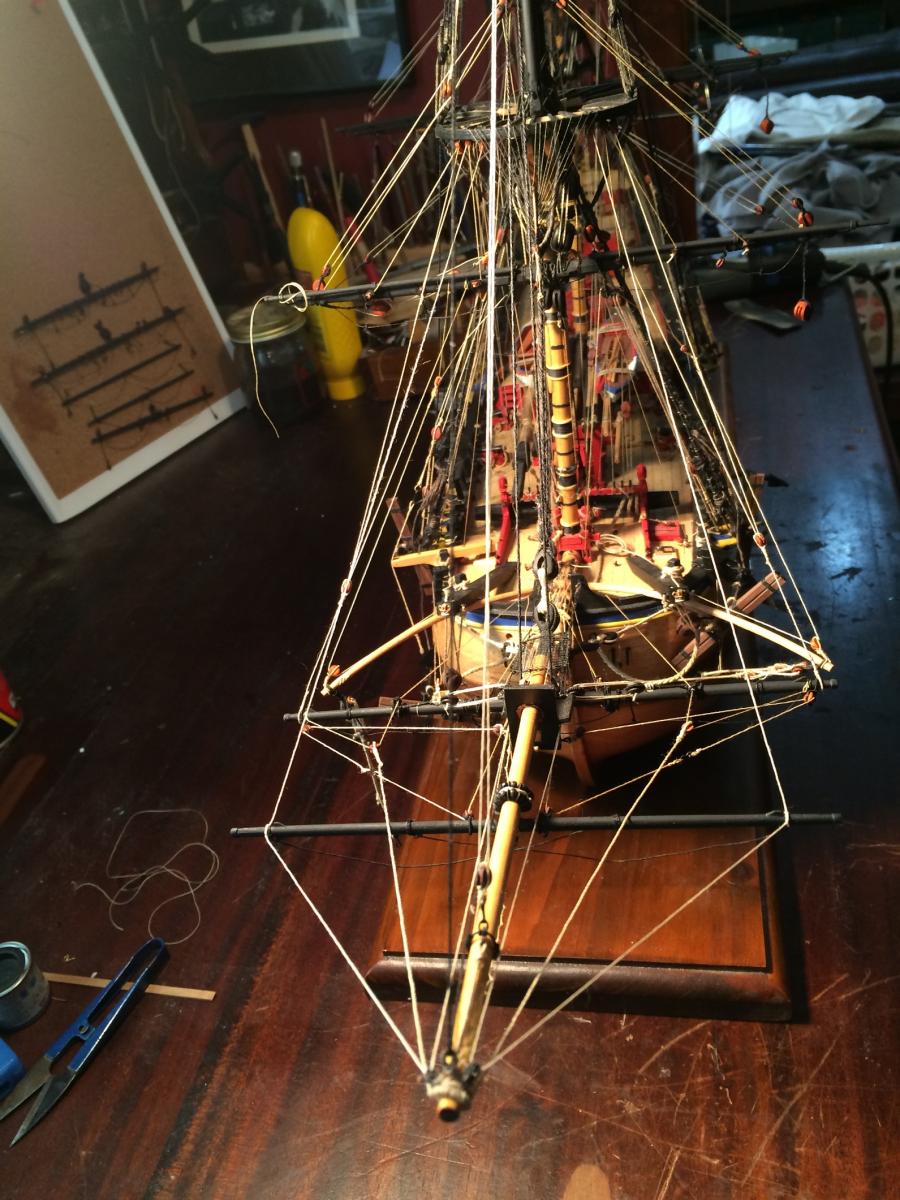
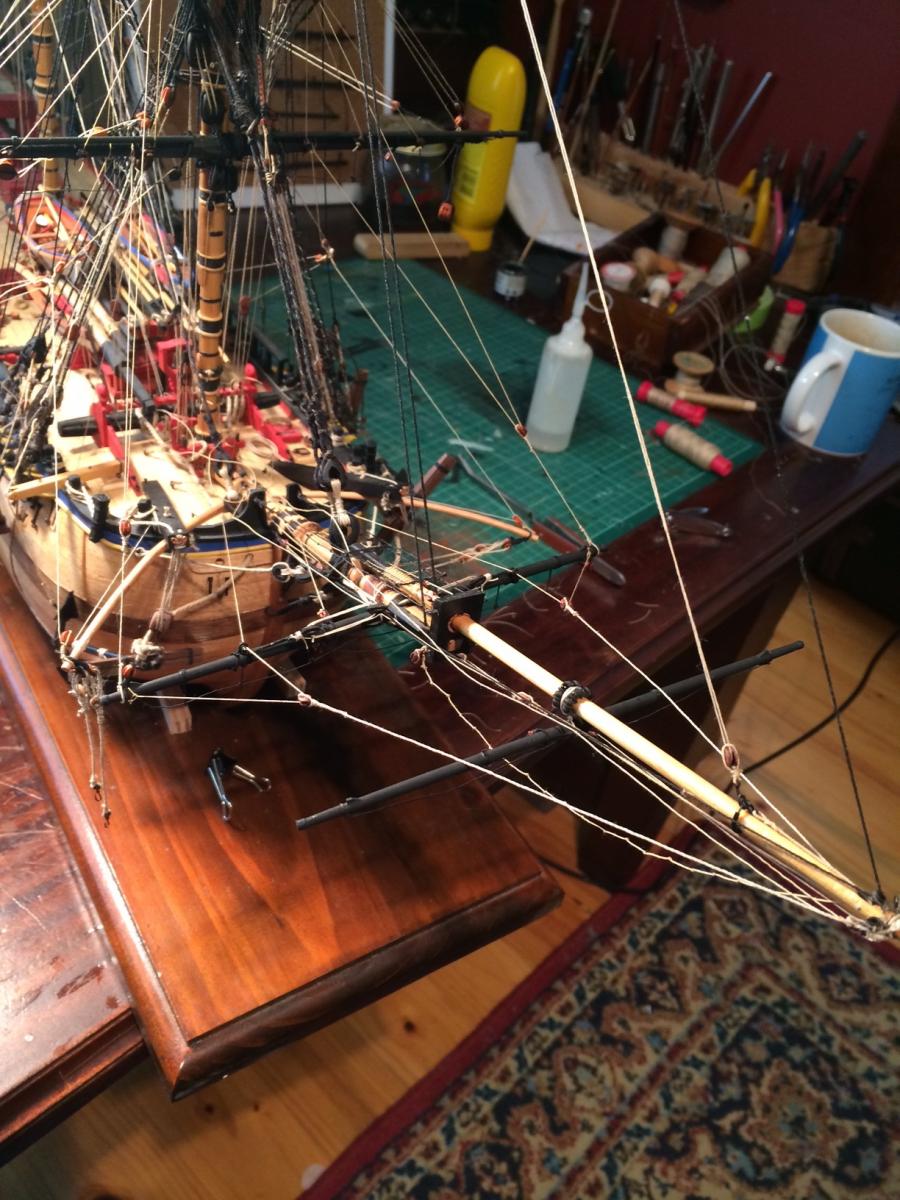
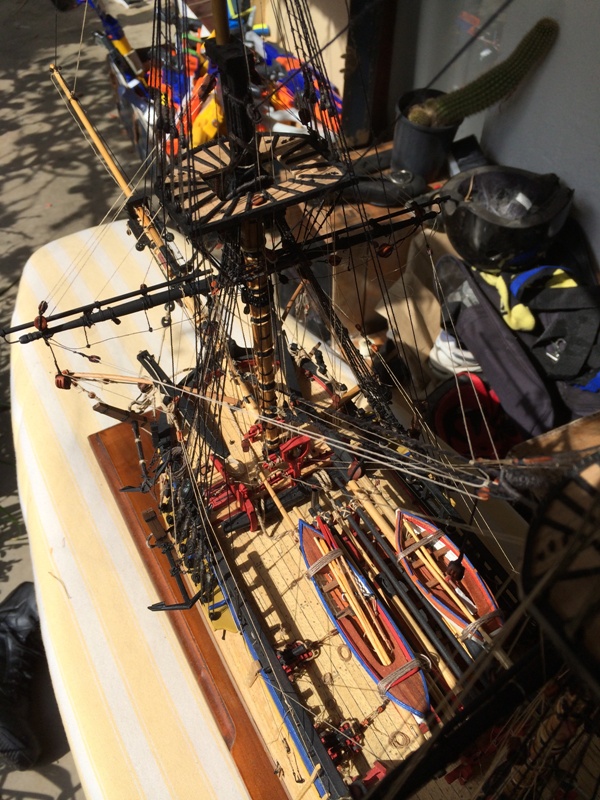
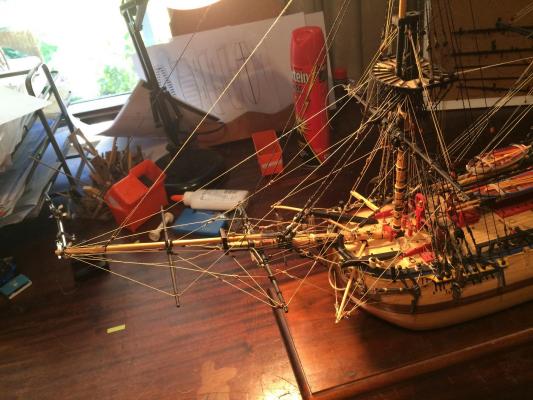
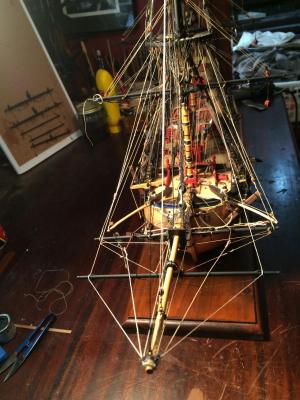
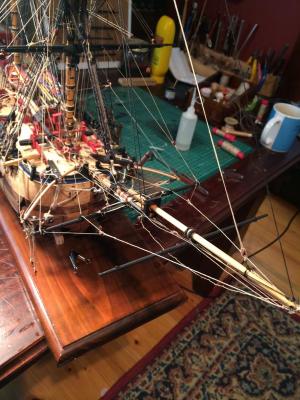
Now with the lines belayed. I've finally finished a part of the ship after 10 years! Lots to go I know, but it is certainly a milestone.


- 319 replies
-
- 11
-

-
HMB Endeavour by mikec - Eaglemoss
RGL replied to mikec's topic in - Kit build logs for subjects built from 1751 - 1800
Well played Sir! -
Magnificent job. Wow.
-
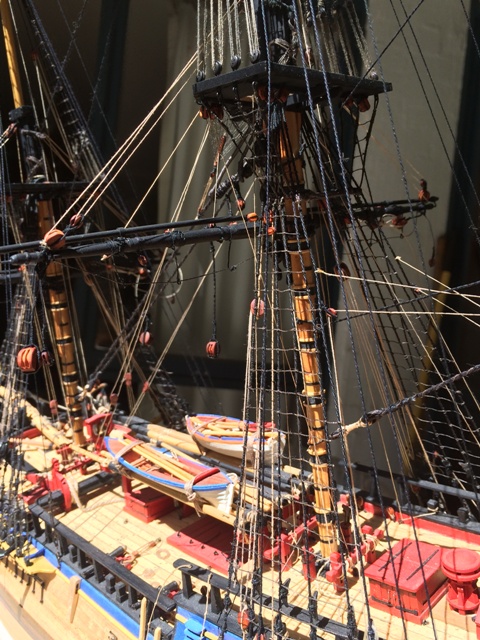
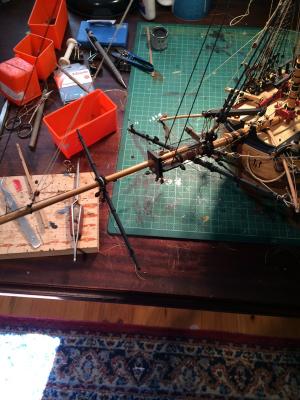
Rigging the spiritsail yard. Lots of rope required, but it works out quite well. I can't yet complete the clue lines as I've run out of blocks and I'm awaiting more.

-
Really nice work
-
Just love the lighting, great work
-
Happy for you to quote it, I won't buy into the argument, I'm not a sailor ;-)
-
Pg 55 of Parkin makes specific reference to Coasting anchors as being kedge or stream anchors, which are included in the Endeavors fit out. It also references coastal colliers which Endeavor was using them on the coast. Thus it would make sense when used on the Barrier Reef here in Oz. Every wooden ship in the AOTS series seems to carry a stream anchor, but none have a coastal anchor, so it would be the technique of using the stream (7.5CW) or Kedge (3.5CW) as a coastal anchor given it was so light, used on conjunction, perhaps, with a Sheet or Bower anchor, to pivot on the large and steer on the small Seamanship in The age of sail makes reference to small bower anchors used in streams, and given the makeup of our north east Coast and Tongan waters, (which I have been fortunate enough to visit) are full of reefs, it makes perfect sense to use them in light winds to move around safely as possible. Marquardt (pg16) refers to "Costing anchors", and given his spelling in Cook's journal is atrocious by today's standards, could mean Coasting. The anchor recovered in the 1970's off Cooktown is a bower anchor (17CW) and the stream anchor was recovered at the cost of it's cable. Given they were stuck, it makes sense to use two or more anchors. That's about all I've got.
-
I'm doing this from my phone and will add the links when I get to my computer. The kids are off to school soon so I have a chance.as to the outside photos, I'm a nervous wreck taking her outside for fear of dropping her, but natural light is so much better.
-
Robin, nothing in Parkin, and I read your thread from last year, but a quick Dr Google search has an excellent NSW Maritime PDF document of anchors that may make a good cross reference and another excerpt from the oriental navigator stating "a small or coasting anchor". This I reckon it's a technique using two anchors, not an particular anchor. It would make sense given the complement of anchors was laid out prior to the voyage, as to which one, I have no idea. Happy to be corrected.
-
Robin, do you recall which part of the voyage it referes to? Happy to look it up but it's a big book .
-
It's going to stain up and polish very nicely
-
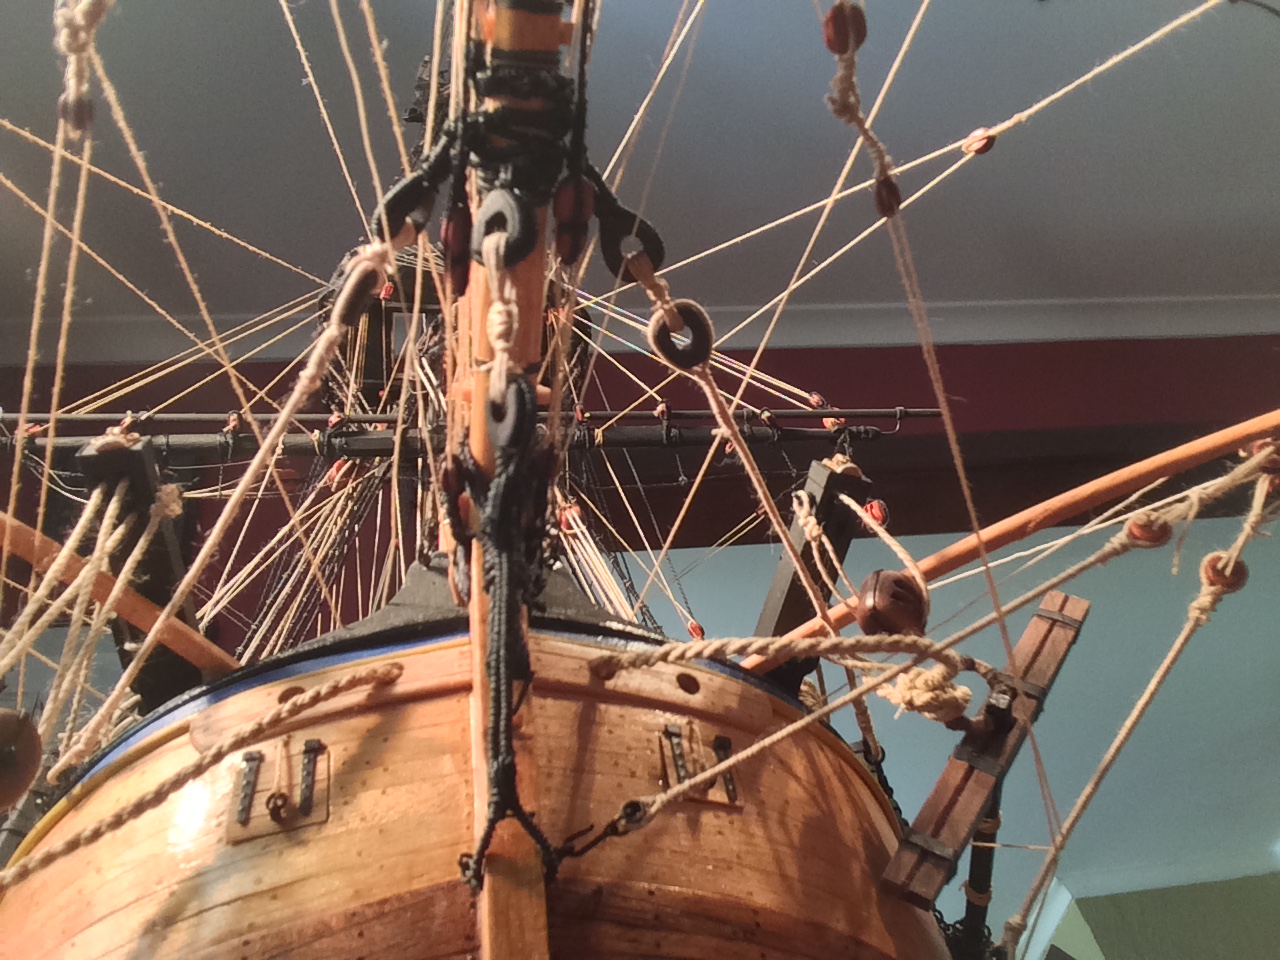
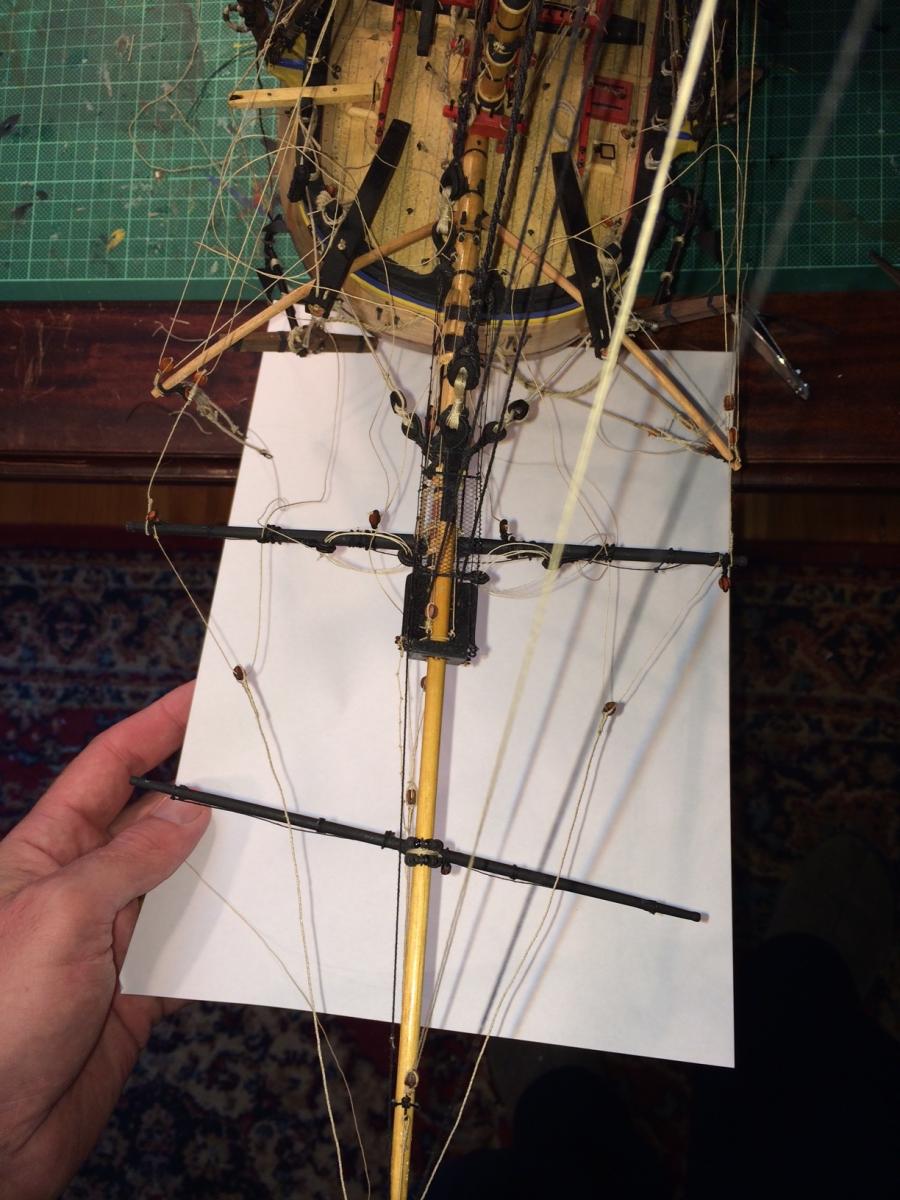
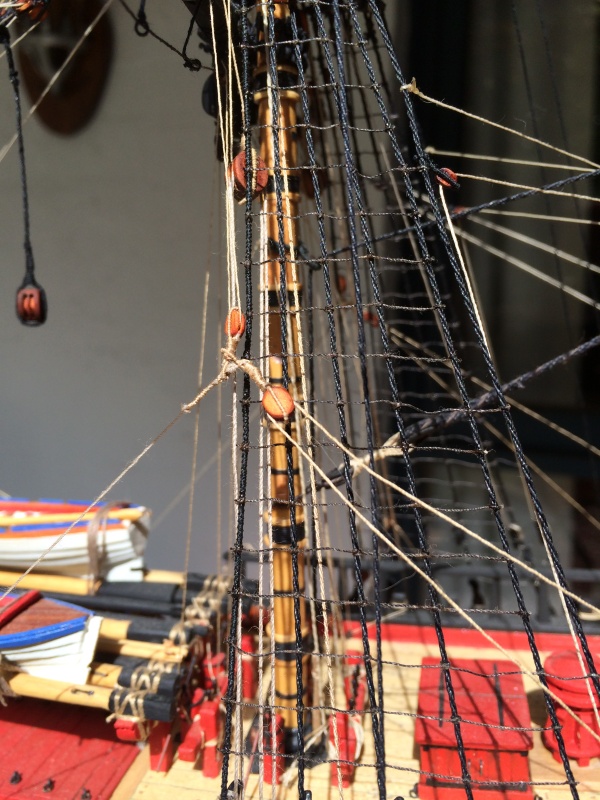
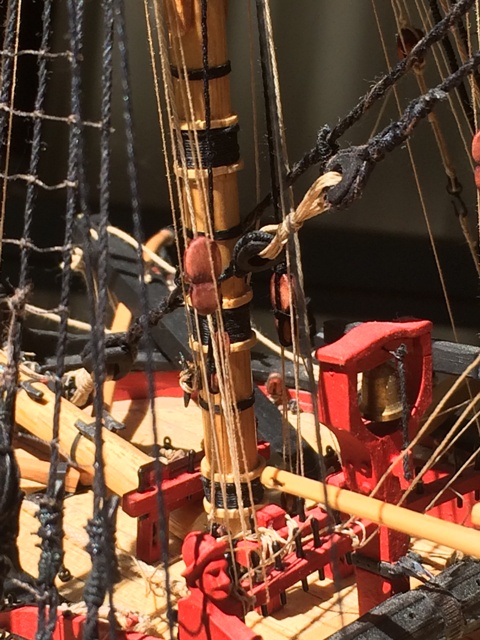
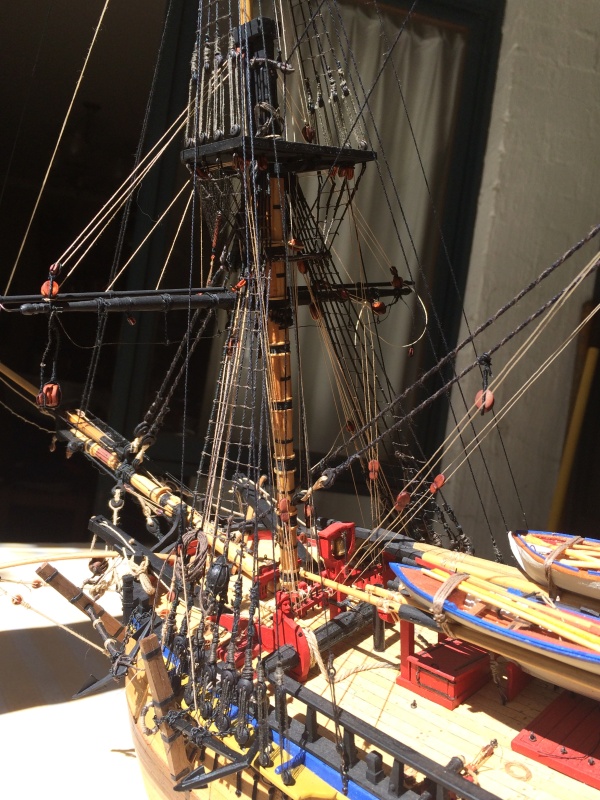
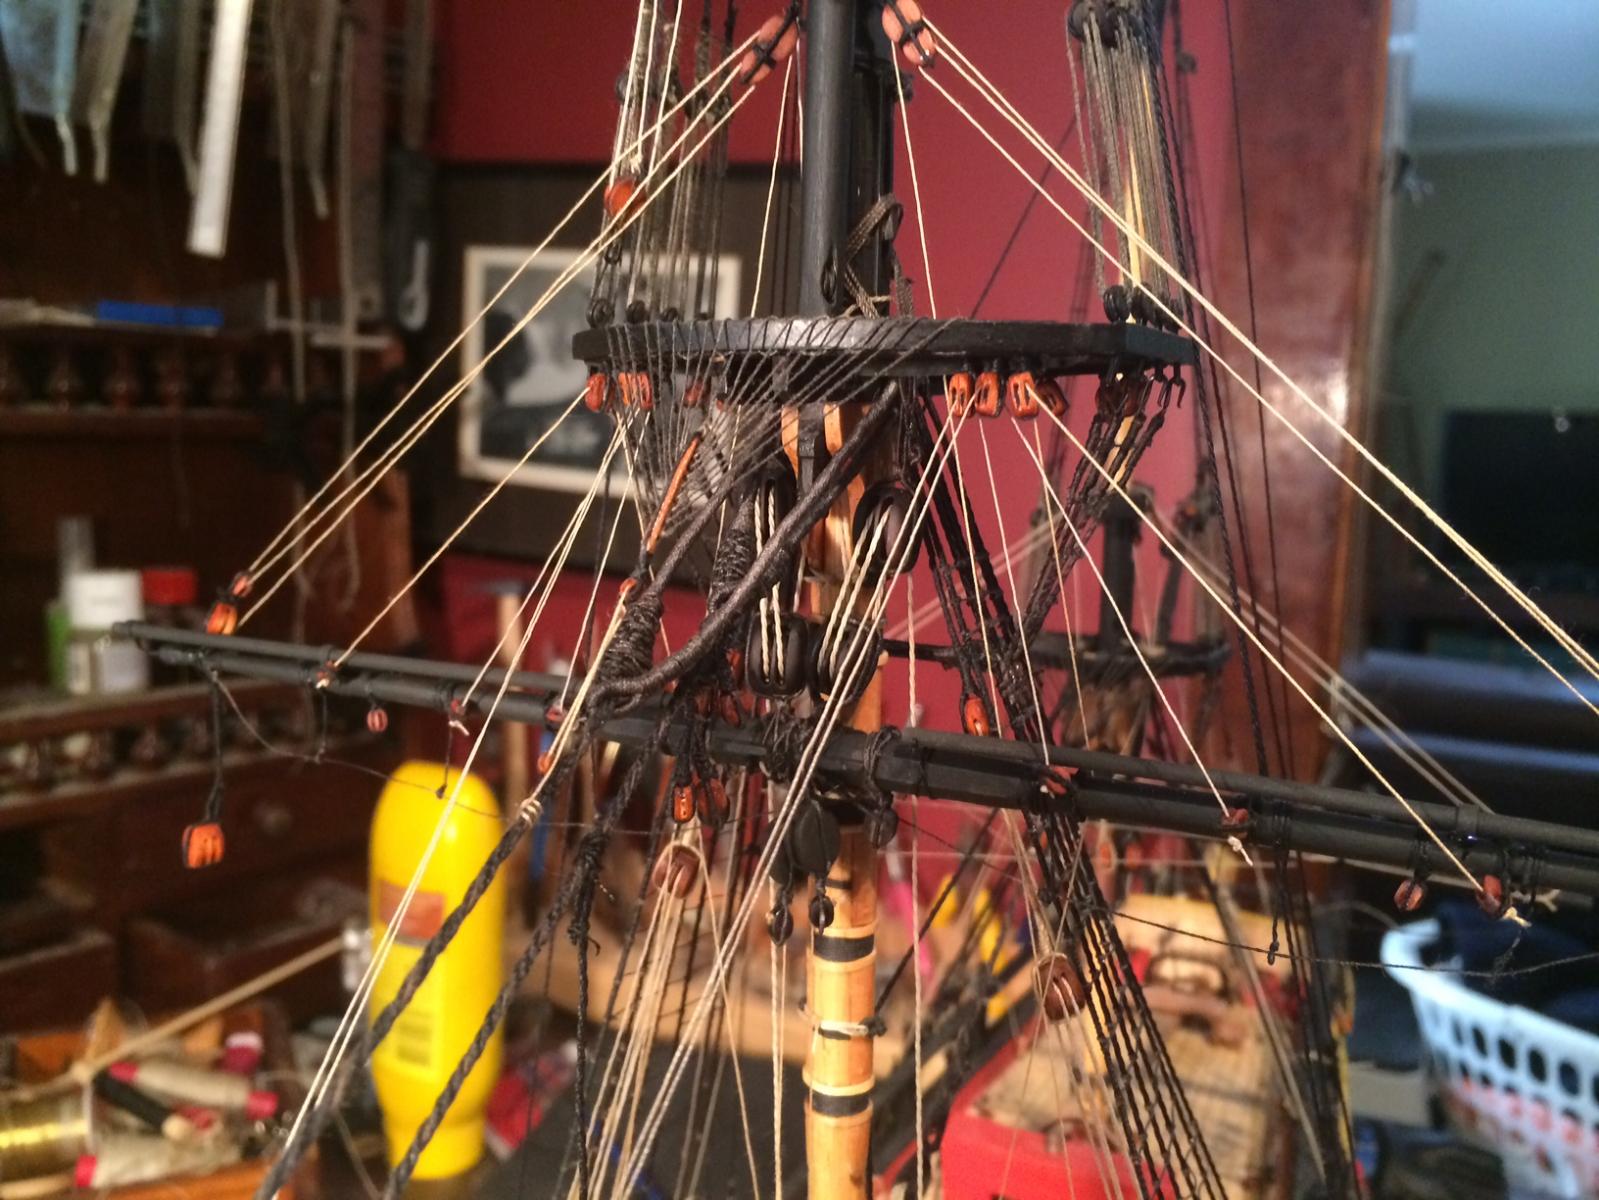
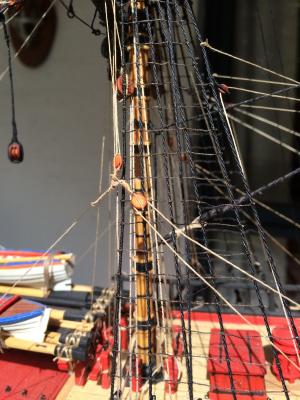
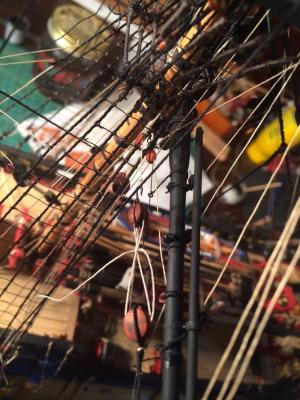
The final bits on the main and fore yard, the braces, clue lines and tacks. the clue lines are somewhat difficult, as Parkin says it has three blocks, but AOTS says it is two blocks and a knotted rope.


-
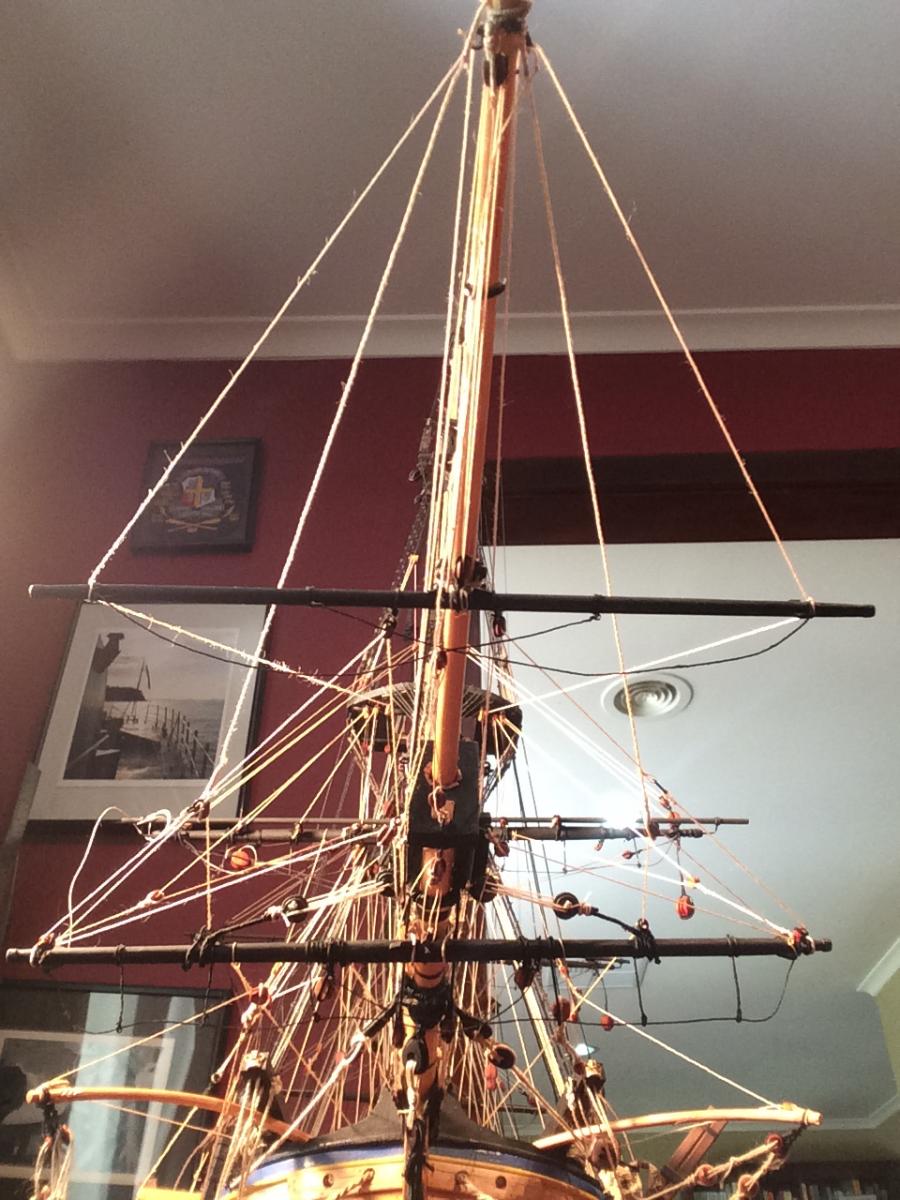
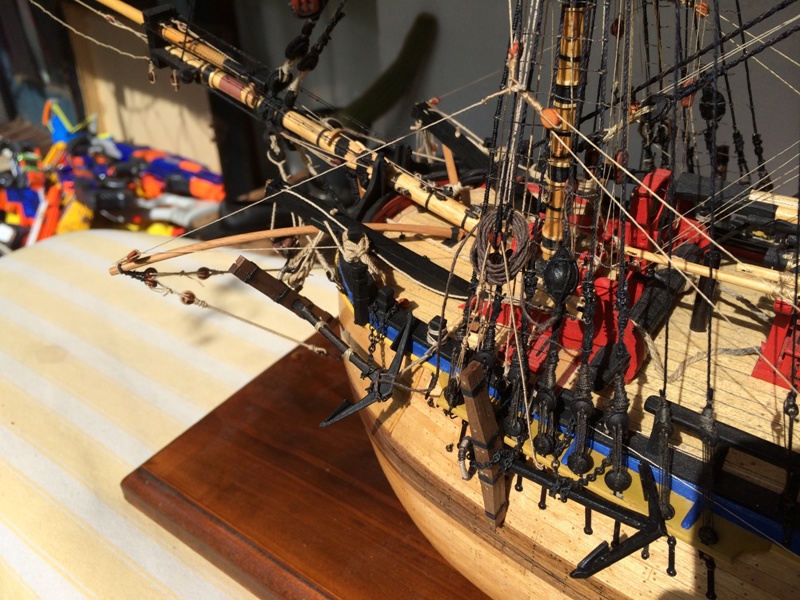
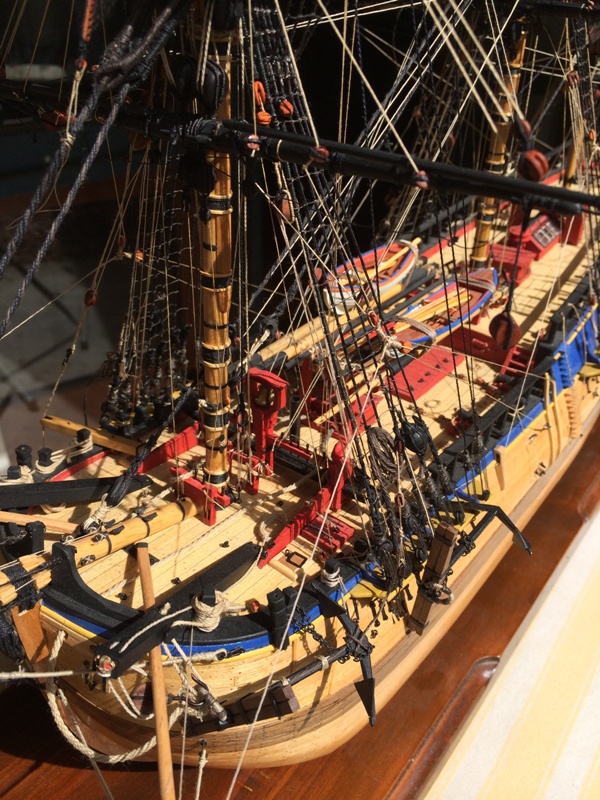
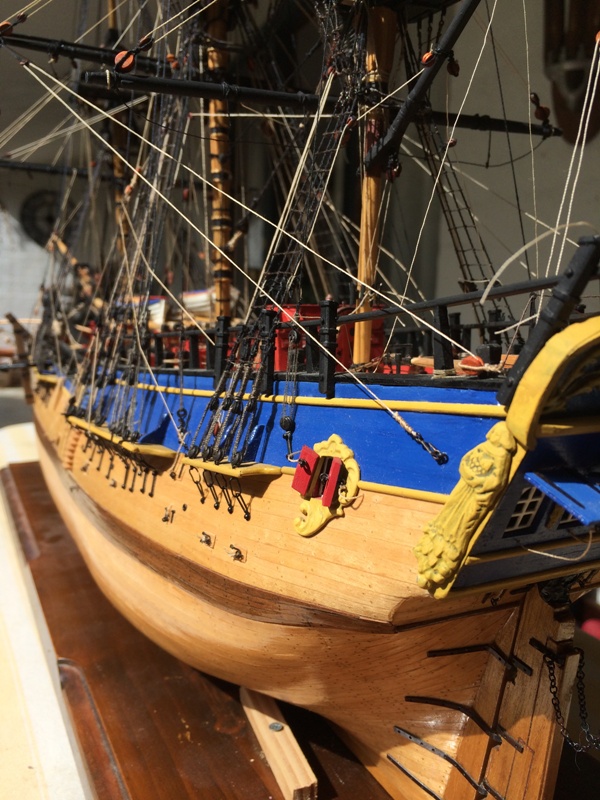
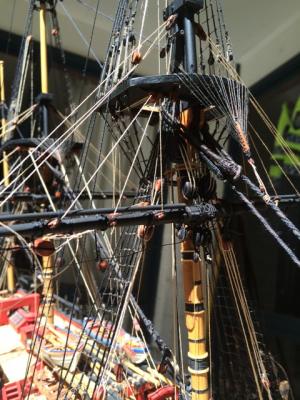
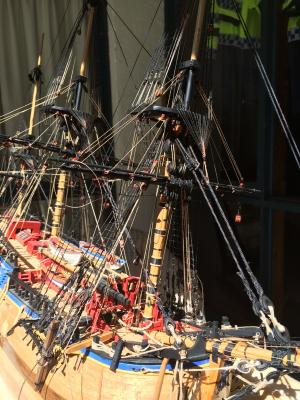
Stunning day here in Canberra, so I thought I'd take the old girl outside to help with photos. The Fore mast main yard bunt and slab lines done. Braces and clue lines to go. The pin rails look messy but will be covered up with rope coils later and the tricing lines for the yard tackle will be tied off later too.


-
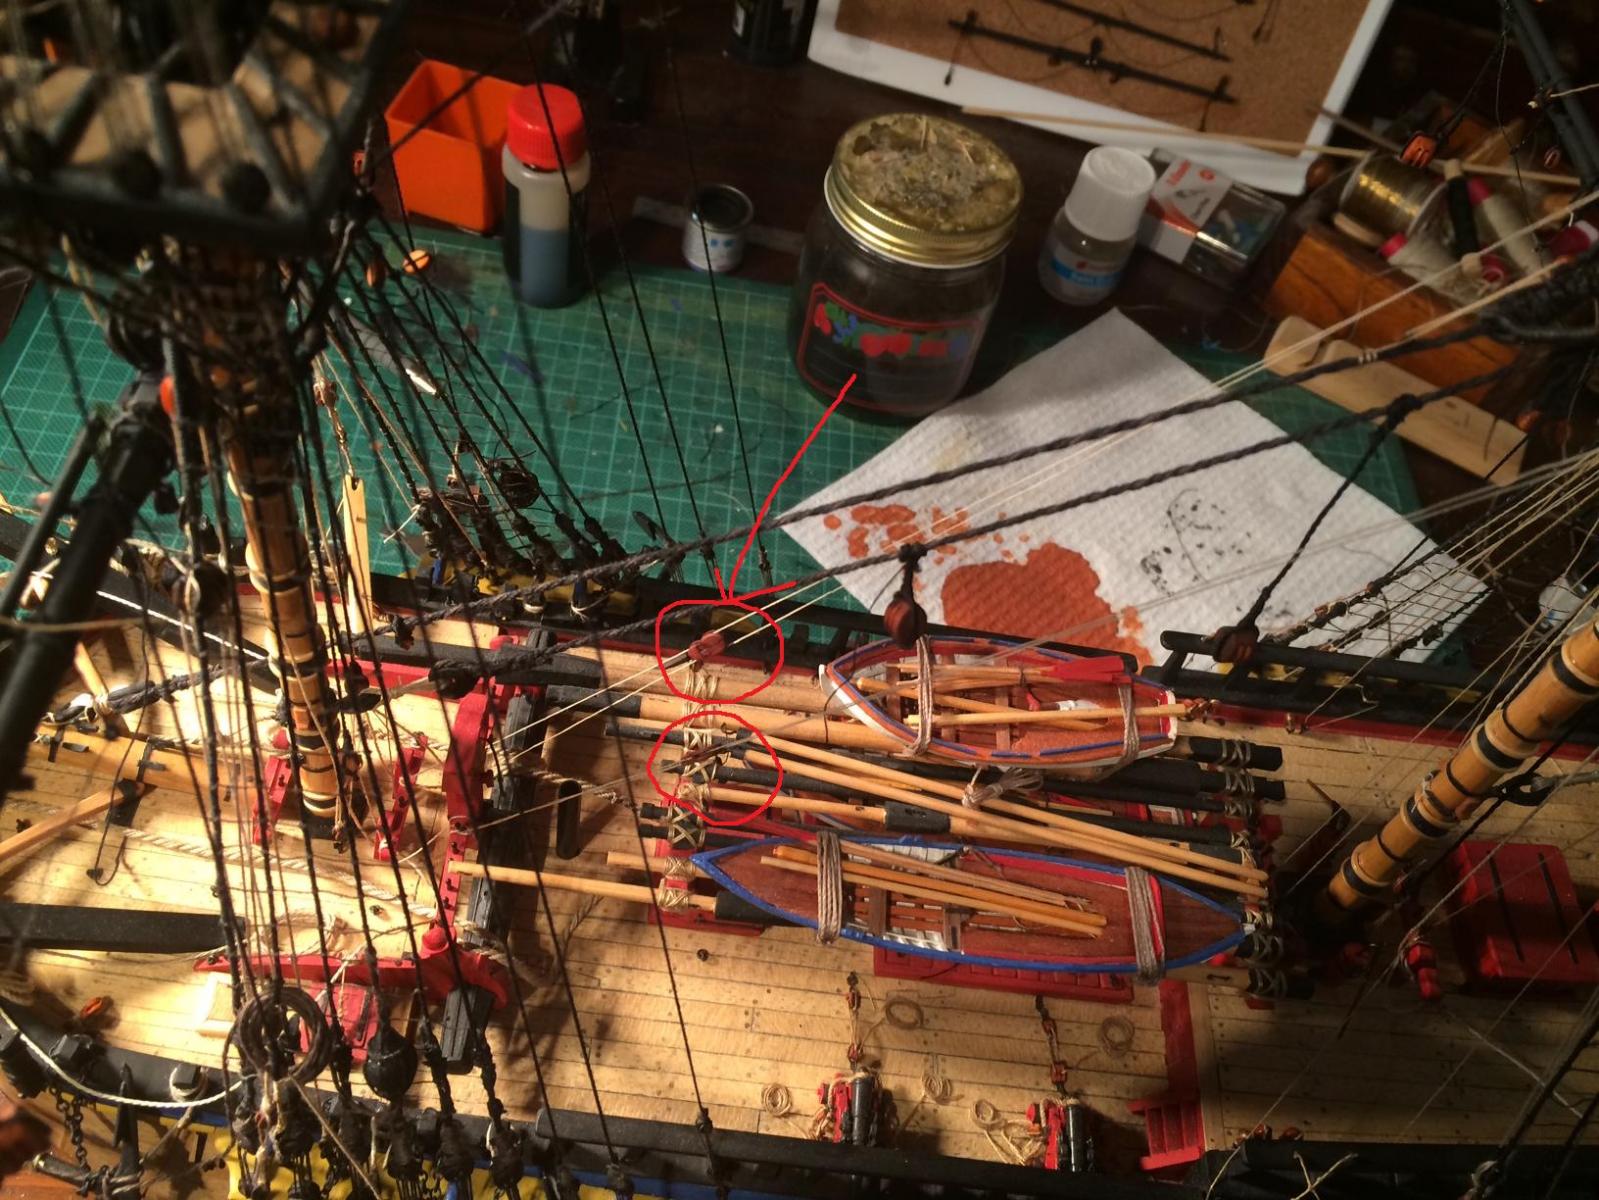
I'm up to the part where I'm doing the running rigging, and I've got most of it squared away in my head. My Endevour has Chess trees but the rigging plan does not show them used. The main sail clue lines seem to run through a forward block on the gunwales. Is it only used to draw in from a tack when the sails are rigged? Seamanship in the age of sail shows them used but no other reference really shows them in use.
-
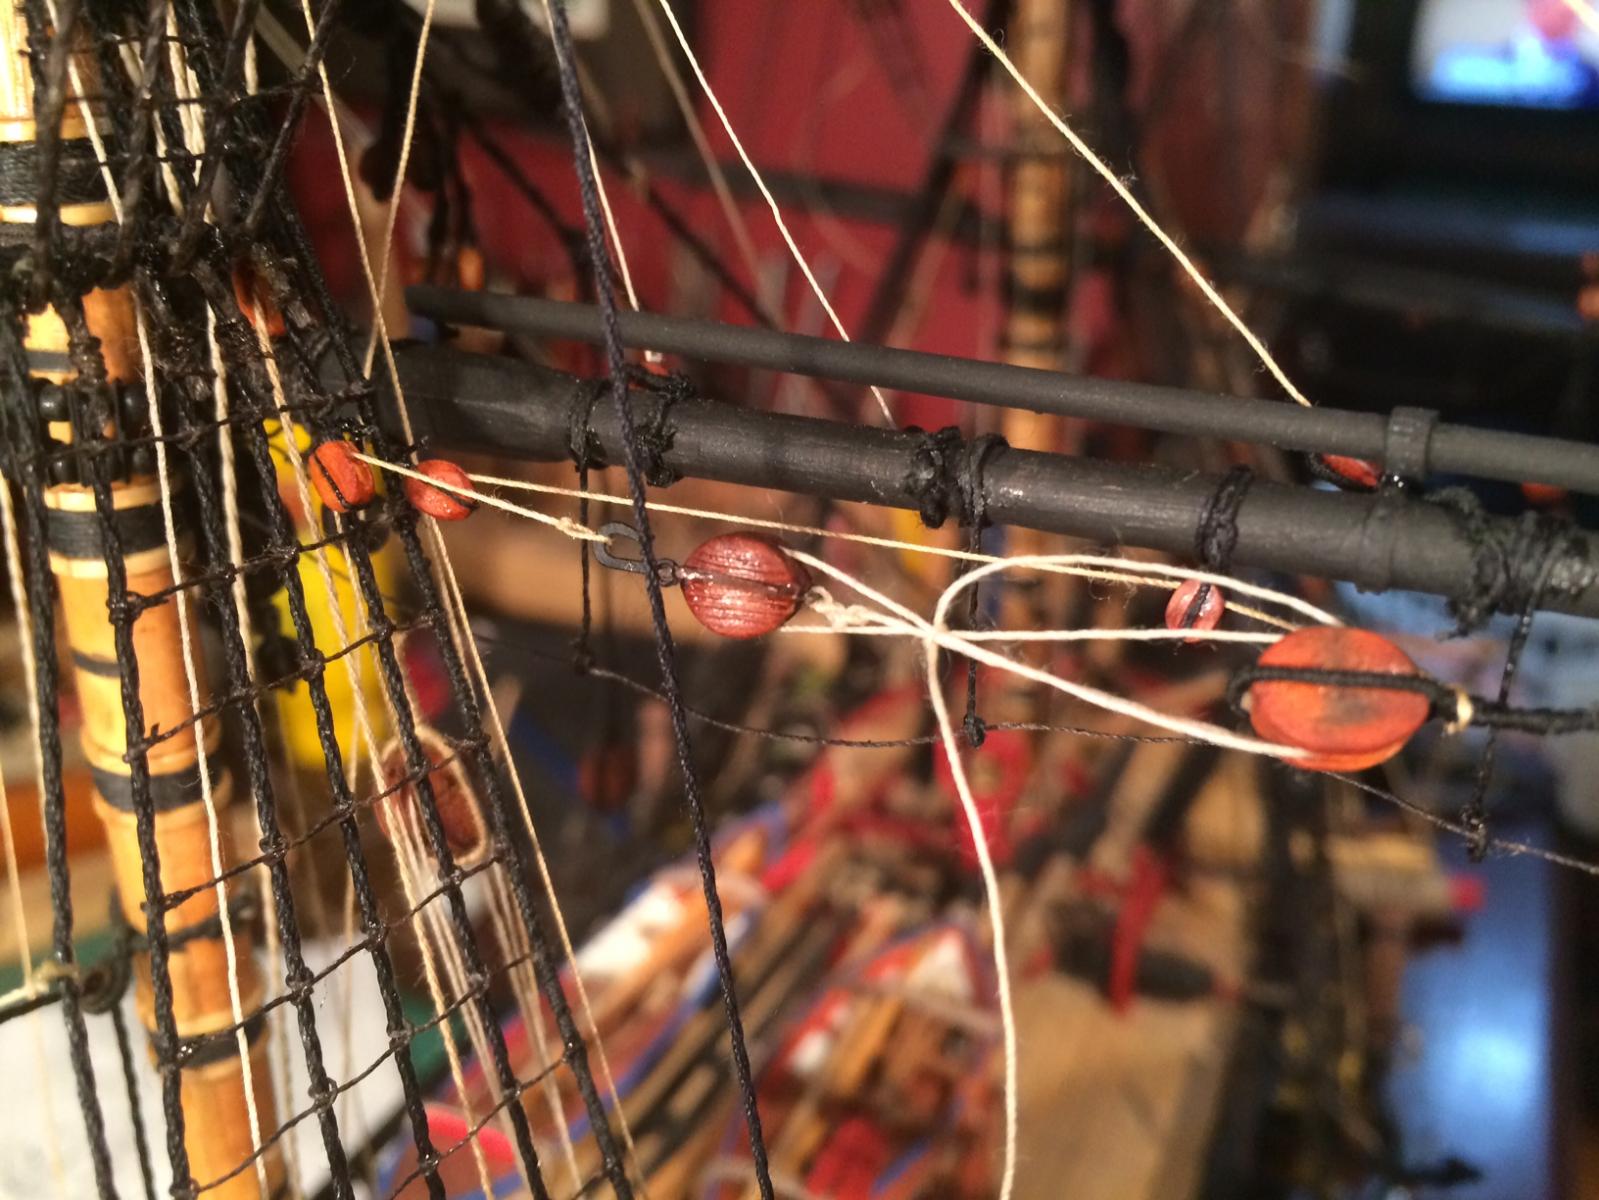
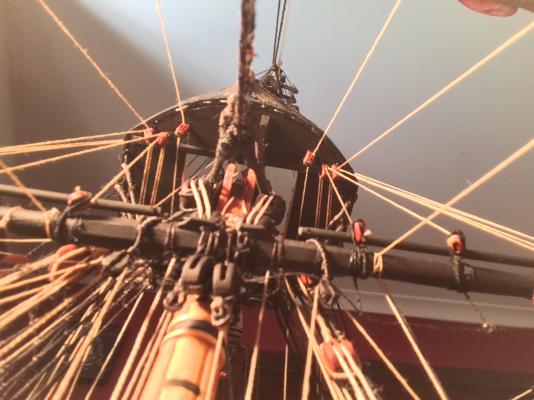
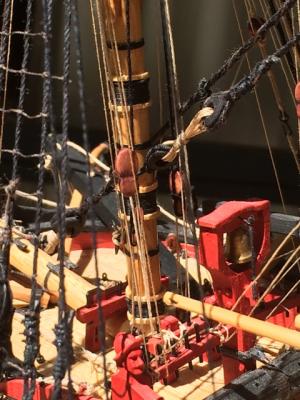
The Tricing lines! The book shows the blocks attached to the 5th stay but belayed to the 1st and 2nd stay. I did it, and it just did not make sense, so i removed and re attached them to the first and second stay as the run is so much better. The actual run of the tackle block is tied off and i intend to actually add a bundled line at the end when finished but I've tied it off to get it out of the road. I will wet it with diluted glue then to given it the appearance of droop. I wont add the port side tricing lines until the end as it will just get in the road as i intend to have a boat slung from the tackle.

-
Progressing with the main yard, and along Frolich's method, I'm adding the running rigging as i go. With knotted ends, I've added the leach and bunt lines though the lead blocks. The hardest part of all of this is belaying them at the moment. The lead blocks run forward and the AOTS plans have them belayed beside the belfry which some idiot forgot to add a point to .


-
Pete, I have never used the AL instructions, they just don't make any sense. i have gone off the AOTS from the start. It just takes hours of study to make sense of them as I've never sailed a tall ship! Greg
-
Nice work!
-
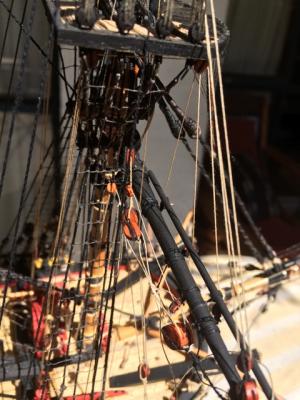
Now numerous blocks to go, 8 small blocks on the stays for the tricing lines fore and main (they rig up the tackle to the yards), Braces, fore and main course blocks and rigging, tackle, there is less and less room to move. At the very very end i will do up all the bundled ropes as there will be hundreds of them to do,I've had to order more blocks from clasicmodel as they just seem to keep appearing.on the plans.