HOLIDAY DONATION DRIVE - SUPPORT MSW - DO YOUR PART TO KEEP THIS GREAT FORUM GOING! (Only 53 donations so far out of 49,000 members - C'mon guys!)
×


RGL
-
Posts
5,531 -
Joined
-
Last visited
Content Type
Profiles
Forums
Gallery
Events
Everything posted by RGL
-
 Dude, I started my Endeavour in 2000 when I lived in Cairns, I get annoyed, and I put it away. I did the frames when my youngest boy was born in 2005, it's now 2014, I've started on the yards. NSW finally beat Qld this year. It's the process, not the finish. It's that bloody cold here in Canberra, you cane toads can do it!
 -
Nice work
-
The cat and I do not talk and the ship is now stored where she can't get to it. I have one more bit of repair work on the hull where it bounced off the piano then I can finally start on the spars.
-
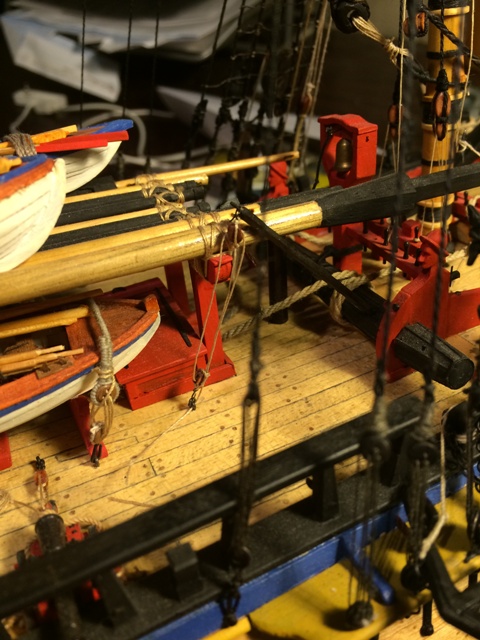
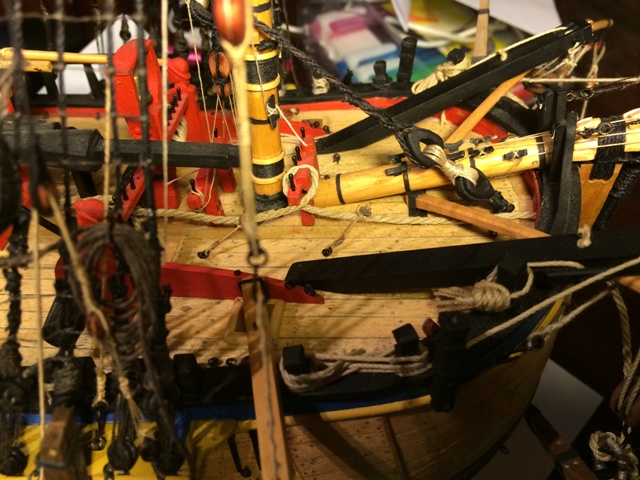
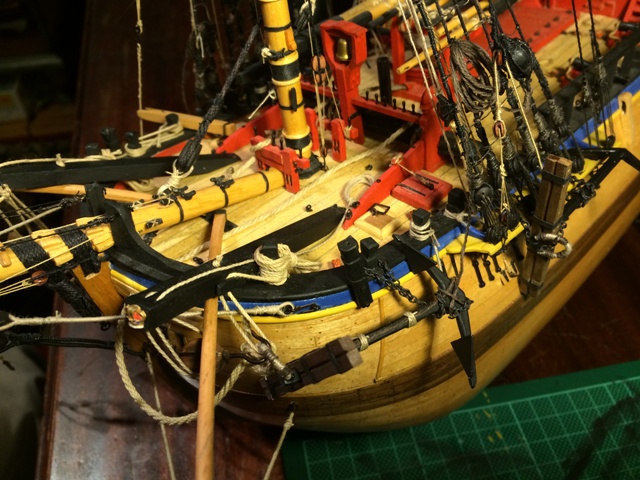
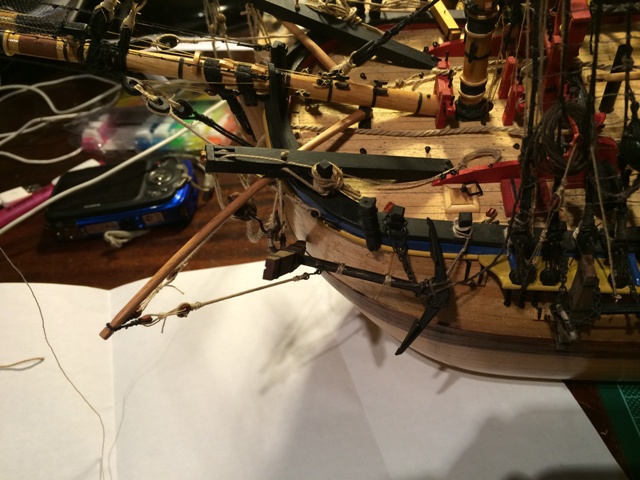
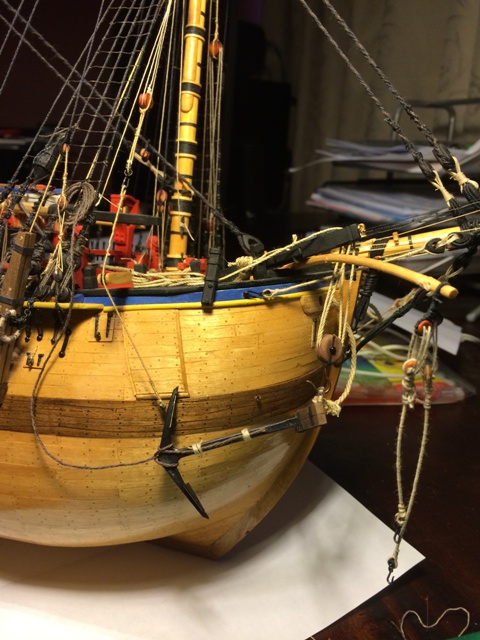
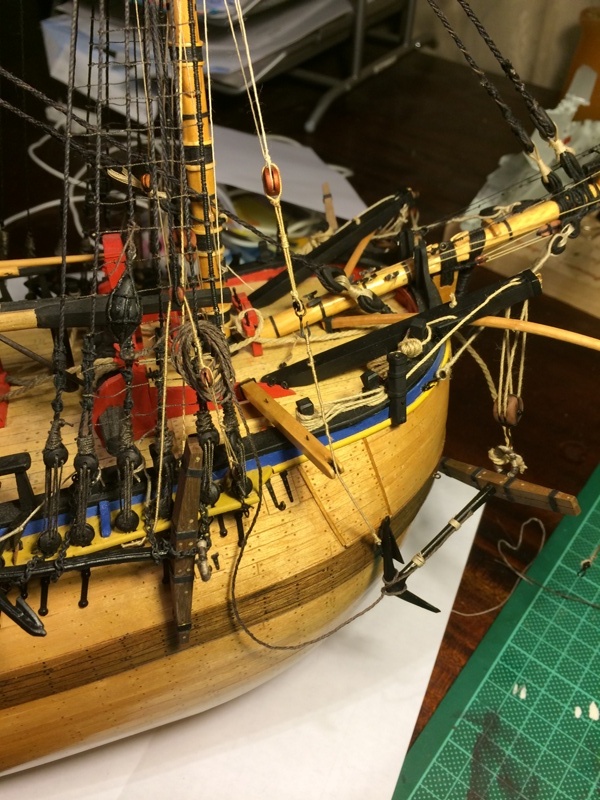
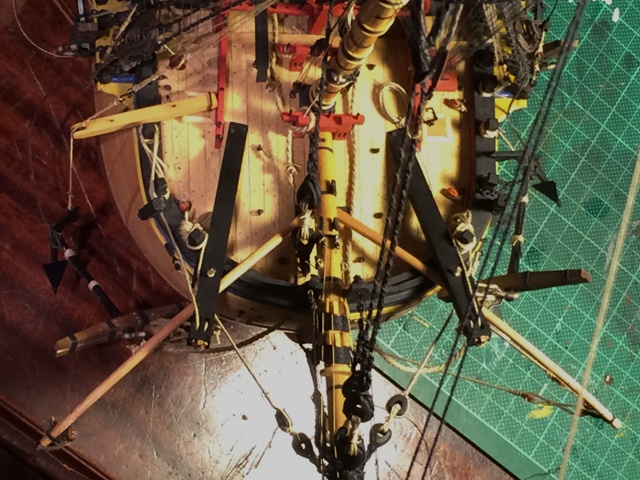
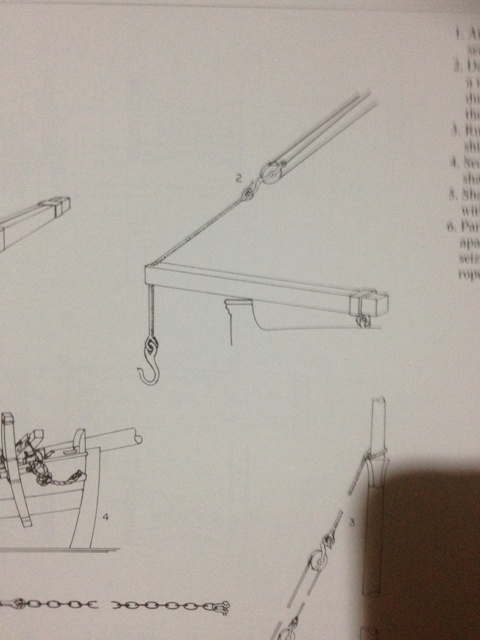
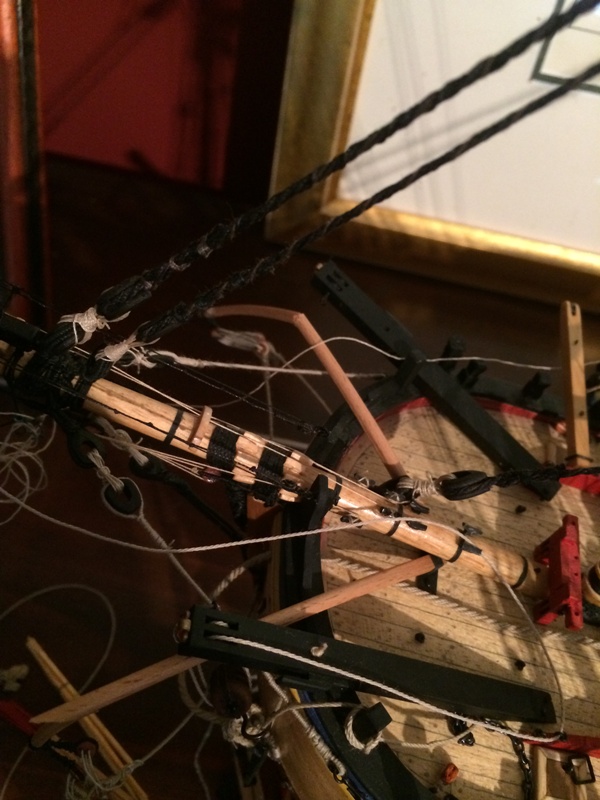
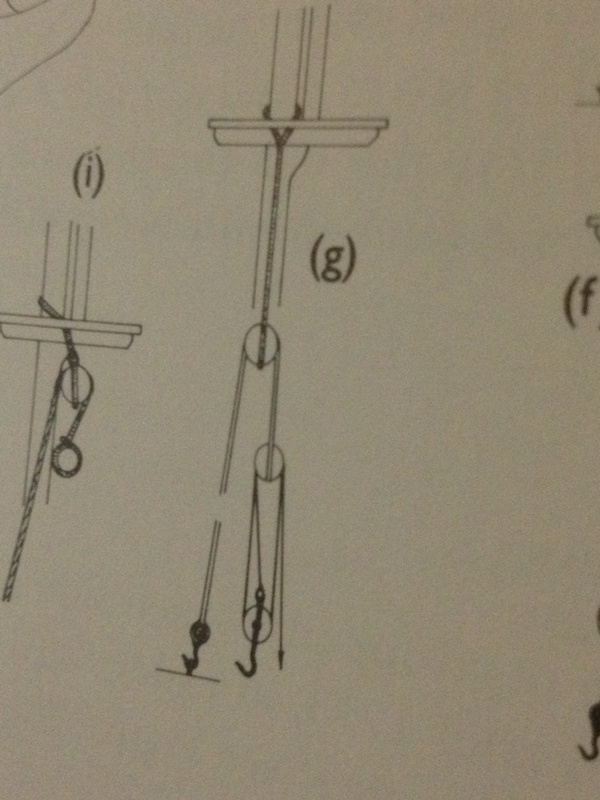
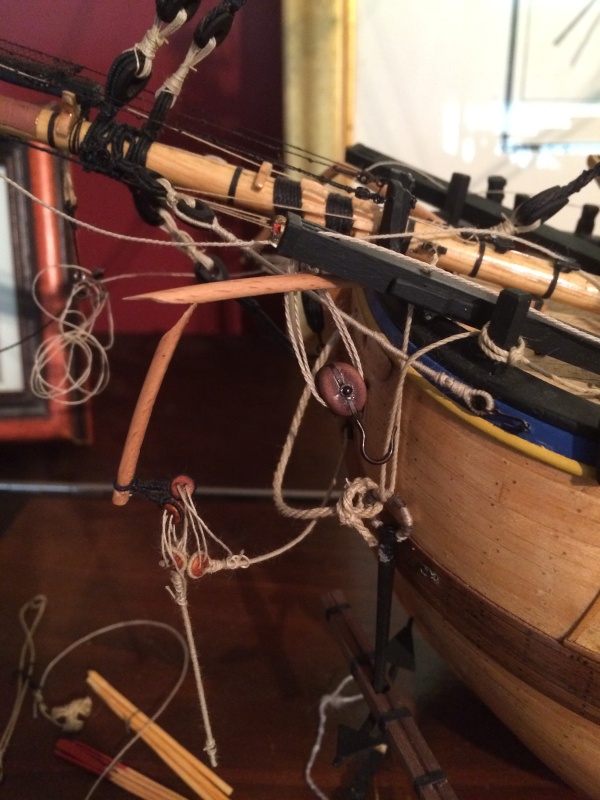
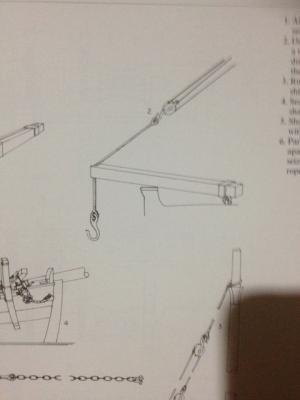
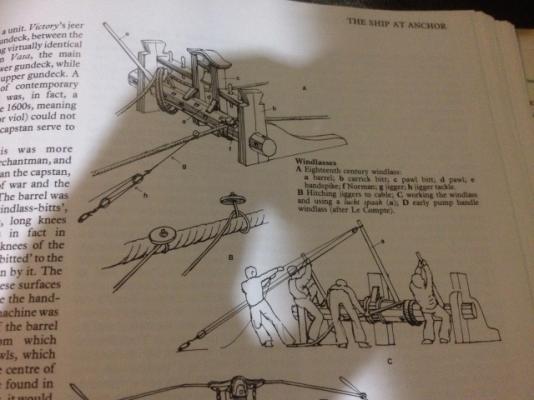
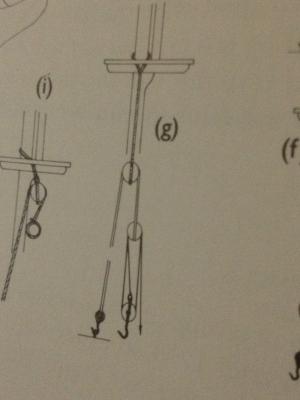
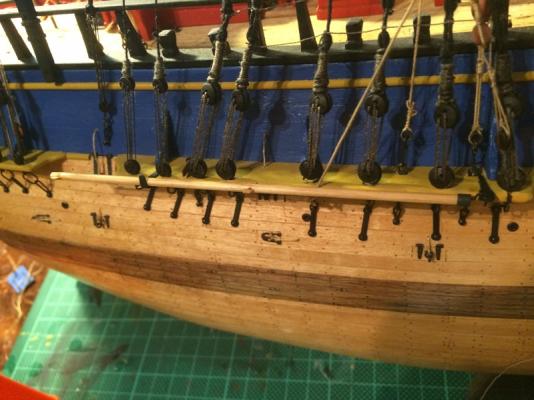
I've been lazy for a while. I've finally finished the damage to the front of the bus. I've added some research photos first to explain what I have done in regards to cable and the use of tackle. Plus the damage done by the cat in the first instance. .

-
I'm now kicking myself as it makes sense, but I can't find an image of it. The replica has closed hearts! Too late for me now anyway.
-
Sweet, I did find this kit trawling the net and thought about it for the bucket list. Hurry up! Looking forward to this.
-
HMB Endeavour by mikec - Eaglemoss
RGL replied to mikec's topic in - Kit build logs for subjects built from 1751 - 1800
I like the white, and the stern fittings are so much nicer than the AL version. You'll have to unship the boats rudder as the spare spars will hit it. Are you going to put the covers on the stern windows? -
HMB Endeavour by mikec - Eaglemoss
RGL replied to mikec's topic in - Kit build logs for subjects built from 1751 - 1800
Great work! How well does the bowsprit clear the base of the bumpkins? I had a fair bit of trouble with that. -
You have made this look easy, I'm just about up to this on my Endeavour, looking forward to your tutorial on their rigging ;-)
-
Um, I threw the packaging away, but I went off the CW sizes from the AOTS. Both types used correspond with the 1/64 offerings from Caldercraft if that makes sense?
-
I basically replaced all the wood for the hull's second layer and I wish I had done so for the deck as the supplied stuff is waxy rubbish (I am doing the exact same kit). Modelers shipyard is the go.
-
Just lovely work!
-
You are flying through this. Nice work
-
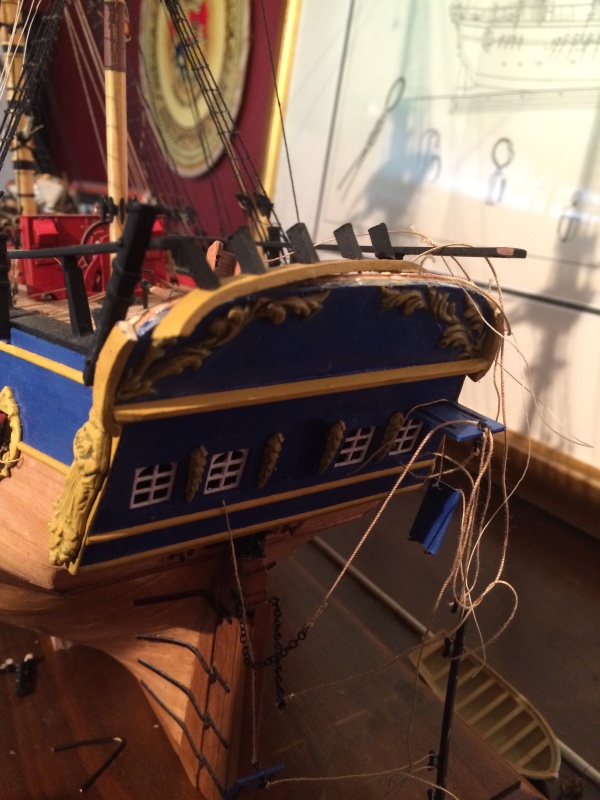
Ok, repairs continue after the cat tipping incident. The back end of the bus! I have used Chuck's fantastic lantern kit. Next back to the front of the bus to fix up the anchors.

-
So good! Seriously! The only way you will get it any more realistic will be to drop a few sardines in the hull to permeate that fishing boat smell. Just lovely work.
-
Nice work!
-
Speechless
-
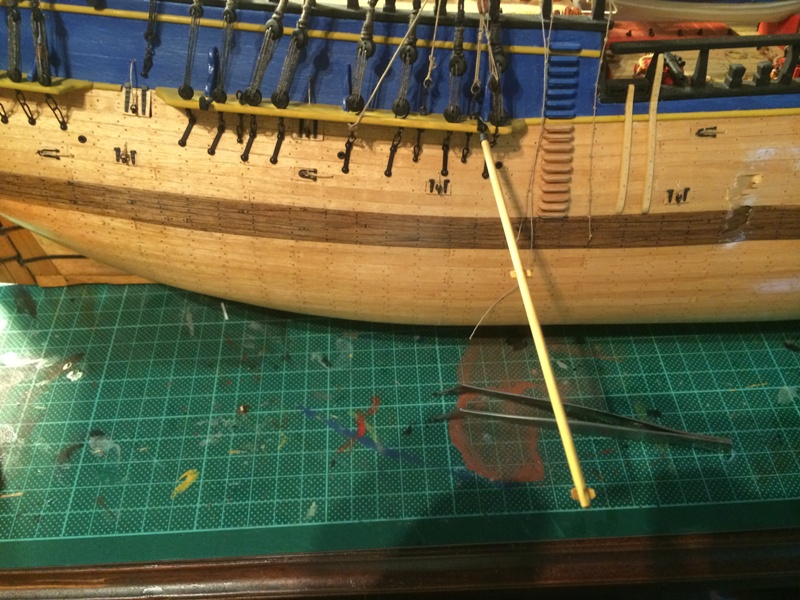
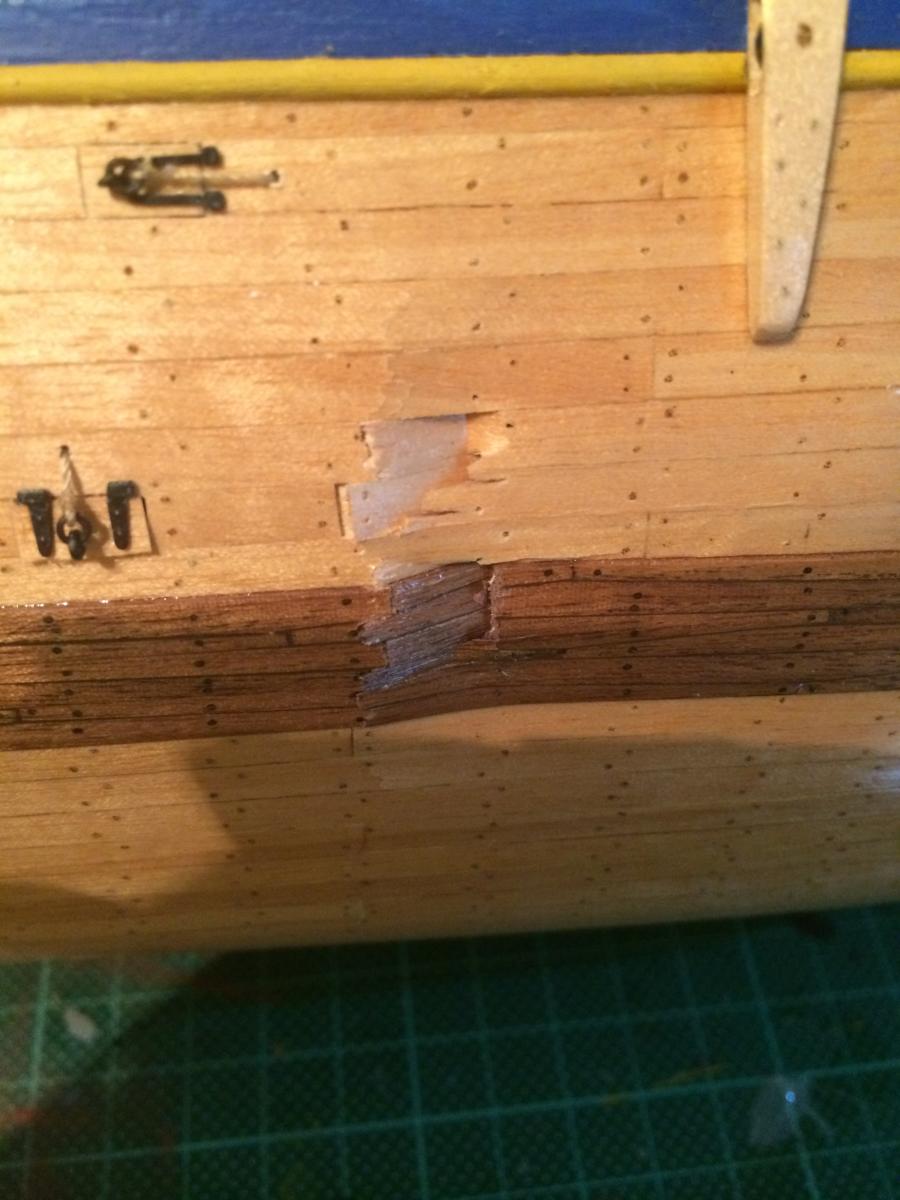
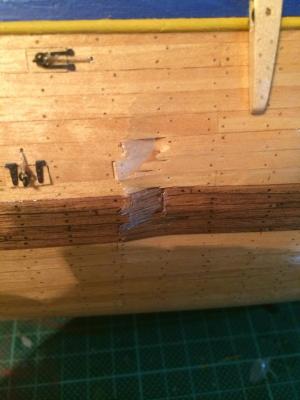
Repairs ongoing, so I thought I'd knock up the studding sail booms. very easy really. I had not noticed when I first saw the rest of the cat damage, was that the starbord side was stoven in when the ship swan dived off the piano. I'd really like some advice on how the hell I'm going to fix this. How do I pull it out?

-
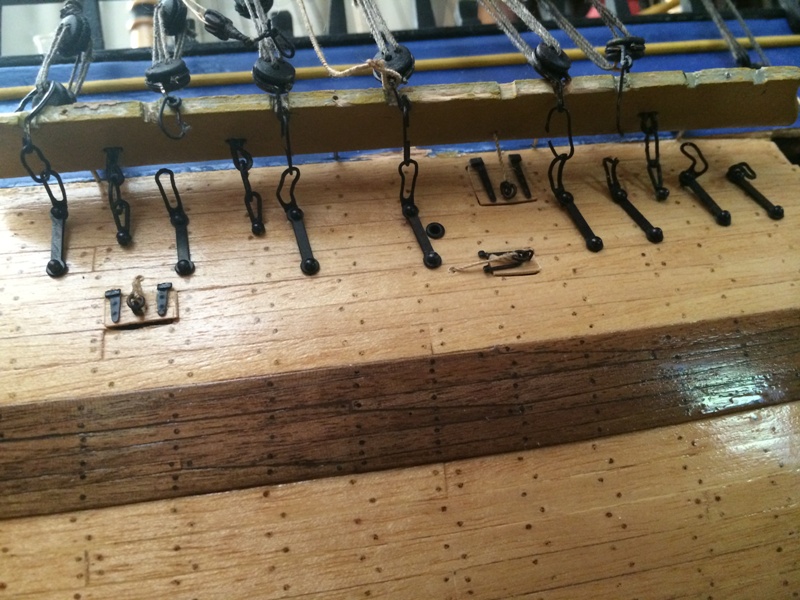
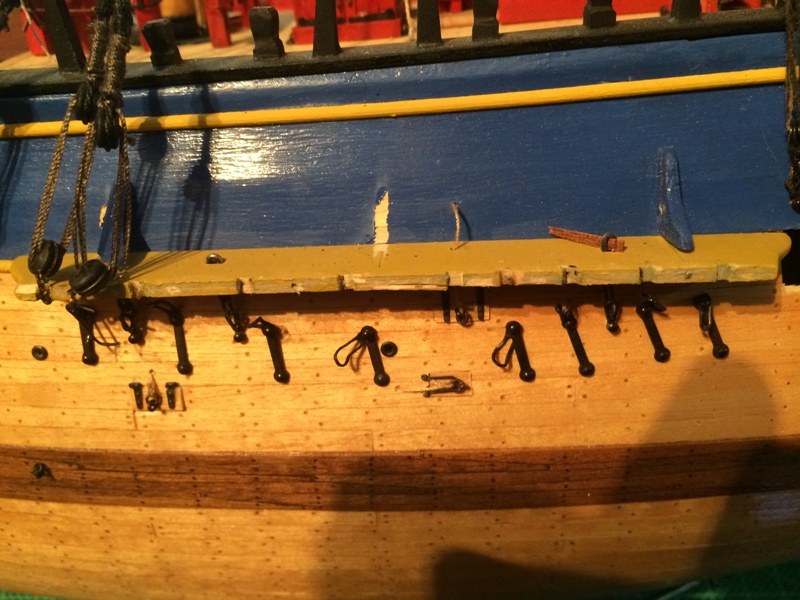
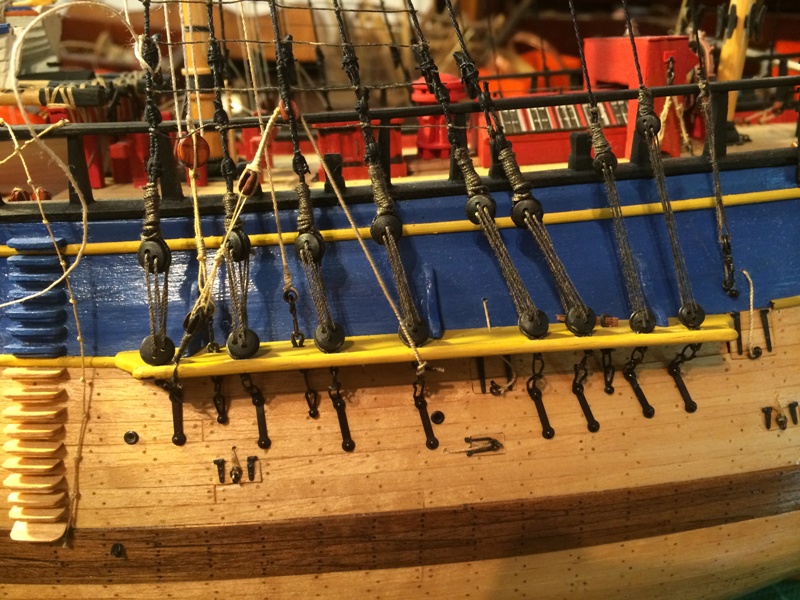
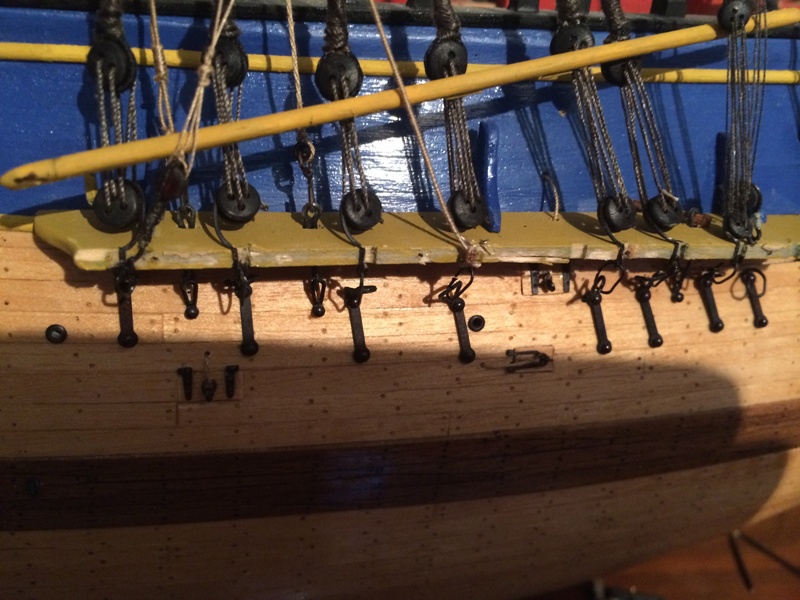
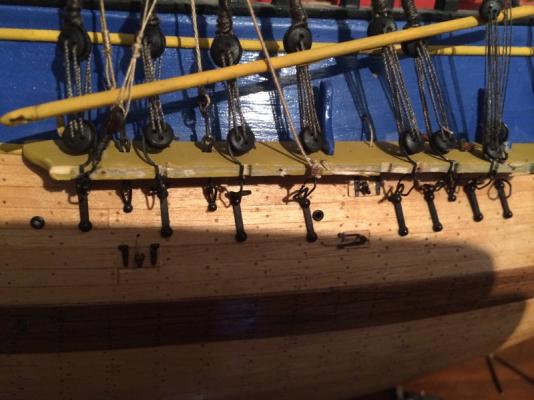
Days off so repairs start today. The port side channel was bent down breaking the chains. Luck would have it that I never glued it, but nailed it in. The ratlines have given the stays a stability so there will be no slackness when repaired, so it's a matter of replacing the chain links once the wales are re attached. There is so much rigging above them still in perfect order it should be quite simple. Putty and paint will hide a lot of sins. I reckon 2 days work. Kids at school and an eagle eye on the cat.
-
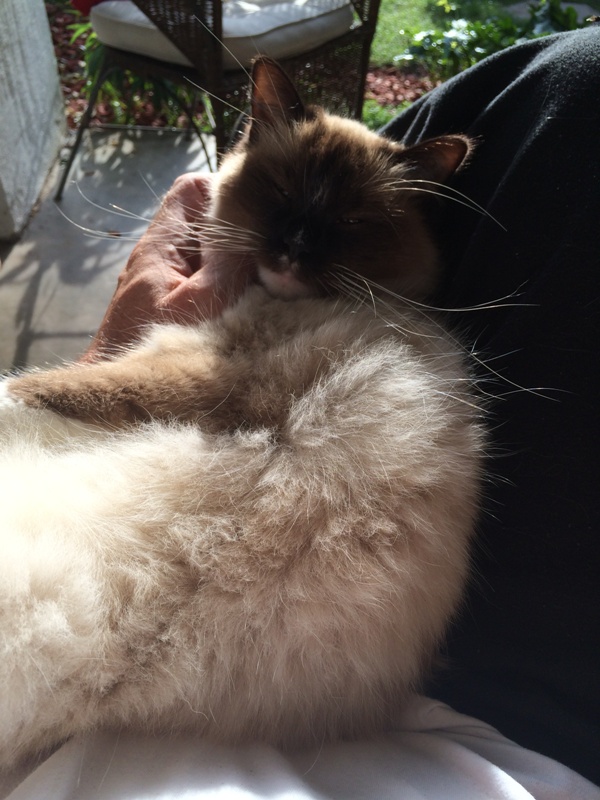
Oh, and the guilty party.

-
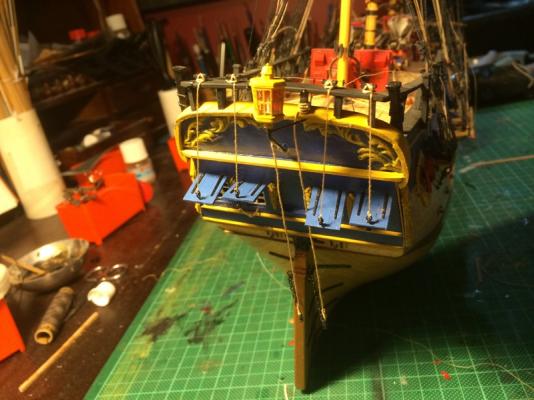
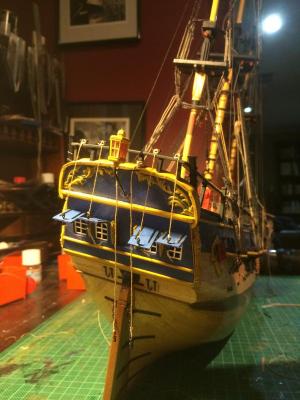
Well, damage photos. Luckily, the topmasts did not snap, only the caps split (which is probably a good thing they were designed in 2 pieces. The Bumpkins can be glued back together. I can't replace them as they are under the bowspit, which's cap has now cat teeth marks. One anchor is almost bent in two. The biggest issue is the port side main wale which has stove in a plank and popped all the metal work. As much as I wanted to have a tantrum and bin the whole thing, it is quite repairable. Not as good as I think It would have looked pre attack, but I have a new place to hide it from her.


-
Well, the bumpkin argument was entered into by the cat, who decided she didn't like them. Both chewed and snapped, and to add to the indignity tipped the entire ship off the piano, braking the foremast and stove in the port side main wales. Taffrails gone as well. Apparently it's my fault for putting the boat on top of the piano. 1 year of work gone. Bloody thing is curled up in front of me like it didn't happen. Photos soon preferably of a dead cat. Karma then bit me by tearing my calf heroically getting out of a van at work. 2 out if three to go.