HOLIDAY DONATION DRIVE - SUPPORT MSW - DO YOUR PART TO KEEP THIS GREAT FORUM GOING! (Only 64 donations so far out of 49,000 members - C'mon guys!)
×


RGL
-
Posts
5,531 -
Joined
-
Last visited
Content Type
Profiles
Forums
Gallery
Events
Everything posted by RGL
-
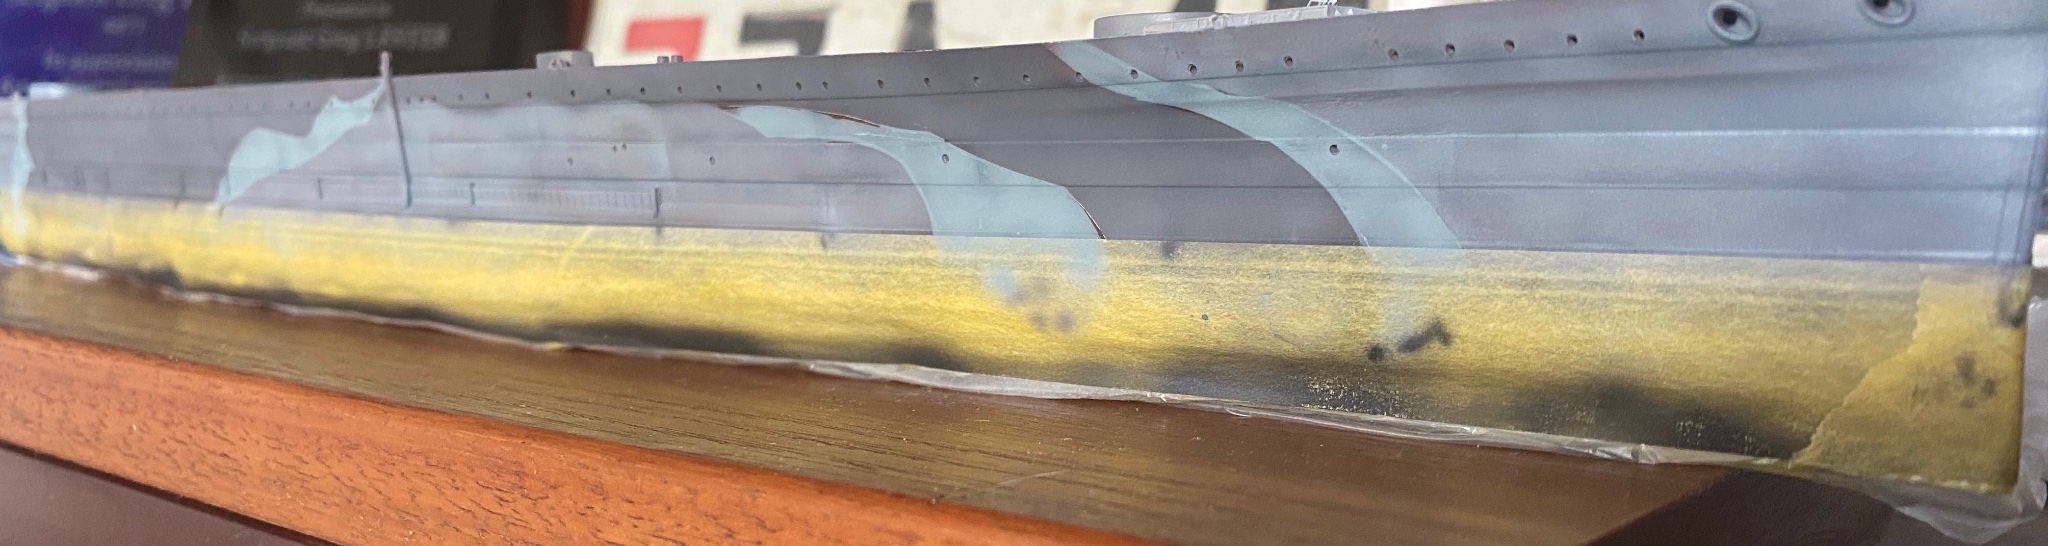
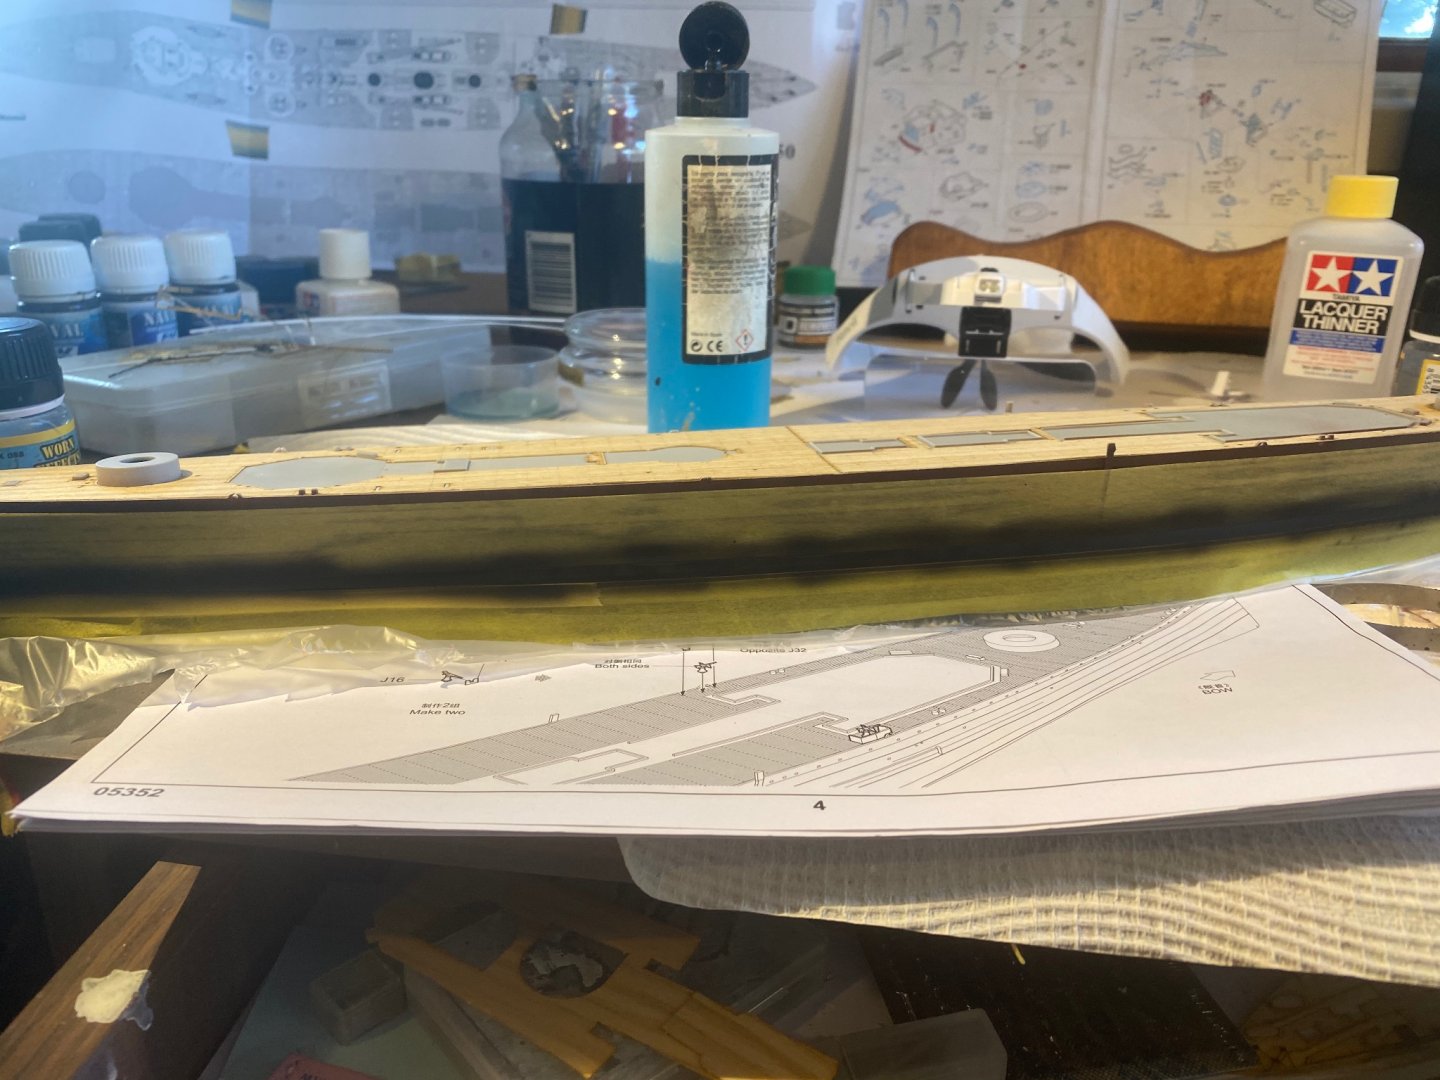
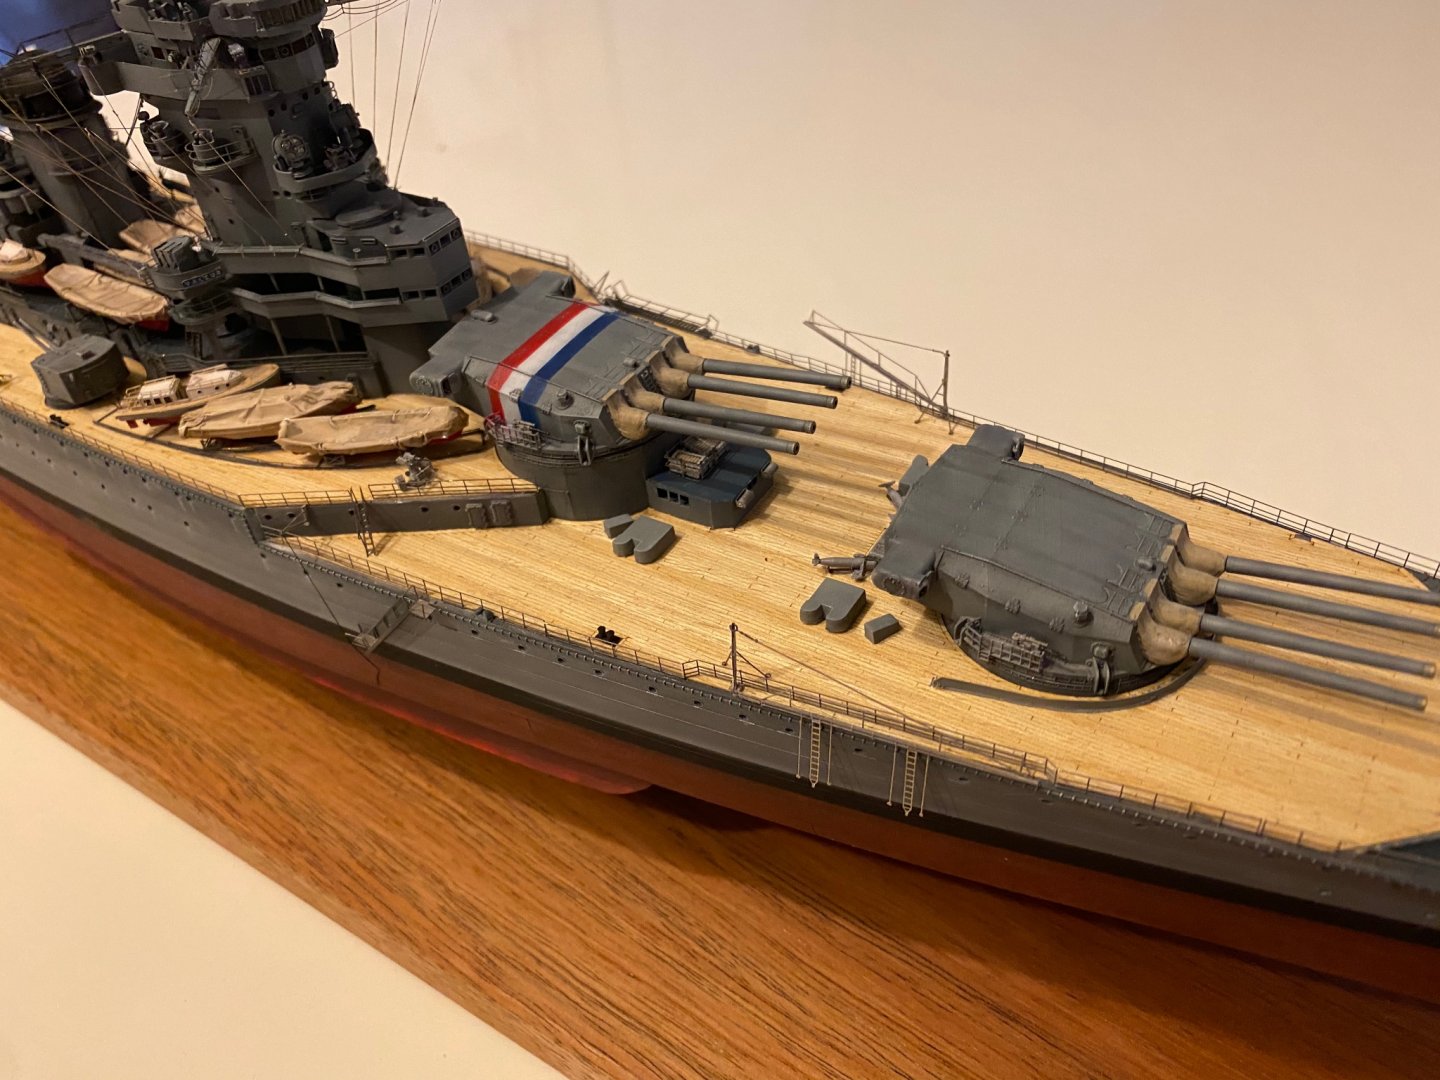
 So a chance to get back to her. Stanchion holes drilled, Deck sprayed with a clear coats and some primer where required. Next is the undercoats of chipping fluids then time for the camouflage pattern and weathering that accordingly

-
It is certainly an epic build old boy. You must feel as though you are screaming towards the end. Spare parts are always useful in your next build........
-
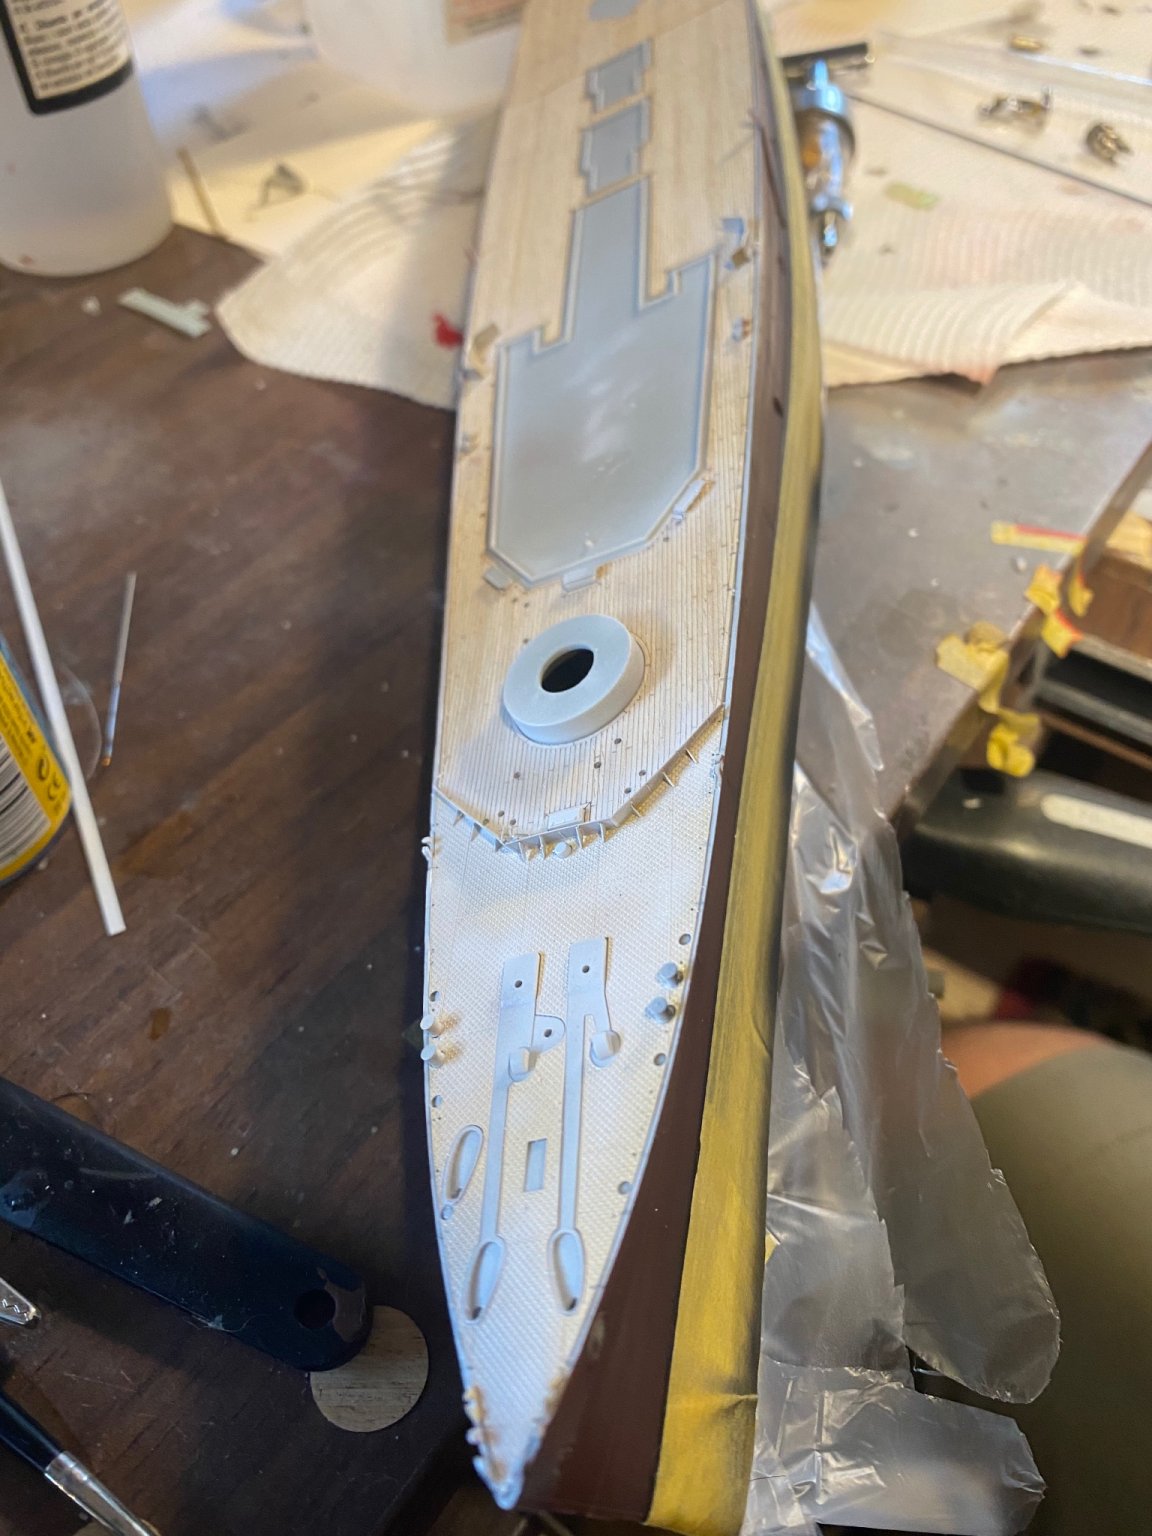
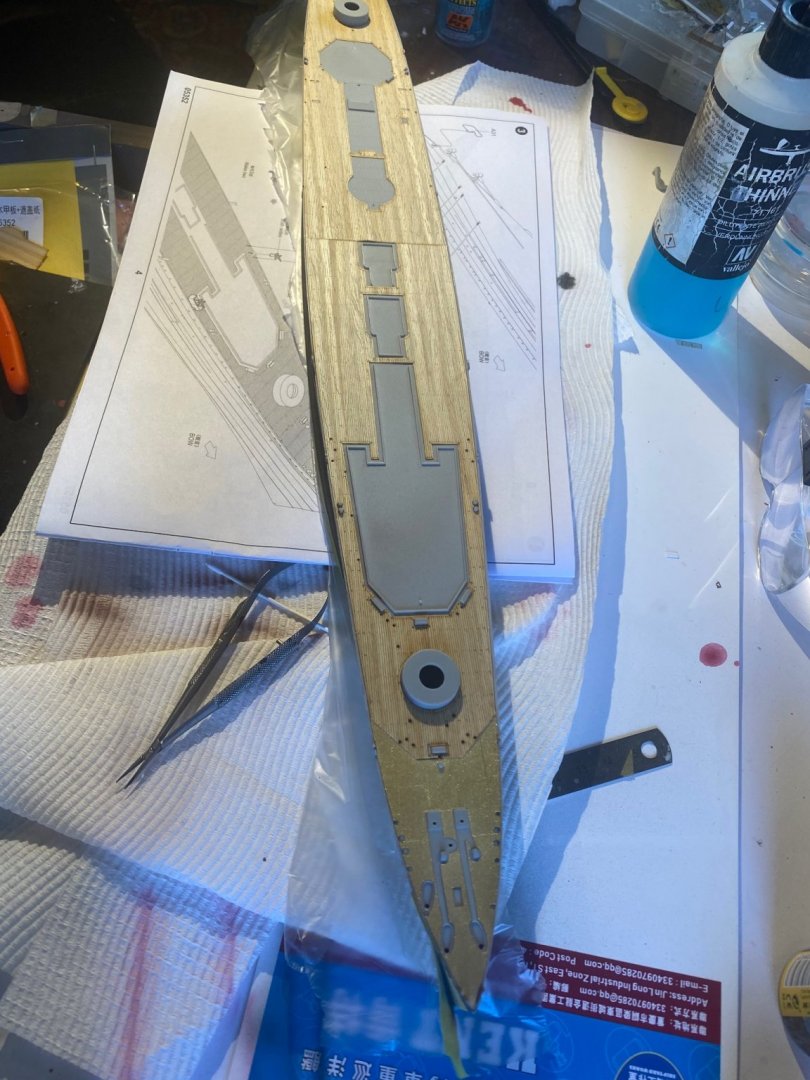
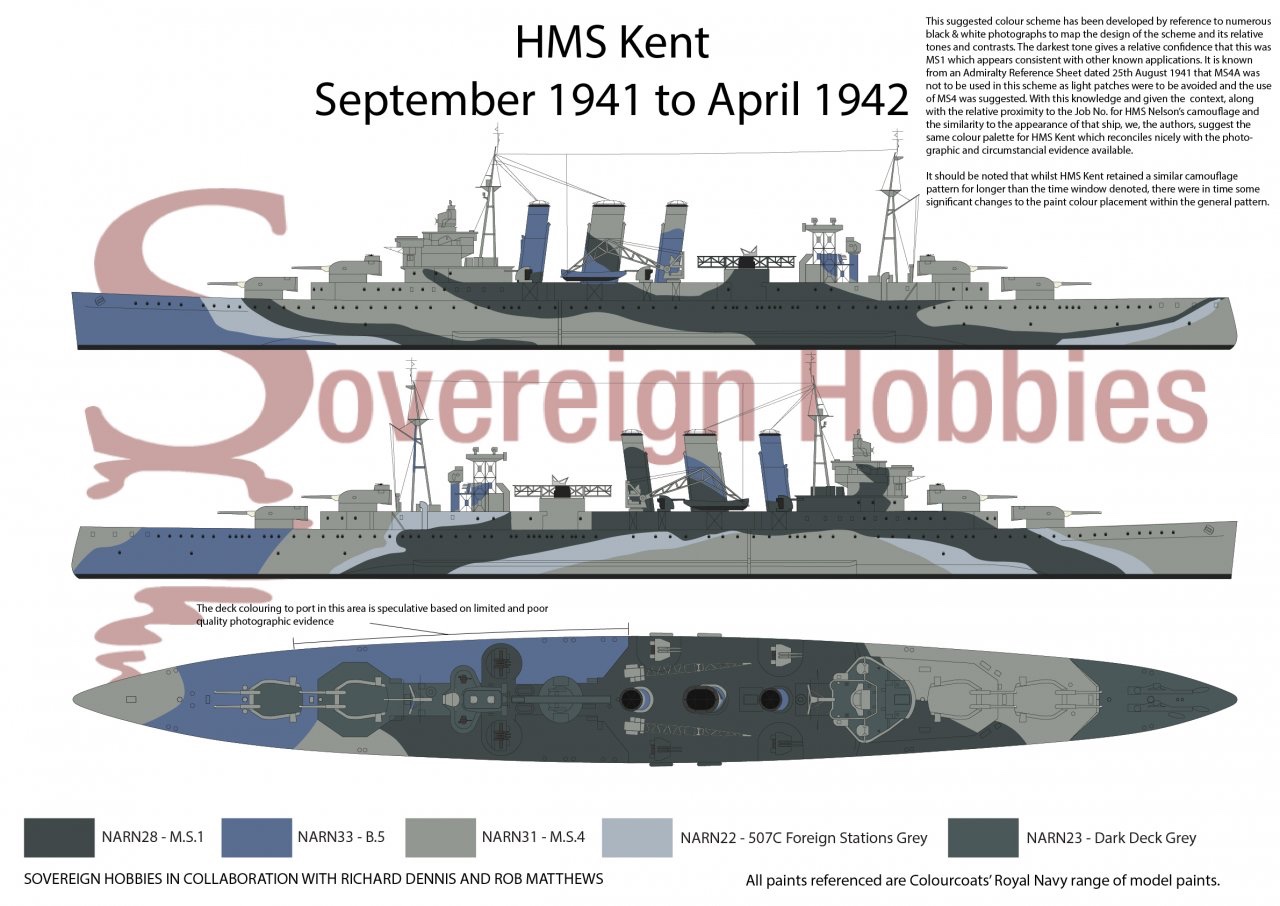
I got sets of decks, one that came with the PE focsle and a plastic backed (non adhesive deck- absolutely a nightmare to work with) and a full adhesive deck with a wooden focsle now cut to size. What you can’t see is I scraped the inner gunnels down so there is a half mm ledge, where I will now break lots of drill bits when I make the holes for stanchions. this ship actually had a painted deck. Jamie from Sovereign Hobbies is pretty much the expert in RN paints so I’m going to go with what he says. The colours may not be 100% accurate from me but Meh. It adds to the challenge weathering a painted deck like I did with My Essex. I’m thinking of giving it a clear coat over the deck first to help the paint bed down.
-
Now according to numerous armchair experts, the bootstrap was made of sterner stuff in the RN. Whilst there was a lack of enamel for the paint the bootstrap was important as it was the highest friction area and as such was painted well. masking done, a nice strait black line.
-
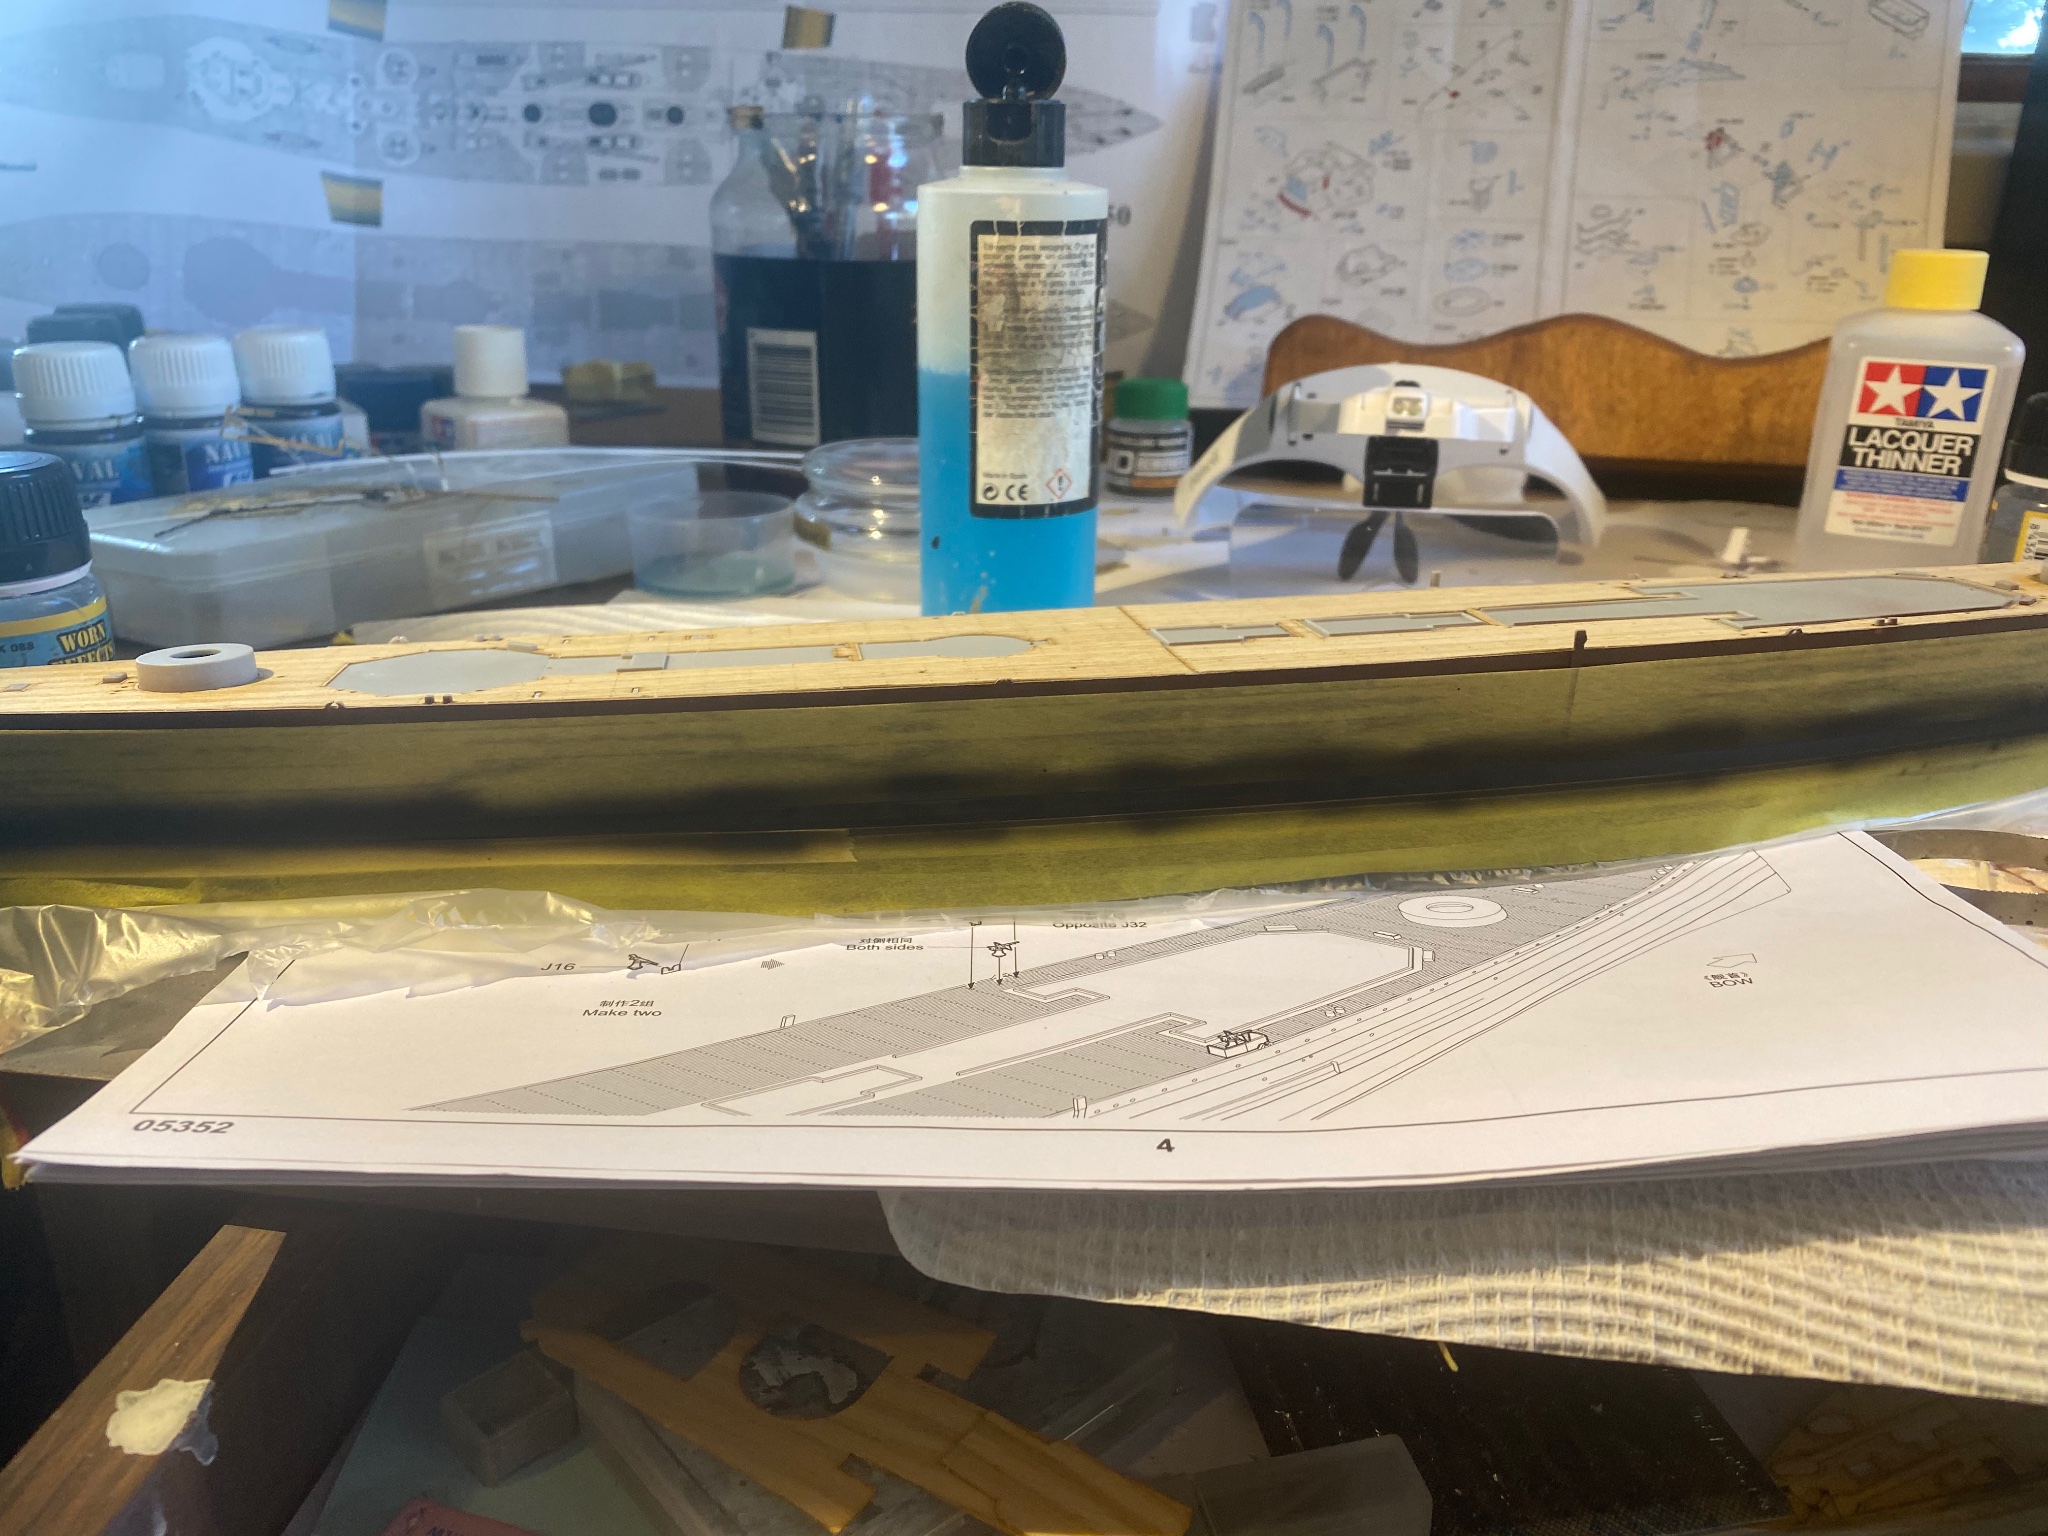
Bollards. The objects that the ship gets tied on to. the little bits on the railings bend down to the deck and are like support structures. There are called stanchions. Different navies has differing types, the Royal Navy does a 3 rail, which all fold down for ship handling anyways.
- 211 replies
-
- 5
-

-
- prince of wales
- tamiya
- (and 2 more)
-
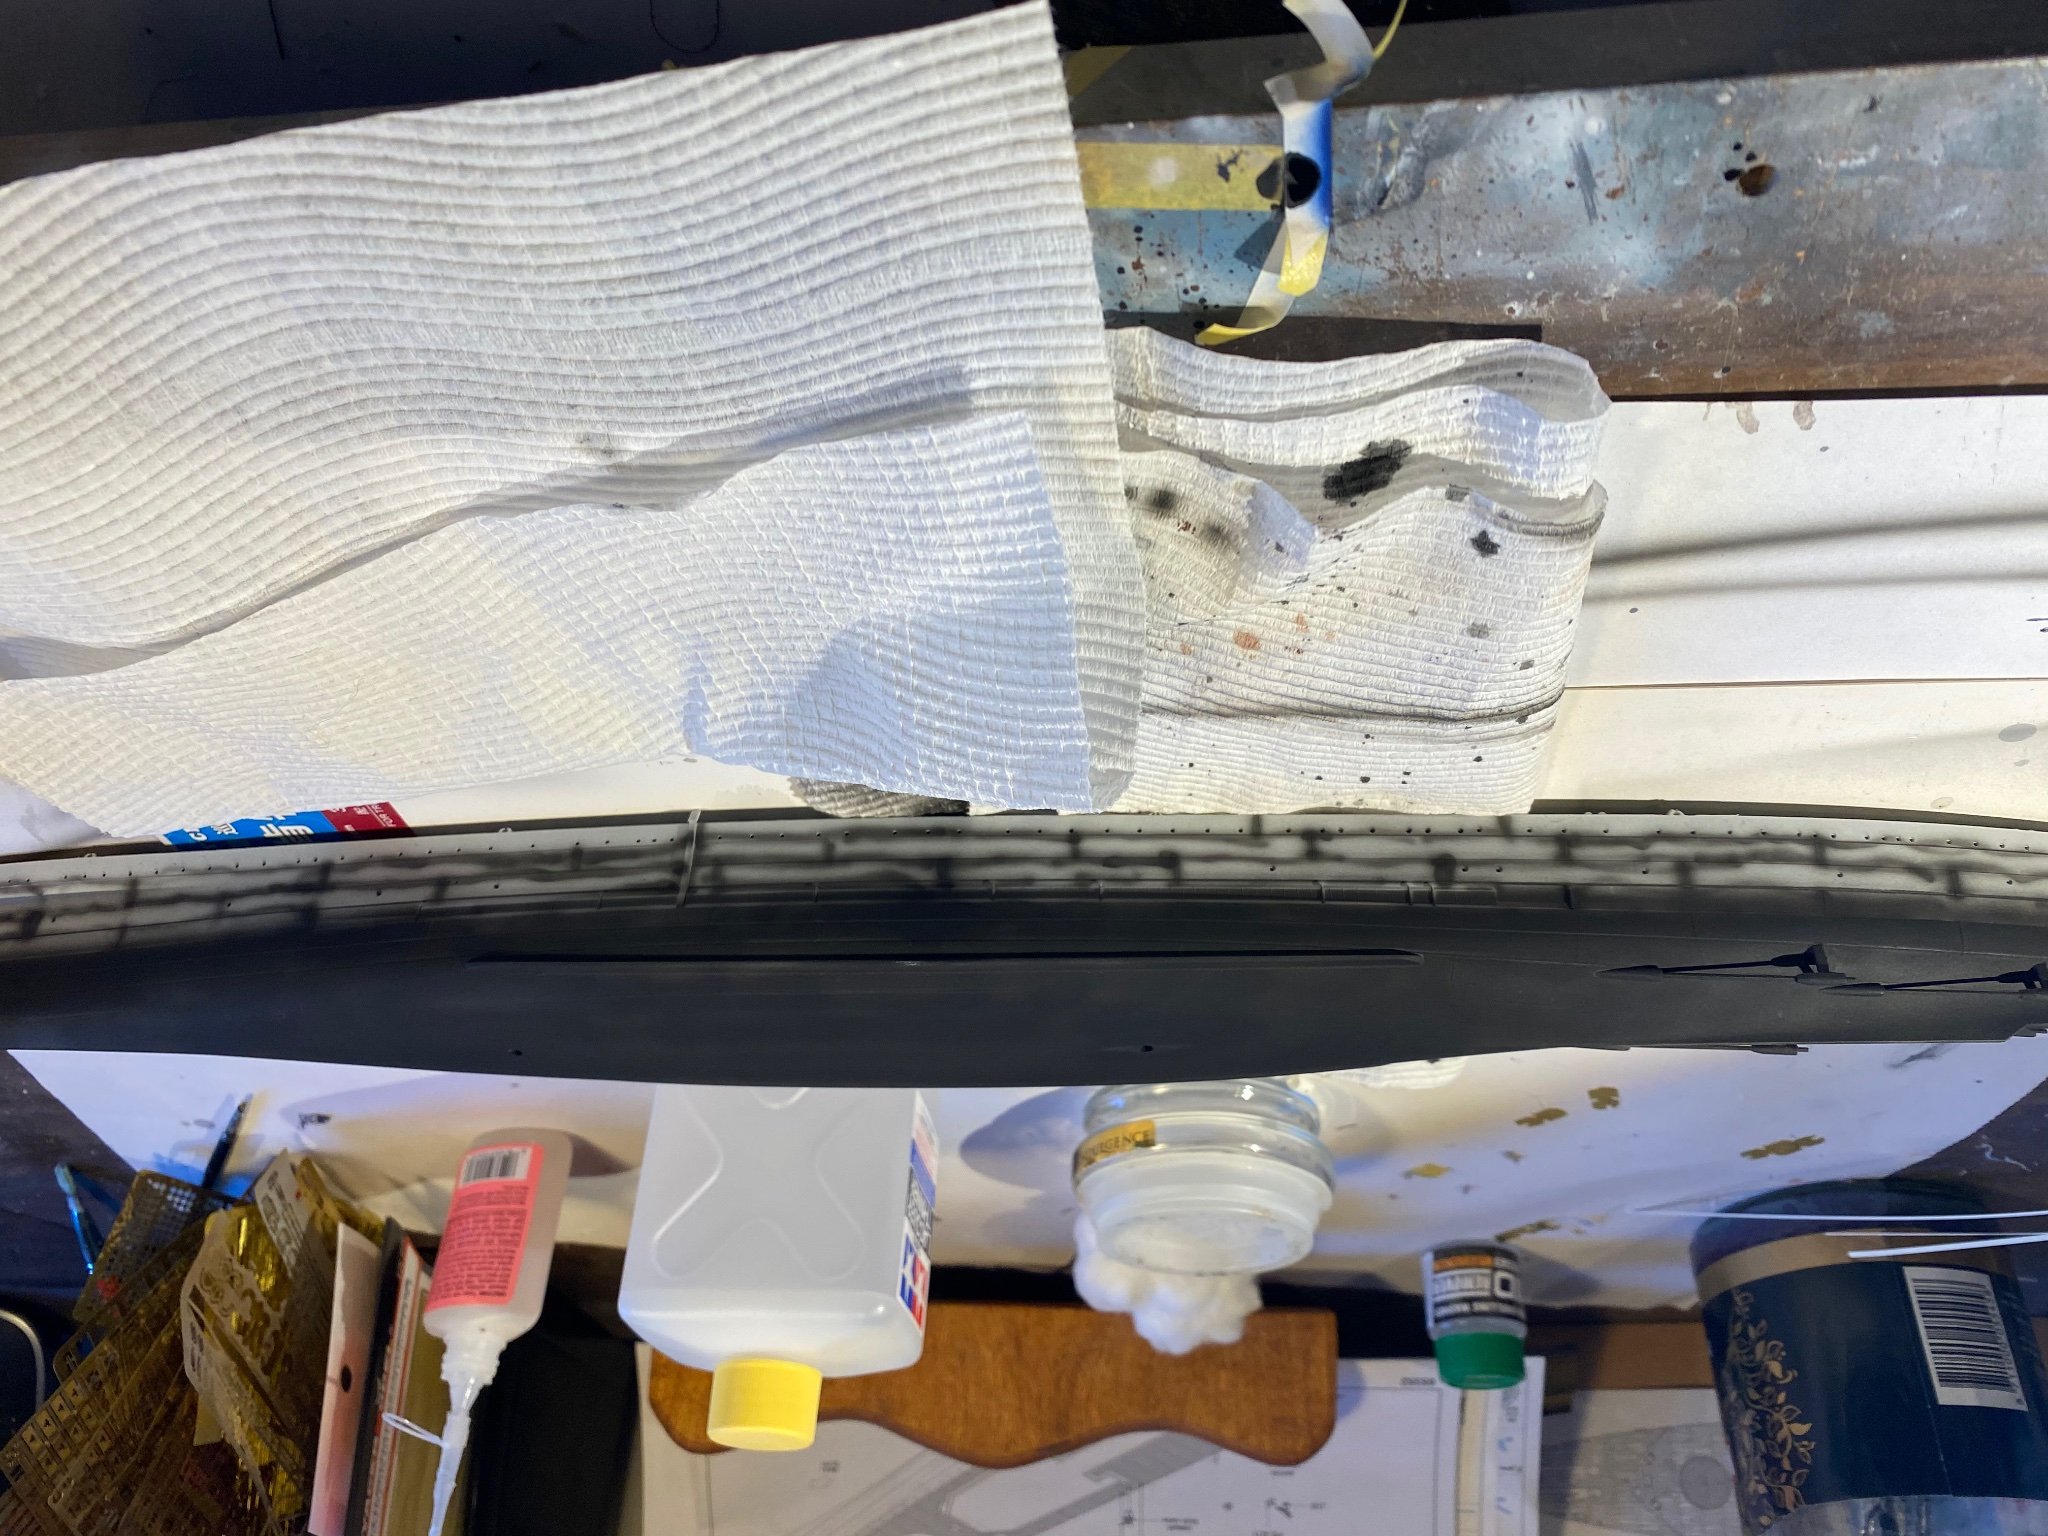
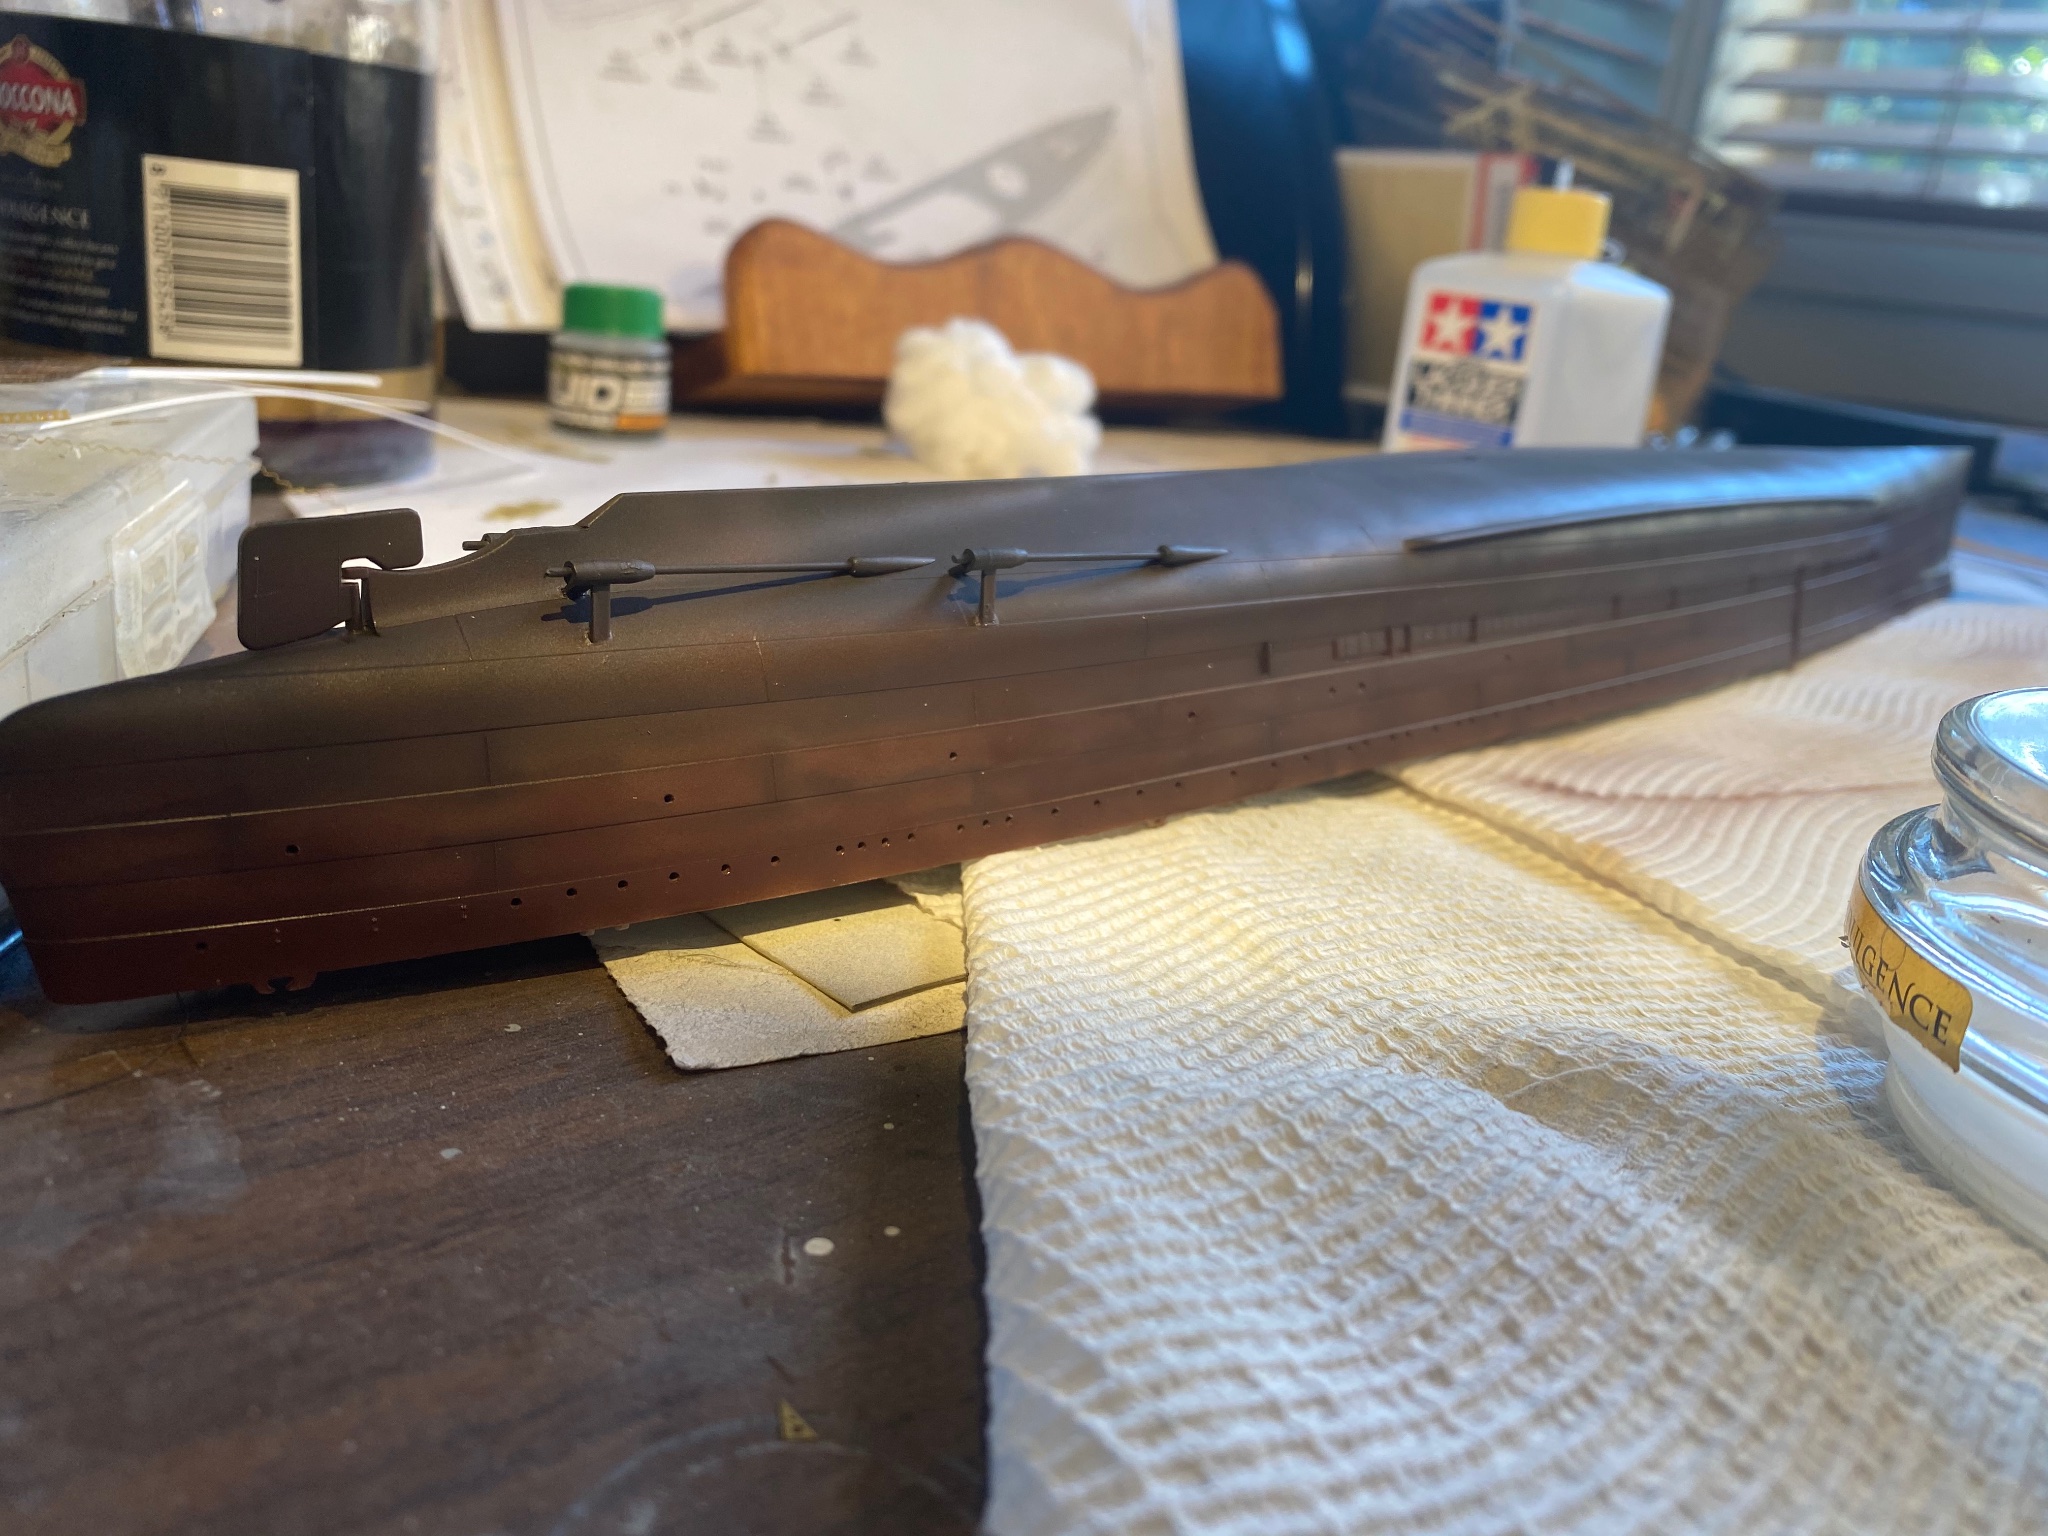
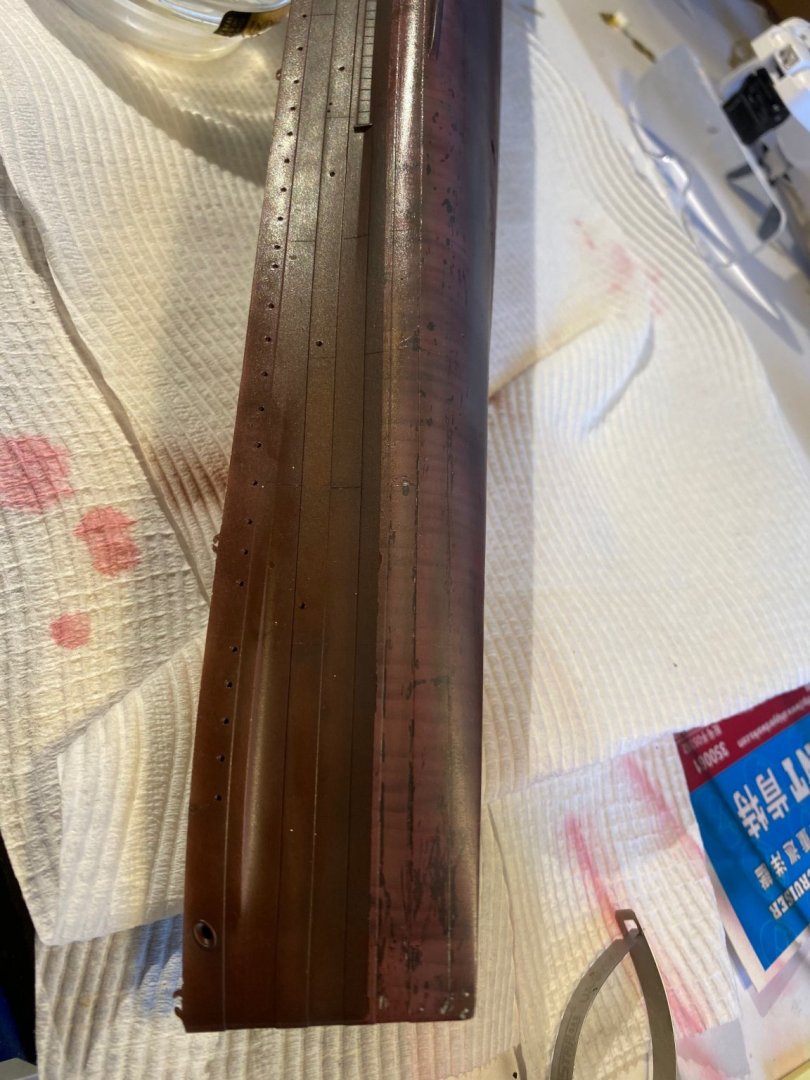
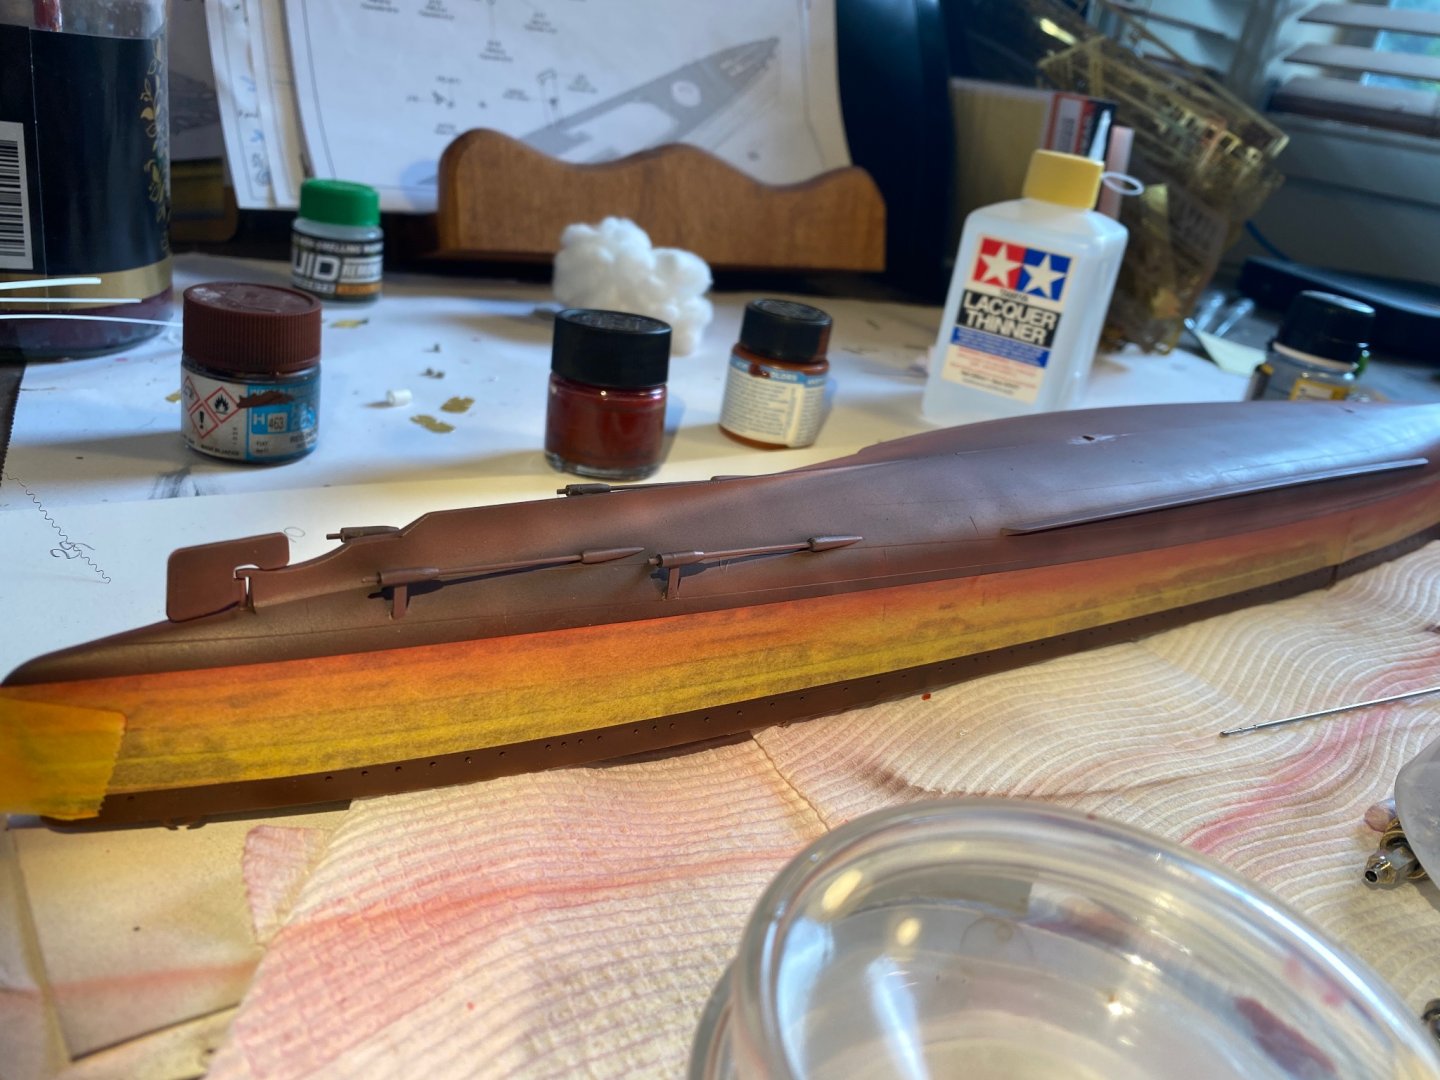
Next, some below the waterline oilcanning (Sorry @cog, it has to be done) Next some more fading and grunging. Pretty happy with it, probably a bit shiny but I’ll give it a matte overspray tomorrow

- 128 replies
-
- 11
-
-
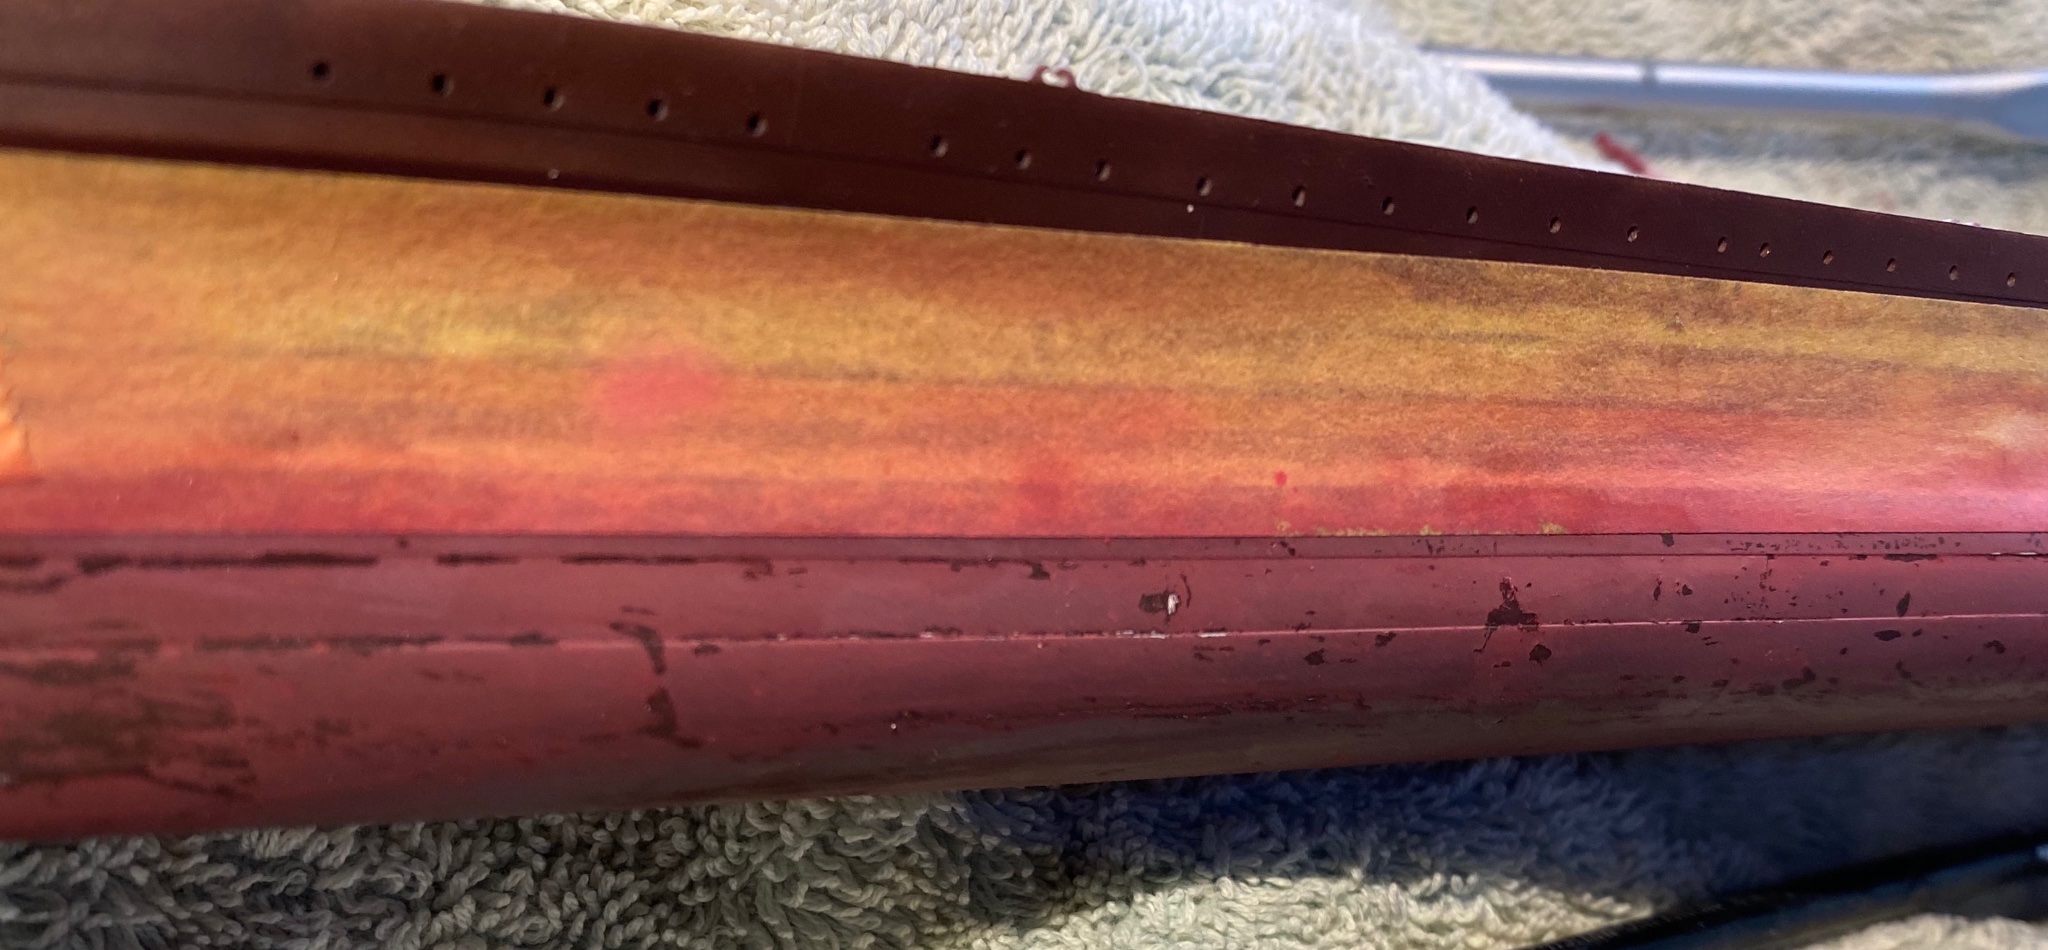
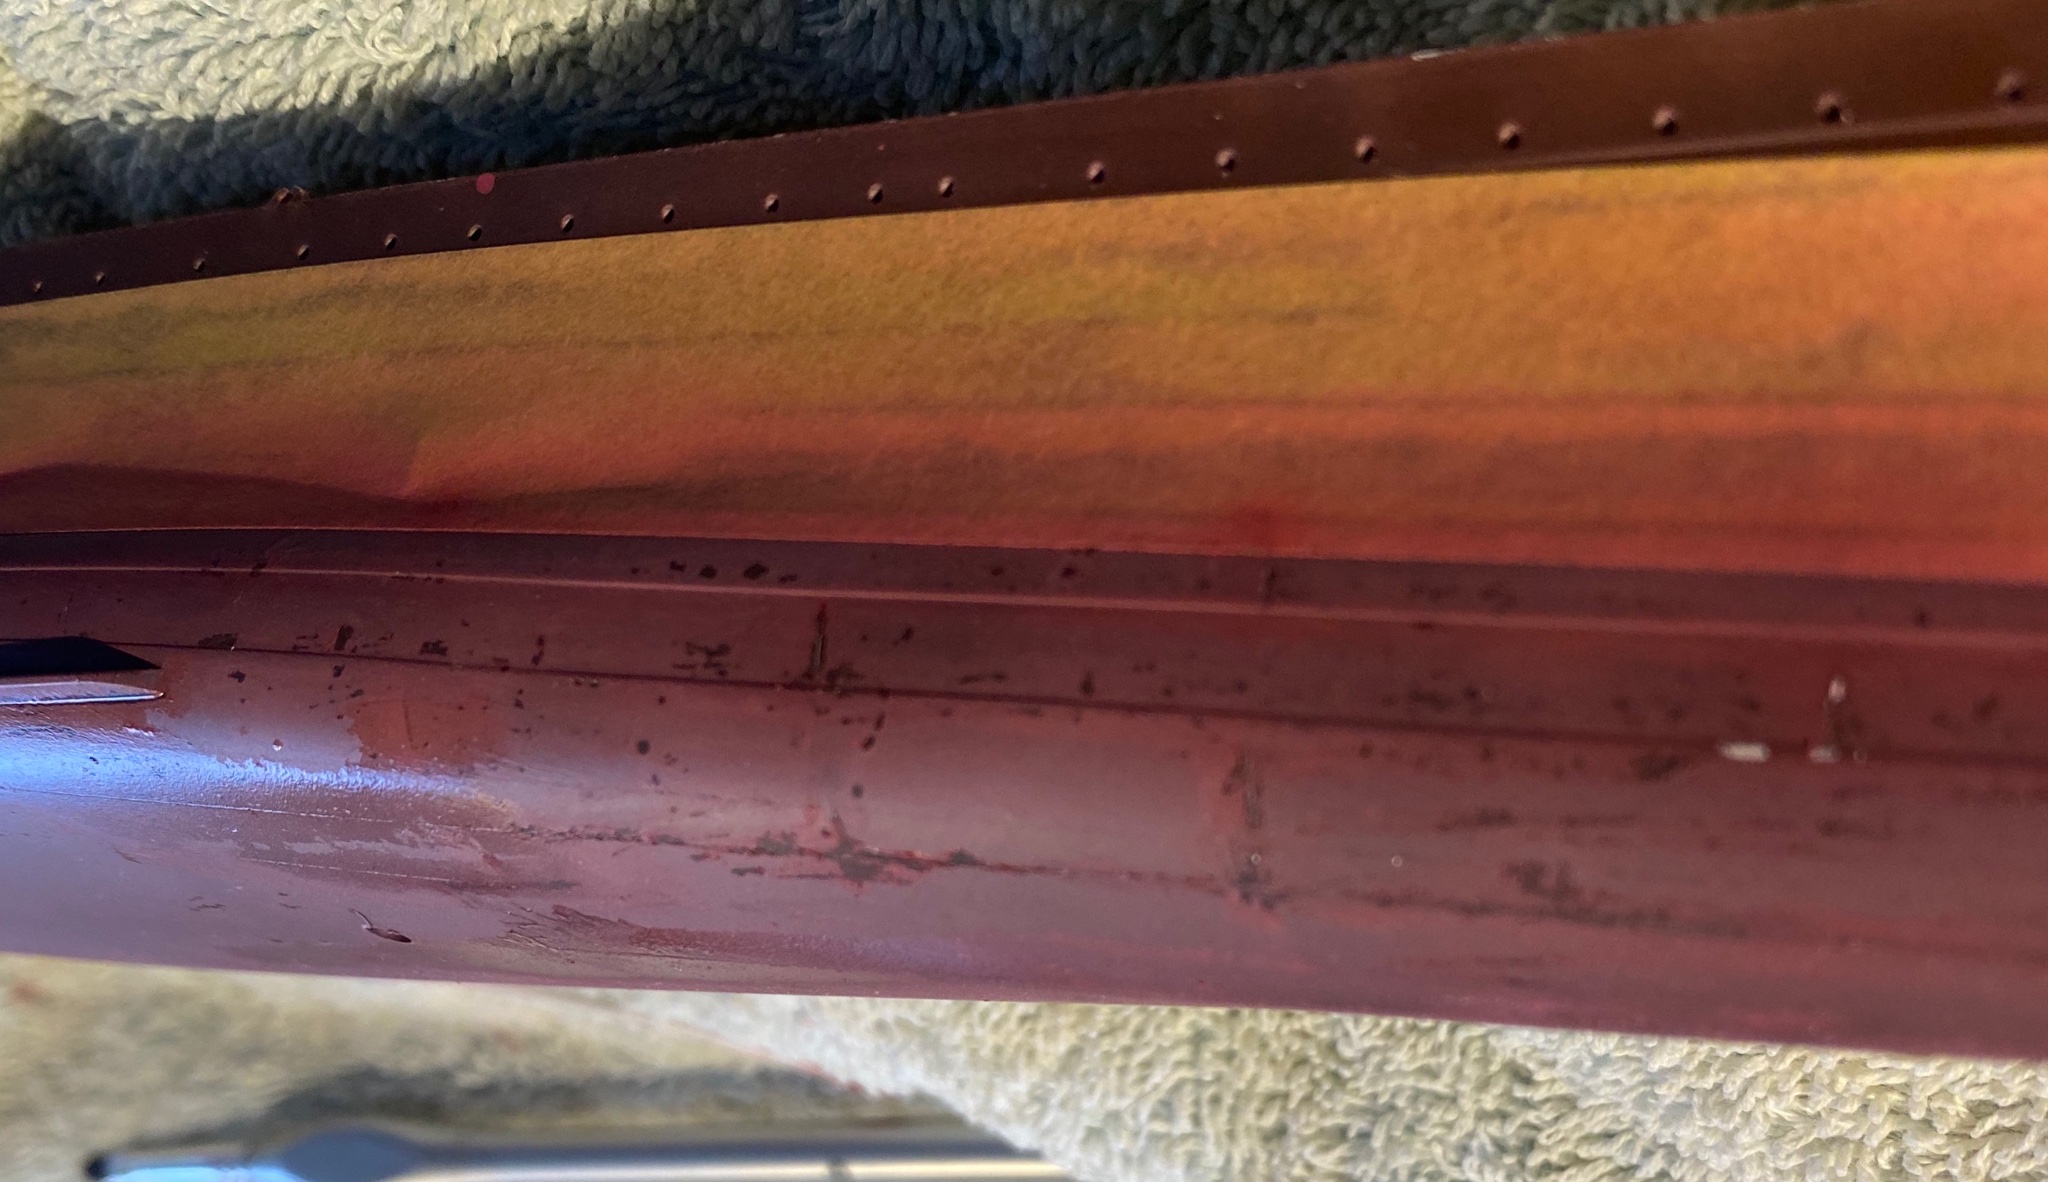
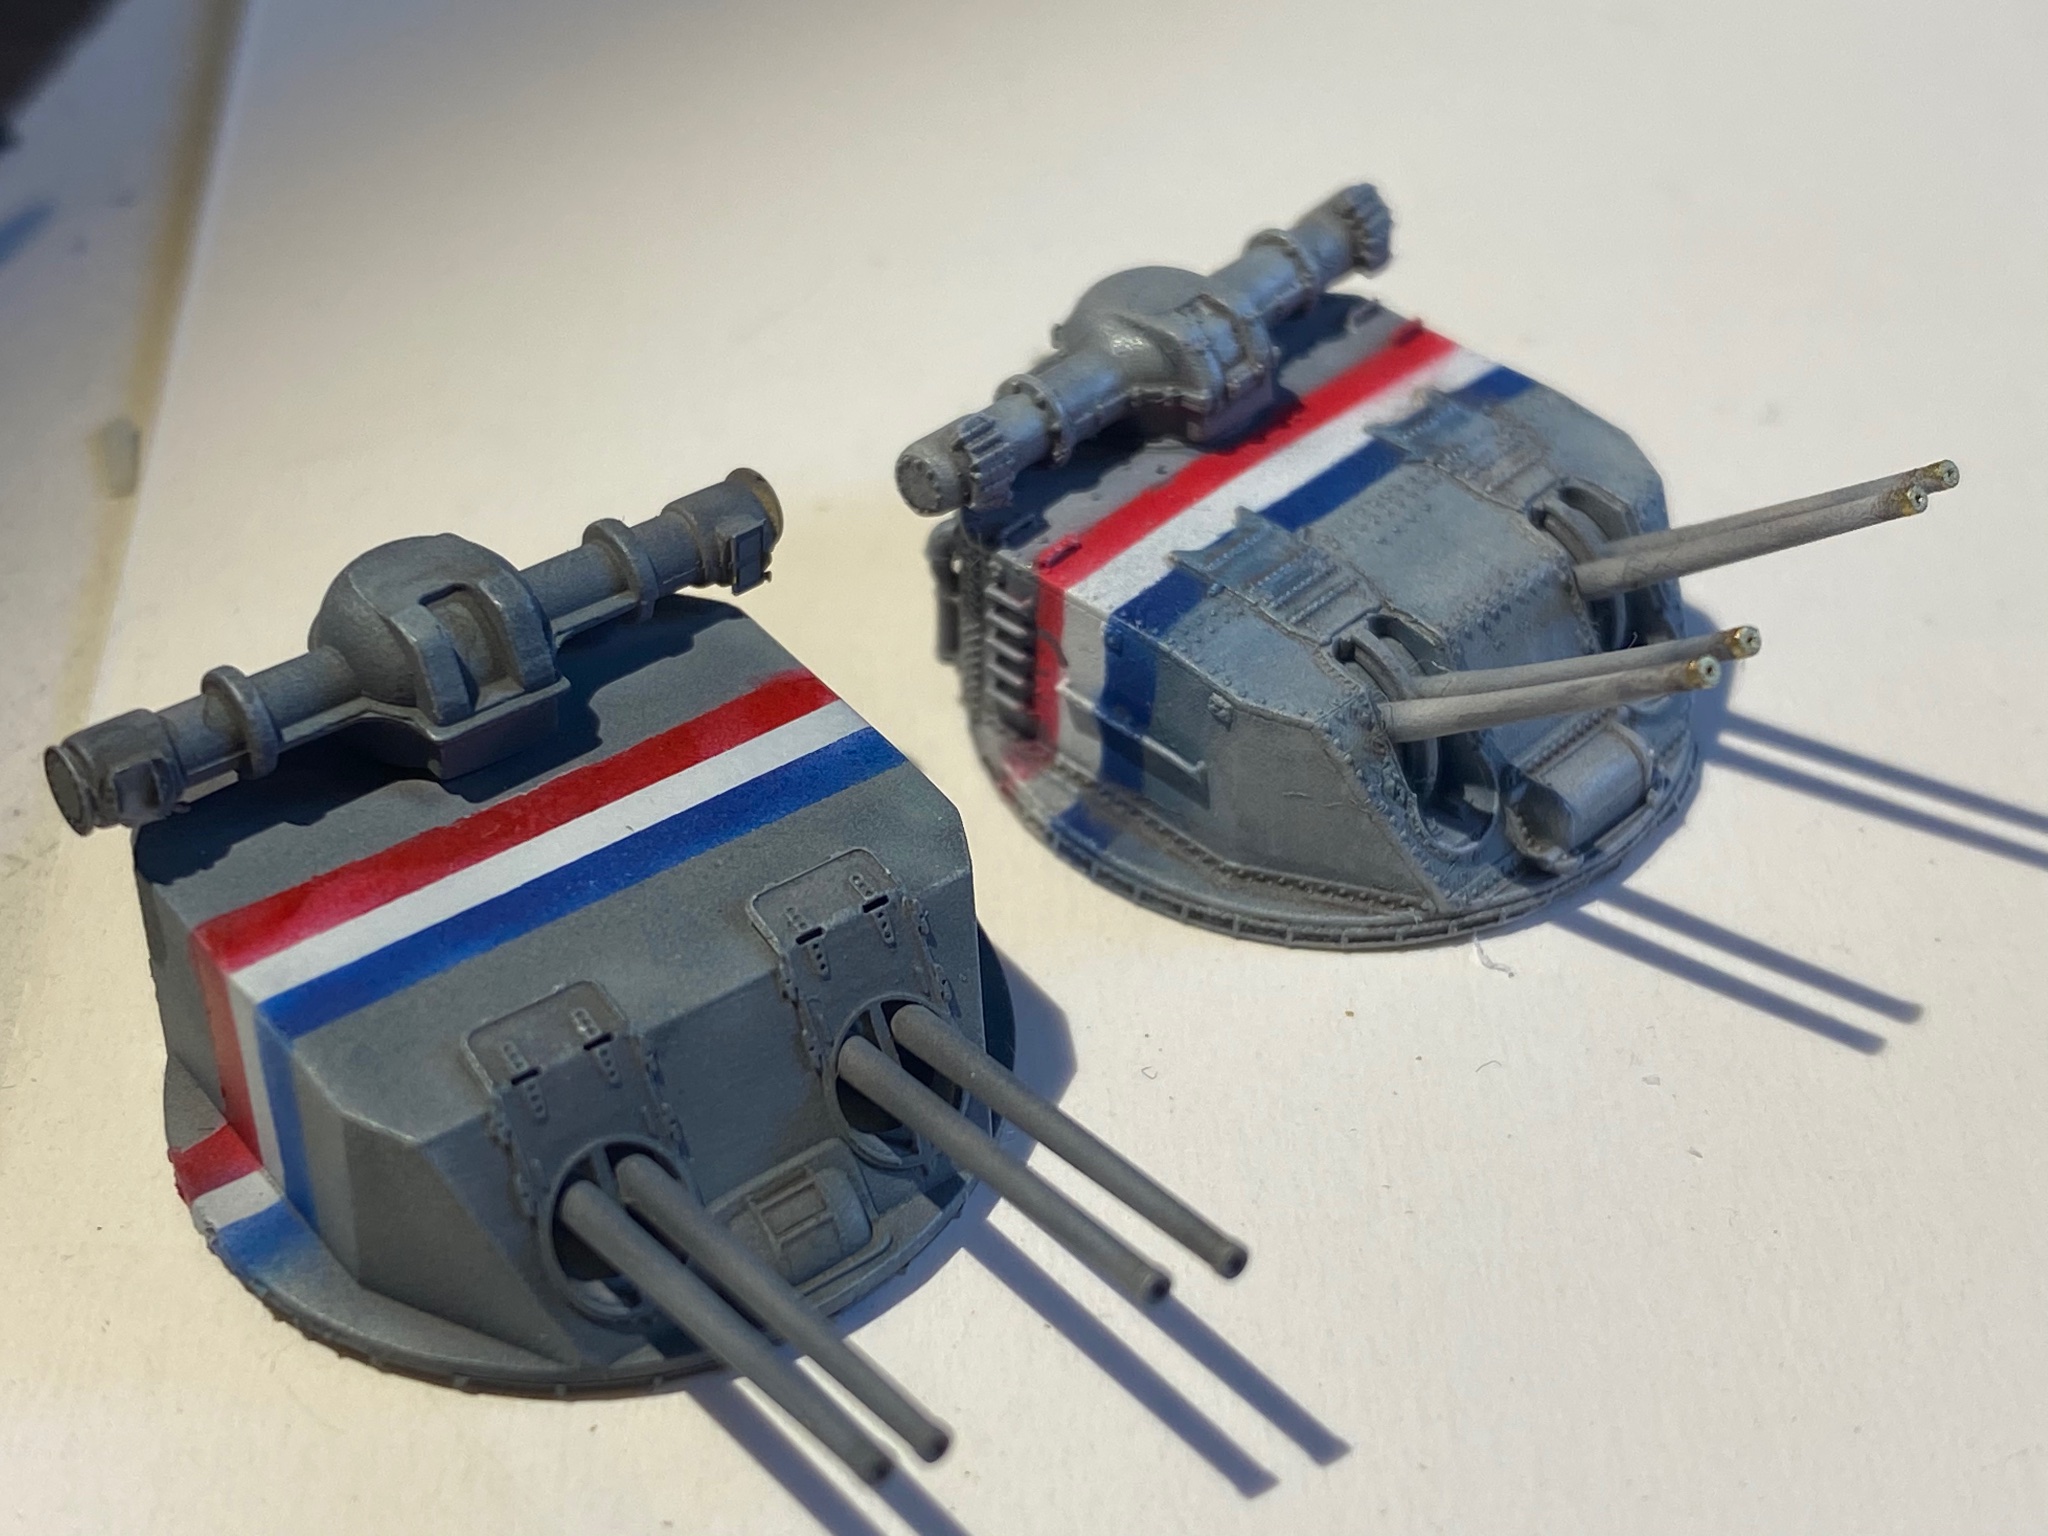
So, I made up a dark red, then a lighter highlight red then a faded paint pink, some chipping


-
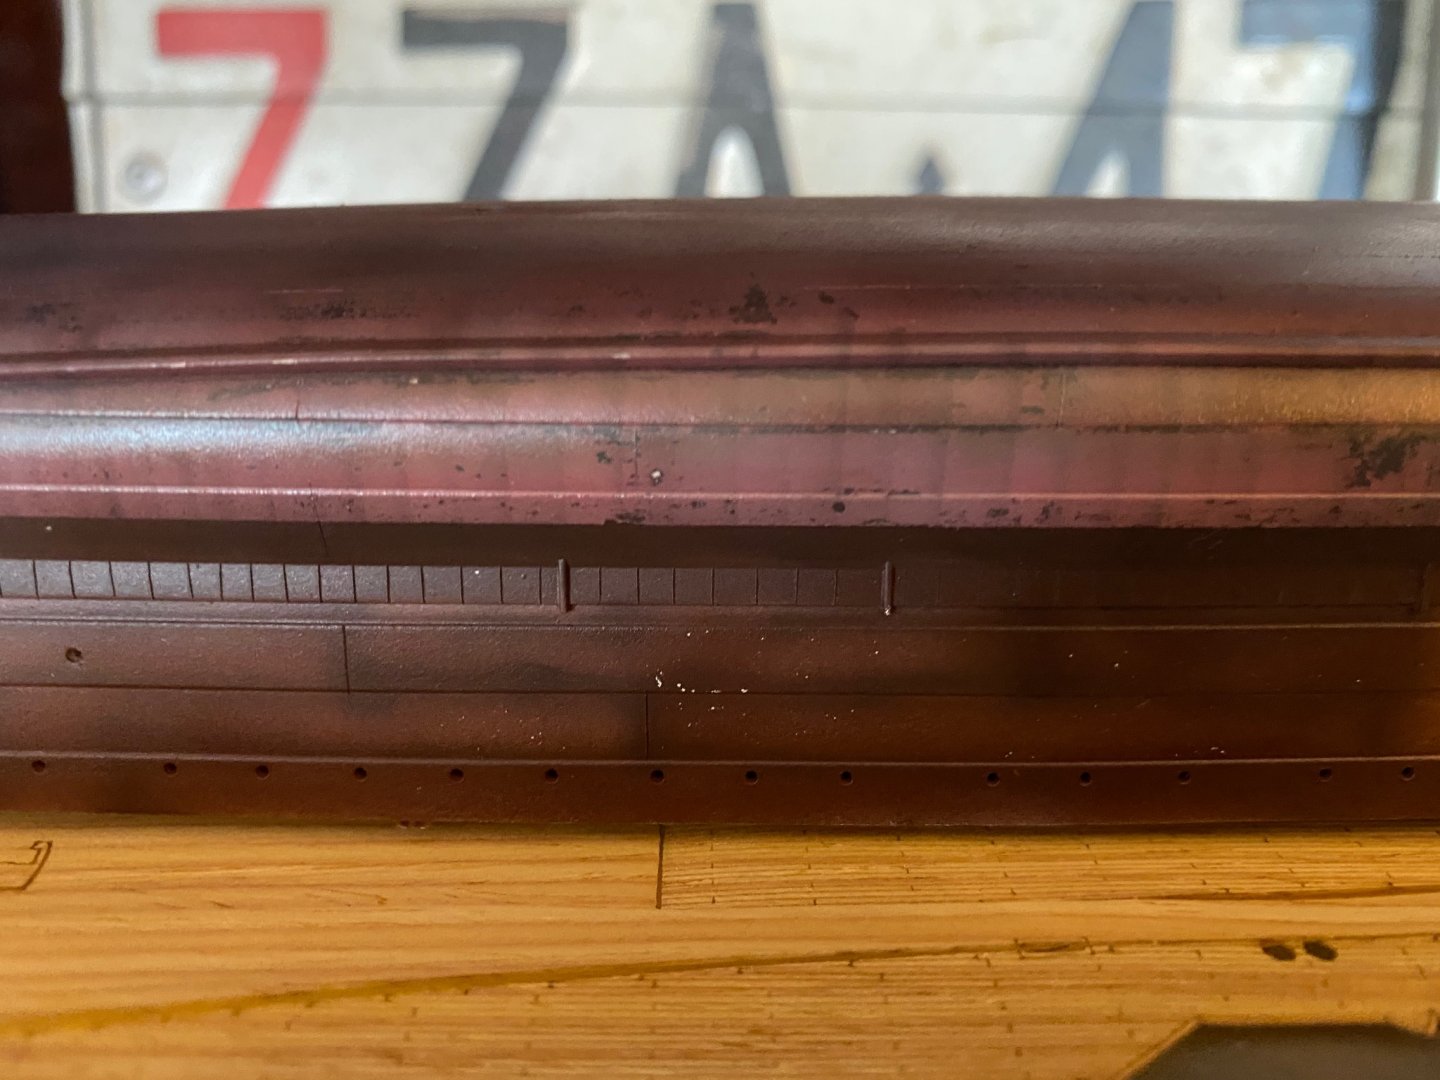
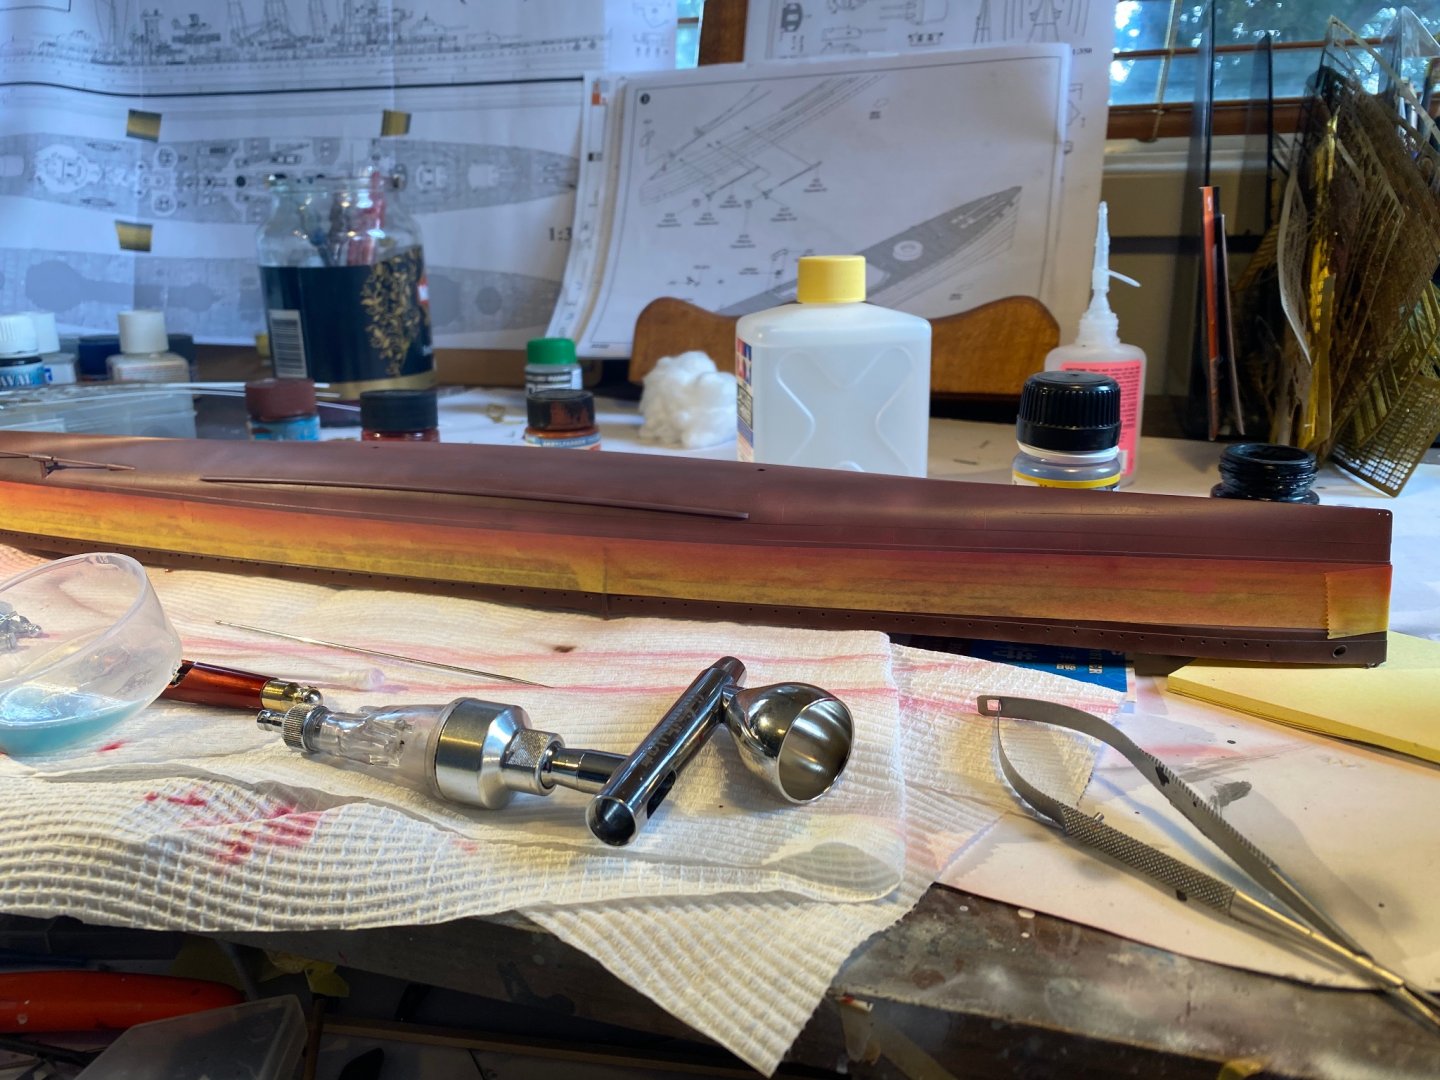
Starting on the Hull, first a black undercoat below the waterline then a coco brown, and then a clear matte varnish. Hopefully when I add chipping fluid later it will be the primer coat


-
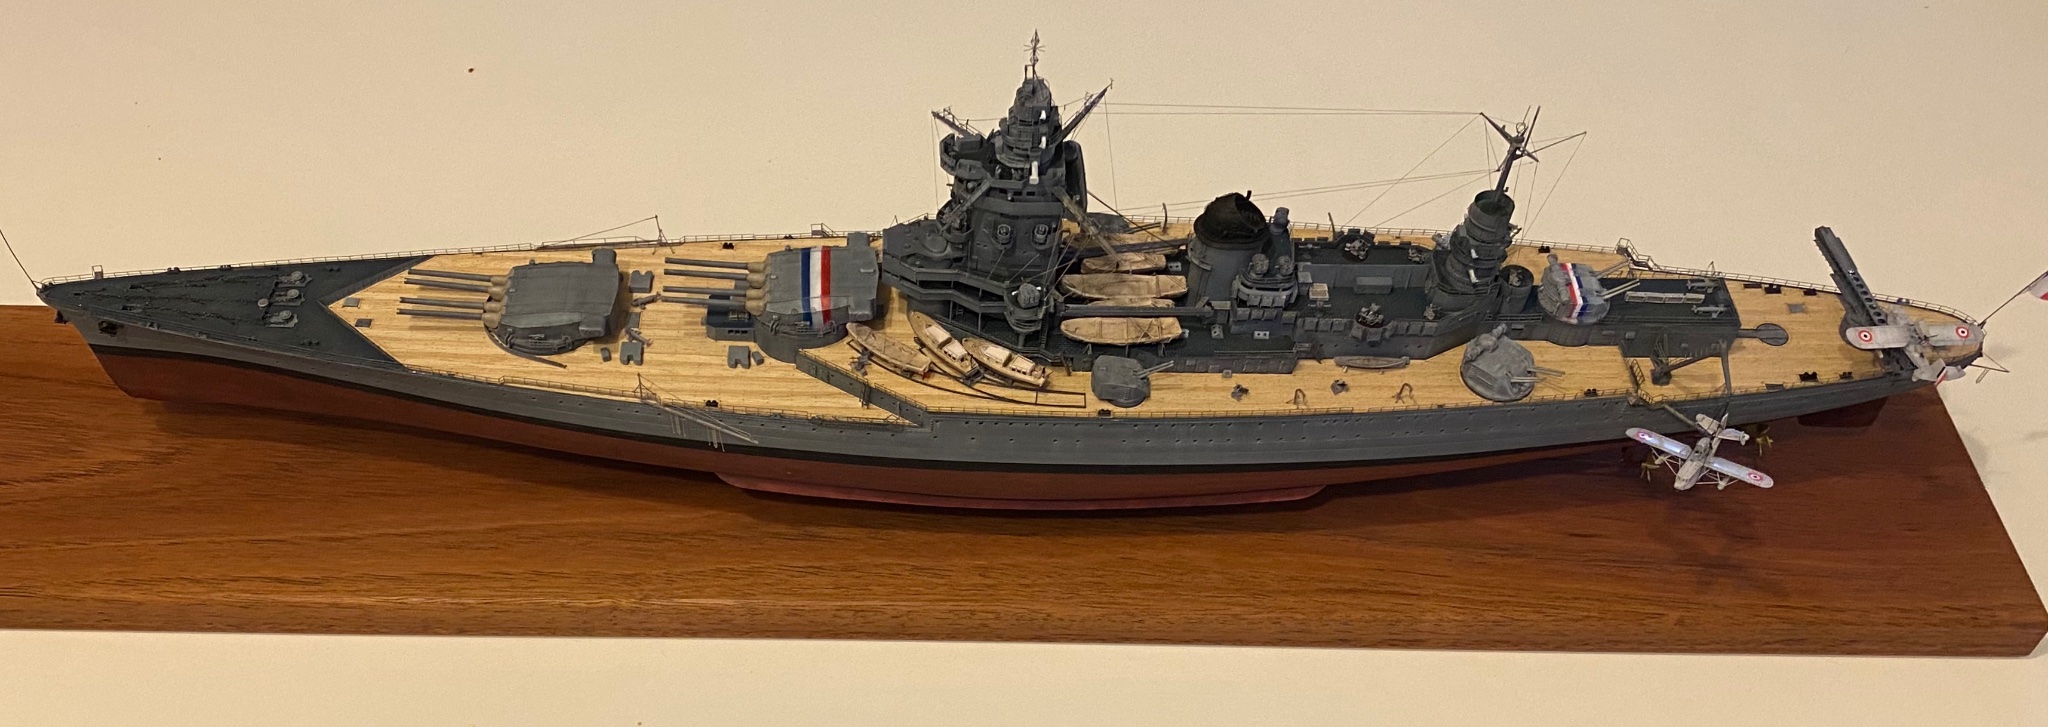
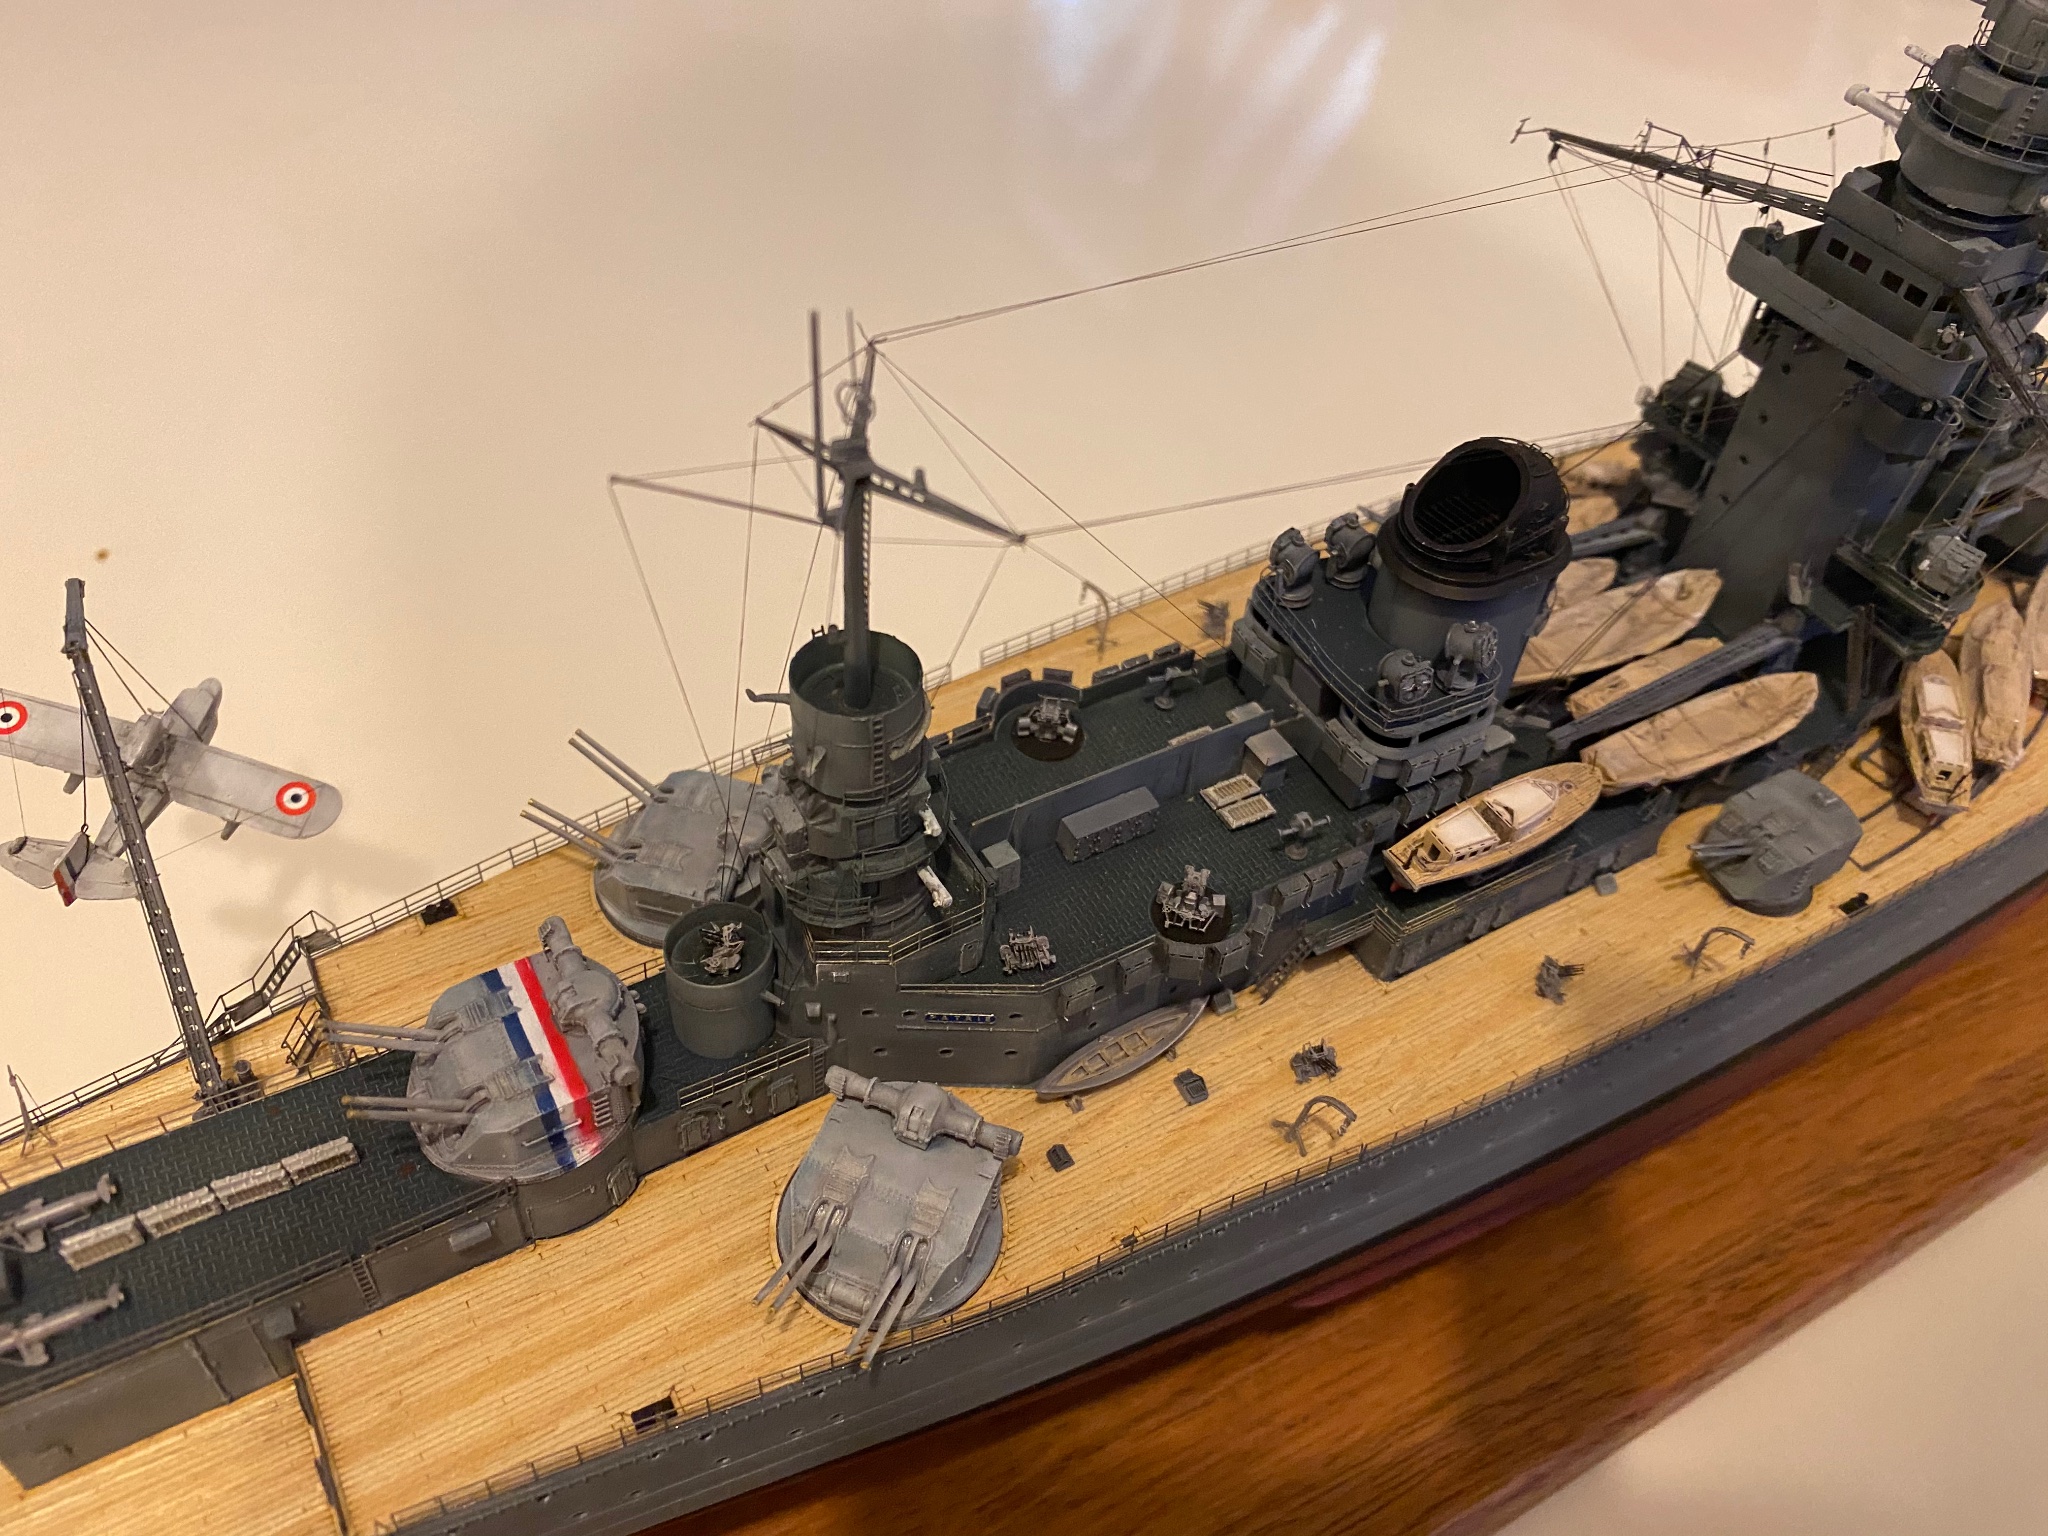
Done, back guns are a real little too light but she’s parked up now and will never be publically shown anyways.


- 136 replies
-
- 19
-
-
- strasbourg
- finished
- (and 2 more)
-
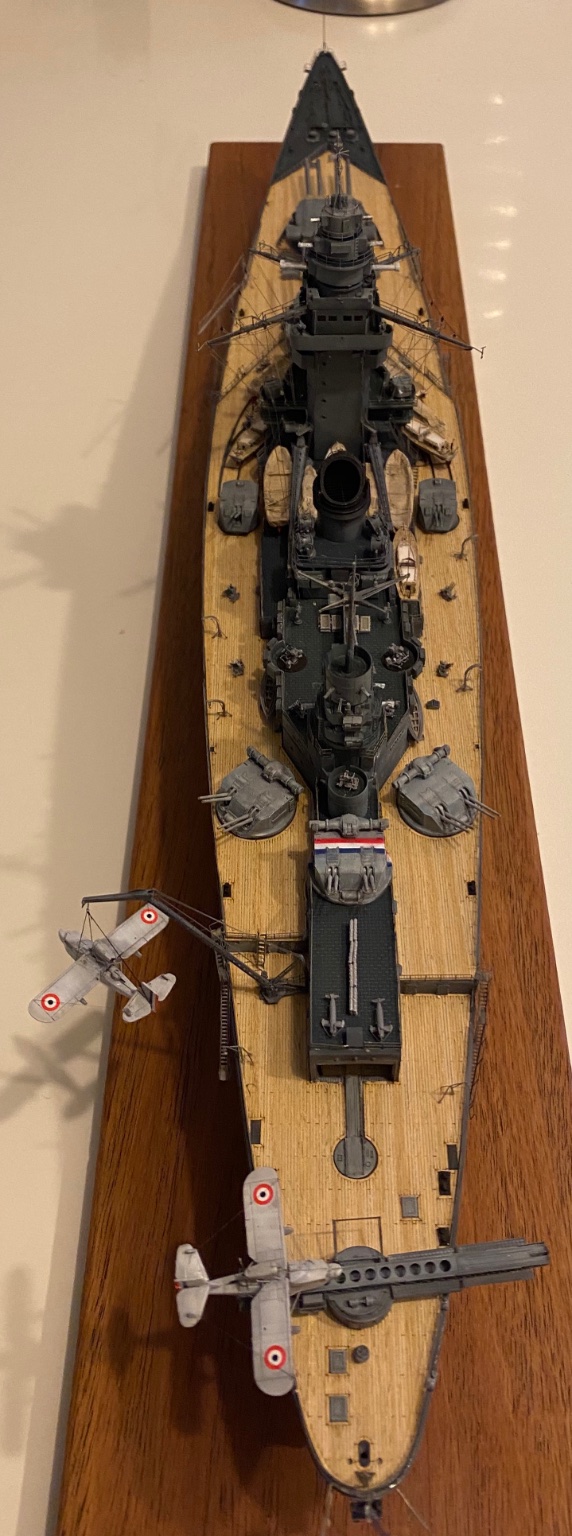
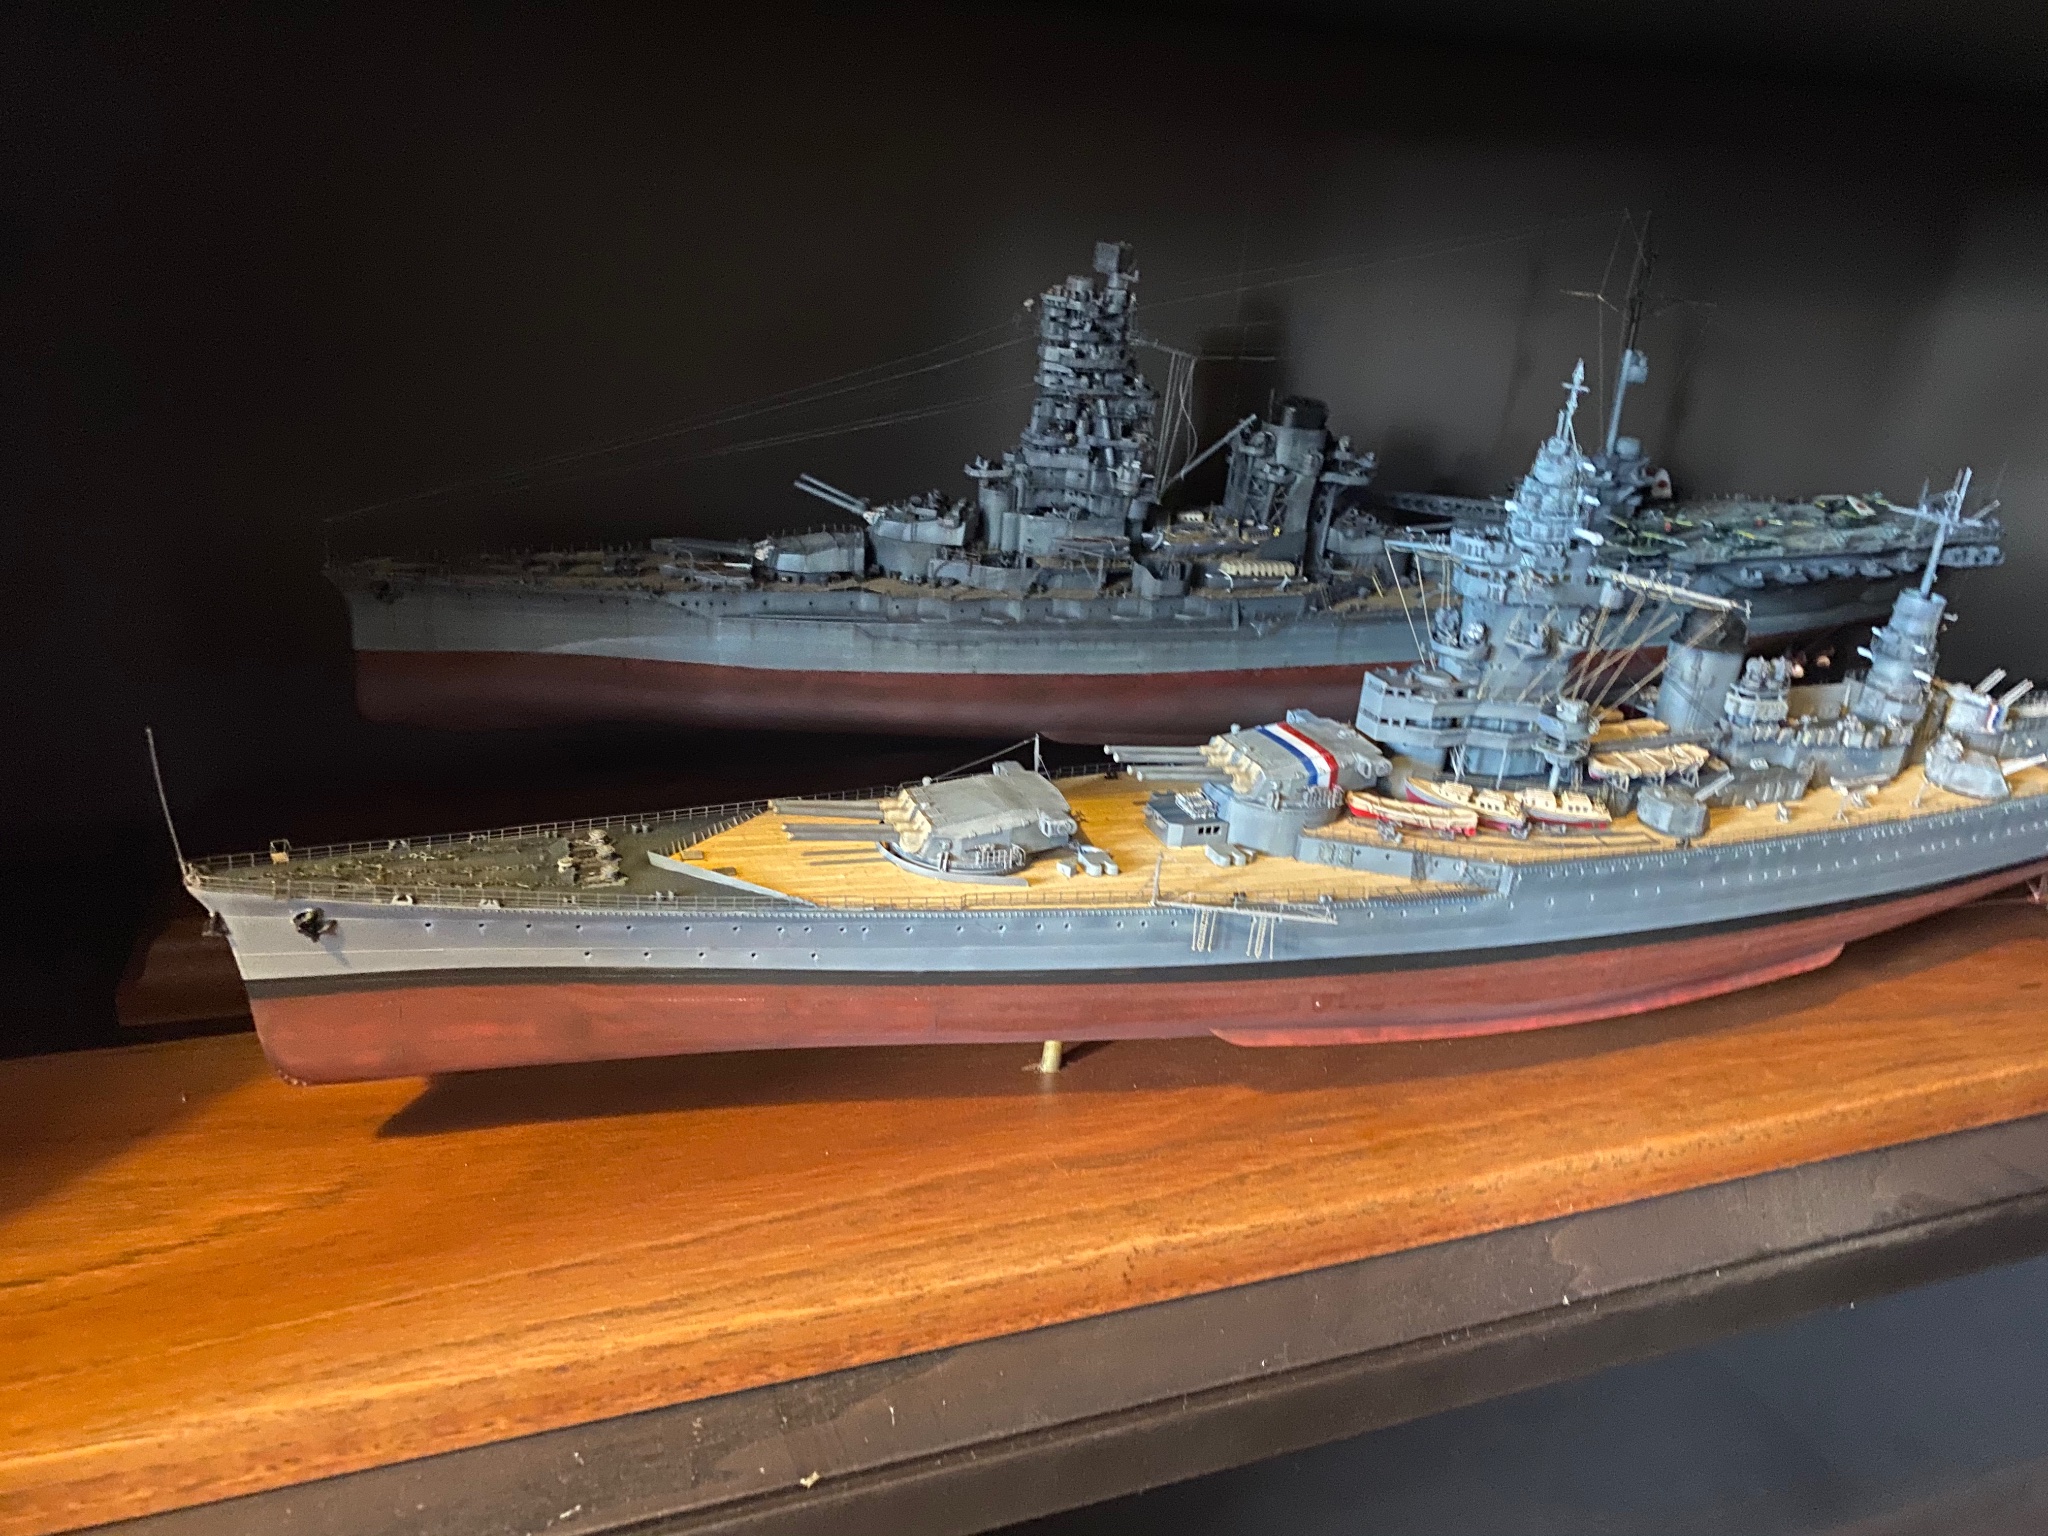
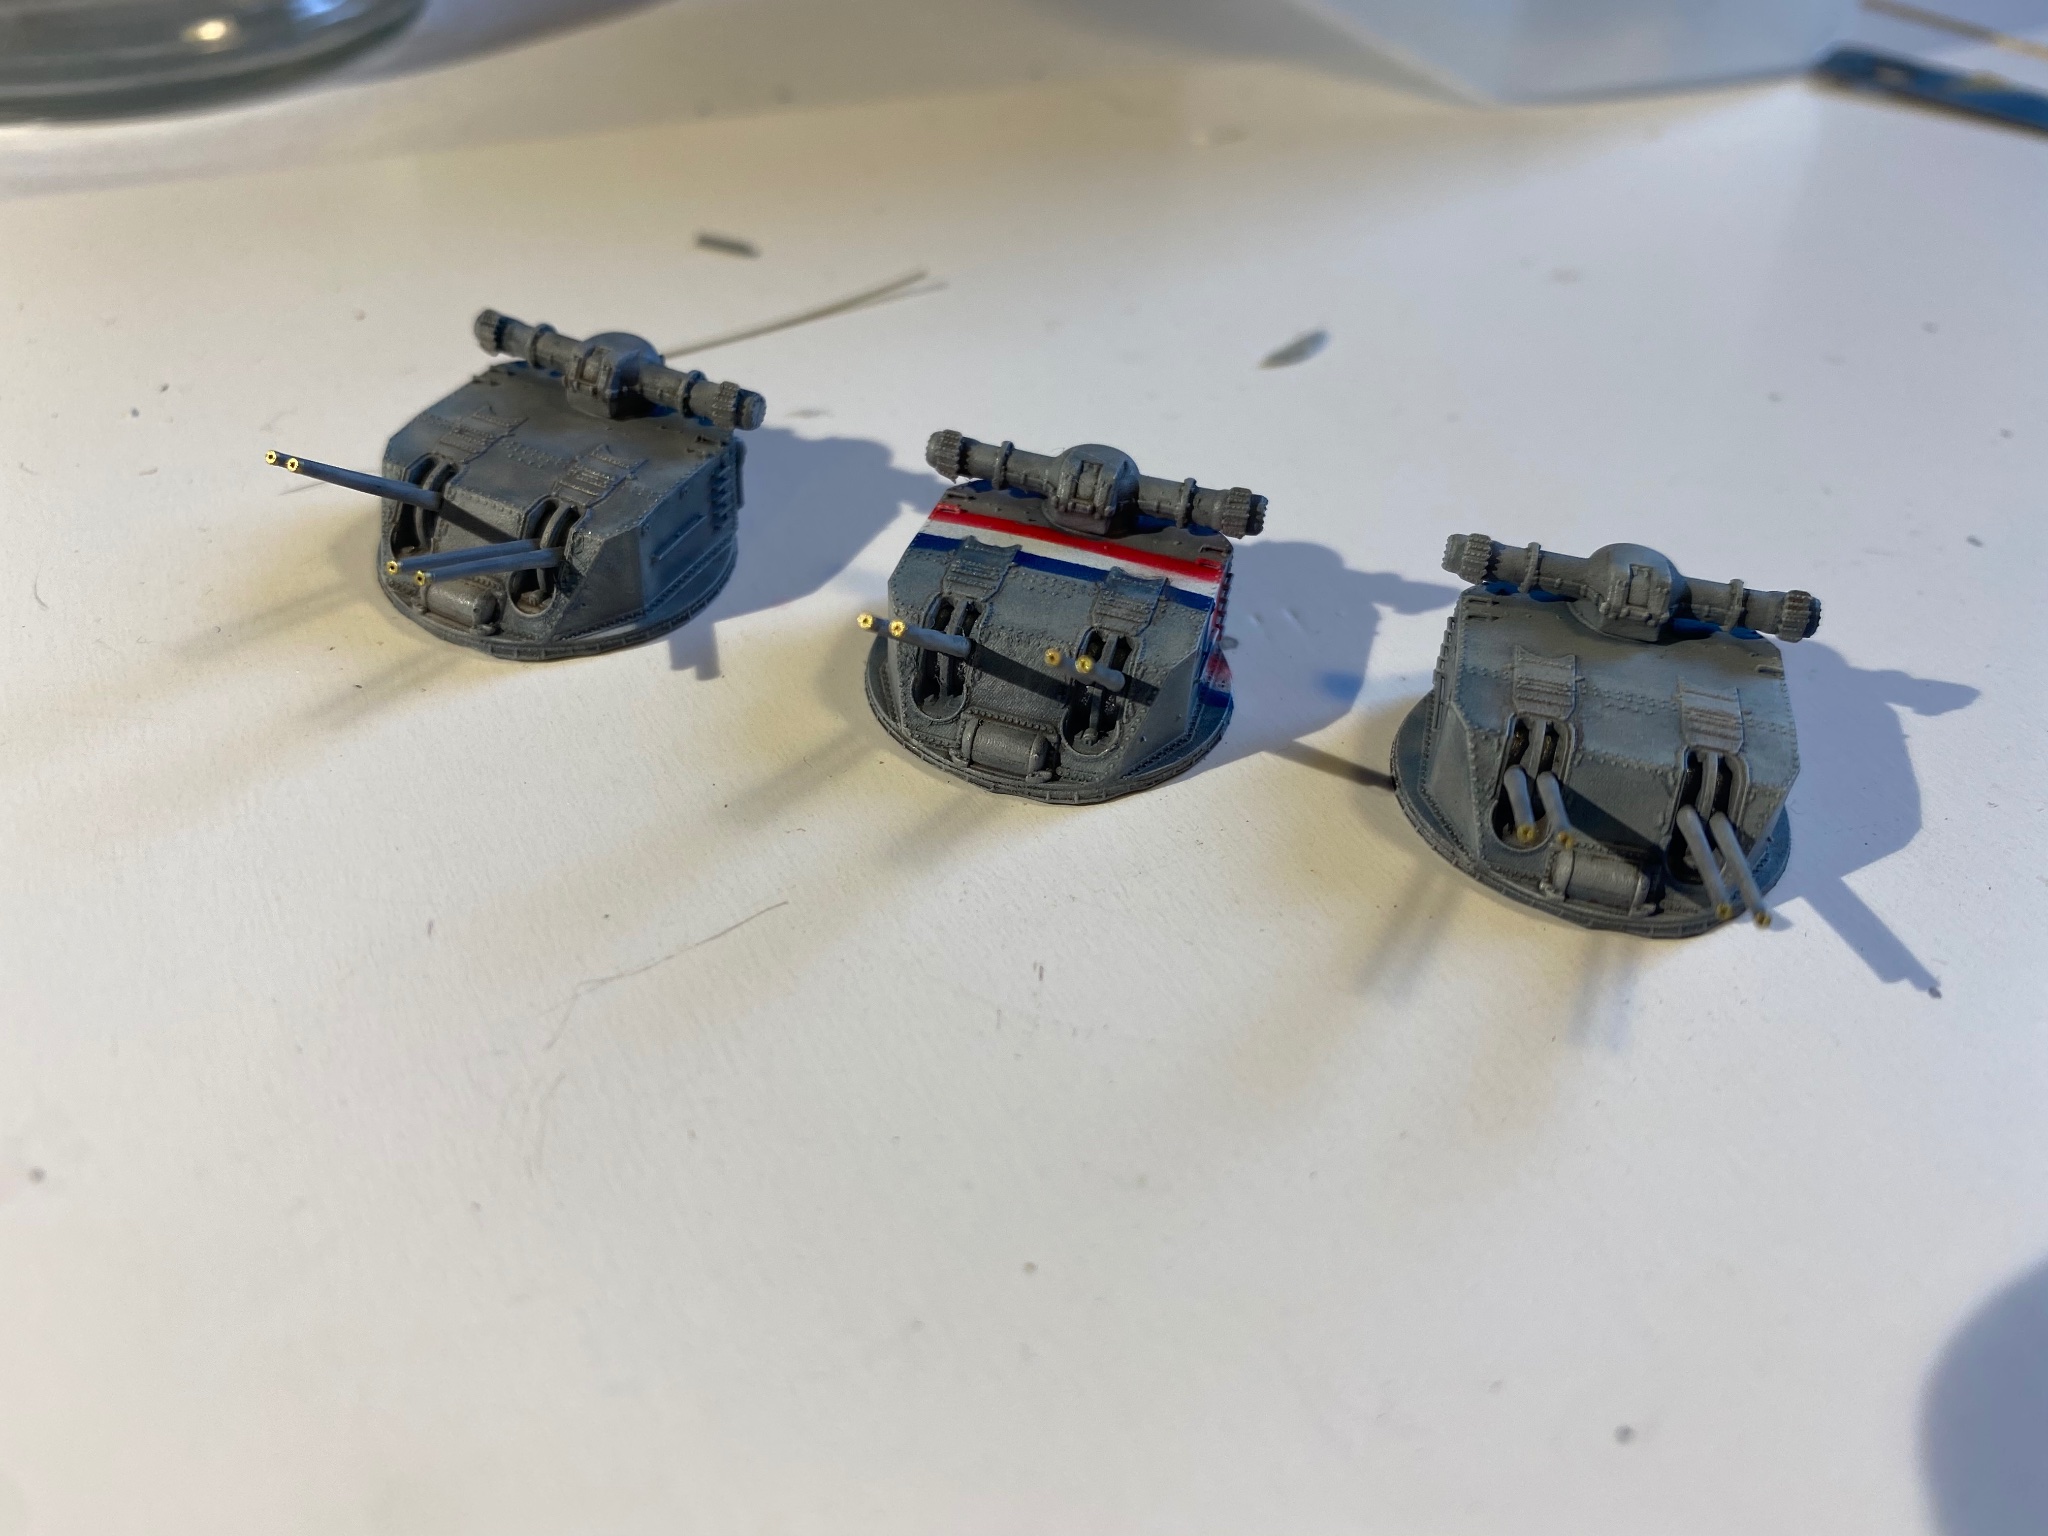
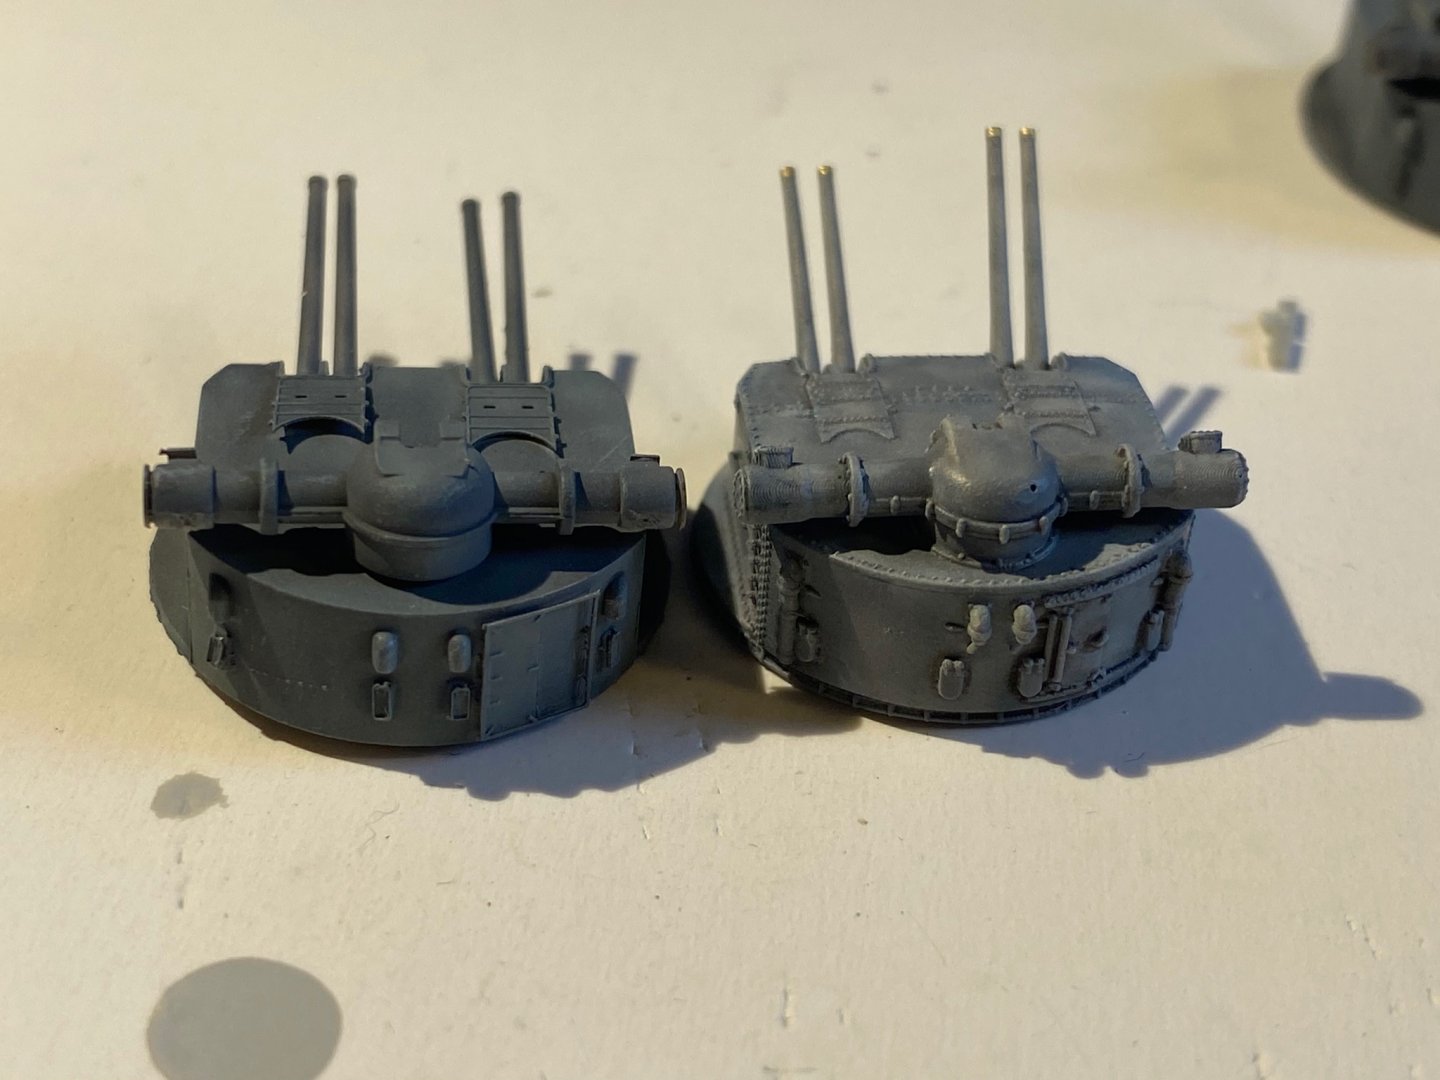
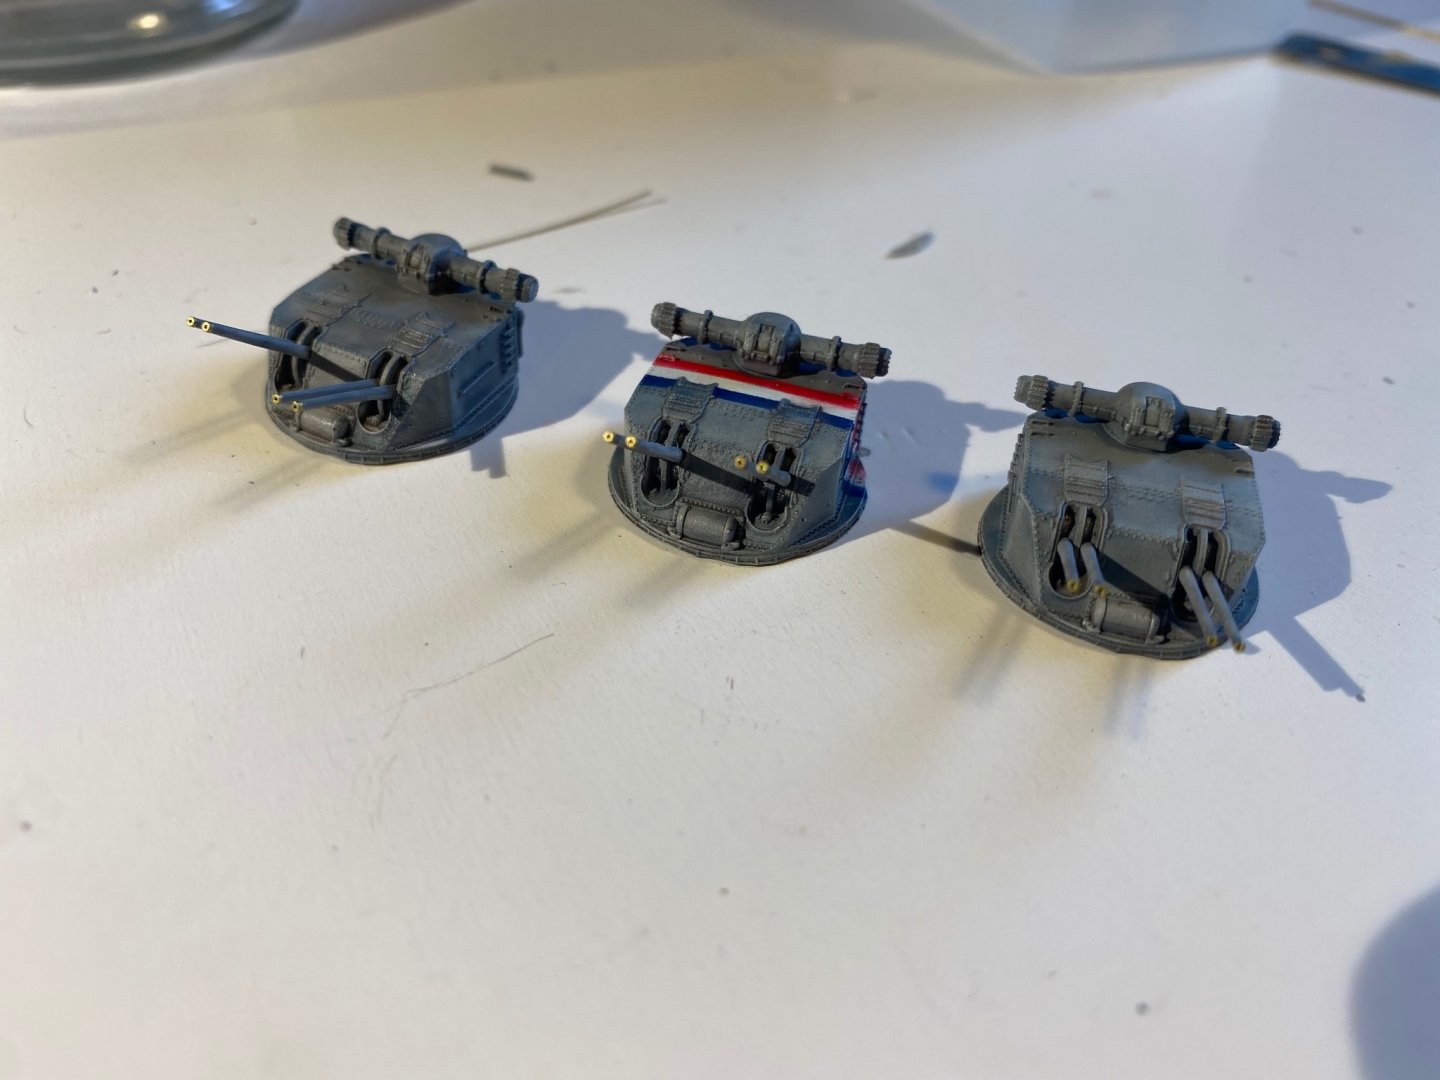
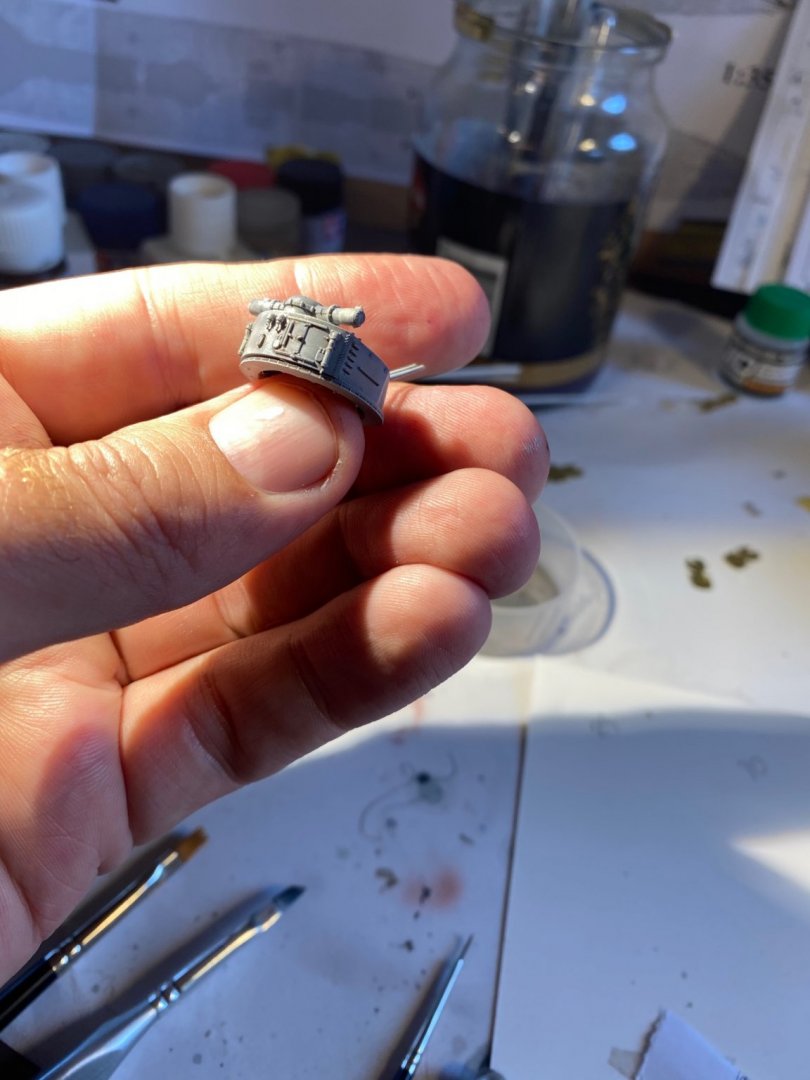
So to compare the 3D printed to the kit supplied (with some aftermarket)
- 136 replies
-
- 8
-
-
- strasbourg
- finished
- (and 2 more)
-
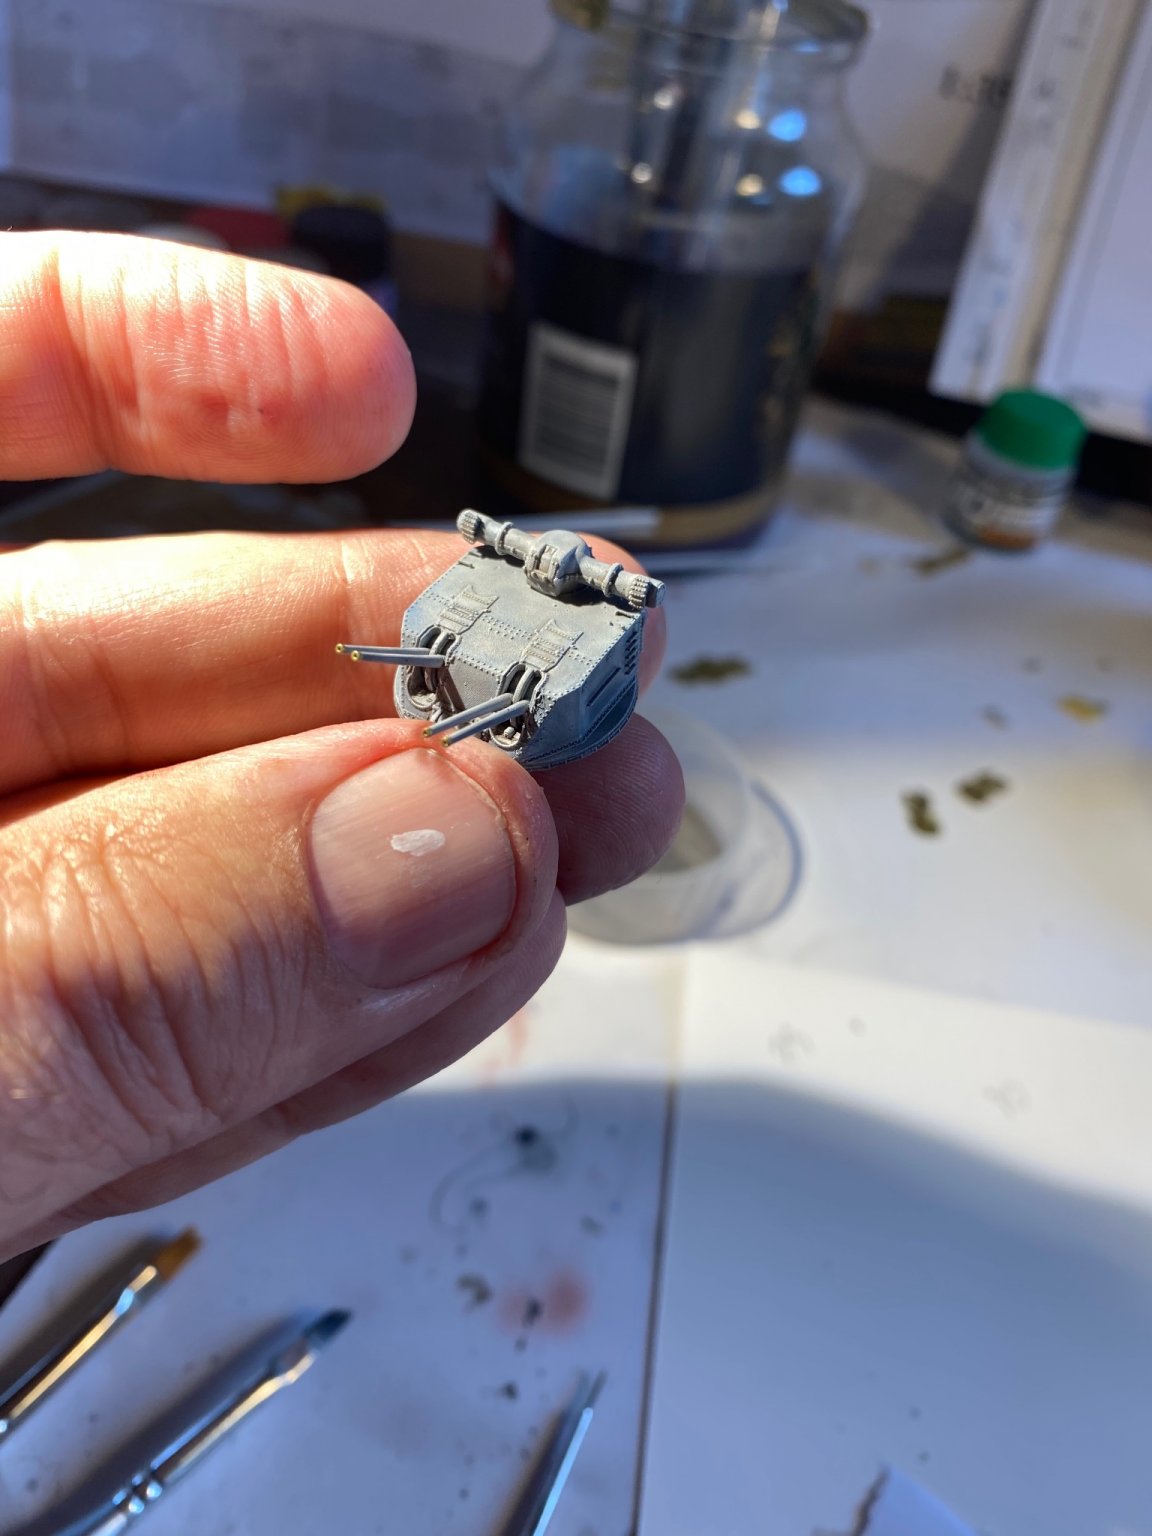
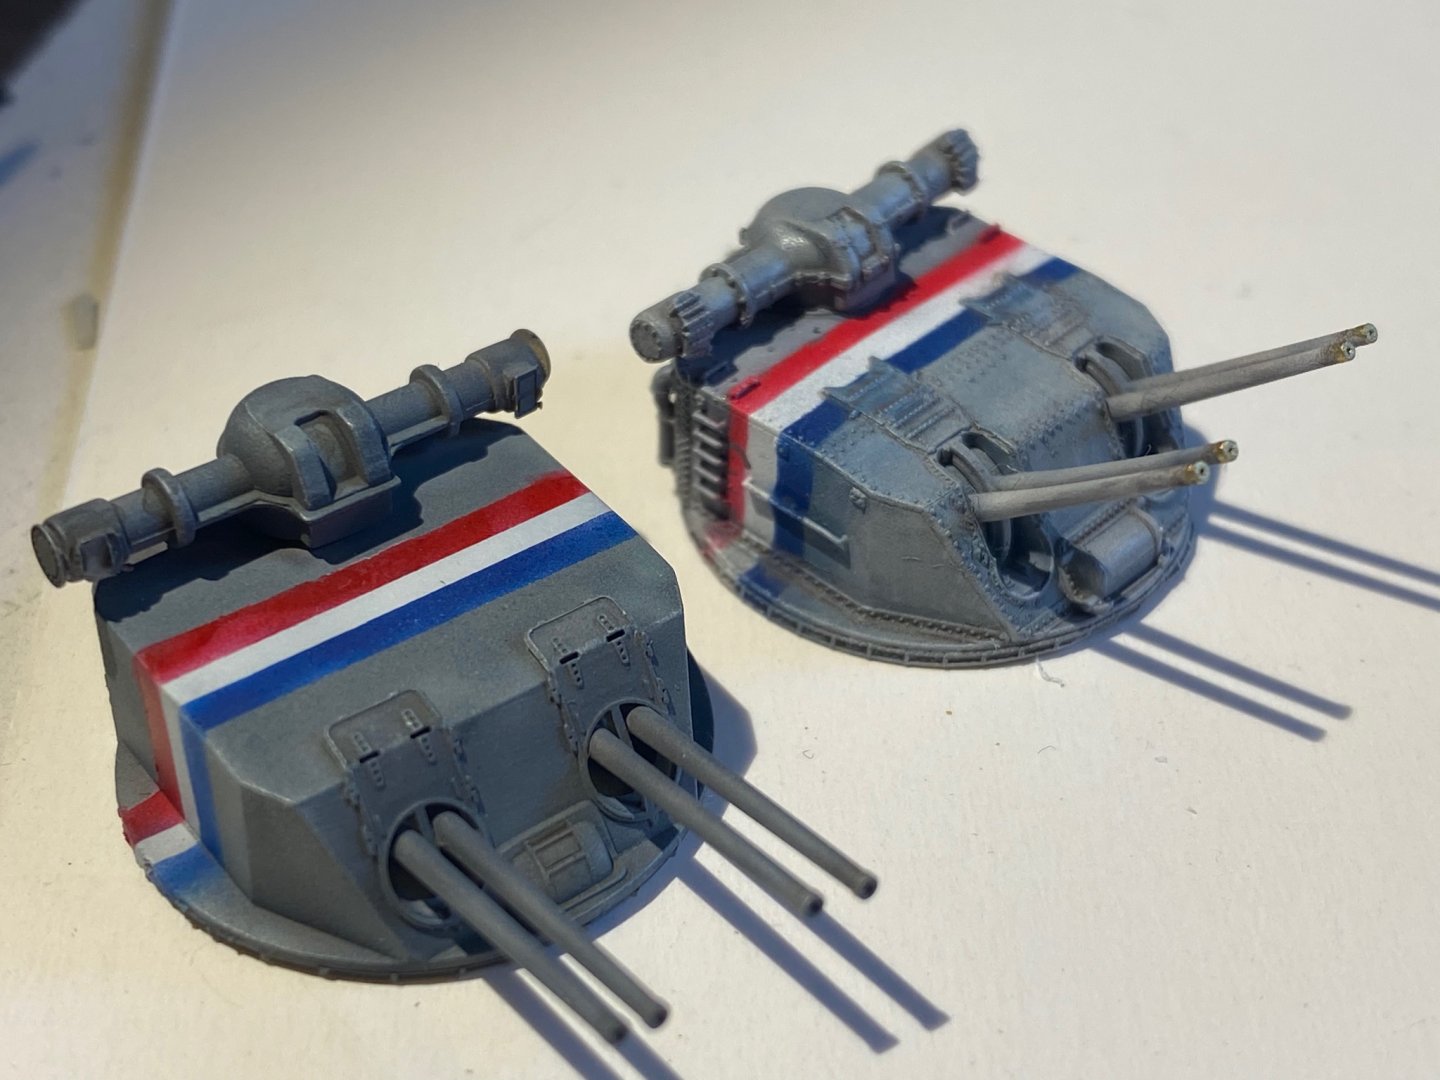
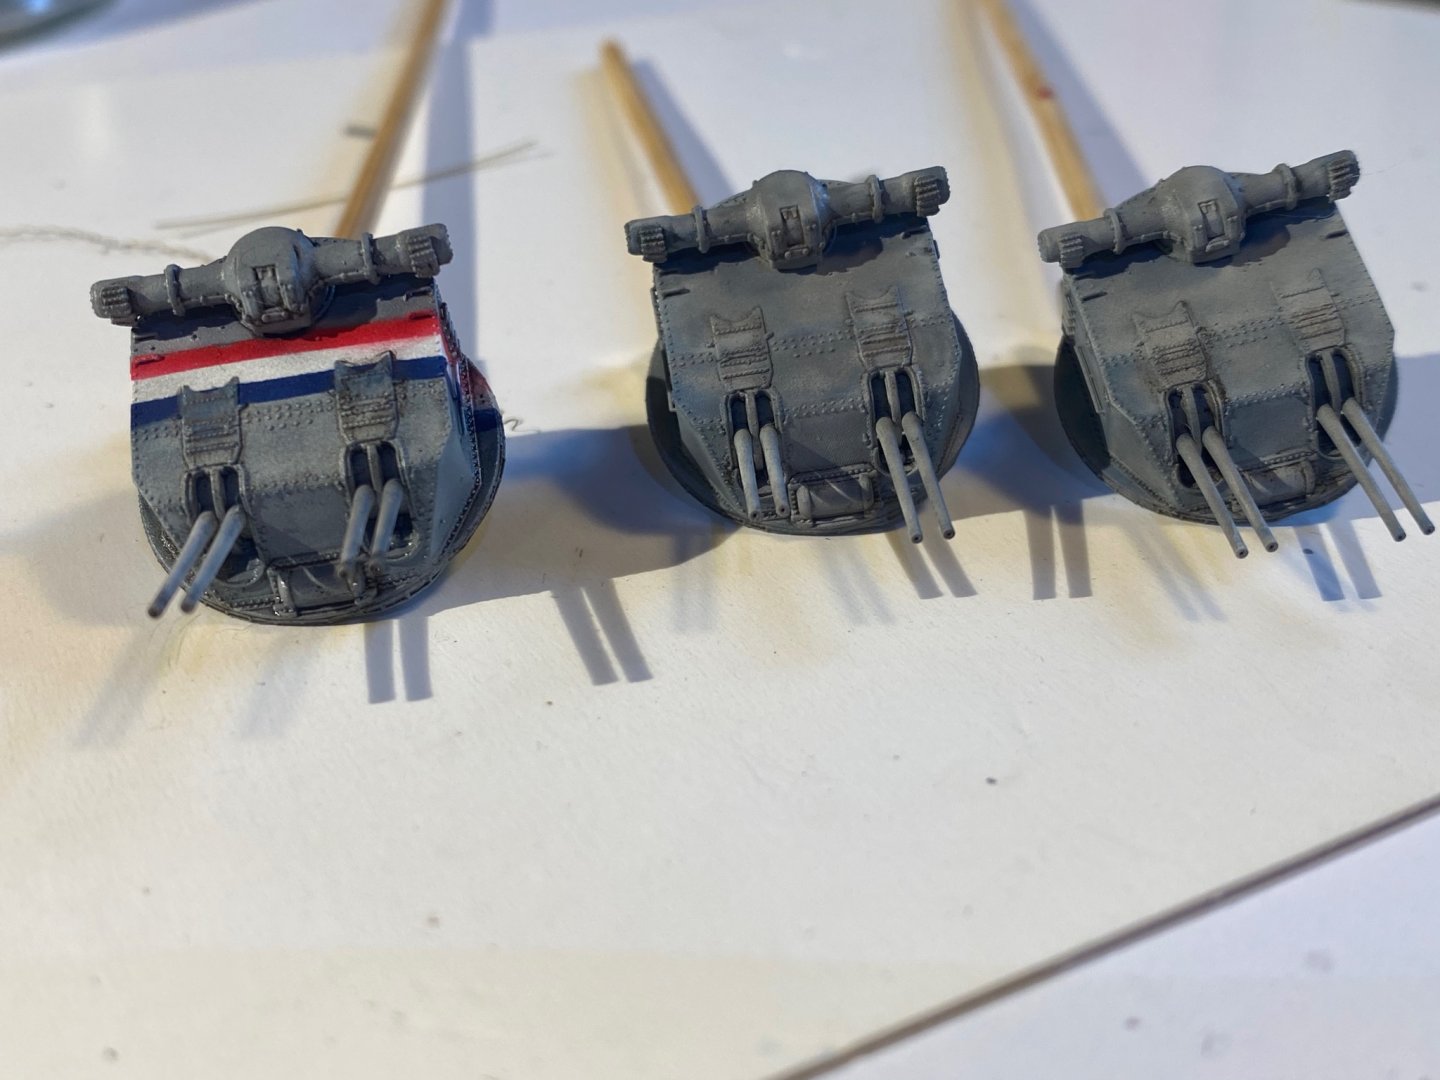
Ok, final works, a blue filter a grey wash a white airbrush and a little bit of brass for the barrel ends


- 136 replies
-
- 5
-
-
- strasbourg
- finished
- (and 2 more)
-
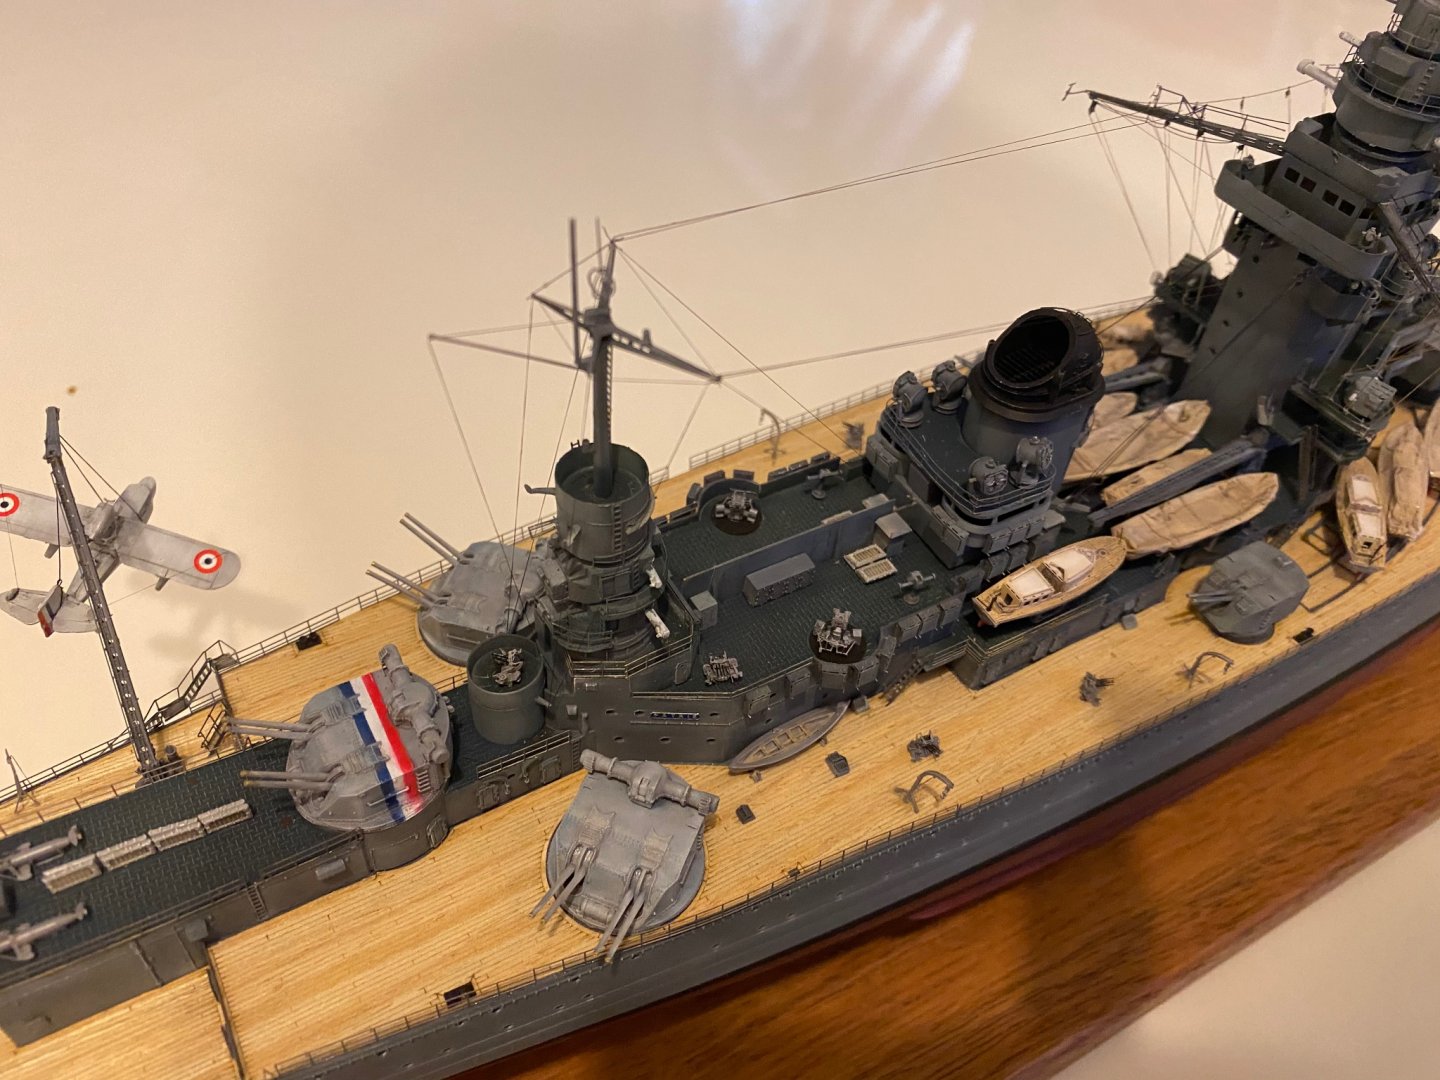
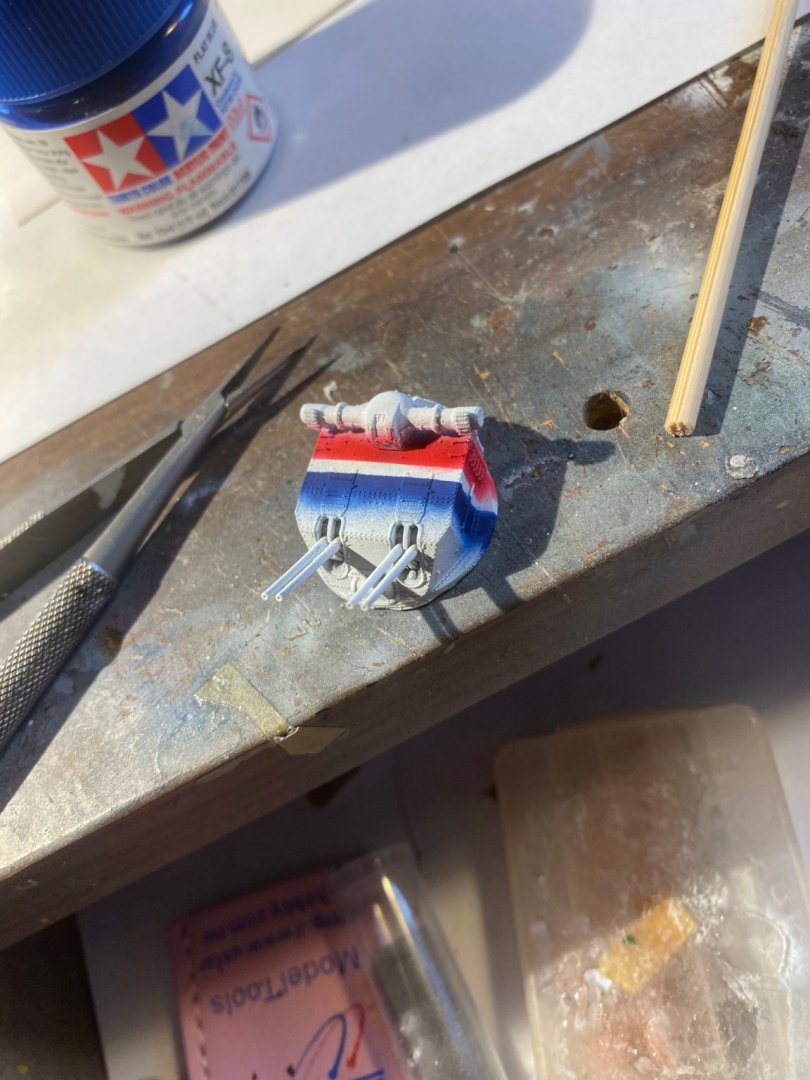
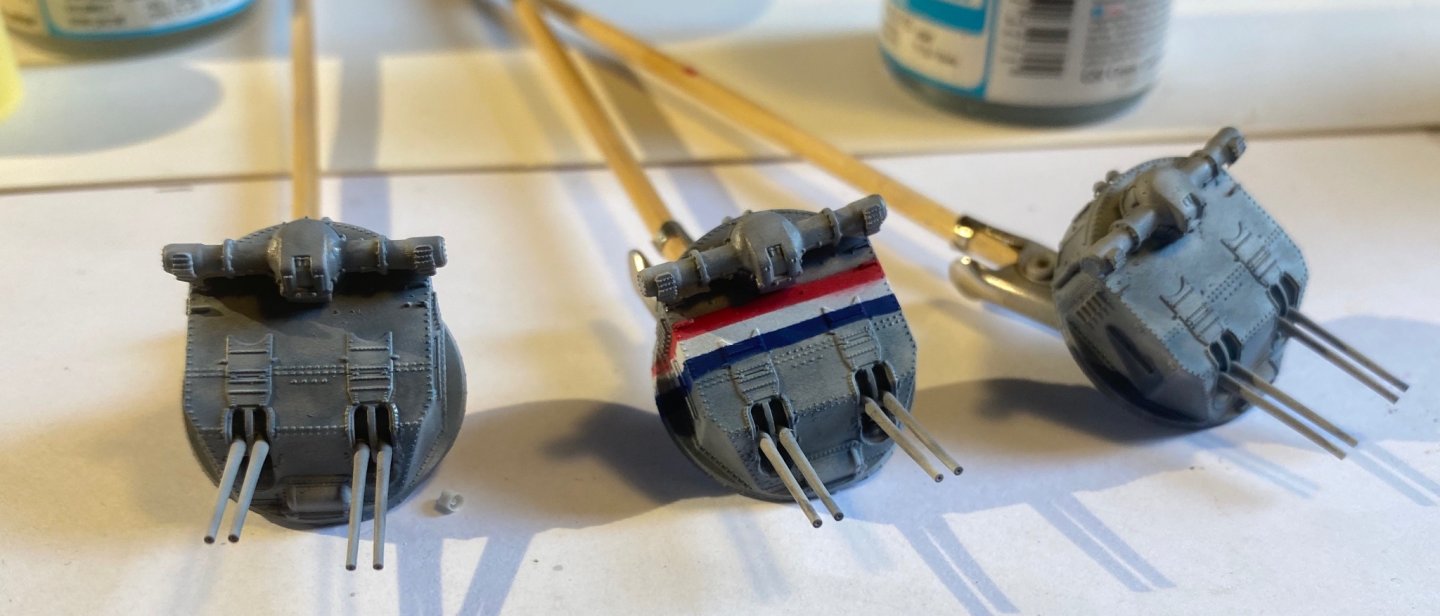
Quad secondary guns part 2. The armistice stripes then the base grey coats. I’ll leave these now for 24 hours then start on the filters.
- 136 replies
-
- 9
-
-
- strasbourg
- finished
- (and 2 more)
-
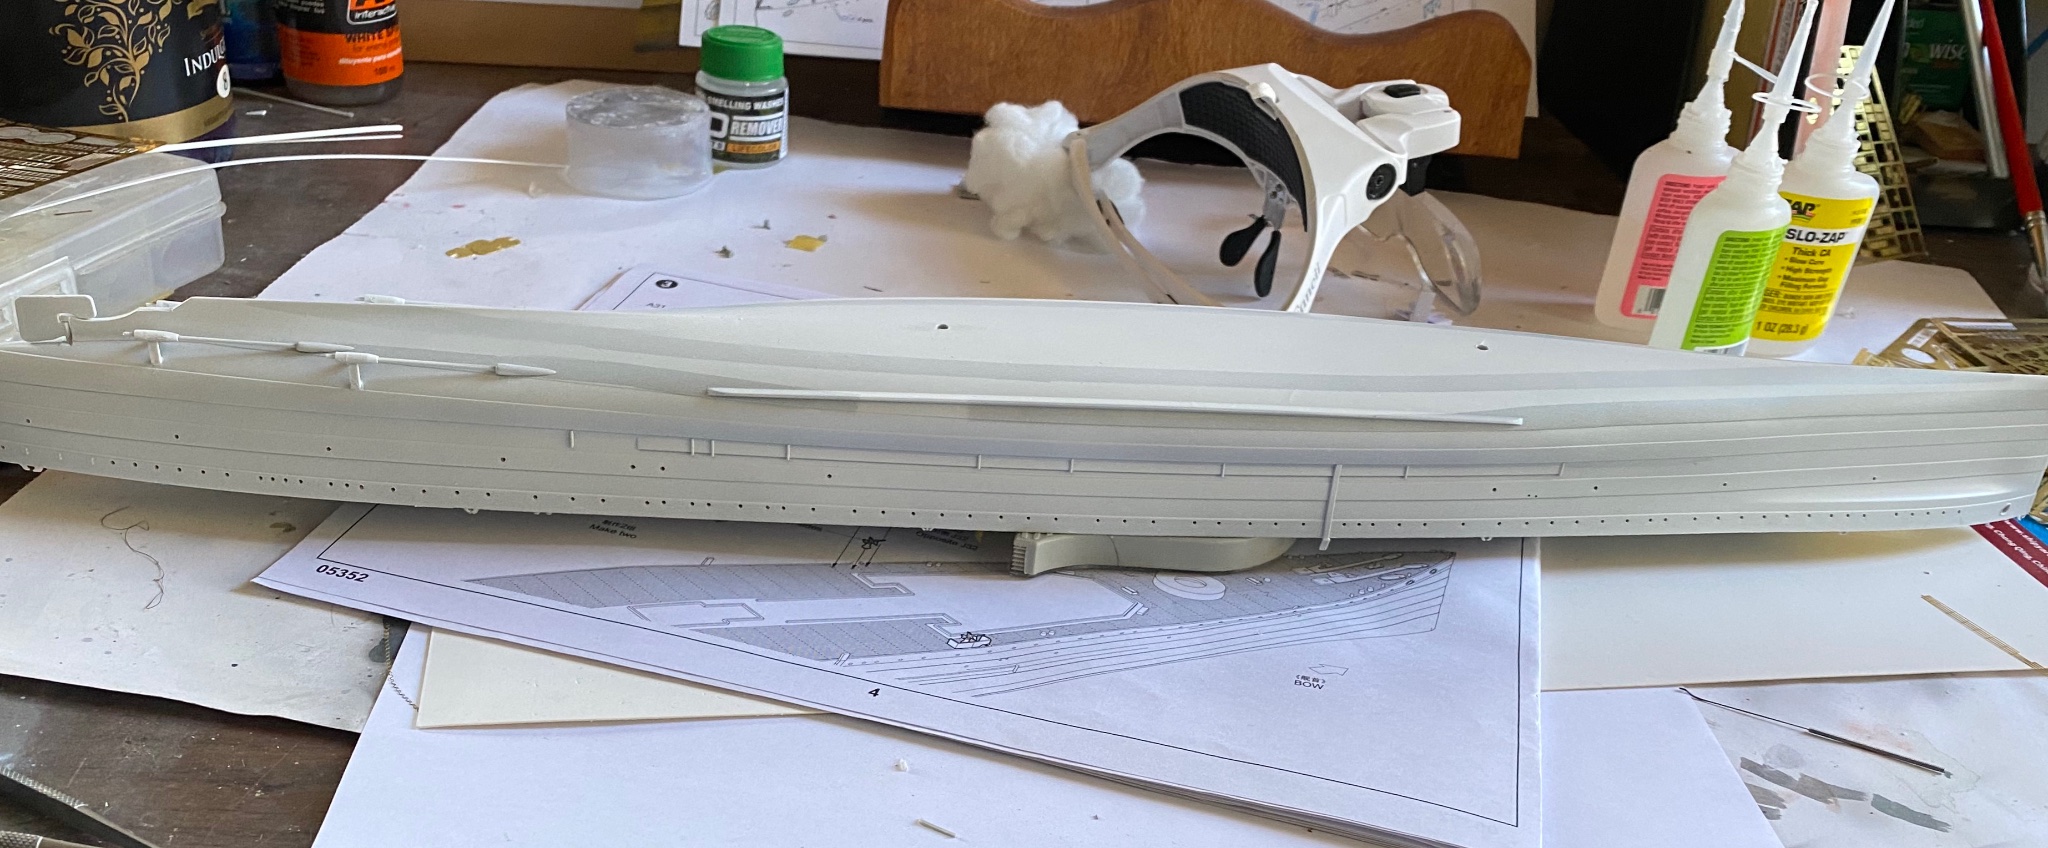
She has some pretty good lines, so I’ve now cut in the plates. I’m going to oil can her below the waterline ( because I can really), the RN had a serious shortage of enamel for their paints and o it the boot strap was good quality as that was the highest exposure area at the waterline. I have to finish my last guns for the Strasbourg this week.
-
Hull lines in, I added a few more, a couple of coats of primer with a flea type can. Tomorrow I’ll etch in the plates and put the undercoats on to represent the ships base primer and metal coats with oil canning.

- 128 replies
-
- 10
-
-
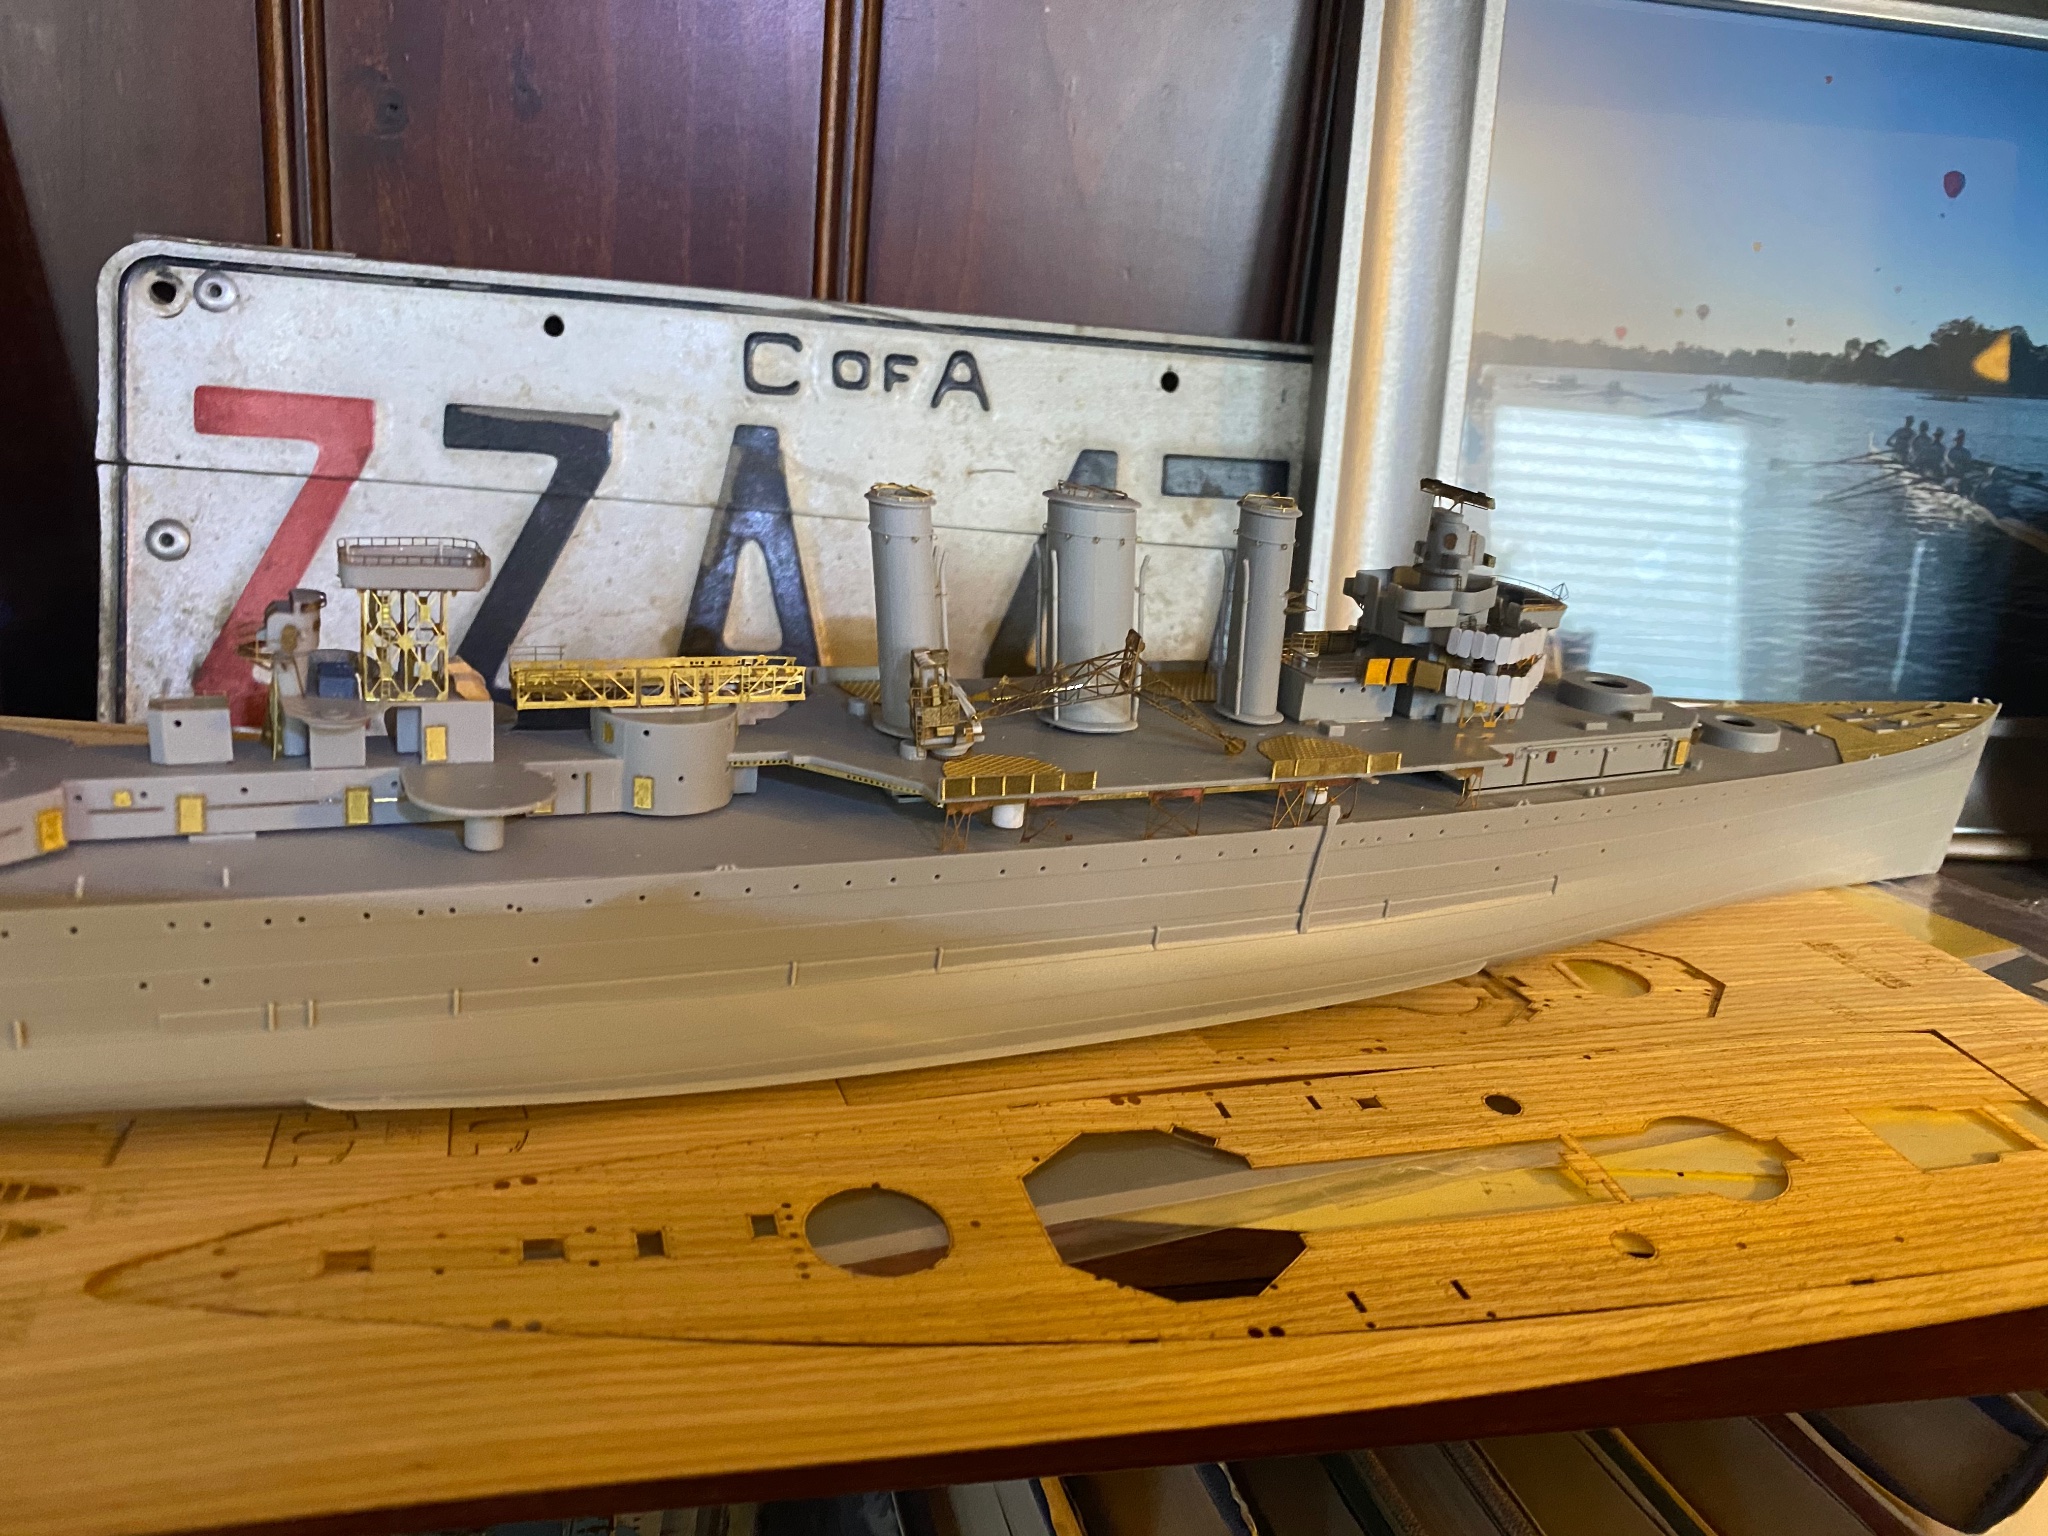
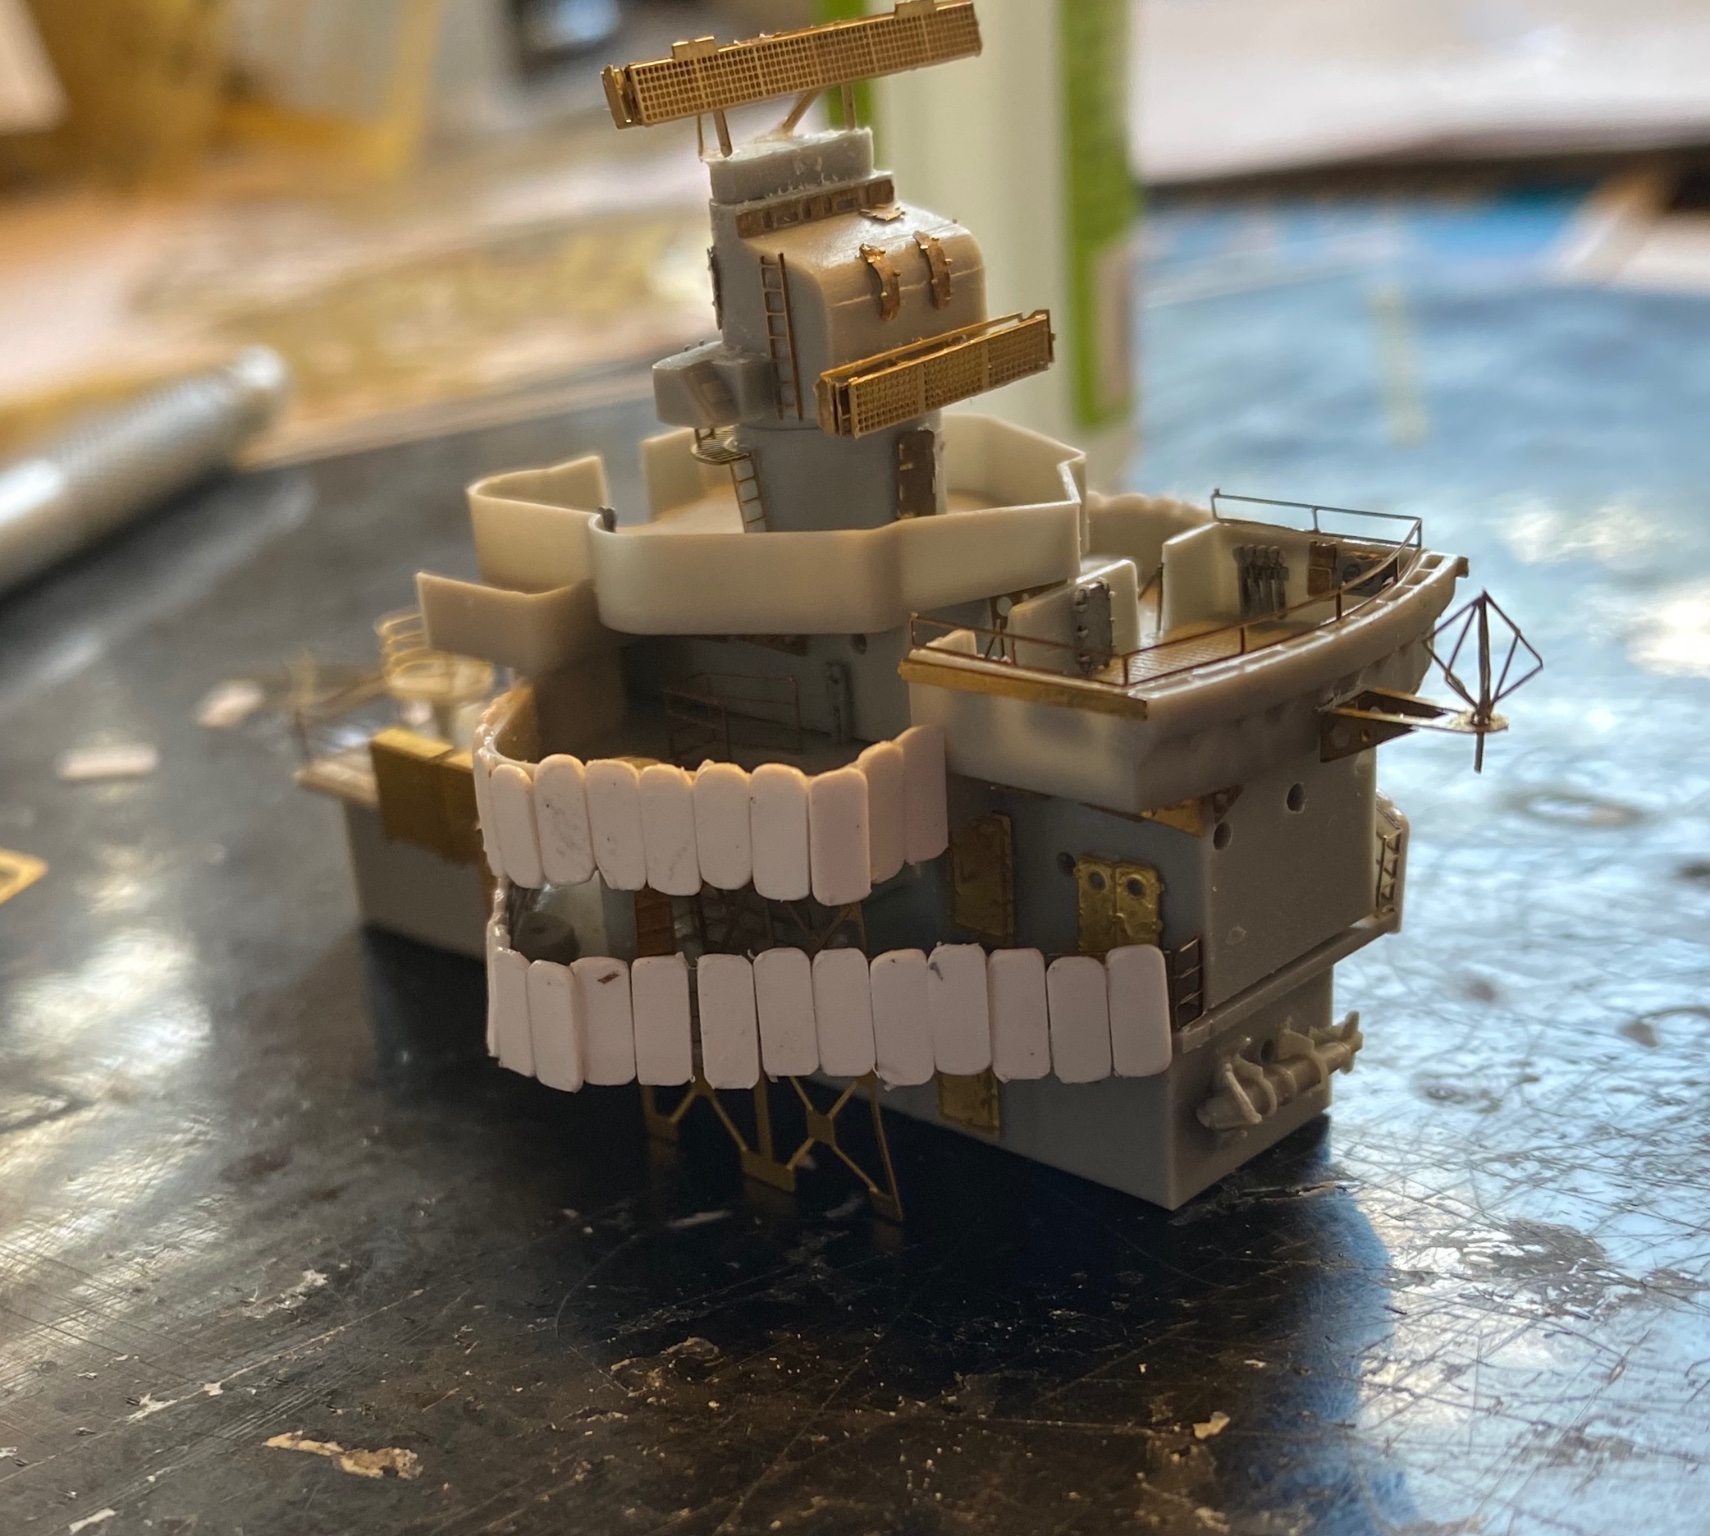
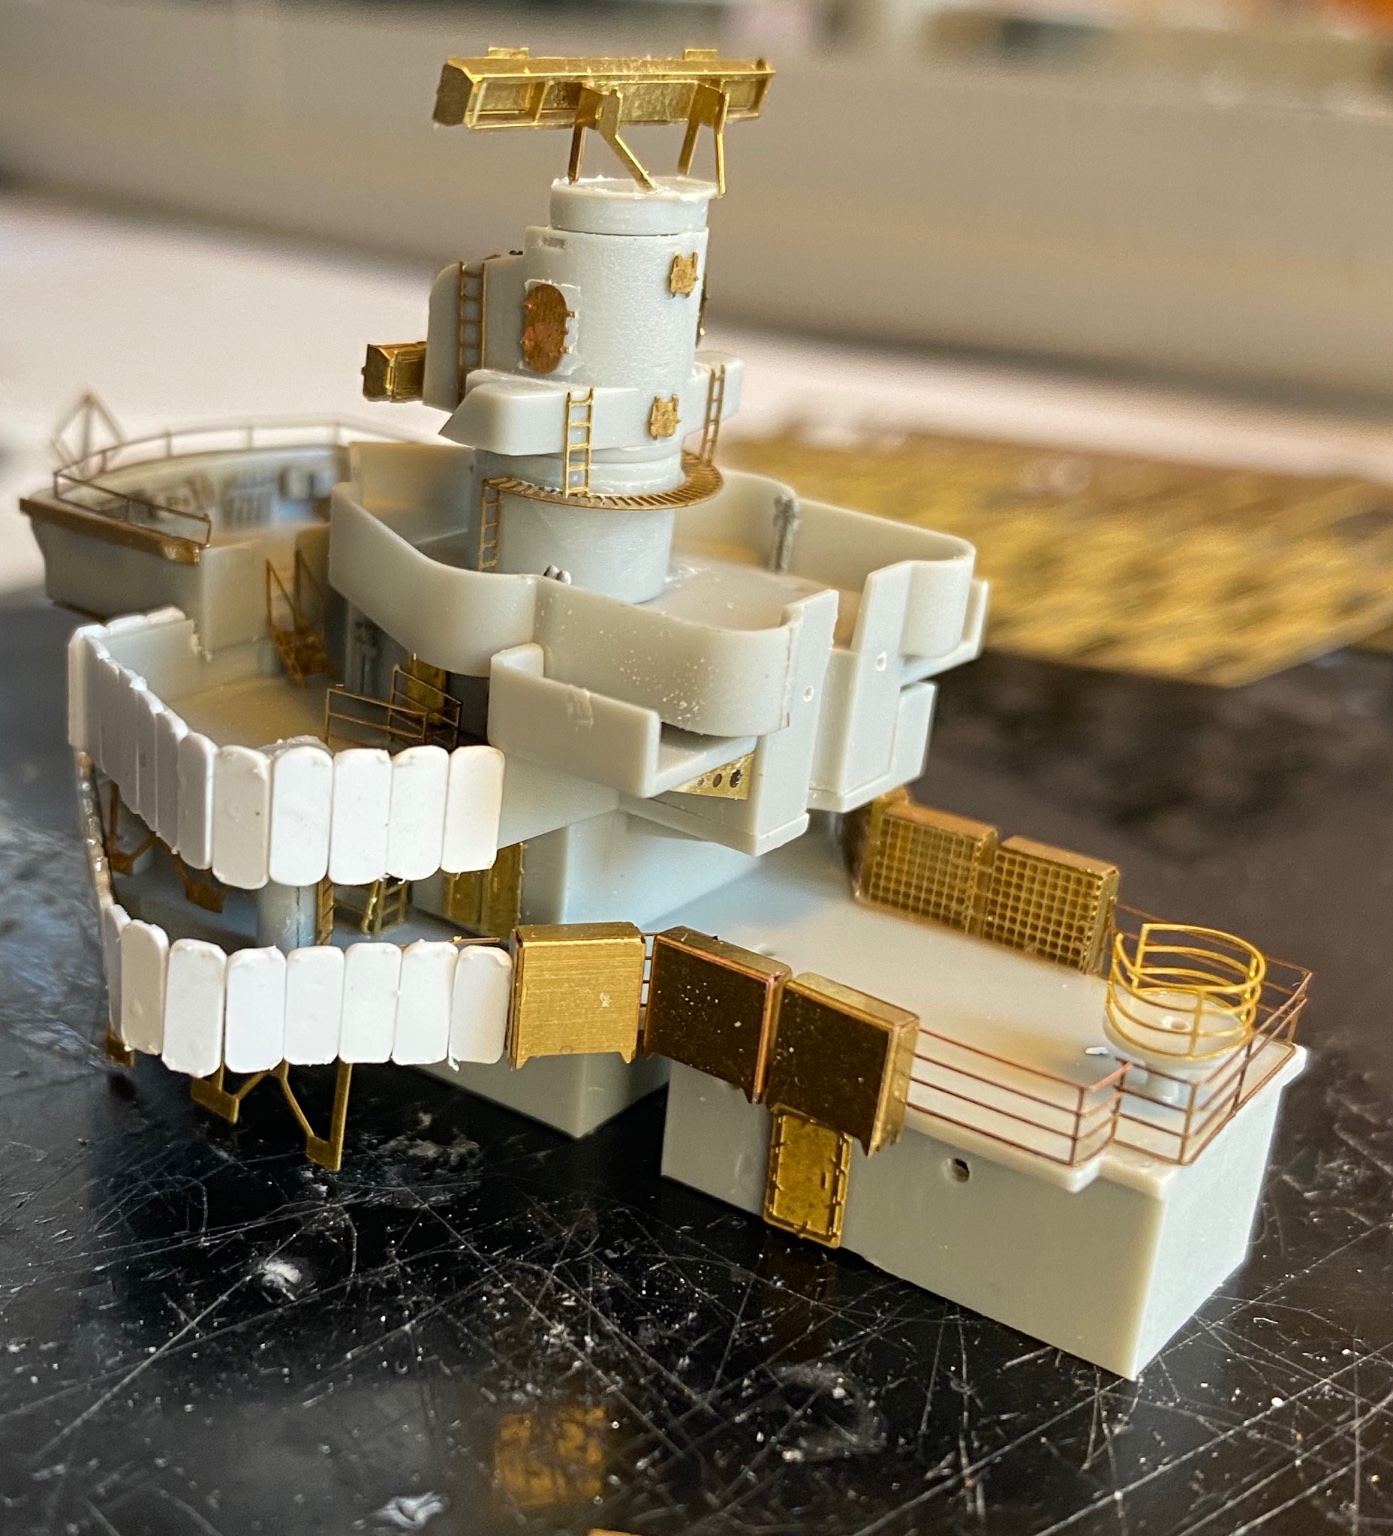
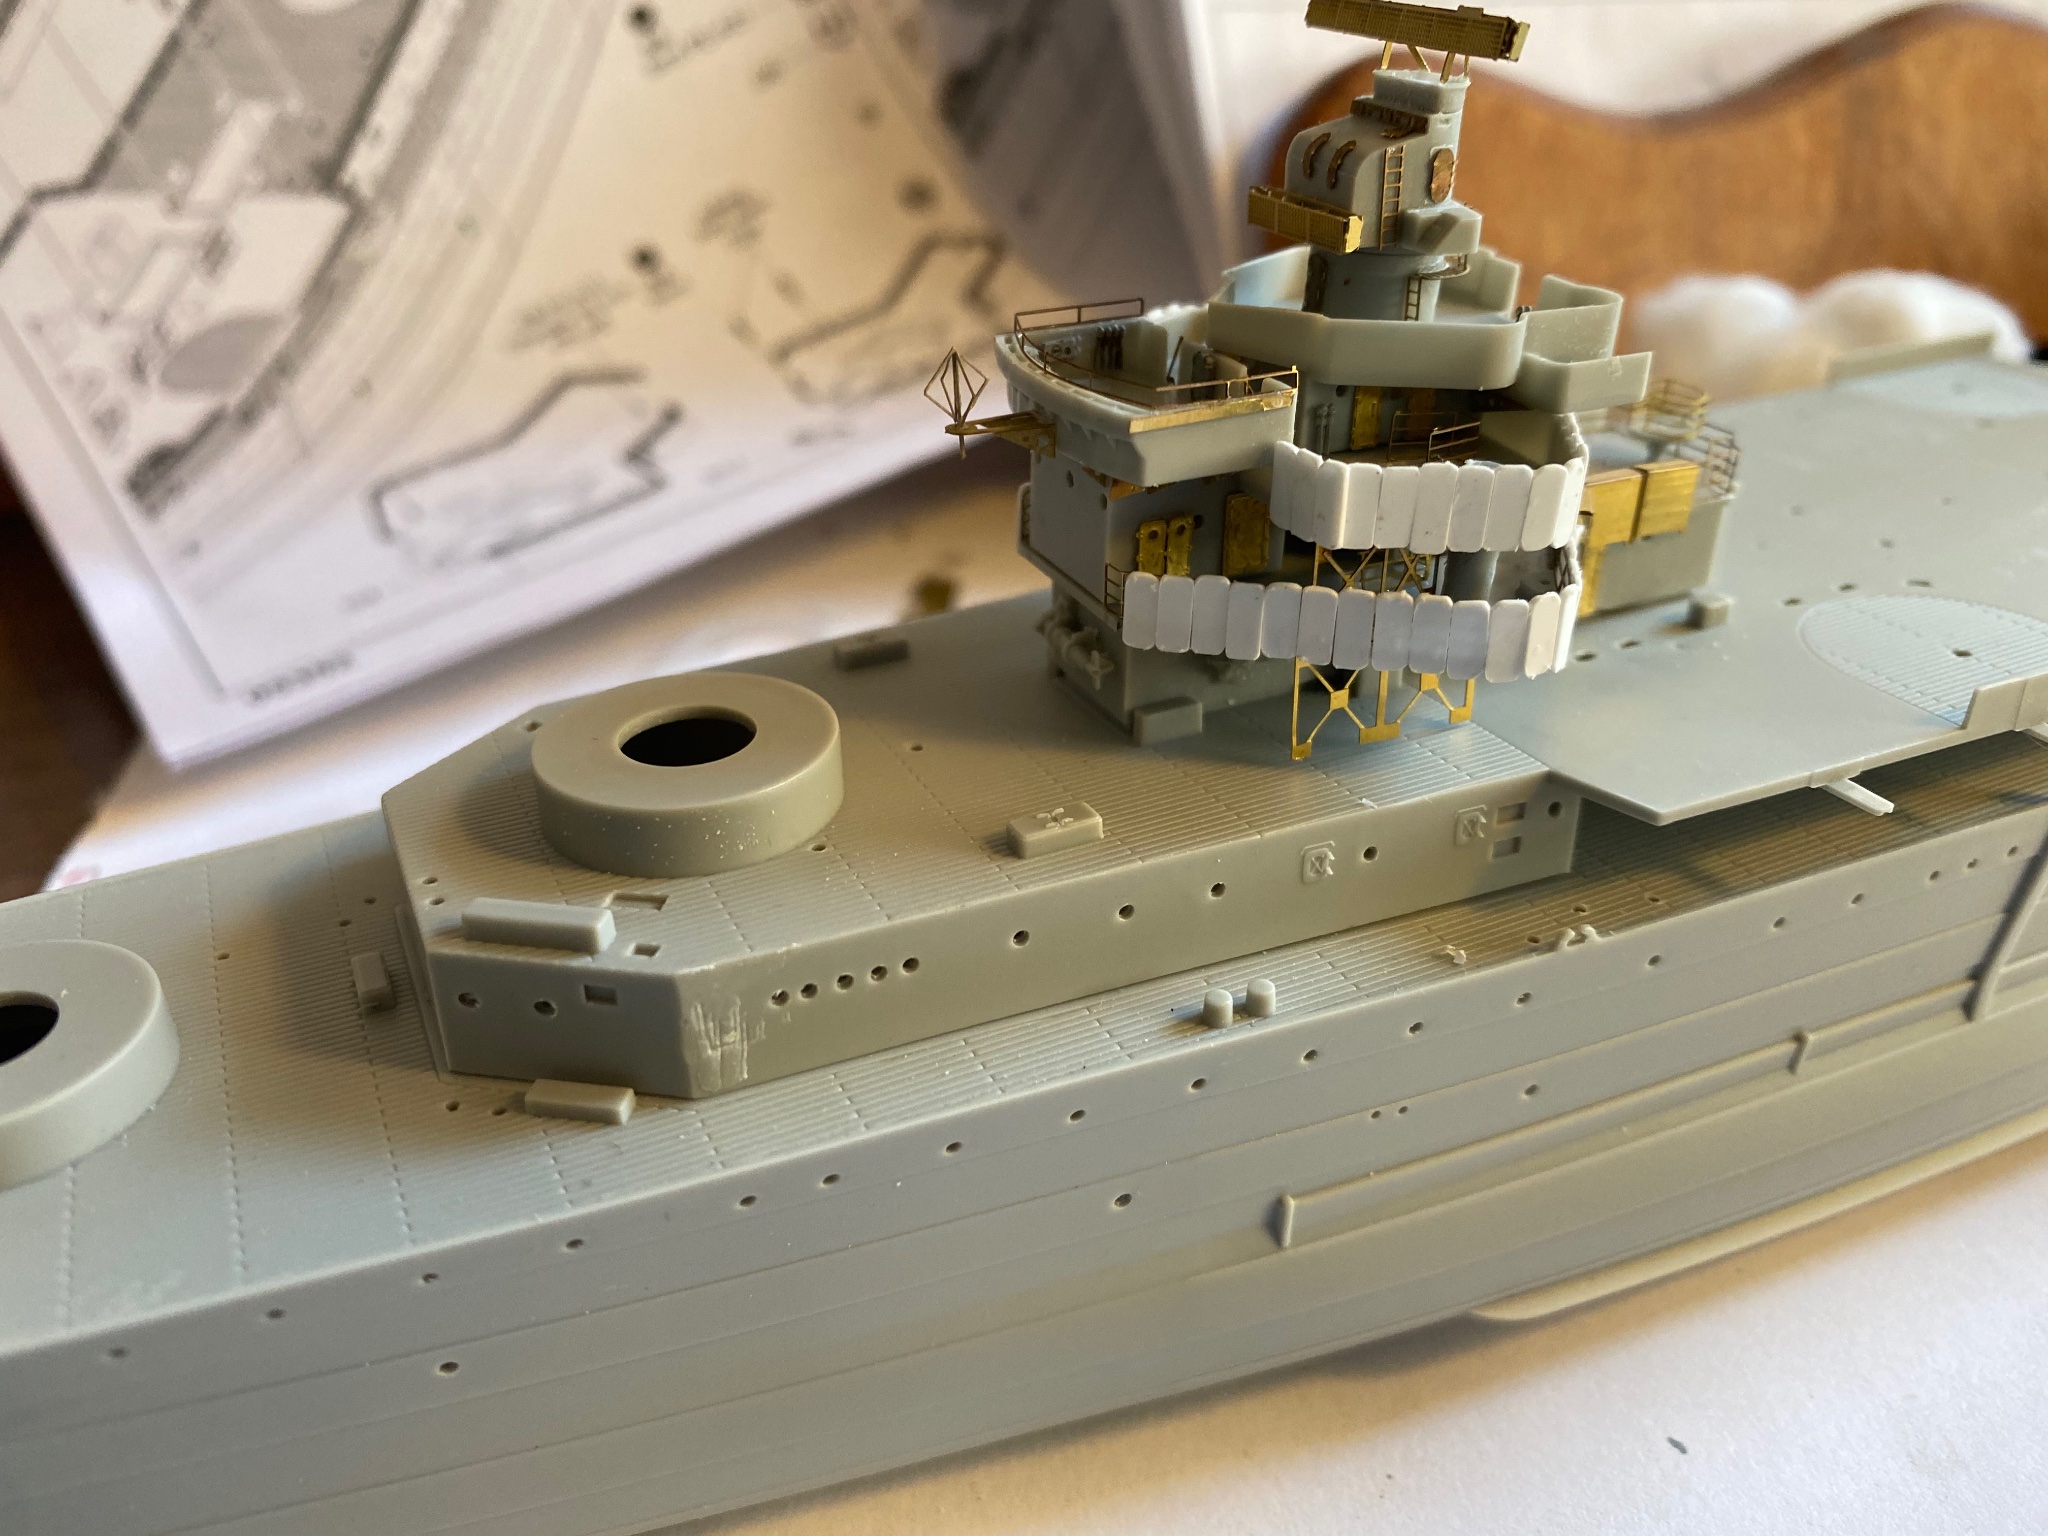
None of the aftermarket is for the HMS Kent so it’s not really linear, so I’m scratching around replacing doors and other stuff, metalled floor indeed the waist guns. I’m almost ready to start painting again.

- 128 replies
-
- 13
-
-
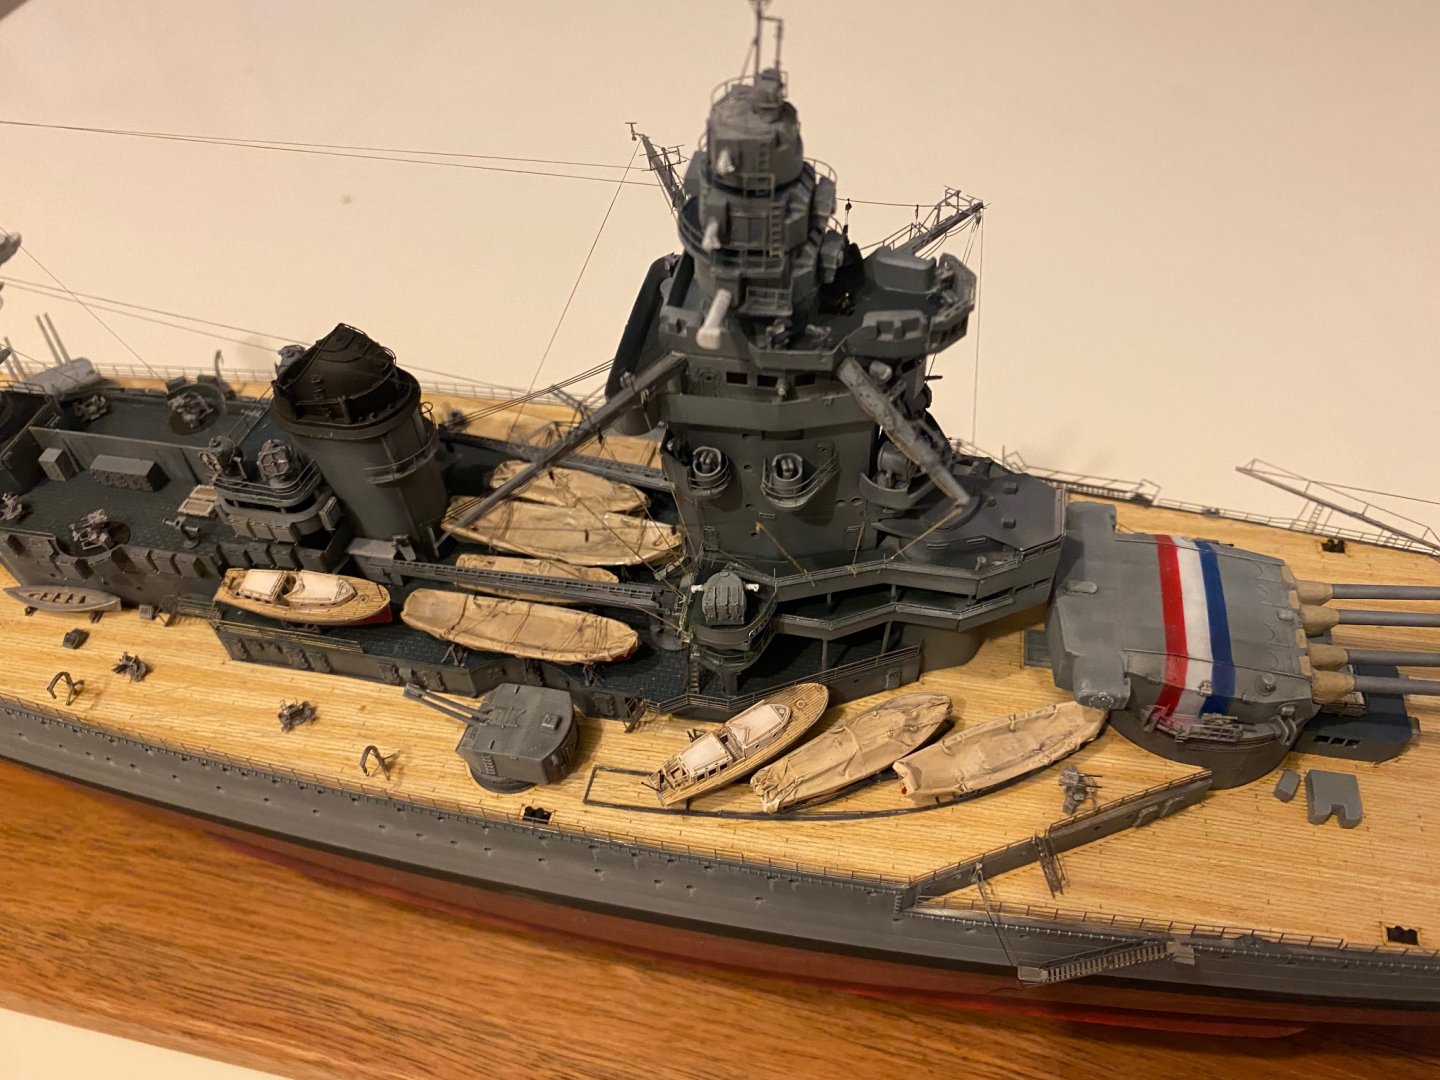
Mike, I pre paint them then place them and add a drop of fast setting very thin CA . The only reason I didn’t do individual stanchions on this one is that they were actually hard metal ones instead of stanchion and wire.
- 136 replies
-
- 4
-
-
- strasbourg
- finished
- (and 2 more)
-
I use brass rod for pipes, it comes in various sizes and is easy to bend unlike plastic which has a mind of it’s’ own.