RGL
-
Posts
5,548 -
Joined
-
Last visited
Content Type
Profiles
Forums
Gallery
Events
Everything posted by RGL
-
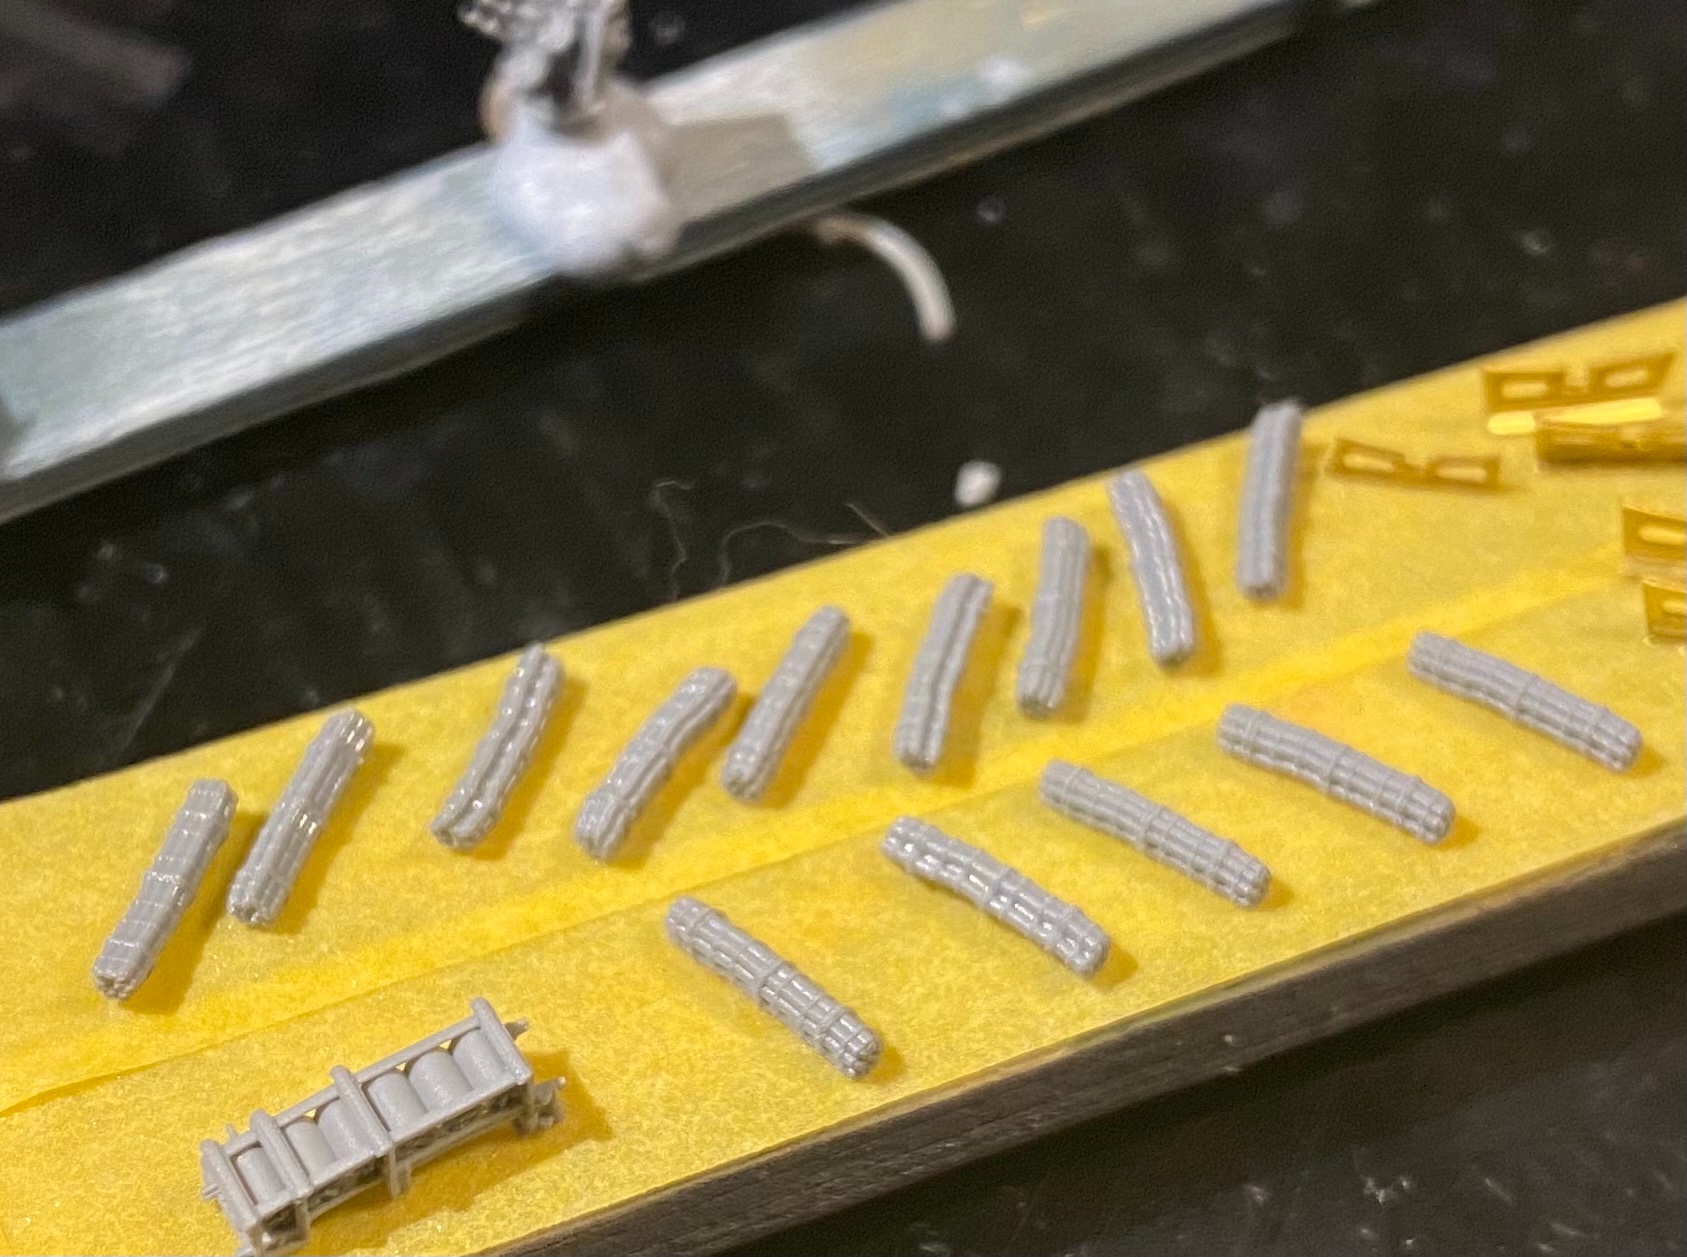
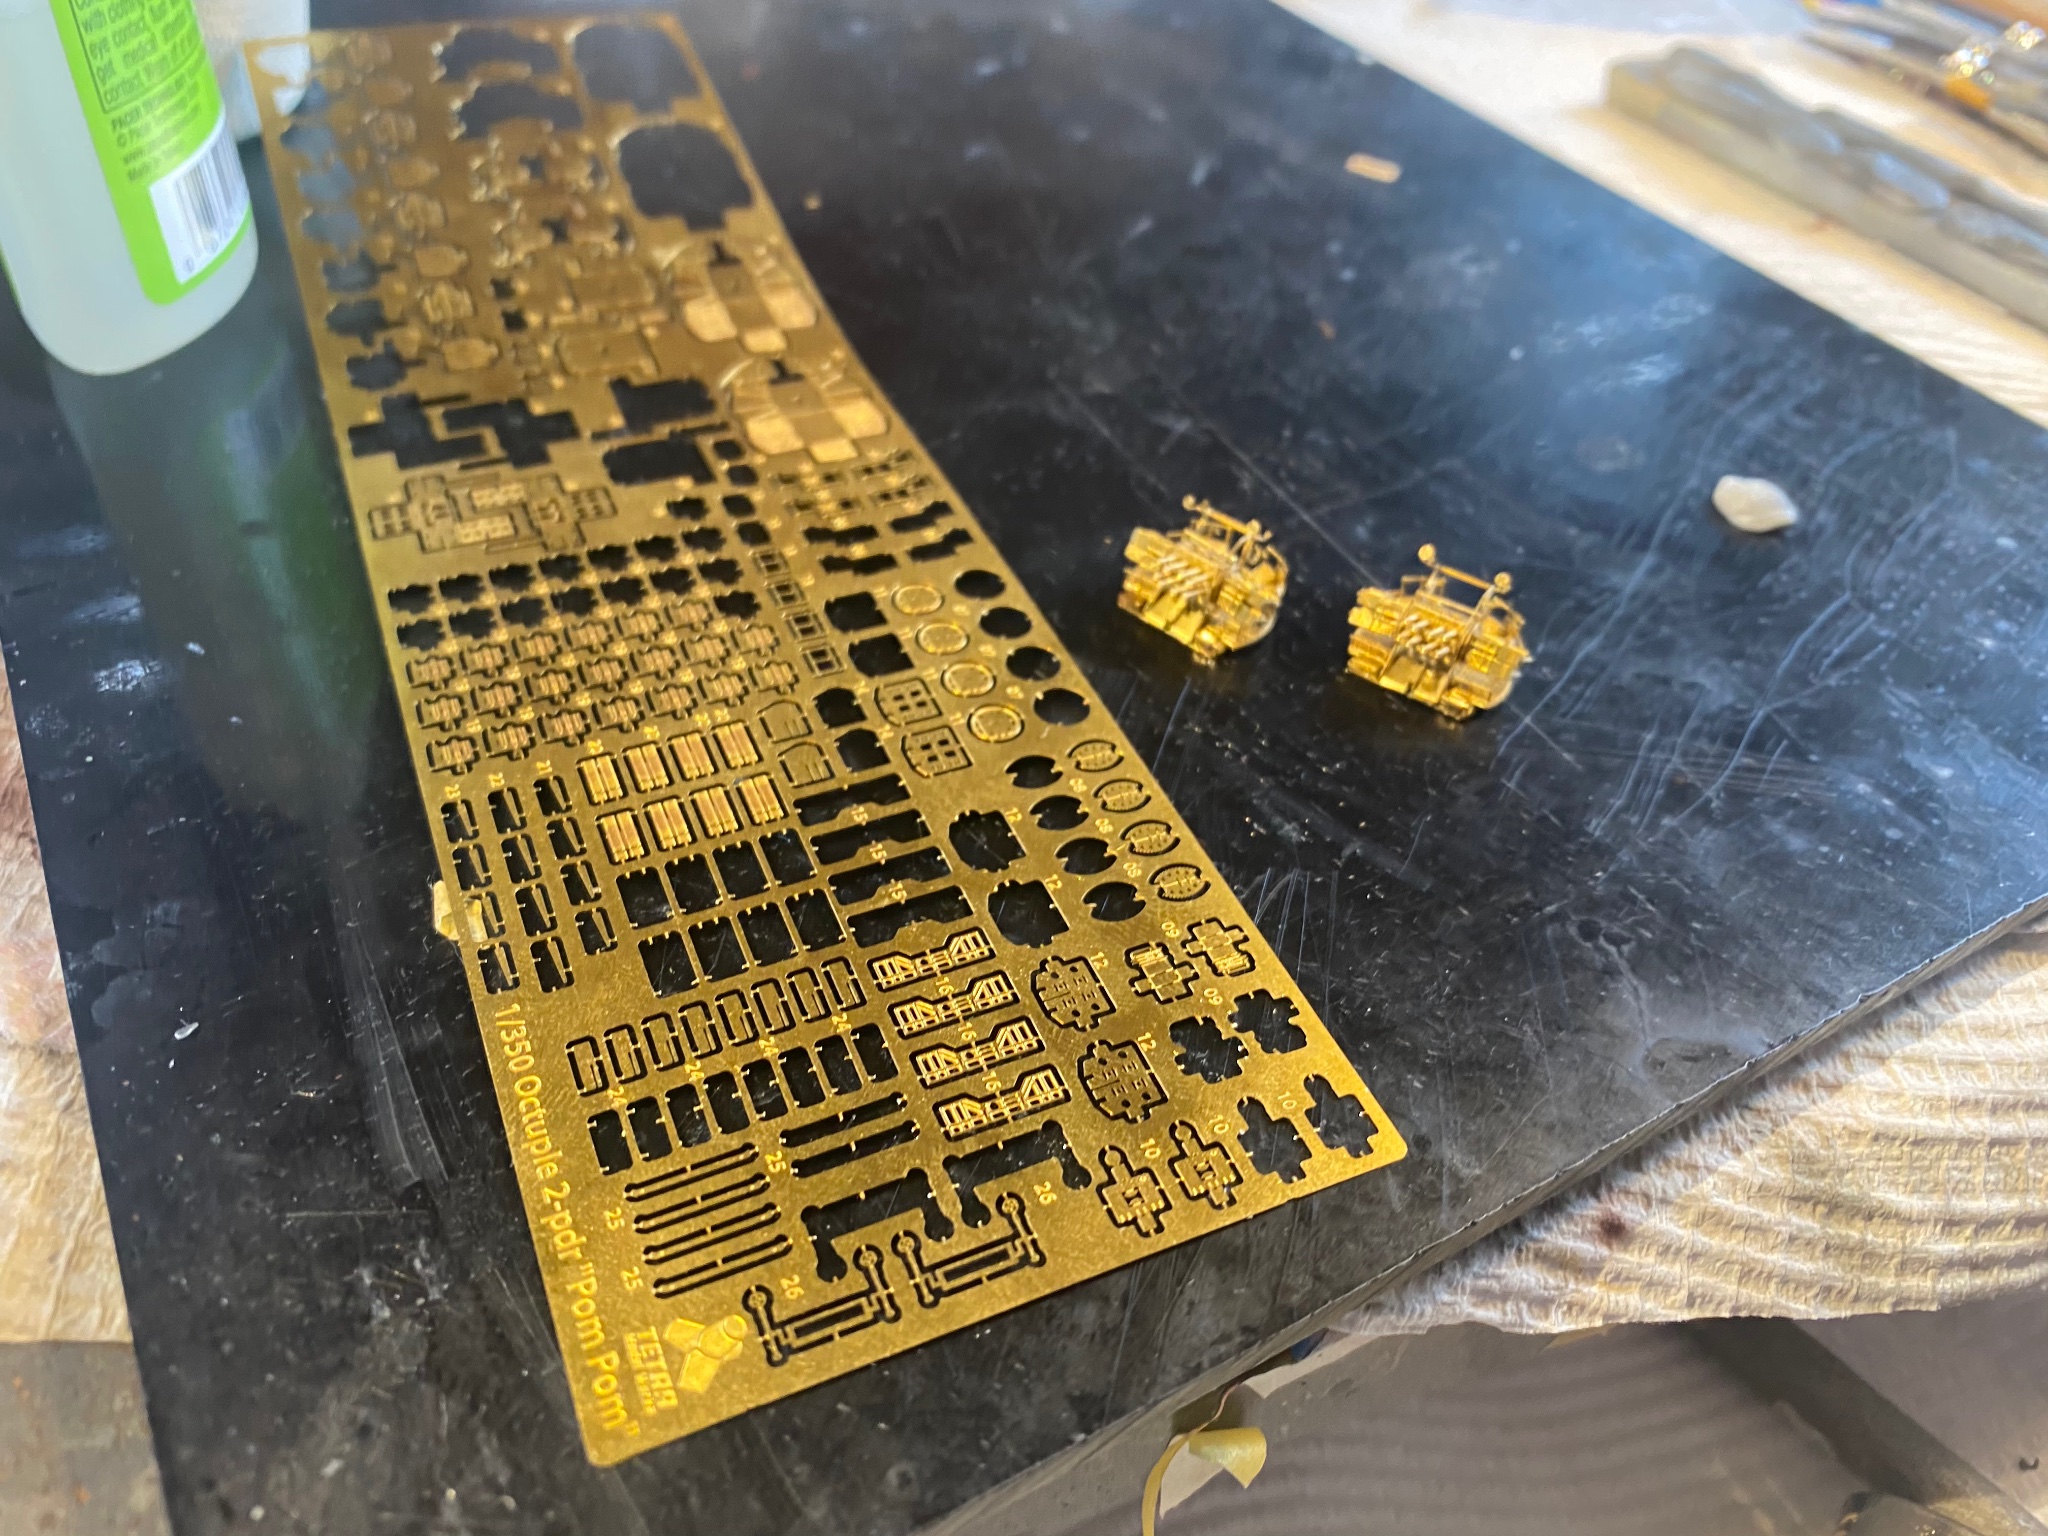
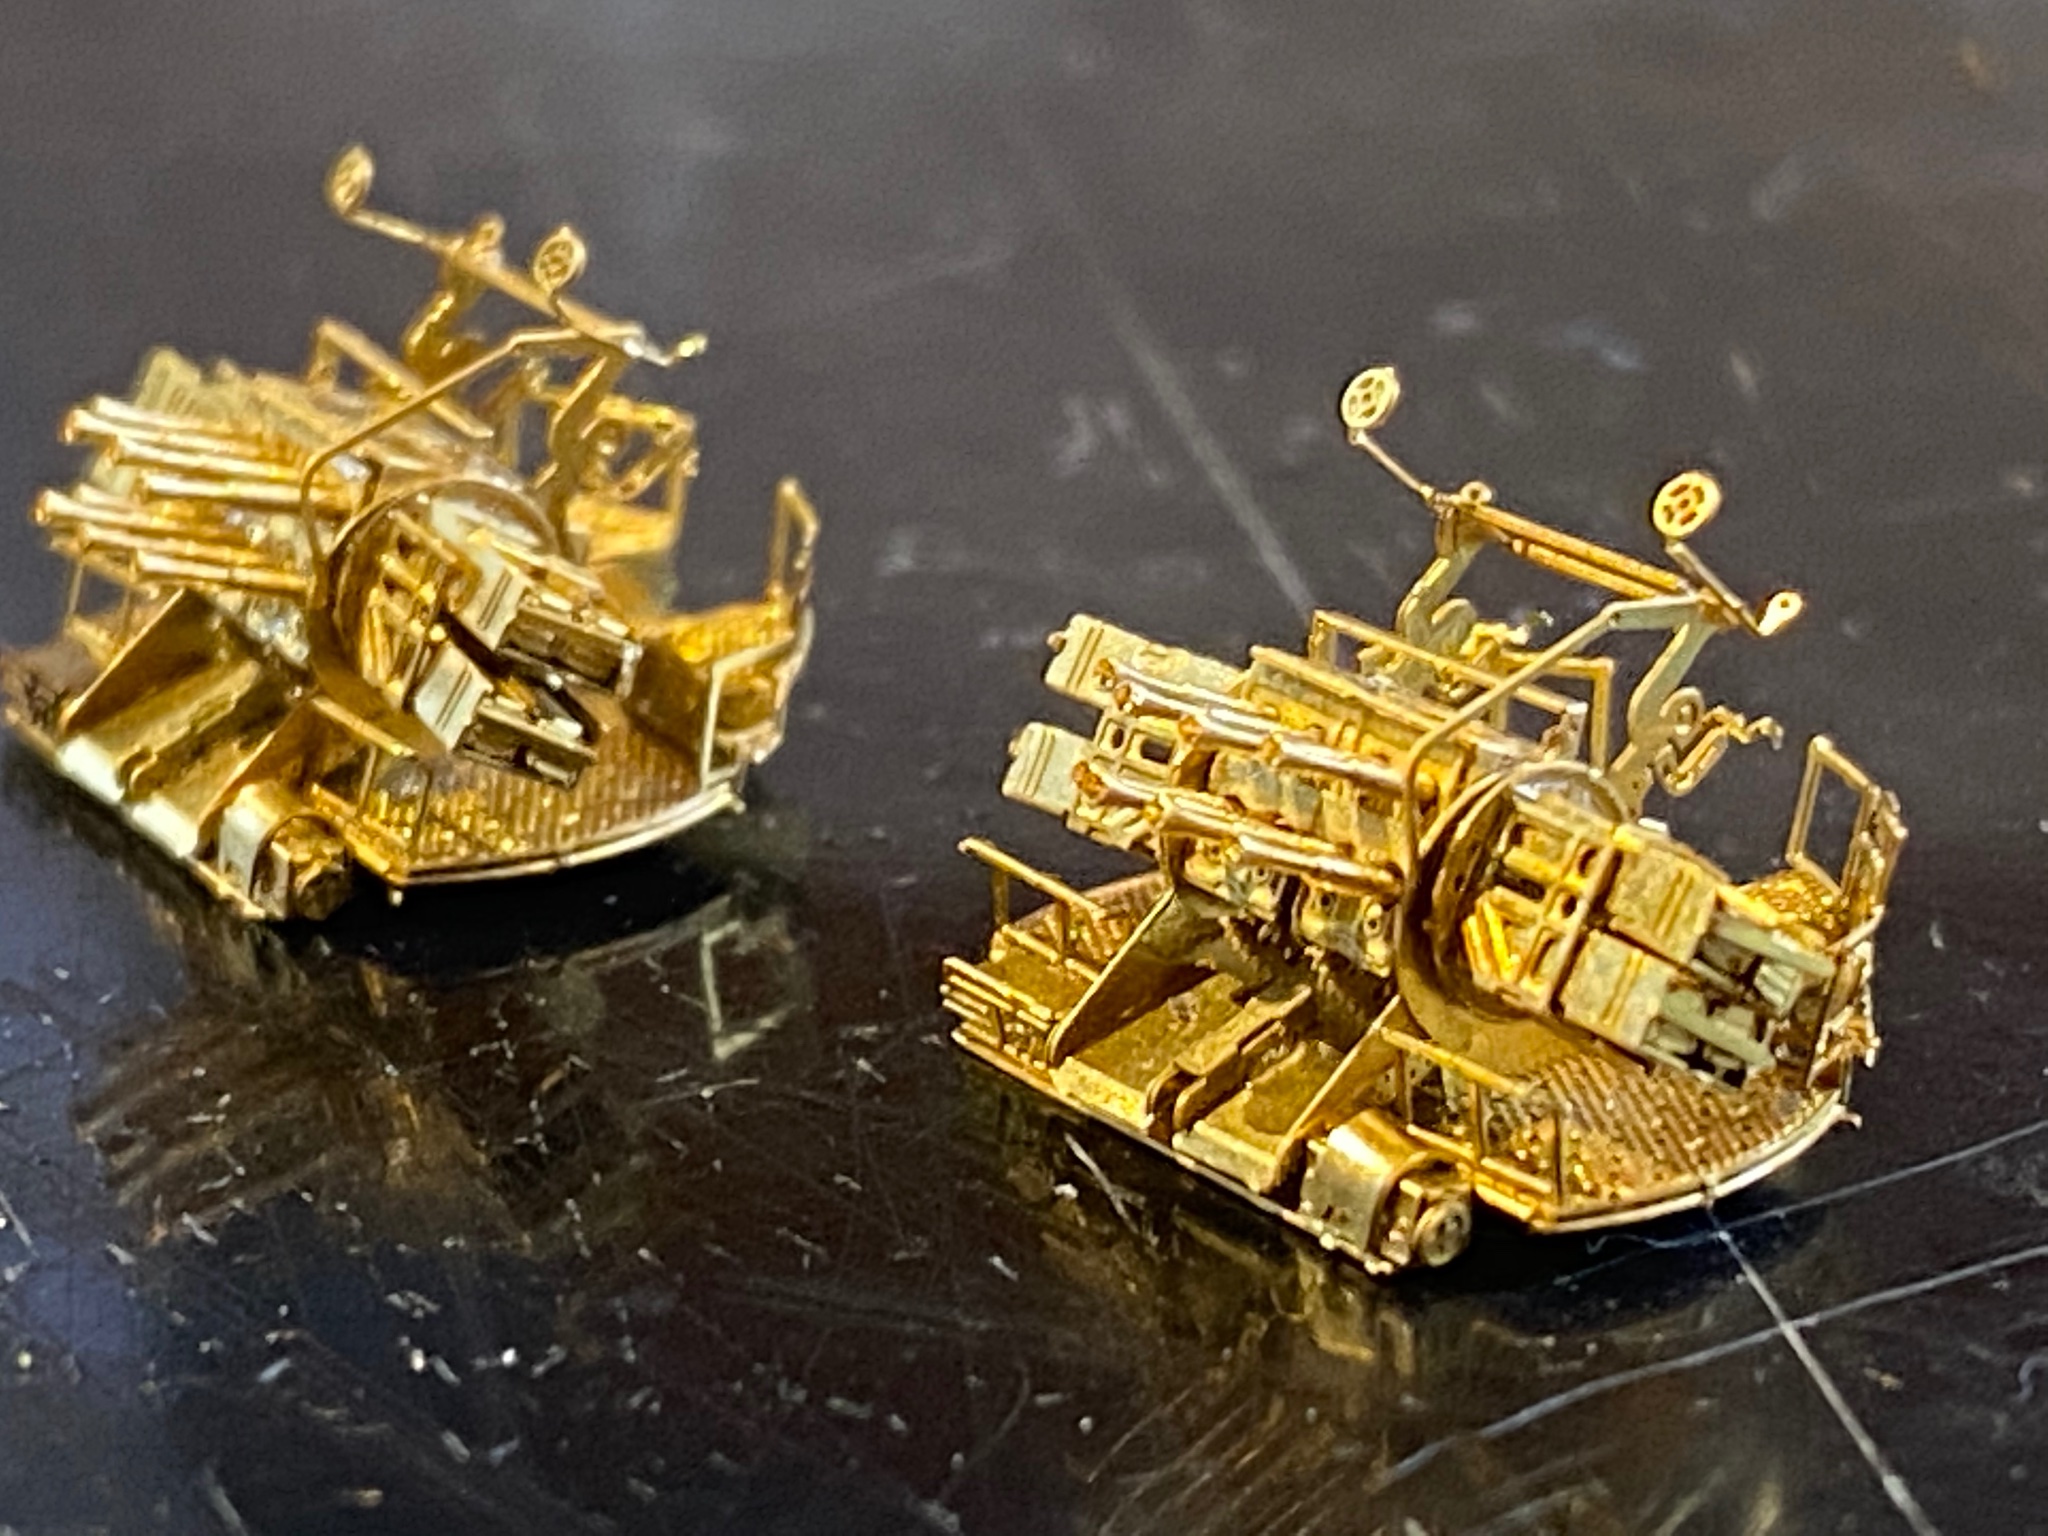
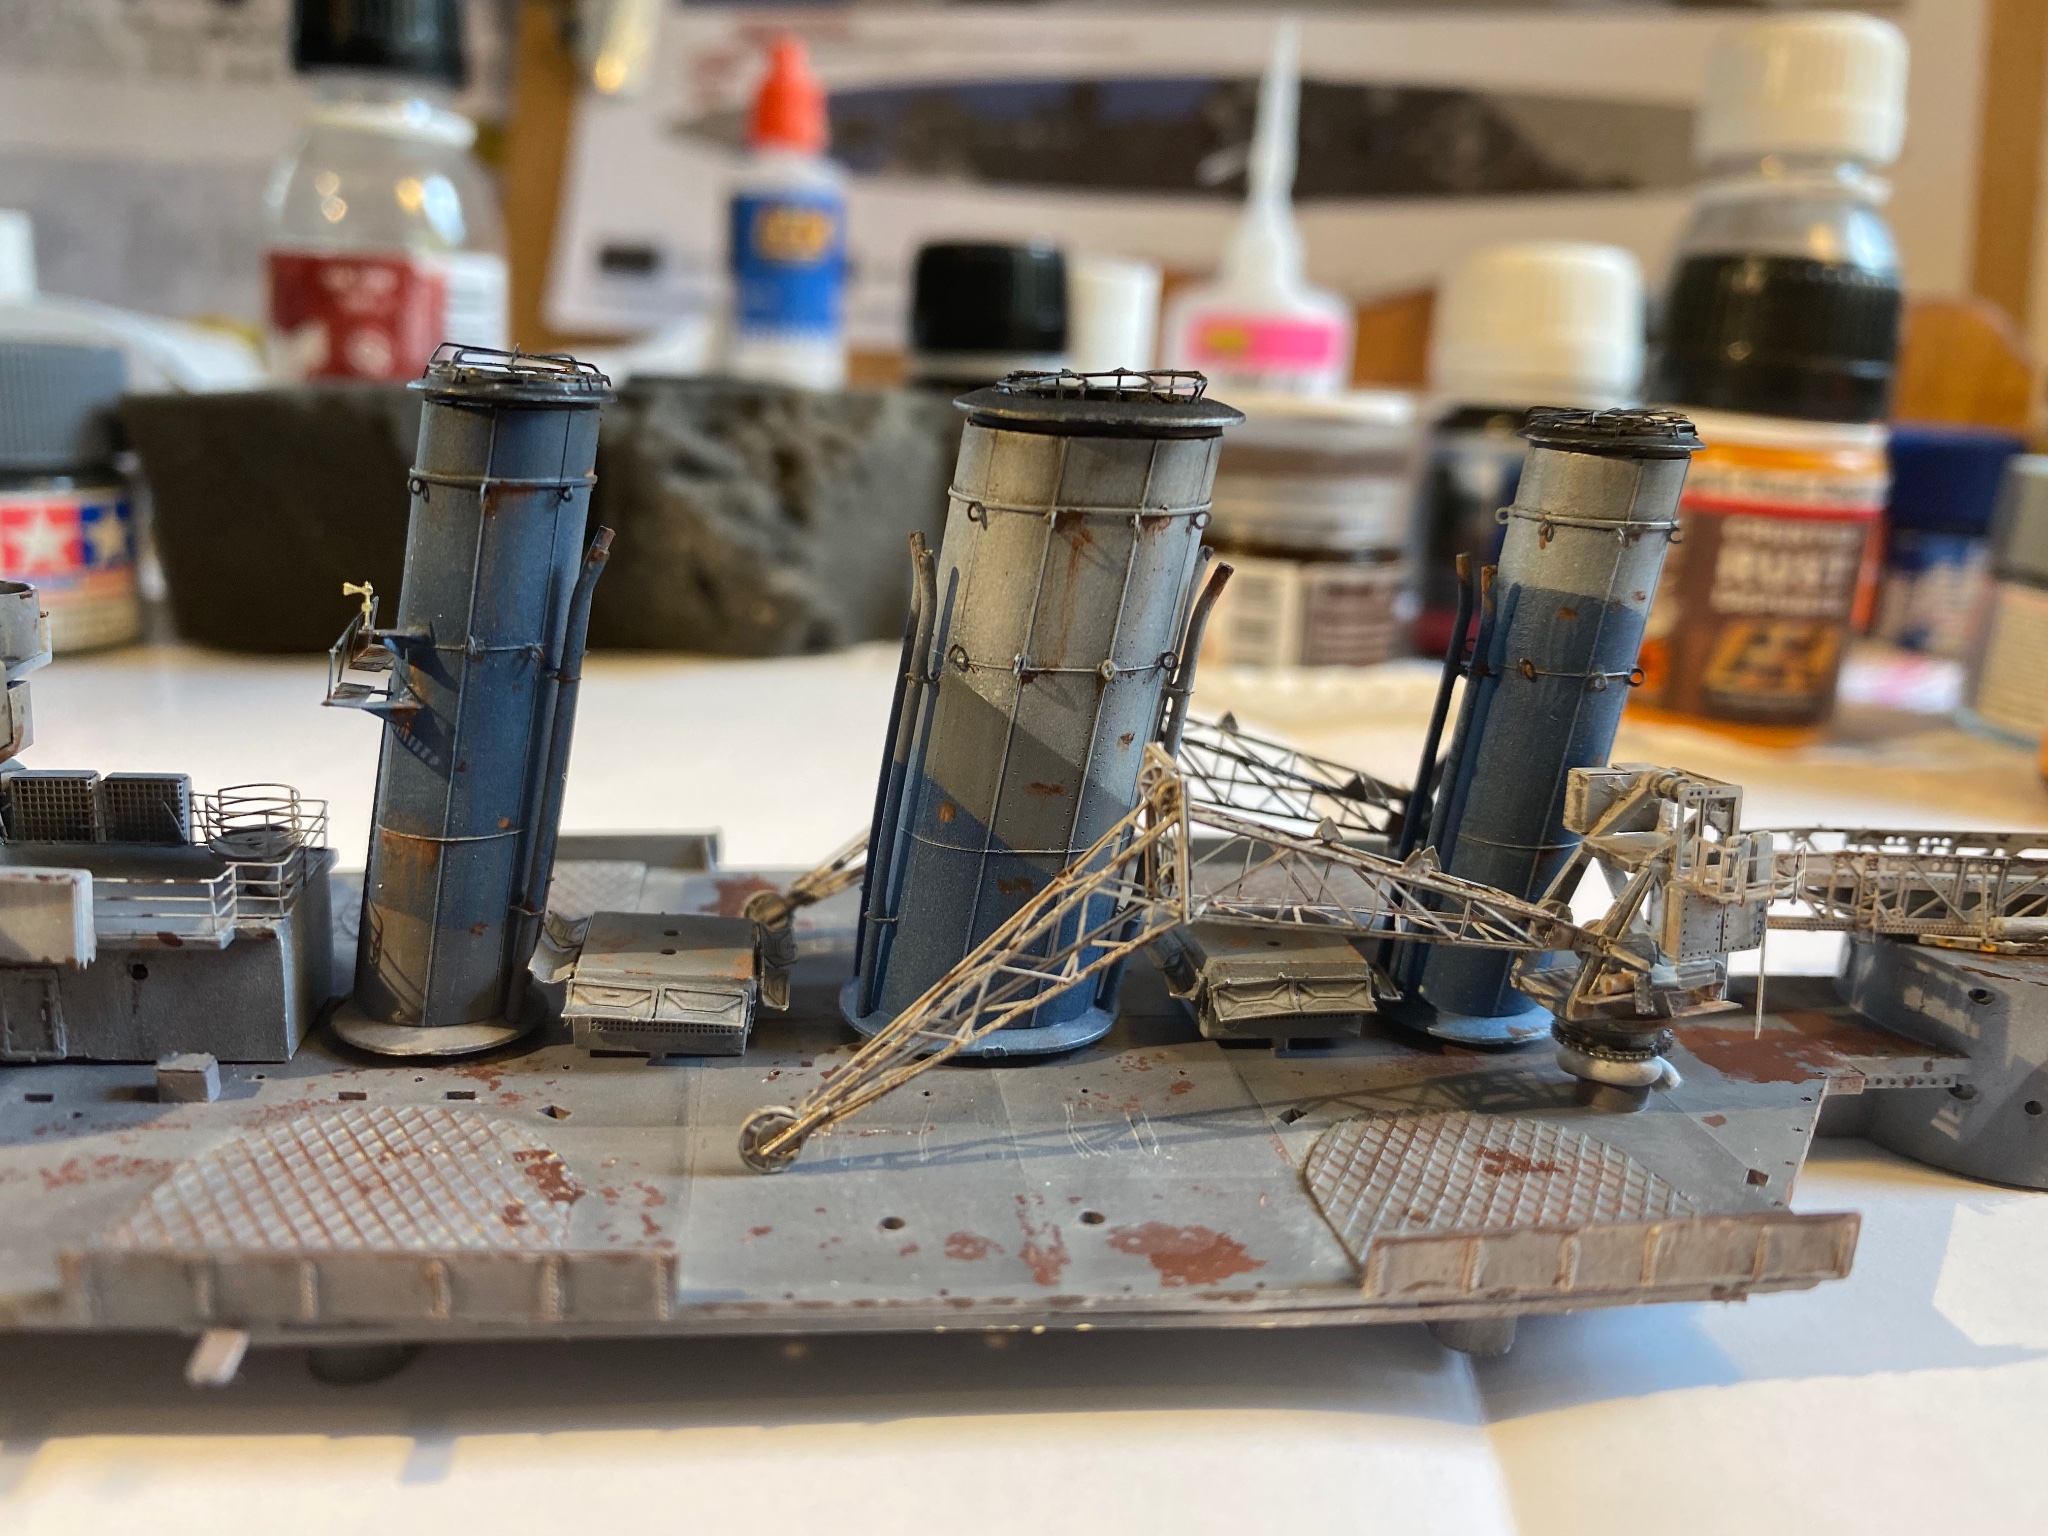
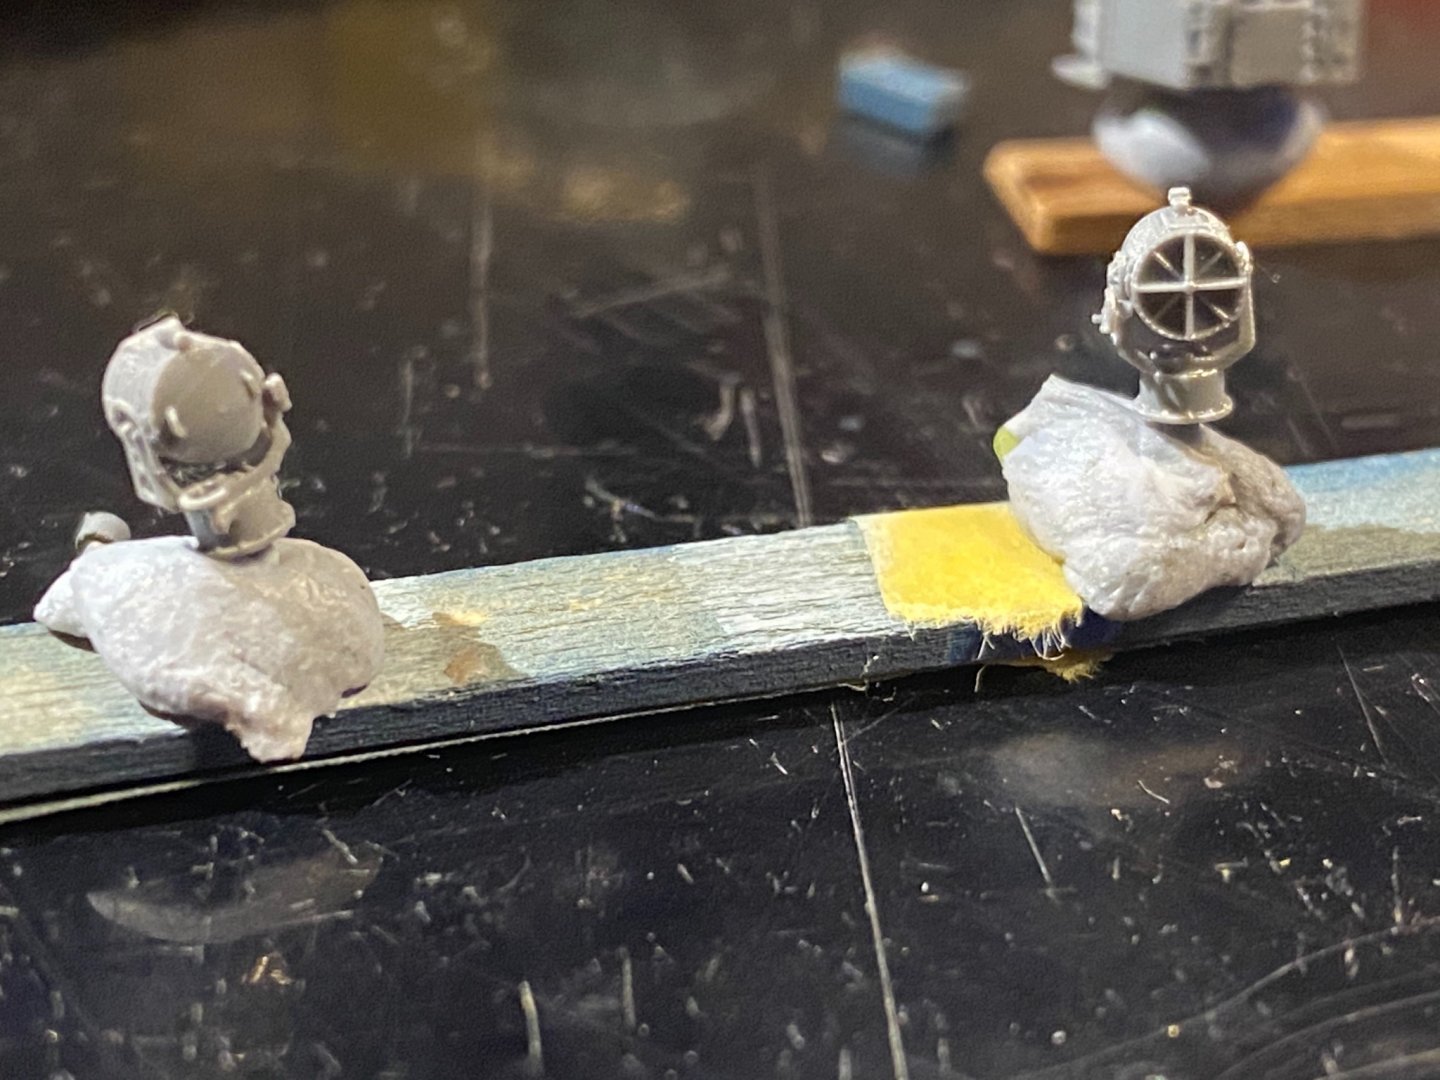
 The Micromaster bits, the depth charge rack, and flota nets and the 36 inch search lights
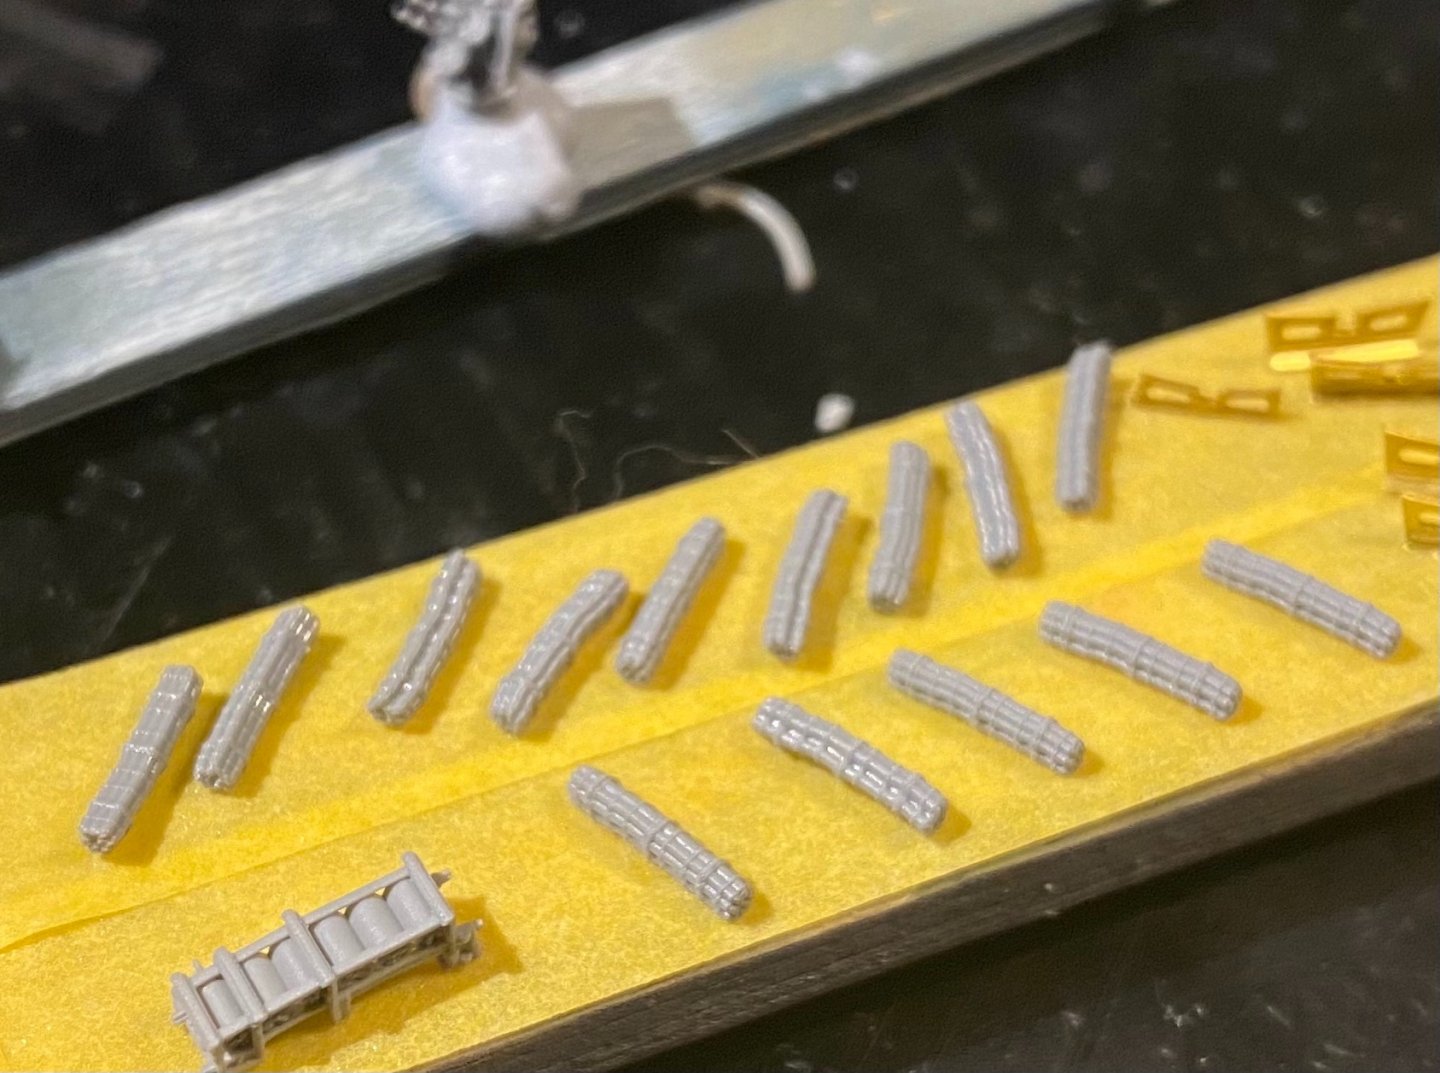
-
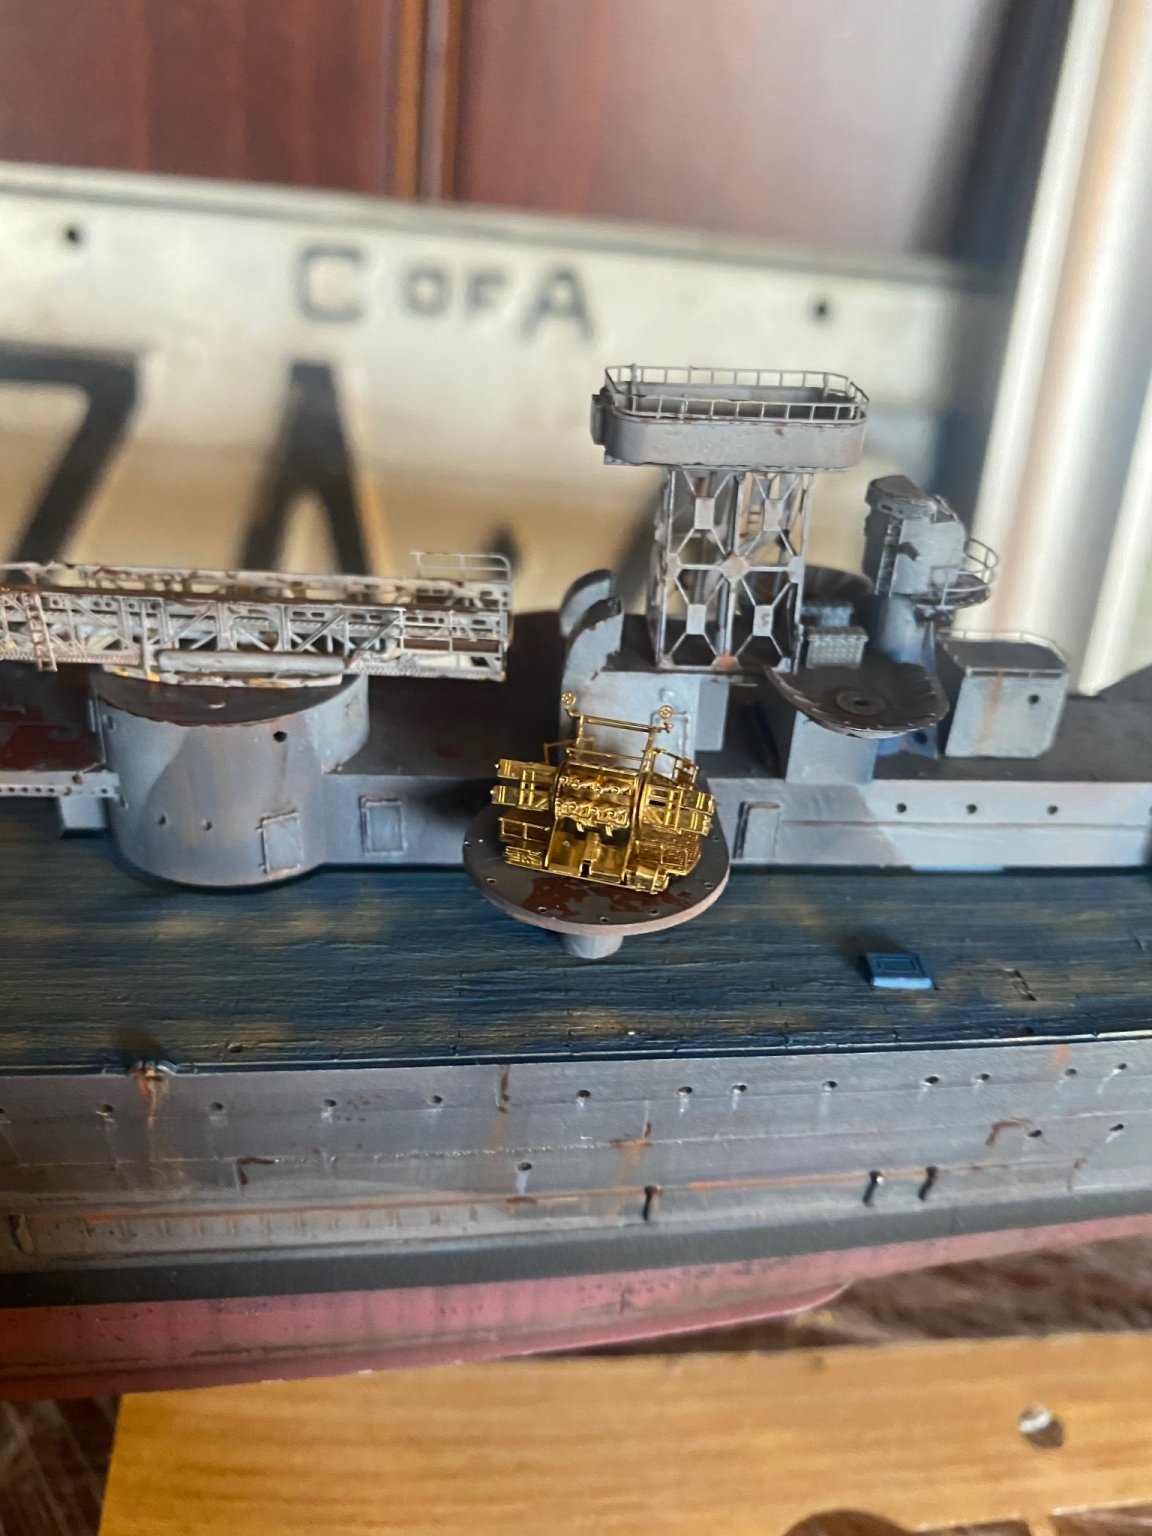
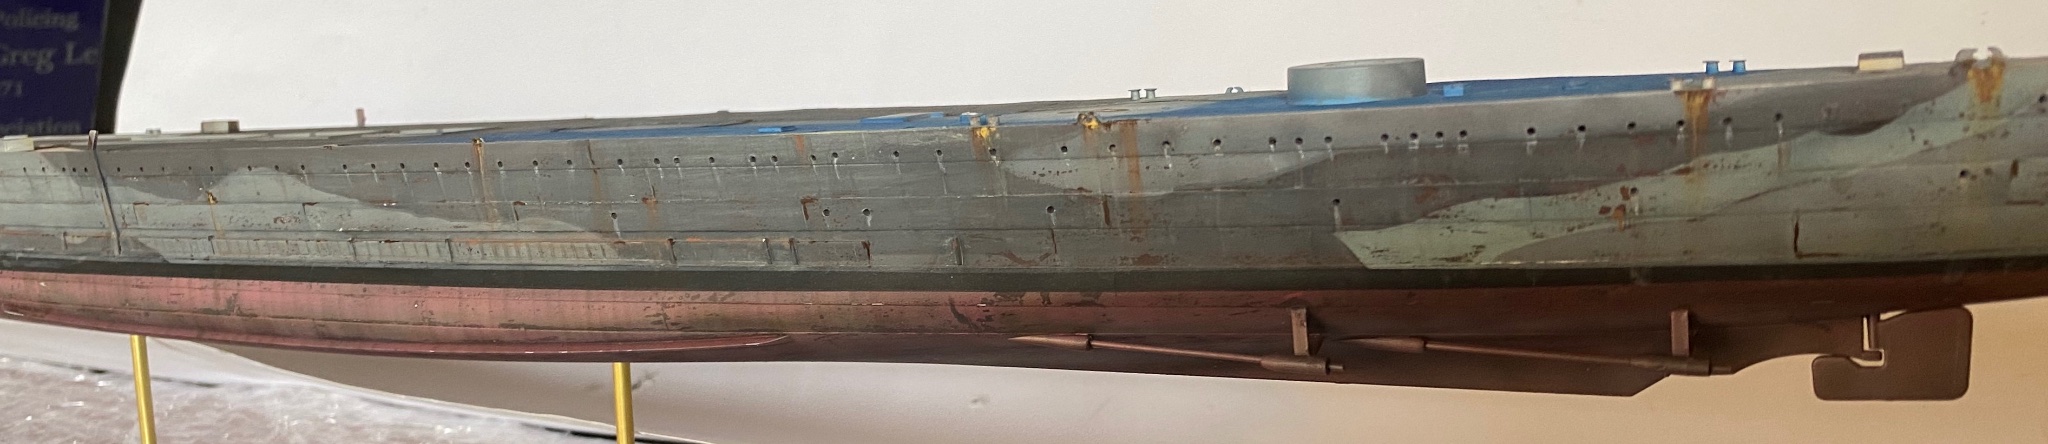
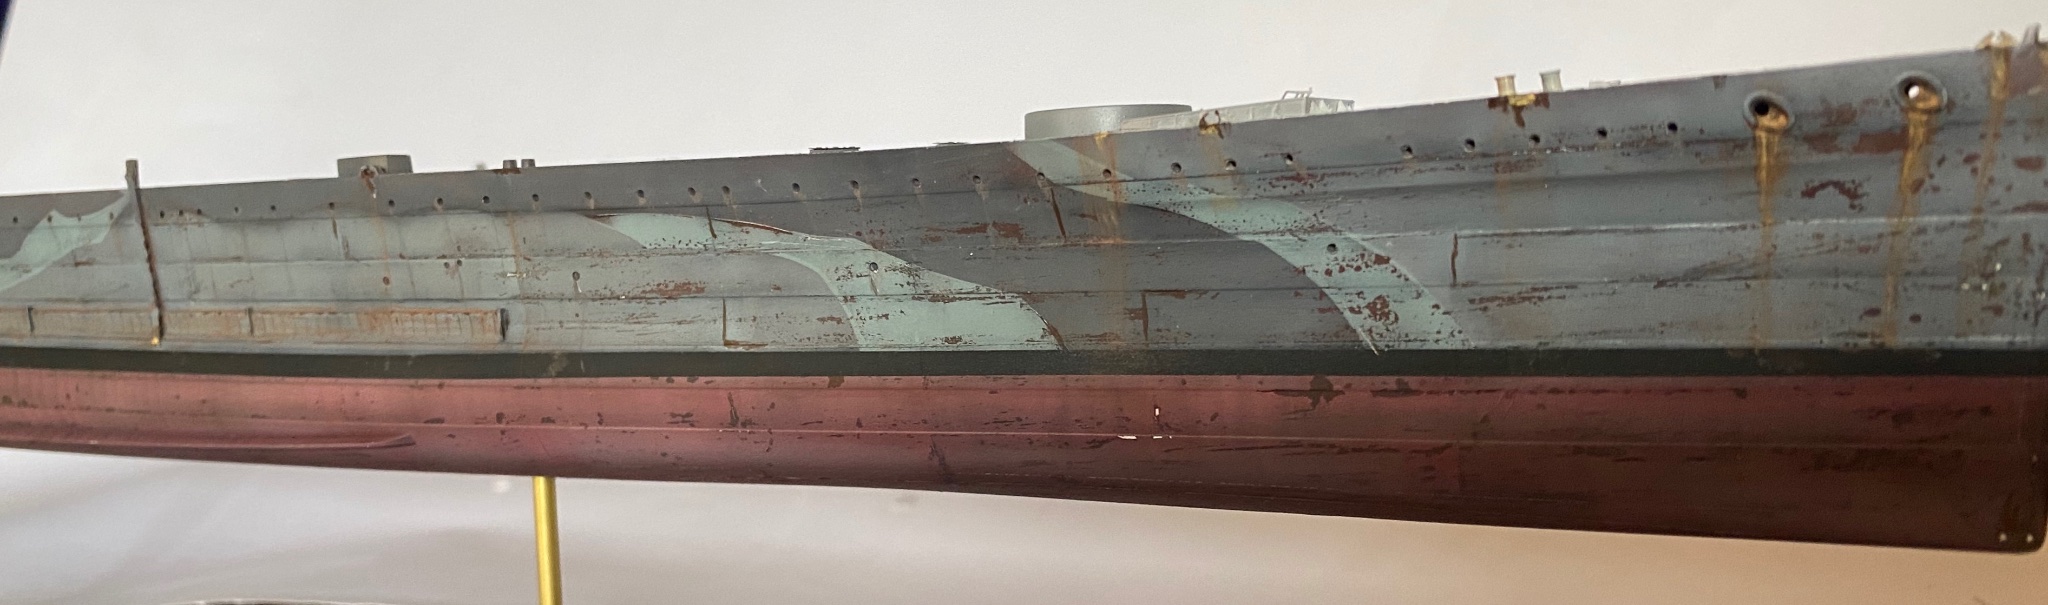
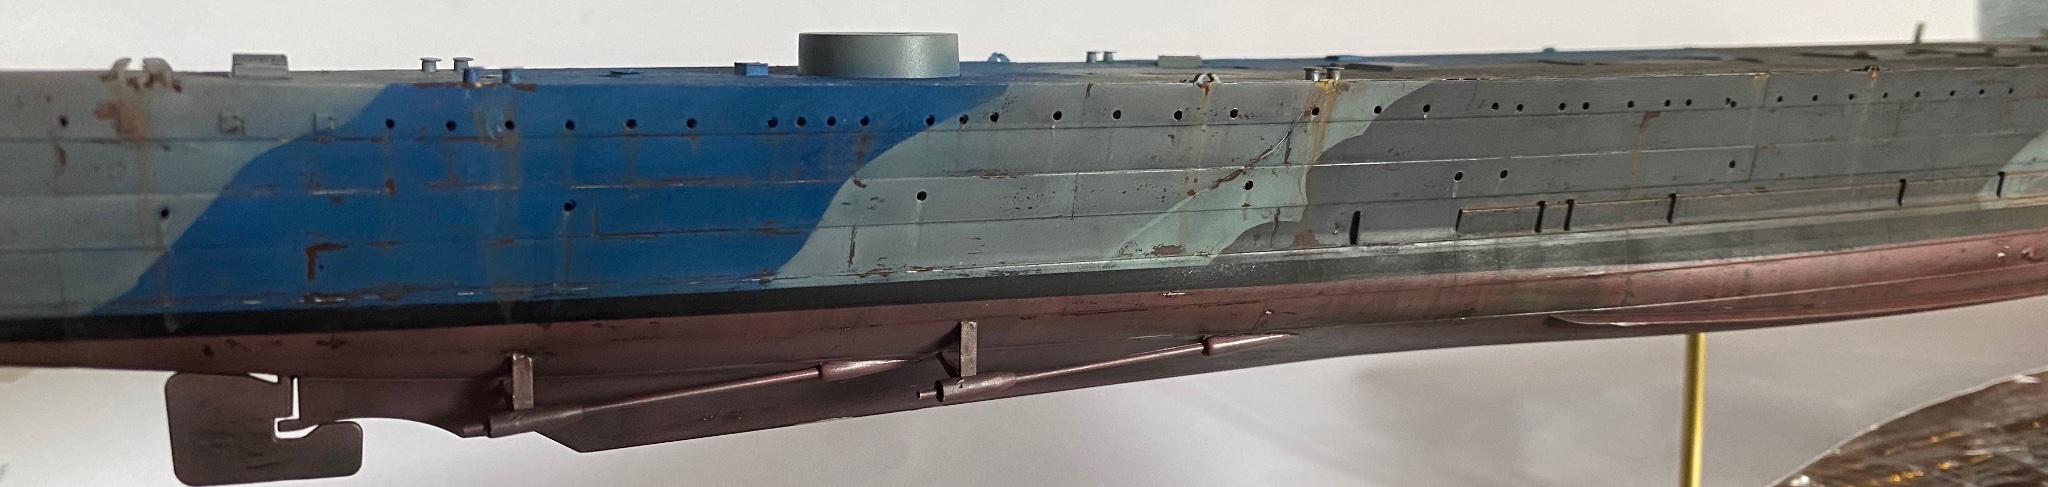
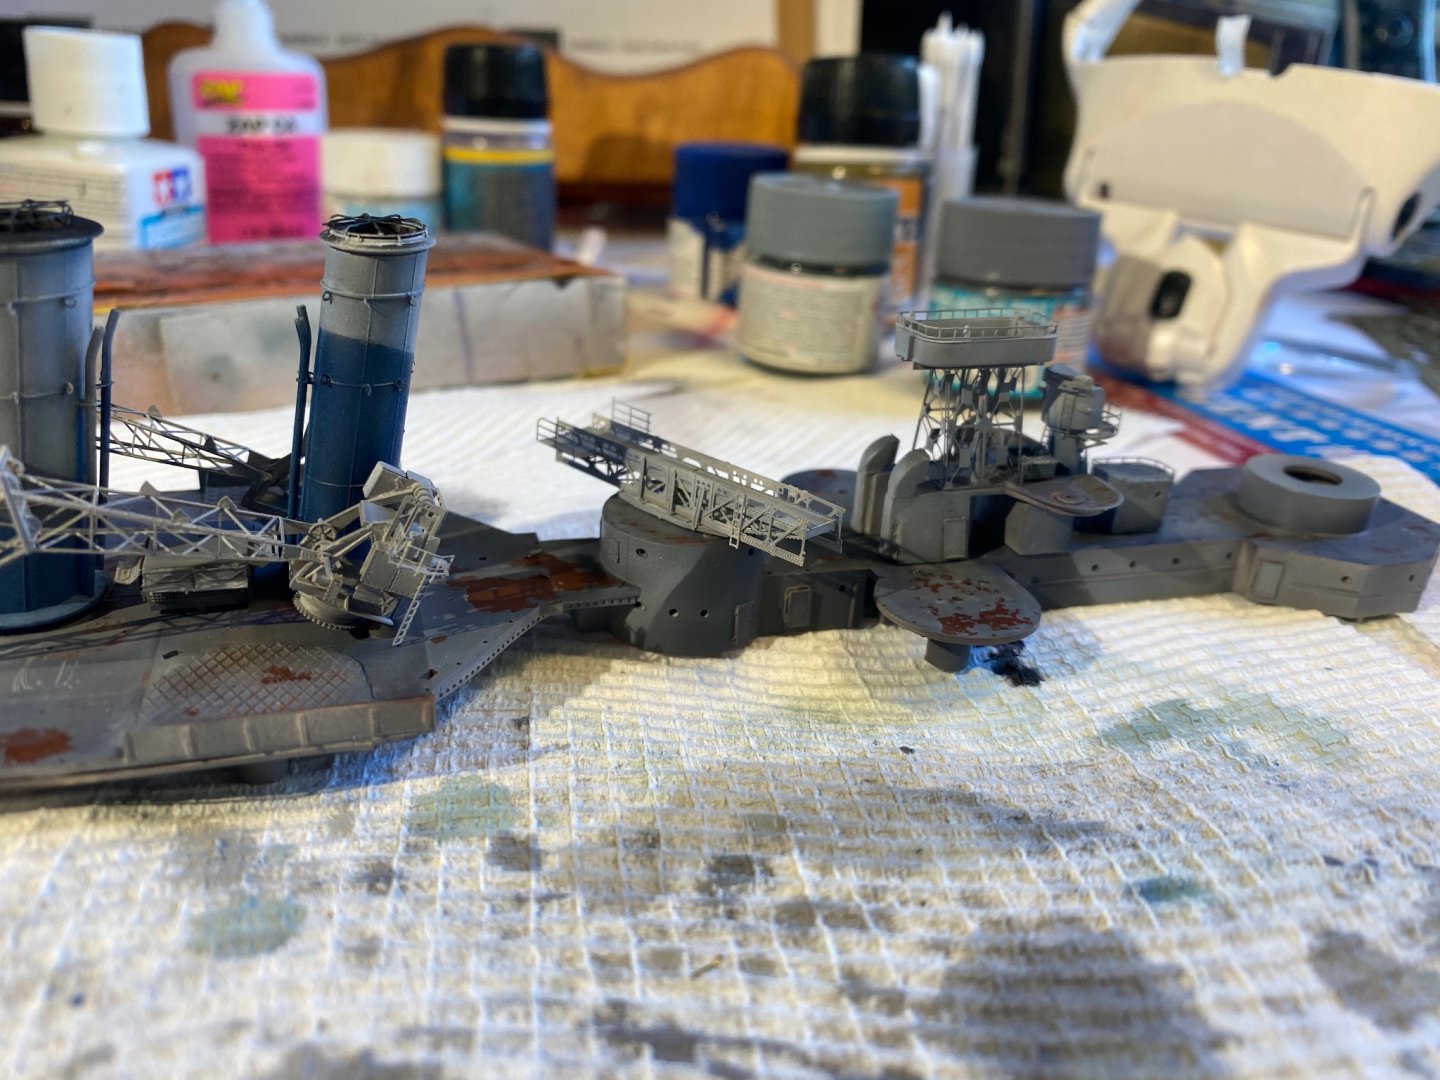
So a full day of masking, and the superstructures painted. Filters washes and weathering to go.

-
I’m far too disorganised to make a ‘how to’ build. I need to start writing lists to make sure I don’t forget bits. The Pontos set looks so good for this but it would be too big to park anywhere.
-
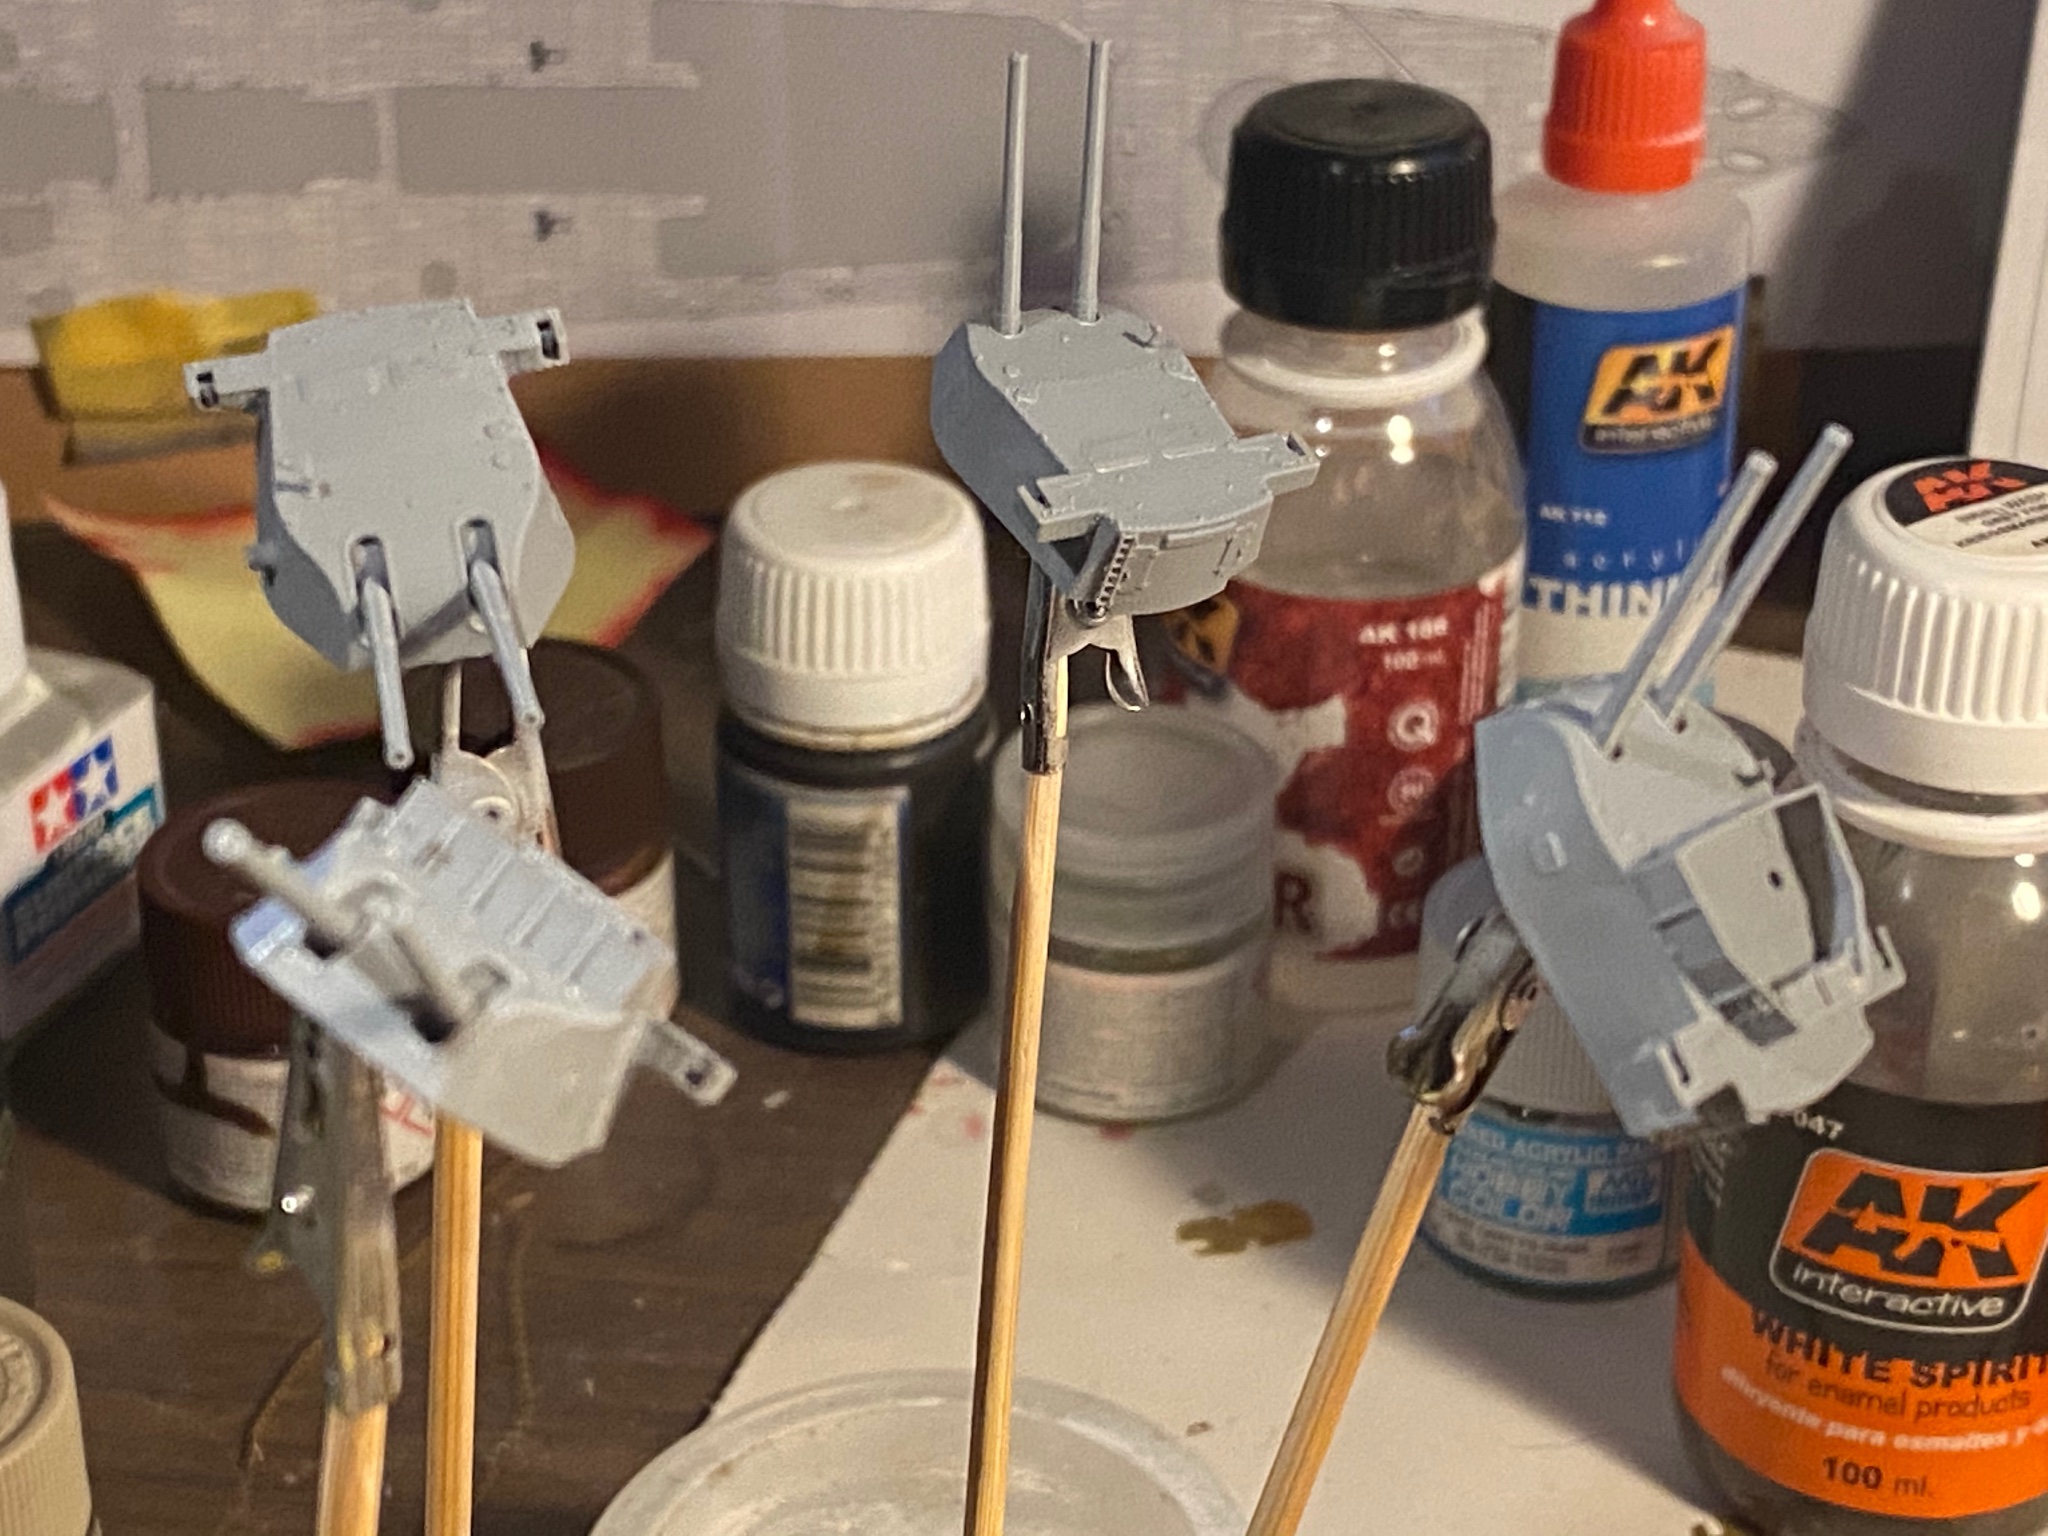
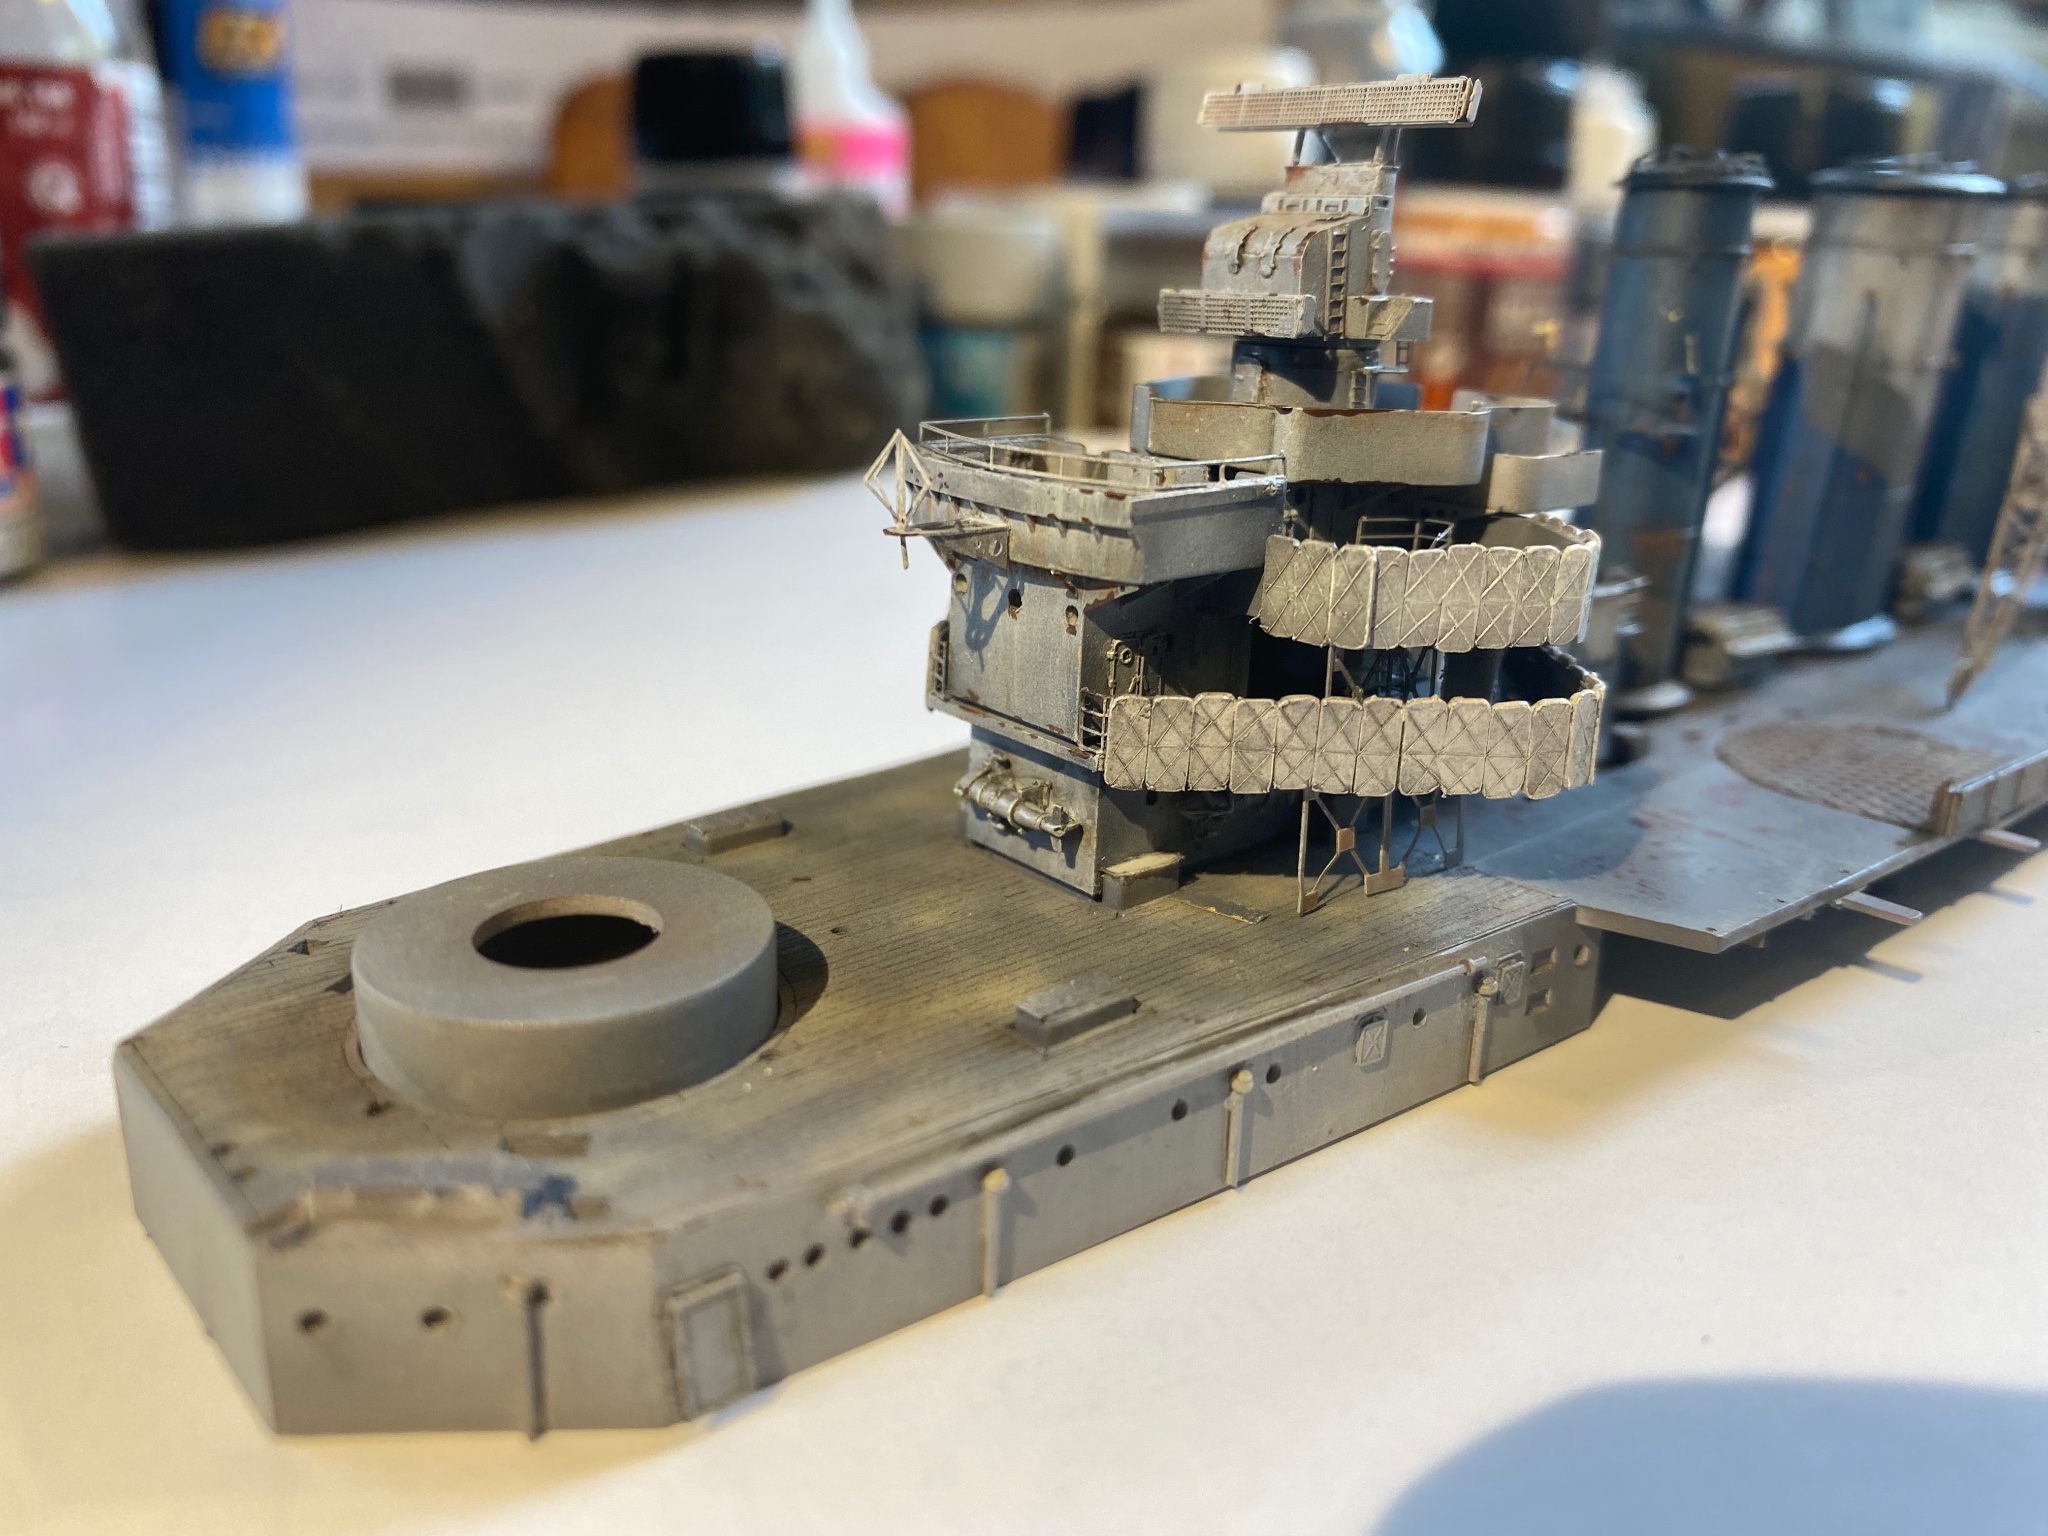
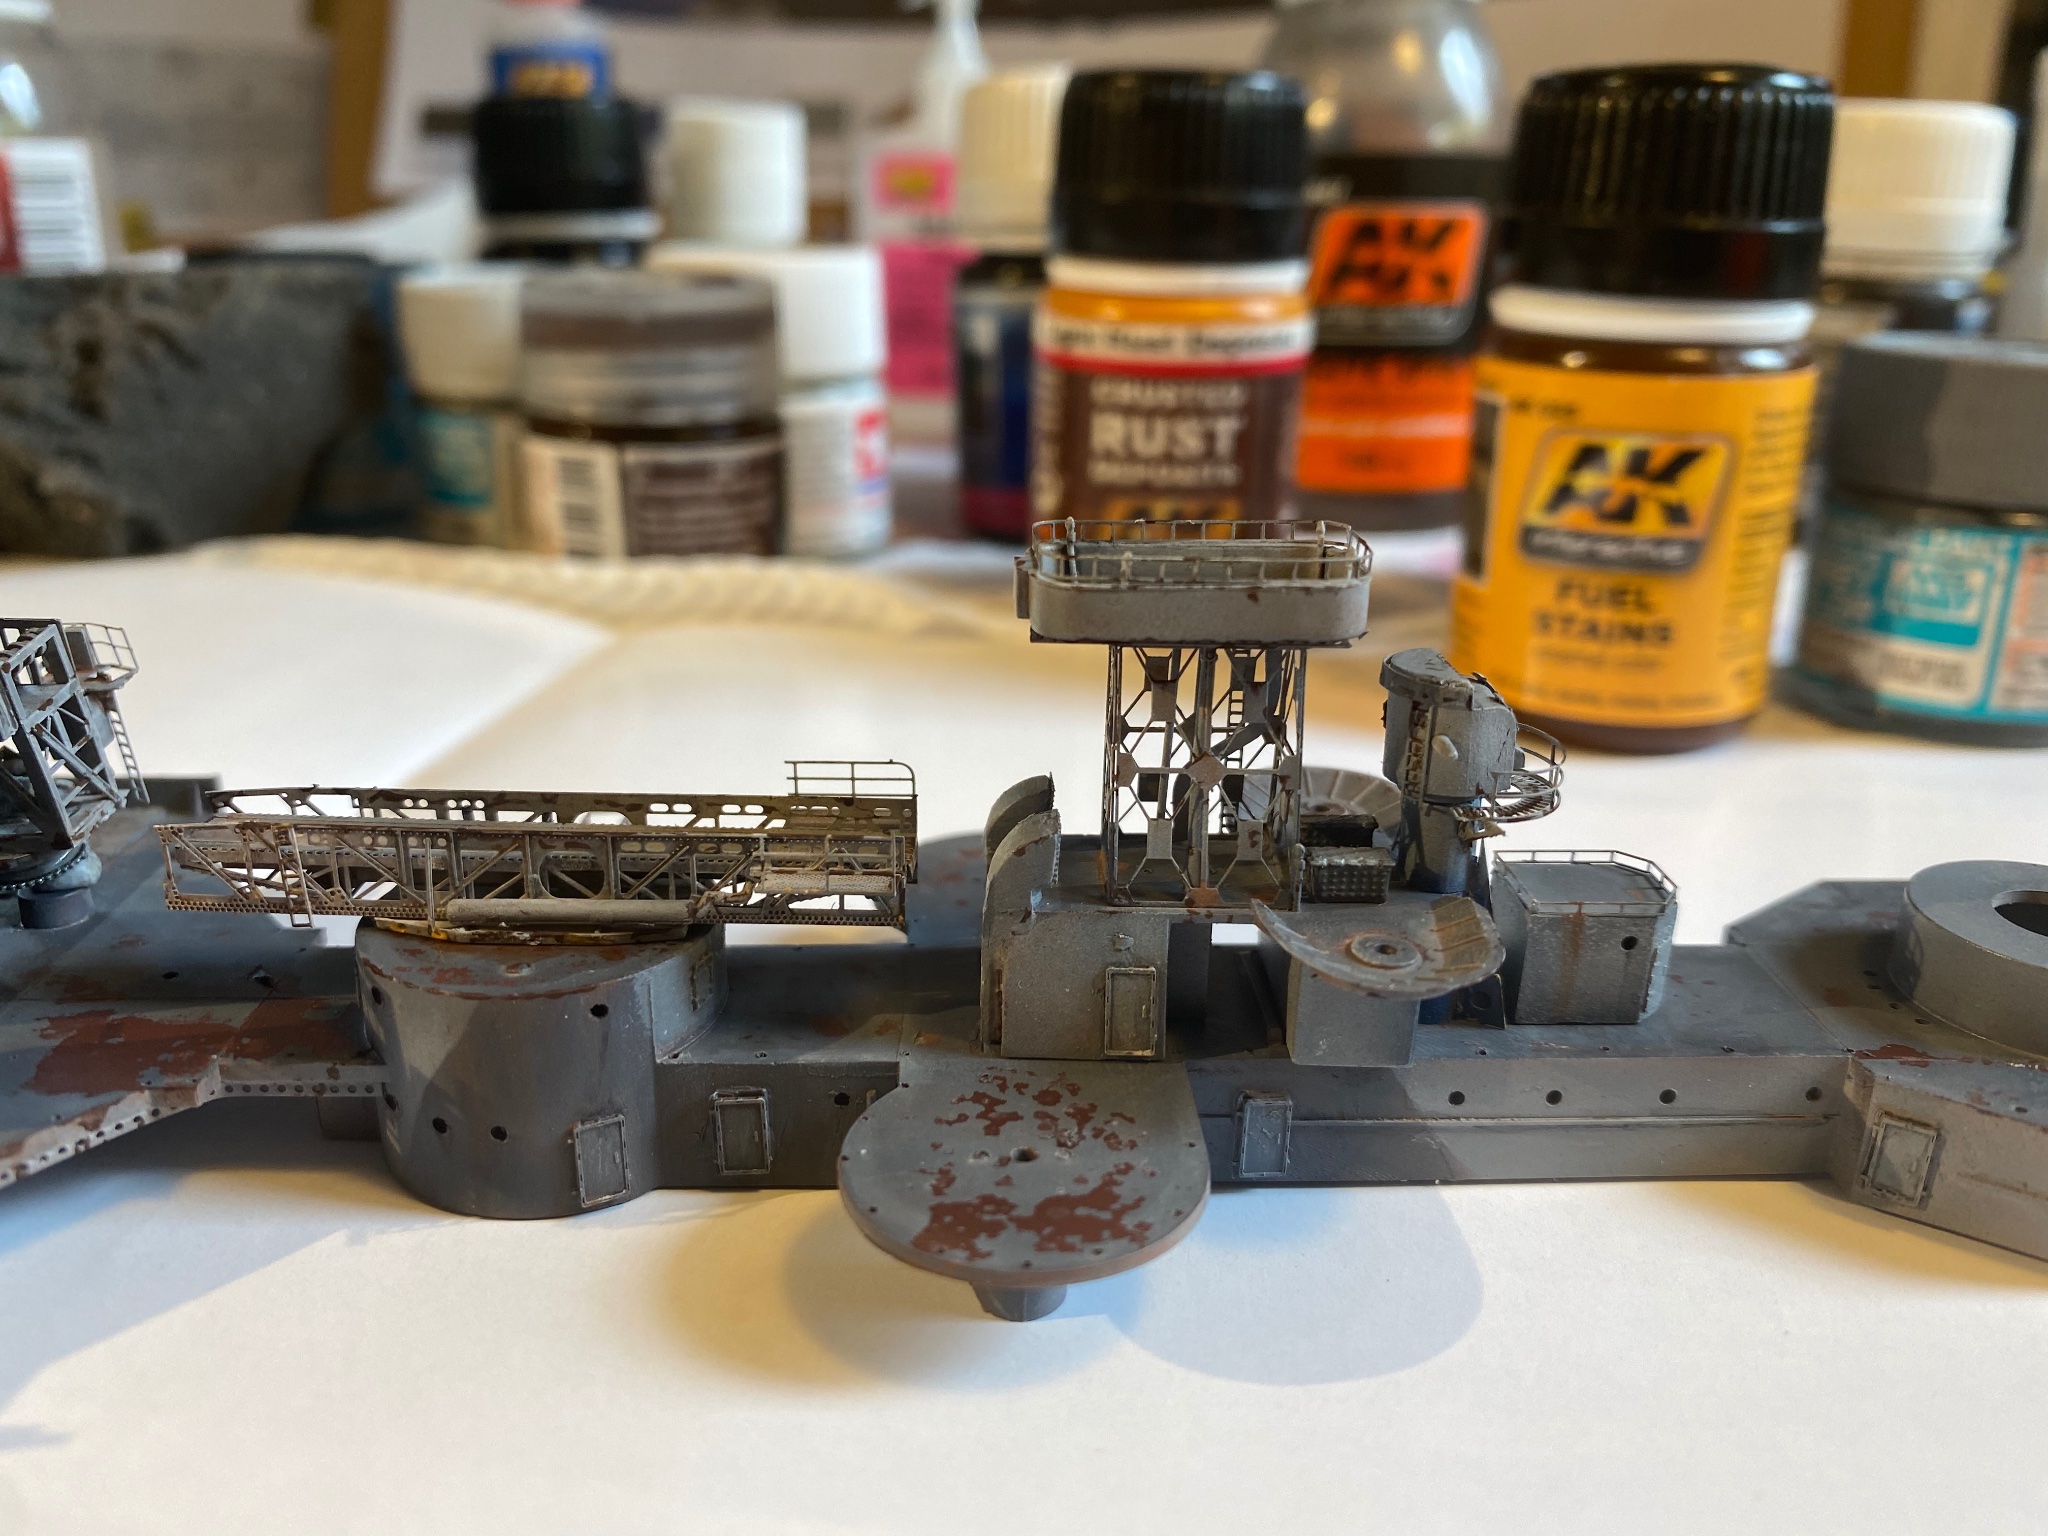
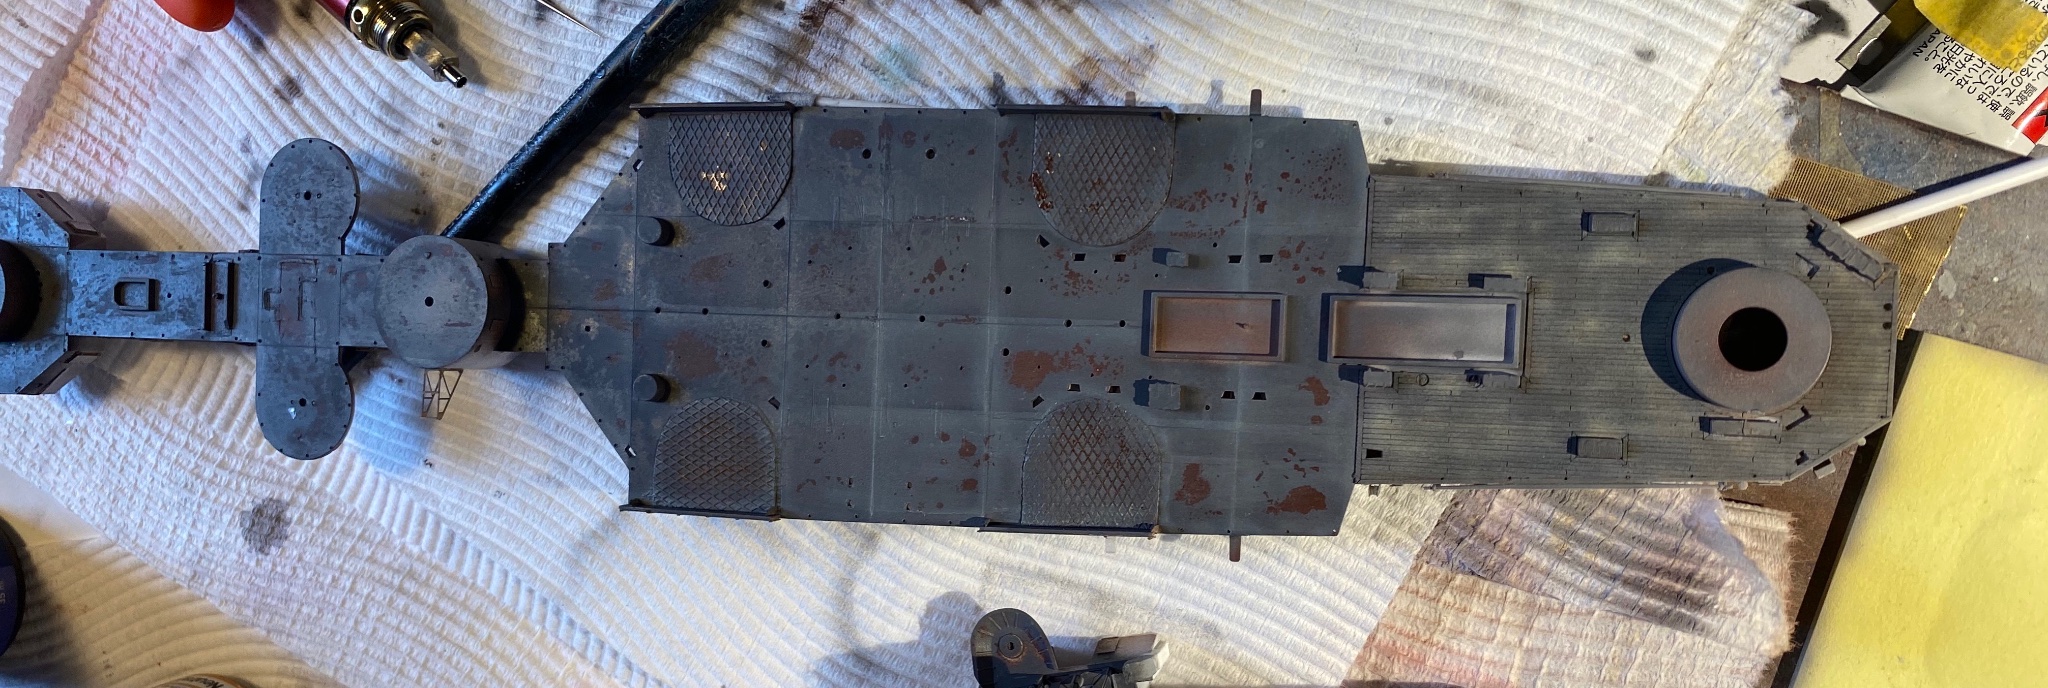
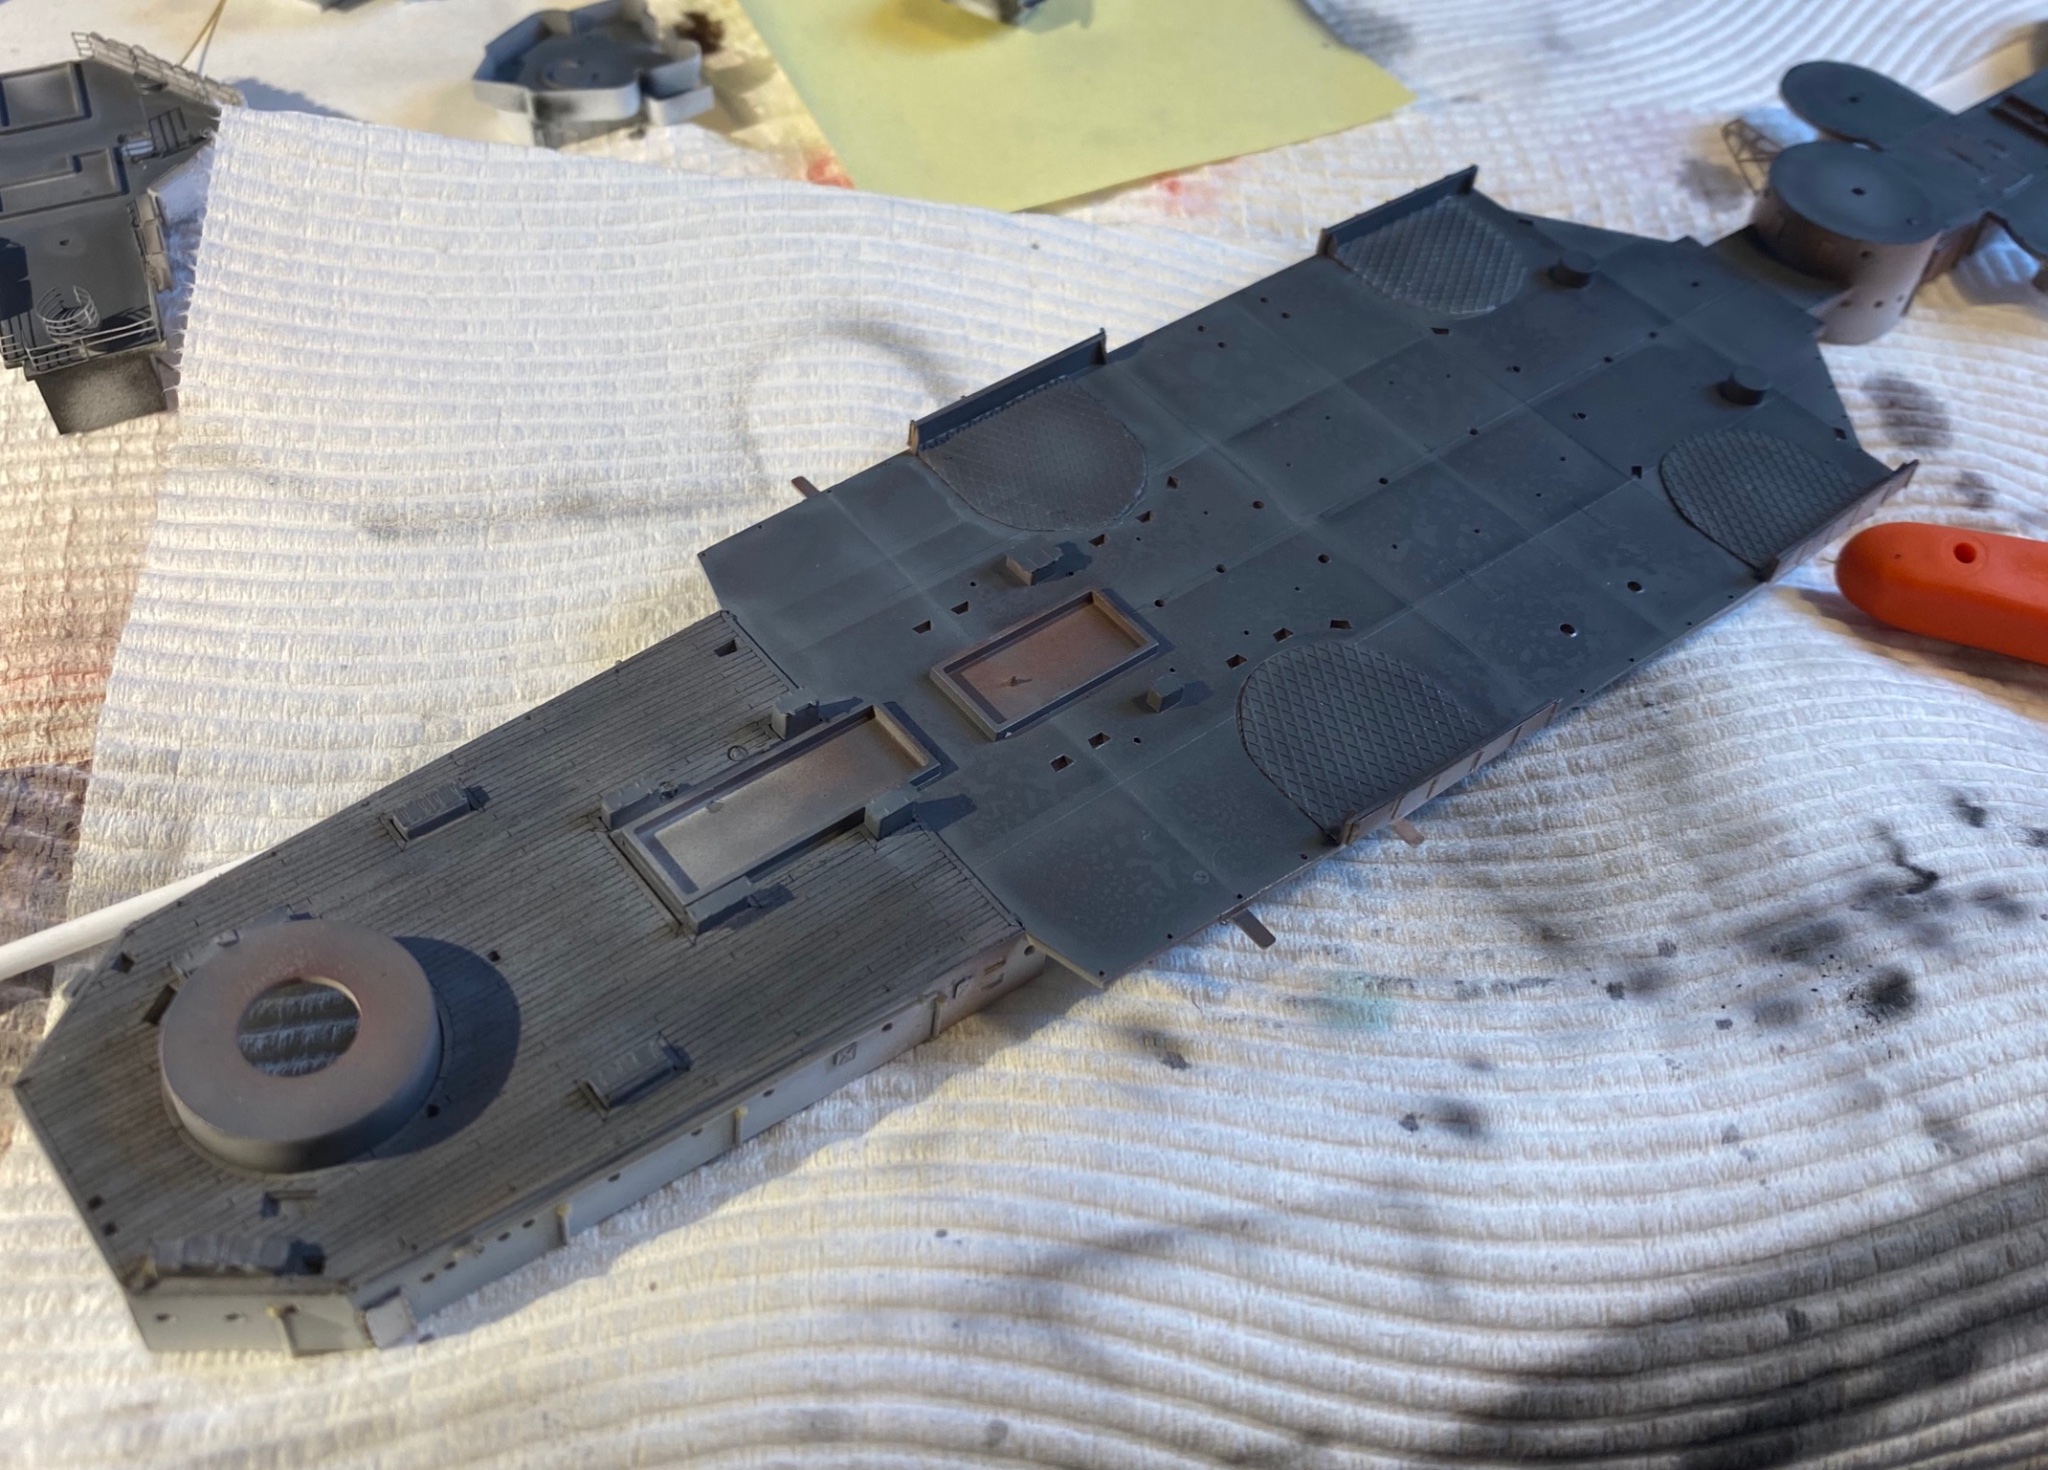
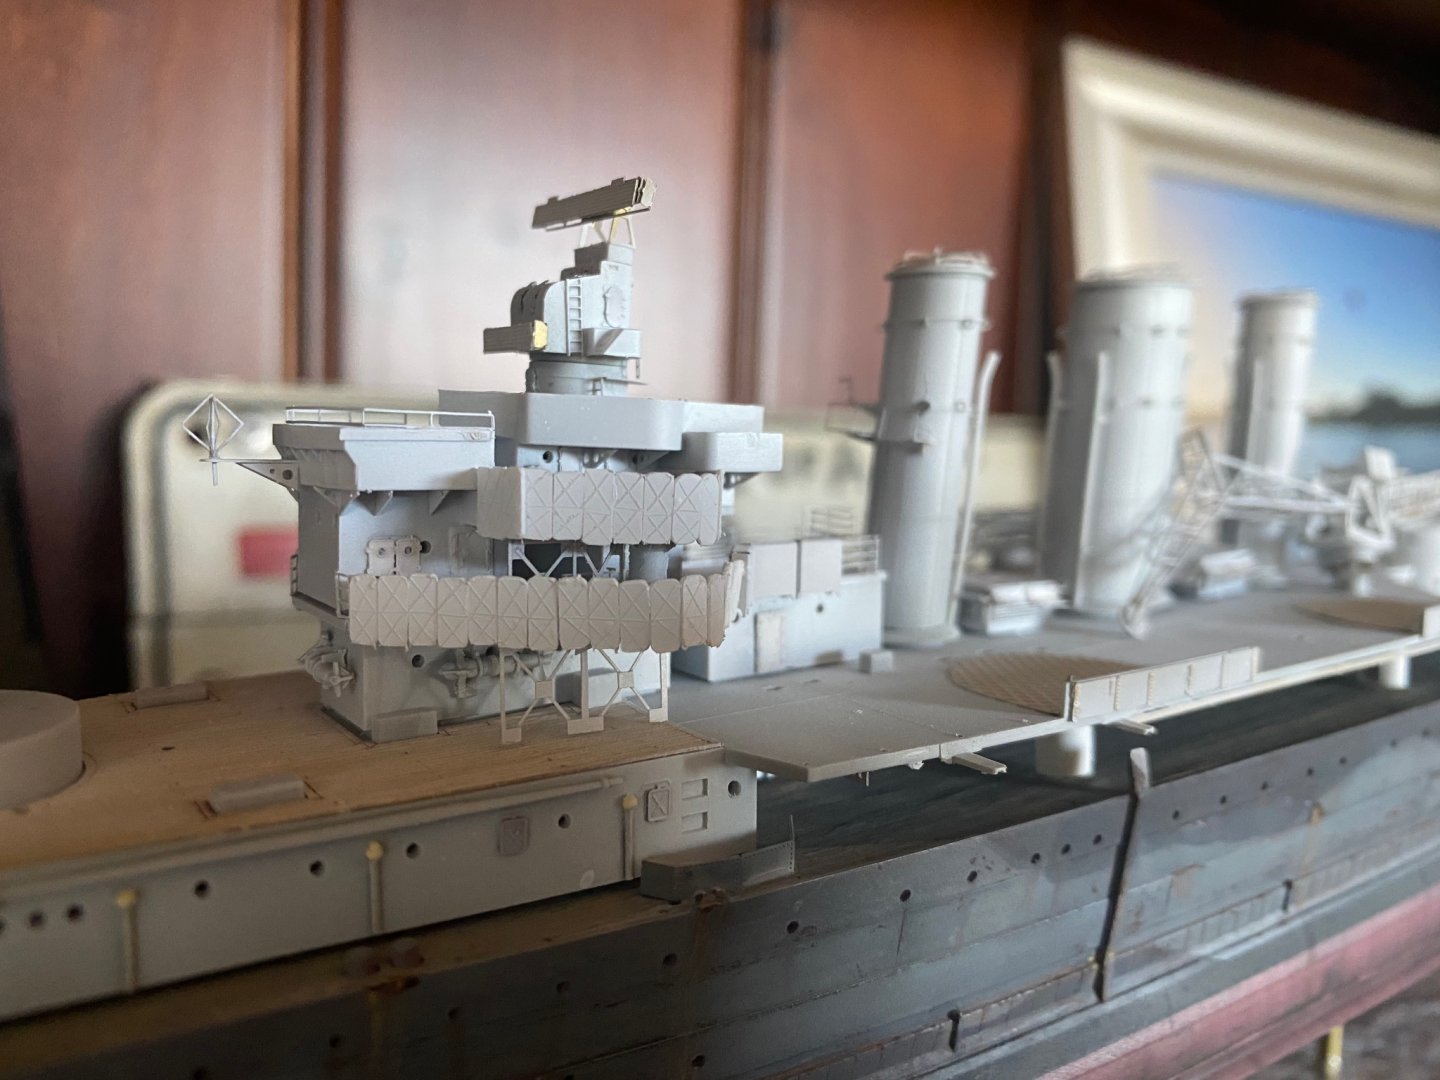
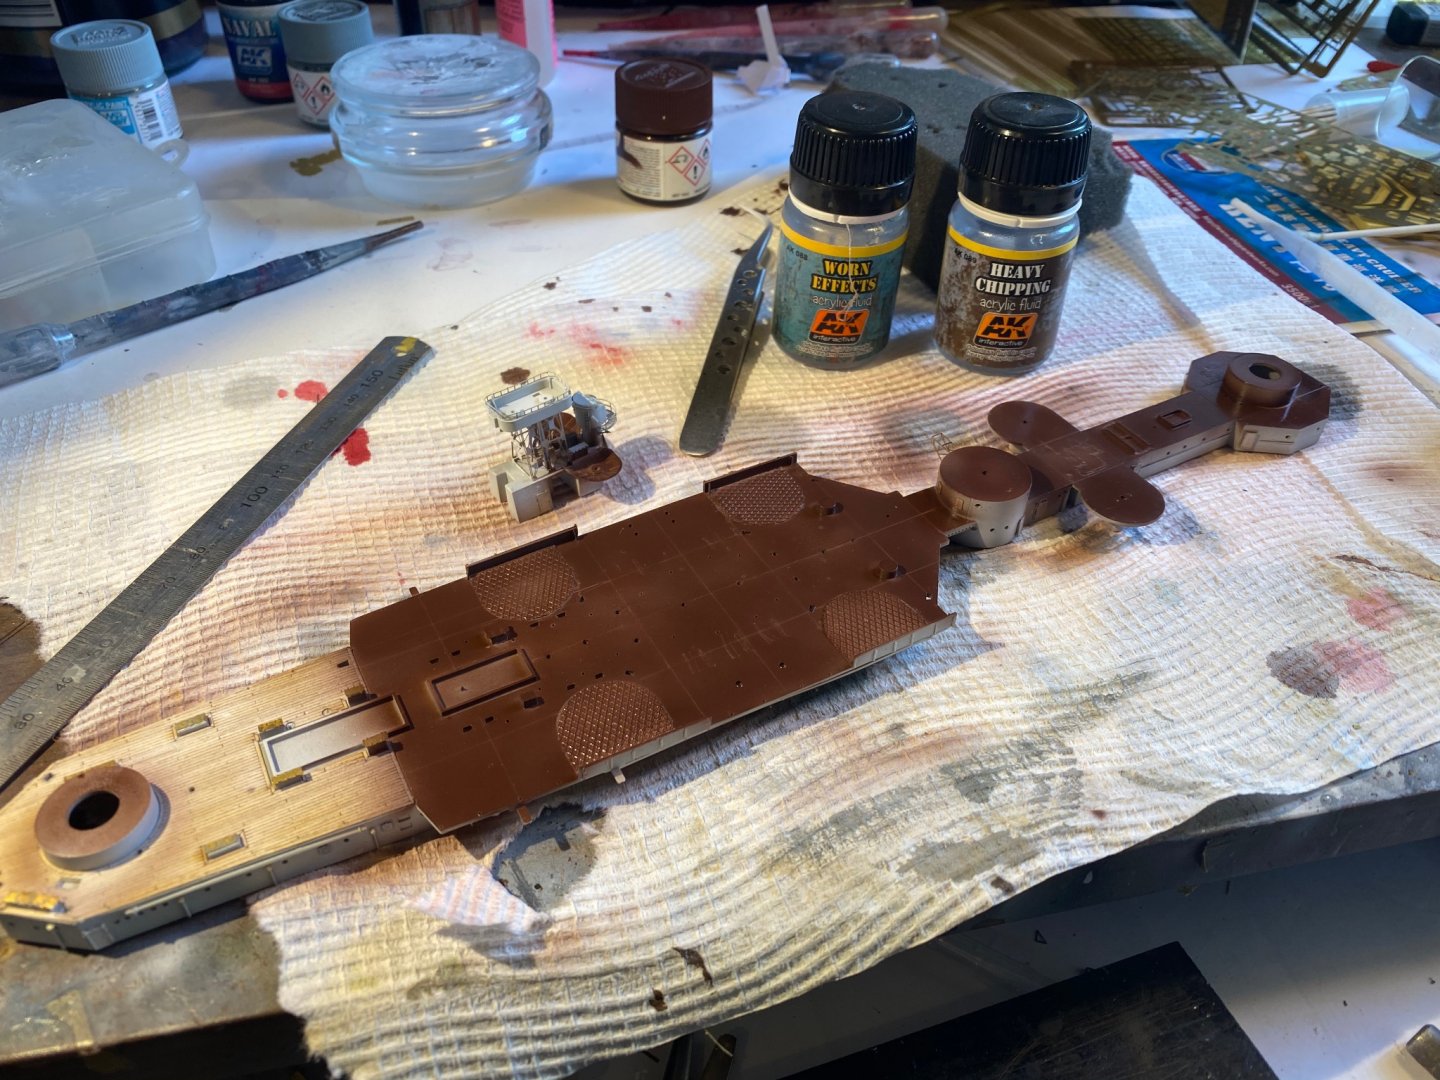
thanks all but Unfortunately if it’s not weathered now it’s bland! moving along, the upper works, unpainted, primer; you can see my scratch built splinter mattresses with the details scratched in, came up OK so far, the first deck painted an old rust colour, I’ll give it some chipping fluid after I do a clear coat. These would have been busy areas with lots of foot traffic
- 128 replies
-
- 10
-

-
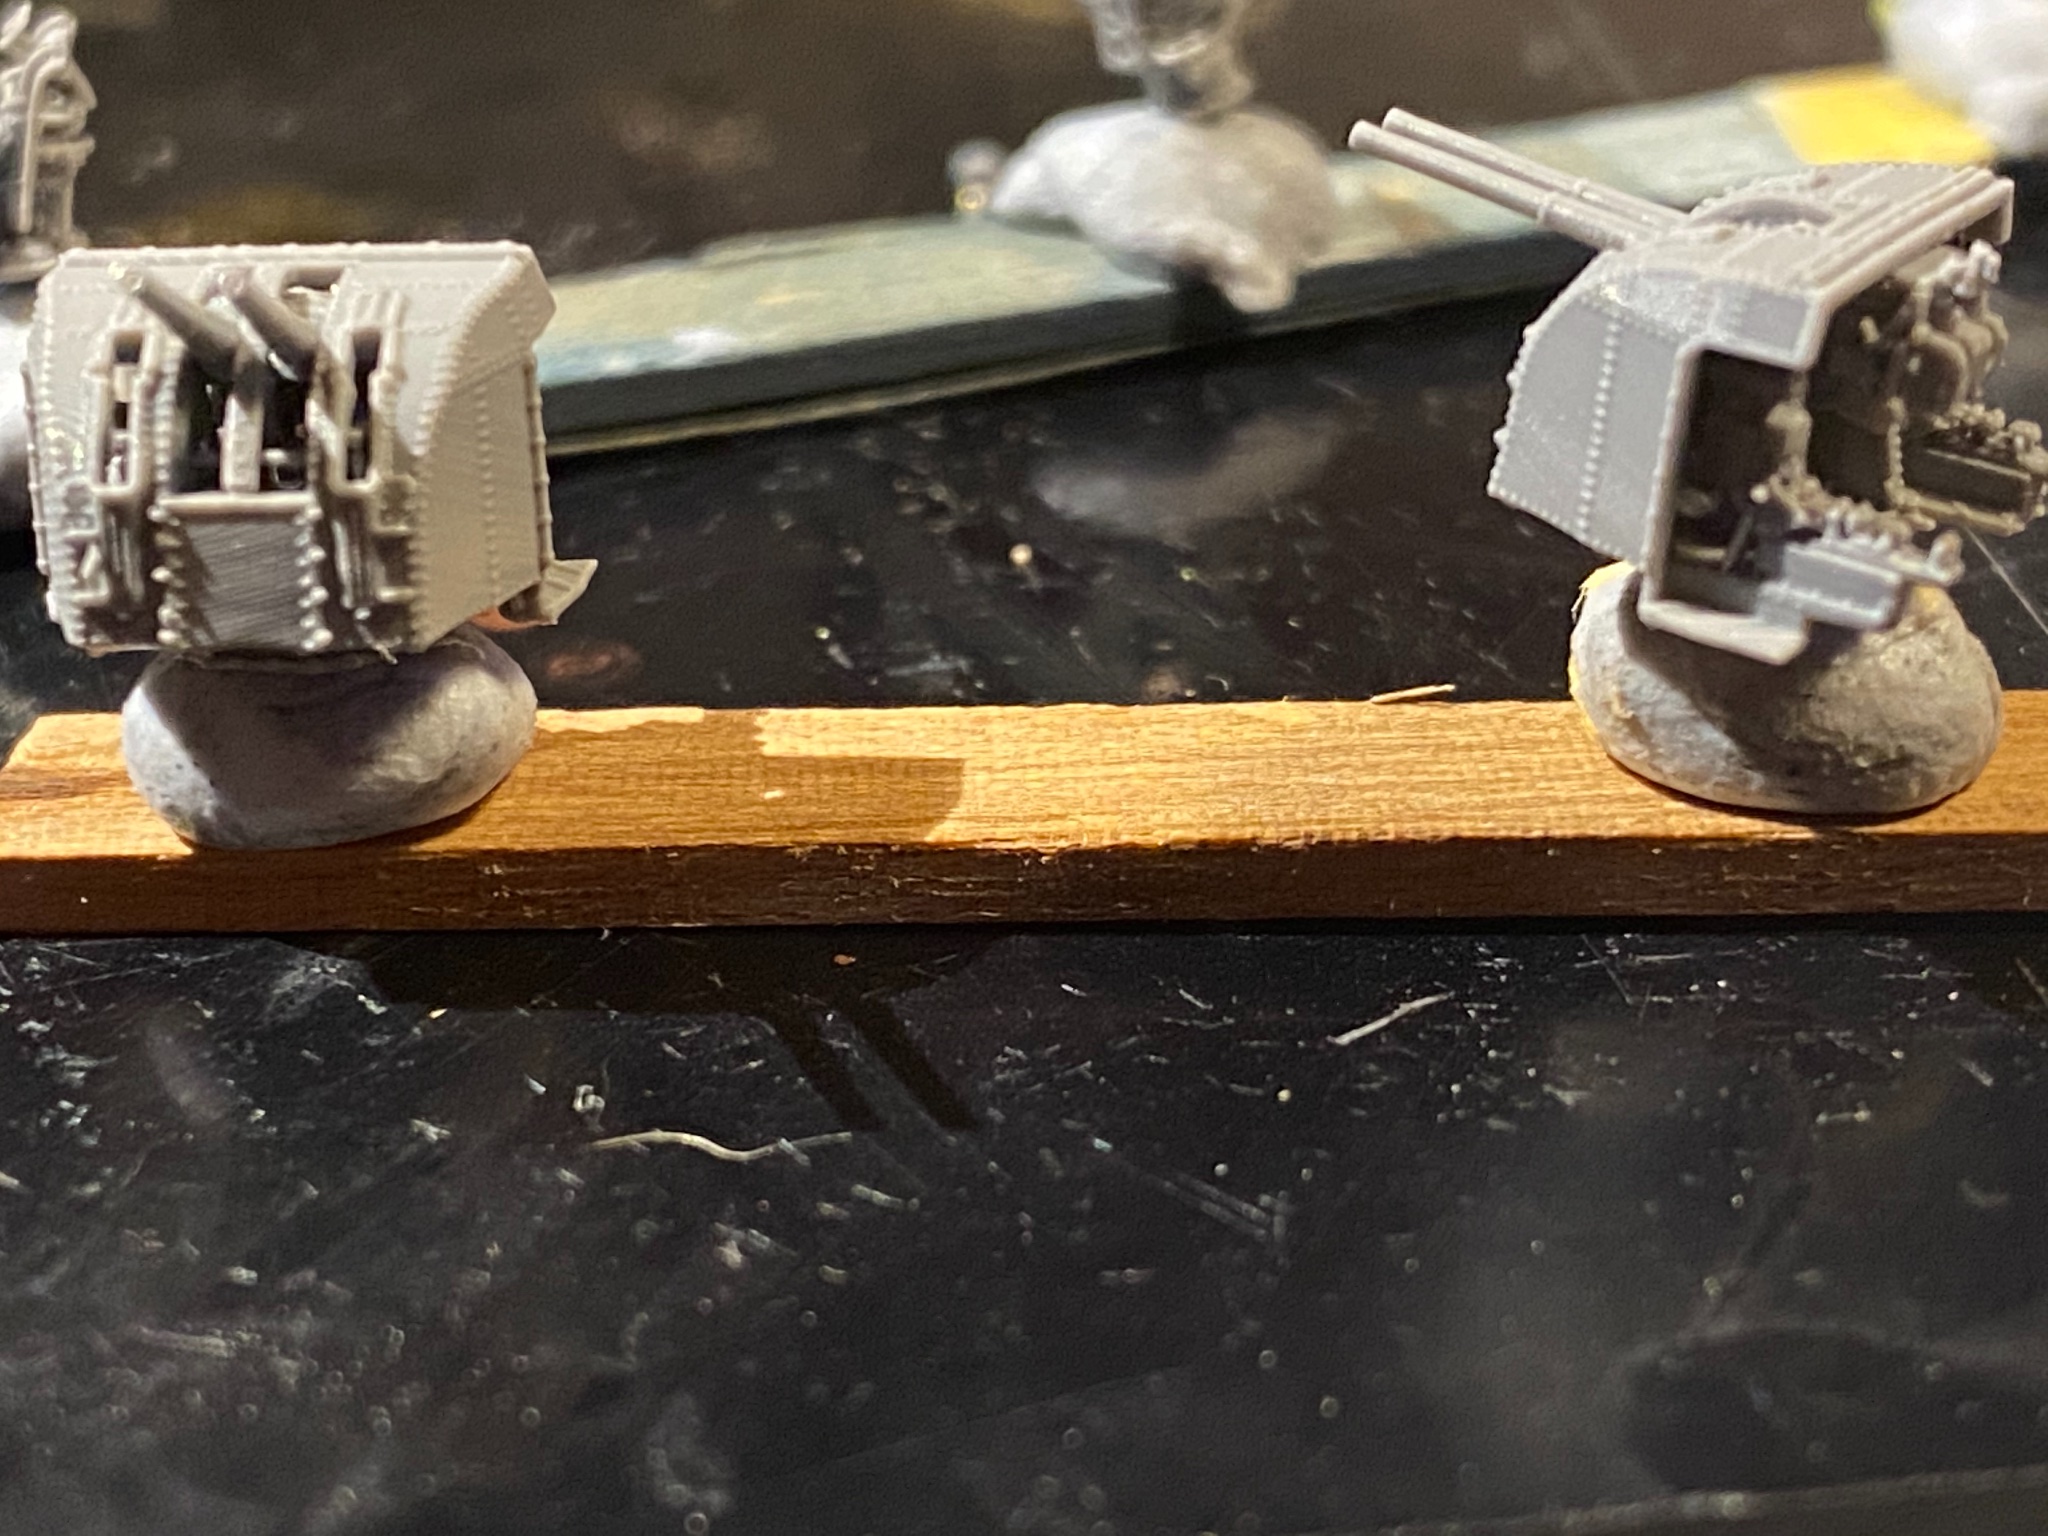
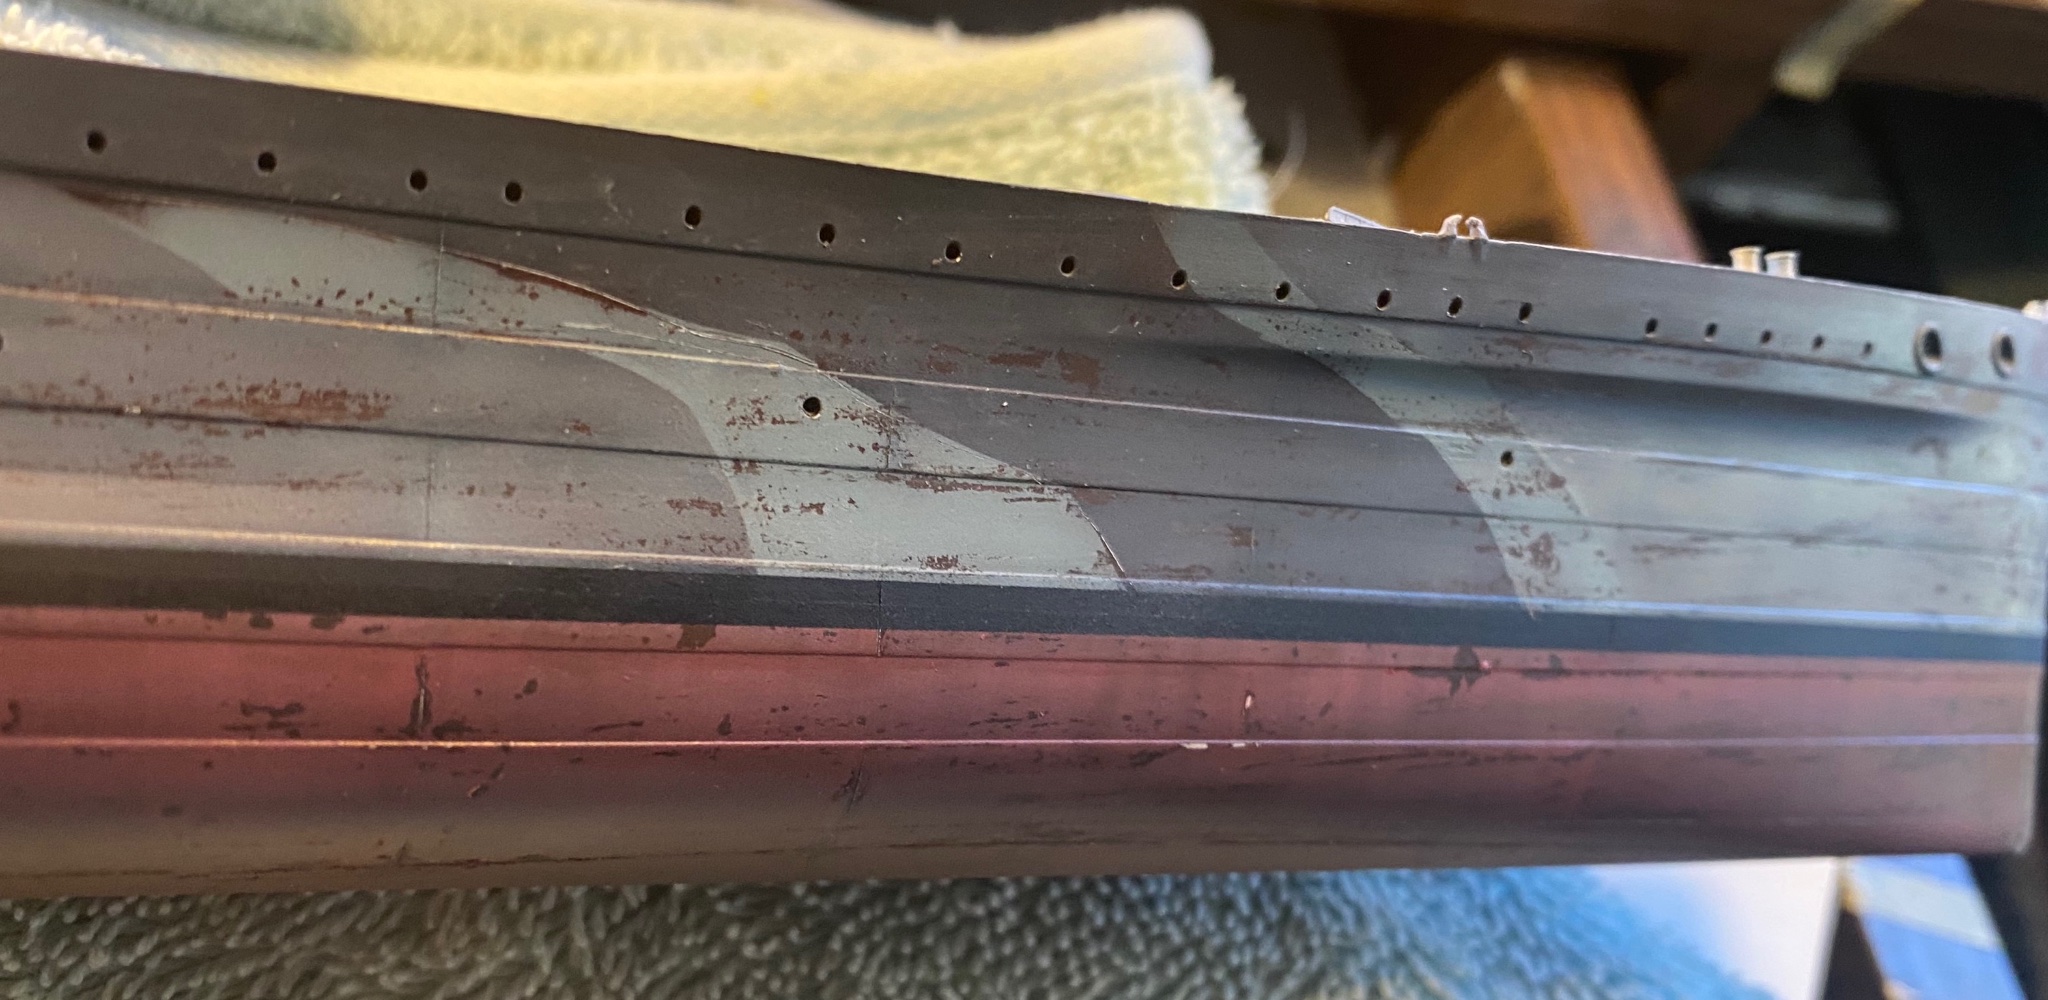
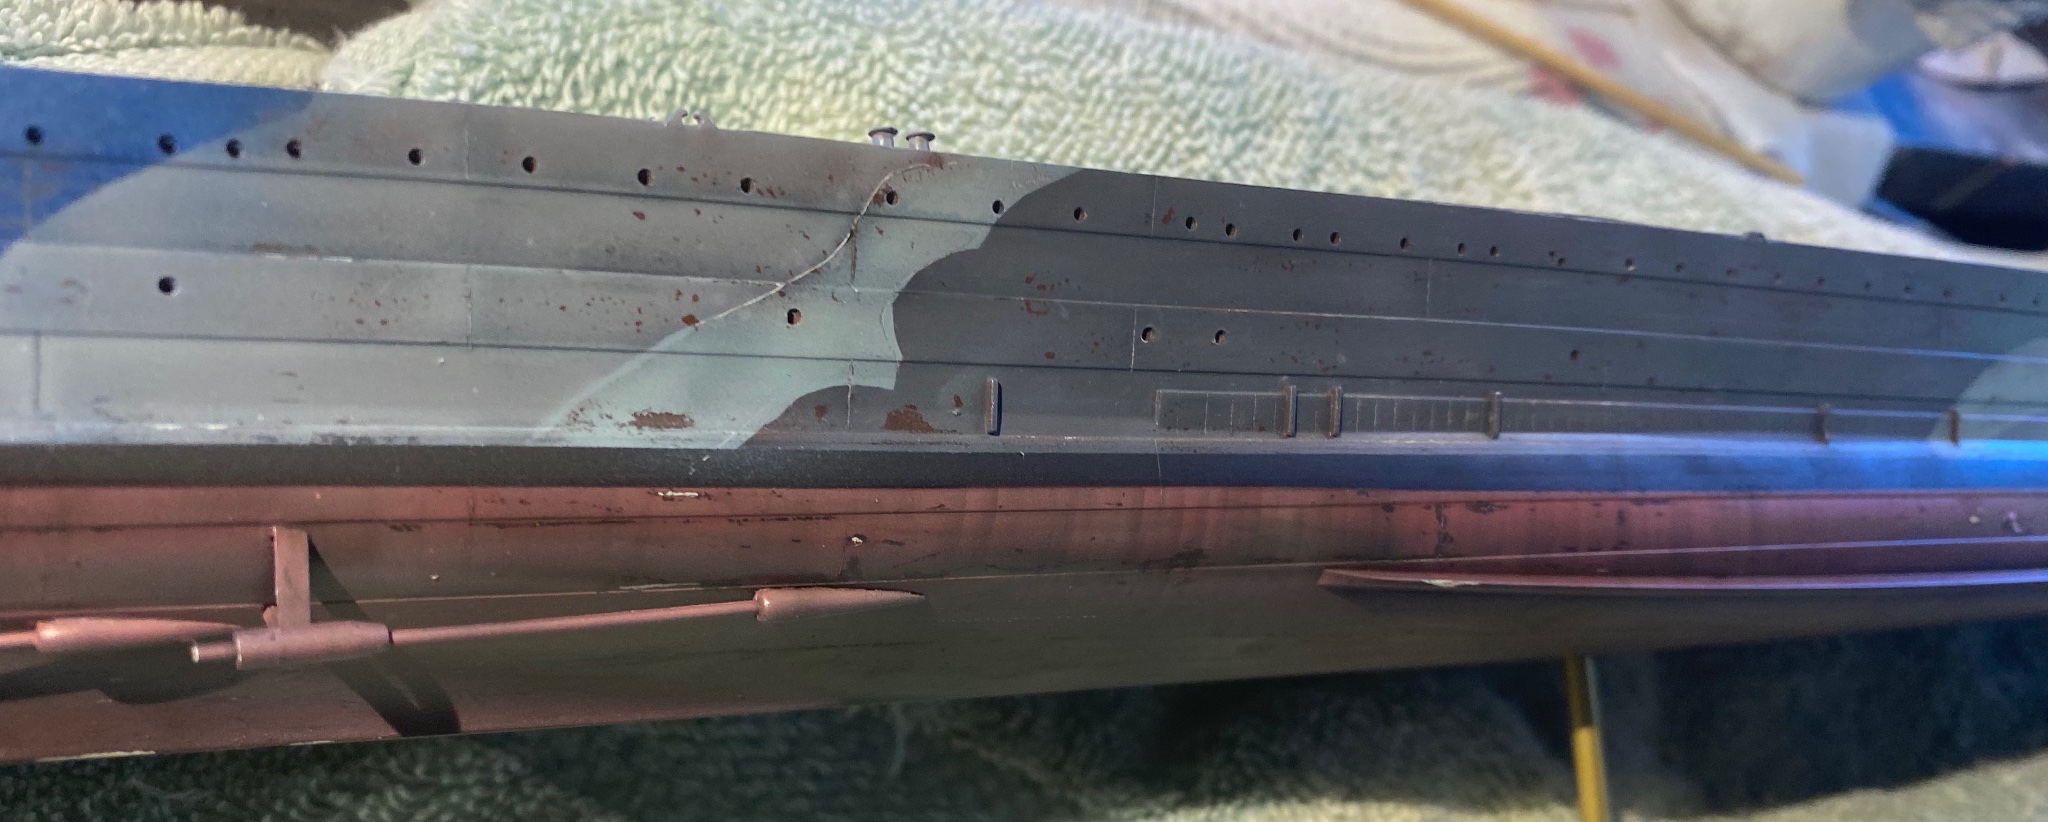
Washes and a light spray of tan to make it look like the paint has been worn down with foot traffic working the decks

-
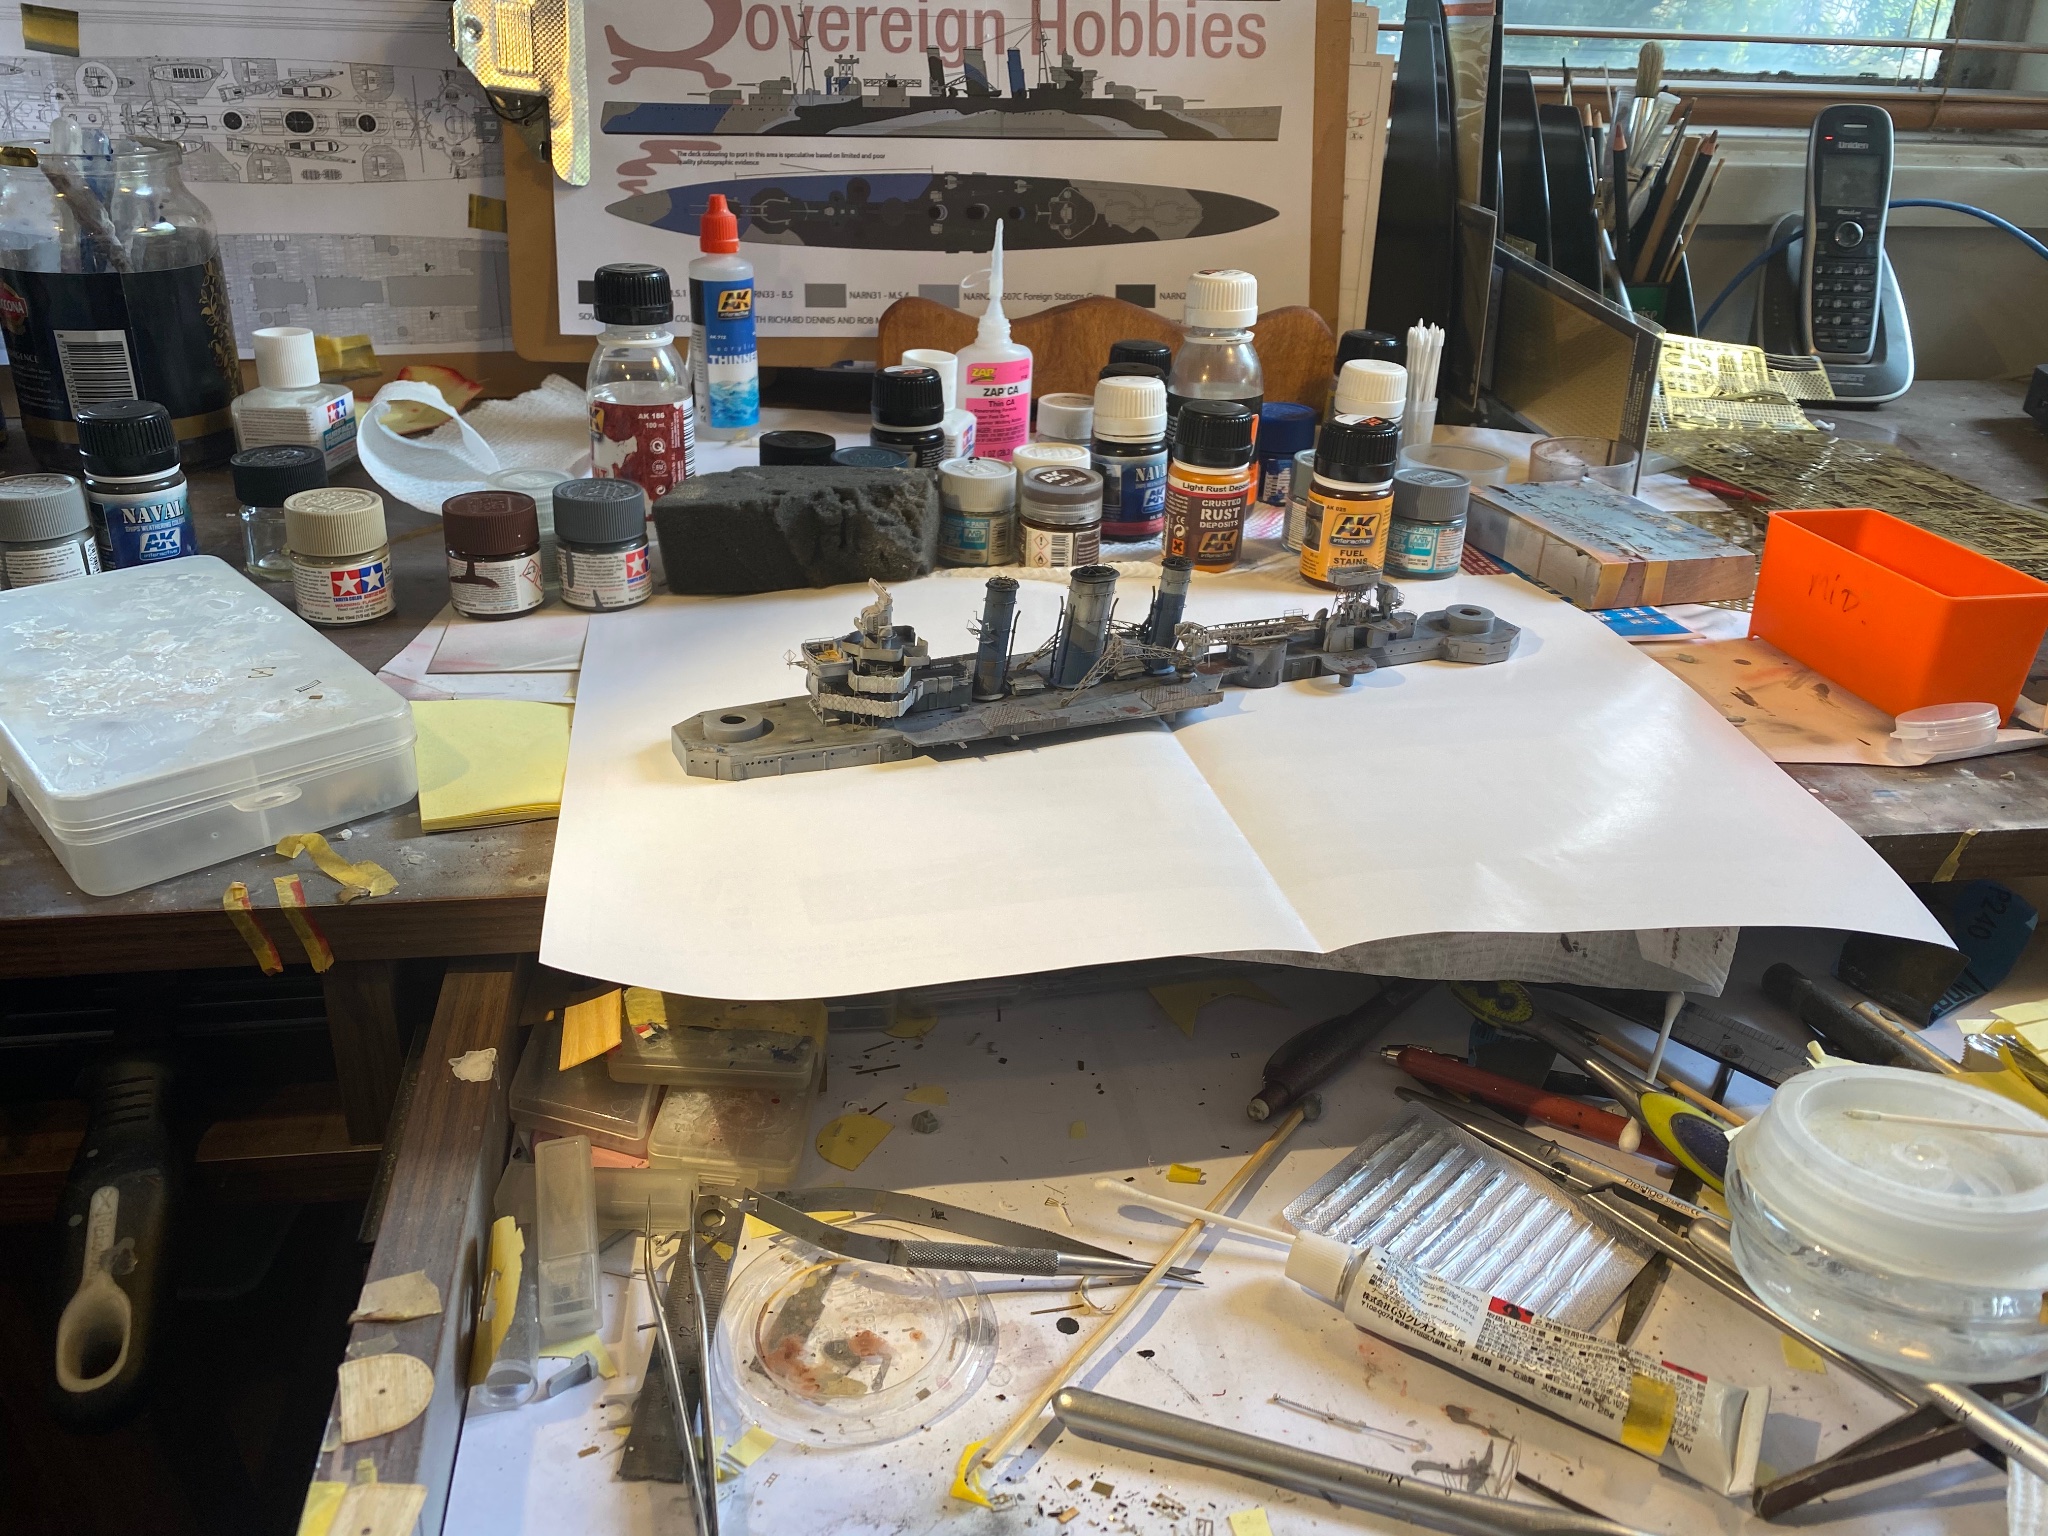
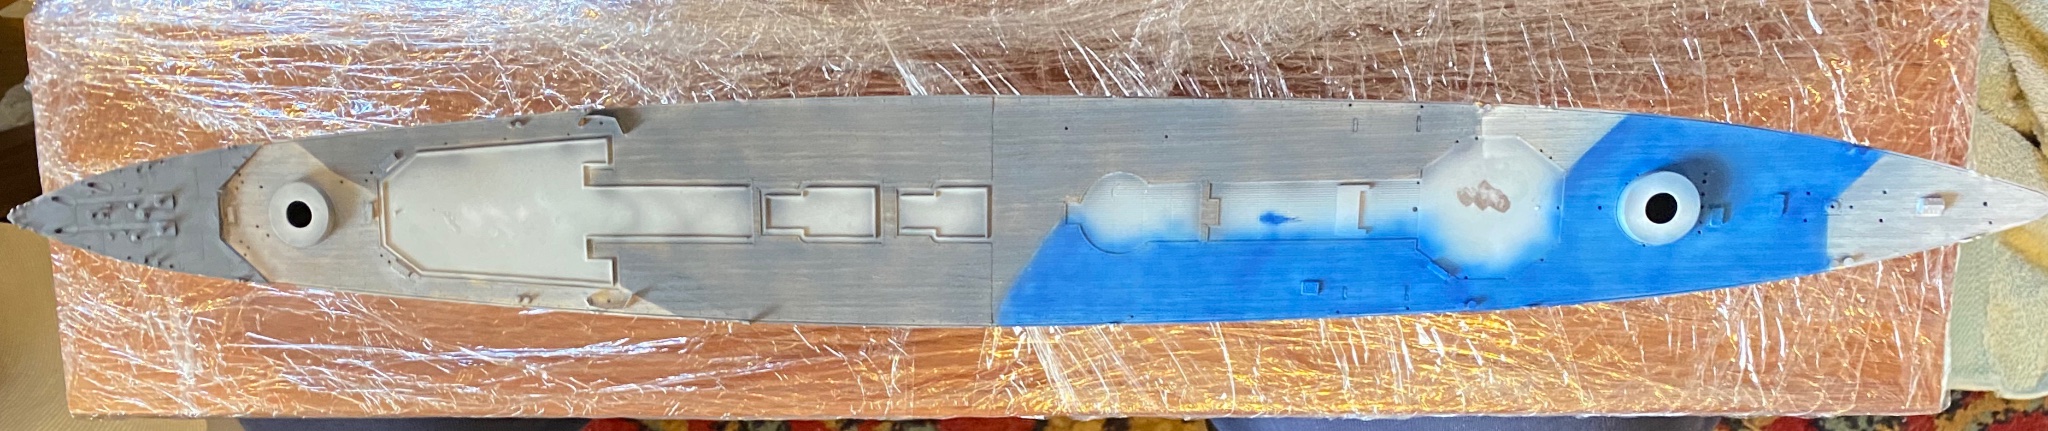
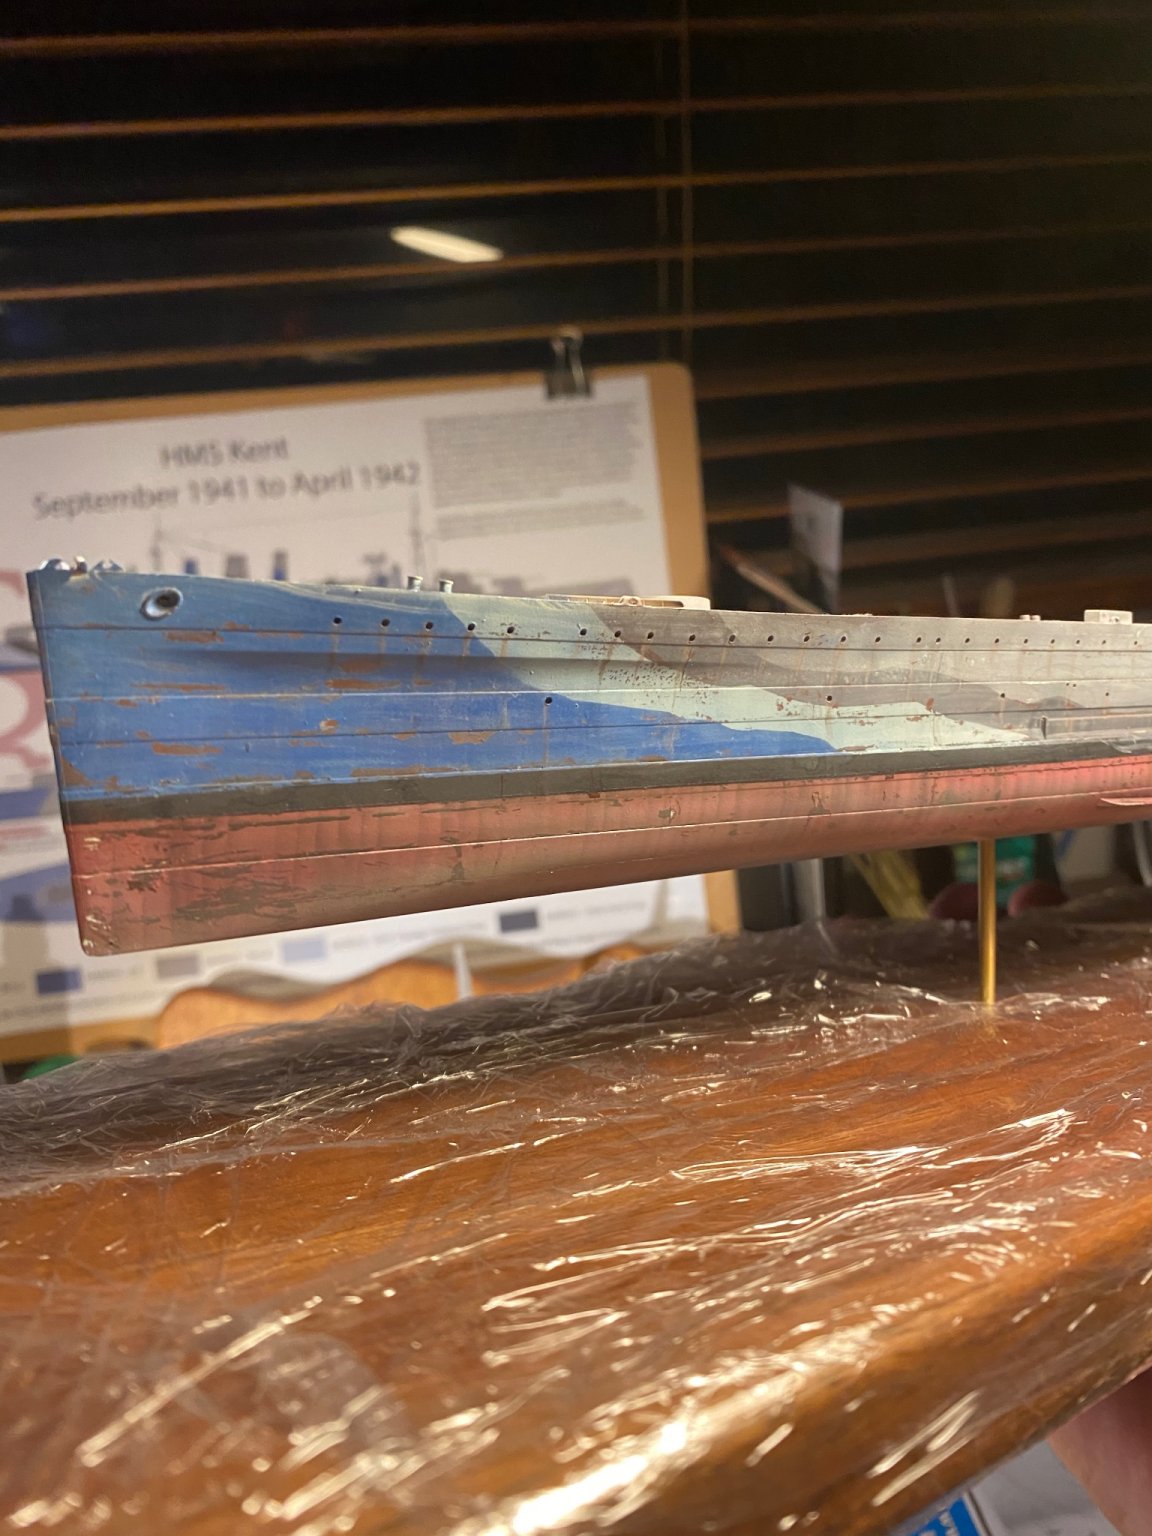
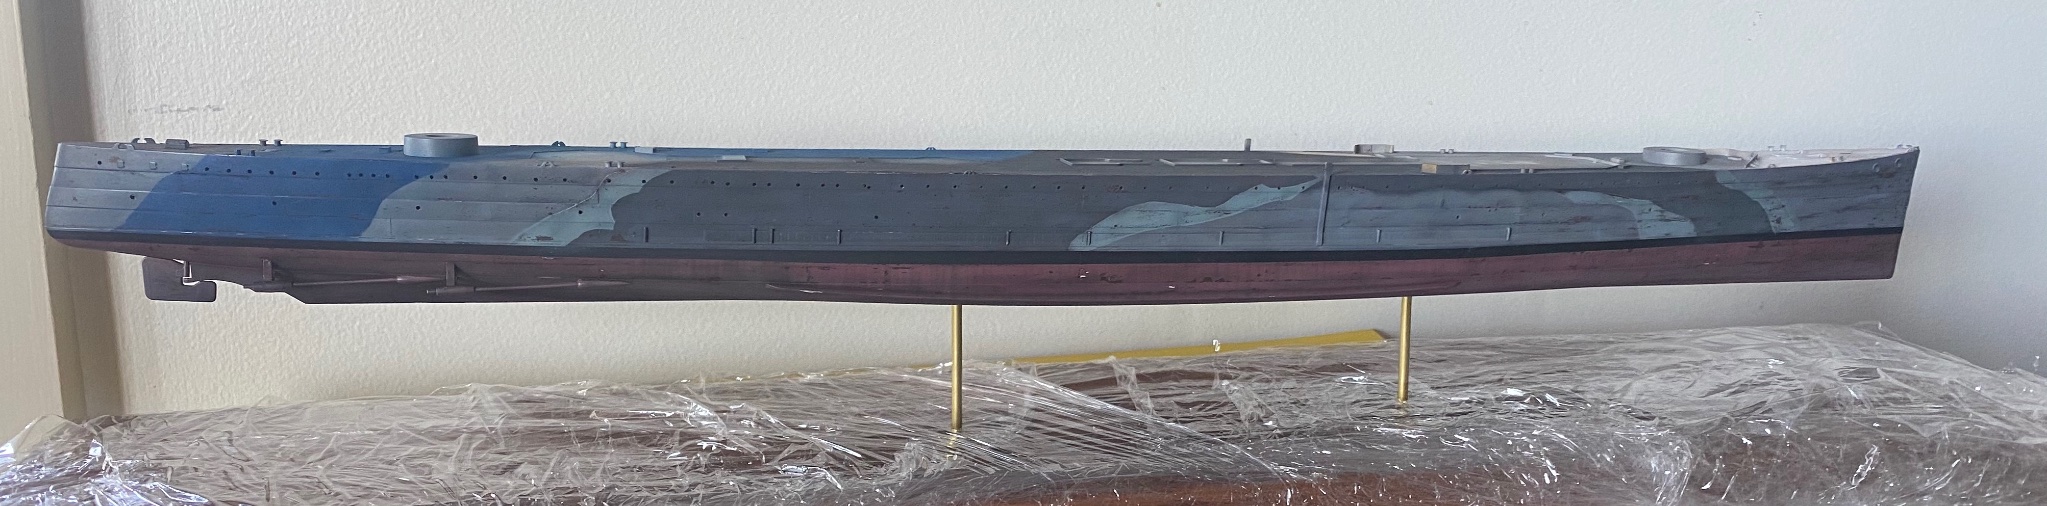
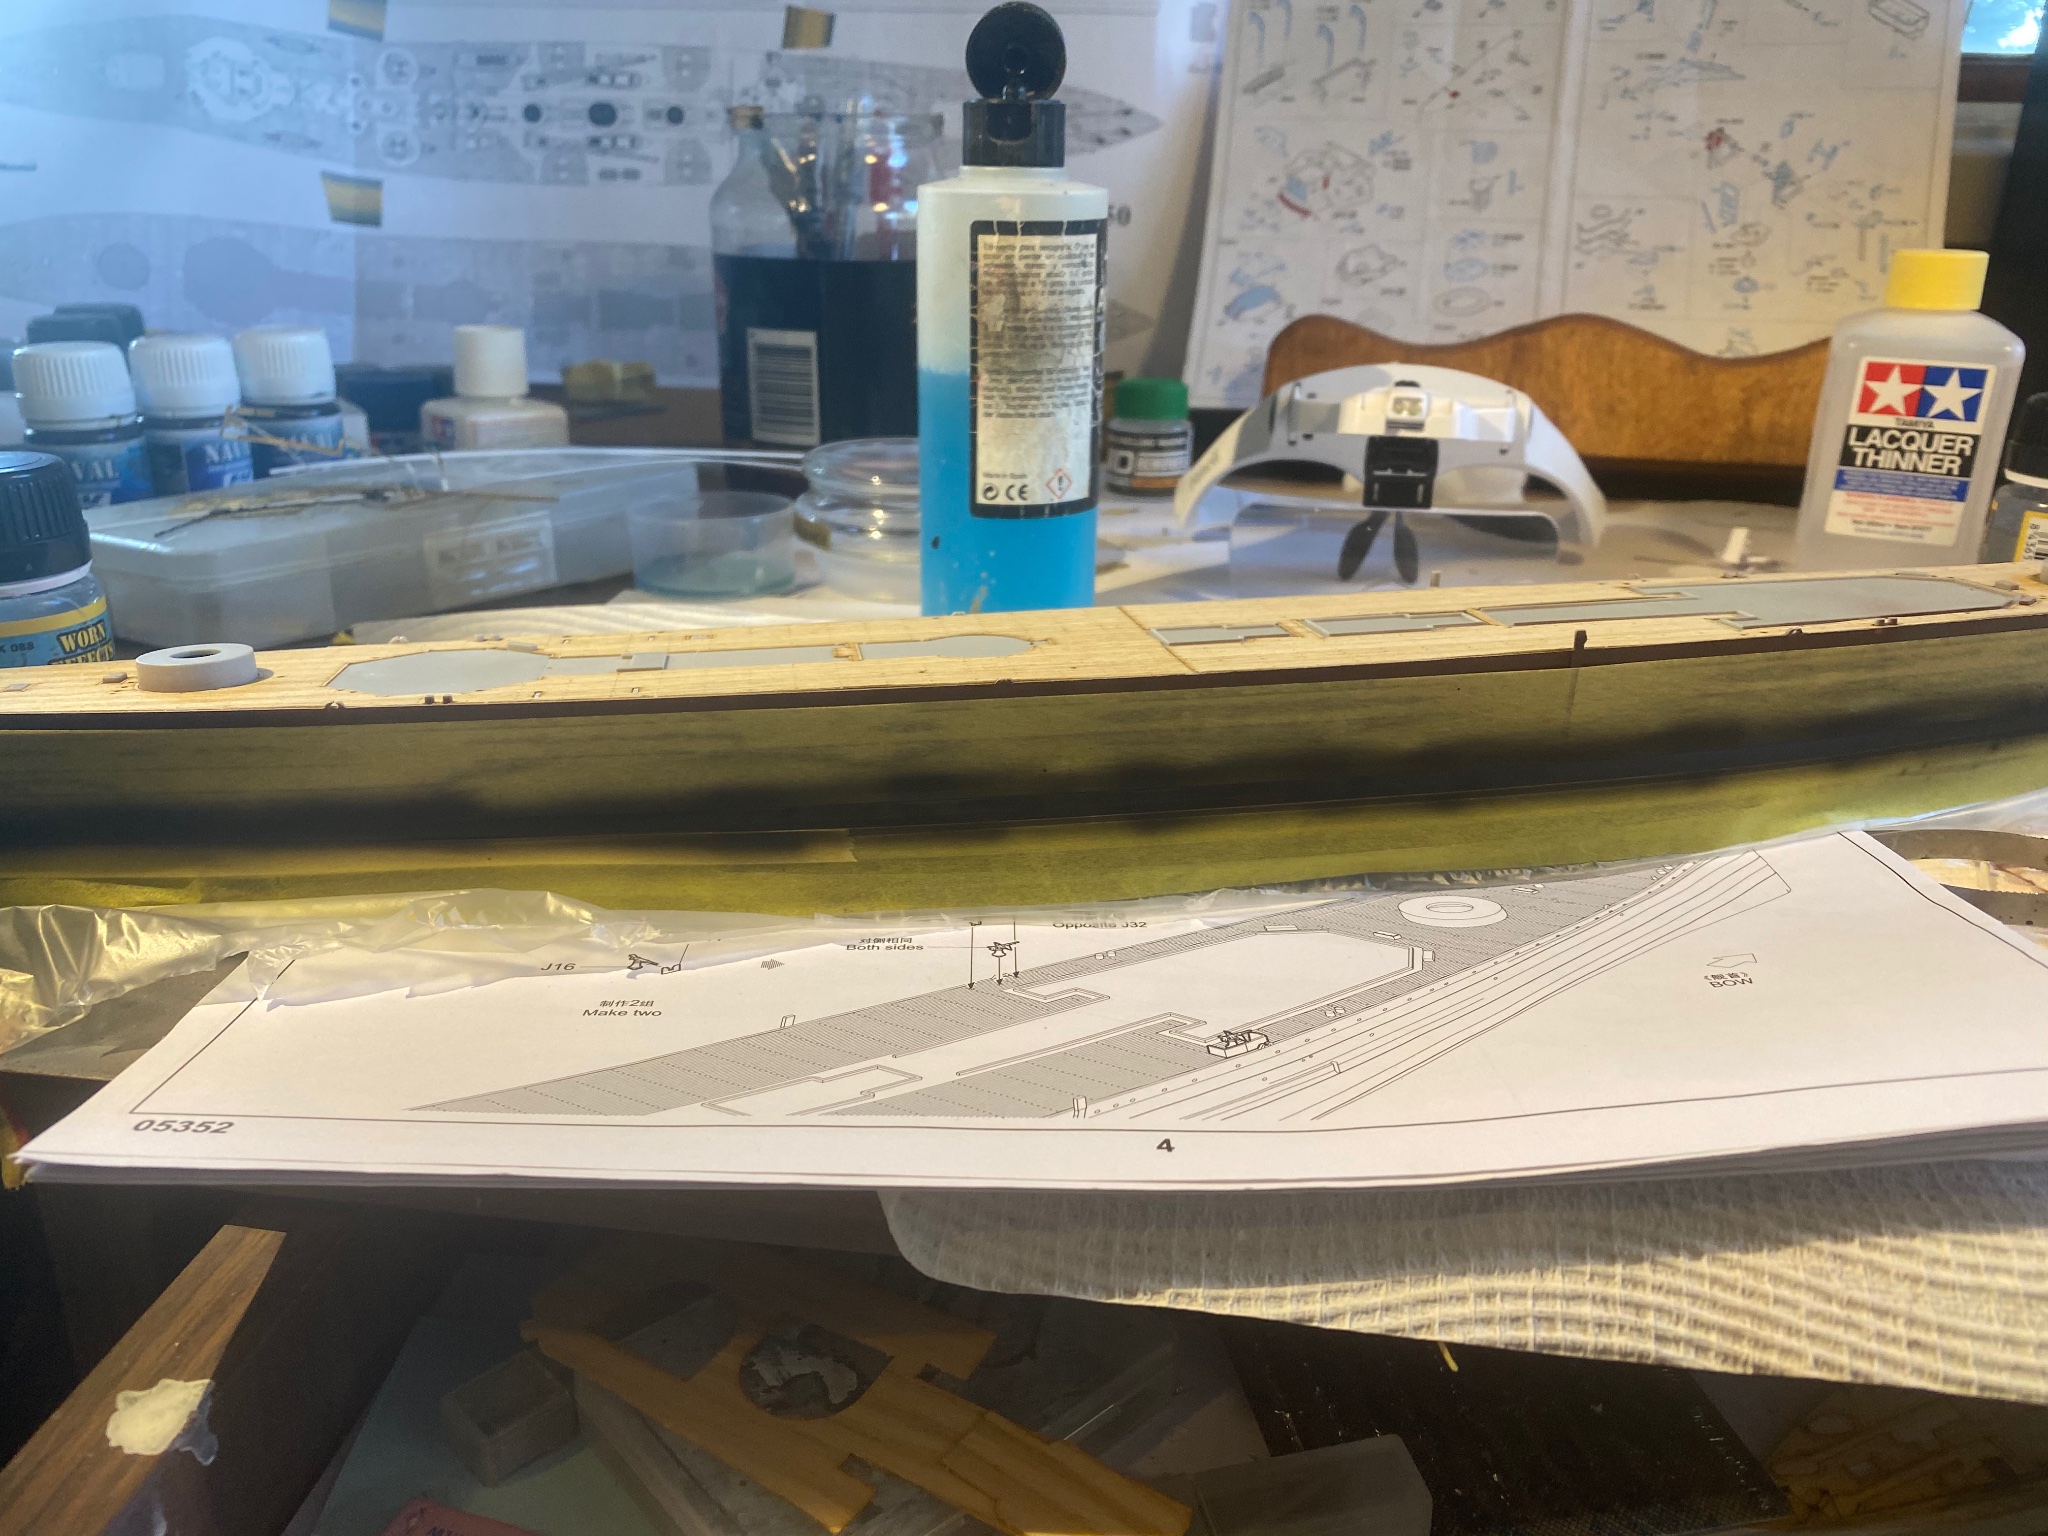
So a chance to get back to her. Stanchion holes drilled, Deck sprayed with a clear coats and some primer where required. Next is the undercoats of chipping fluids then time for the camouflage pattern and weathering that accordingly


-
It is certainly an epic build old boy. You must feel as though you are screaming towards the end. Spare parts are always useful in your next build........
-
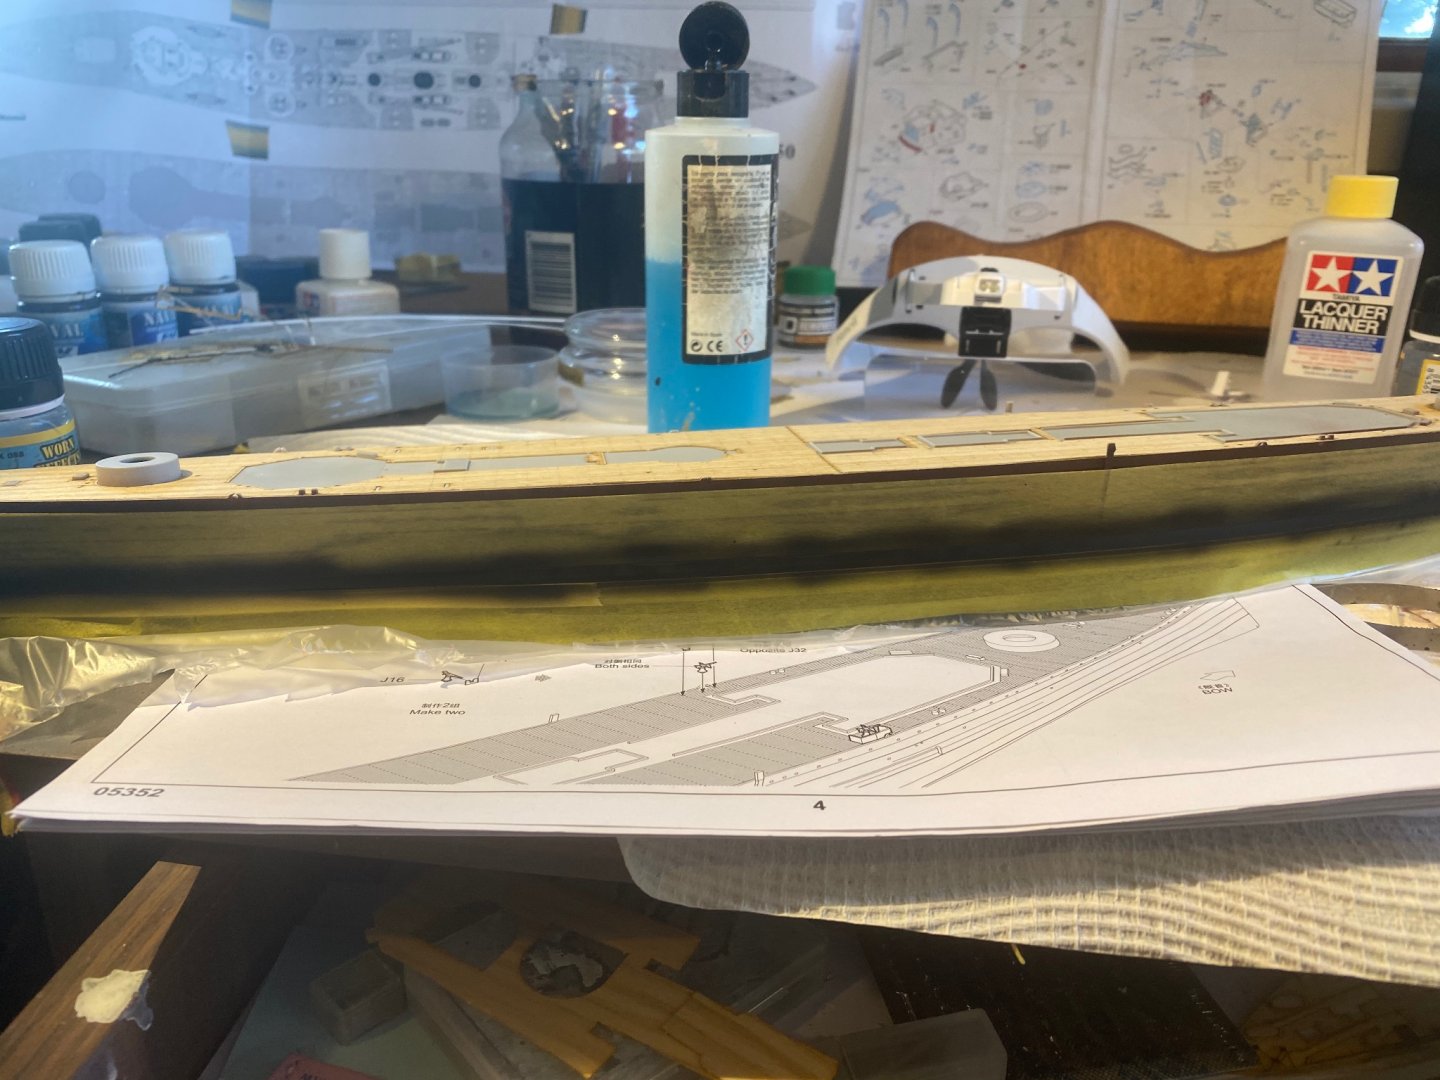
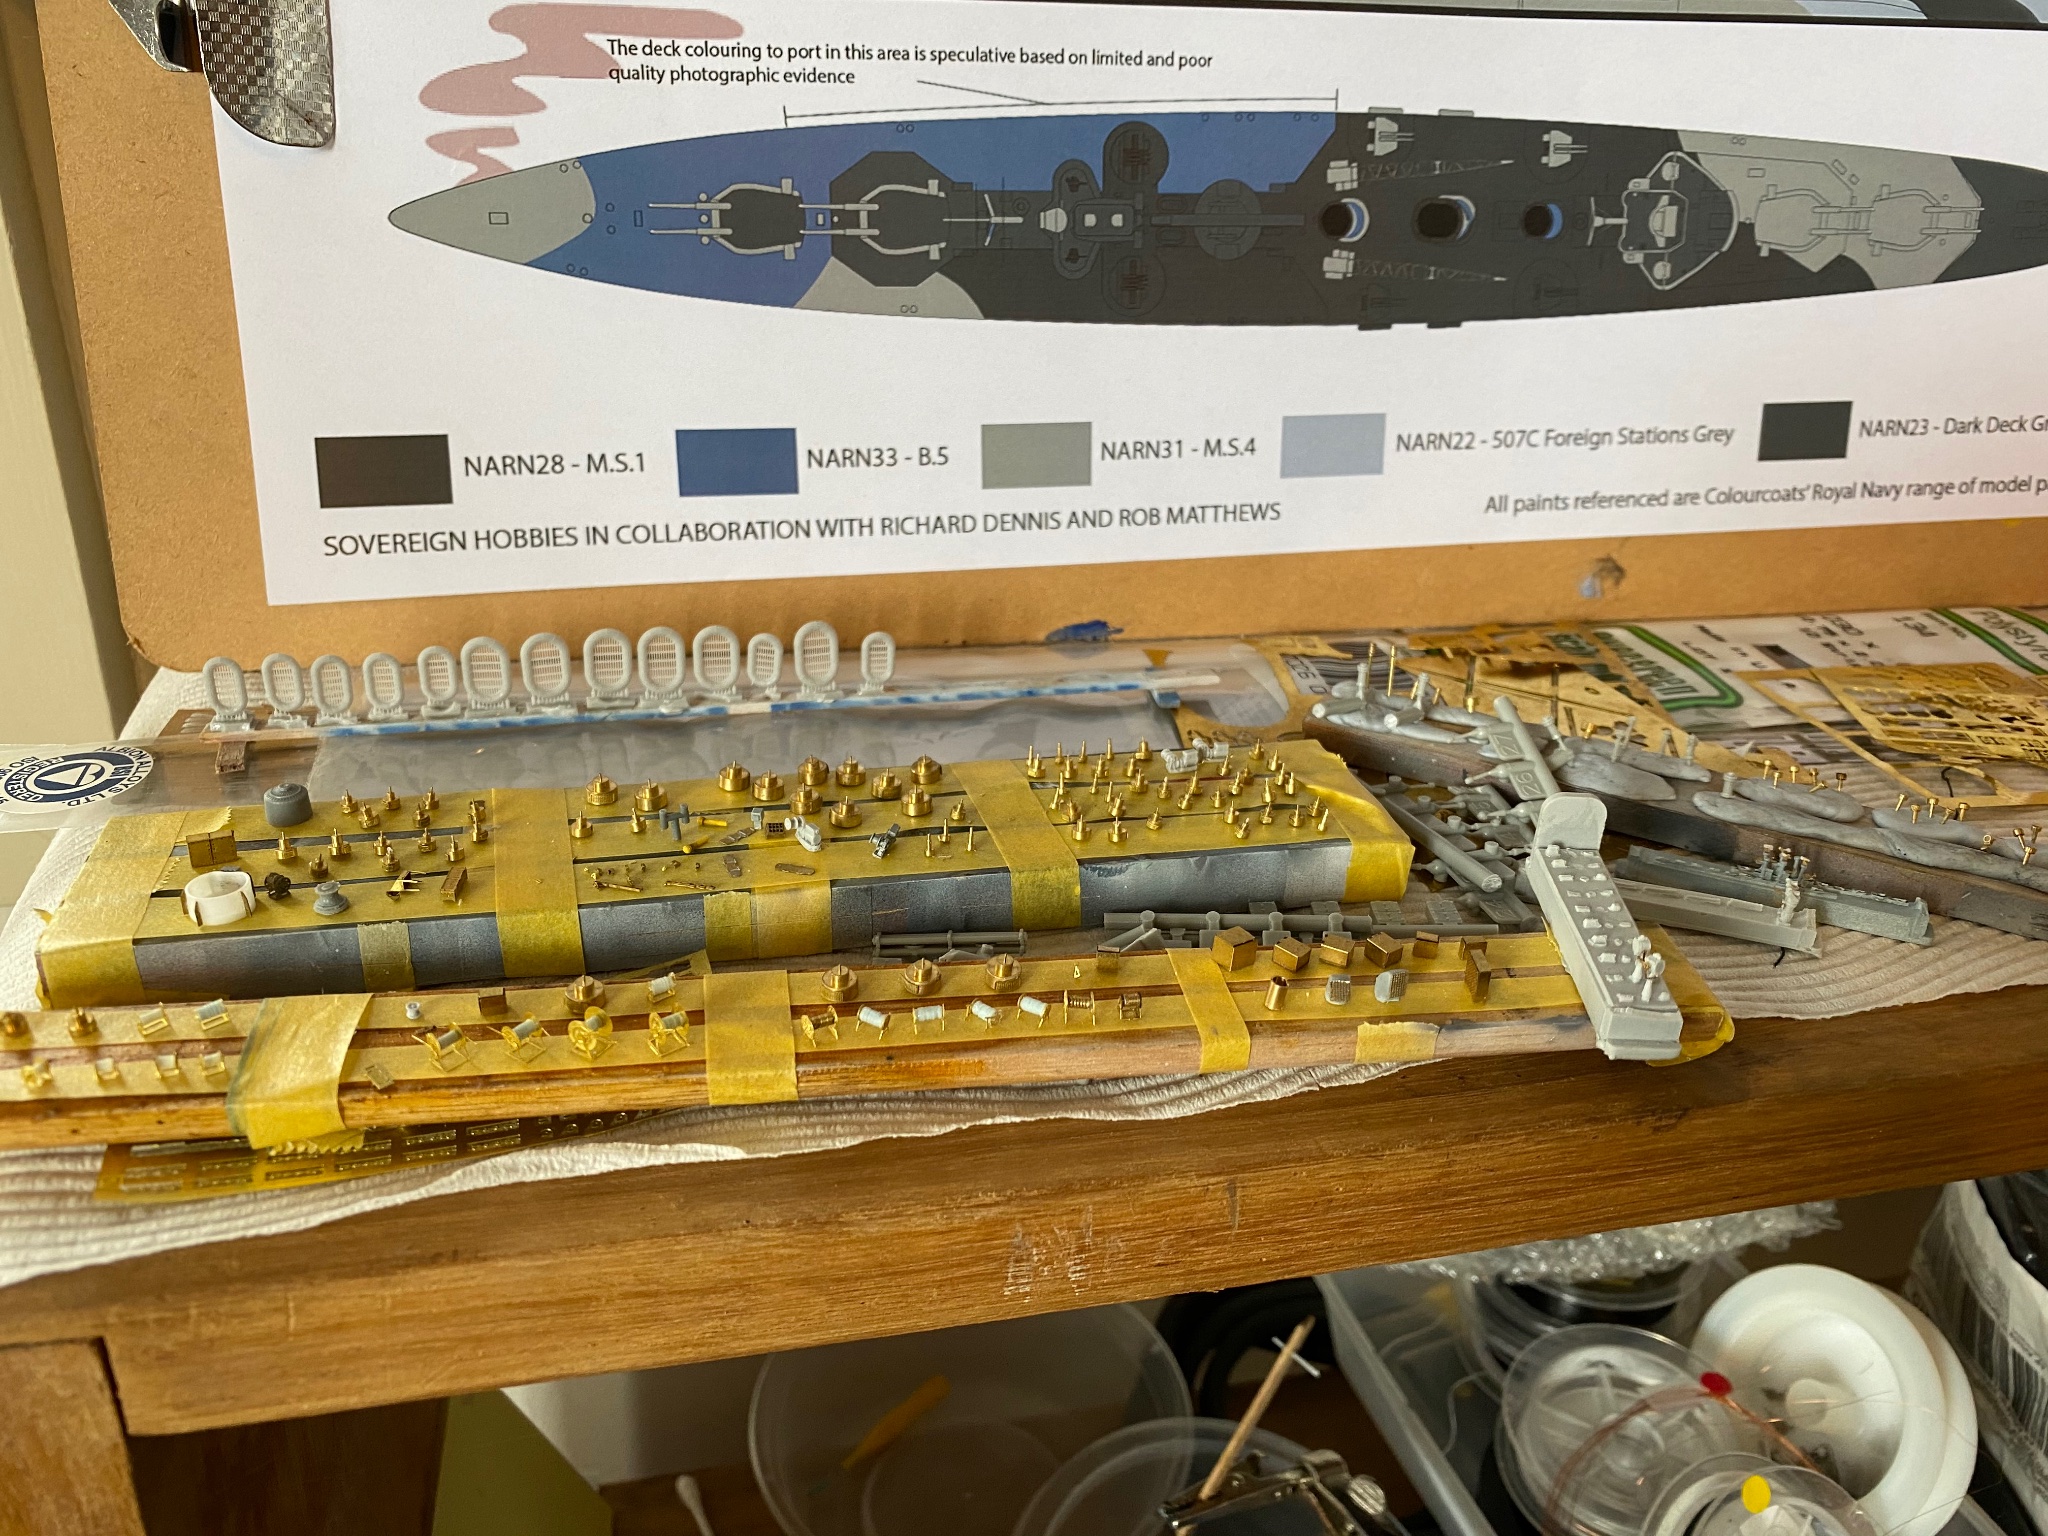
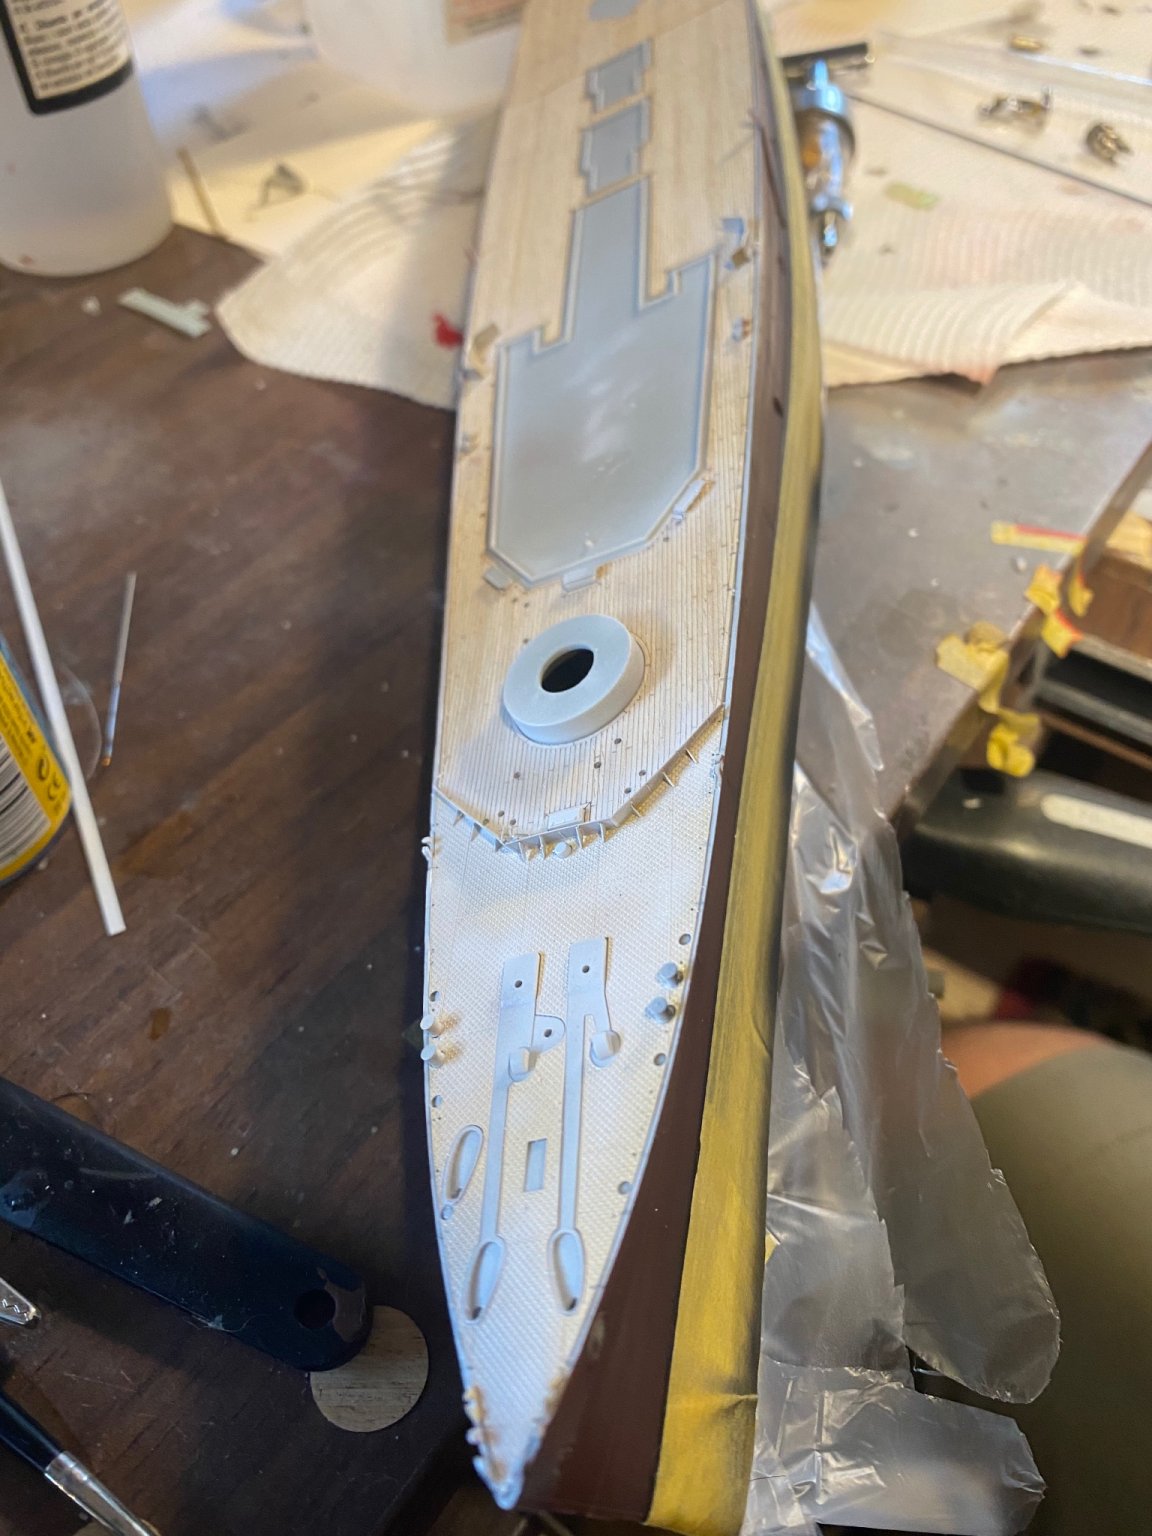
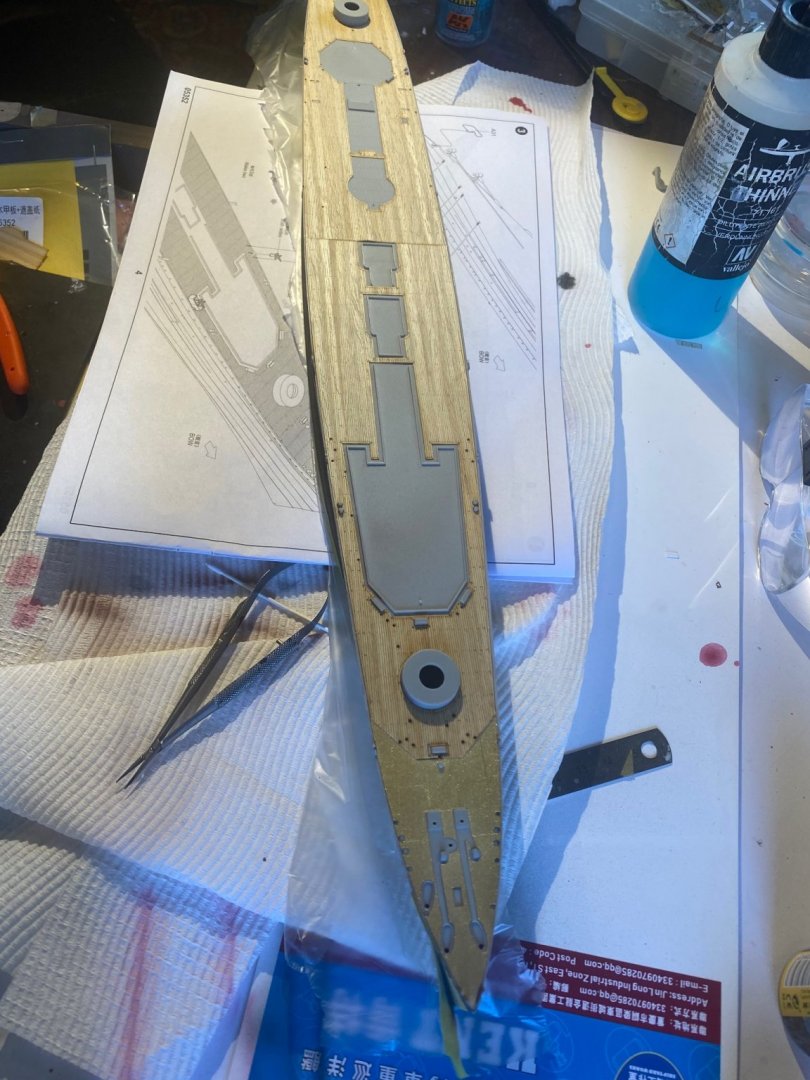
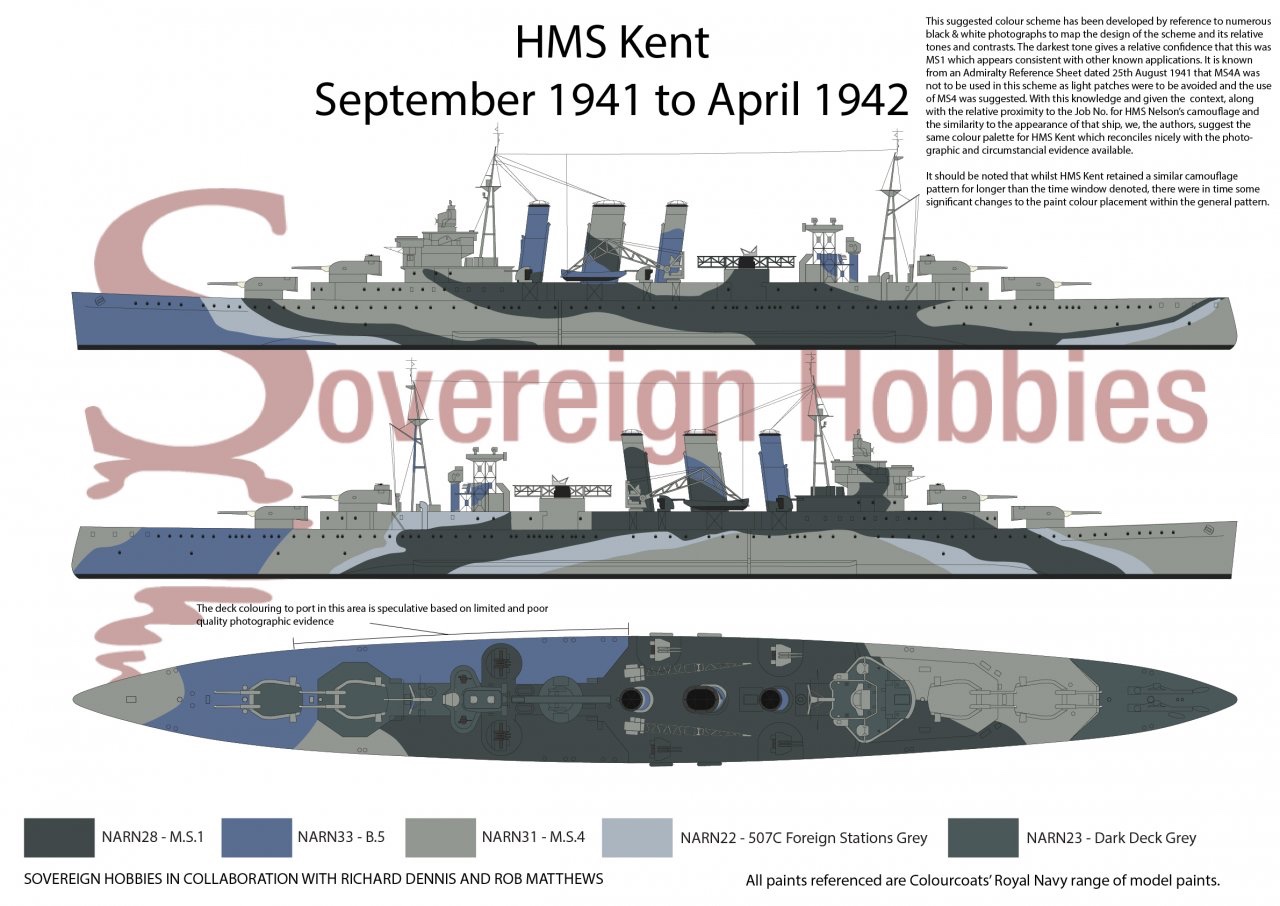
I got sets of decks, one that came with the PE focsle and a plastic backed (non adhesive deck- absolutely a nightmare to work with) and a full adhesive deck with a wooden focsle now cut to size. What you can’t see is I scraped the inner gunnels down so there is a half mm ledge, where I will now break lots of drill bits when I make the holes for stanchions. this ship actually had a painted deck. Jamie from Sovereign Hobbies is pretty much the expert in RN paints so I’m going to go with what he says. The colours may not be 100% accurate from me but Meh. It adds to the challenge weathering a painted deck like I did with My Essex. I’m thinking of giving it a clear coat over the deck first to help the paint bed down.
-
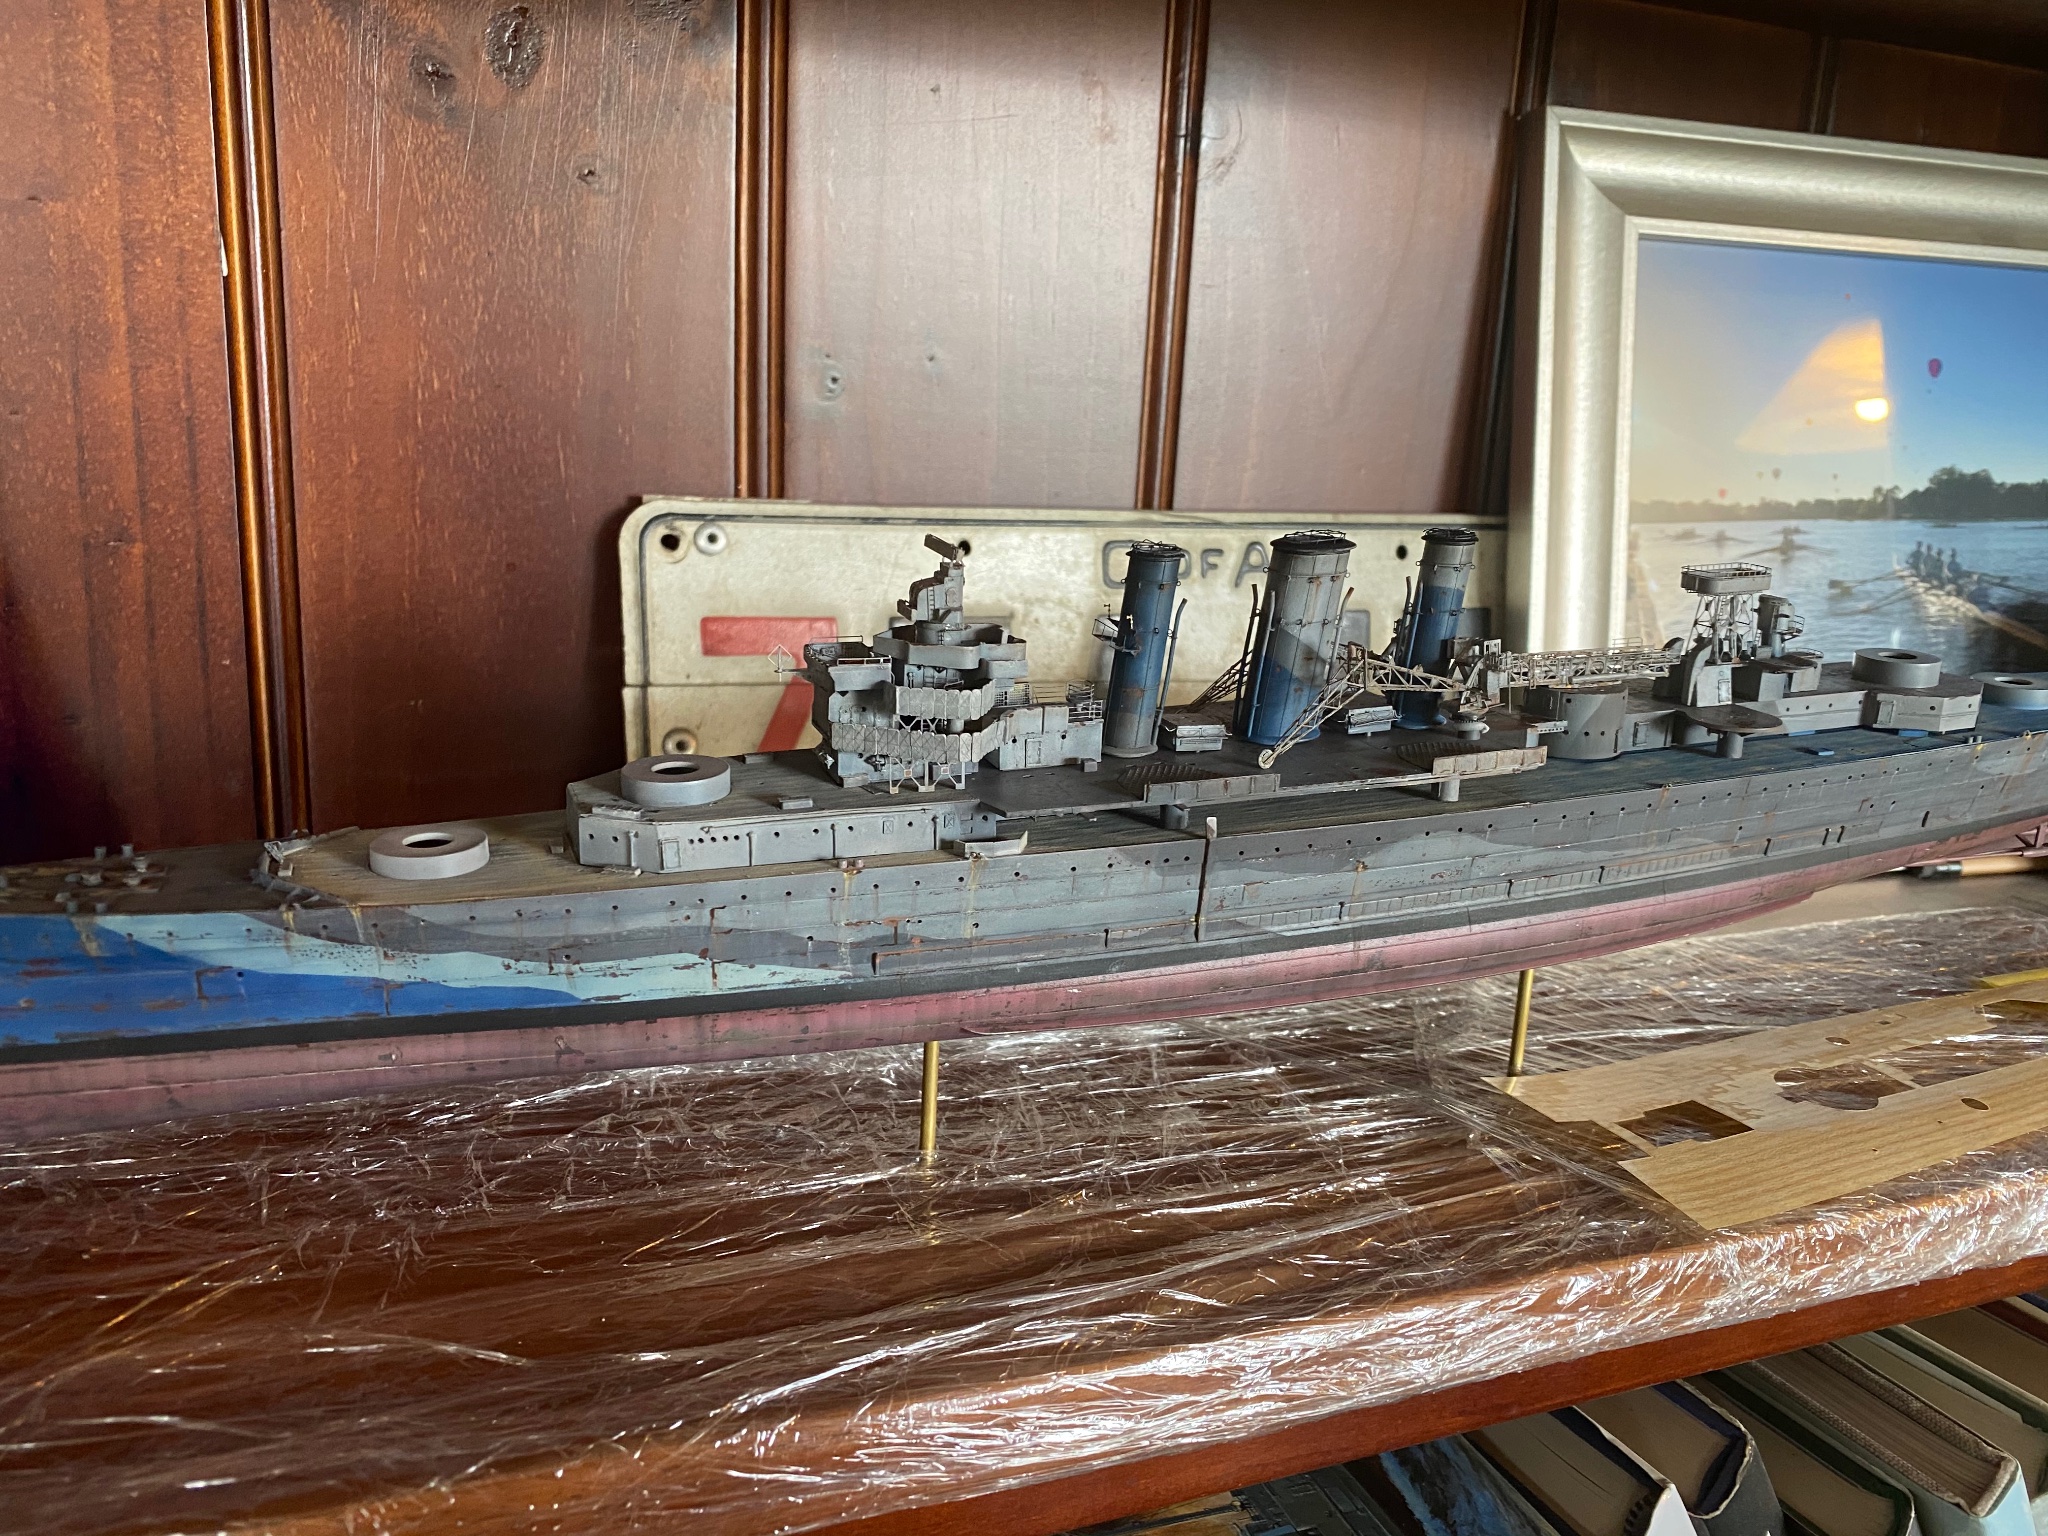
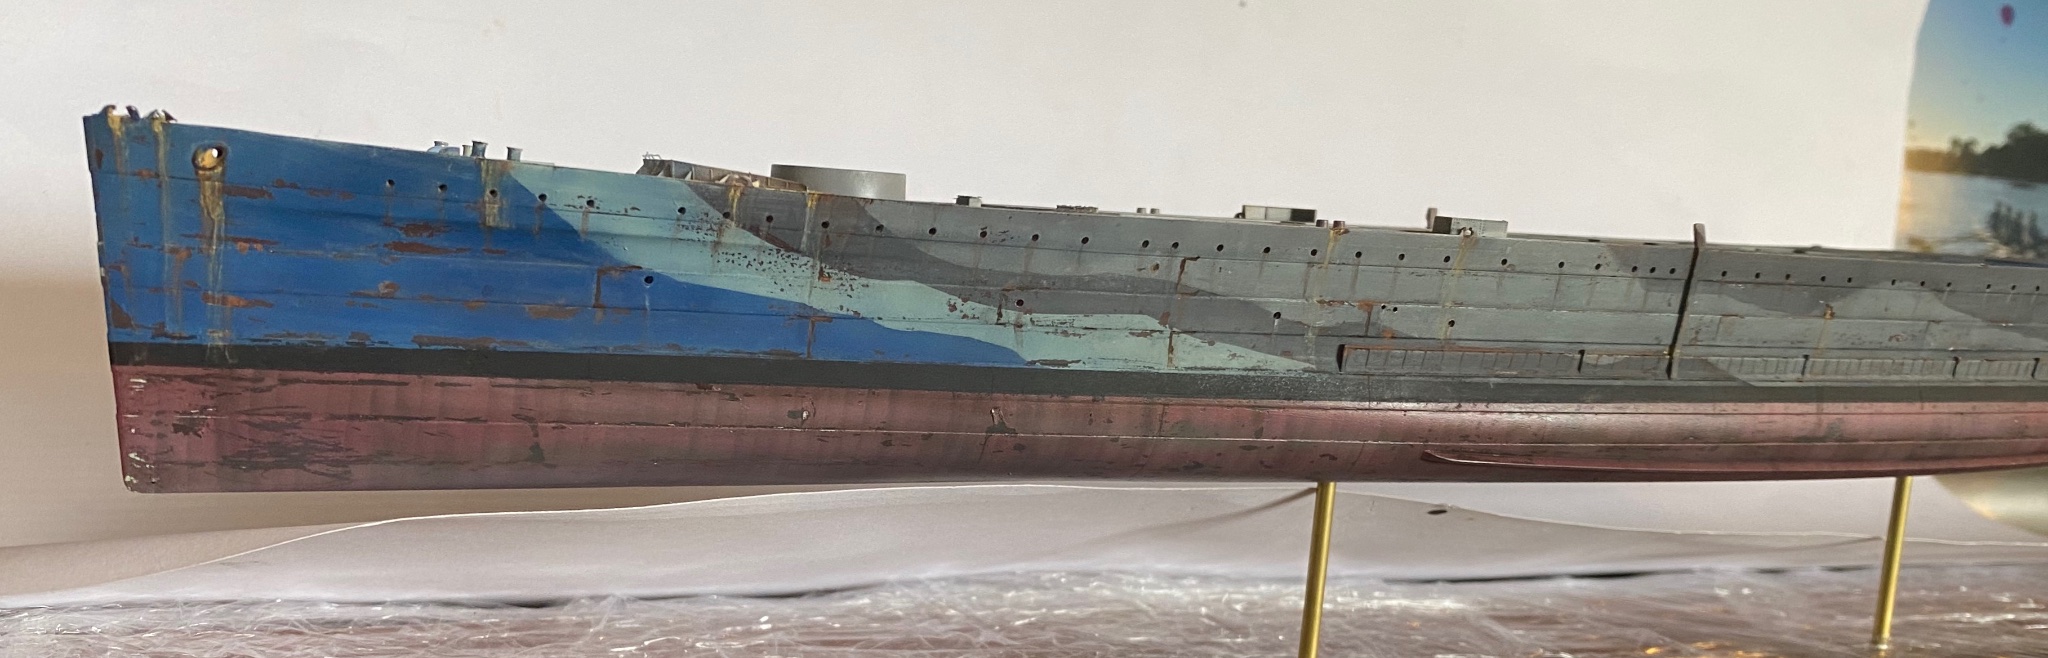
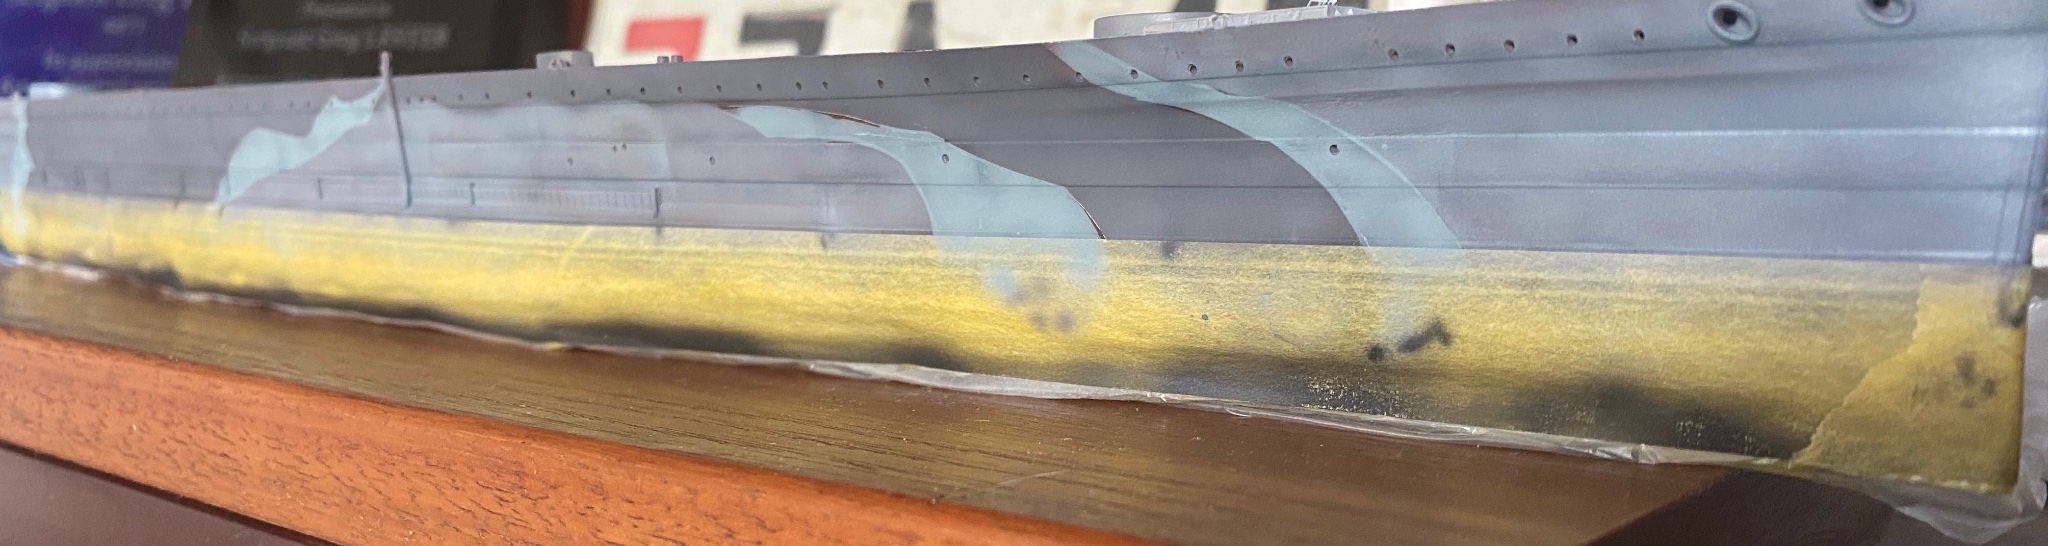
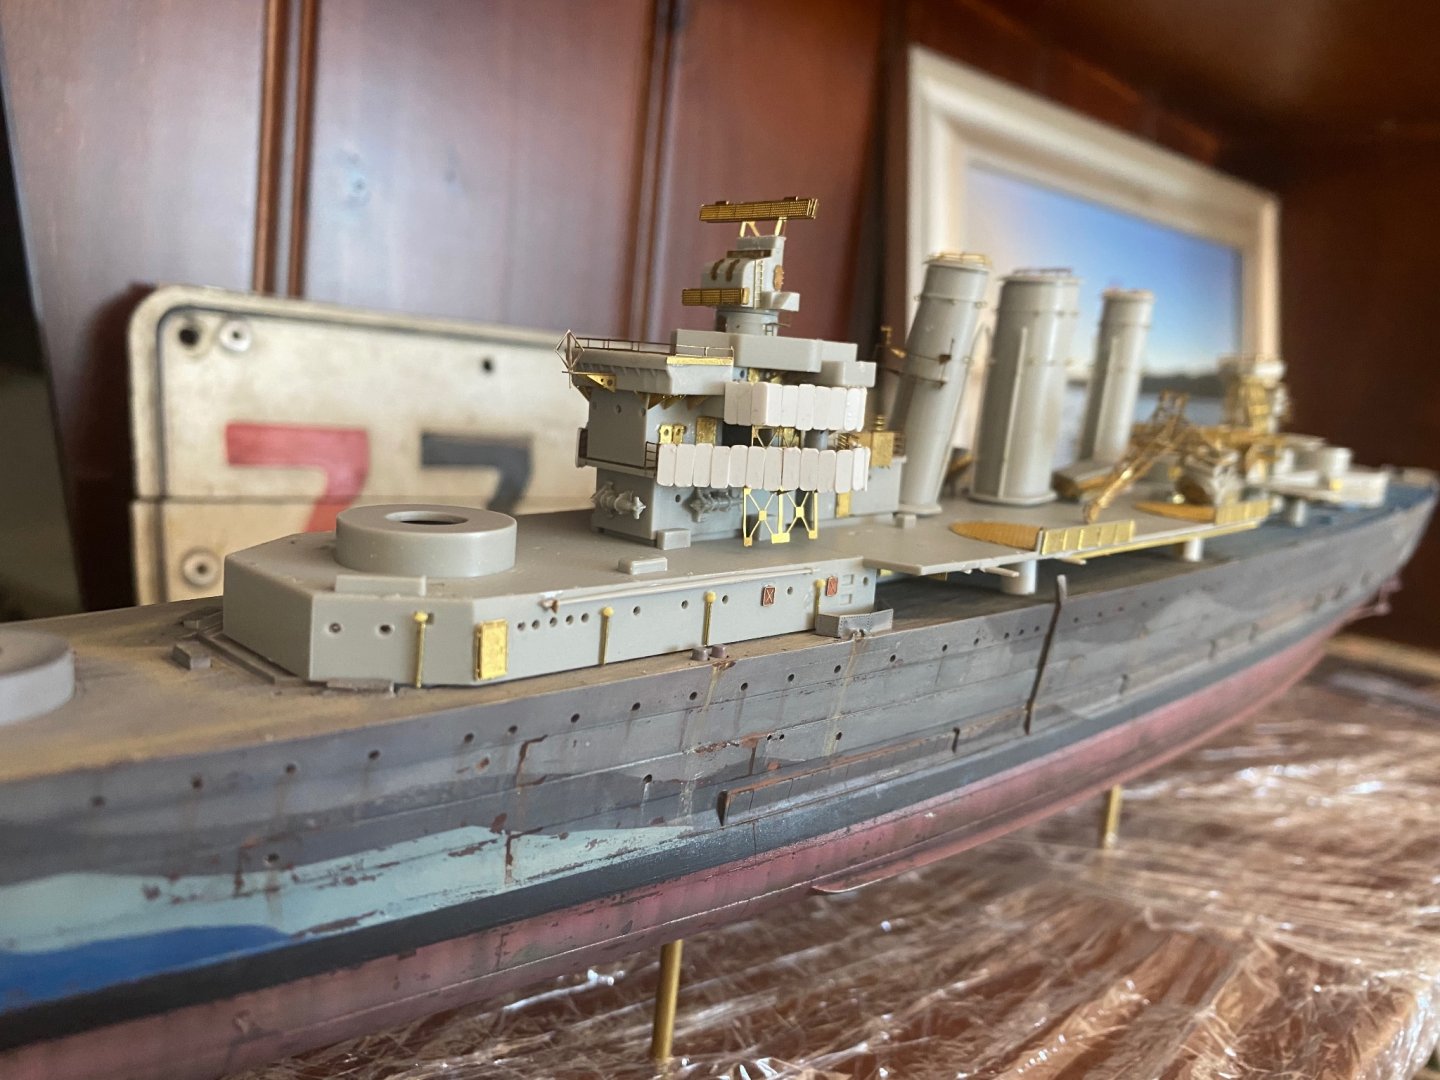
Now according to numerous armchair experts, the bootstrap was made of sterner stuff in the RN. Whilst there was a lack of enamel for the paint the bootstrap was important as it was the highest friction area and as such was painted well. masking done, a nice strait black line.