
HOLIDAY DONATION DRIVE - SUPPORT MSW - DO YOUR PART TO KEEP THIS GREAT FORUM GOING! (Only 13 donations so far - C'mon guys!)
×


Robin Lous
-
Posts
564 -
Joined
-
Last visited
Content Type
Profiles
Forums
Gallery
Events
Everything posted by Robin Lous
-
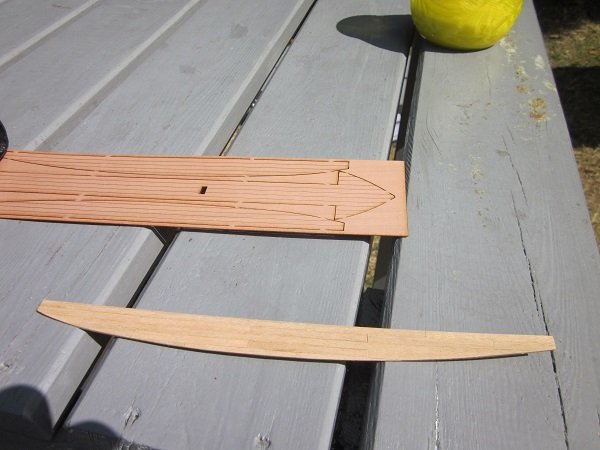
 Decks done! The finished decks look way too dark on this photo, but it's the shade and crazy light outside atm, 37 degrees Celsius and no cloud in sight. I didn't stain them...just a semi mat coat of varnish...real colour is more like the right side insert. Also finished cutting the rowers seat parts. I think I get those done tomorrow. Robin
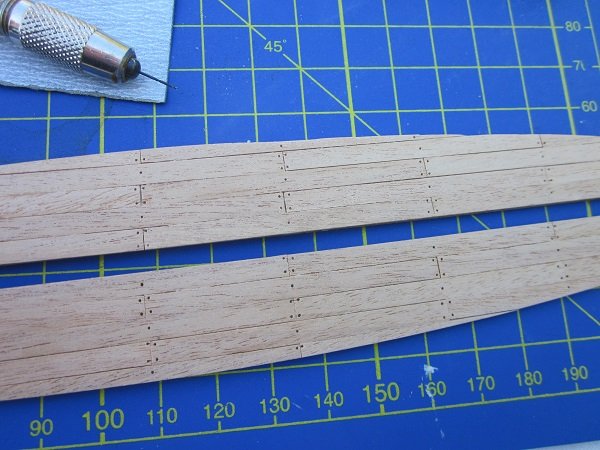
- 473 replies
-
- 8
-

-
- greek bireme
- dusek
- (and 1 more)
-
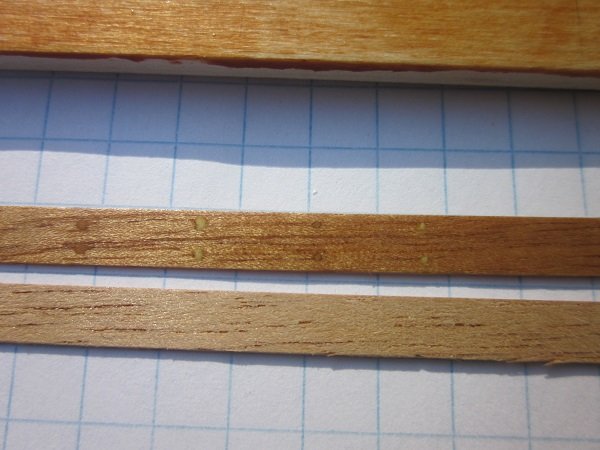
Before I move on, I did some testing. Drilled 0,5mm and 0,8mm holes in a scrap deck plank and filled them with light and dark wood filler. Still not sure what I like best. The 0,5 plugged holes are barely visible, but best to scale. I'll make up my mind after a few cups of coffee. Same with the wood staining swap I made. The dark colours are more realistic, because the Greek treated the wood with pine tar. The red brown (cherry) is more pleasing to the eye though...pffffff. Tough More soon, Robin
- 473 replies
-
- 11
-
-
- greek bireme
- dusek
- (and 1 more)
-
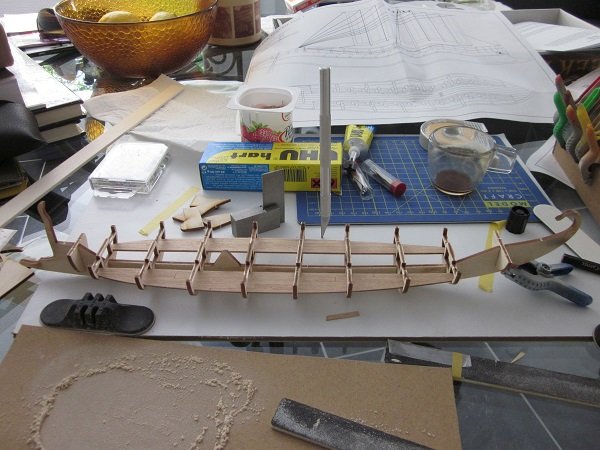
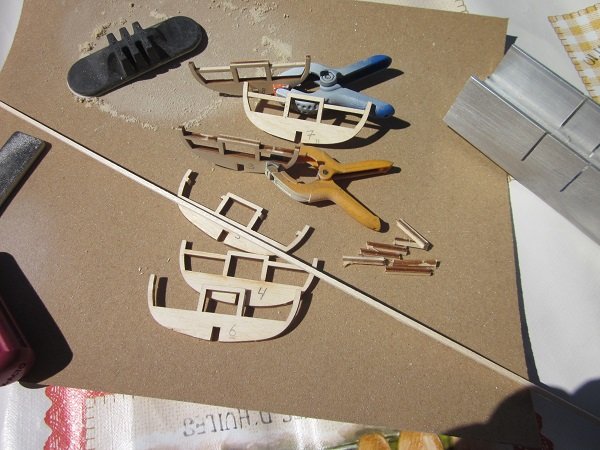
Hi again...in France now (with a horrid wifi connection). Started building Planked the decks instead of using the provided veneer. Cut out and cleaned up all the frame parts. This is just dry fitting, I need to do some other things before this. I cut off the 3mm wide beams (to support the top row seats) and replaced them with 1,5mm basswood. I did this because the original beams looked way too bulky (21,5cm real life is huge) and partly because I want to get rid of the plywood "look". More soon! Robin
- 473 replies
-
- 9
-
-
- greek bireme
- dusek
- (and 1 more)
-
whats an easier build for a first kit
Robin Lous replied to rdestefano01's topic in Wood ship model kits
All I can offer is a warm welcome -
Stuff like this....it scares me...inspiring! Robin
-
Thanks Keith! And...another PDF file to study. It feels like I'm learning to walk....with 56 years under my belt
-
I'll take a seat in the classroom, because I find the choise of wood difficult also. Robin
-
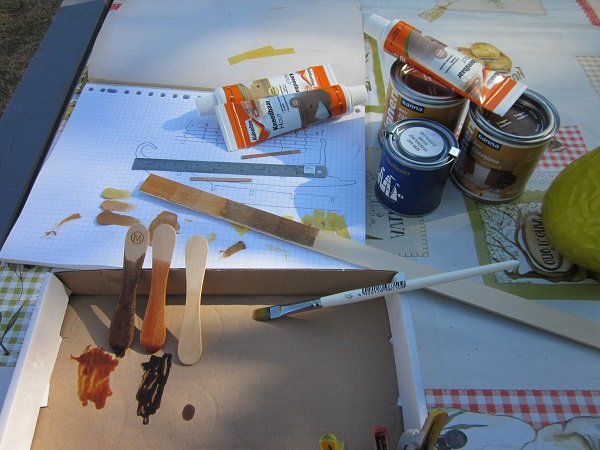
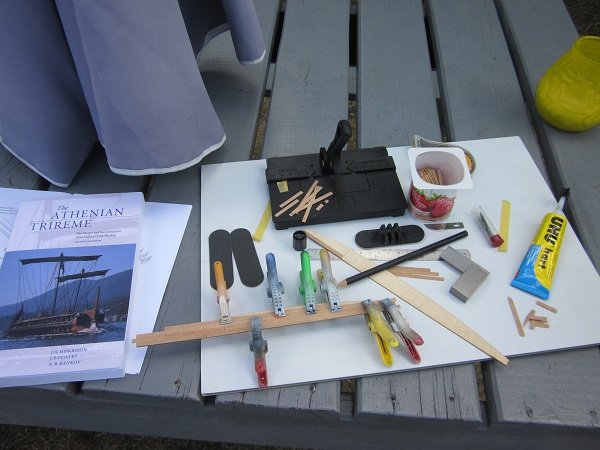
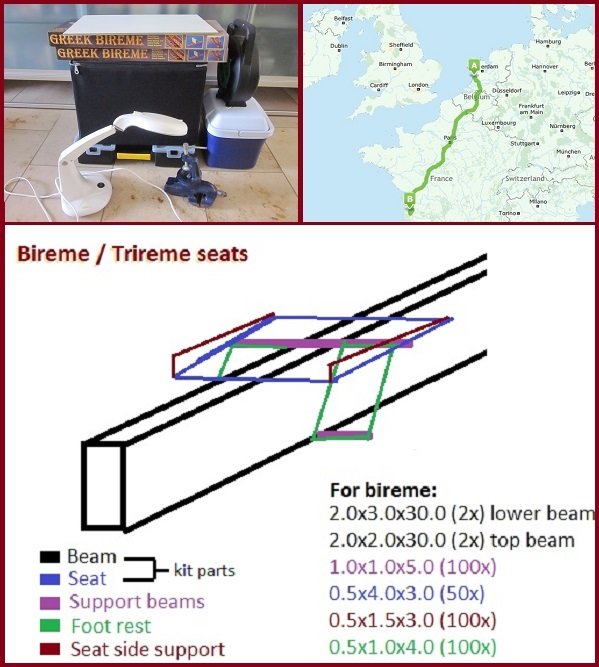
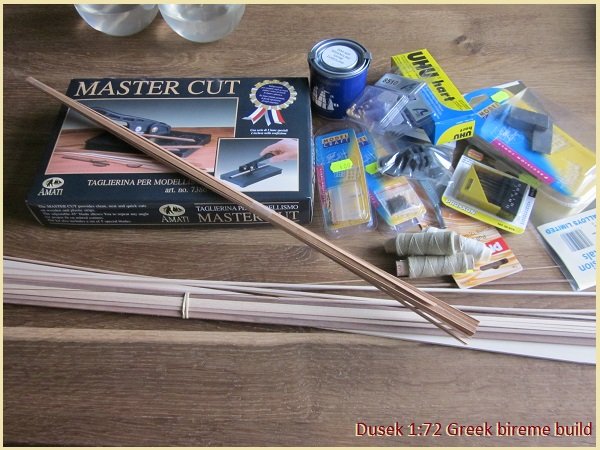
I think I got all I need to start my build, all packed and I did some research and planning. My "mobile shipyard" ready to move from the Hague Netherlands to the vineyards of Bordeaux in France. The first task will be the lower row of seats (both sides of course) for the oarsmen and the lower decks to support them. The kit supplied a 2x2mm beam for this, but that's only 14,4 cm high (1:1 scale), so I'll replace the beam with a 2x3mm beam. I'll scratchbuild a lot to modify the seats. 1x1mm beams to support the seats and foot rests...the foot rests themselves and a side support on each side of the seat. Each seat will go from 1 to 7 parts. An oarsman can't row without a proper foot rest. Specially the top row. There's no deck below the oarsman there. It will be a right mess with their feet dangling, they'll pull themselves off their seats when they use some force to row, so foot rests are a must. from 50 to 350 parts to start with Don't expect this to be a quick build! My next post will be early next week when I actually start building. Off to France! Robin Edit: foot rest: 0,5x1,5x4,0mm
- 473 replies
-
- 5
-
-
- greek bireme
- dusek
- (and 1 more)
-
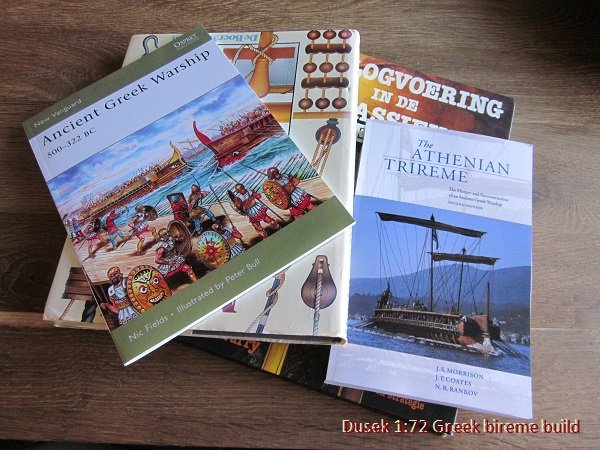
Thanks, I saved about all the bireme and trireme images available on the internet I think (and I have my books) Still somewhat tricky to take the information and images for granted, because there's a lot of guesswork, artistic freedom and copycat behavior out there. But also some properly researched findings, like the marble ship eyes. Also a nice 1st century bc bireme ram found on the Black Sea shore...thanks Tim (harlantk) Research and learning about what I build is a big part of the fun Robin
- 473 replies
-
- 7
-
-
- greek bireme
- dusek
- (and 1 more)
-
Thanks for the nice replies guys. To be honest...I bought two without giving it much thought, because I got a nice discount. With the 2 different sails I got also...I'll build two and I'll alter both, so they will be different. When I like this...and I expect I will, I'll do the same with two triremes. One with masts and sails (journey rigging) and one with the masts left ashore (battle rigging). But that's optimistic future talk, I don't have a clue how long it will take me to finish my first bireme. I now got all my books on the subject sorted out, but it's amazing how little is known about these famous ships. Robin
- 473 replies
-
- 6
-
-
- greek bireme
- dusek
- (and 1 more)
-
Wonderful! I was in Venice 2 months ago. Perhaps you like to see this....a Riva water taxi. Cheers, Robin
- 414 replies
-
- 7
-
-
- riva aquarama
- amati
- (and 2 more)
-
Mind blowing stuff going on here. Truly amazing! A joy to see this come together. Cheers, Robin
-
Airbrush
Robin Lous replied to Mike Dowling's topic in Painting, finishing and weathering products and techniques
Mike, I really hope...and I'm pretty sure of it...you'll appreciate the use of an airbrush. Kurt's idea to start with water on paper is a great tip! No stress...no mess. Enjoy! Rob -
Oh dear... Not even started and I already got myself enough stuff to scratch build a Spanish Armada Modelers behavior I guess. Very eager to start building now...one week to go. I'm now spending my time planning my build. Already figured out I won't use the printed deck, I'll plank the deck instead. Will also replace the plywood bow and stern with wood. The side of plywood looks like...uhh...plywood. Okey...one more week!
- 473 replies
-
- 9
-
-
- greek bireme
- dusek
- (and 1 more)
-
Airbrush
Robin Lous replied to Mike Dowling's topic in Painting, finishing and weathering products and techniques
Awesome! Whenever you need tips or help. Just ask. I highly recommend Vallejo Air acrylic paint. Imho much easier than Tamiya (cheaper also). Shake the paint bottles very well...and a bit more. Enjoy! -
Airbrush
Robin Lous replied to Mike Dowling's topic in Painting, finishing and weathering products and techniques
Airbrushing really isn't complicated, nor difficult. It's just a bit of practise to get the hang of it. When you use acrylics (Vallejo Air is very easy to use)...no toxic fumes or thinner, easy to clean the airbrush and a great smooth result. In Europe Harder & Steenbeck (a German brand) is very popular, but not cheap. Keep in mind a good airbrush will serve you for decades. But....!!!!!! I've seen a neat Revell airbrush starter set for 99 euros....perhaps give that a go? That won't break the bank and when you get addicted to using an airbrush (you will!) you can switch to something else in the future. Think of it this way...10 Tamiya rattlecans is about the price of a good airbrush. Don't give up! It really isn't that difficult and a neat starter set is worth trying. Cheers! Robin -
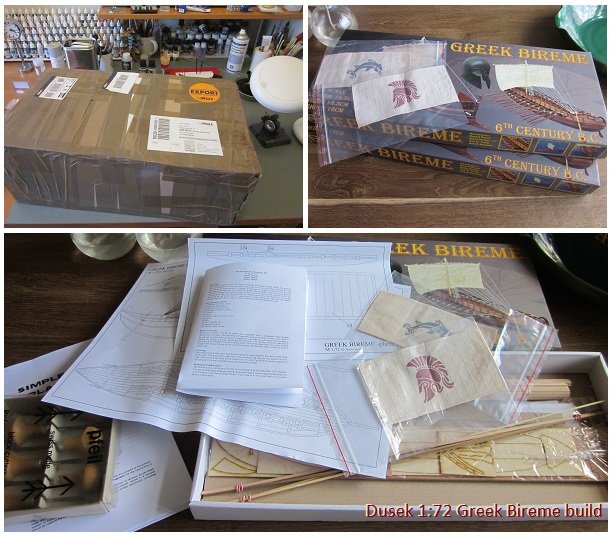
Today I received the two bireme kits and I'm busy packing my tools, so it's time to start my build log. I also received 2 ready made (already stitched) painted sails. they look really neat imho. I'm still waiting for some books on the subject, but I'll get them before we leave for France. I start this build as a vacation project, but I'm of course aware this will take me much longer. It's just a kick off. We rent a small cottage in the Médoc (Bordeaux region). My wife loves to read books and I love to do things with my hands (or I go insane). I used to bring a couple of plastic kits with me on vacation, but the insane amount of paint and tools made me look for something else to build. The Greek bireme seems to be a good choise. I love the subject, it's a good starter kit I think and I don't need that many tools...not as much as I used to drag with me anyway. Above all...no rediculous amount of paint jars, airbrush and compressor! We leave the 19th. I'll use this time to educate myself. Read this forum, read downloaded tutorials and watch youtube videos....and hopefully I won't make too much of a fool of myself when I start building in two weeks time. Looking forward to this! Robin
- 473 replies
-
- 13
-
-
- greek bireme
- dusek
- (and 1 more)
-
Weathering a copper hull
Robin Lous replied to Ray1981's topic in Painting, finishing and weathering products and techniques
Another way... Basecoat the copper plates black. Then airbrush the plates with copper (Vallejo Metal Color range is really good). Wash with emerald green and a wash mix of black and brown after that. Can highlight with the airbrush with copper again (very lightly..a thin layer). -
Perhaps you can use the flexible masking tape from Tamiya for this? I love this tape! I only used it for airbrushing and it does it's job really nicely. Be careful with brush painting...paint can creep underneath tape when you use a brush.
- 32 replies
-
- 2
-
-
- billing boats
- norden
- (and 2 more)