

Timothy Wood
-
Posts
571 -
Joined
-
Last visited
Content Type
Profiles
Forums
Gallery
Events
Posts posted by Timothy Wood
-
-
Greetings,
I happy to say the BlueJacket 80' ELCO PT Boat is finally finished after a little over two years!

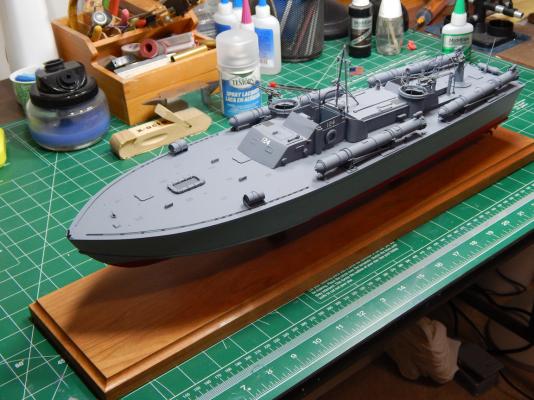


Cheers,
Tim
- Elia, Bobstrake, captainbob and 20 others
-
 23
23
-
-
-
Thanks Guys! With some luck I'll finish it in this lifetime!

-
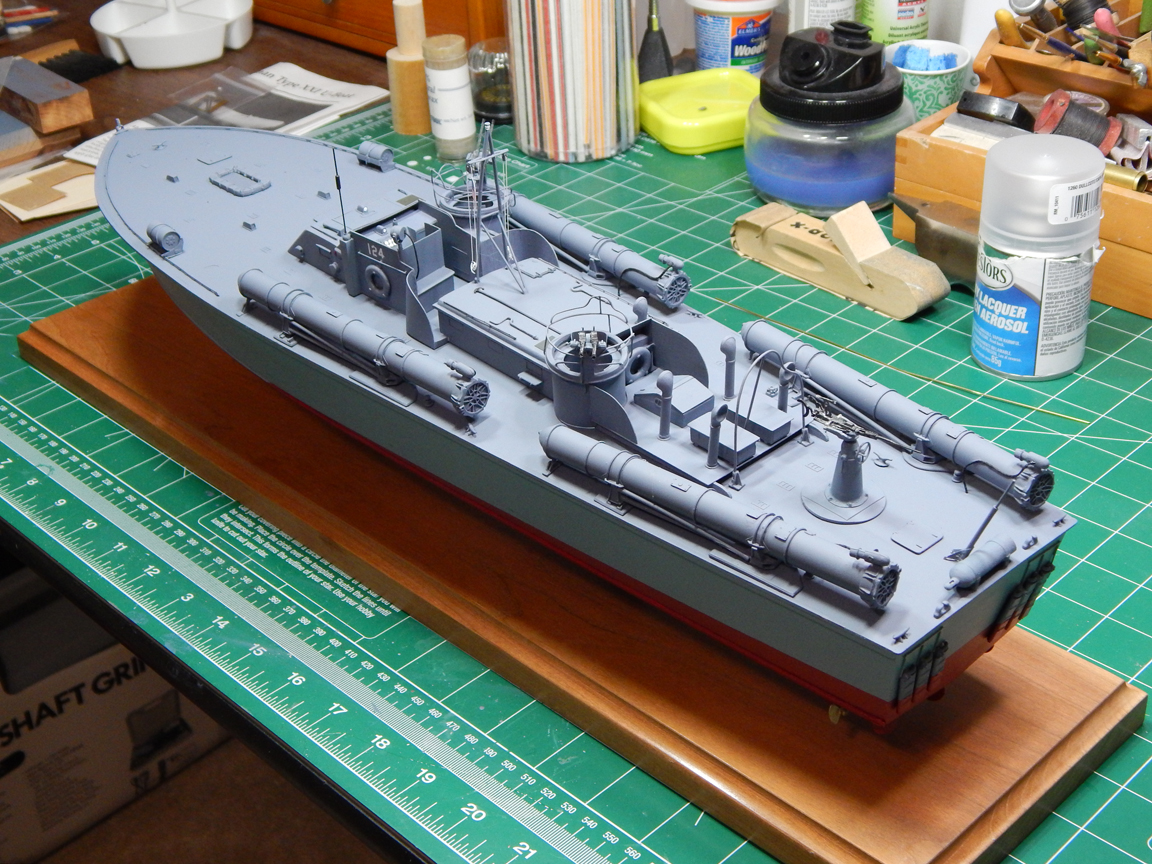
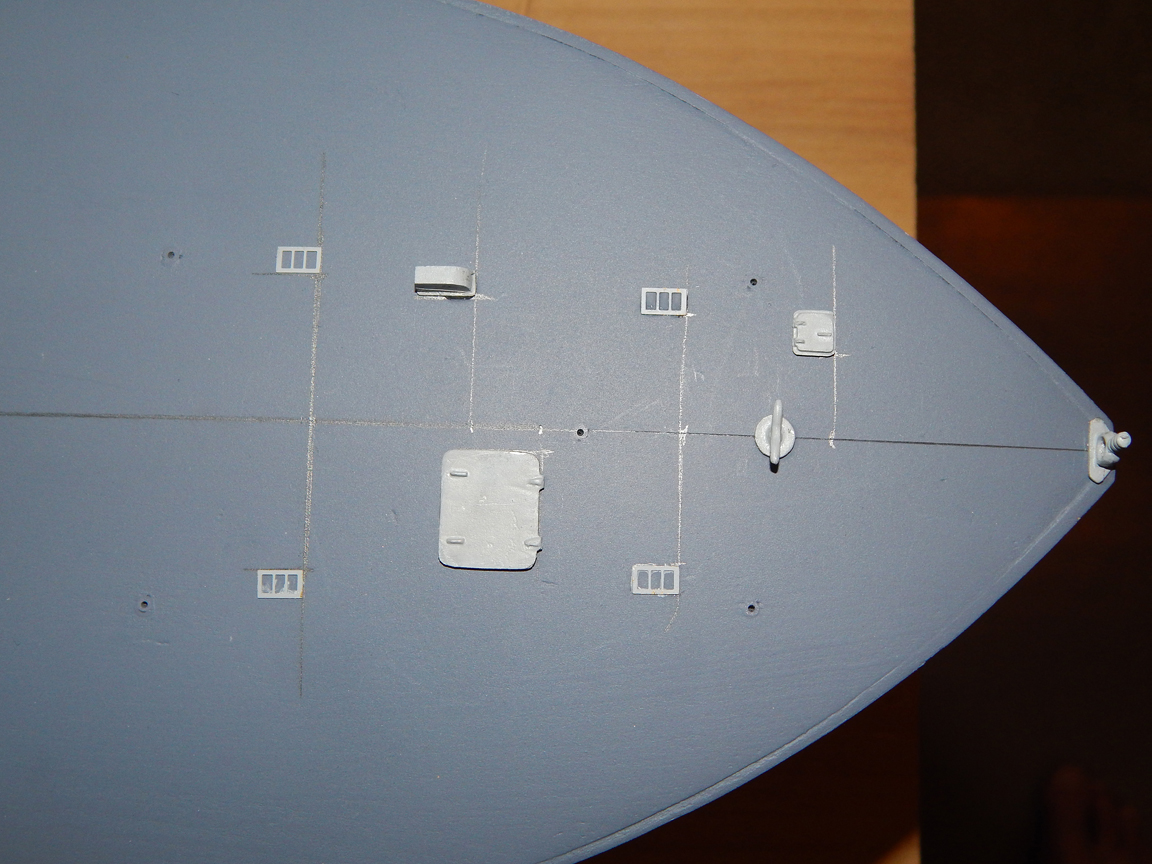
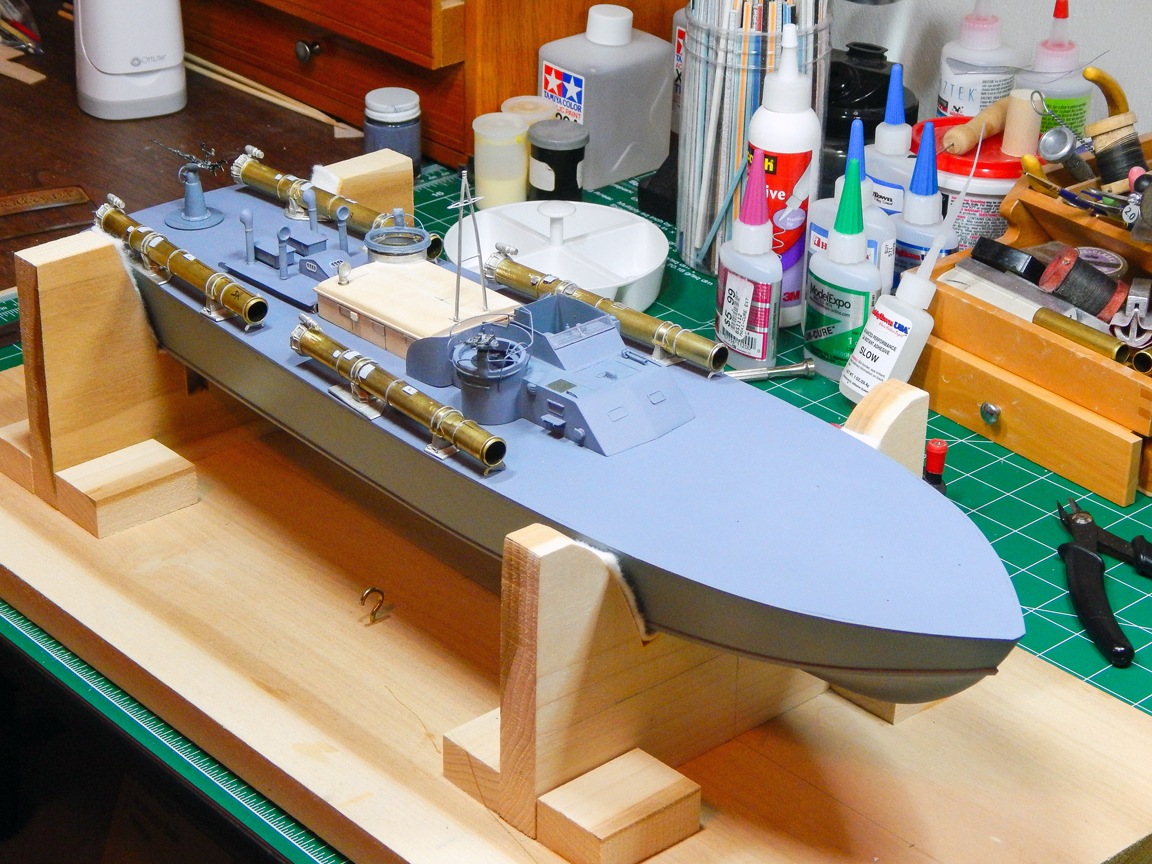
Greetings, I did get some work completed on the ELCO this weekend. I've started to install the small deck fittings along with the torpedo tube turntables. Below is a photo of some of the bow deck mountings, the other to shots of the boat are with the assembled parts setting loose on the deck.
Cheers, Tim

-
-
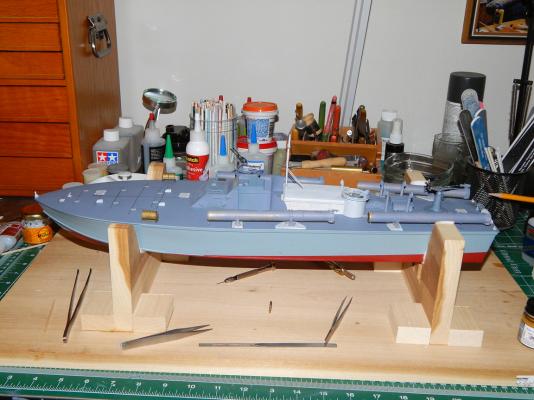
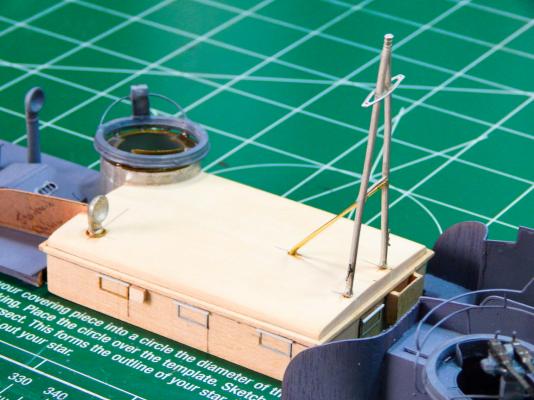
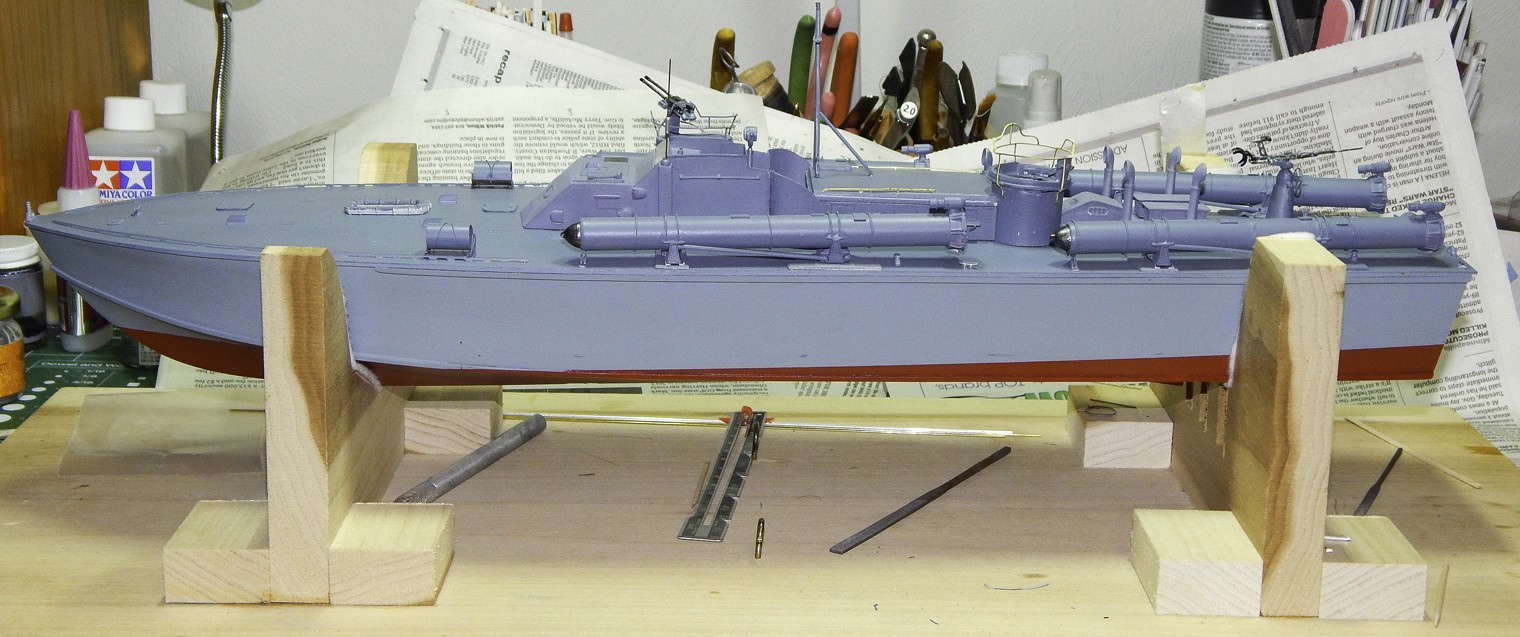
Greetings,
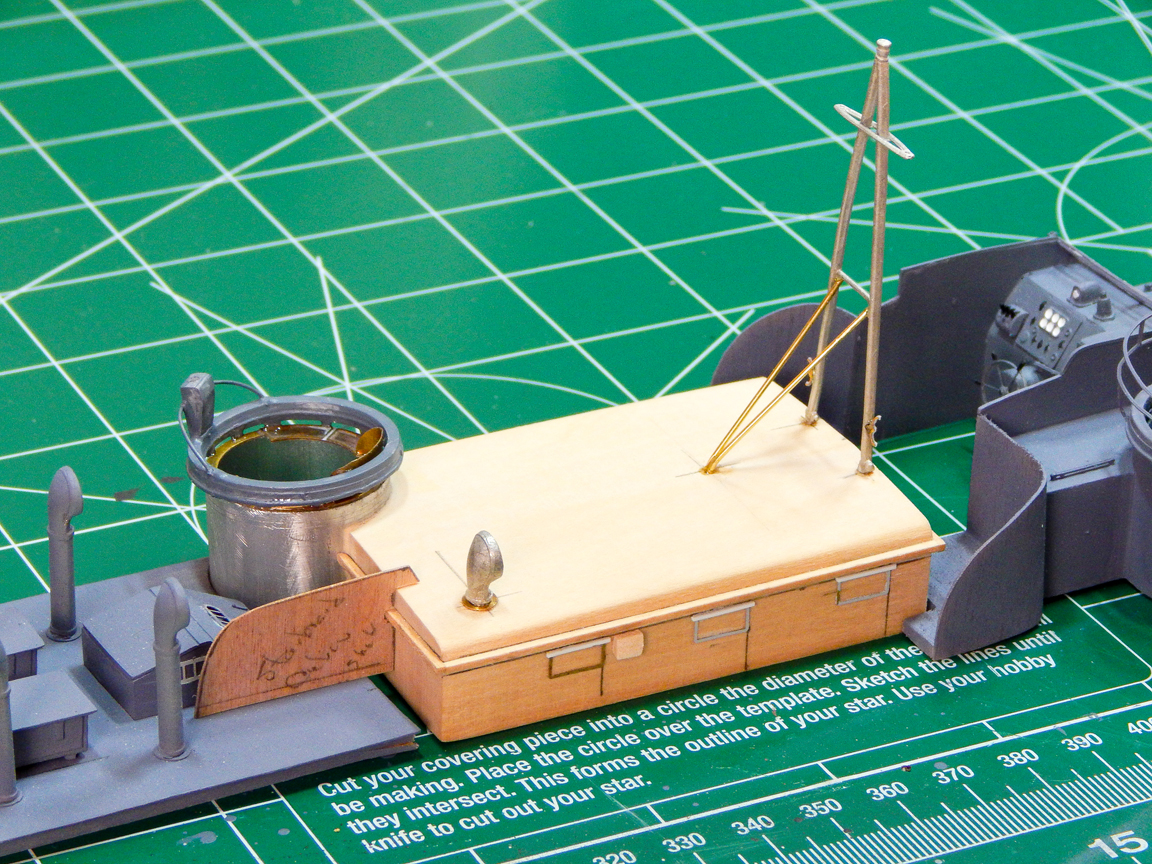
I was able to get some more time in at the bench today which is always a good thing, because the prospect isn't too good this coming week. I finished mounting all the windows, mast, mast supports to the Day Cabin. The yard was glues to the mast along with the cleats on each side at the mast base.
The Day Cabin hatch, non-skid, speed wrench and boat hook will be installed after a coat of primer has been applied, which will be at the mercy or the weatherman. I still have to attach the blocks at each end of the yard then thread the flag halyards through each.

Cheers, Tim
- gieb8688, Ryland Craze, Bobstrake and 15 others
-
18
-
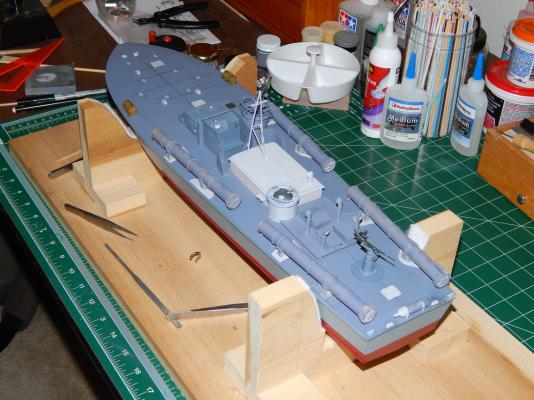
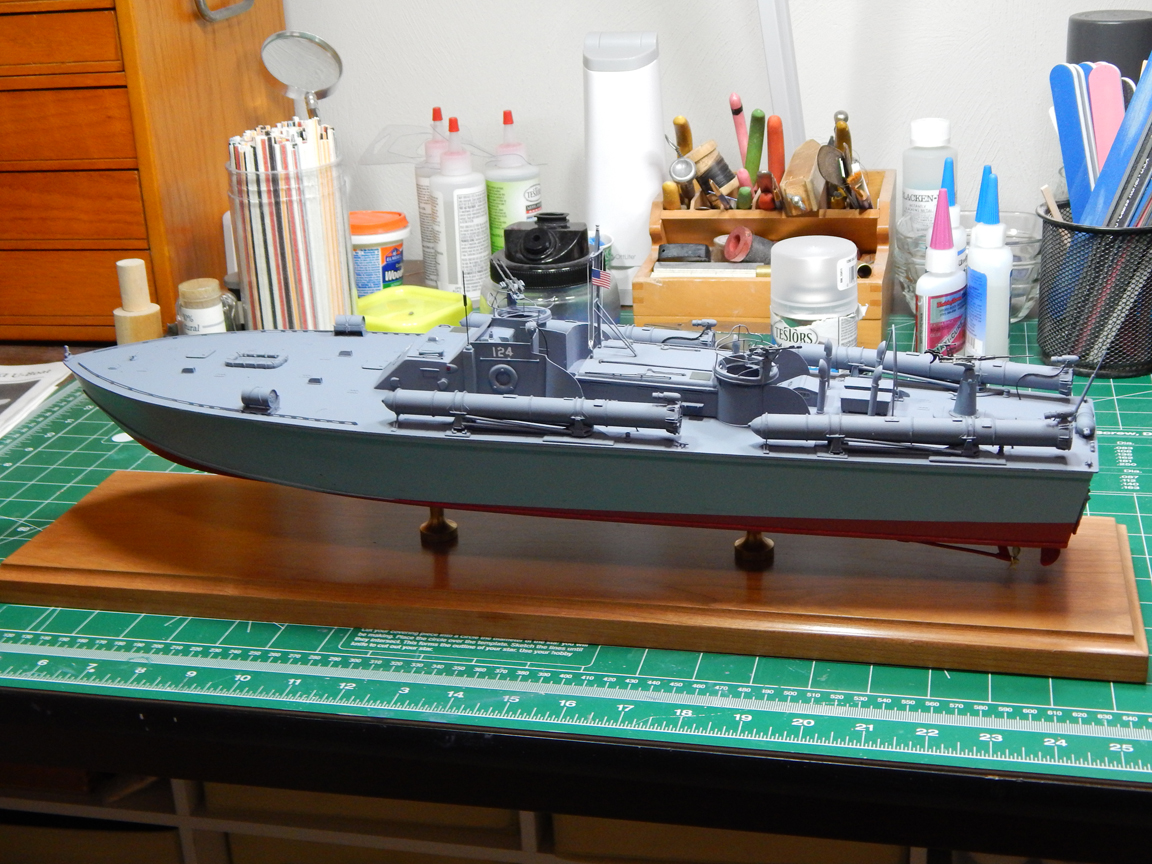
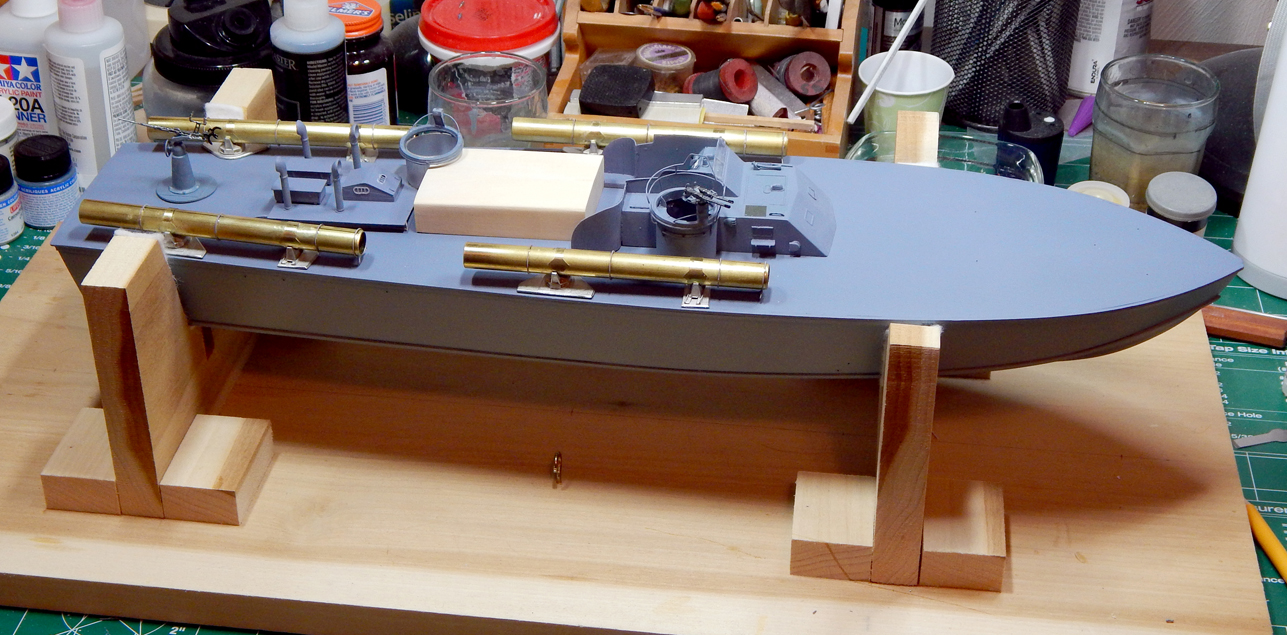
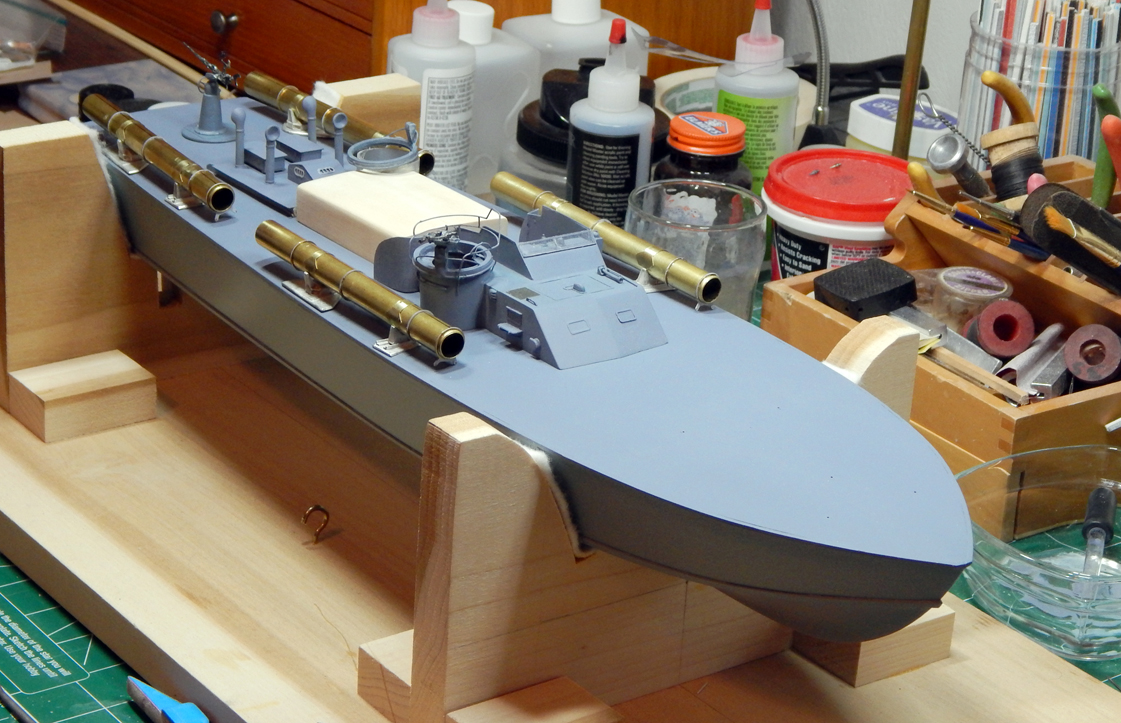
Greetings,
Today was a rainy gloomy day here in Virginia Beach which means it's a good day to hit the building bench. I managed to get the Day Cabin about 80% completed. As you can see, I still have to paint the torpedo tubes. Our weather hasn't been warm enough to get out on the porch for that yet, hopefully in the next week or two. I included a shot with most of the toys placed on the deck just for kicks and a photo op.
Cheers, Tim

-
I hope to get a coat of paint on them this weekend!
-
Nice torpedo tubes, Tim
Just make sure that the light at the end of the tunnel isn't a train coming the other way!

John
99% of the time it is a train, but whose counting?

-
The saying goes, "If it moves, salute it... If it doesn't move, paint it.
- Canute, jbelwood, popeye the sailor and 1 other
-
4
-
Thanks,
It was causing me to pull my hair out at times!
-
Greetings,
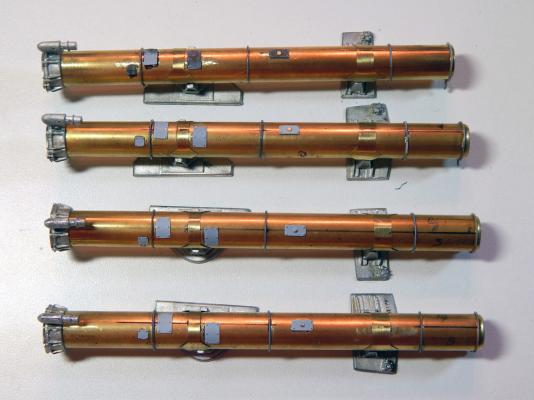
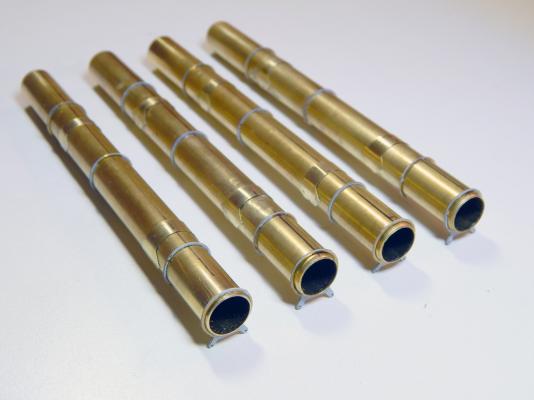
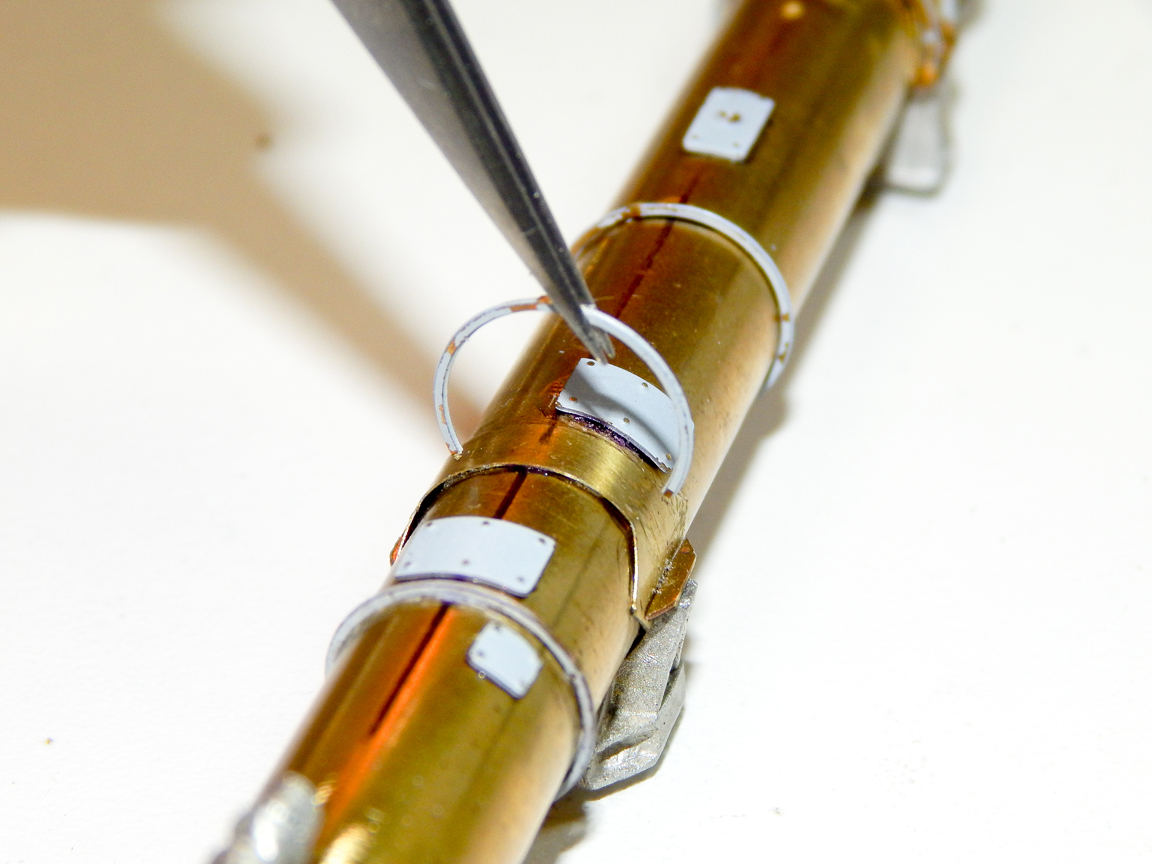
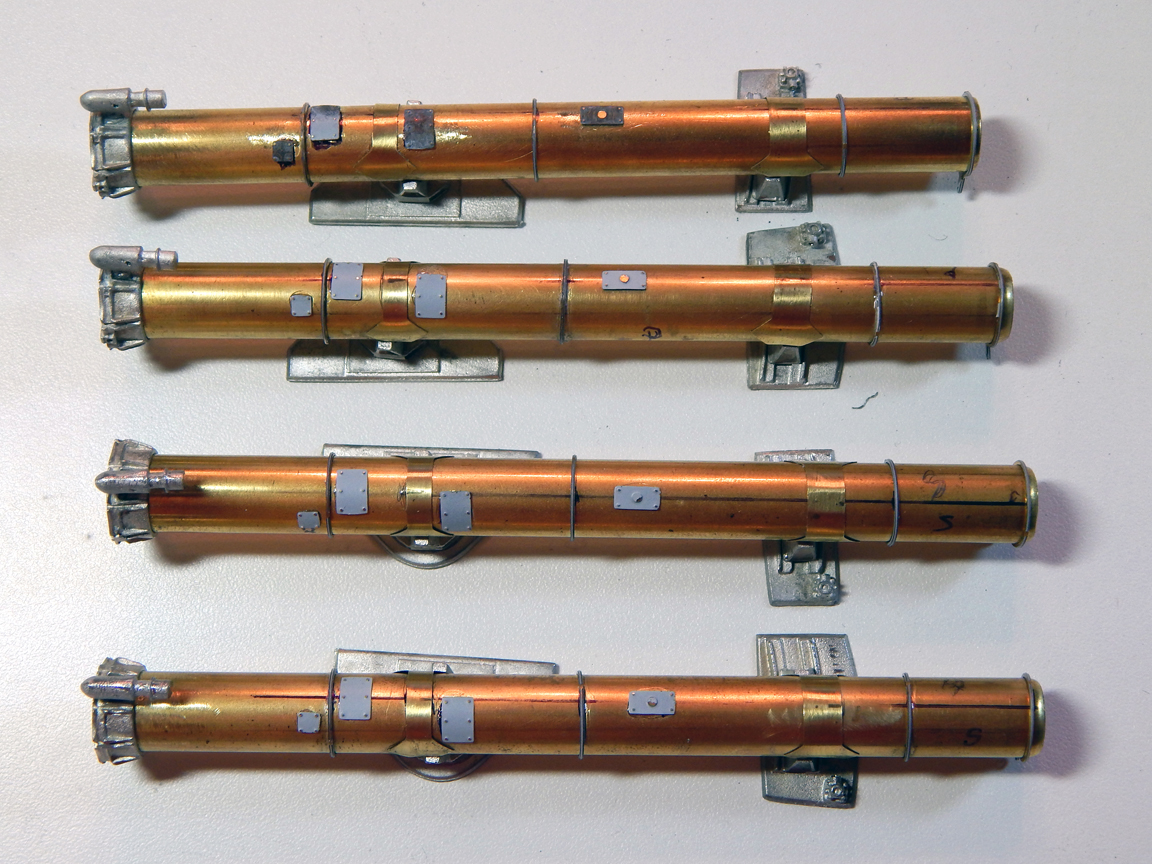
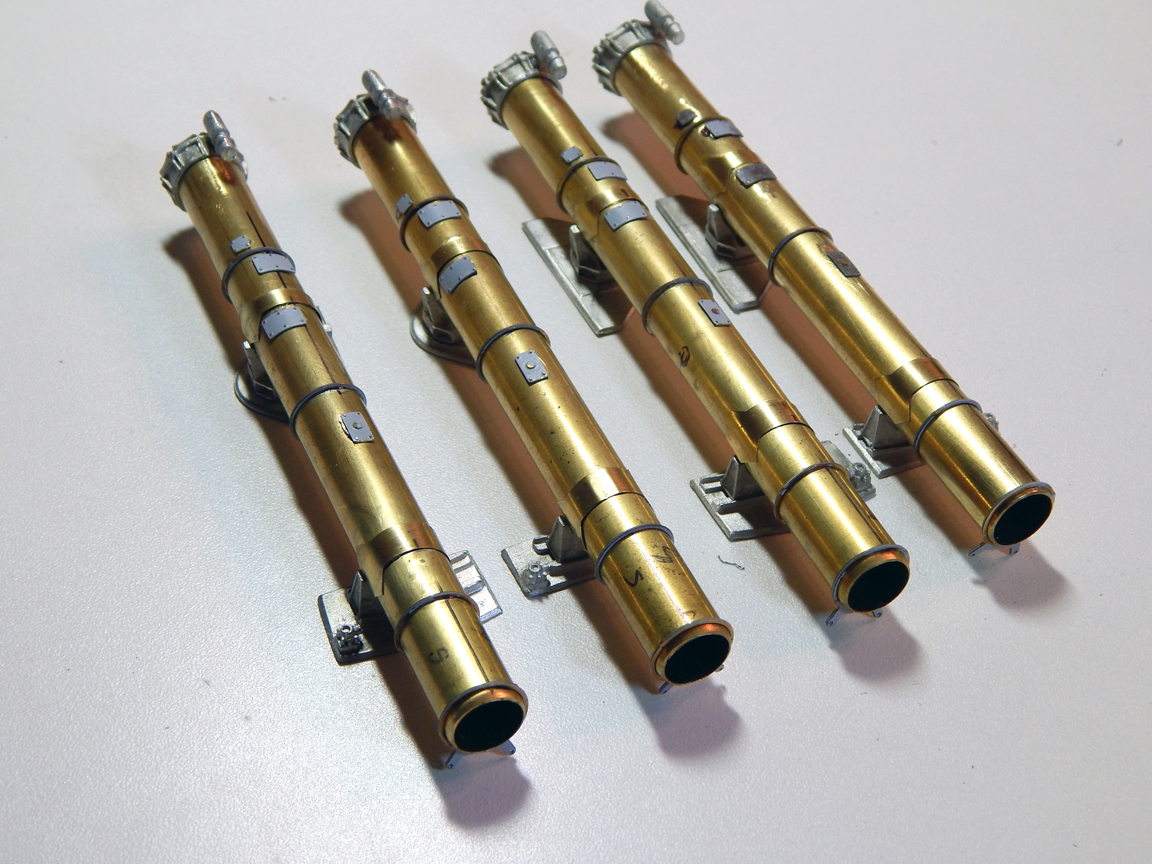
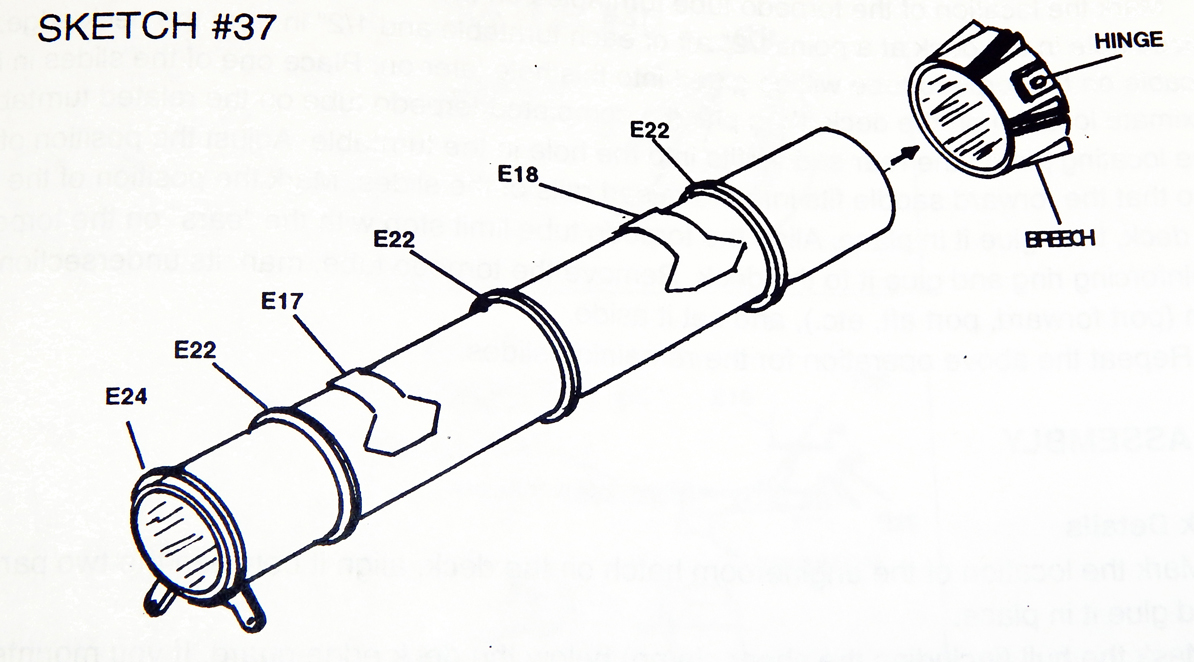
I've been working in the ELCO just over two years now and I can finally see a light at the end of the tunnel. Today I finished work on the four torpedo tubes, they still ned to be painted and the torpedo head mounted in the forward end of the tube but the hard part is finally behind me.
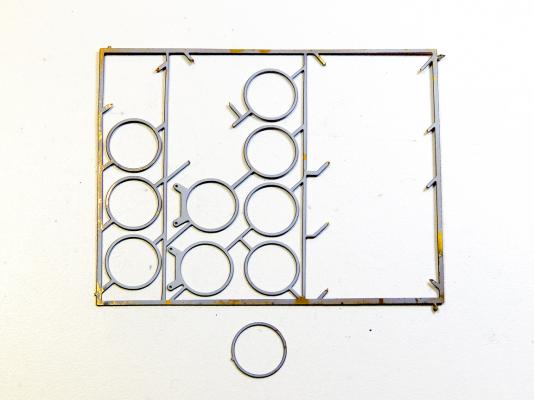
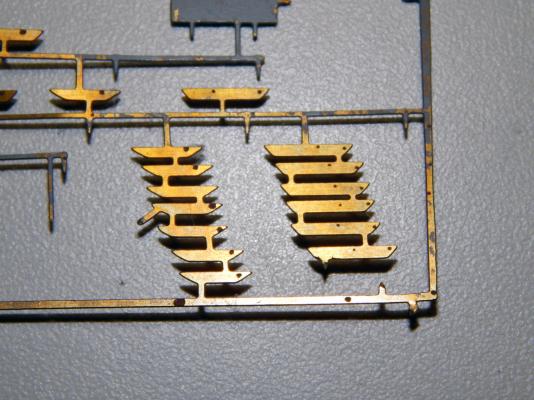
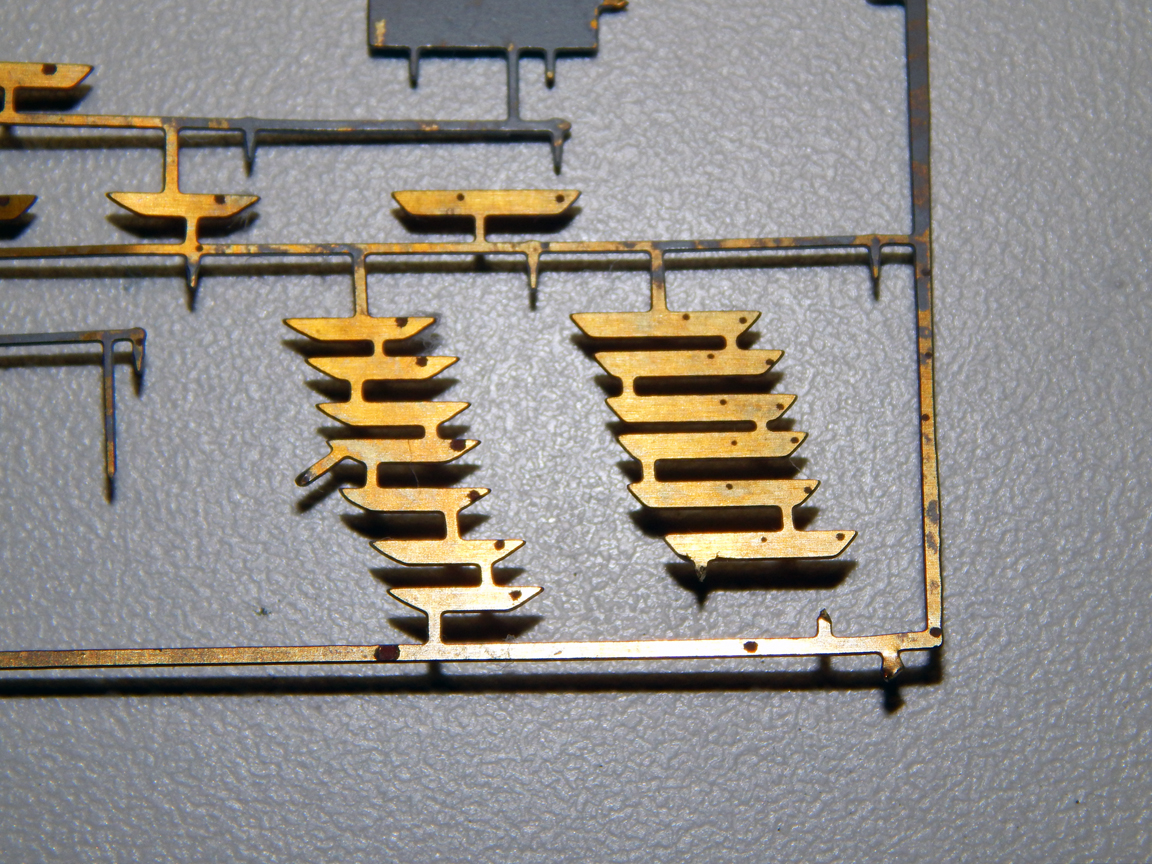
The impulse chambers have been mounted along with all the brass photo-etch parts on the tubes, the hardest part was cutting and mounting the rings to the reinforcing plates, (see photos below).
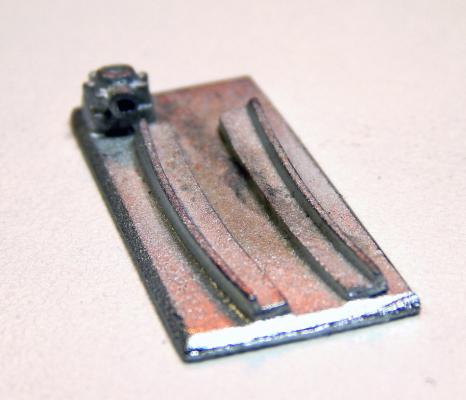
Reinforcing rings for torpedo tube still on the tree.
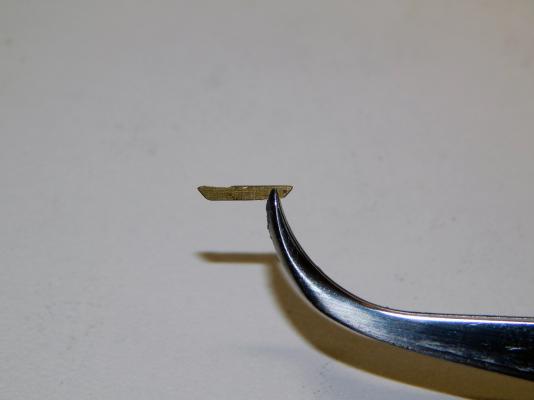
Reinforcing ring in first step for sizing to fit the tube, the forward and rear rings are two different sizes.
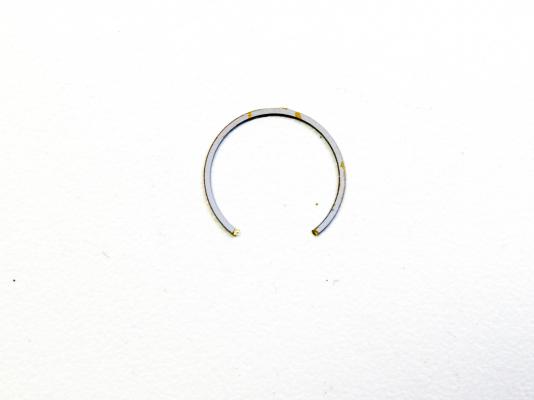
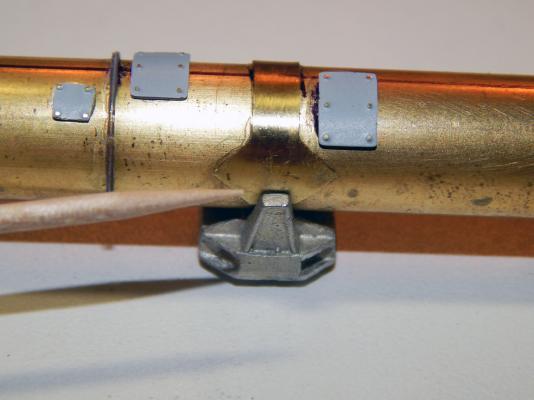
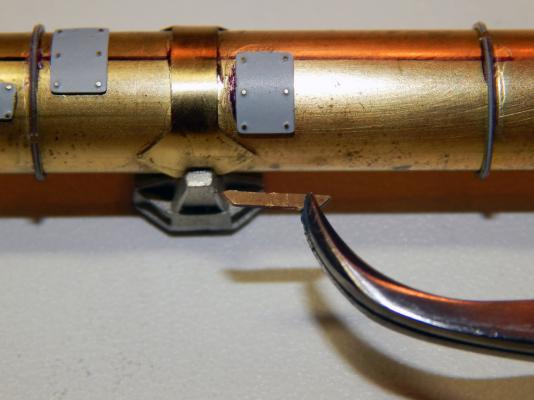
Test fitting reinforcing rings until final size is obtained.


Torpedo tube complete with all brass and reinforcing rings attached.

Cheers,
Tim
-
Thanks Marty,
I have to finish it first! February will be the two year mark!
Tim
- popeye the sailor and KevinR
-
2
-
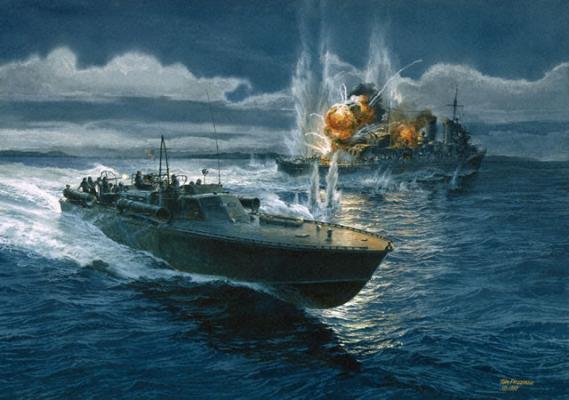
I'm leaning in the direction of PT-124. One of my favorite WWII prints was done by an artist named Tom Freeman. He did a superb painting called "Action in the Slot" depicting the Japanese destroyer Makigumo going down at the hands of PT-124 in 1943. My current plans are to purchase a copy of the print and display it with the finished model.
This is a copy of the print.
Cheers,
Tim
- hexnut, capnharv2, captainbob and 9 others
-
12
-
Sorry Bob, can't say that I have. Do you think I should start?

-
Elia,
Thank you for the nice comment!
Tim
-
-
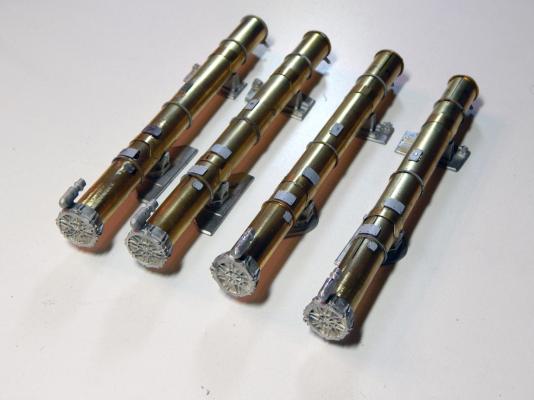
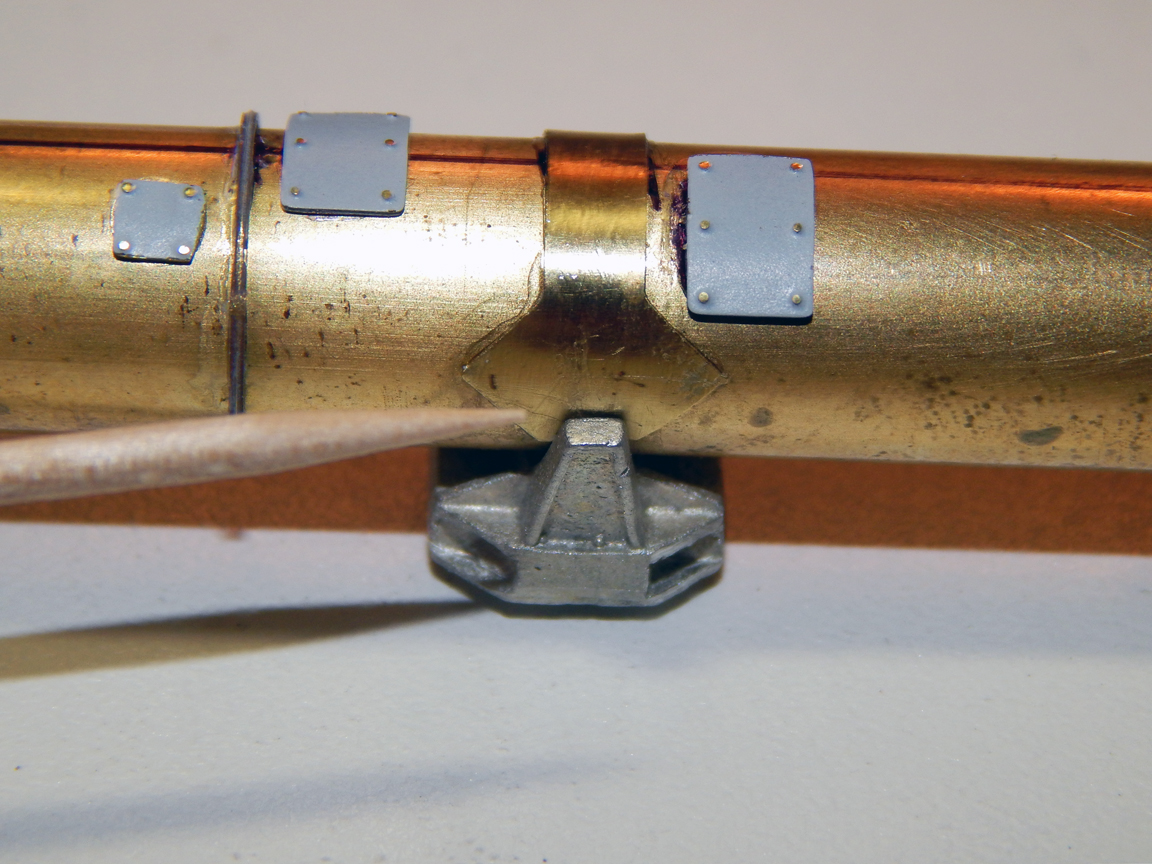
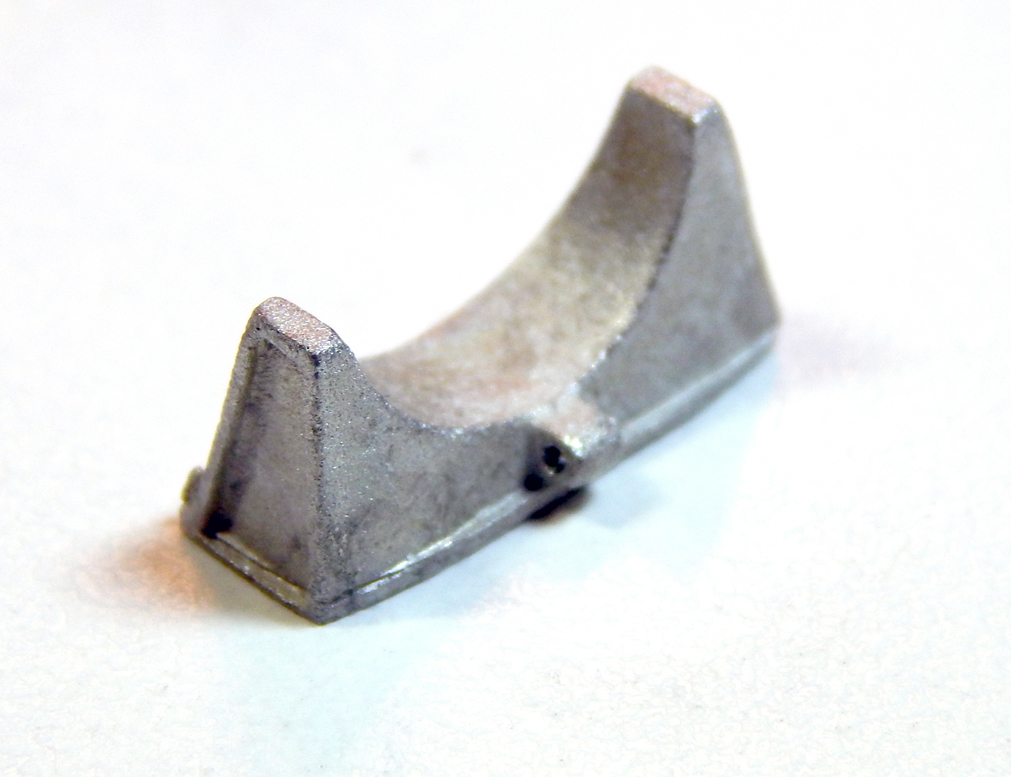
My next task was to place the front and rear saddle on a flat surface, set the tube into them, align each saddle with the center of it's reinforcement plate, then glue them to the tube. This step was quite easy!
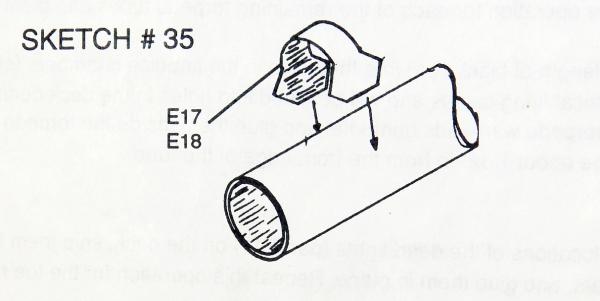
The next step requires a more steady hand and a set of magnifying visors, (at this point I wish I had bought the type with LED lights). Then I snip two front and two rear gussets from the photo-etched sheet and glue them in place on top of the reinforcement plates.
(See photos below). There will be four for each tube for a total of sixteen gussets to mount.
Cheers,
Tim
- Elia, Ray, popeye the sailor and 11 others
-
14
-
Greetings, a snowy morning in Virginia Beach makes for a good day at the building bench! I managed to get the Breech Covers, Impulse Chambers, and all the Access Covers on the torpedo tubes and some work on the Day Cabin.

Cheers,
Tim
-
-
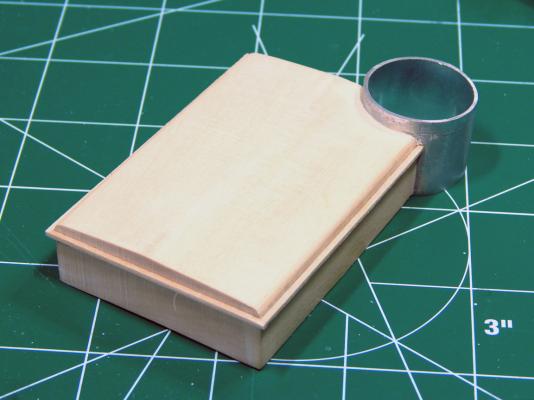
It was some scrap that I had after our contractor did some work in the kitchen, figured I may as well use it for the PT Boat. Better than tossing it in the trash bin, after all I paid for it!
- GuntherMT, Elia and Ryland Craze
-
3
-
-
Greetings, Happy New Year to all...
I finally made it back to the bench today, thought I would jump ahead to the torpedo tubes for a little fun.
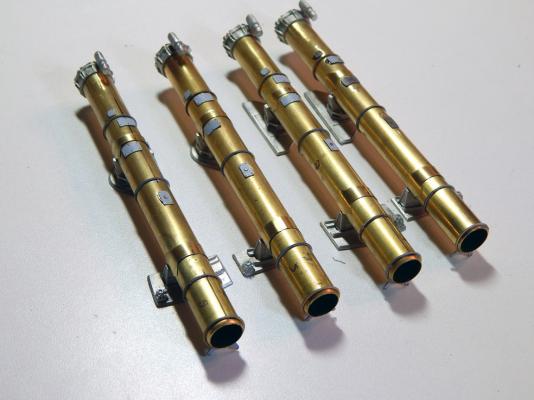
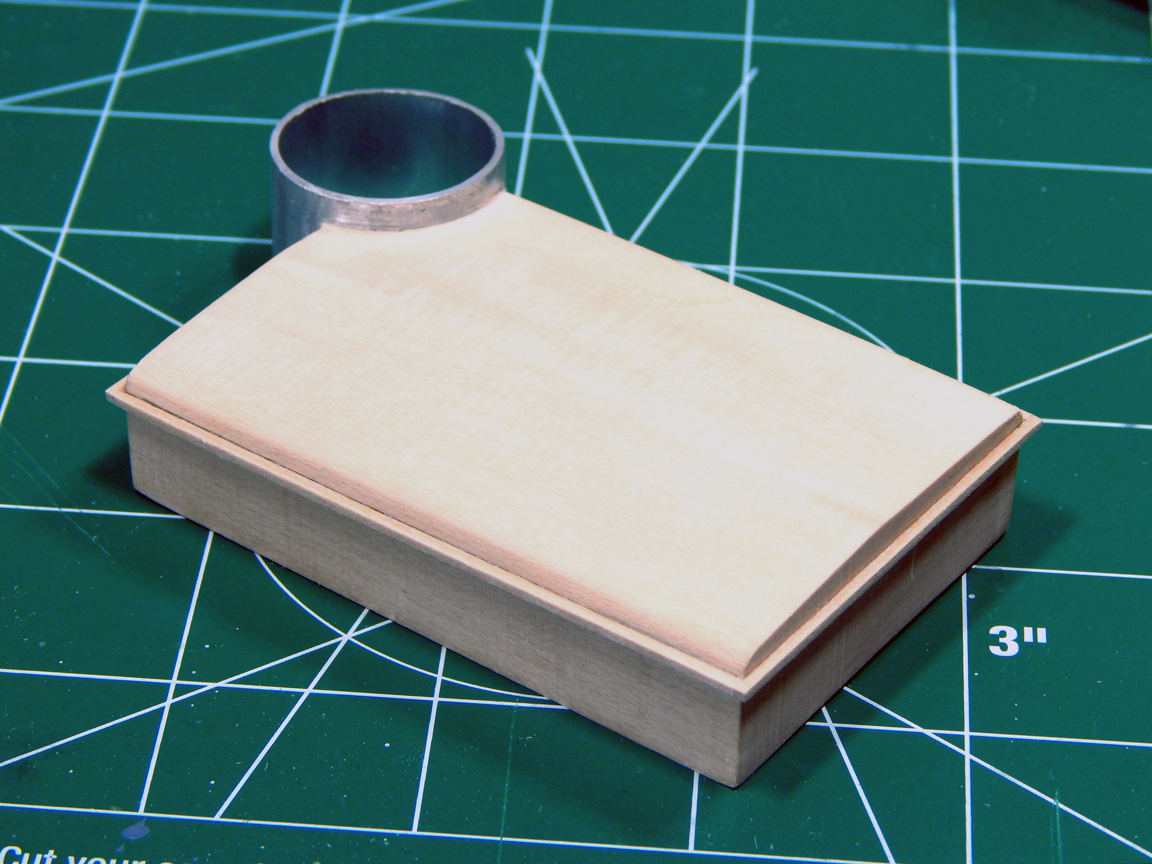
The first step was to cut the supplied 7/16" brass tubing into four tubes 5" long using a small miter box and a fine-tooth razor saw. This step didn't sound like very much fun, too many things to go wrong with a miter box cutting a round object. Instead I used small tubing cutter, this was much faster and provided a much cleaner cut.
The next step was to draw a center line the length of each tube, the line was used as a reference point for attaching the various pieces to the tubes. This was accomplished by laying each tube on the plans and marking the location of each photo etched part with a mechanical pencil.
The reinforcing rings were glued to the tube first the the reinforcement plates were added.
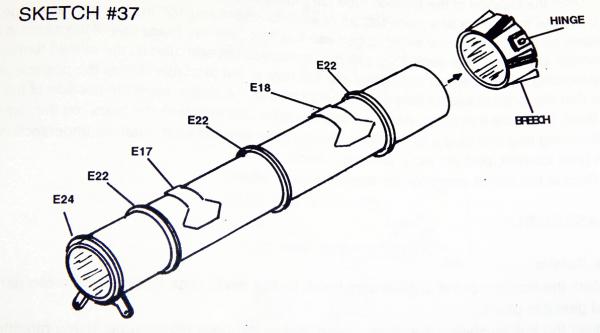

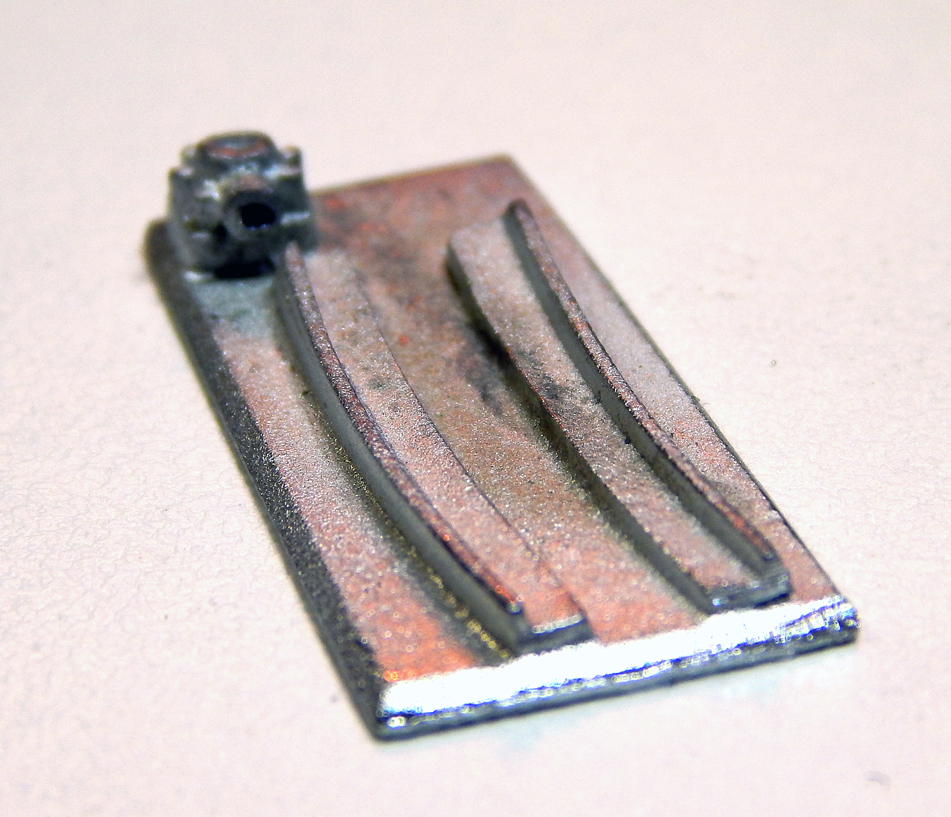
The next step was to drill a hole through the through the training gear lug along with a hole into the end of the training gear housing. At a later point a length of .020 brass rod will be inserted through these holes.


Cheers,
Tim


80' ELCO PT Boat by Timothy Wood - FINISHED - BlueJacket Shipcrafters - Scale 1/4" = 1'
in - Kit build logs for subjects built from 1901 - Present Day
Posted
Thank you everyone for your nice comments!
Tim