-
Posts
422 -
Joined
-
Last visited
Content Type
Profiles
Forums
Gallery
Events
Everything posted by Beckmann
-
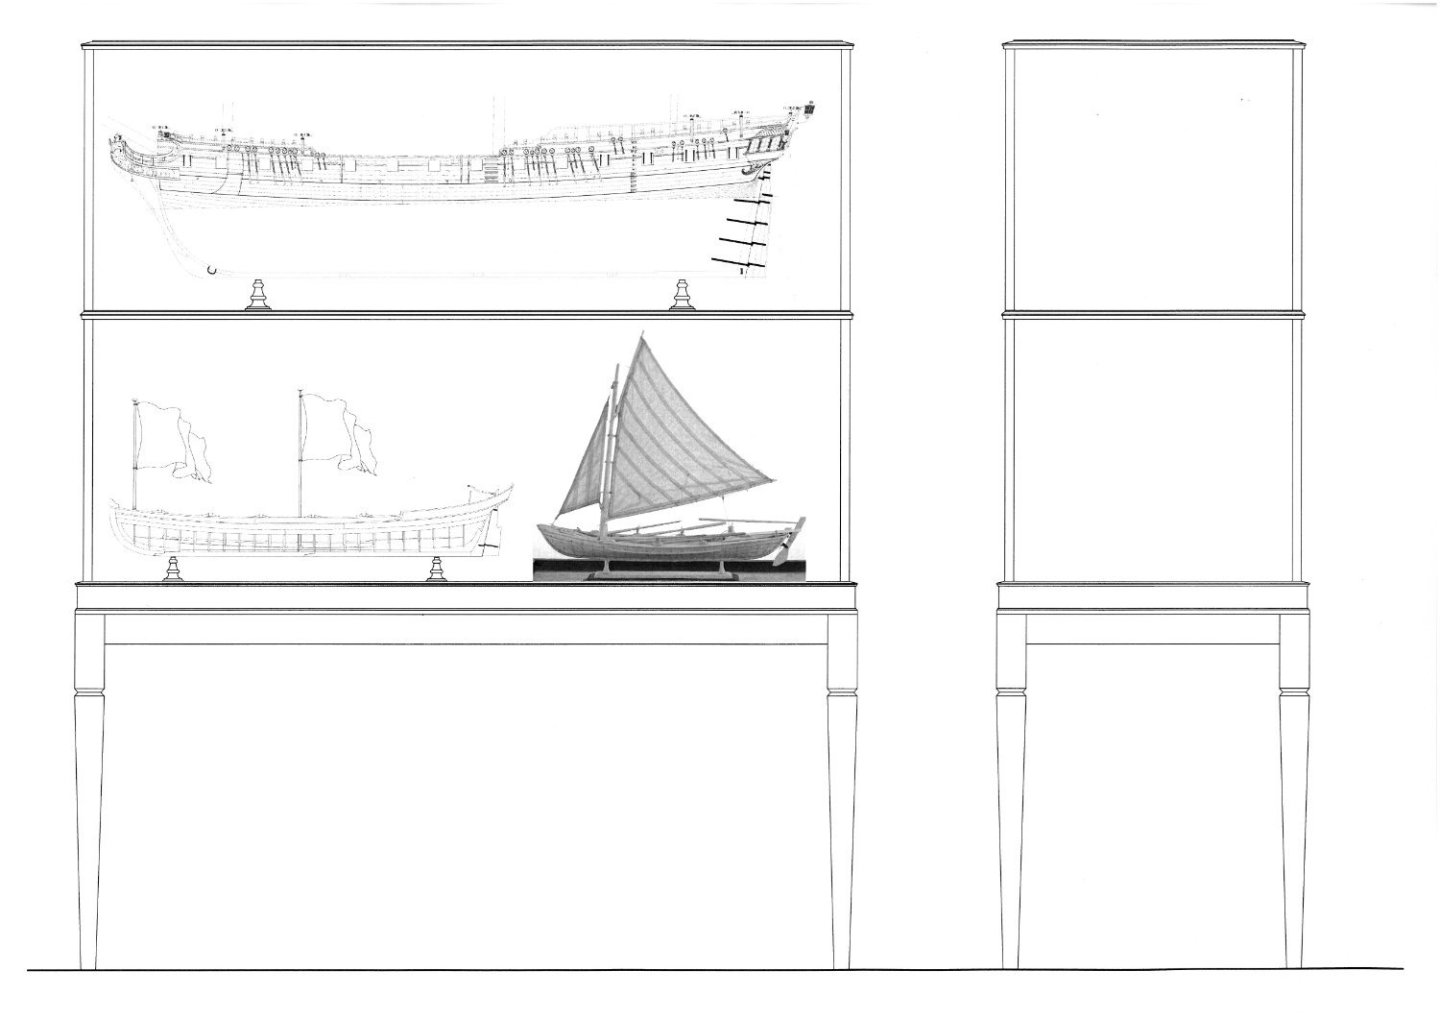
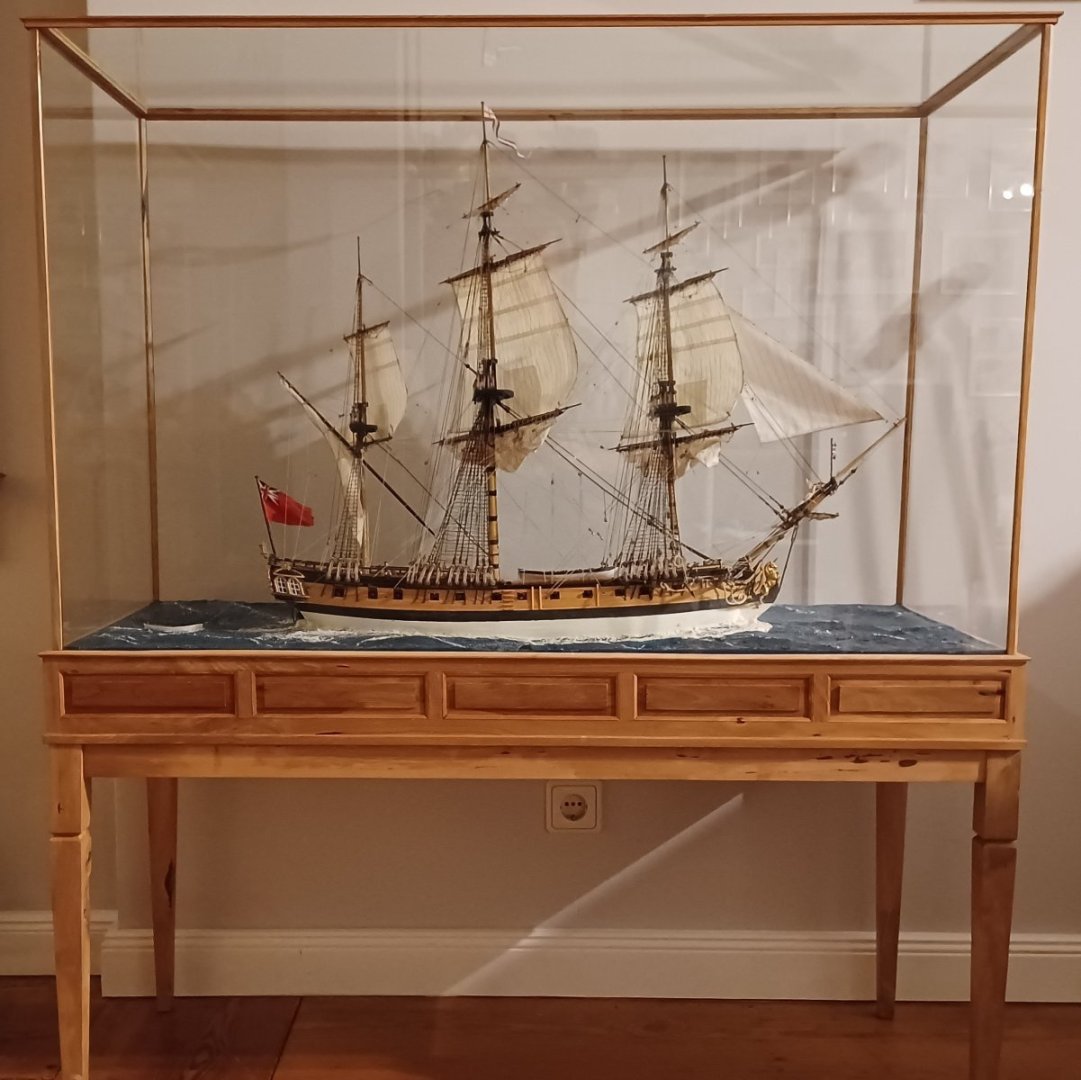
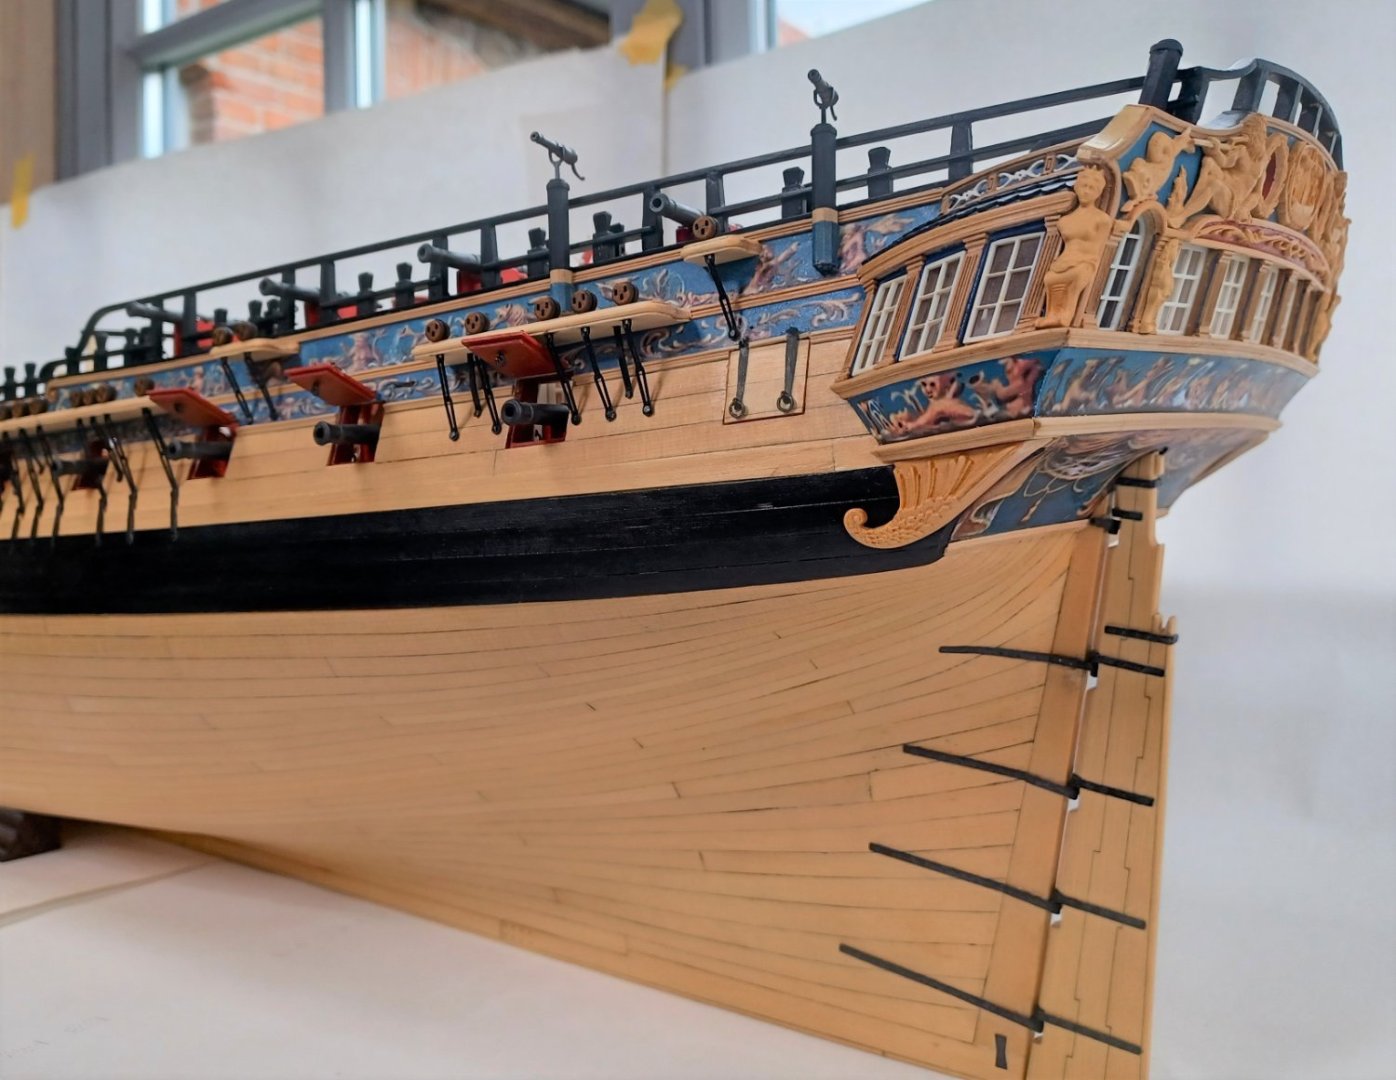
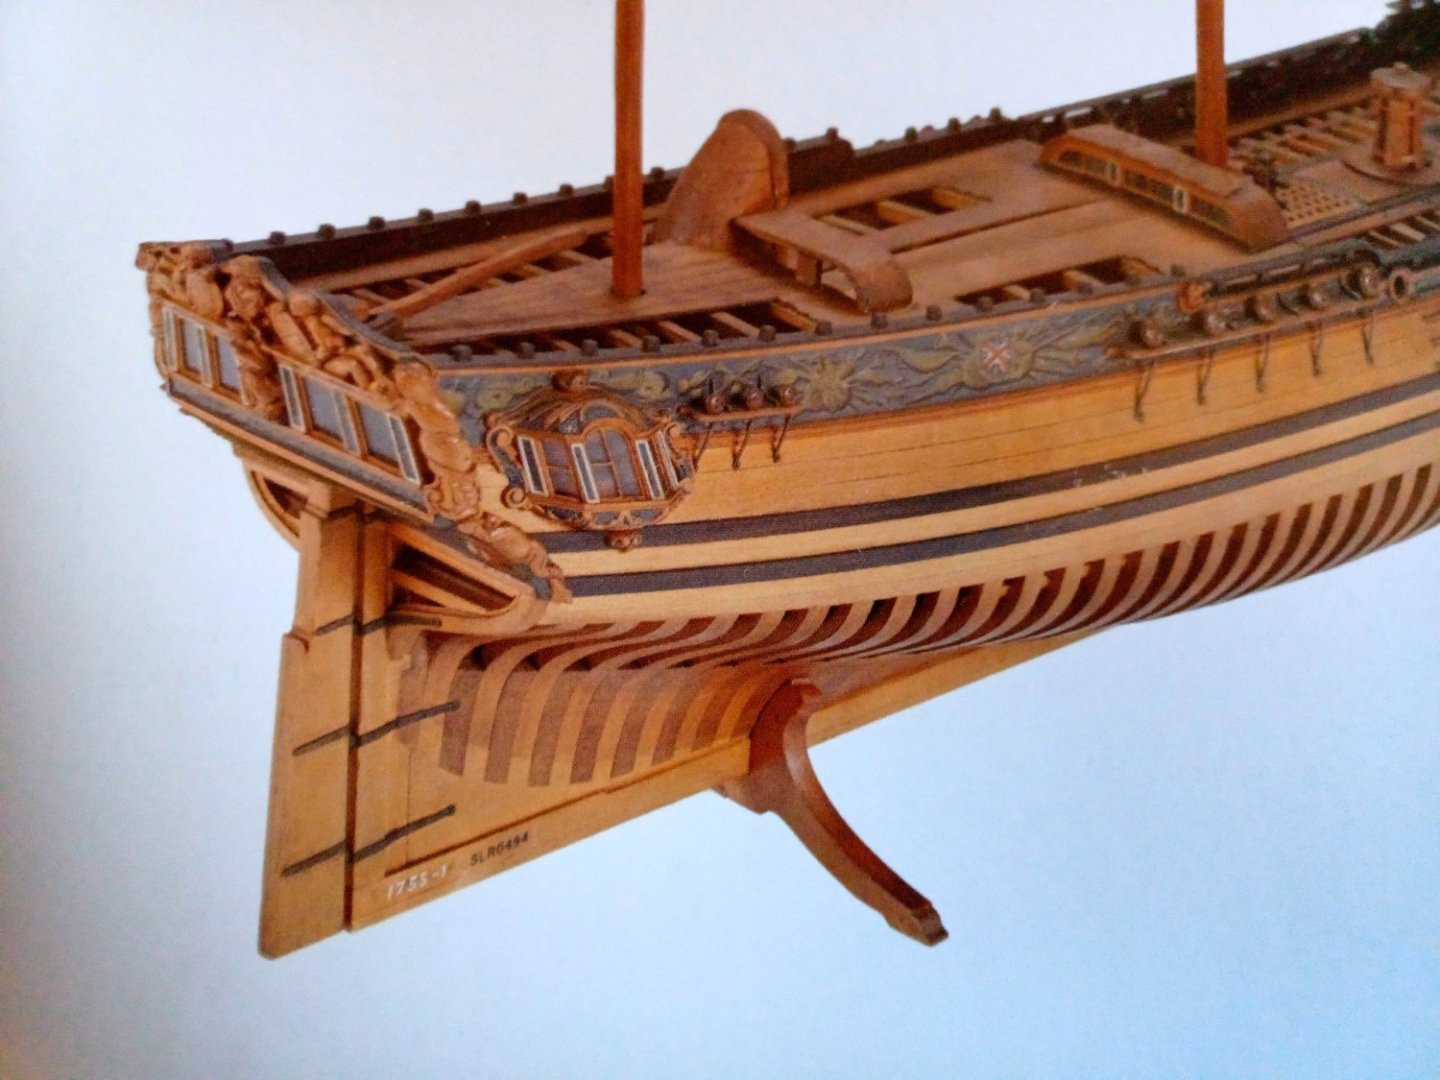
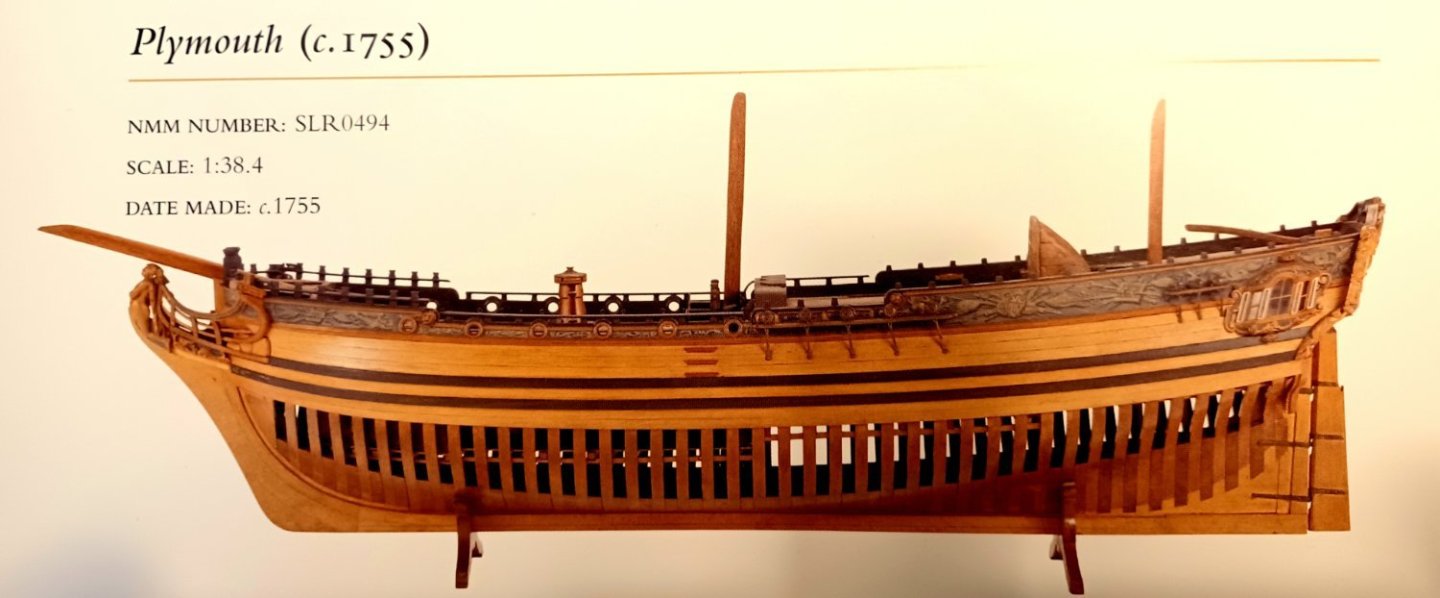
Thank you all for the kind words and the likes. What's next? Well, the stern lantern and display case of course. And then I circle around a special project of a danish ship. Designed by a french shipbuilder in 1742 and decorated by a german master-carver. It is a bit early to show something here. A contemporary model survived in Copenhagen and a few quite detailed plans. Matthias
-
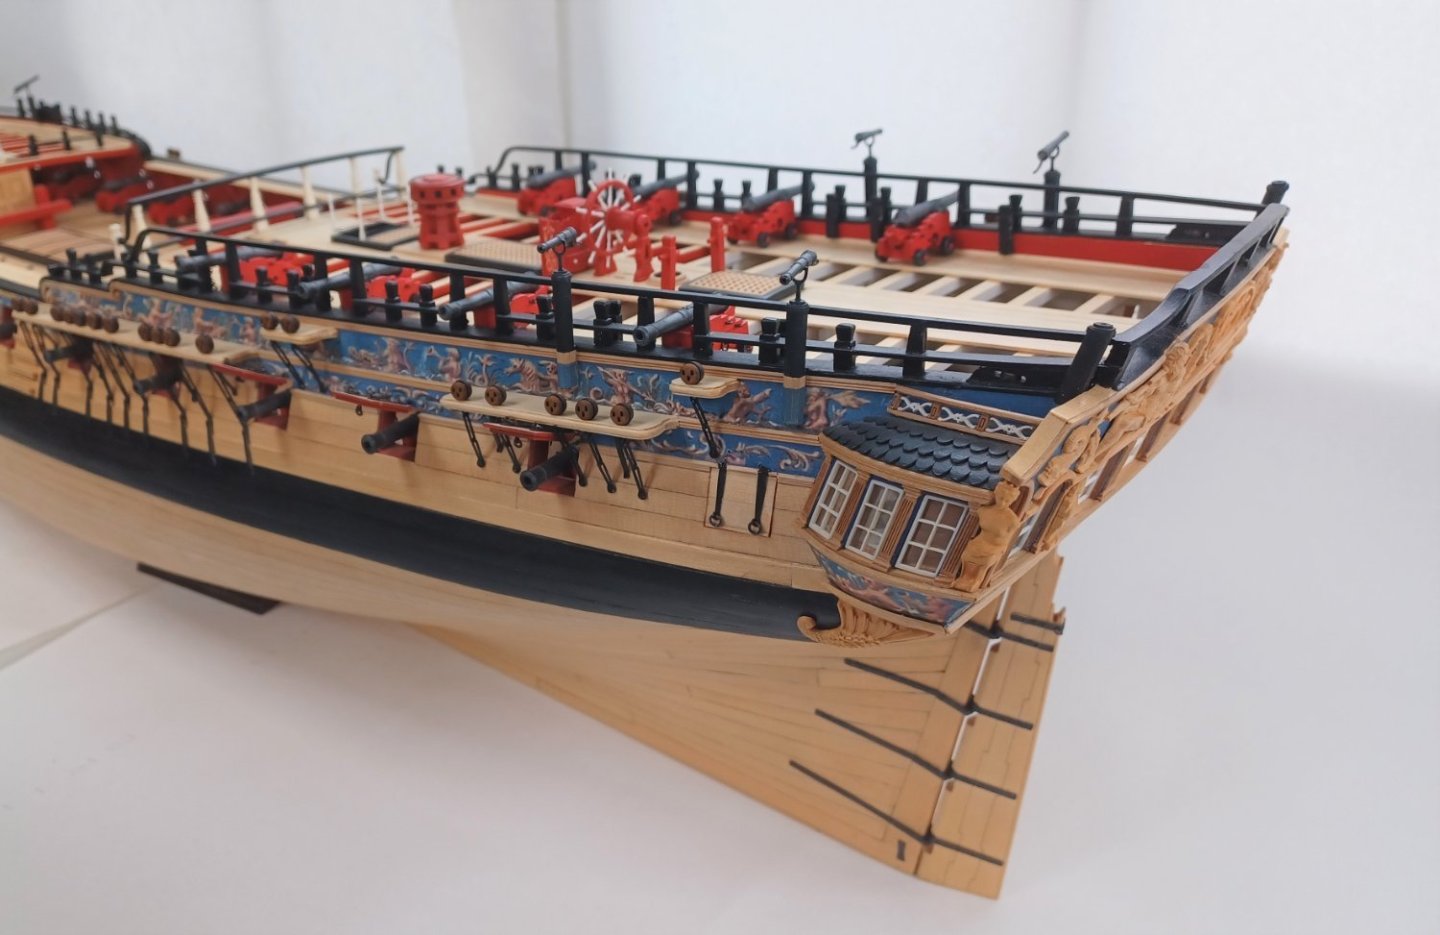
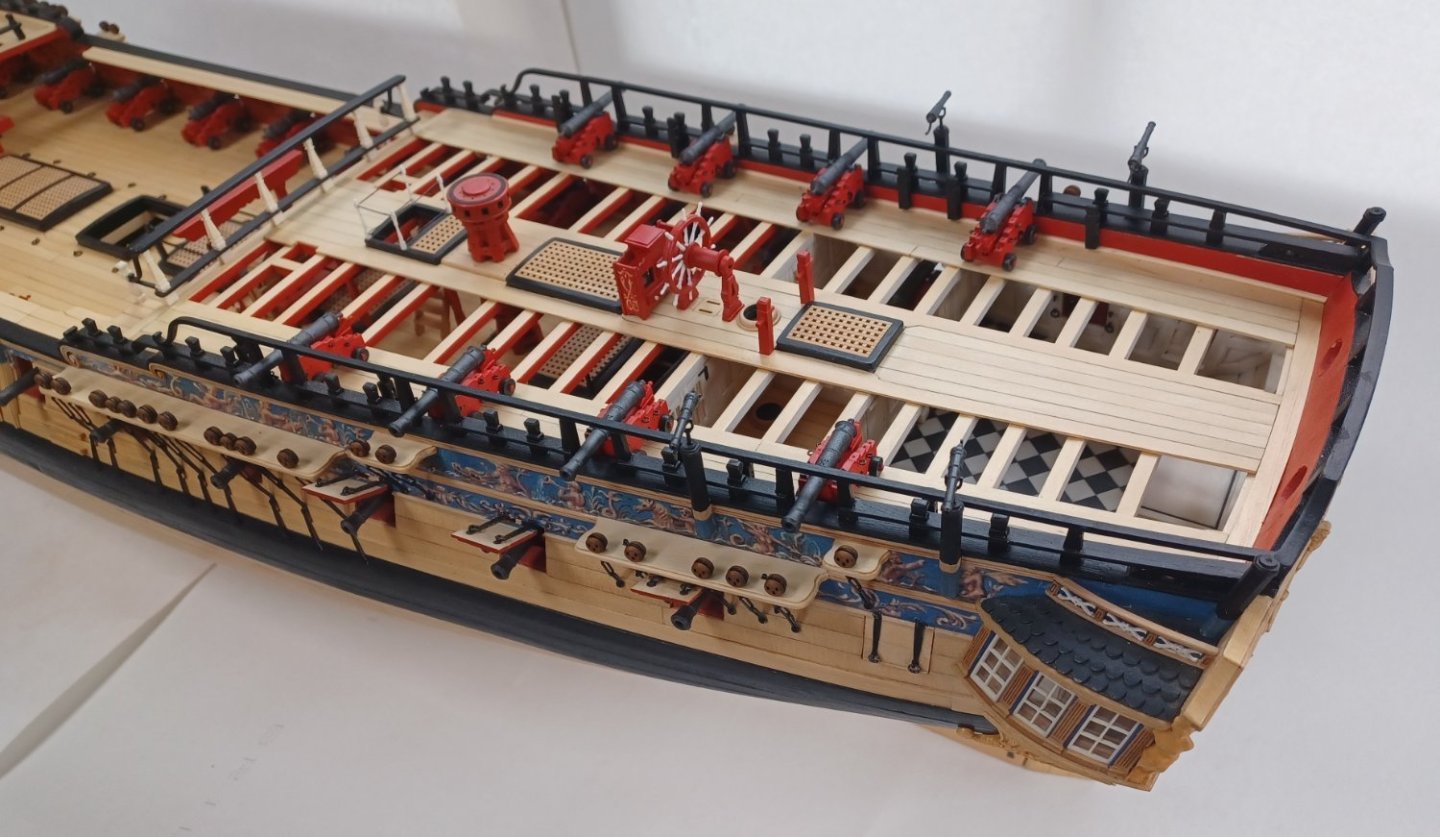
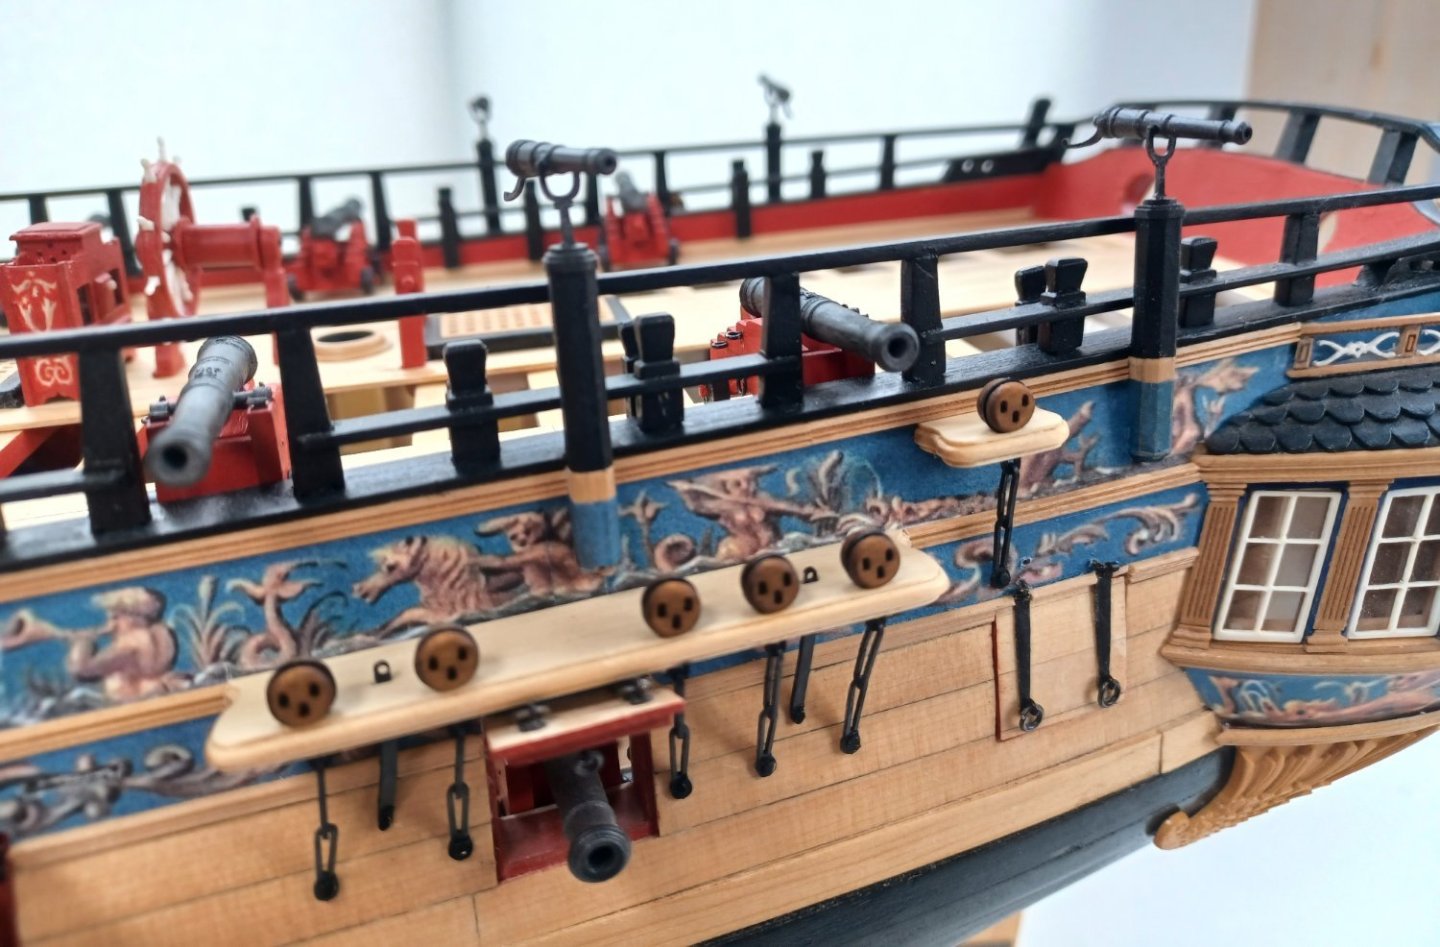
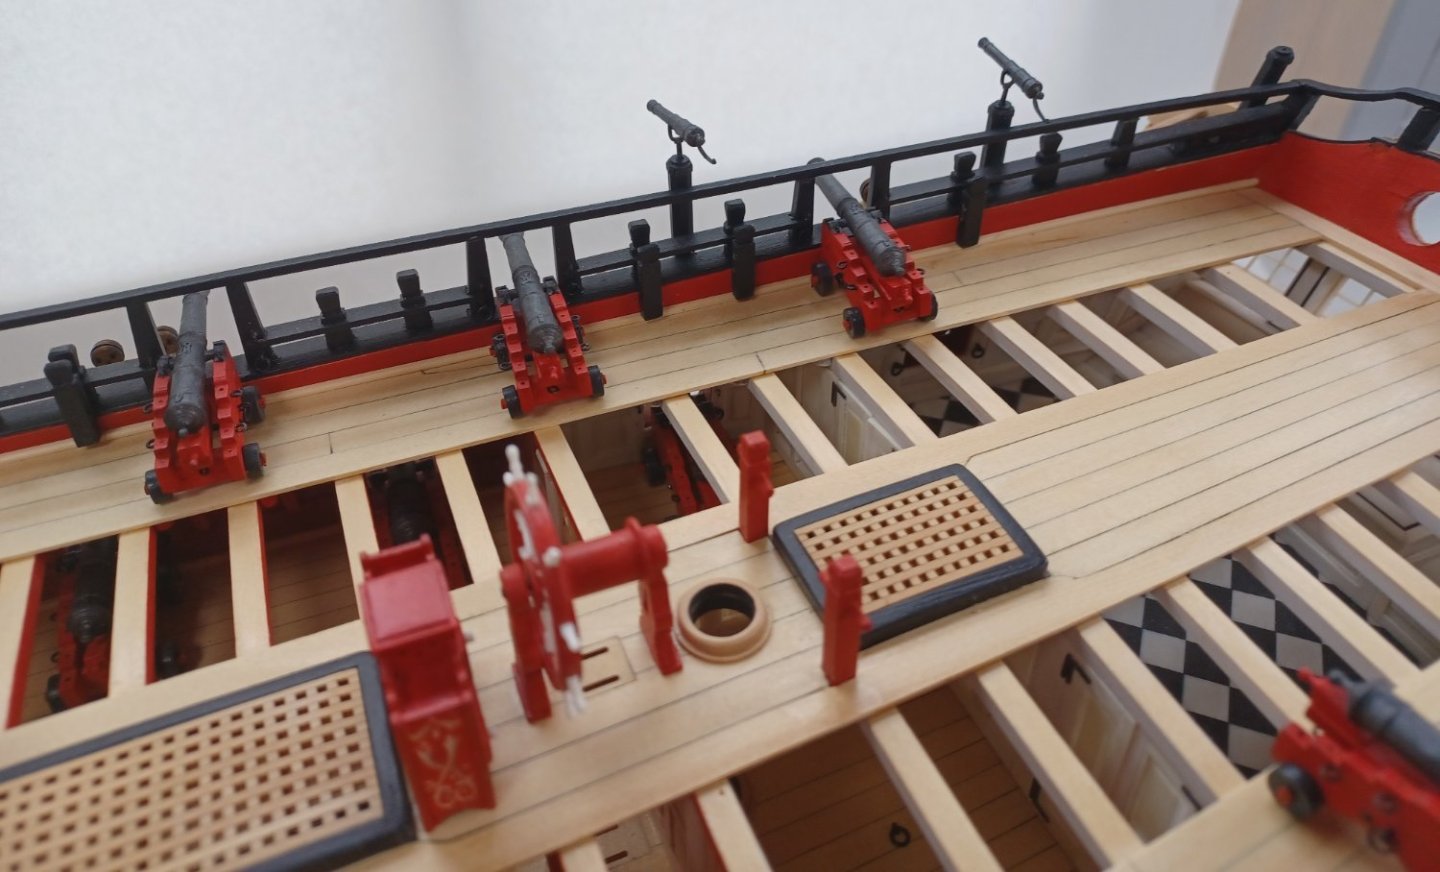
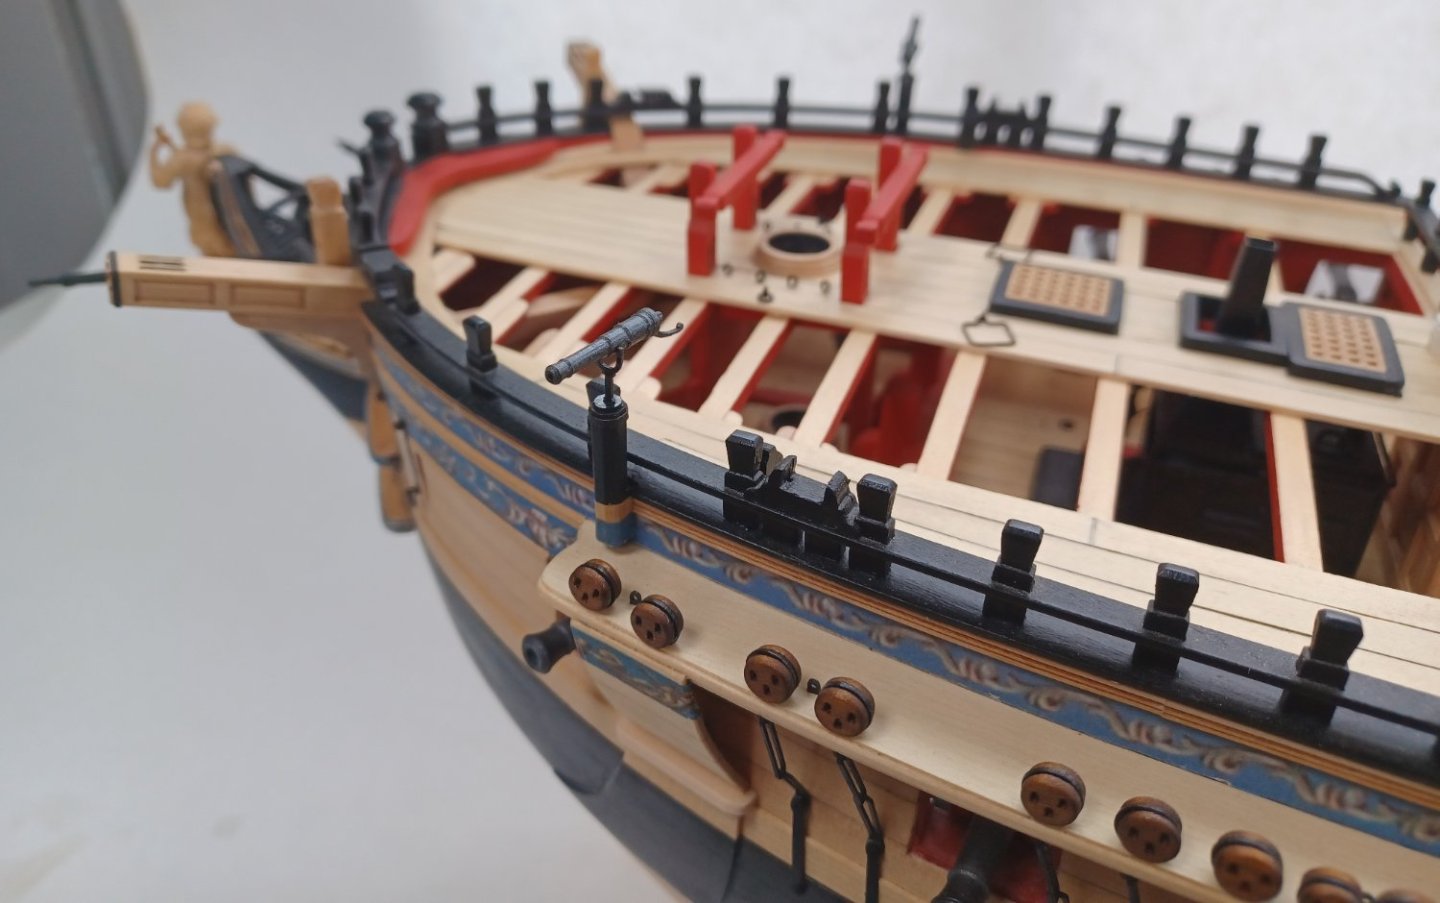
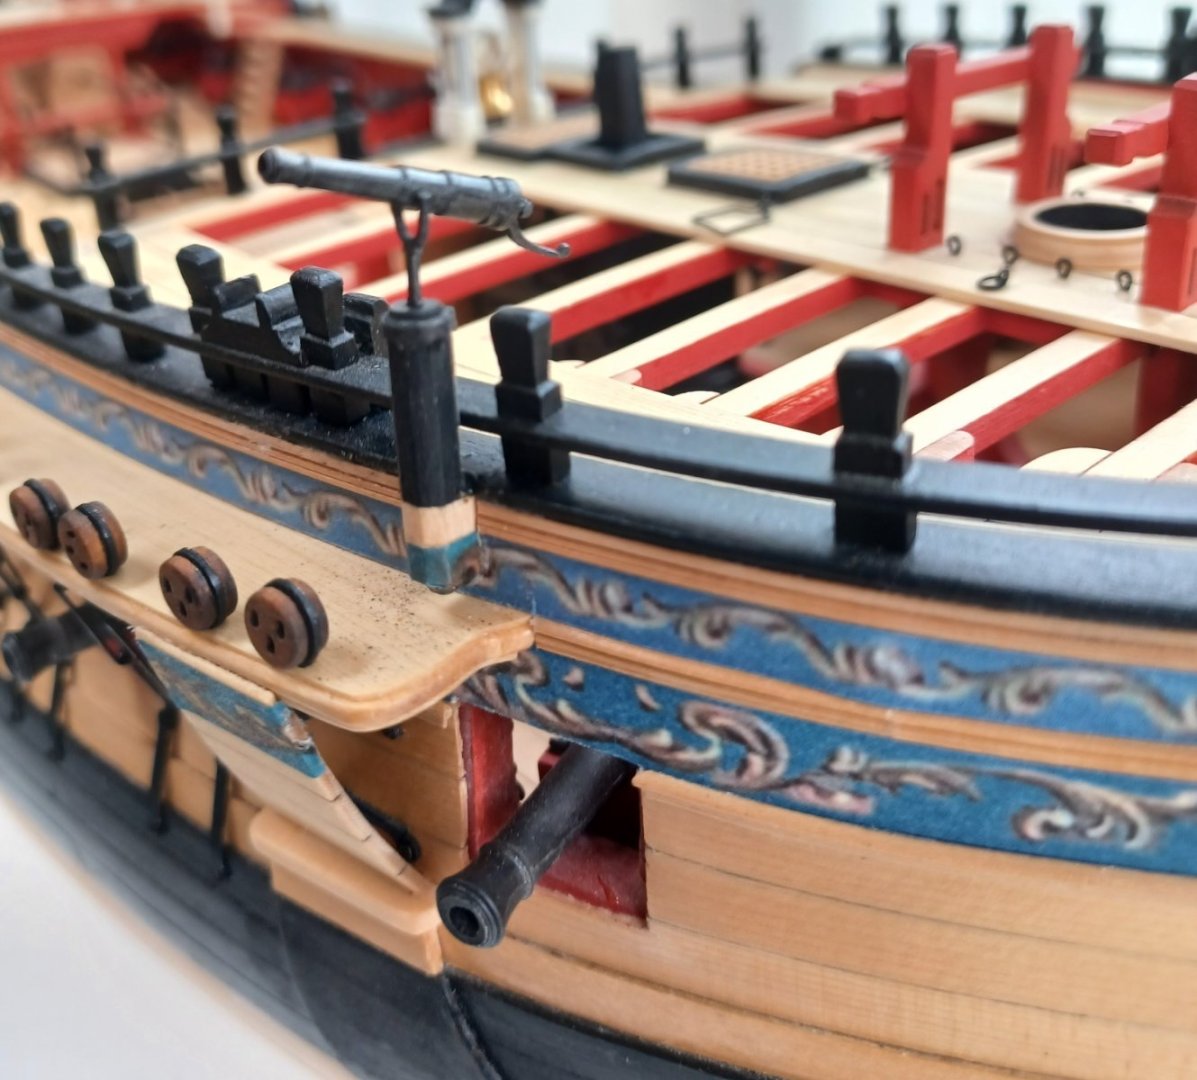
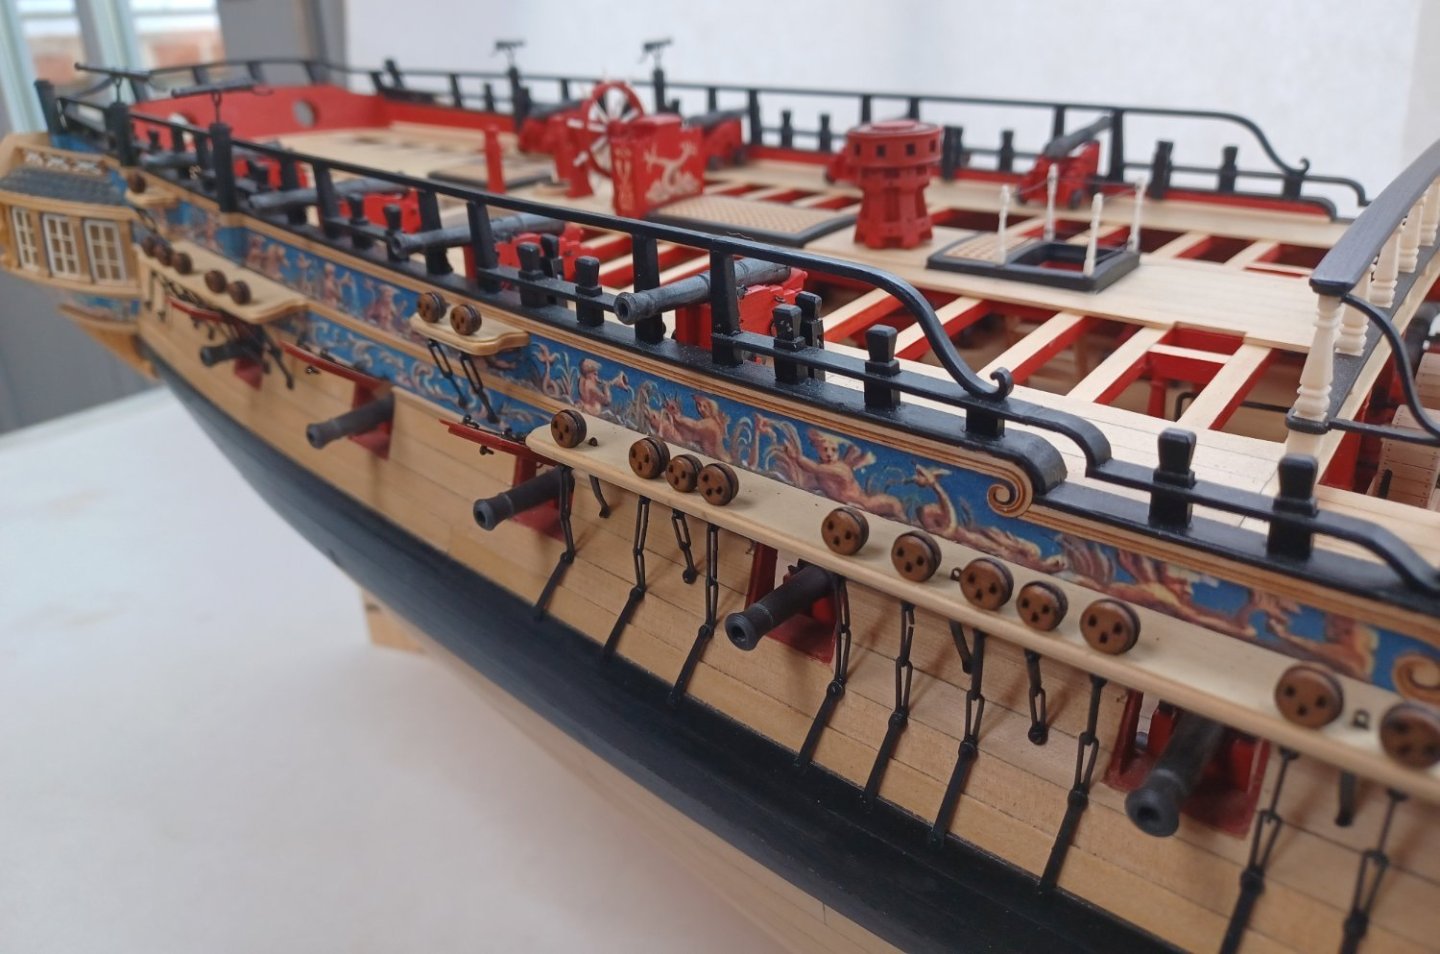
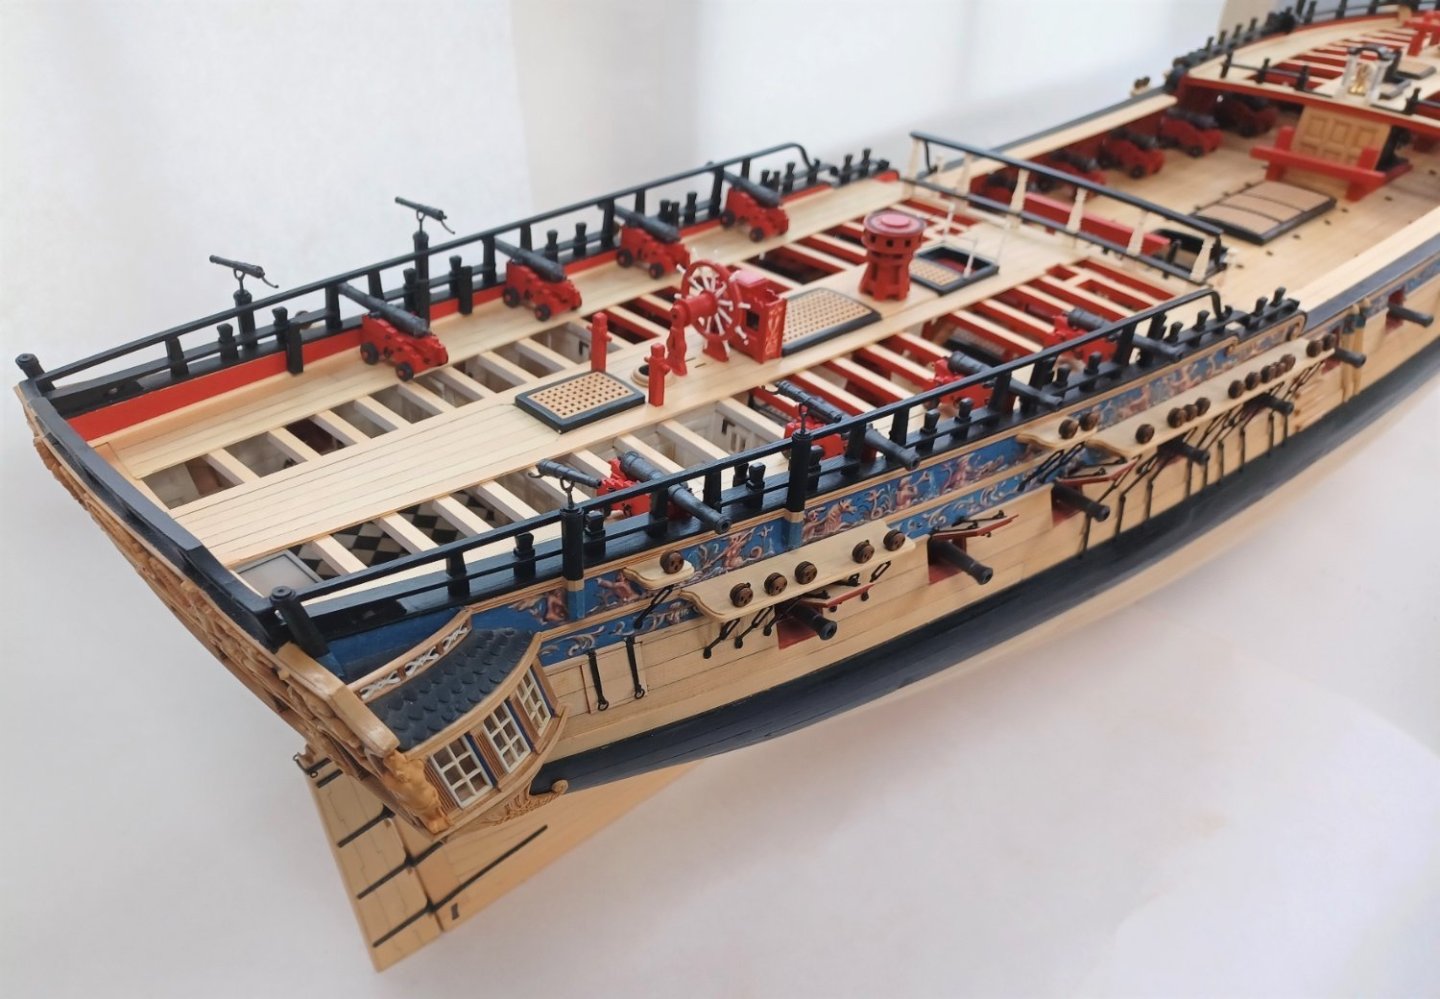
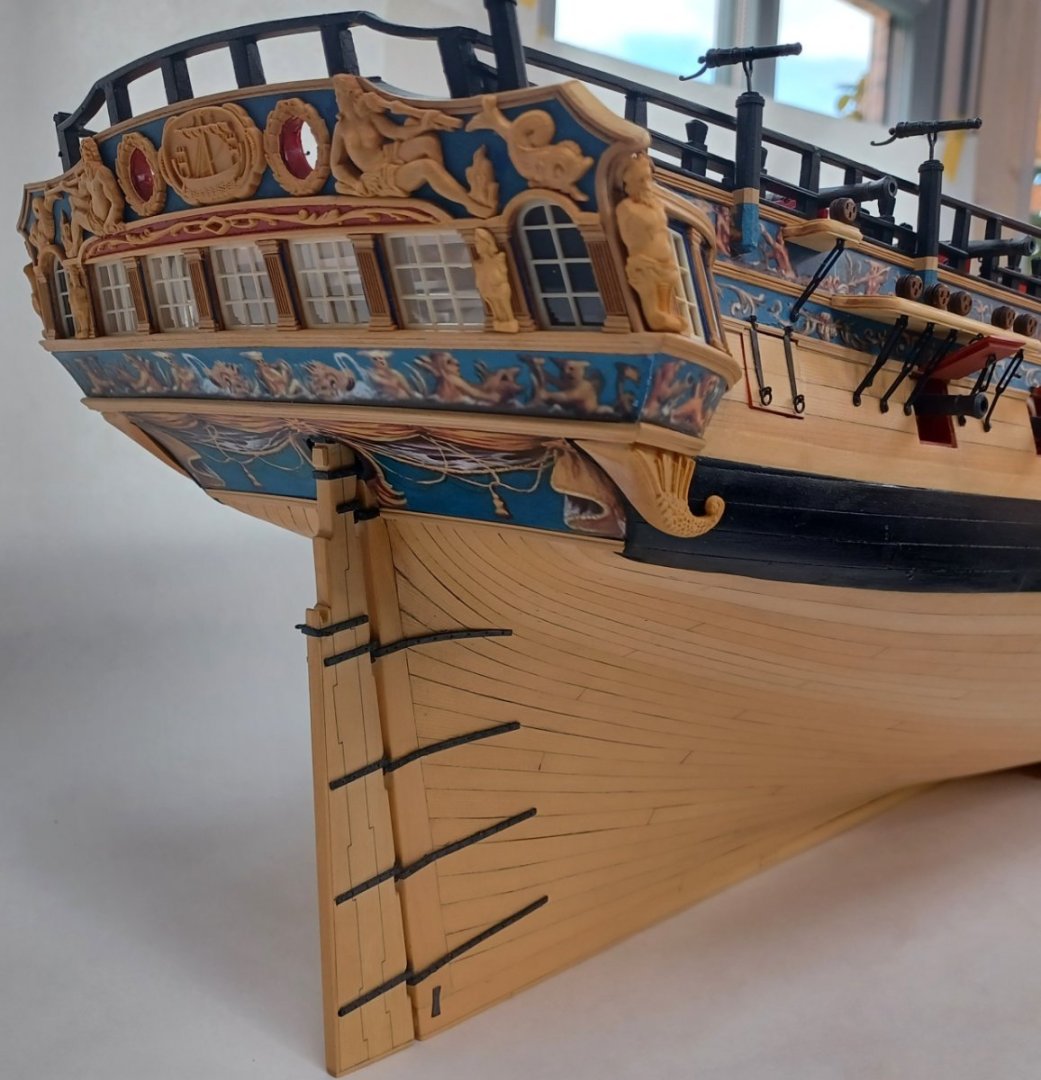
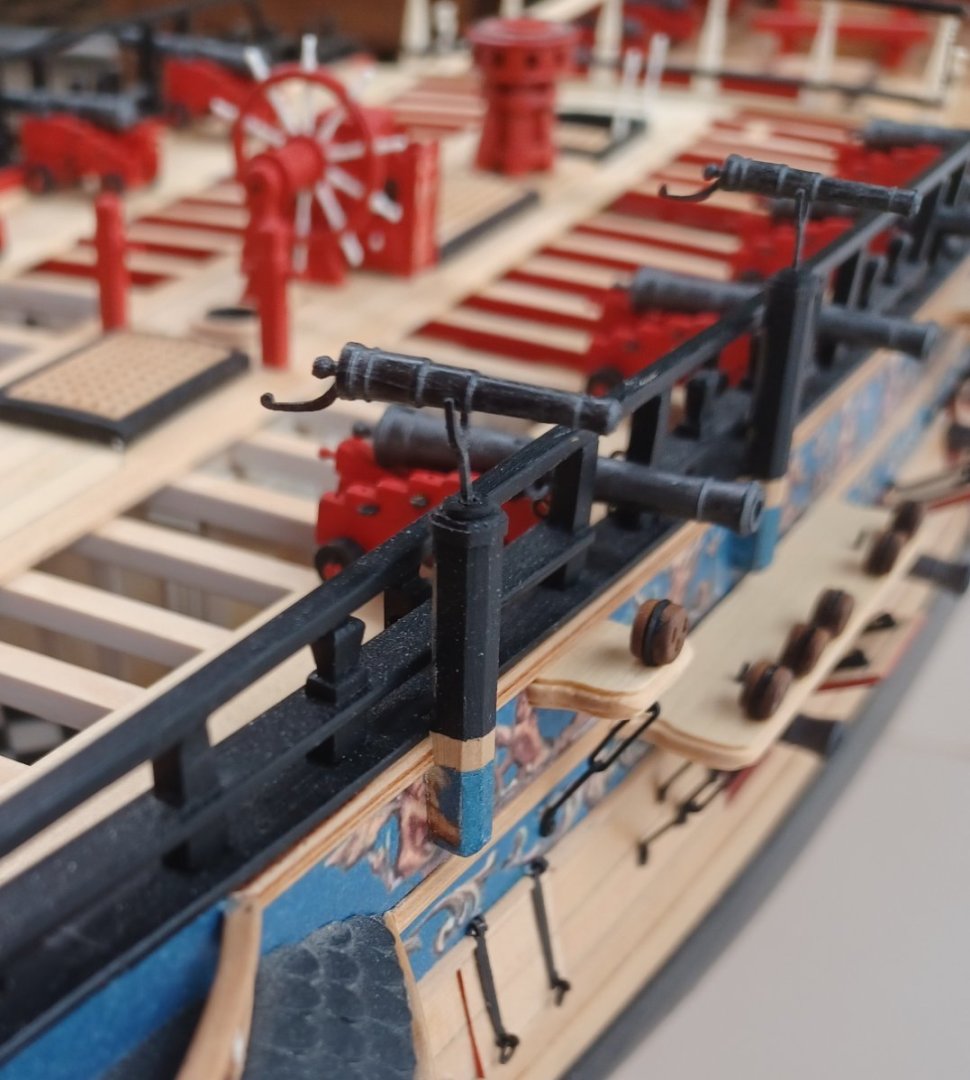
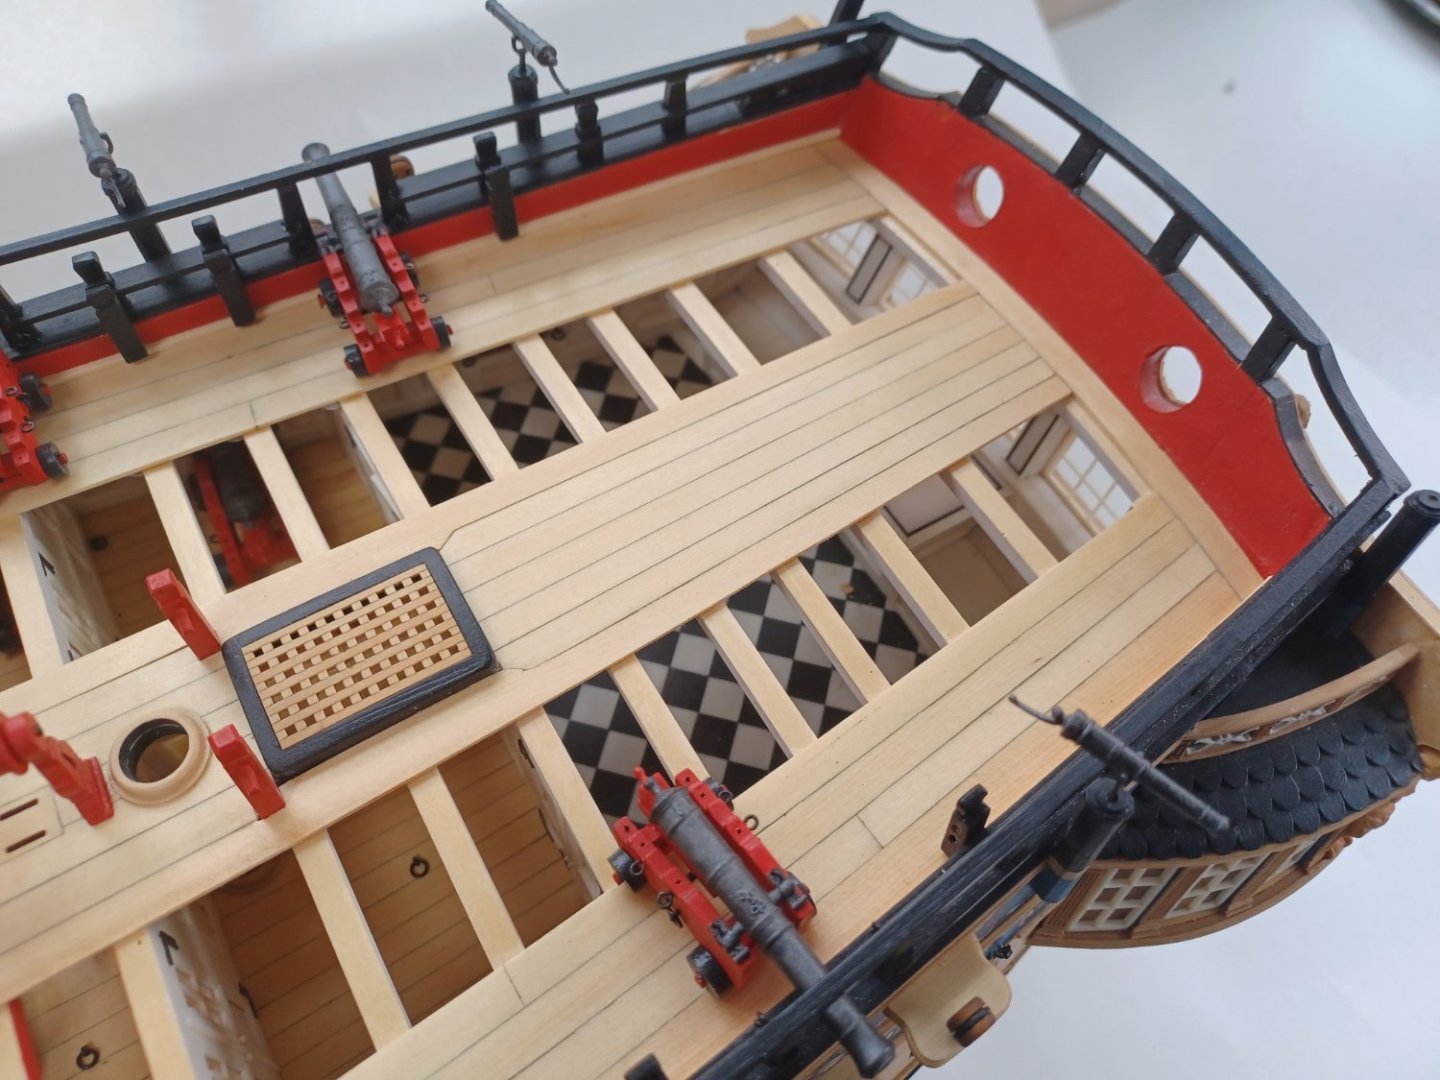
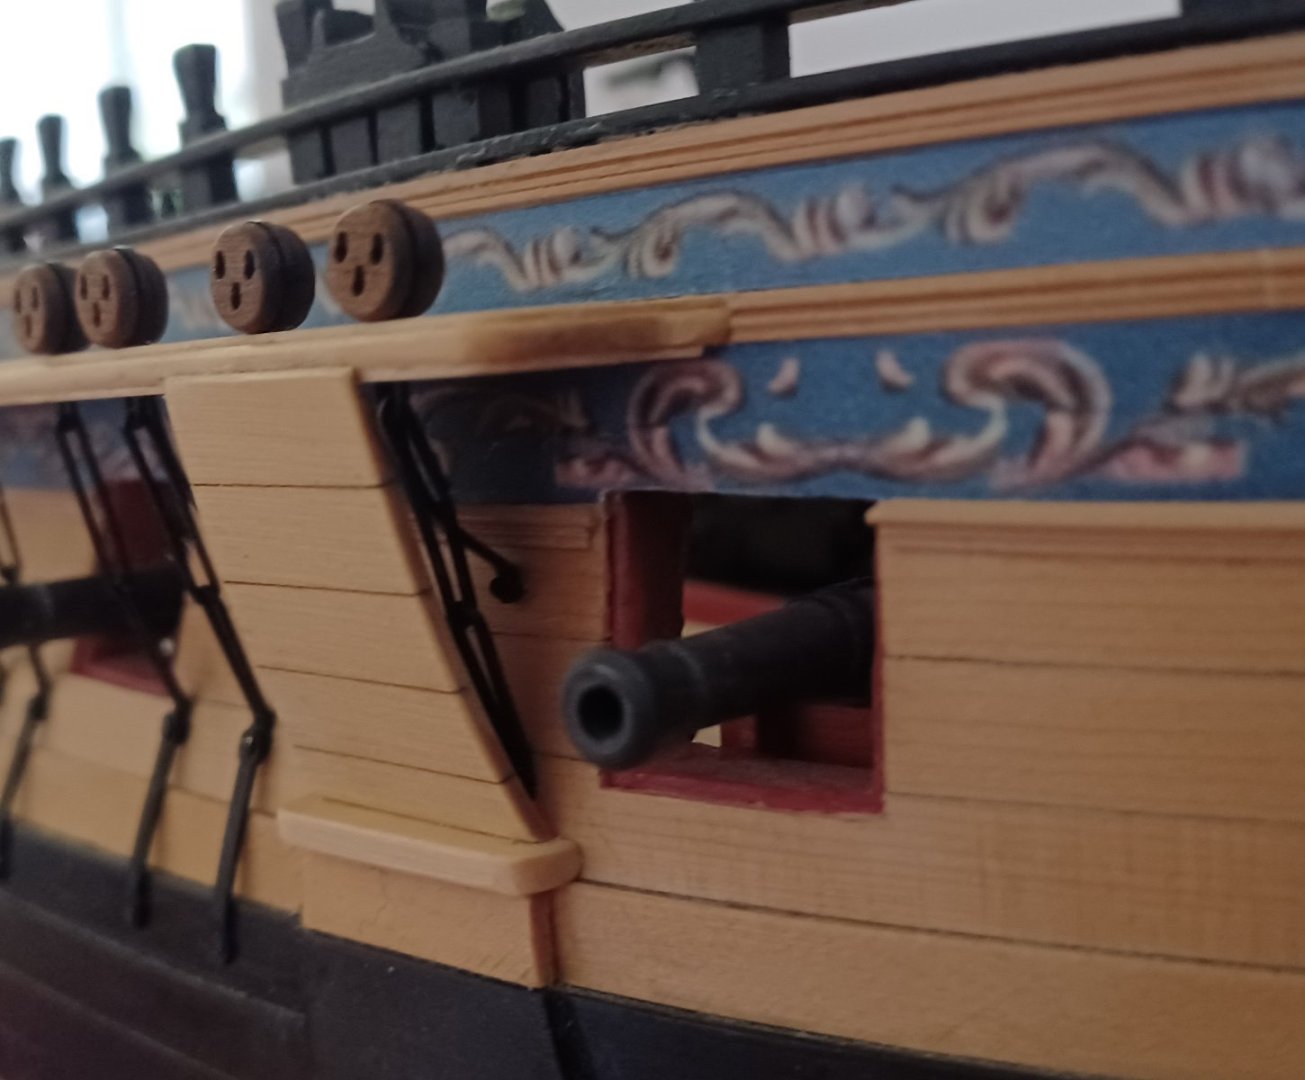
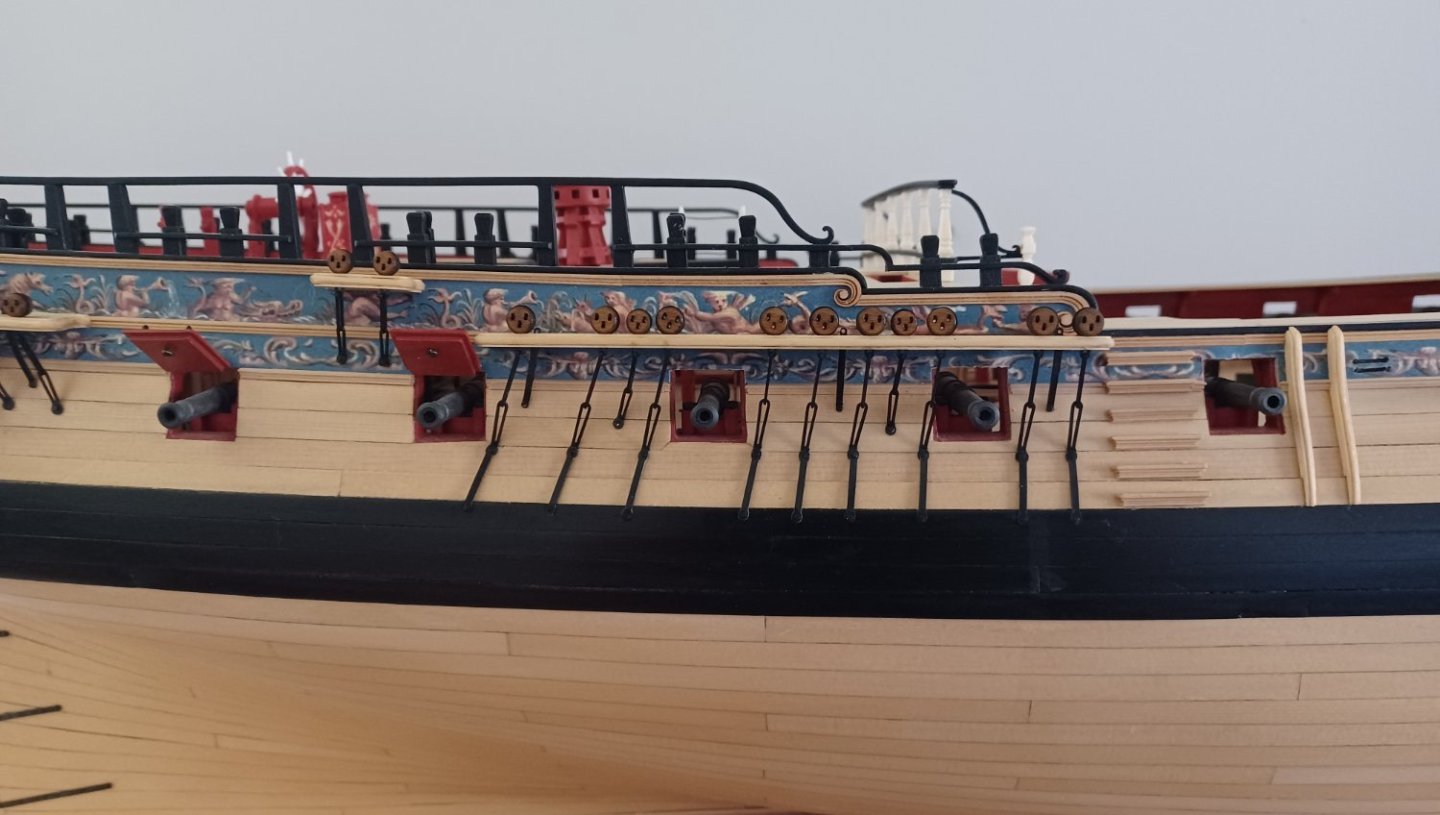
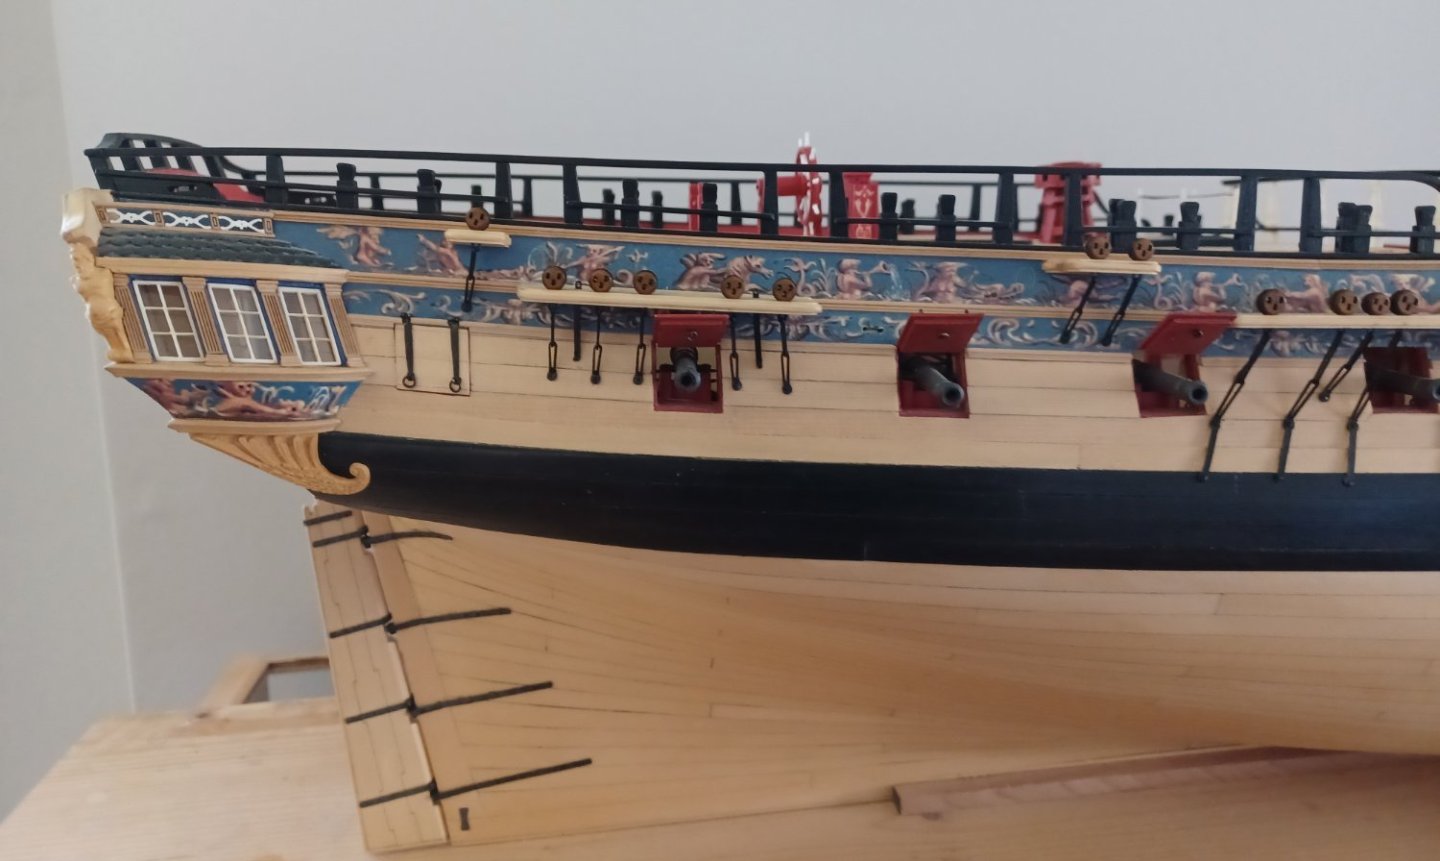
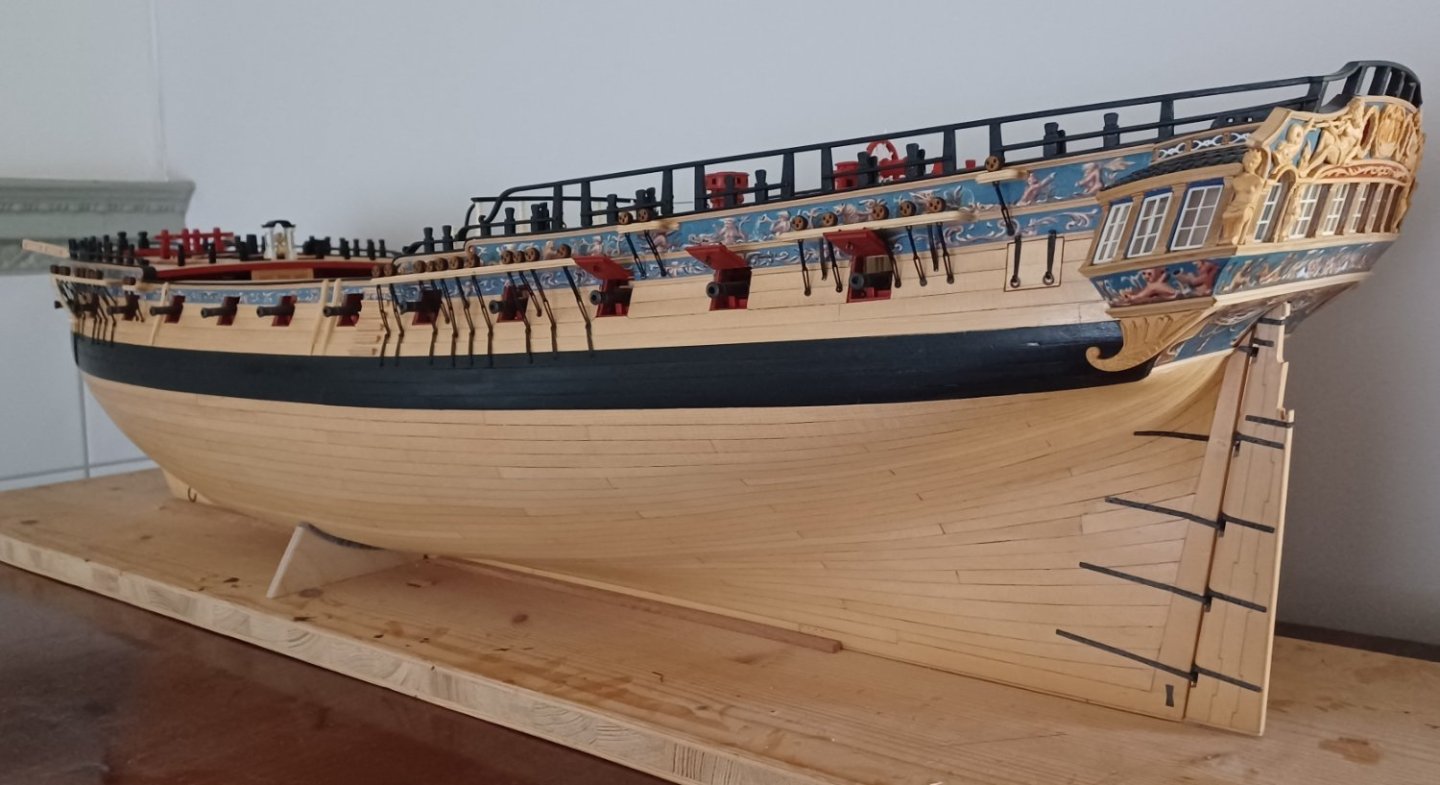
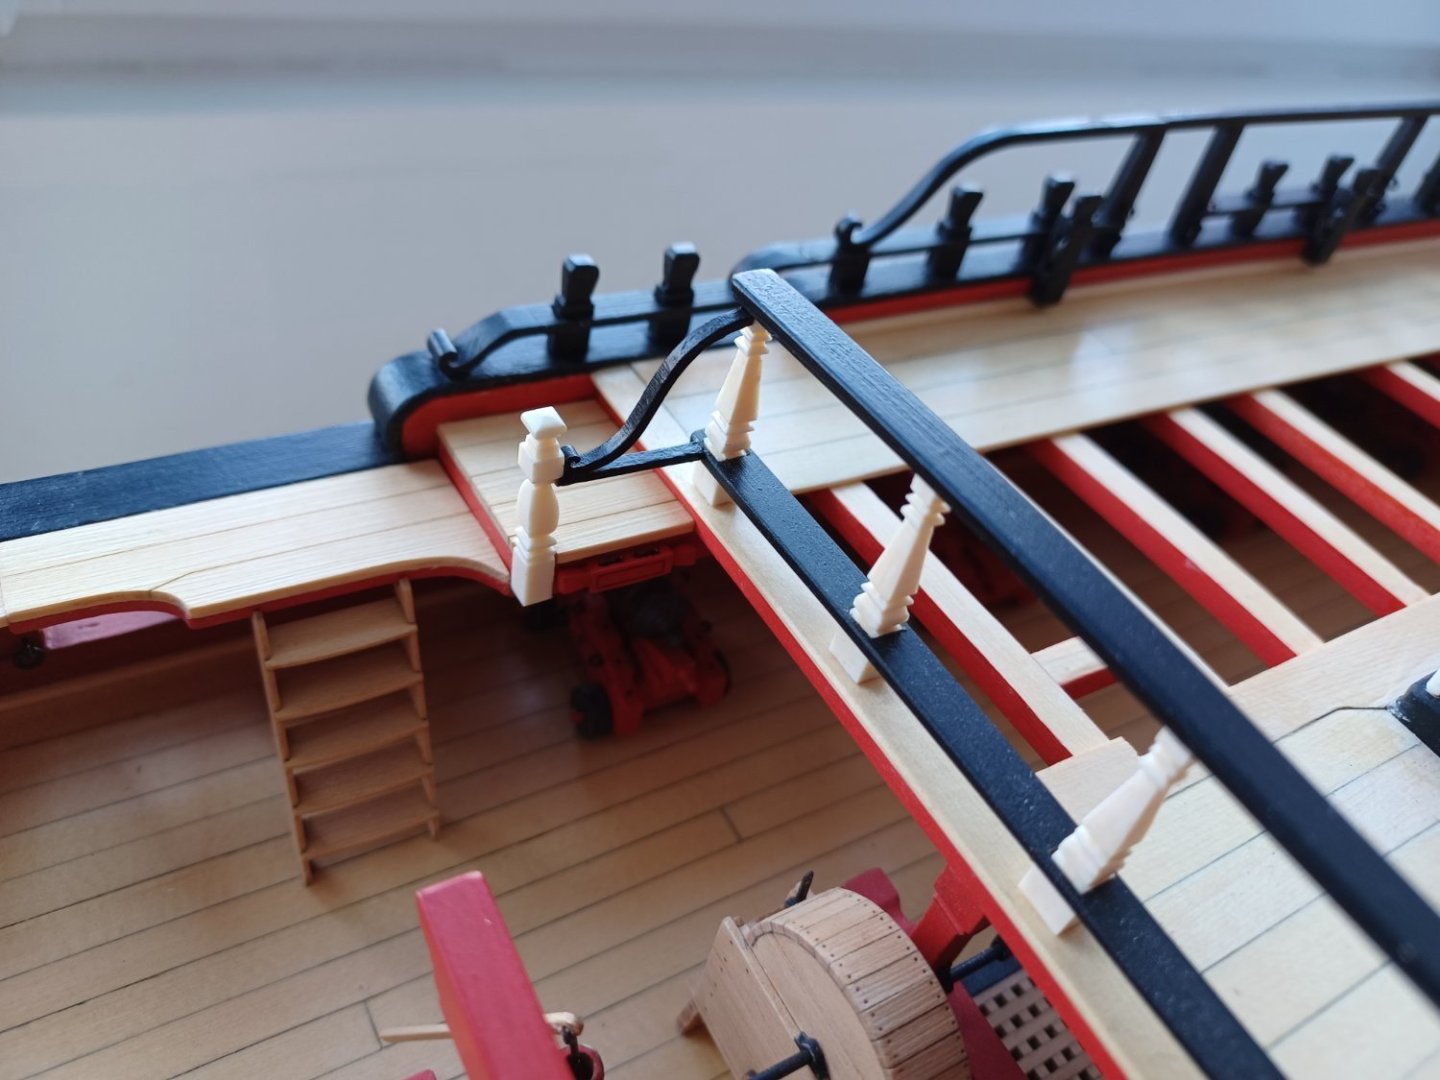
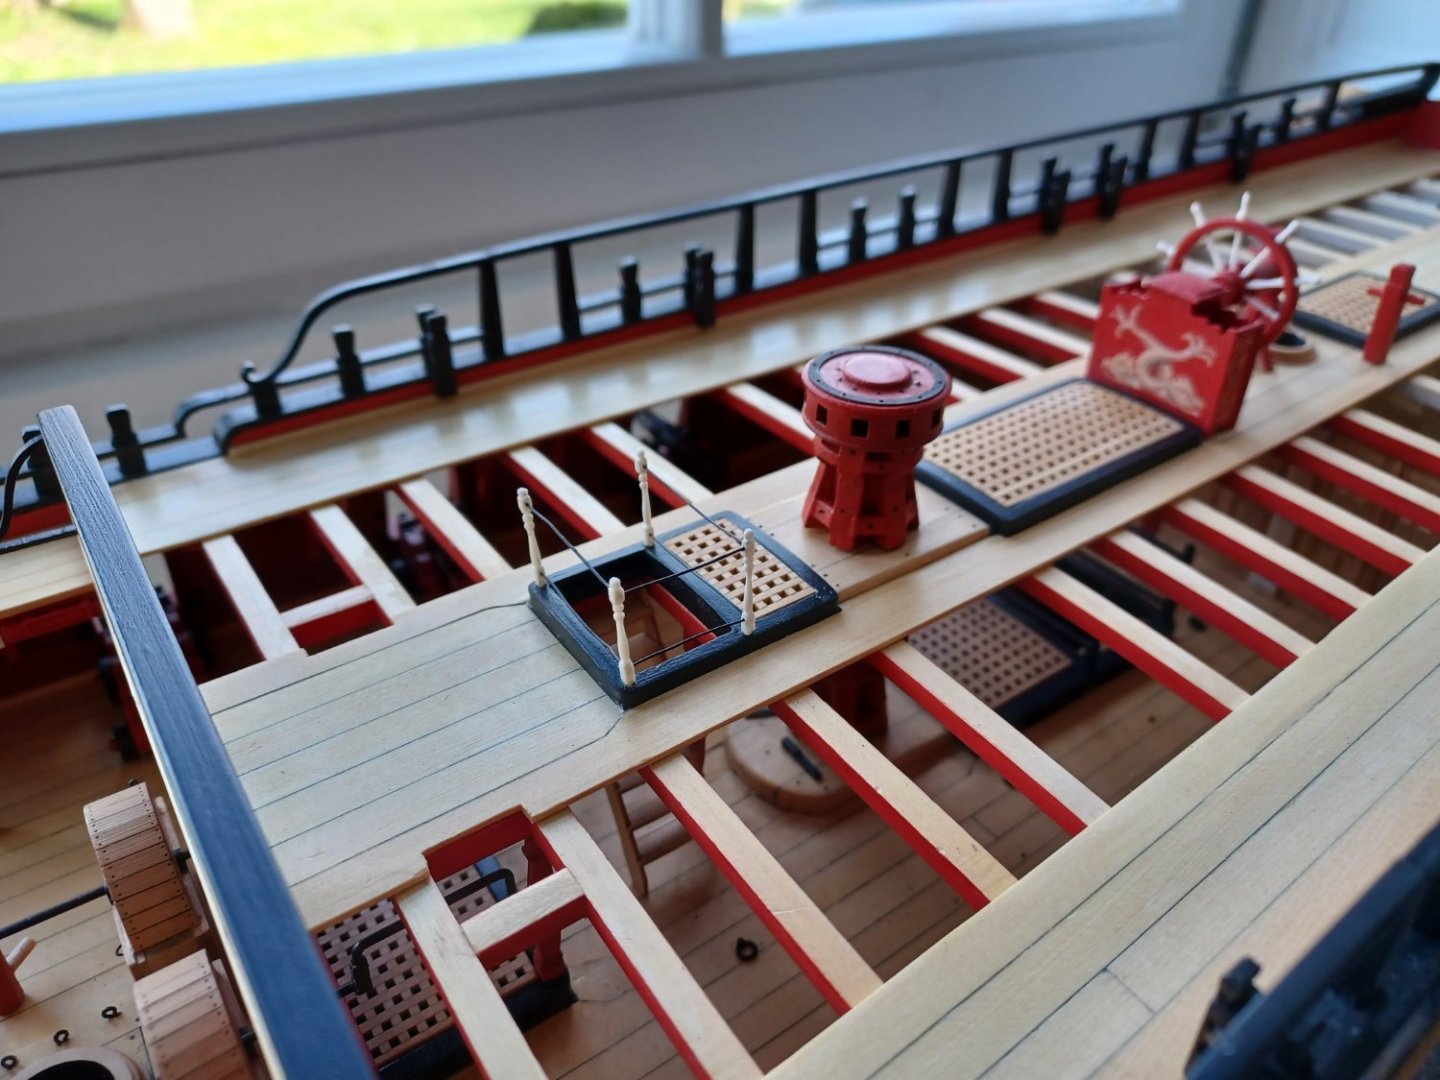
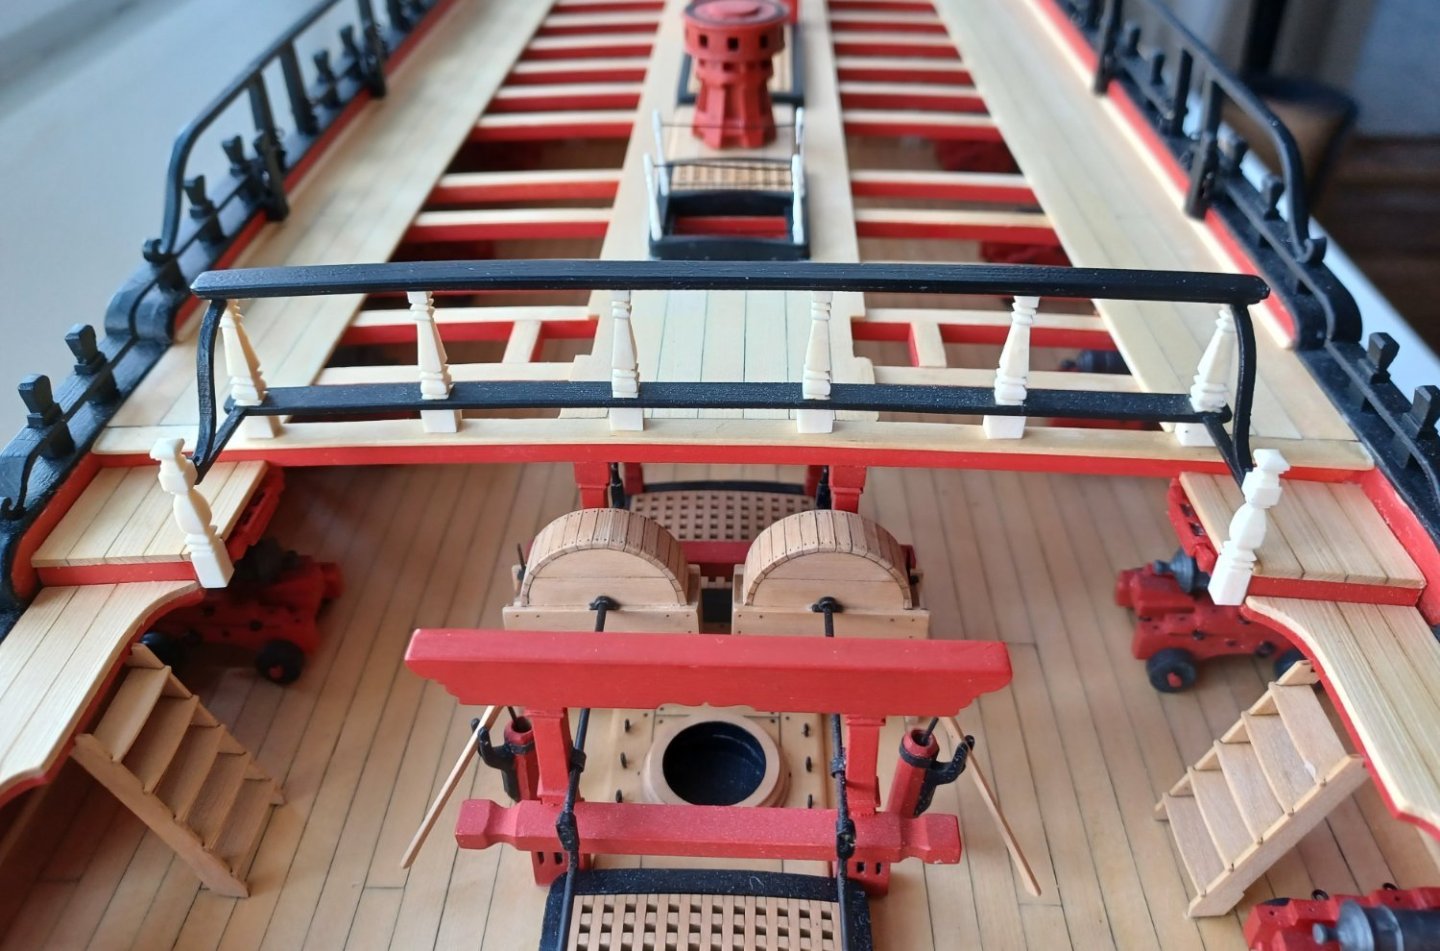
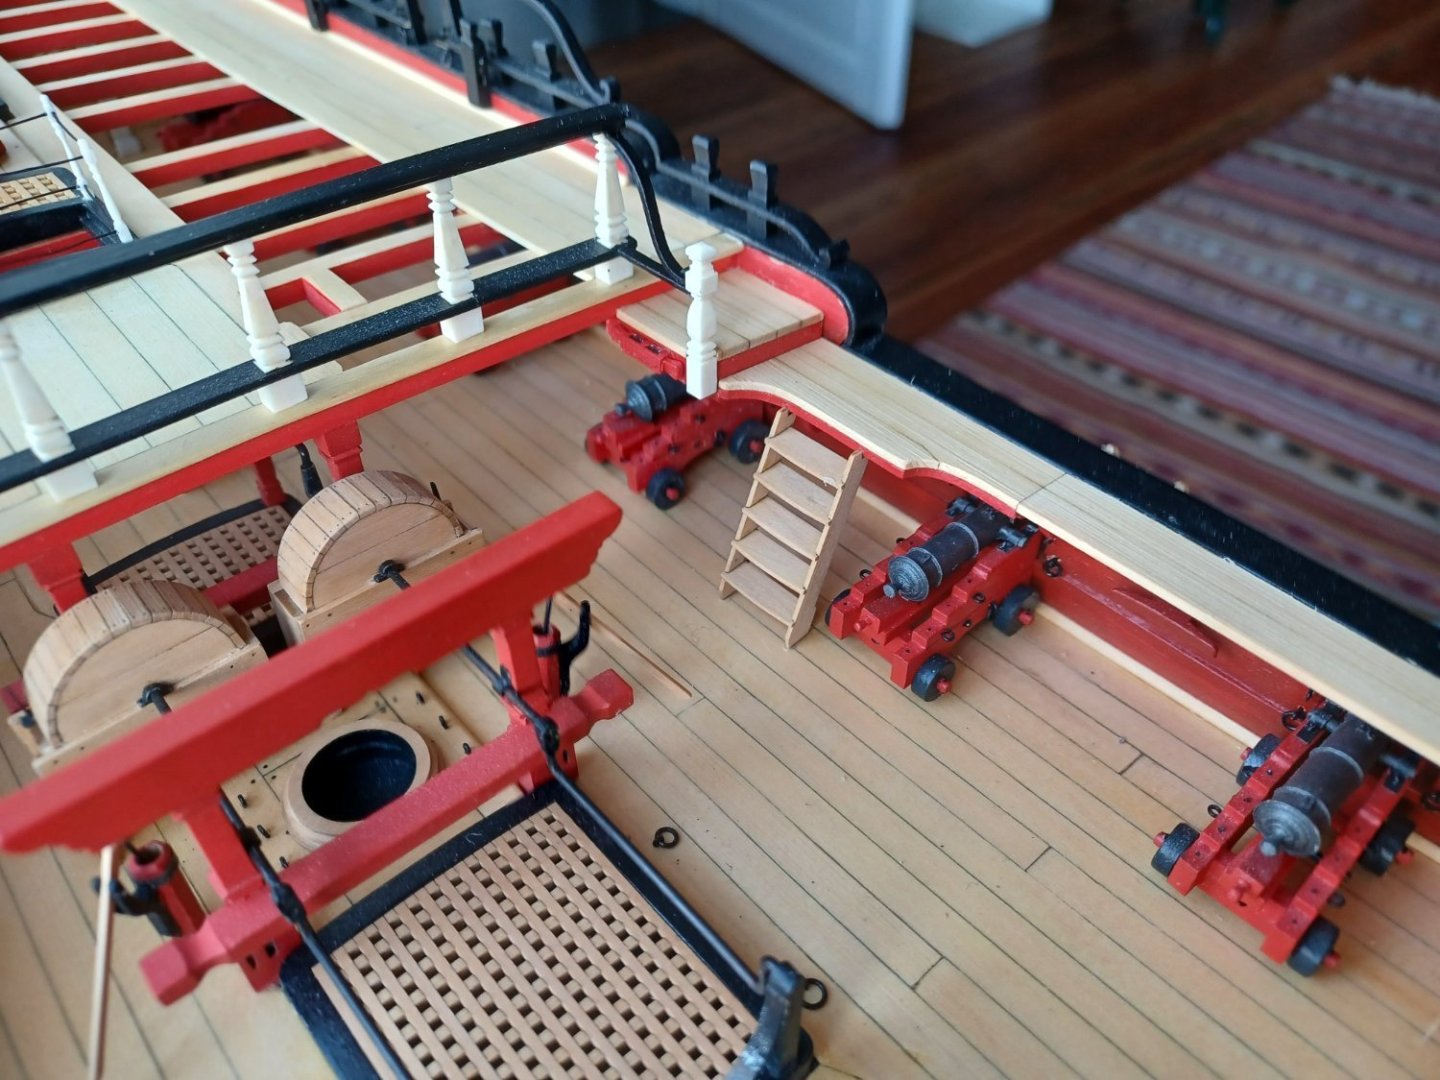
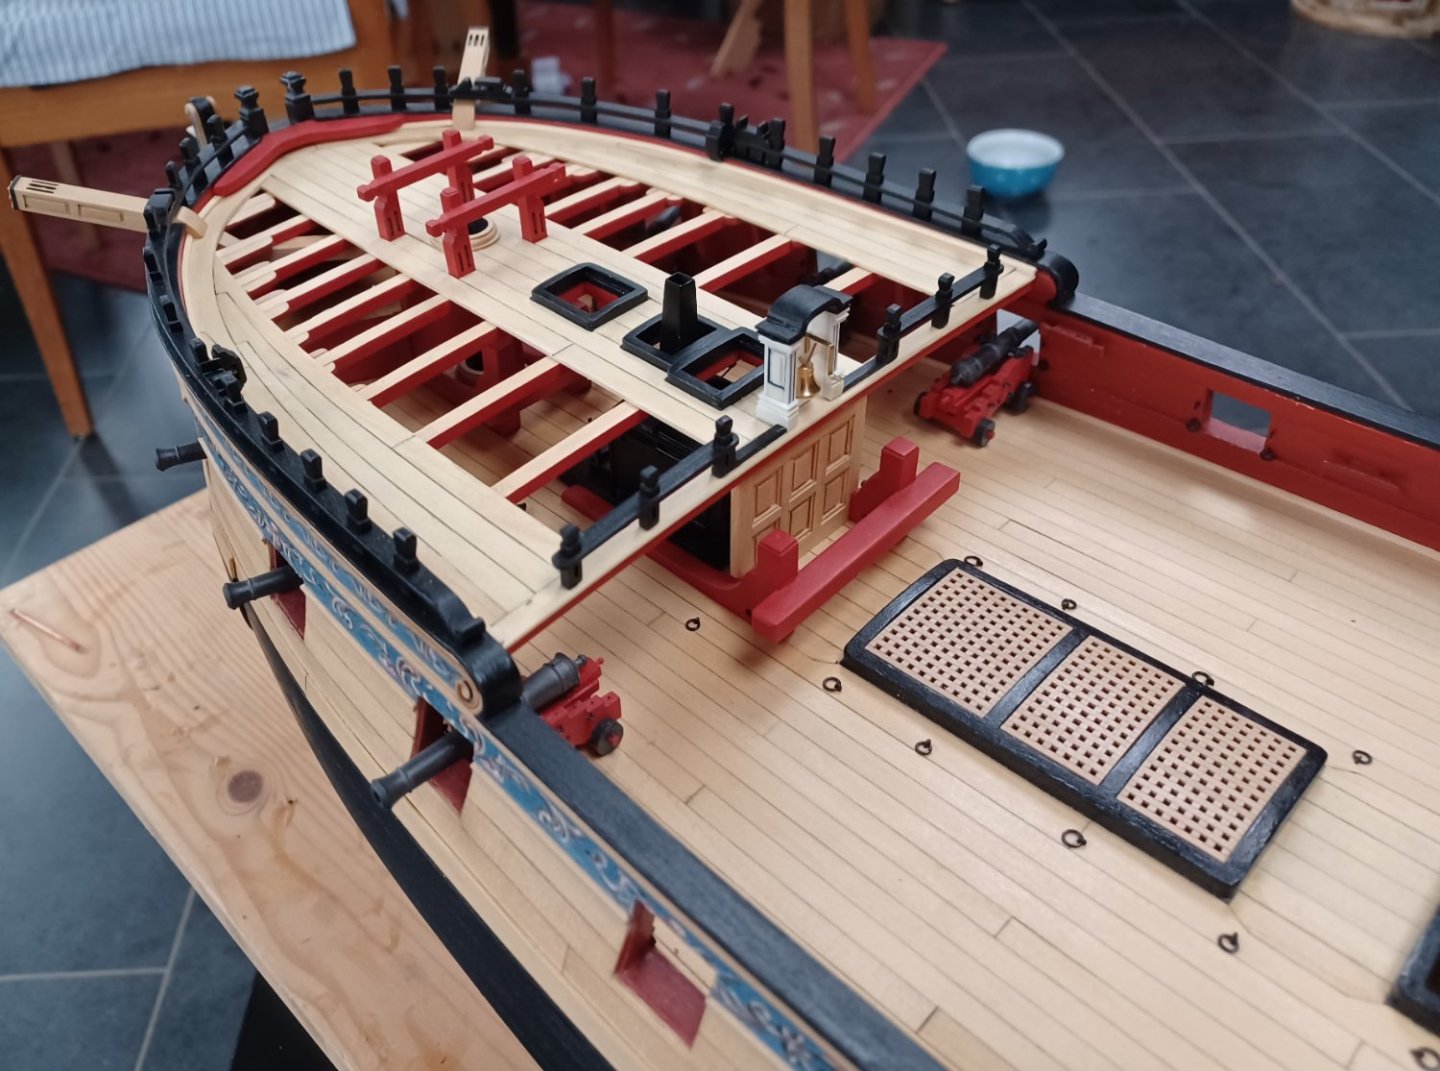
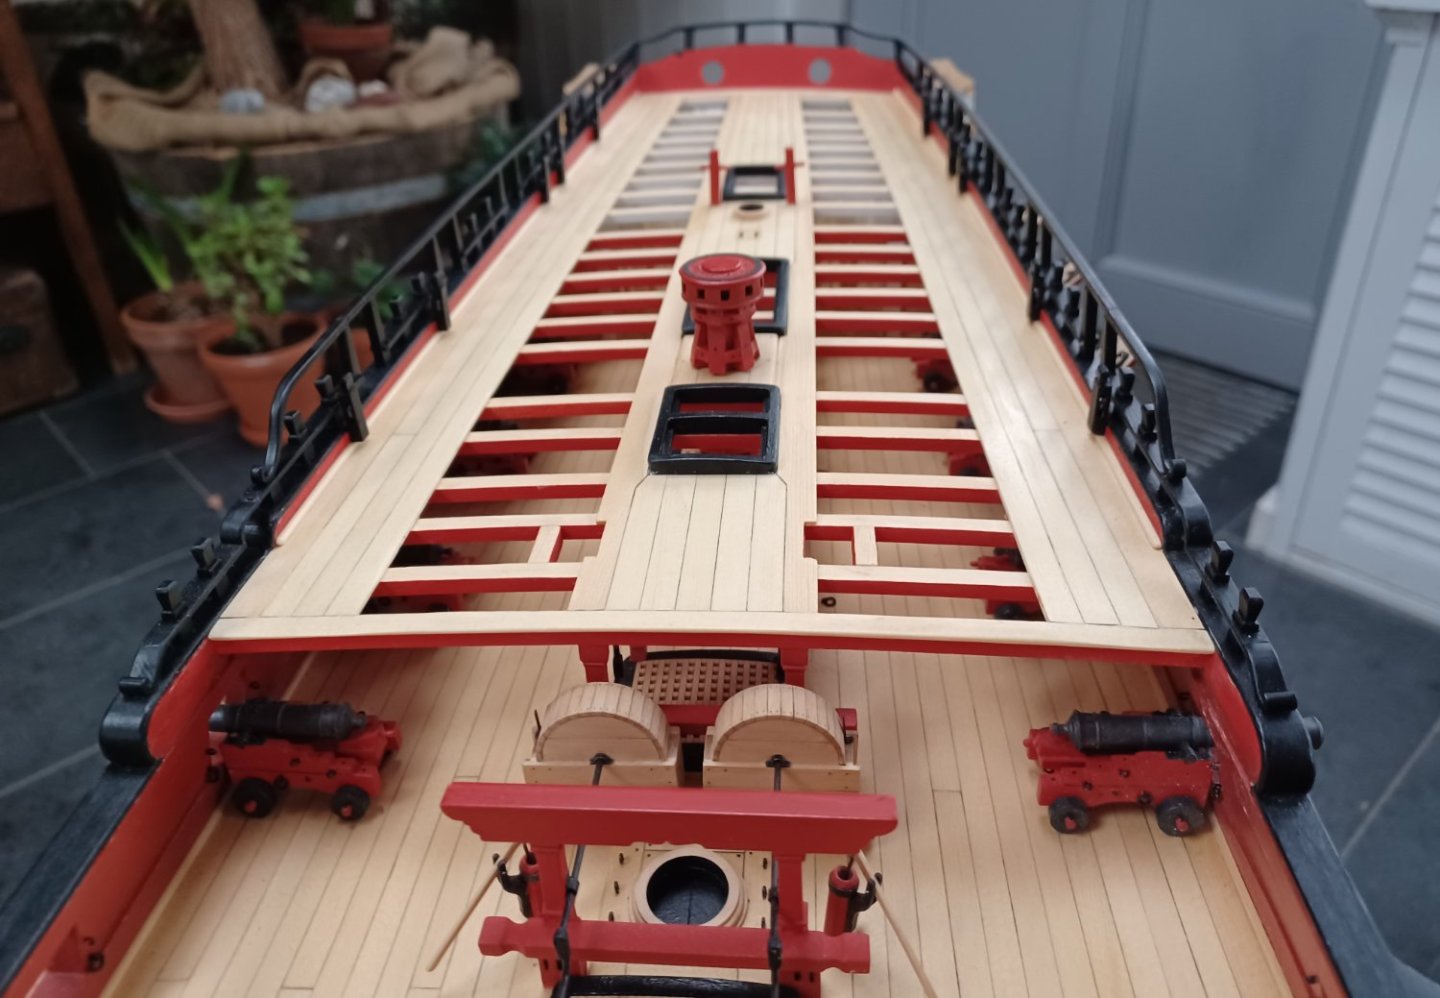
Hello everybody and thank you for the kind words and the likes. At the moment I am working on finishing the last parts of equipment. Guns, swivel-guns and the stern lantern. The model is a bit dusty, but here are some photos. The stern lantern will be the last step. I will make it from ivory again. Matthias
-
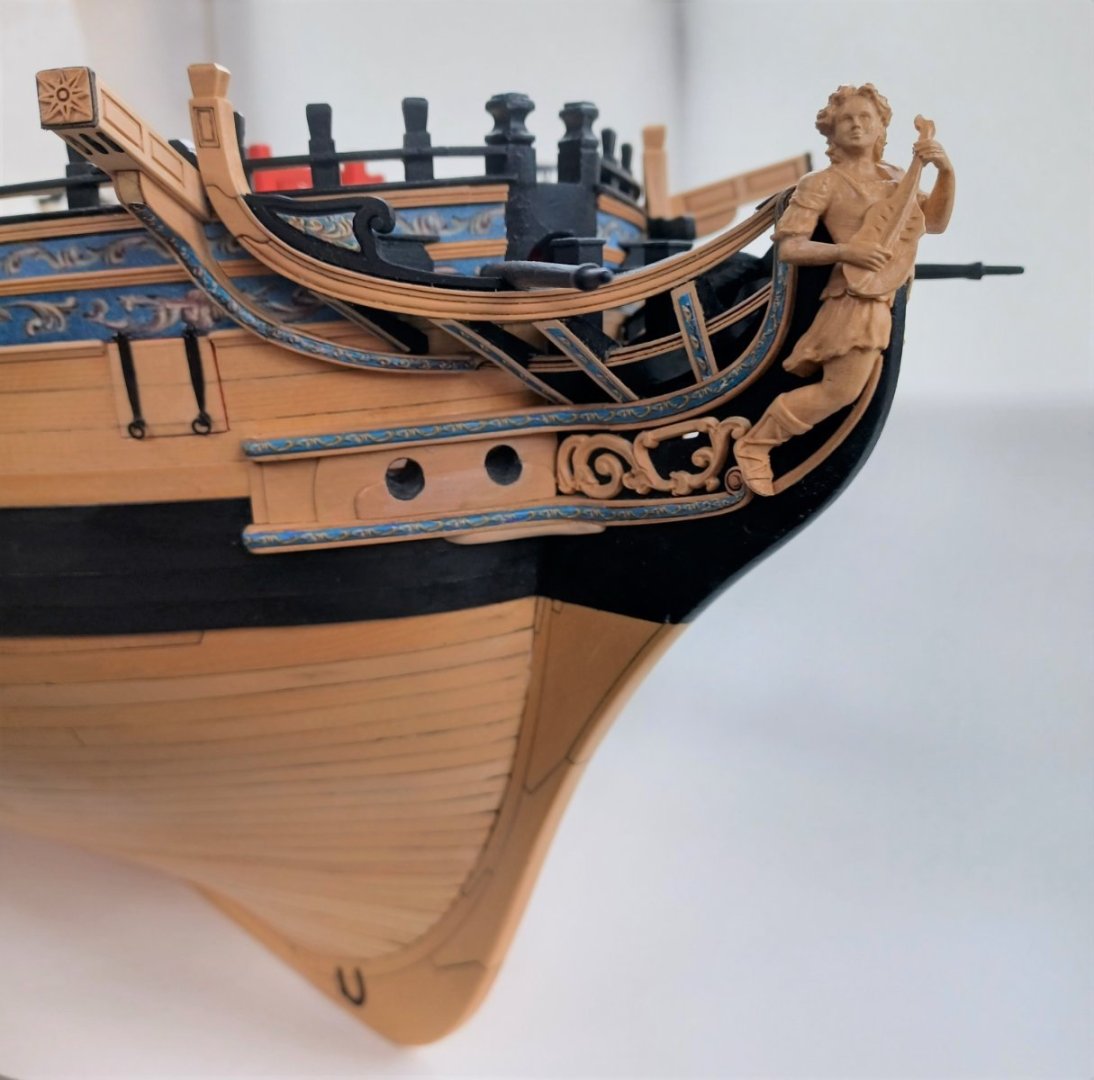
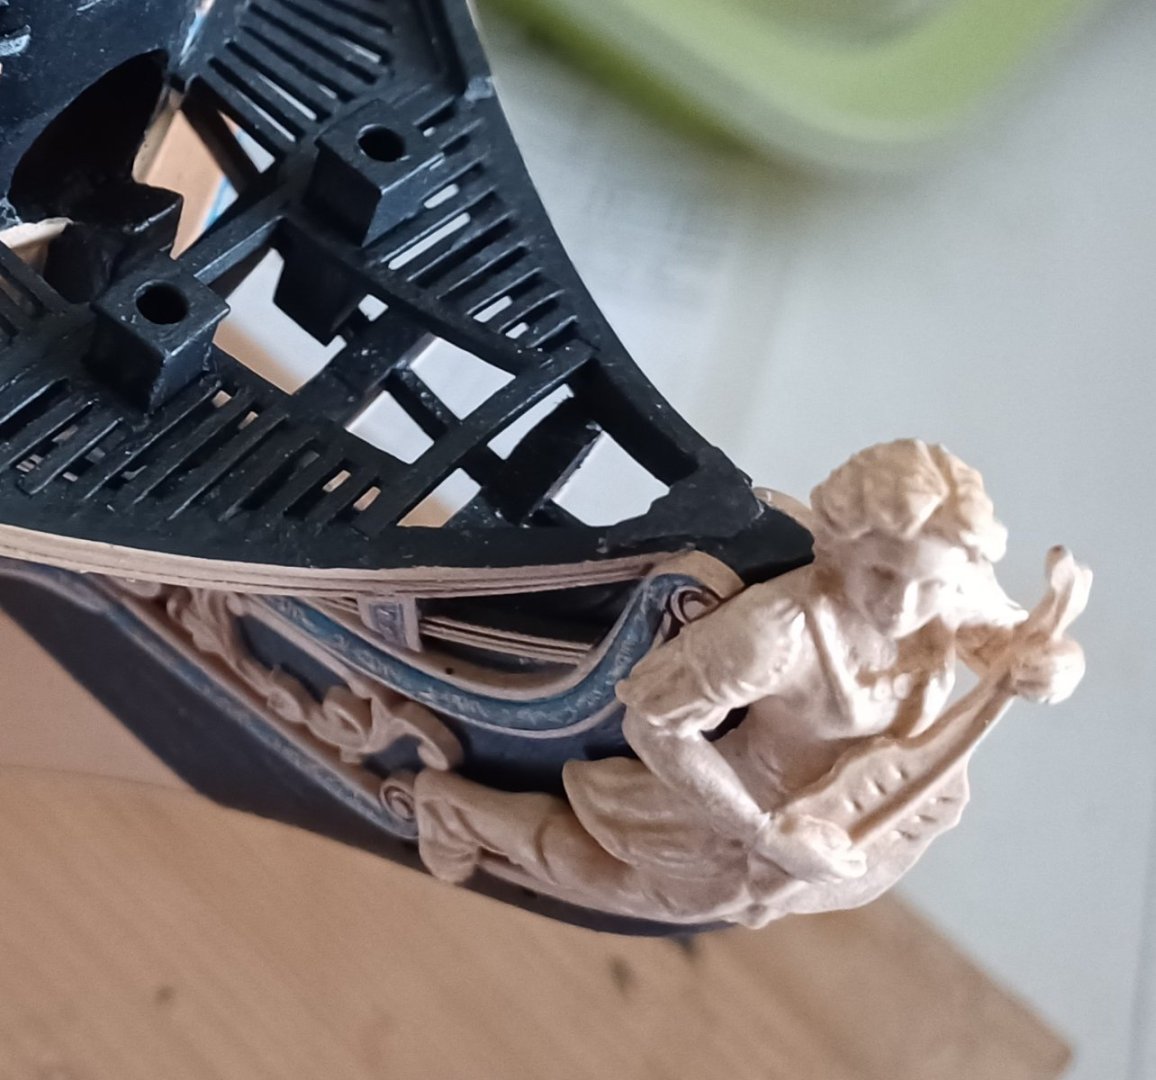
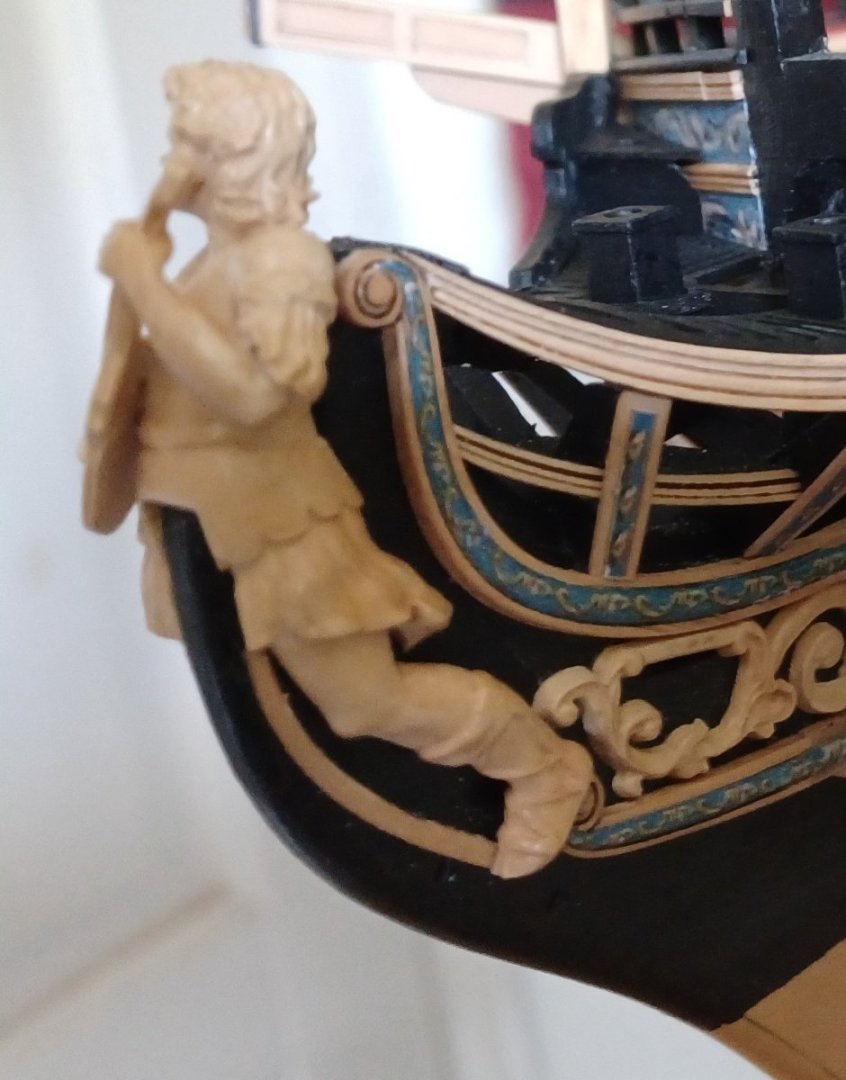
Hi Greg, I actually don't know. I used all the laser cut parts and did not alter anything. But when I put the figurehead on the model, it somehow did not fit properly. The position was too far forward. So the only posibility was to cut the scrollwork or to cut away a part of the arm of the figurehead. I took the scrollwork. Matthias
-
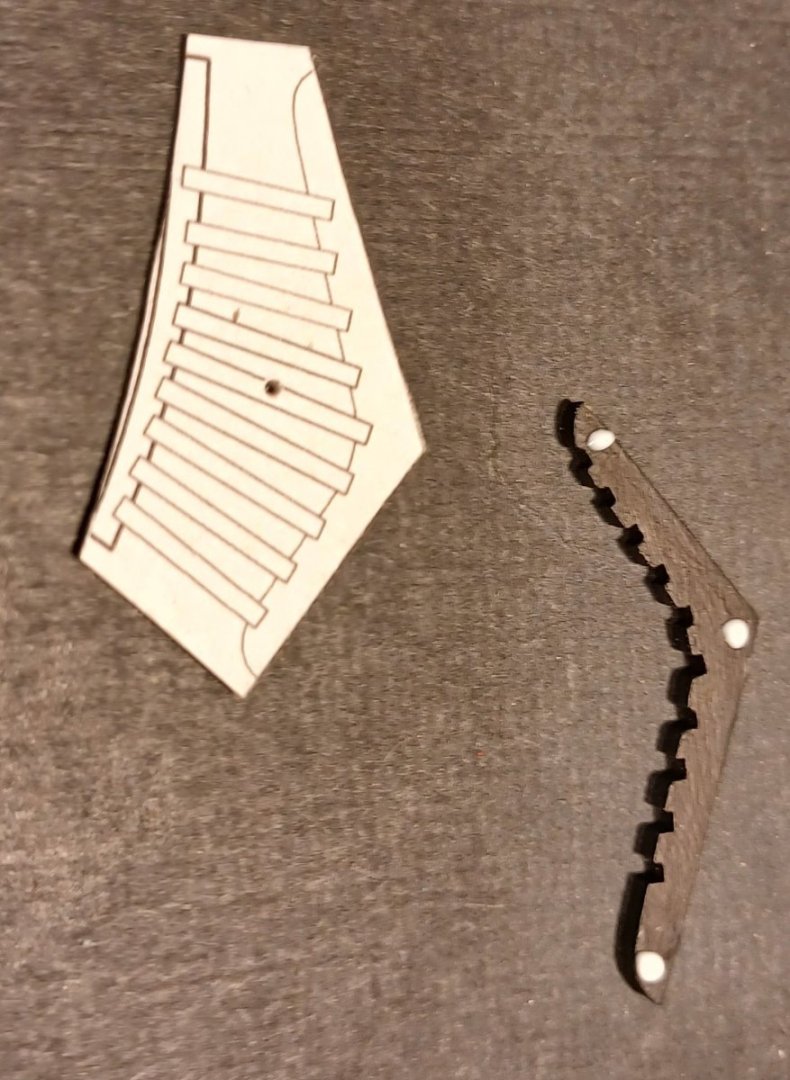
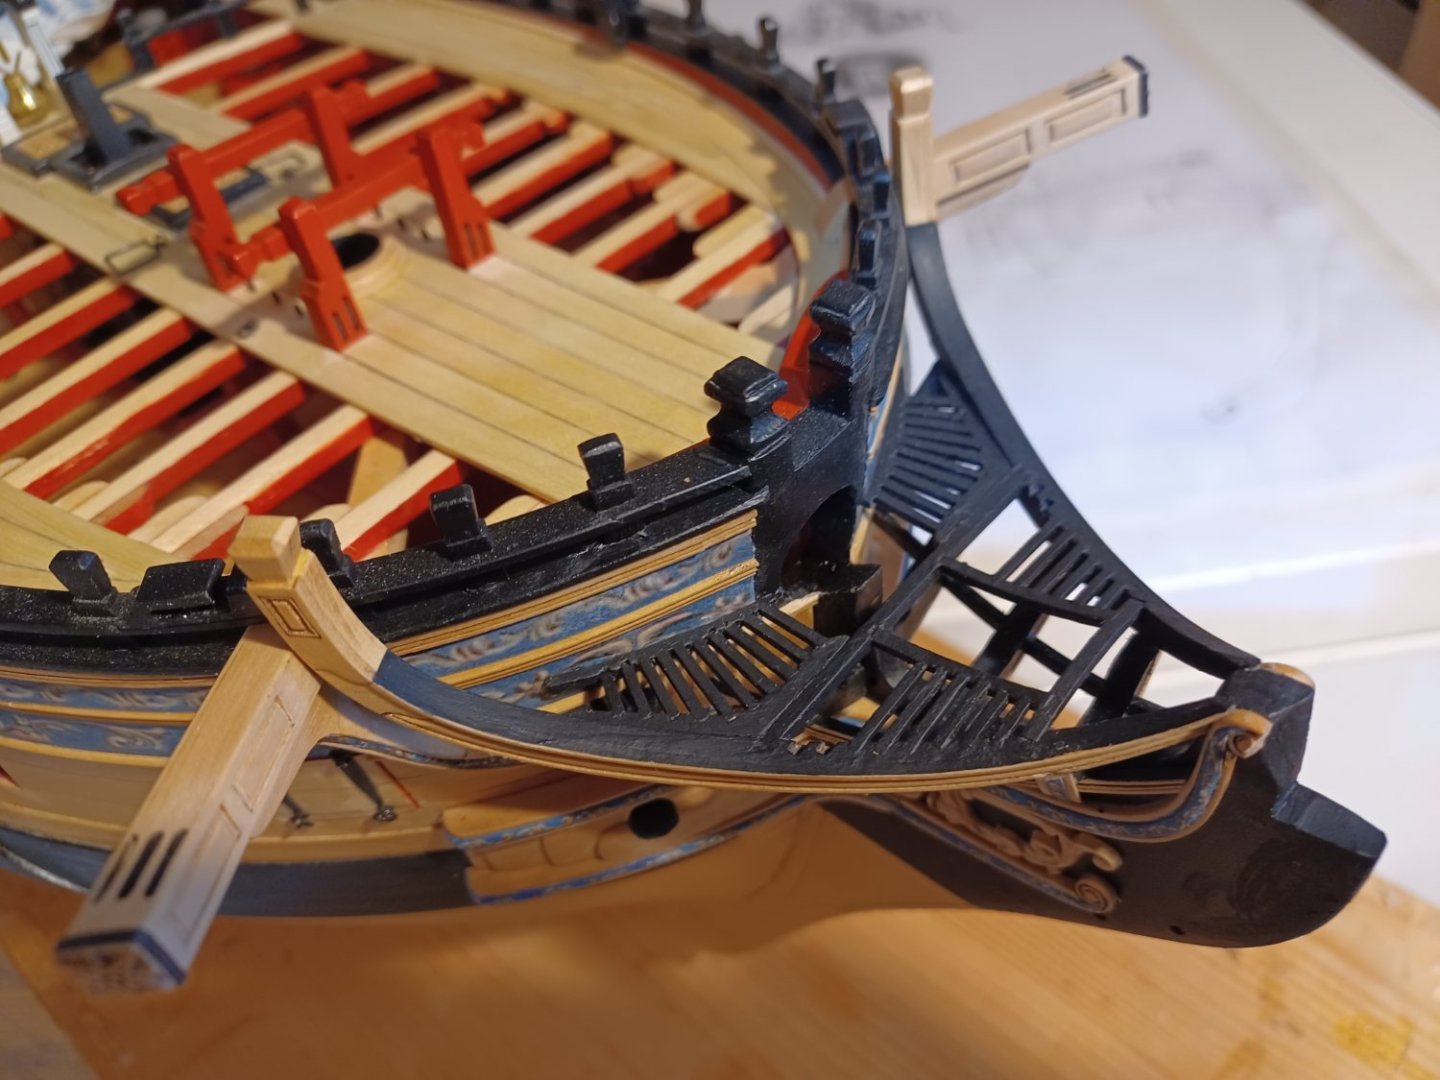
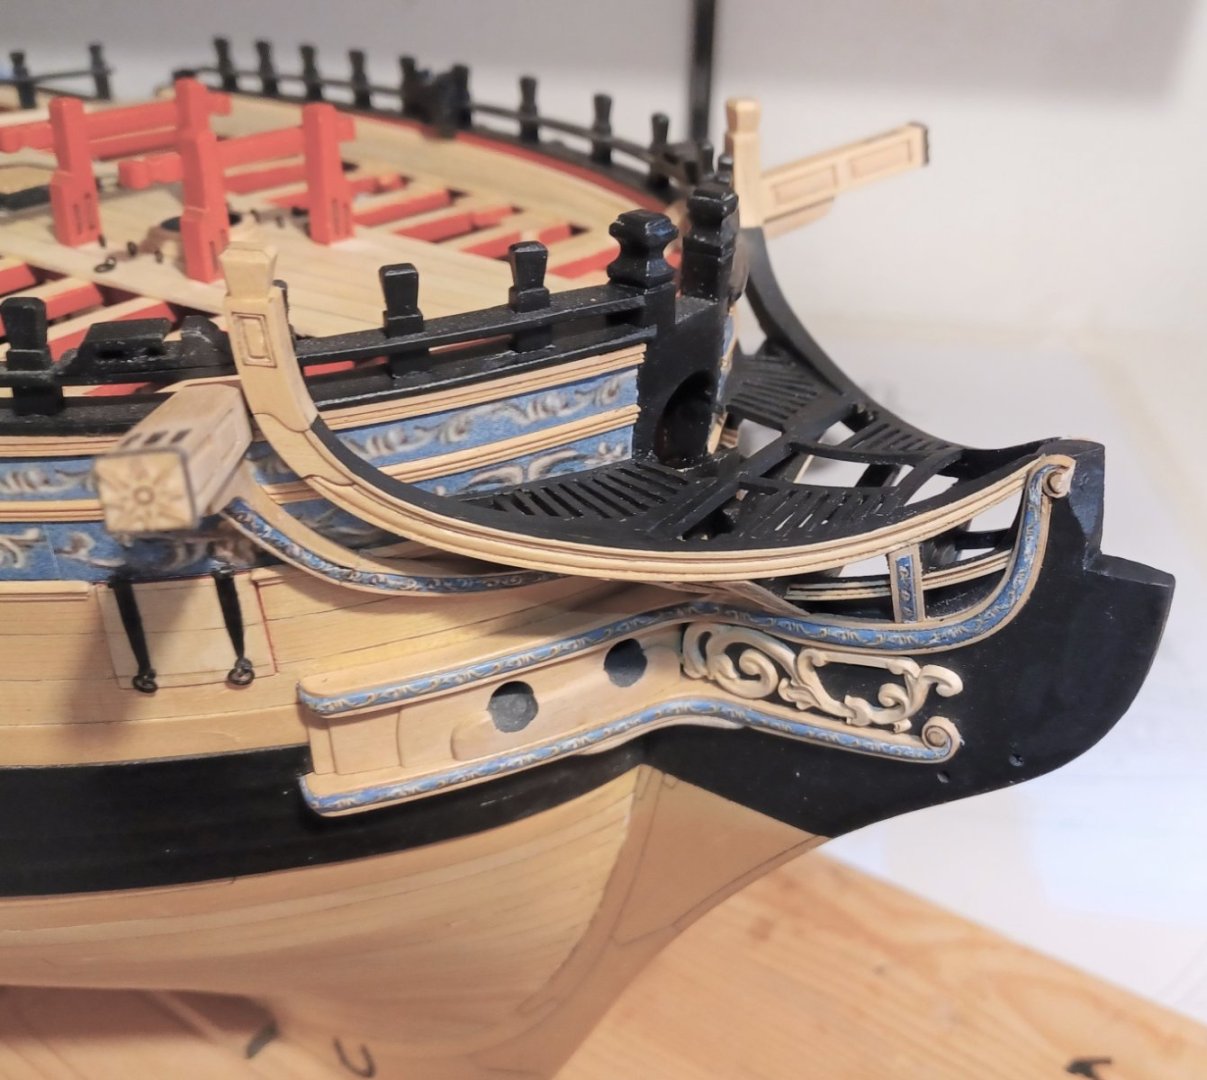
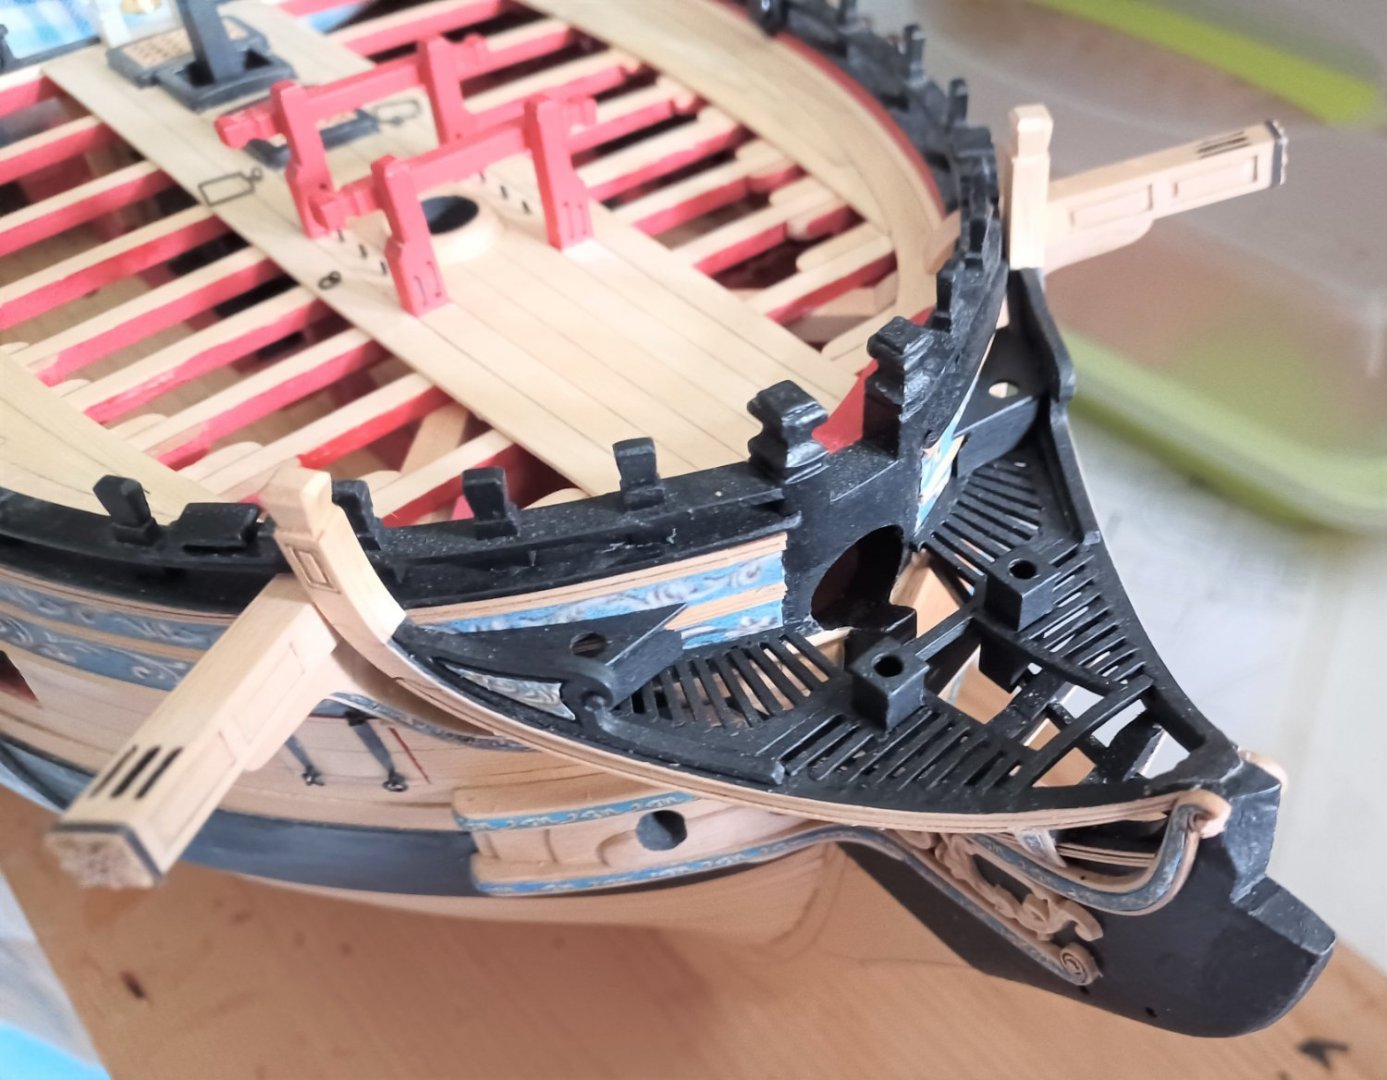
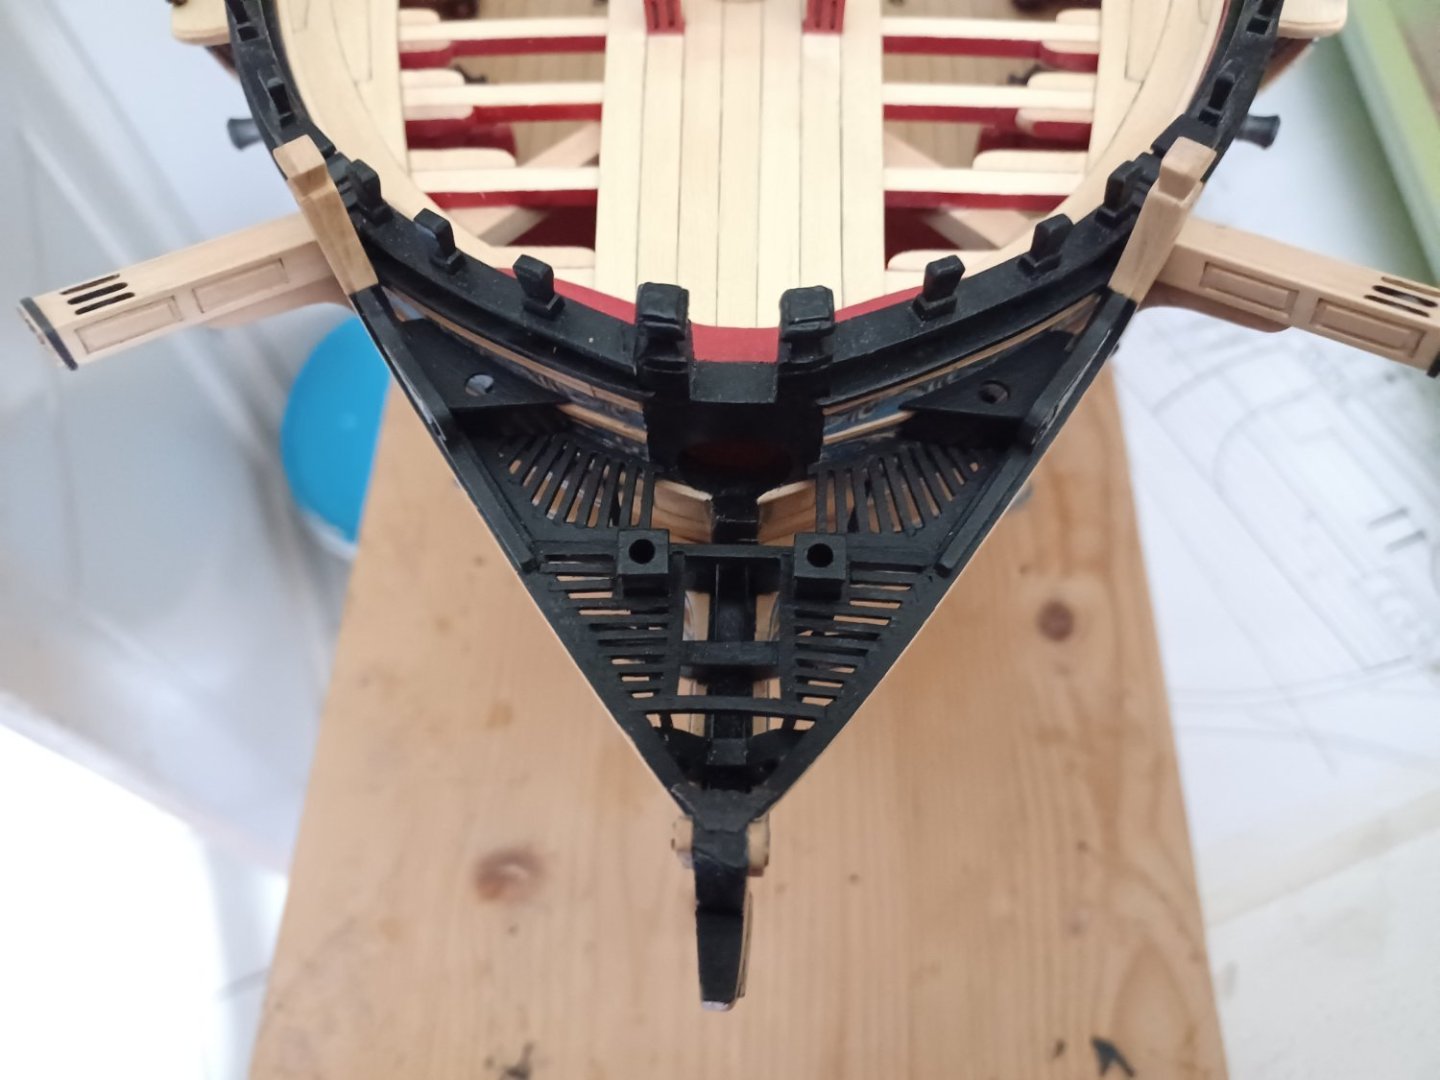
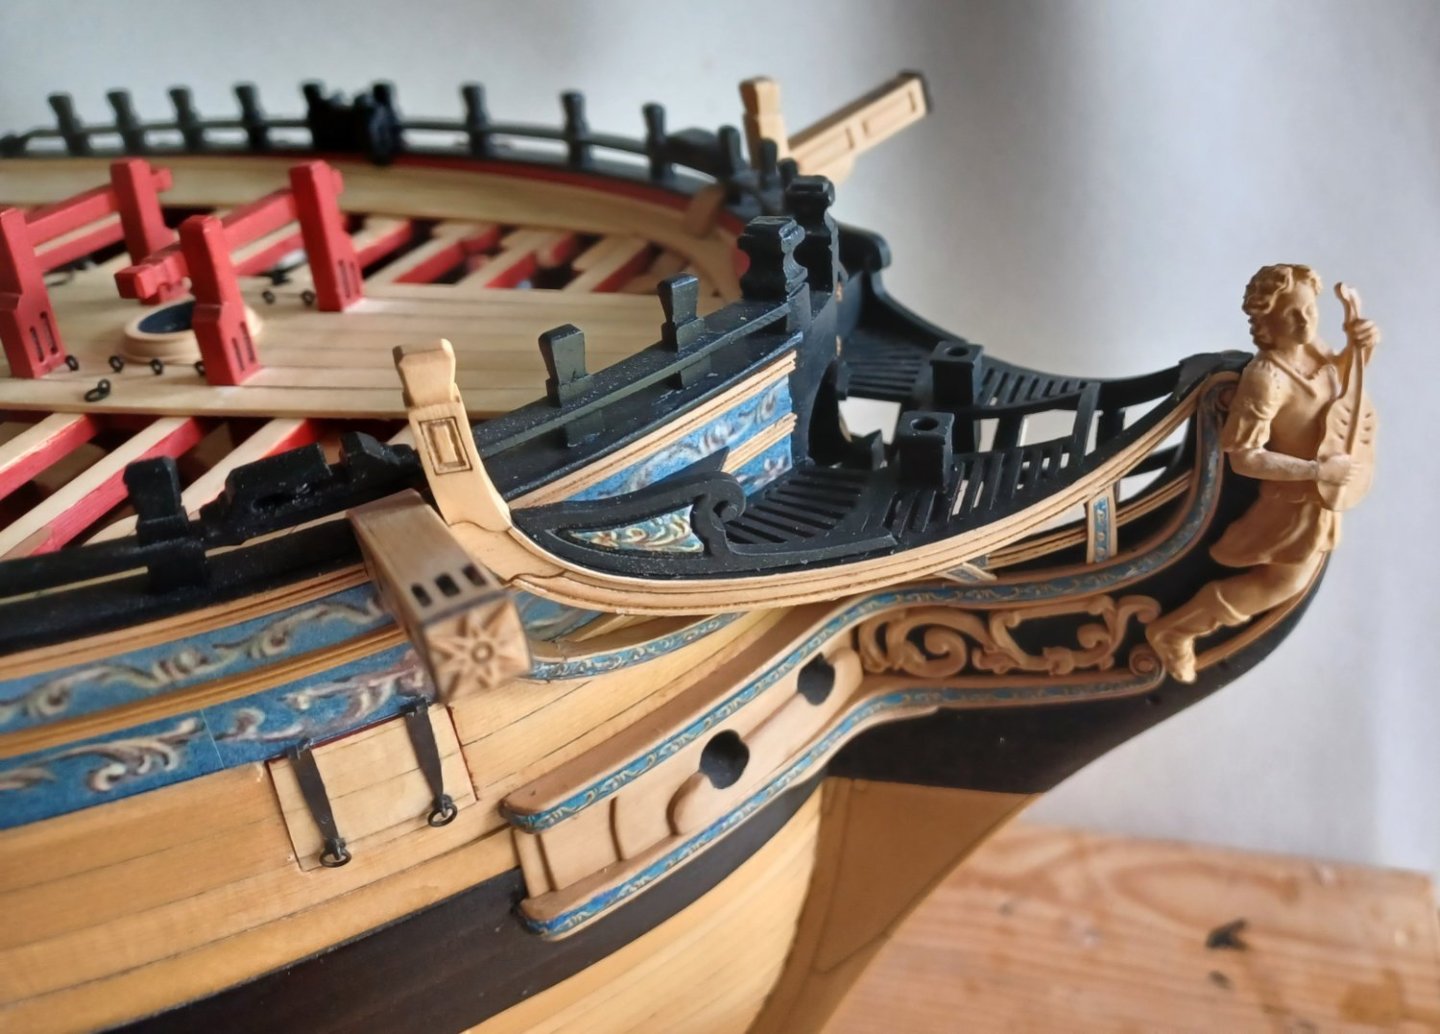
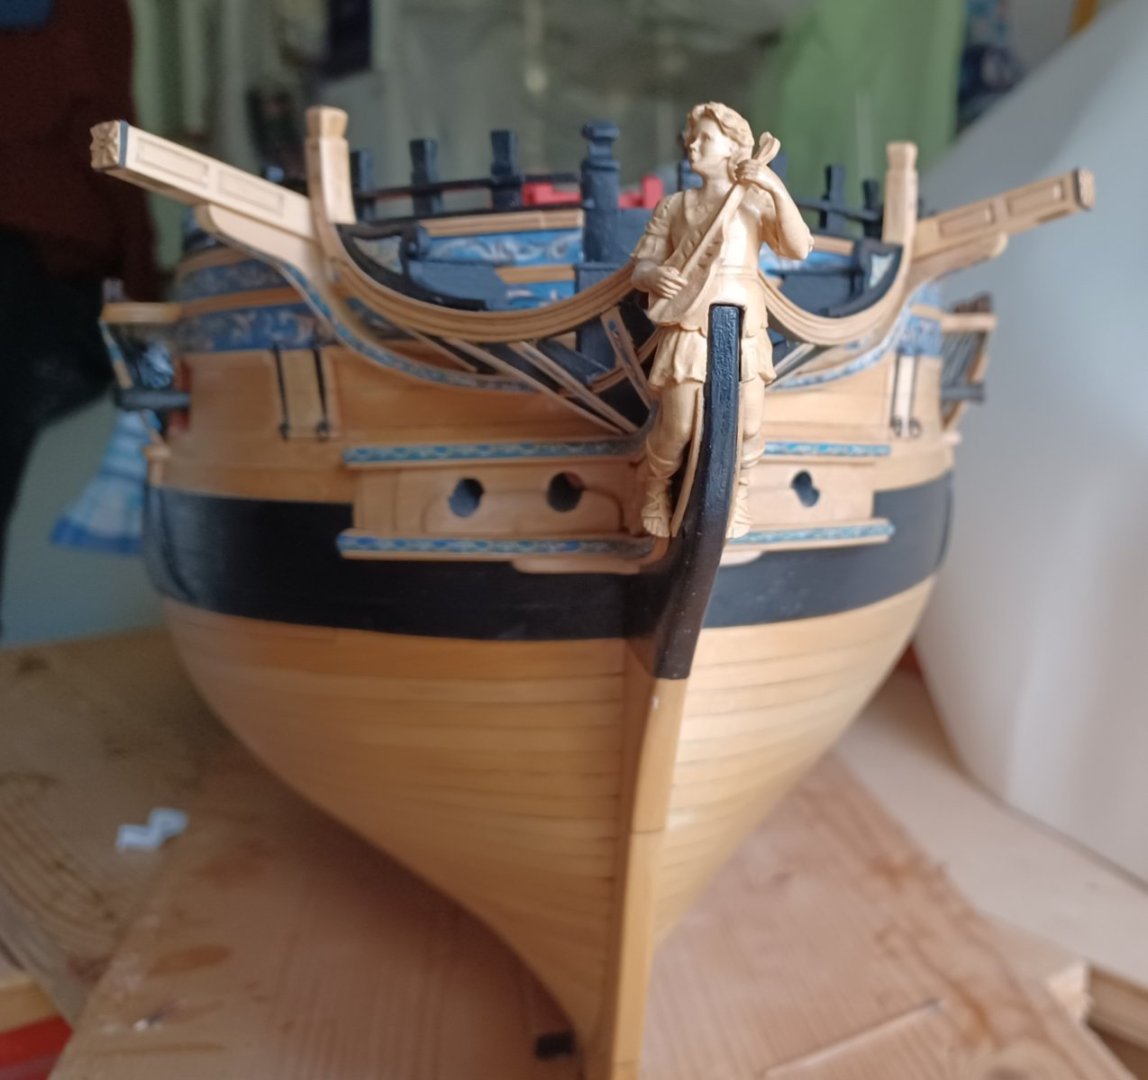
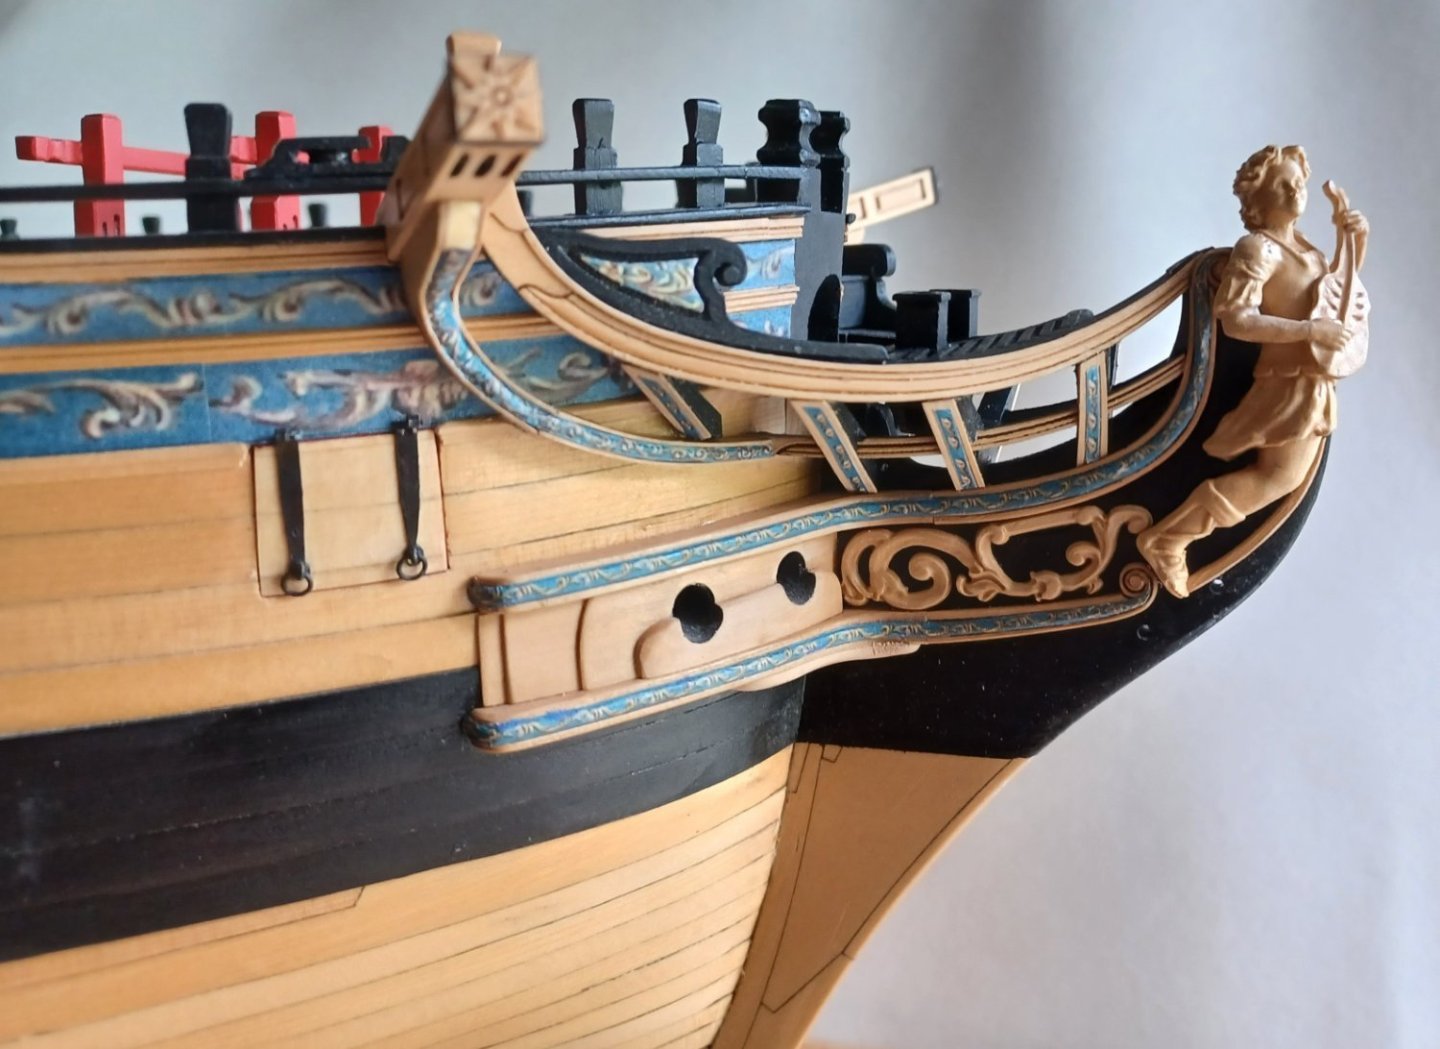
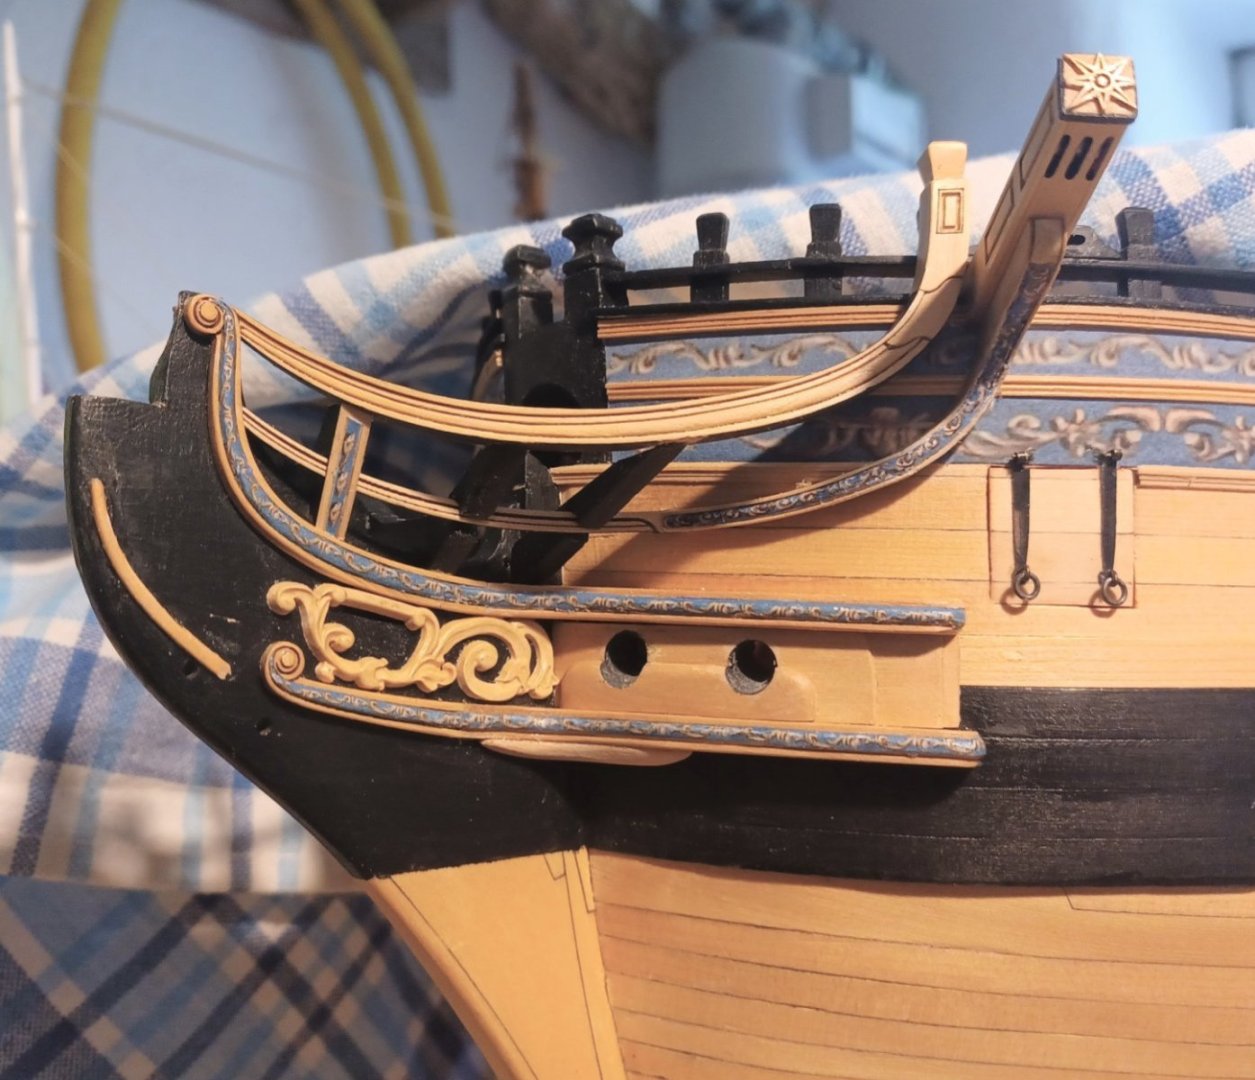
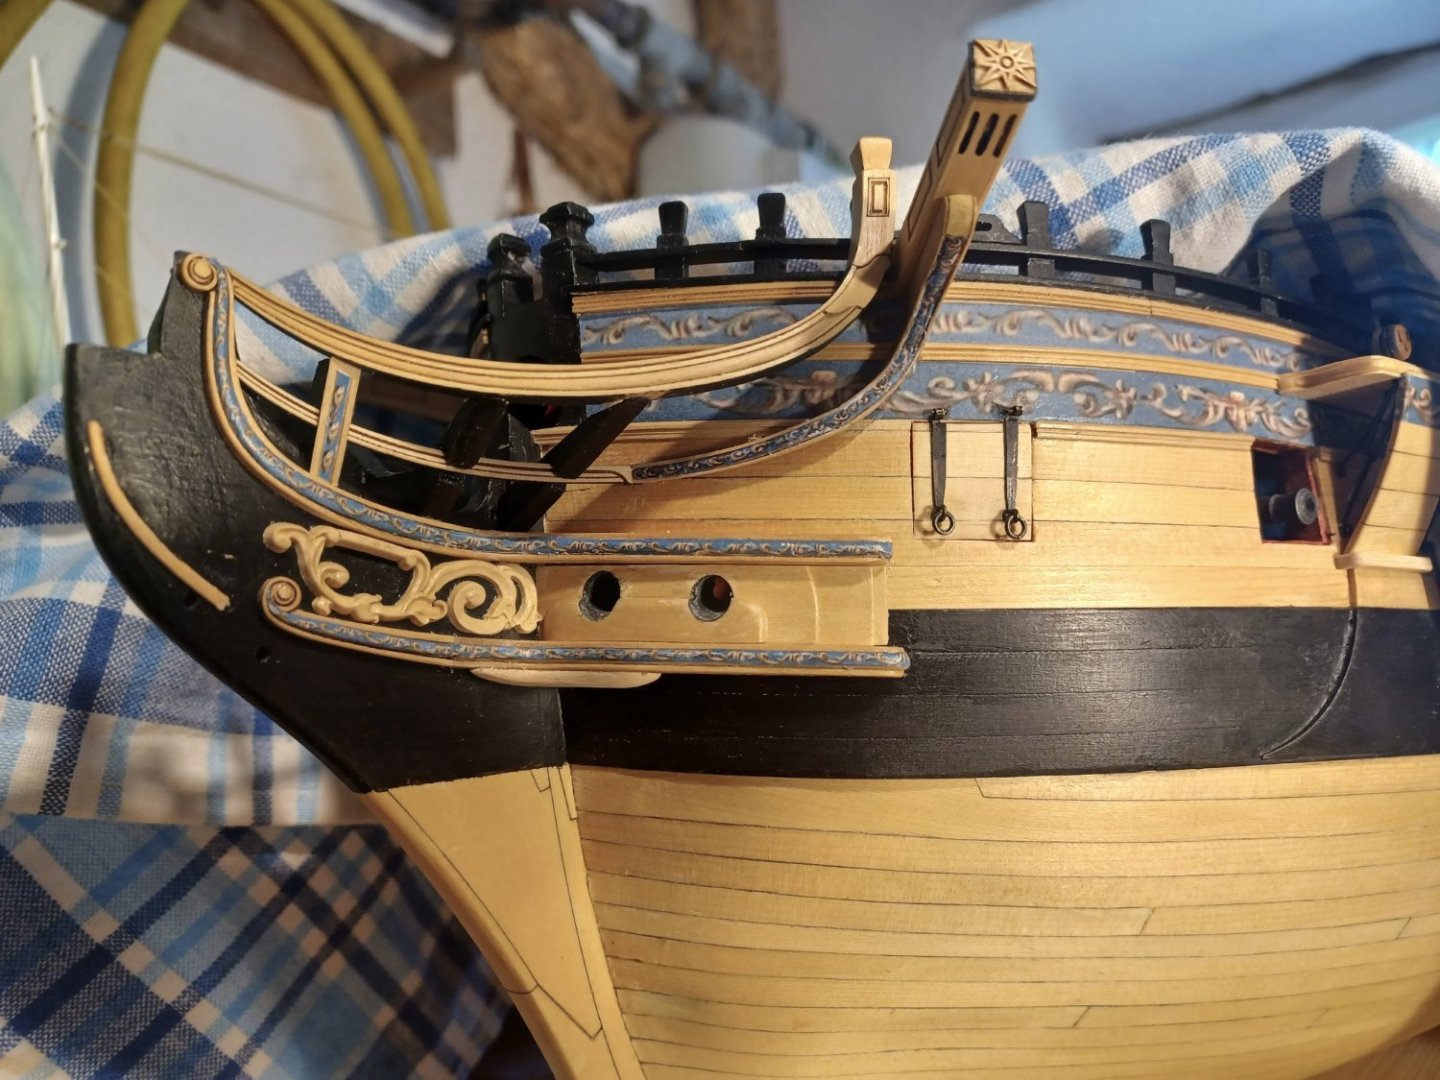
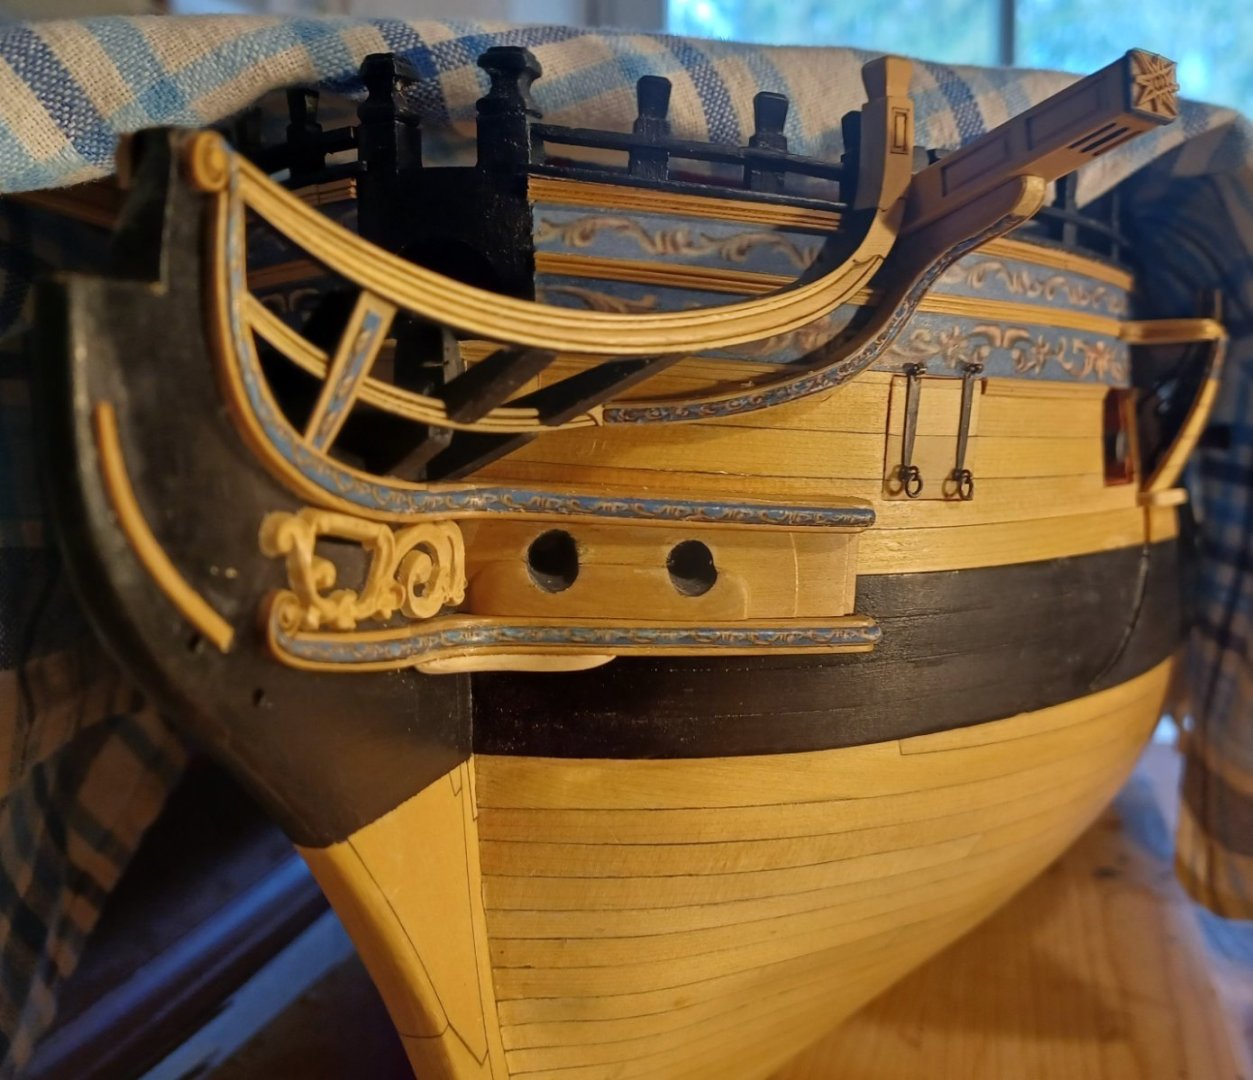
Thank you, I continued with the gratings between the rails. The triangular gratings in the corners of the bow-area, I made separately with a template. I glued the parts on the template, assembled everything, cleaned it, painted it again an glued it to the model. Then the facilities and false rails were added, and finally the figure-head. I have been waiting long for this point. What a lovely figure. I actually like it, that it is not a warrior or something like that, but a musician. Remembering, that securing the peace should alway be the goal for every army or navy. Matthias
-
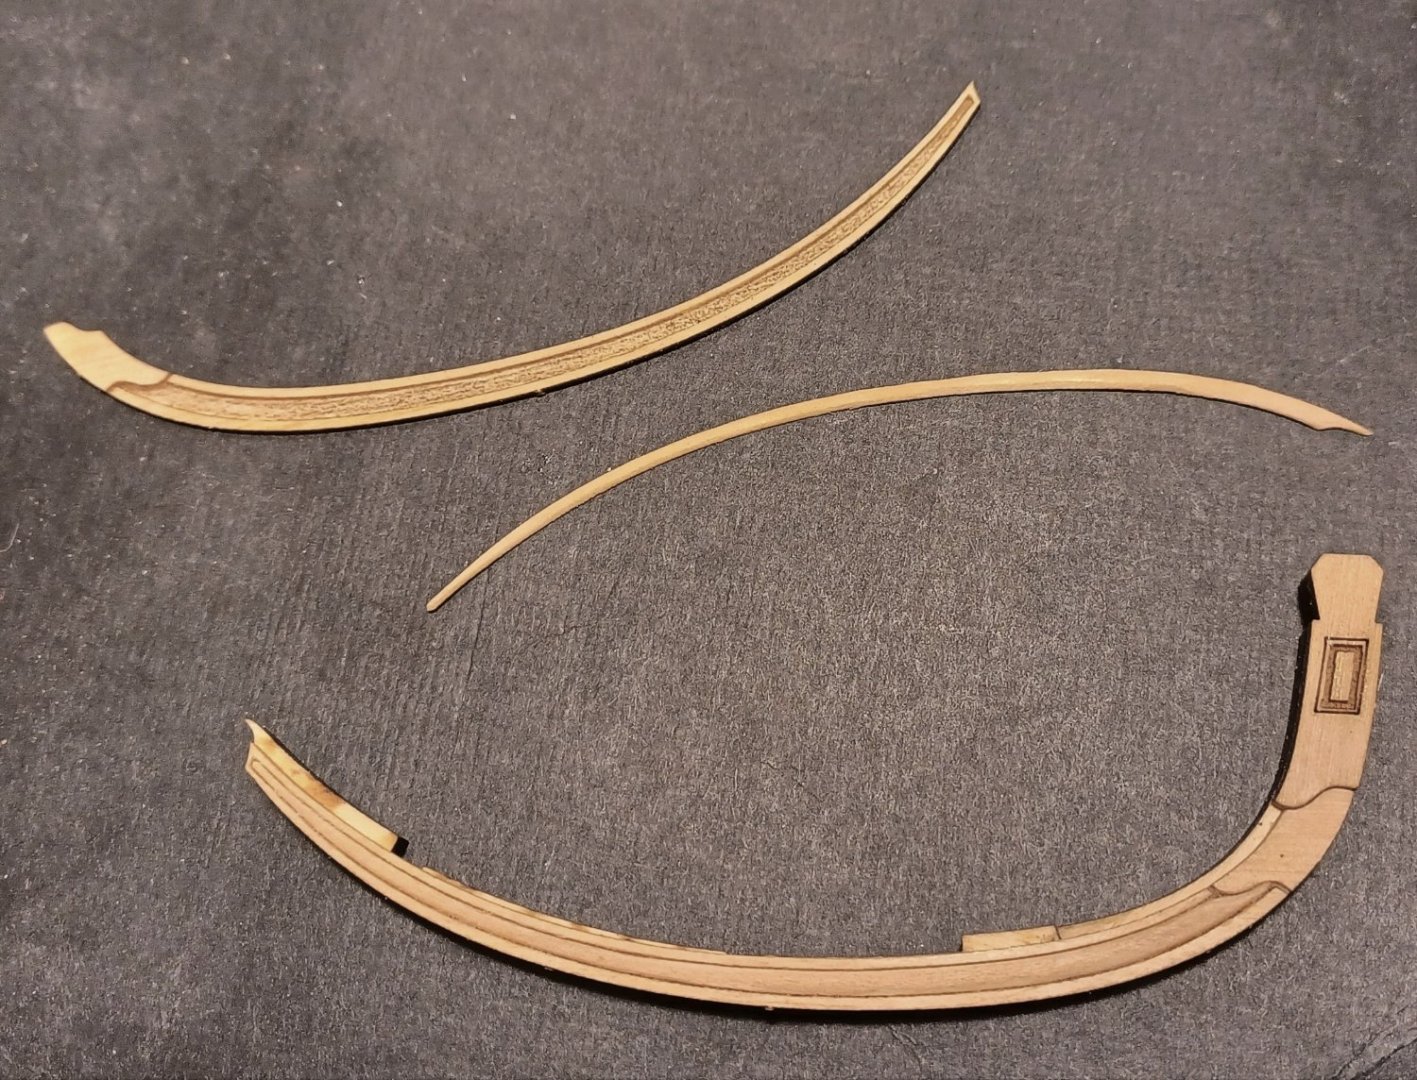
Thank you, I continued with the head-rails of the gallion. I must say, this is by far the most challenging part of the whole model. I messed up the first pair of headrails and had to ask for a new set, wich Chuck immediately sent to me. Thanks for that!! I started all over again. Every part here is important for the whole appearance of the construction. Ther are plenty of graceful curves and angles. If any of them are out of place, the whole construction looks weird. Here are the new headrails, I tried to remove most of the laser-char. First parts are in position now. Matthias
-
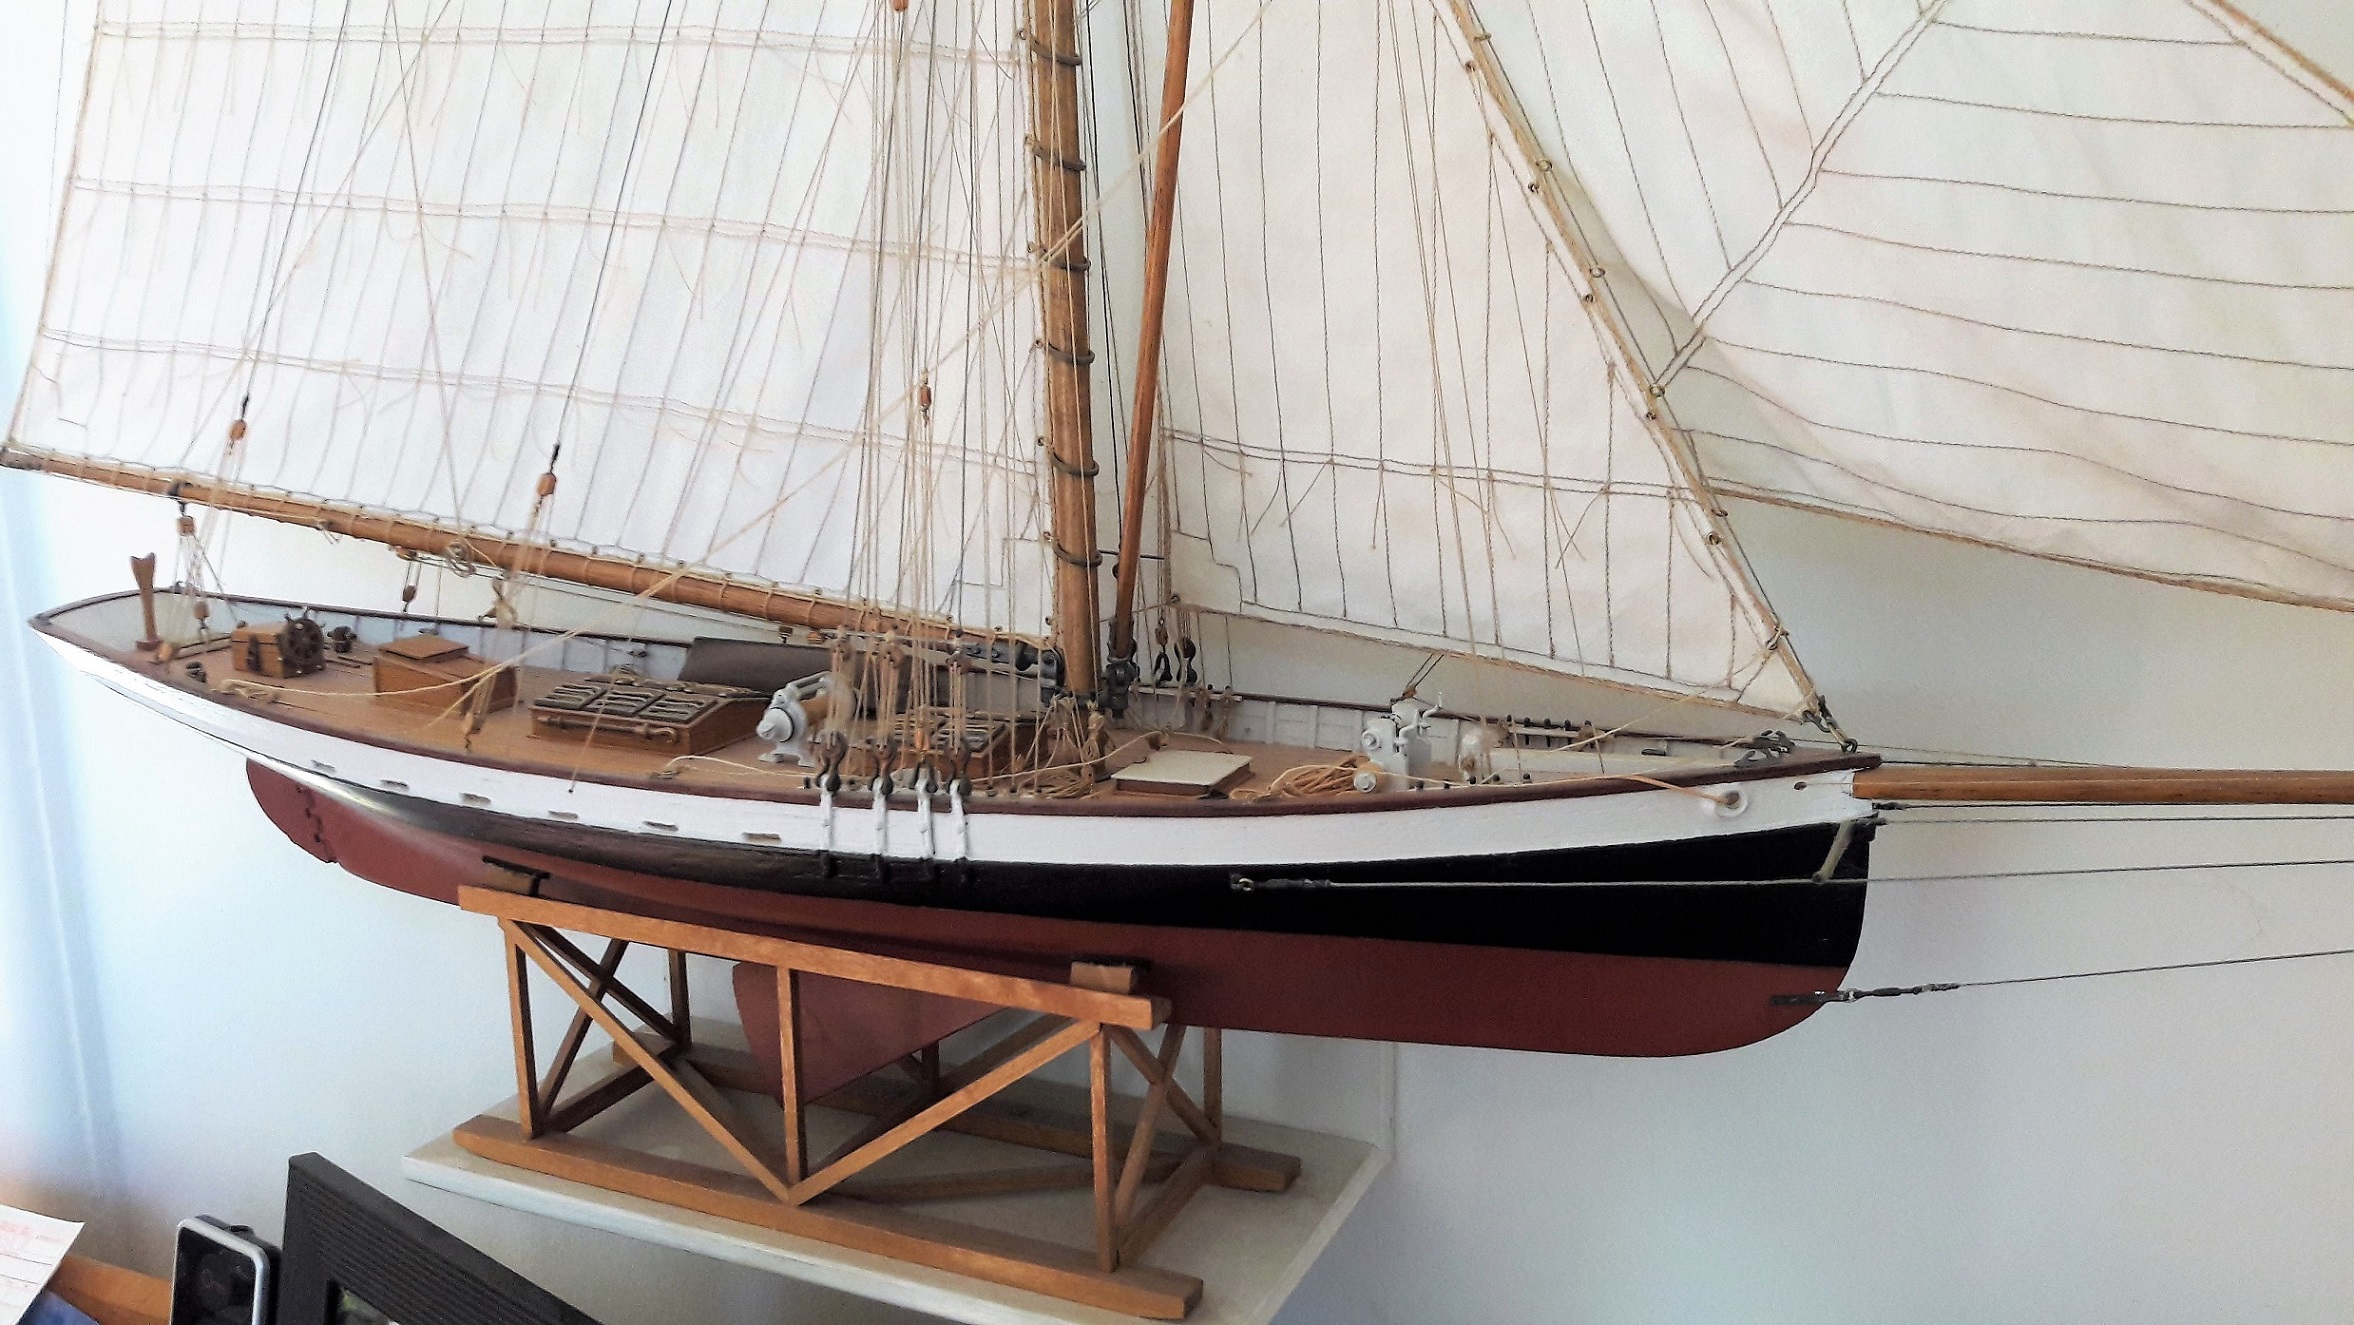
This is a lovely project. I like it very much. And these little working boats should not be forgotten. So many folk earned their daily bread on them.
- 16 replies
-
- Sophia Rose
- Block Island cowhorn
-
(and 1 more)
Tagged with:
-
So well executed!! You can be very proud of this beautiful model. I look forward to your display case. I still have no idea about a suitable stand and display case for my Winnie-model, wich is about to be finished very soon as well. Matthias
- 642 replies
-
- winchelsea
- Syren Ship Model Company
-
(and 1 more)
Tagged with:
-
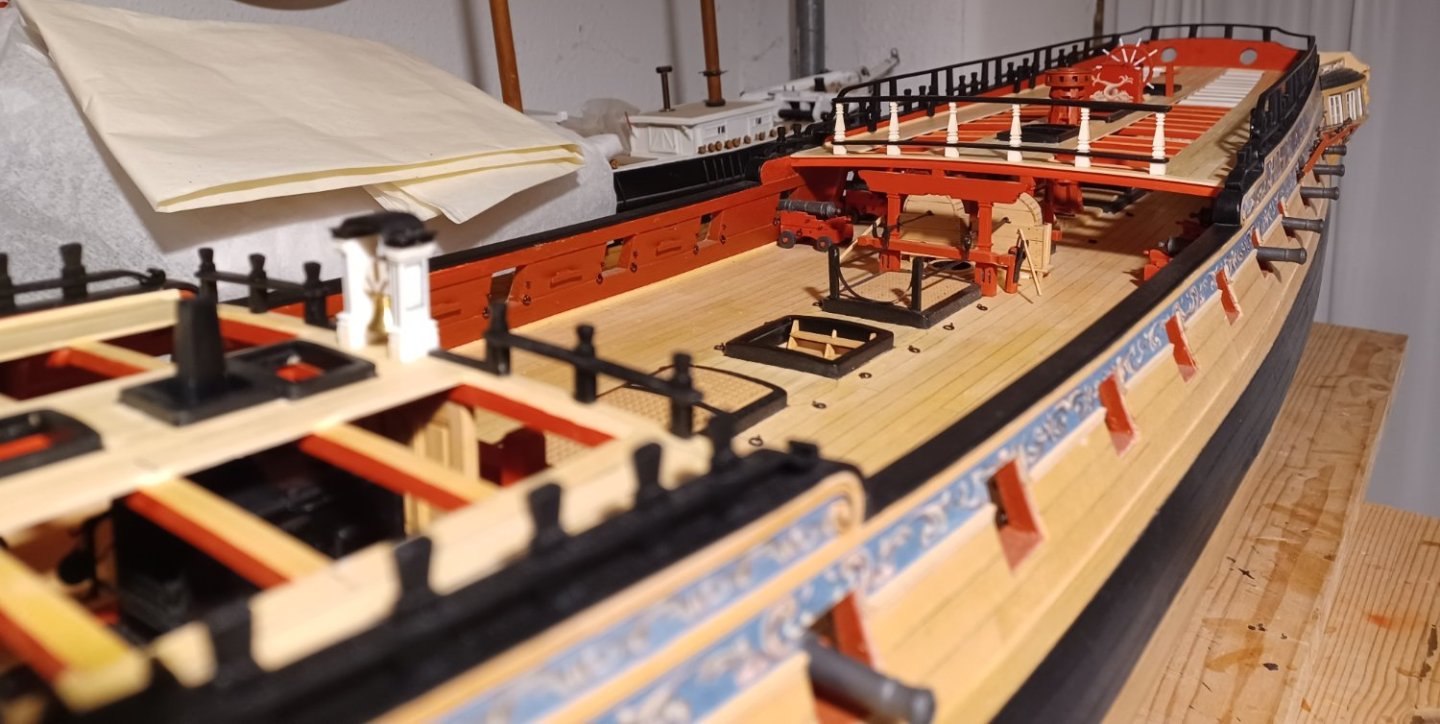
Hello Everybody, thank you very much for your nice comments! I continued chapter 11 with the deadeyes and chainplates. It is all so well explained in Chucks instructions, there is not much to say about it. It all worked very well. The only bigger problem was to not stretch the acrylic chains too much, so they remain close. I tried the position in advance and made a hole with a needle, where the brass-nail is supposed to be. That worked quite well, I hope you know, what I mean. So here are some photos of the result. I also installed all the guns on the lower gundeck. I followed stuntflyers method and pinned them onto the deck with brass-nails, so they cannot get lost. I will now proceed to the next chapter and think about, if I will add the swifel guns or not. They are a nice feature, but somehow interrupt the lovely flow of the quarterdeck-rail. Matthias
-
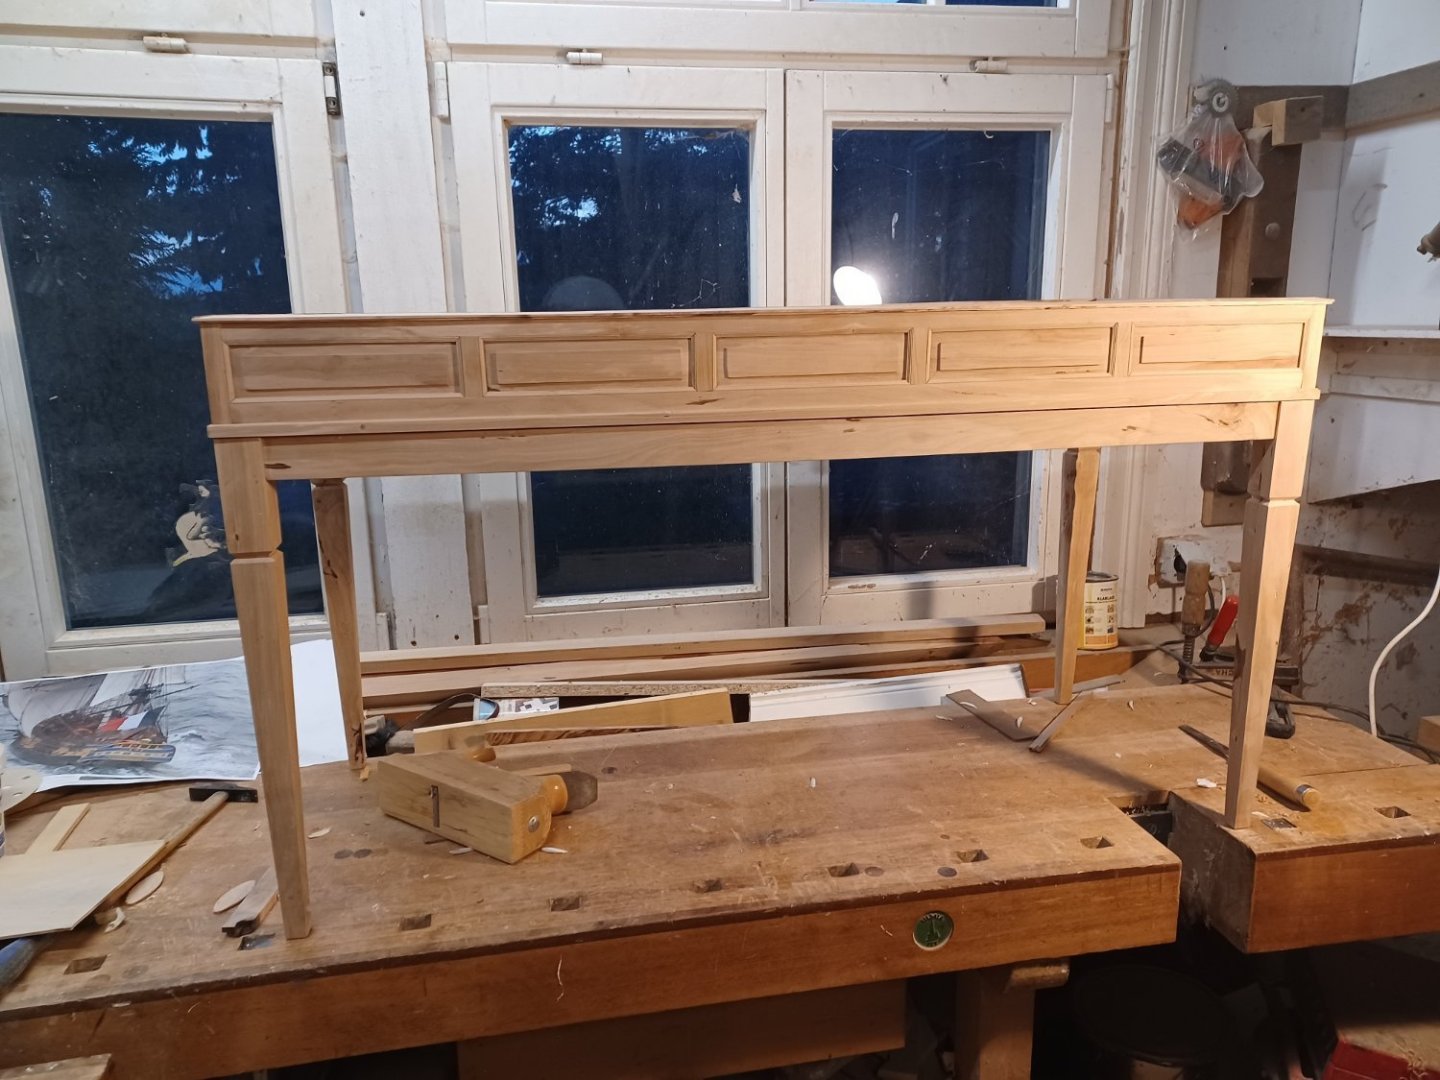
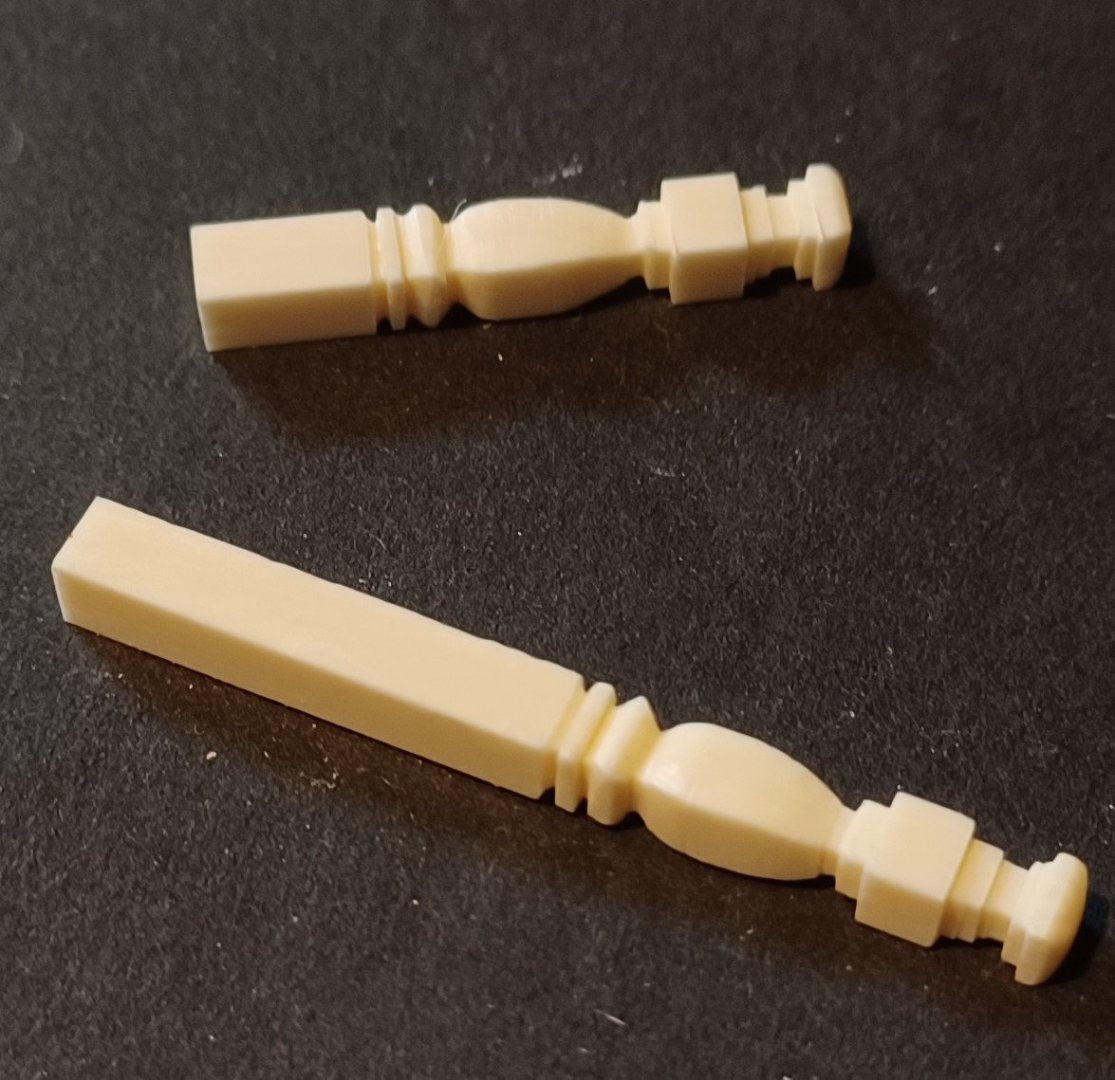
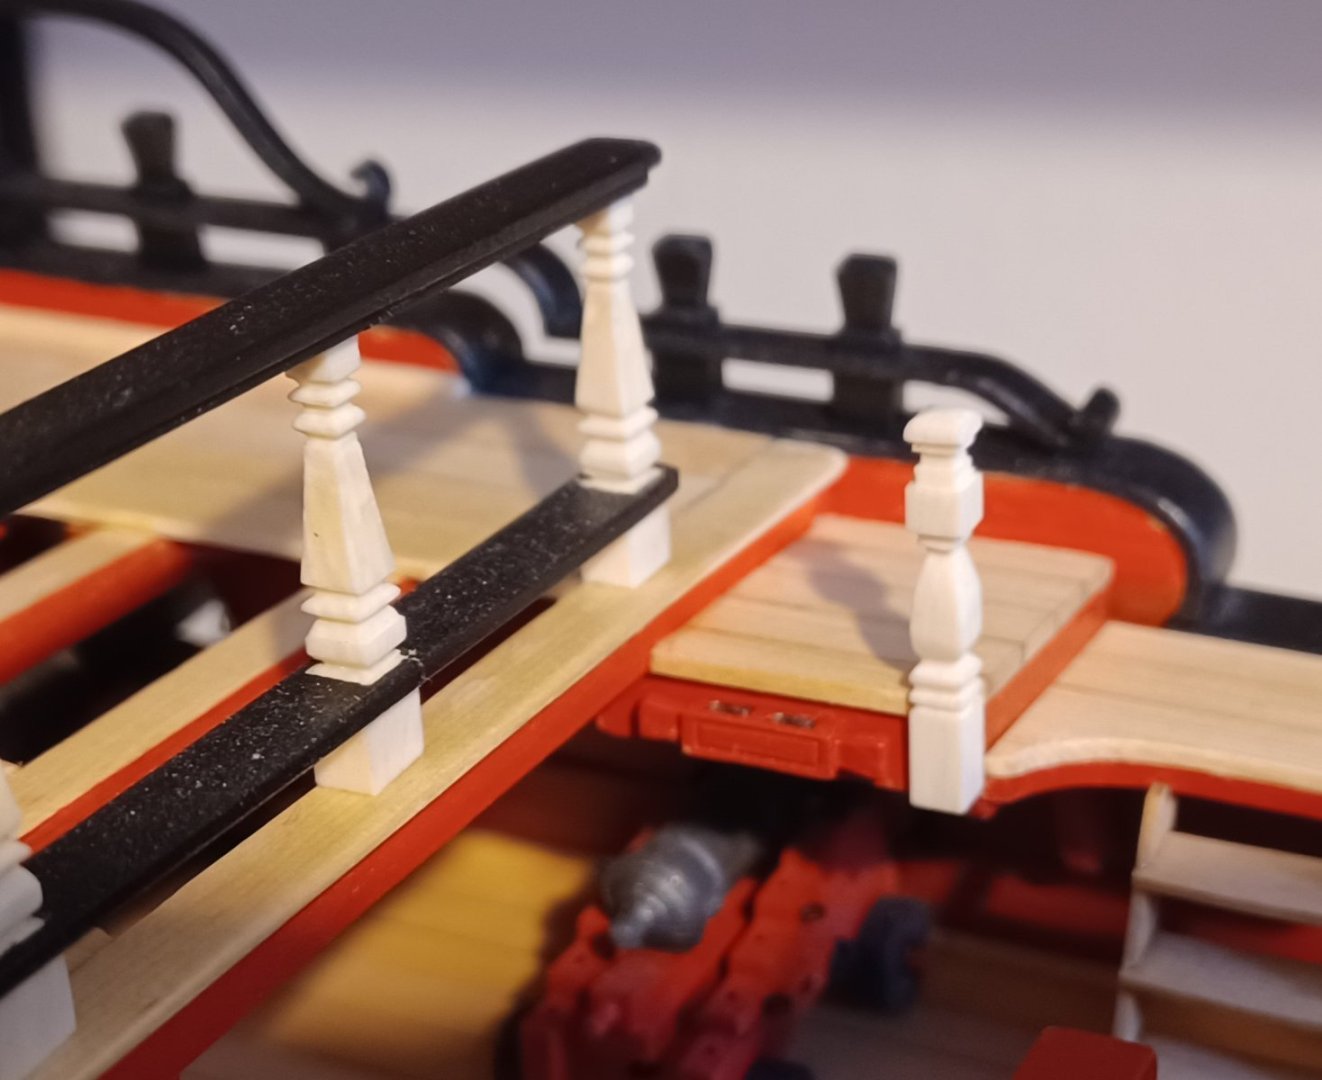
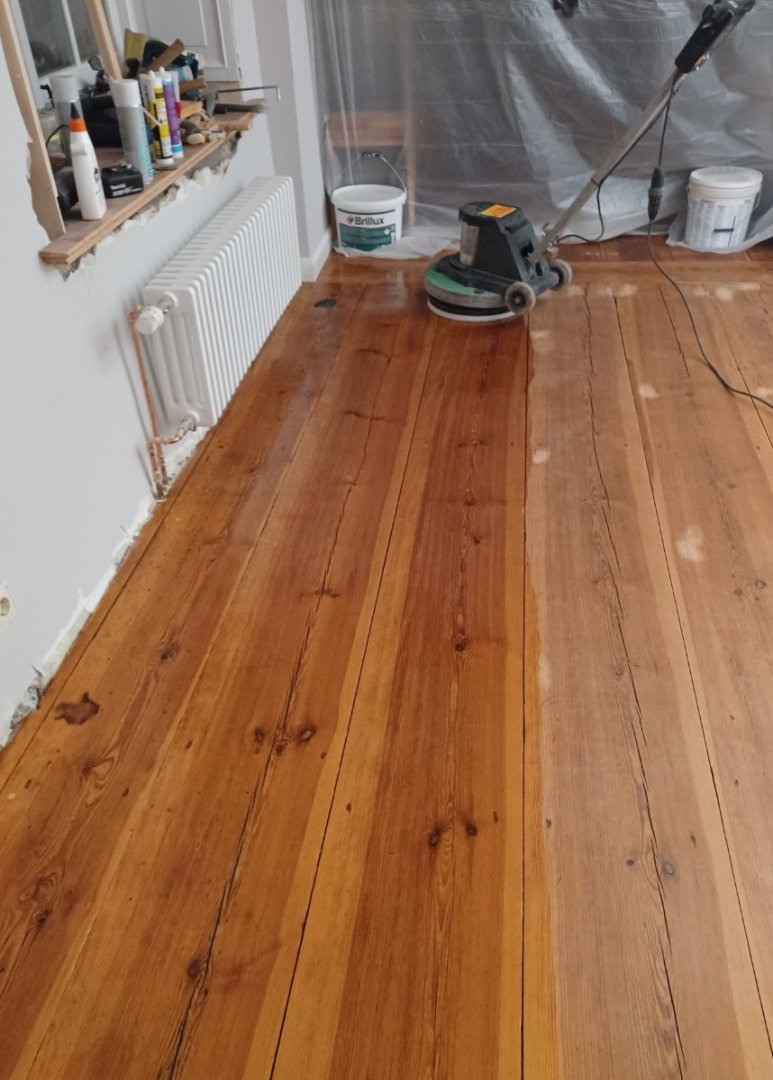
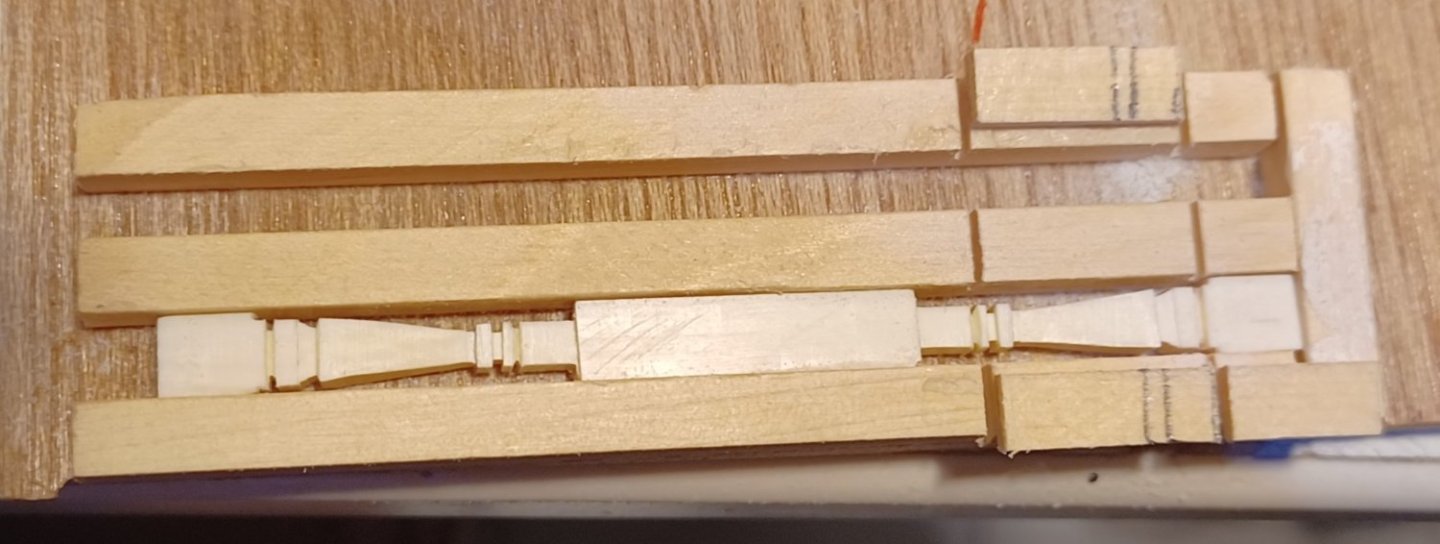
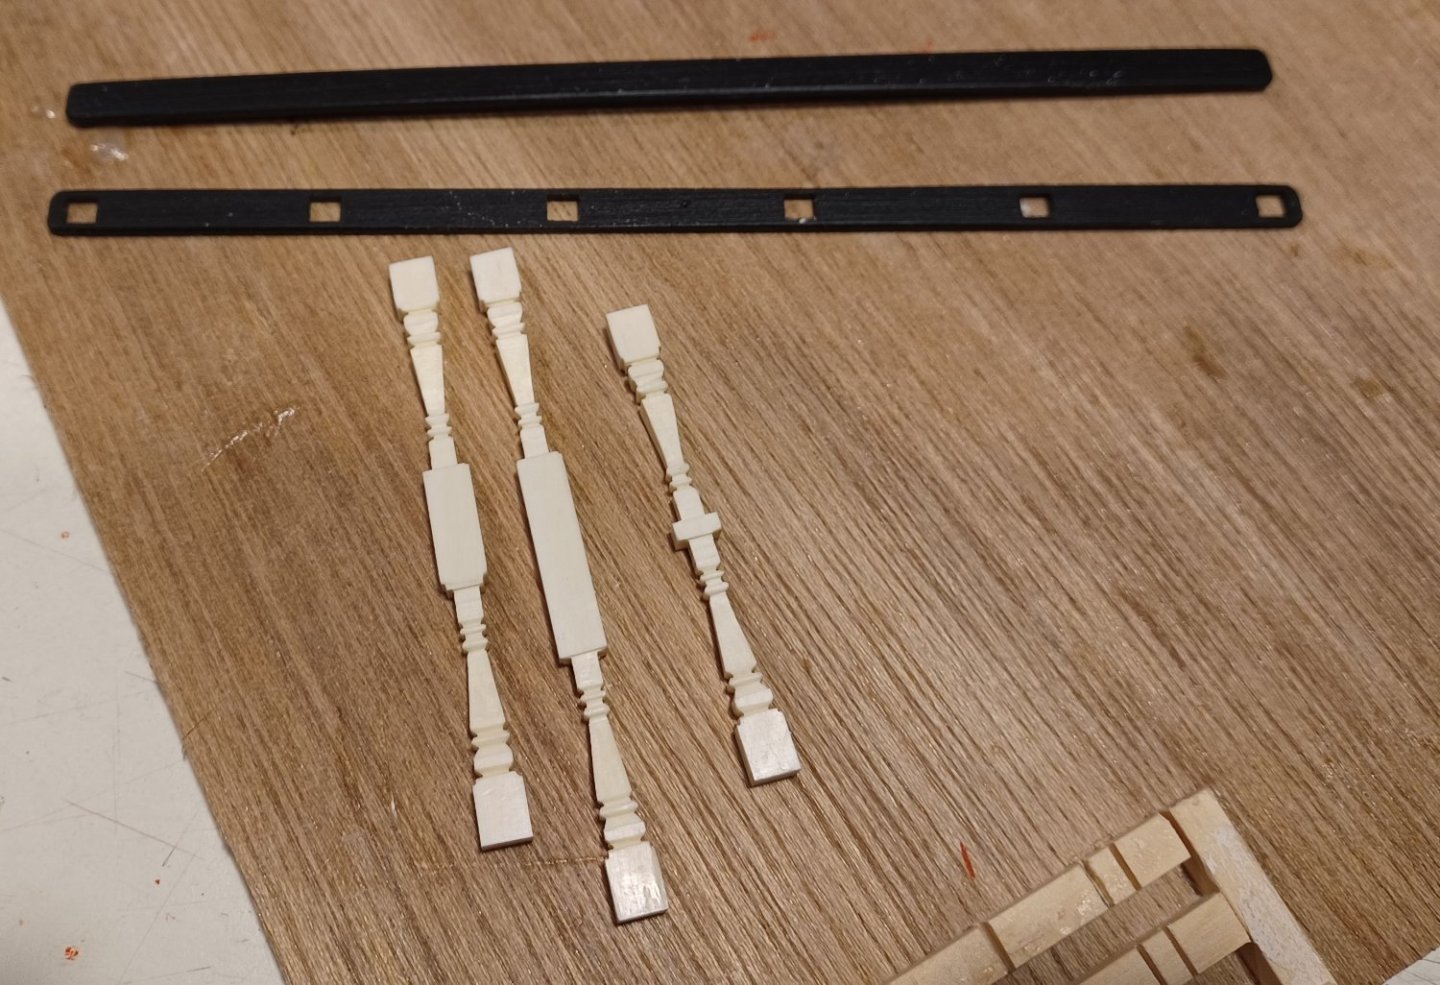
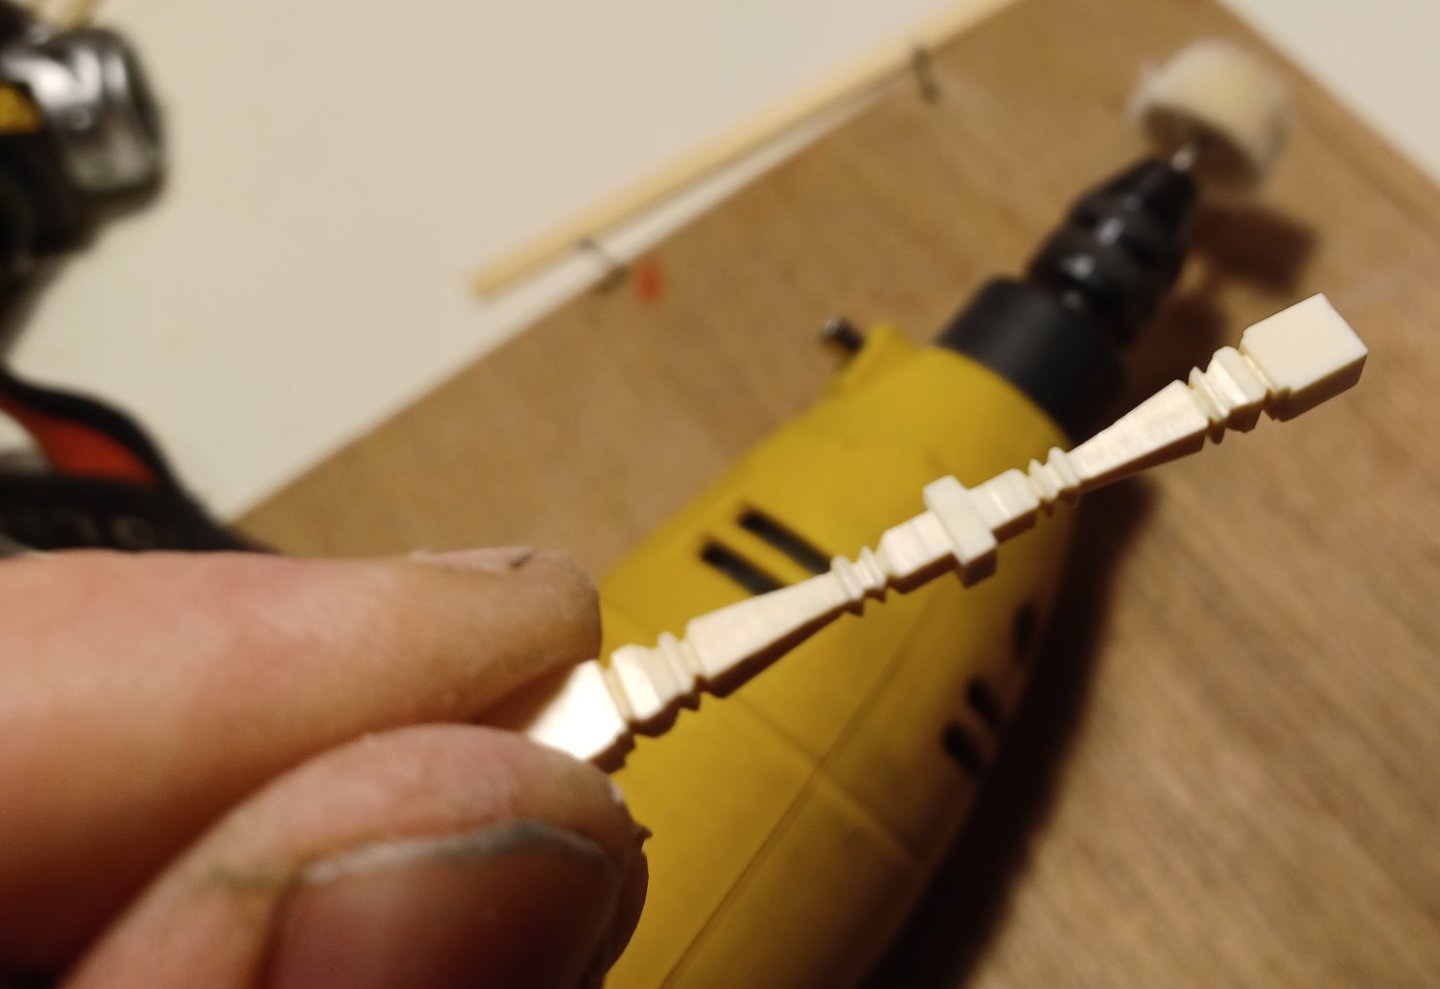
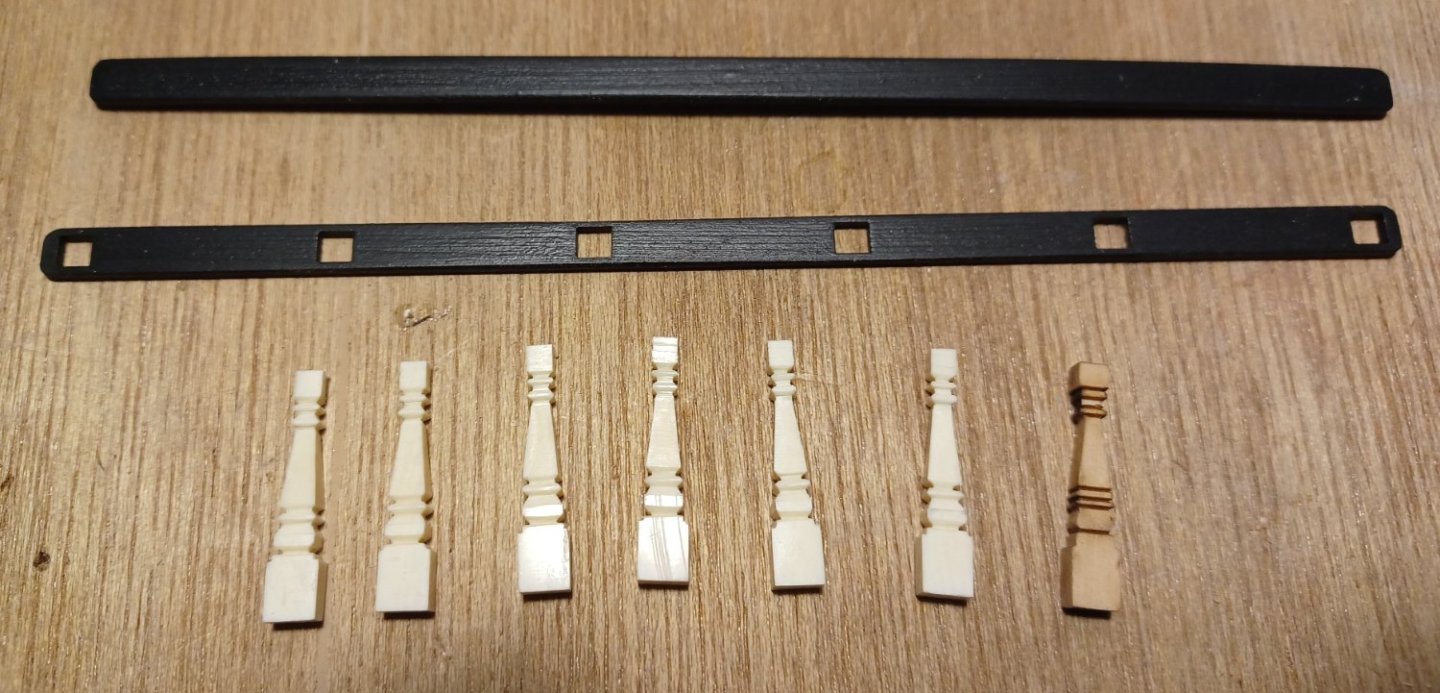
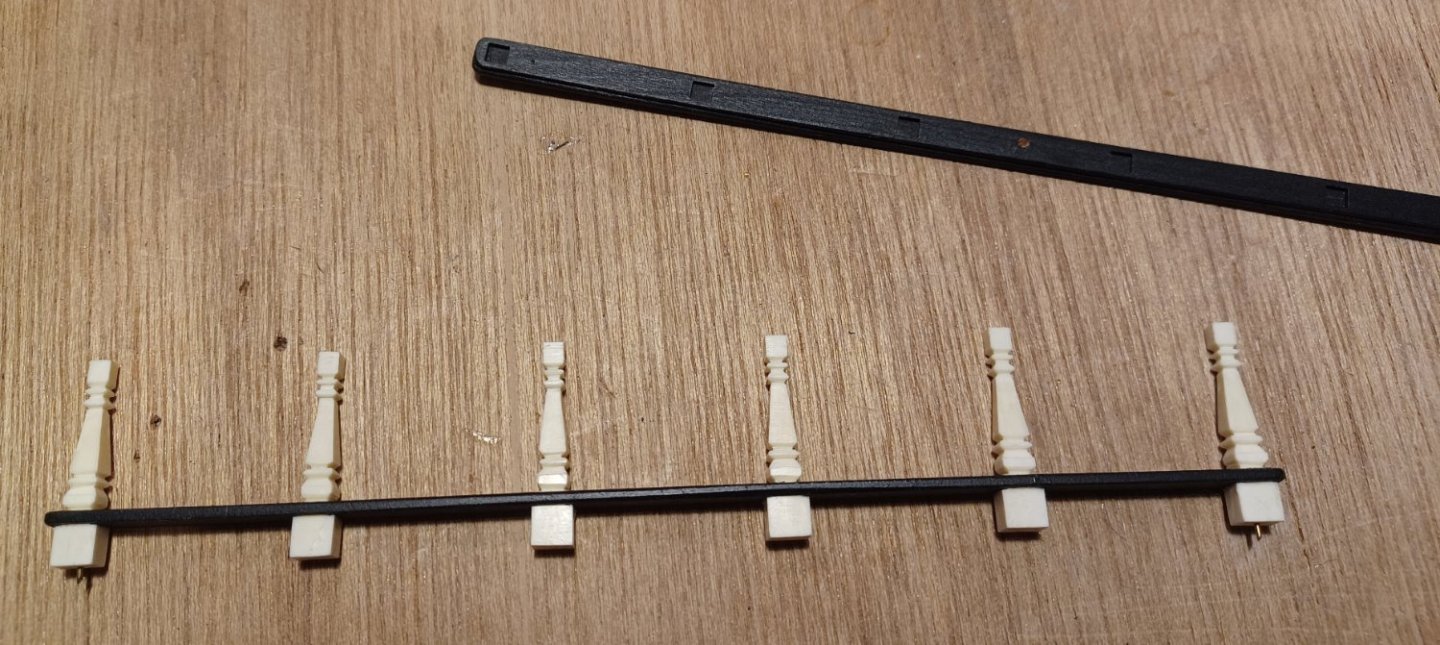
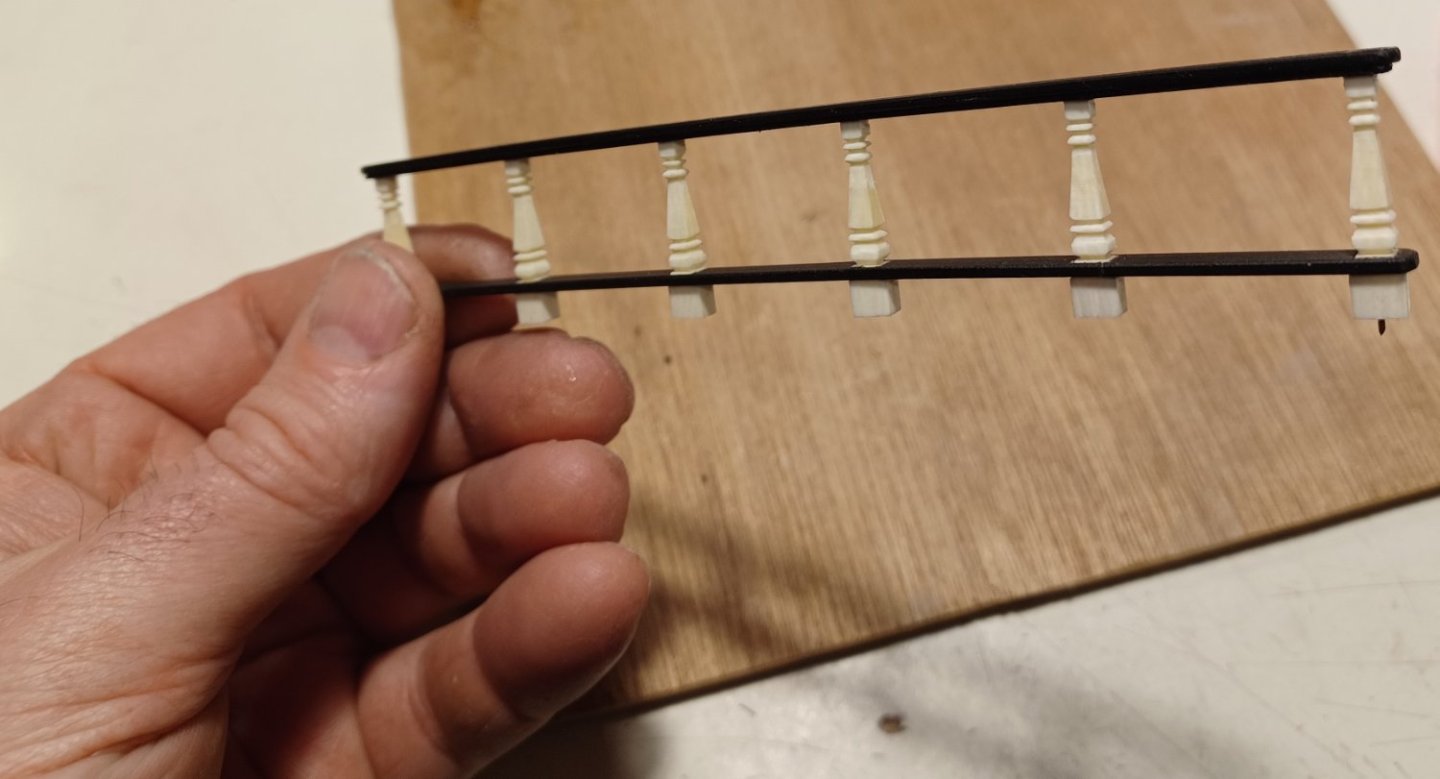
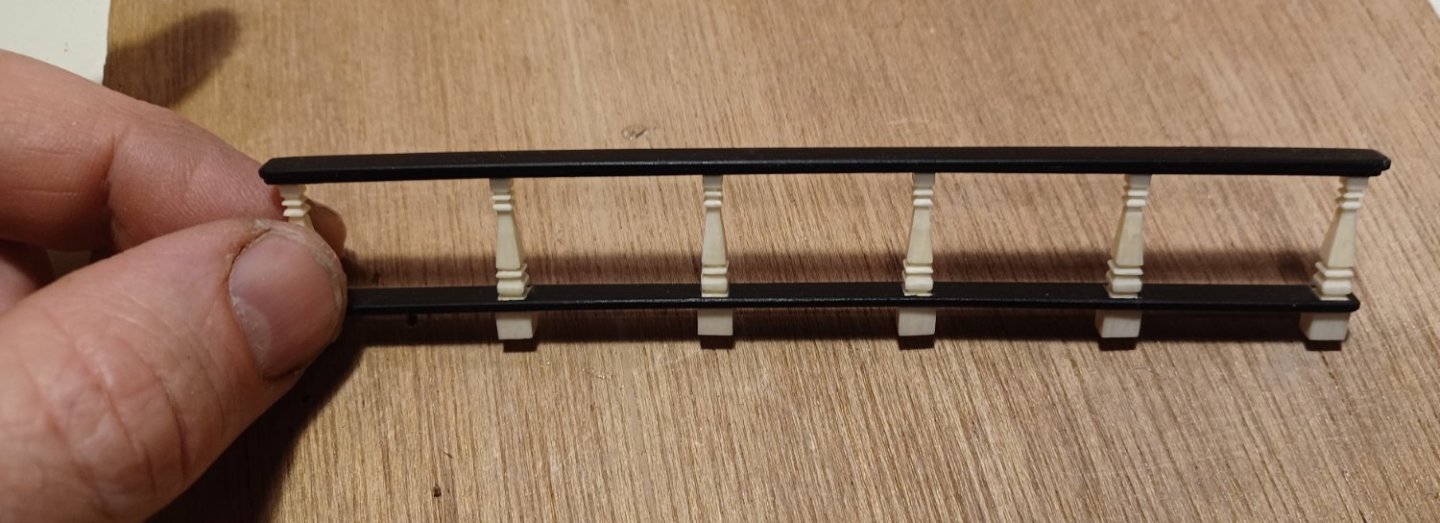
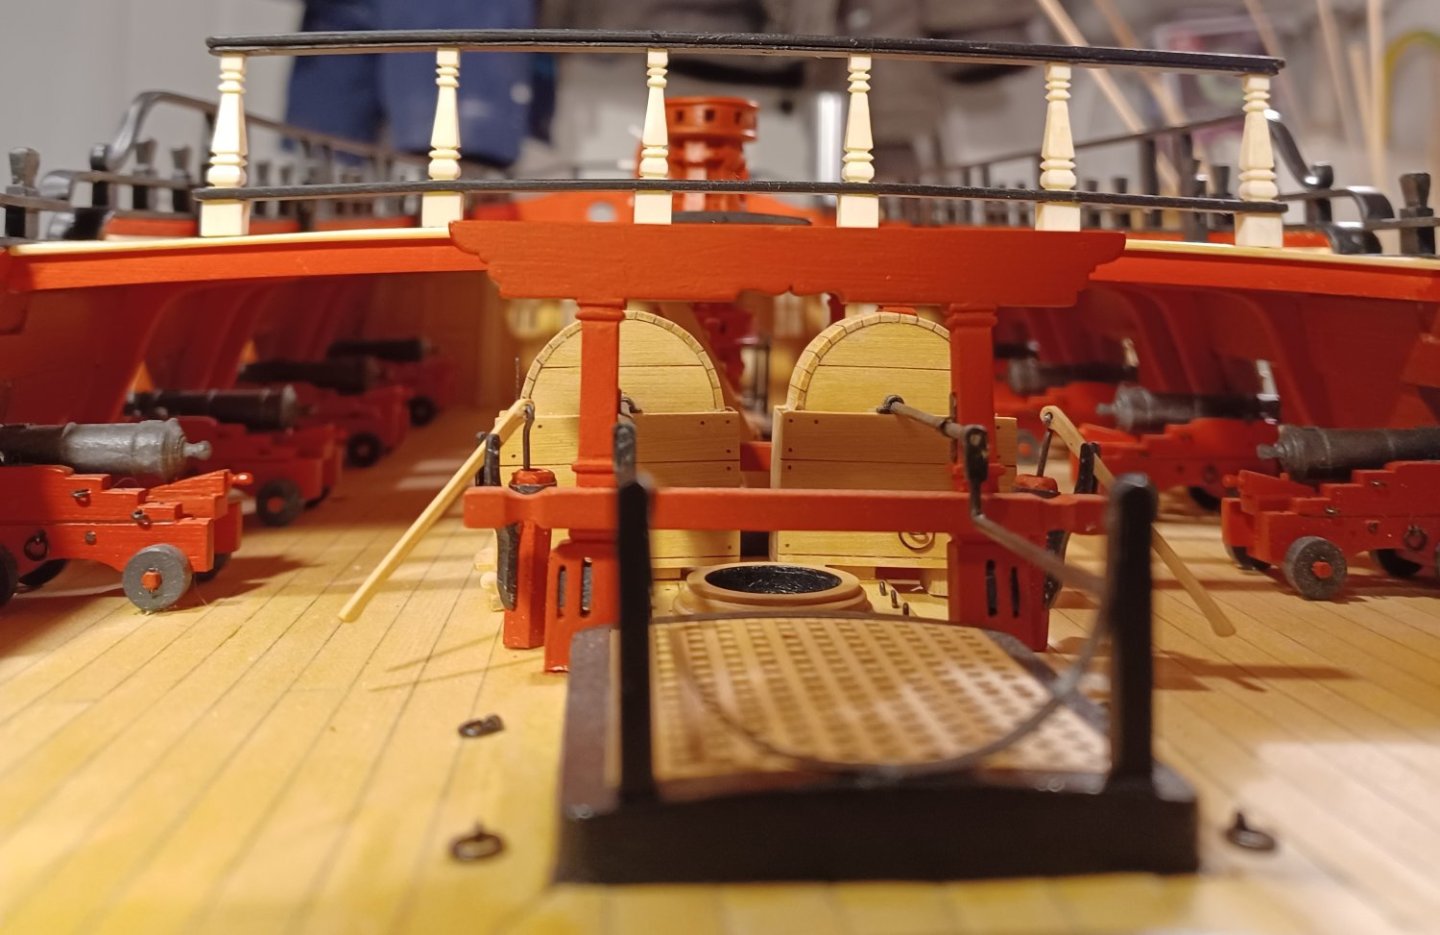
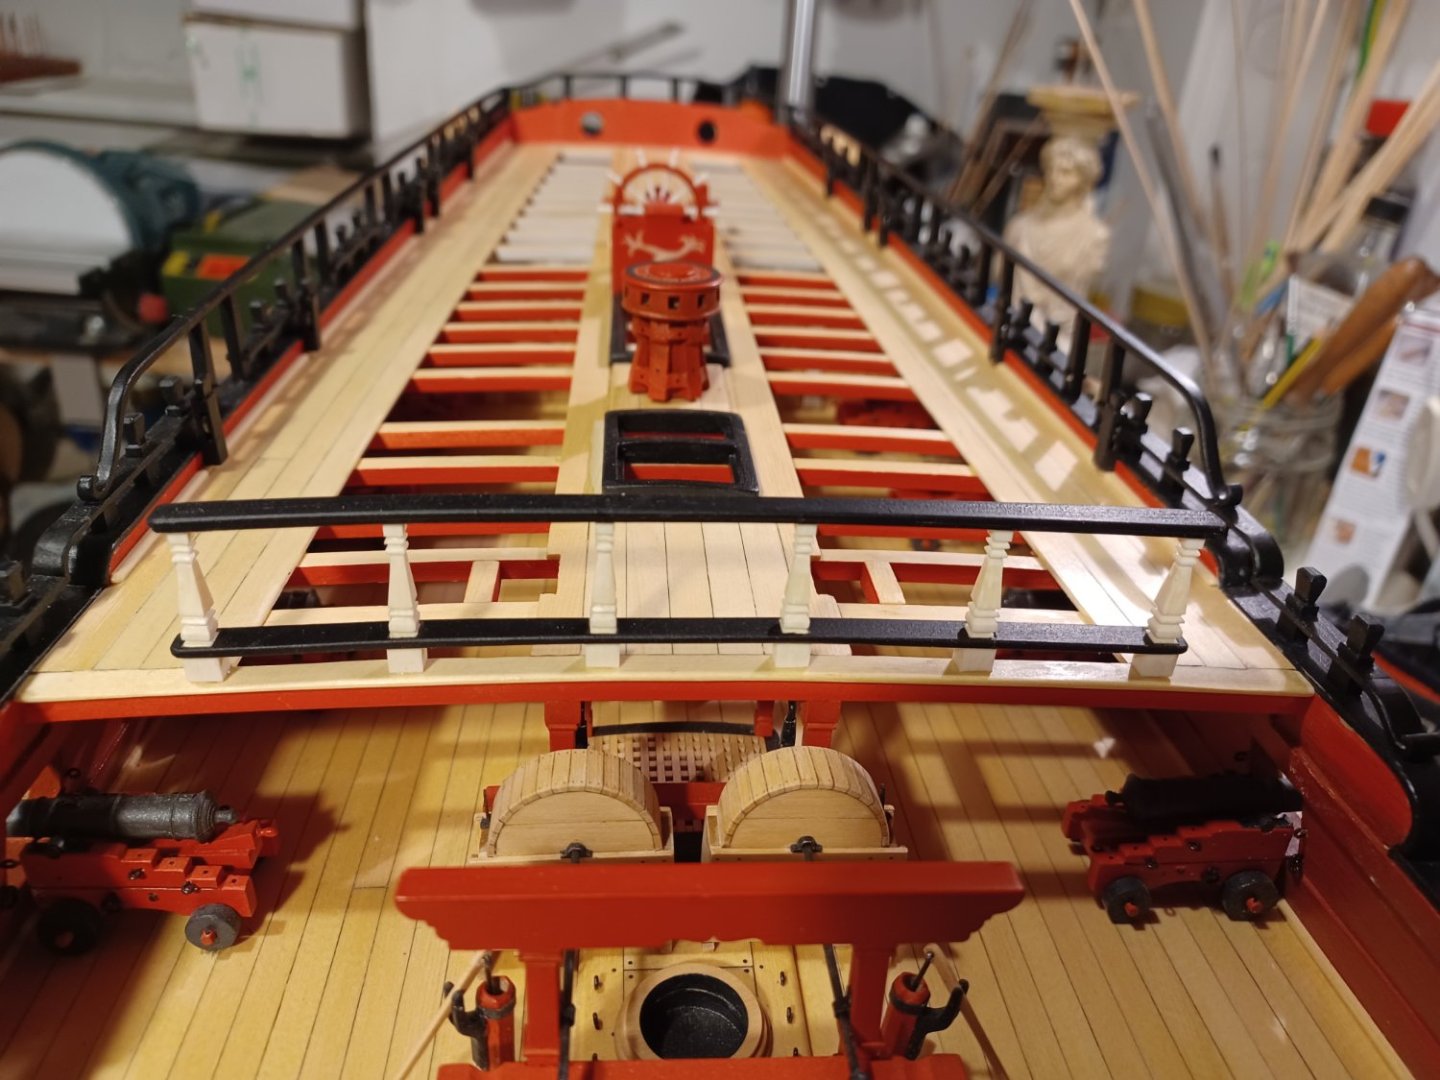
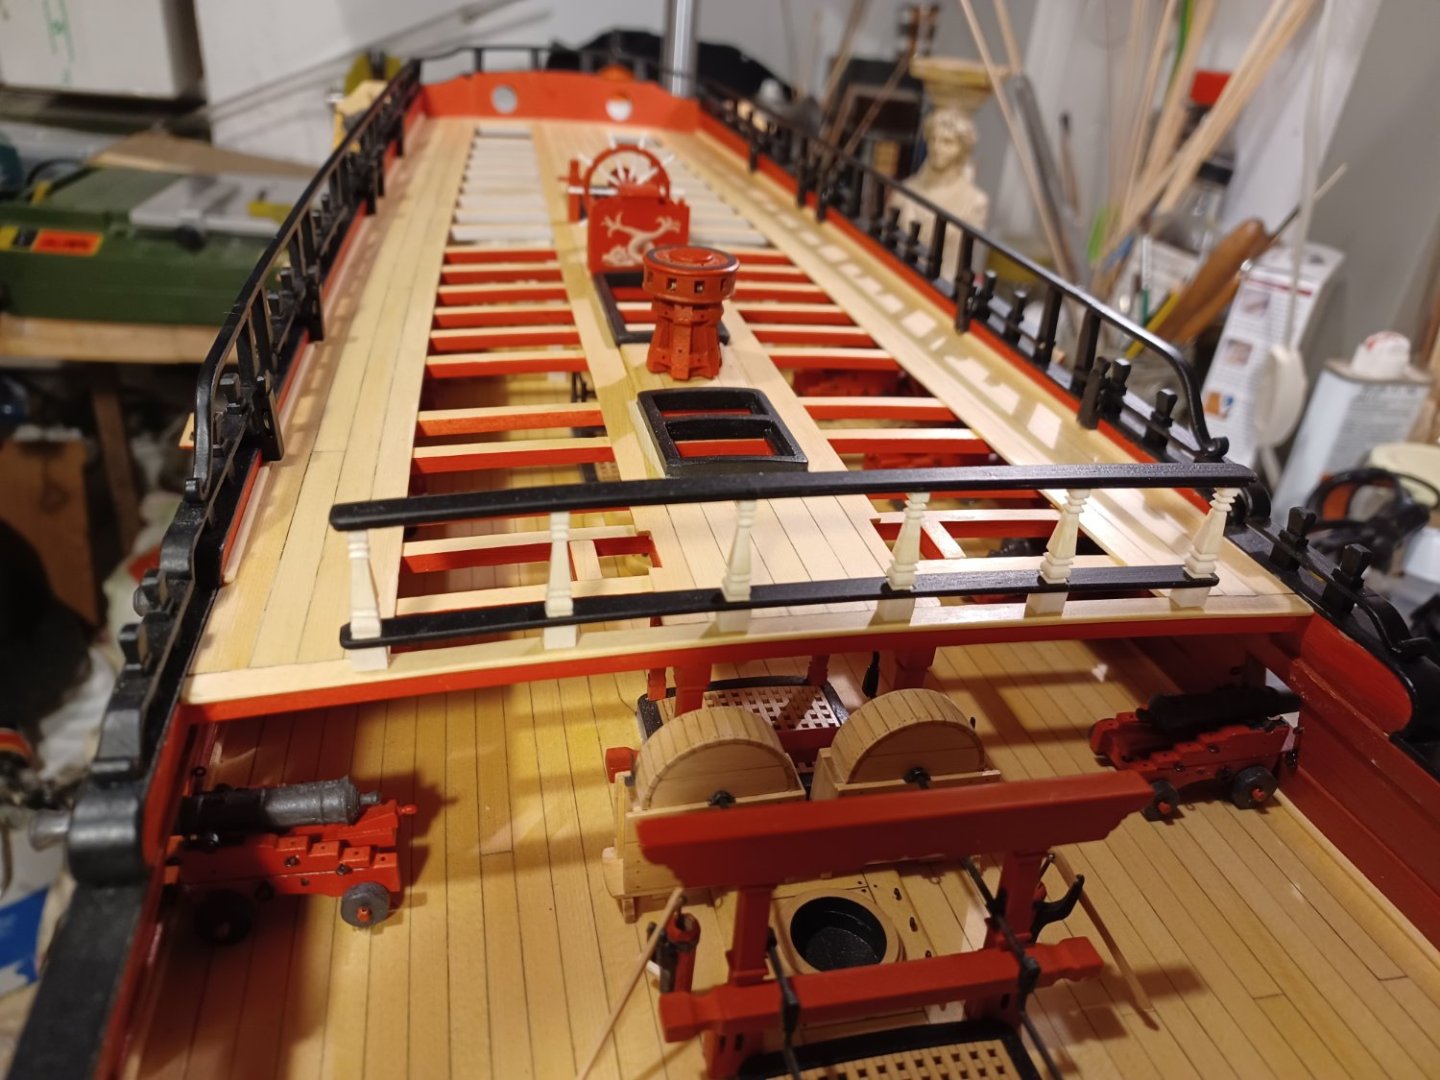
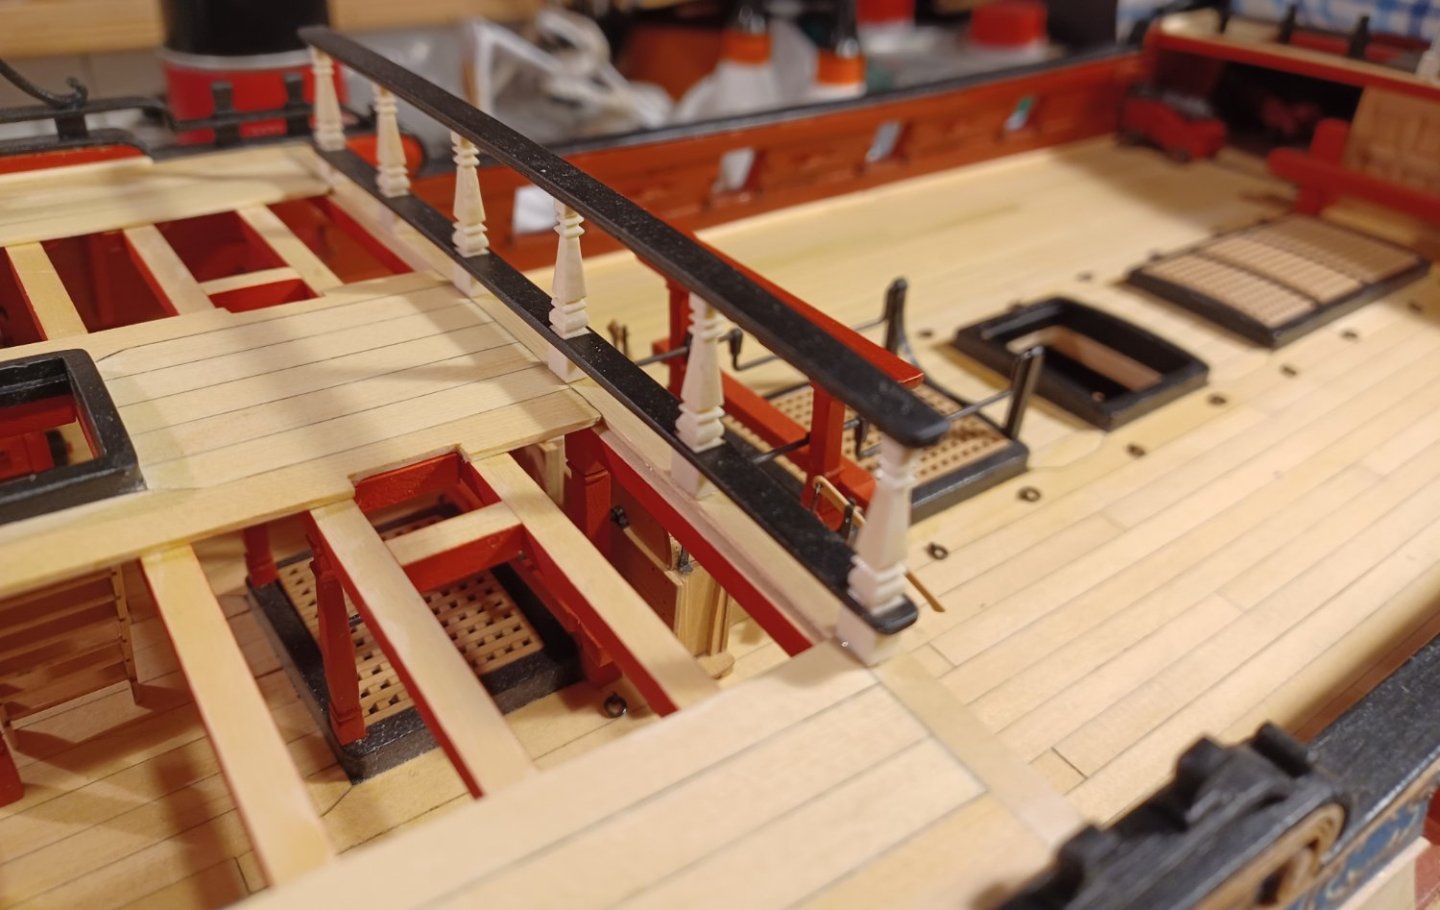
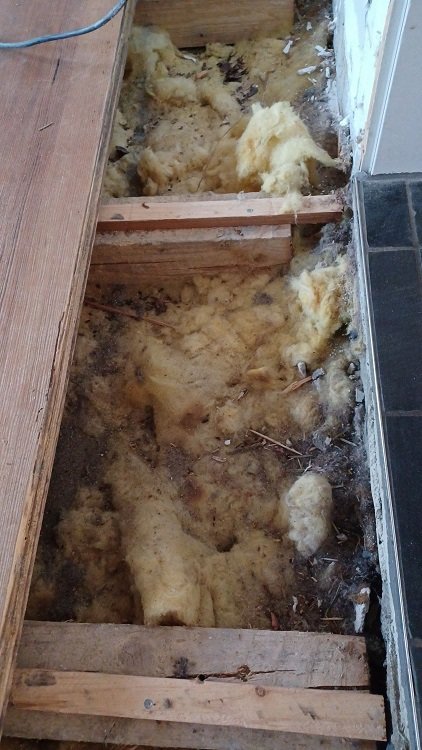
That was a long break for Winchelsea now, I had to do something against the mice under our living-room flooring. Then, more fun, some macro planking These old Floorboards are wonderful stuff. About 200 years old. Just lovely. Anyway, back to my breastrail I first made a jig for the detailed profiles, to get them all in line around the columns. Next step was sanding the profiles in a nice shape ... and polishing each corner to get this lovely dull gloss, wich this material has, when being polished. ... cutting the collumns in the right length and assemblying everything... Finally the installment on the model... This almost finishes chapter 10. I have to do the eyebolts for the guns on the quarterdeck and then proceed to chapter 11. Matthias
-
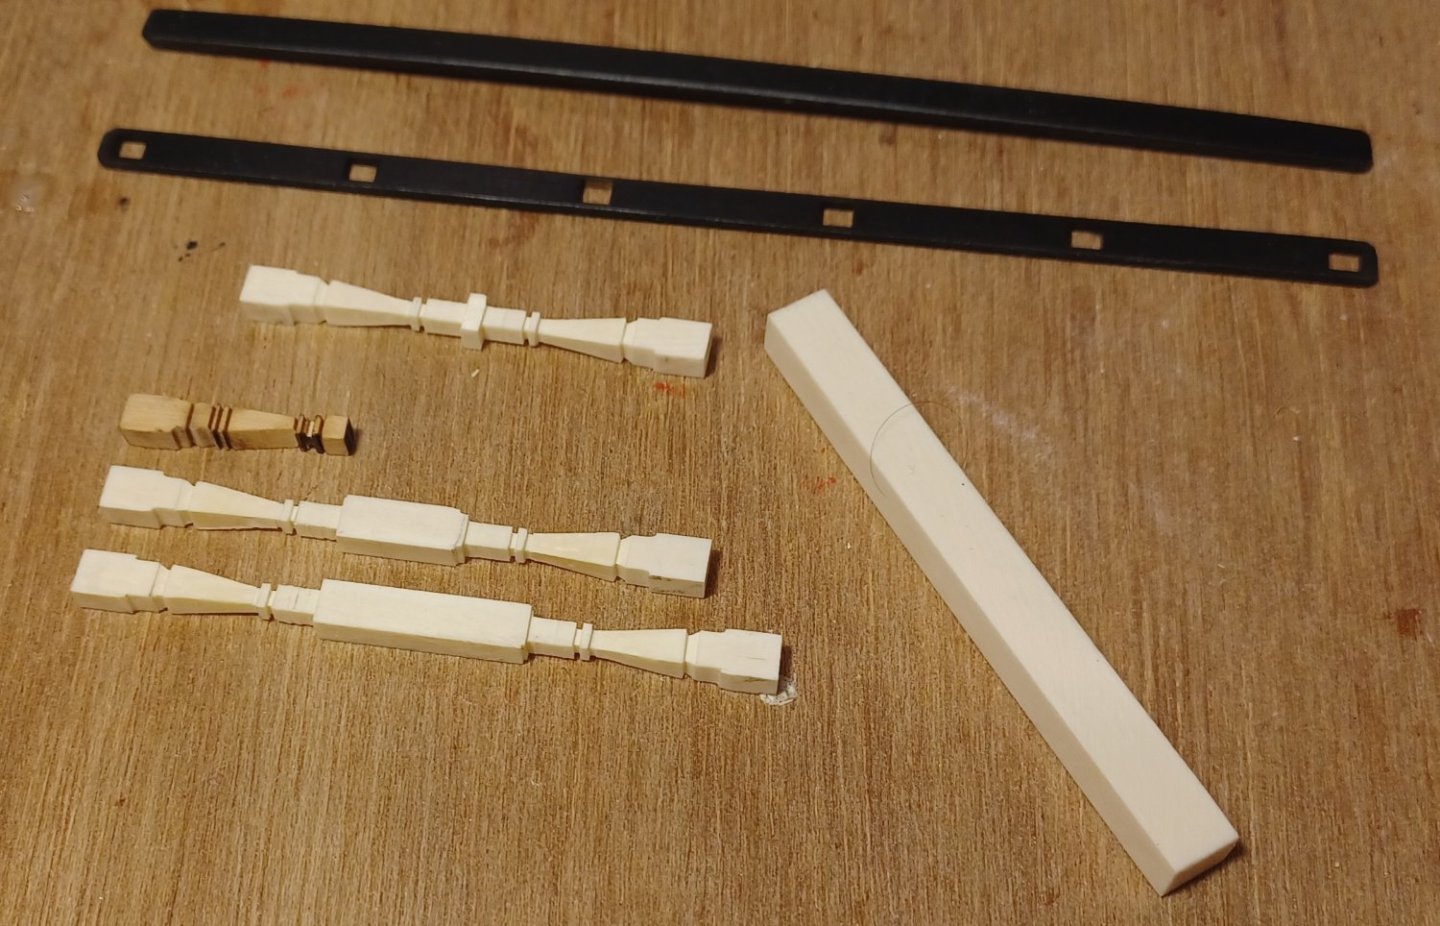
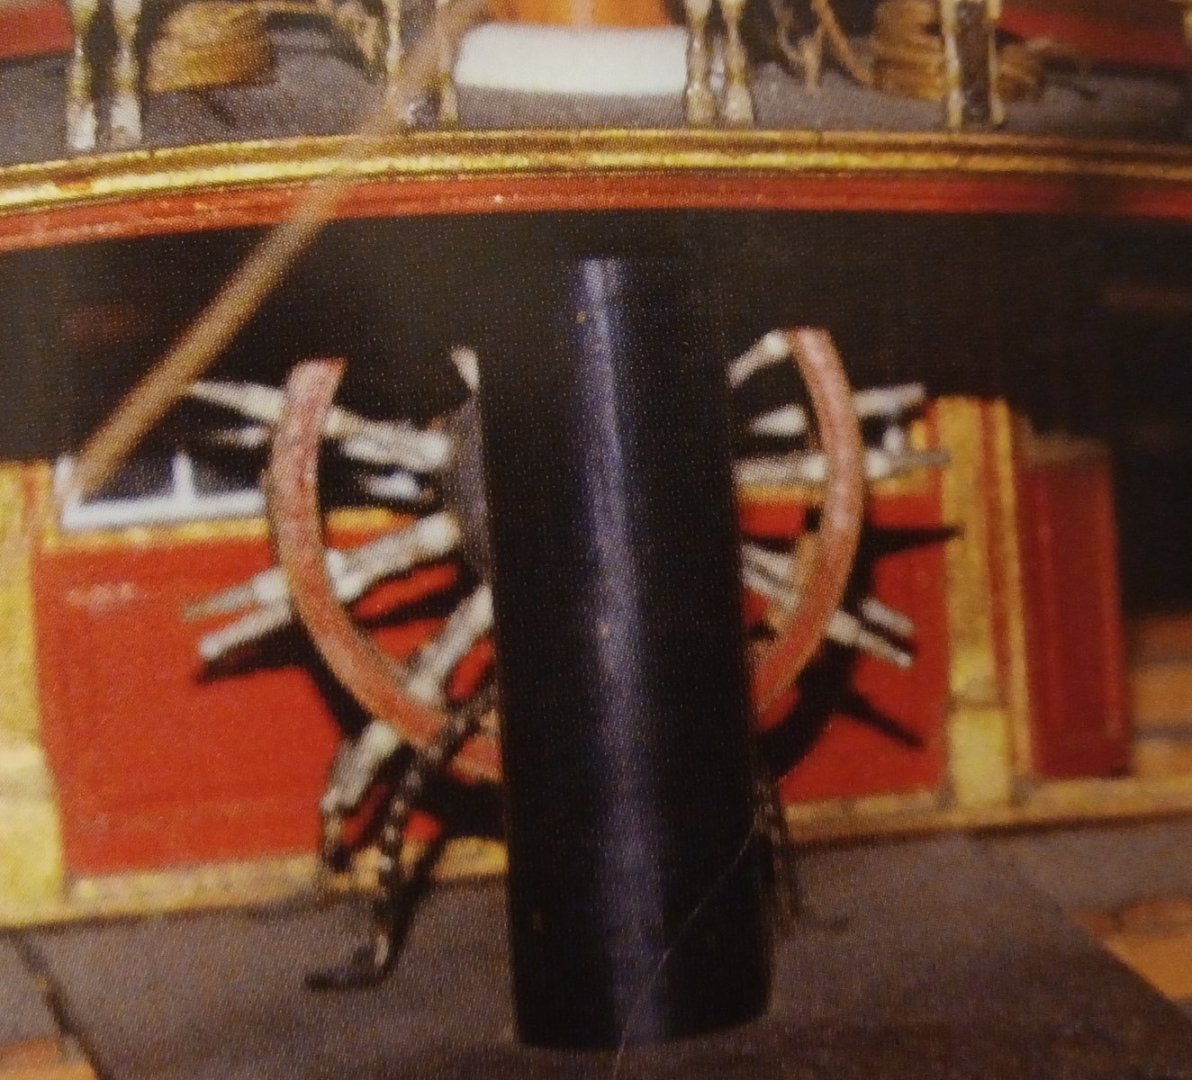
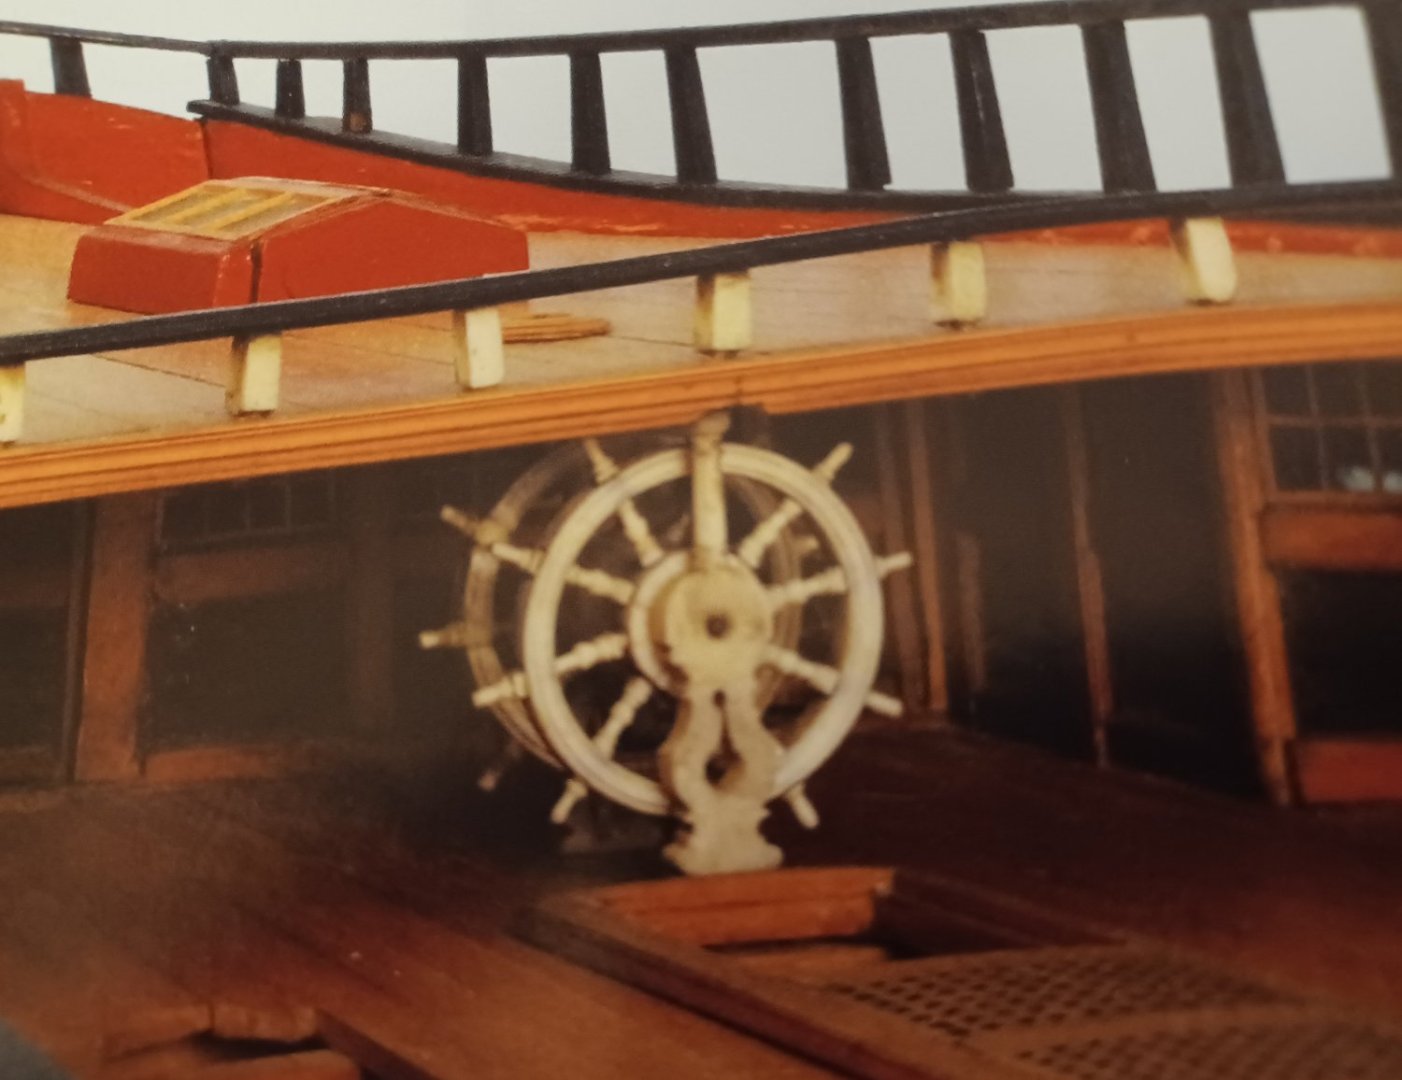
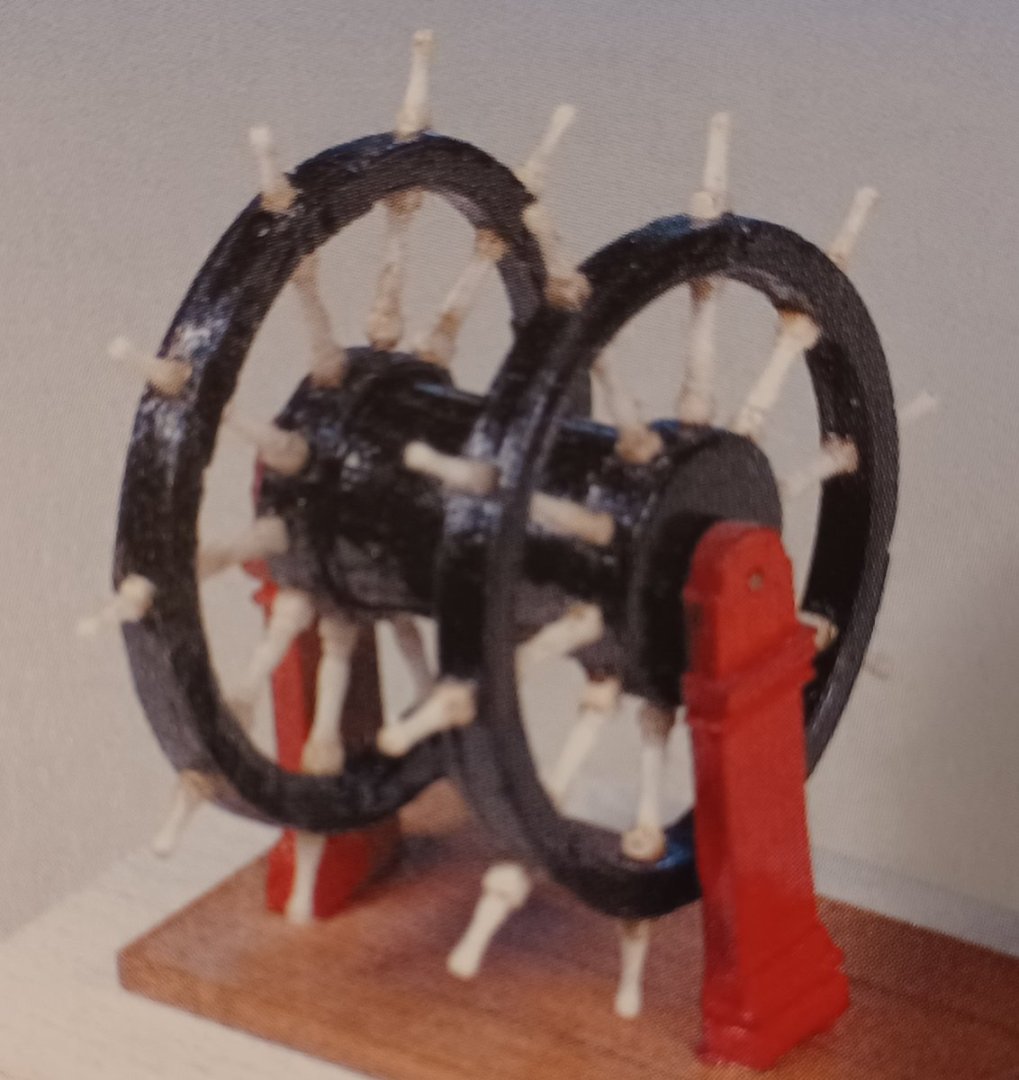
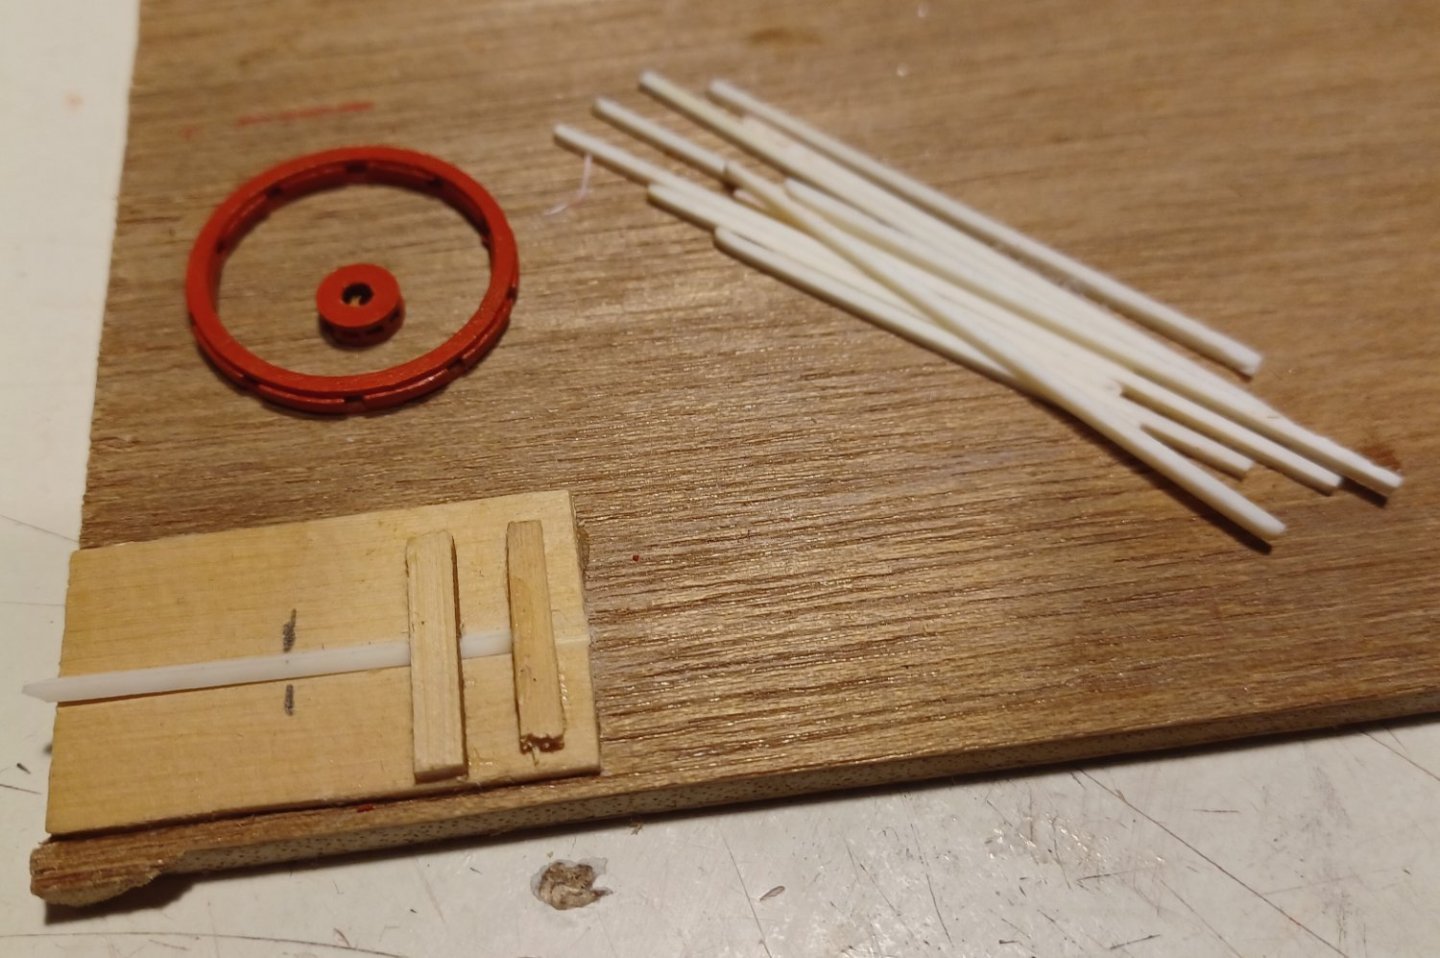
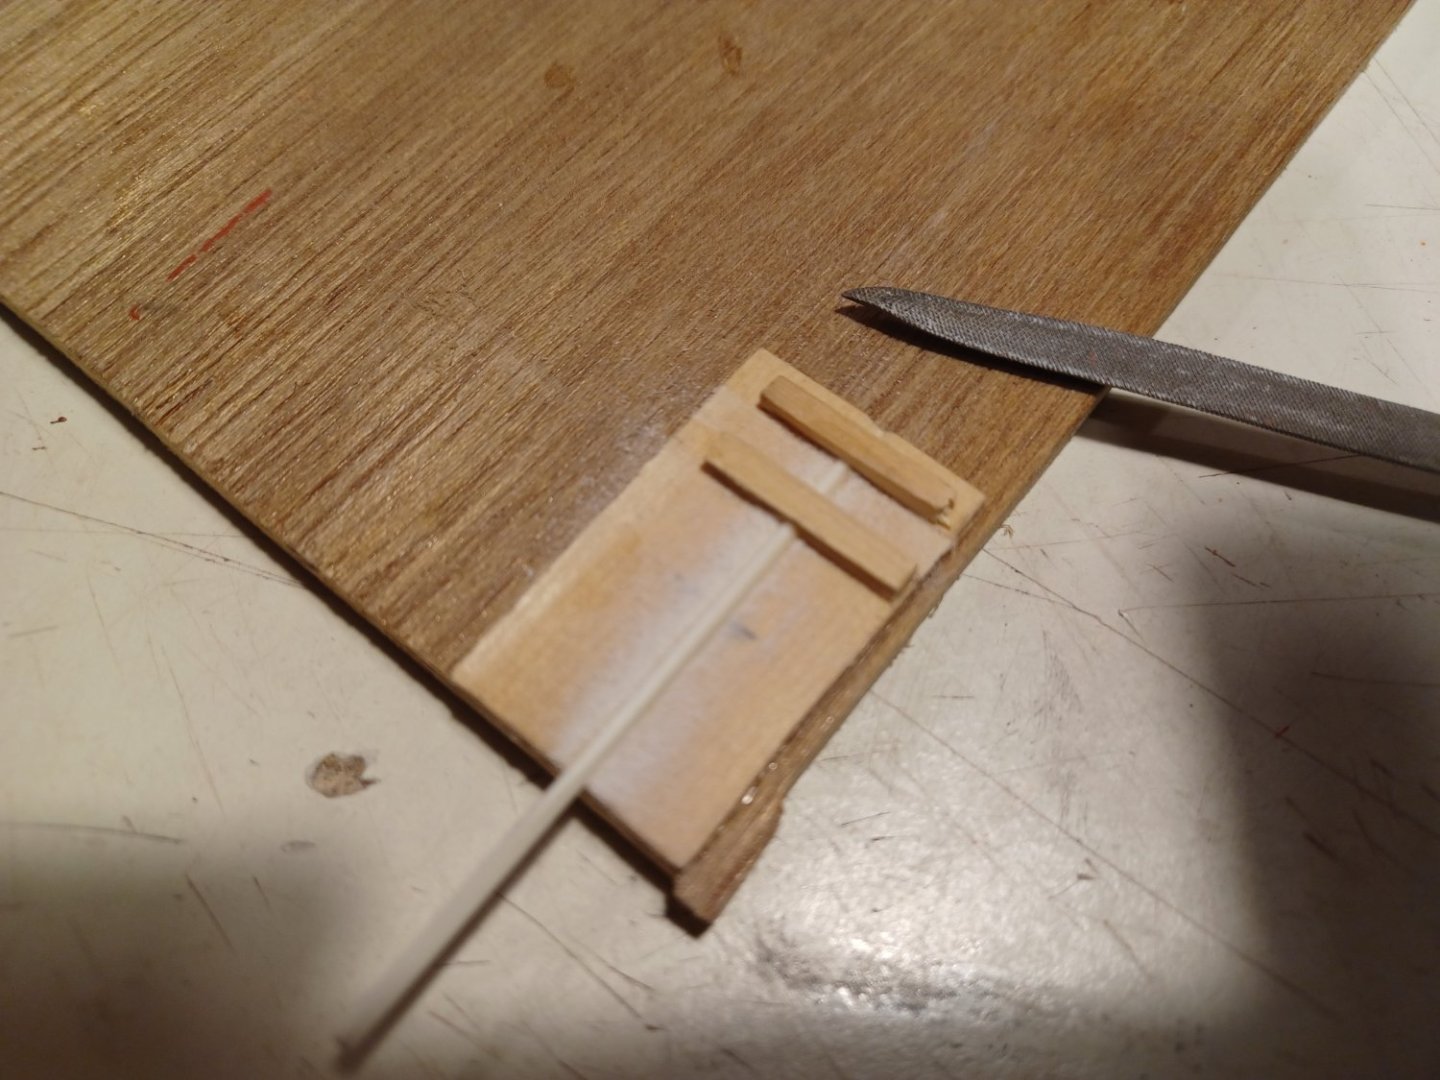
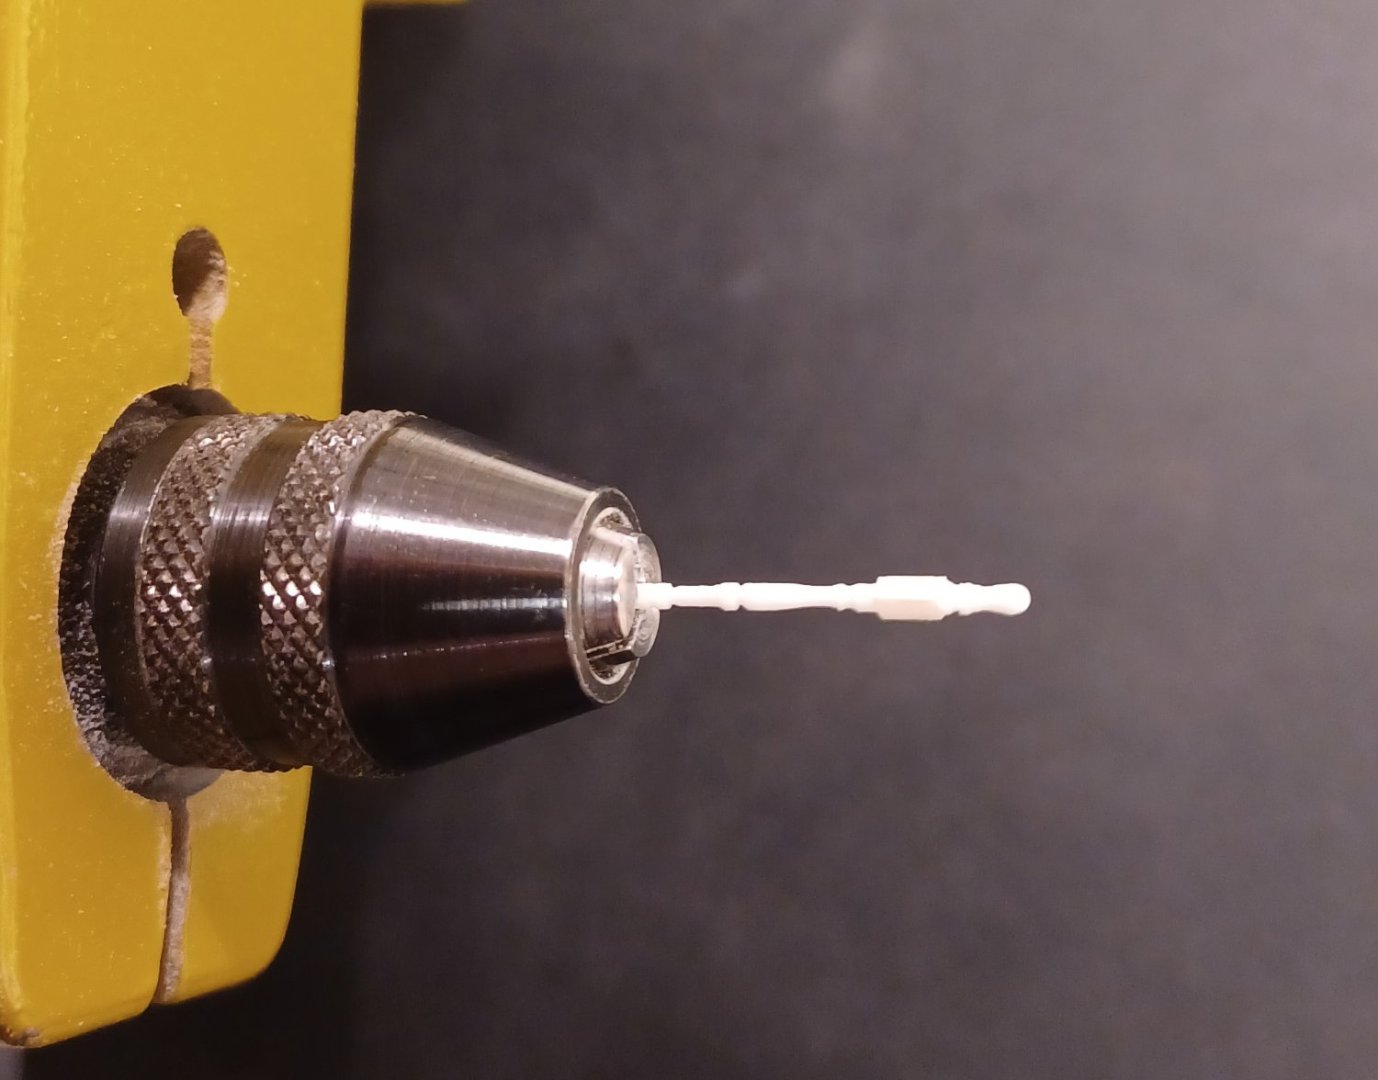
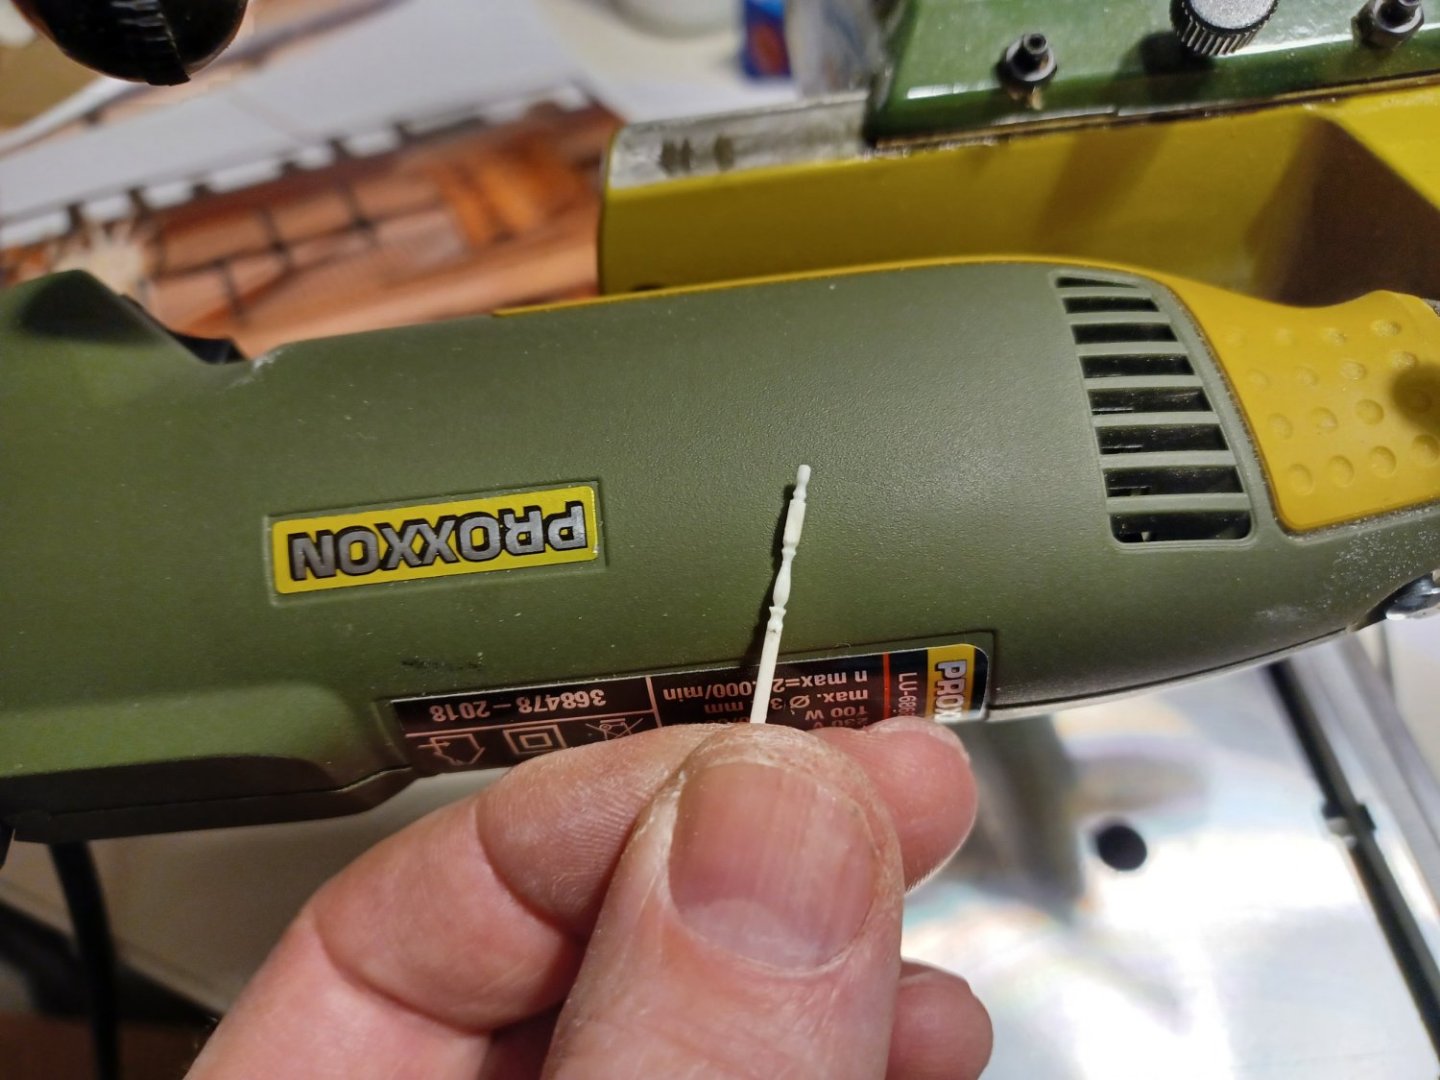
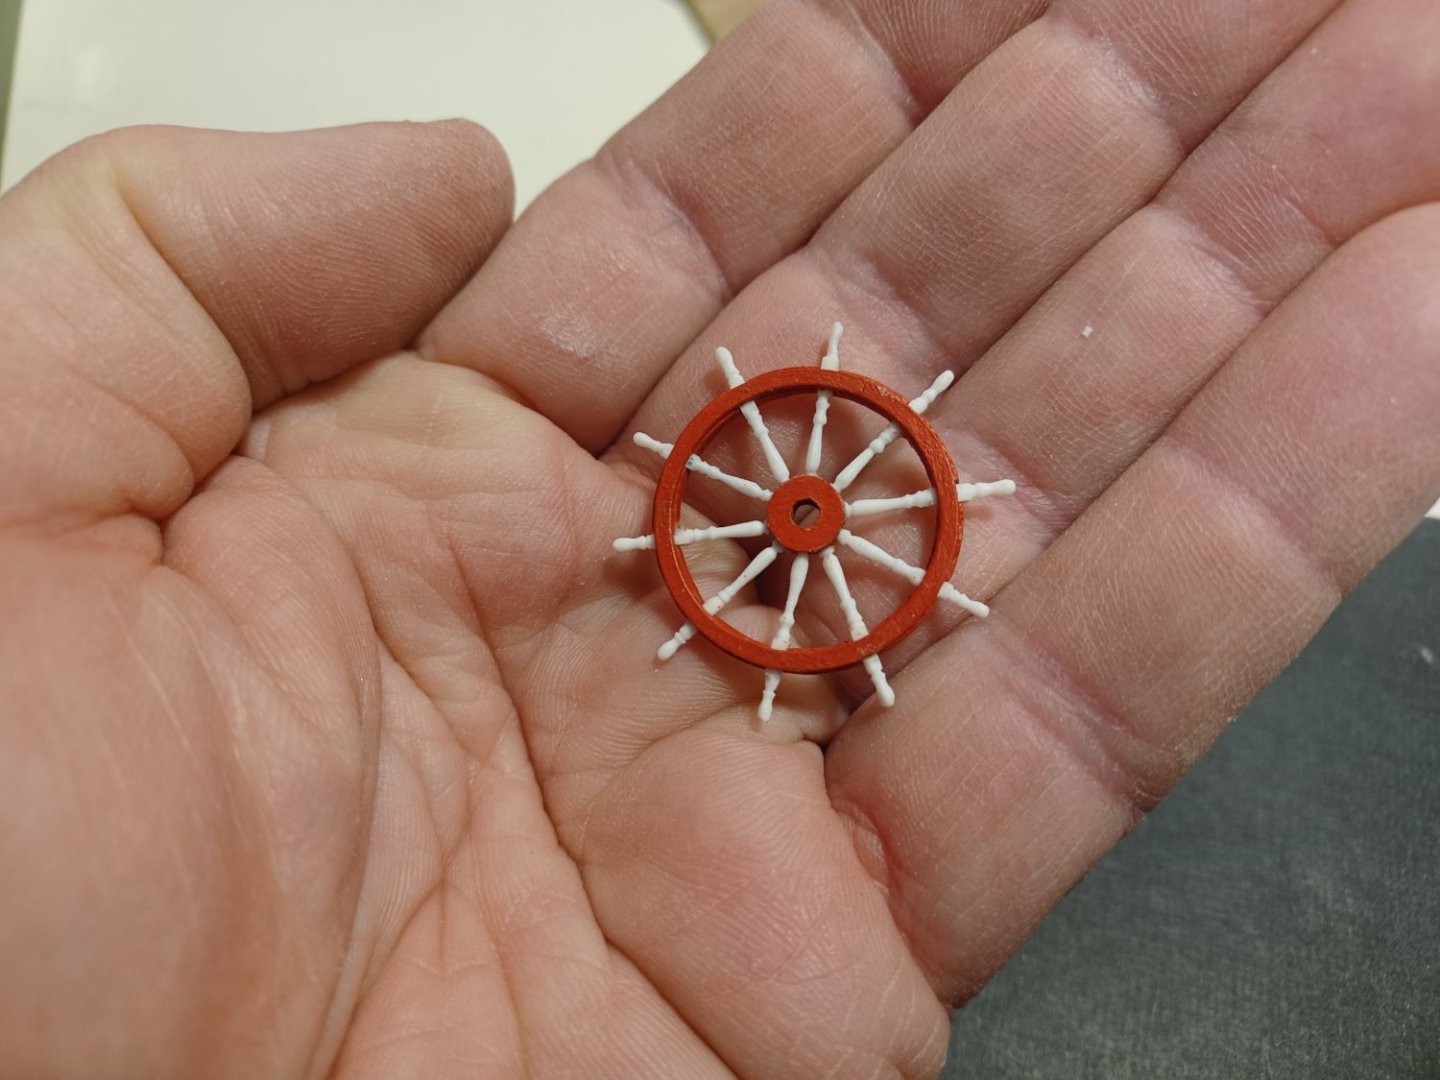
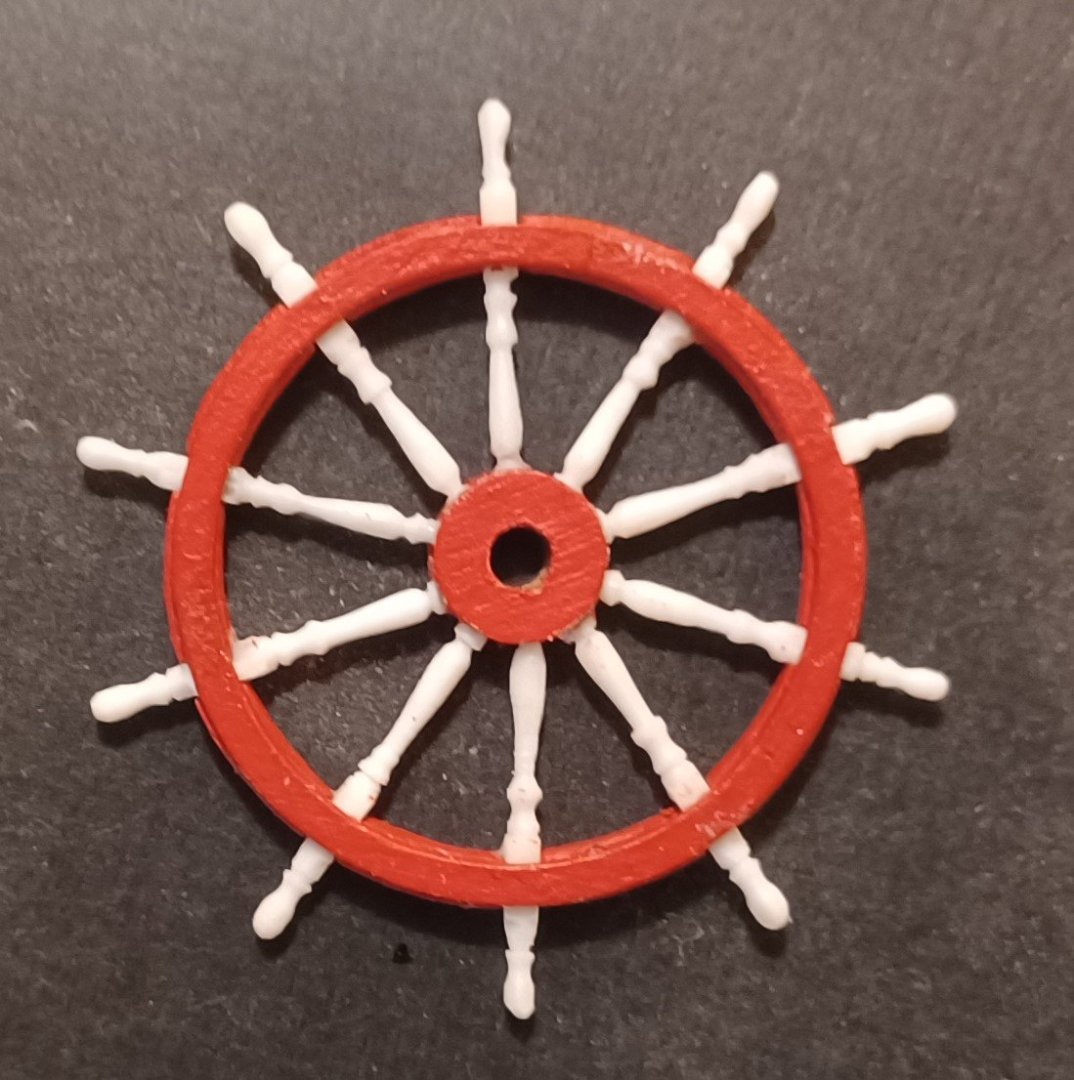
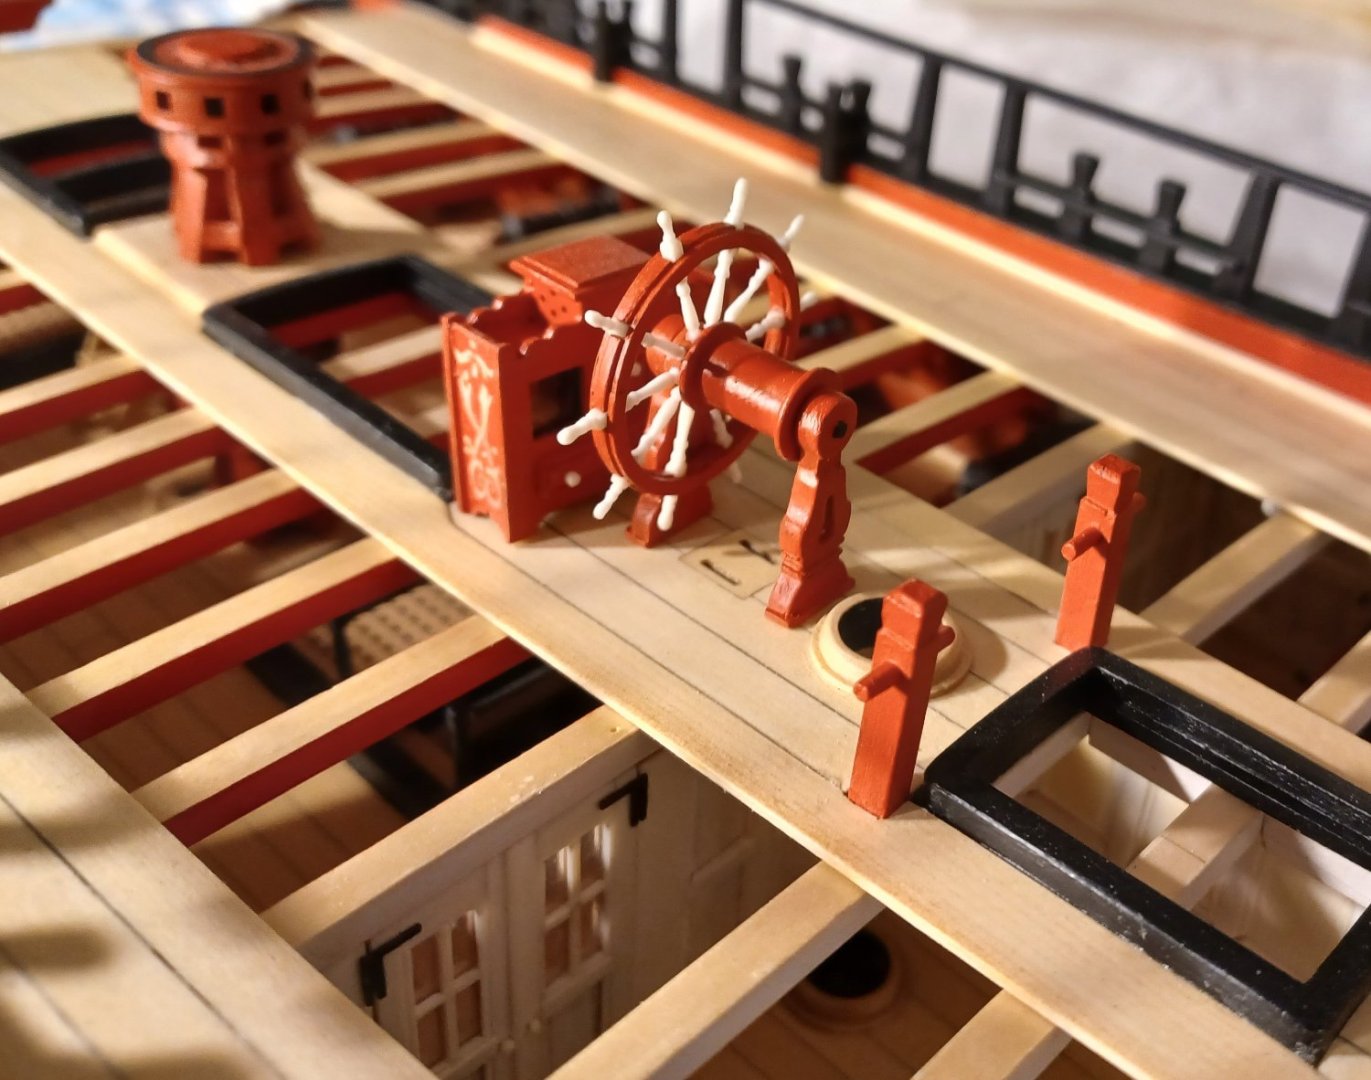
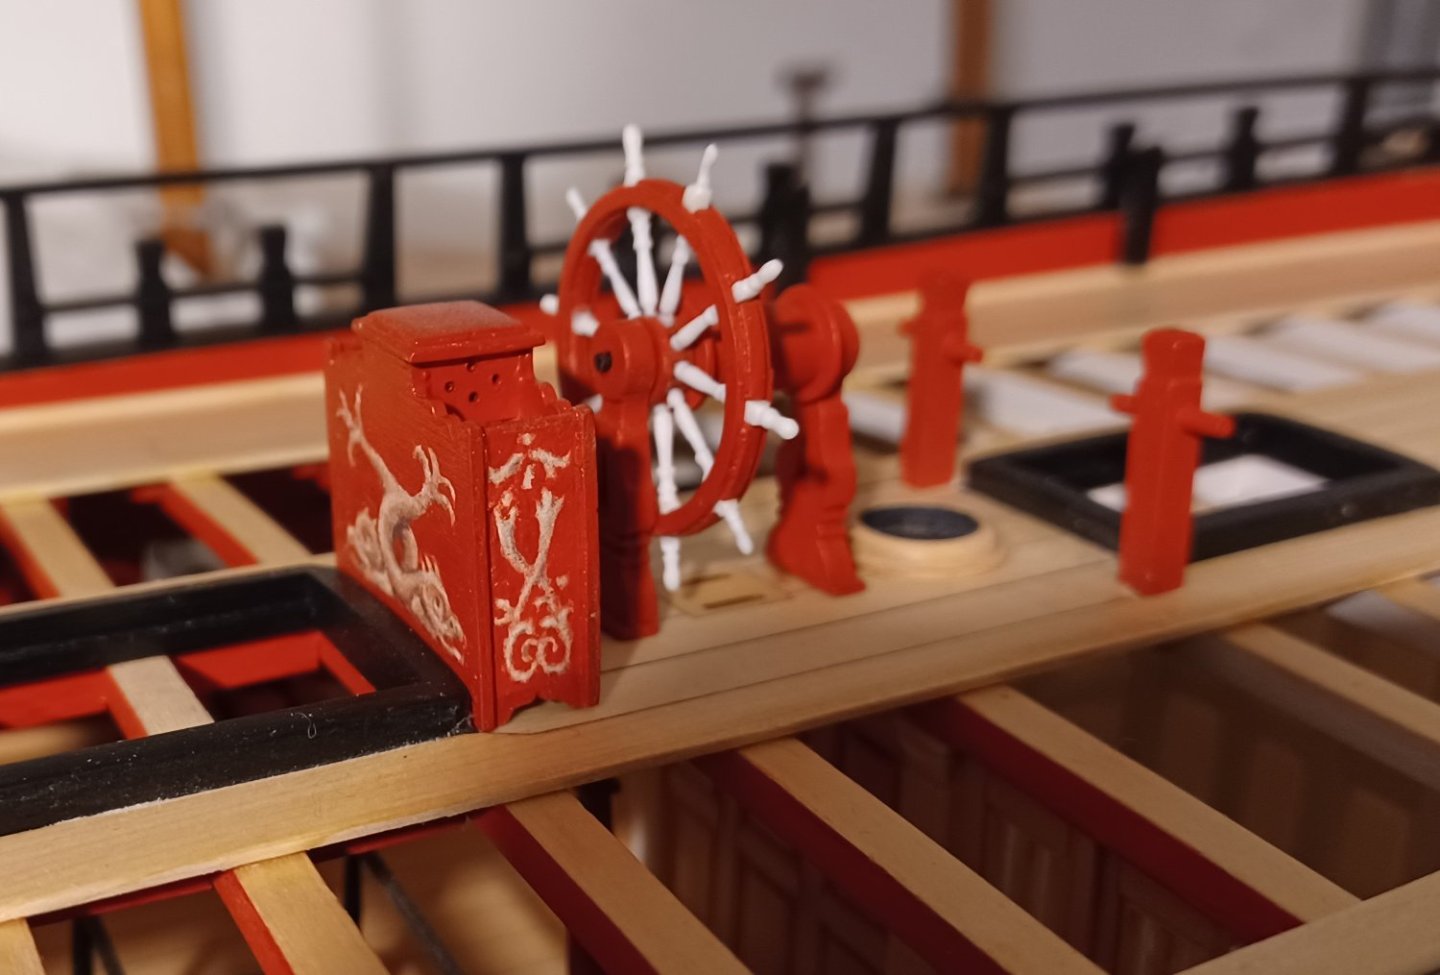
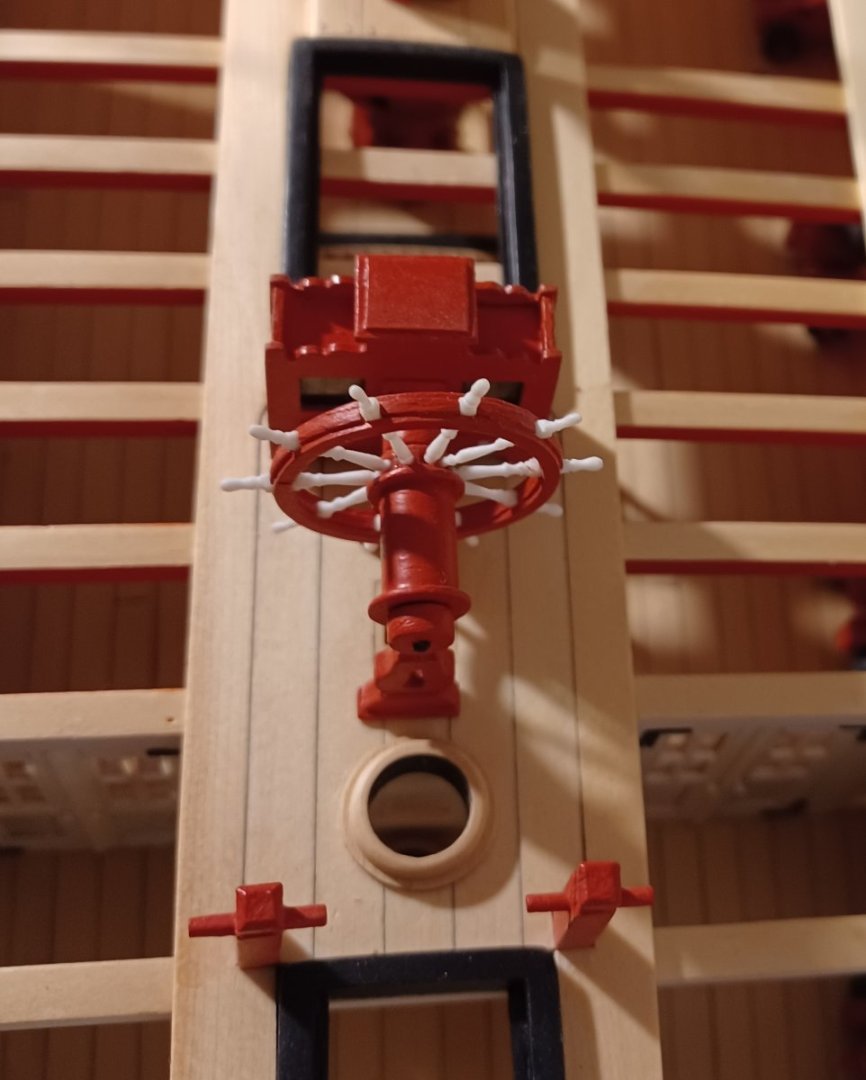
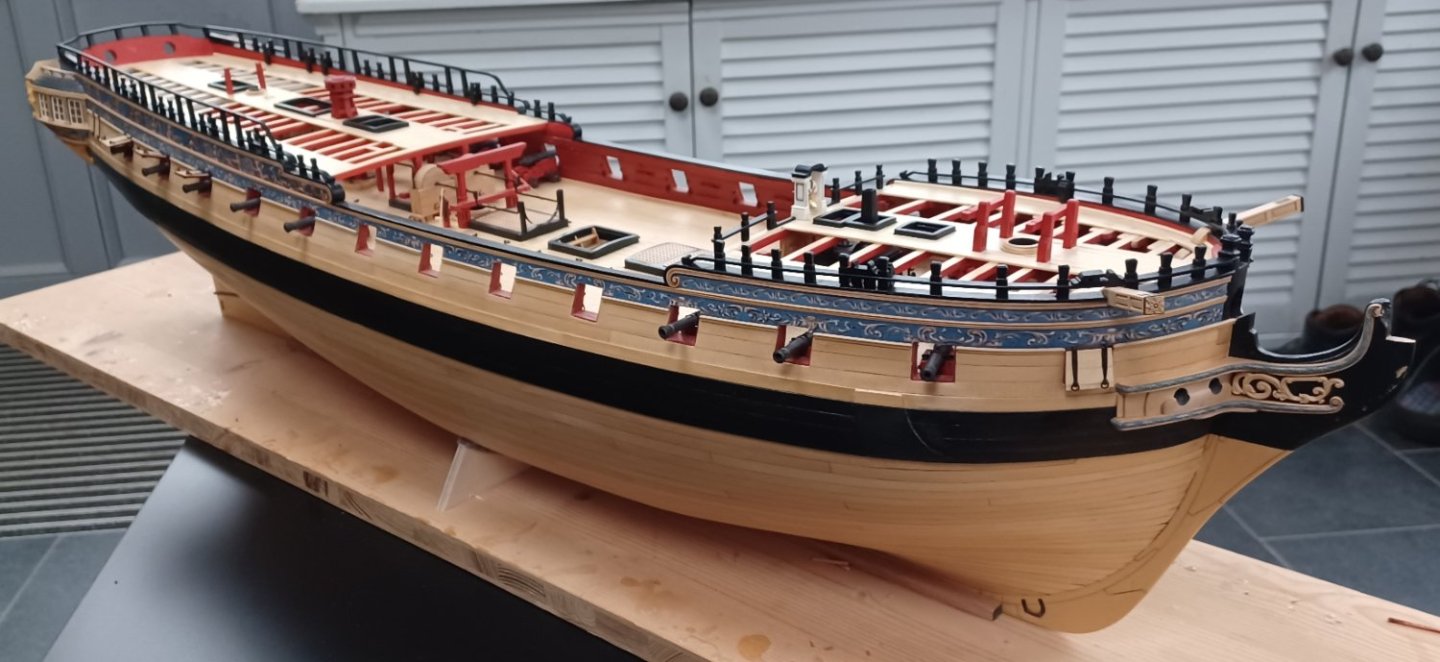
Thank you. I continued with some of the deck fittings. There are quite a few contemporary models, showing excellent deck fittings, including wheels made from ivory. Of course I had to try my best and make one for my Winchelsea model. First I cut the strips and made a jig, so I can sand them to a oktogon. For the red painted parts of the wheel, I used Chucks wonderful mini-kit. After that they were turned and the profiles were made with sanding sticks and files Ivory is a fine material for turning. It can brake if you are not careful, but with some patience one can make nice profiles. The final assembly. Not perfect, but the little incorrectnesses wont be visible later. And here the arrangement on the model. It will be glued onto the deck later, I don't want it to be damaged. Matthias
-
Beautiful!! You should publish some of these photos in a calendar or something like that. They are exceptional. Matthias
- 607 replies
-
- winchelsea
- Syren Ship Model Company
-
(and 1 more)
Tagged with:
About us
Modelshipworld - Advancing Ship Modeling through Research
SSL Secured
Your security is important for us so this Website is SSL-Secured
NRG Mailing Address
Nautical Research Guild
237 South Lincoln Street
Westmont IL, 60559-1917
Model Ship World ® and the MSW logo are Registered Trademarks, and belong to the Nautical Research Guild (United States Patent and Trademark Office: No. 6,929,264 & No. 6,929,274, registered Dec. 20, 2022)
Helpful Links
About the NRG
If you enjoy building ship models that are historically accurate as well as beautiful, then The Nautical Research Guild (NRG) is just right for you.
The Guild is a non-profit educational organization whose mission is to “Advance Ship Modeling Through Research”. We provide support to our members in their efforts to raise the quality of their model ships.
The Nautical Research Guild has published our world-renowned quarterly magazine, The Nautical Research Journal, since 1955. The pages of the Journal are full of articles by accomplished ship modelers who show you how they create those exquisite details on their models, and by maritime historians who show you the correct details to build. The Journal is available in both print and digital editions. Go to the NRG web site (www.thenrg.org) to download a complimentary digital copy of the Journal. The NRG also publishes plan sets, books and compilations of back issues of the Journal and the former Ships in Scale and Model Ship Builder magazines.

