


campbewj
-
Posts
50 -
Joined
-
Last visited
Content Type
Profiles
Forums
Gallery
Events
Posts posted by campbewj
-
-
-
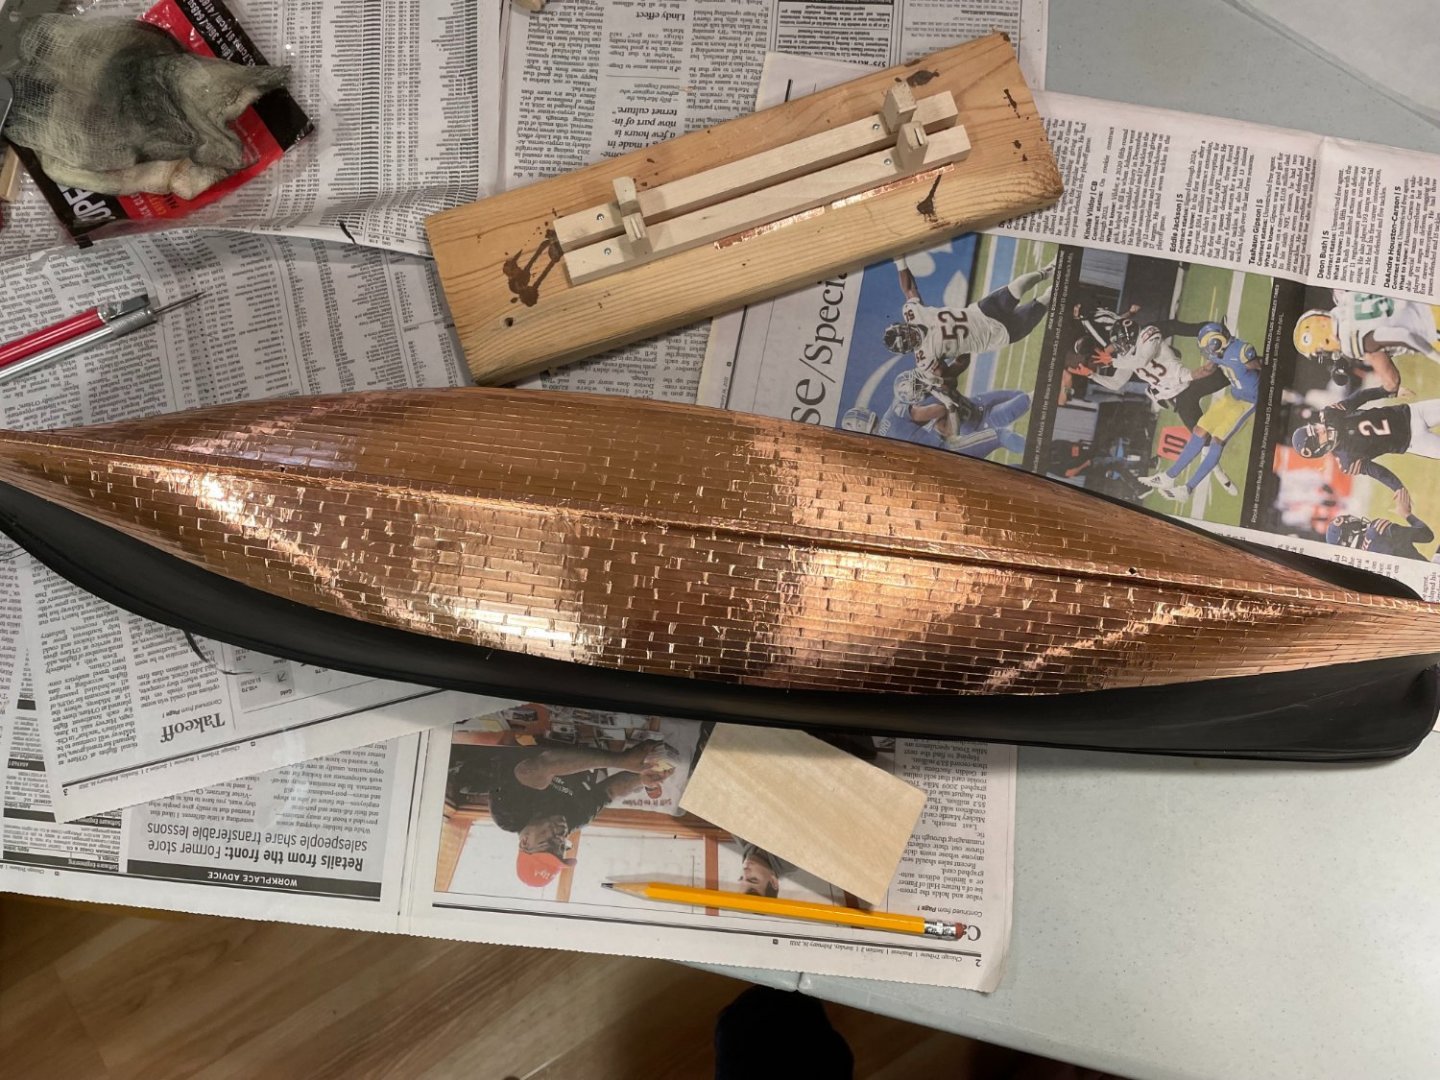
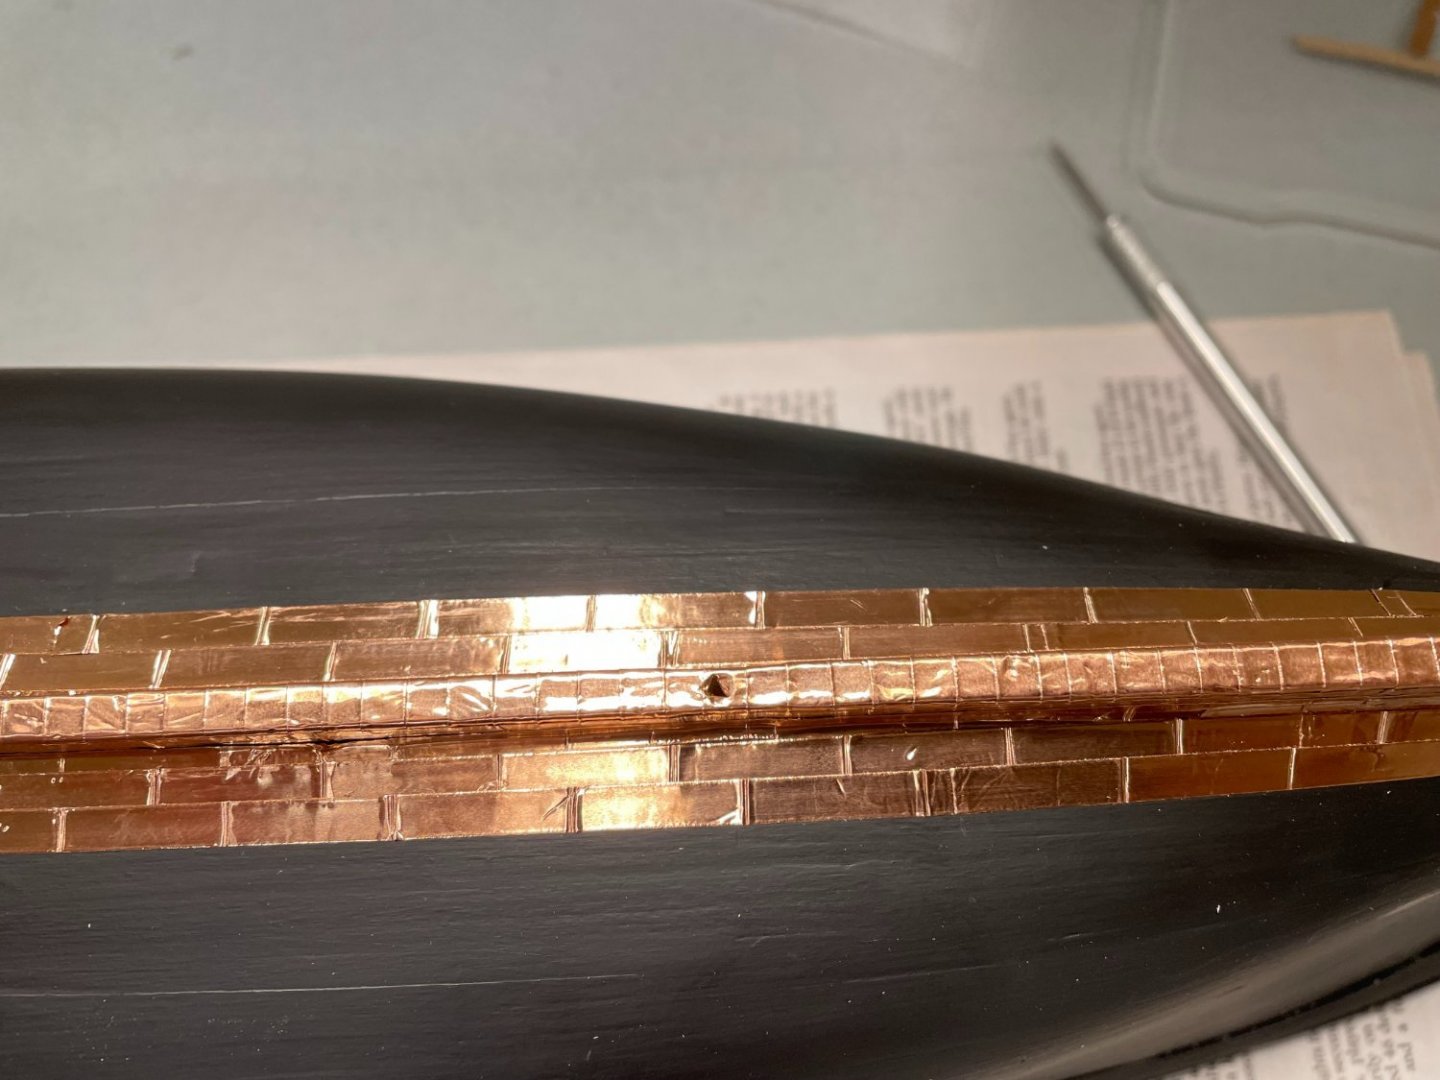
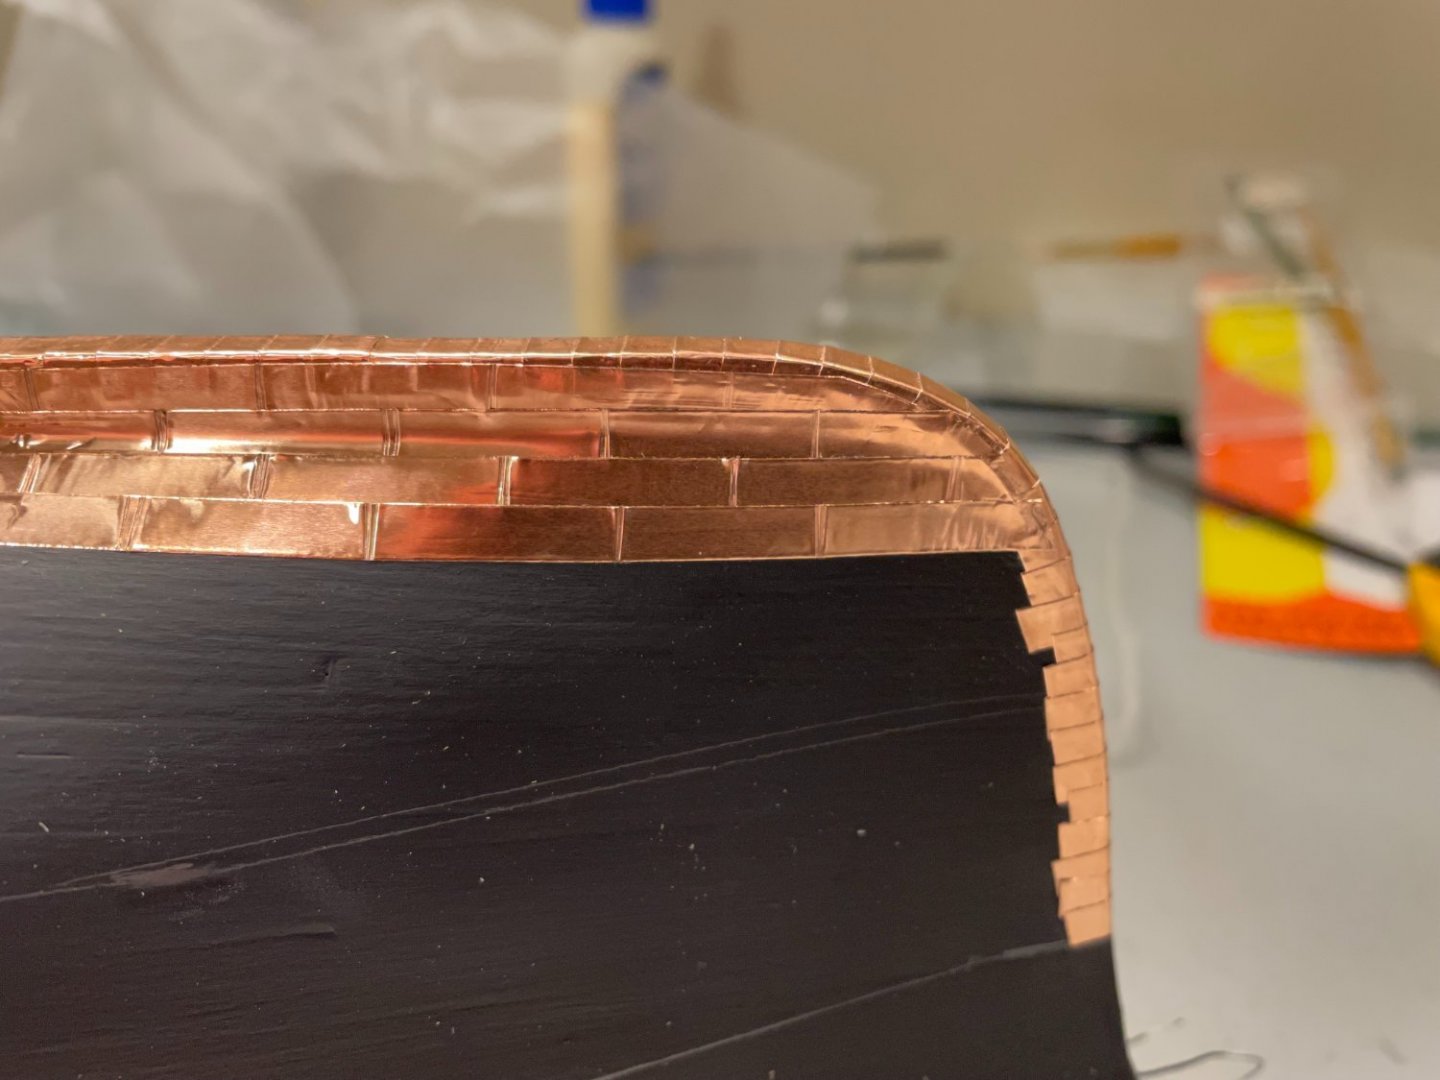
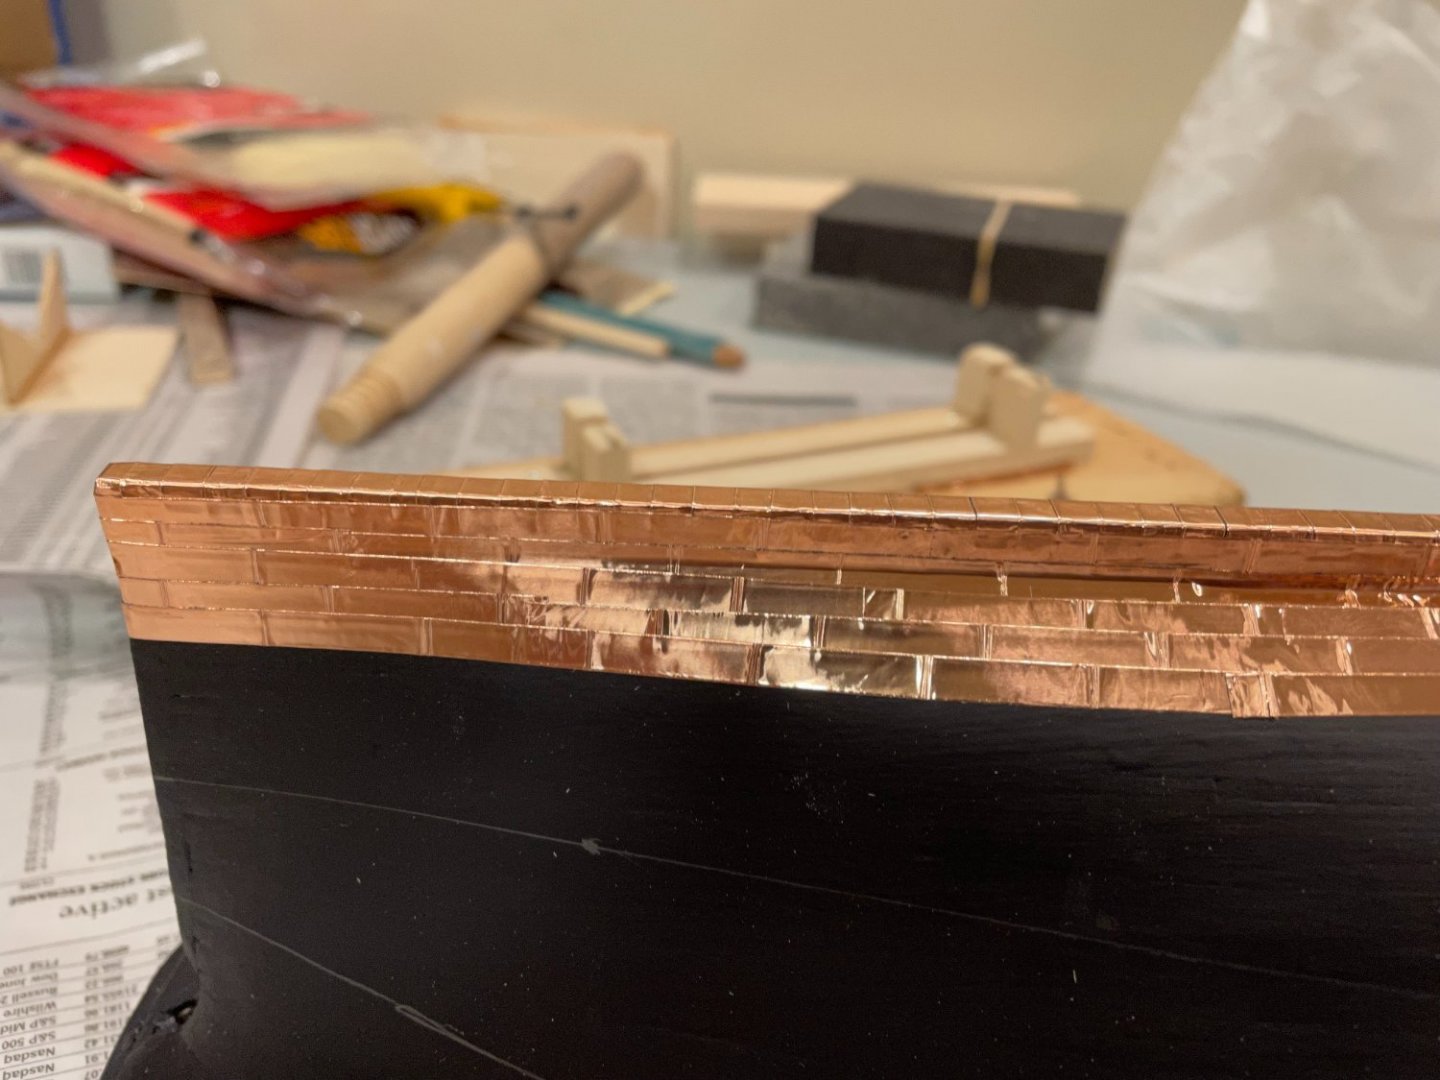
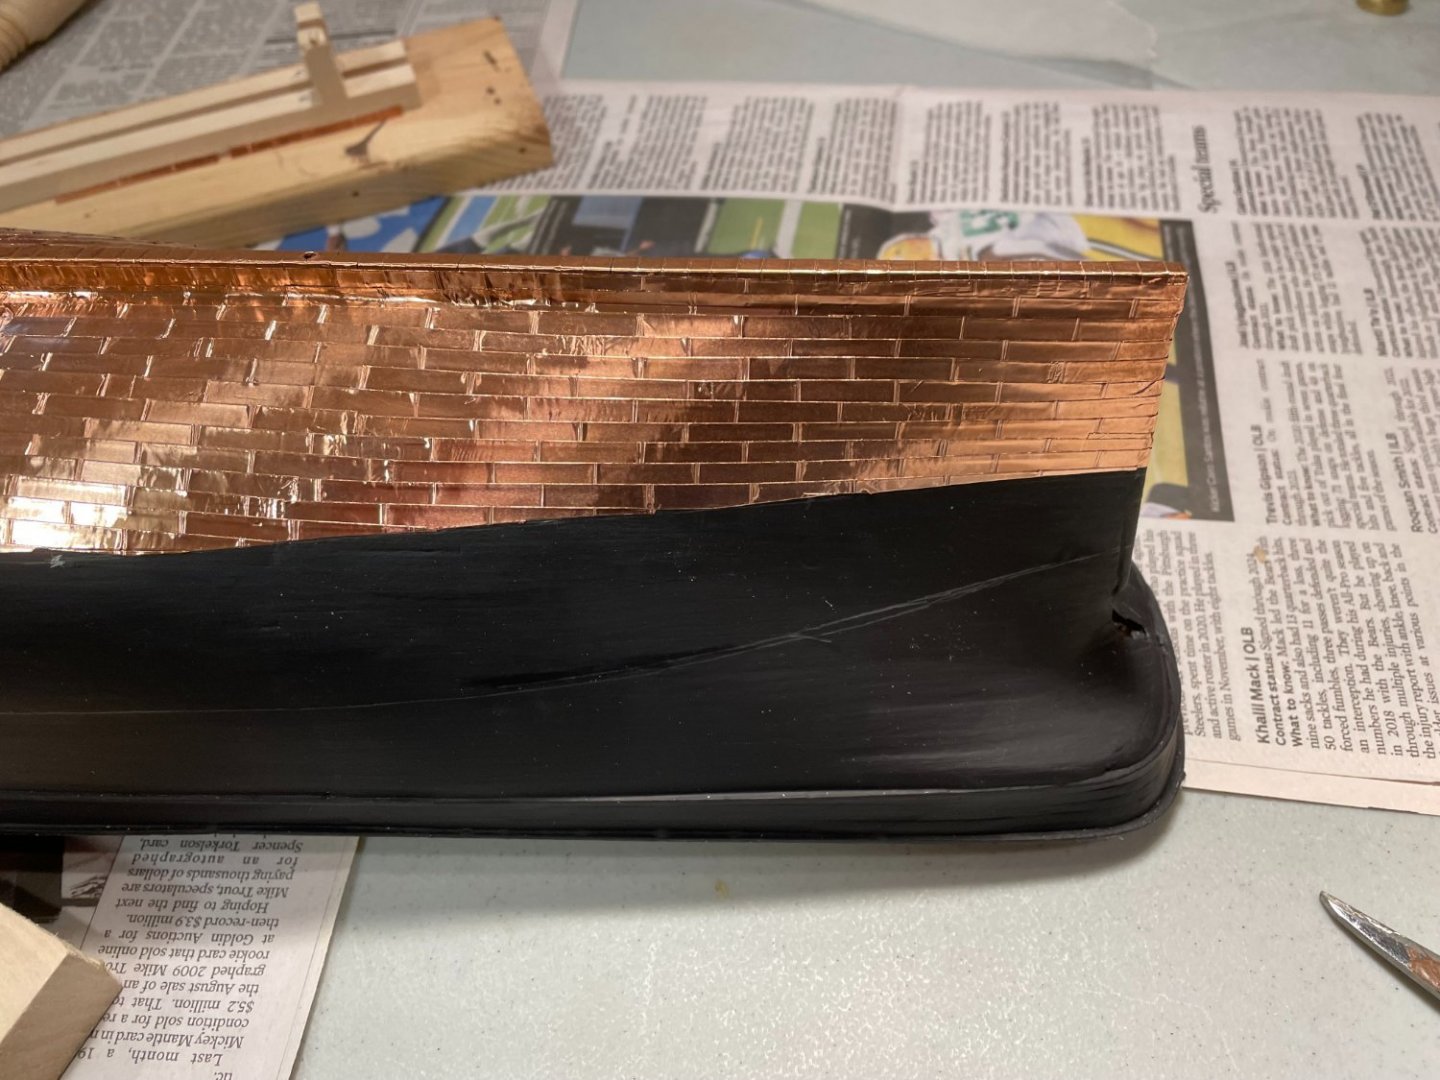
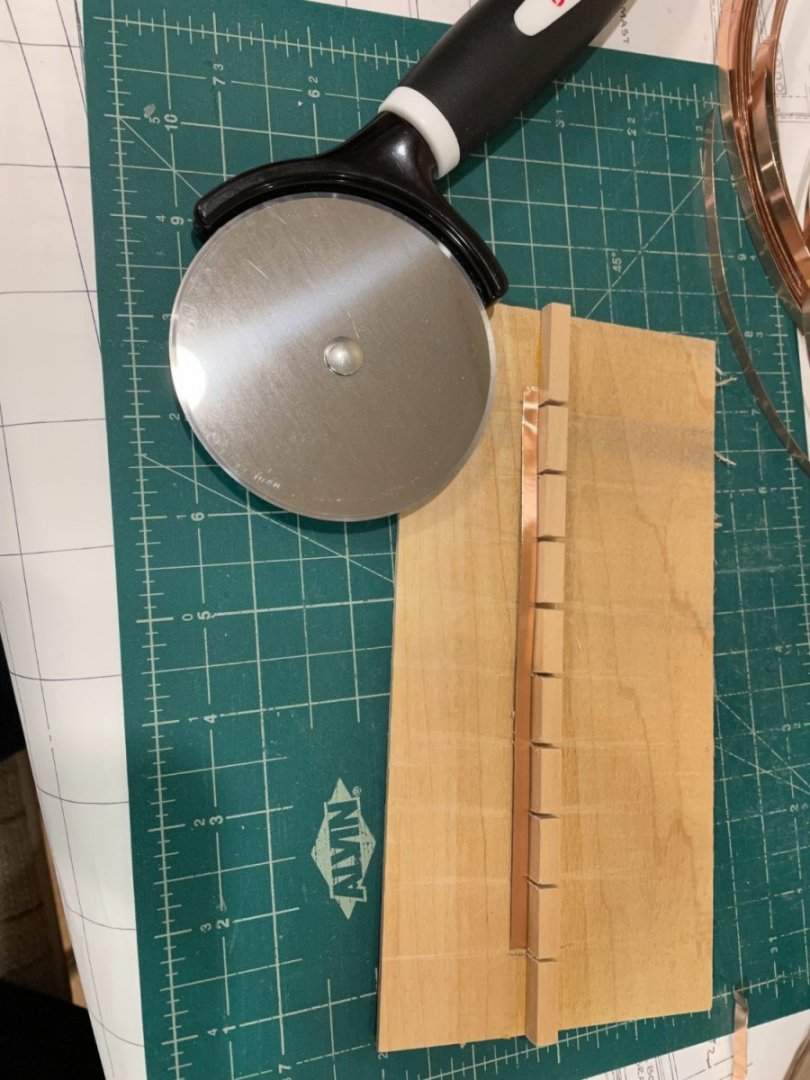
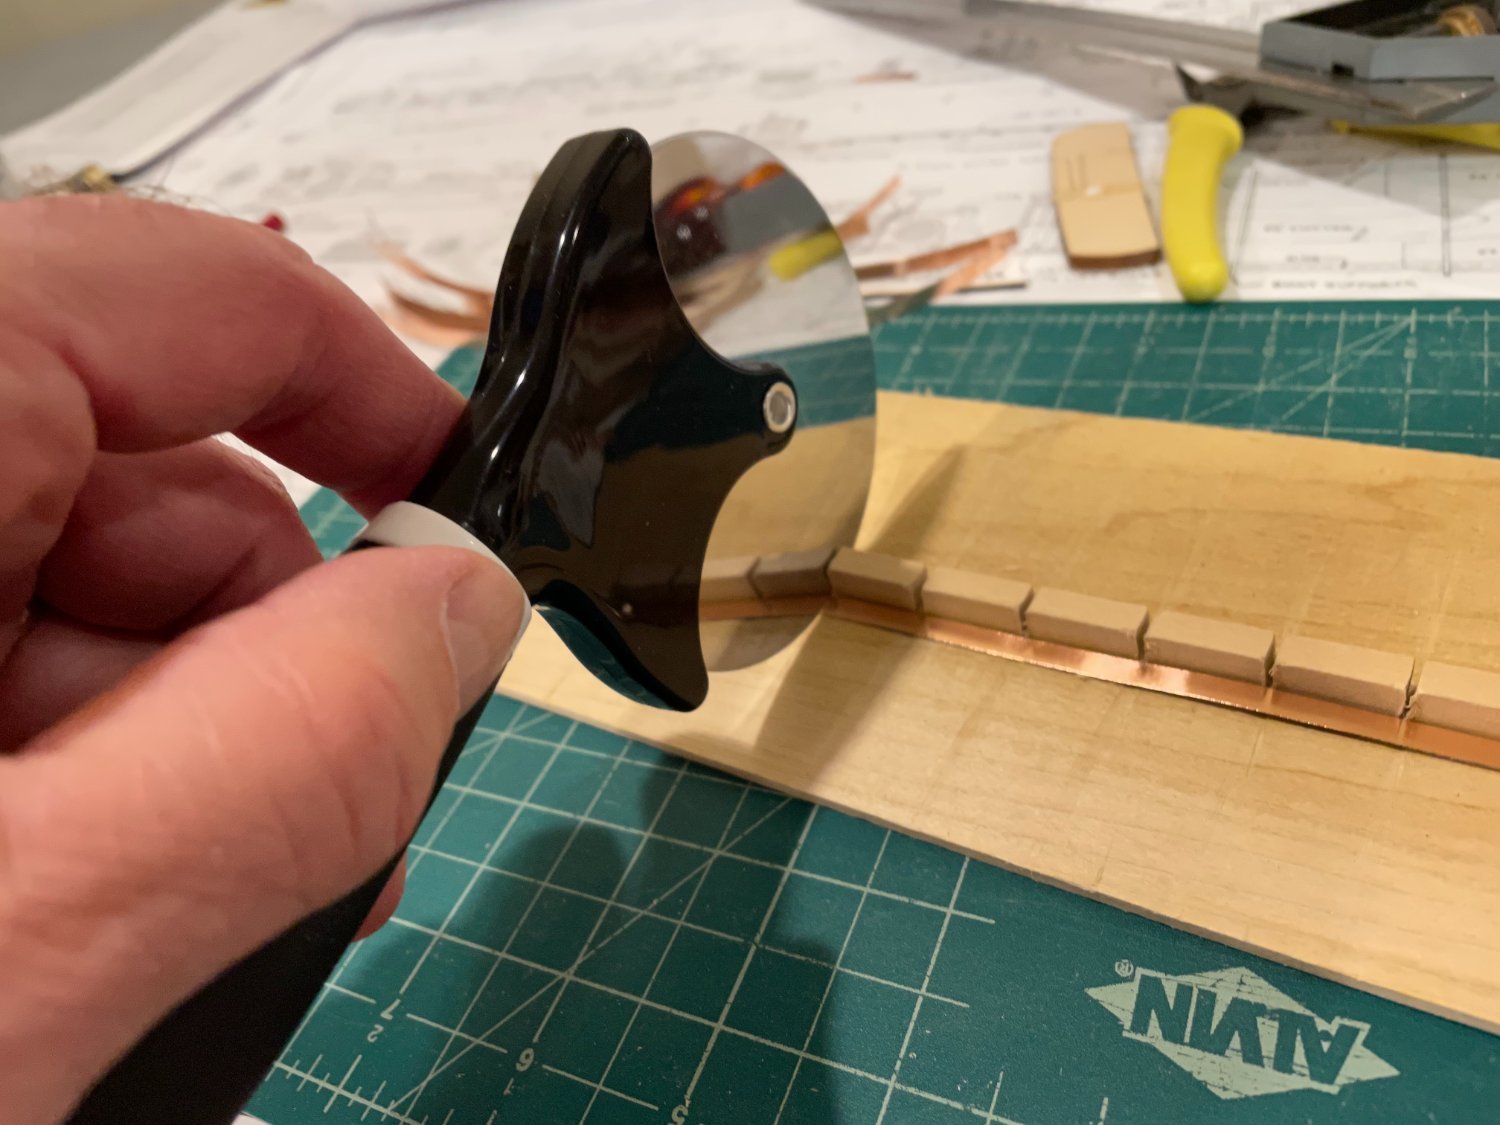
Over the past couple of days I've cut enough strips and applied them to cover the first belt between the keel and the goring line. As with the practice strips, any movement of the tape while working with it shows up on the final product. Peeling the backing off, if you don't keep the foil side straight, makes little marks across the foil. While I've become better and limiting this, some is inevitable and I've simply accepted that. The markings from the Pizza cutter look good, better in some places than others but so far I'm happy with the outcome. Most of these strips will be under the boat and not seen often so hopefully I will continue to get better at this.
- Cirdan and Pete Jaquith
-
 2
2
-
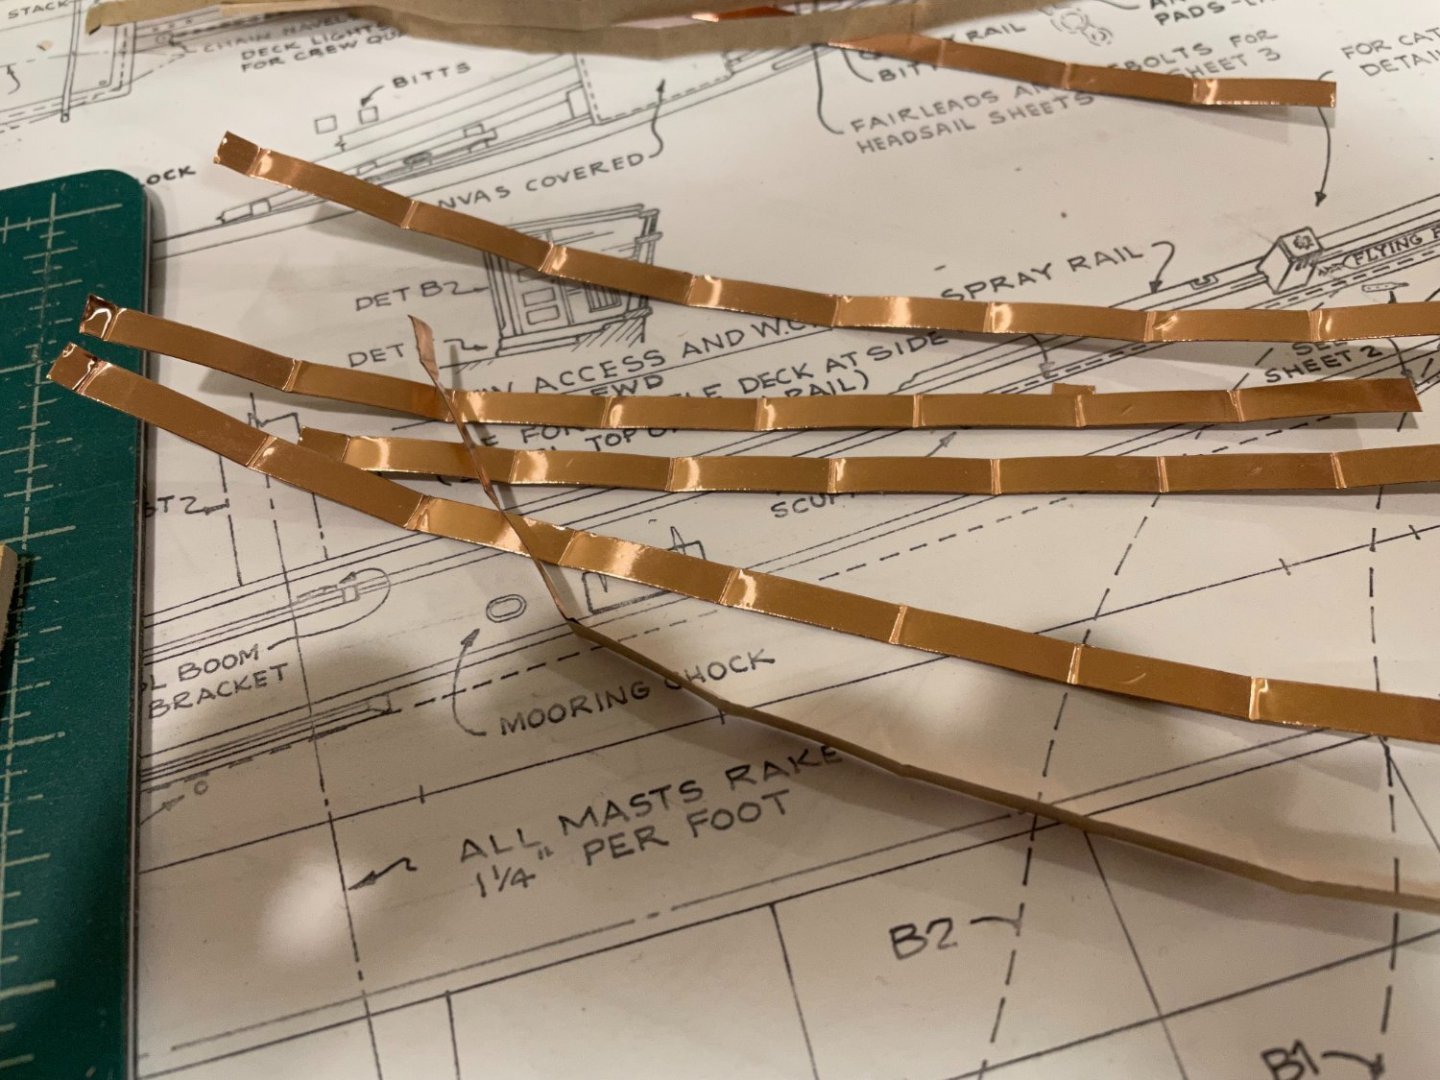
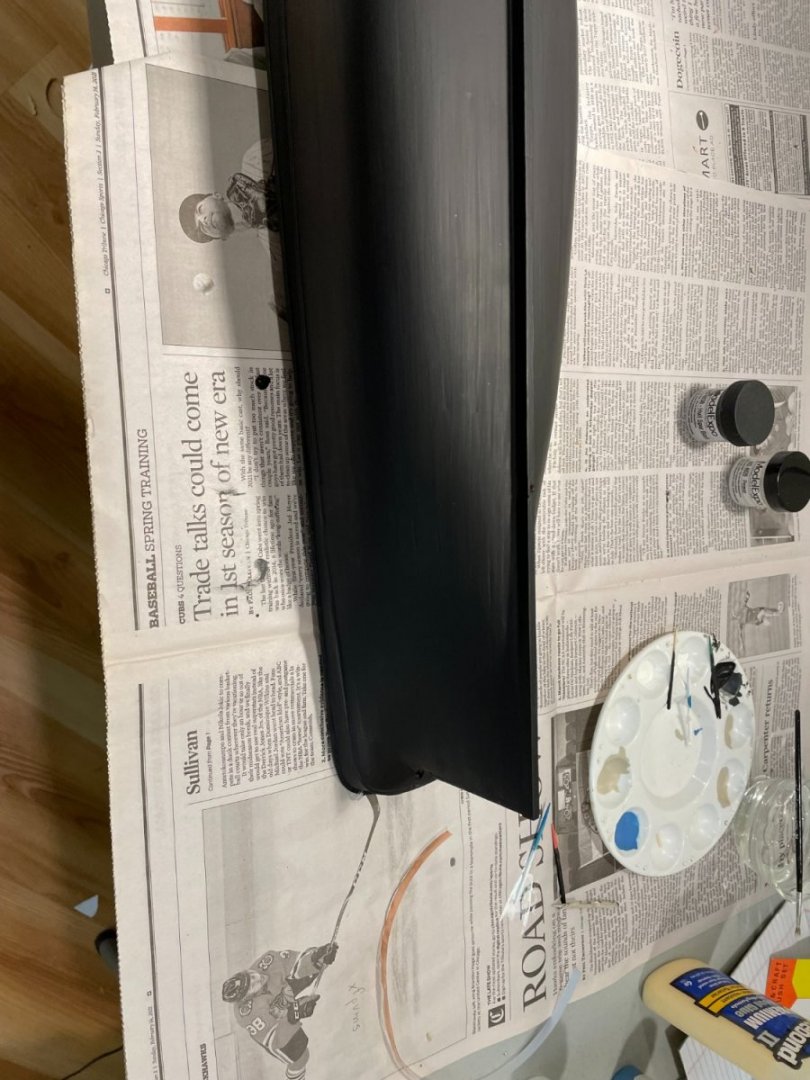
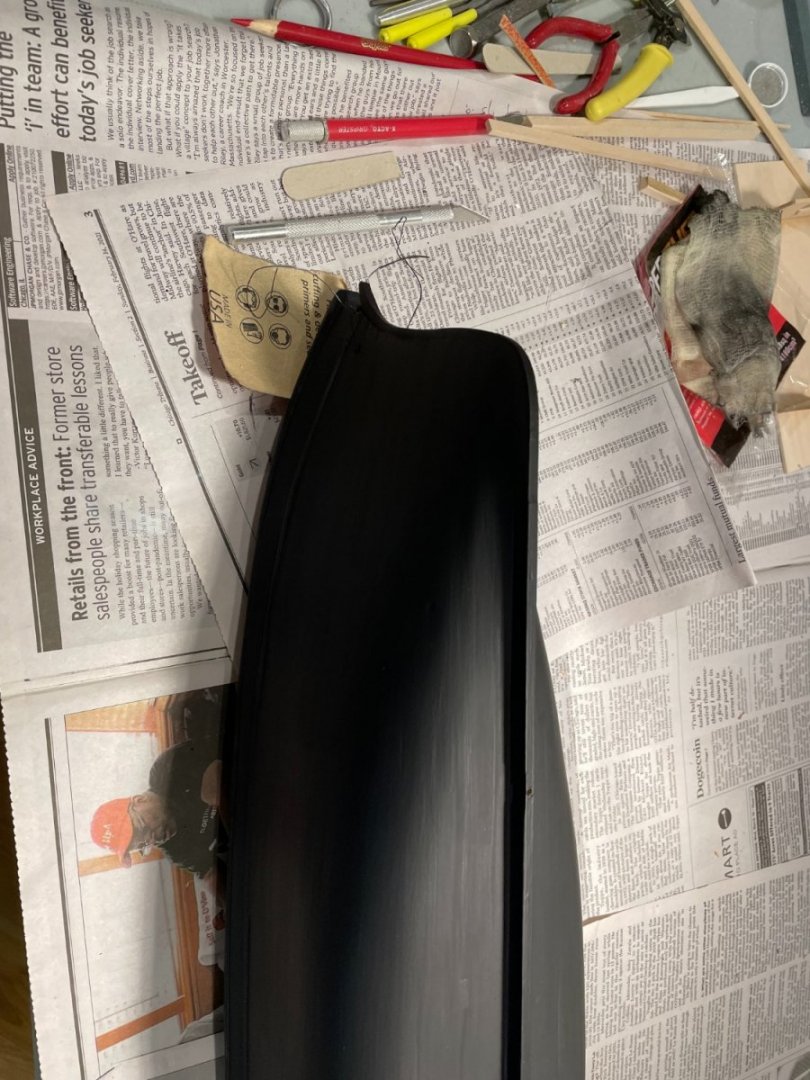
I primed and painted the hull, I believe I stopped at 4 coats of the black to get good coverage. I was looking for more of base to set the copper tape than necessarily a finish coat. As the paint was drying a I spent some time looking at the work of Keithbrad80 and GAK1965. (which I do a lot). I tested out the pizza cutter to make the joint marks as well as a pounce wheel to add additional details. Ultimately I dropped the pounce wheel and simply went with the lines to outline the individual copper sheets. This simplified the jig such that I only needed slots to make consistent strips.

-
-
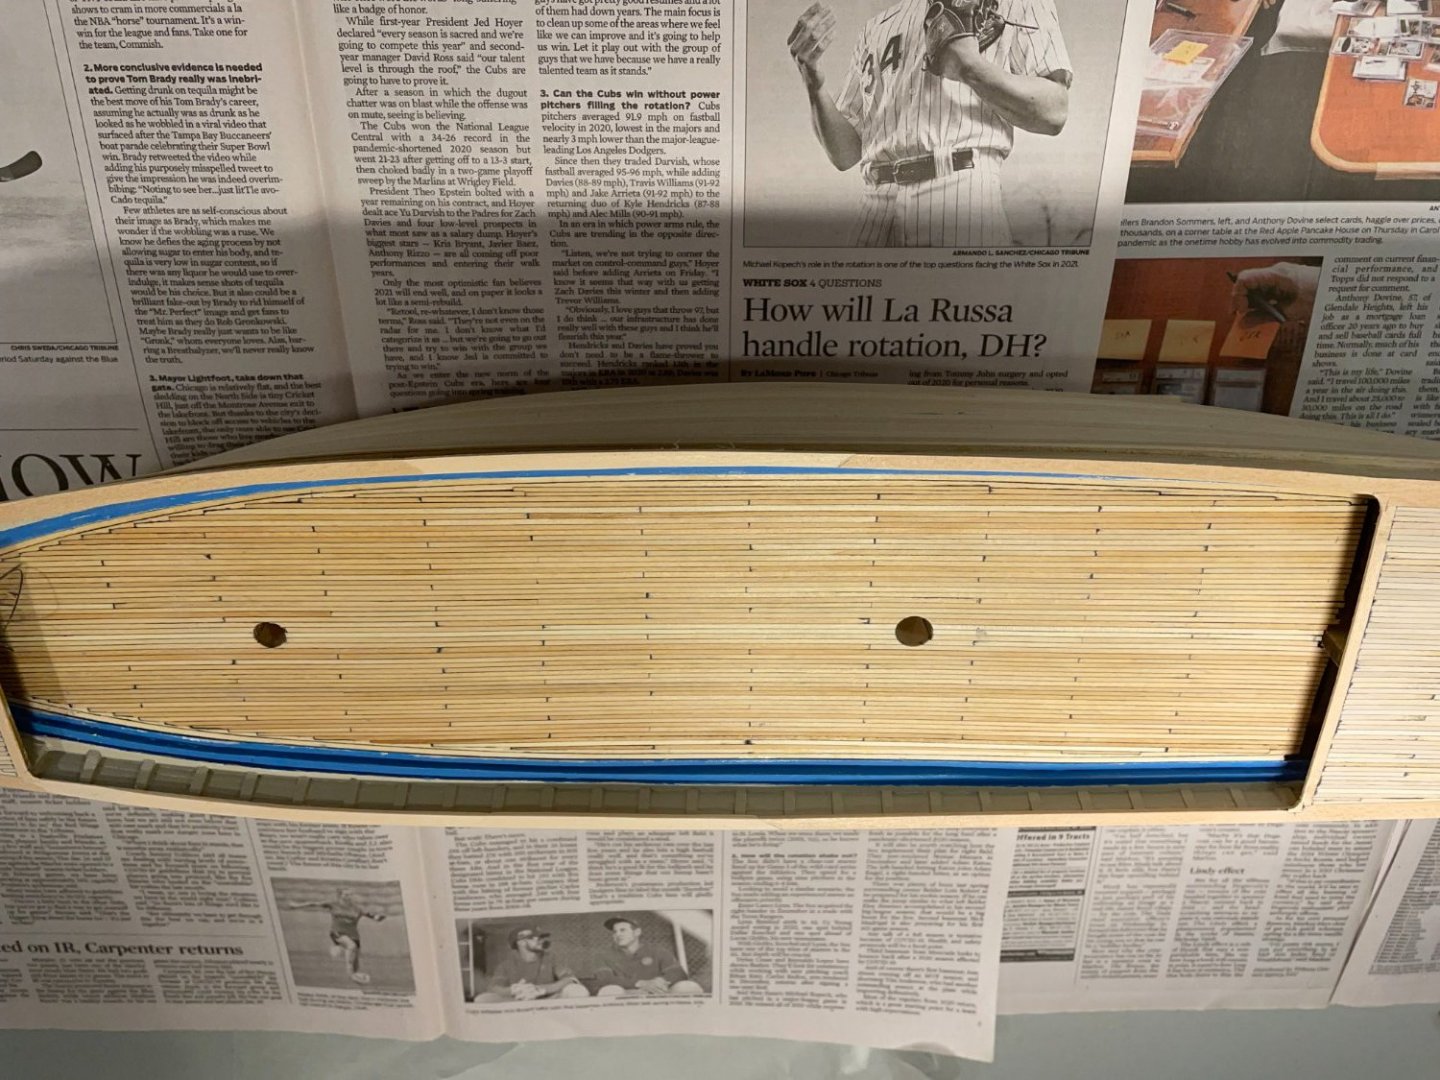
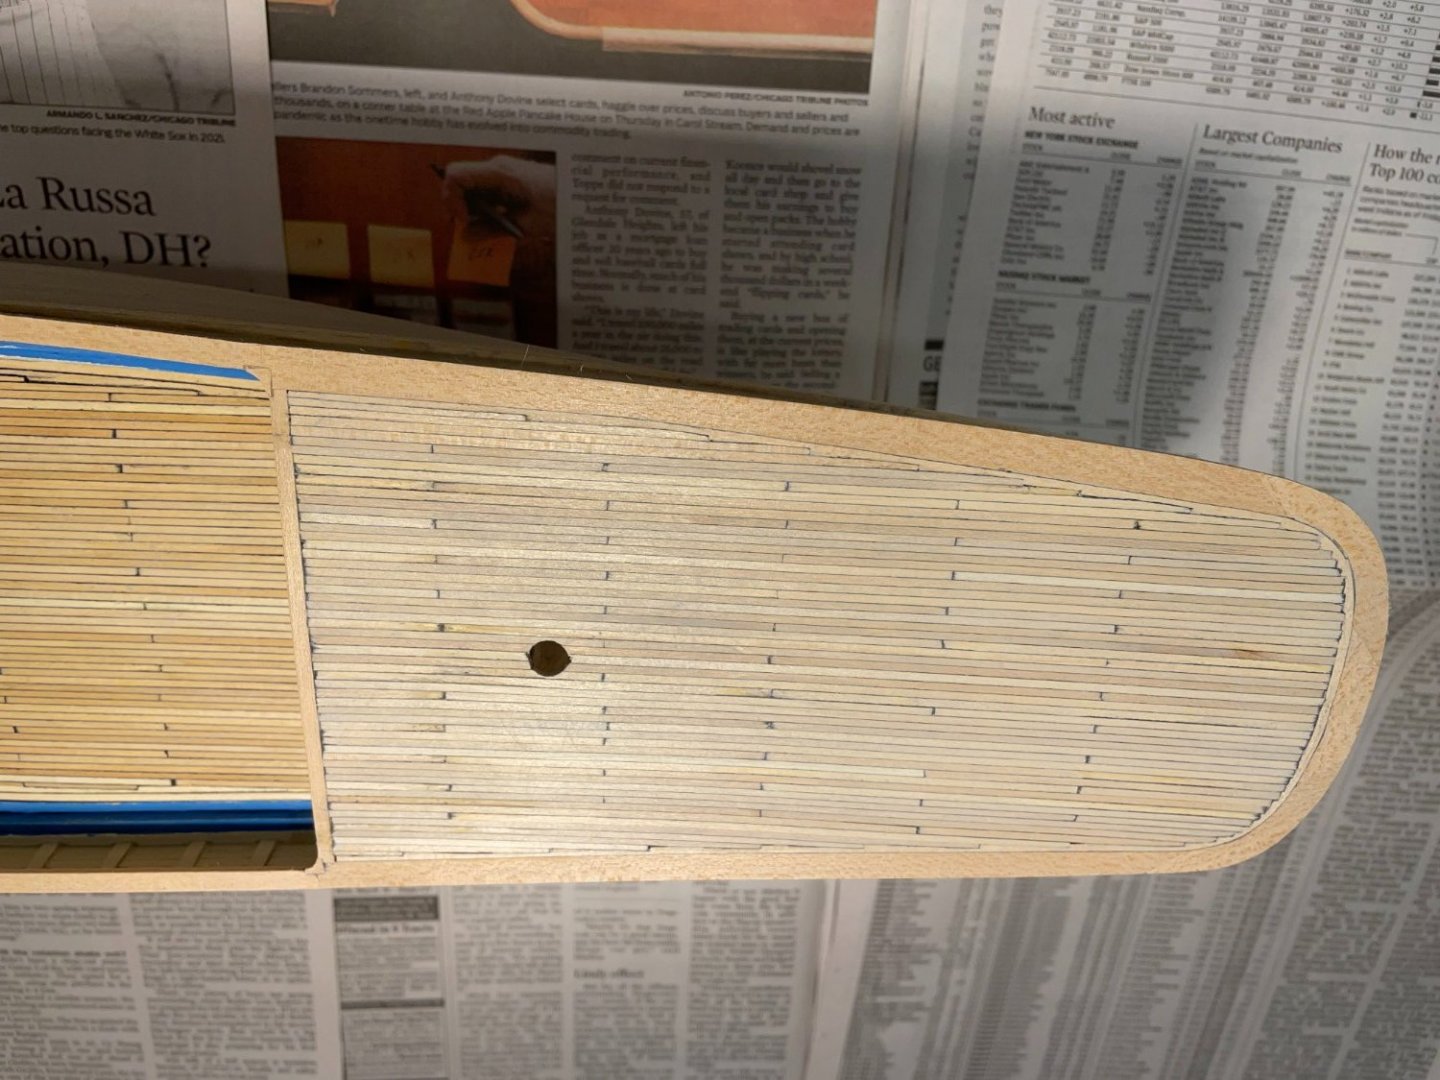
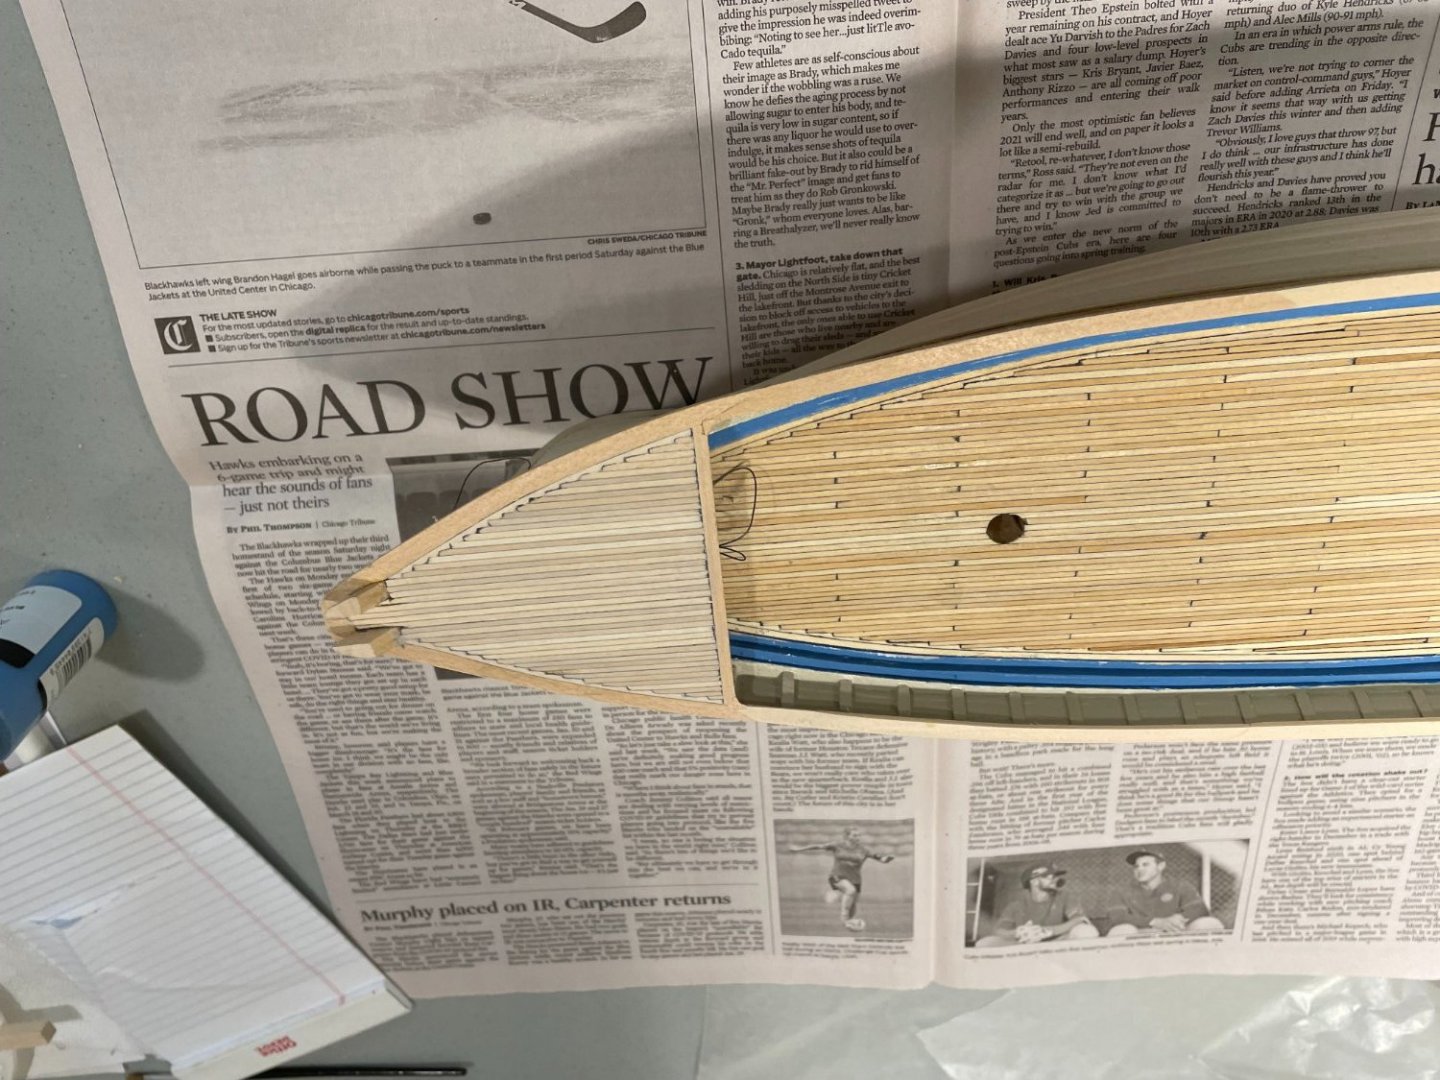
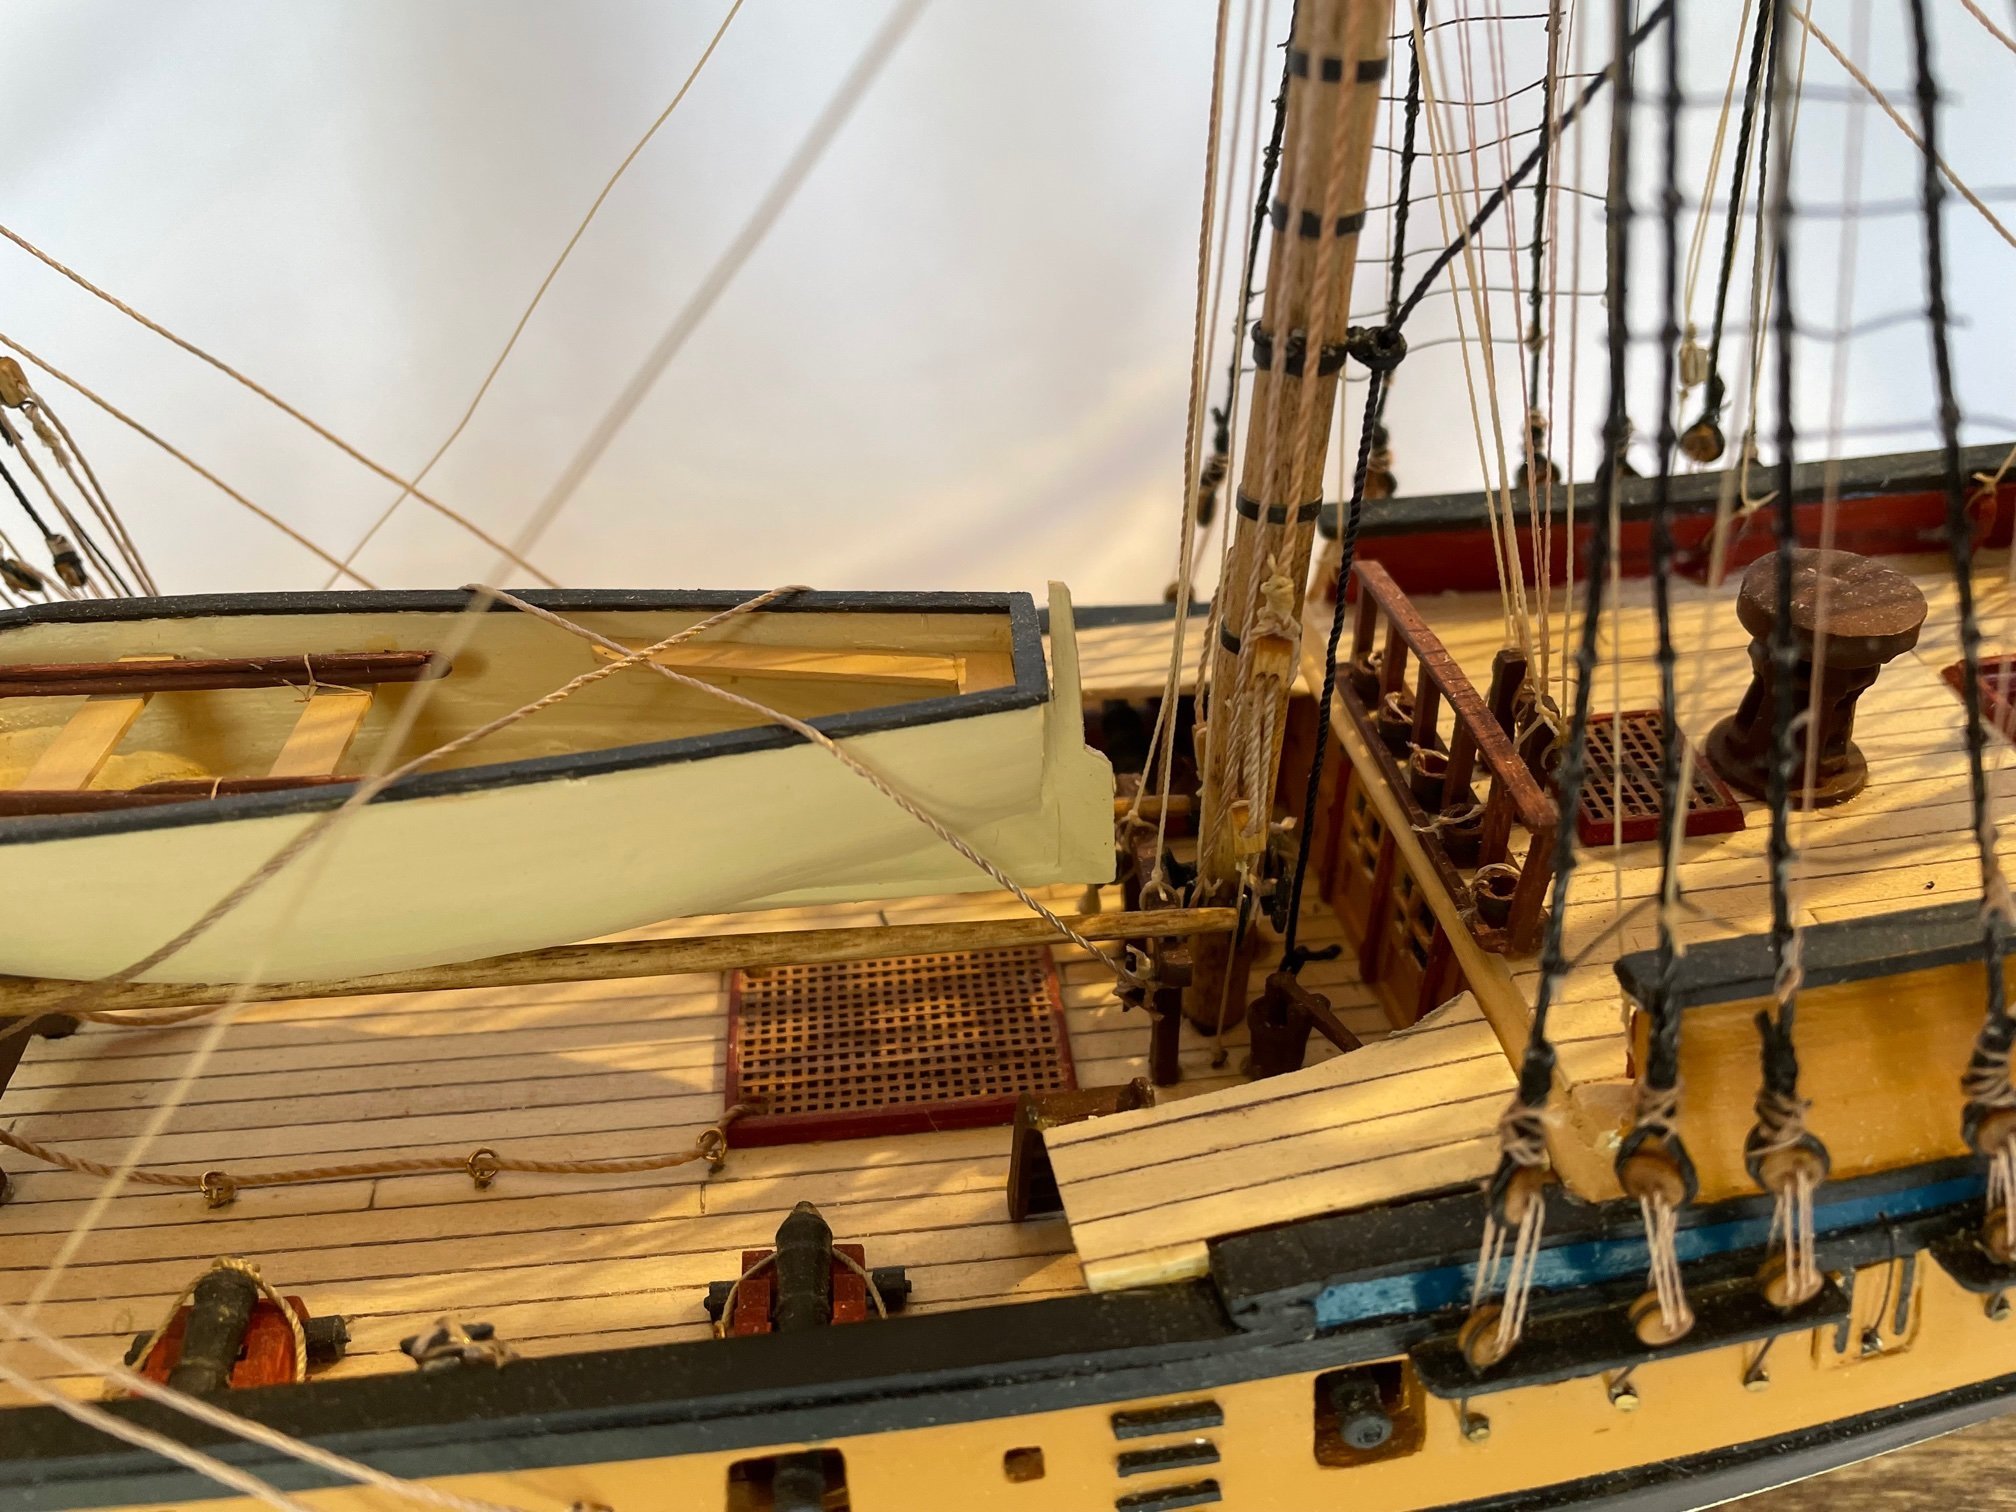
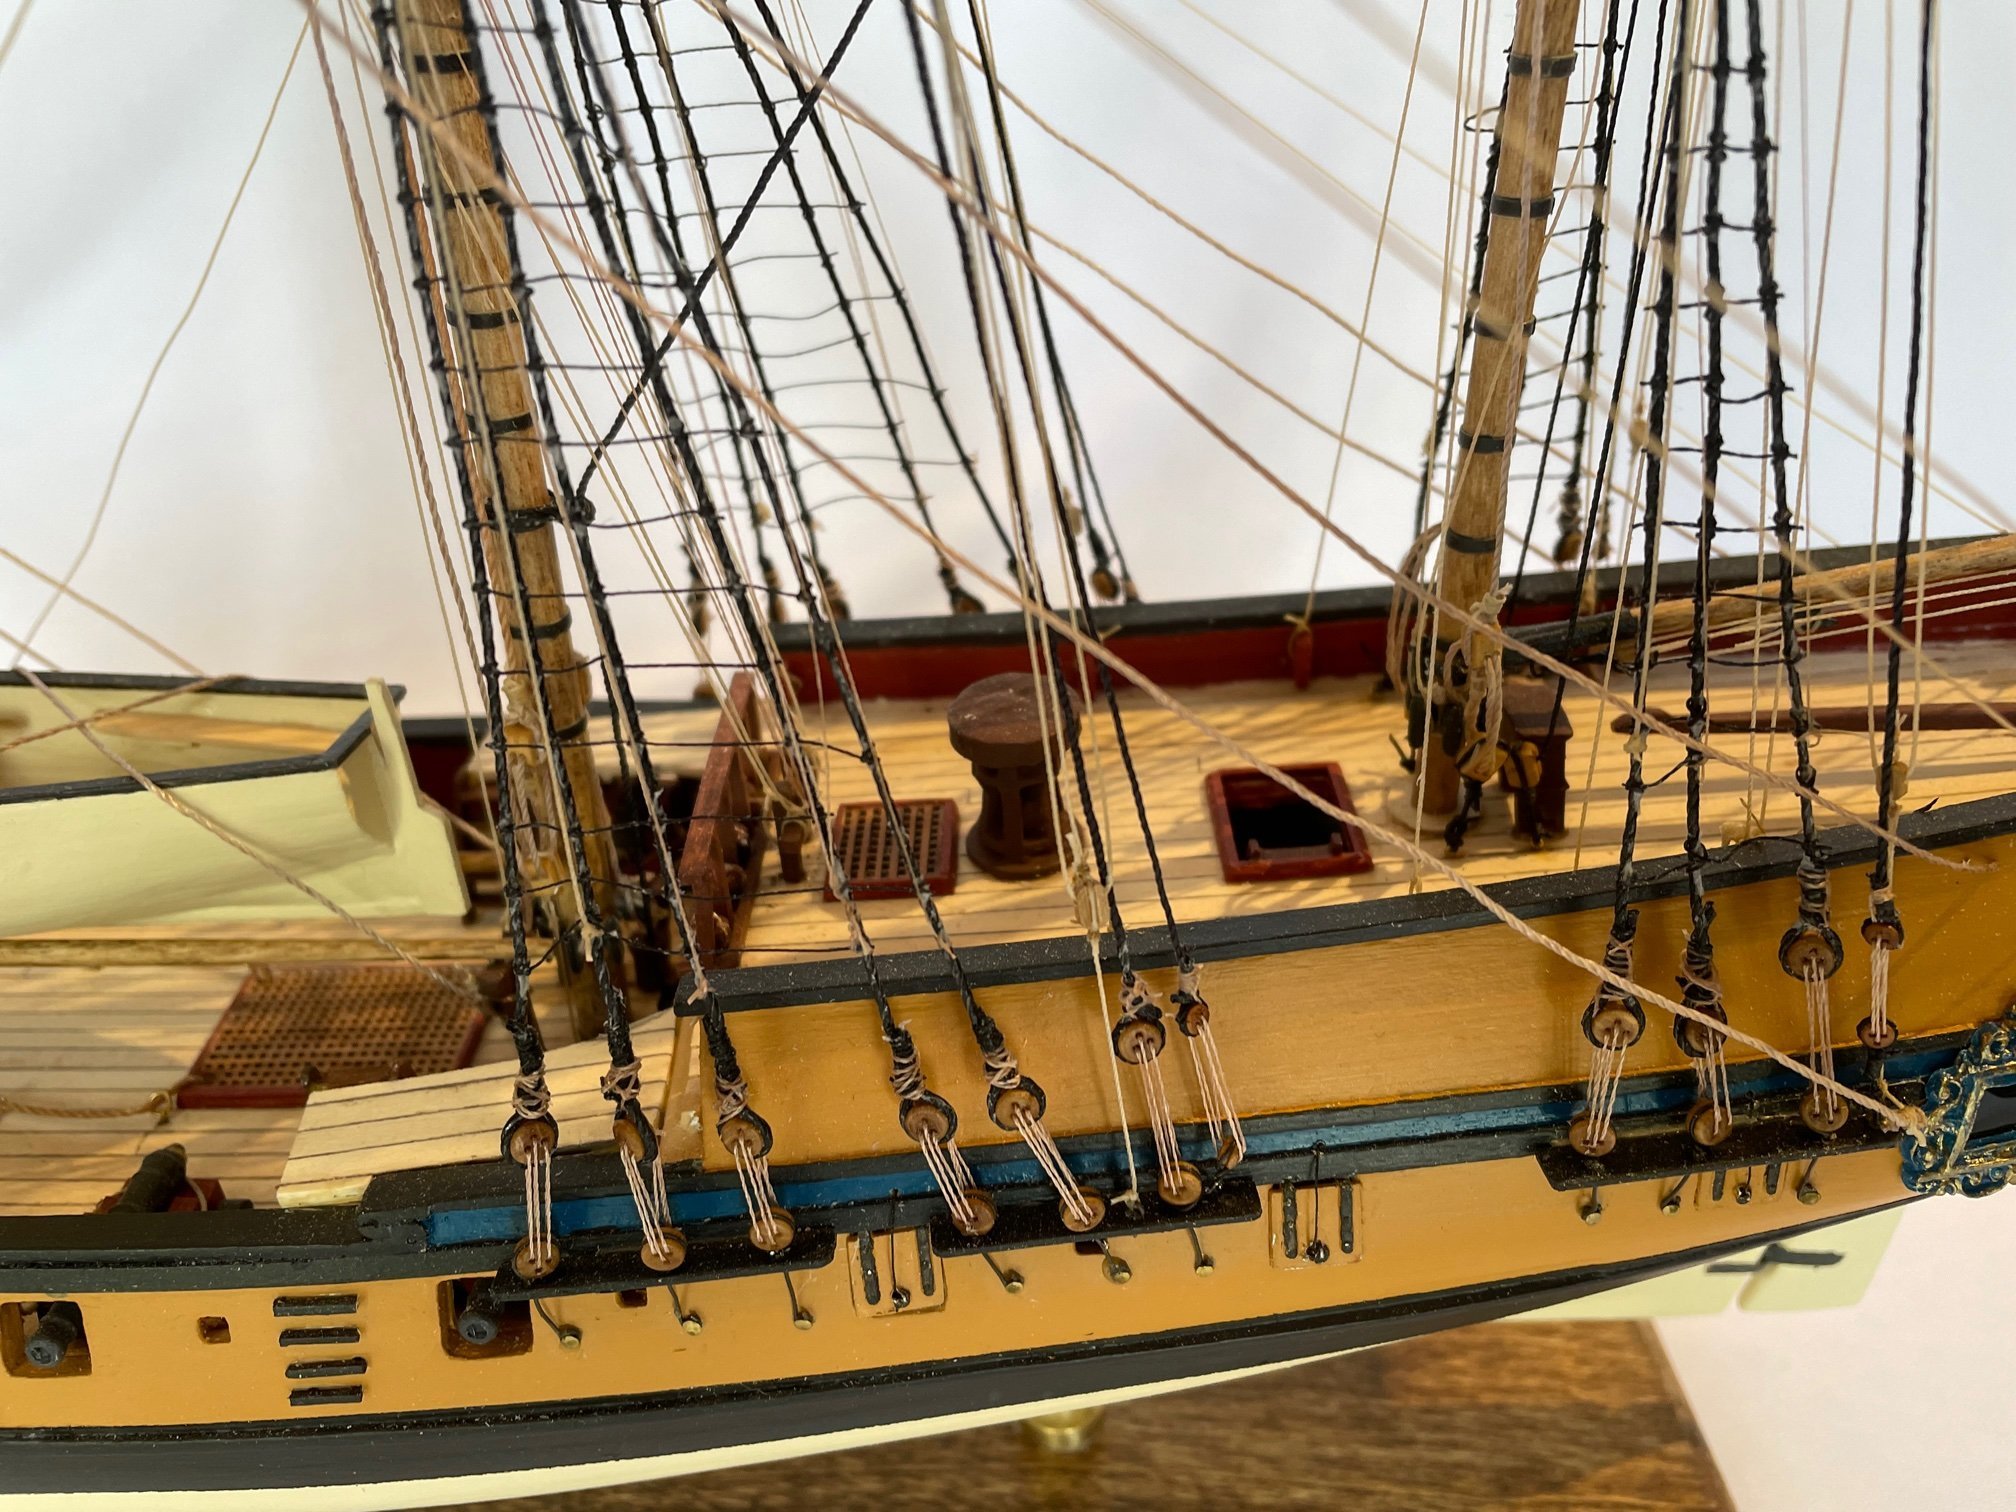
At this point I've completed planking the decks. The main deck has been sanded, stained and a coat of varnish applied. The poop and fore decks have been sanded but not finishing yet. I'm holding off until I work on the railing a bit. Once I see how that goes together, I'll think about finishing before / after adding those details.
I am concerned about adding the rails before I flip the boat and finish the hull. I've been procrastinating on putting primer over the all the planking work as I really love the look of wood. The next build might be one with a wood finish.
-
George,
thank you for the suggestion on the tape. I've found the venture tape and plan to use it shortly. I went ahead and did the planking on the main deck and I'm now experimenting with stain and varnish. while this dries, I'm trying to look ahead at the work that needs to be done before I think about planking the upper deck up front. should have some pictures to show shortly.
-
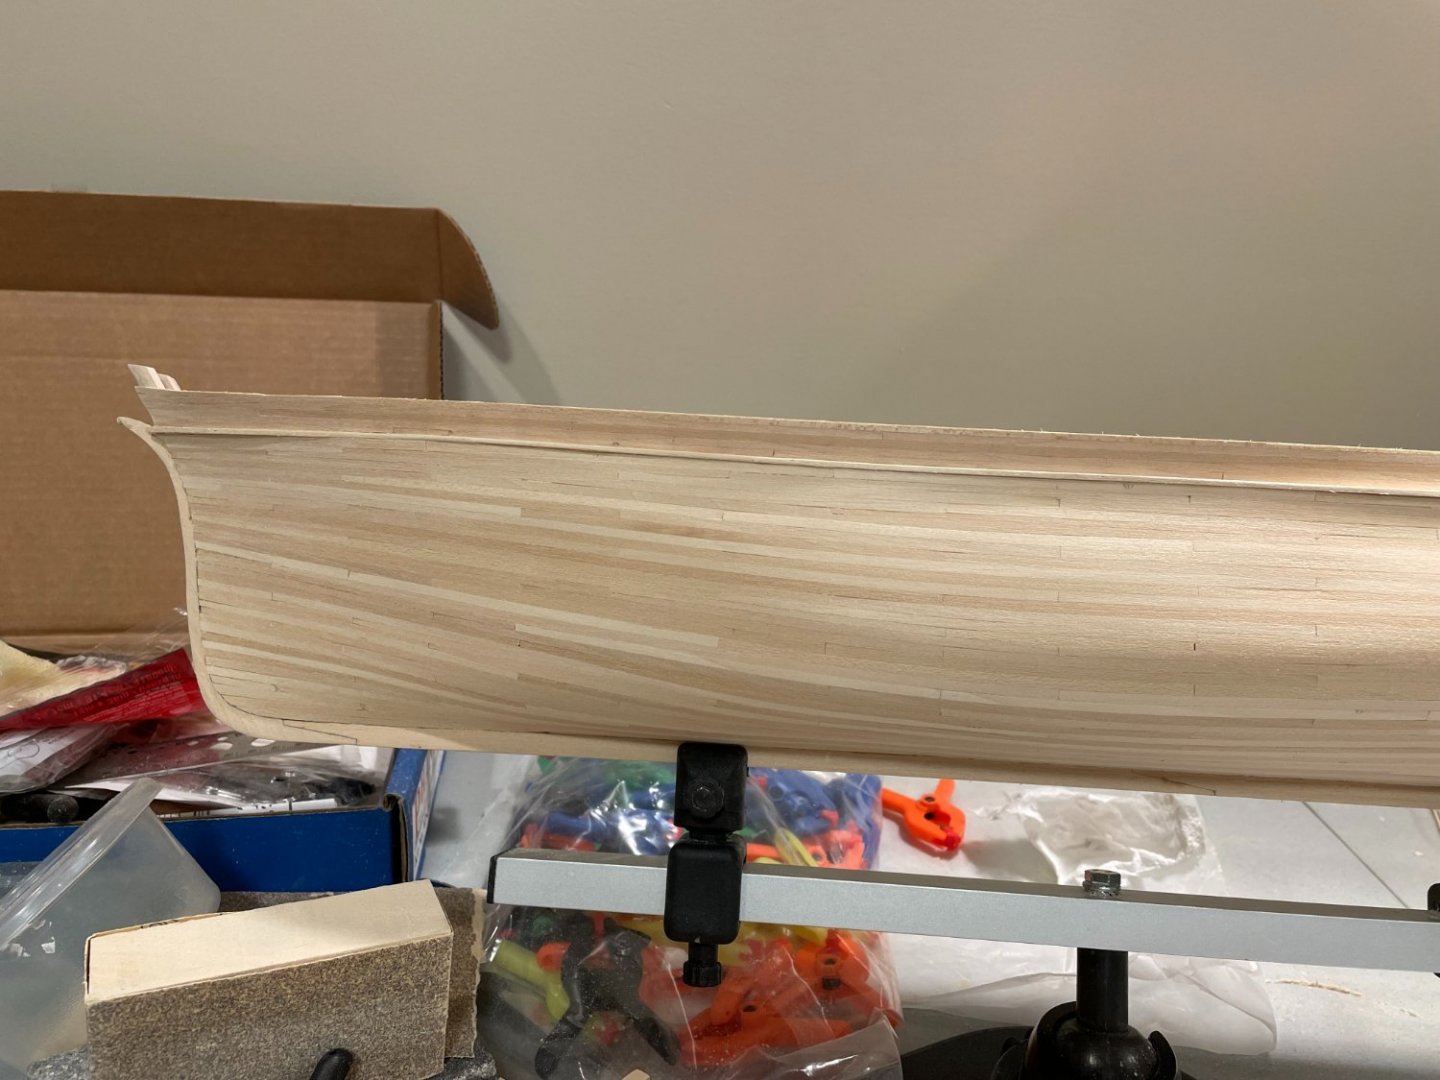
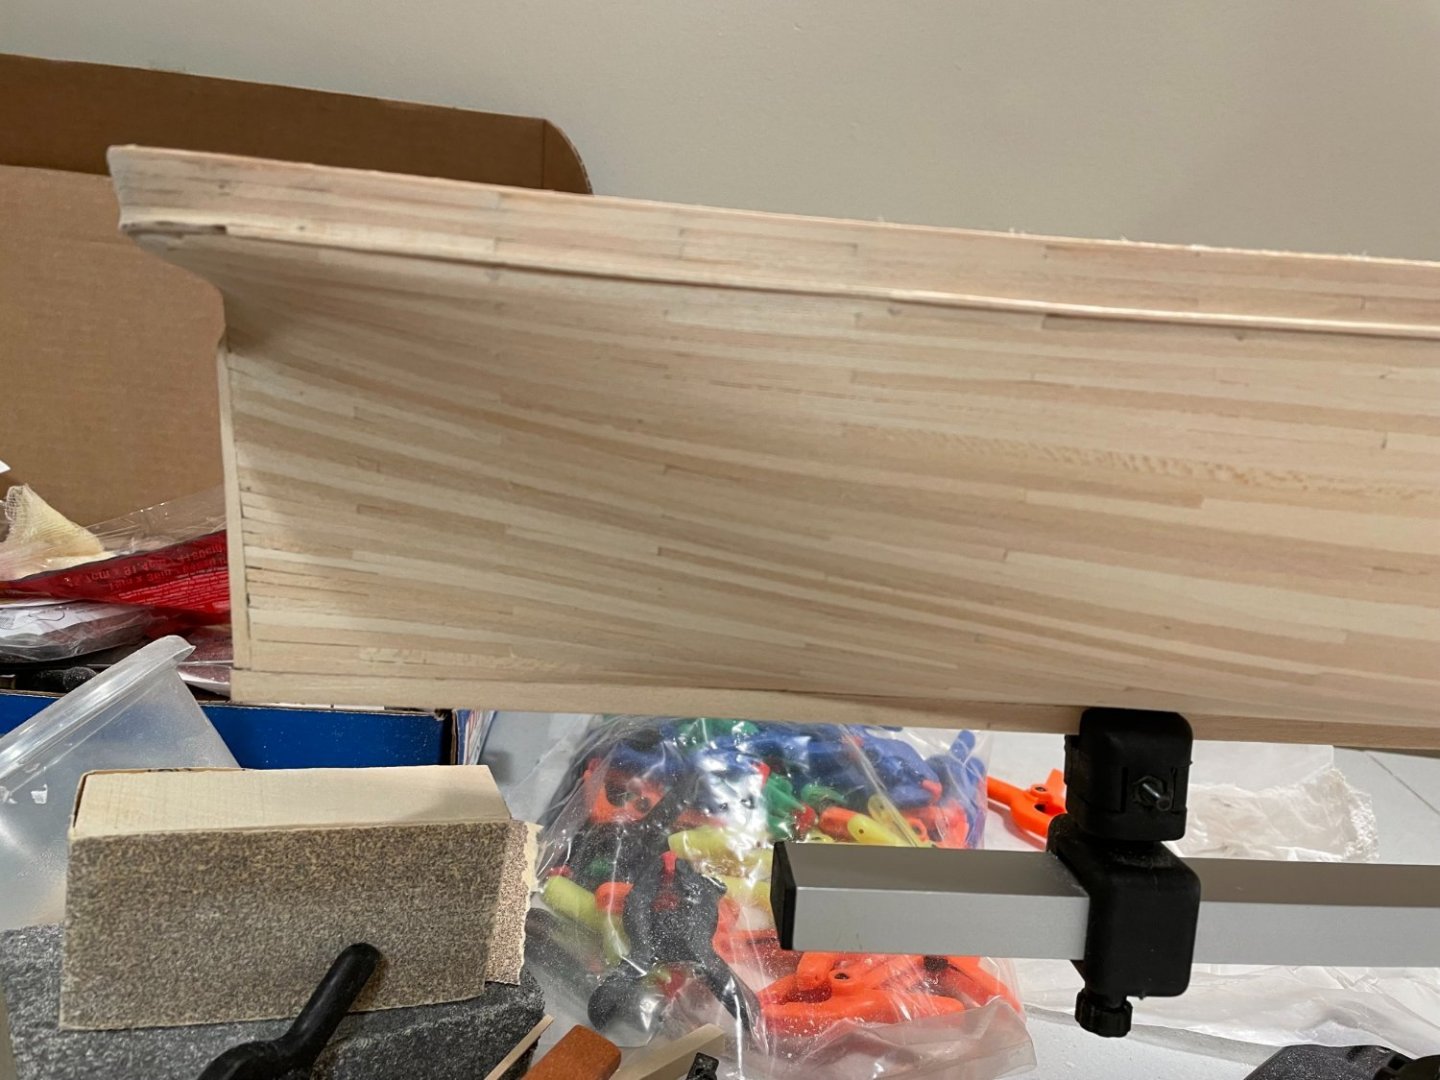
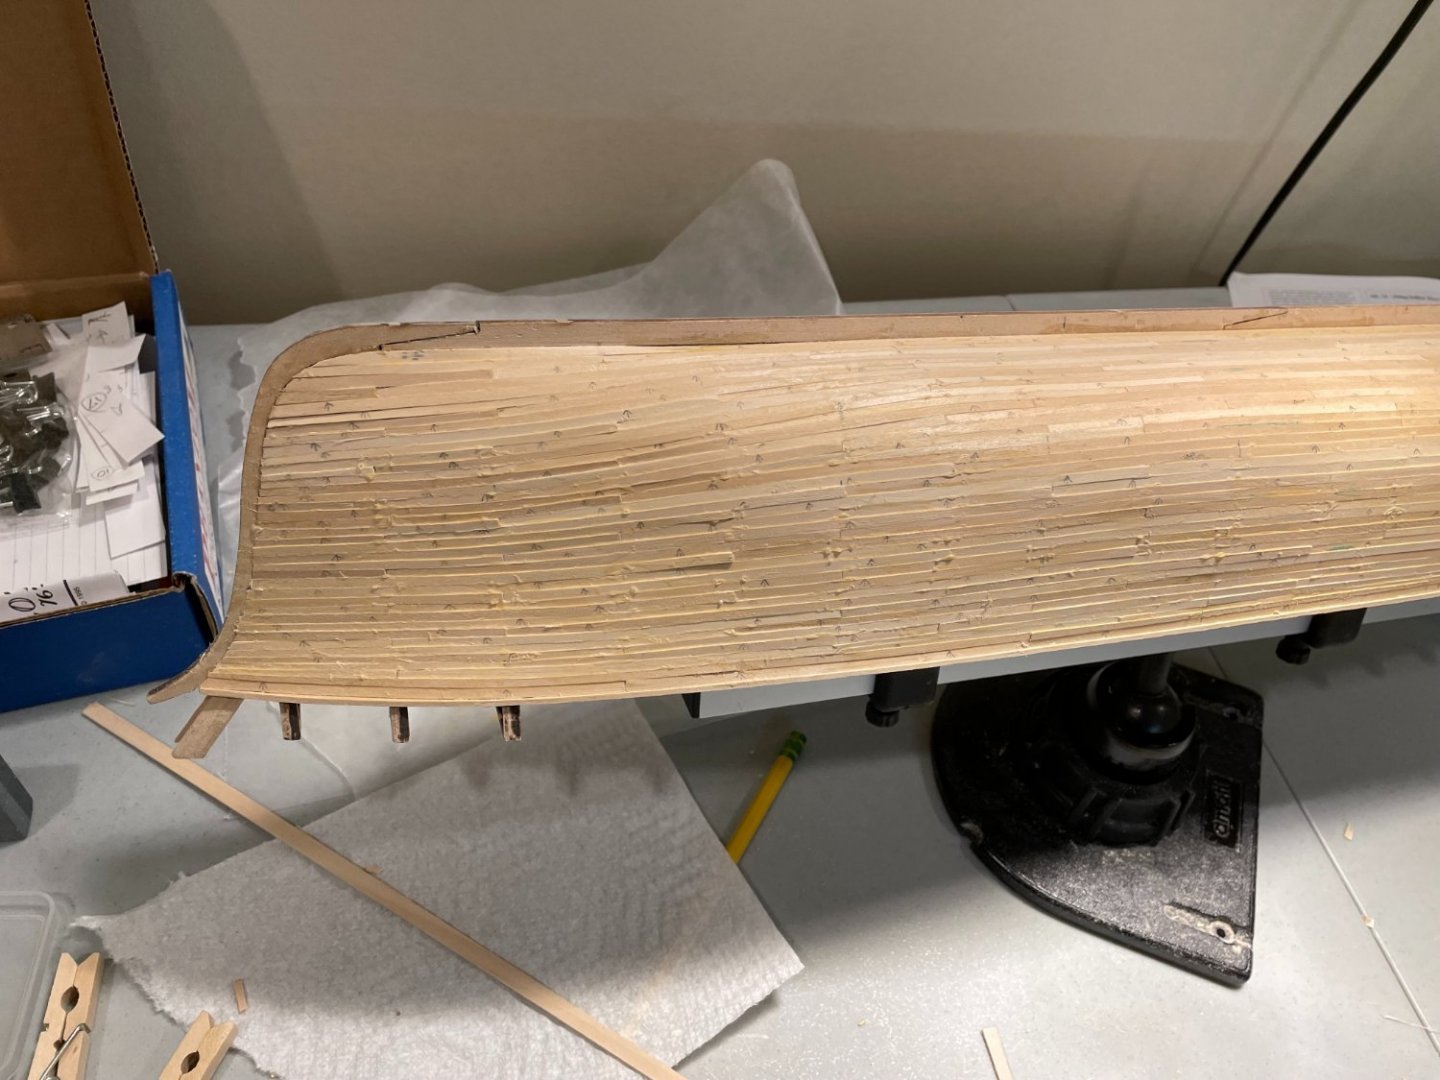
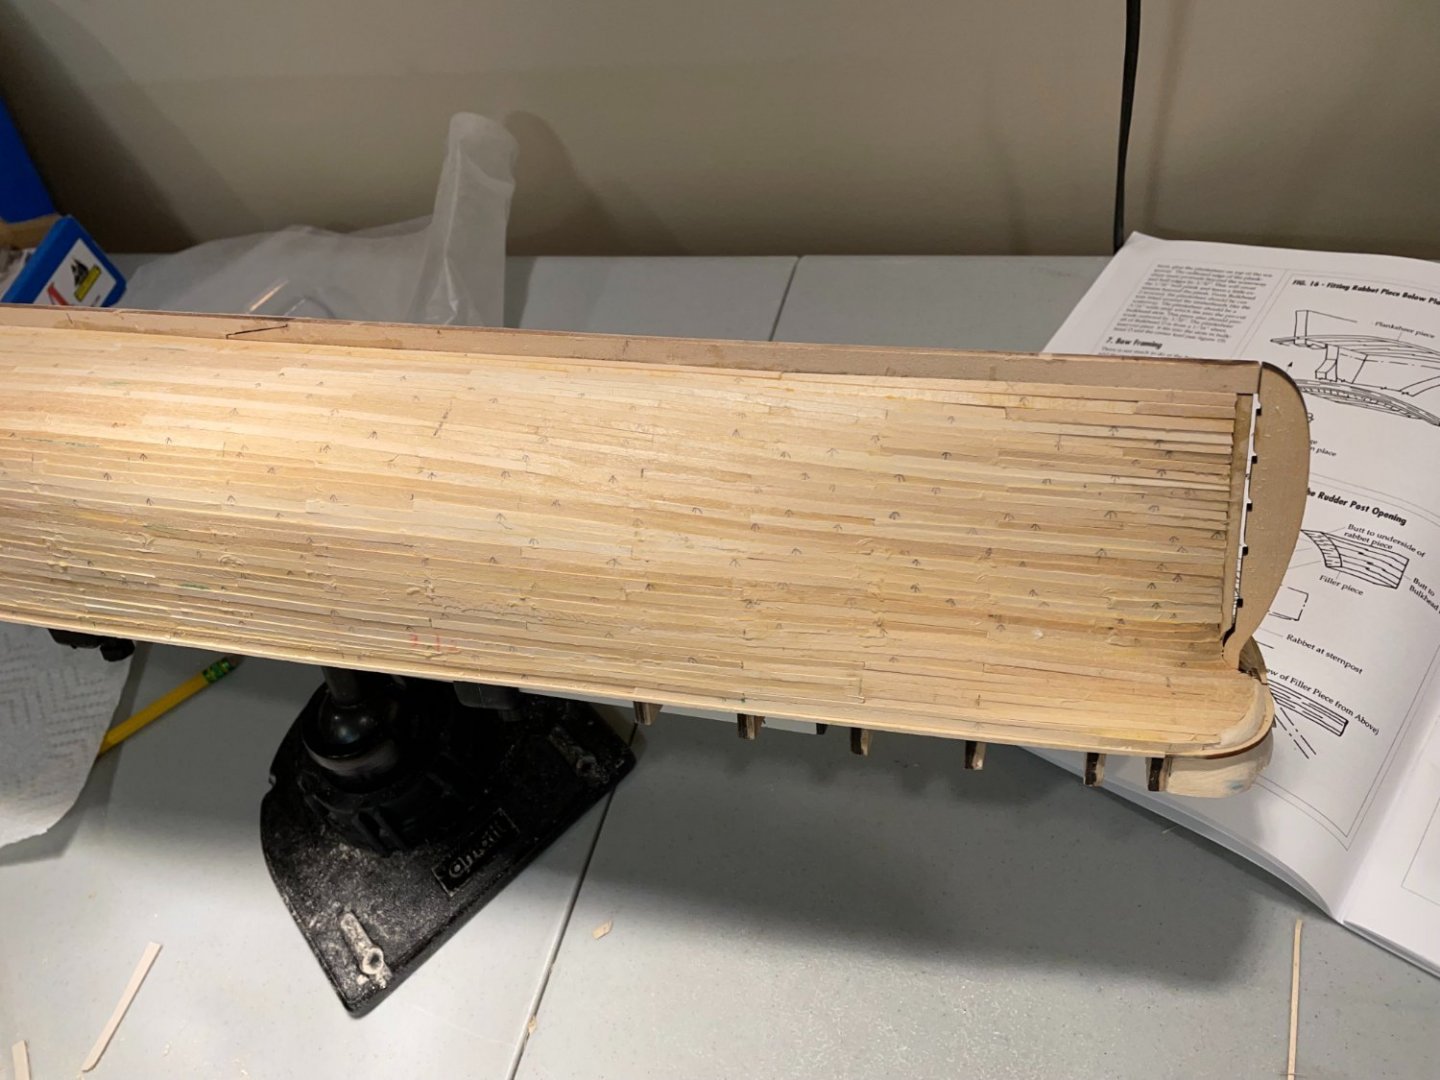
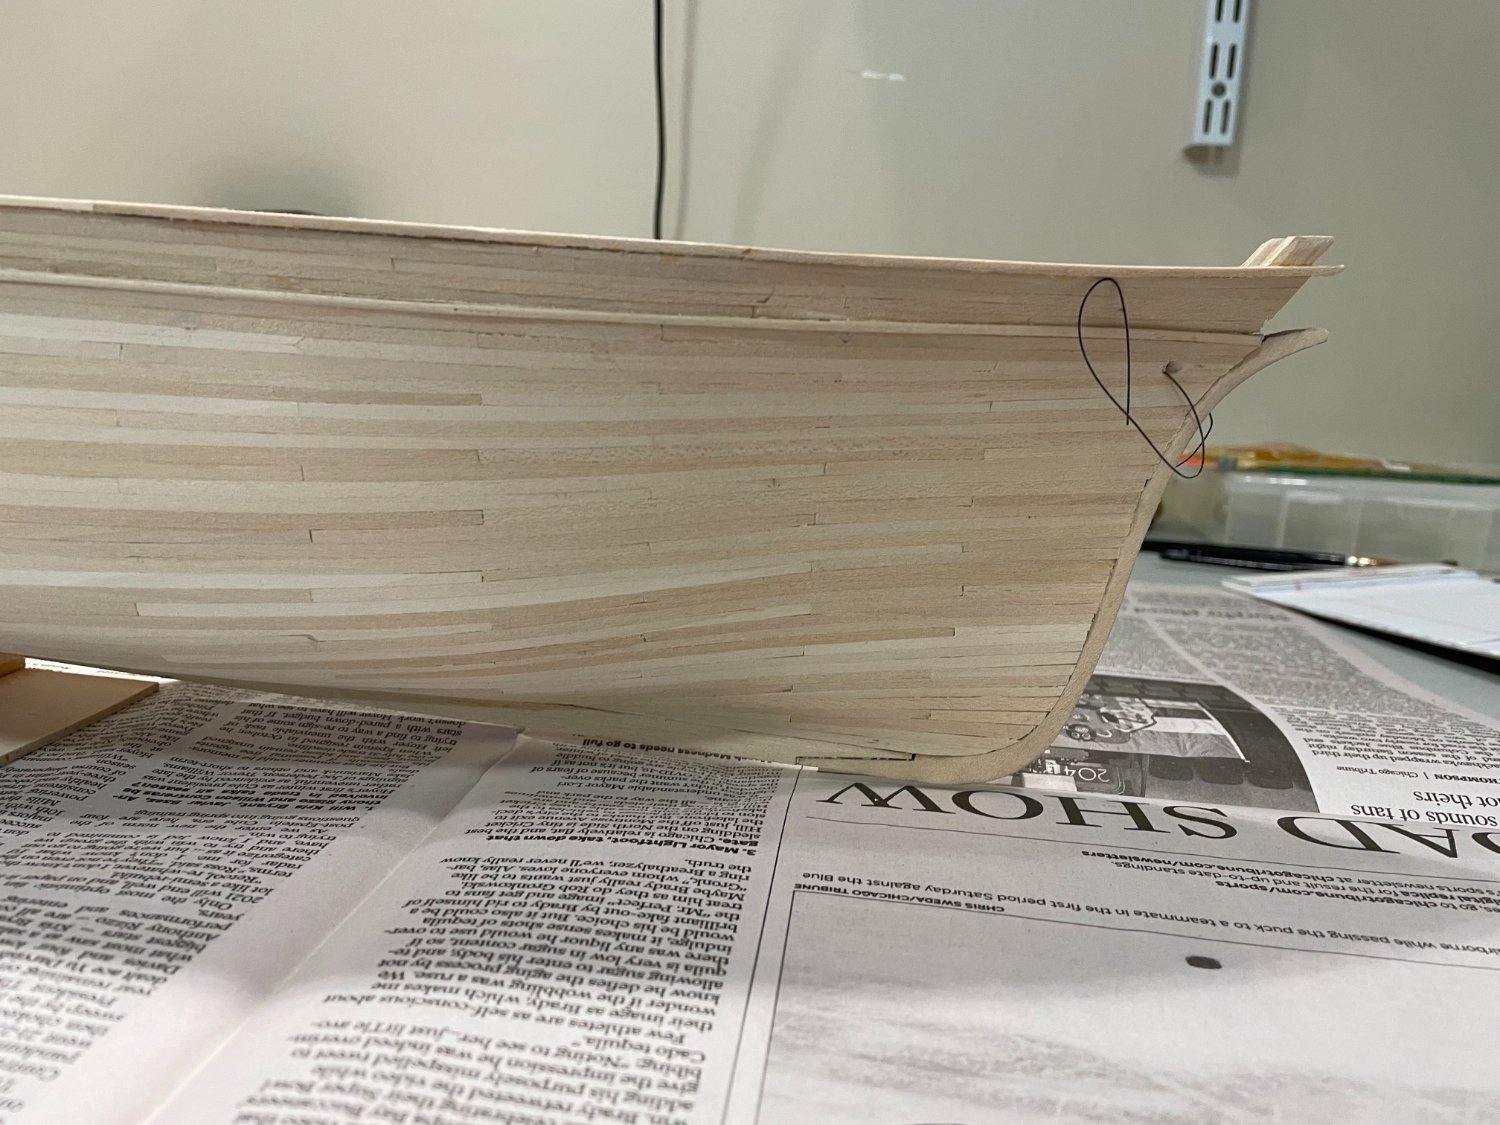
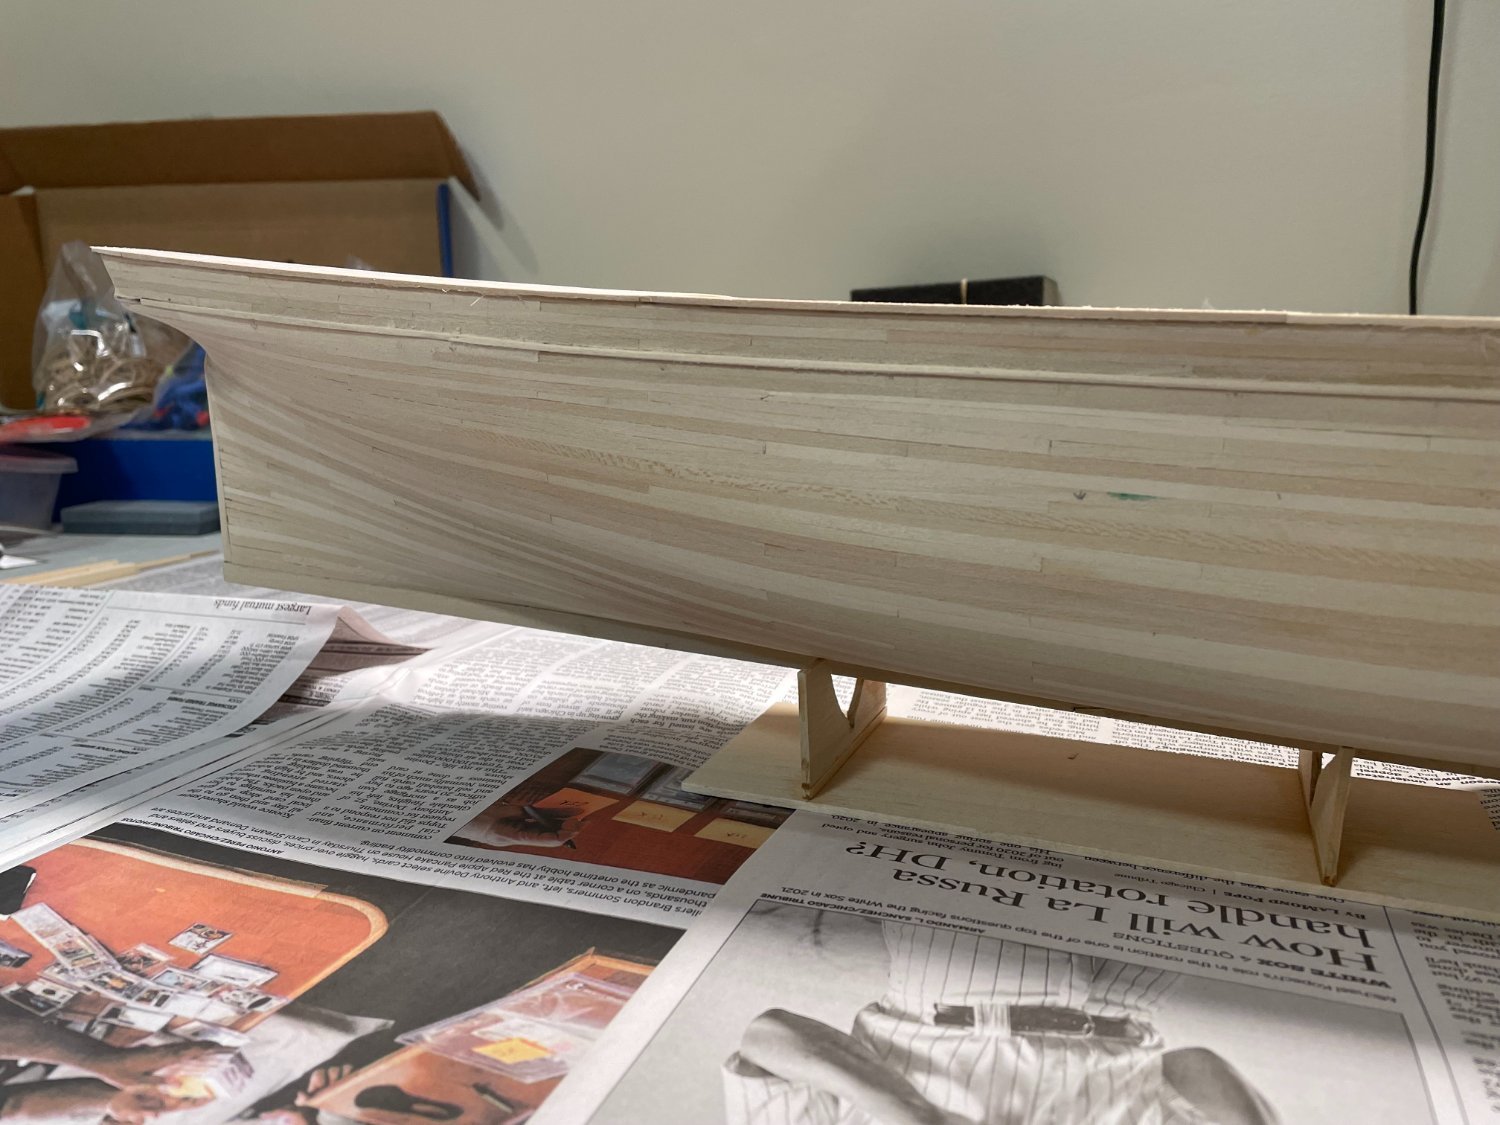
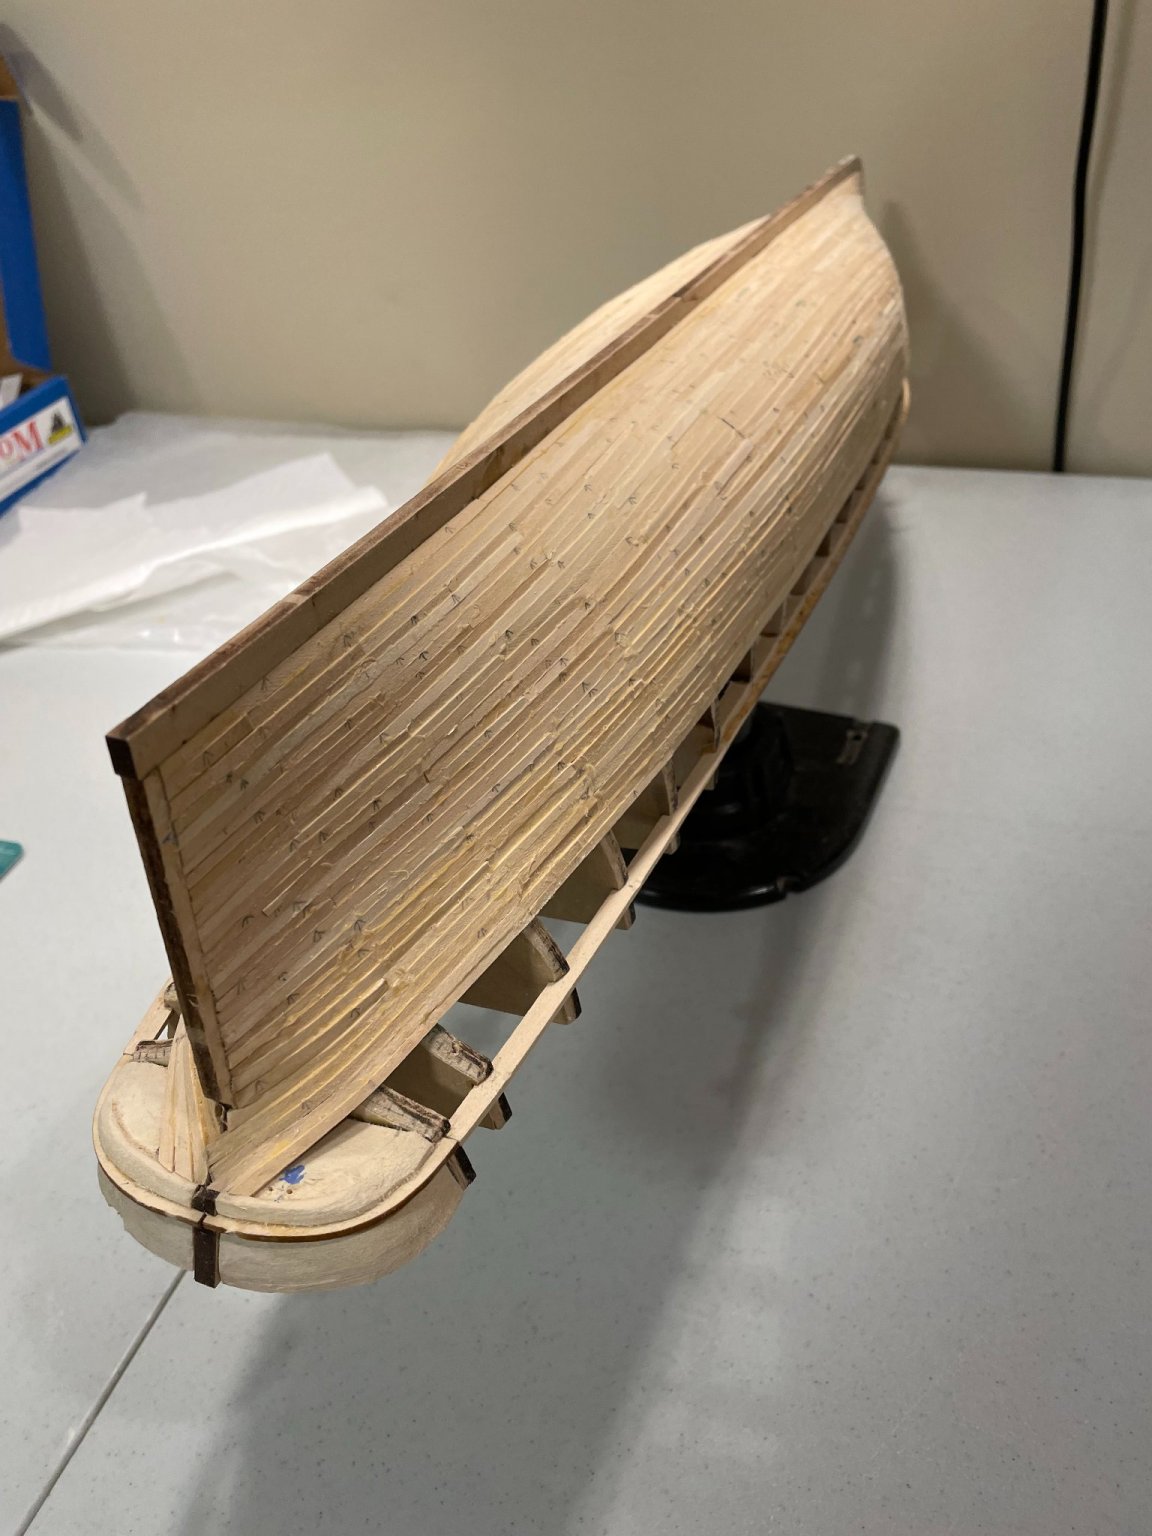
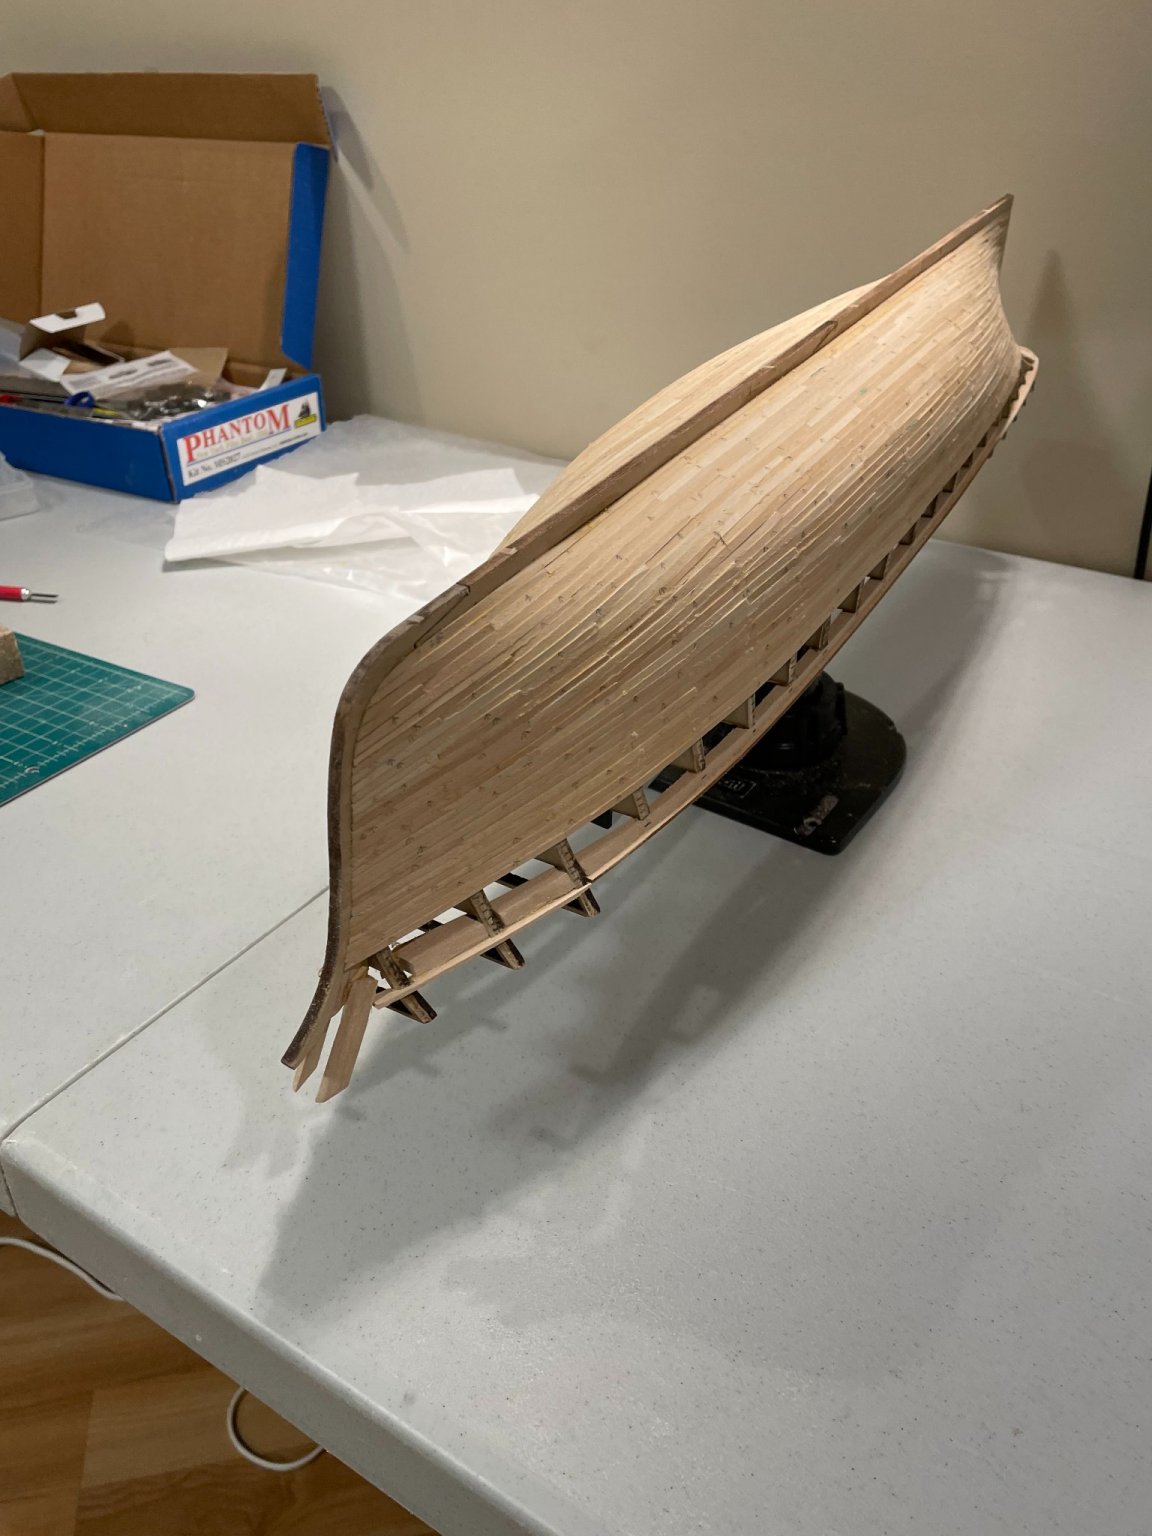
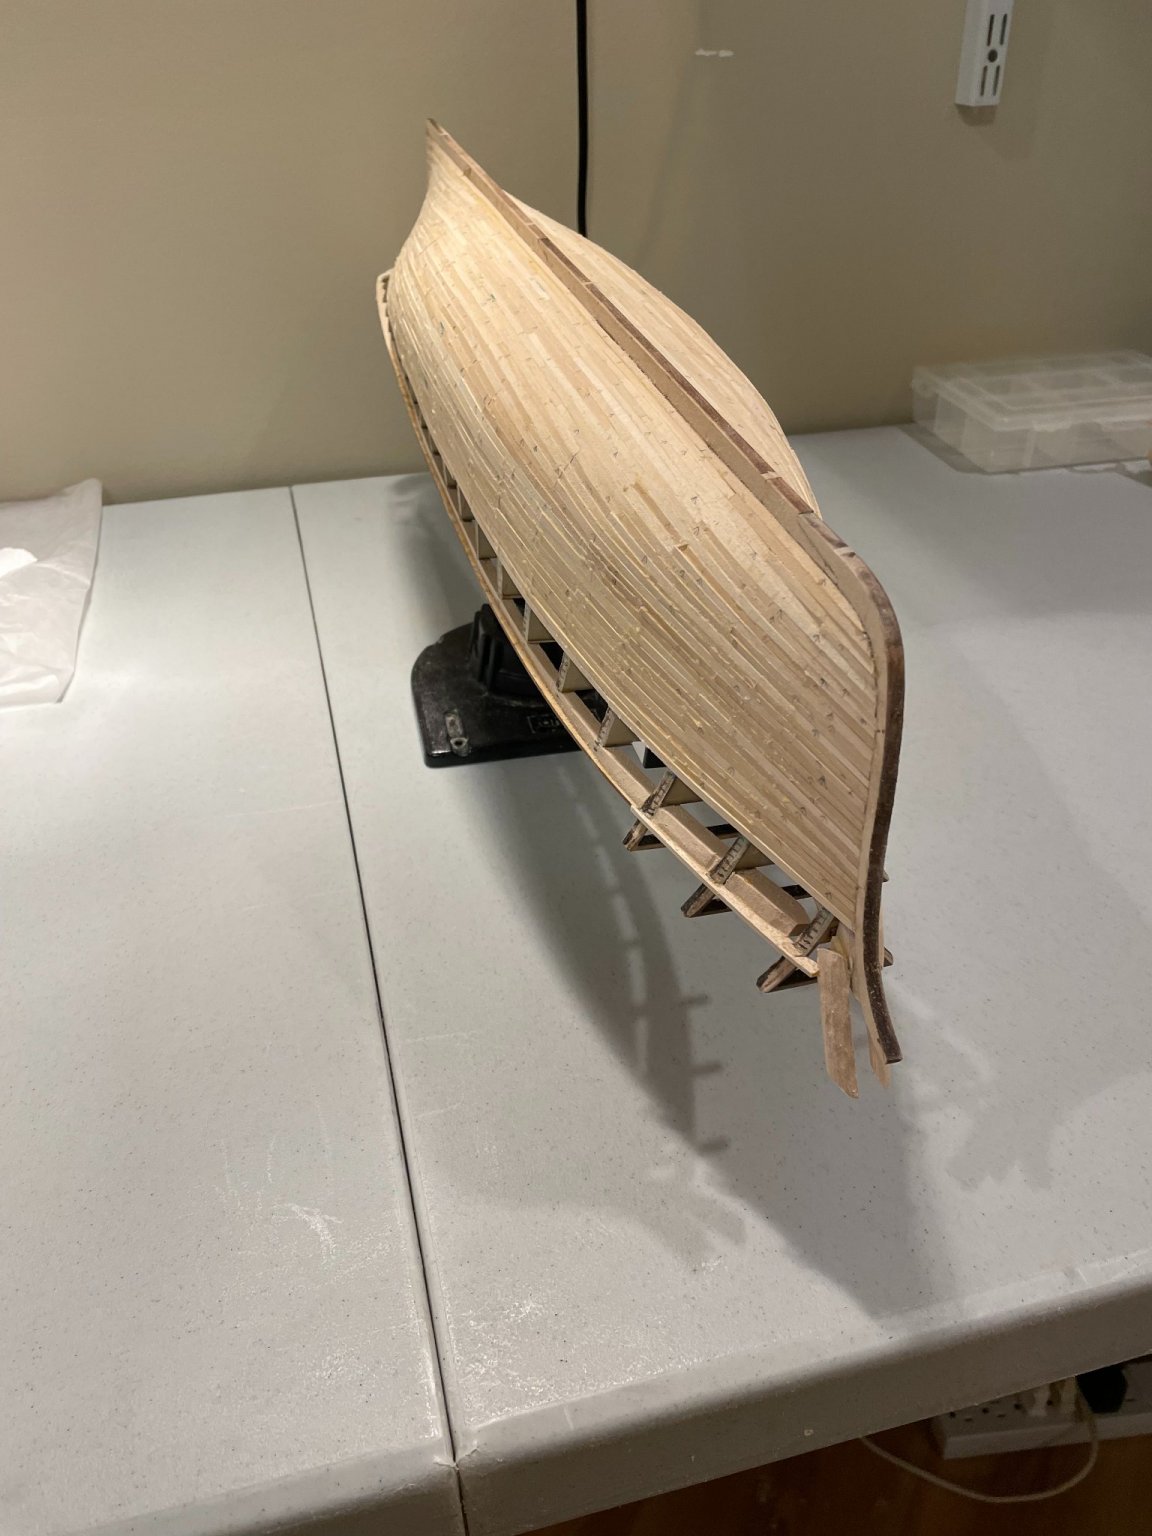
After about 3 1/2 months I've completed the hull planking. The deck is still to come. I'm thinking through some sequencing of when I want to paint. Generally I like to paint before I have the opportunity to slop paint on the next things. I'm thinking I will paint the inner hull and probably the outer hull before I put the main rail as that will be stained. Then I can copper the bottom and install the deck. Interested in other views.
One big question for those that have coppered the hull. I don't see any guidance as to how to prepare the wood to best take the copper plates. Will they adhere best to natural wood, painted wood, or some sort of "pre-treatment". coppering looks like a lot of tedious work and I'd hate to have them fall off because I didn't prepare the hull properly. State of the mode can be seen in the pics below
-
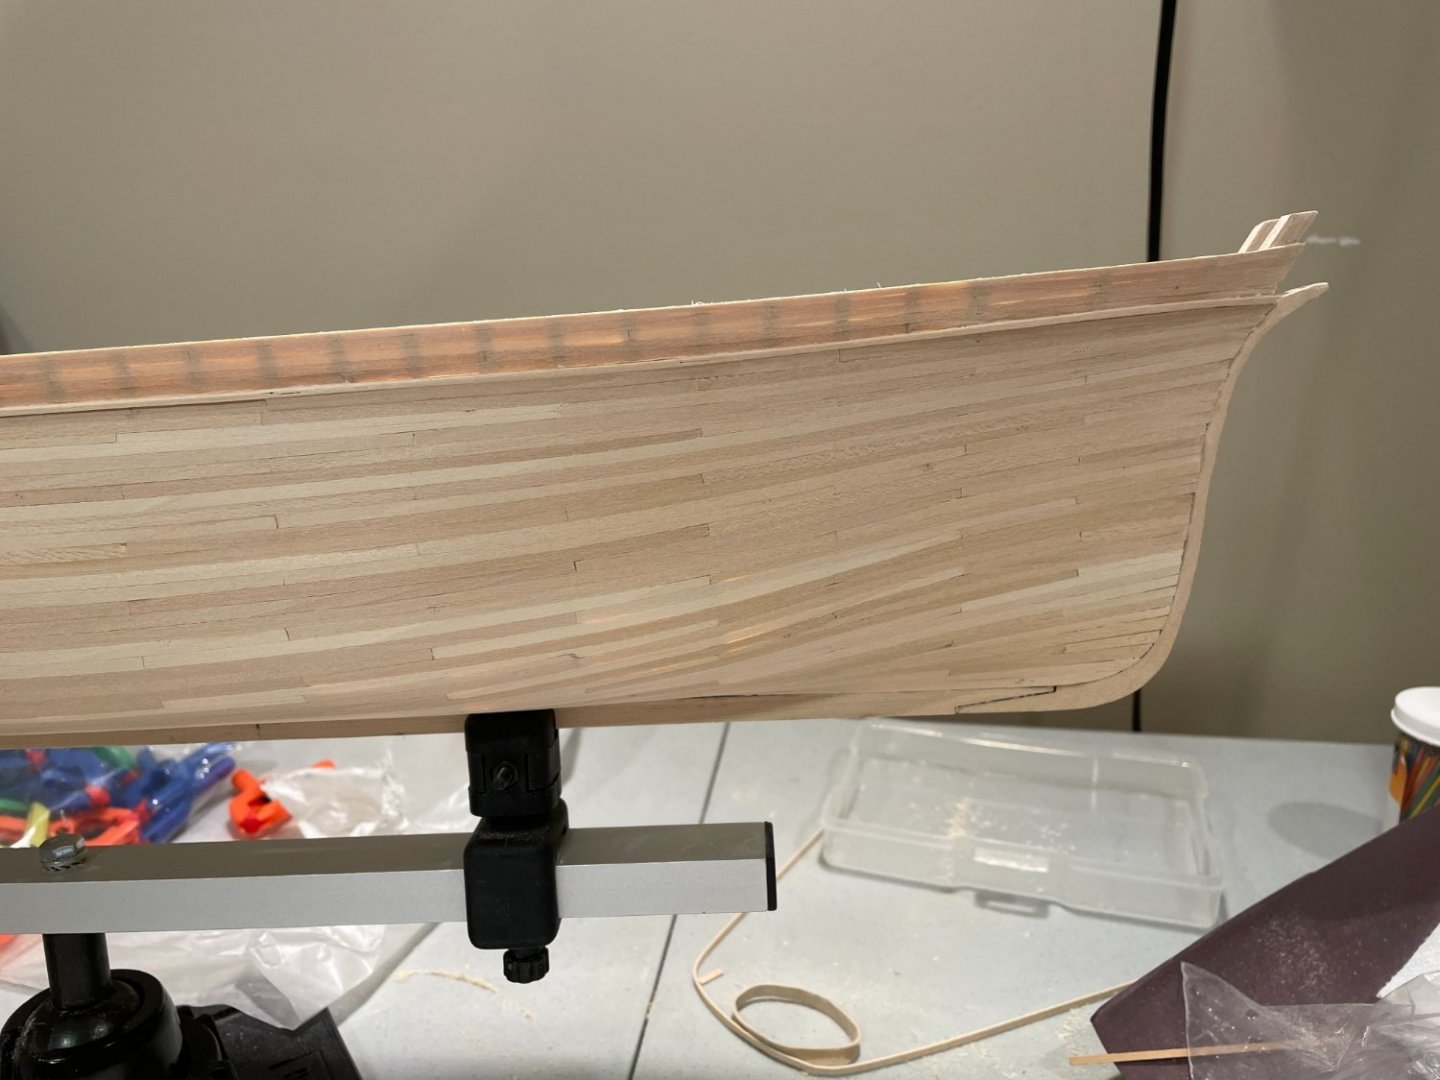
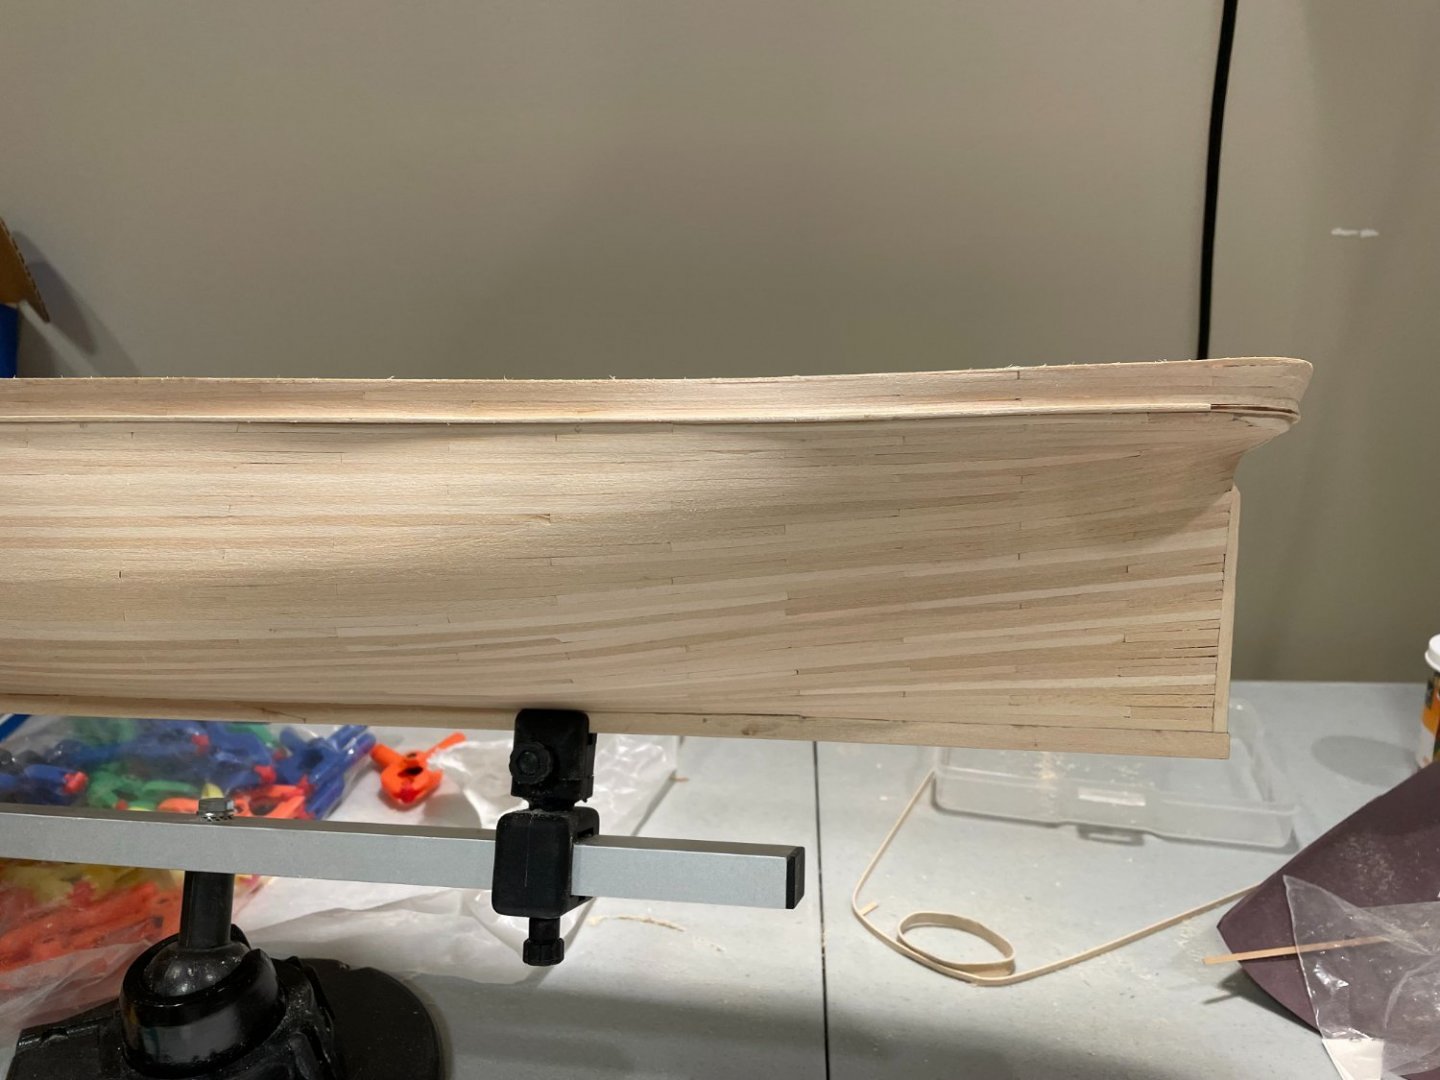
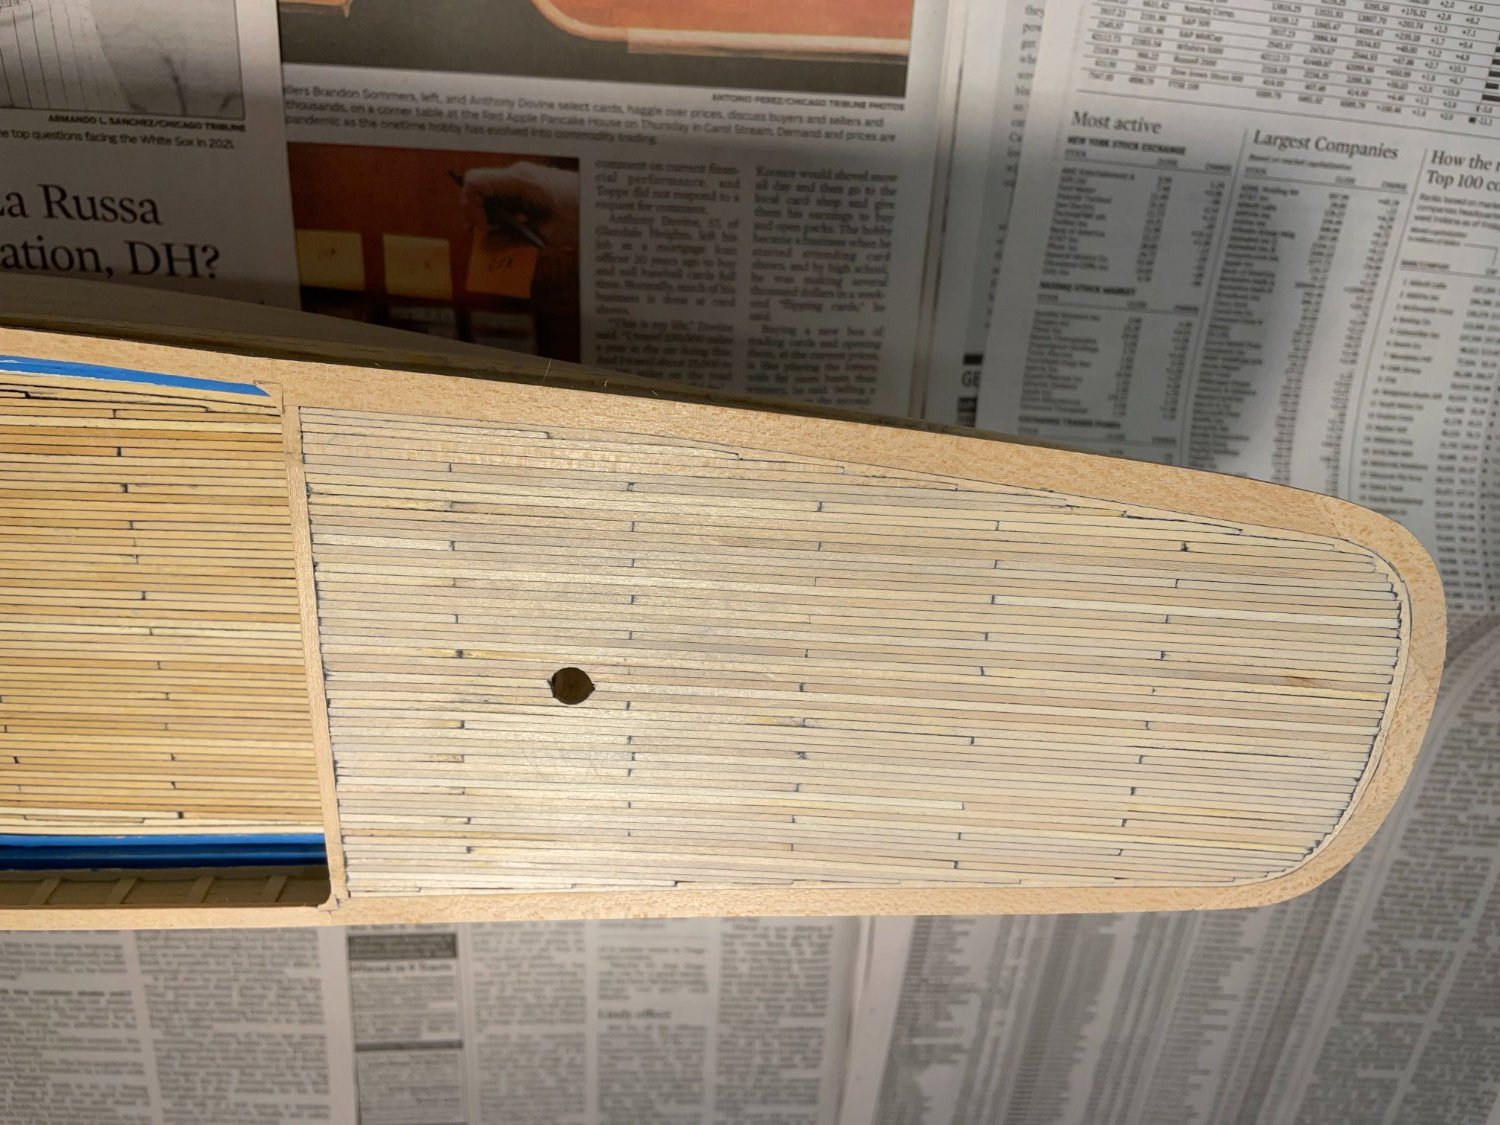
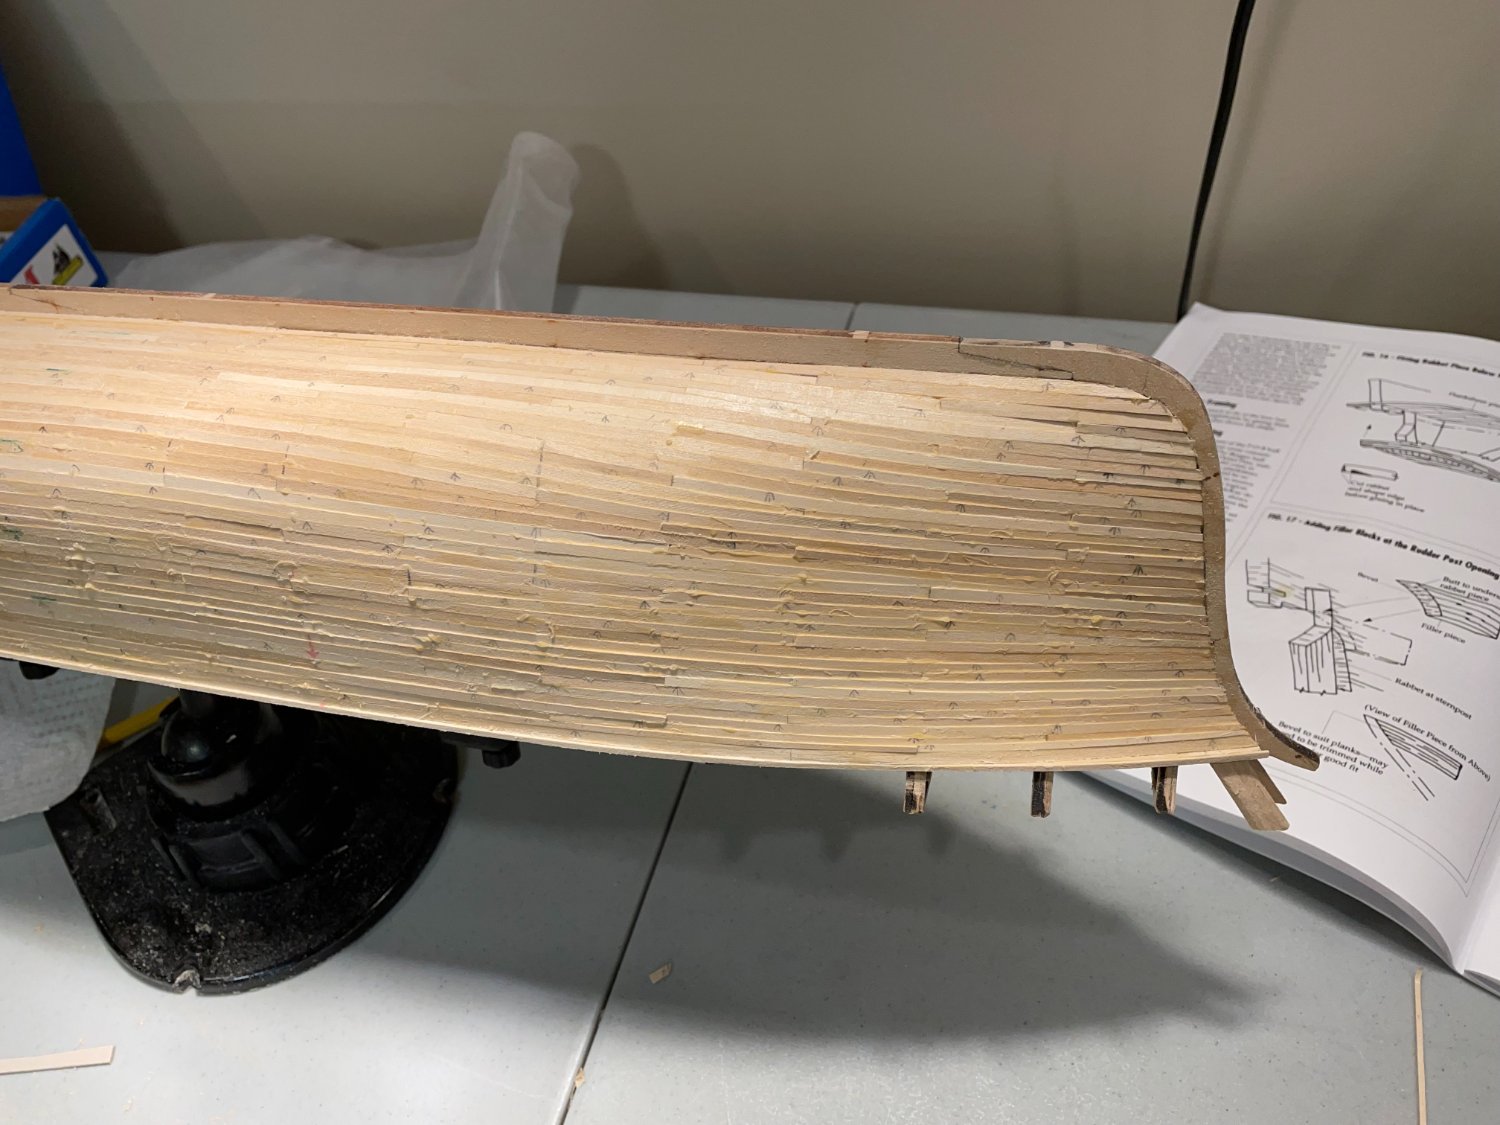
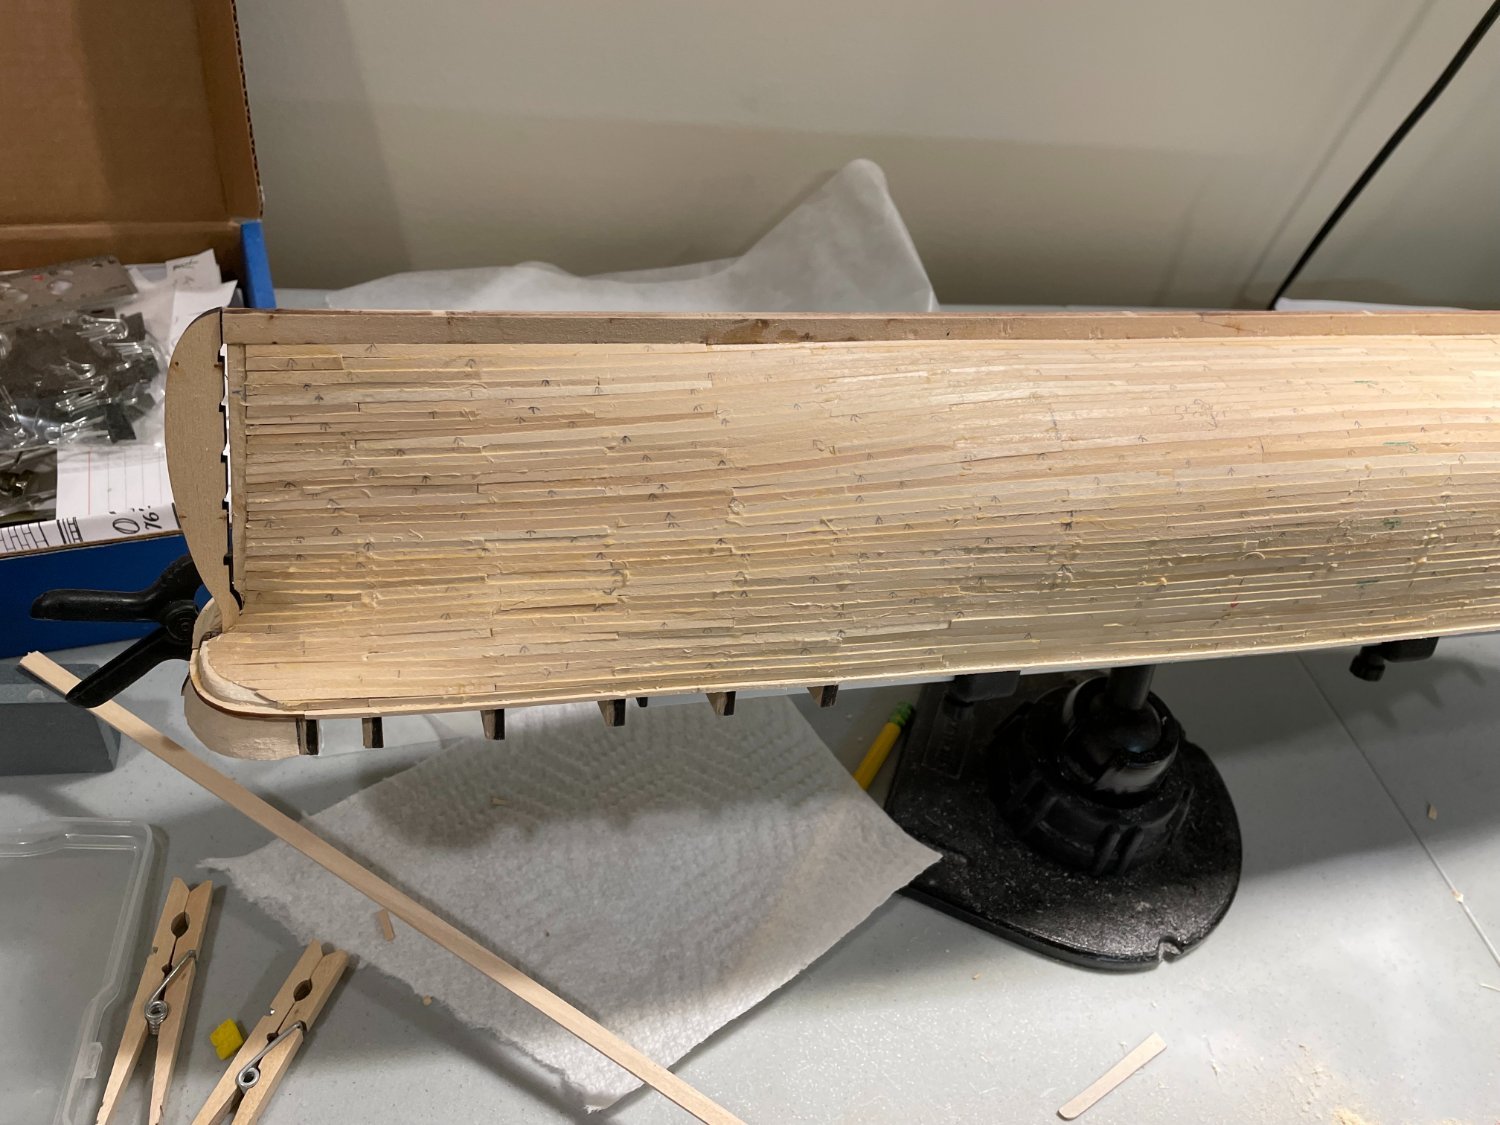
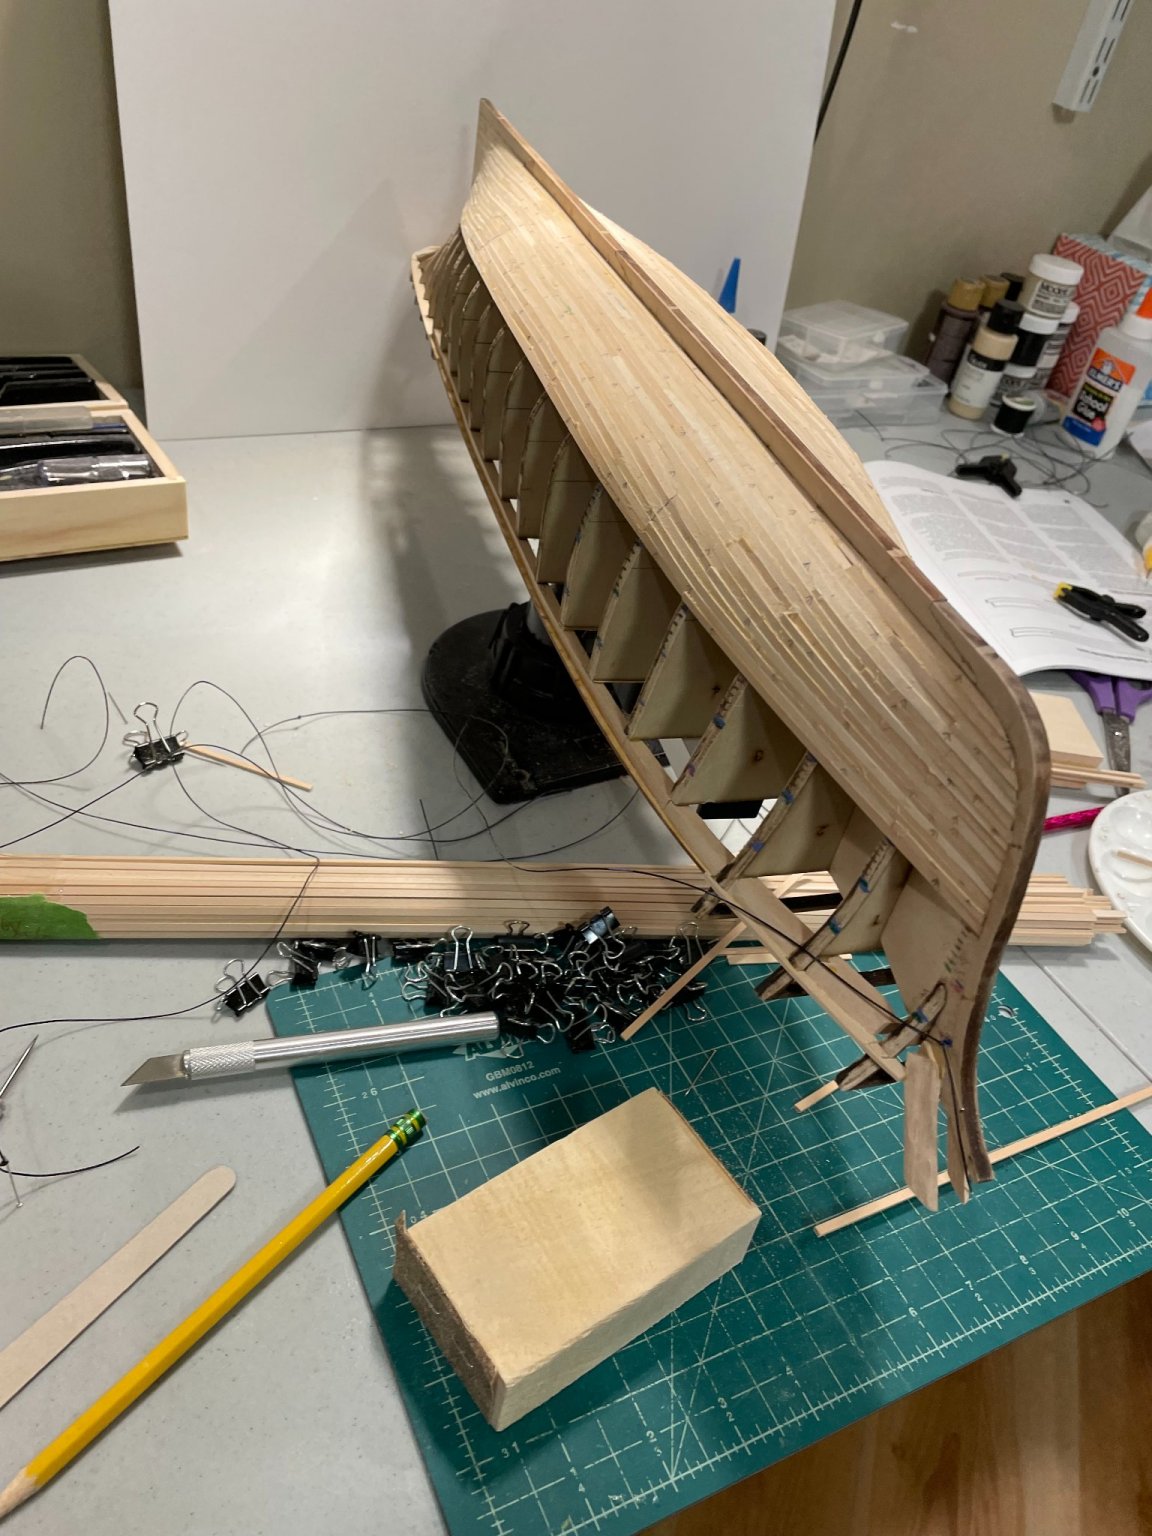
hit a milestone today, completed the planking on the lower hull. Time to head to the hardware store for more sandpaper. I'll probably take a short pause to figure out where I am, what's next etc. it's been a good 2 months on planking with hardly a glance at instructions or blueprints. Will have to get my head back in the game so I don't miss something. I think painting the water way needs to happen soon. Of course I'll be looking at some of the other build logs for this as well.


-
-
The planking continues.... nothing terribly exciting here but have completed the "D" band

- Tom E, GrandpaPhil, Cirdan and 1 other
-
4
-
Clipperfan, Thank you so much for these pictures. I have to admit I'm a bit lazy on the research side of this hobby. its too easy to get on with the build without a lot of knowledge that would improve things beyond what the kit might provide. These pictures will help to see what more I might be able to accomplish. It will take a bit of digesting as there is a lot of info in a few pics. Thanks again, Bill
-
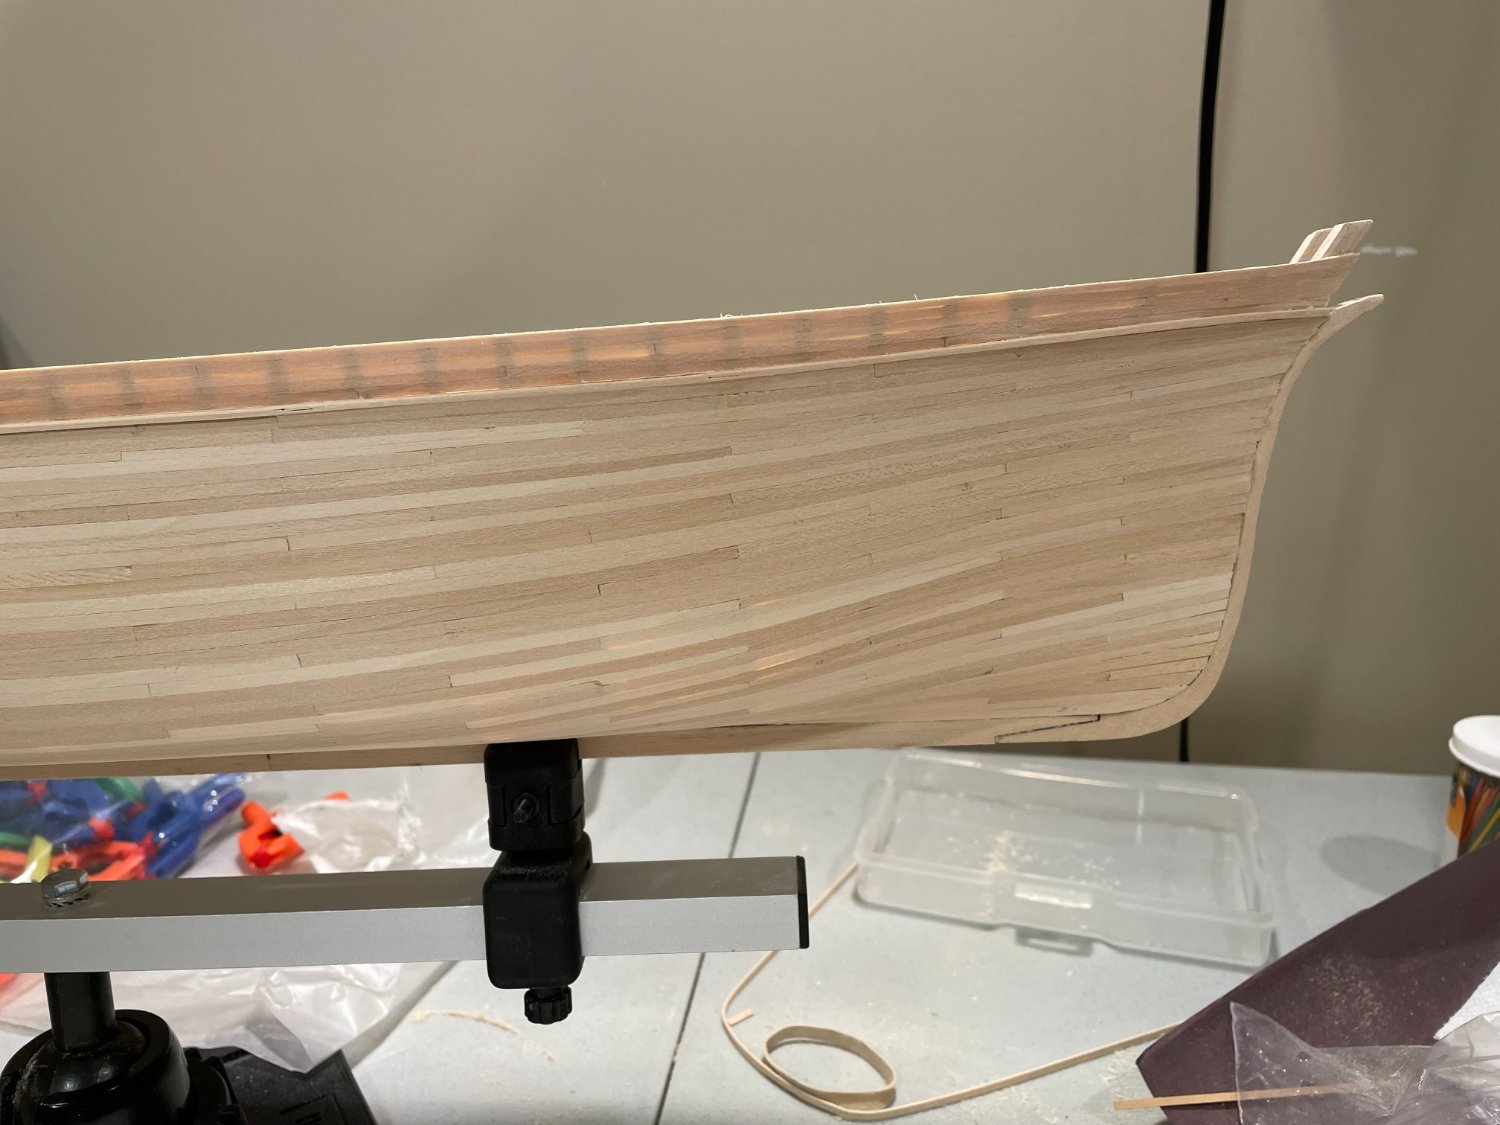
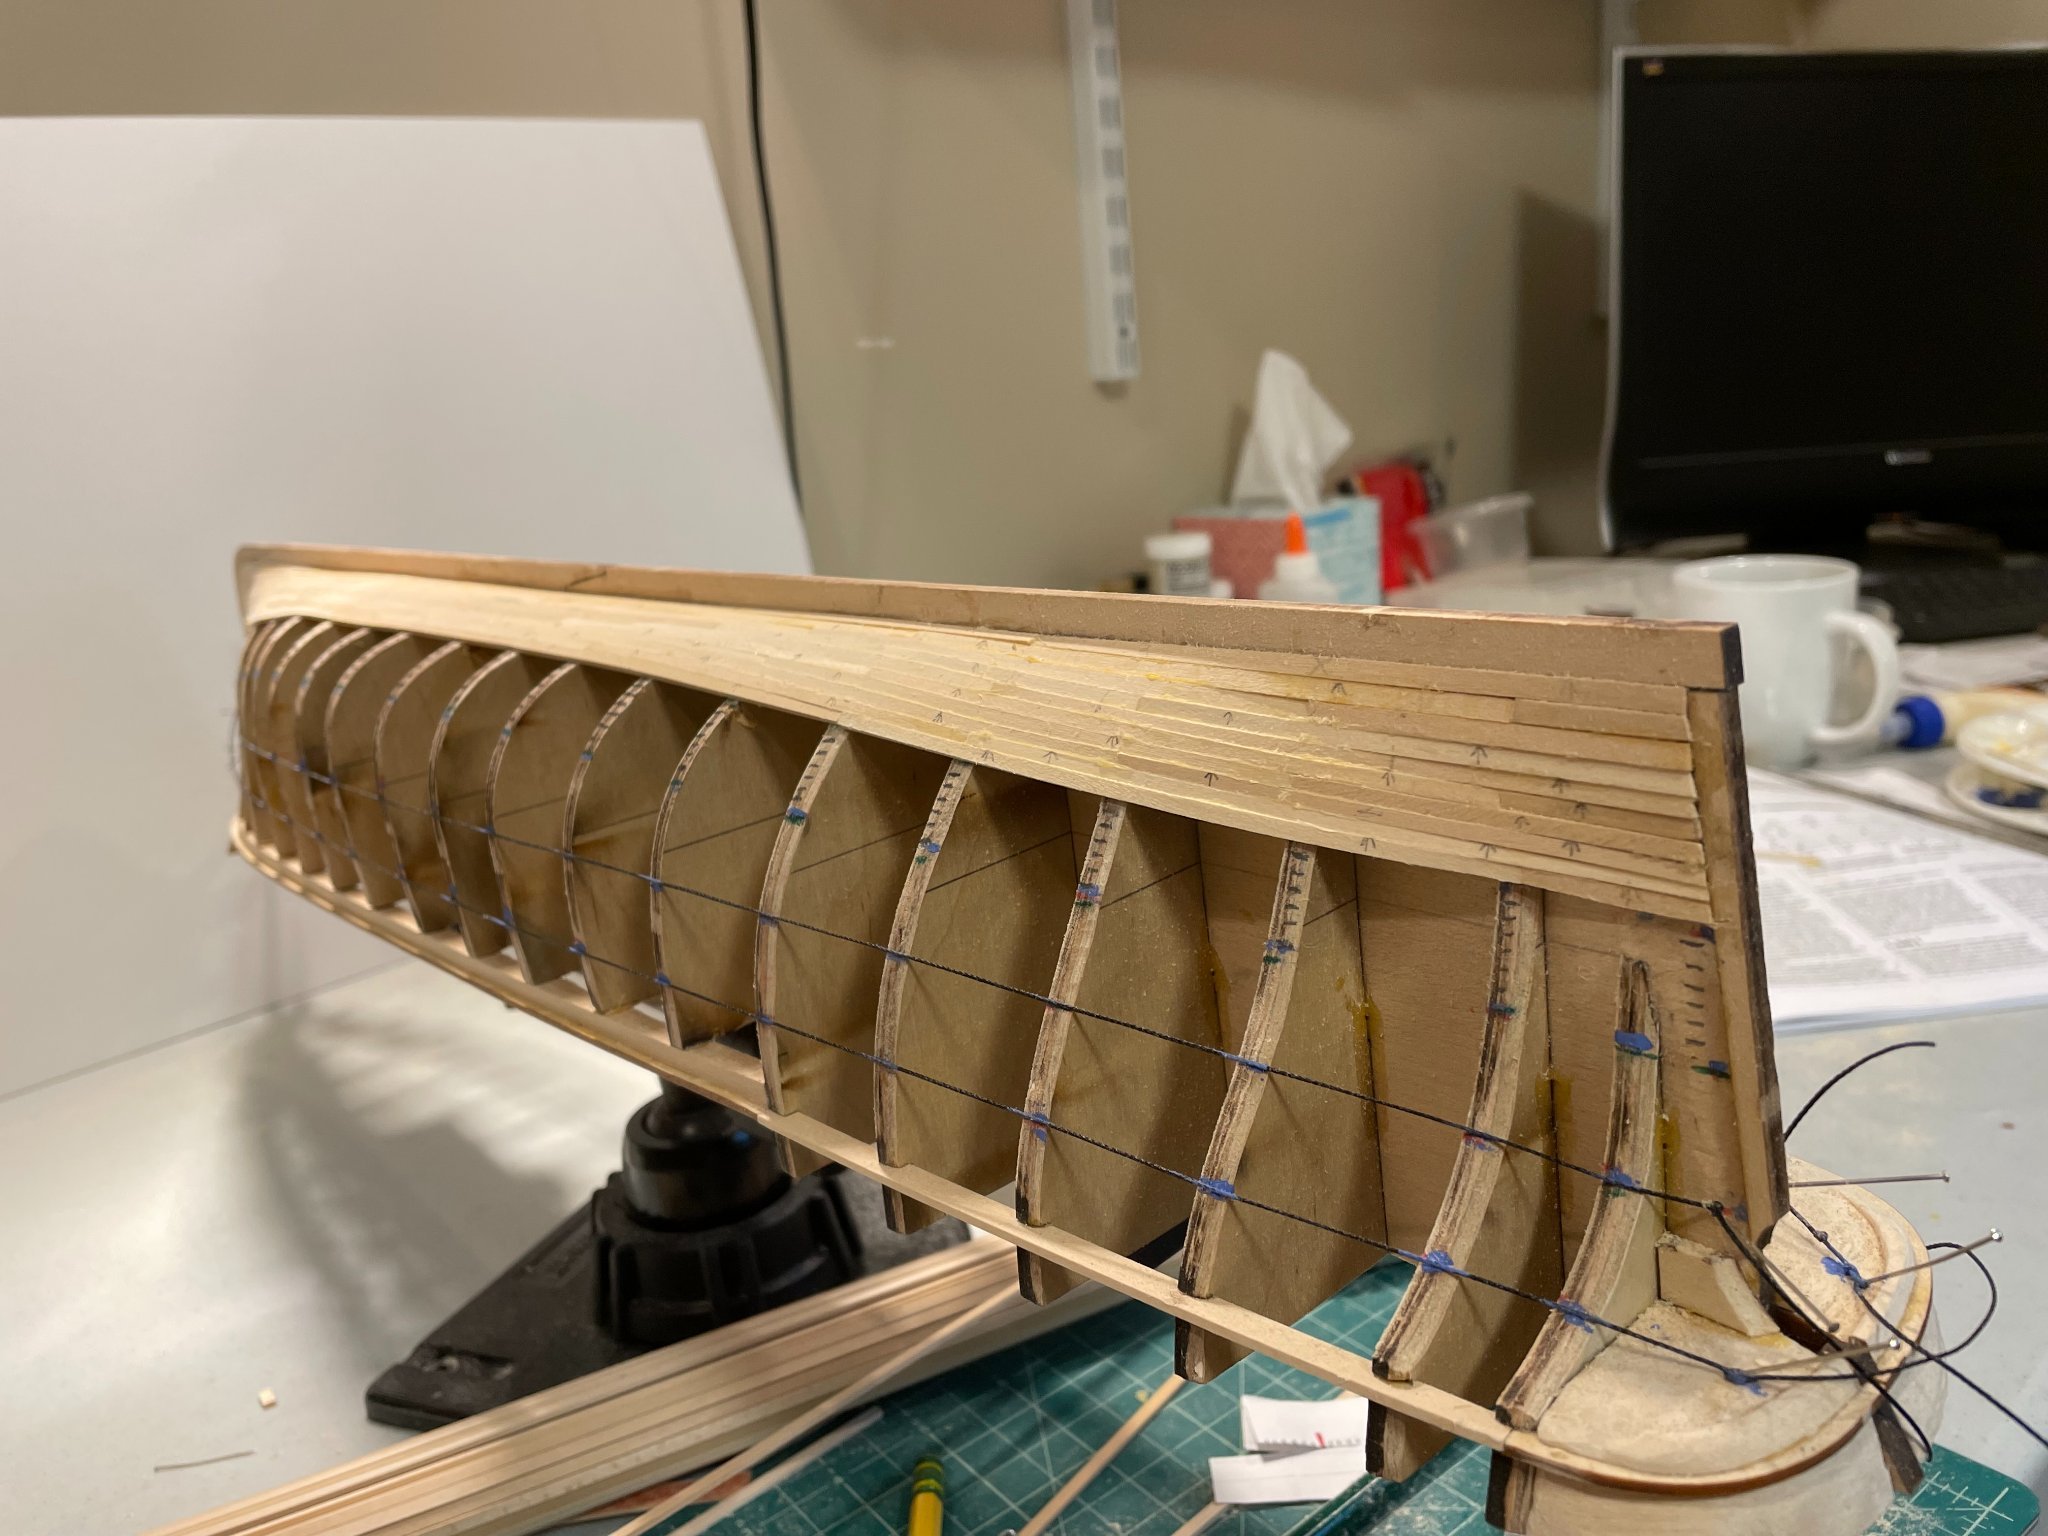
planking continues..... Pics below show the completion of bands D & E. I'm working from the bottom up. someone's log pointed out that they started where the first ones would be hidden by the copper. so far I'm pleased with the result. I'm debating if I should start now at the top and work down so I meet in a place that is also covered. Not too worried about it as it is all to be painted. Happy Thanksgiving to all!


-
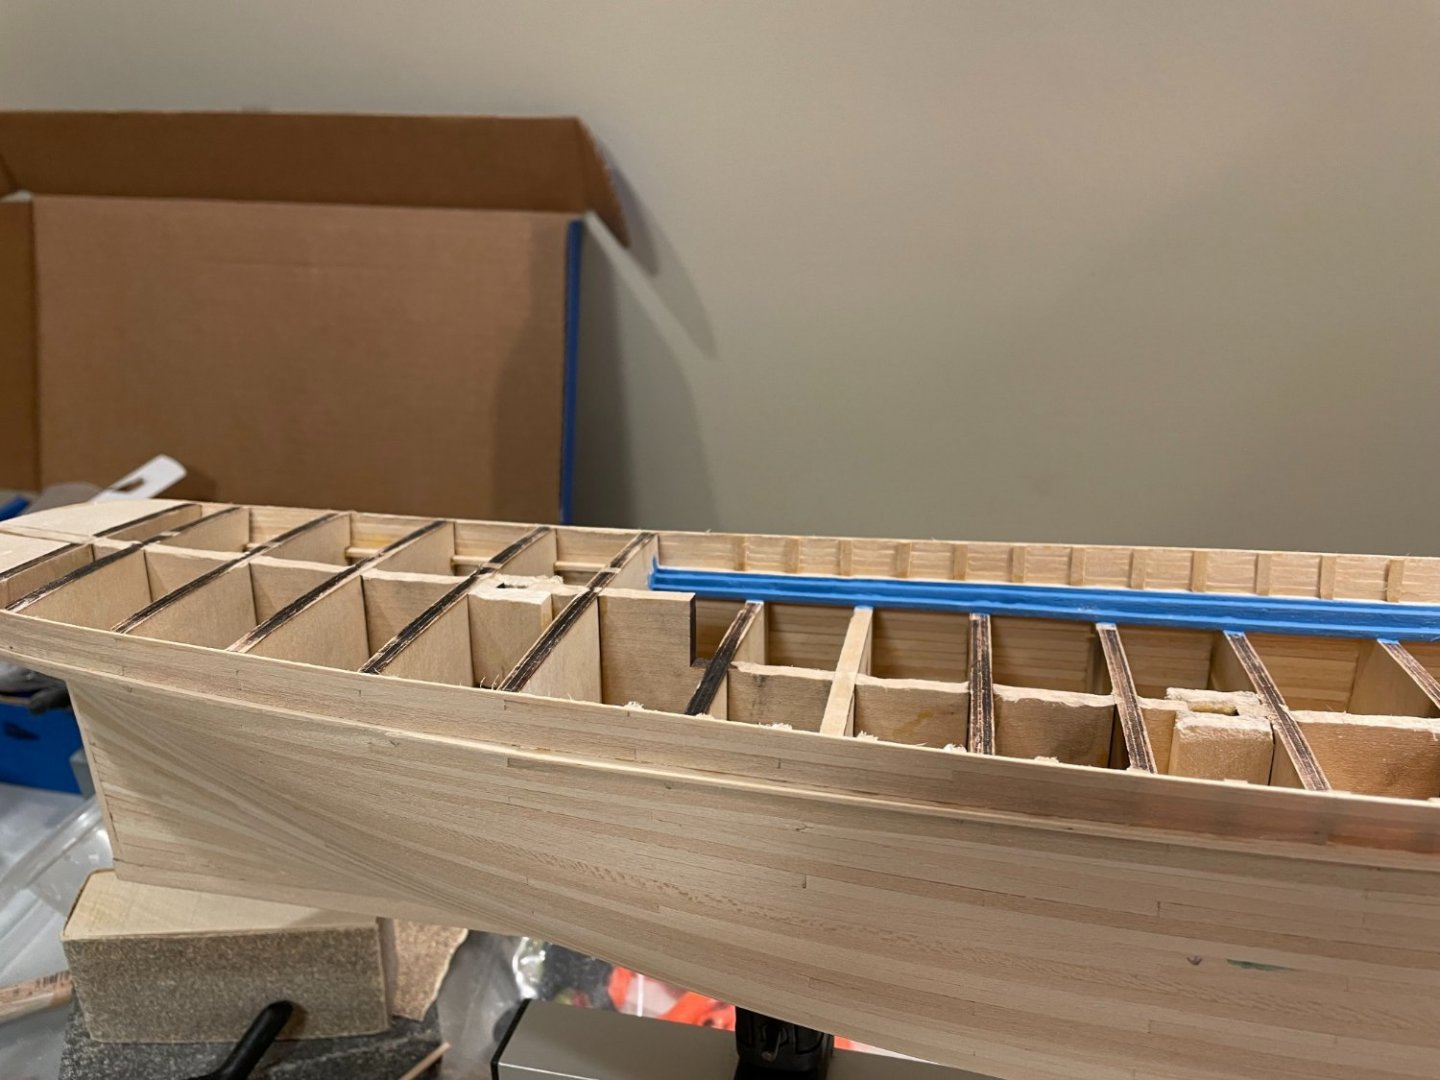
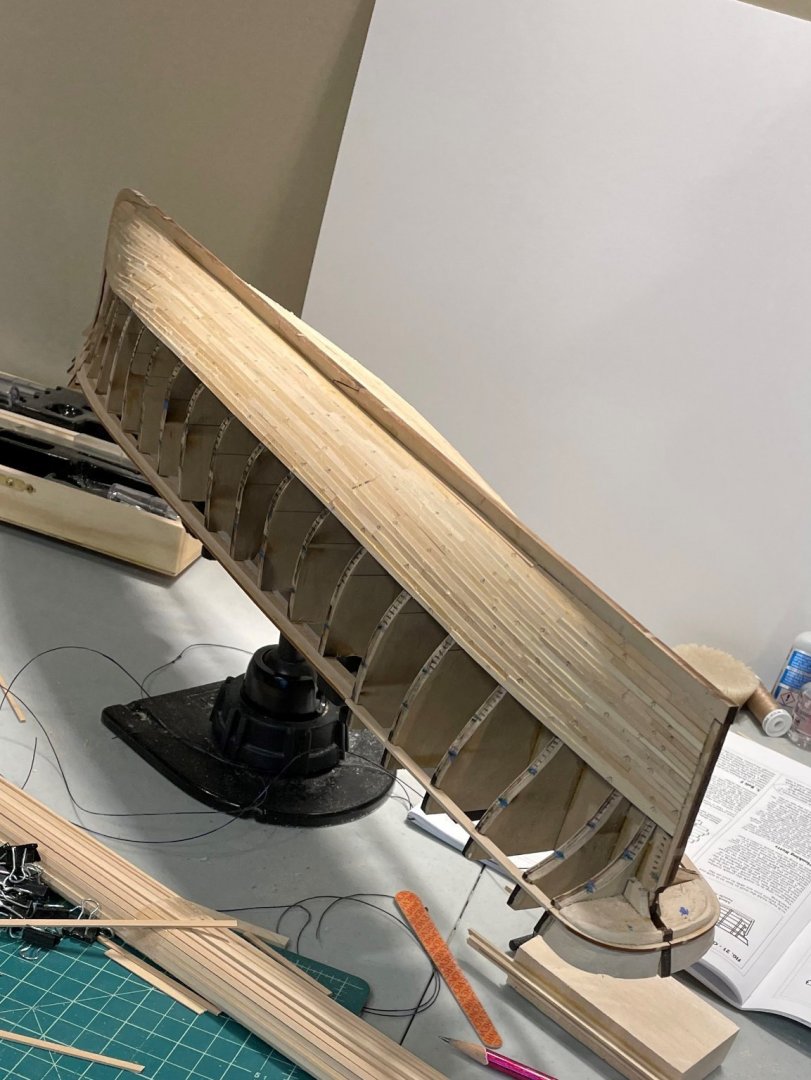
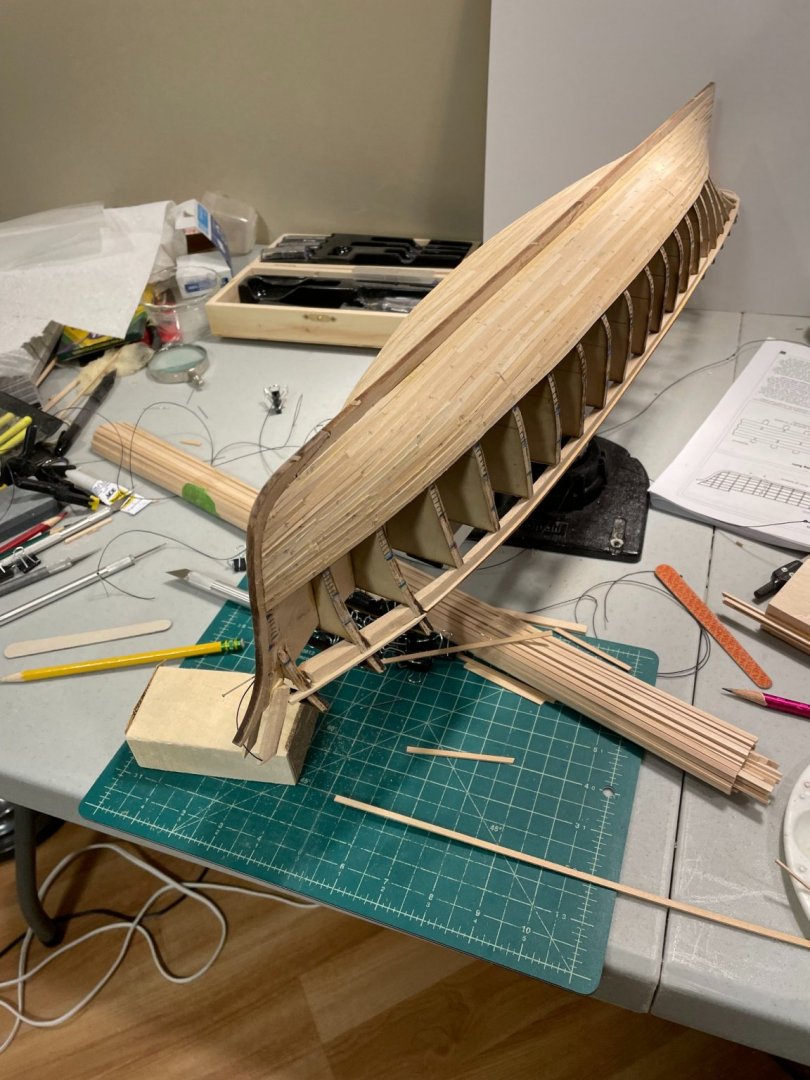
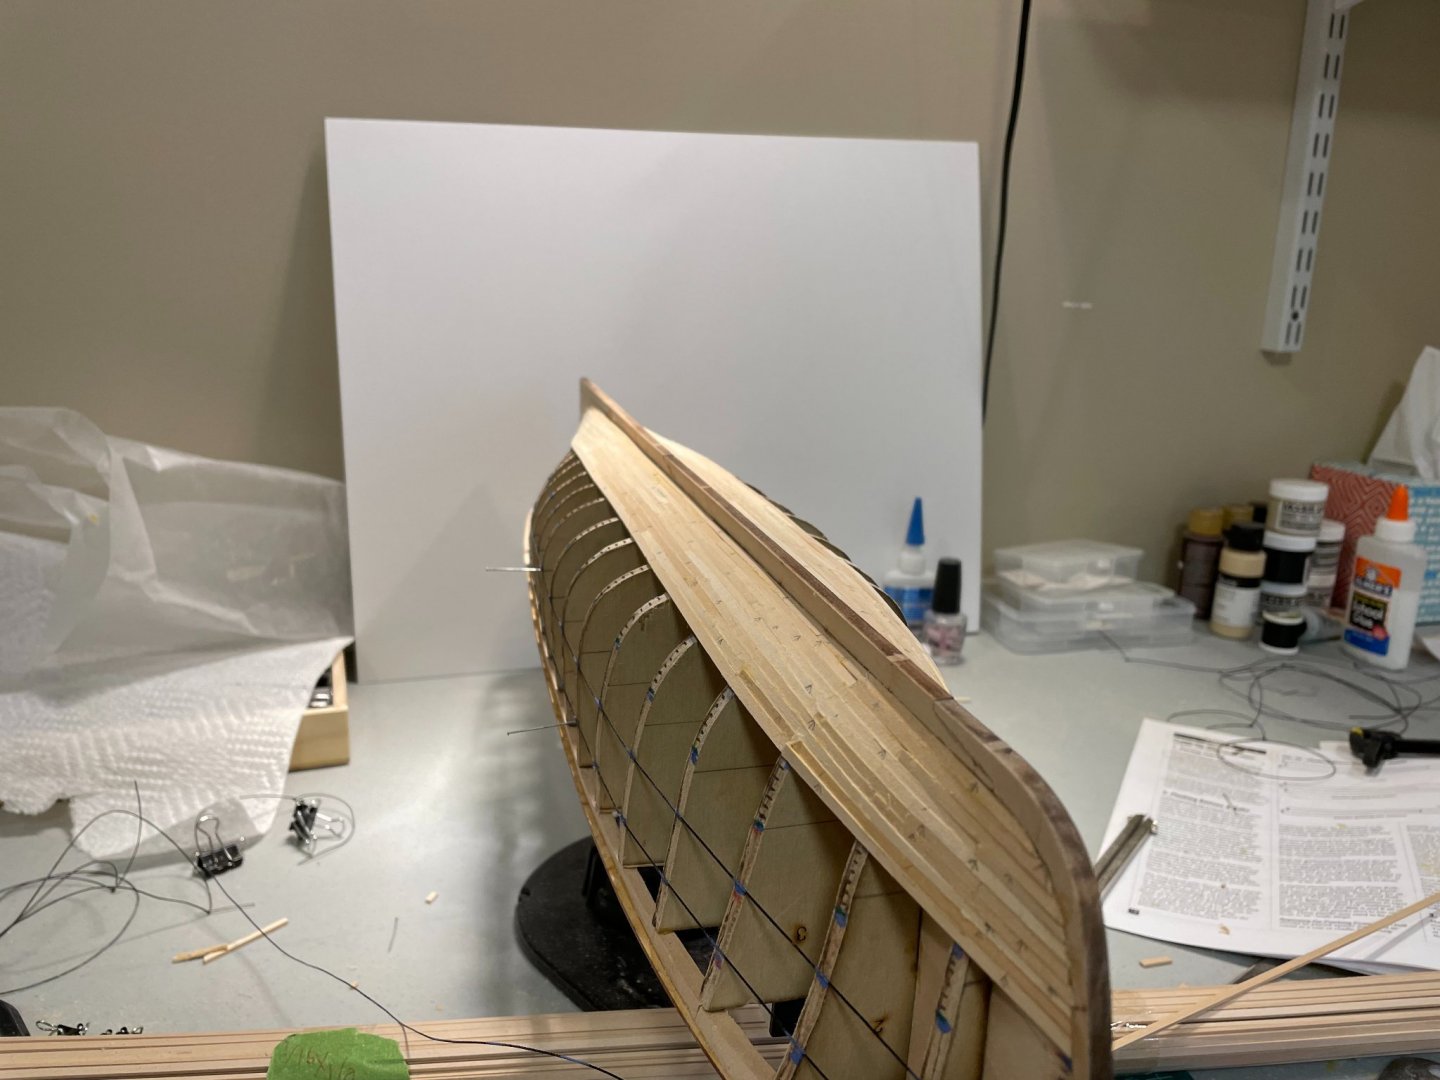
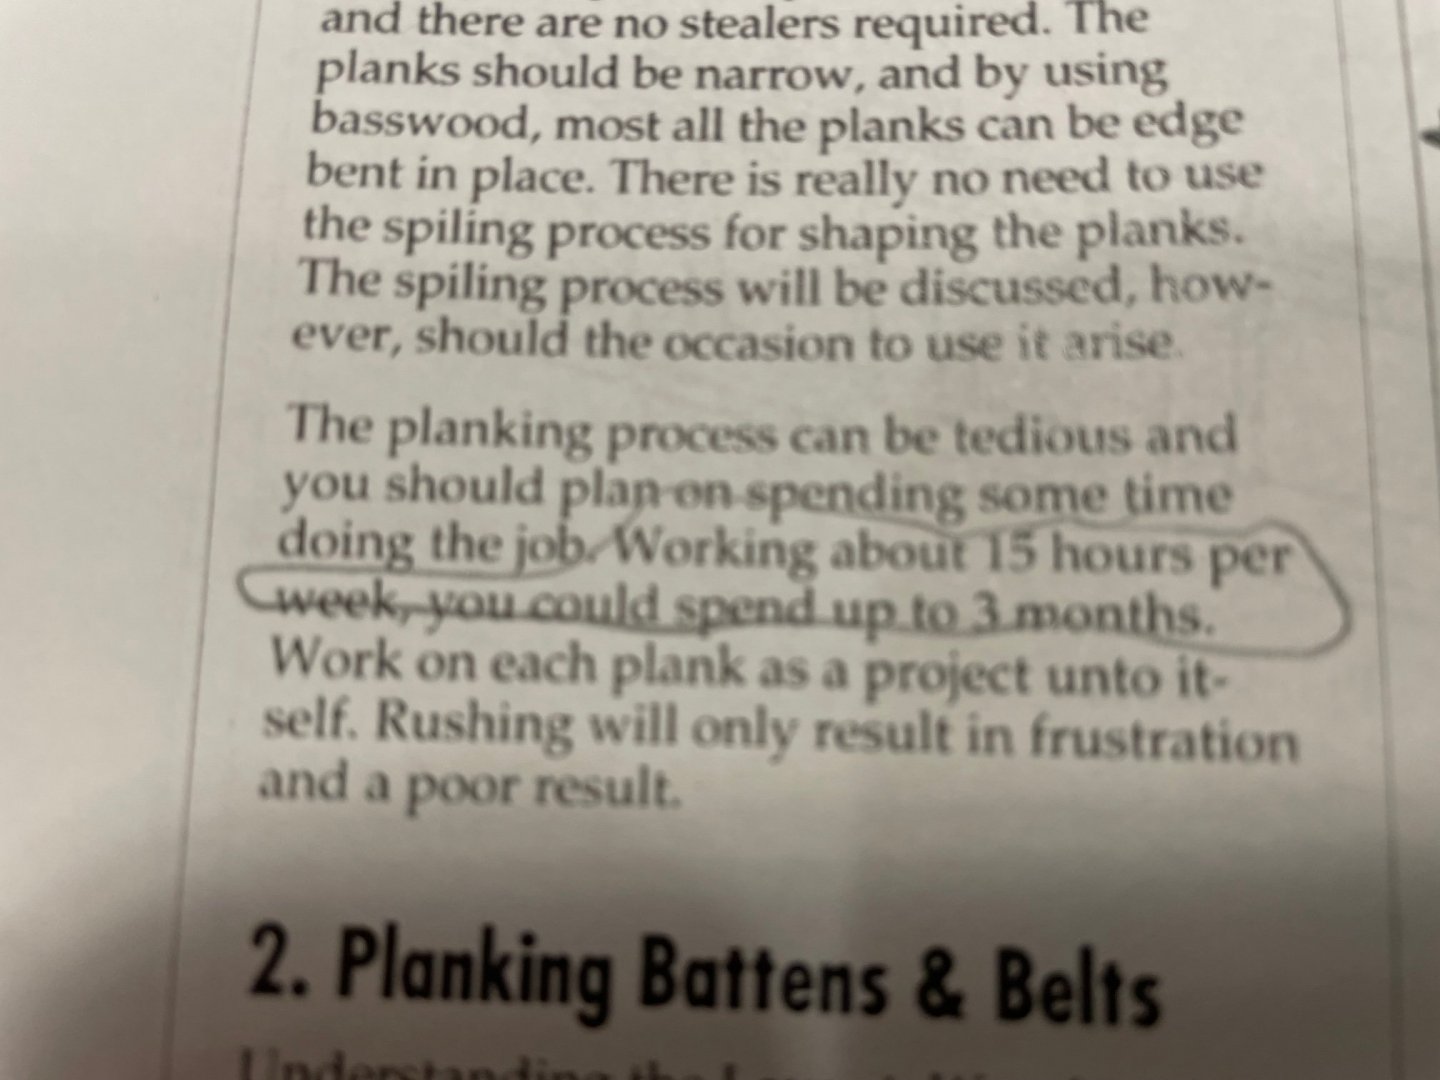
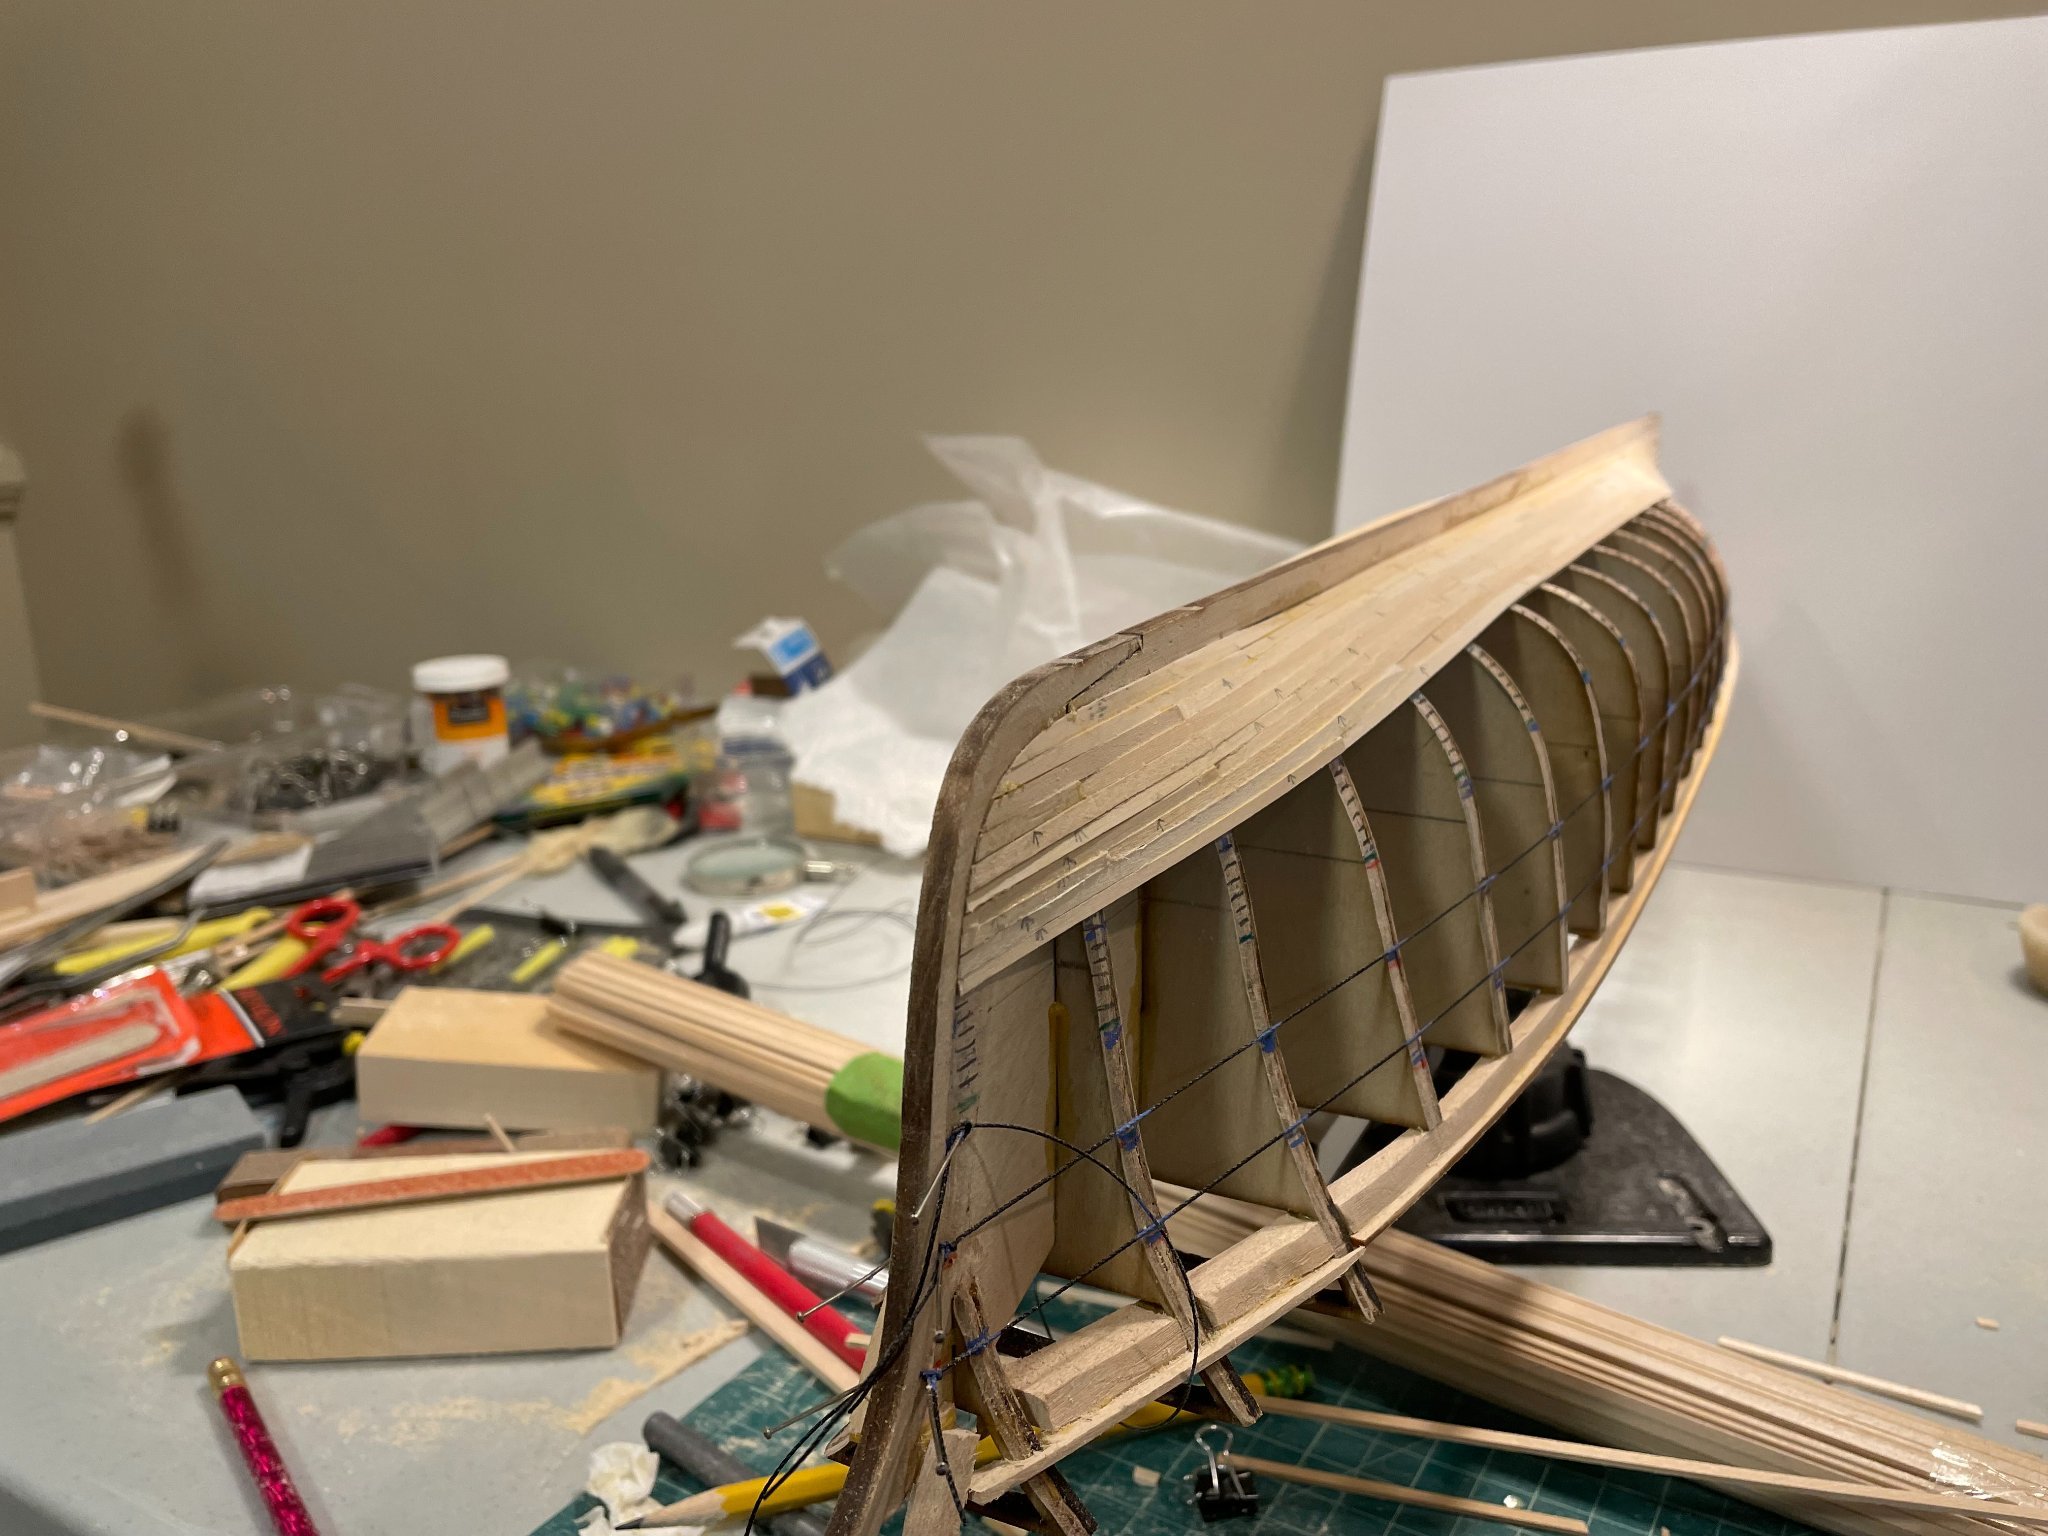
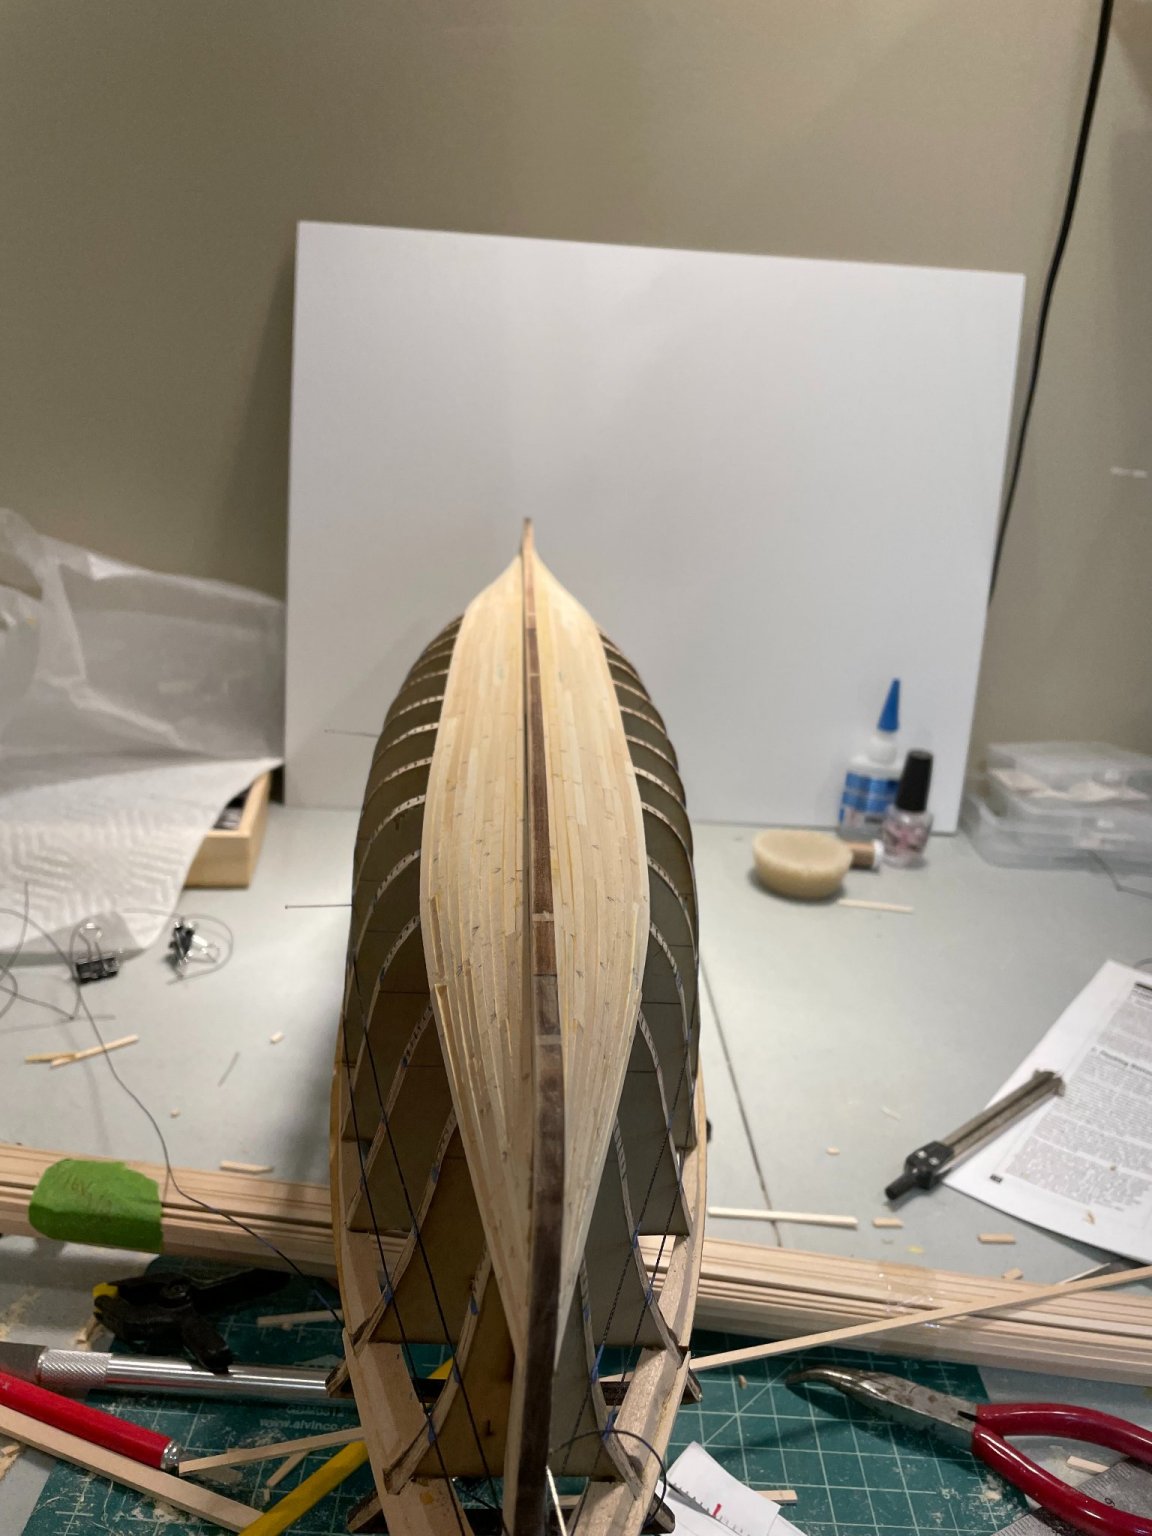
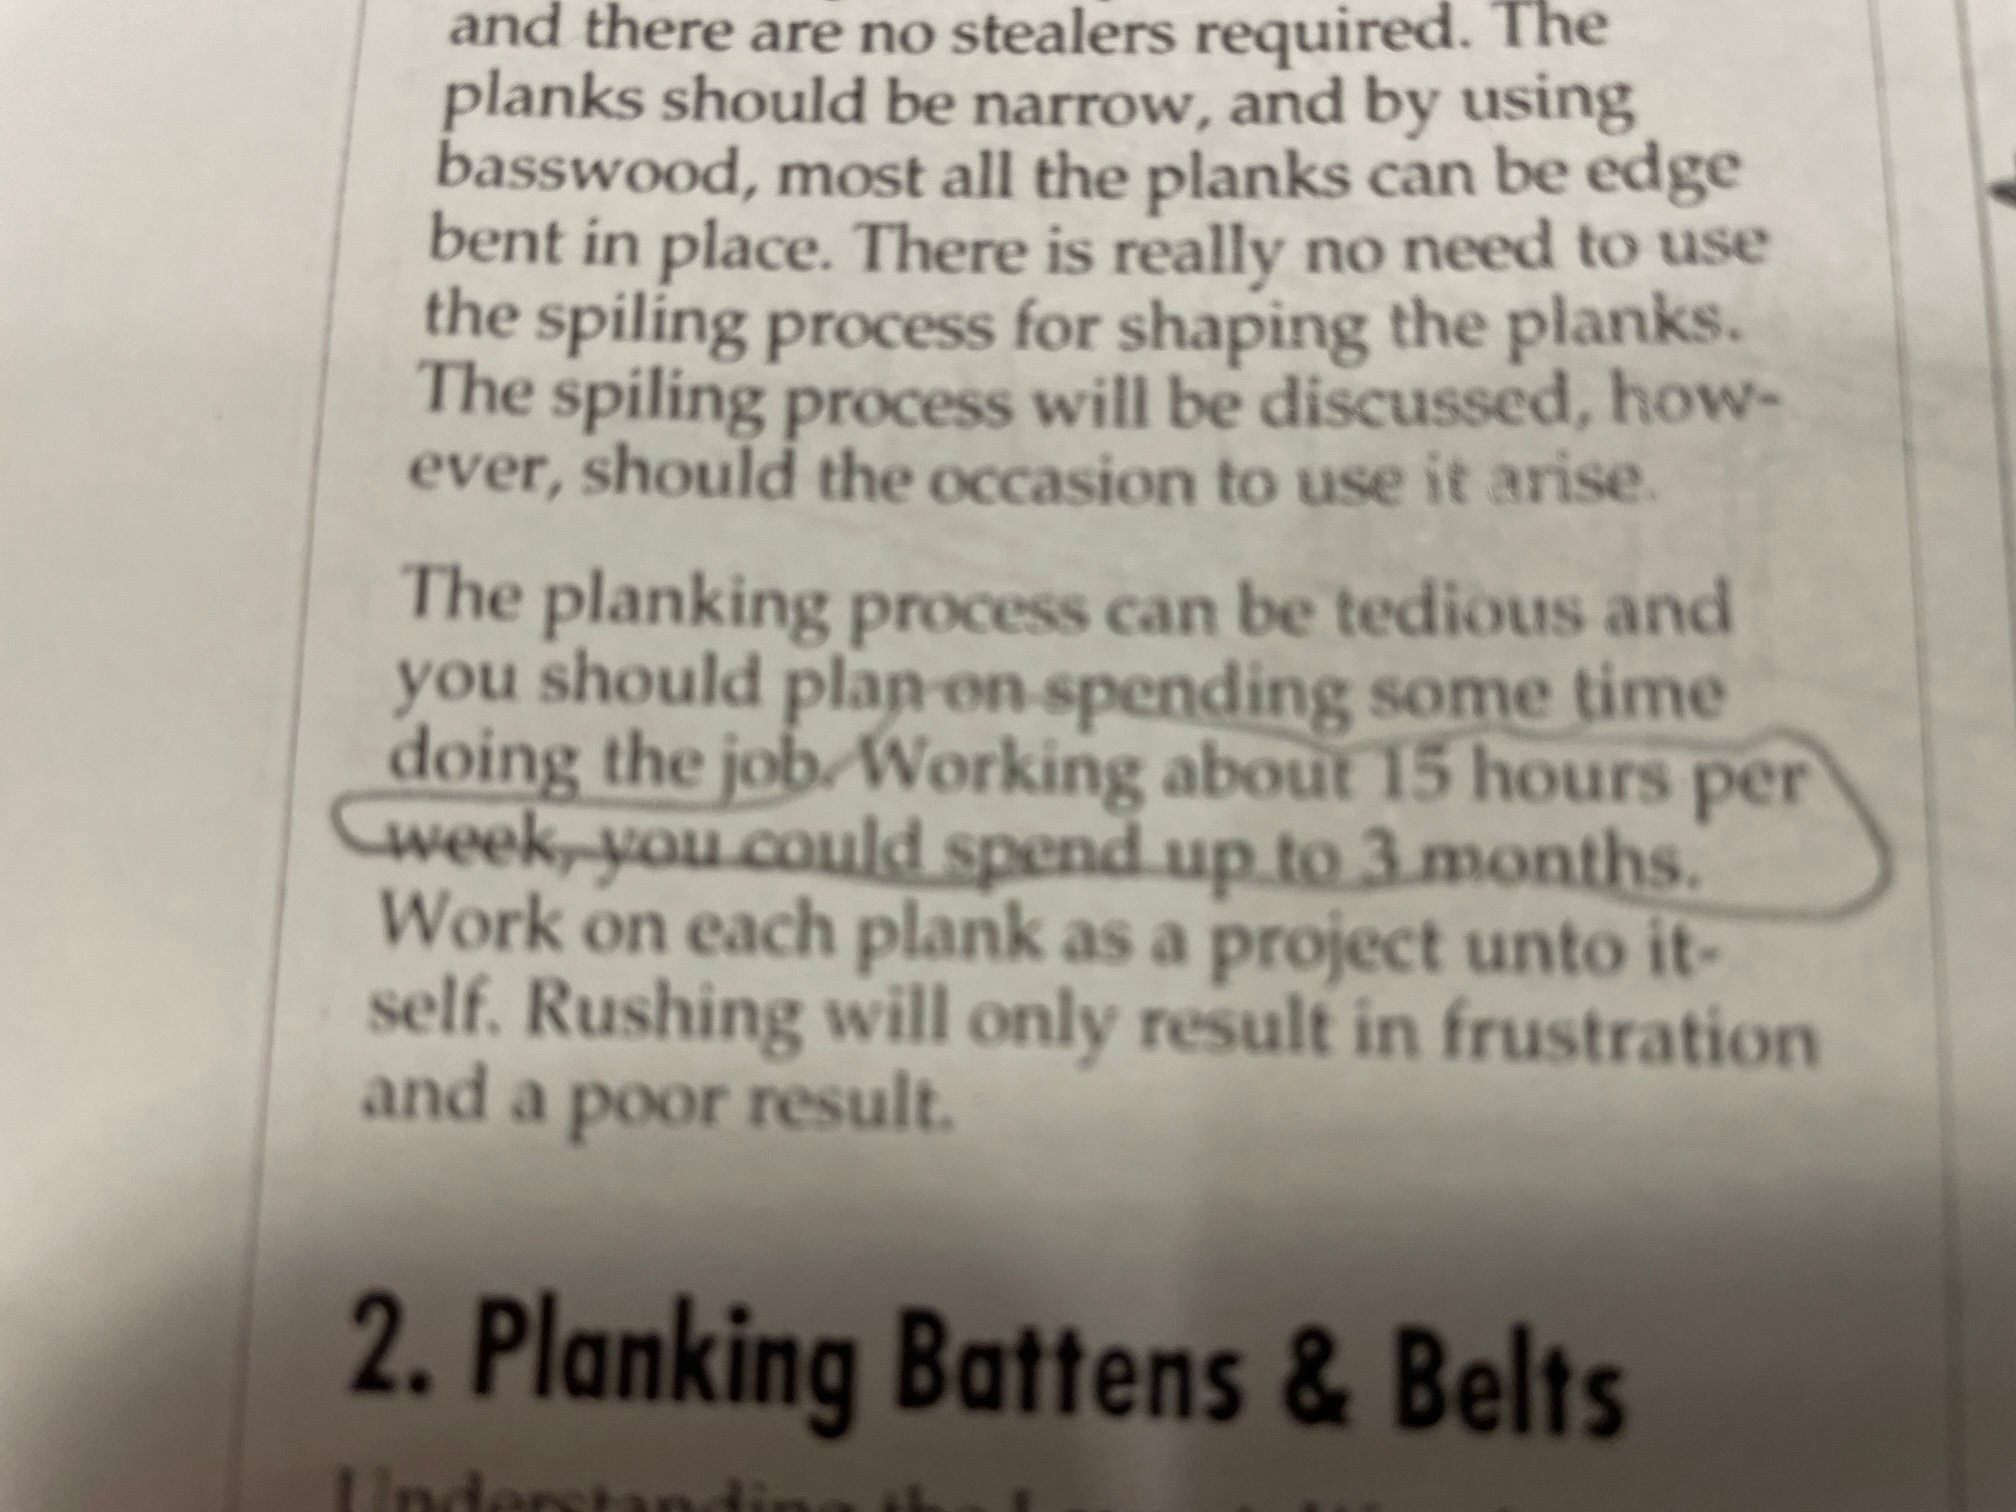
Getting ready to start planking. I'm holding off on the work near the rails as I'm sure I would break that along the way. based on the instructions, I've got about 3 months of planking coming.
-
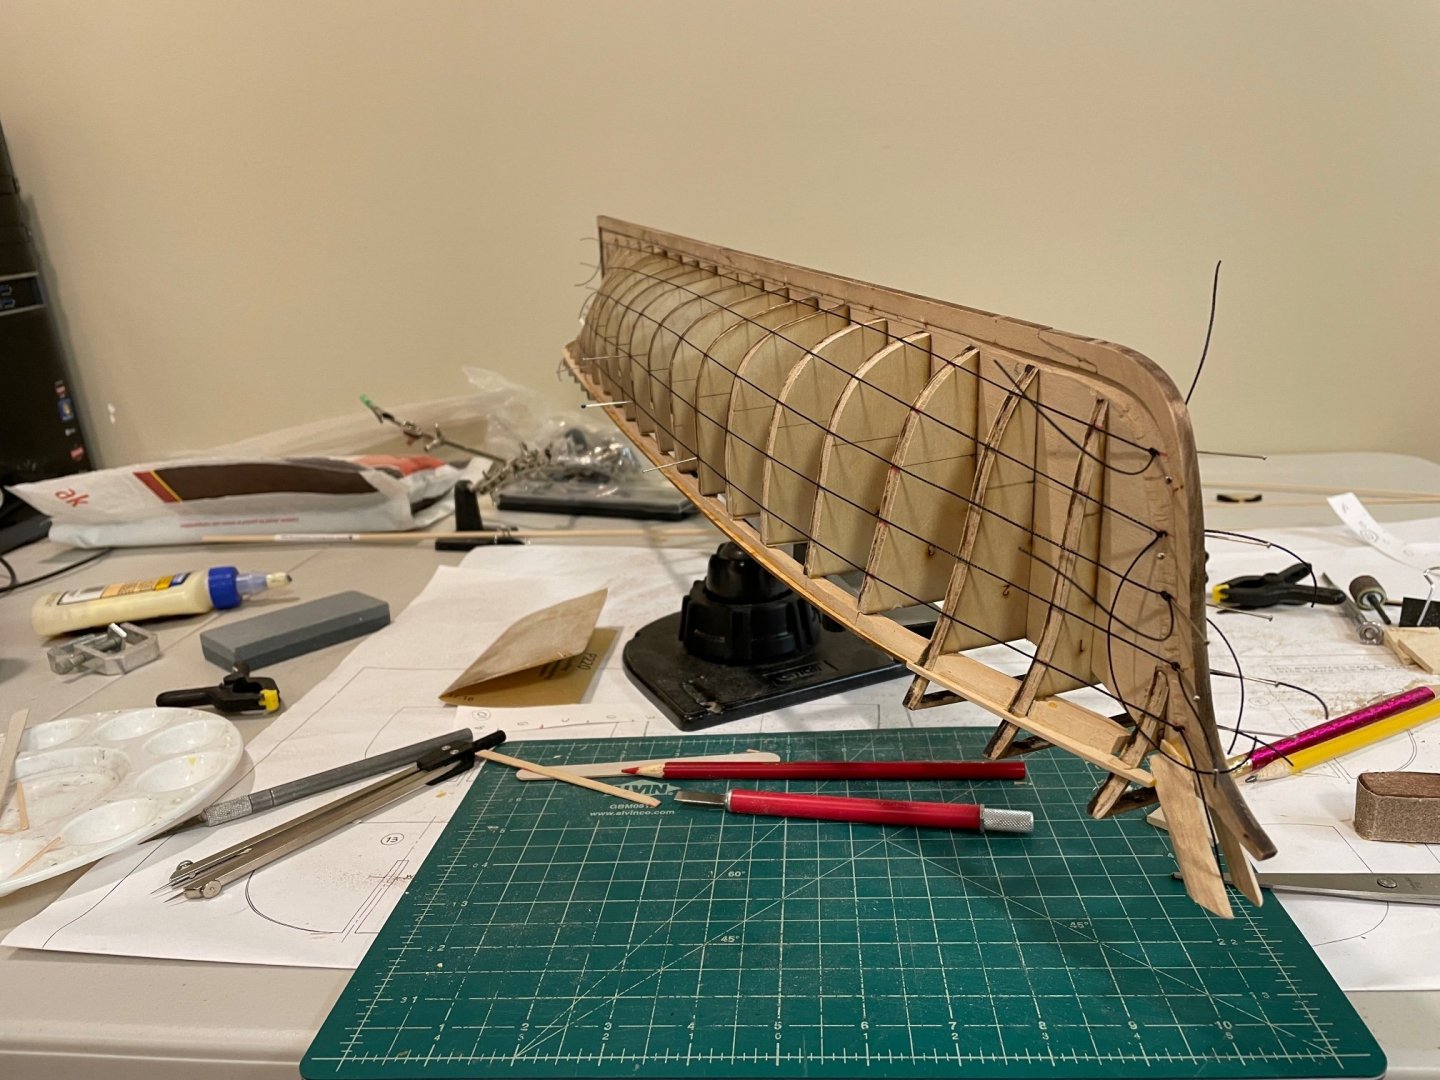
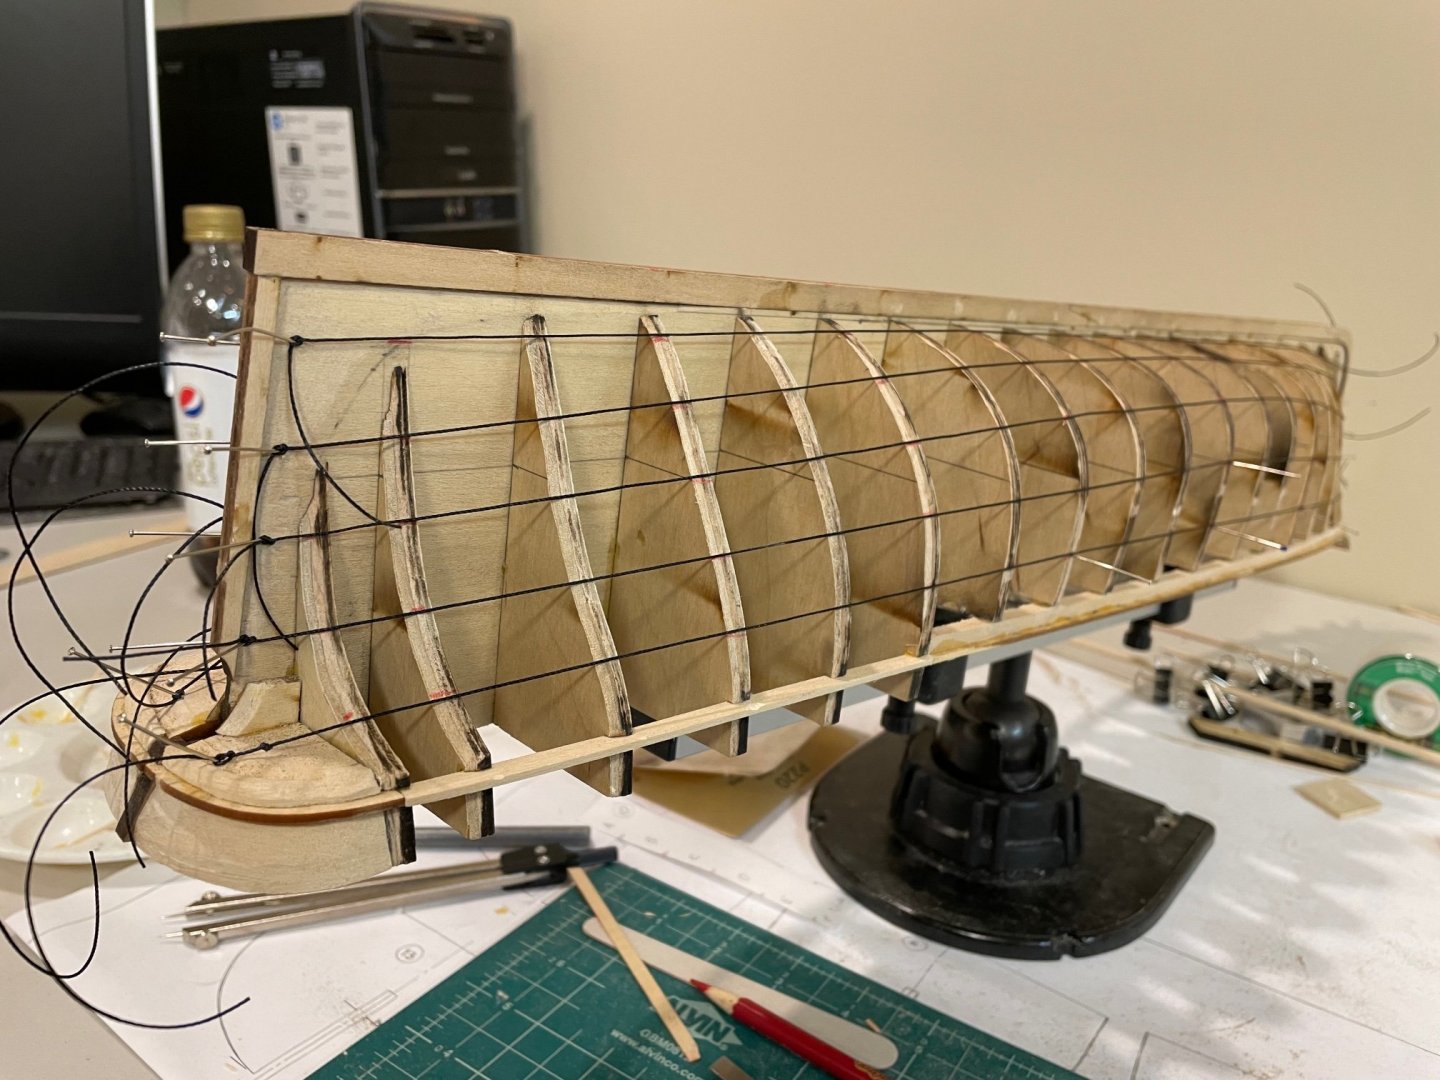
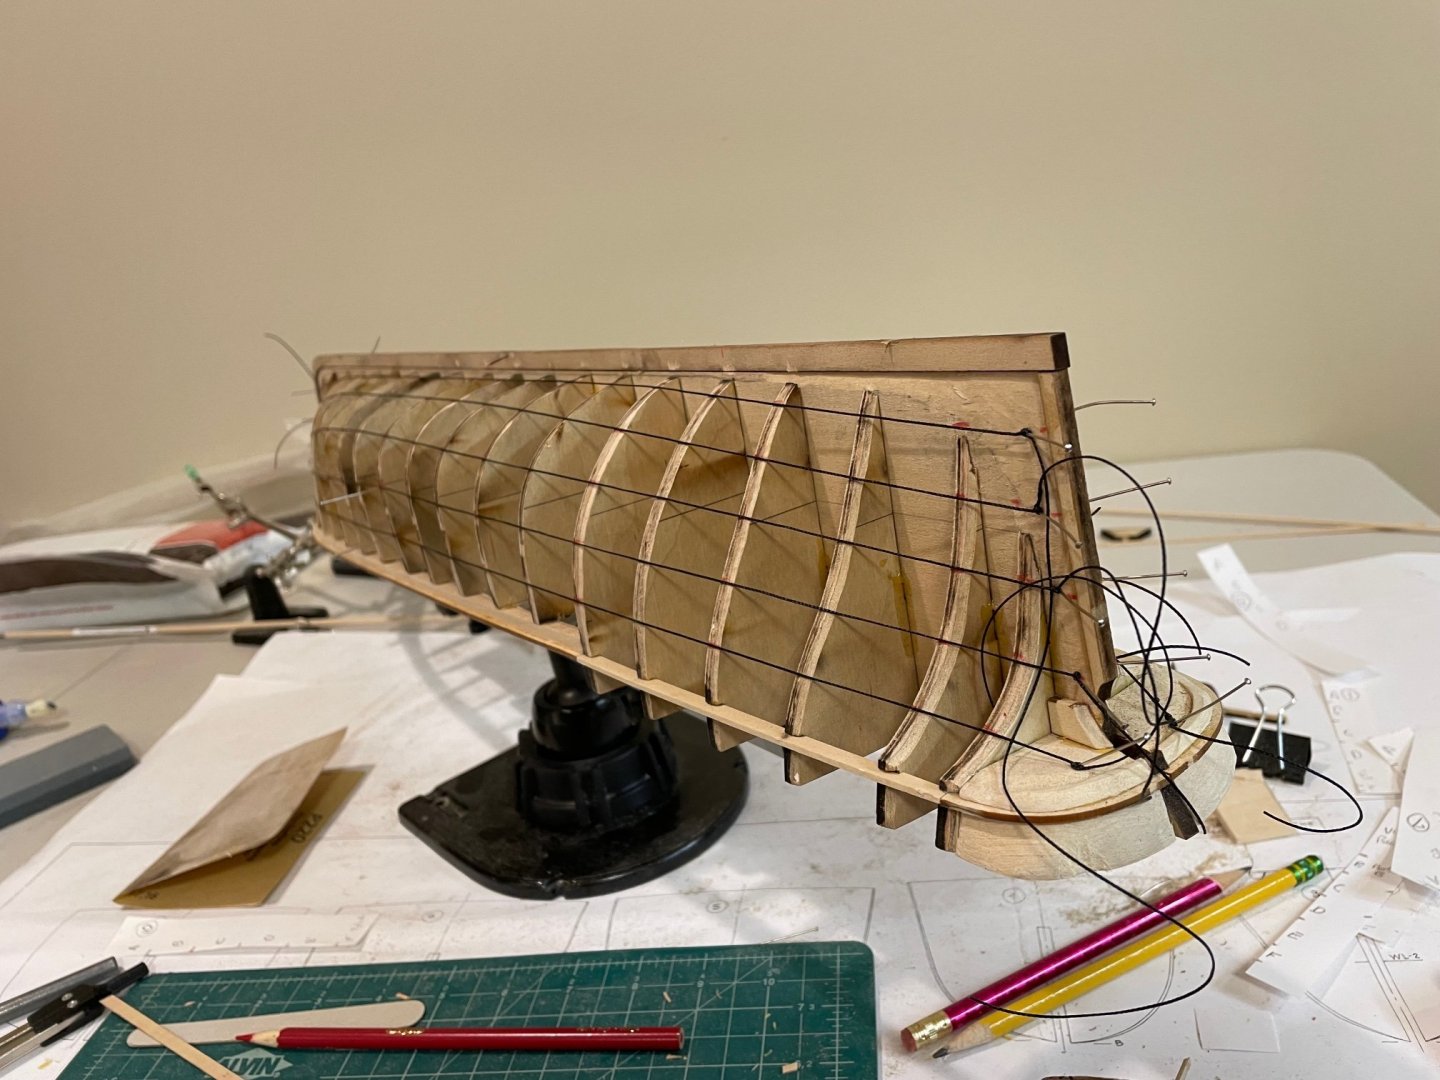
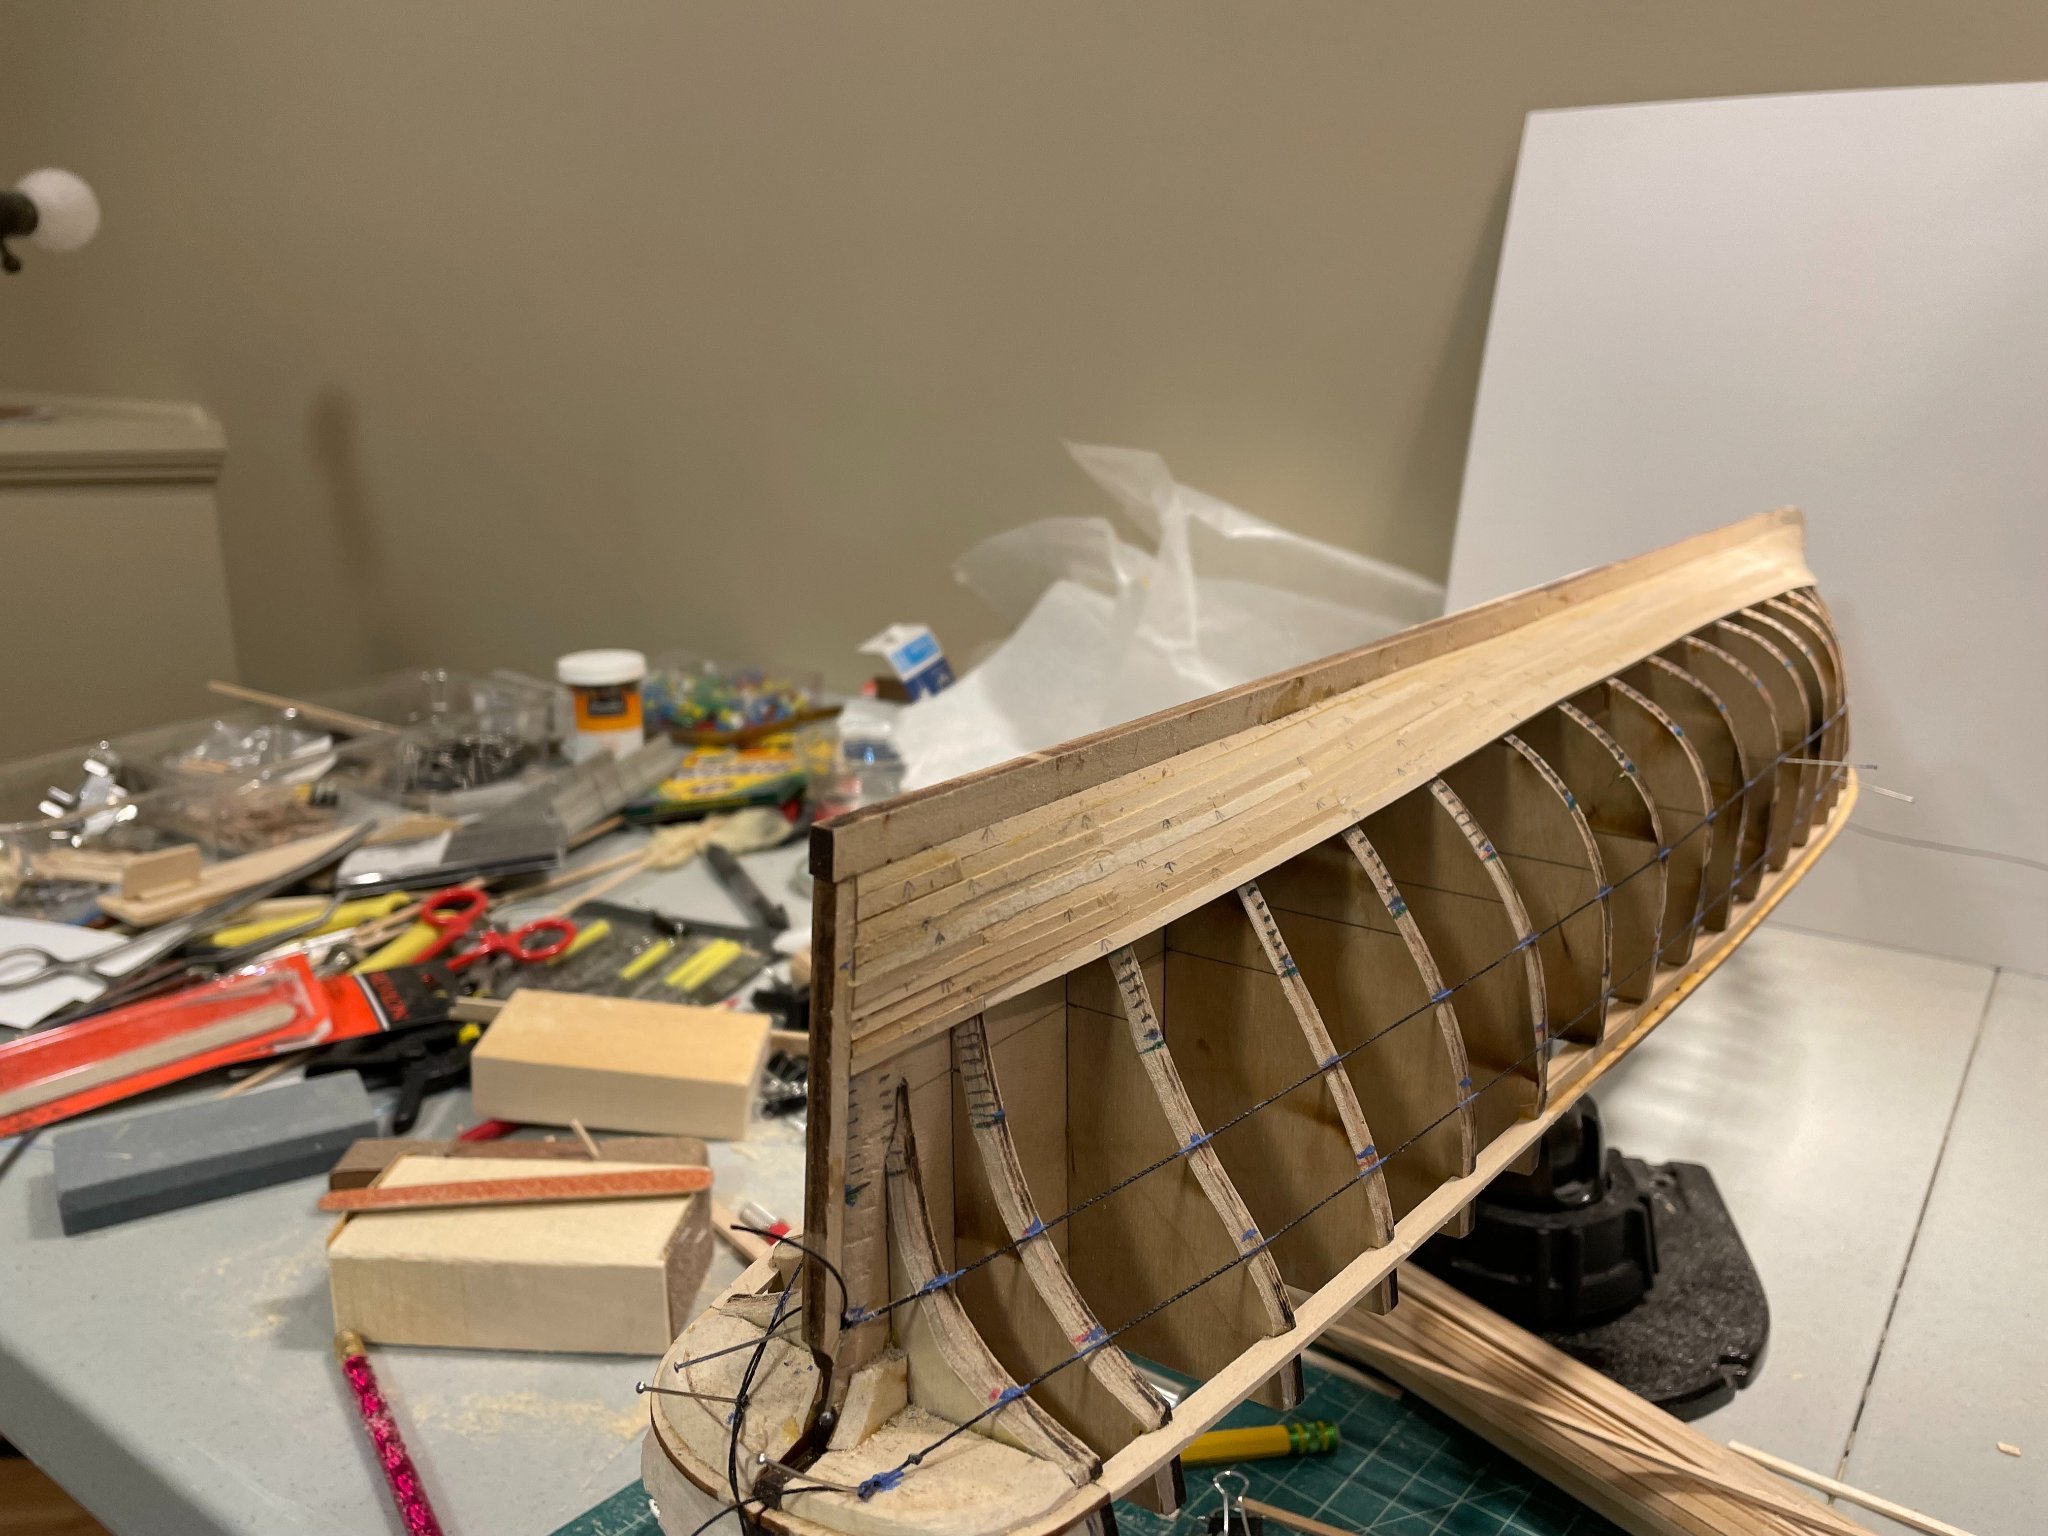
Spent some time looking at alignment from front to back and send down / build up the bulkheads where needed. I used the string method to see where things were out of alignment. I continued to use the string to lay out the bands. First using a tick strip to transfer the measurements for each bulkhead to the model. Then used the string to see where things didn't look right overall. After additional sanding etc. I've marked each of the bands on each bulkhead so the bands seem to lay out as expected.
- Cirdan and Vladimir_Wairoa
-
2
-
-
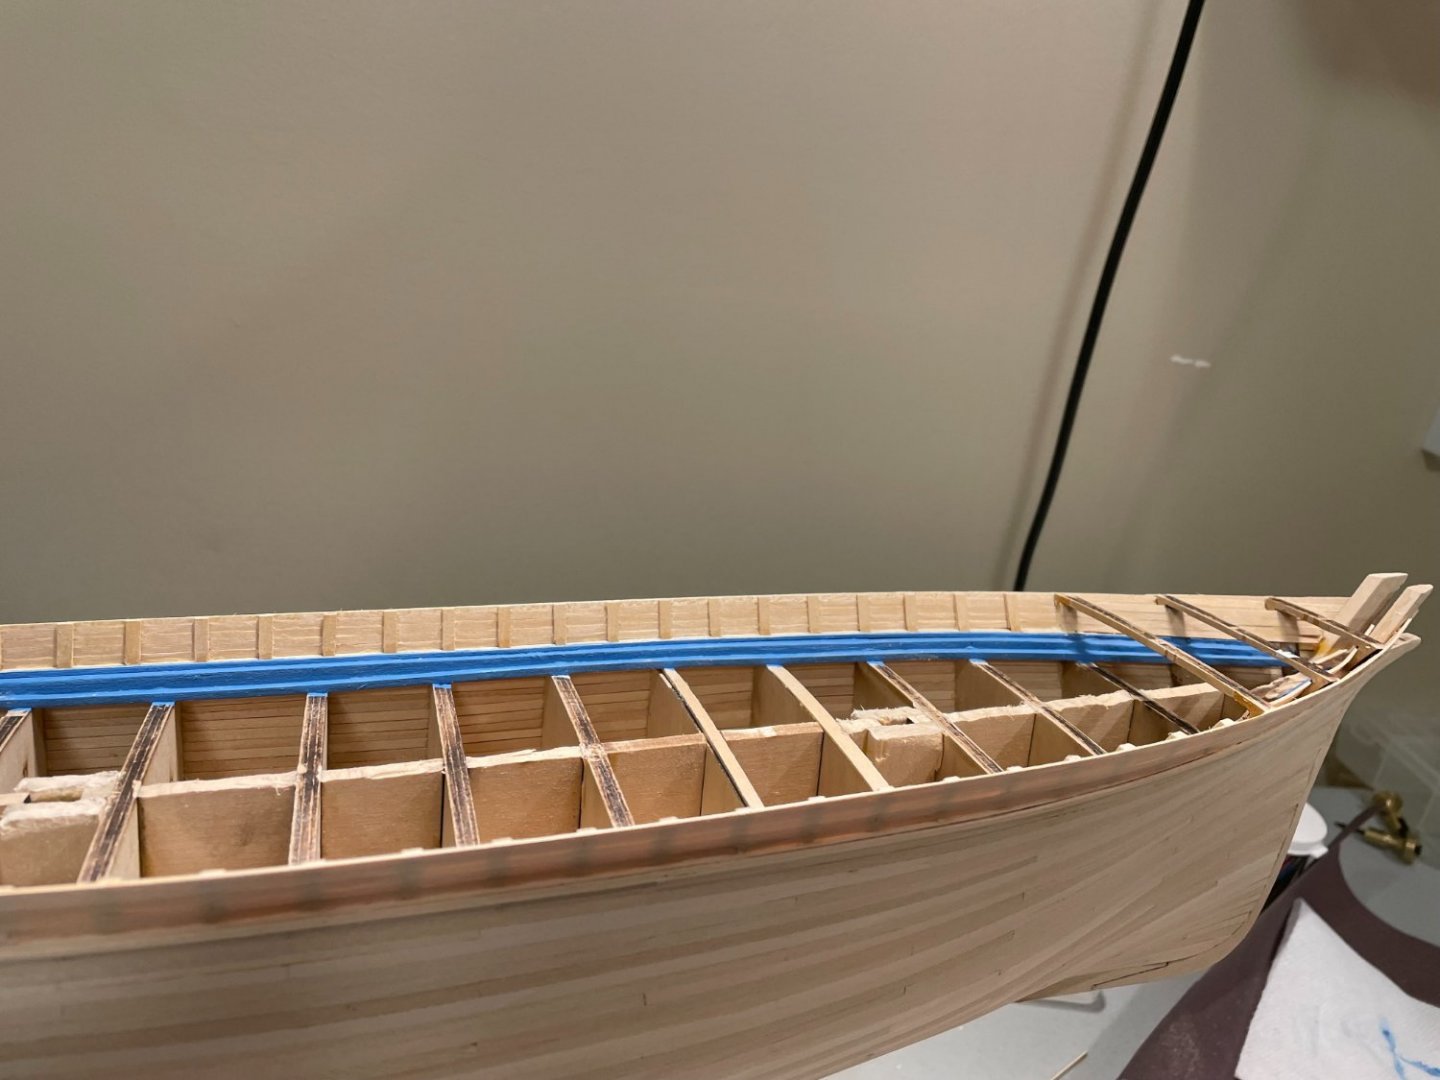
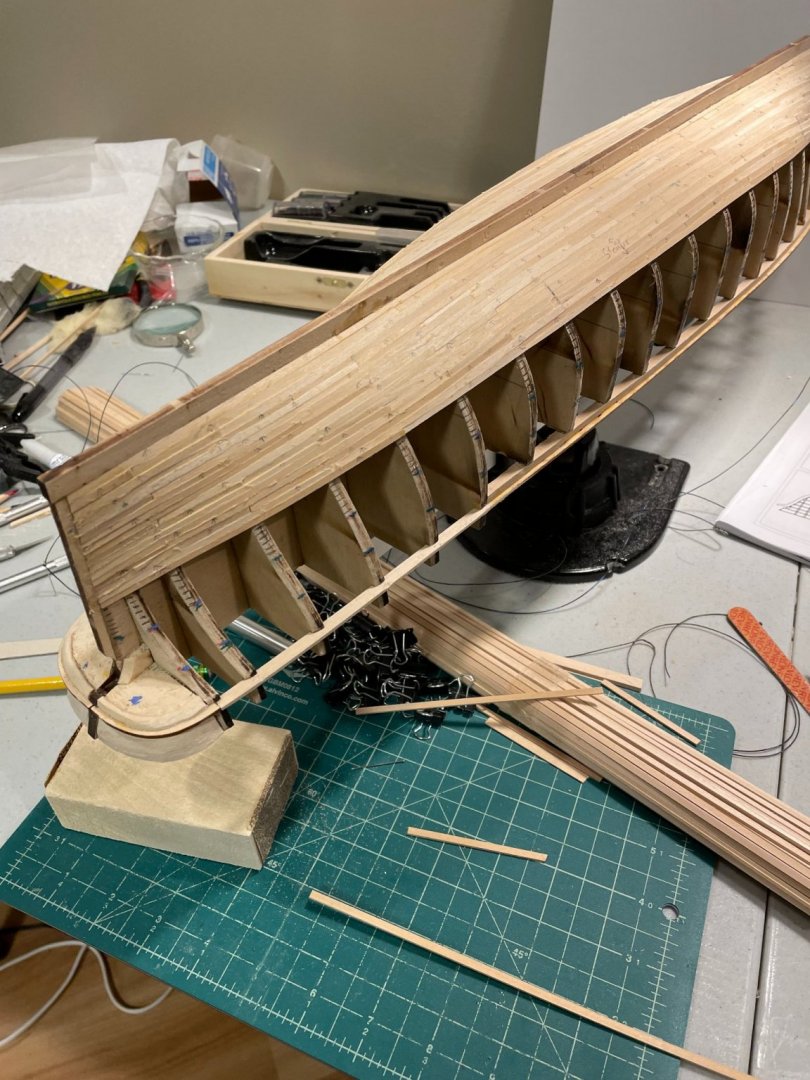
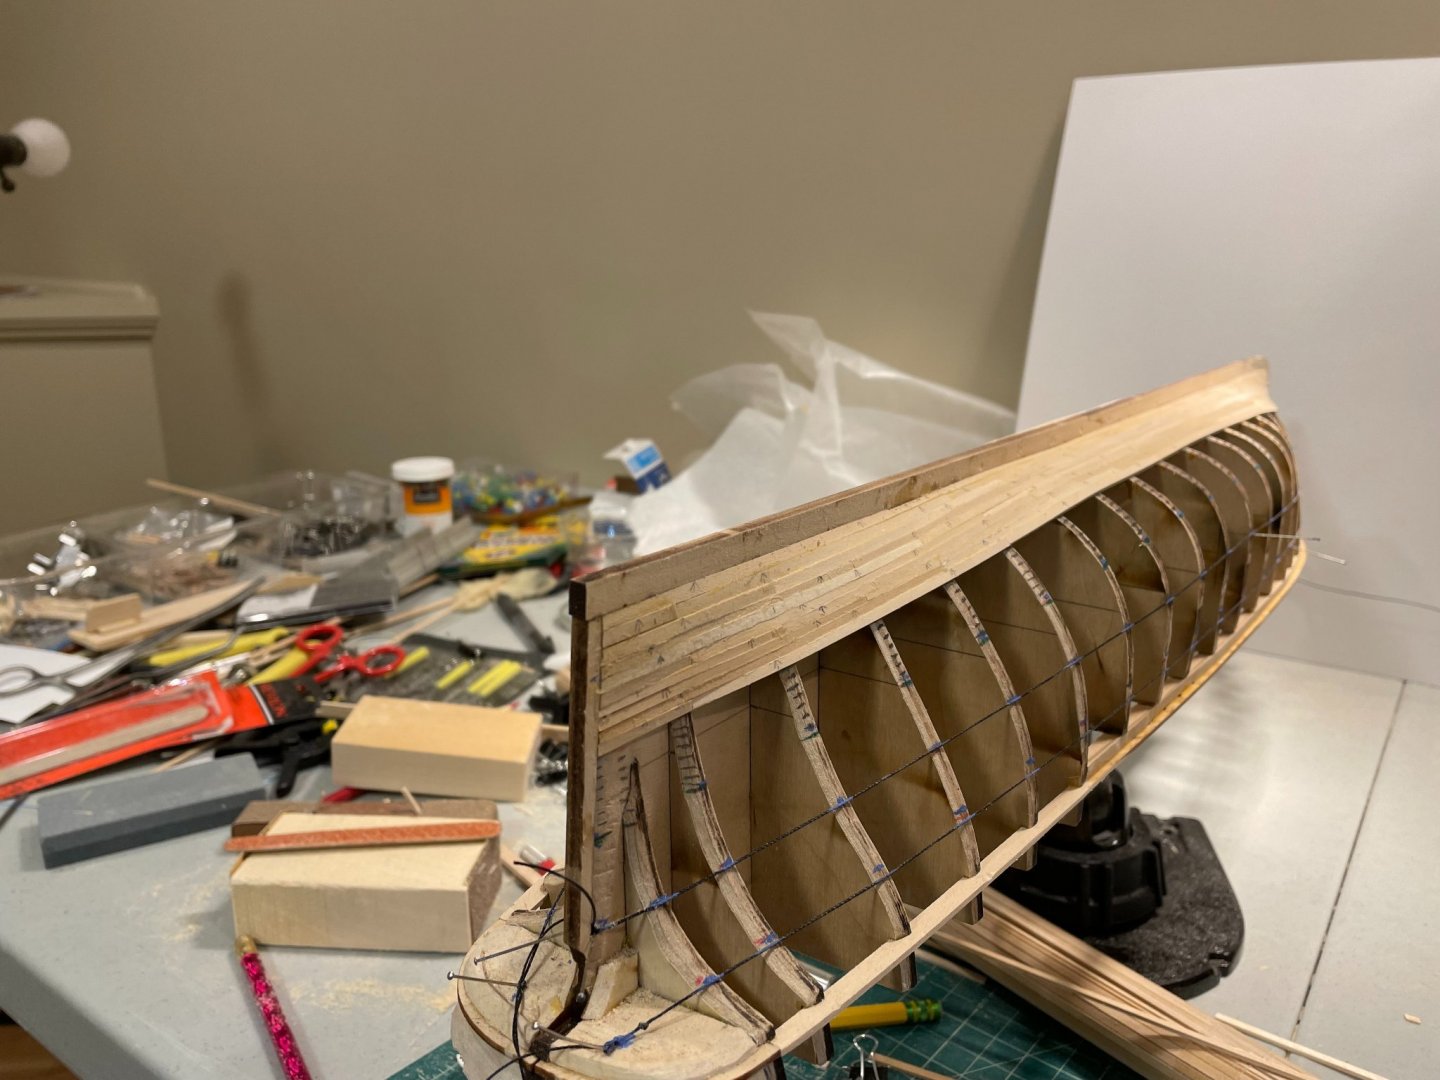
working on the waterway and plank sheer. This has taken a bit of time at the bow and stern to be comfortable with how it all comes together. I've been leveraging the build logs extensively here to see pictures of other builds both in this state and further along to help anticipate what this should really look like. When in doubt I leave some things "unfinished" knowing that when I go to plank that area things will be much more clear.
-
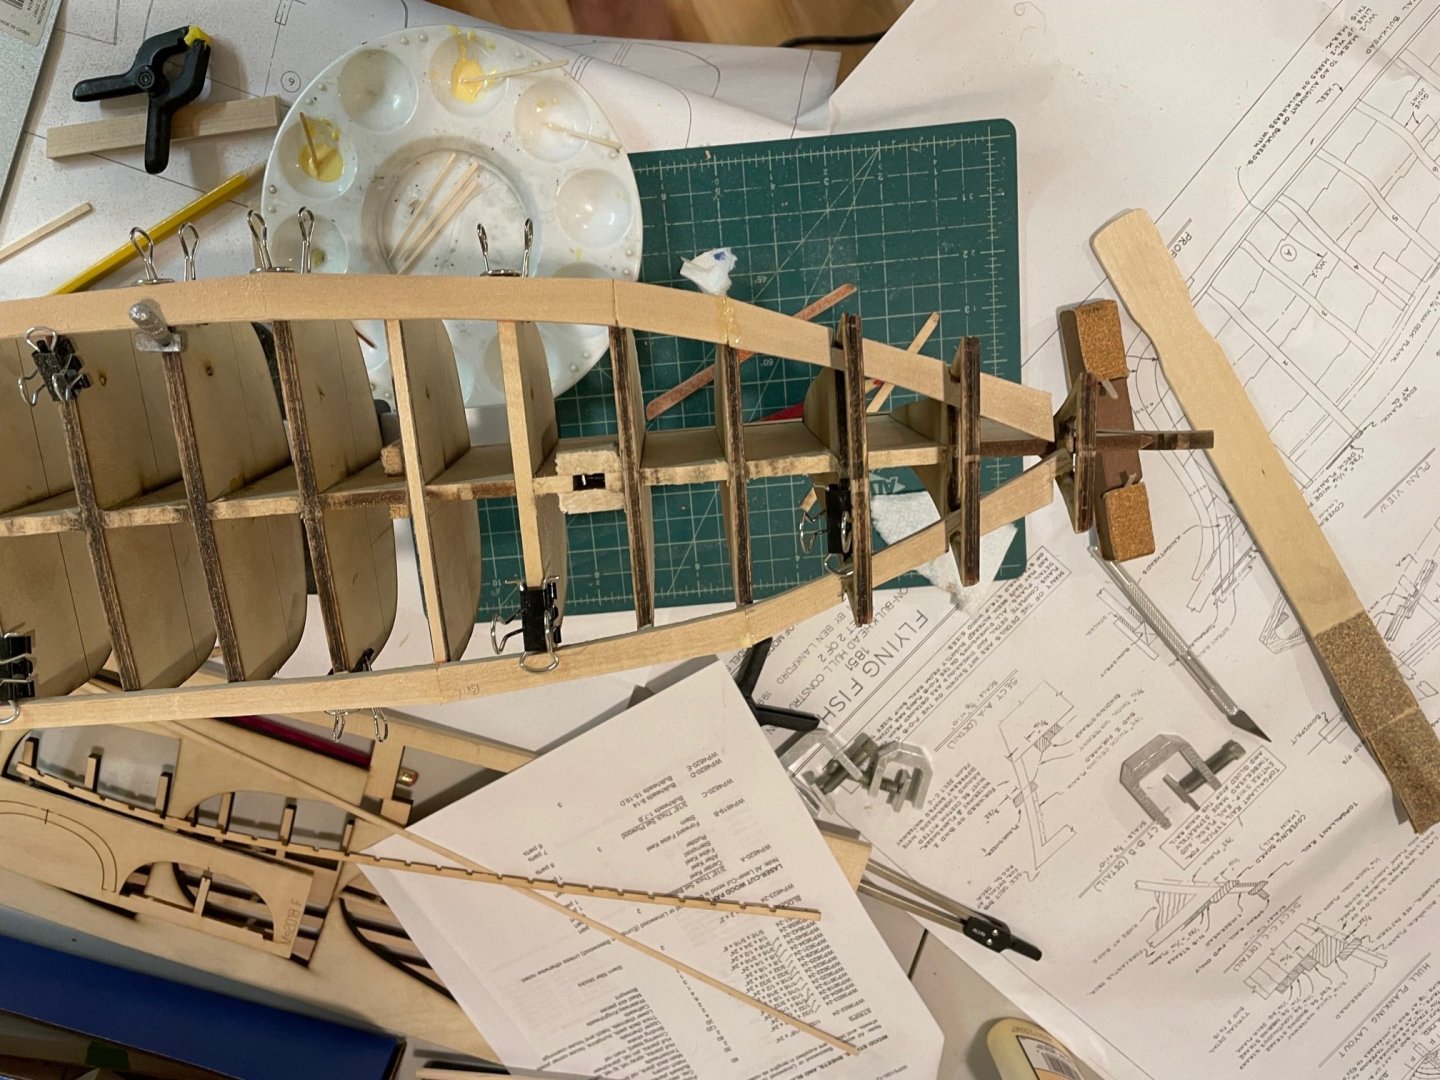
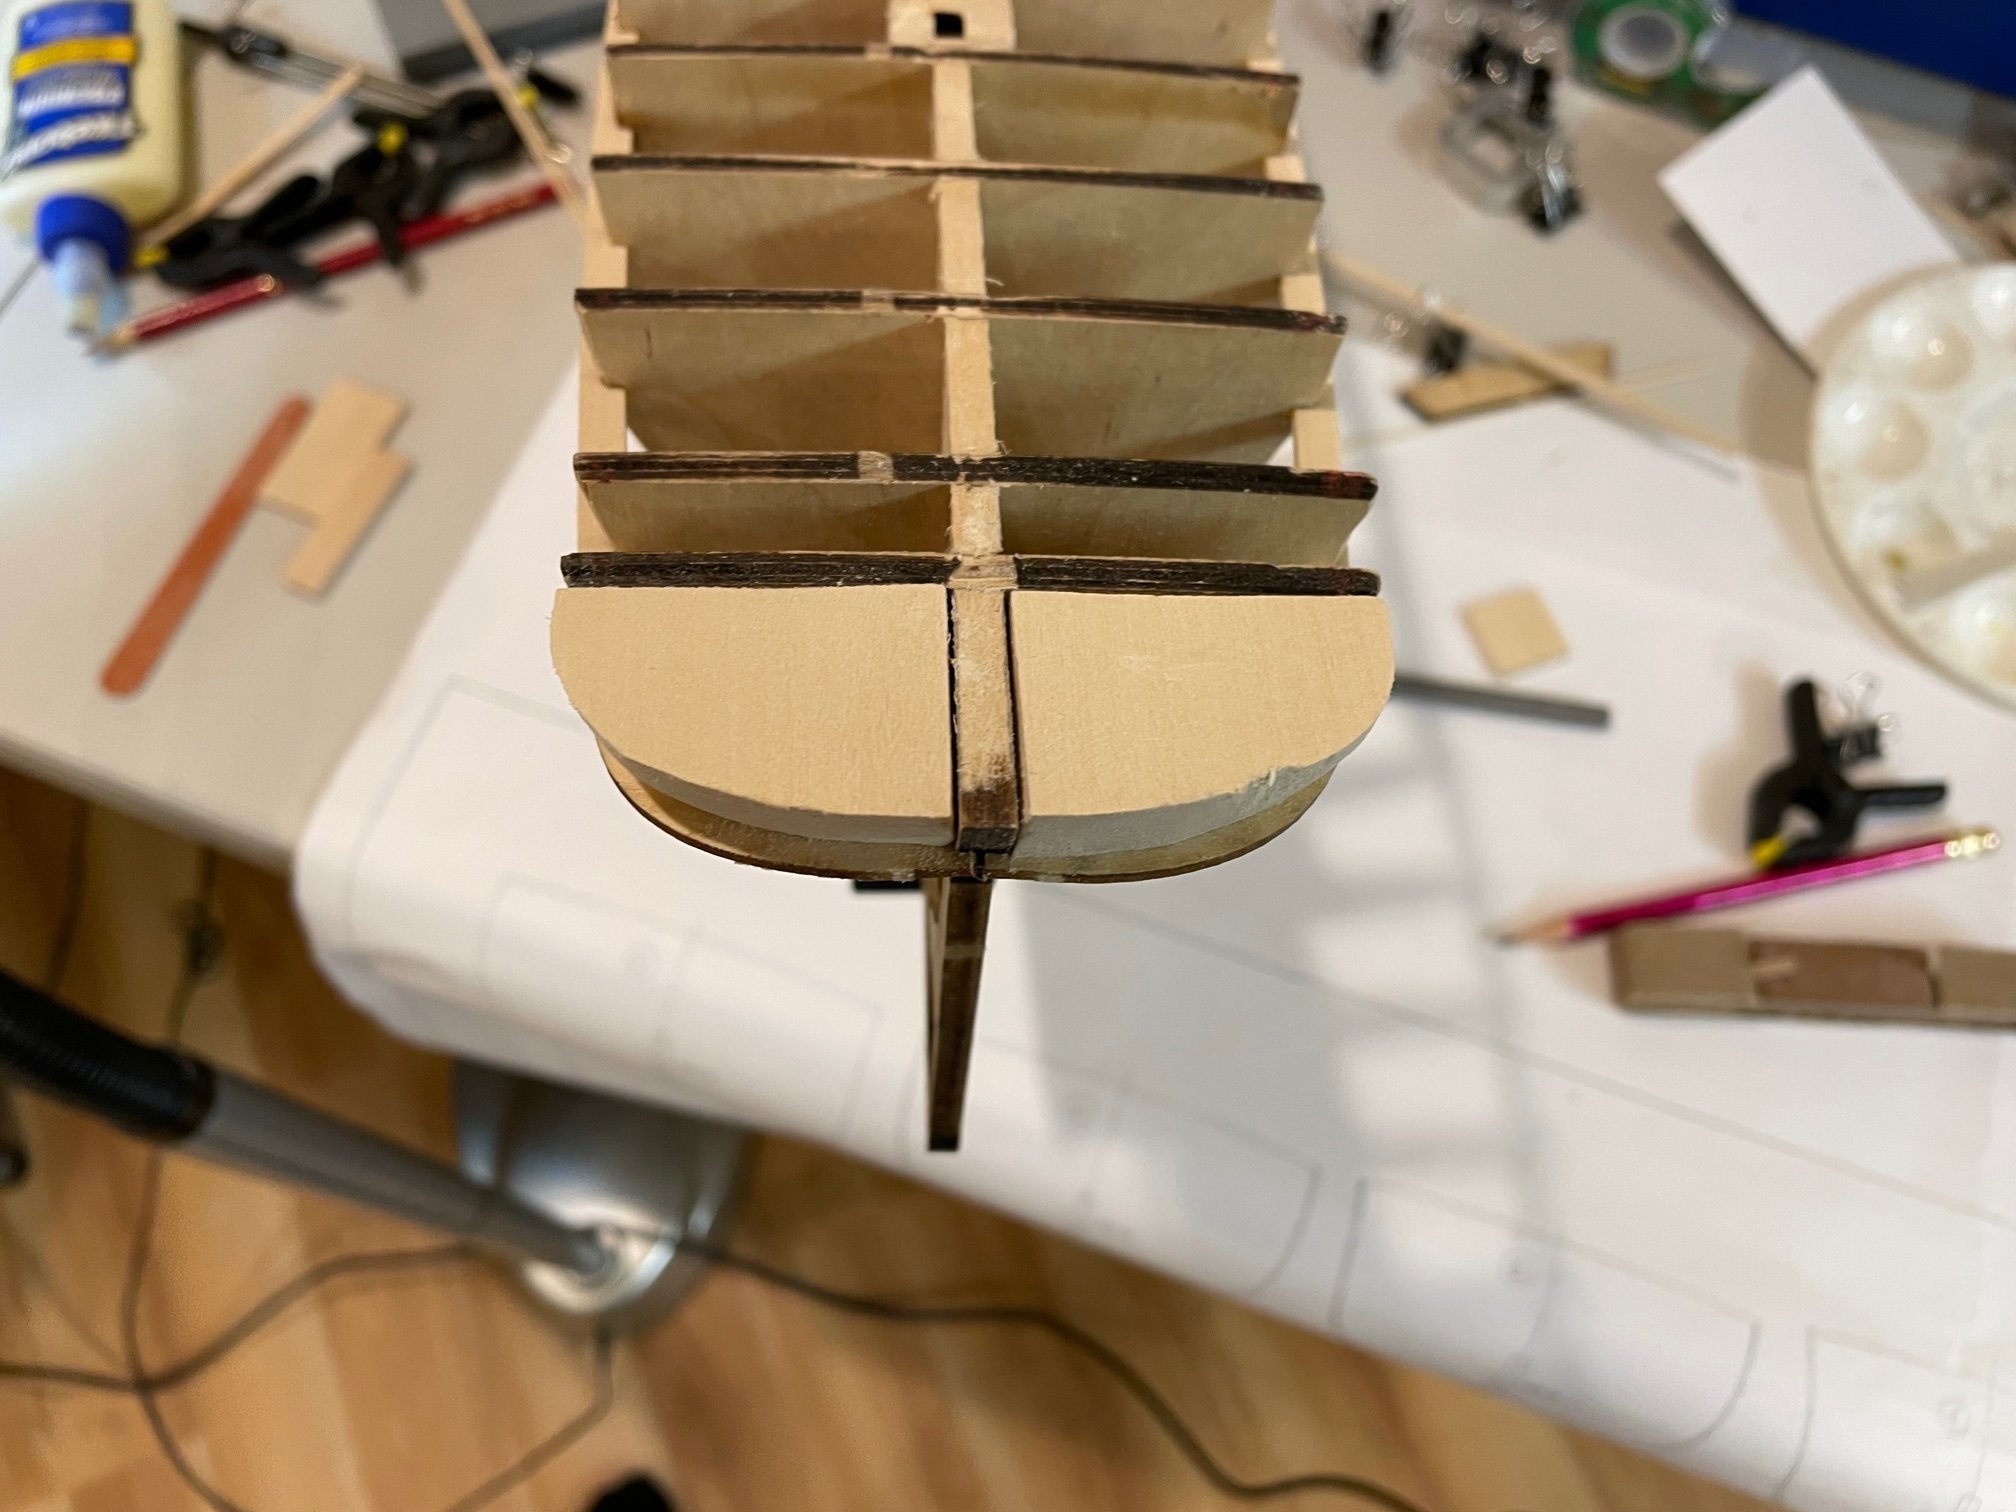
Carved the rabbit and attached the keel pieces

- etubino, JpR62 and Vladimir_Wairoa
-
3
-
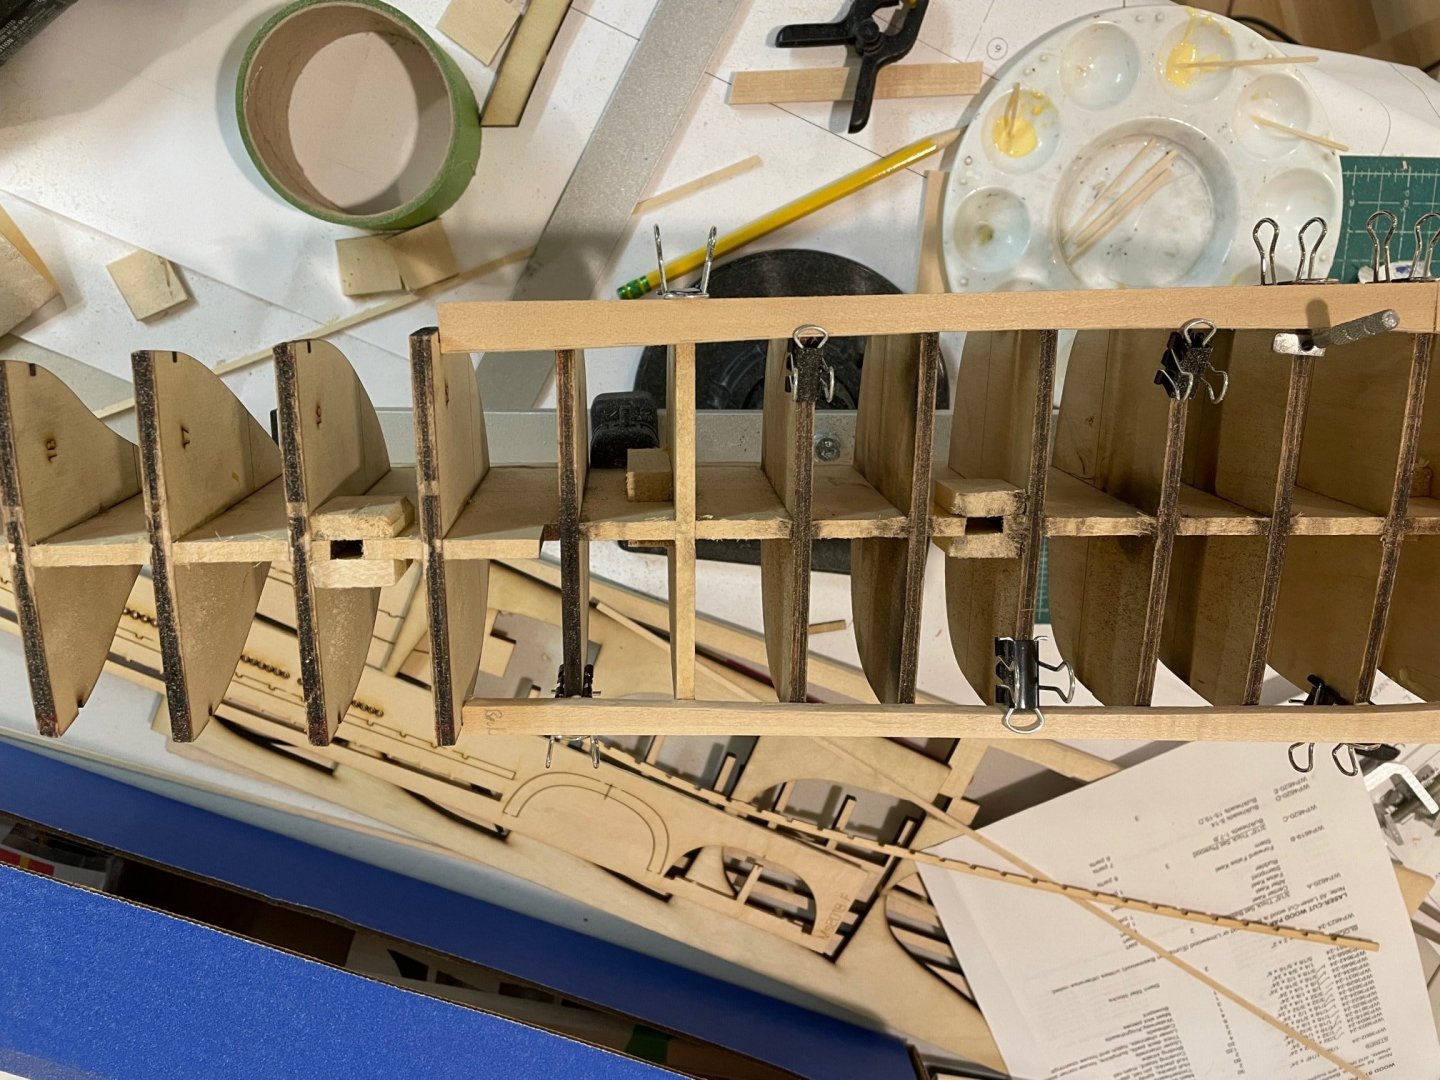
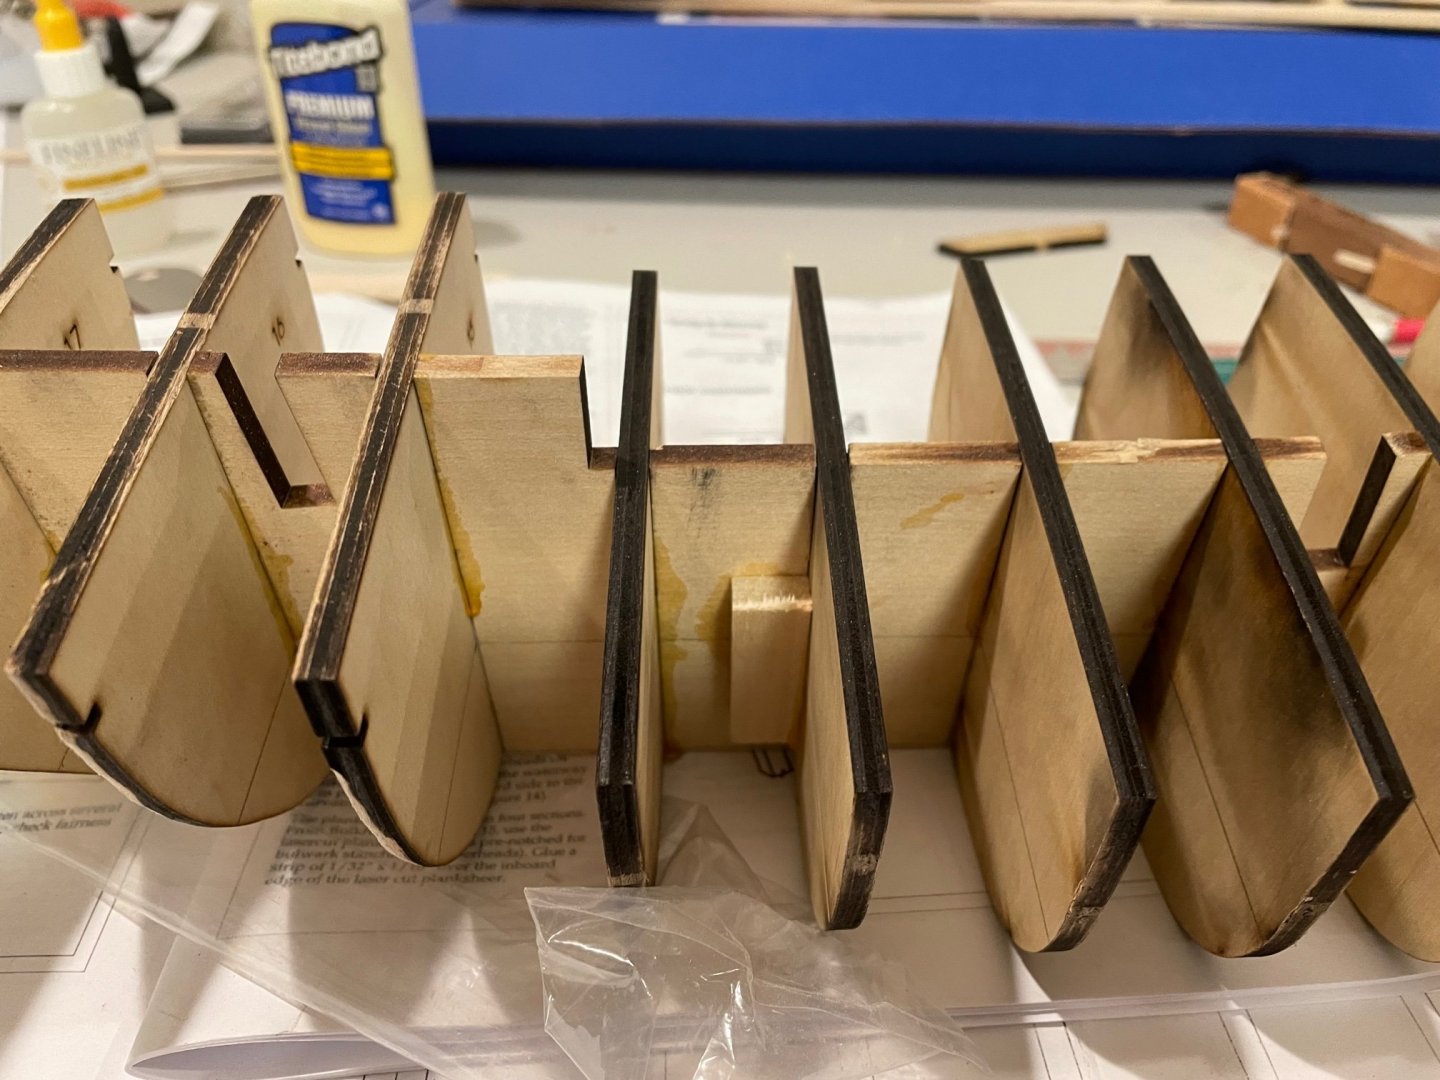
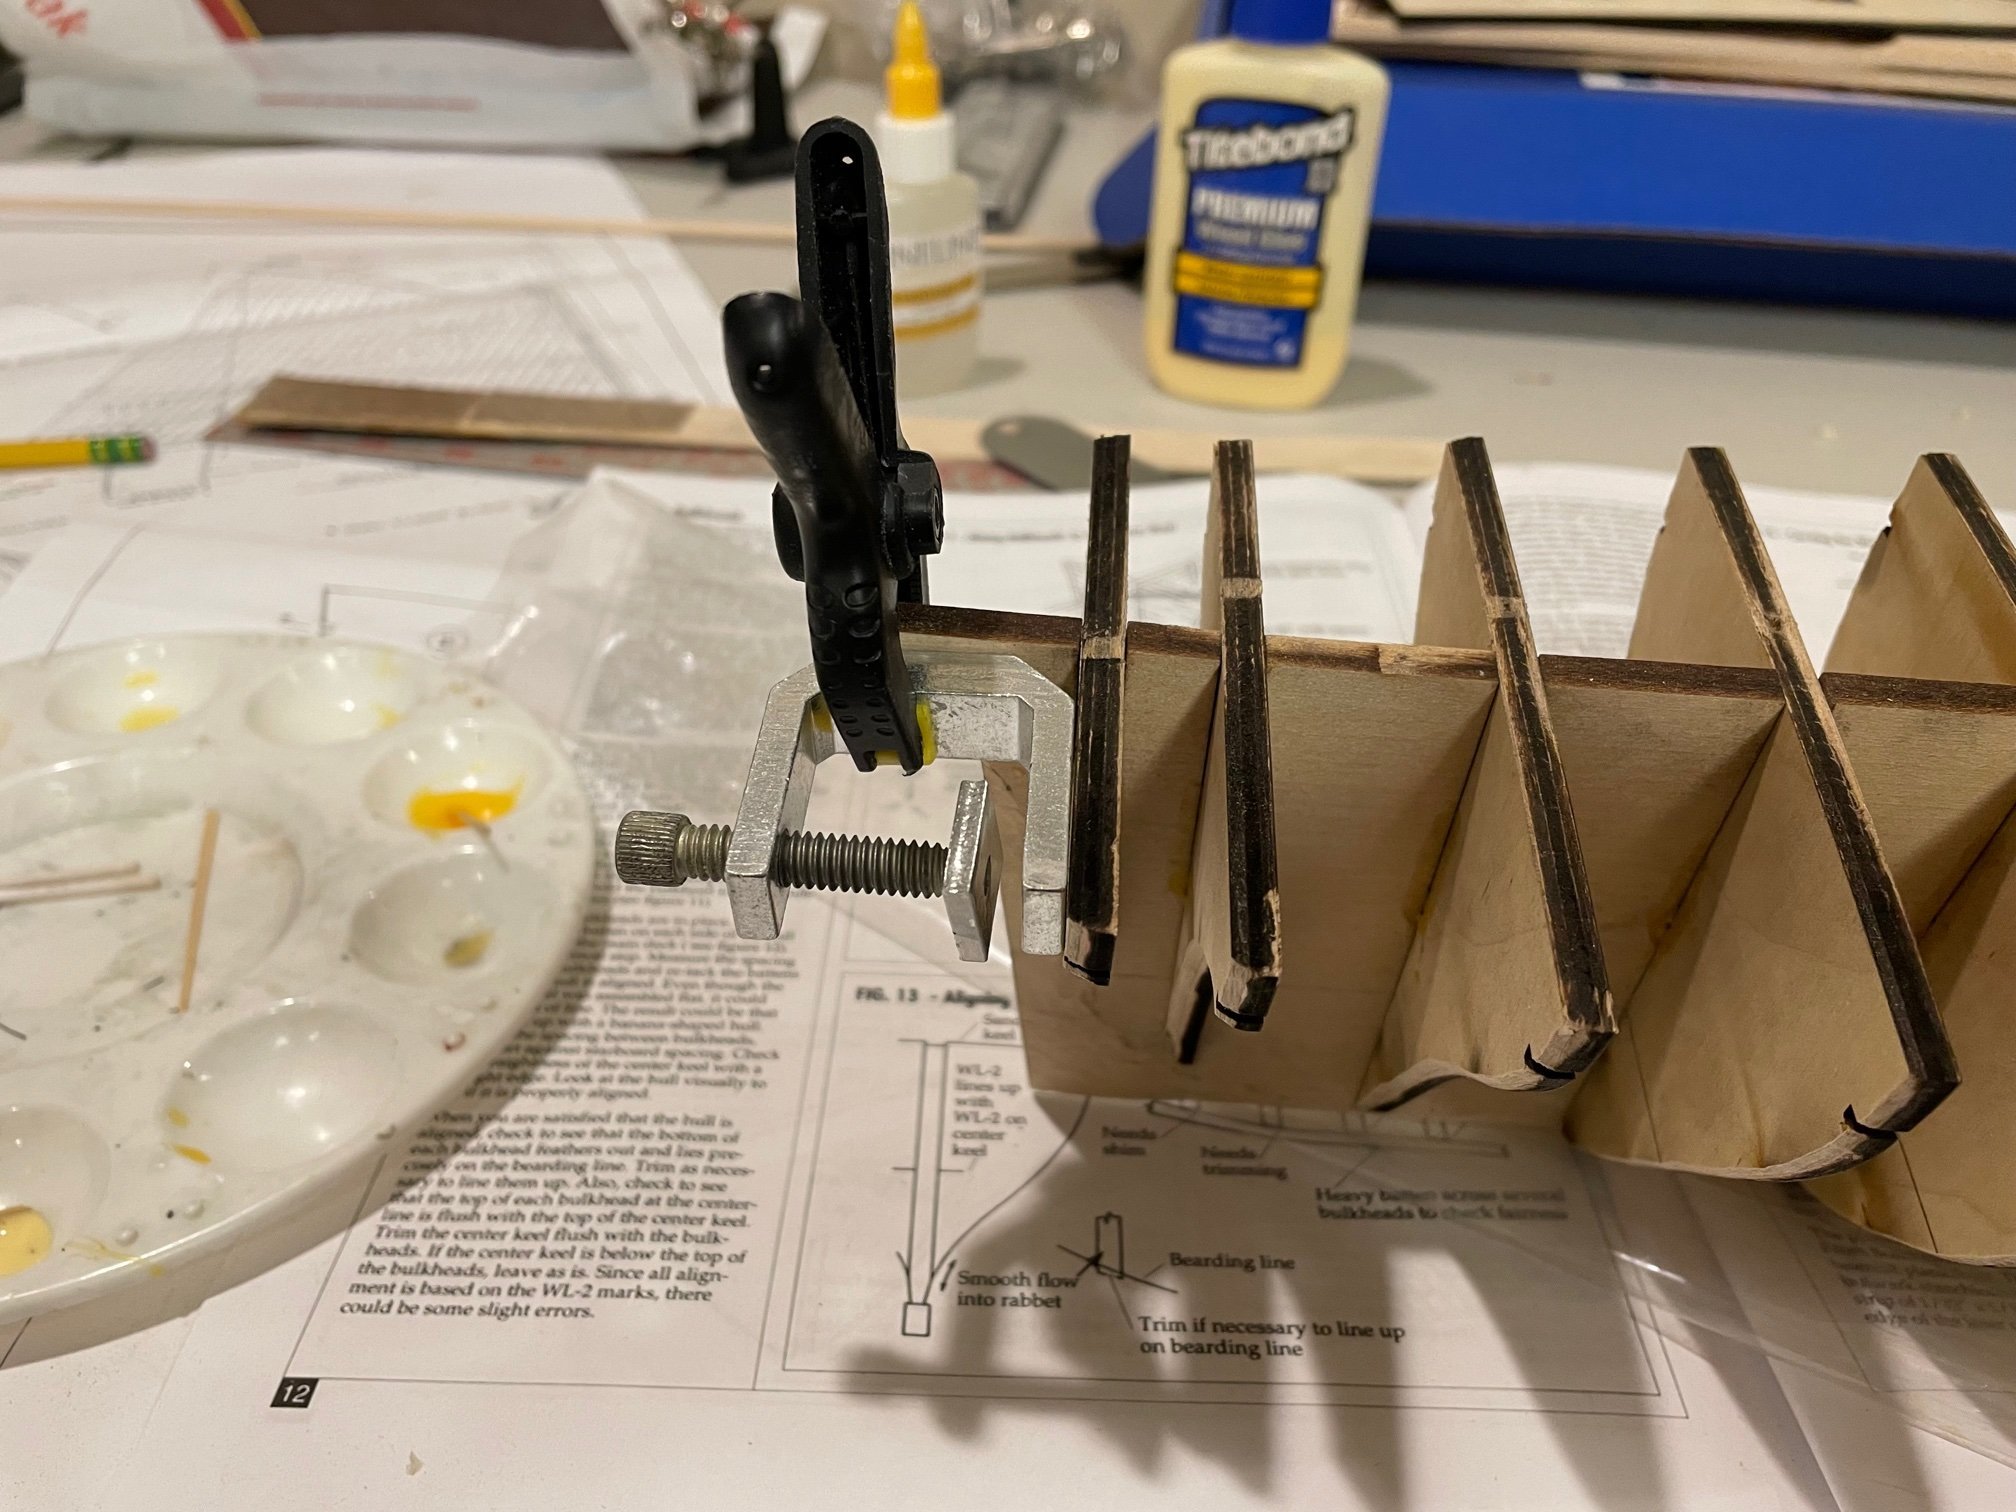
Attached the bulkheads using some clamps as squares to ensure they were all perpendicular.


-
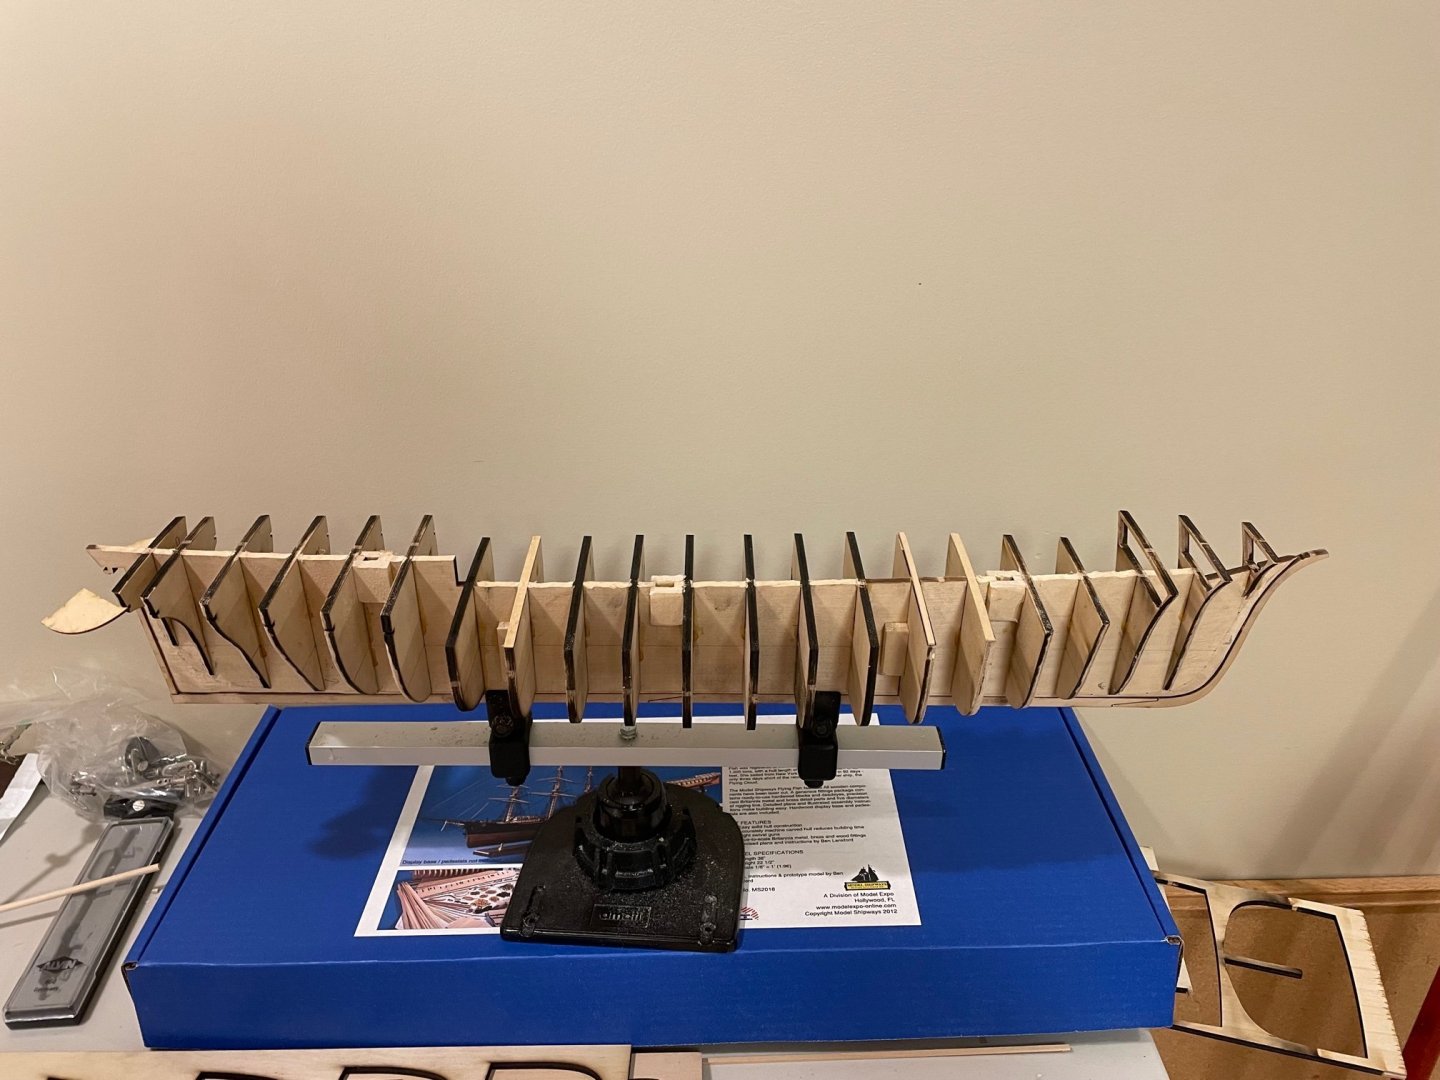
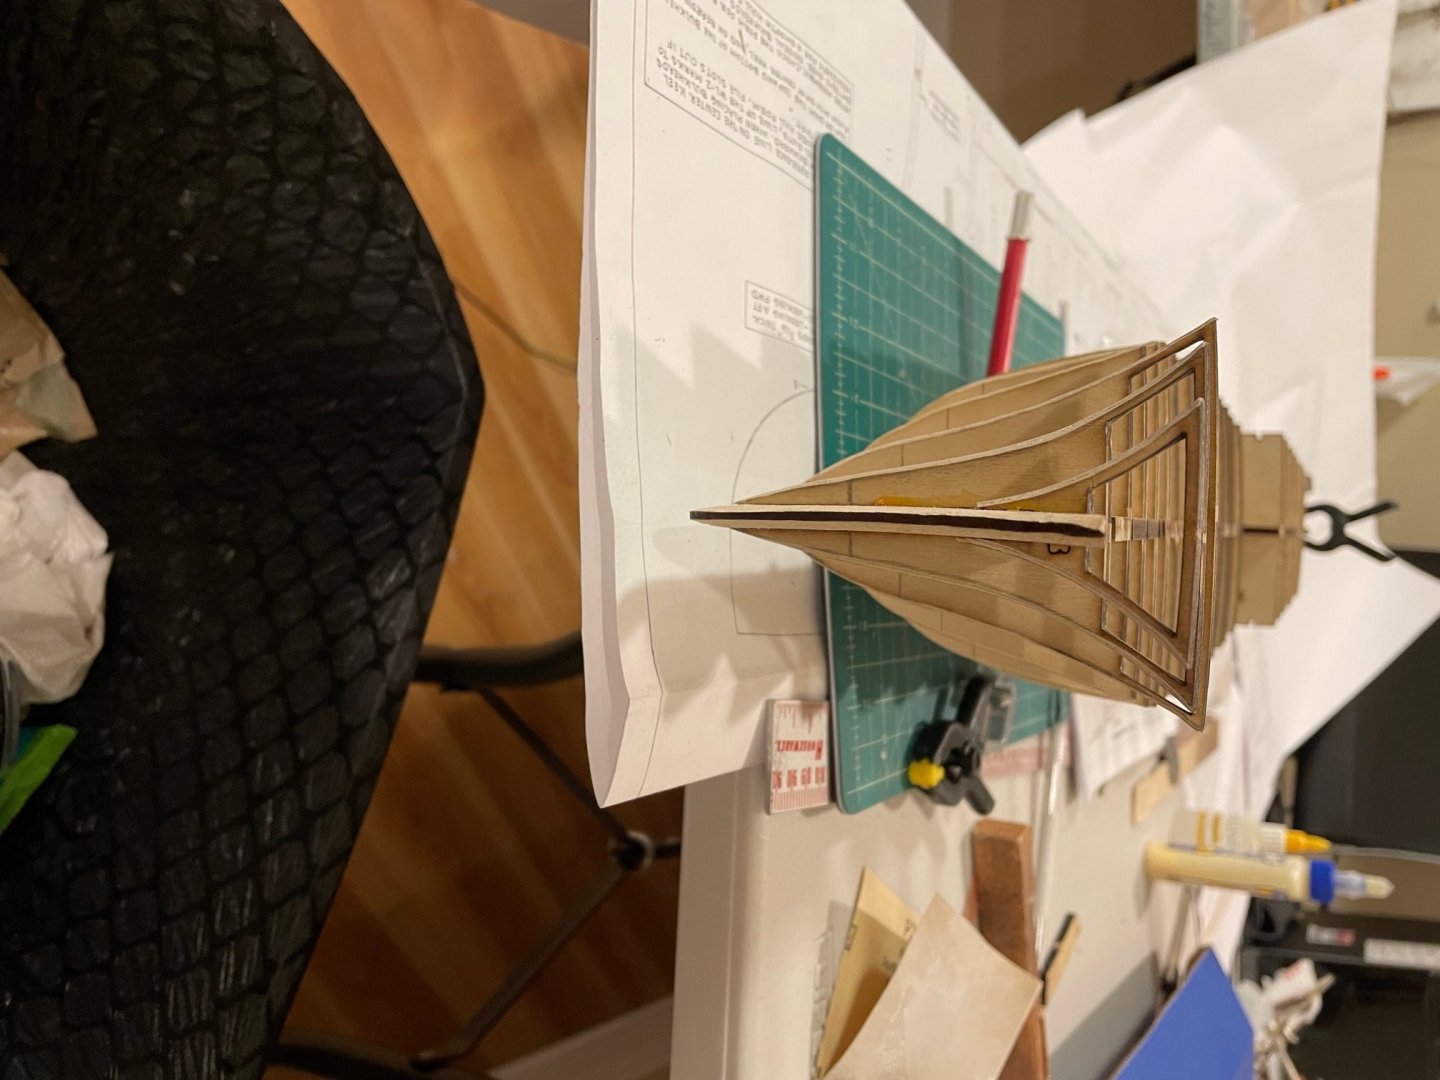
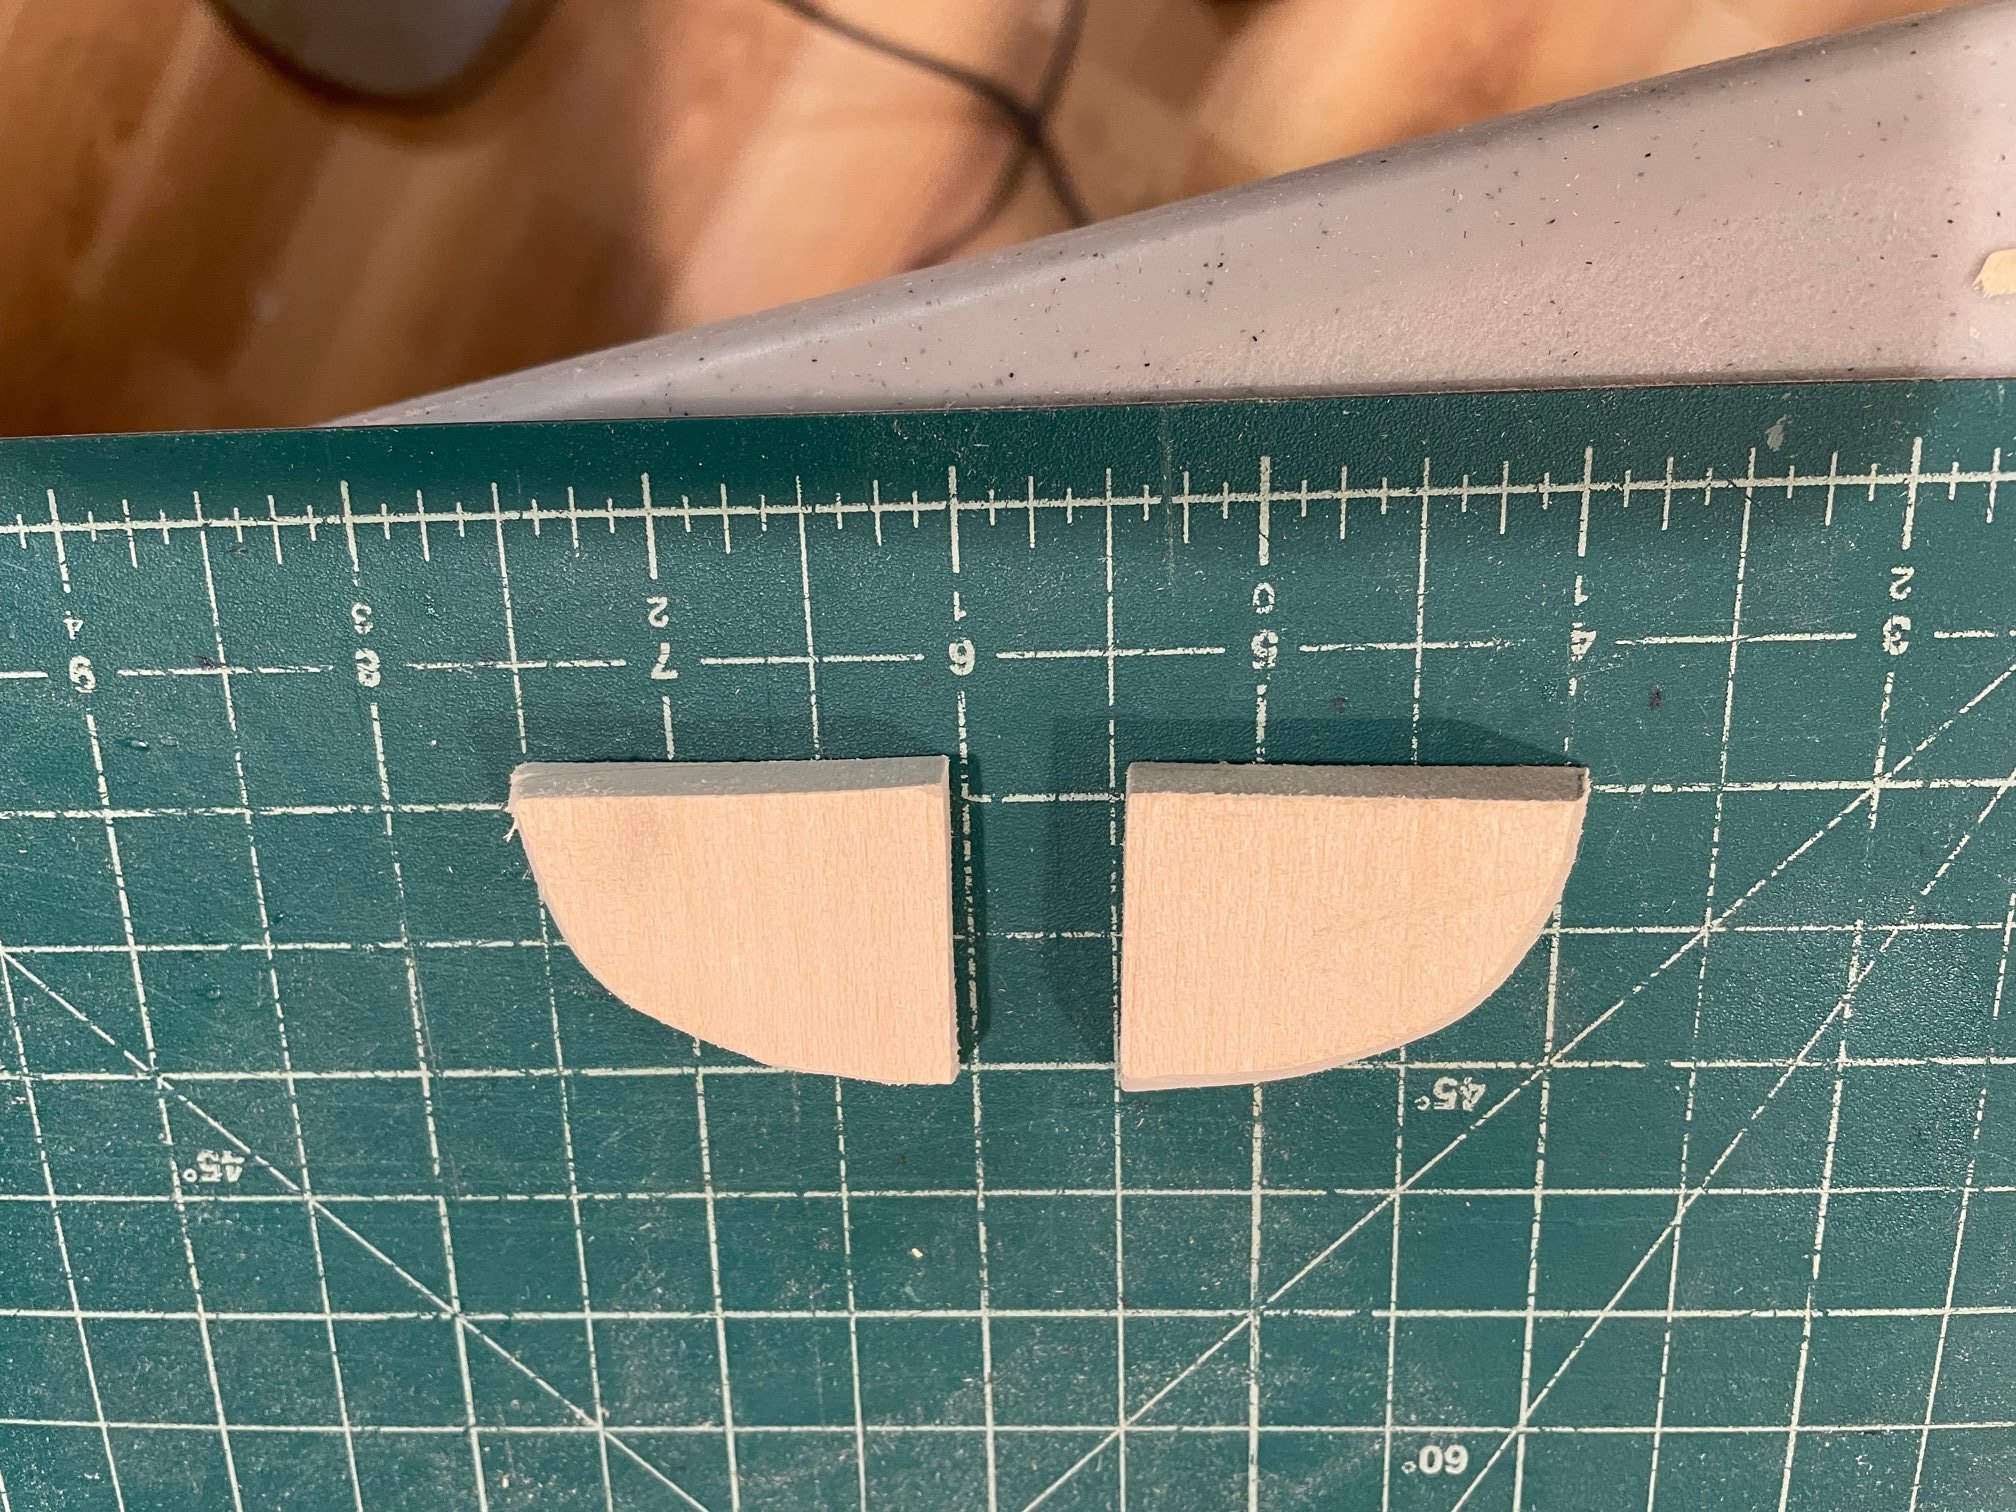
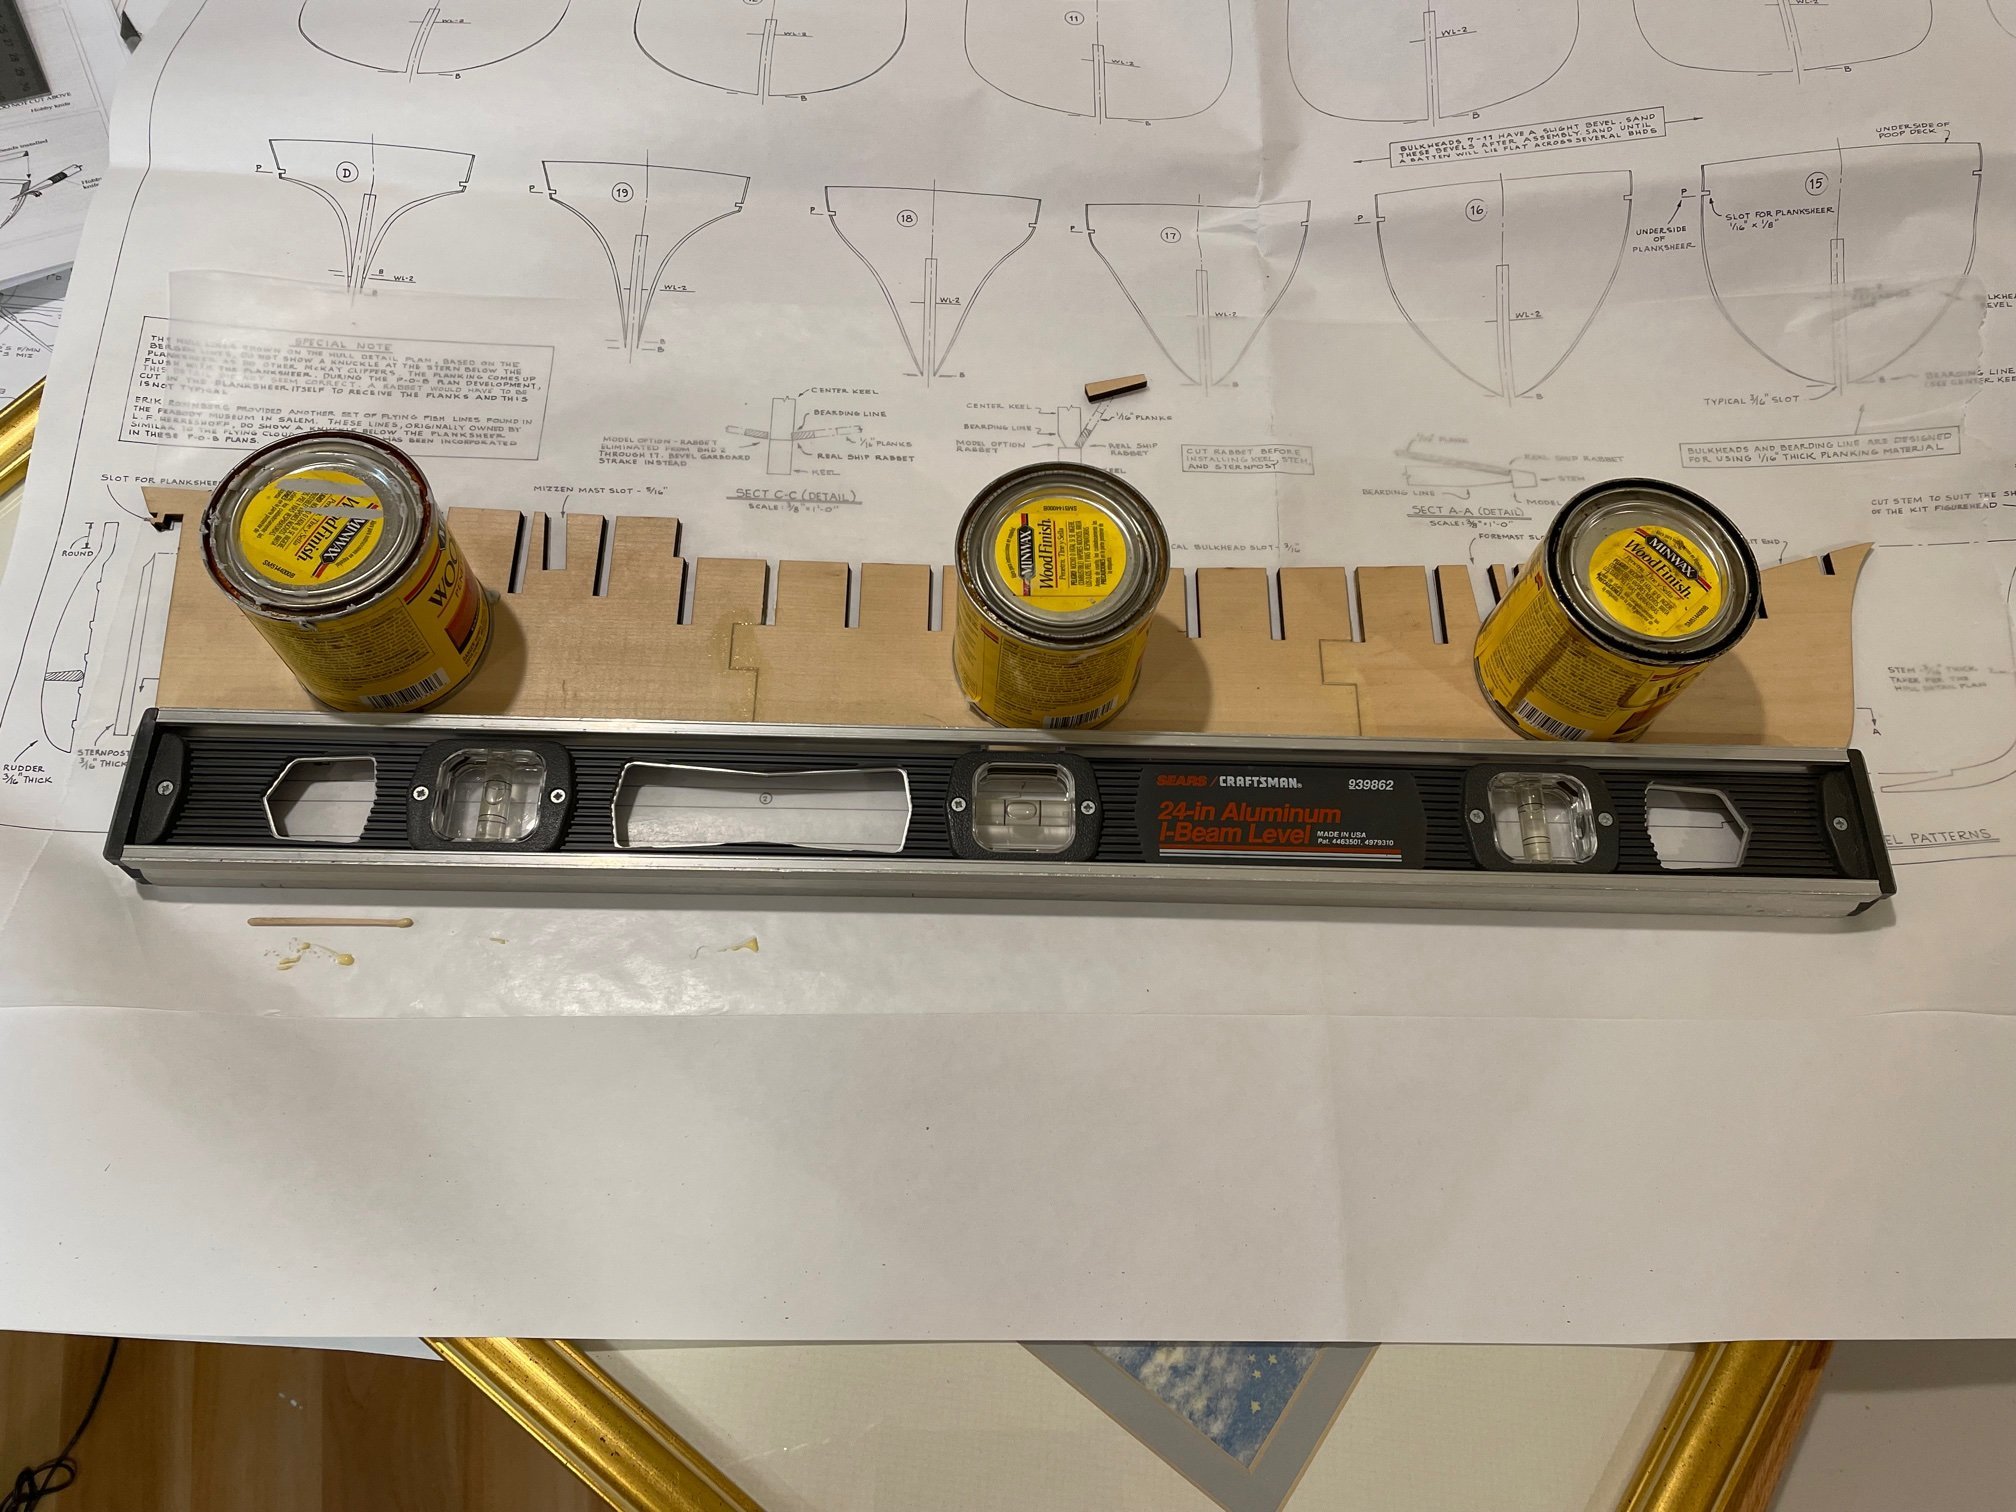
Started with gluing the center together. As instructions indicated I did this on a large glass picture frame to keep it straight

-
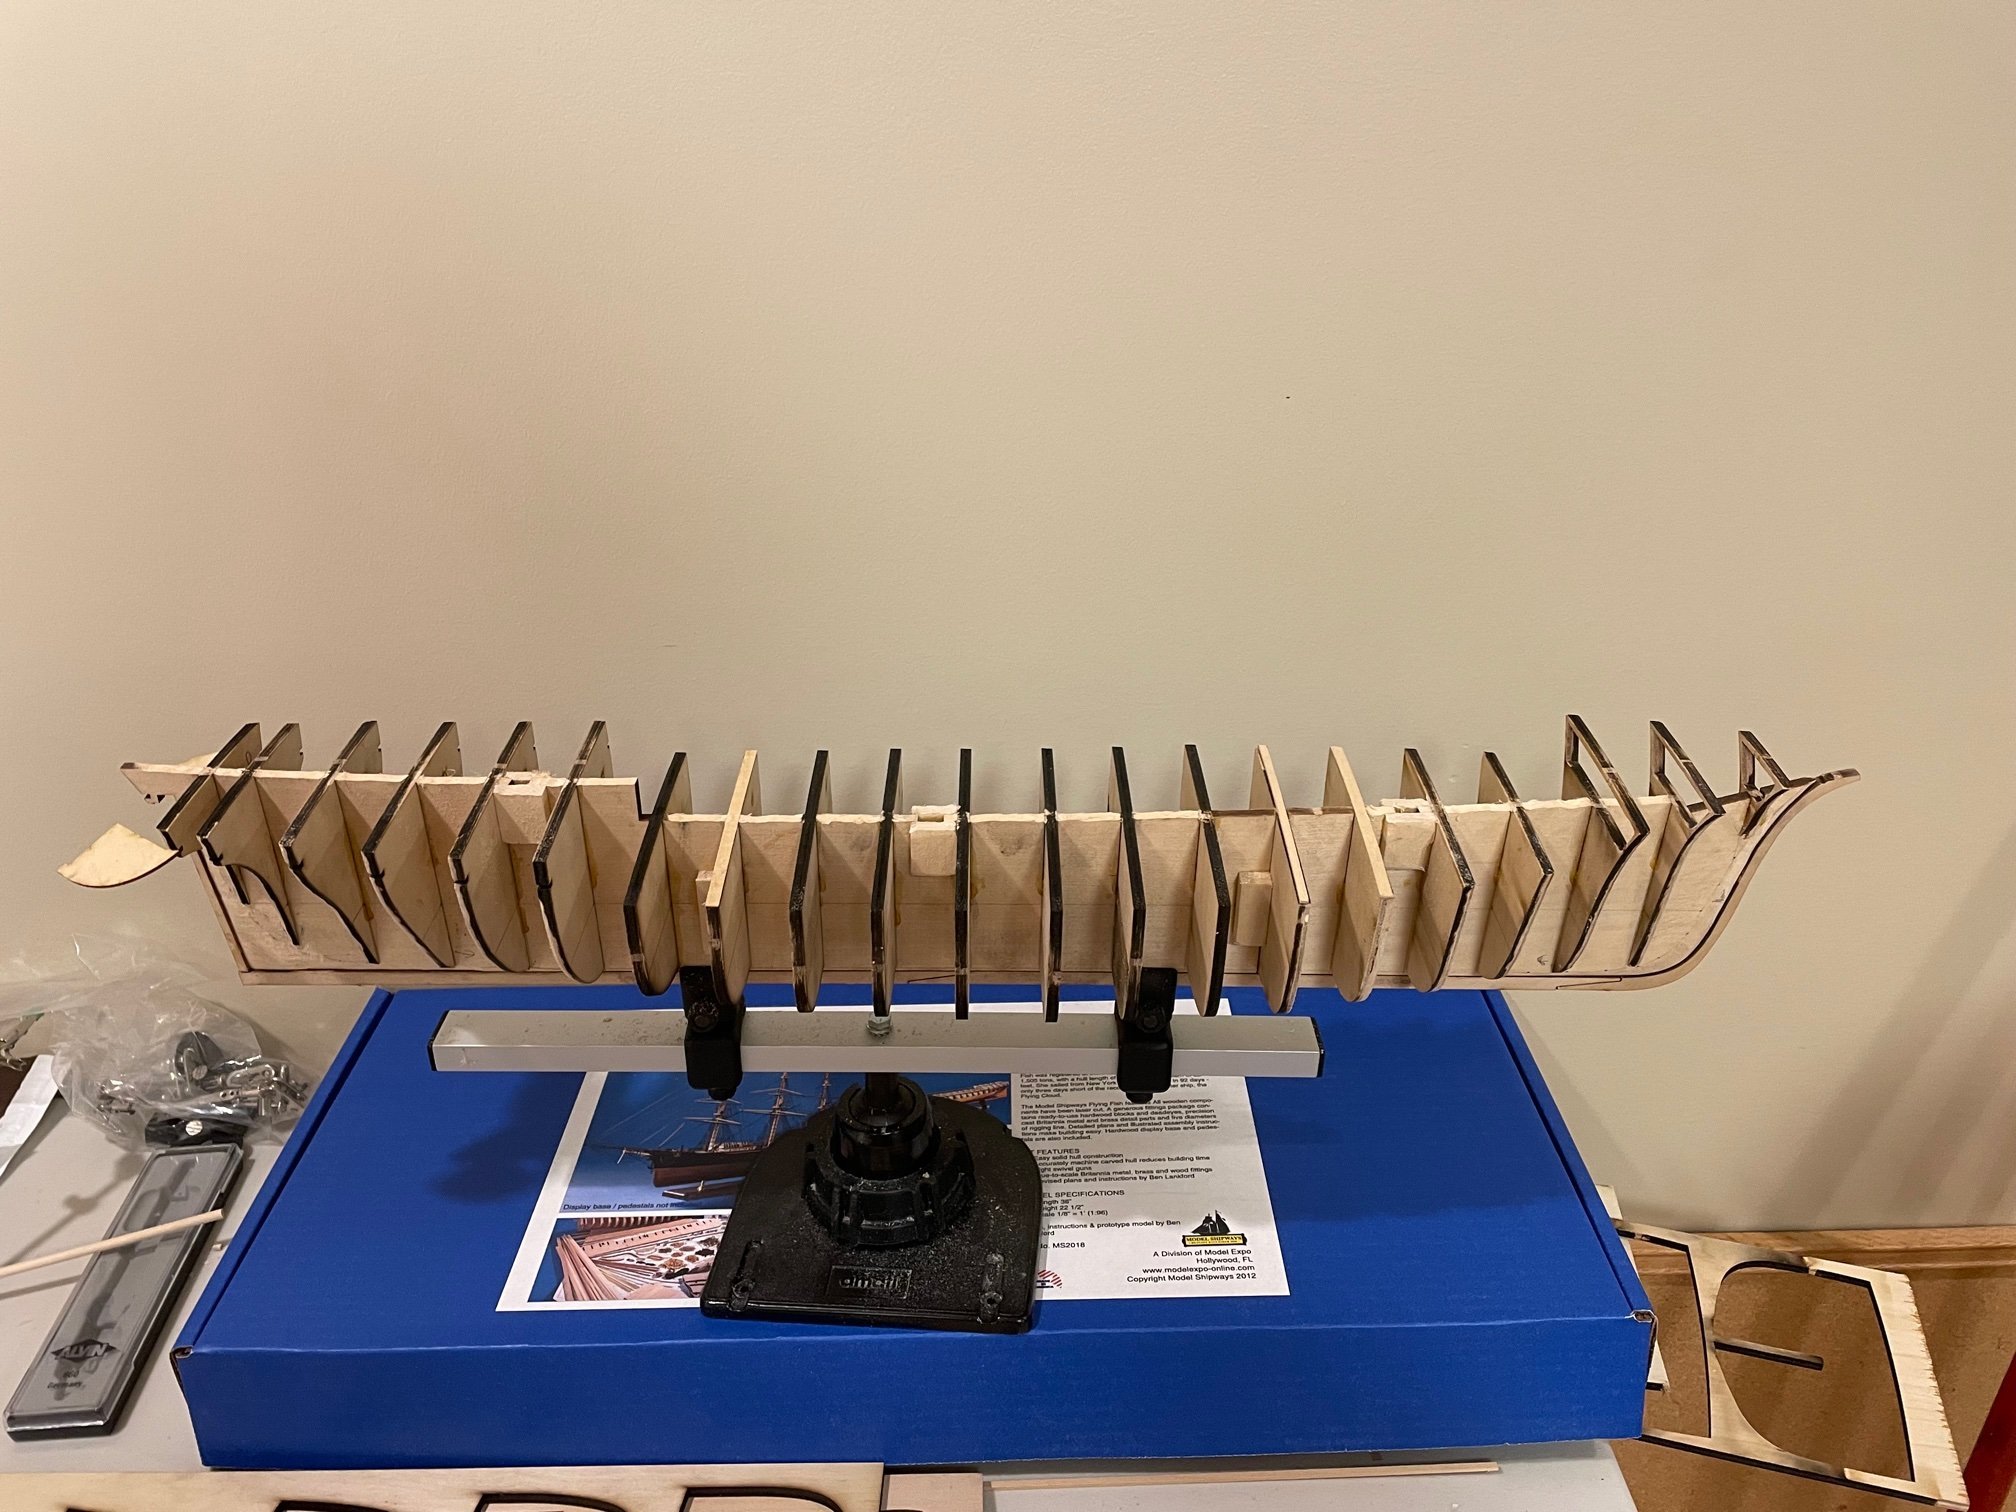
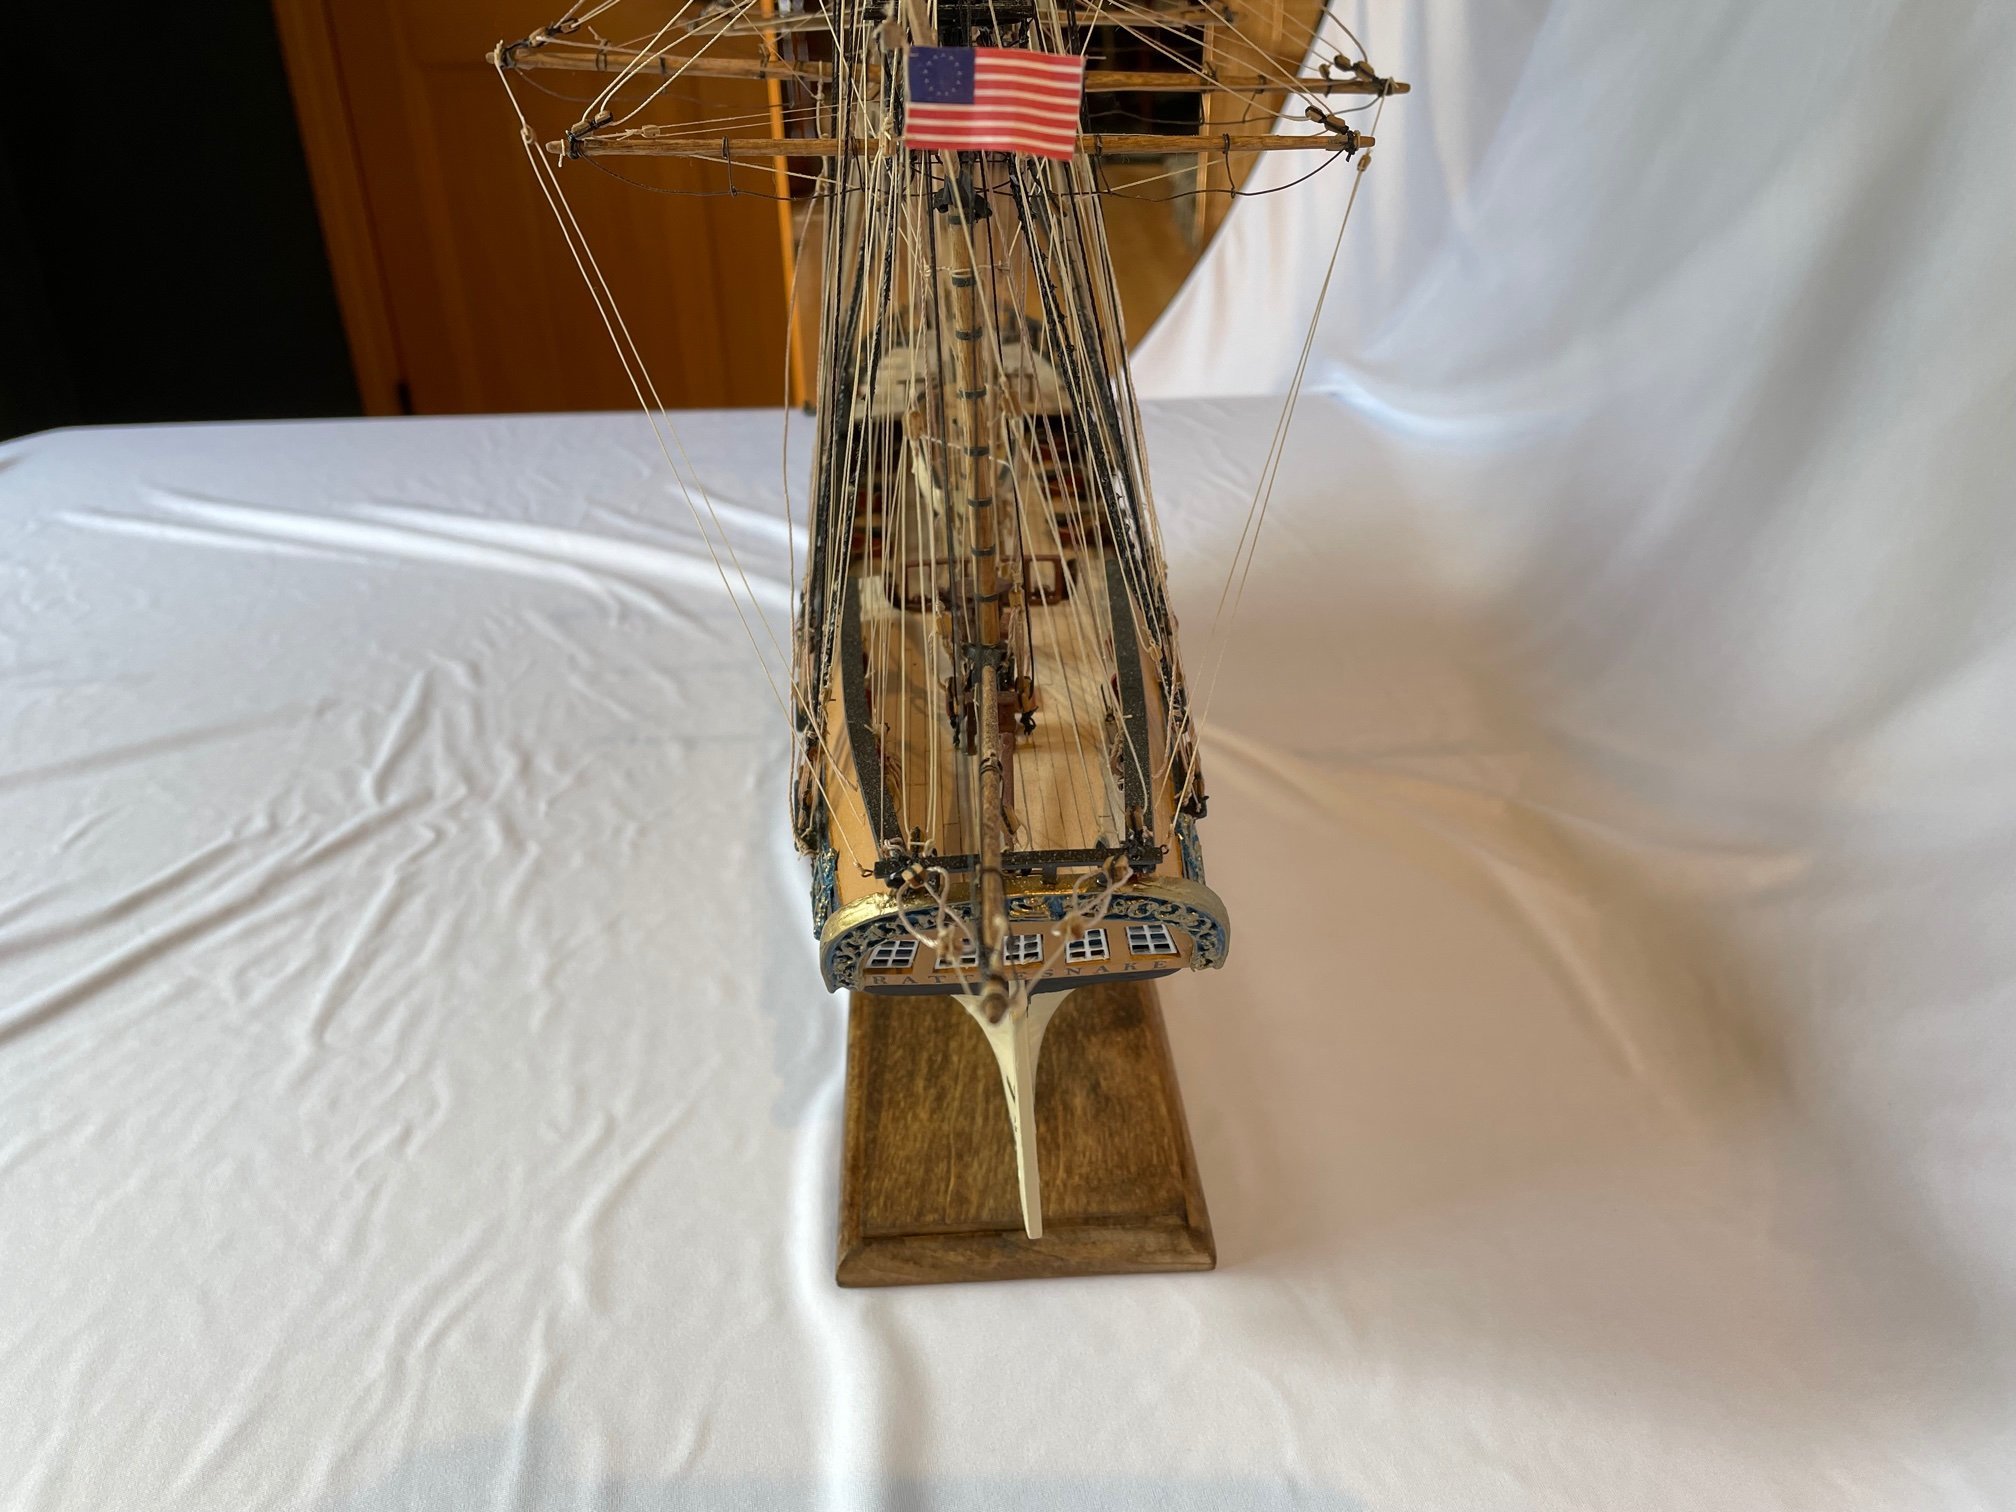
Starting up with my 3rd Build after the Phantom and Rattlesnake.

-
-
-
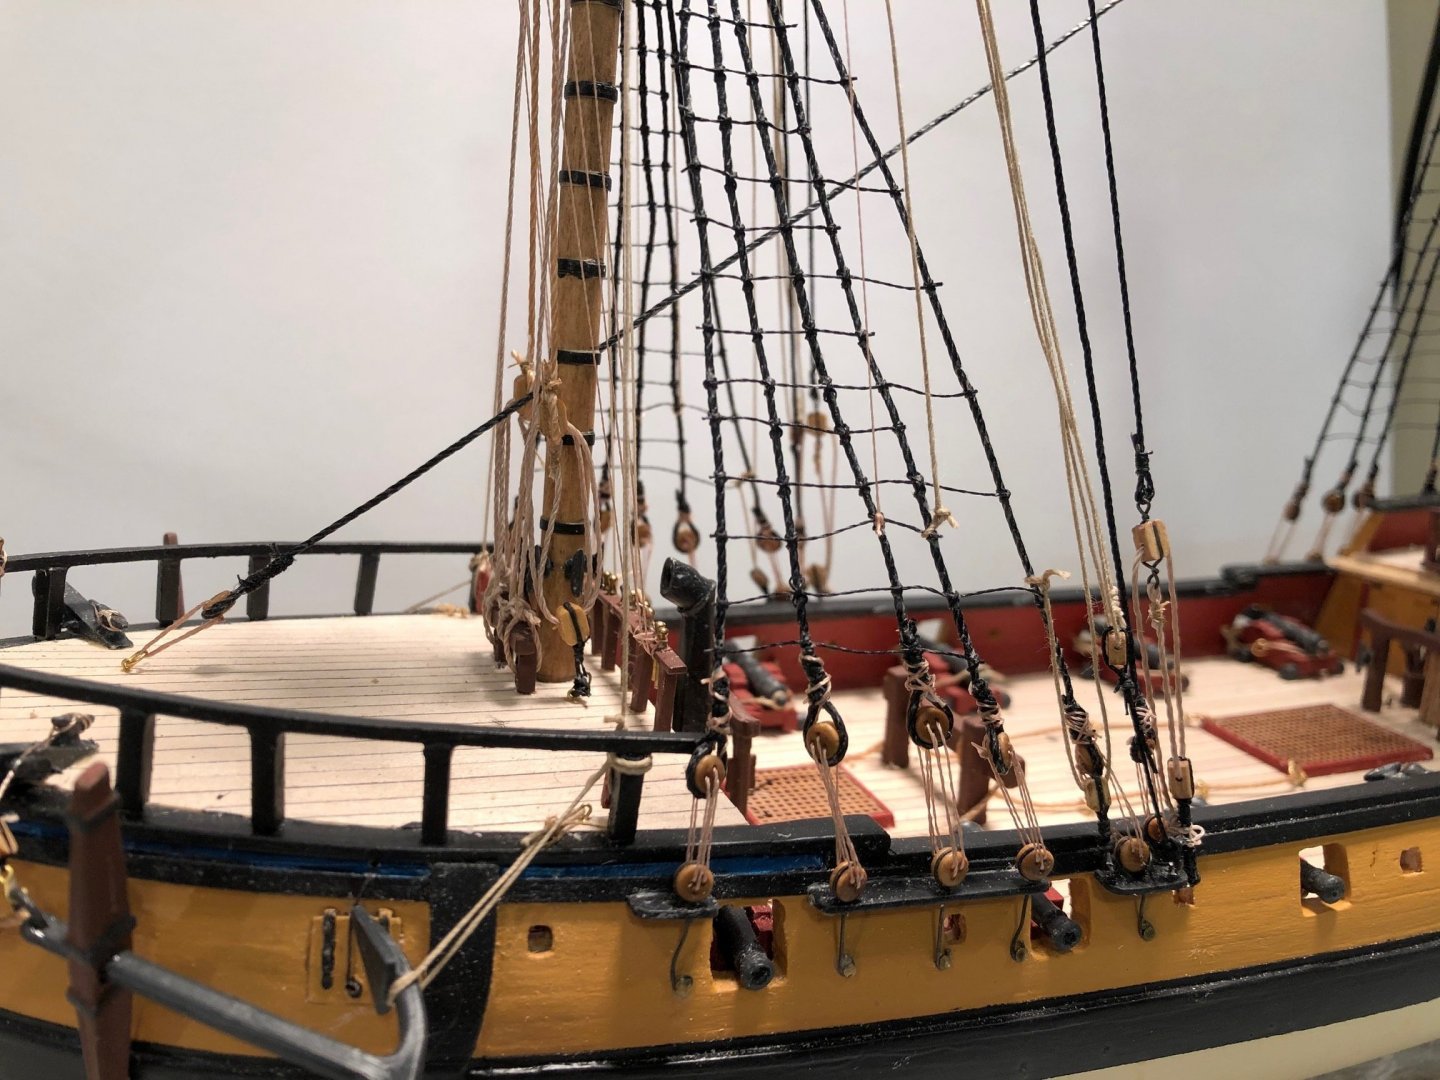
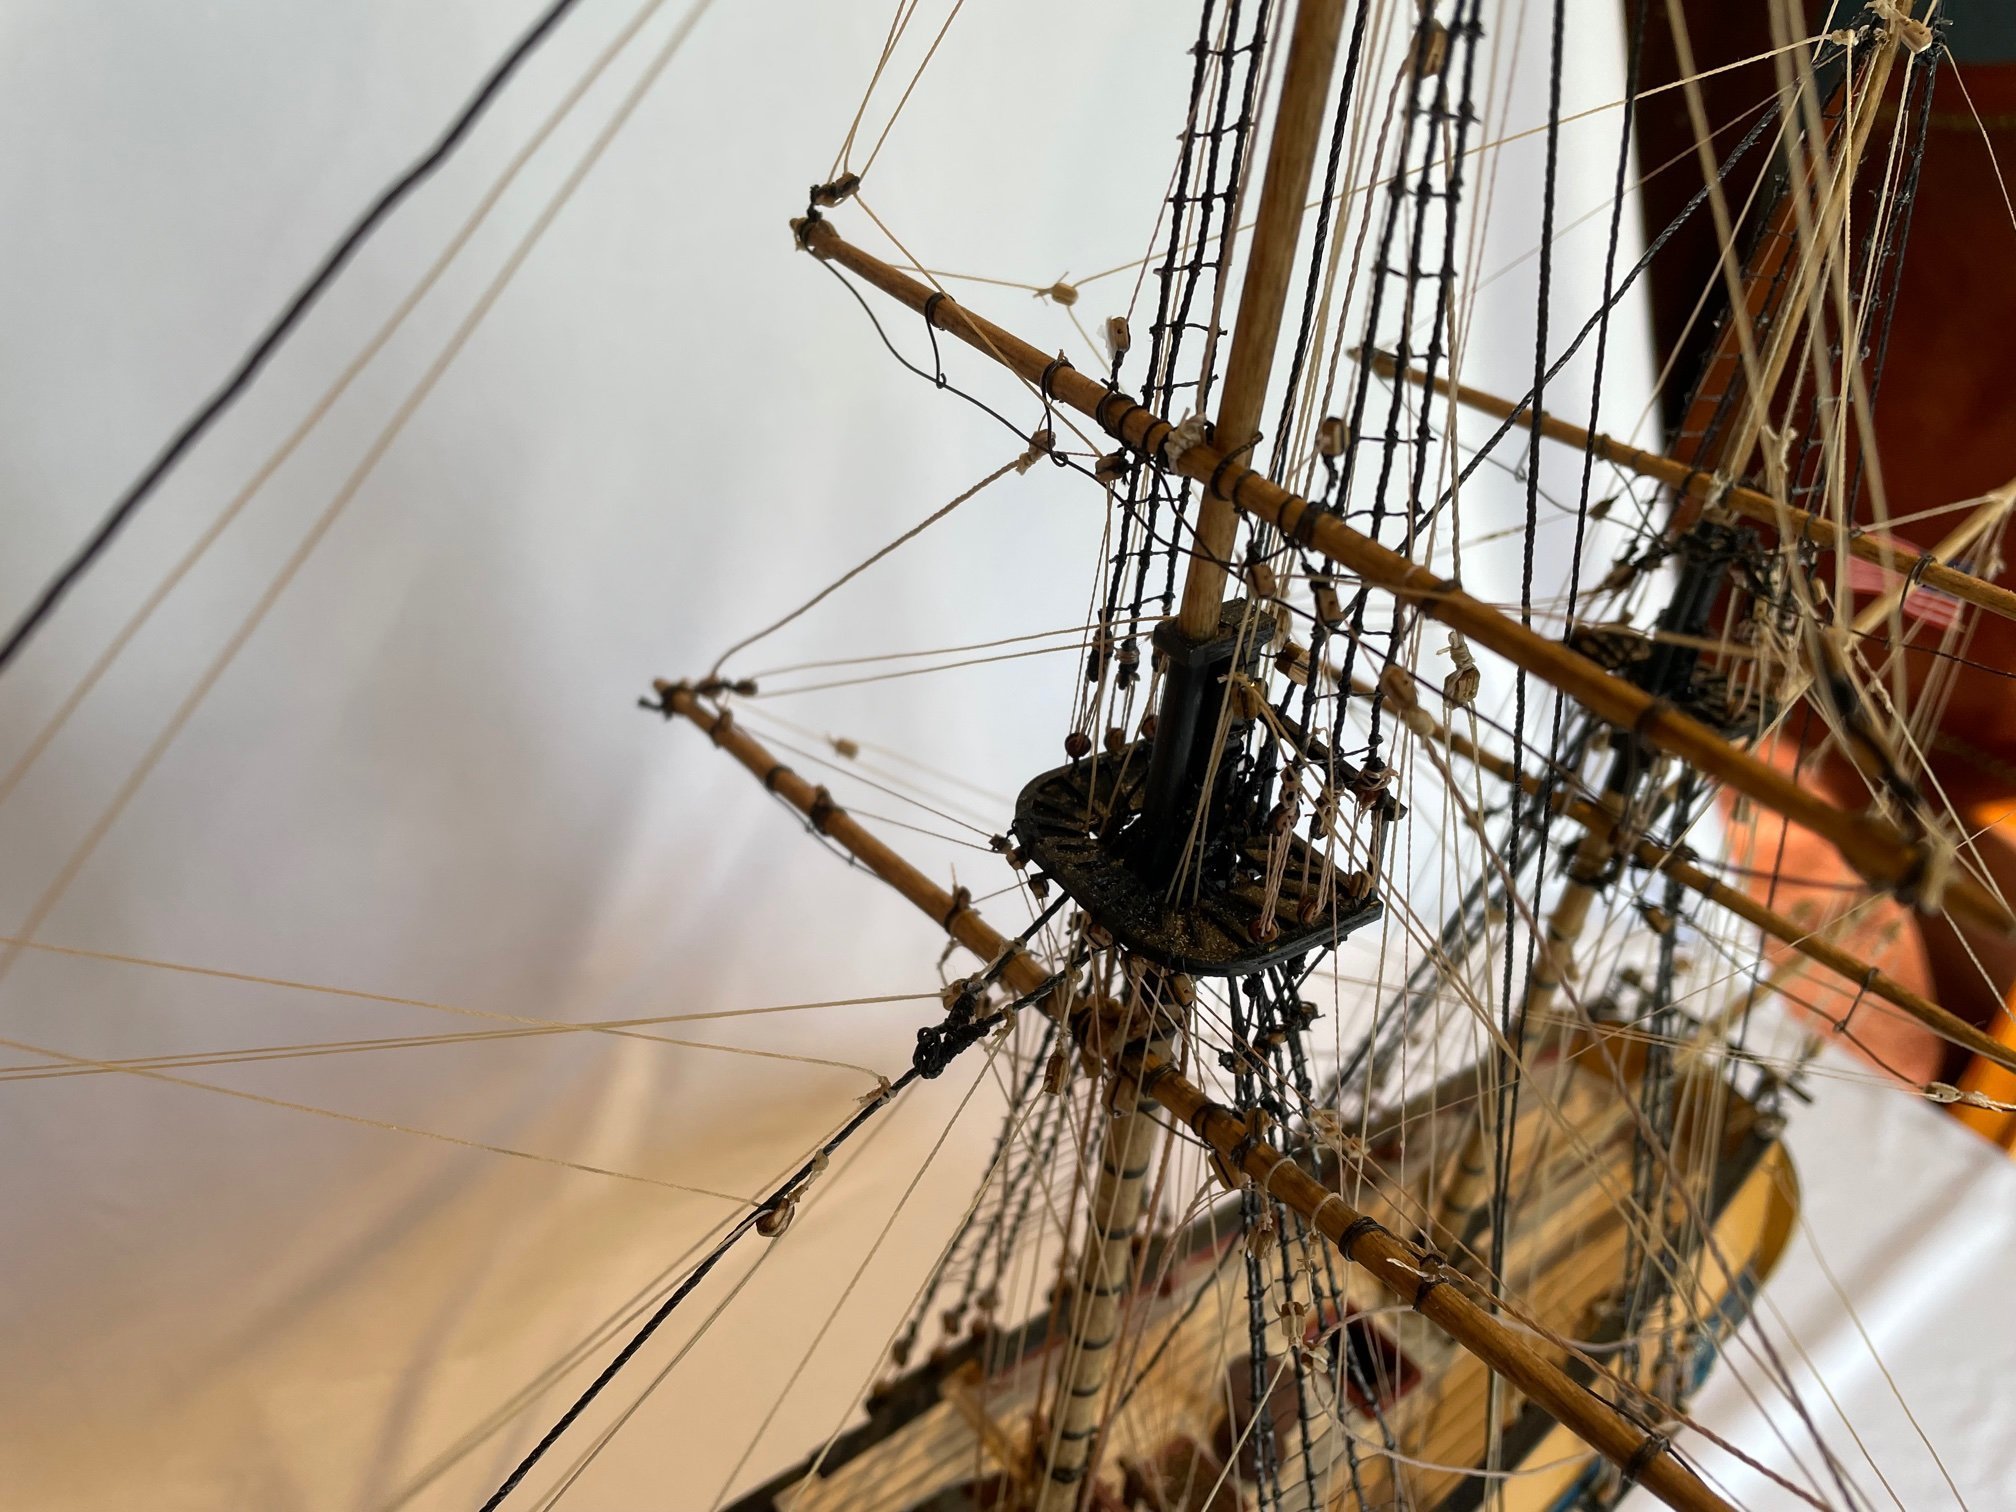
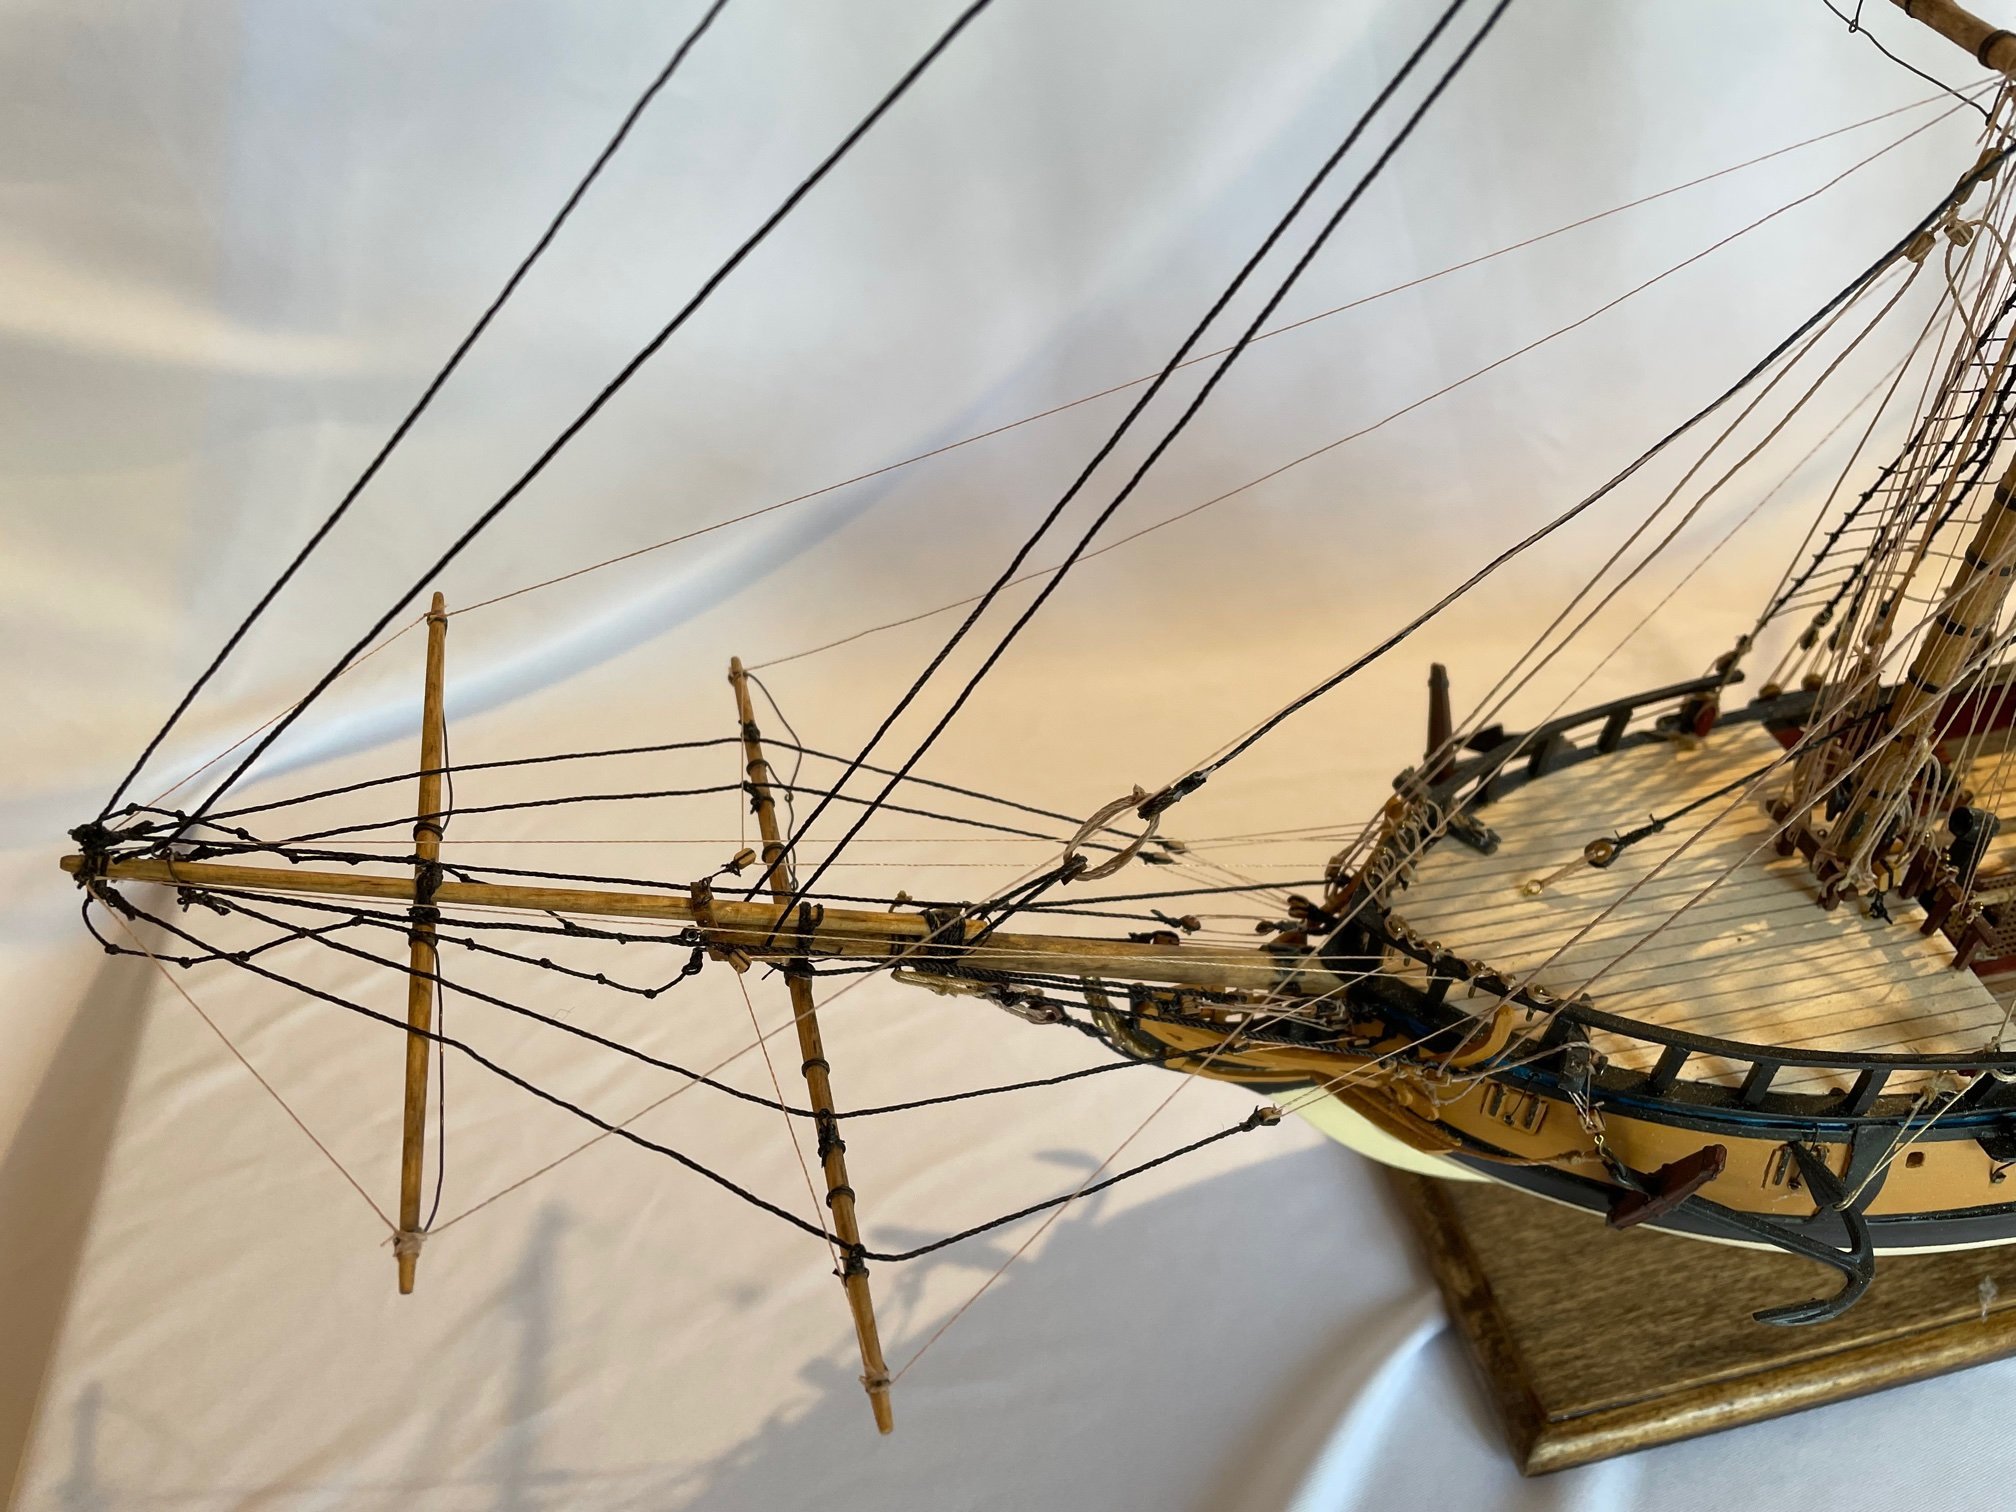
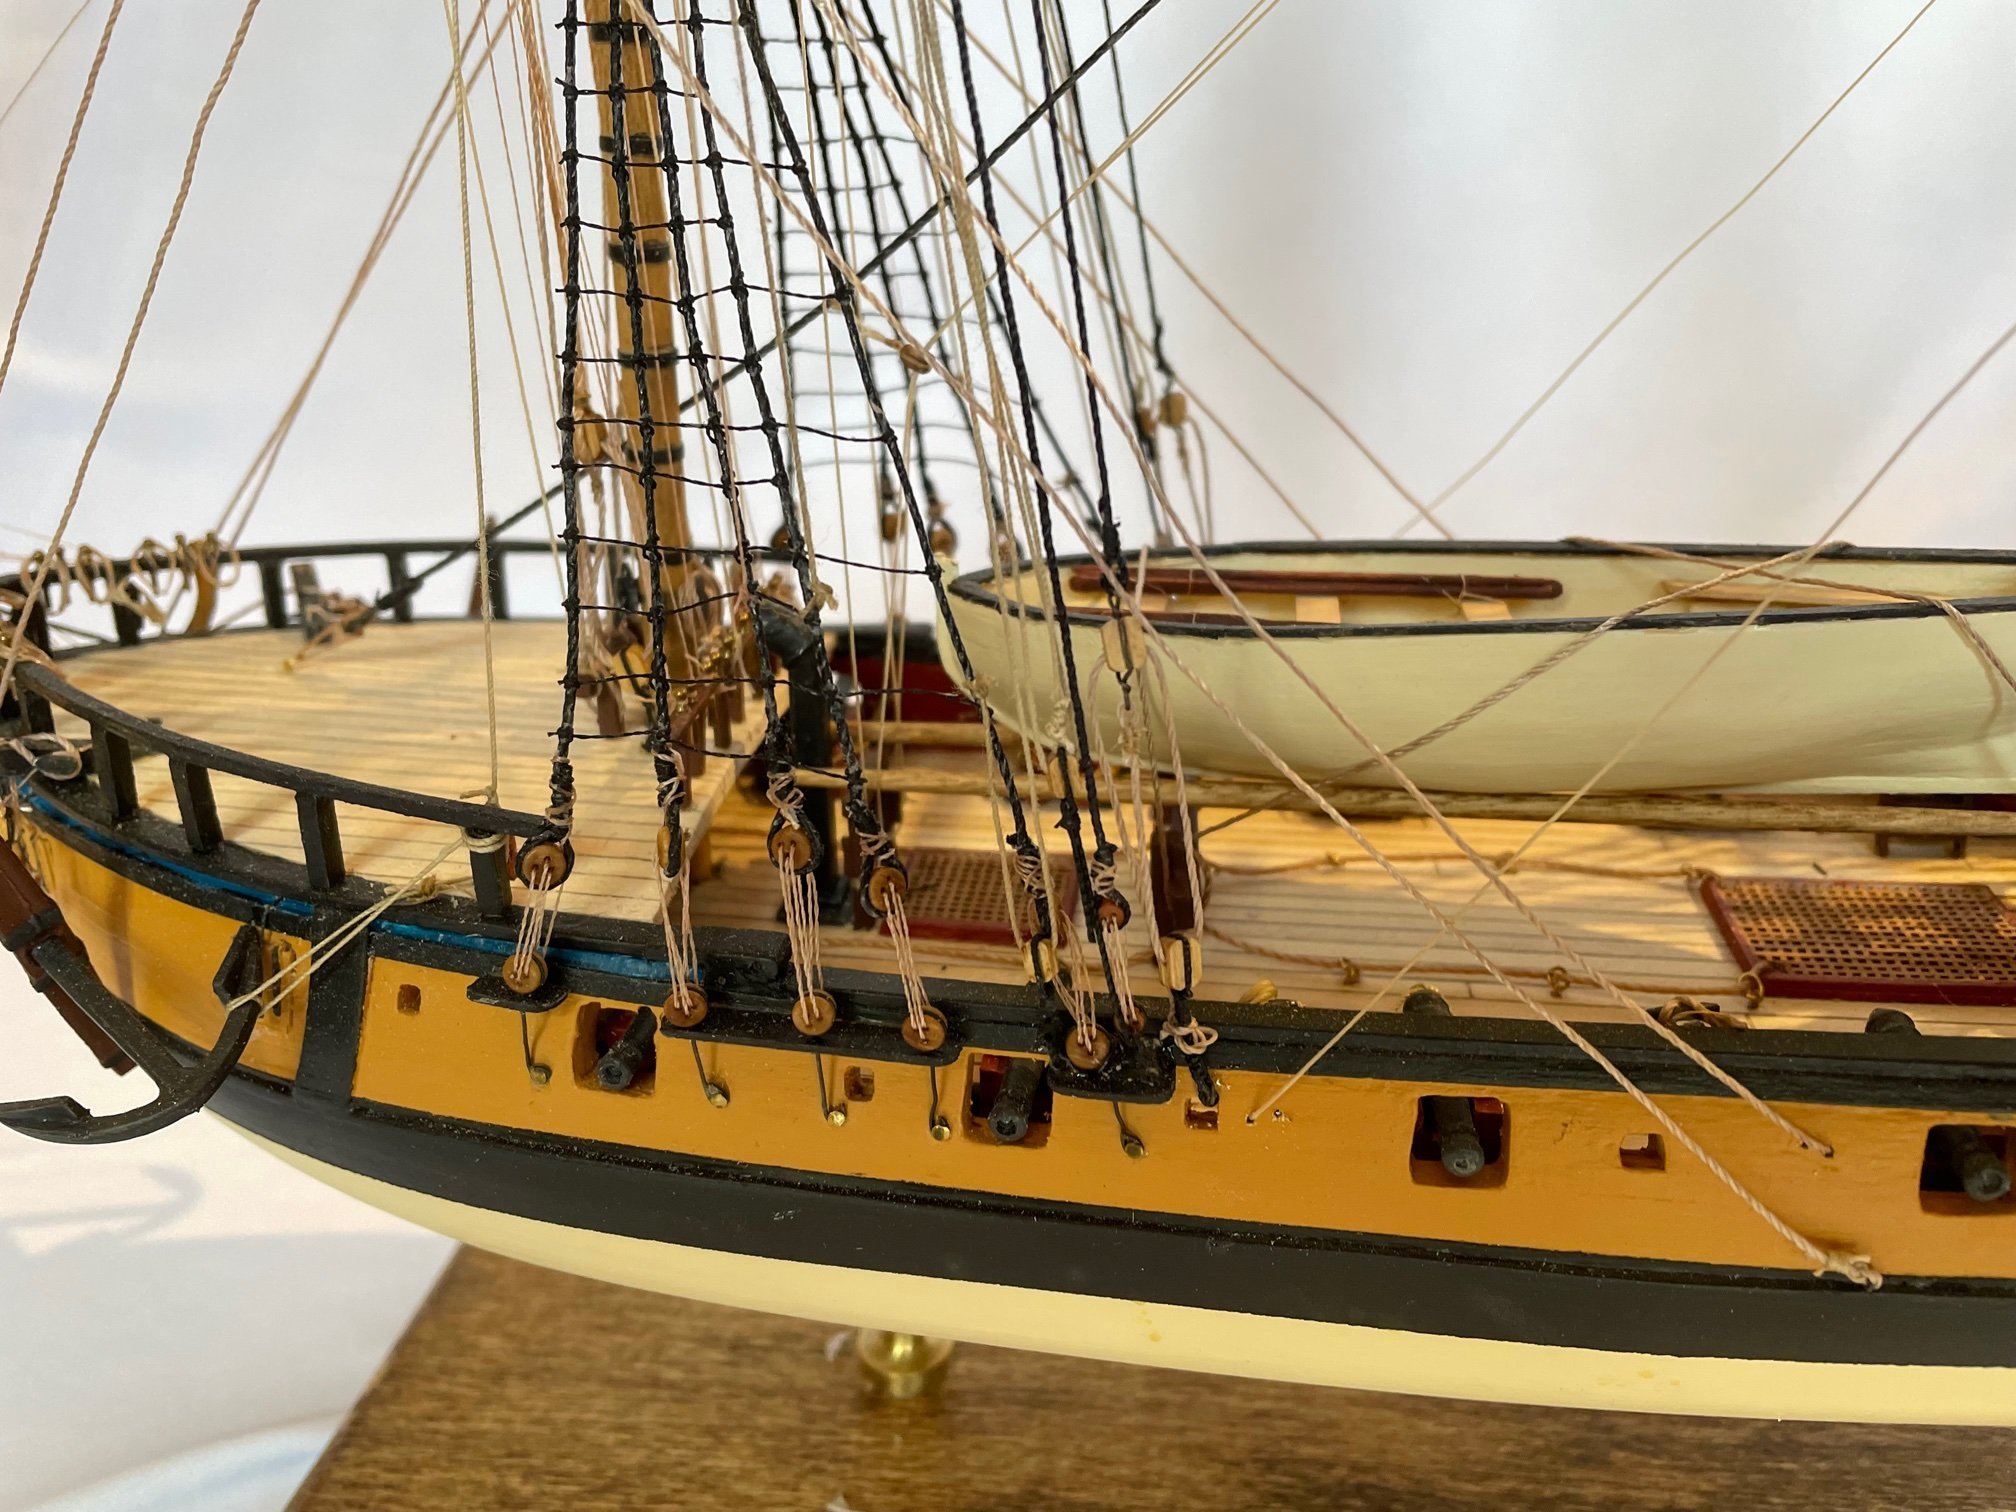
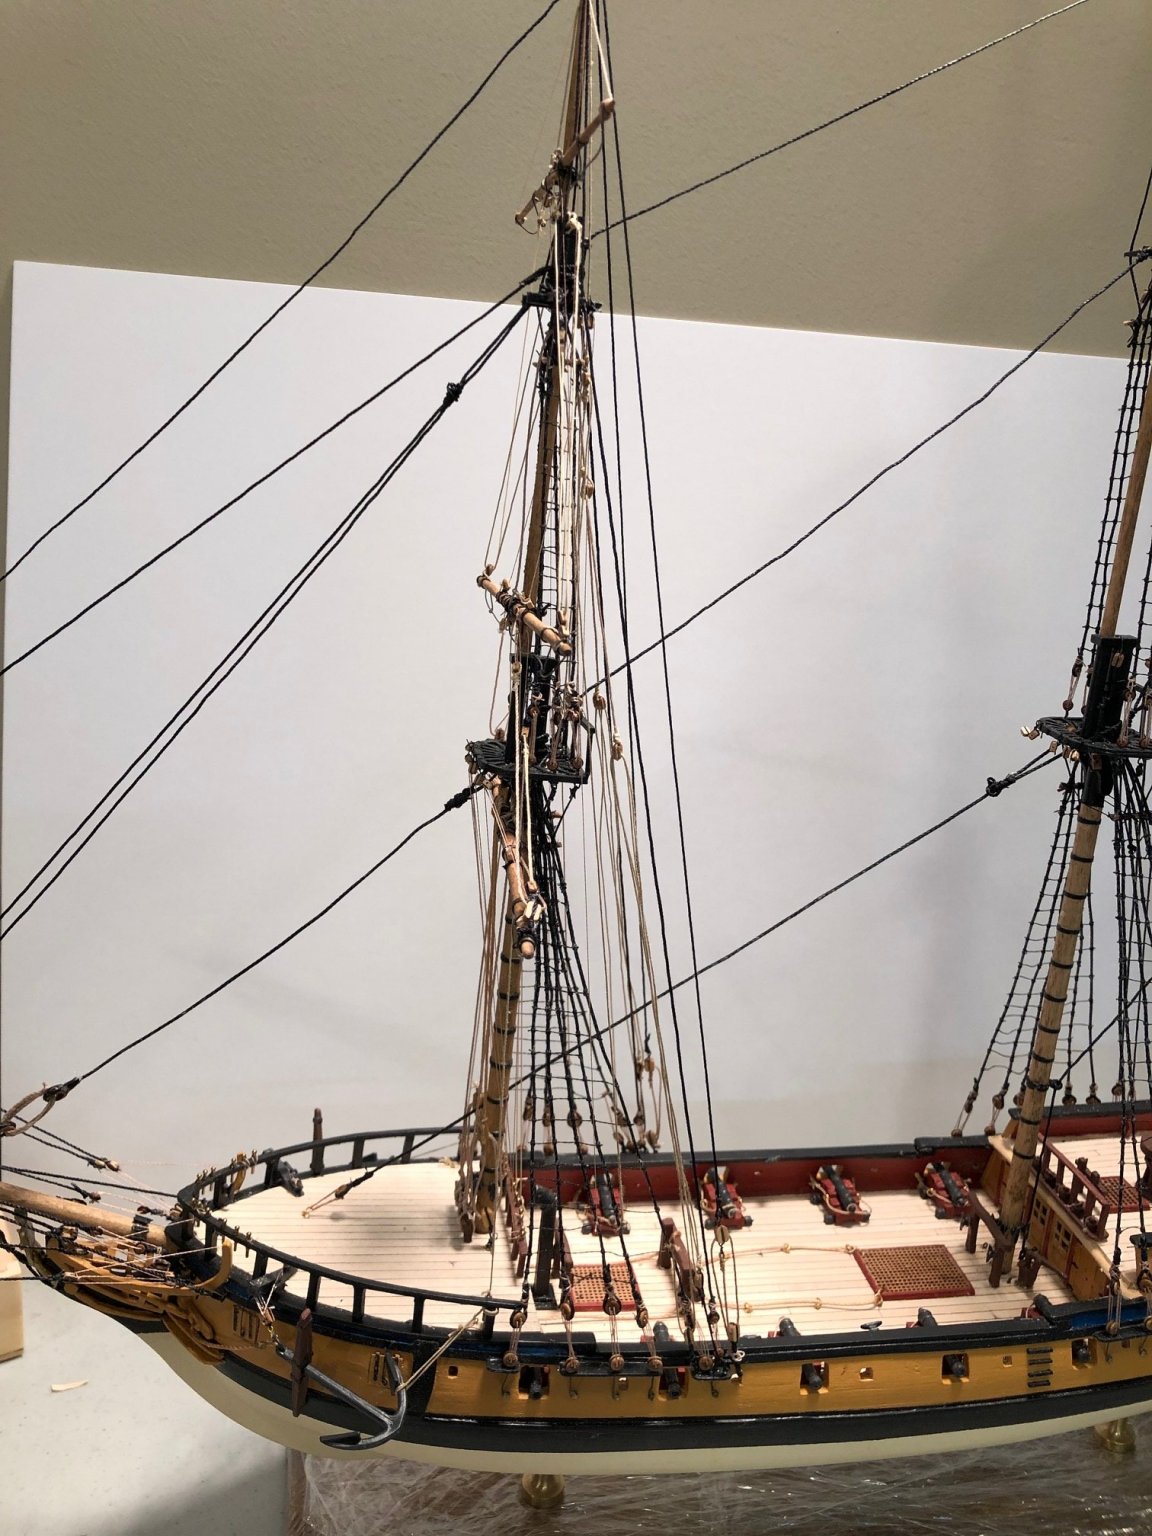
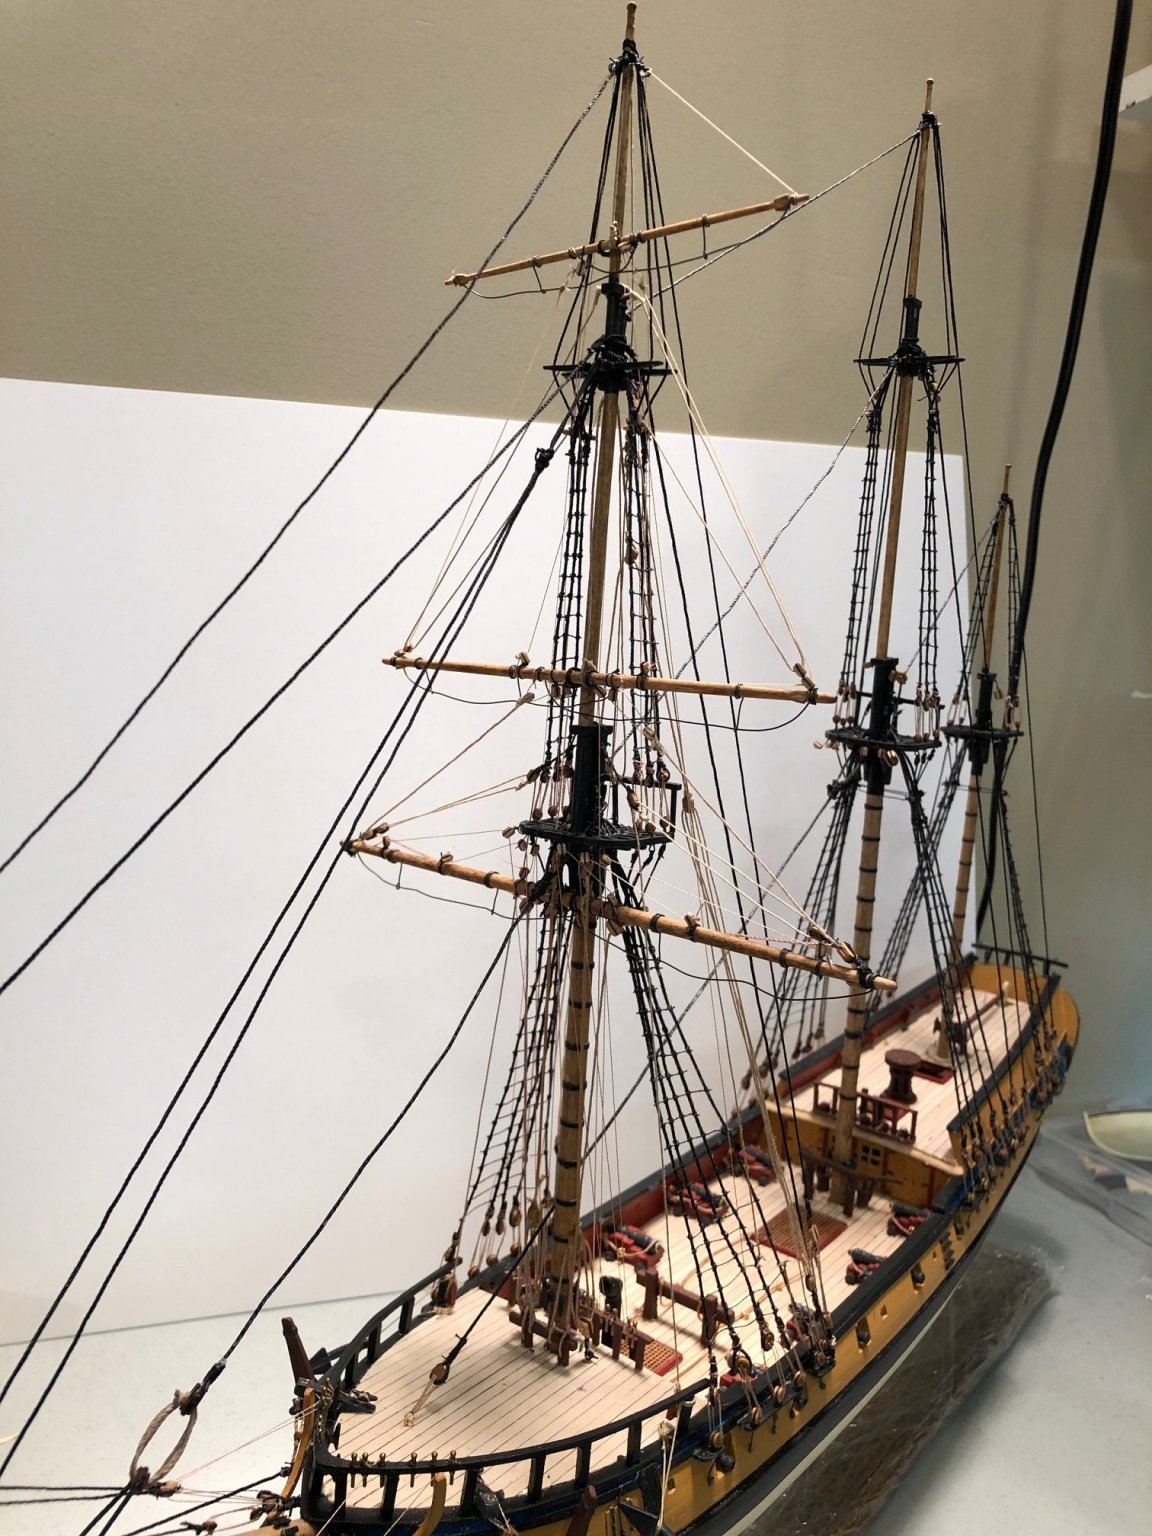
as of 1/18/2021 - The attached pics show the hanging of the spars on the foremast and the associated rigging.

.thumb.jpg.cd233375968bf0e020cc7648a39c19e5.jpg)


- Tigersteve, harlequin, GrandpaPhil and 2 others
-
5
-
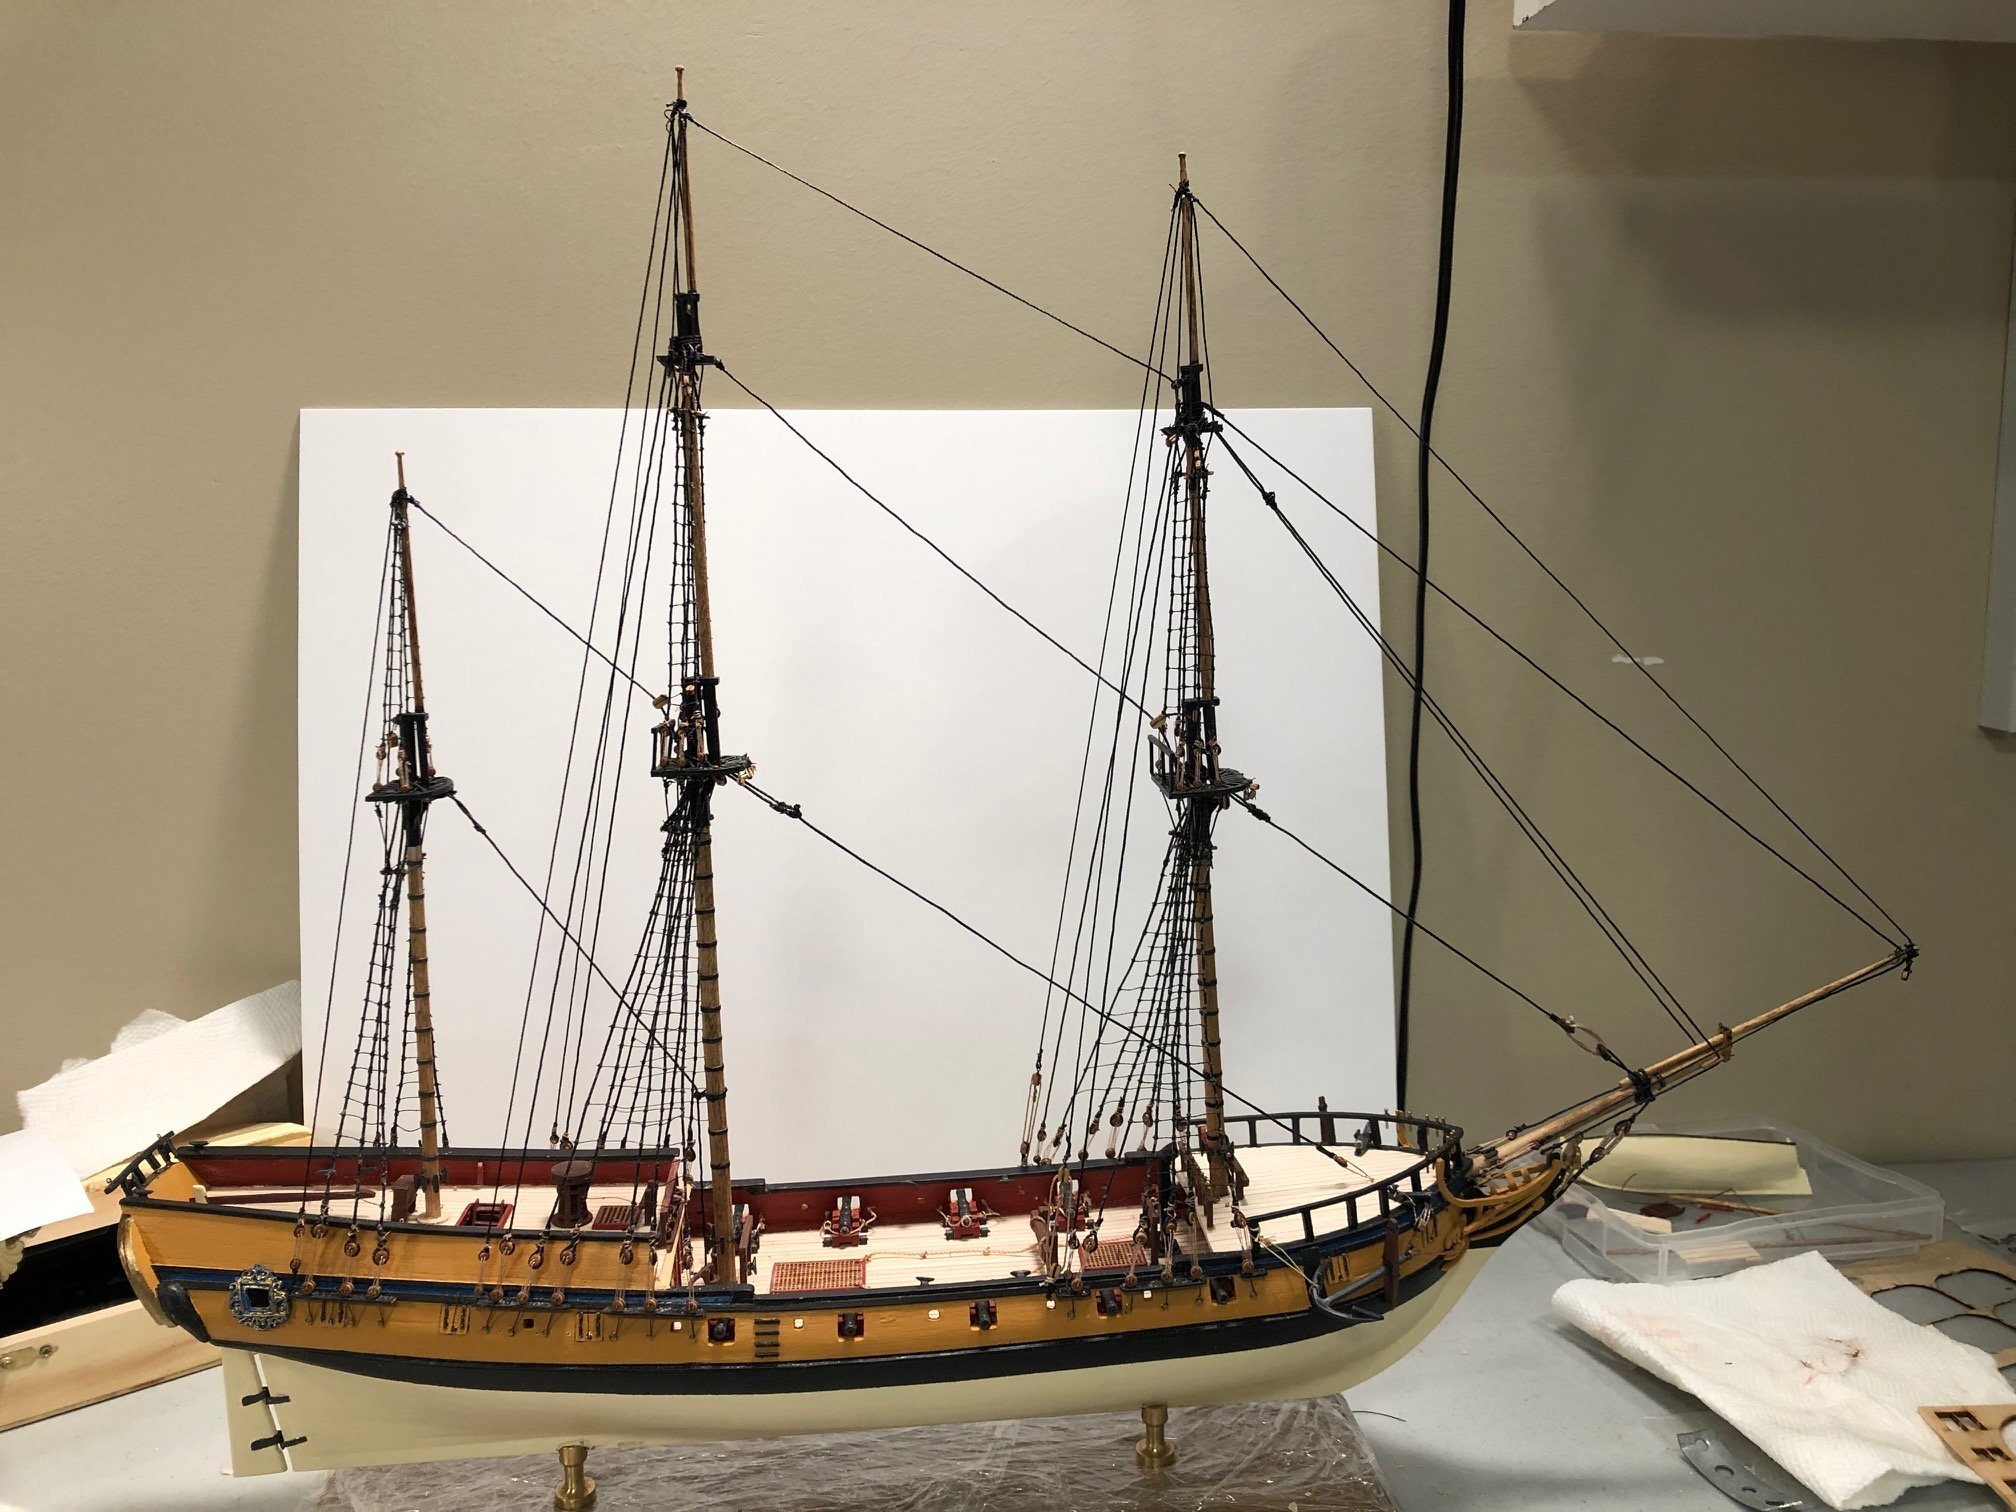
As of 12/17/2020 - photos as the the ratlines and most of the standing rigging in place


- yvesvidal, GrandpaPhil, Tigersteve and 1 other
-
4


.jpg.f8f4cbd52a9e7fbbe5191a3999058157.jpg)

.jpg.18e35ddc635c99998a54e87bf5ff3165.jpg)


.jpg.dc140aa494e238a0ba48b65bdc7cb949.jpg)
.jpg.0ffcf7fd7429a8a7d50c4c229ea50ff5.jpg)
.jpg.1c23abc41f045f953eb1b4501621039d.jpg)
.jpg.ce2bdb55cf2135abd21b8946e7bc1da0.jpg)
.jpg.c5f99fb664dd231ce7a0e243a32f7e2e.jpg)


.jpg.d7efd8317a9e070c7934bc95e1c44f45.jpg)


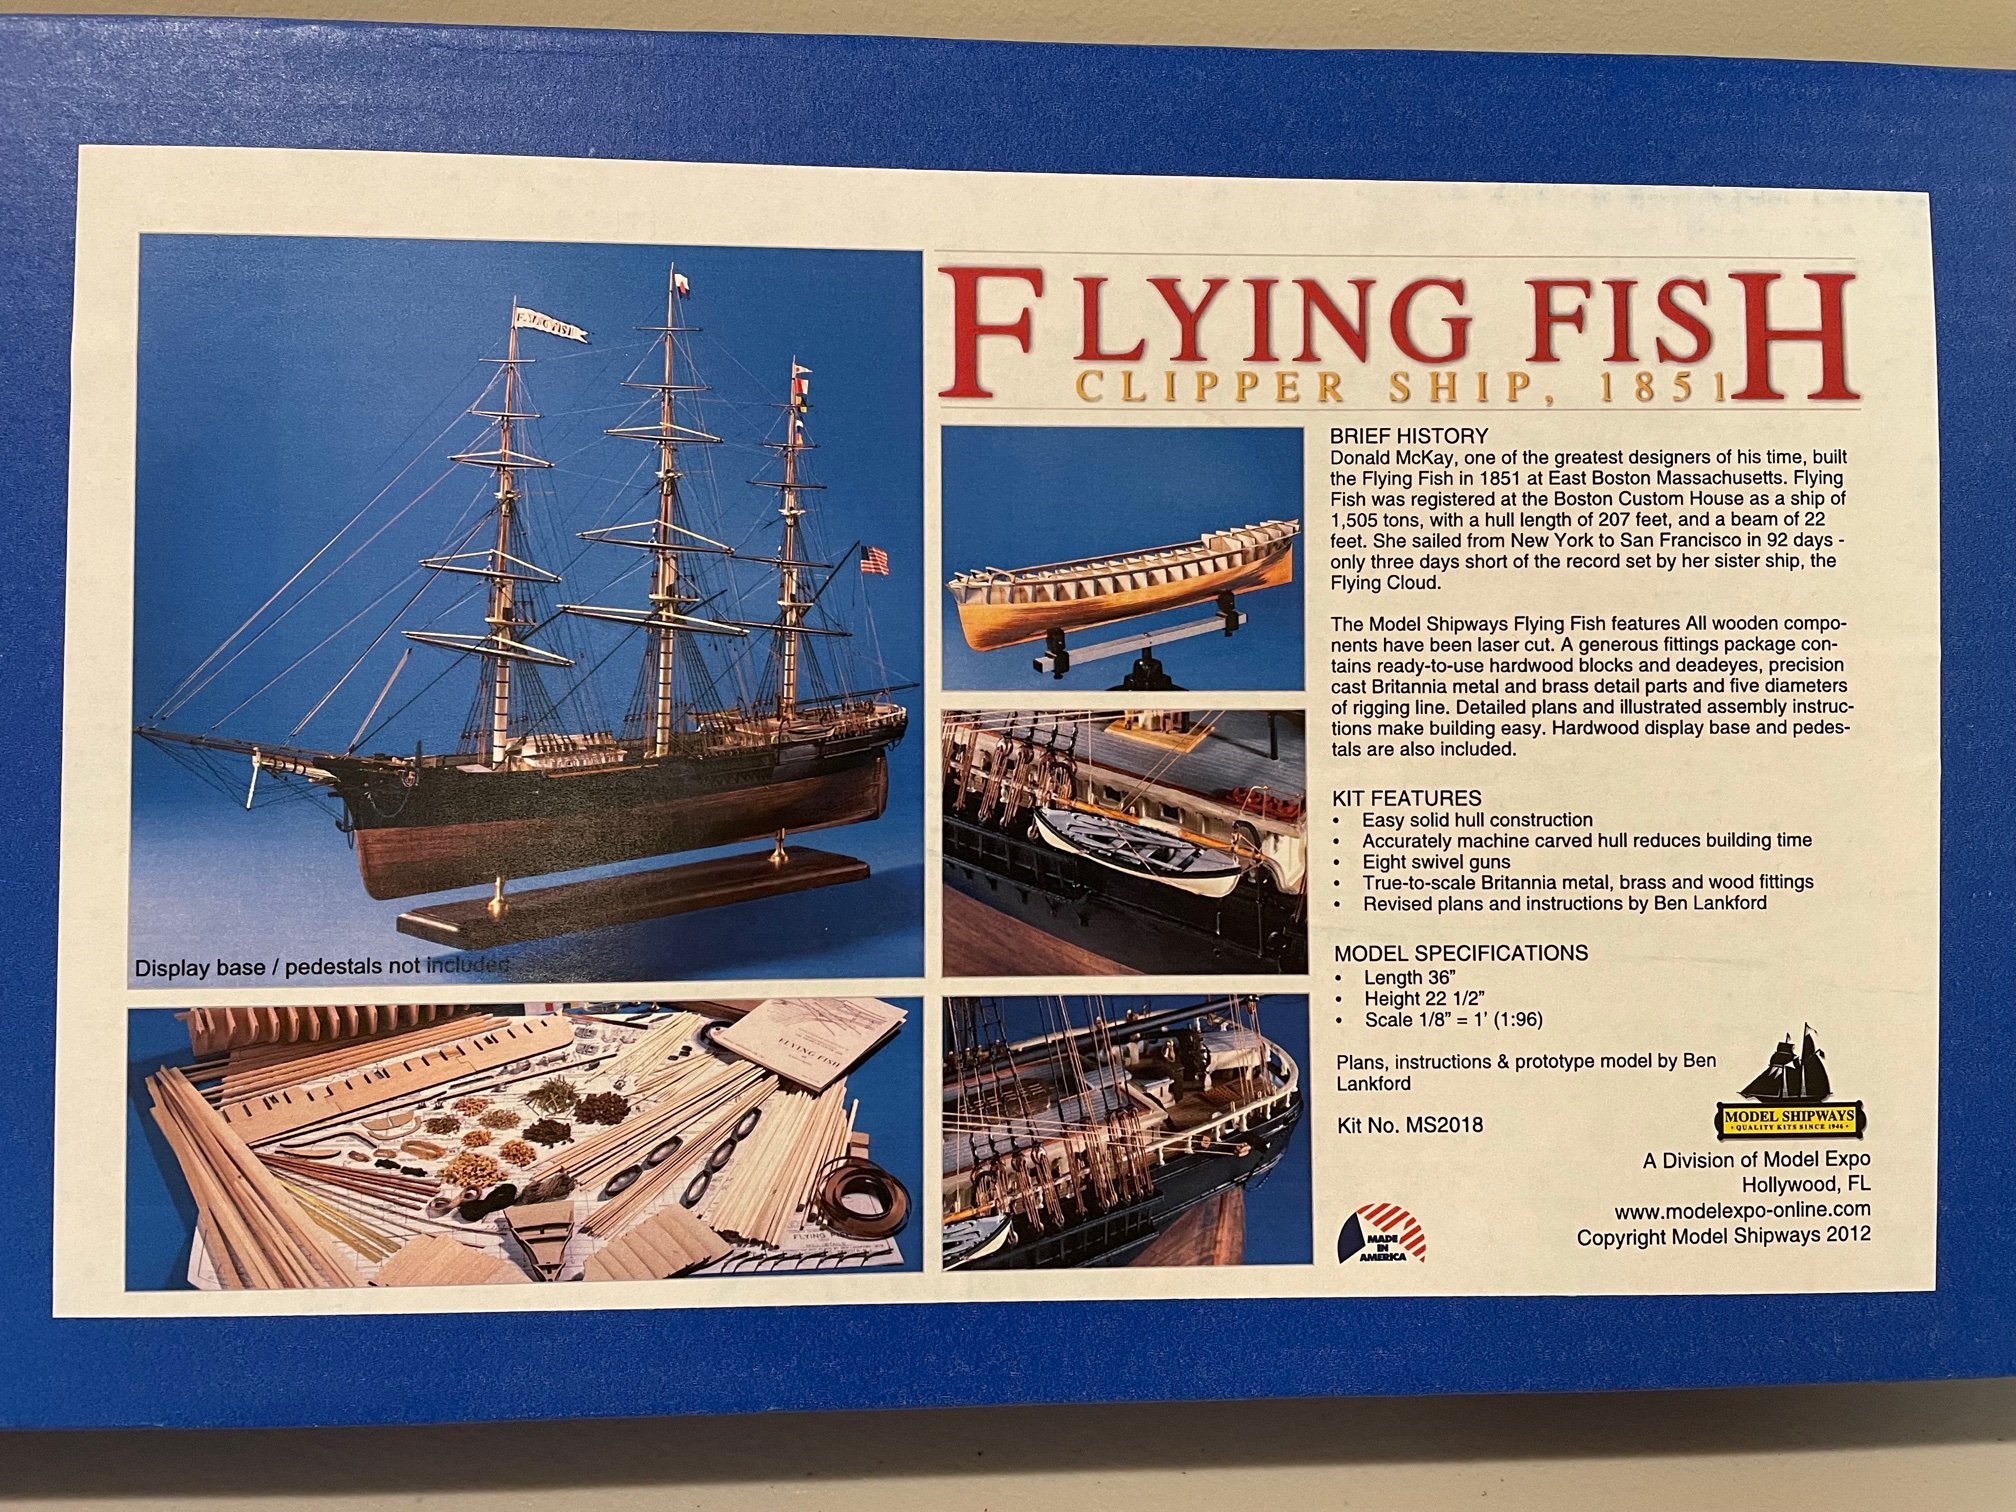
Flying Fish by campbewj - Model Shipways - 1:96
in - Kit build logs for subjects built from 1851 - 1900
Posted
Coppering is now completed and I've mounted the ship on a scrap piece of wood. I'll replace this with something nice before I get into masts etc. that will make it difficult to turn up side down later on. I haven't decided if I'm going to make some nice wood mounting board or just buy one. On to the next level of stanchions and planking.