drobinson02199
-
Posts
1,076 -
Joined
-
Last visited
Content Type
Profiles
Forums
Gallery
Events
Everything posted by drobinson02199
-
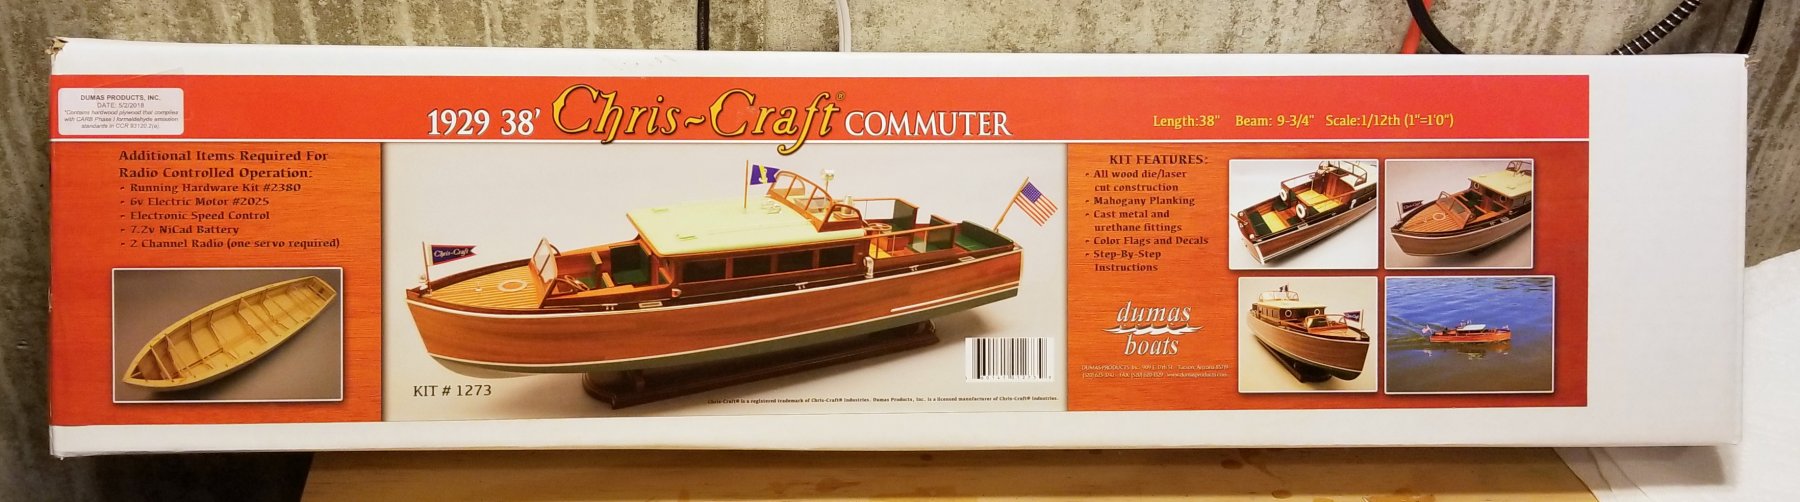
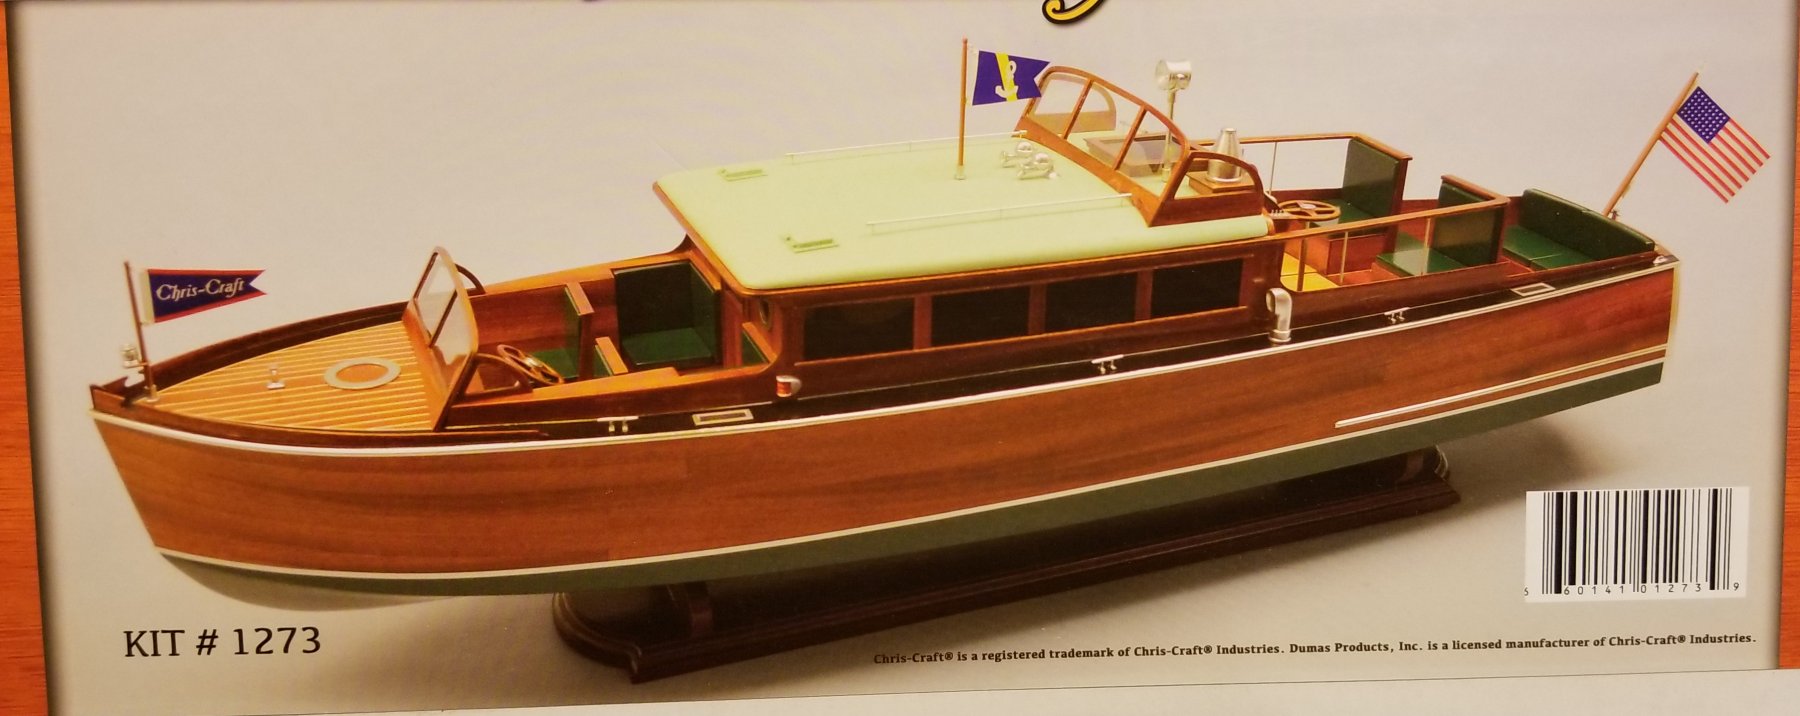
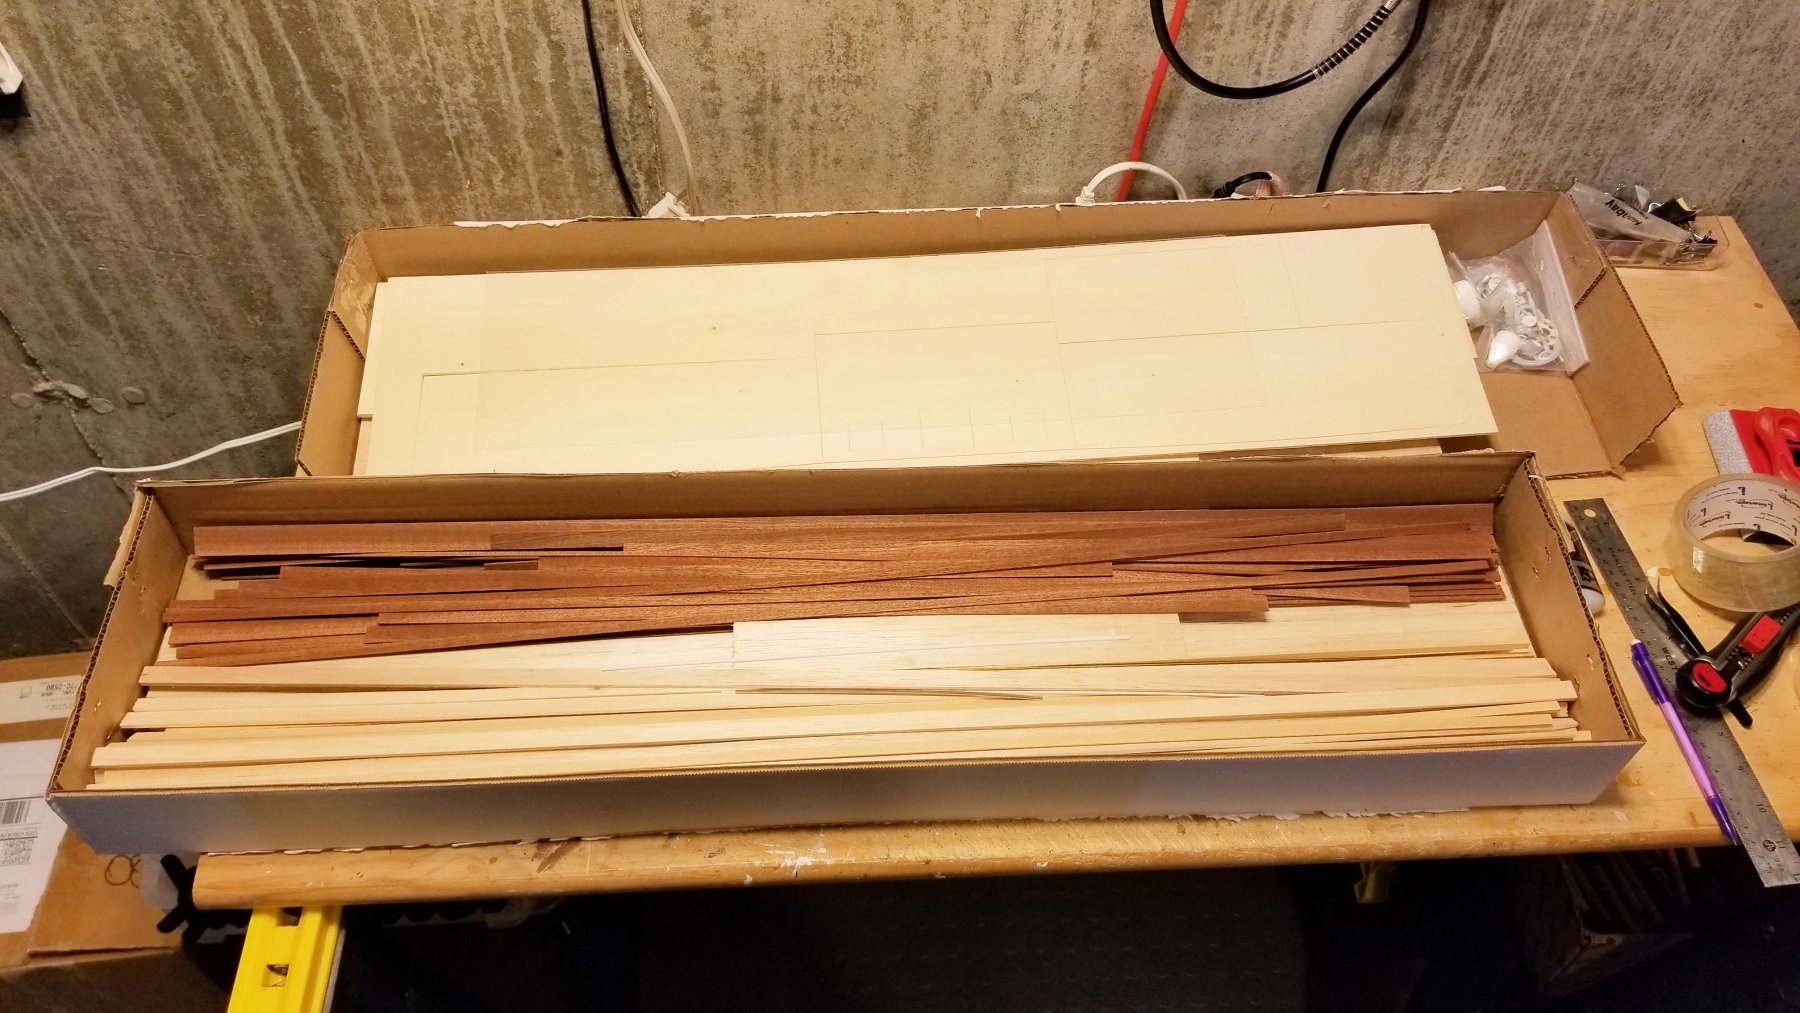
 Back from my one month trip to Asia and ready to ease back into ship modeling. This kit is part of the Dumas Chris-Craft series. Unlike most Dumas boats, this one has a planked hull. What's in the box: Pictures of the box cover with a close-up showing the model. Lots of wood, unsorted. Some good-looking mahogany strips and some very fragile laser-cut mahogany. Manual and lots of charts and drawings. This one should be a challenge -- the manual says it's a very difficult kit. The part I want to get right is the finish on the hull. I'm going to spend some time with the manual before I start on this. Regards, David


- 49 replies
-
- 8
-

-
- dumas
- Chris-Craft
- (and 2 more)
-
Beautiful work. Your rope coils are exquisite, and also your line seizings. Wonderful craftsmanship on the rigging. Regards, David
-
Thanks to Chris, Steve and Lou. And Chris, if you worked as fast as me, your models wouldn't look at beautiful as they do. I am selective in my picture taking to not expose my more awful "goofs". Regards, David
-
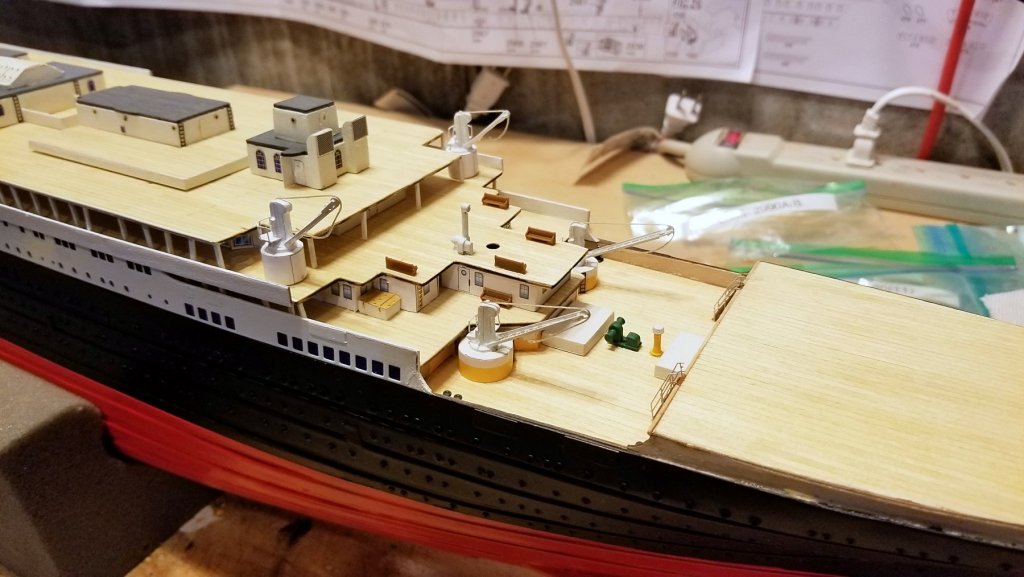
TITANIC IS FINALLY FINISHED! I have posted completion pictures in the Gallery of completed kit ships, but I couldn't resist this one that shows the "place of honor" for this model in my office. Ensures that I will look at it multiple times each day. 😁 A few final construction notes. Some of these you'll see better in the Gallery pictures: The kit instructions use a plain wood dowel painted brown for the masts. Couldn't stand that idea so I found a walnut dowel of the same size and used that. I bought a finished walnut base. The kit includes a MDF base, but I've never figured out how to make one of those look like wood, and I didn't want a black base under this one. You'll see a yellow stripe down the side between the white and black parts of the structure. This is in the box picture, but not in the instructions. I did it by using the planking strips, which were perfectly sized, and pre-painting them. Even conserving the supplied rigging thread, I ran out after rigging the Marconi antenna and didn't have enough for the leads down to the ship, so I used some spare from another kit. I wanted to get this done this week as we are headed off for 5-6 weeks for a long Asia trip. When back and time adjusted, I'm going to do the Dumas Chris Craft Commuter next. Should be a different challenge to get the finish right. Thanks to all who have followed this build -- for your encouragement and help. Regards, David
20190110_163053.thumb.jpg.74b9c794874238b4e84d116ecb36a4c7.jpg)
- 168 replies
-
- 18
-
-
Wonderful Regards, David
-
Popeye: OK, got it. I gave you measurements for two boats. The larger one is 2960, and the smaller one is 2961 (they are called "dingy" and "cutter" respectively in the English instructions. These part numbers are unique to the Titanic kit. If you call Ages of Sail, ask for James. He's really good, and sometimes they keep an open kit around to cannibalize for missing parts. You might be able to persuade him to sell you a "sprue" from that vs. ordering from Amati. Two "sprues" come with the kit. Regards, David
-
Popeye: Thanks for the comments. You asked "Do the sprues have part numbers?" What's a sprue? Thanks, David
-
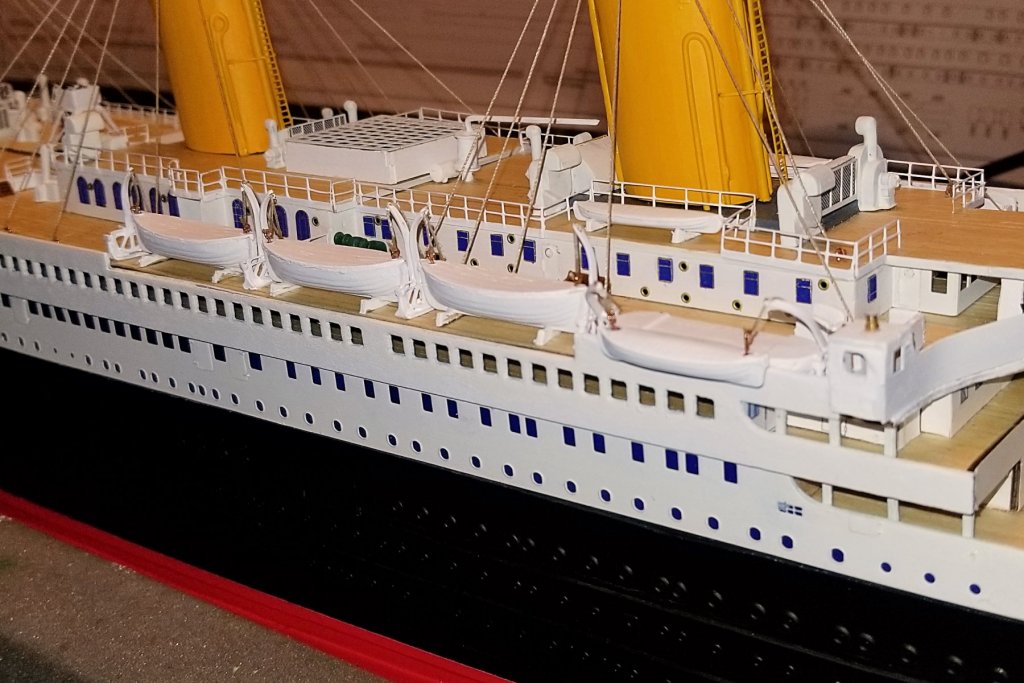
Finished the lifeboats on the starboard side. I'm pushing to finish the boat, because I go away at the end of this week for 5 weeks and want to have it done before I go. Regards, David
- 168 replies
-
- 12
-
-
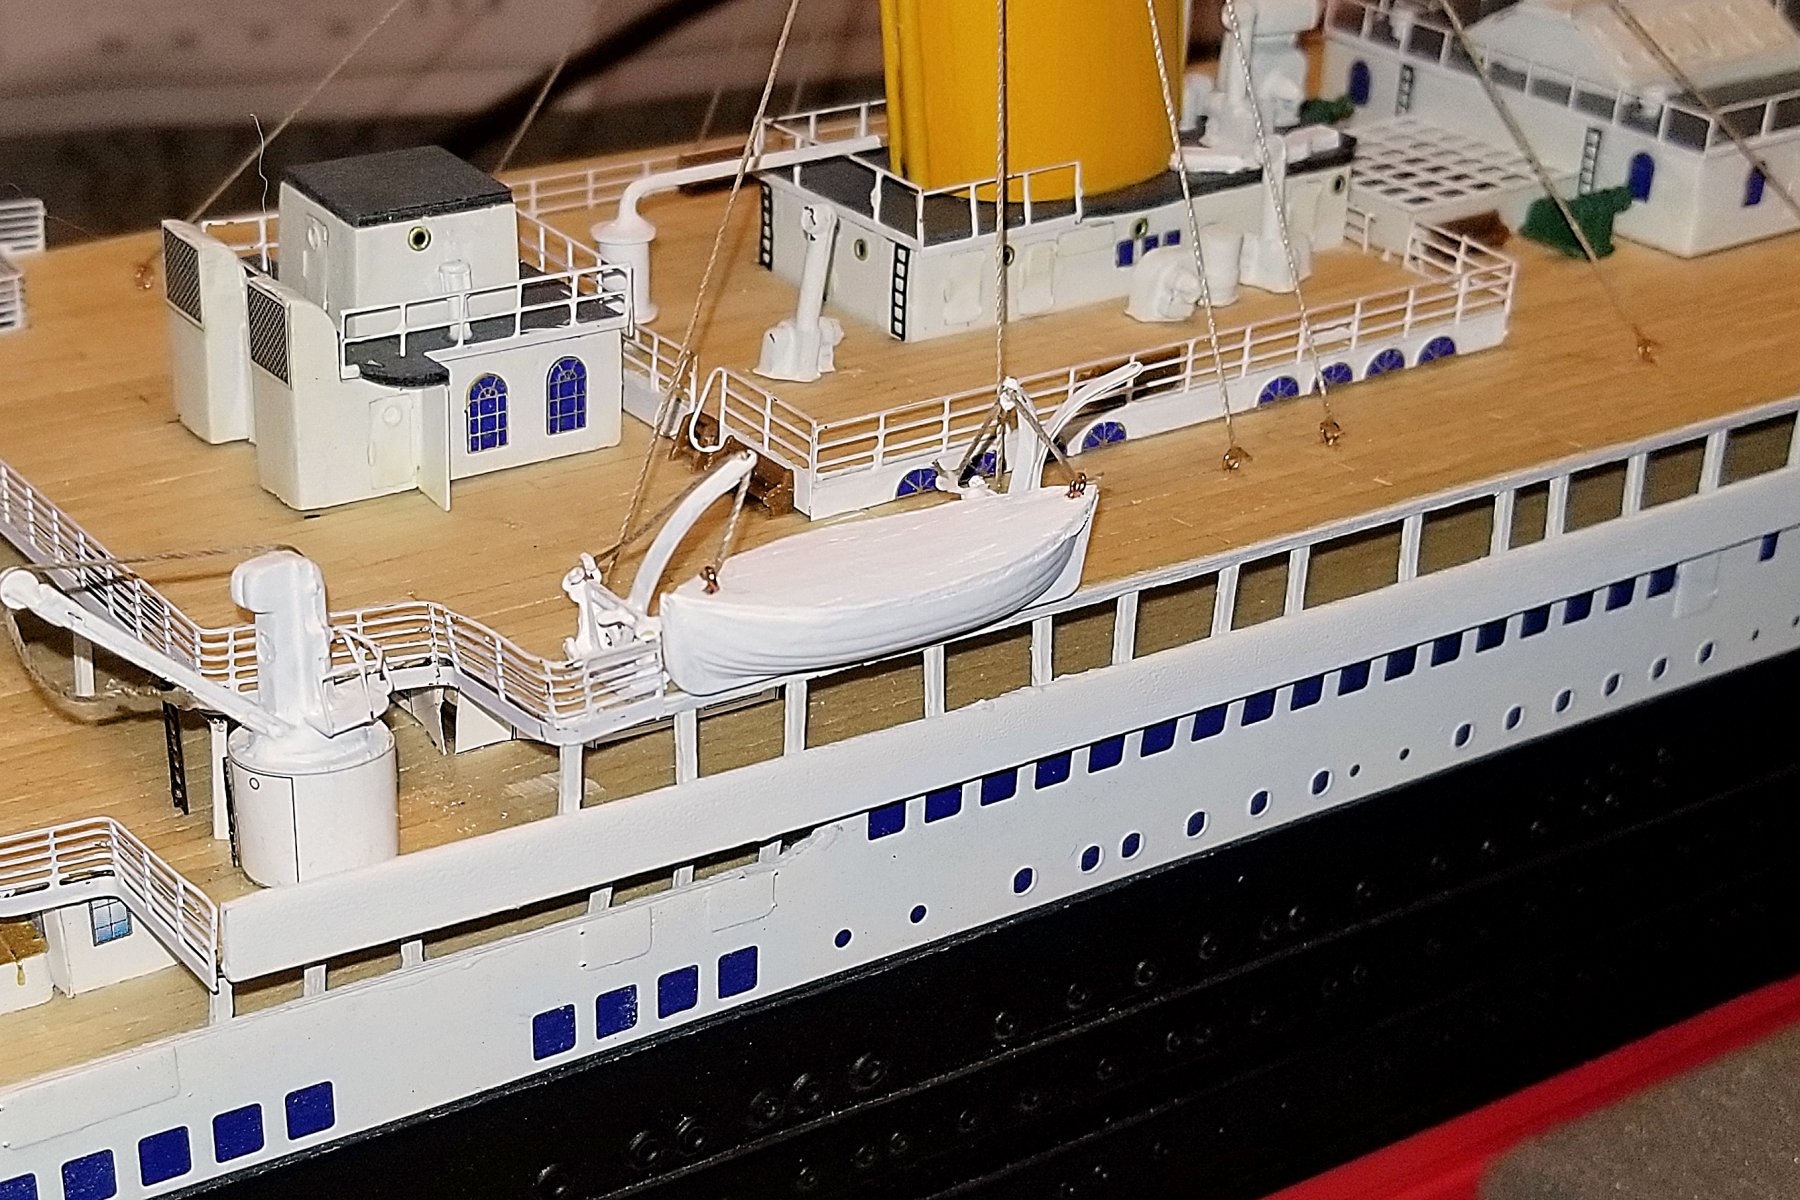
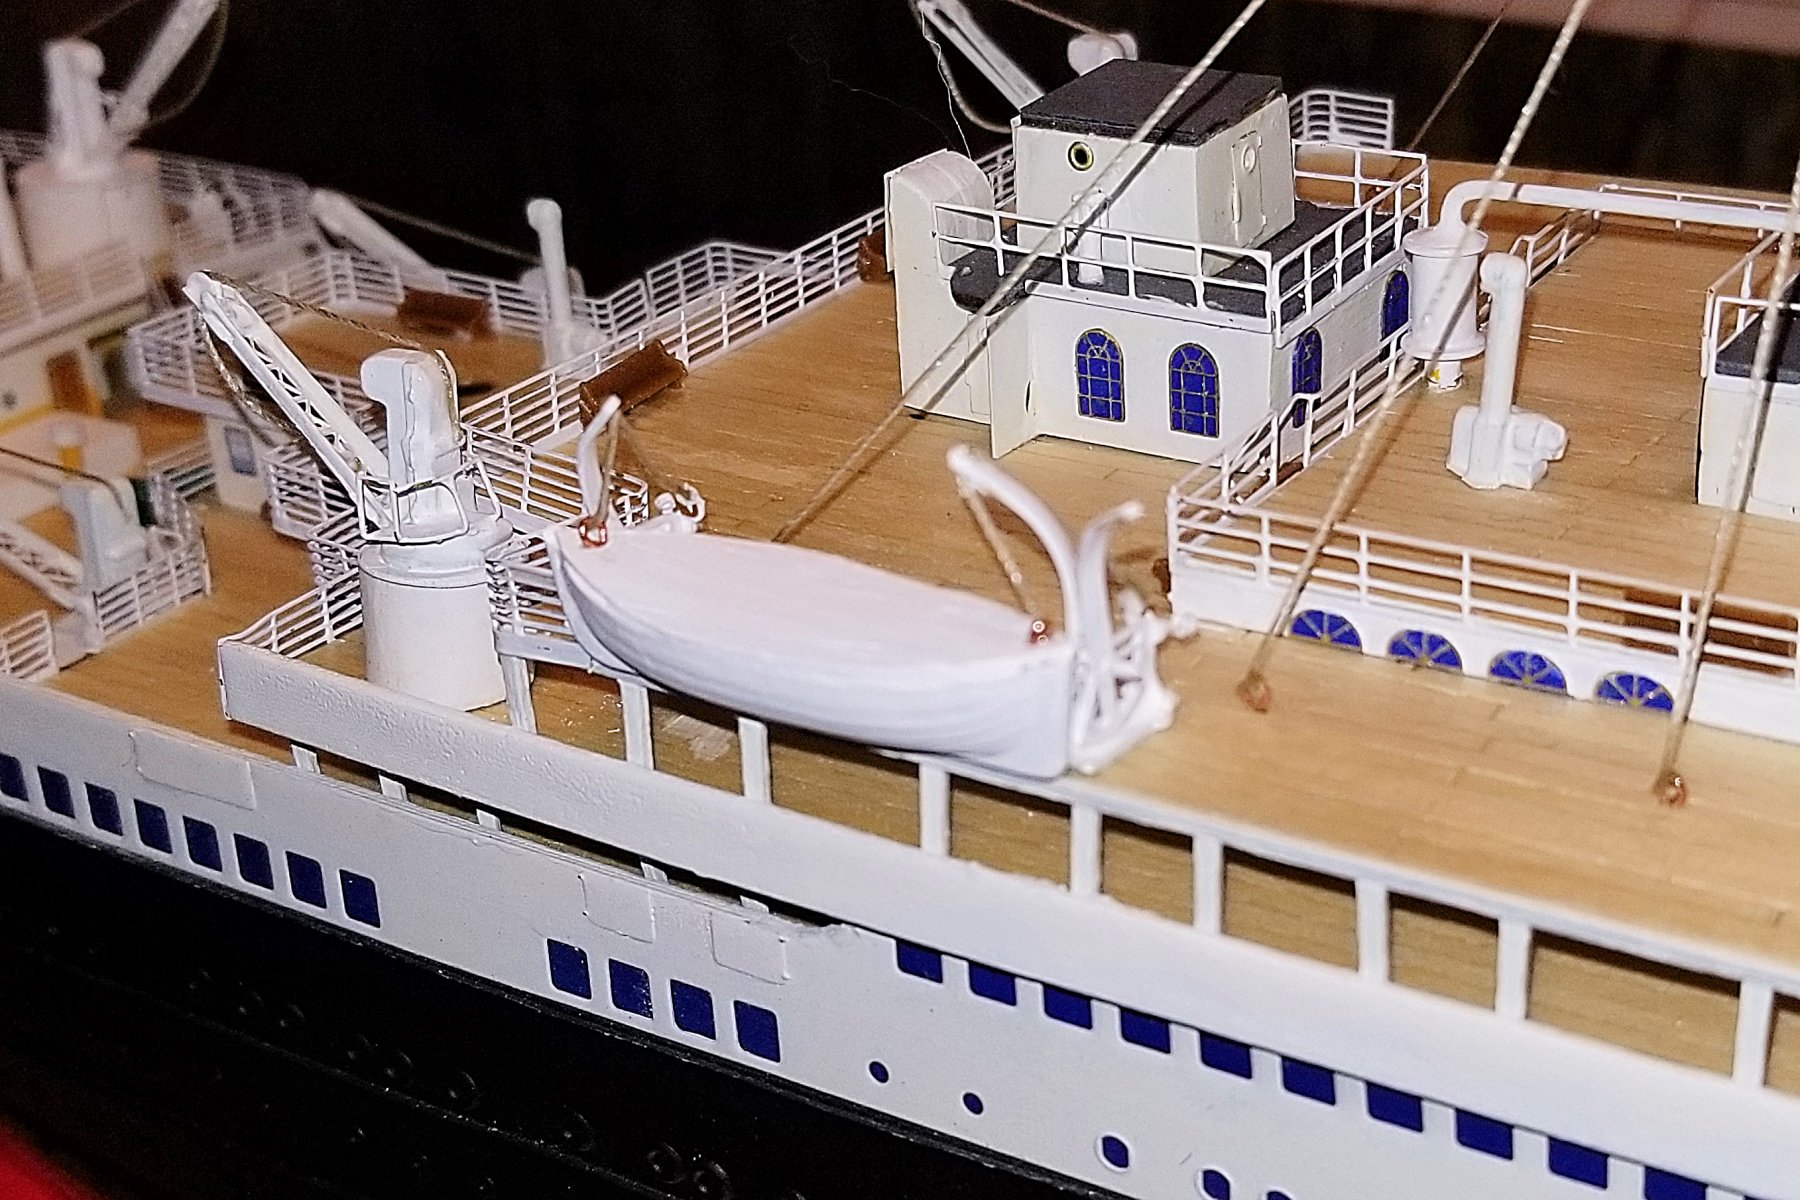
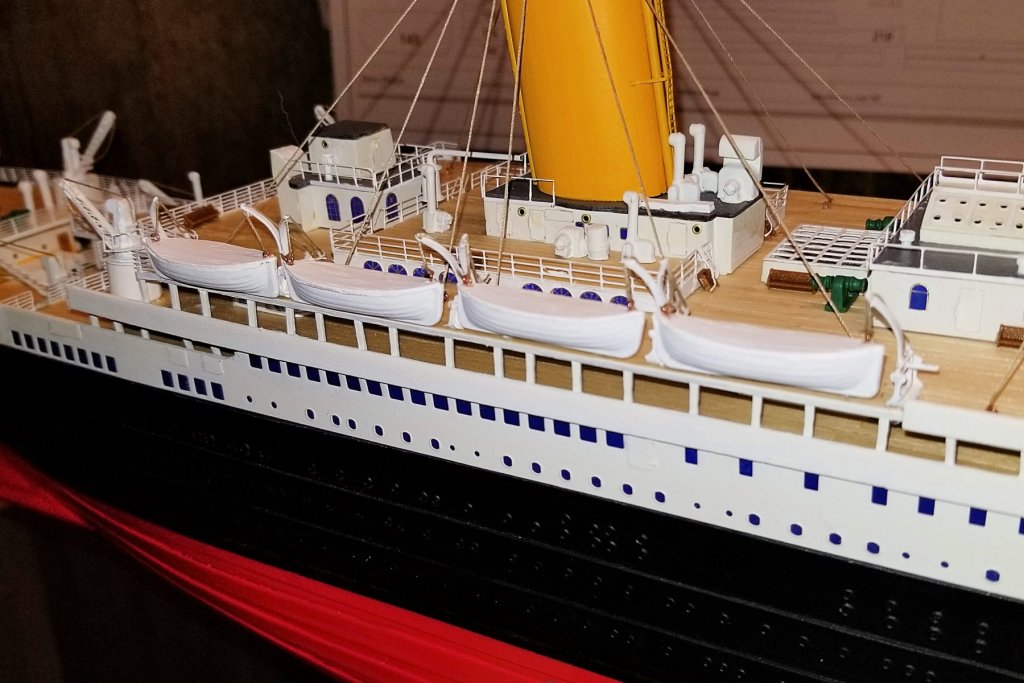
Before going into mass production on the lifeboat davits, I wanted to make sure I understood how it all comes together, so I did two davits and one lifeboat and mounted them. Result below. The stern lifeboats (like this one) hang partly out from the deck. The bow lifeboats mount flush to the edge of the deck. Regards, David


- 168 replies
-
- 11
-
-
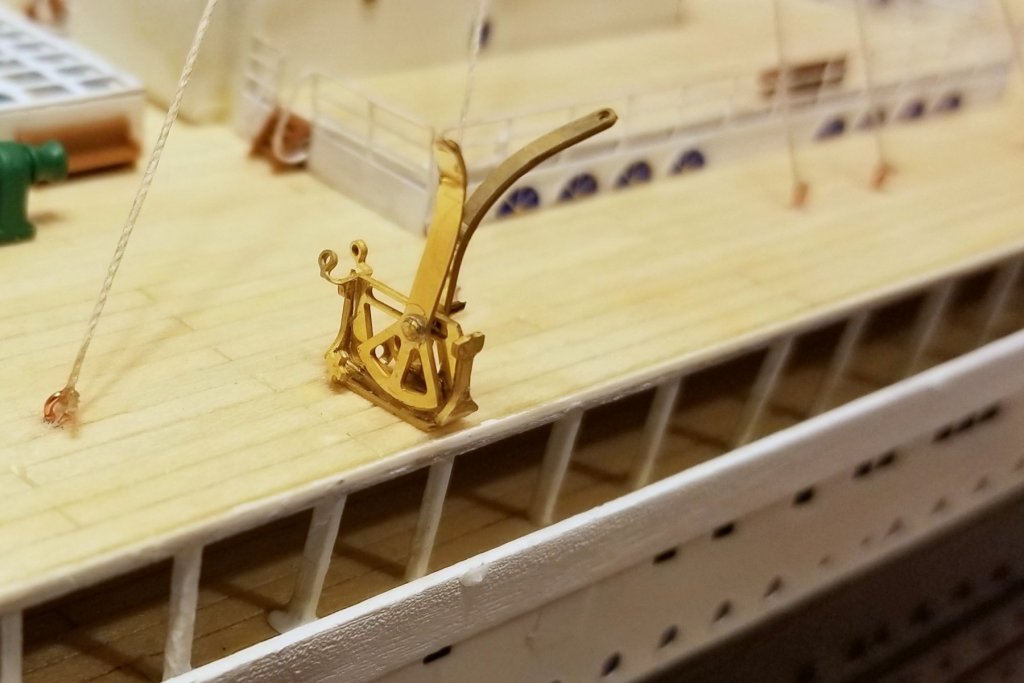
Here's one of the lifeboat davits not yet painted and dry-fitted on the deck. This is a five piece brass assembly with a lot of bending, but it's not too difficult. I think these will add some real detail. Also a pic of the funnel stays, which are now finished. Next steps are to finish all the davits and paint them, then add eyebolts to the lifeboats, and then mount and rig them. Regards, David
- 168 replies
-
- 10
-
-
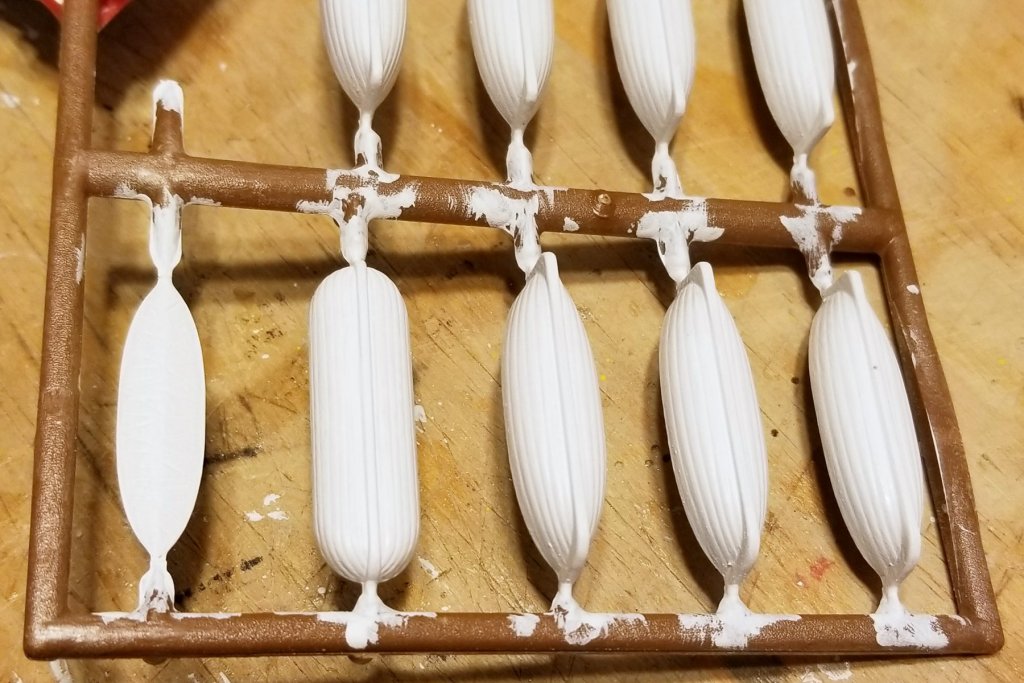
Popeye: I wasn't thinking about what Ages of Sail normally shows -- if the Titanic lifeboats work for you, my thought was that you'd have Ages of Sail order 1 or 2 plastic sets of the Titanic ones like you saw in my picture. They are Amati's US distributor, so they might be able to do that. Each "set" comes with 7 of the 38mm lifeboats, and two smaller ones that are 33mm, plus a tenth item that is Titanic-specific. Hope this helps. Regards, David
-
Popeye: The lifeboats are 38mm long. If that fits, I would expect that Ages of Sail could order some from Amati for you. Regards, David
-
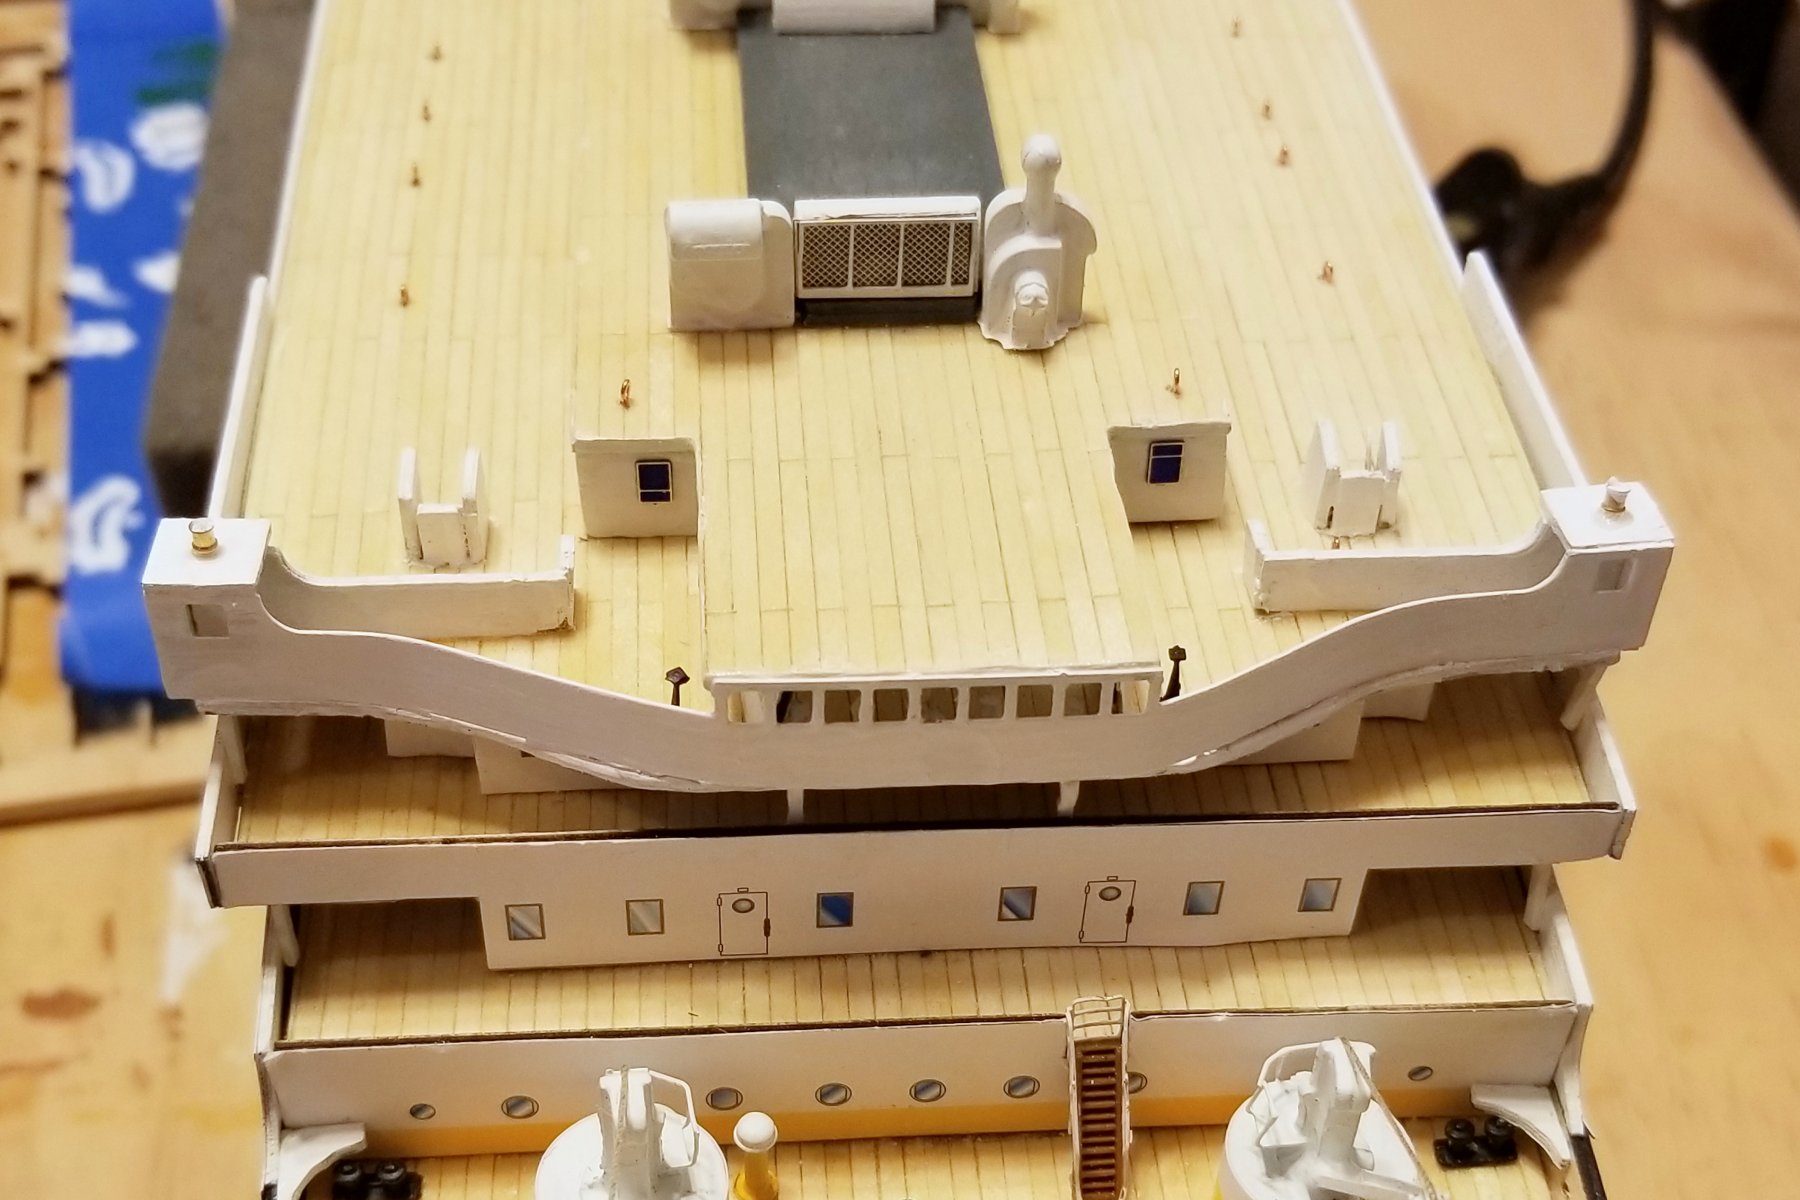
I've installed the stanchions on the upper decks -- a couple of pics here. A sequence issue: I had to install two small lifeboats now (see pics), because the funnel stays would be in the way if I did those first, But then I have to do the stays next, because the davits for the rest of the lifeboats would make deck attachment really difficult. Then I'll install the lifeboats. Speaking of the lifeboats -- I think way back in this log someone commented that they thought the use of plastic boats was inappropriate for a kit of this quality -- but as I have painted them I've found that they look nicer than some metal boats I've painted, and hold very fine detail as you can see. Regards, David

- 168 replies
-
- 11
-
-
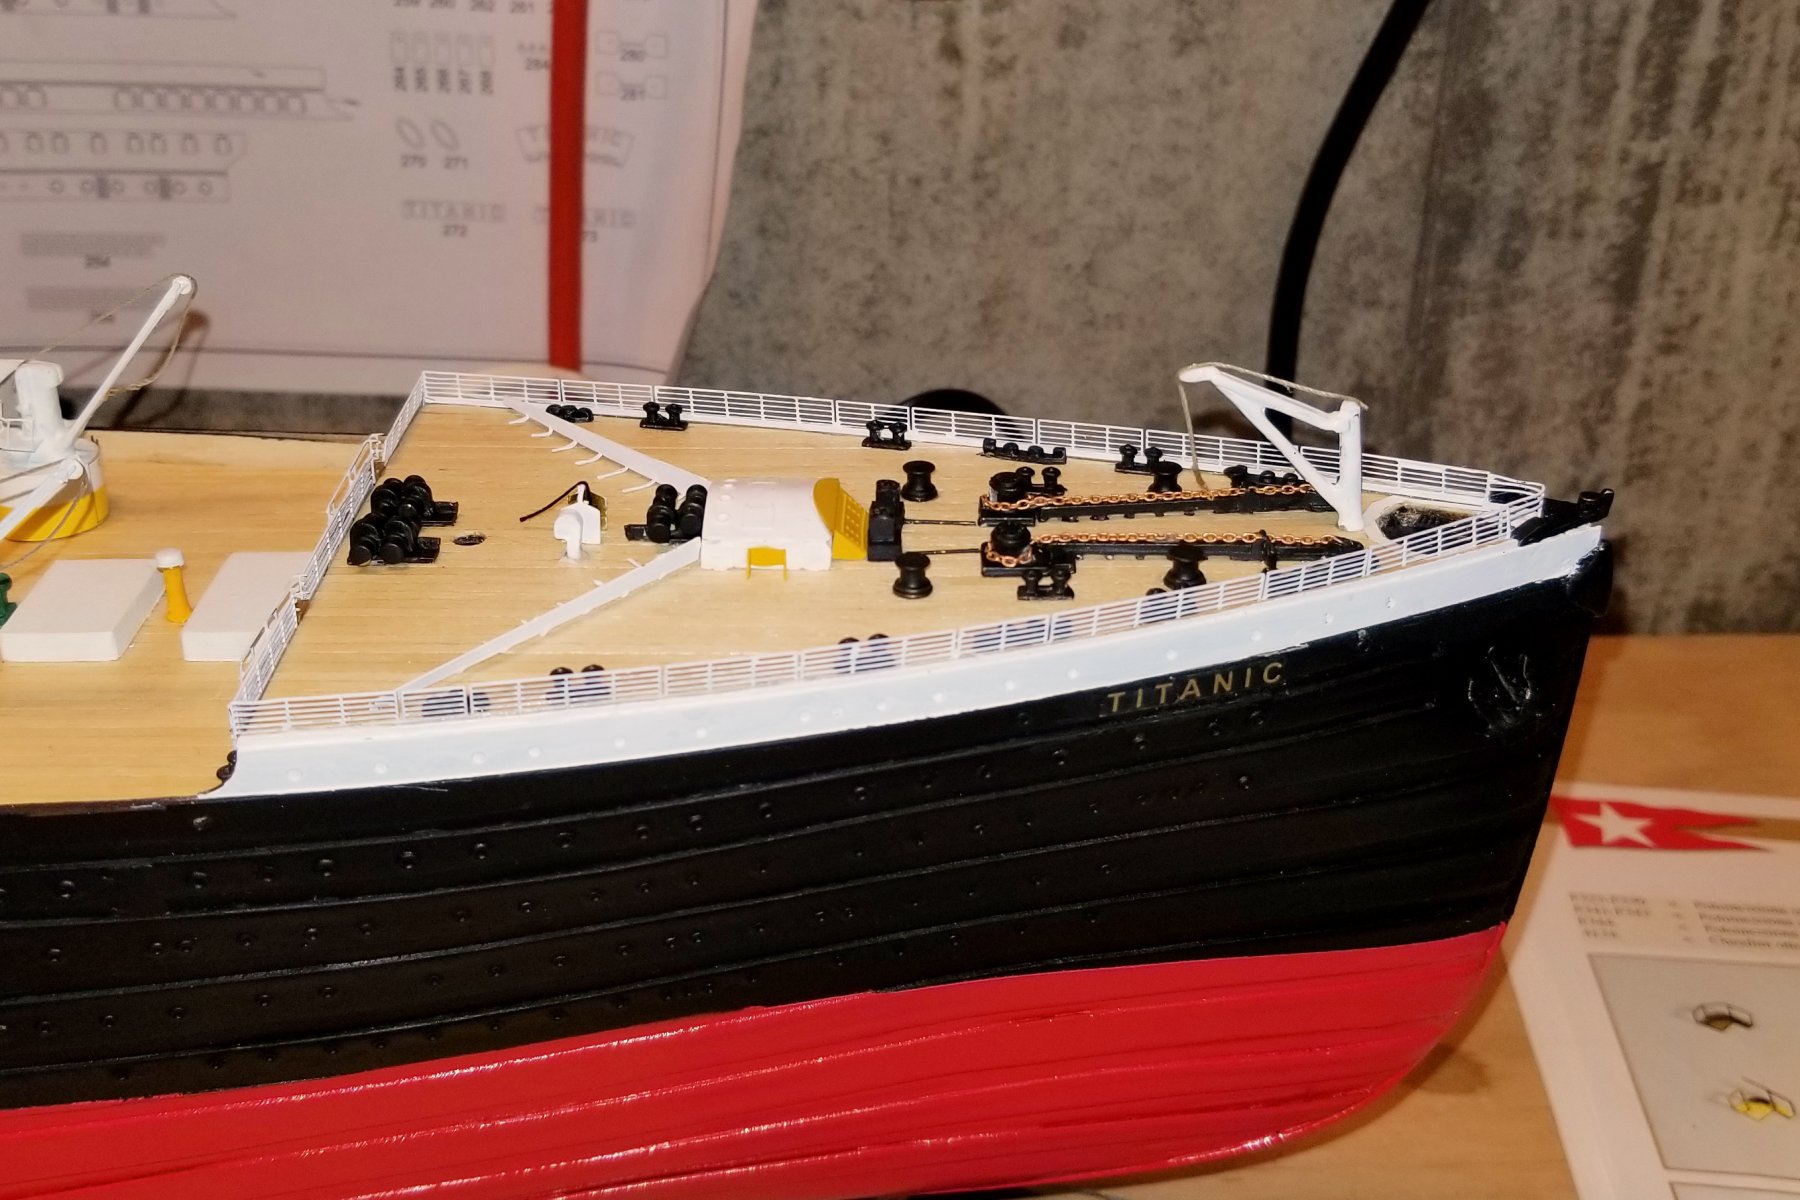
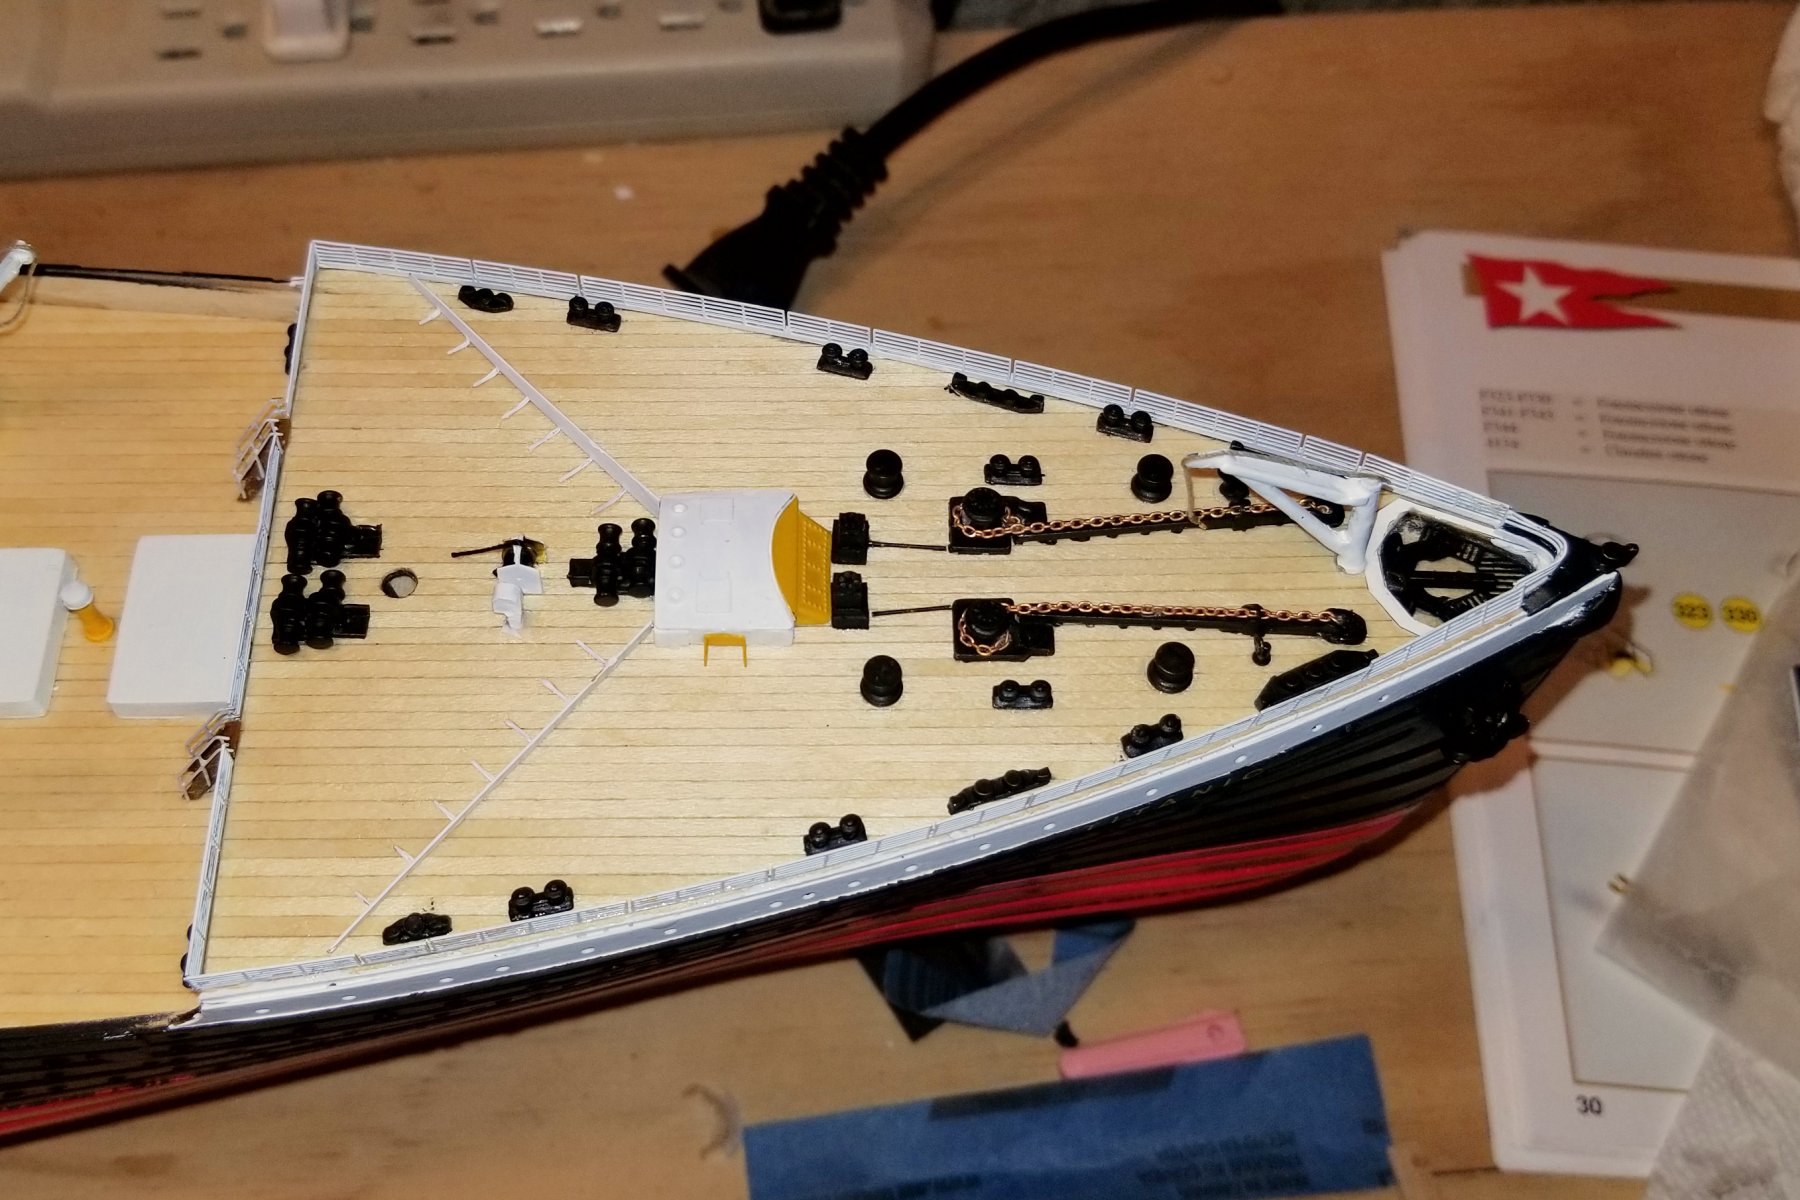
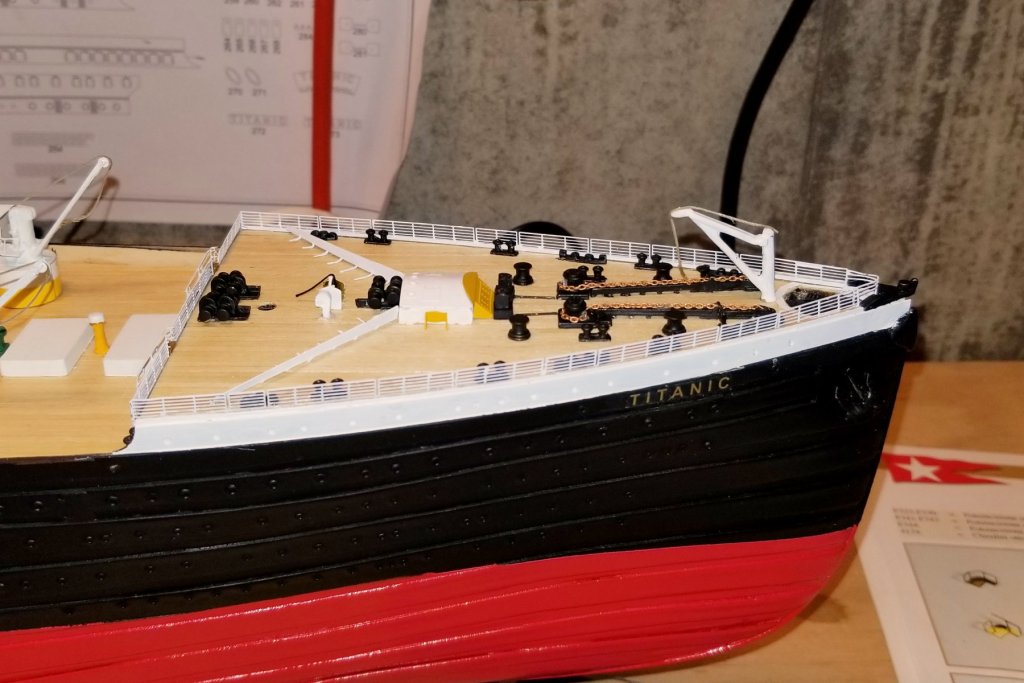
Bow detail finished. It's New Year's Eve here, but Happy New Year to all and especially to our Australia/New Zealand friends who are already into 2019. Regards, David

- 168 replies
-
- 10
-
-
Heinrich: Thank you -- the pictures and plans are very interesting. I see the rivets, but I fear that I'll never have the patience to get that much tiny detail into my model. 🤪 Regards, David
-
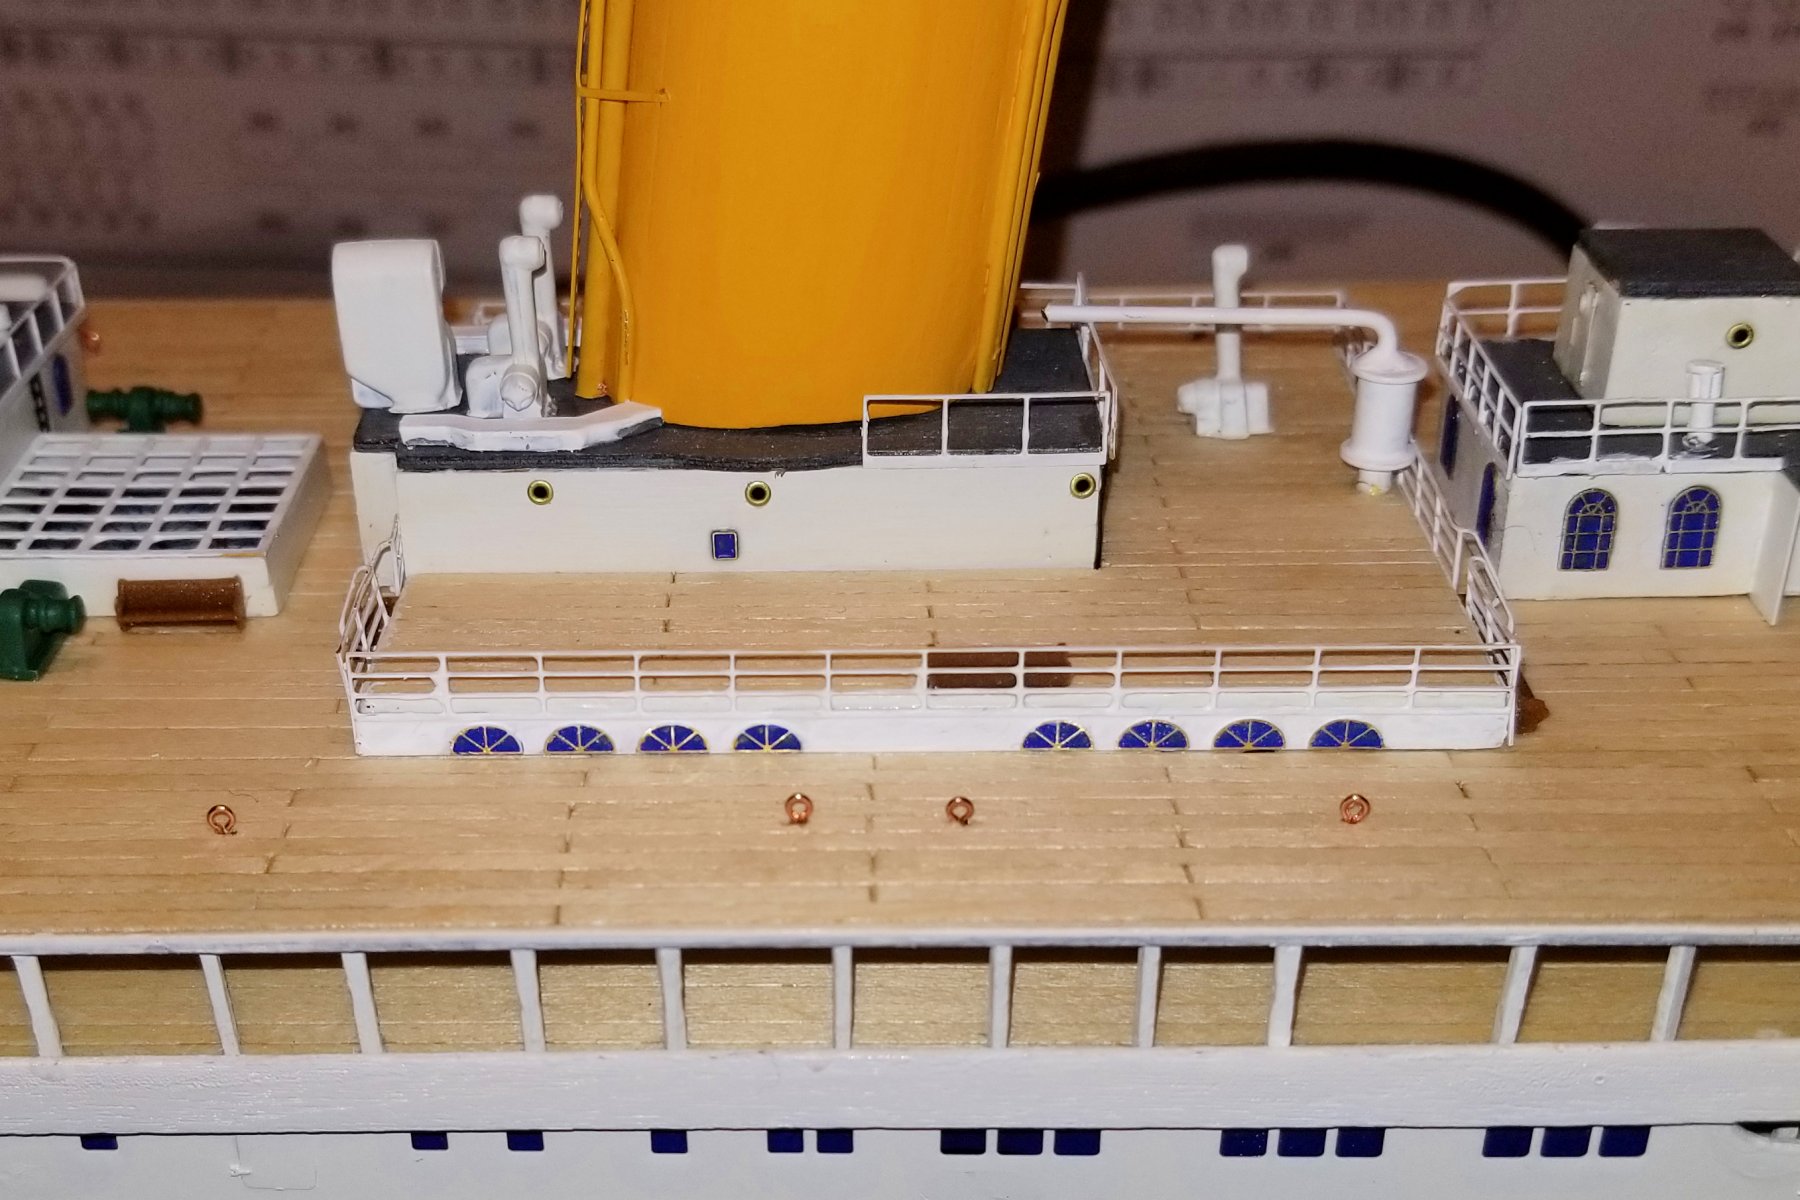
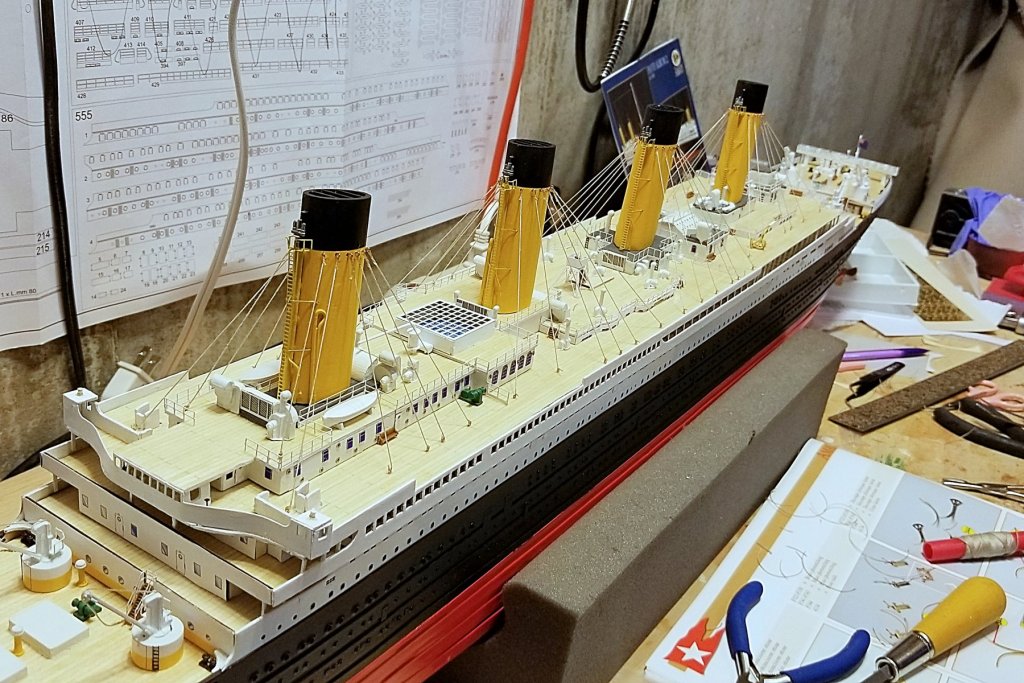
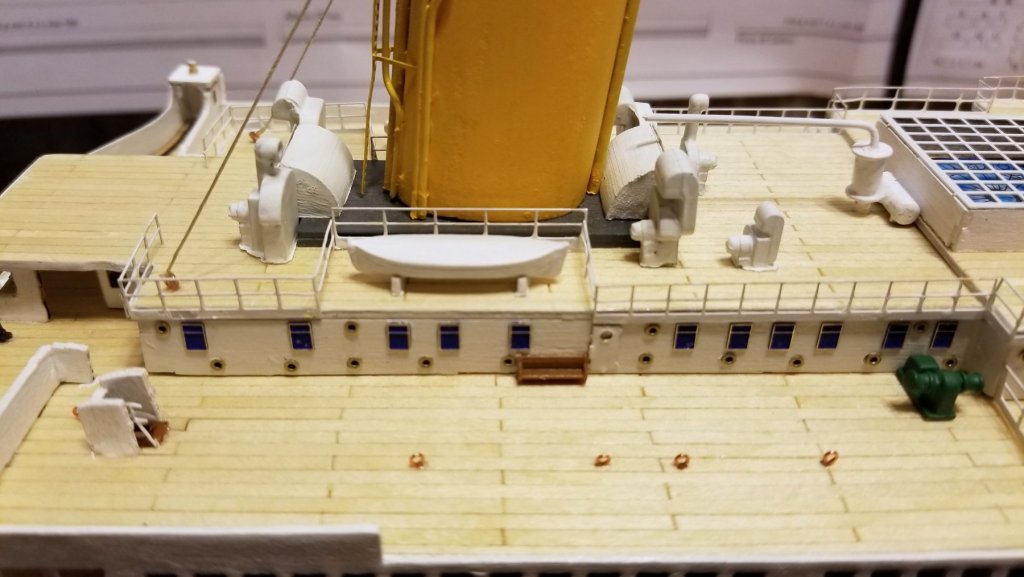
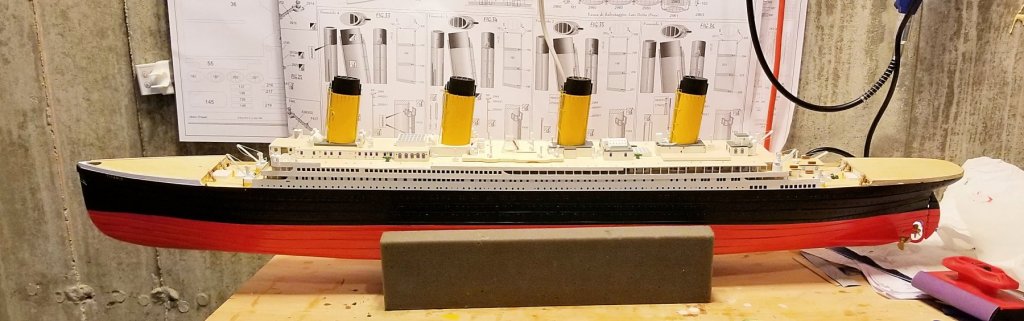
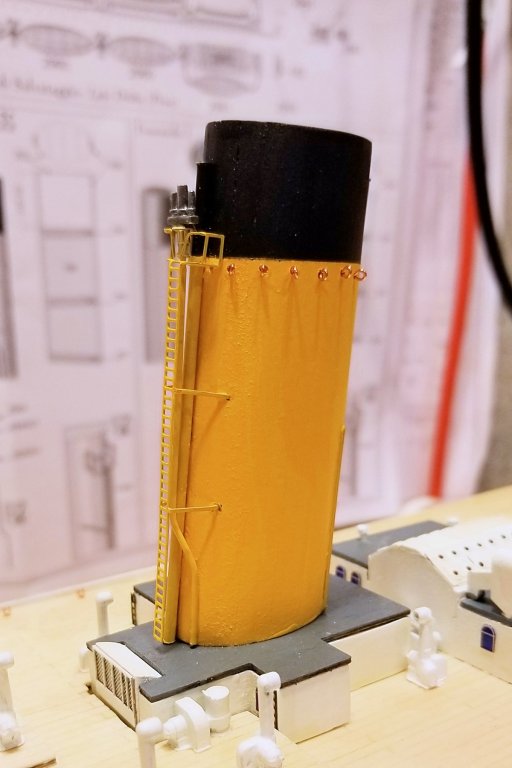
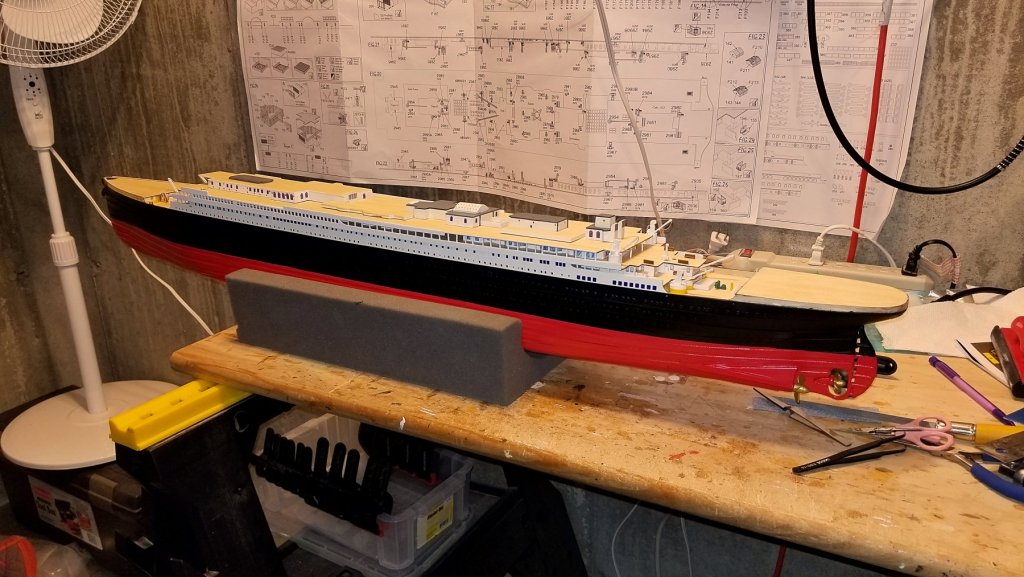
I hope everyone is having a great holiday period. I used some of the spare time to work on the funnels, and they are now all up. She's beginning to look like a real steamship now. The stays won't go up until some of the deck detail is finished, as they would be in the way. Regards, David
- 168 replies
-
- 12
-
-
Tom: All of the details are part of the kit. It's an Amati kit, and I have found their kits to be very high quality. Regards, David
-
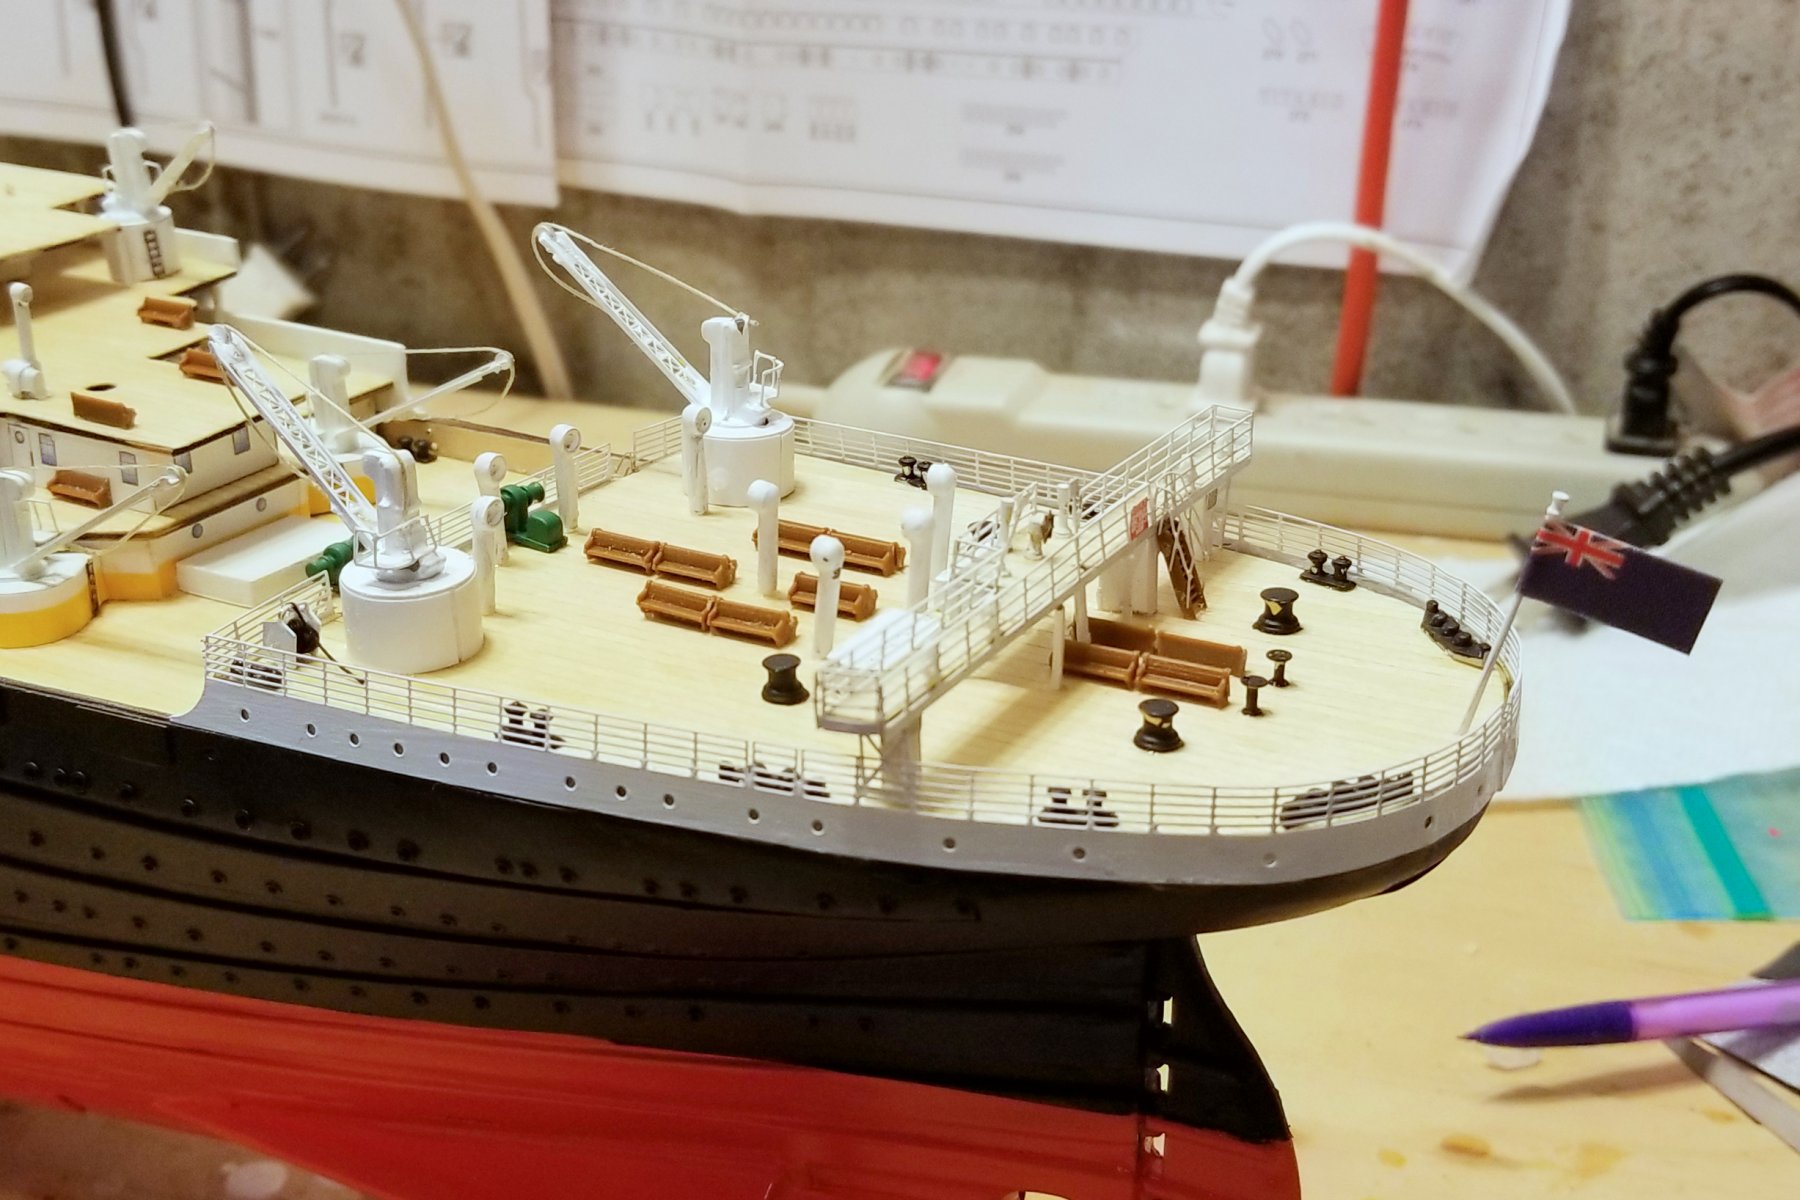
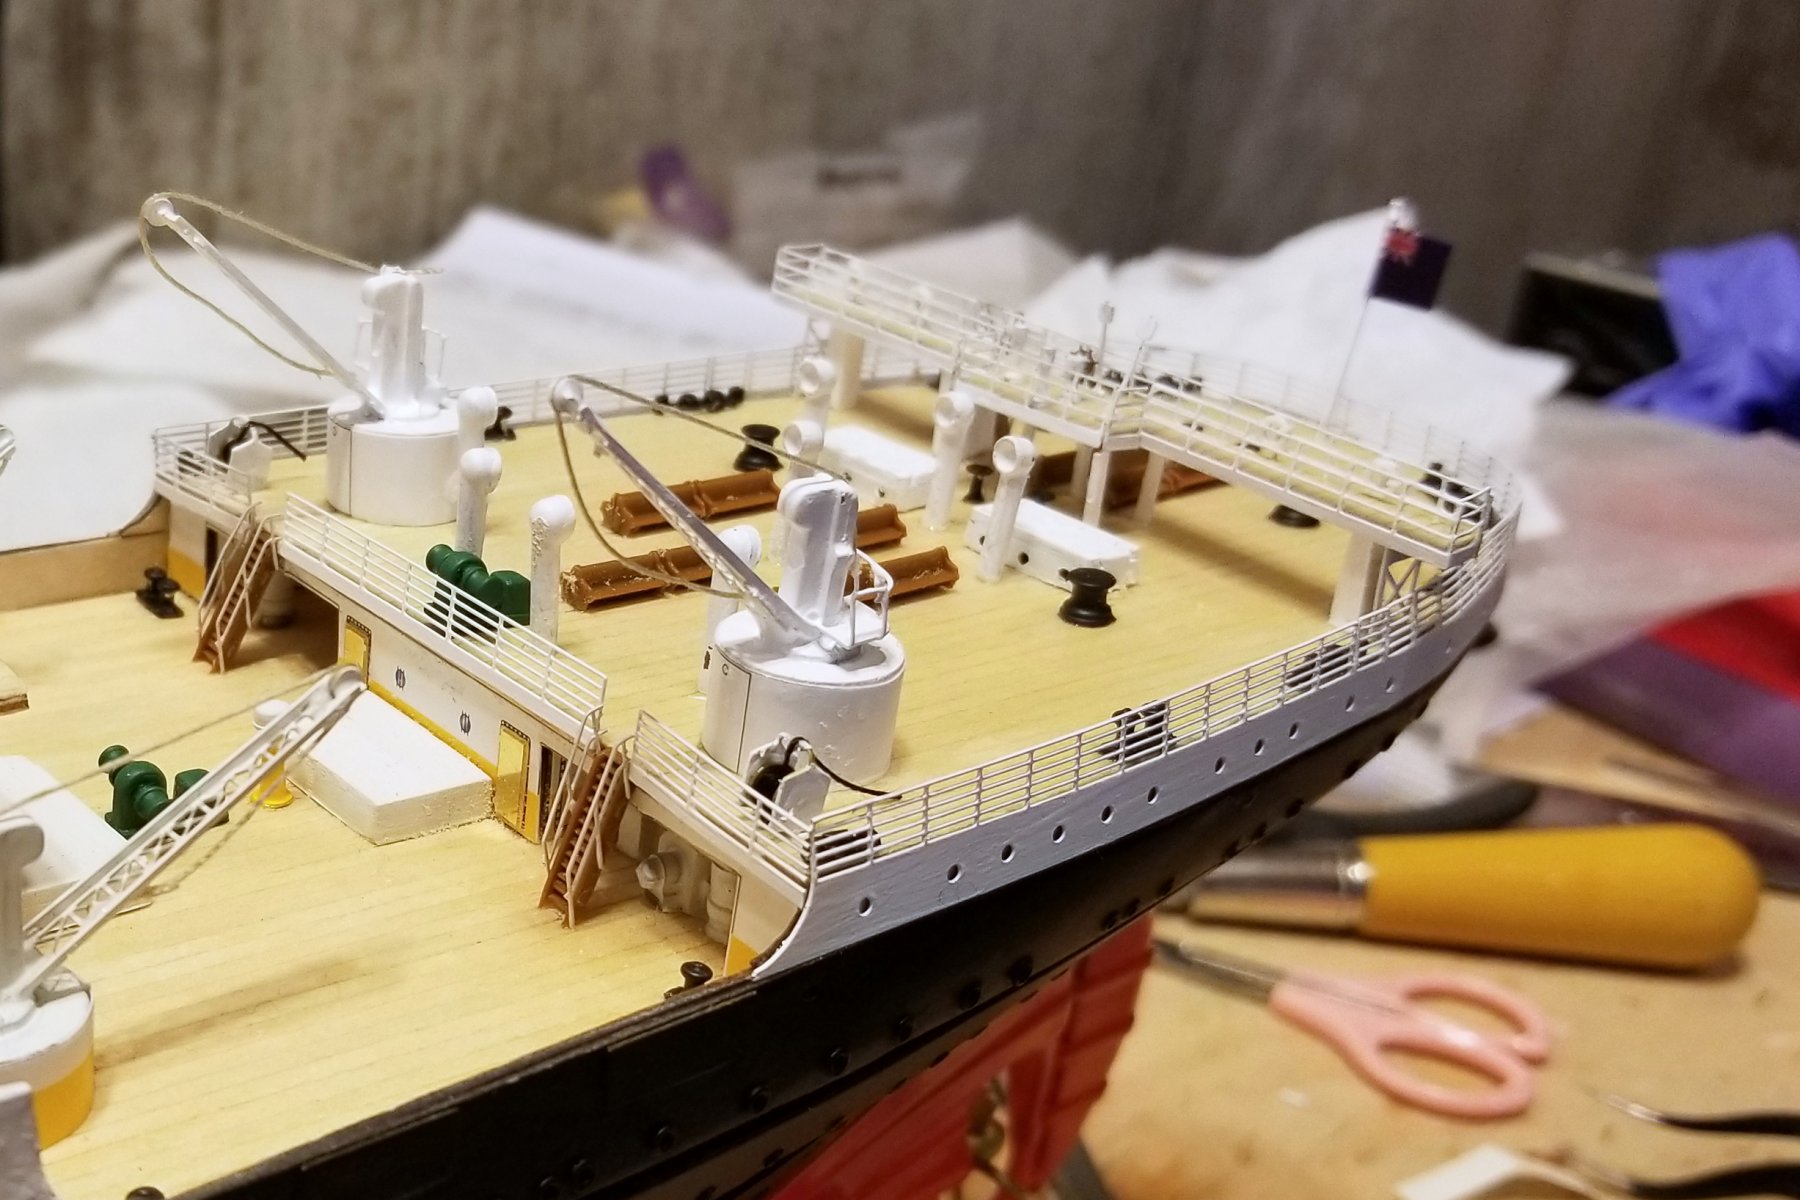
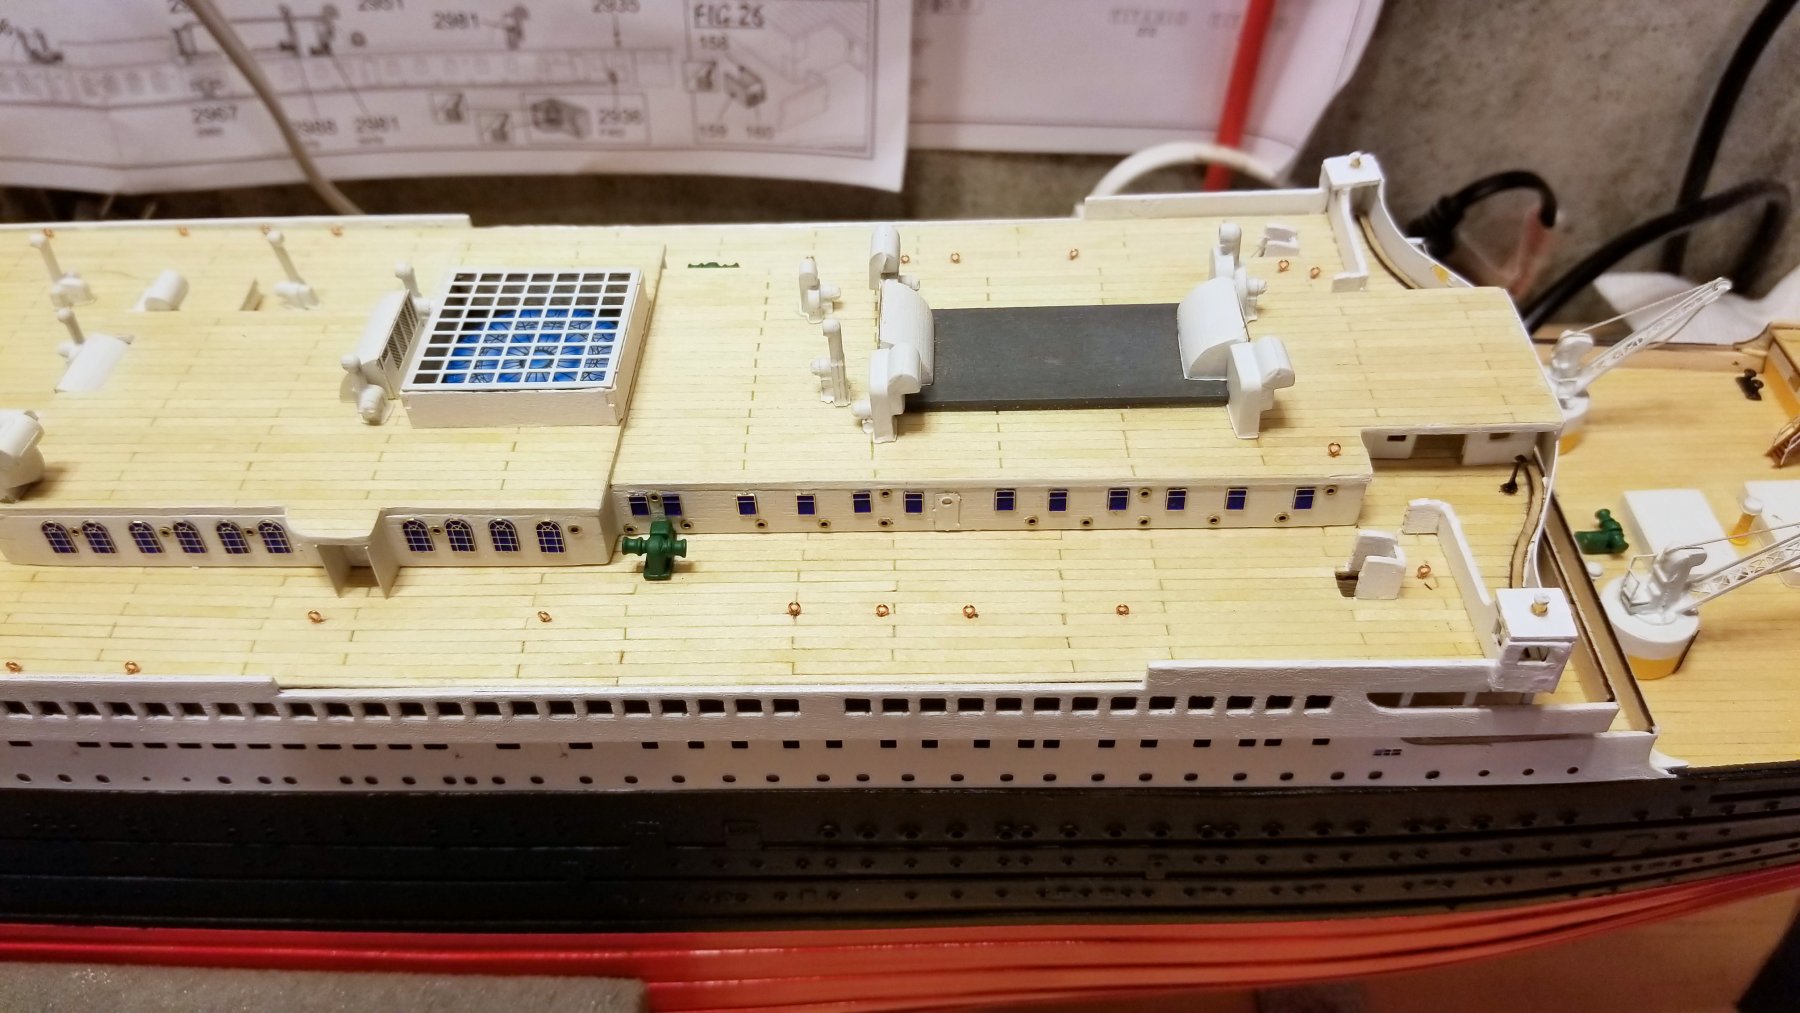
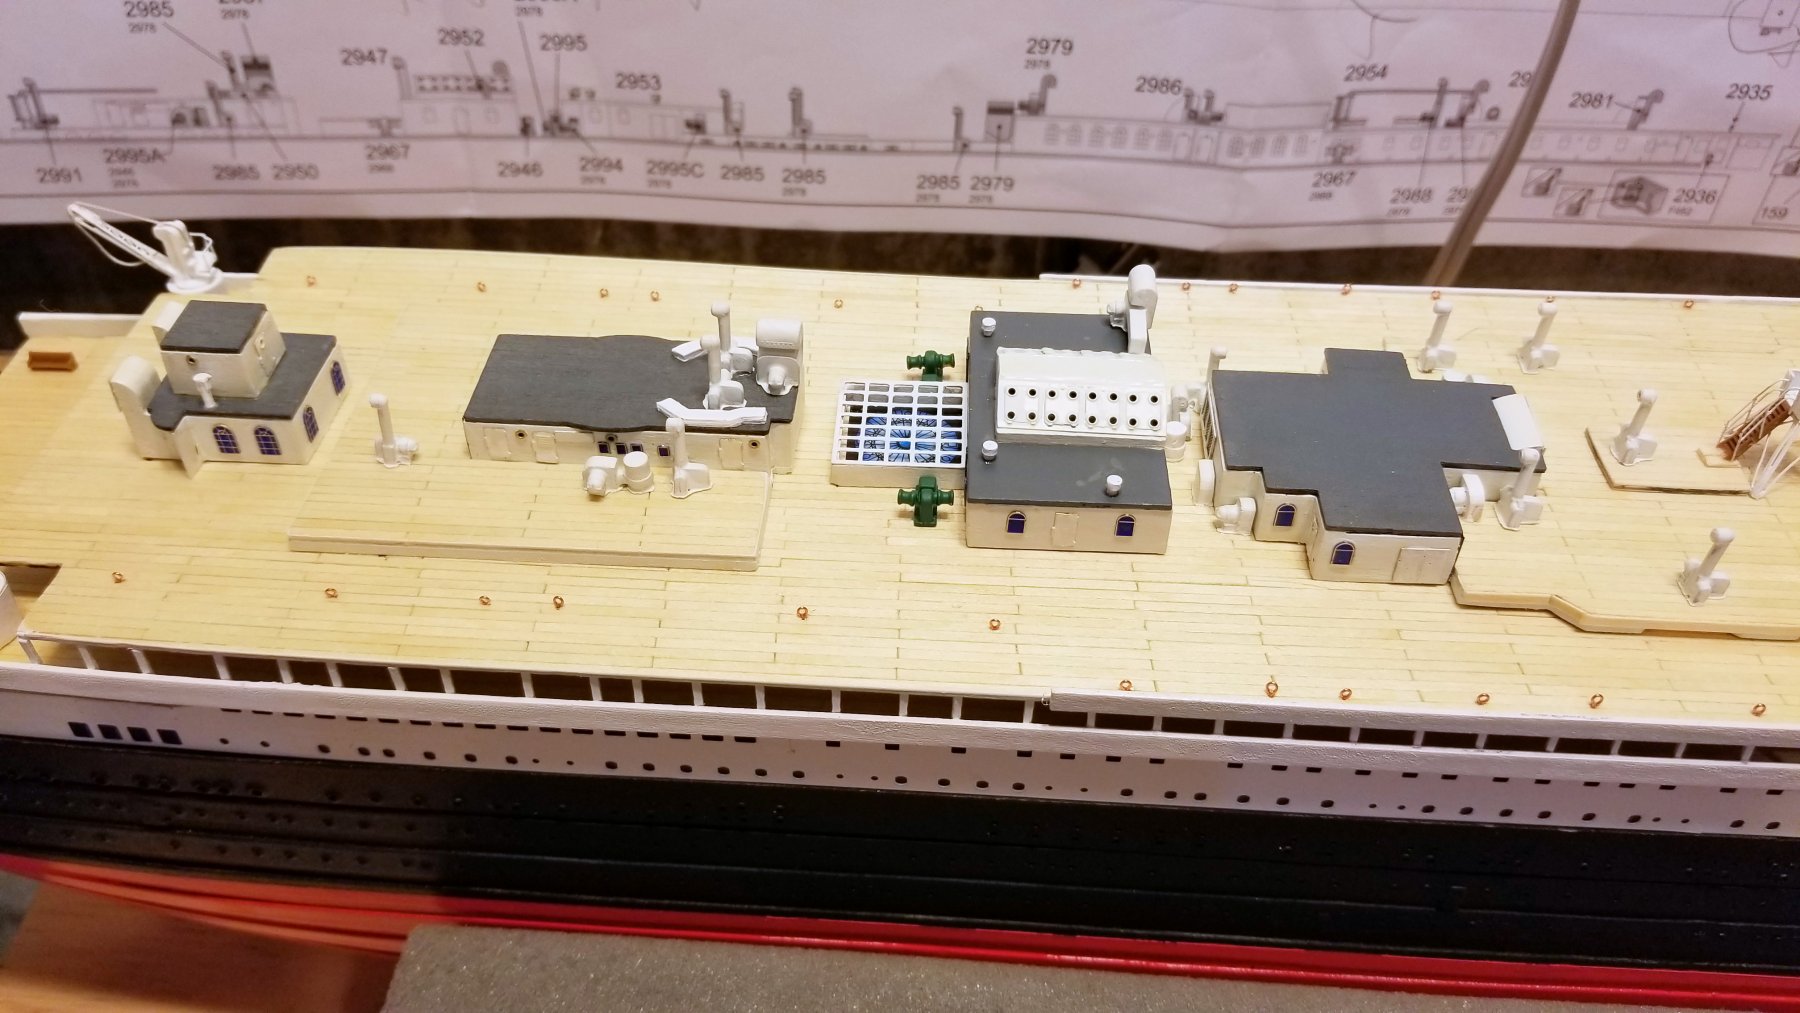
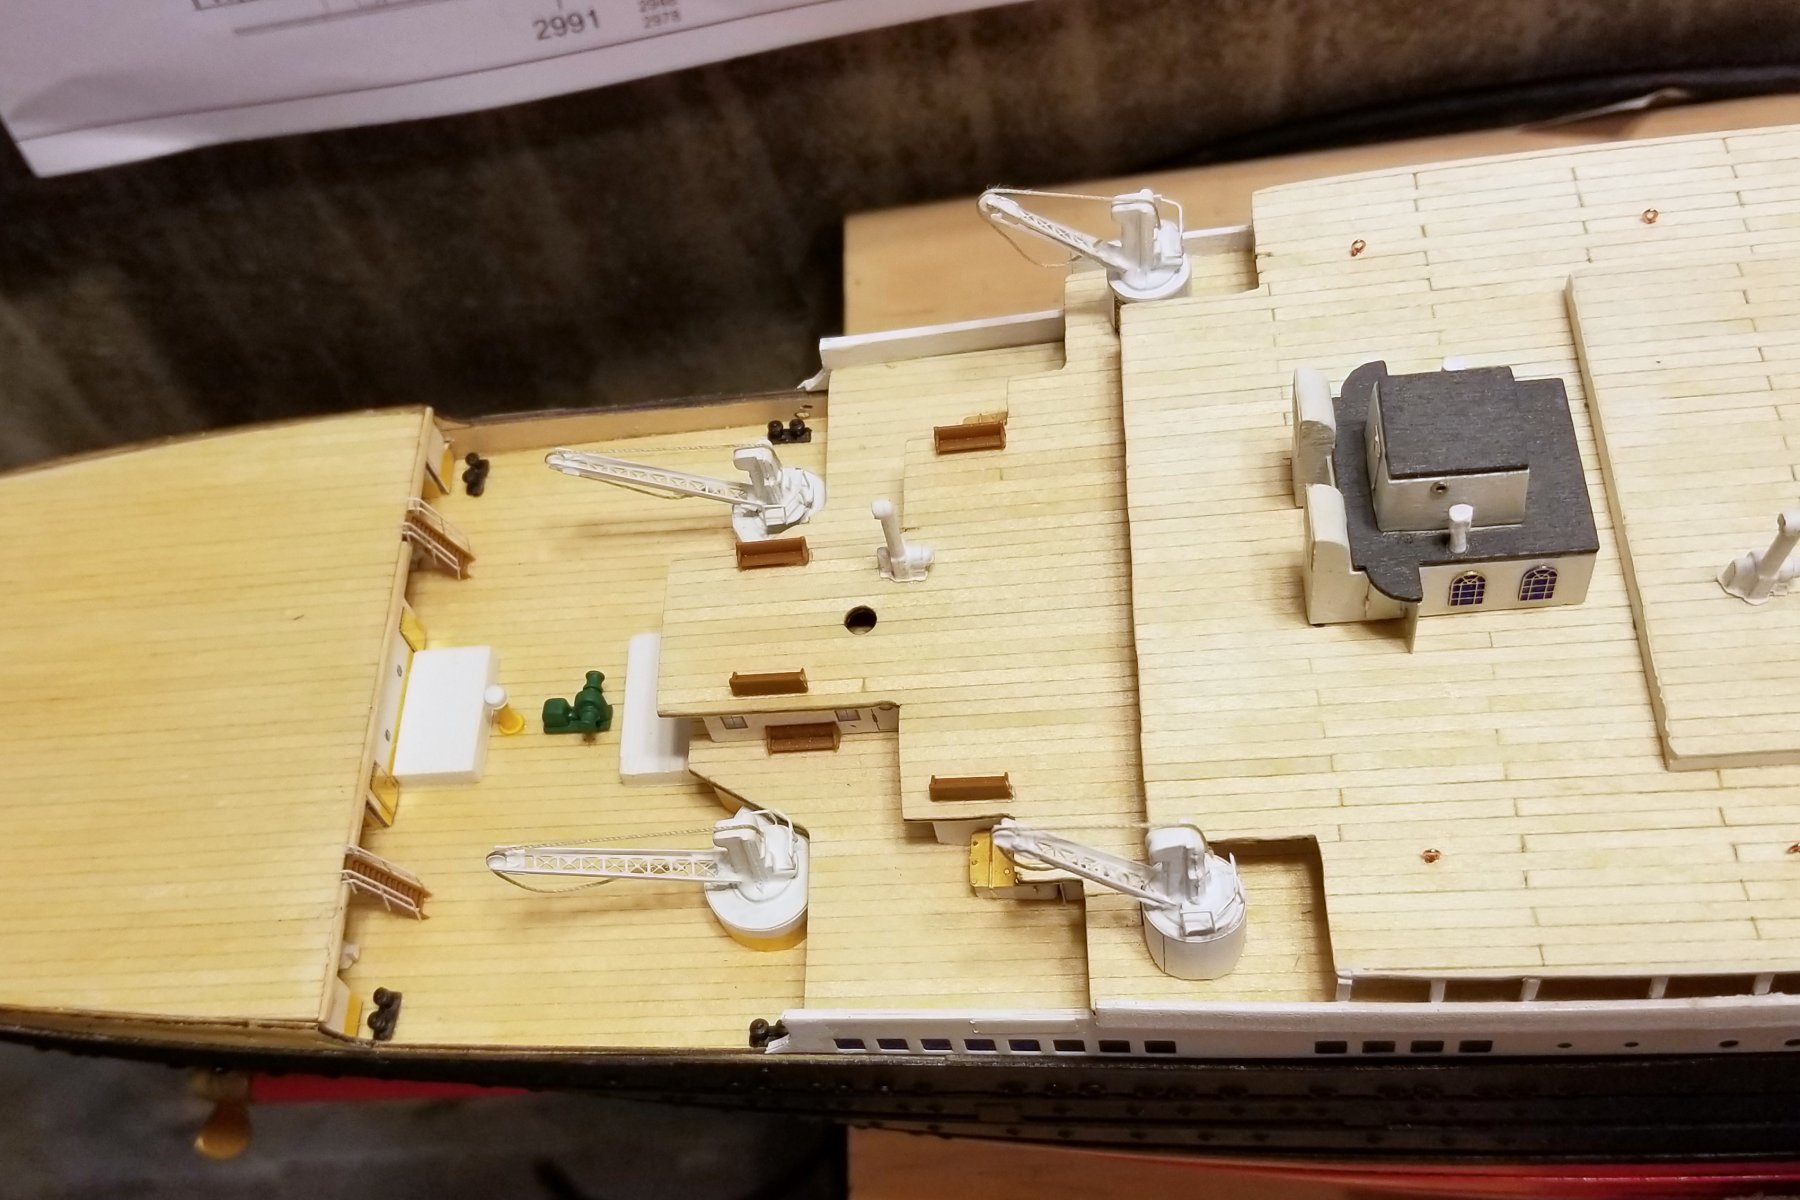
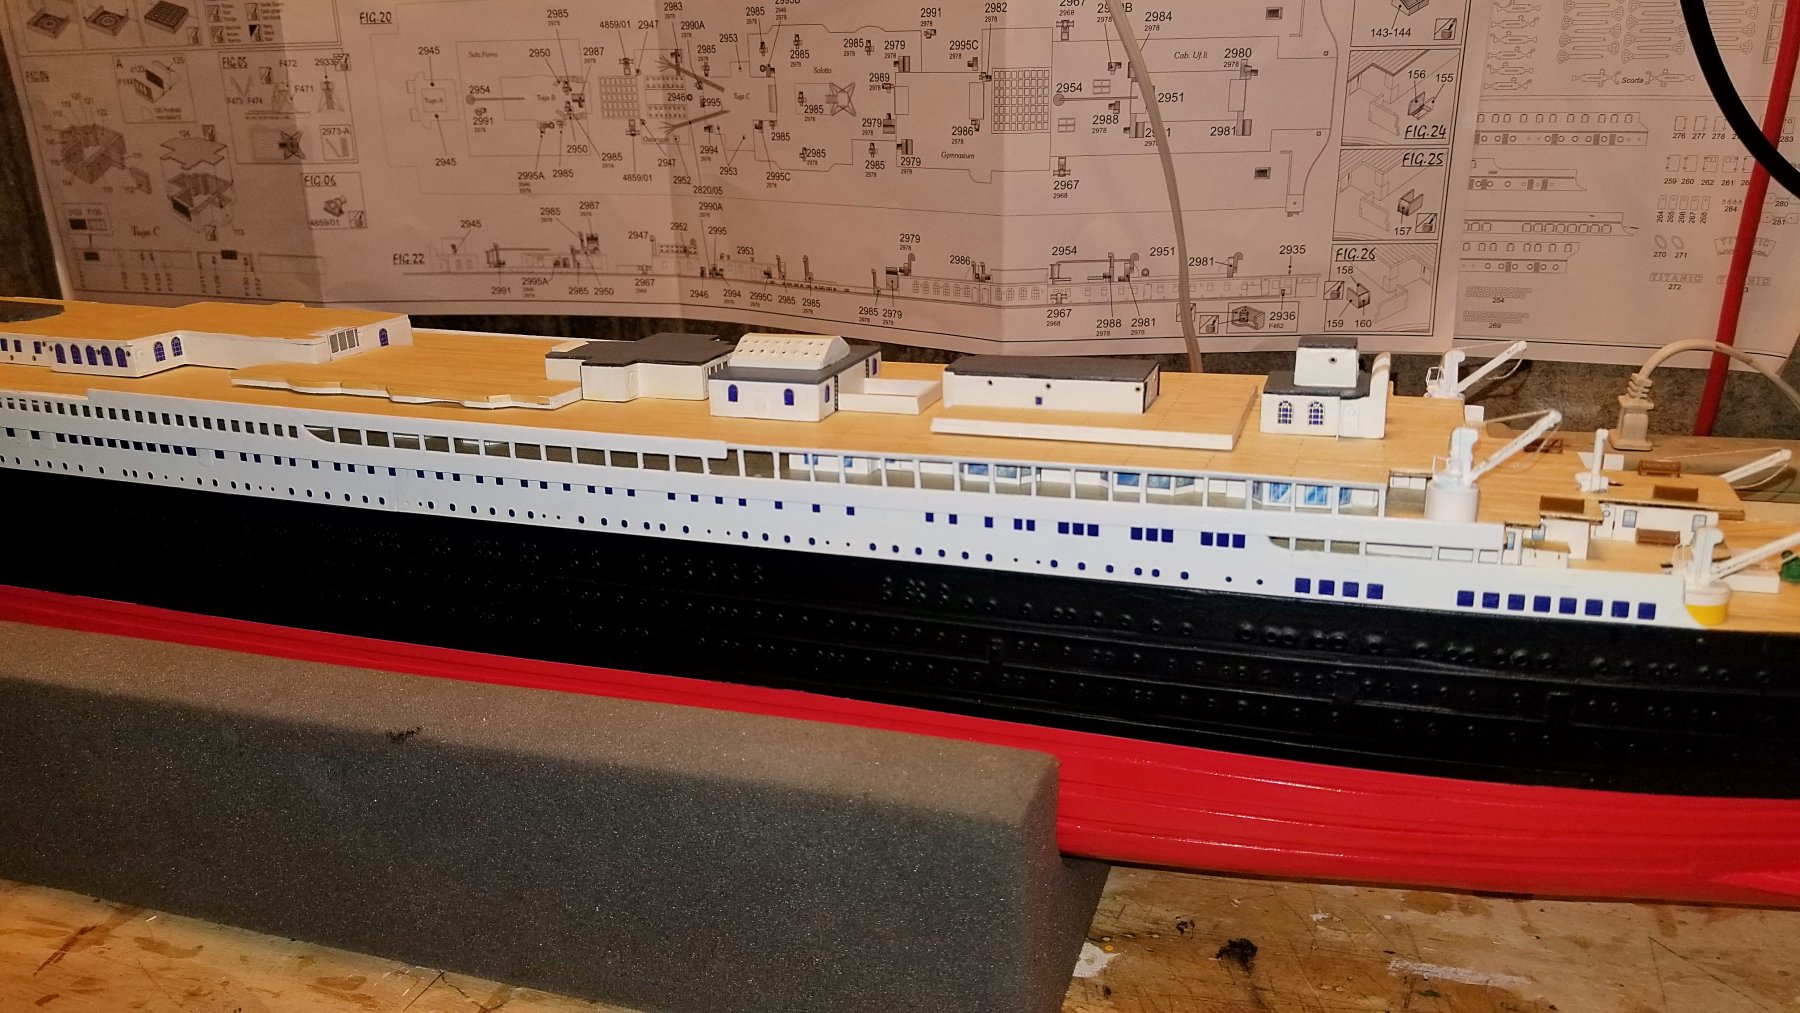
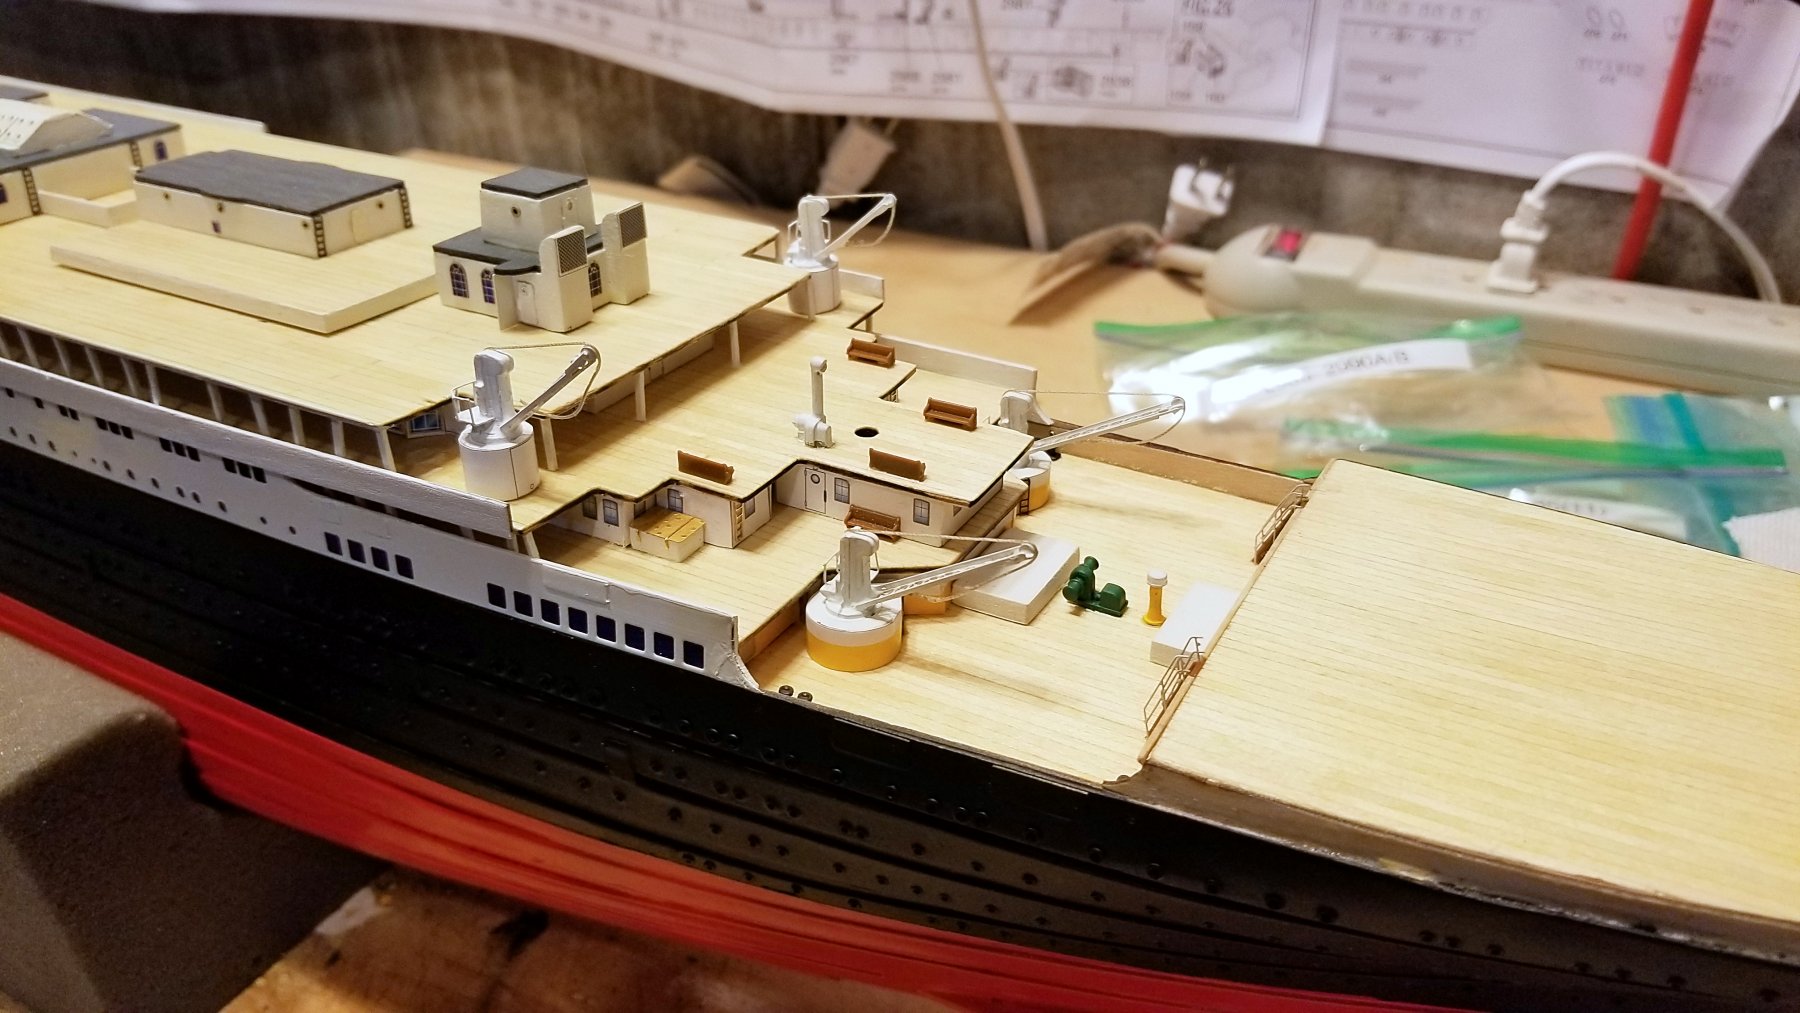
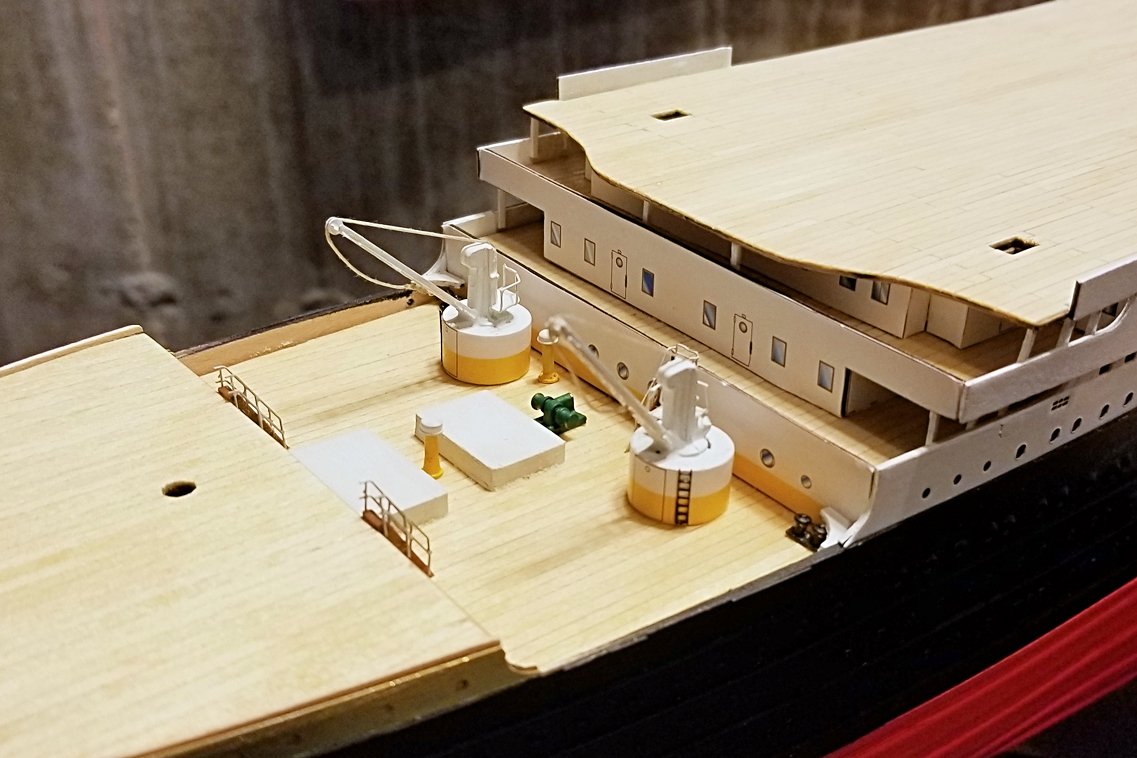
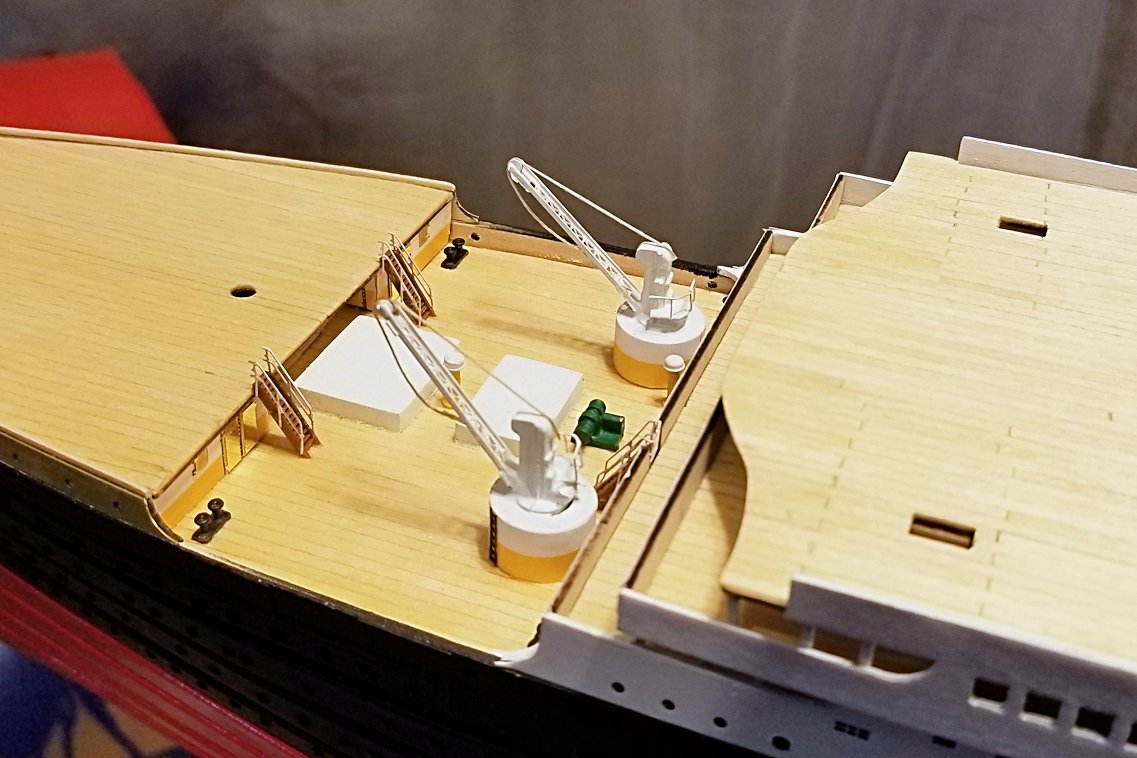
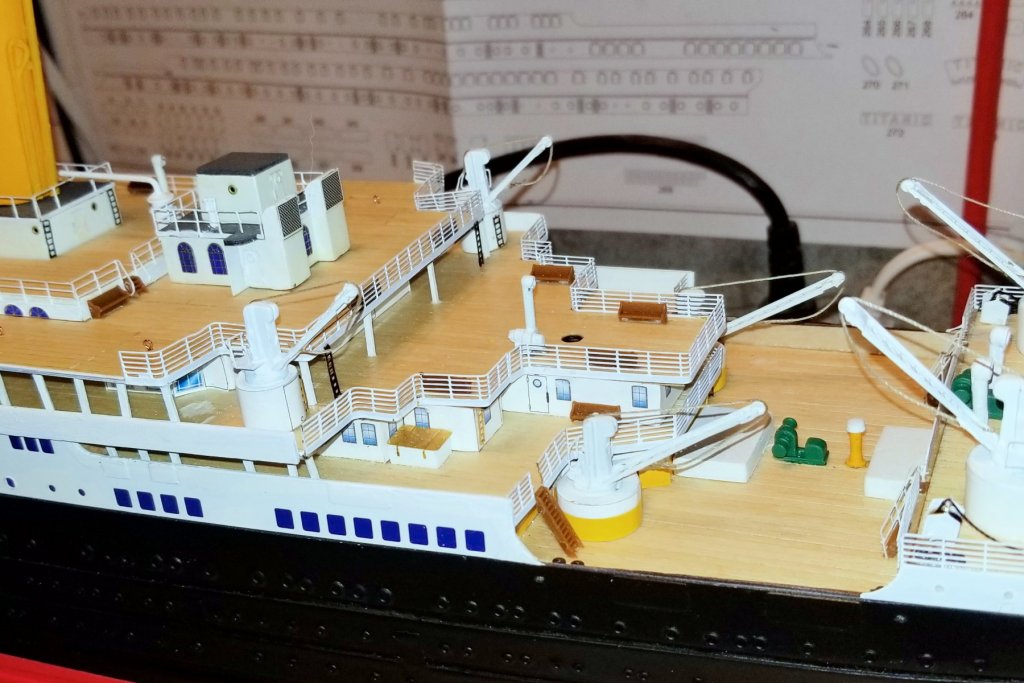
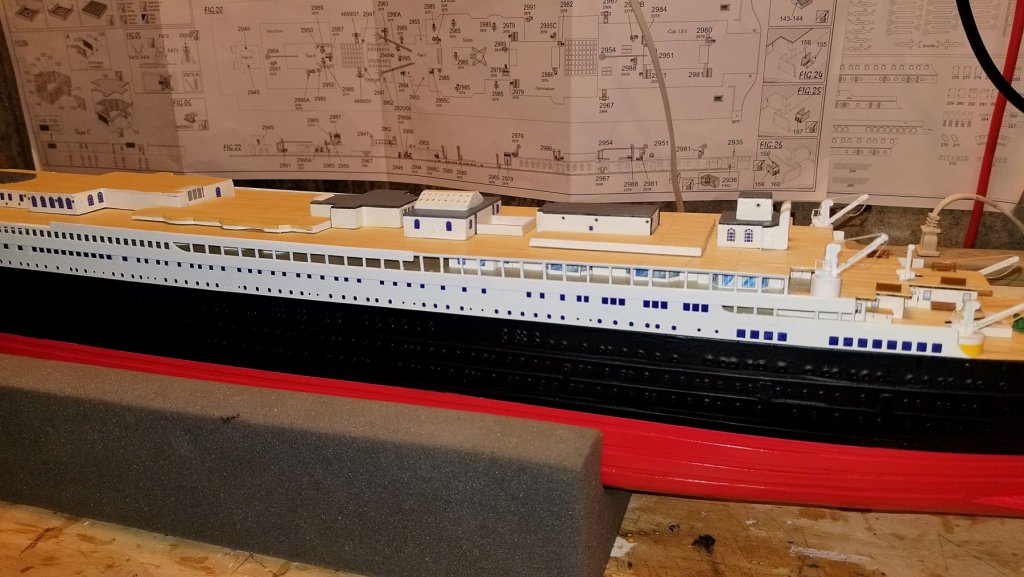
Cabins now installed on the deck; cranes and detail installed near the stern. Regards, David

- 168 replies
-
- 14
-
-
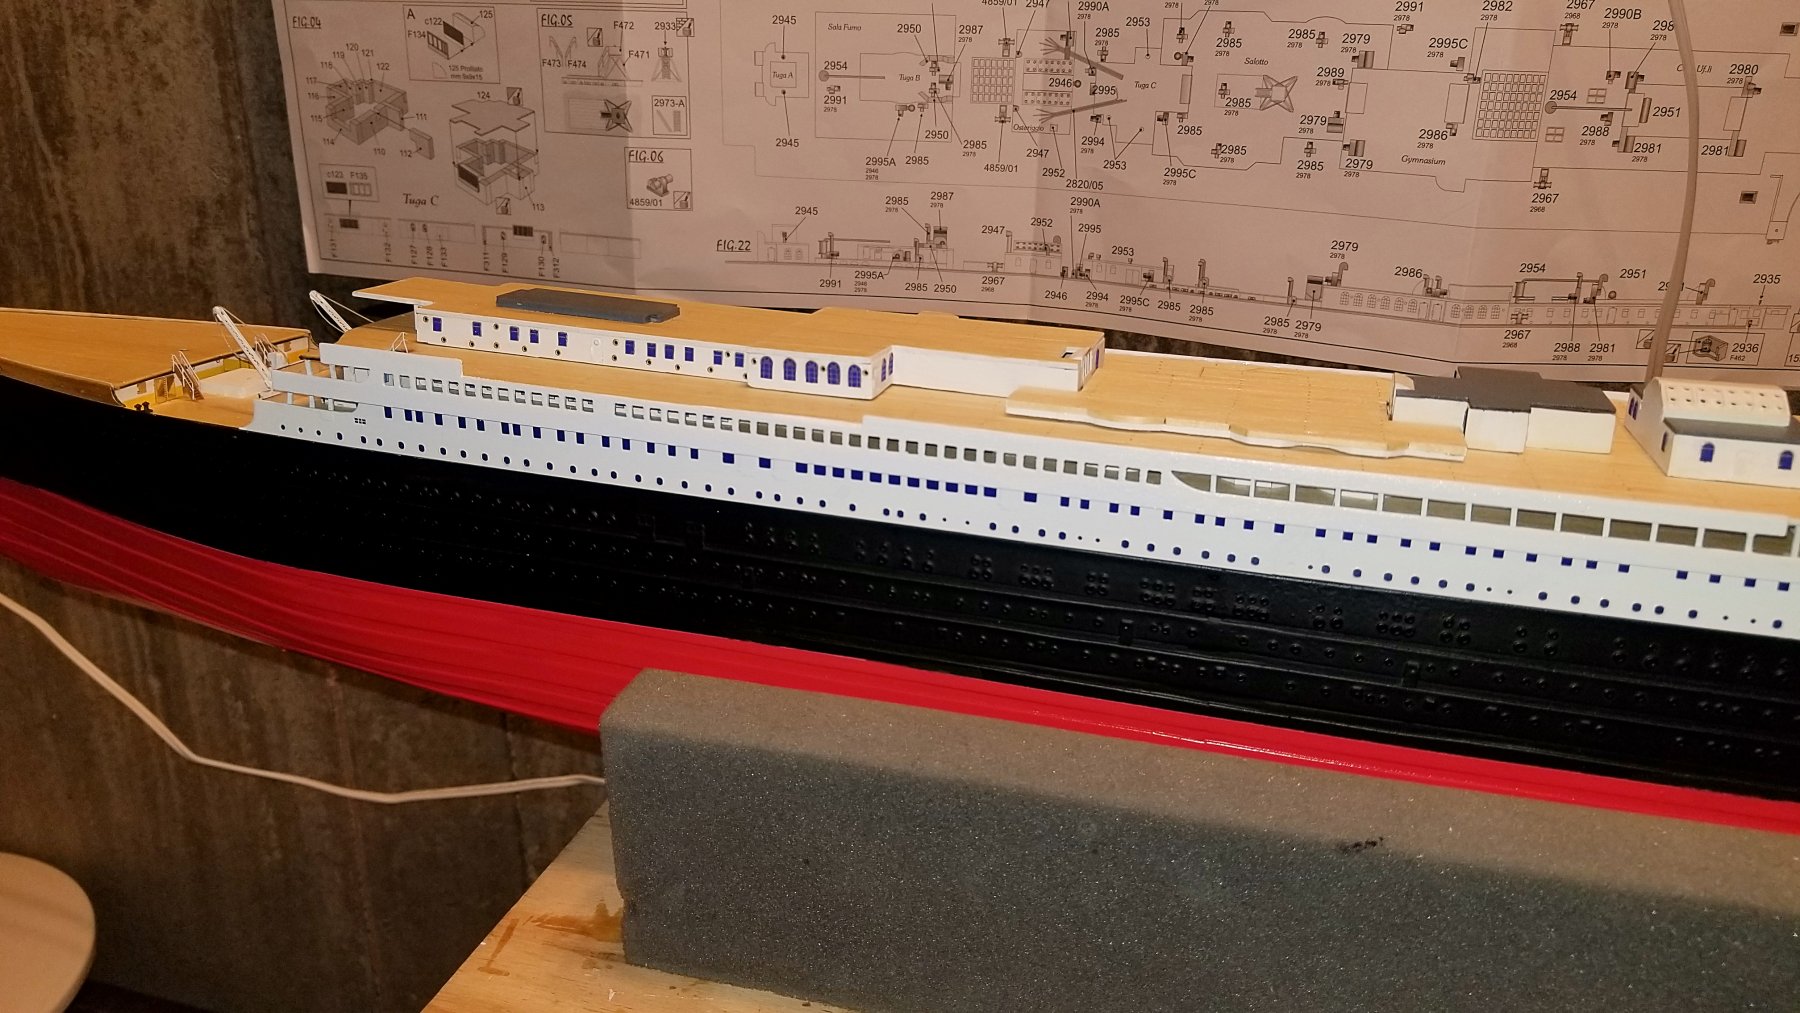
Thanks, Popeye. The red hull color I used looks pretty similar to the photos of the Amati model on the box and in the manual. Re the other colors -- my yellow matches the pre-printed yellow stripe, and I am pretty good on the other colors (green, gray, black and white). As might be apparent, I'm not a total stickler for complete historical accuracy. 🙈 🙉 🙊 Regards, David

20190110_163053.jpg.2244ed085e9e11290bf67d26f91c5ea8.jpg)