


Heronguy
-
Posts
863 -
Joined
-
Last visited
Content Type
Profiles
Forums
Gallery
Events
Everything posted by Heronguy
-
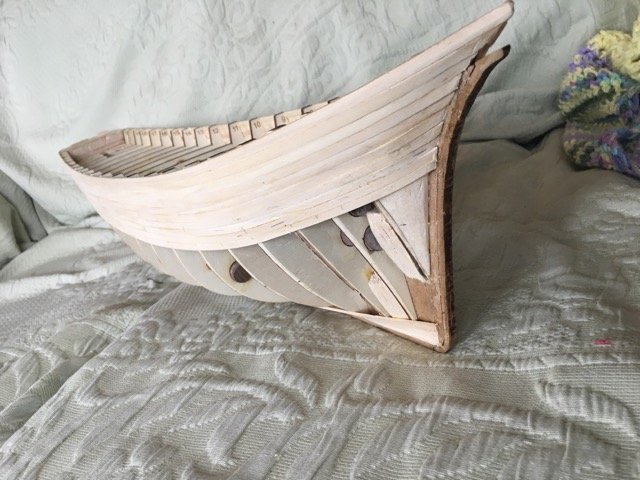
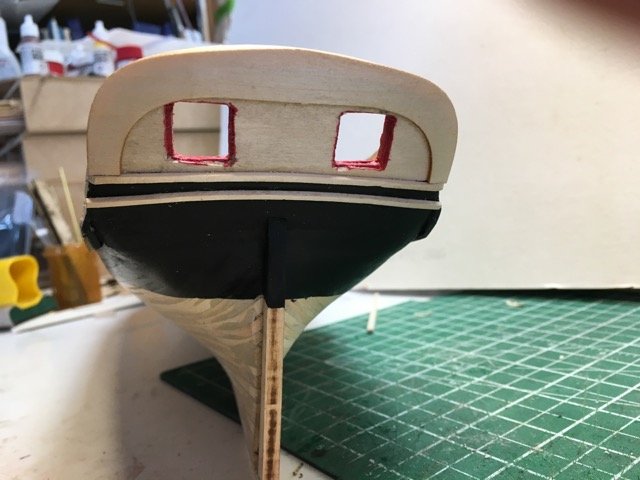
 I added the historically unacceptable portholes to one side. Since I didn't do it very well, and it looks silly to have portholes, I will tale them out and repair the hull. Live and learn.
- 99 replies
-
- 1
-

-
- essex
- cross-section
- (and 1 more)
-
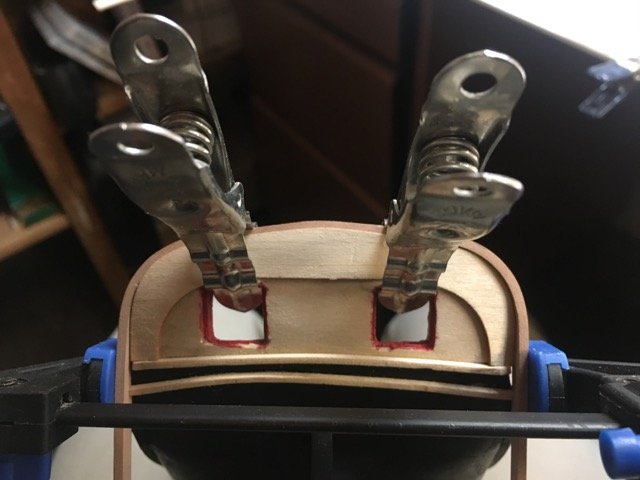
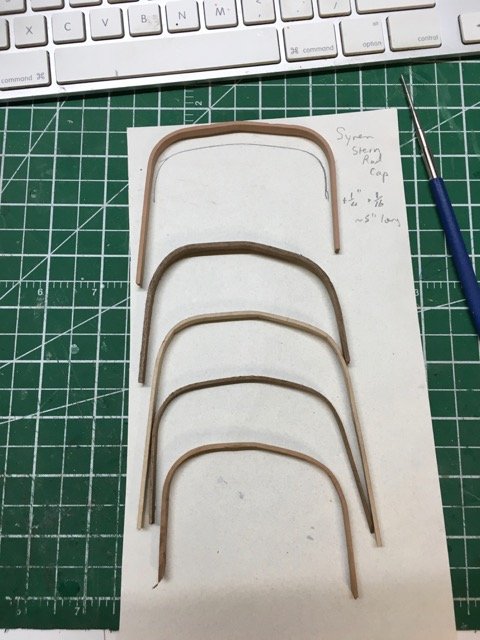
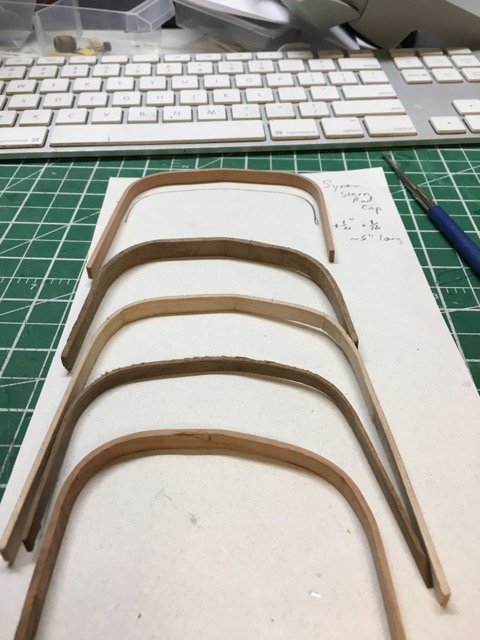
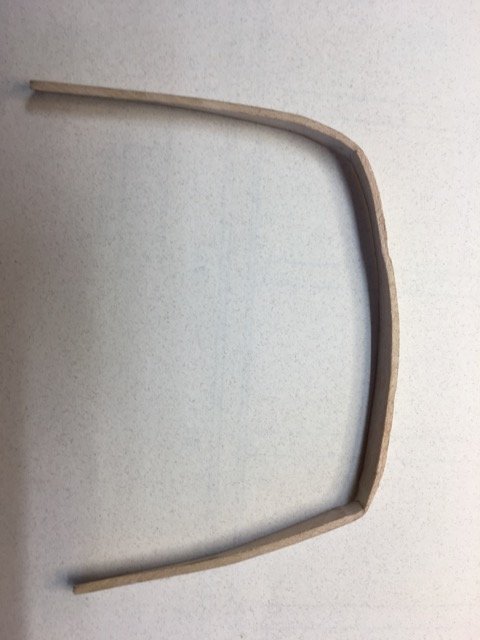
Thanks Peter. I spent time today experimenting with the wood I had around here (no bending beech to try out though). I certainly got some better results today using the brief soak and planking iron with SLOW bending - not too slow though as each of these took 2 or 3 minutes The wood in order from the top of the photos are Swiss pear, jatoba, basswood, walnut and cherry. After bending I clamped them together (hence the variation in size) and left them for a a couple of hours except for the Swiss pear. The Swiss pear I clamped to the stern of the Syren and let it sit for a few hours before taking it off for the photos I expect the Swiss pear will end up being my stern rail cap.
-
Continuing with 1st layer of planking. Working from both directions - keel upward and top downward. So far so good.
- 79 replies
-
- 7
-
-
- marisstella
- barque
- (and 1 more)
-
Thanks Jim. I can try that approach. I’ve never tried steam bending as opposed to planking iron (which I suppose comes down to internal steam bending). We even have a small steam cleaner out in the dairy somewhere!
-
Thanks for the clarification Dirk.
-
Just wondering if you had tried out swiss pear and whether it bends well. I do have some of it here that I can mill to size if it would work well.
-
Thanks Dirk. @donrobinson was recently mentioning how well the beech on his Stefano took to bending. Your suggestion is appreciated. I don't have any beech but I'll try to track some down locally.
-
I will be painting the cap rail so that sounds like a good solution. Still it frustrates me a bit that I keep creasing the bends. I want to slow down and see if I can do it better.
-
Very nice Don. And a useful little tutorial for me. I can hardly wait 'til my lathe arrives - but I guess I'll have to order it before that happens. Too cold here for the next month or so to work out in the shed so there is no real hurry to order one. Good thing our Stefanos need lots of planking - that'll keep me busy until the warmer weather. Prairie winter storms - I don't miss them!
-
It's just the basswood that came in the kit. I sometime just soak for a very short time and then work on it with the plank bender. In this case i've also tried long soaks before plank bender. I think I'm just pushing it a bit too fast as I end up with creases the tight bend. Also if I try to clamp the piece while it is soaked my spring clamps tend to dent the piece. I think your advice to go slow - more than I short soak and bending session is my next attempt.
-
Thanks Don, it still the most fun as things proceed so quickly - only 8 cannons, 1 mast ... Whoever came up with the idea of a cross section gets my vote of approval!
- 99 replies
-
- 1
-
-
- essex
- cross-section
- (and 1 more)
-
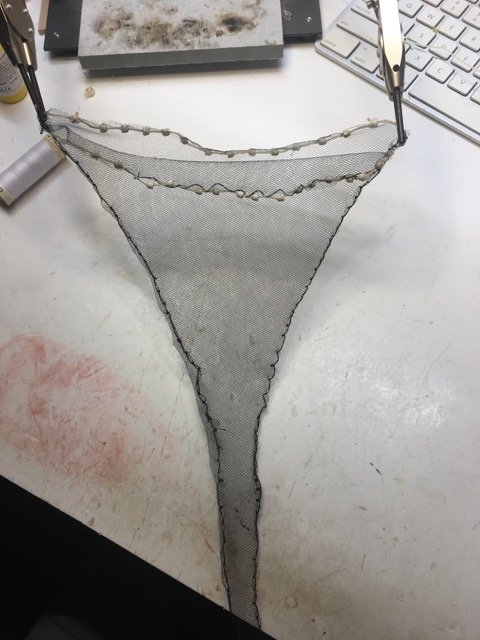
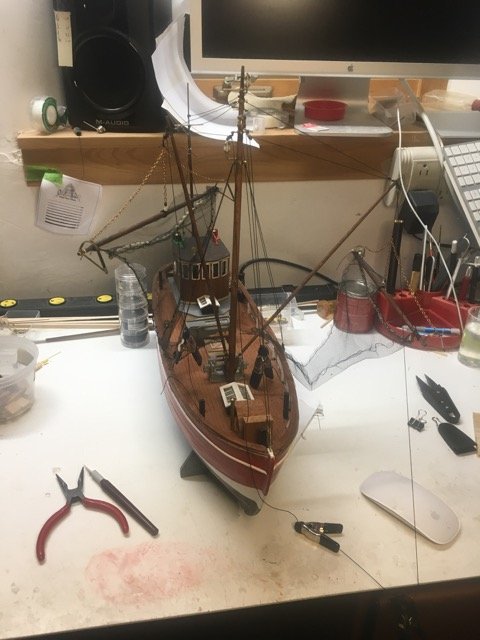
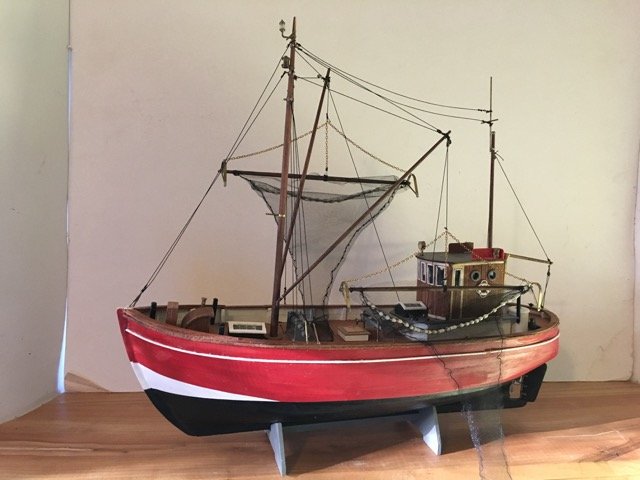
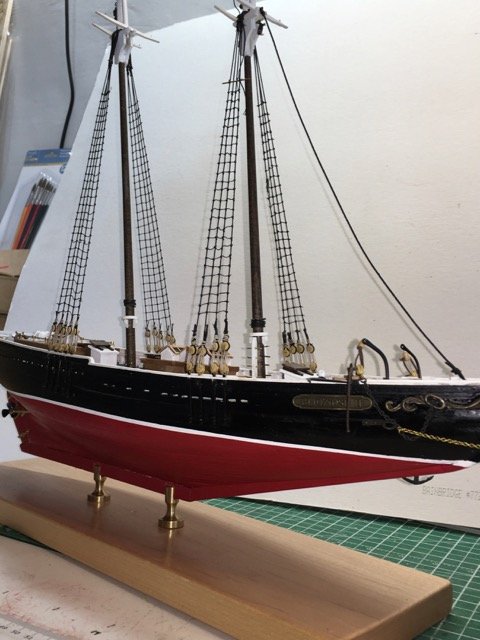
I planned to finish this about a year ago but I don't like the way that the nets turned out and I haven't go back to the build. Maybe by acknowleging my frustration I can move on - maybe. The white netting provide with the kit was not large enough to cut the net pieces. Off to the fabric store and I came back with some black tulle. And there she sits waiting for some renewed entusiasm!
-
Nice little jig popeye! Getting the deadly (spelling correction is wonderful!) holes properly aligned has been a challenge for me. Also I've found that the deadeyes provided with this kit were really poorly made - holes unevenly spaced. I might have replaced them with better quality one but I was feeling pretty stubborn - they came with the kit so I'll use them!! (bad attitude I fear).
-
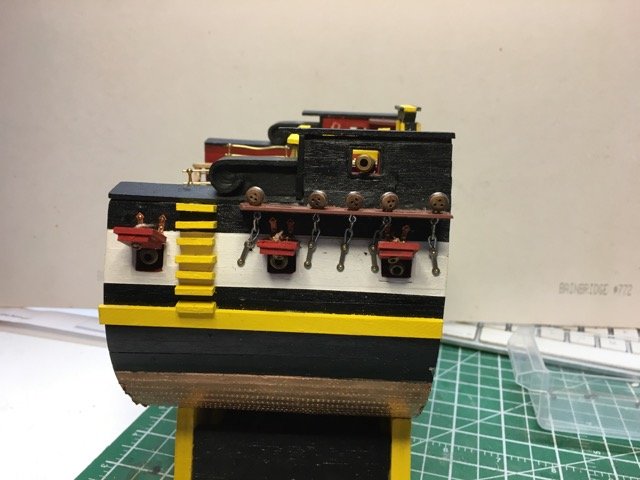
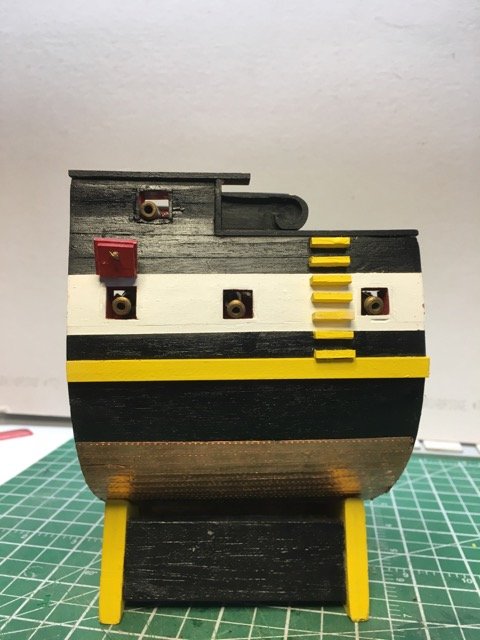
The gunport lids are all done and the chain plates and pinrails have been added. Need to add port holes and then it is on to masting!
- 99 replies
-
- 1
-
-
- essex
- cross-section
- (and 1 more)
-
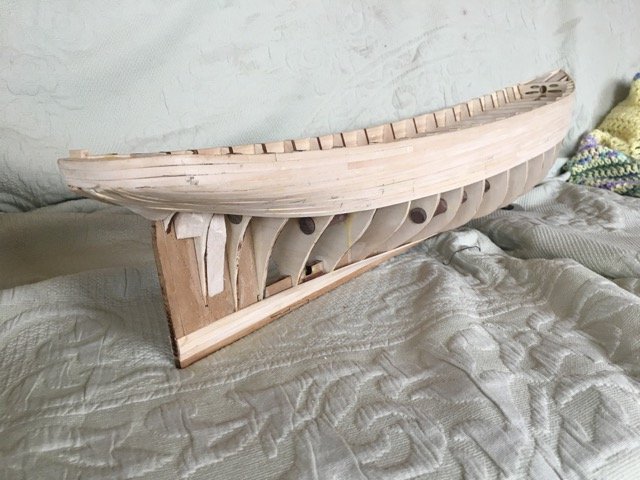
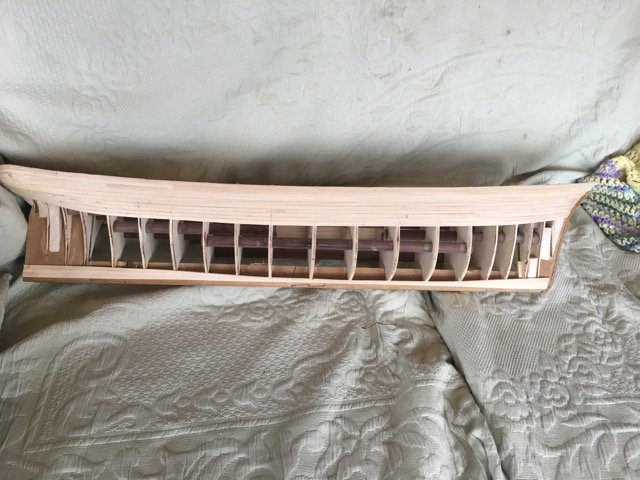
I have been struggling to get the stern construction done. I was a bit aggressive with sanding the transom before I really appreciated how the whole stern comes together. I also couldn't figure out how to get the curved shaping of the lower fashion pieces as shown in the schematic at the top of page 27. After gnashing of teeth for a while I decided to just put something together (I can always redo can't I - and I still have my secret weapon - Syren mkII hull can be done differently and perhaps better) I'm still struggling though. Trying to bend the cap rail - today will be try # 4.
-
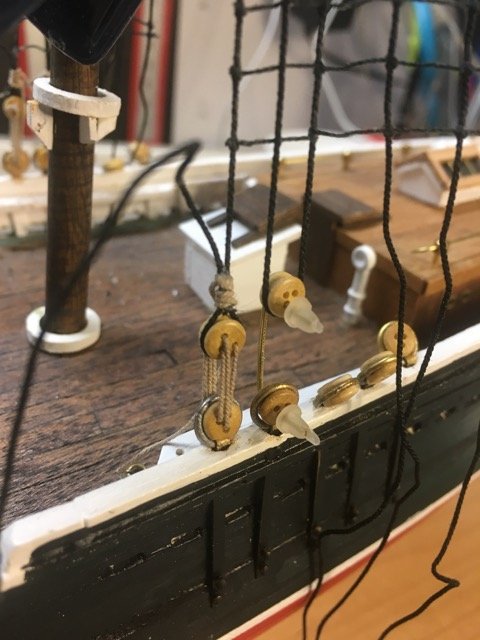
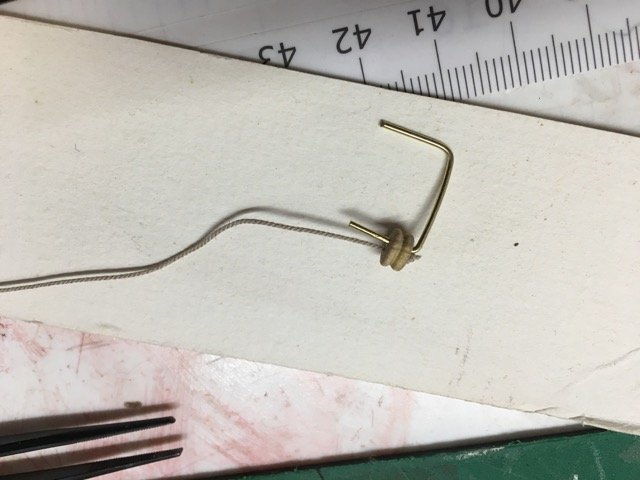
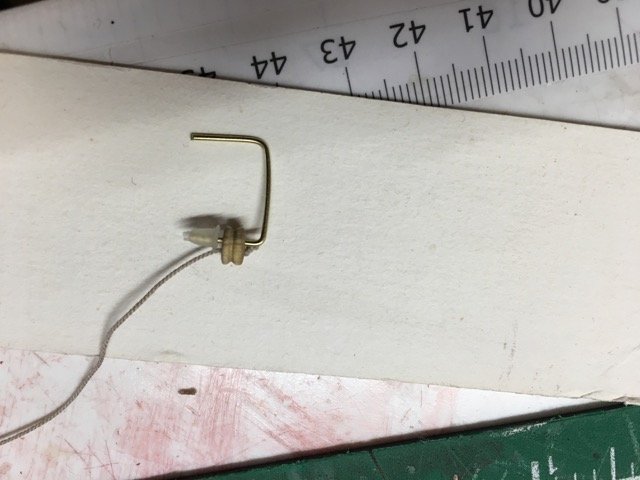
This schooner has been languishing on the shelf for a few months awaiting the motivation to work on the rigging. When the @xken's Ratliner tool was released I decided to give it a try. My use of the Ratliner is documented in this forum. The main mast shrouds were made that way. Once the shroud set is placed on the model it is still necessary to reeve lanyards through the deadeyes. This has in the past been a step I found straightforward in theory and frustrating in practice. I found a small enhancement to the process that helped me a alot! As recommended by others on MSW I use a piece of bent brass wire to temporarily connect the upper and lower deadeyes at the desired spacing. I've bee frustrated by the tendency of the wire to slip out before the lanyard is threaded. Solution turned up in my daughter's earring box. On a cheap pair of ear studs there were these small rubber/plastic keepers. Easy on, easy off, but no slip! With the pair on it was easy to wrap the bottom end of the shroud around the deadeye and clamp it to the shroud above and then proceed to reeve the lanyard. Once the 1st wrap is made the keepers are removed so they don't interfere with the threading. Works for me. The foremast shrouds and ratlines were done in the usual way - shrouds 1st then tied the ratlines. The mainmast shrouds were done with the Ratliner. Don't worry about the forestay - I'll tighten it! I'm looking forward to more rigging - gotta conquer it sometime so why not now?

-
Not bad on the painting at all! Thoughtful restoration. Keep up the great job.
-
Welcome - I'm pleased you are a new sponsor. I'm currently learning how to use one of your cnc mills and will seriously look at one of your lathes this spring!
-
Thanks Mike. I do have sources that show the rigging of the rope. At the scale of this model and with all of it essentially out of sight beneath the main deck I just settled for tying it off on the inside end. Looking at Wolfram zu Mondfeld I see that the hinges are not representative of how they were done. I also have Portia Takakjian's AOS Essex that does a nice job of diagramming the gun tackle including the port lid rope and tackle. Just as you described.
- 99 replies
-
- 1
-
-
- essex
- cross-section
- (and 1 more)
-
thanks Derek
-
I’m leaning that way though I haven’t made one yet. I do have some copper paint nd the hinges are pretty well obscured by the ope gunport lid so I hope it will be ok
- 99 replies
-
- 1
-
-
- essex
- cross-section
- (and 1 more)
-
very kind of you popeye, but it is still daunting to compare to what you accomplish on your builds!
- 99 replies
-
- 1
-
-
- essex
- cross-section
- (and 1 more)
-
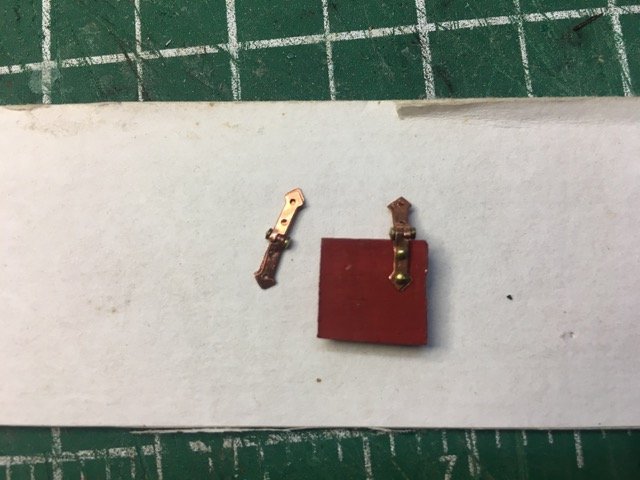
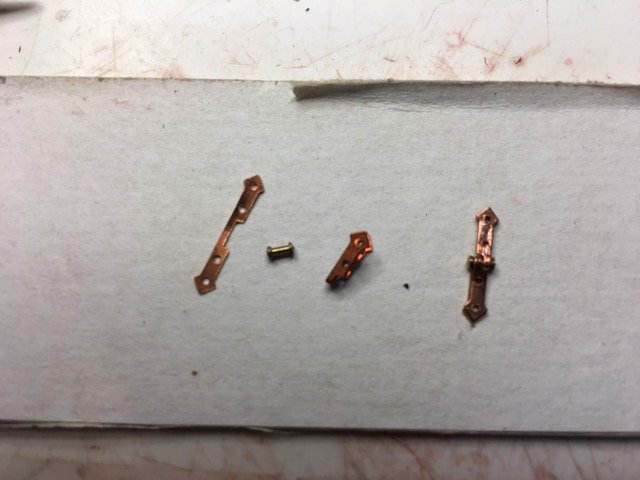
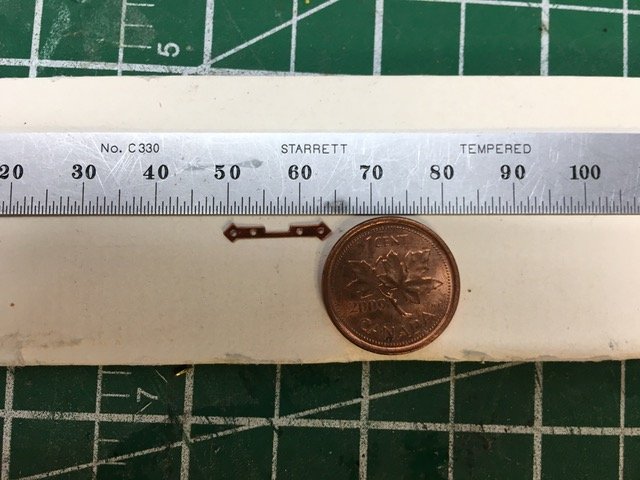
I get to add some detail to the hull now. The wales and the ladder and then on to the gunport lids. The lids are a bit fussy to make. The hinges straps are folded over a small hingepin then nailed to the gunport lid and finally to the hull. A short rope acts as the opening mechanism for the port lid but the plans offer no advice on interior rigging of the rope. The next challenge comes as I am missing one hinge strap and one hinge pin. I am contemplating whether to try to make a hinge from some brass sheet (a bit tricky due to the small size) make one out of paper treated to look like the hinge (easier but will it hold?), or use of of the Syren Ship Company hinges (which look quite different).

- 99 replies
-
- 2
-
-
- essex
- cross-section
- (and 1 more)
-
Nice progress Don. I can see a challenge coming up for me based on what I see on your (ship's) stern. Oh well I can least see how it could have worked out since yours looks great.
-
Hey Derek - joining the "crowded workbench club"? Good luck with your build. I don't know this kit so it'll be fun to watch (it's fun either way actually)!